1/2
Cut heating costs with this $10 weekend fix — here’s how to seal leaks around doors and windows in minutes
Reducing heating costs can be achieved with a simple and inexpensive weekend project: sealing air leaks around doors and windows. Even small gaps can significantly increase a home's heating load, with infiltration potentially accounting for 20% or more of annual heating expenses, and up to 30% in particularly drafty homes. This issue is especially prevalent in older properties built before modern building codes, homes with original door seals, and those experiencing substantial seasonal expansion and contraction. Additionally, frequently used doors in rentals or busy family homes can suffer from worn-down door sweeps and flattened adhesive foam.
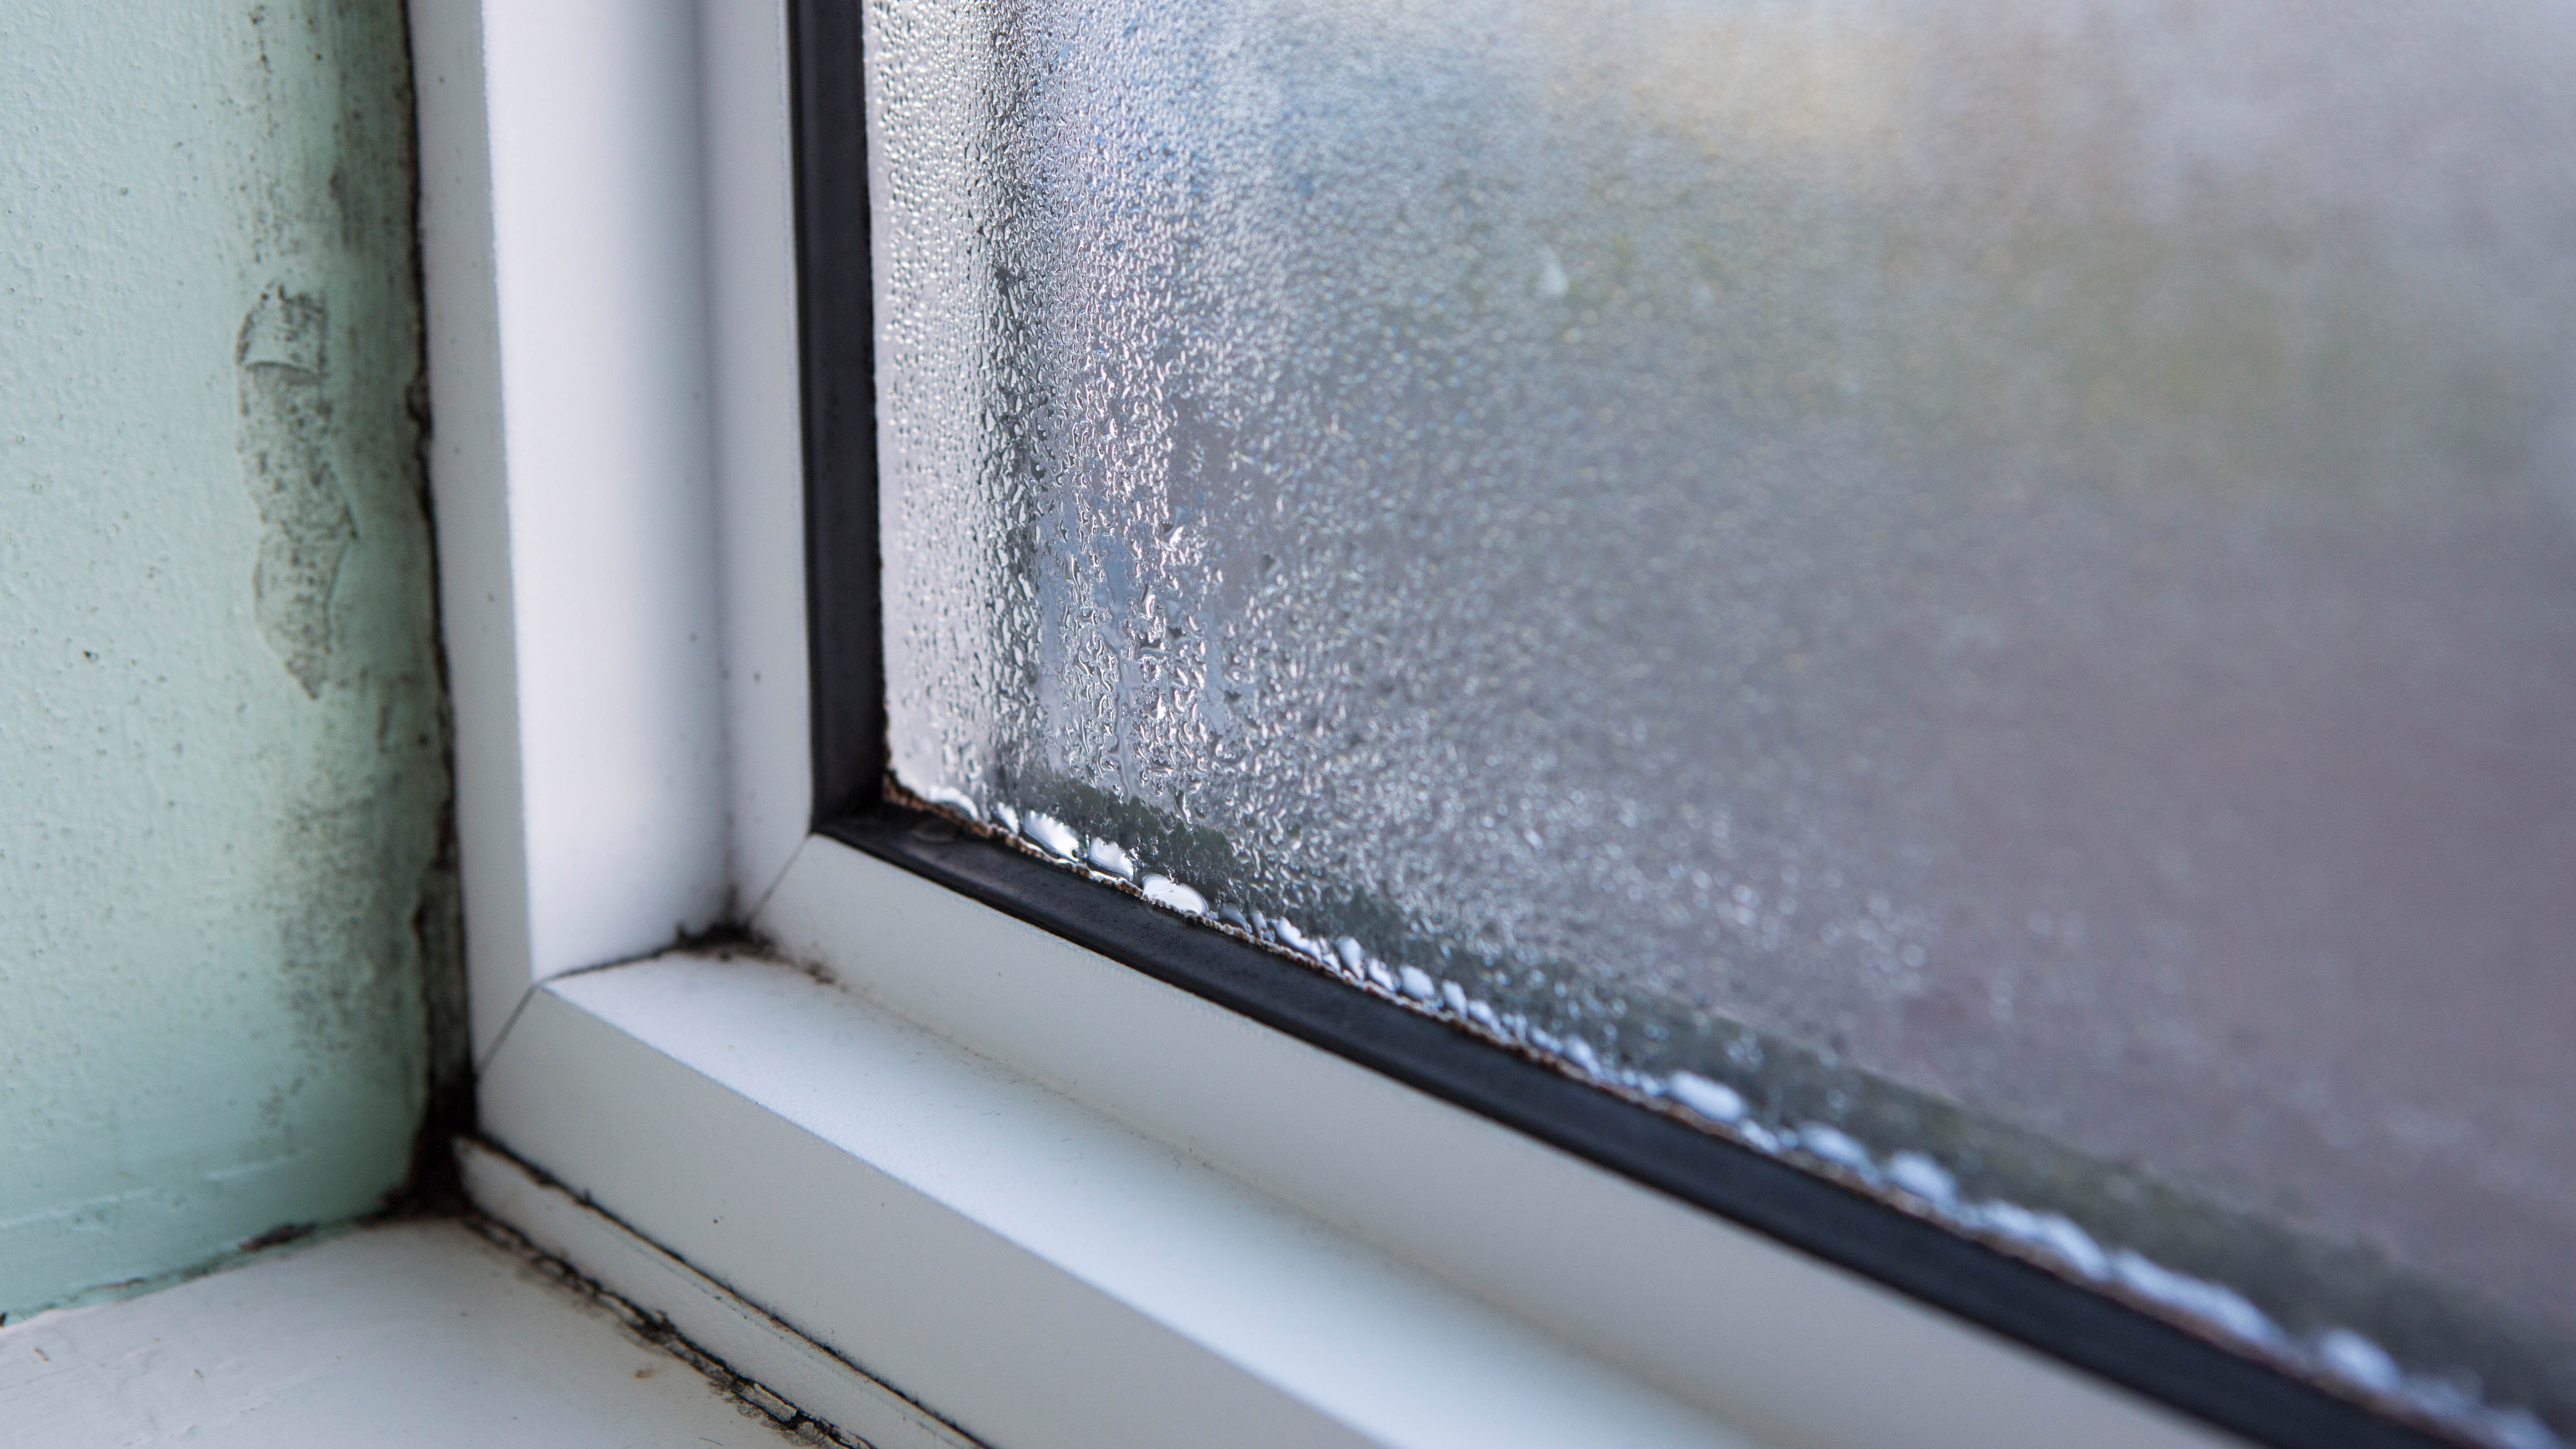
Identifying these drafts is the first step. Homeowners can act as detectives, searching for leaks around exterior door edges, window sashes, where trim meets walls, utility cutouts, attic hatches, and even electrical outlets on outside walls. Simple tests can confirm drafts: the dollar bill test involves closing a door or window on a bill, and if it slides out easily, the seal is compromised. An incense stick held near suspicious areas will show dancing or drawn-in smoke if a leak is present. Another method involves using a damp hand or a thin piece of tissue near door frames and window sashes, as they react immediately to air movement. Common trouble spots include the top corners of doors, the meeting rails of double-hung windows, and the hinge side of old doors. For a more comprehensive approach, slightly depressurizing the home by running bath fans, a range hood, and a vented dryer, then holding toilet paper or a hand near potential leak points, can reveal drafts. However, caution is advised with natural-draft gas appliances, as this method could backdraft exhaust gases; in such cases, a professional home performance expert should be consulted. Cobwebs, where spiders build, can also indicate areas of consistent air movement.
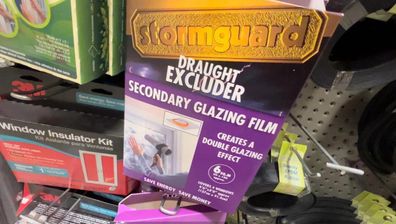
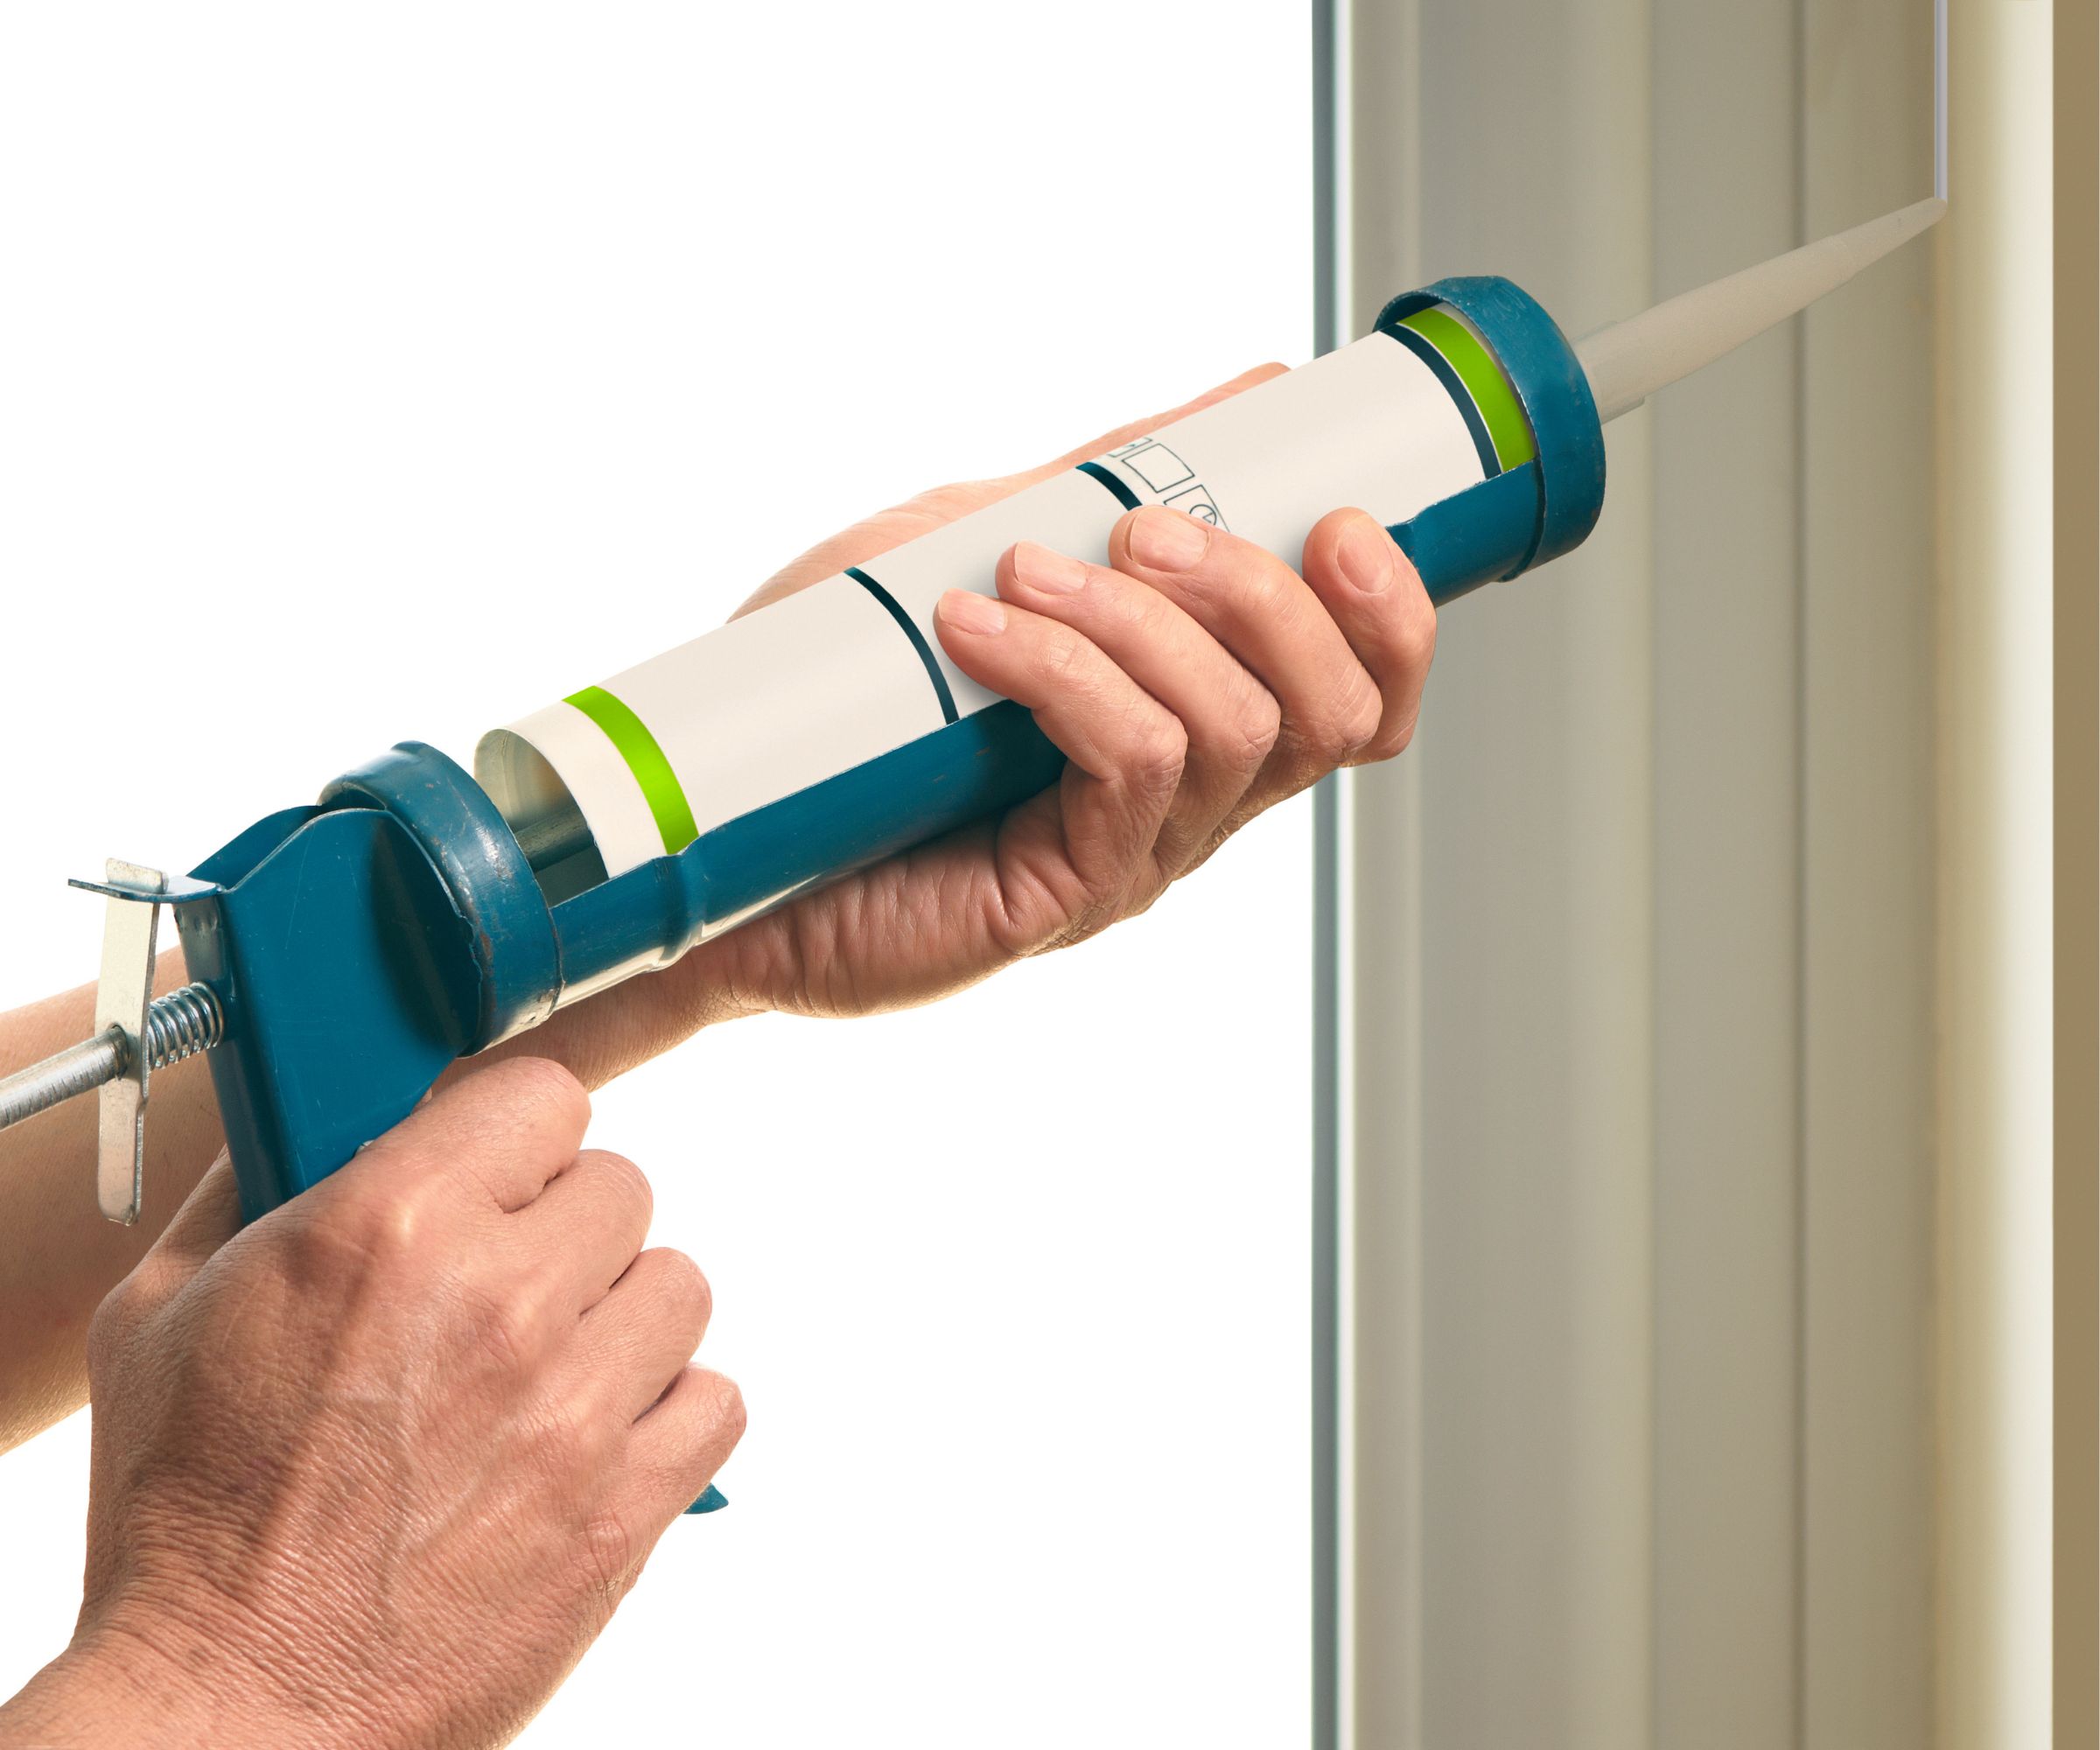
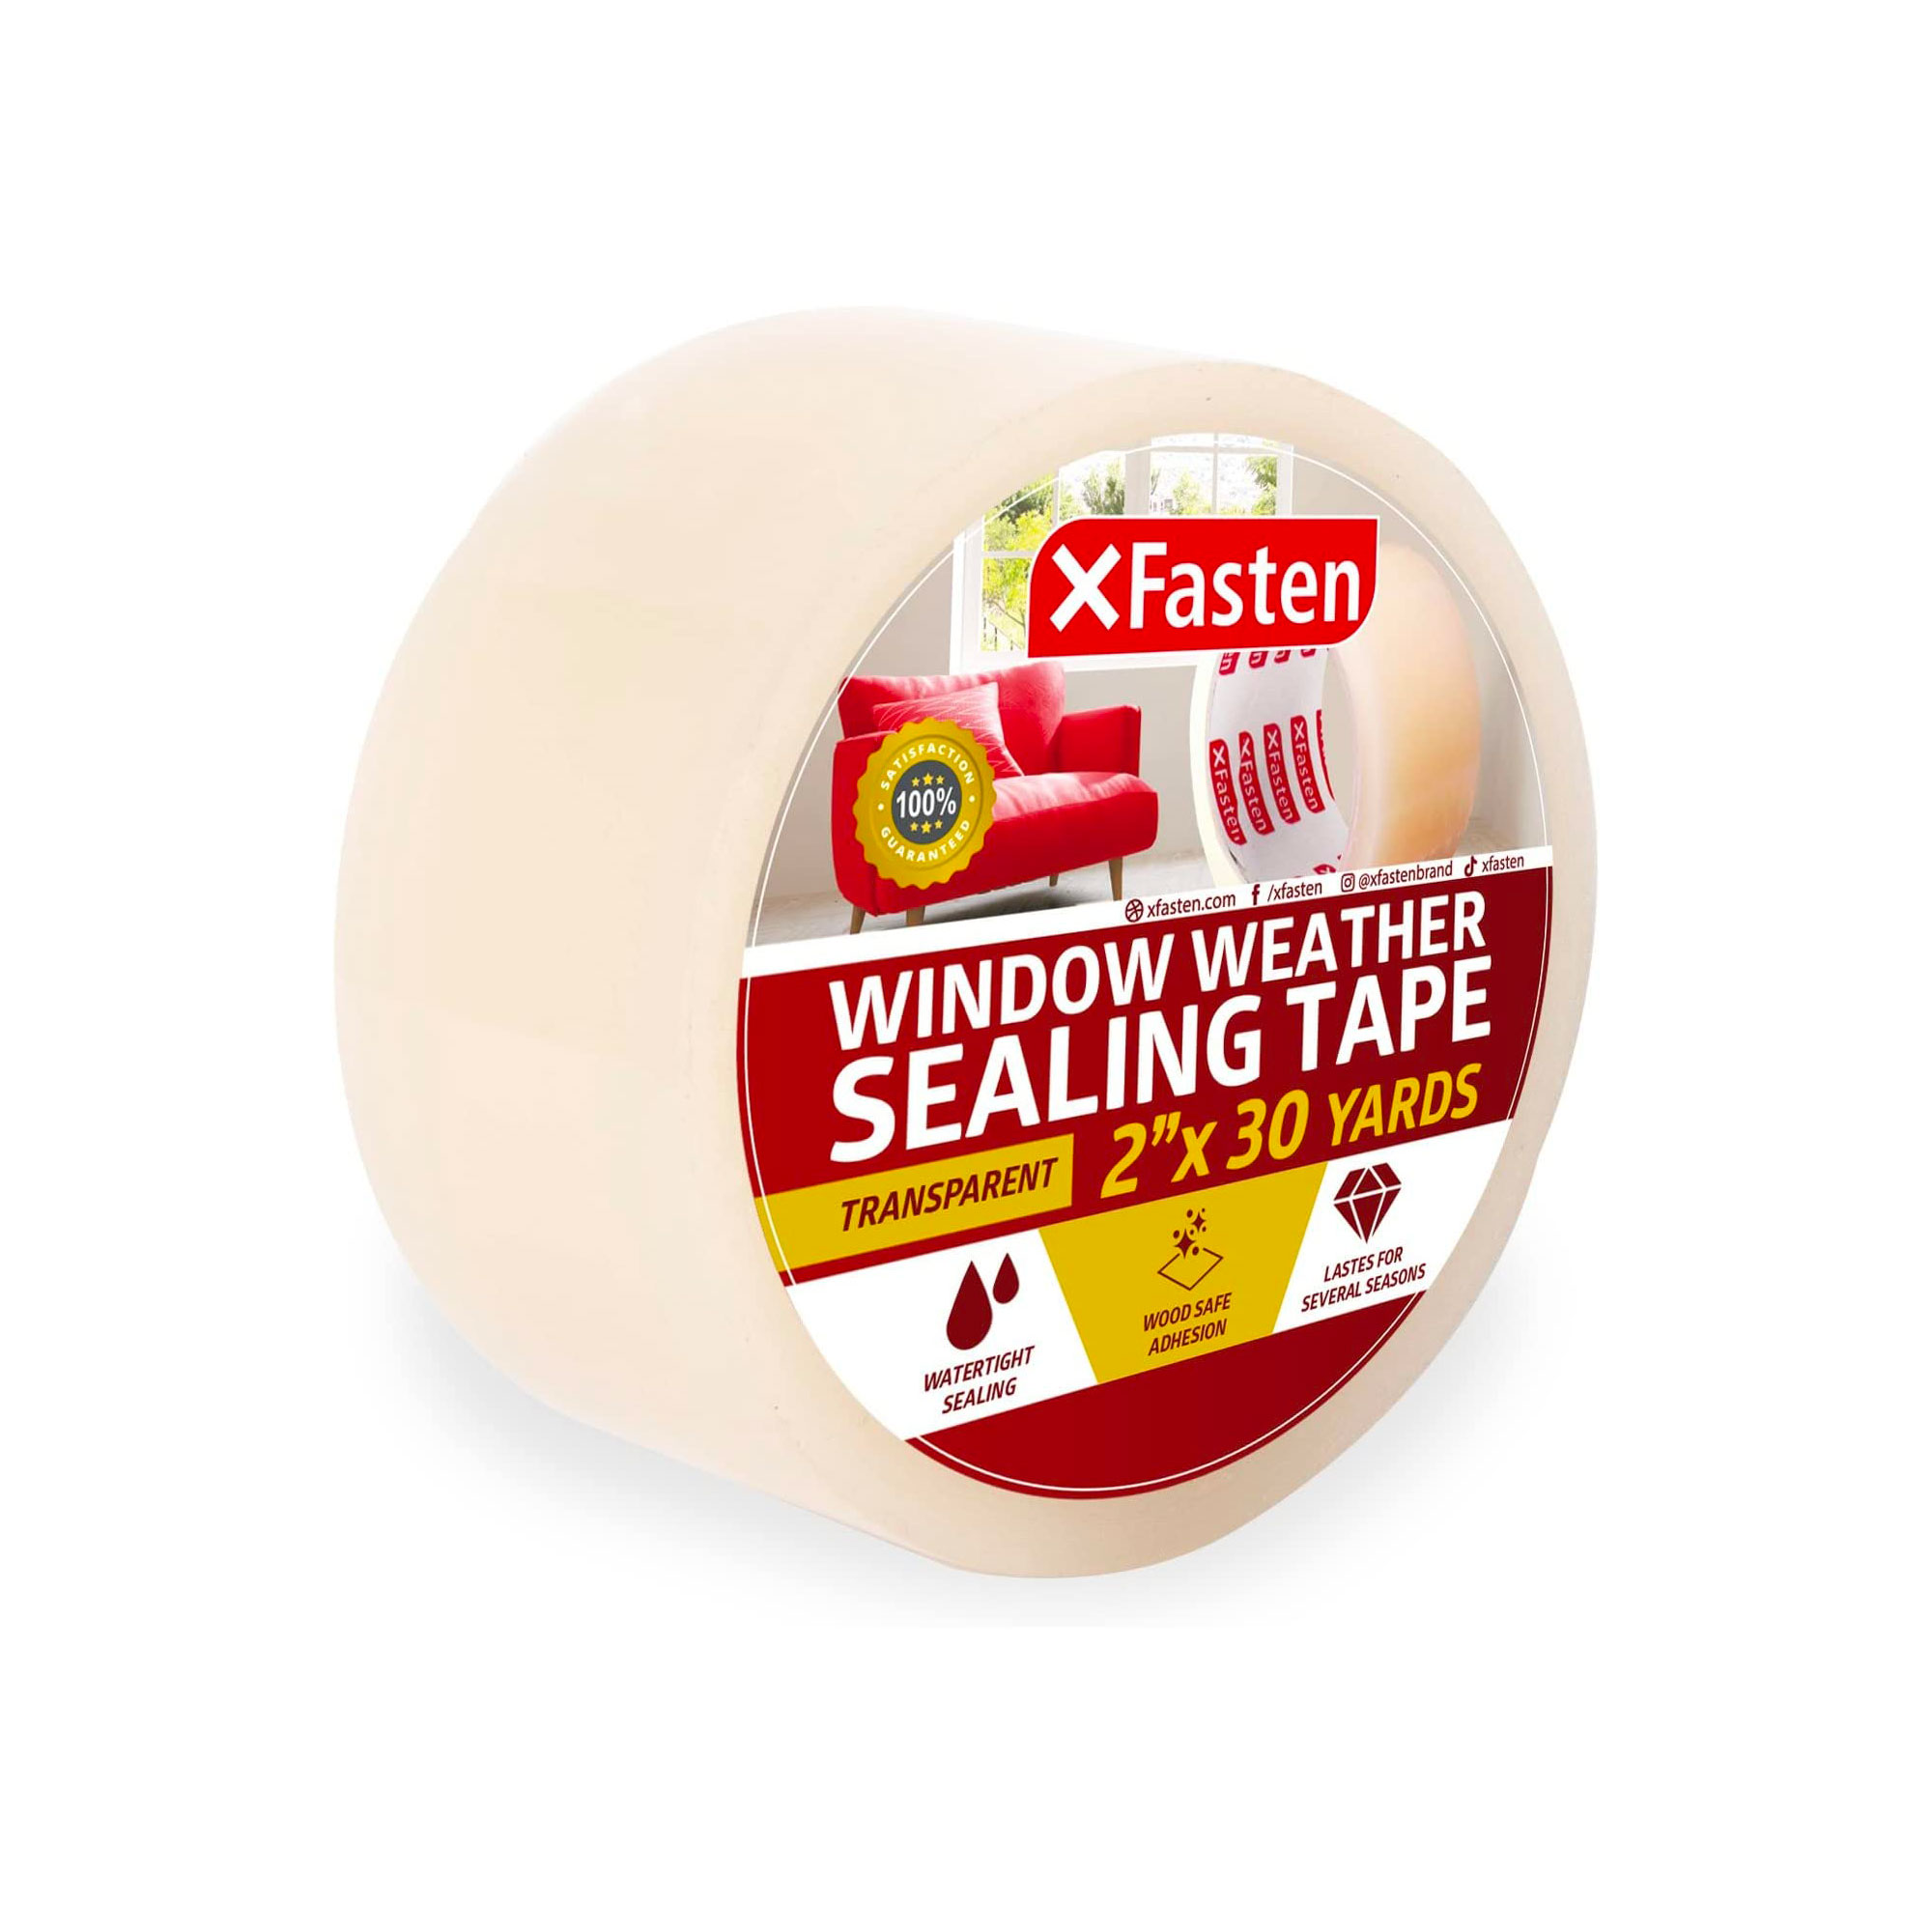
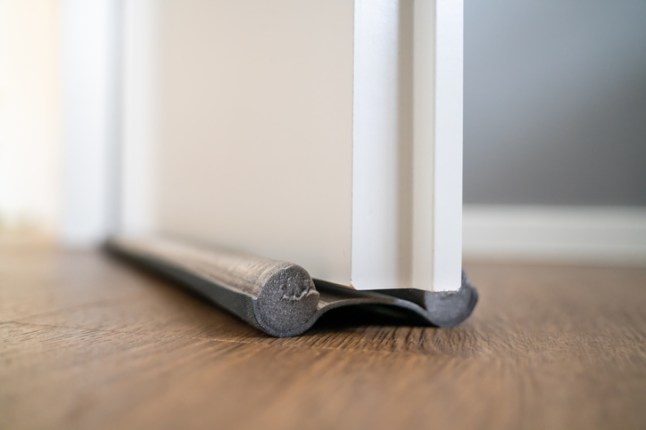
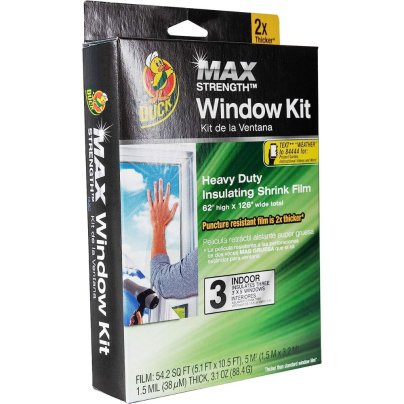
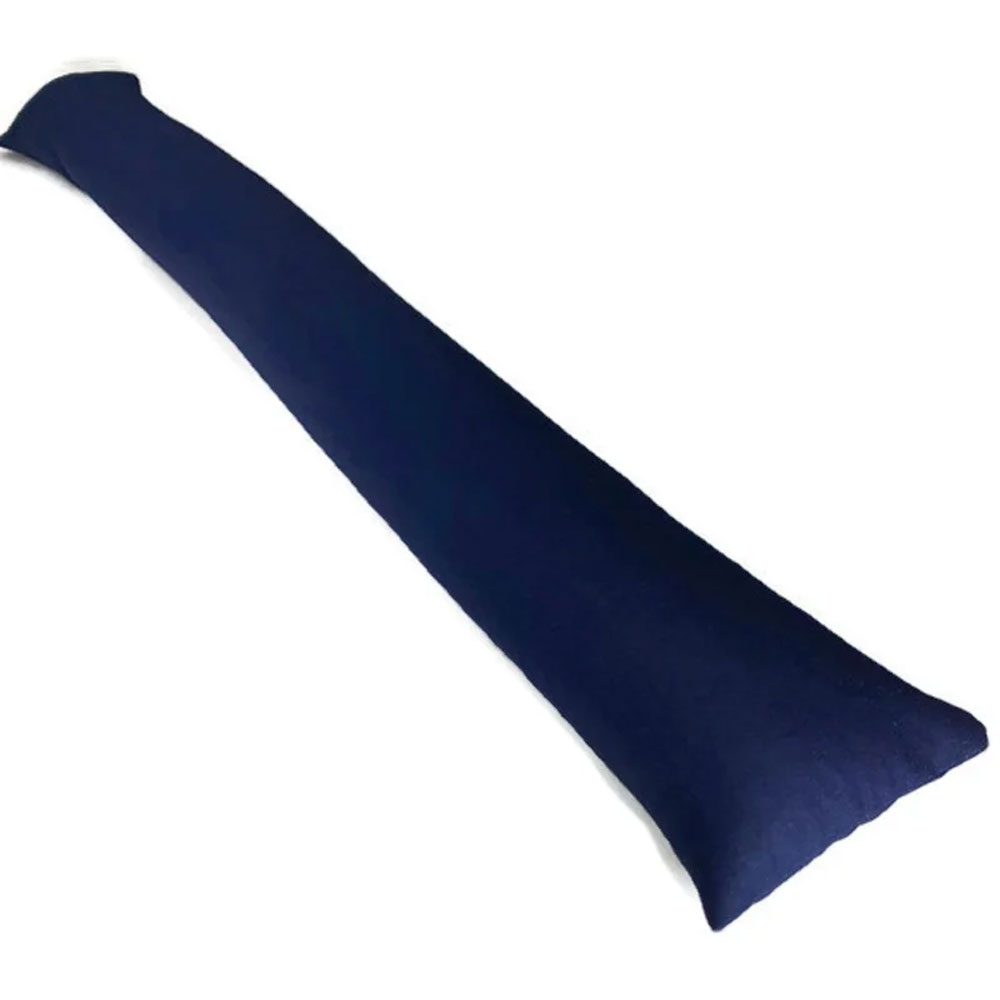
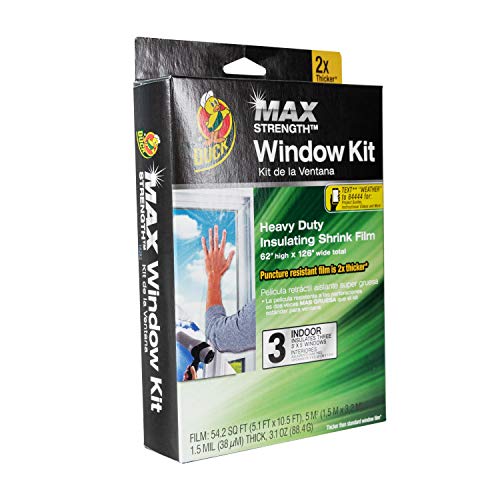
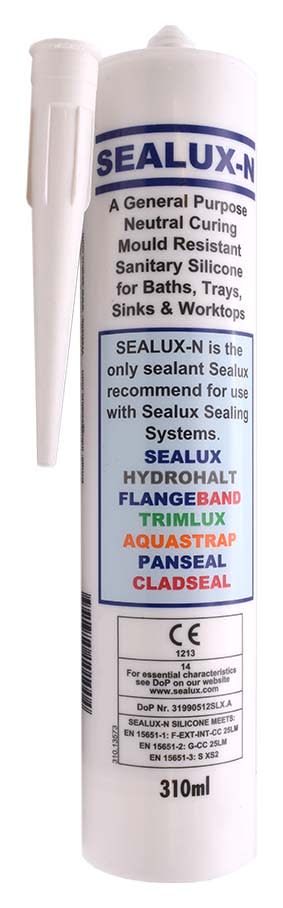
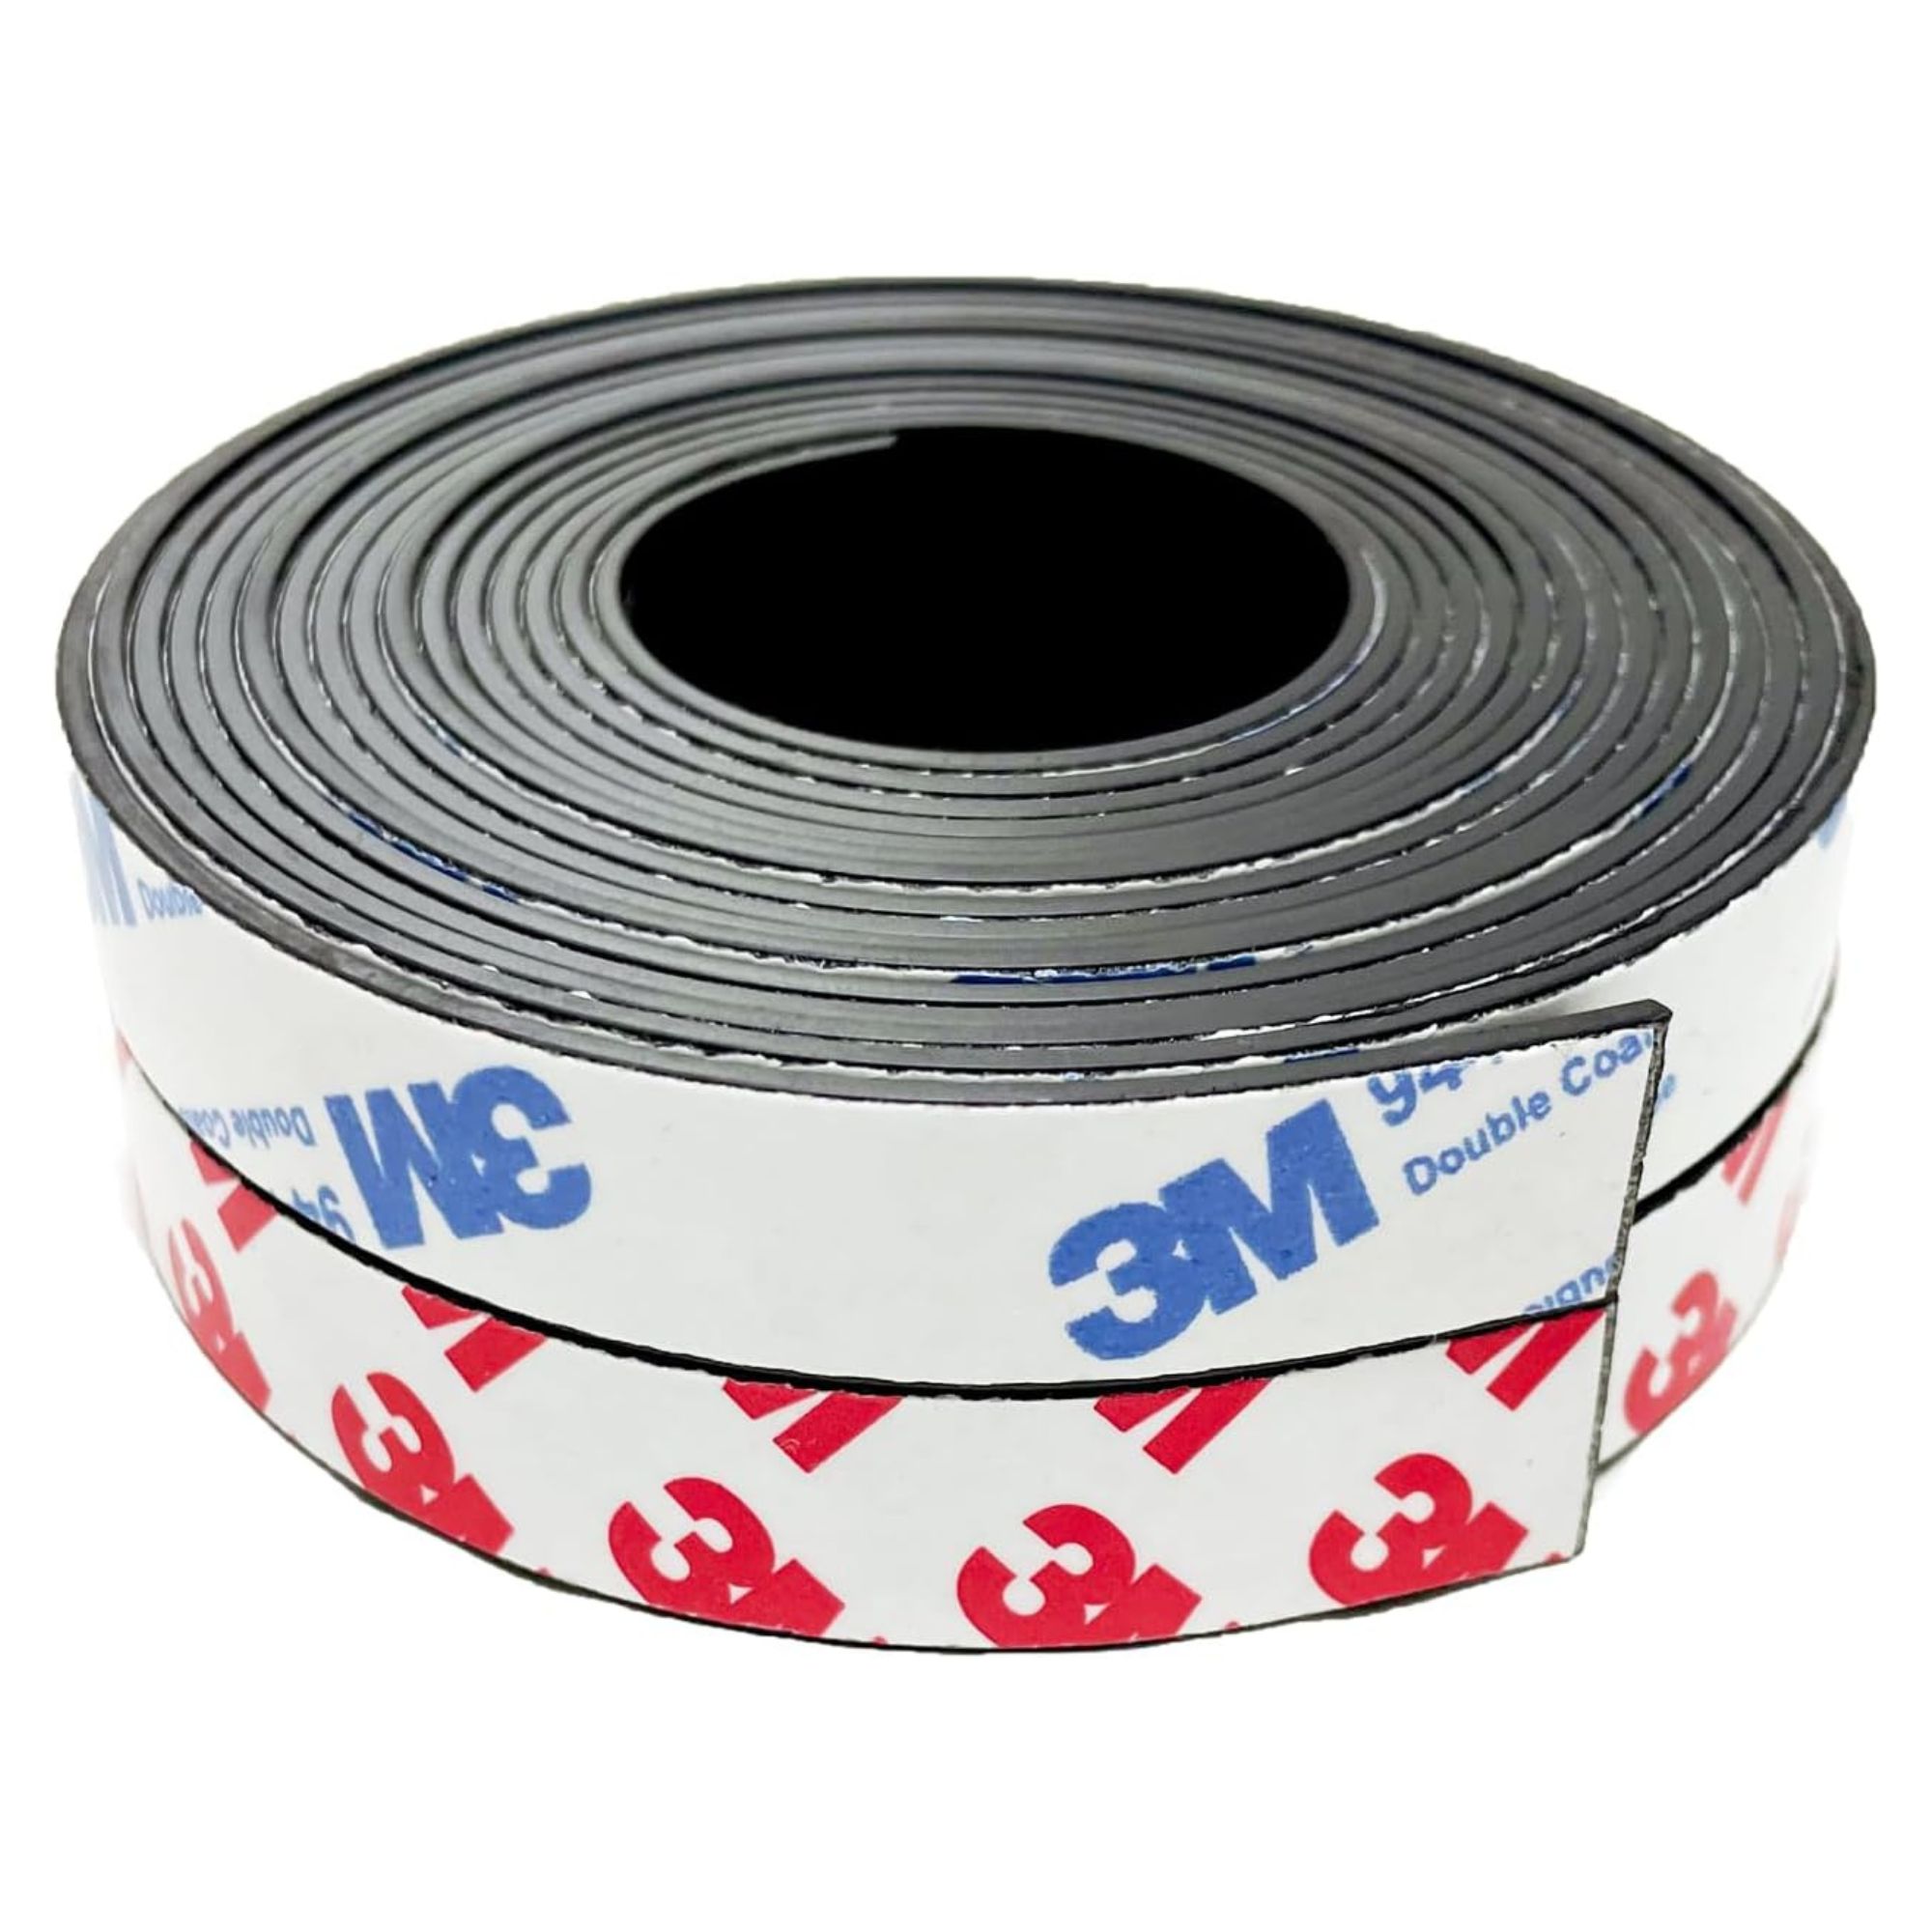
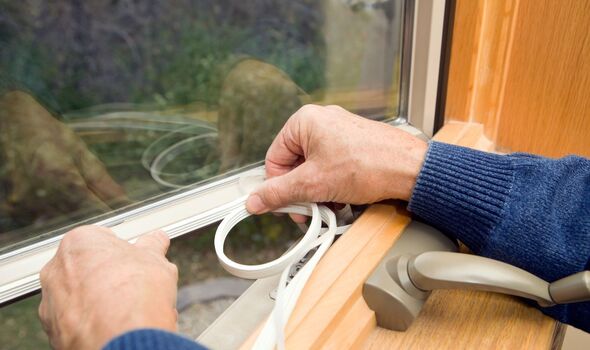
Once drafts are located, the next step is to seal them effectively using weatherstripping for moving parts and caulk for stationary areas. Weatherstripping is ideal for door jambs, window sashes, and attic hatches. Options include adhesive-backed foam or rubber weatherstrip for tight gaps, V-strips for larger, uneven gaps, and door sweeps for the bottom of doors. Installation involves cleaning and drying surfaces, removing old weatherstripping, and testing a small piece for optimal thickness—it should provide enough friction for a snug seal without preventing closure or tearing. Door sweeps should be positioned to gently brush the threshold. Caulking is suitable for stationary joints, such as where trim meets walls, around windows and doors, and to fill small gaps. Paintable acrylic latex caulk is recommended for indoor trim, while 100% silicone or exterior window and door sealant is best for outdoor applications, ensuring flexibility in varying weather. For gaps wider than a quarter inch, a foam backer rod should be inserted first to provide a solid base for the caulk. Application requires removing old caulk, cleaning the joint, and ensuring it is dry, then applying a thin, smooth bead and finishing with a damp finger or caulk tool. Caulking should be avoided in cold, dirty, or damp conditions to ensure a lasting seal.
Avoiding common mistakes is crucial for successful draft sealing. Using weatherstrip of the wrong thickness can lead to continued drafts or difficulty closing doors and windows. Sealing moving joints with caulk can cause cracks and sticky spots over time. Blocking window weep holes, which are designed to allow water to escape, can trap moisture. A door sweep set too high will not effectively block drafts, while one set too low will scrape the floor and wear out quickly. Homeowners should also be aware of potential hazards: if signs of lead paint are present, if moisture is found around windows or doors, or if a gas appliance could backdraft fumes into the home after sealing, professional advice should be sought. By dedicating just $10 and a weekend hour, homeowners can address the most significant heat leaks, leading to faster room warming, reduced furnace usage, and lower energy bills.
#HeatingCosts #EnergyEfficiency #HomeMaintenance #DIYHomeImprovement #DraftSealing #Weatherstripping #Caulking #HomeInsulation #HeatingCosts #EnergyEfficiency #HomeMaintenance #DIYHomeImprovement #DraftSealing #Weatherstripping #Caulking #HomeInsulation
0 comment in total
 No comments yet
You may also like

How to Seal Your Drafty Windows for Less Than $50

8 budget fixes for drafty windows — including a $2.99 beauty product I use every single day

Surprisingly, Our Favorite Window Insulation Isn’t the Thickest


HVAC Pros Say This One Fall Task Can Make Your Home Feel So Much Warmer (and It's So Easy!)

This $8 hack to keep the cold out works almost as well as double glazing

9 cheap ways to heat your home this winter for under £10 each


Save Water & Money – Fix a Leak Week & FREE Water Conservation Kits

Fed Up with Chilly Nights? HVAC Pros Reveal One Quick and Free Bedroom Tweak to Keep You Warmer Without Raising Bills


Buy One, Get One Free: Increase Your Home’s Energy Efficiency With This Simple Upgrade
Winterize Those Drafty Windows Now (Save Money on Heating Bills Later)
How to draught proof a window - easy ways to keep heat inside your home this winter

Door & Window Sealants


How to Seal Drafty Windows (and Instantly Lower Your Heating Bill)


5 ways to draft-proof a bathroom – expert tips that you can do yourself

Stop Bedroom Damp with This 84-Cent Natural Home Fix

Pet Door Drafts? 5 Quick Fixes to Slash Winter Bills

6 places you shouldn't caulk around windows – and expert tips for caulking correctly

The $54 Frost Fix That Stops Drafty Windows – and Looks Great

How to draft proof your kitchen, cook in comfort and reduce your energy bills
Four ‘simple’ DIY methods to draught-proof windows for under £5 - keep the cold air out