1/10
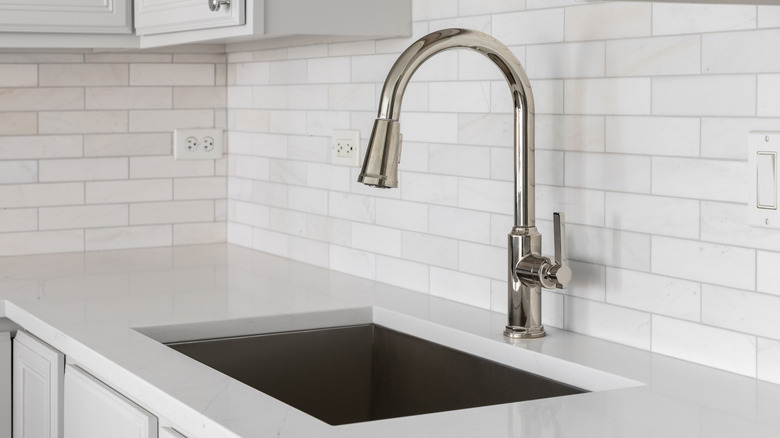
Transform the look of your kitchen with a new backsplash | Produced by Seattle Times Marketing
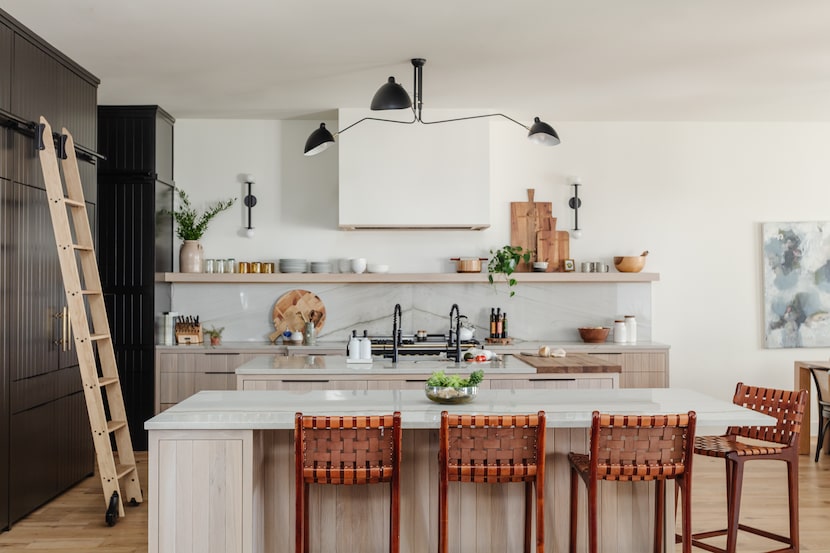
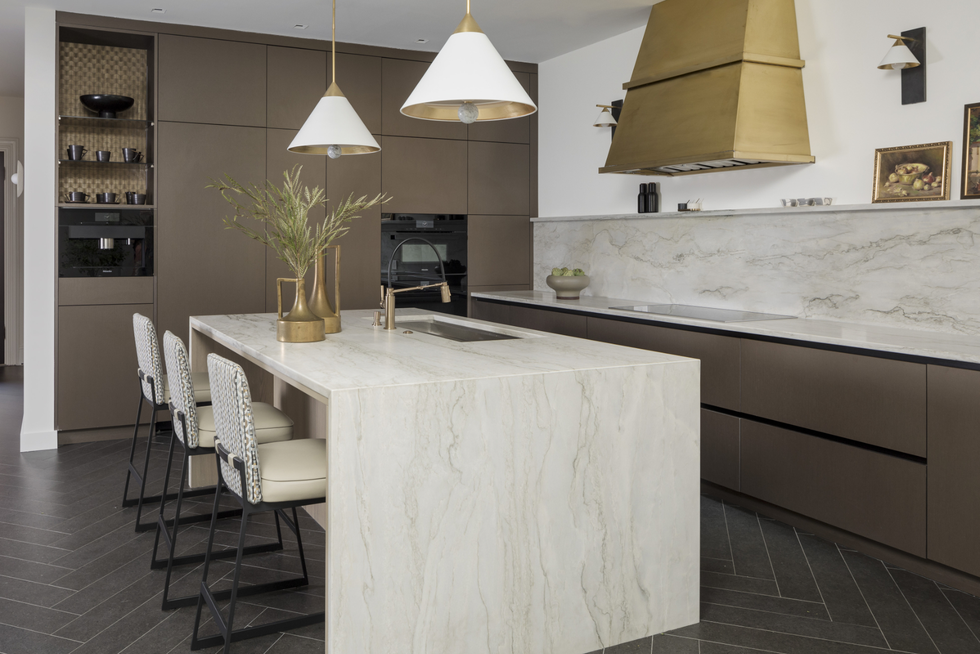
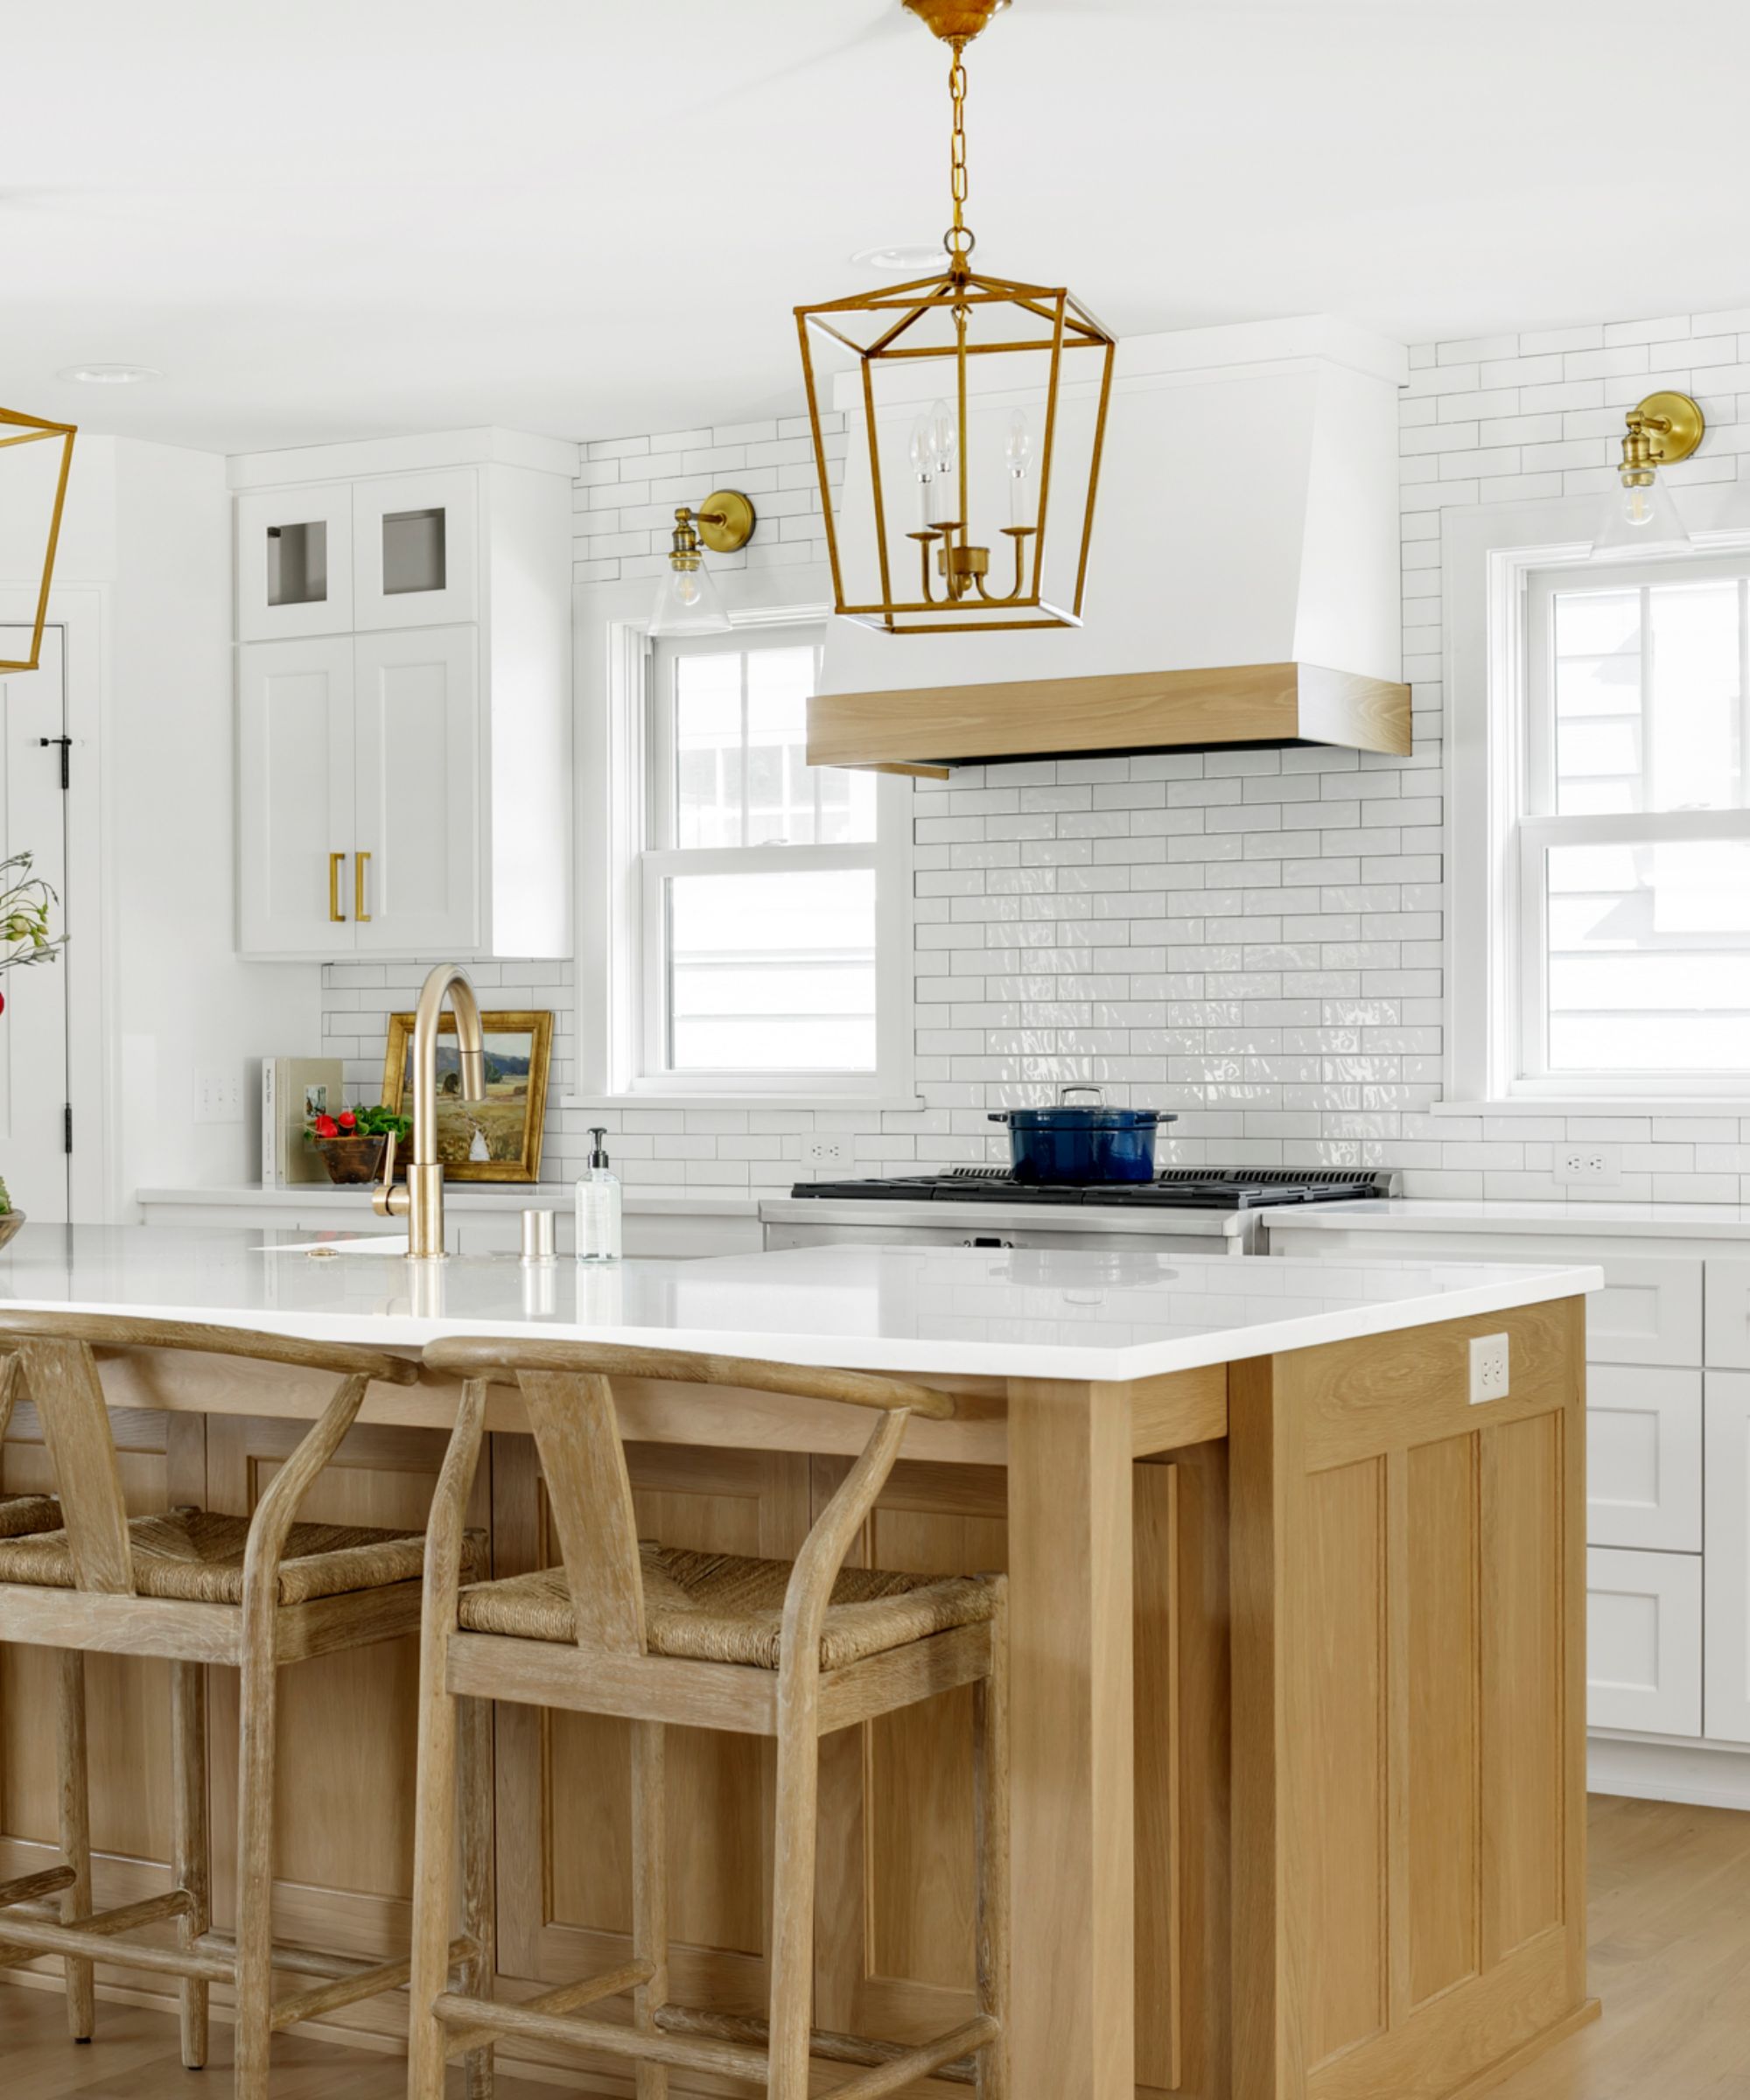
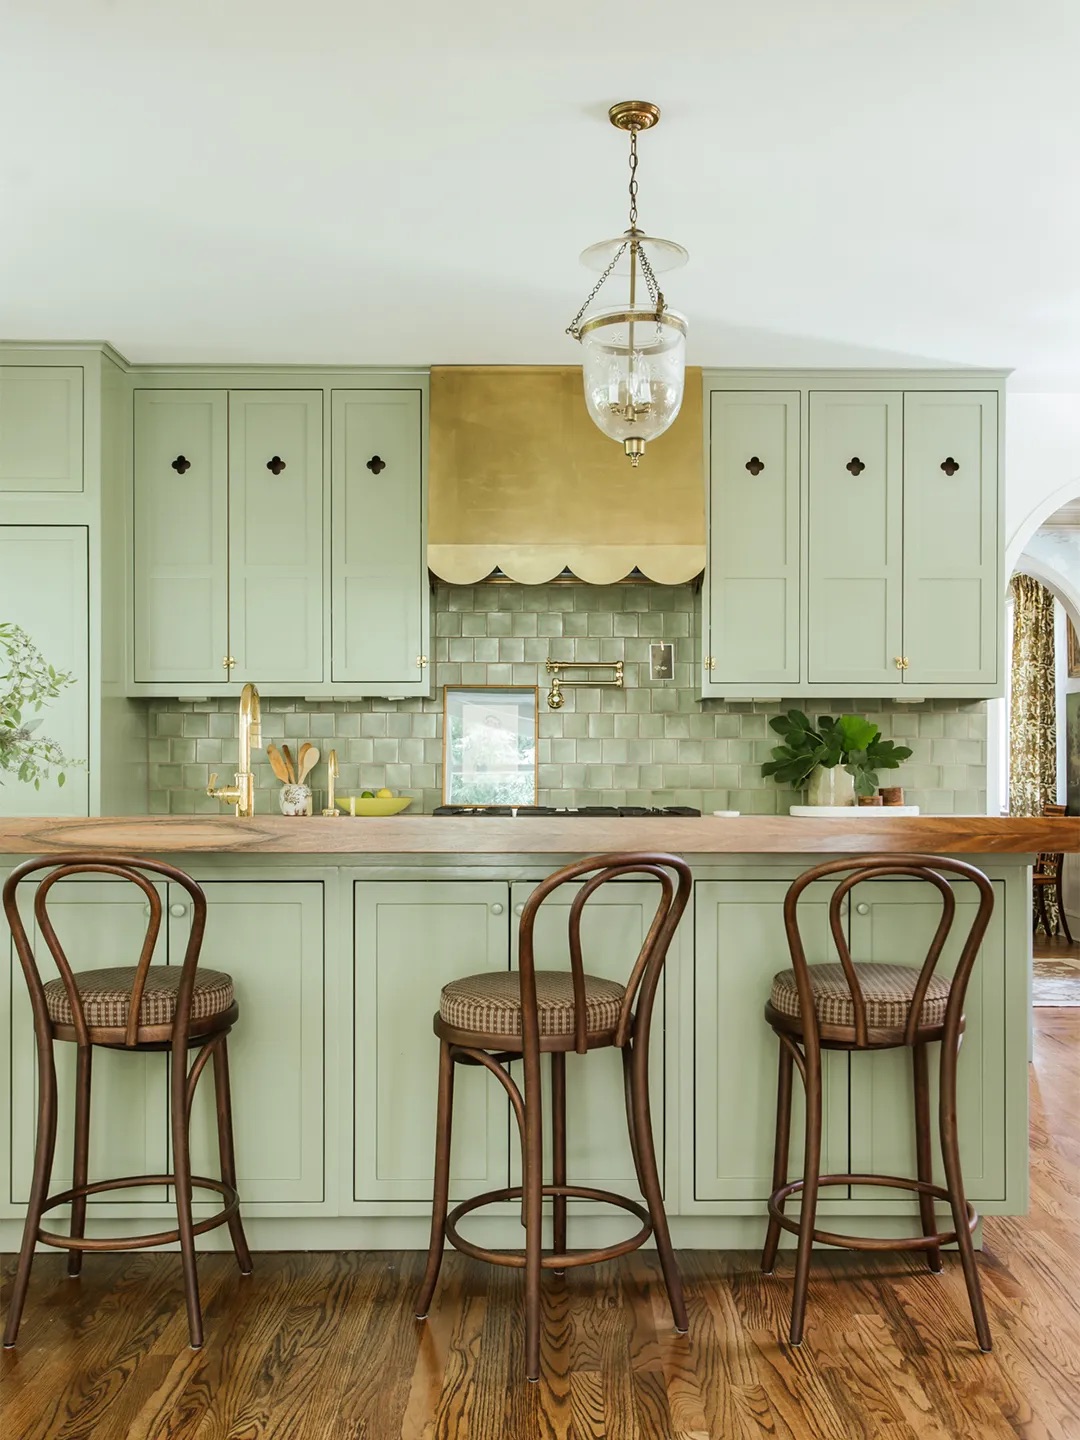
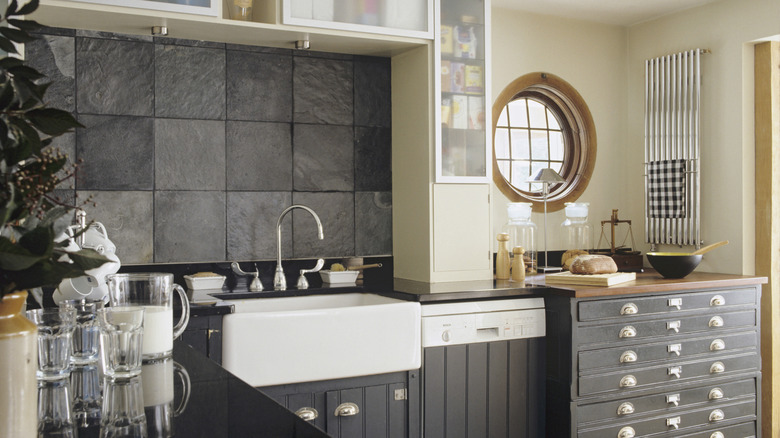
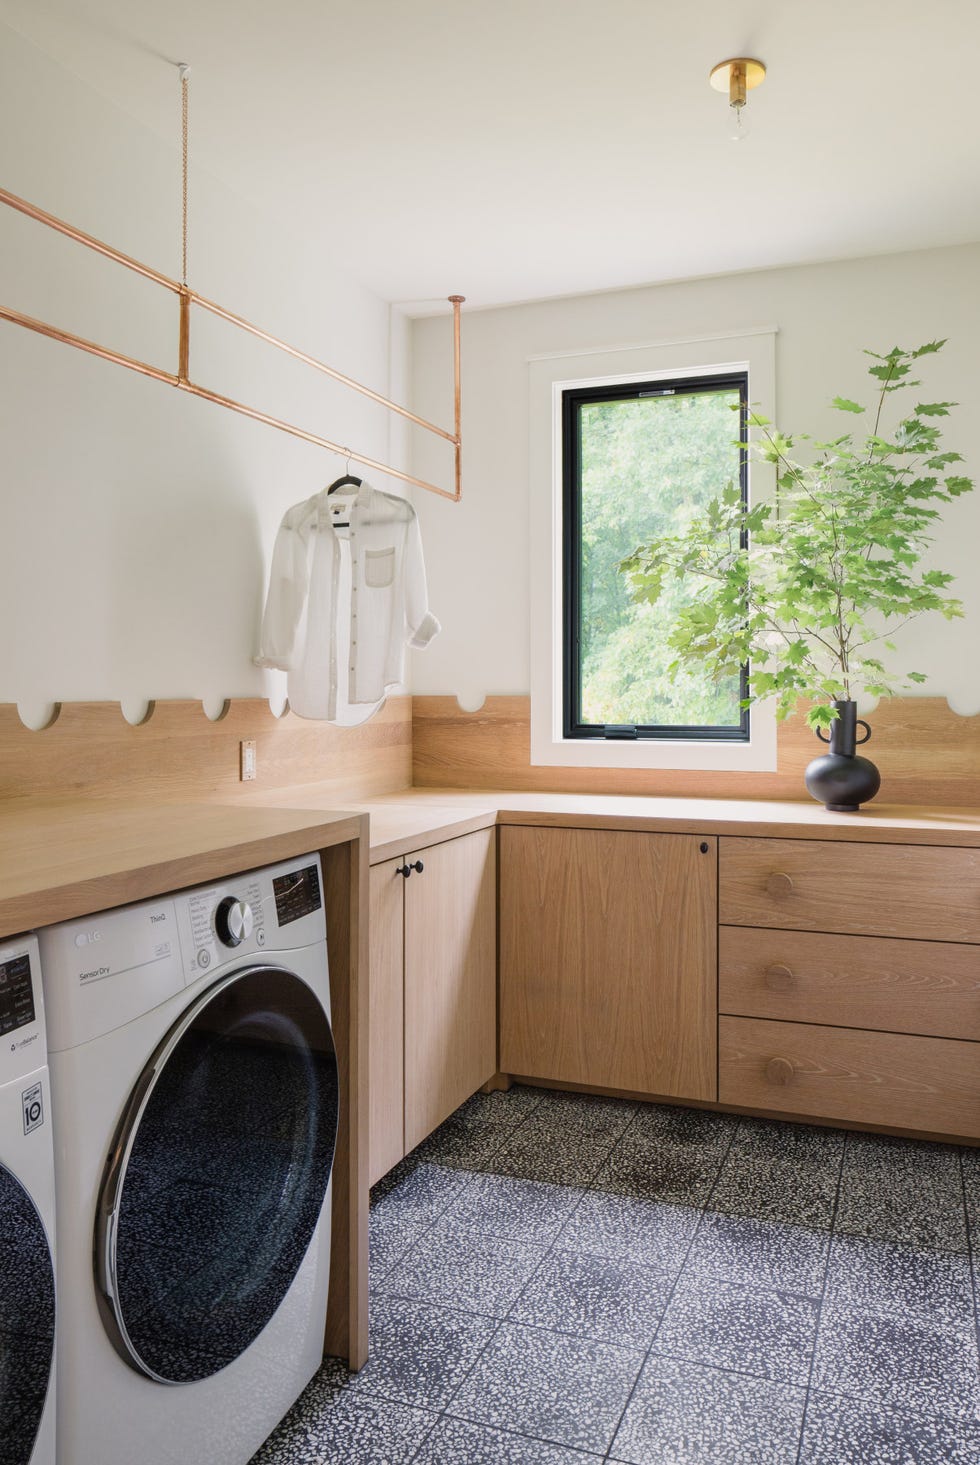
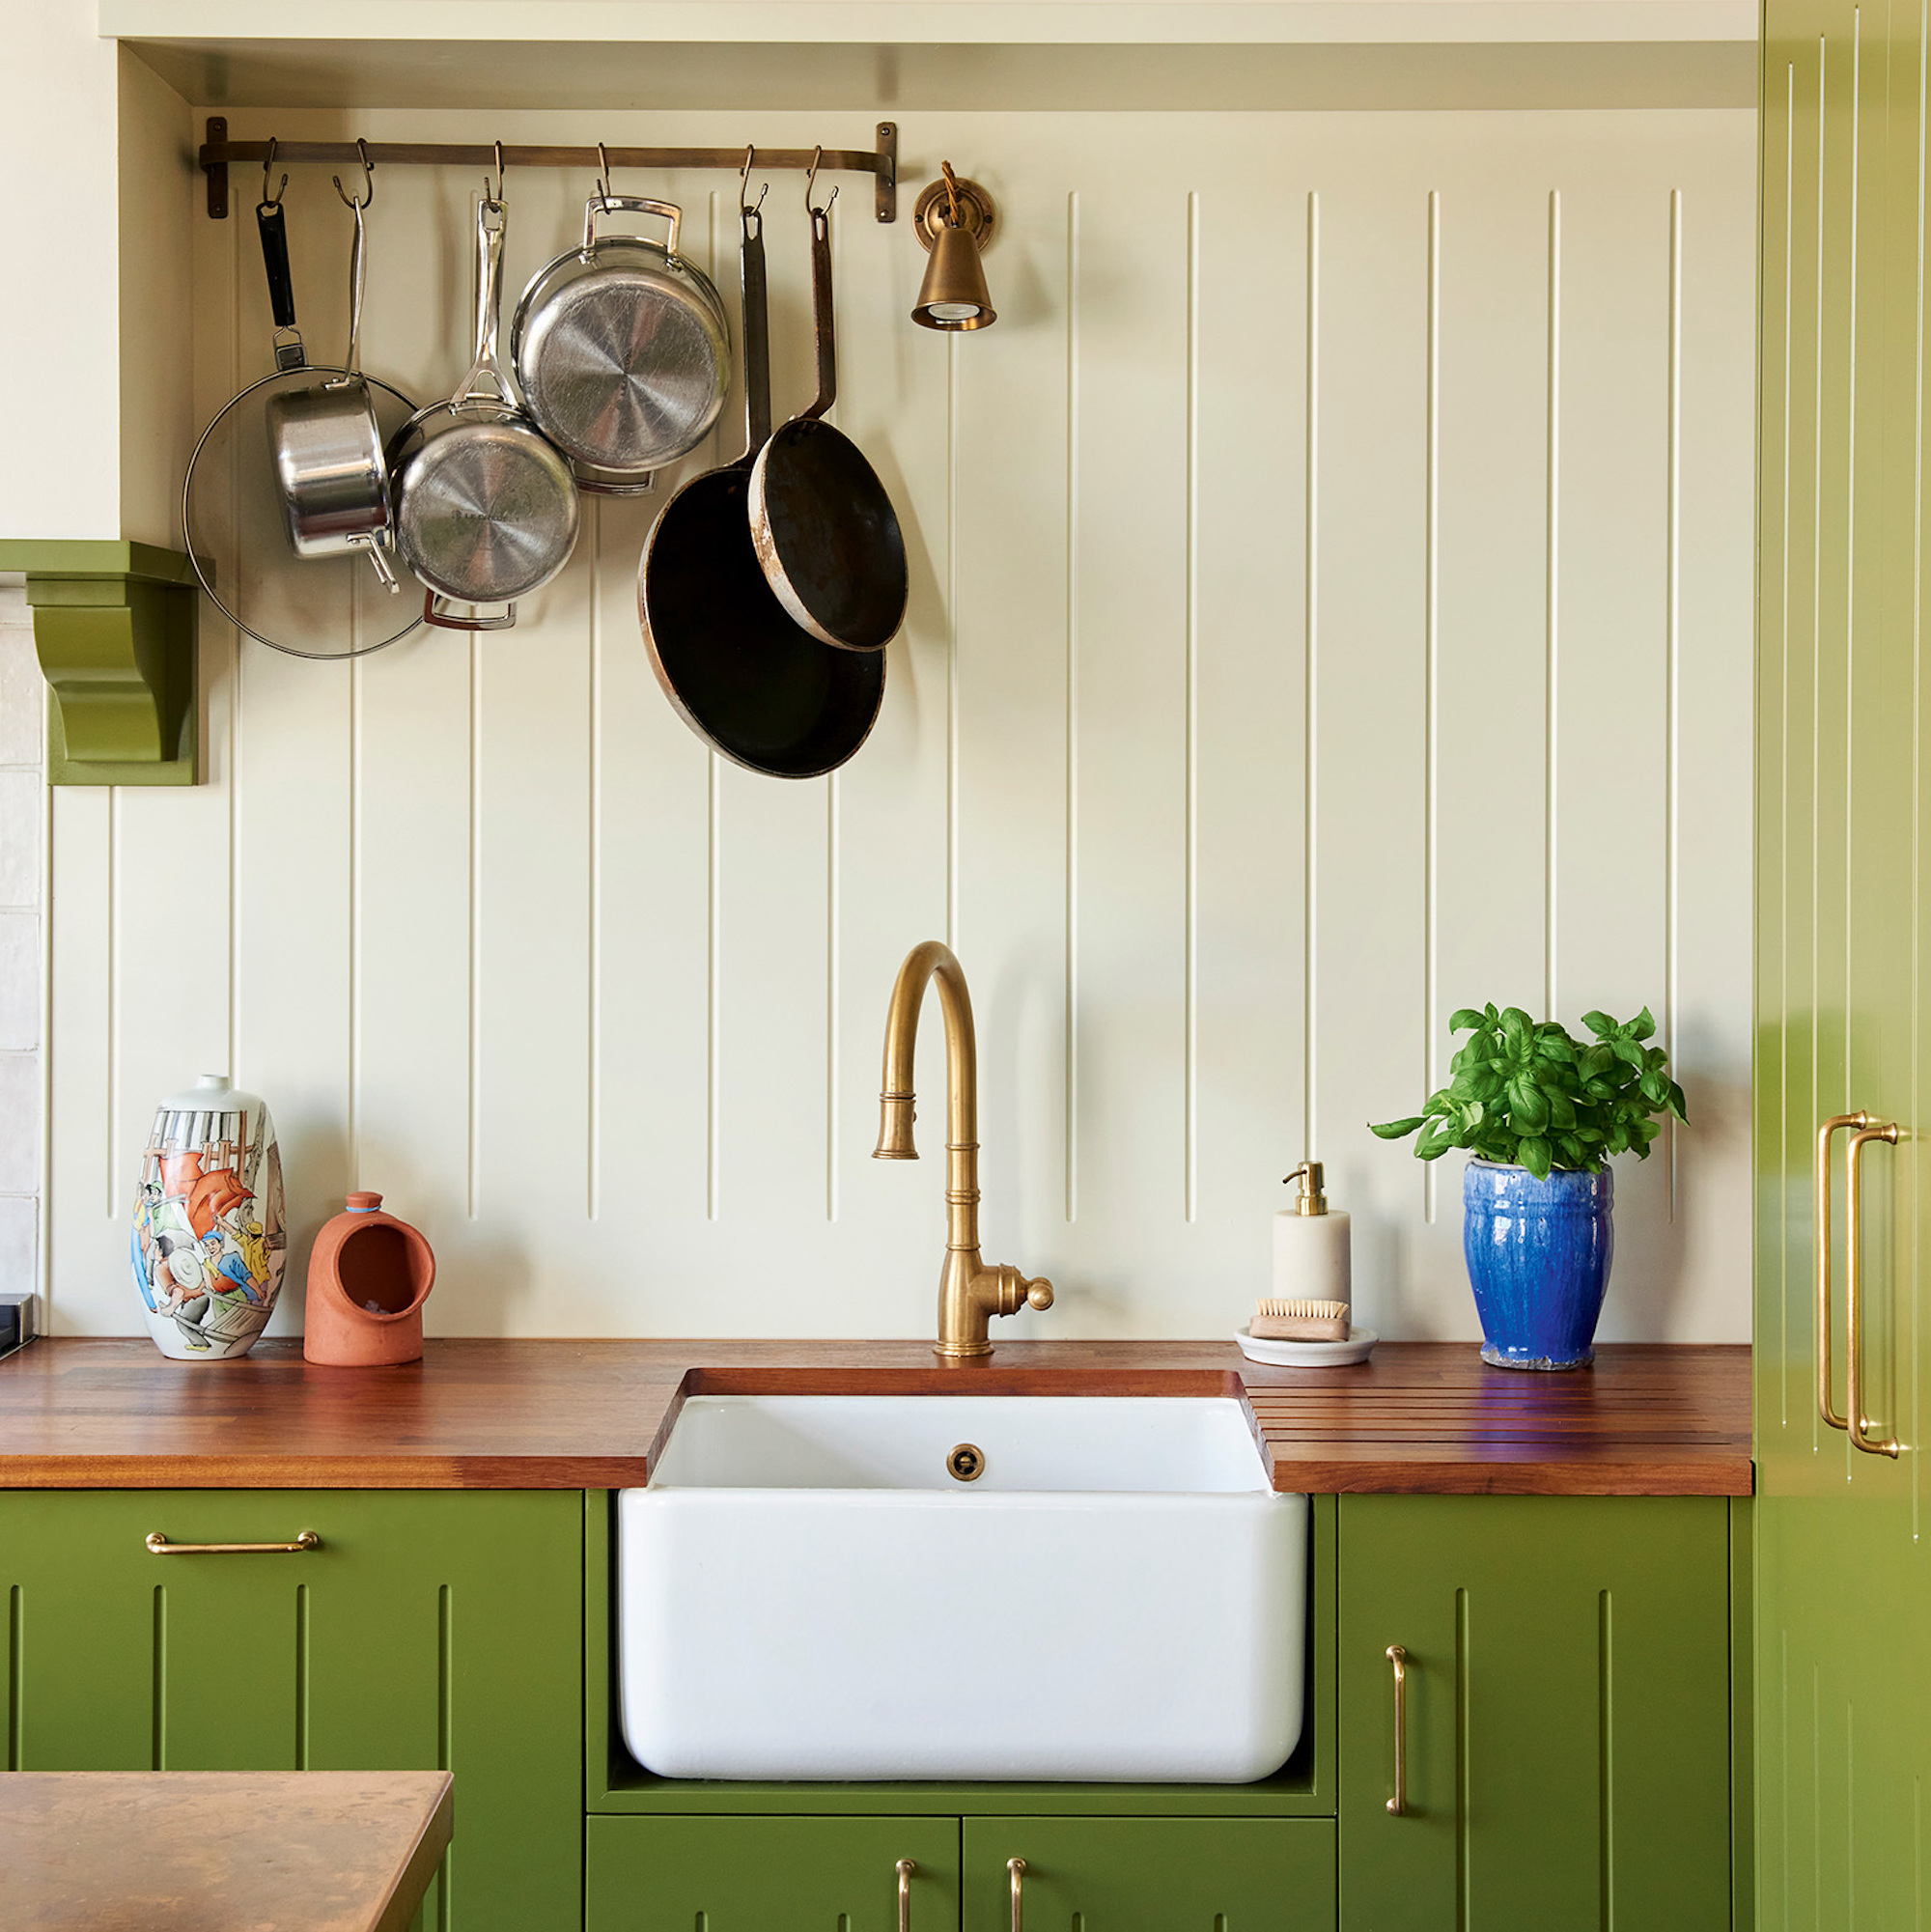
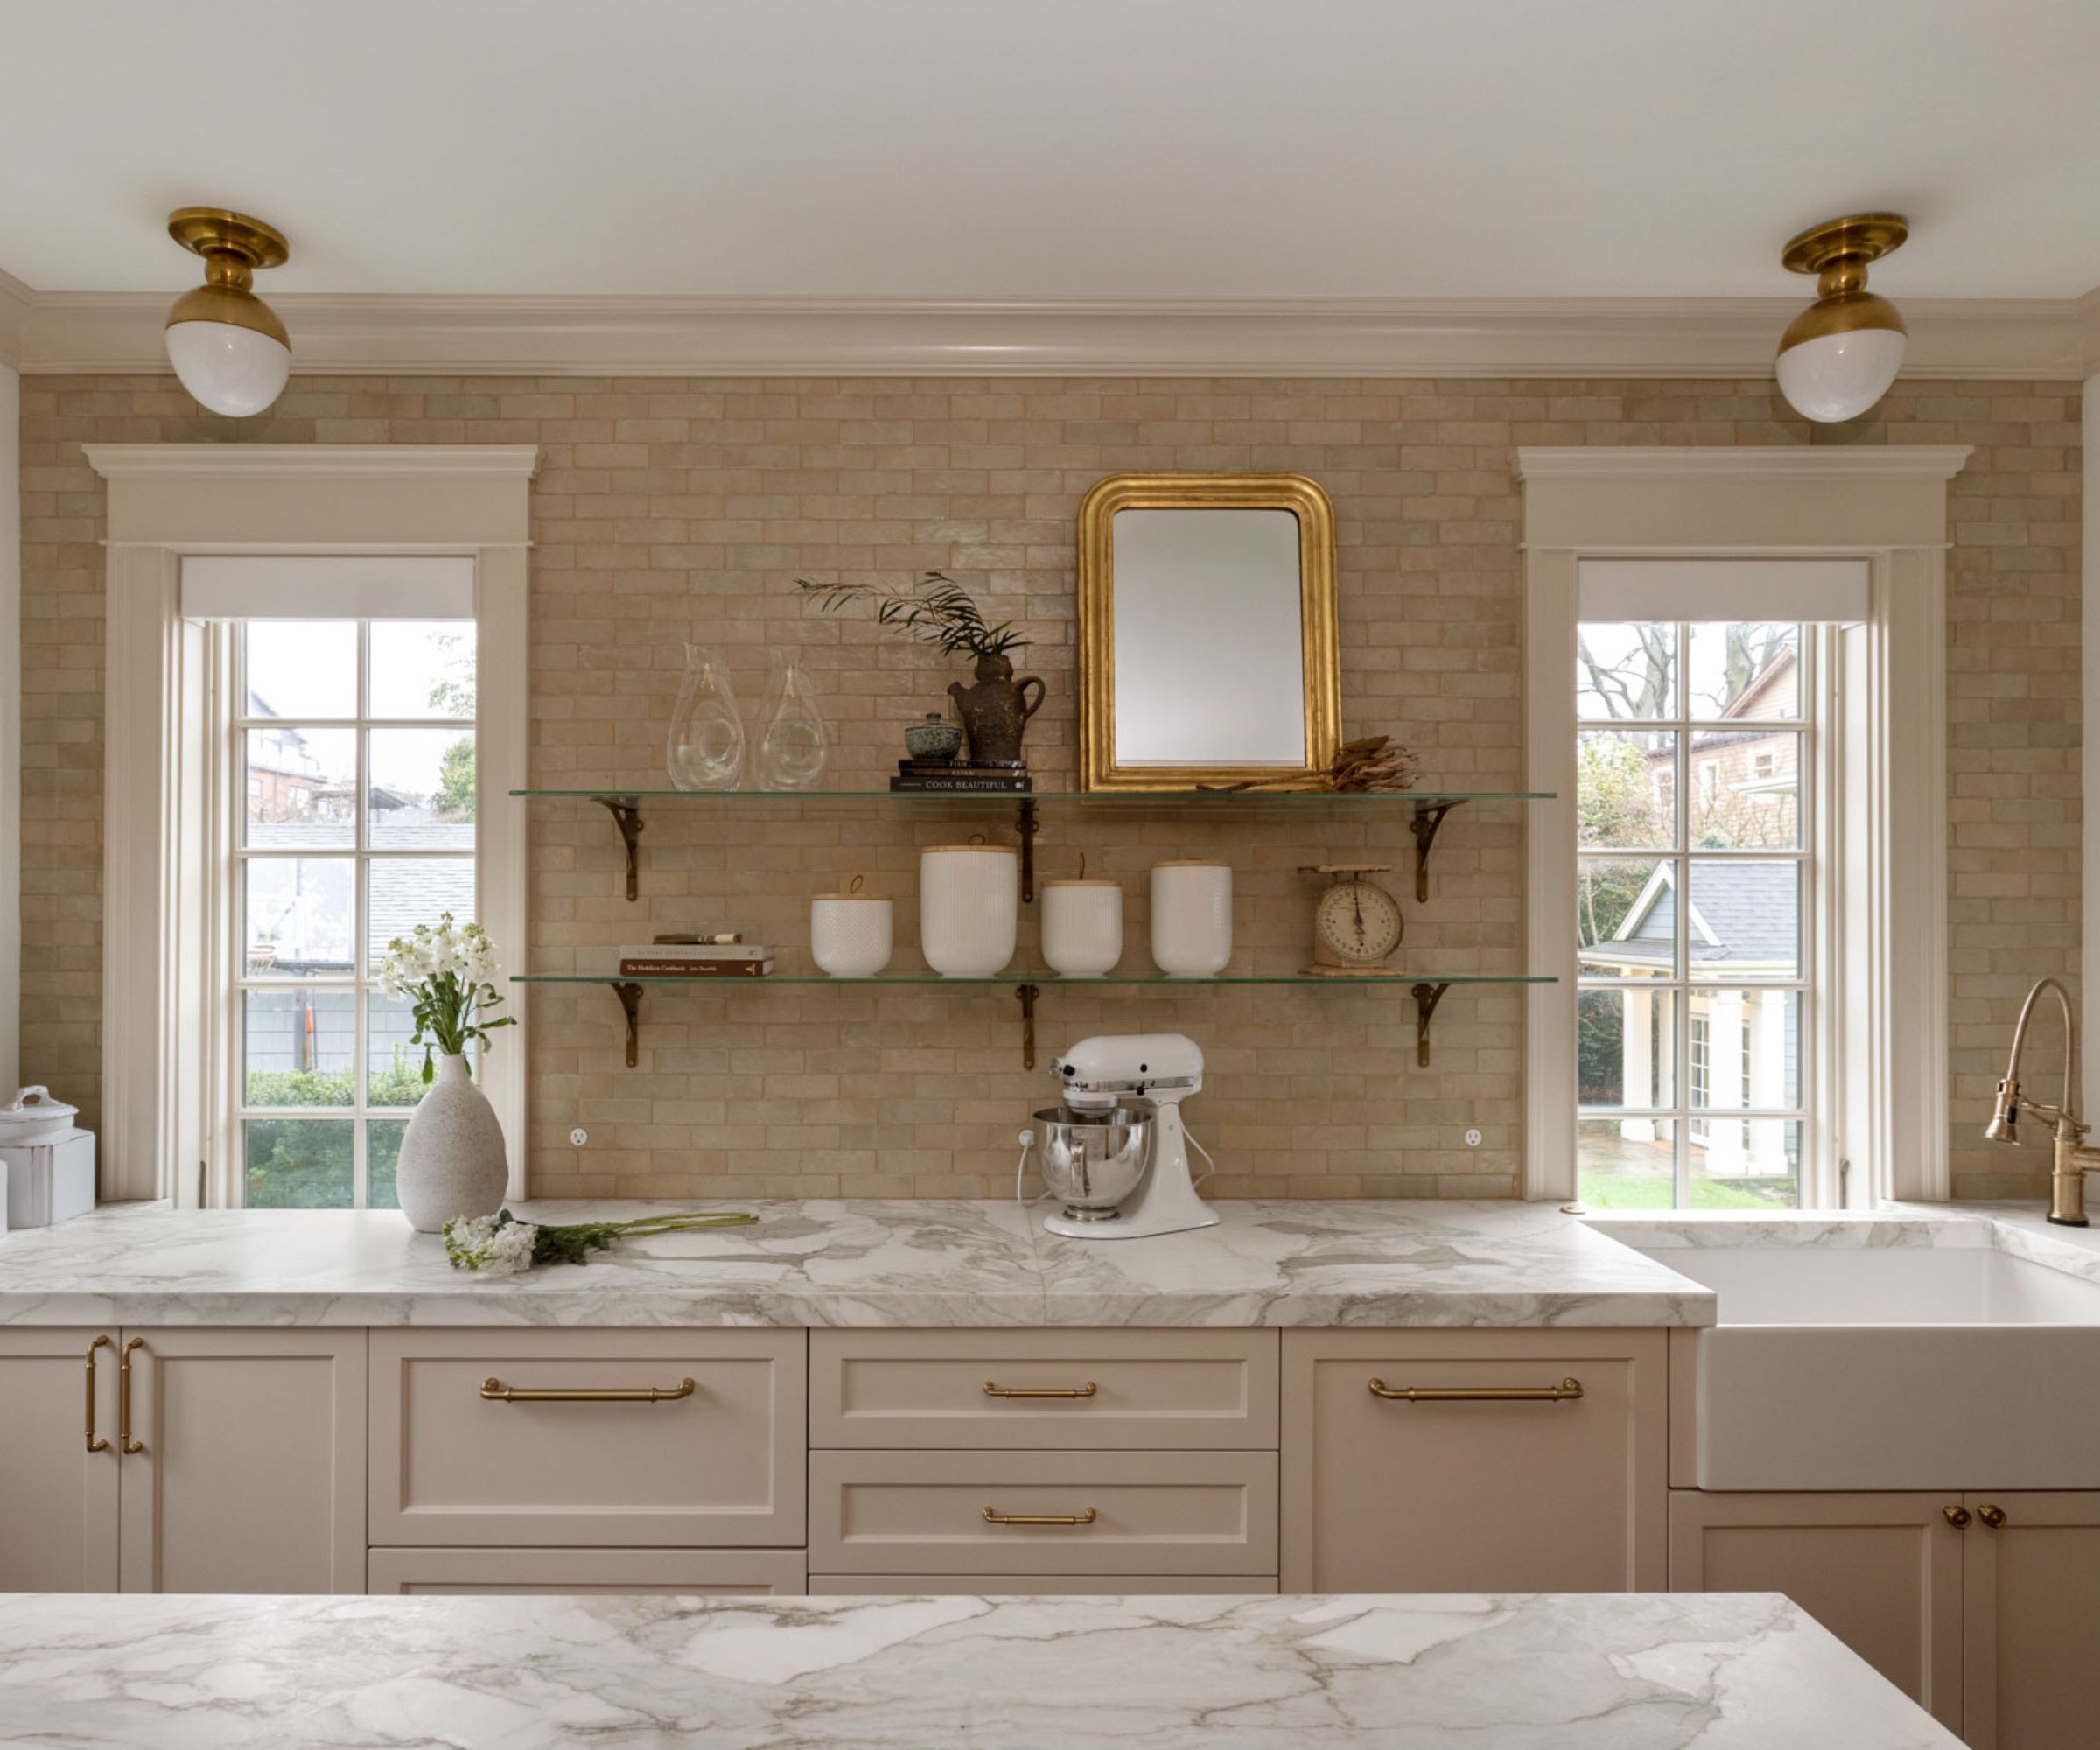
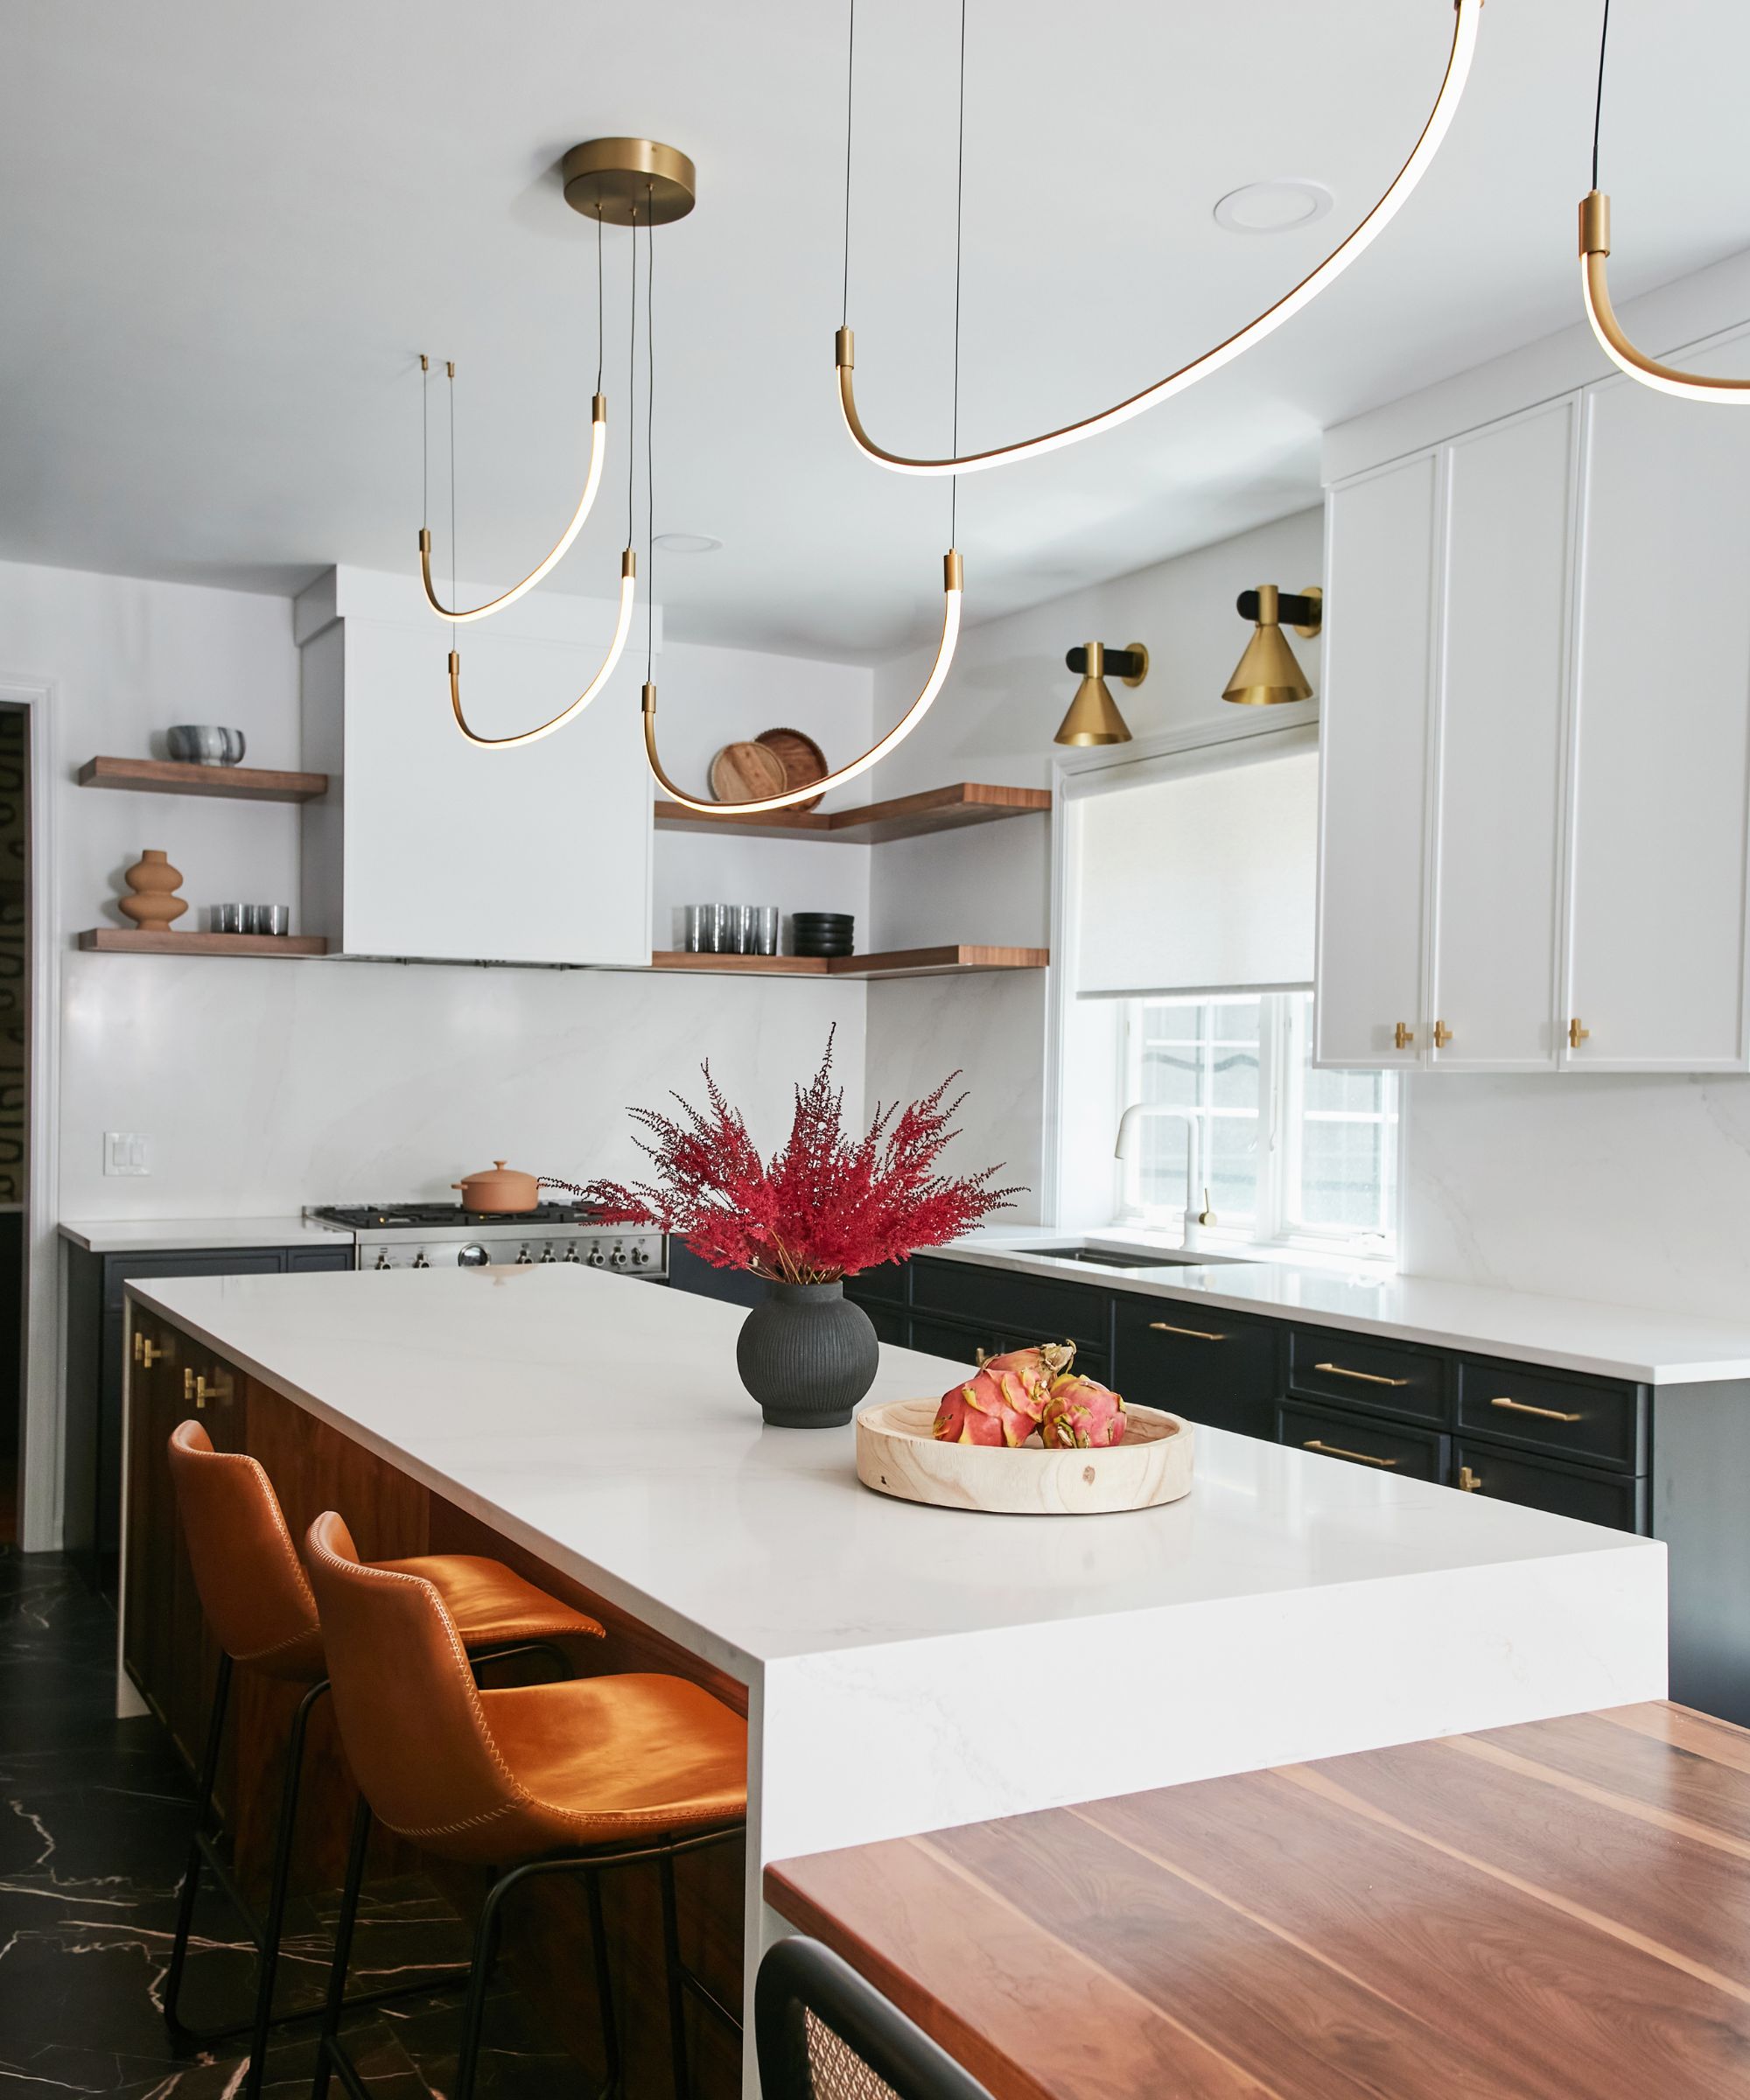
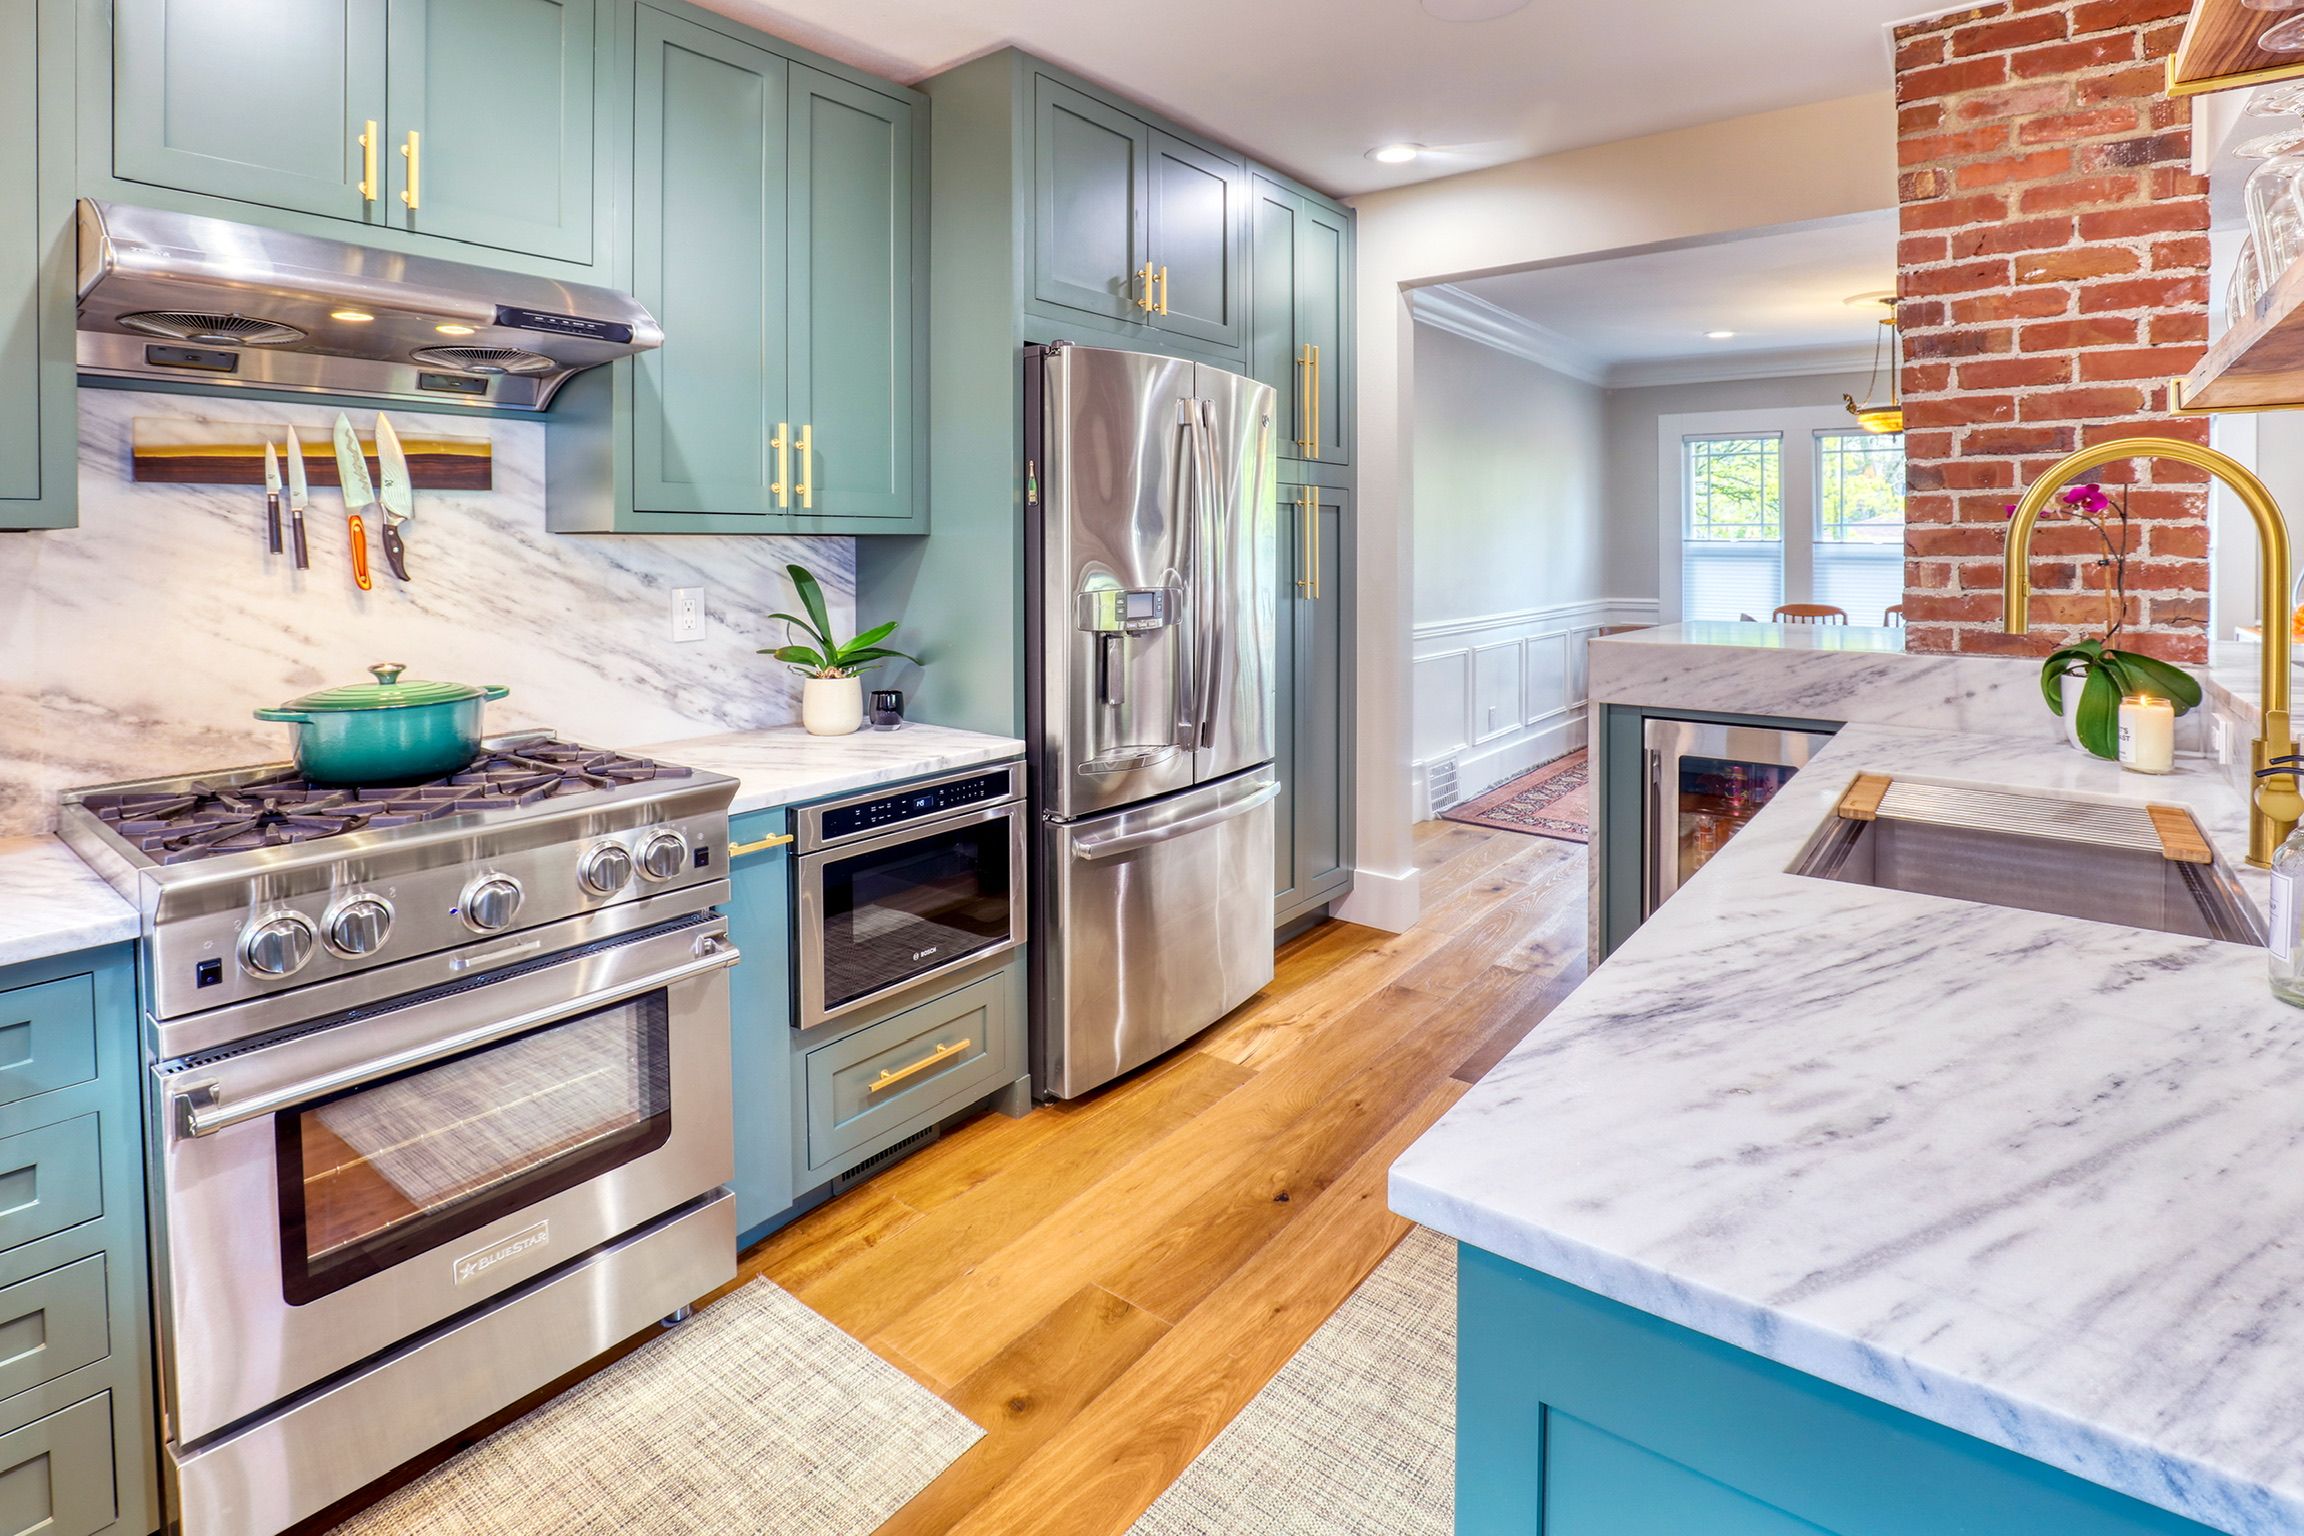
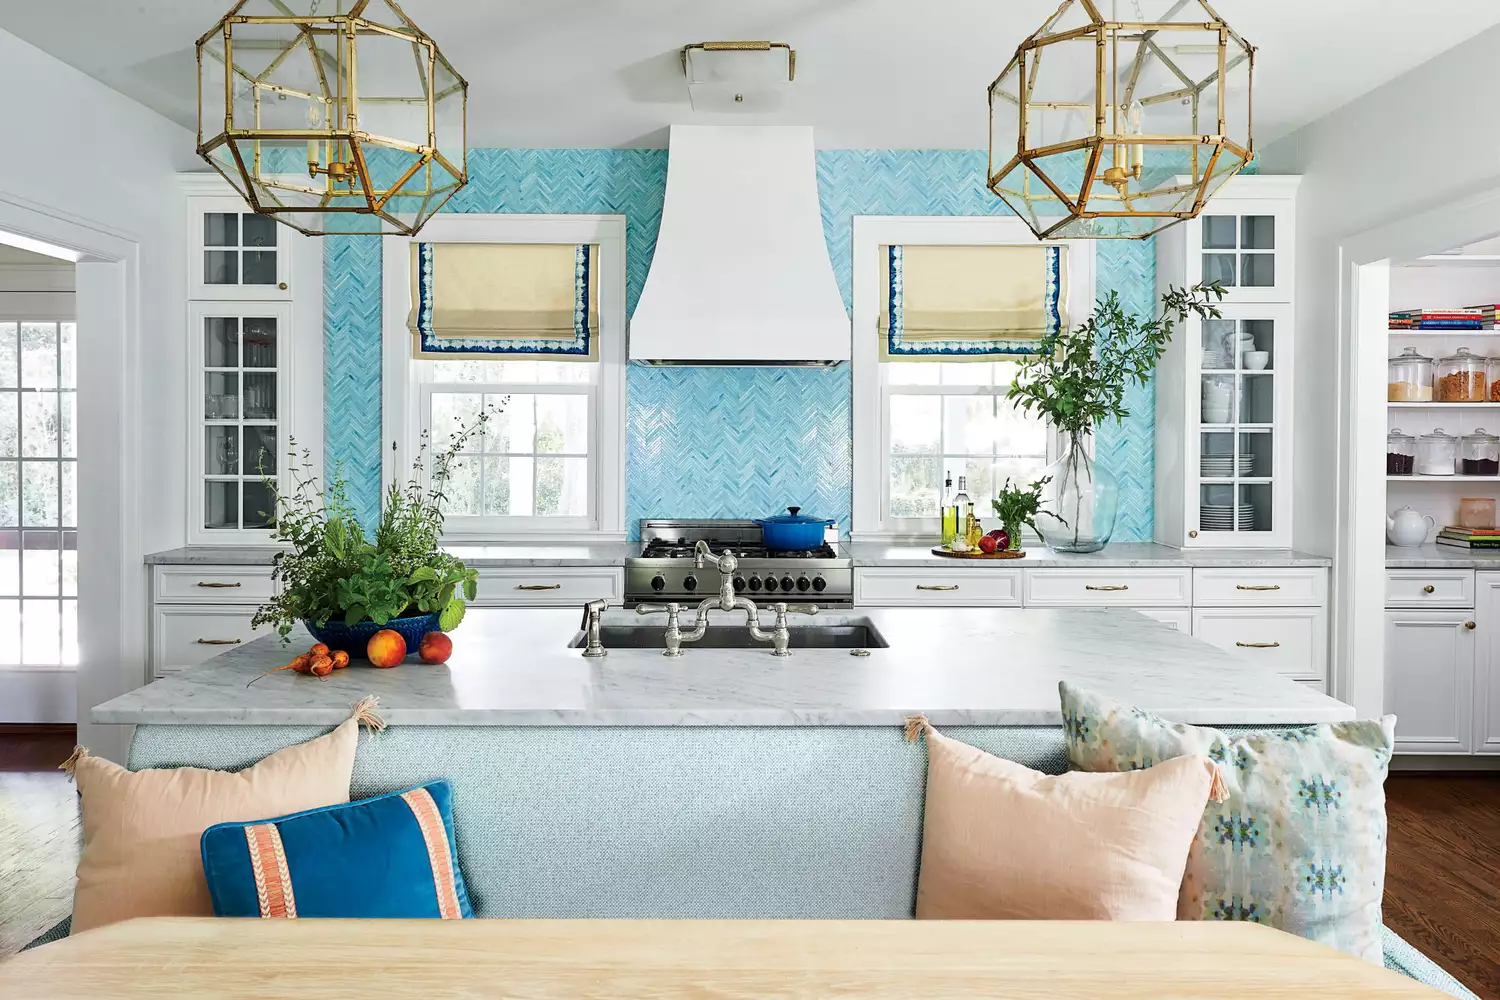
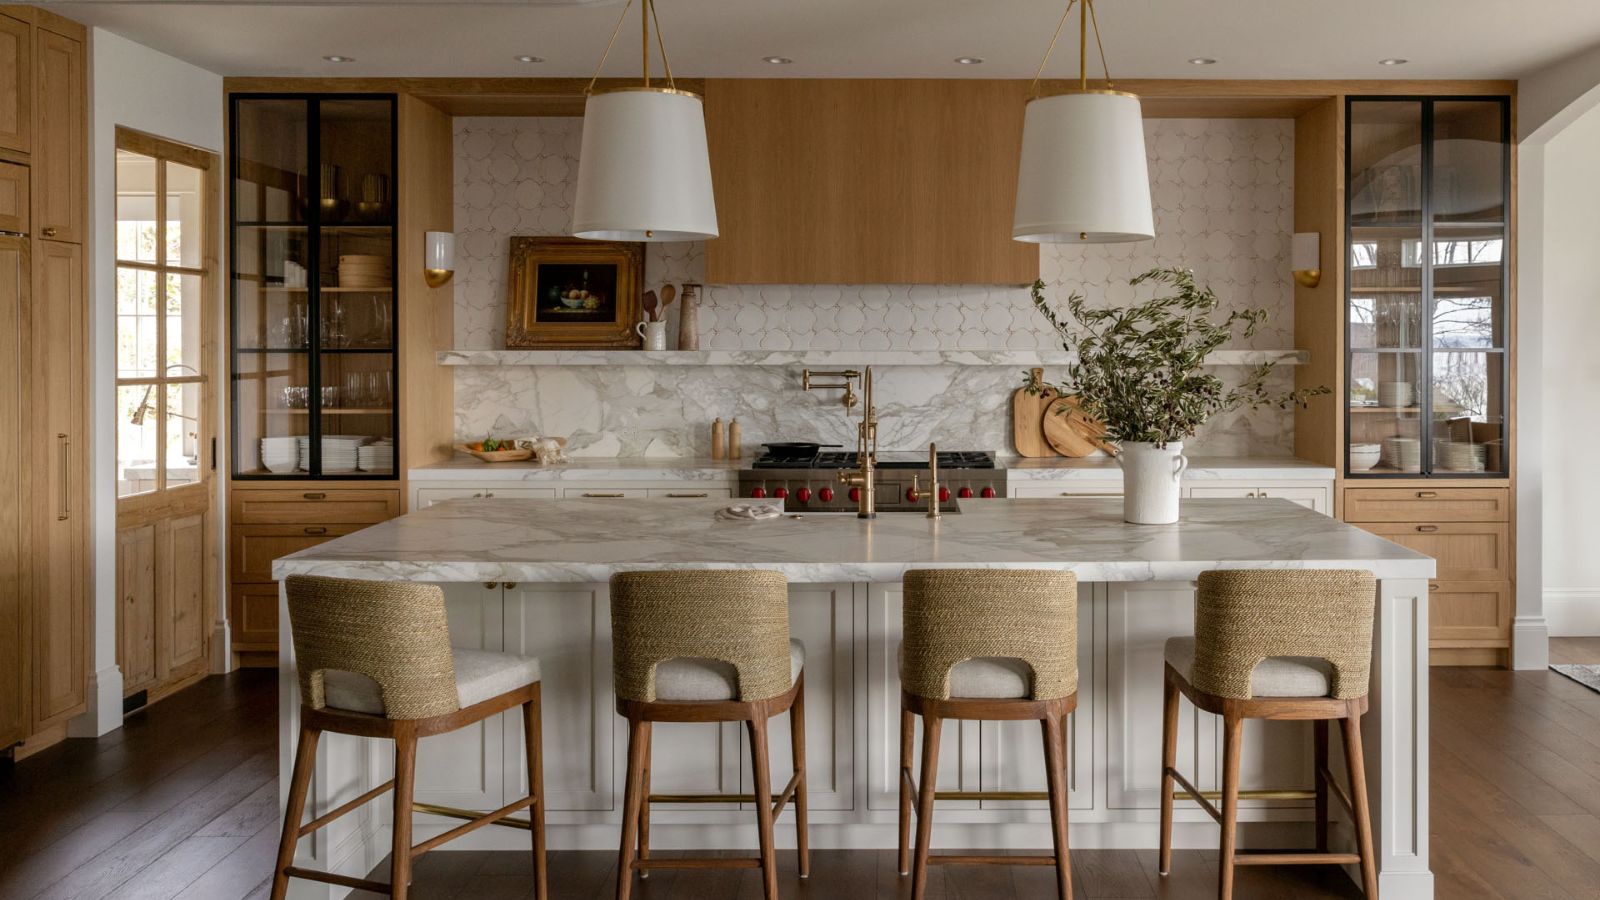
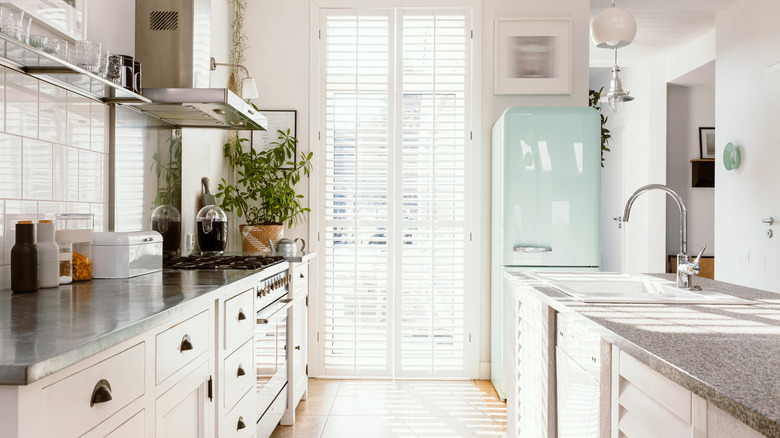
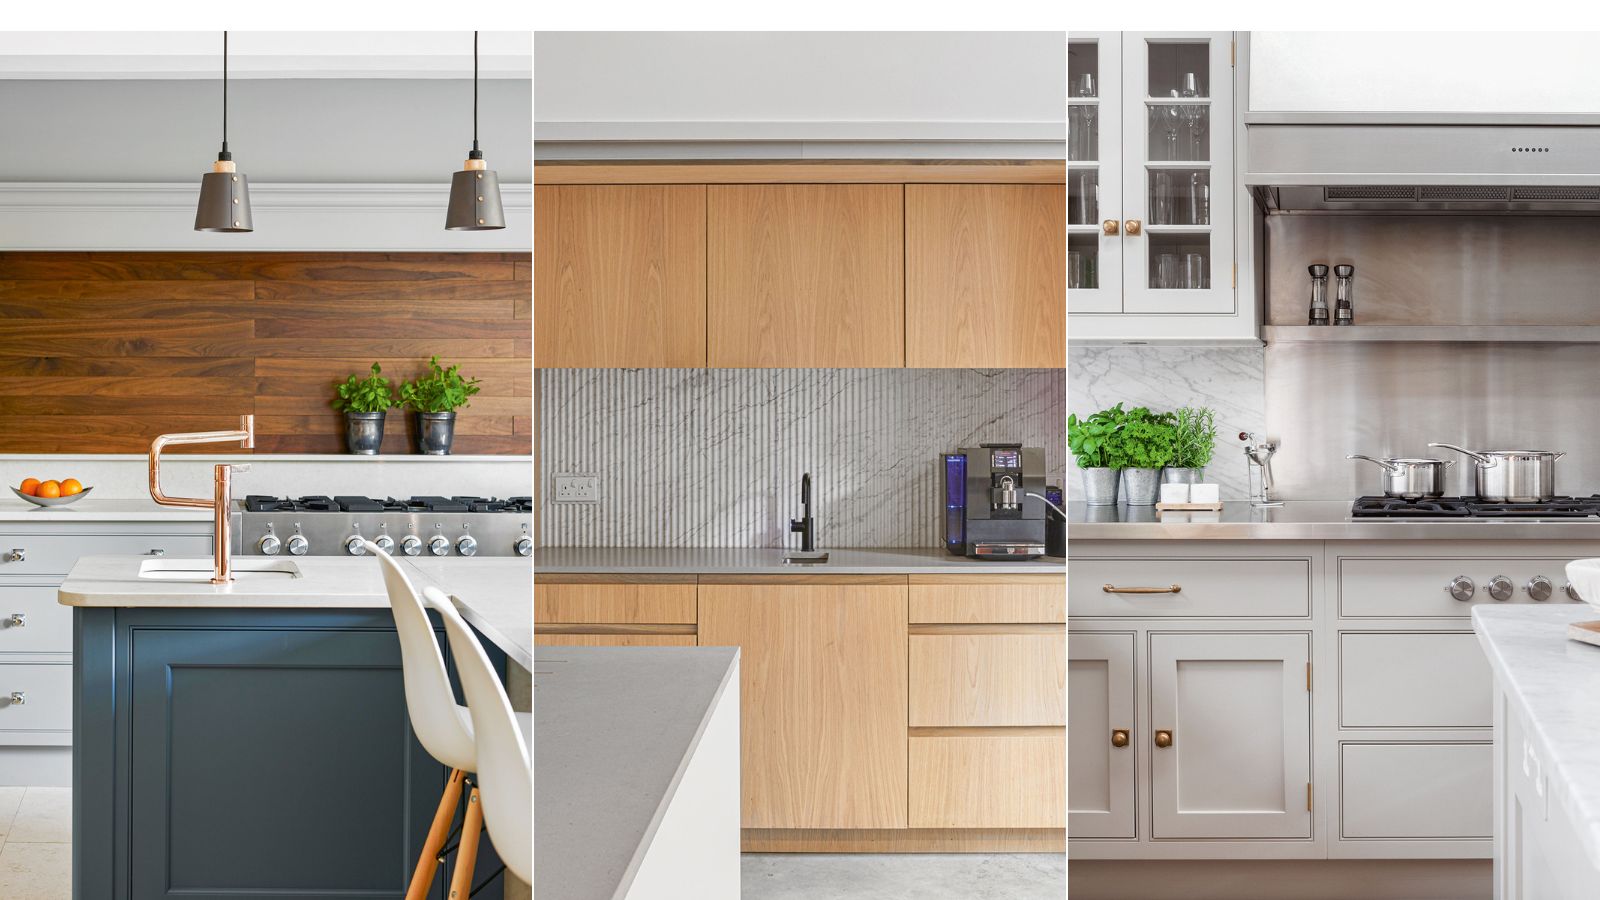
This comprehensive guide offers a step-by-step approach to replacing and installing a kitchen backsplash, transforming an outdated kitchen into a refreshed space. It emphasizes that while challenging, this project is achievable over a weekend and can significantly enhance a kitchen's aesthetic. The article draws on insights from local contractors and interior designers to provide practical advice for both removing old backsplashes and installing new ones.
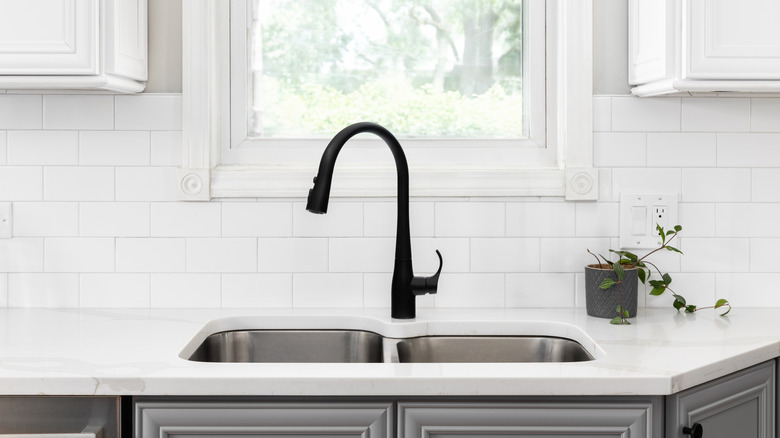
The removal process begins with the crucial step of turning off electricity to relevant outlets and switches, followed by protecting surrounding surfaces with drop cloths or cardboard. It advises removing all fixtures, scoring grout lines with a utility knife to ease tile removal, and carefully prying off old tiles with a chisel and hammer, starting from edges or loose sections. Contractor Matt Walters of Matt Walters Carpentry & Tile suggests anticipating substrate damage and stripping the area down to studs. This approach allows for essential upgrades like adding outlets or insulation, particularly beneficial for older homes in the Seattle area. Walters recommends using paper shims to flatten uneven walls and installing moisture-resistant drywall, noting its ease of use compared to cement backerboard and its sufficient strength for a backsplash.
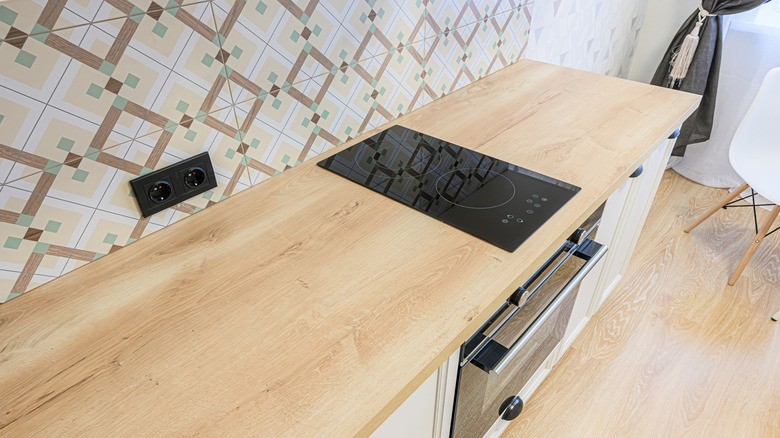
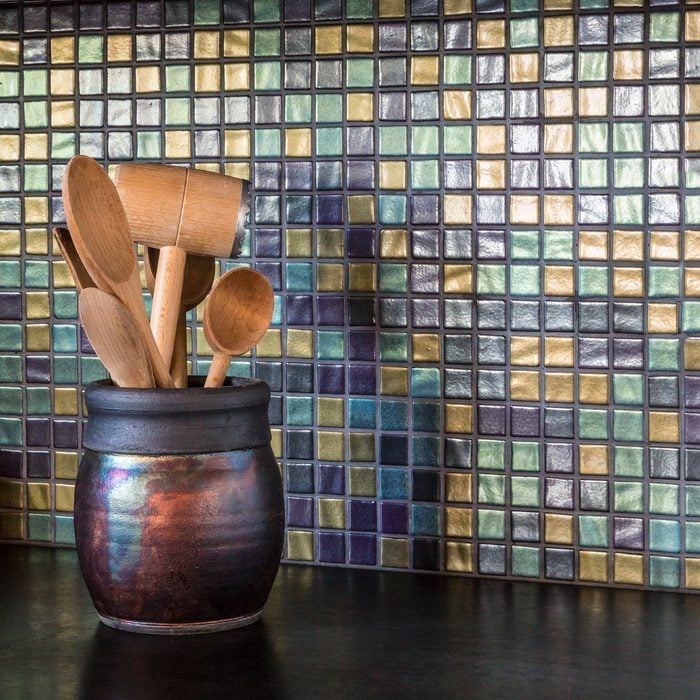
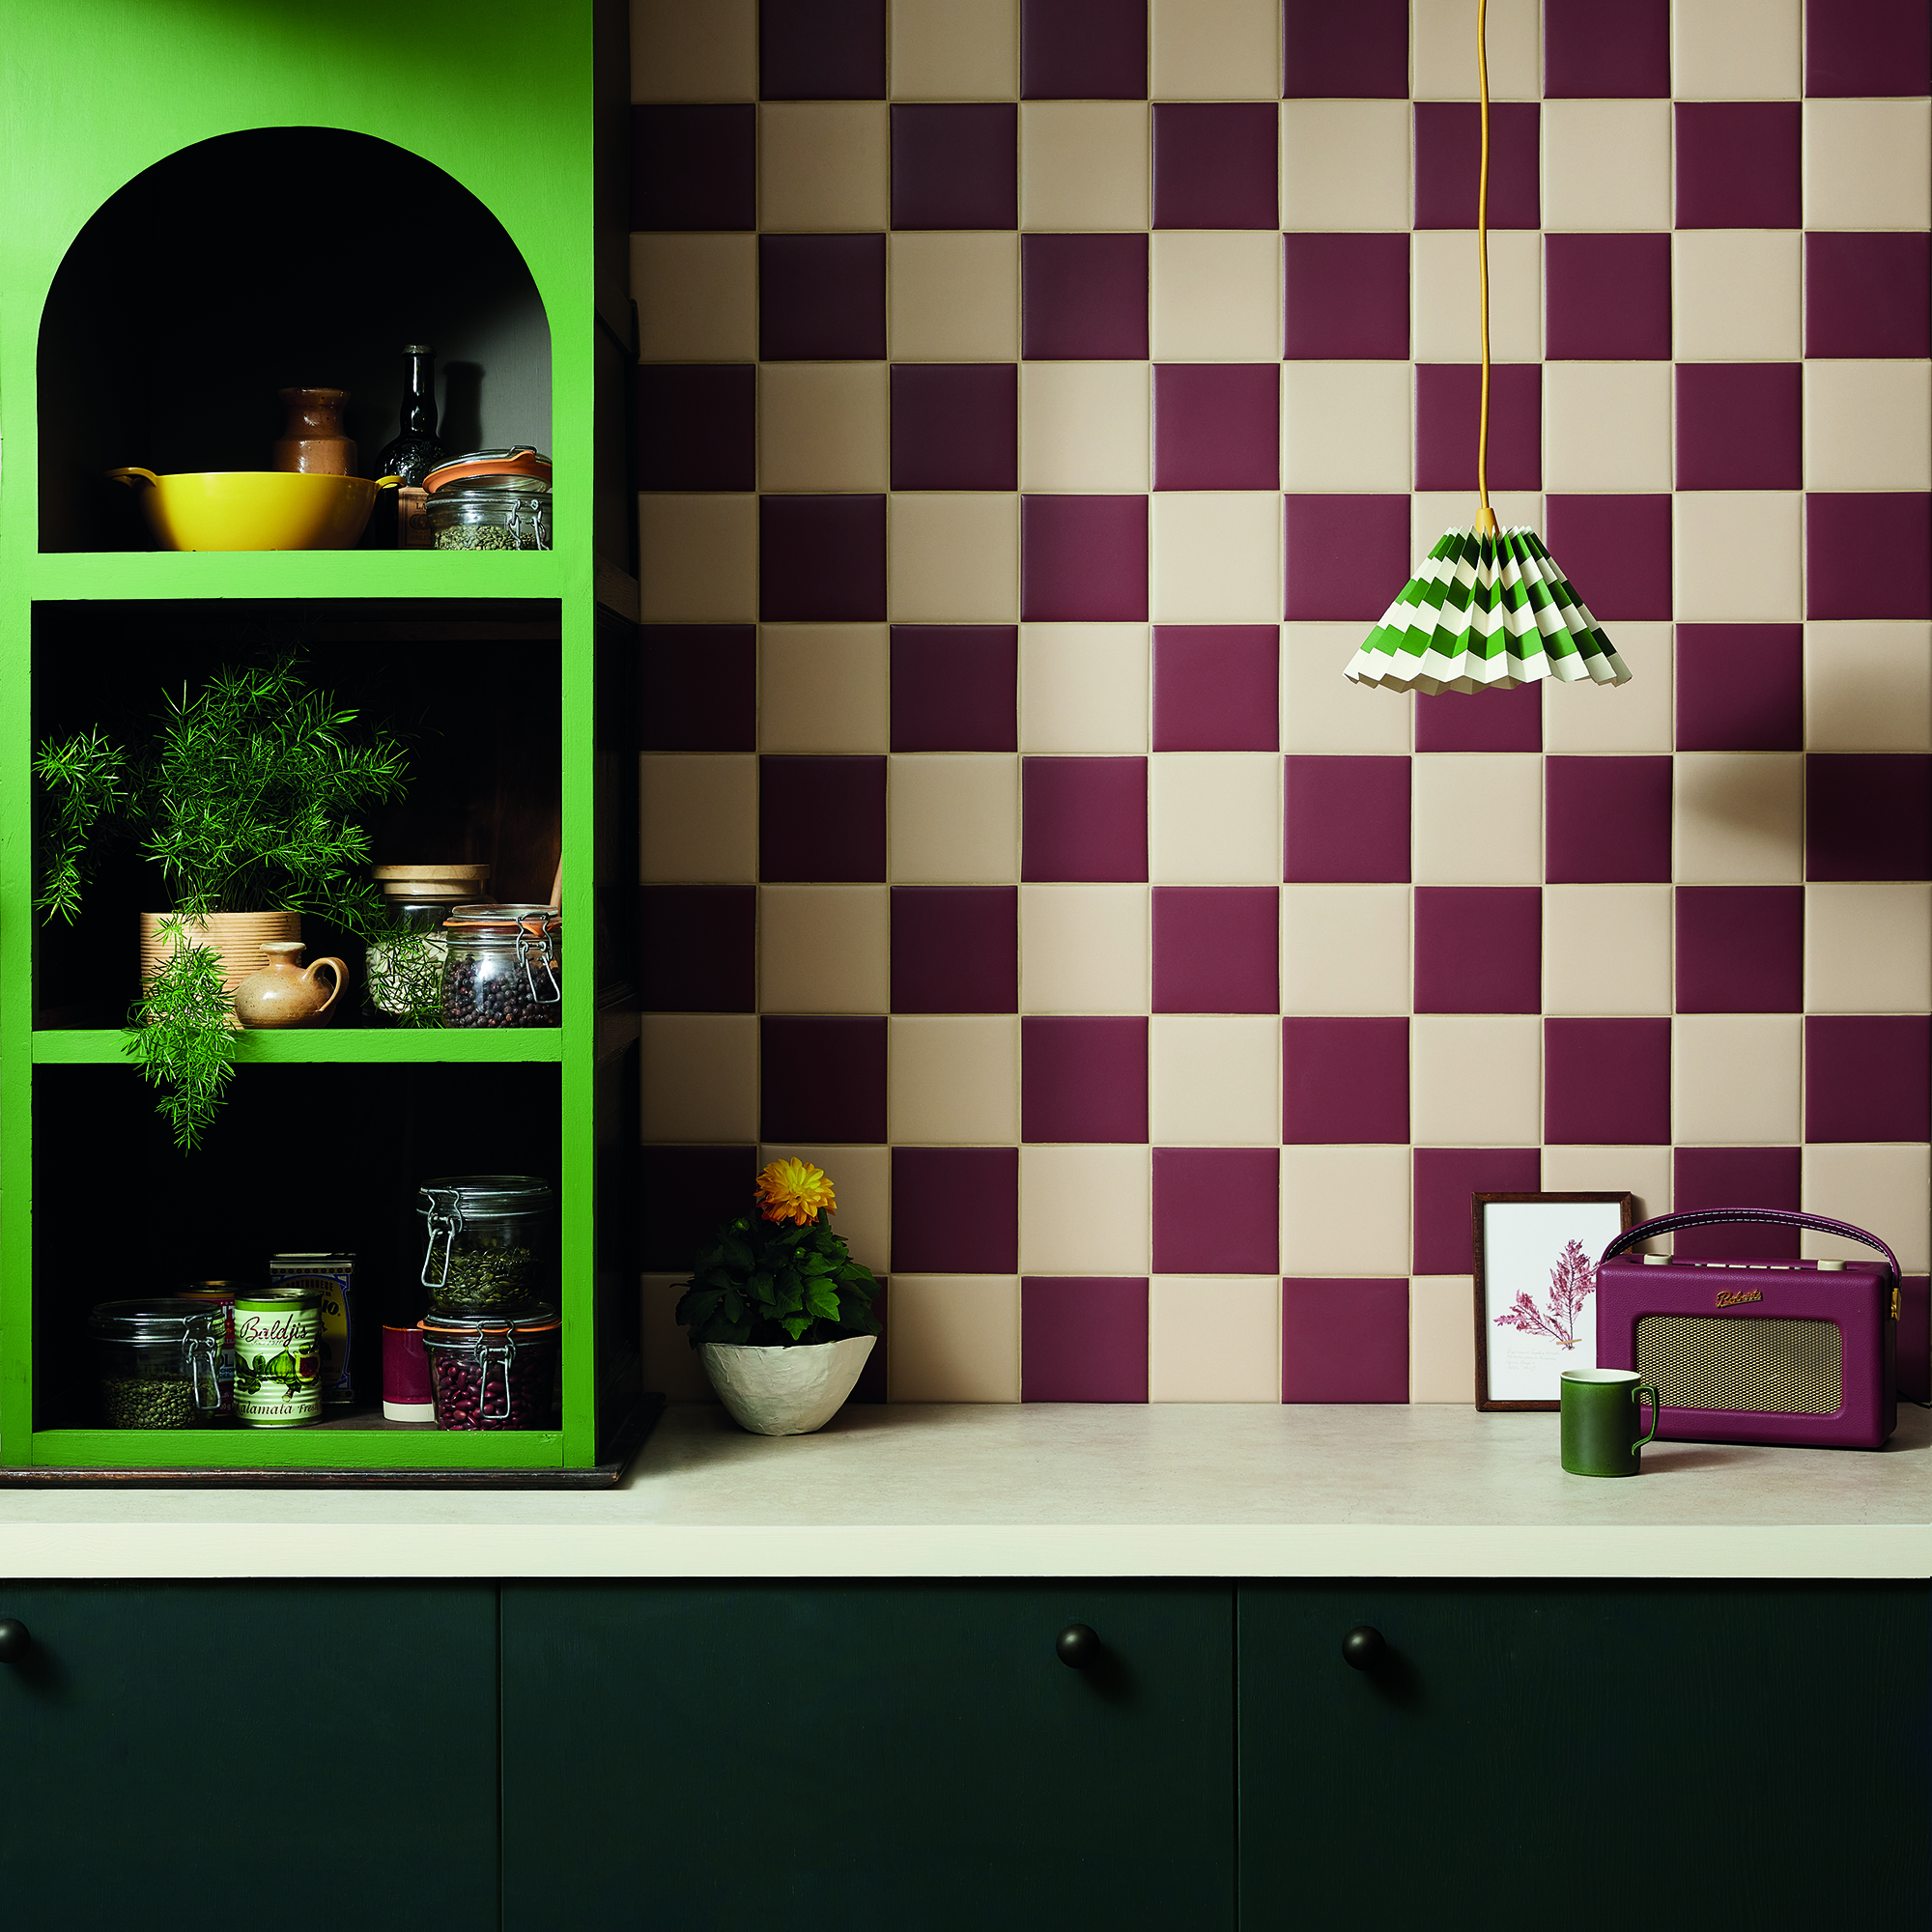
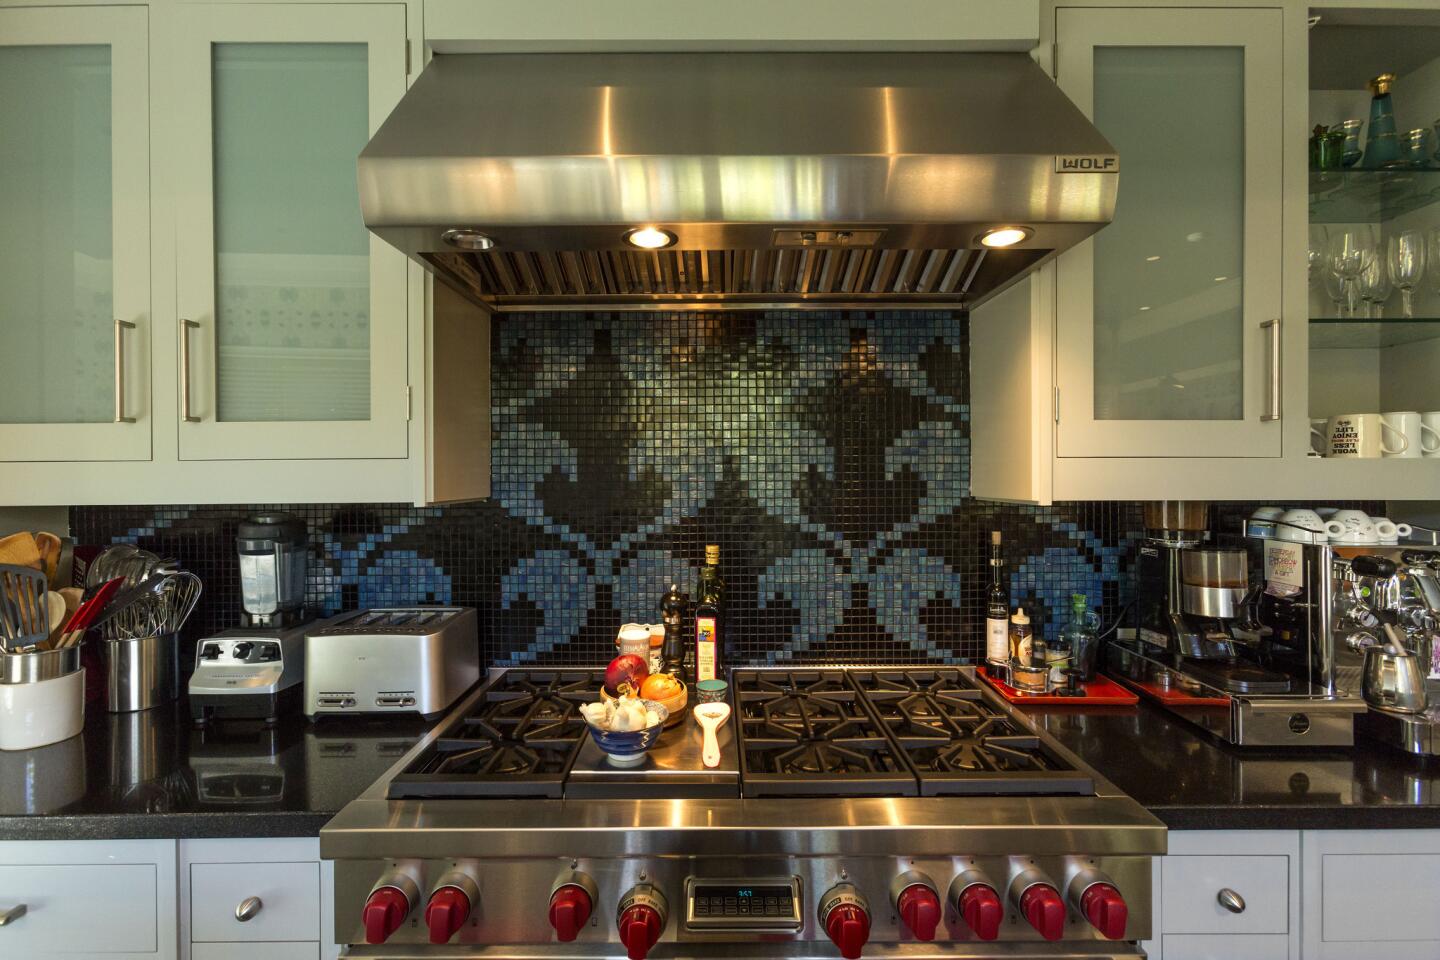
Preparing the area for the new backsplash involves patching any holes or imperfections in the drywall with a premixed compound and sanding it smooth once dry. Careful measurement of the area and meticulous planning of the tile layout are critical, including considering focal tiles and patterns. Homeowners are advised to lay out tiles on a flat surface beforehand to visualize the final design and minimize cuts. Planning extends to purchasing all necessary materials, such as tiles, adhesive (thin-set mortar or mastic), grout, spacers, a notched trowel, tile cutter, and mixing buckets, to ensure a smooth installation process and avoid multiple trips to the store.
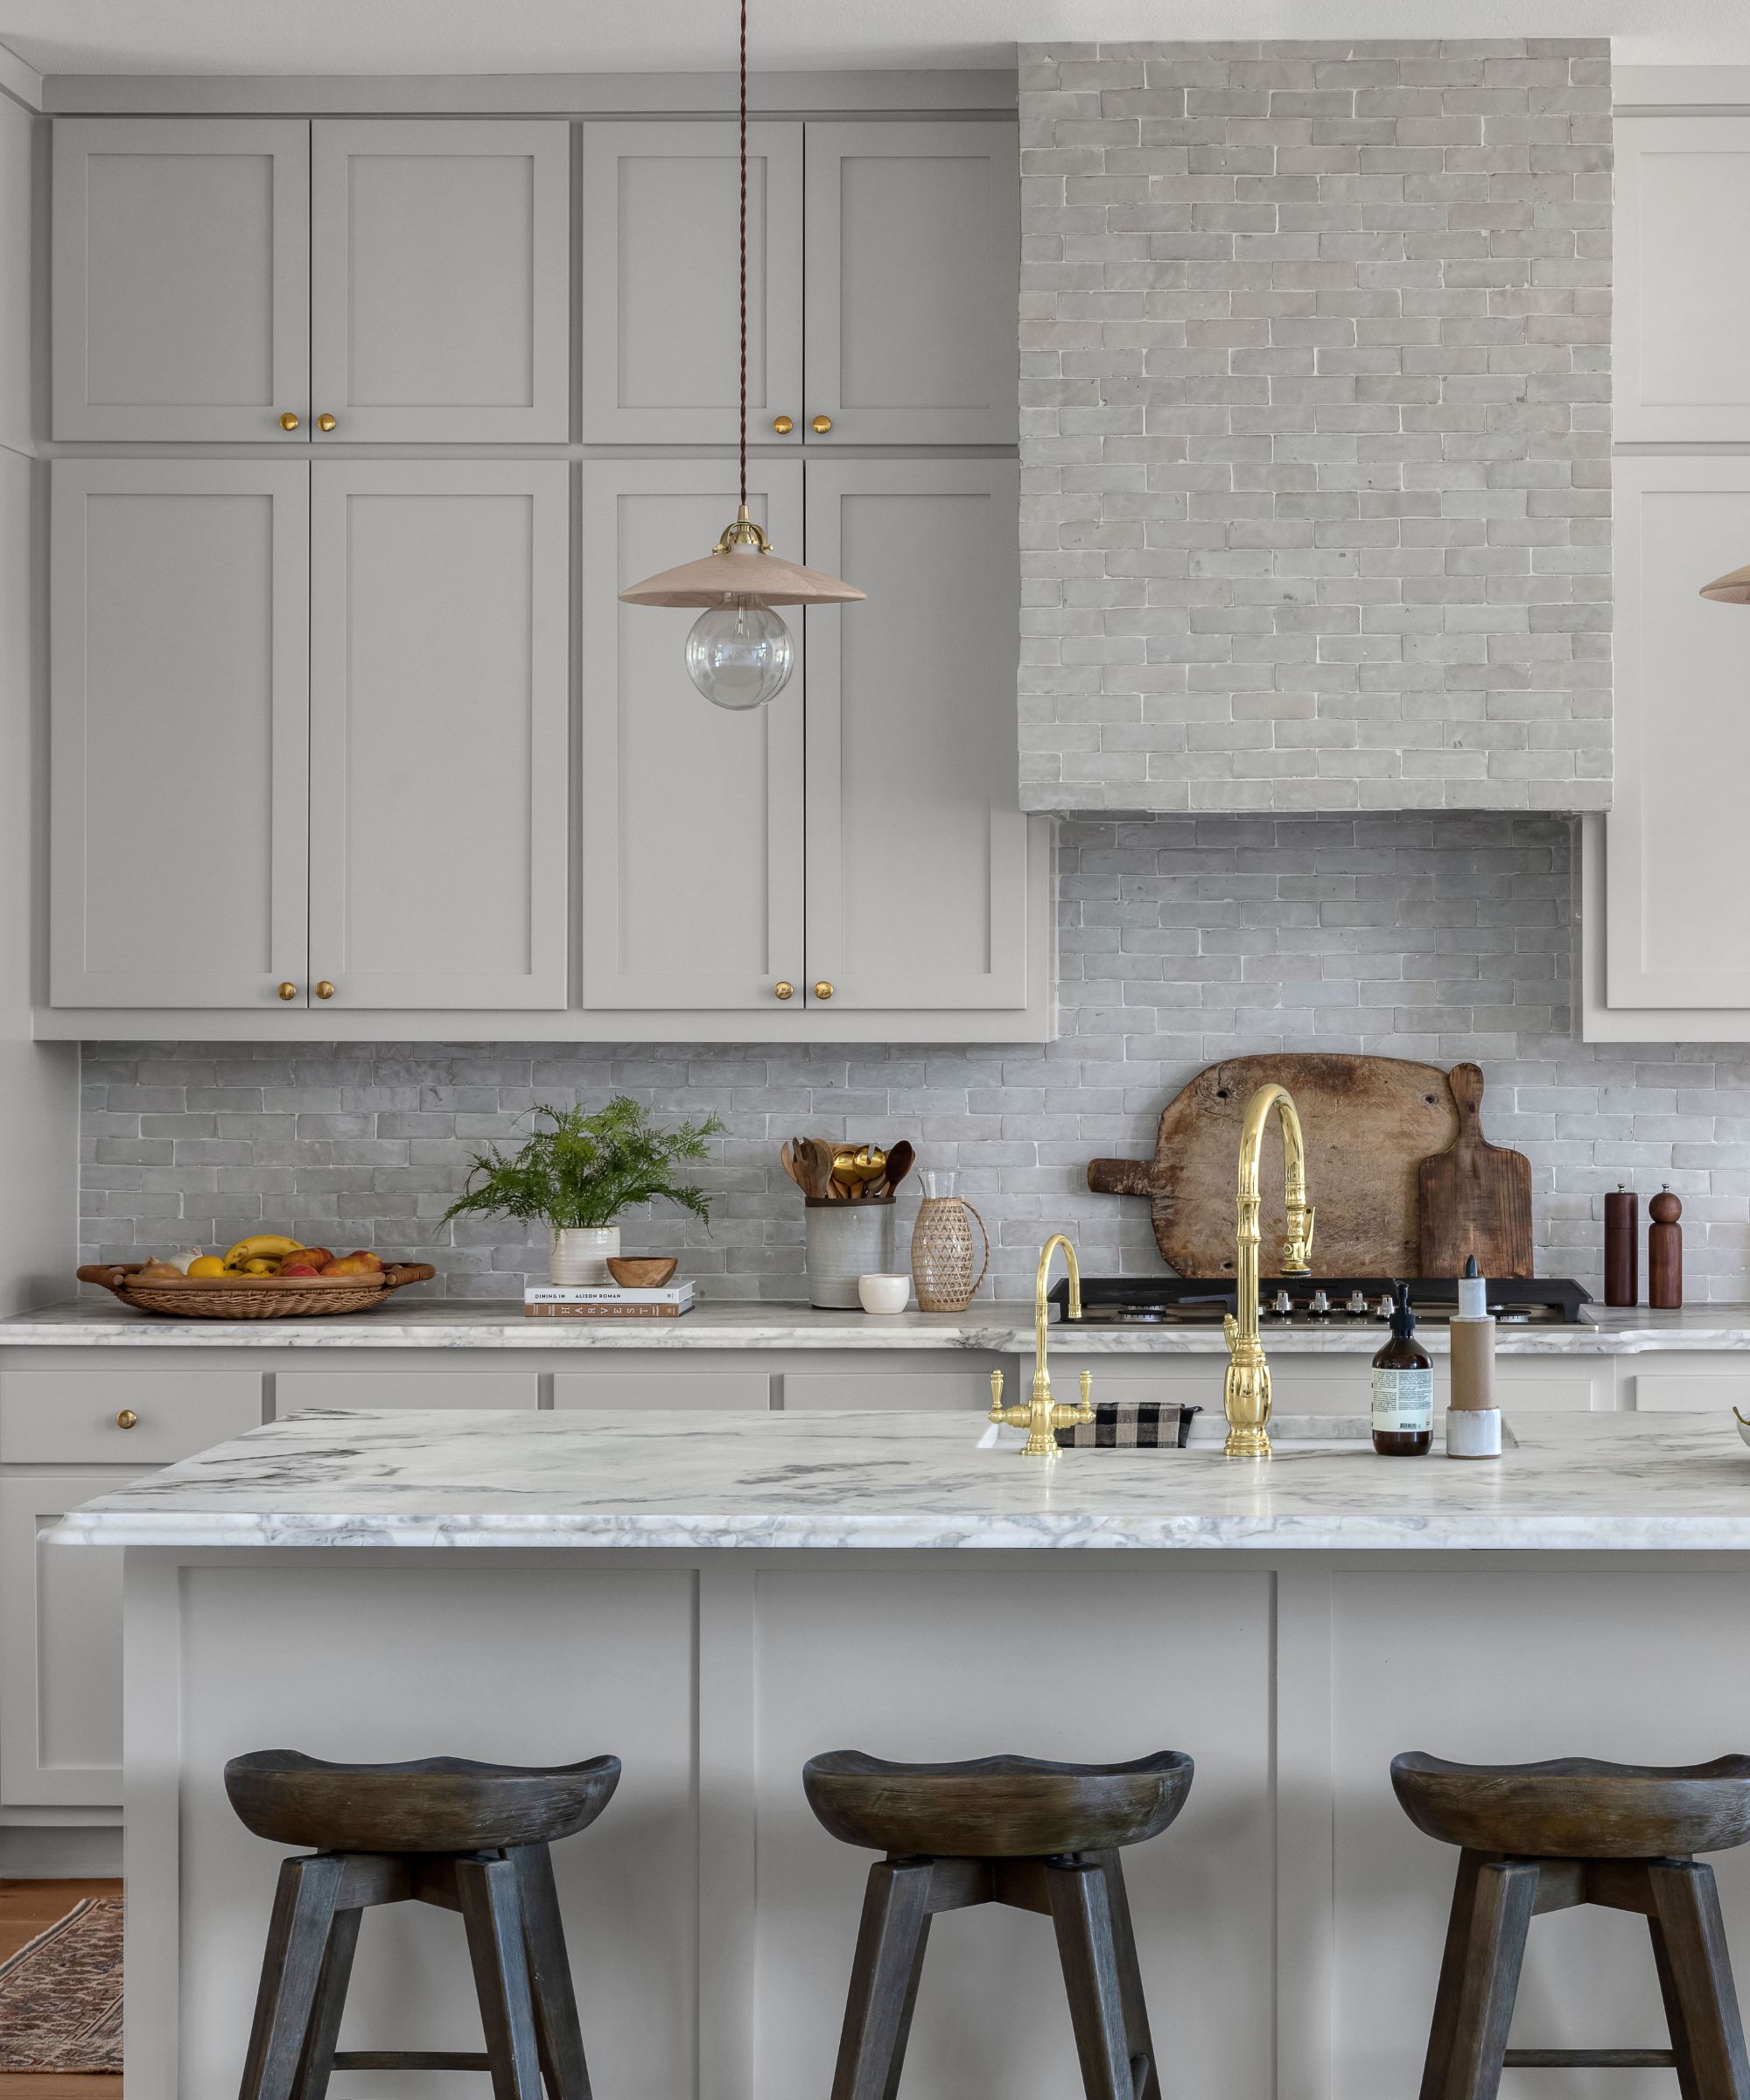
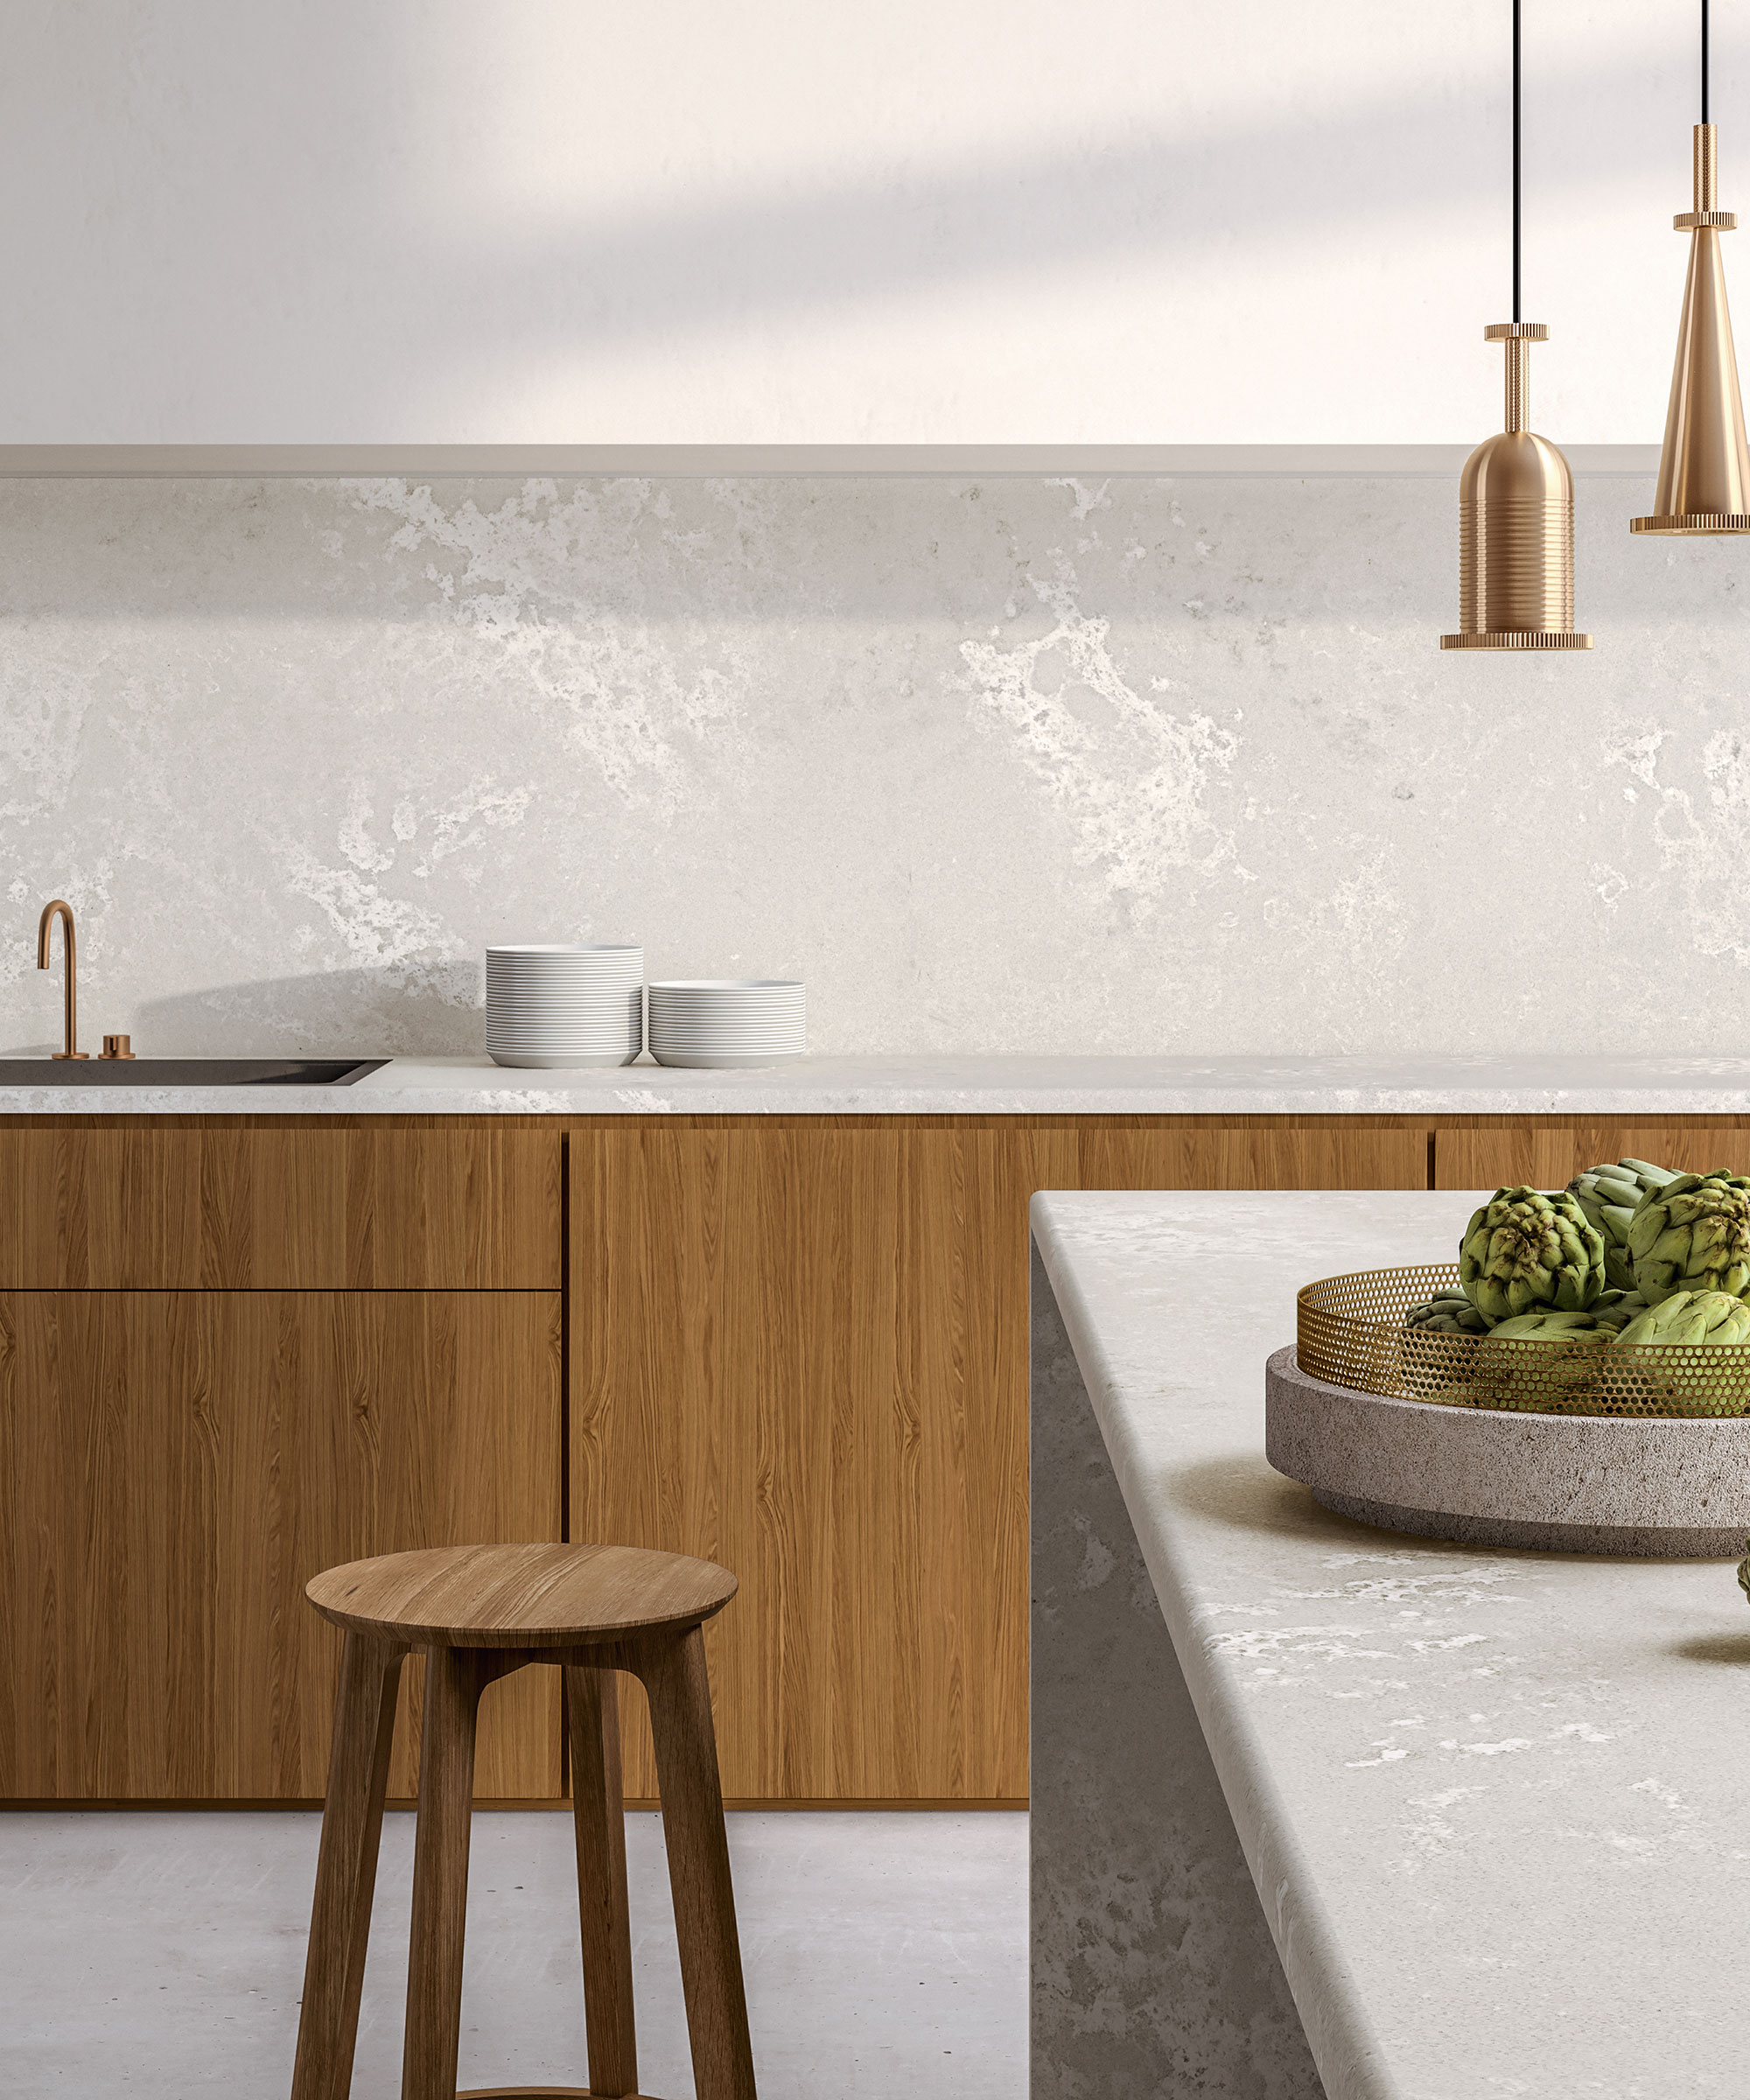
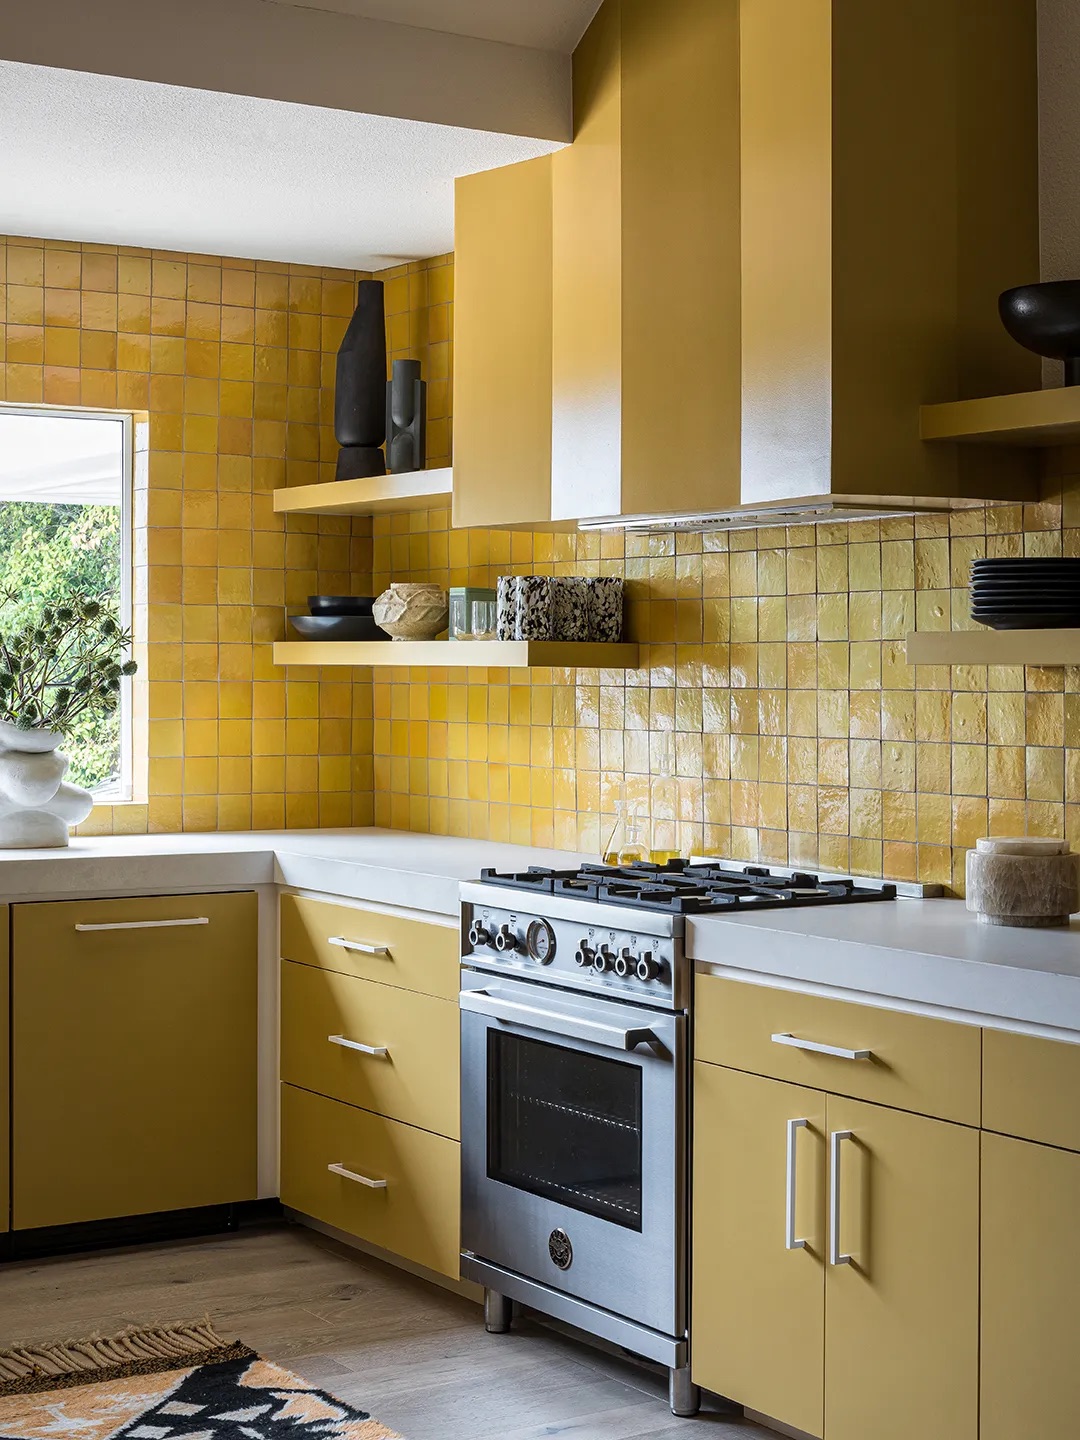
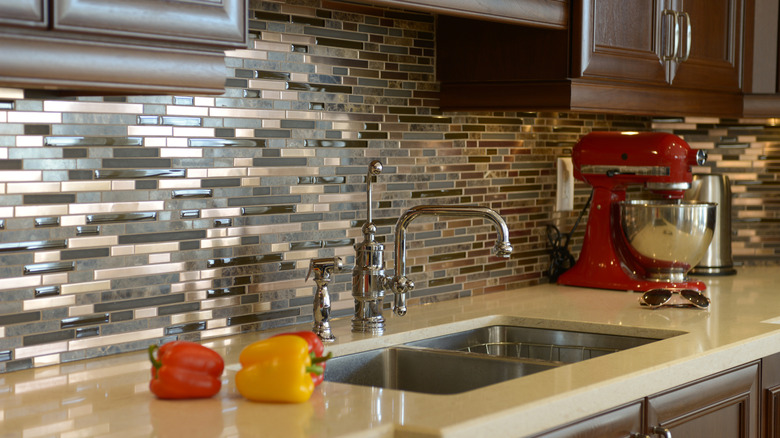
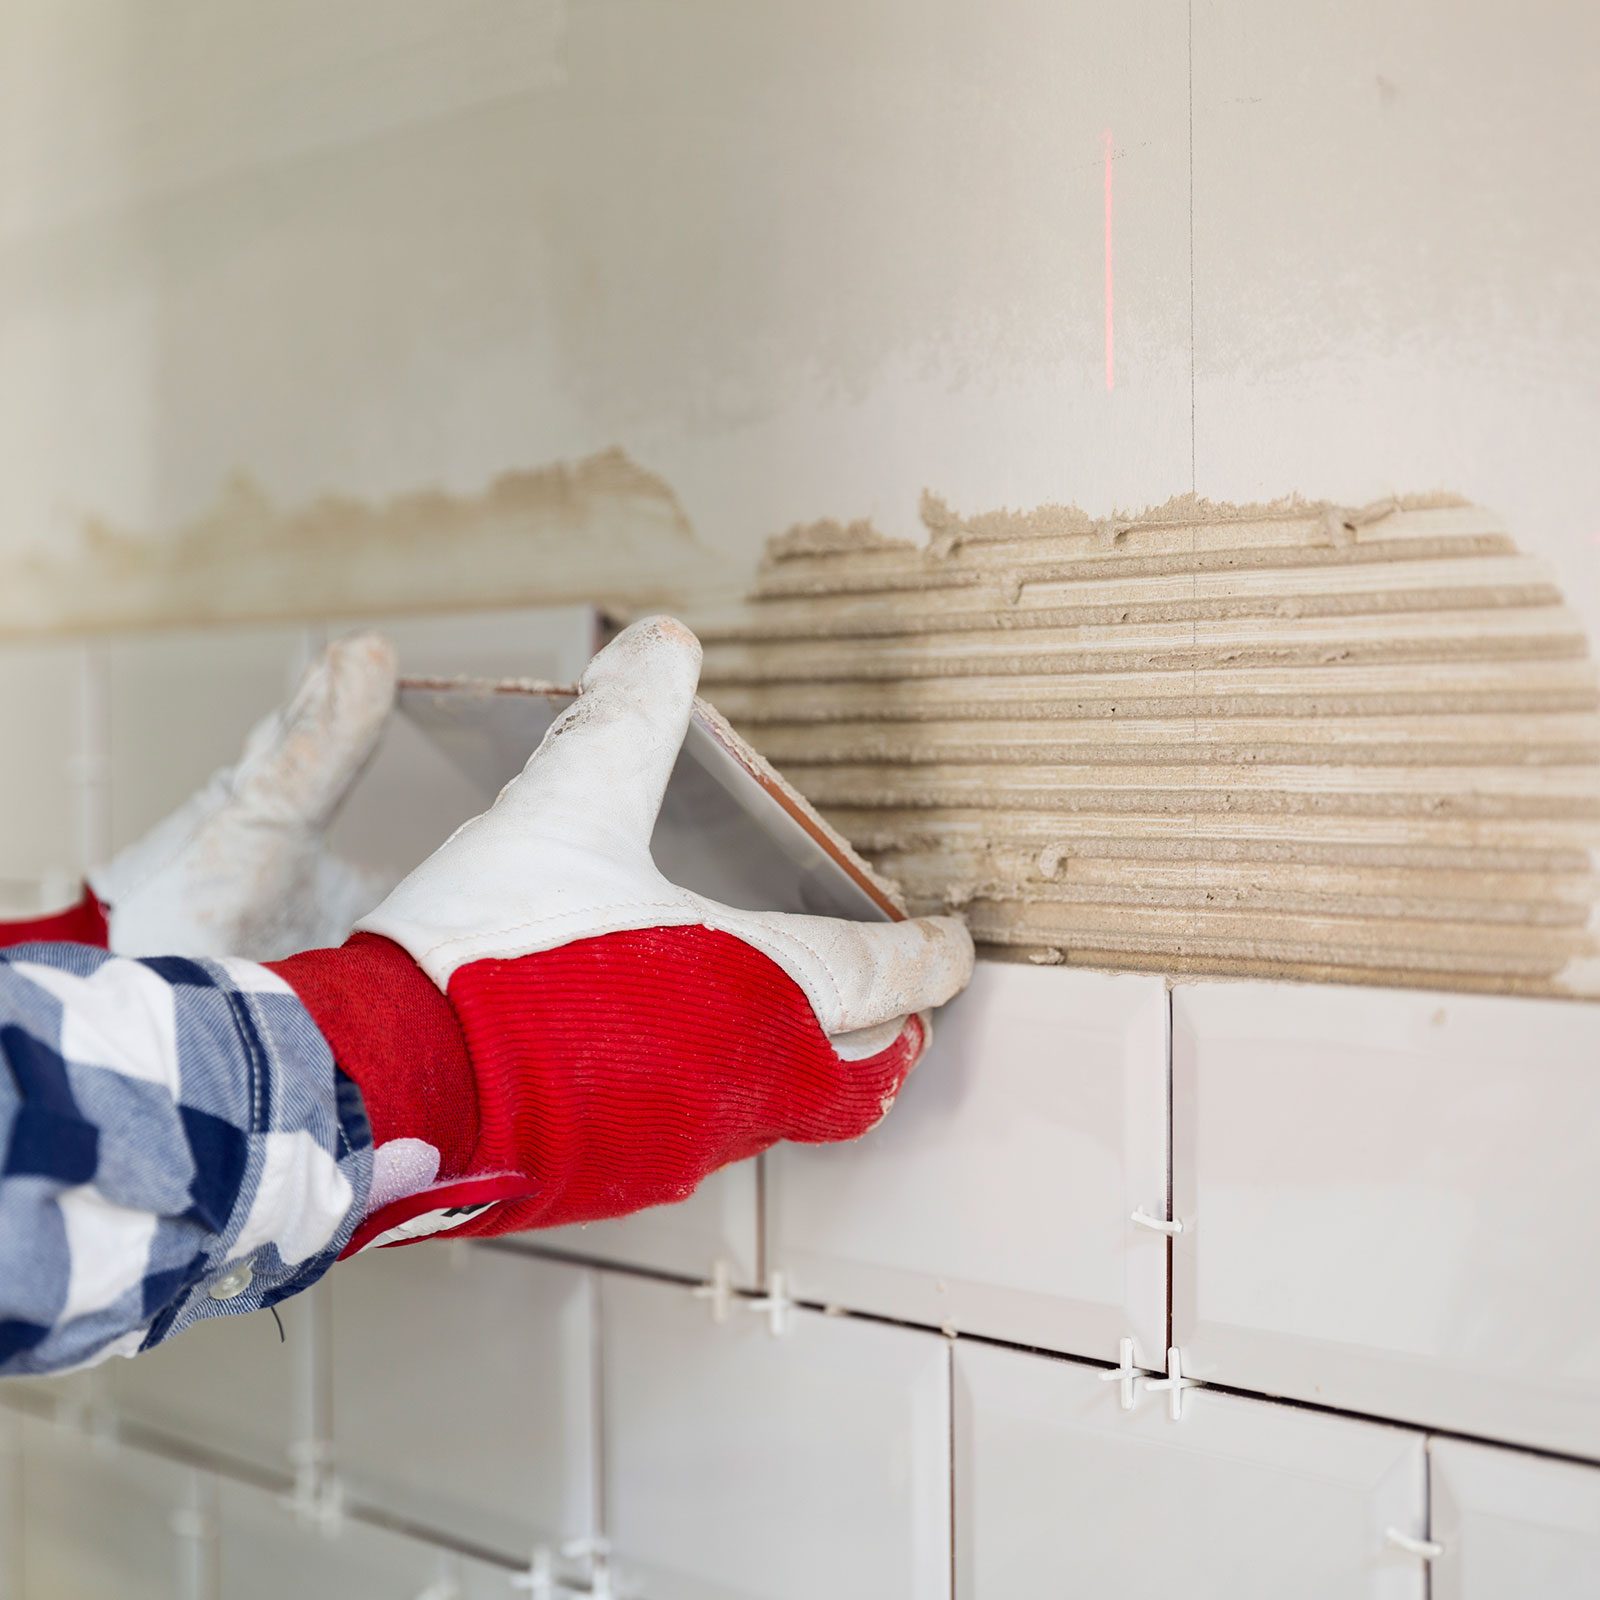
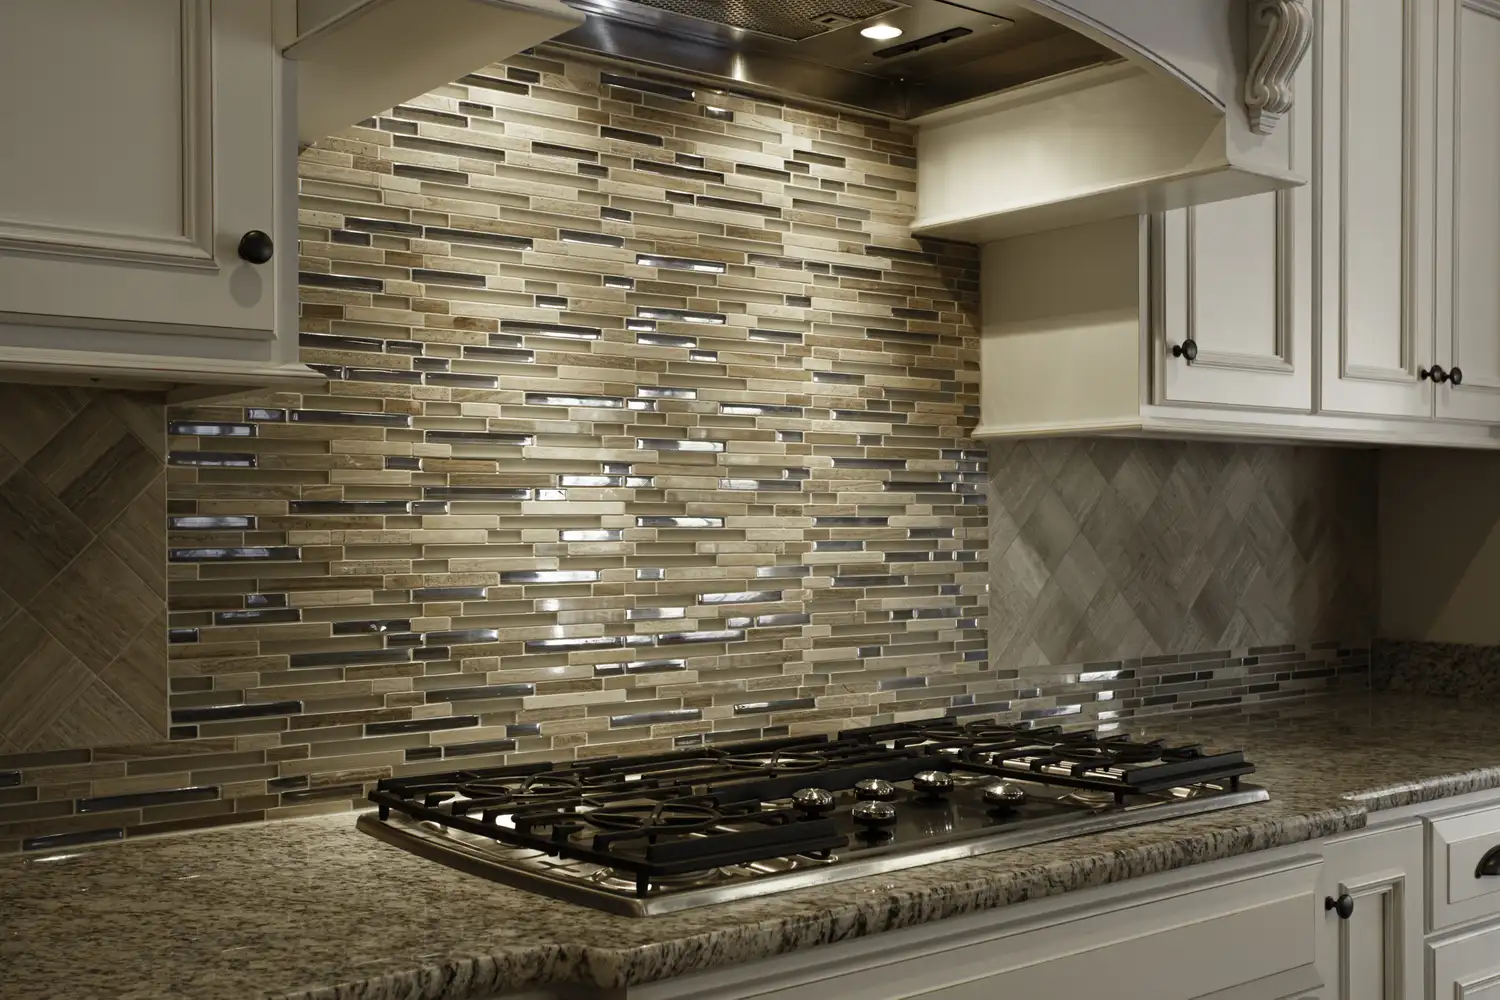
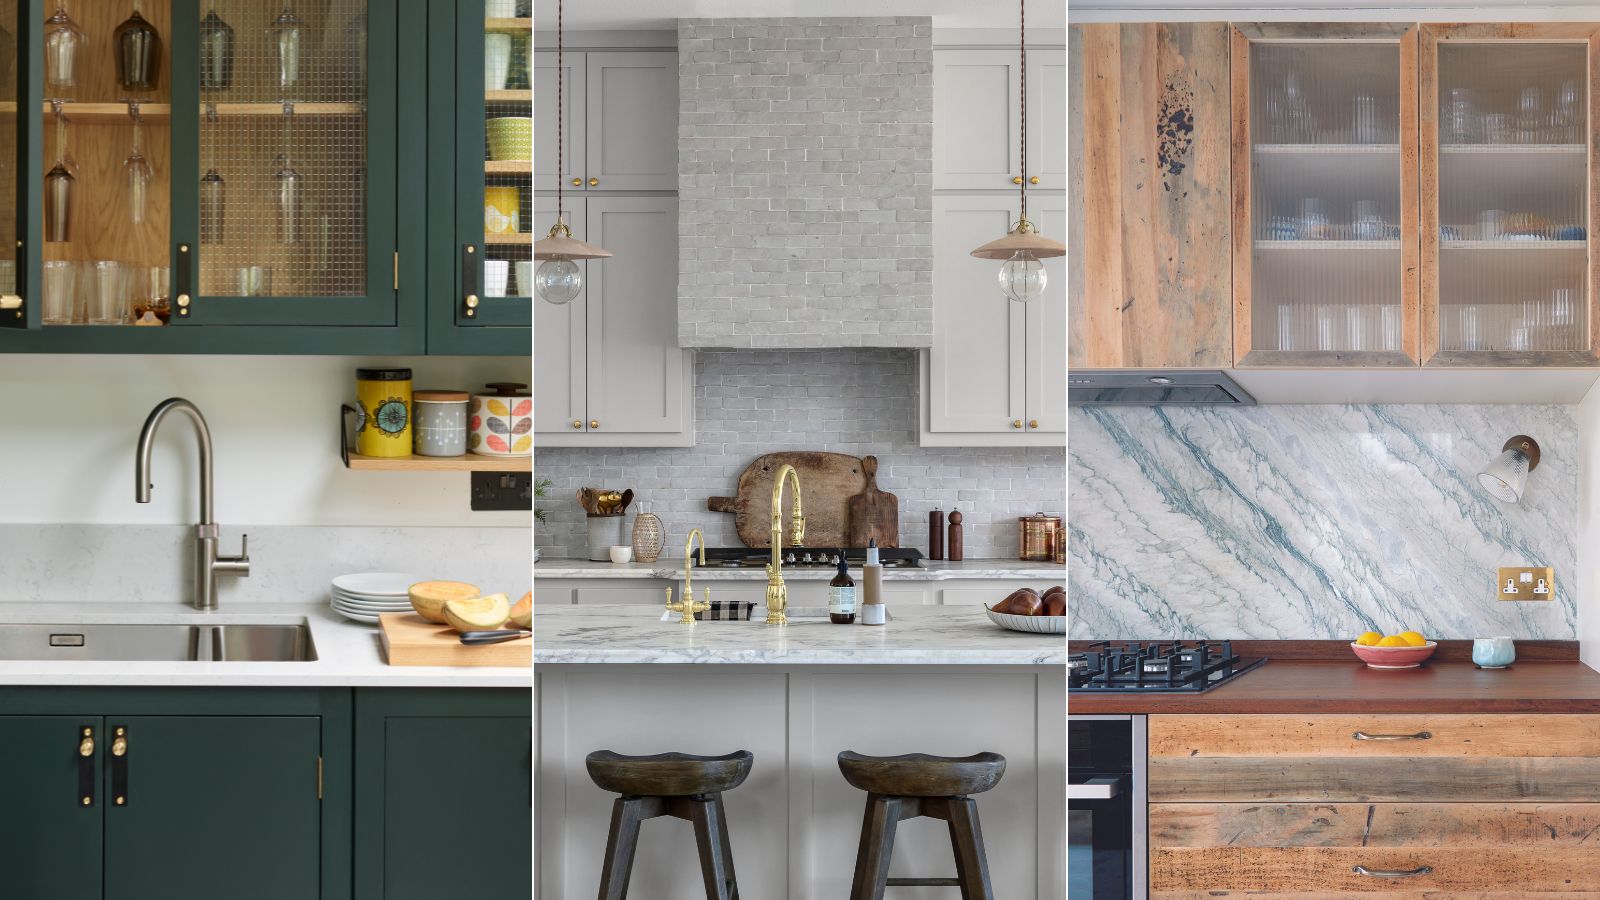
For installation, adhesive is applied to a small section of the wall using a notched trowel held at a 45-degree angle to create grooves for better adhesion. Mastic is suitable for ceramic or porcelain tiles, but a high-quality thin-set is recommended for natural stone, with white for light-colored stone and gray for darker stone. Tiles are then pressed into the adhesive, using spacers to maintain even gaps, starting from the bottom center and working upwards and outwards. A level should be used periodically to ensure tiles are straight. Cutting tiles, especially around edges, outlets, and switches, requires precision, adhering to the “measure twice, cut once” rule, using a wet saw or tile cutter. After installation, the adhesive must be allowed to cure for approximately 24 hours, following manufacturer instructions.
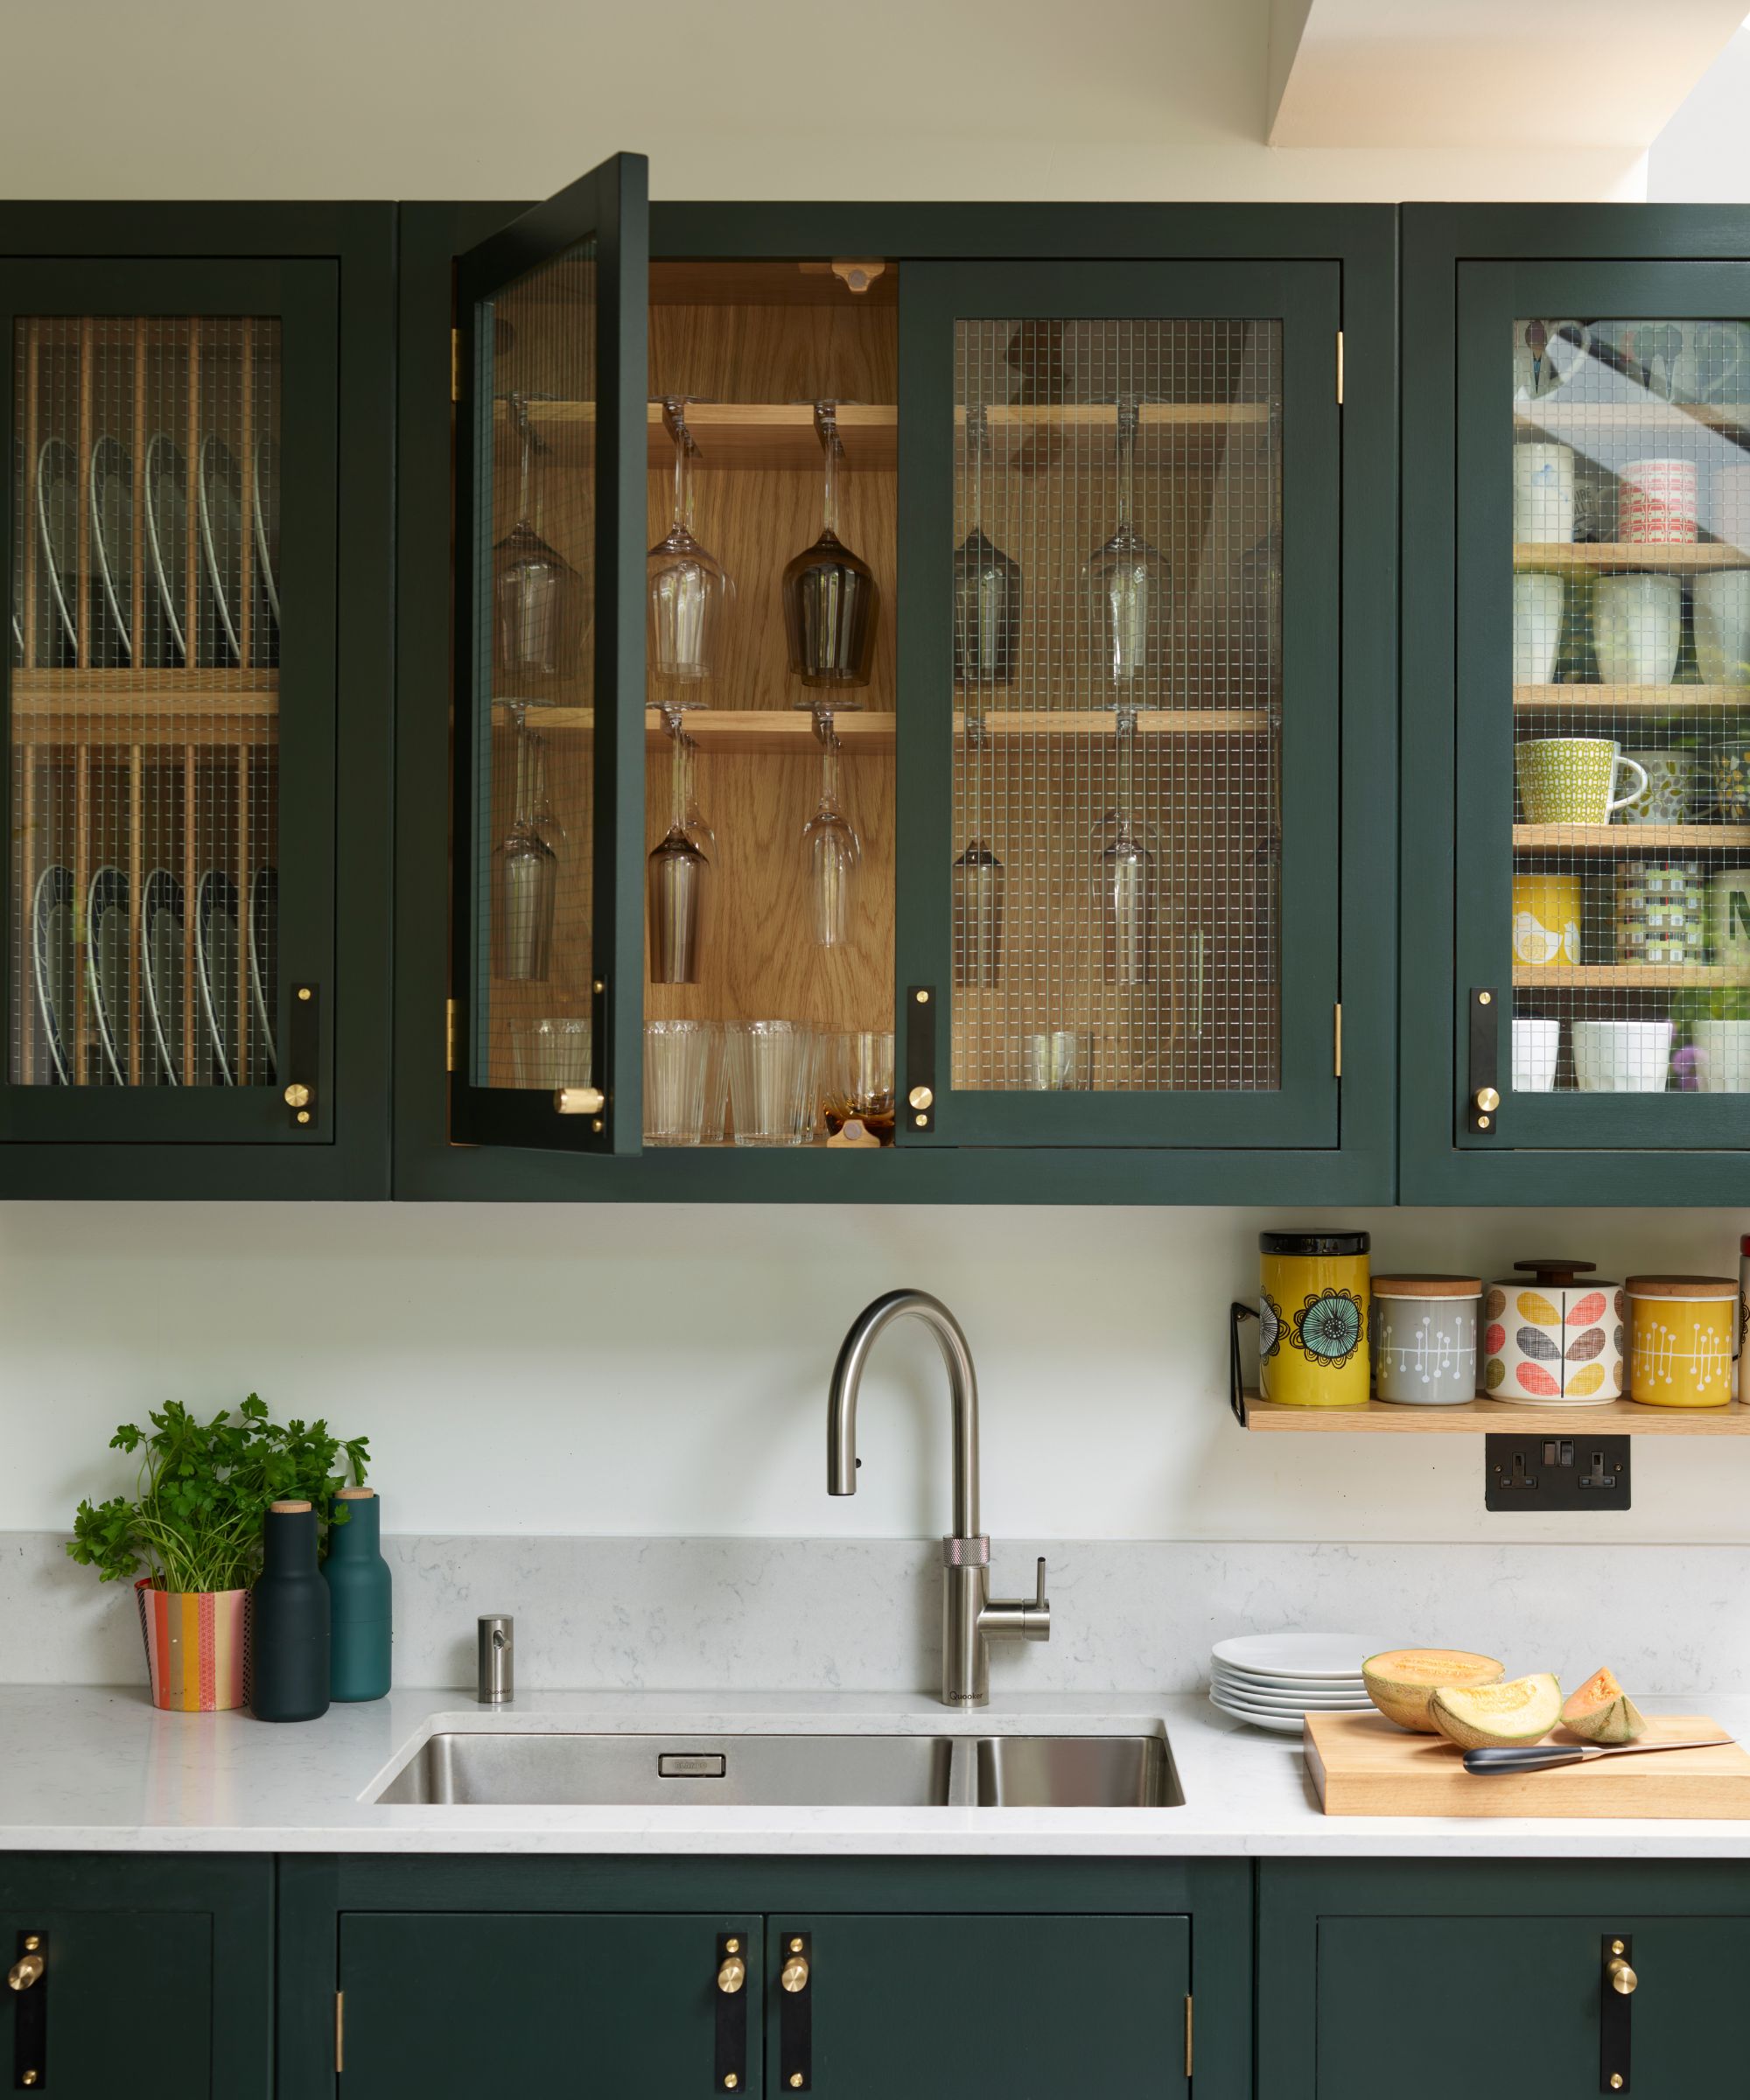
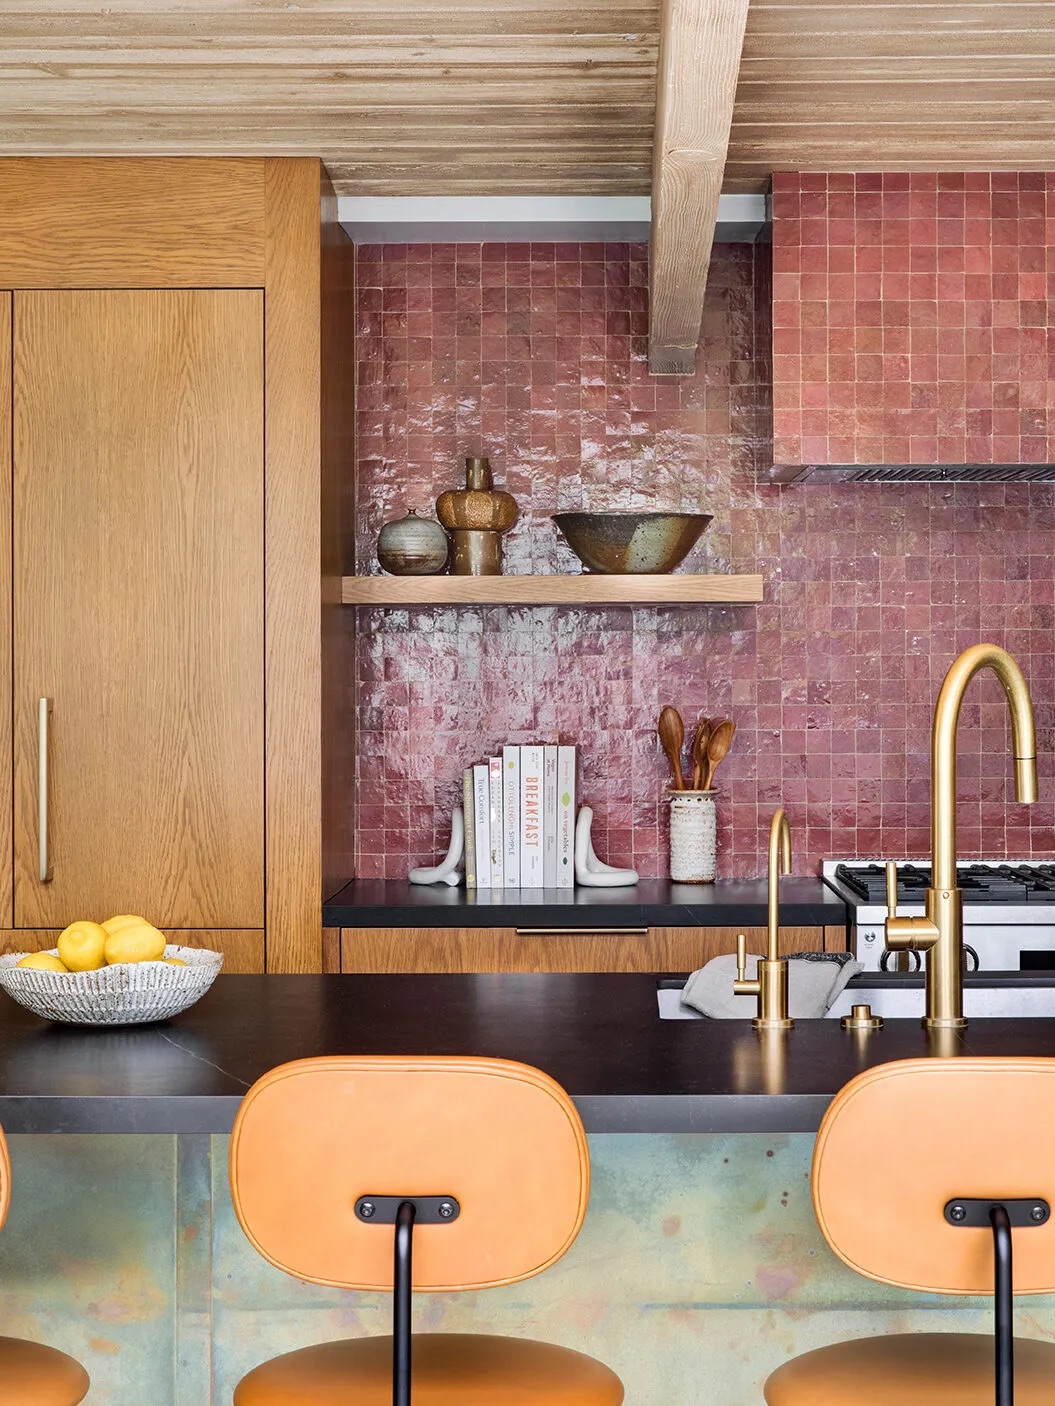
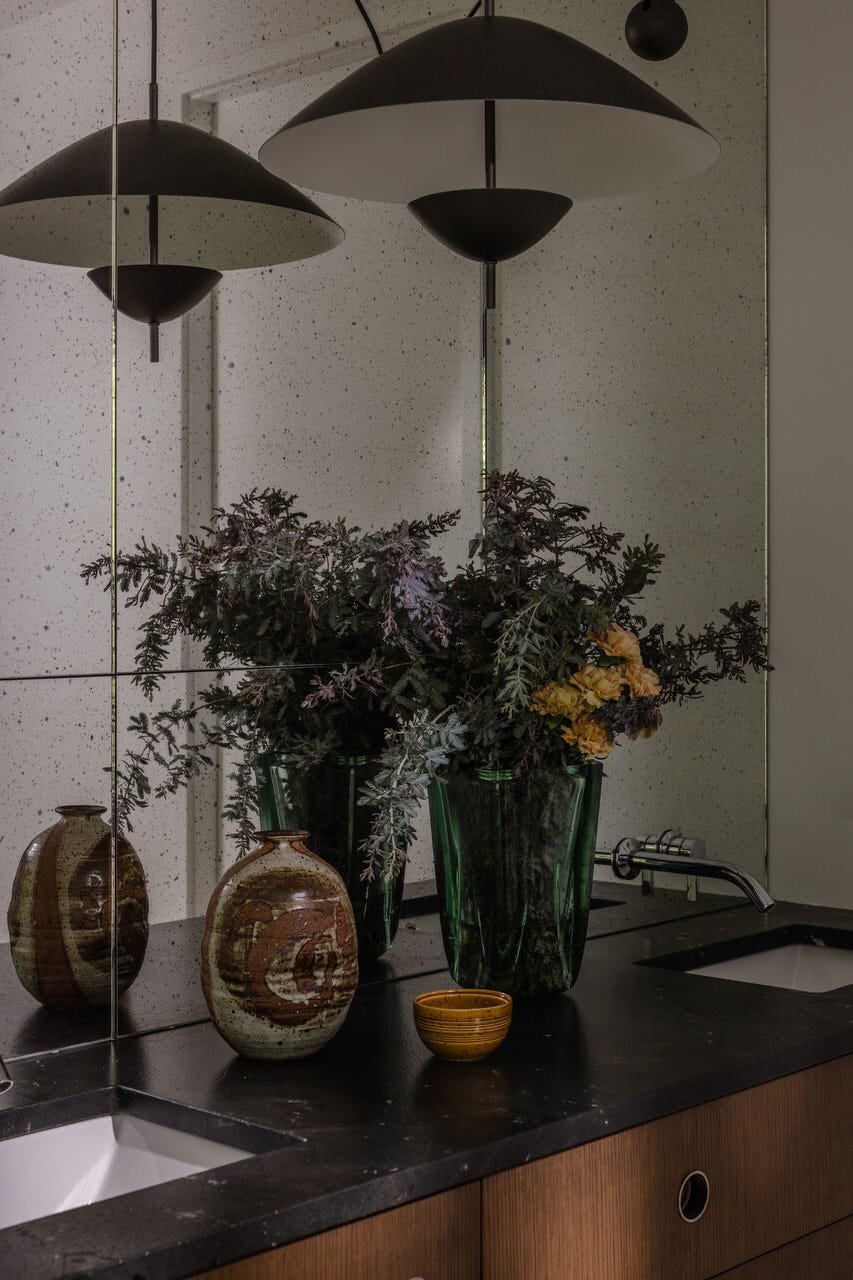
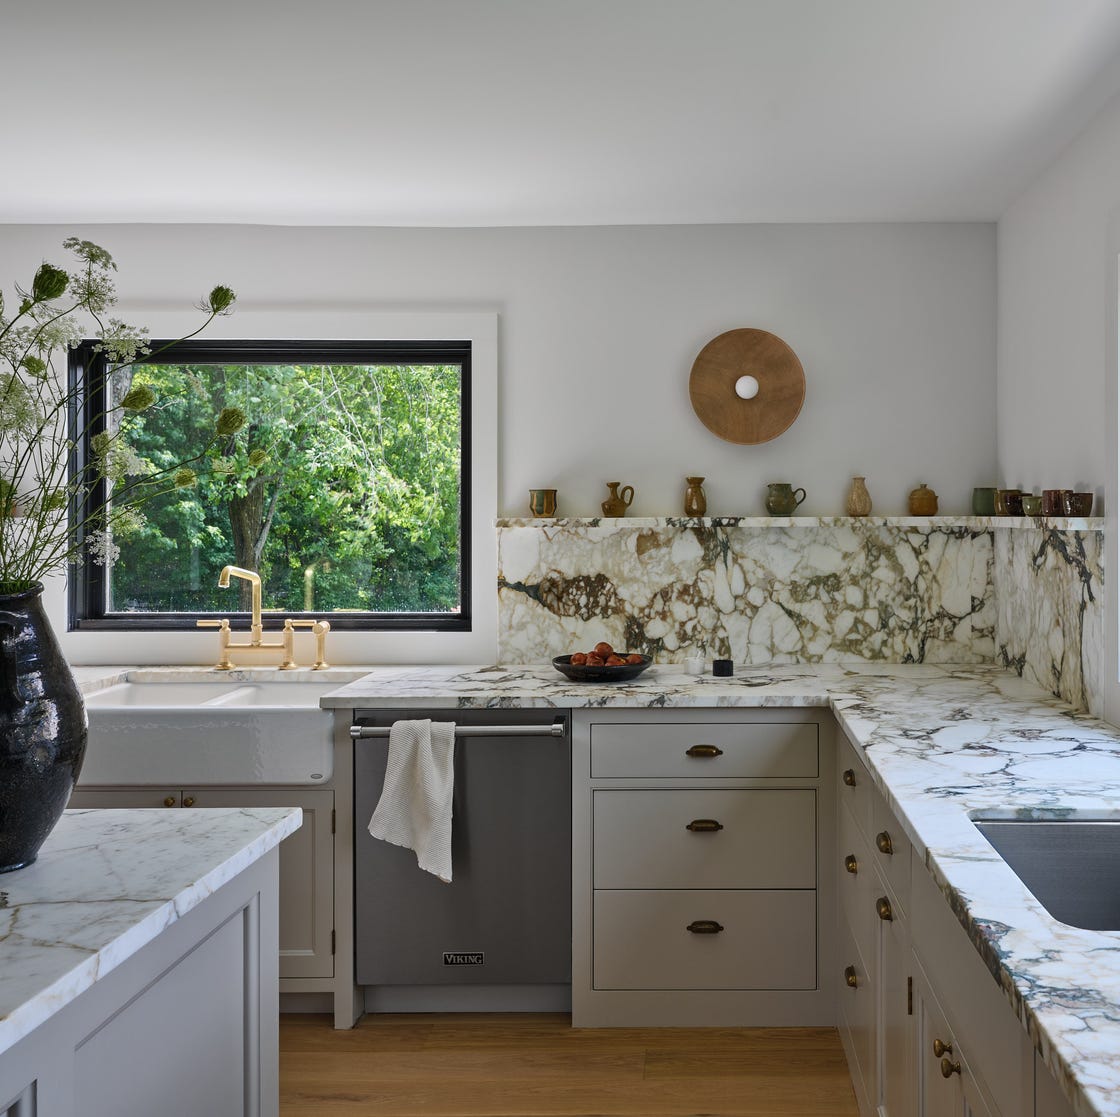
The final stage involves grouting. Grout should be mixed to a smooth consistency as per manufacturer guidelines and spread over the tiles with a rubber float held at a 45-degree angle, pressing it firmly into the joints. Caution is advised with epoxy grout, as it is difficult to remove once hardened, potentially leading to messy work or hazing. Excess grout is wiped off with a damp sponge, rinsed frequently to avoid removing grout from the joints. Once the grout sets, tiles are buffed with a dry cloth to remove any haze, and a grout sealer is applied for protection against stains and moisture. A color-matched silicone caulk is recommended along edges where the backsplash meets countertops and cabinets for a finished look and added water protection.
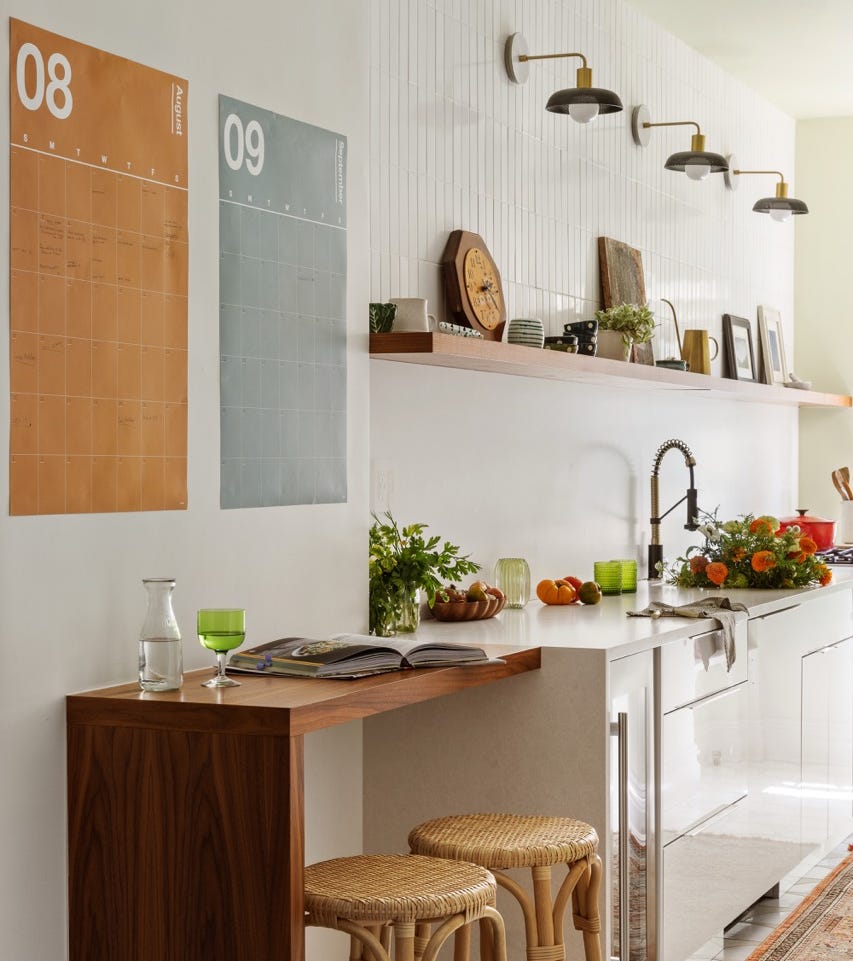
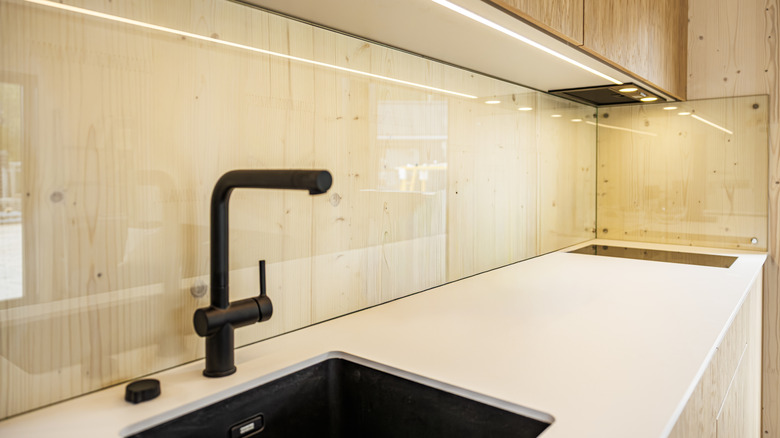
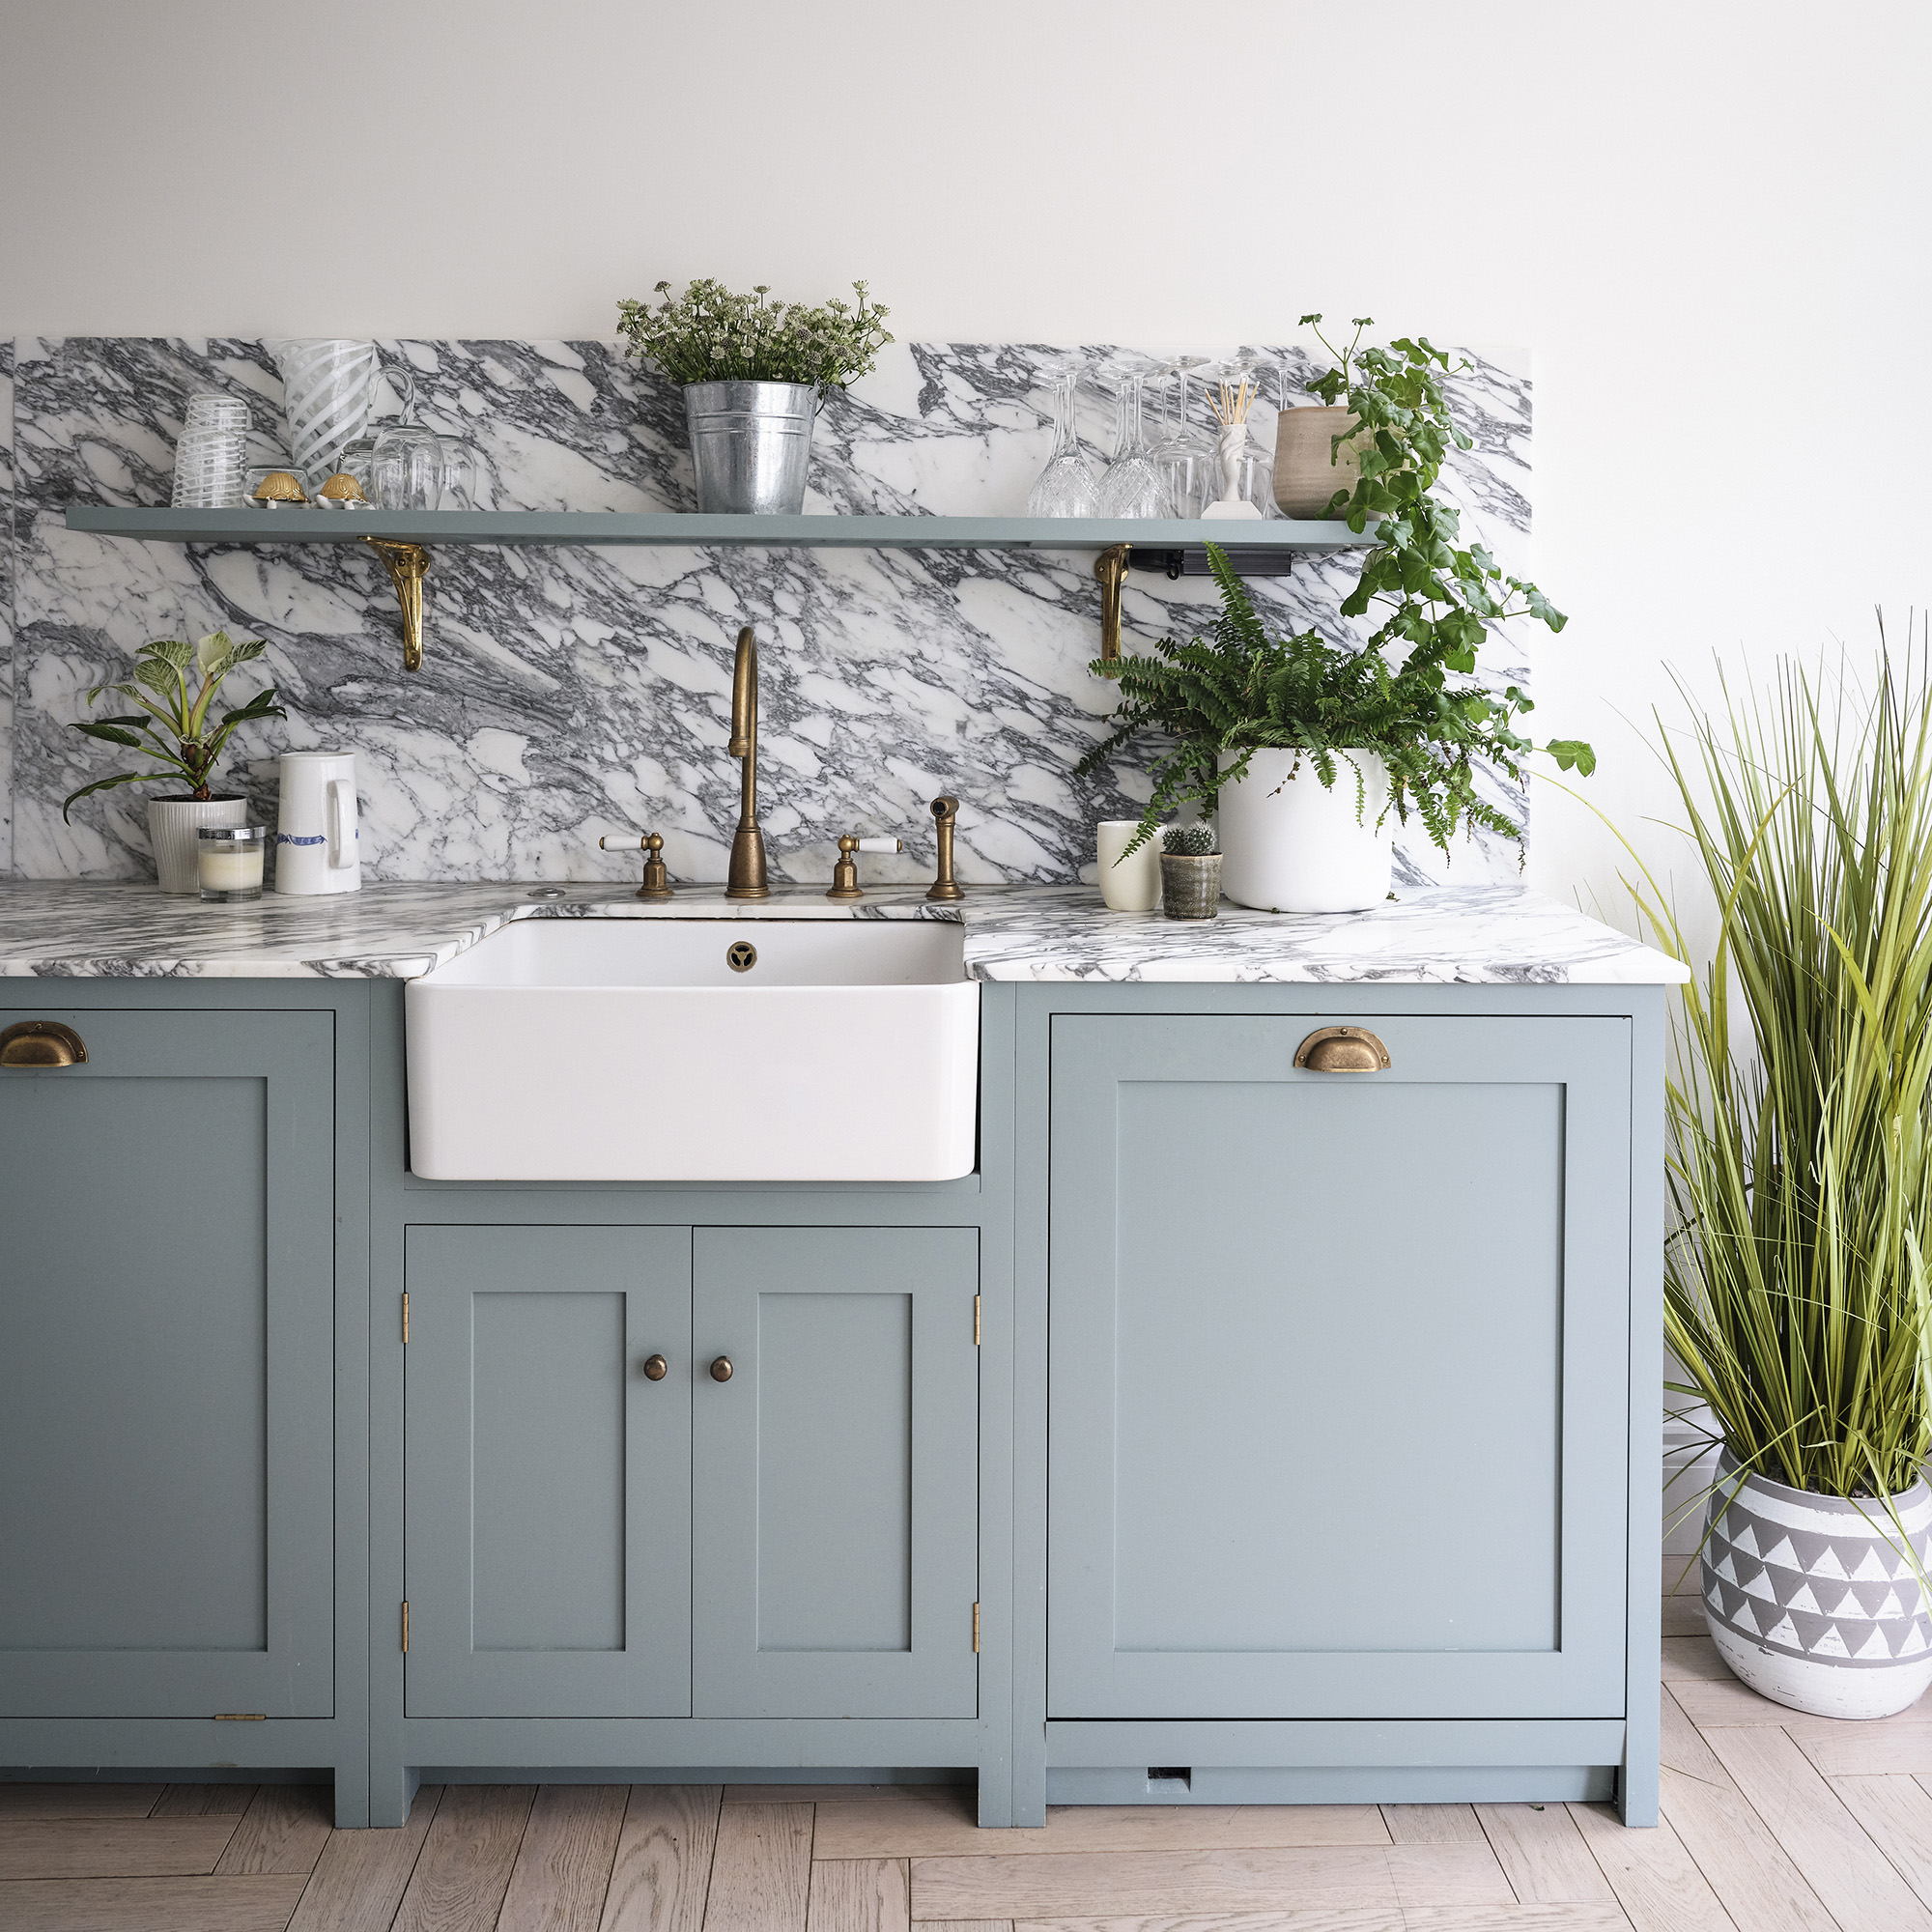
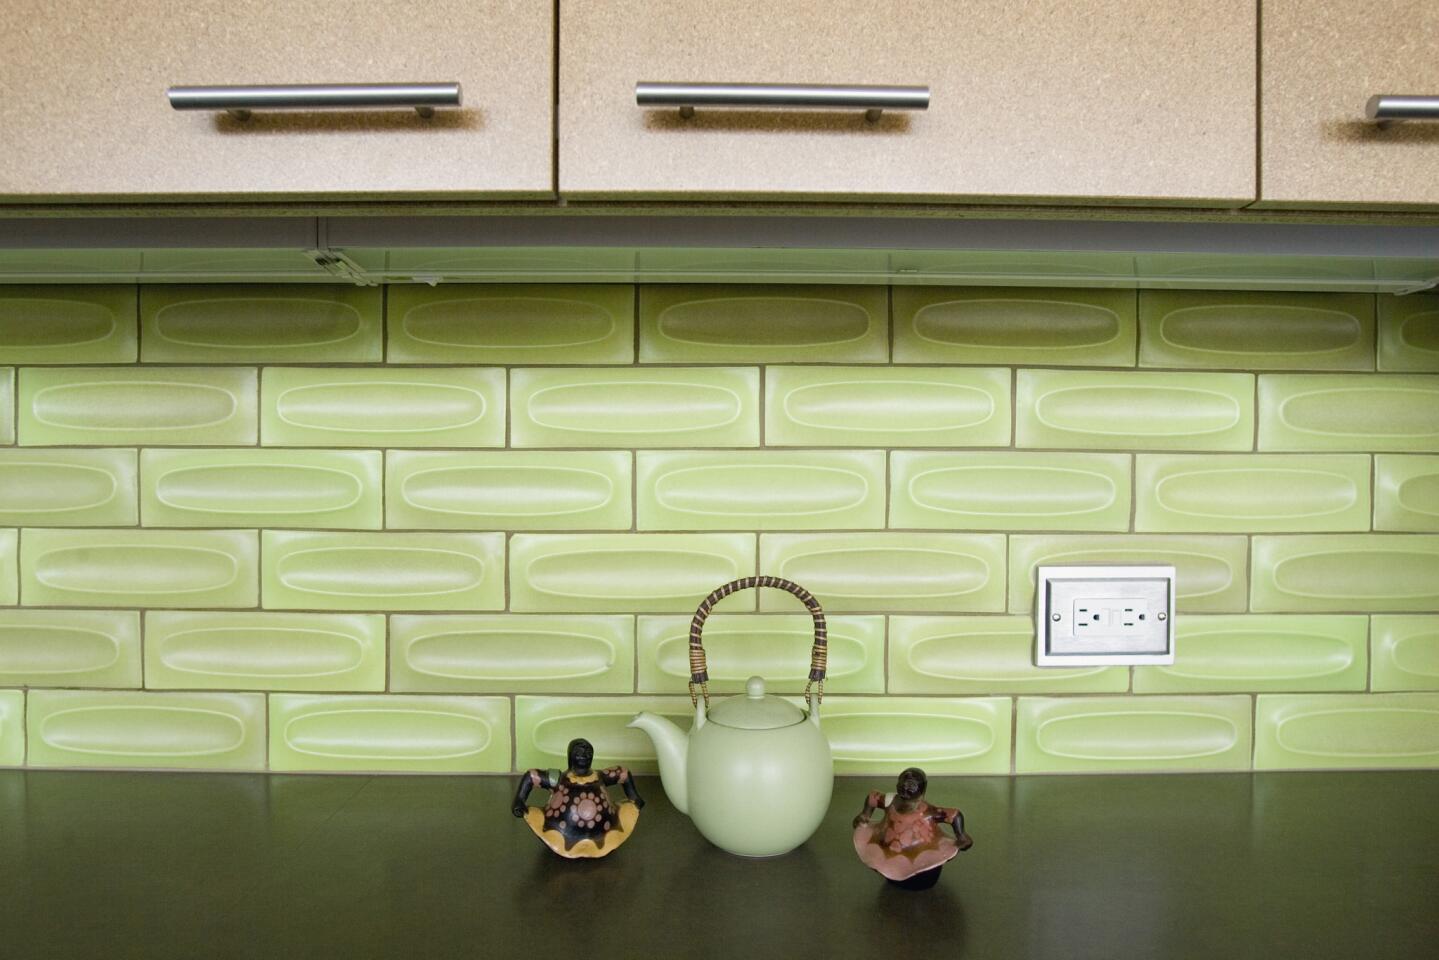
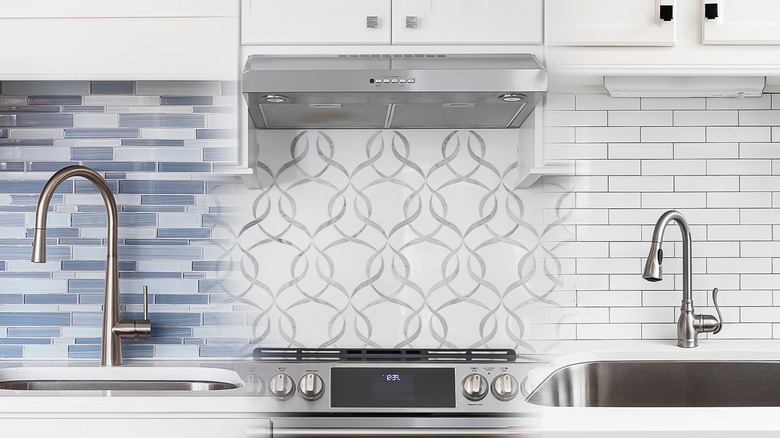
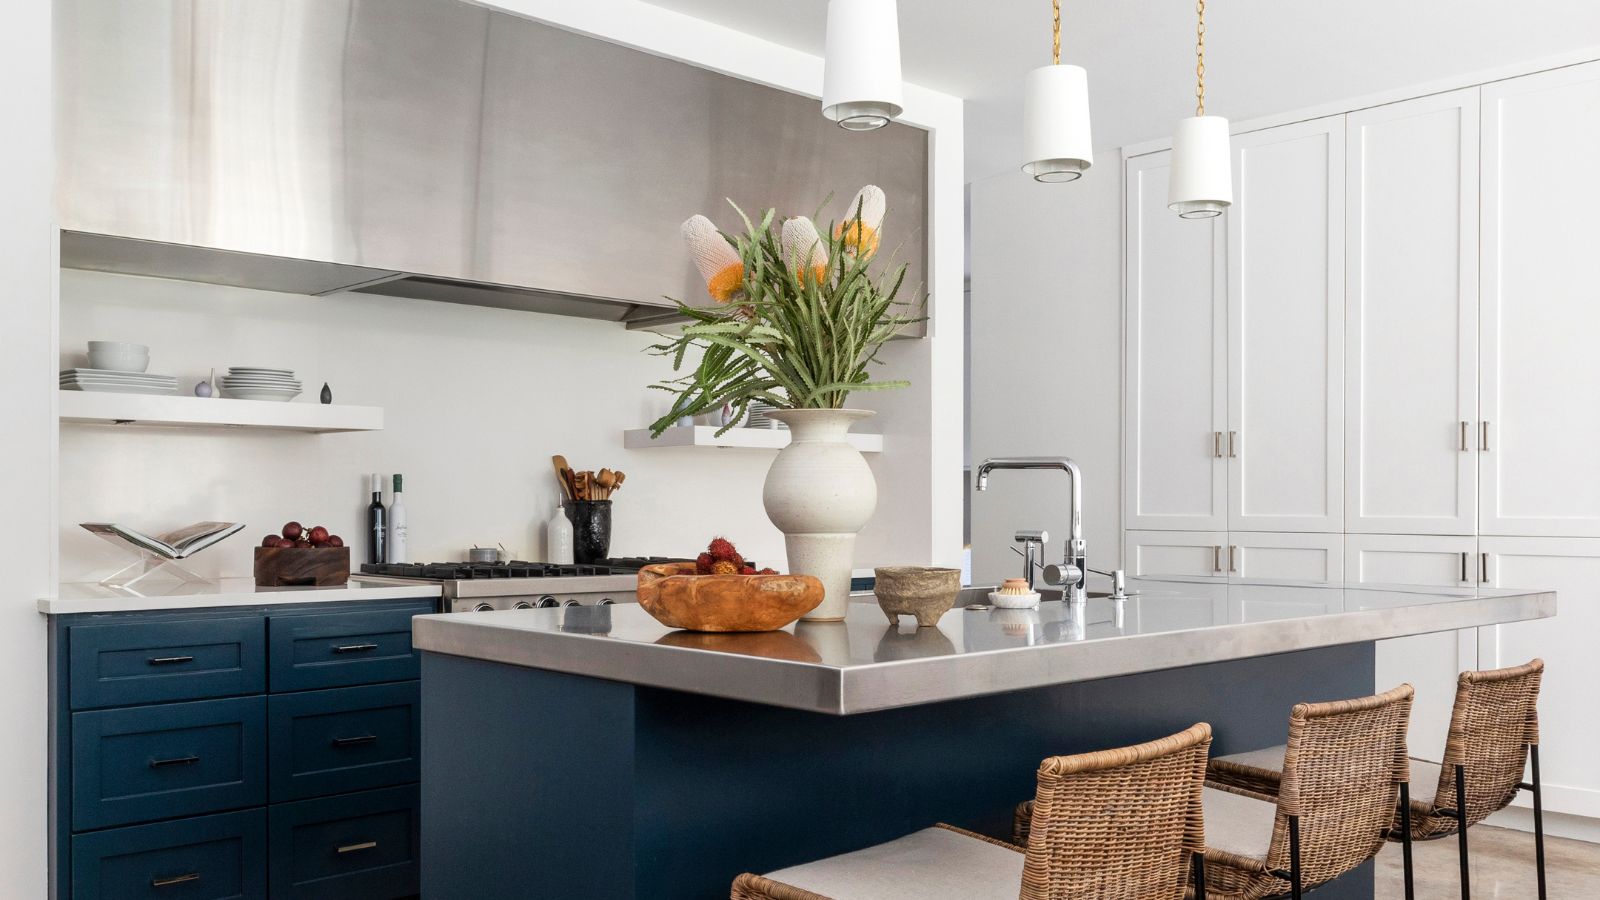
For renters or those seeking less permanent solutions, the guide suggests several alternatives. Removable vinyl wallpaper offers a variety of patterns and colors. Microcement can create a cost-effective, wabi-sabi effect, though it requires additional materials like primer, sander, and sealant. Tile decals, essentially stickers sized to fit existing tiles, provide an easy refresh, emphasizing careful measurement before ordering. These options allow for significant aesthetic upgrades without the commitment of a full tile replacement.
#HomeImprovement #KitchenRenovation #DIYProject #BacksplashInstallation #TileWork #InteriorDesign #HomeDecor #RenterFriendly #HomeImprovement #KitchenRenovation #DIYProject #BacksplashInstallation #TileWork #InteriorDesign #HomeDecor #RenterFriendly
0 comment in total
You may also like
Freshen up the look of your kitchen with a unique backsplash

10 Kitchen Backsplash Trends That Are Out In 2025

8 Backsplashes to Avoid, According to Interior Designers

7 Backsplash Mistakes That Will Date Your Kitchen
Why Half Backsplashes Are Taking Over Kitchen Design, According to Experts

This Striking Geometric Backsplash Is Just the Thing to Upgrade Your Kitchen

8 Backsplash Styles Designers Say Are Dating Your Kitchen
The Most Stylish Kitchens Right Now Feature This Striking Backsplash Trend – And Designers Swear By It For a Bold-Meets-Timeless Scheme

6 outdated kitchen backsplash designs that can bring down a whole room

Backsplash gives your kitchen a smooth finish
Your Backsplash Is Cheapening Your Kitchen—Here's How to Fix It, According to Designers
All the most stylish kitchens in 2025 forgo this key feature
This Modern Backsplash Alternative Makes Your Kitchen Look Bigger And Brighter

67% of Renovators Are Abandoning Standard Backsplashes for This Maximalist Look

Kitchen splashback ideas for beautiful wall protection that is packed with style
12 colorful kitchen backsplash ideas

The 'wallpaper' of the kitchen – why choosing the right kitchen backsplash can make or break a space

Ditch These Dated Backsplash Trends For Timeless Alternatives
Blended backsplashes are trending in kitchen design – this is what you should know
Common kitchen backsplash trends to avoid in 2025