A real person’s 5-step guide to putting up temporary wallpaper
This blog post details a personal experiment with temporary, peel-and-stick wallpaper, offering a practical, step-by-step guide for installation, along with lessons learned during the process. The author, not a seasoned DIY enthusiast, was intrigued by the product's promise of easy application and removal, making it ideal for renters or those hesitant about permanent decor changes. The experiment involved using four panels from Chasing Paper, including a chalkboard panel, a “Book Worm” print, and two “Wild” print panels, totaling $153.26 including taxes and shipping. The installation took approximately an hour and a half.
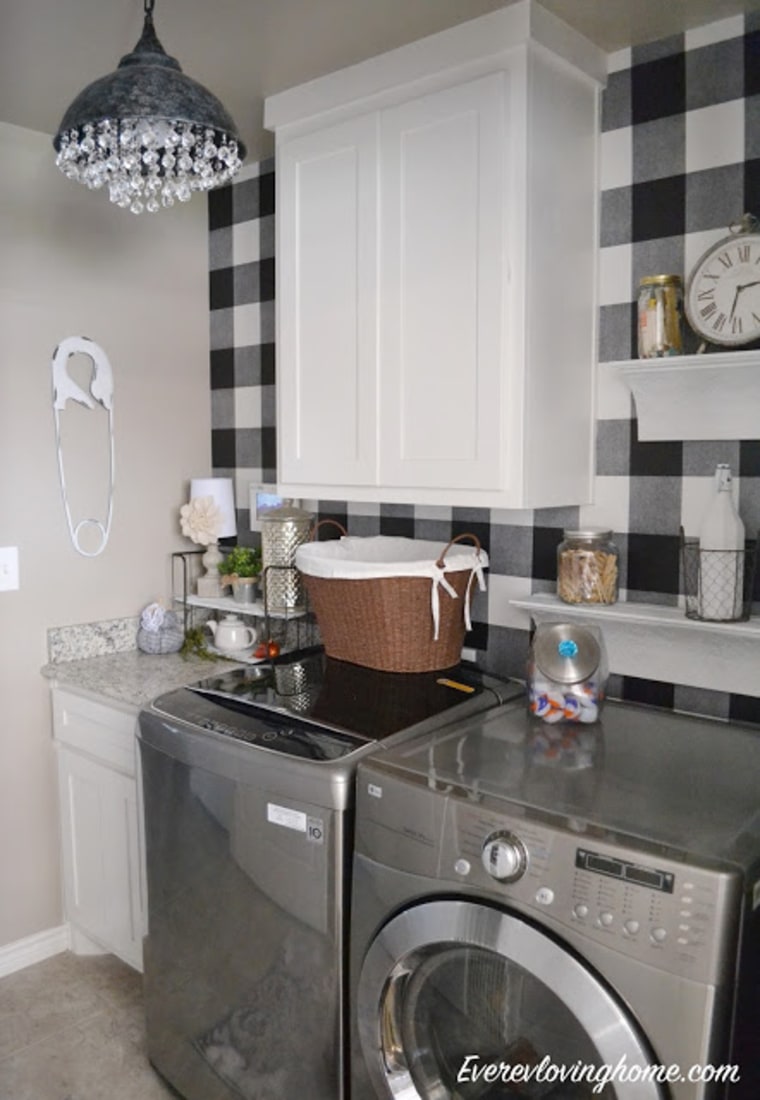
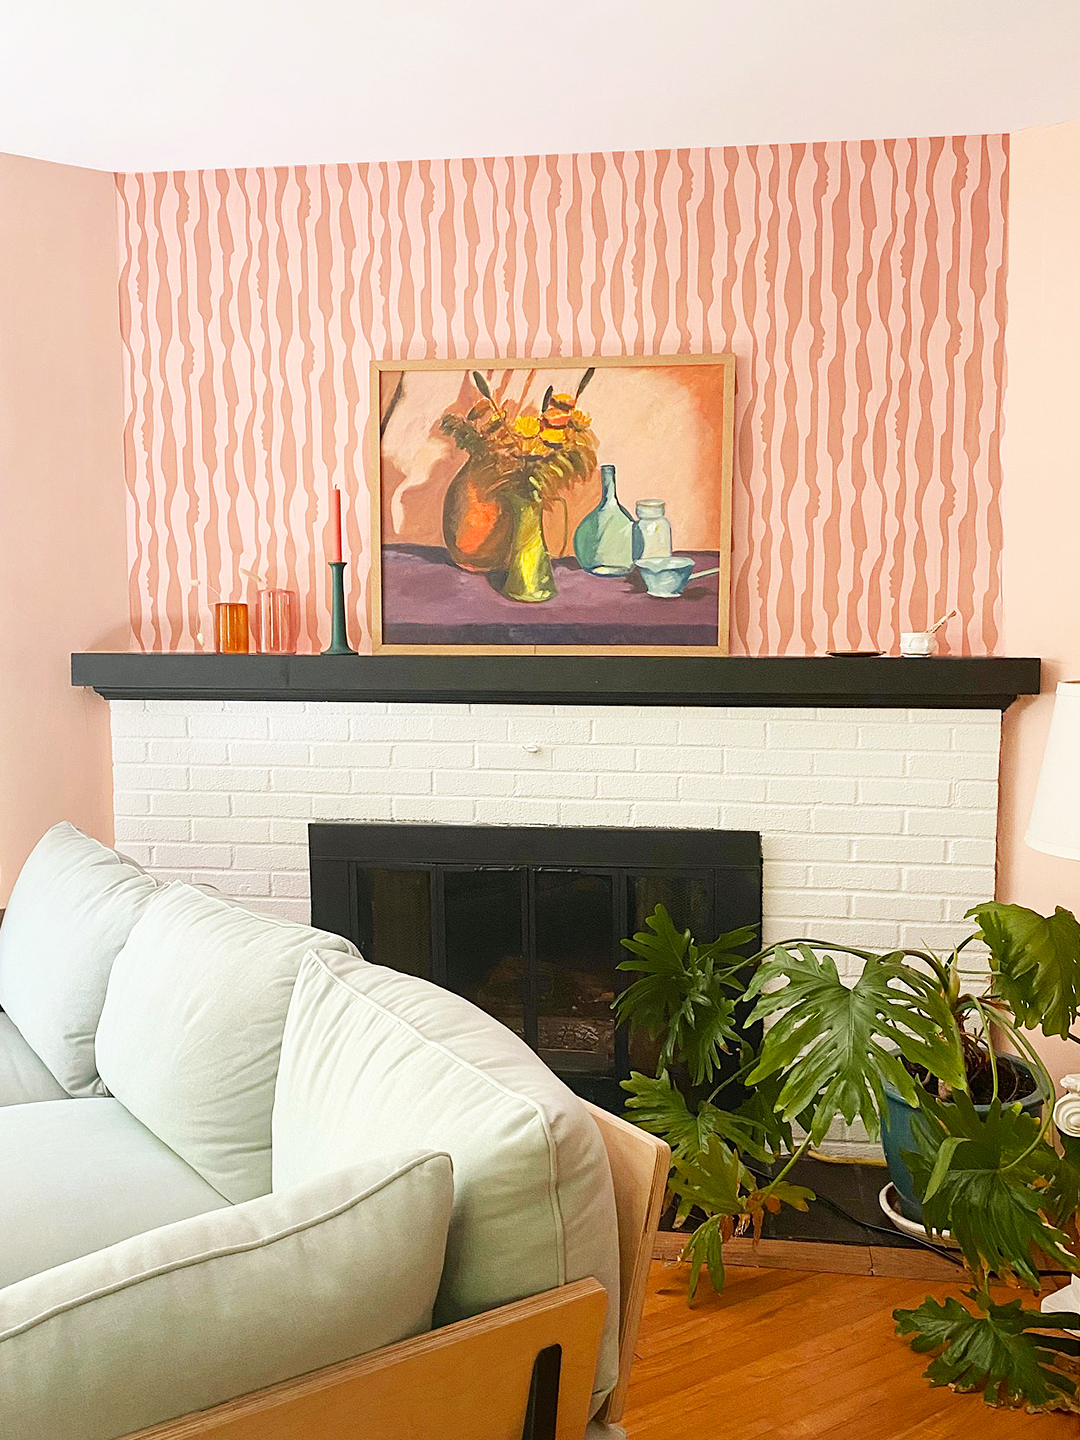
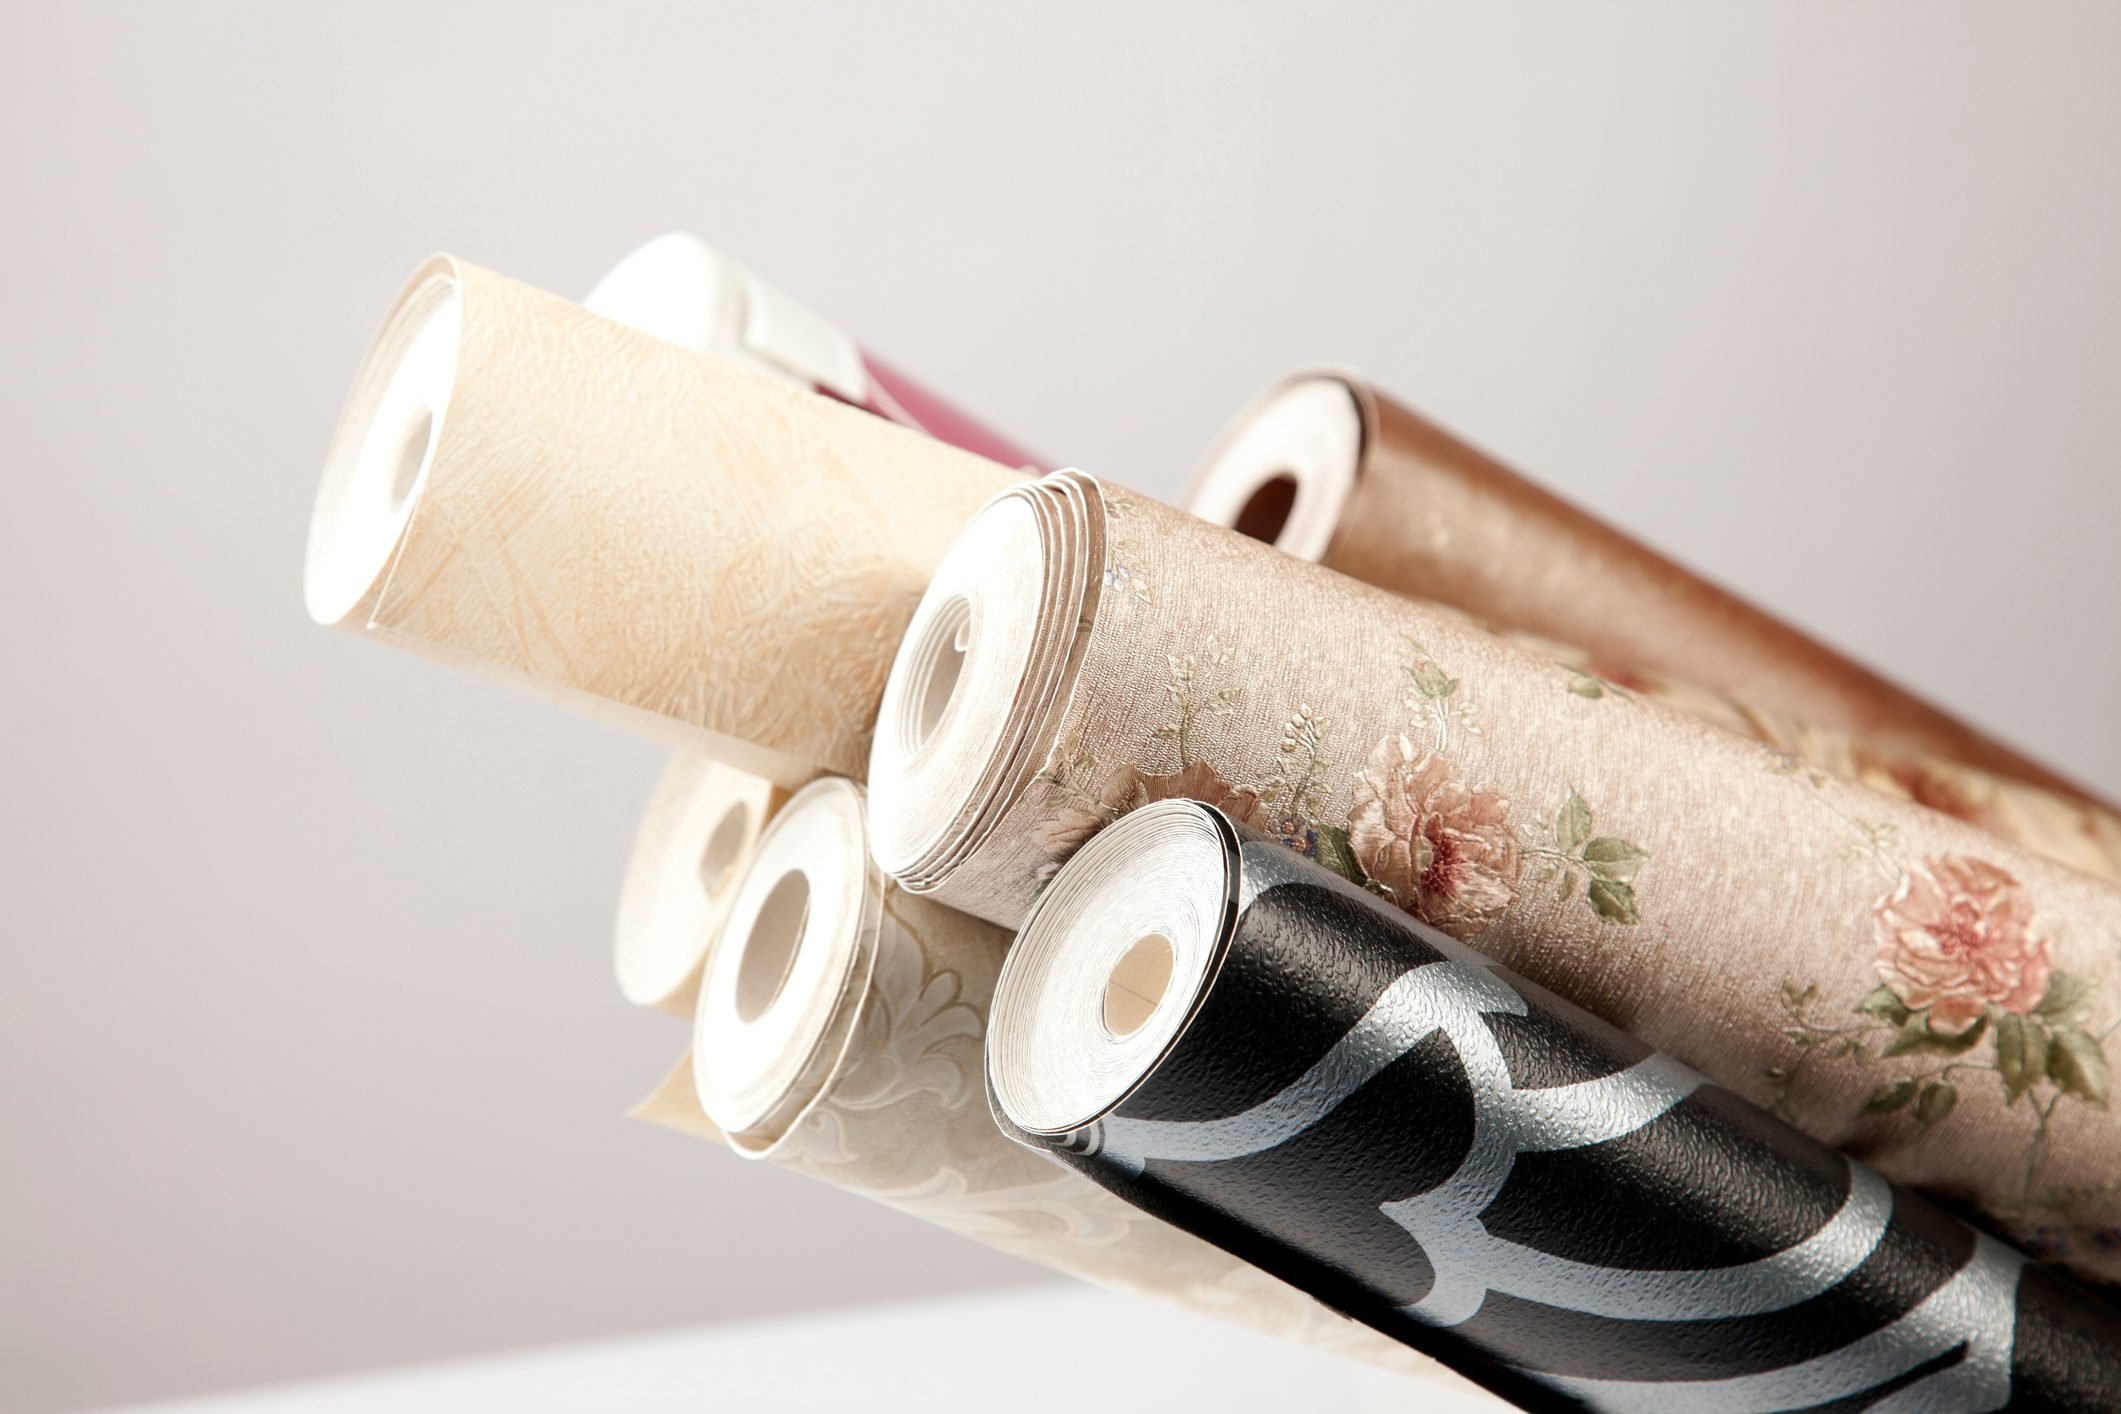
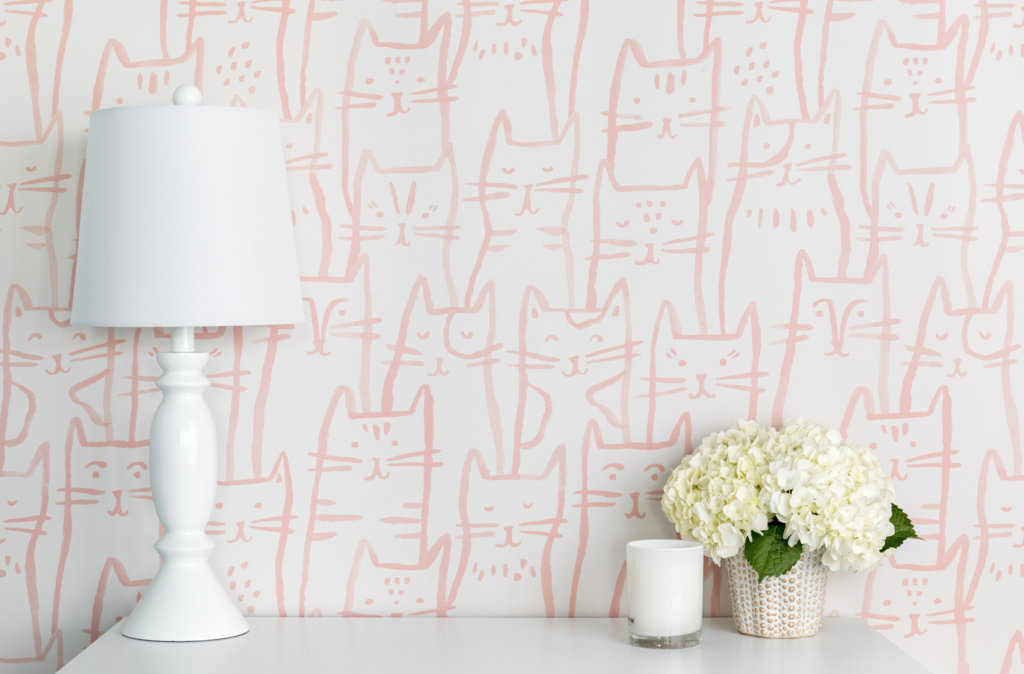
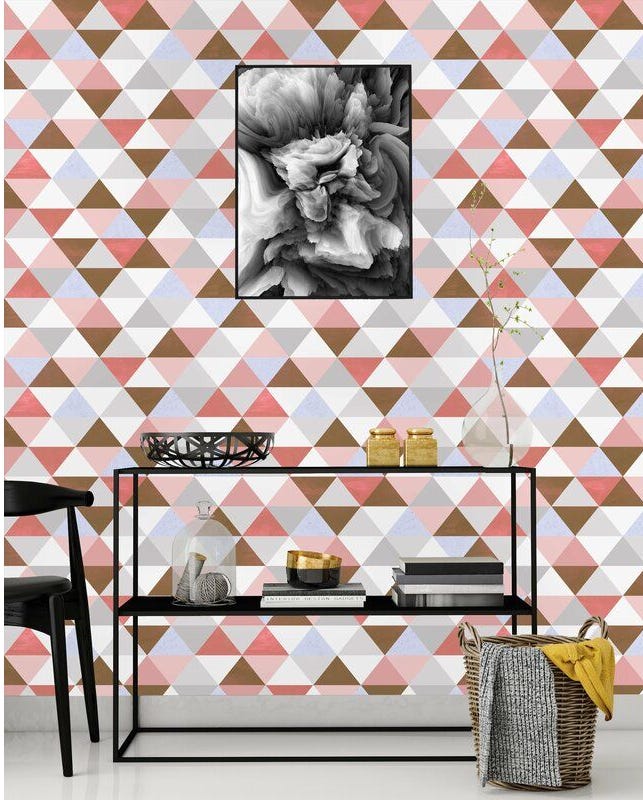
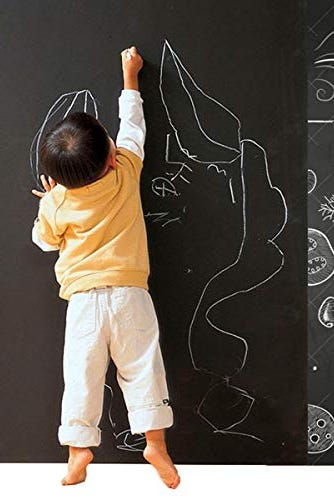
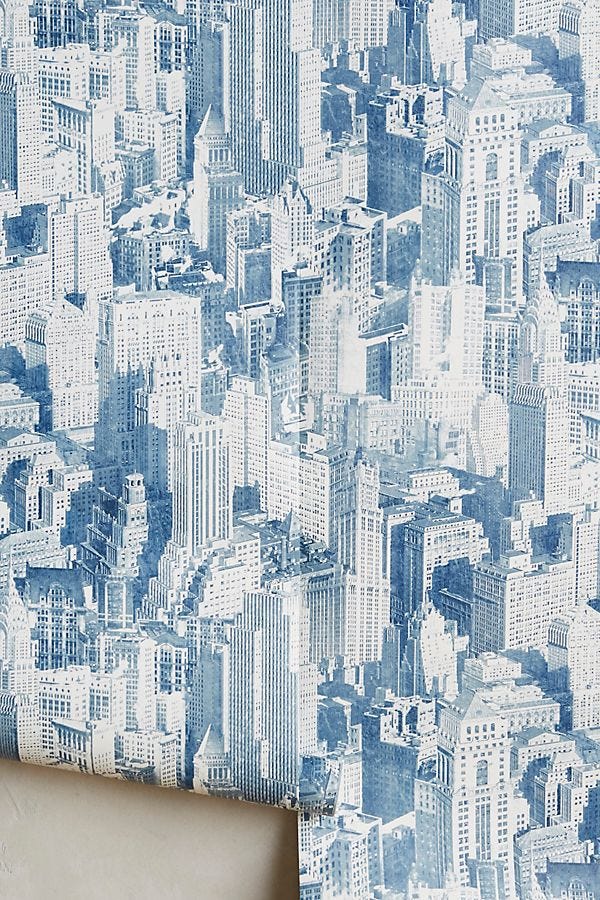
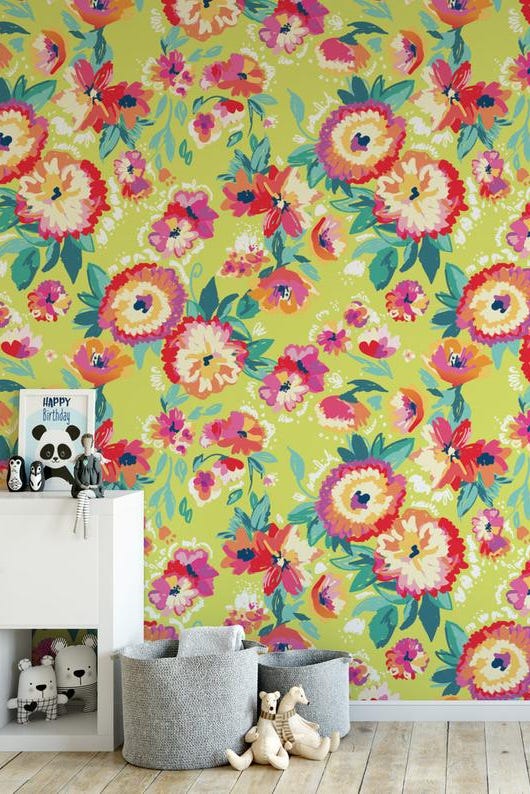
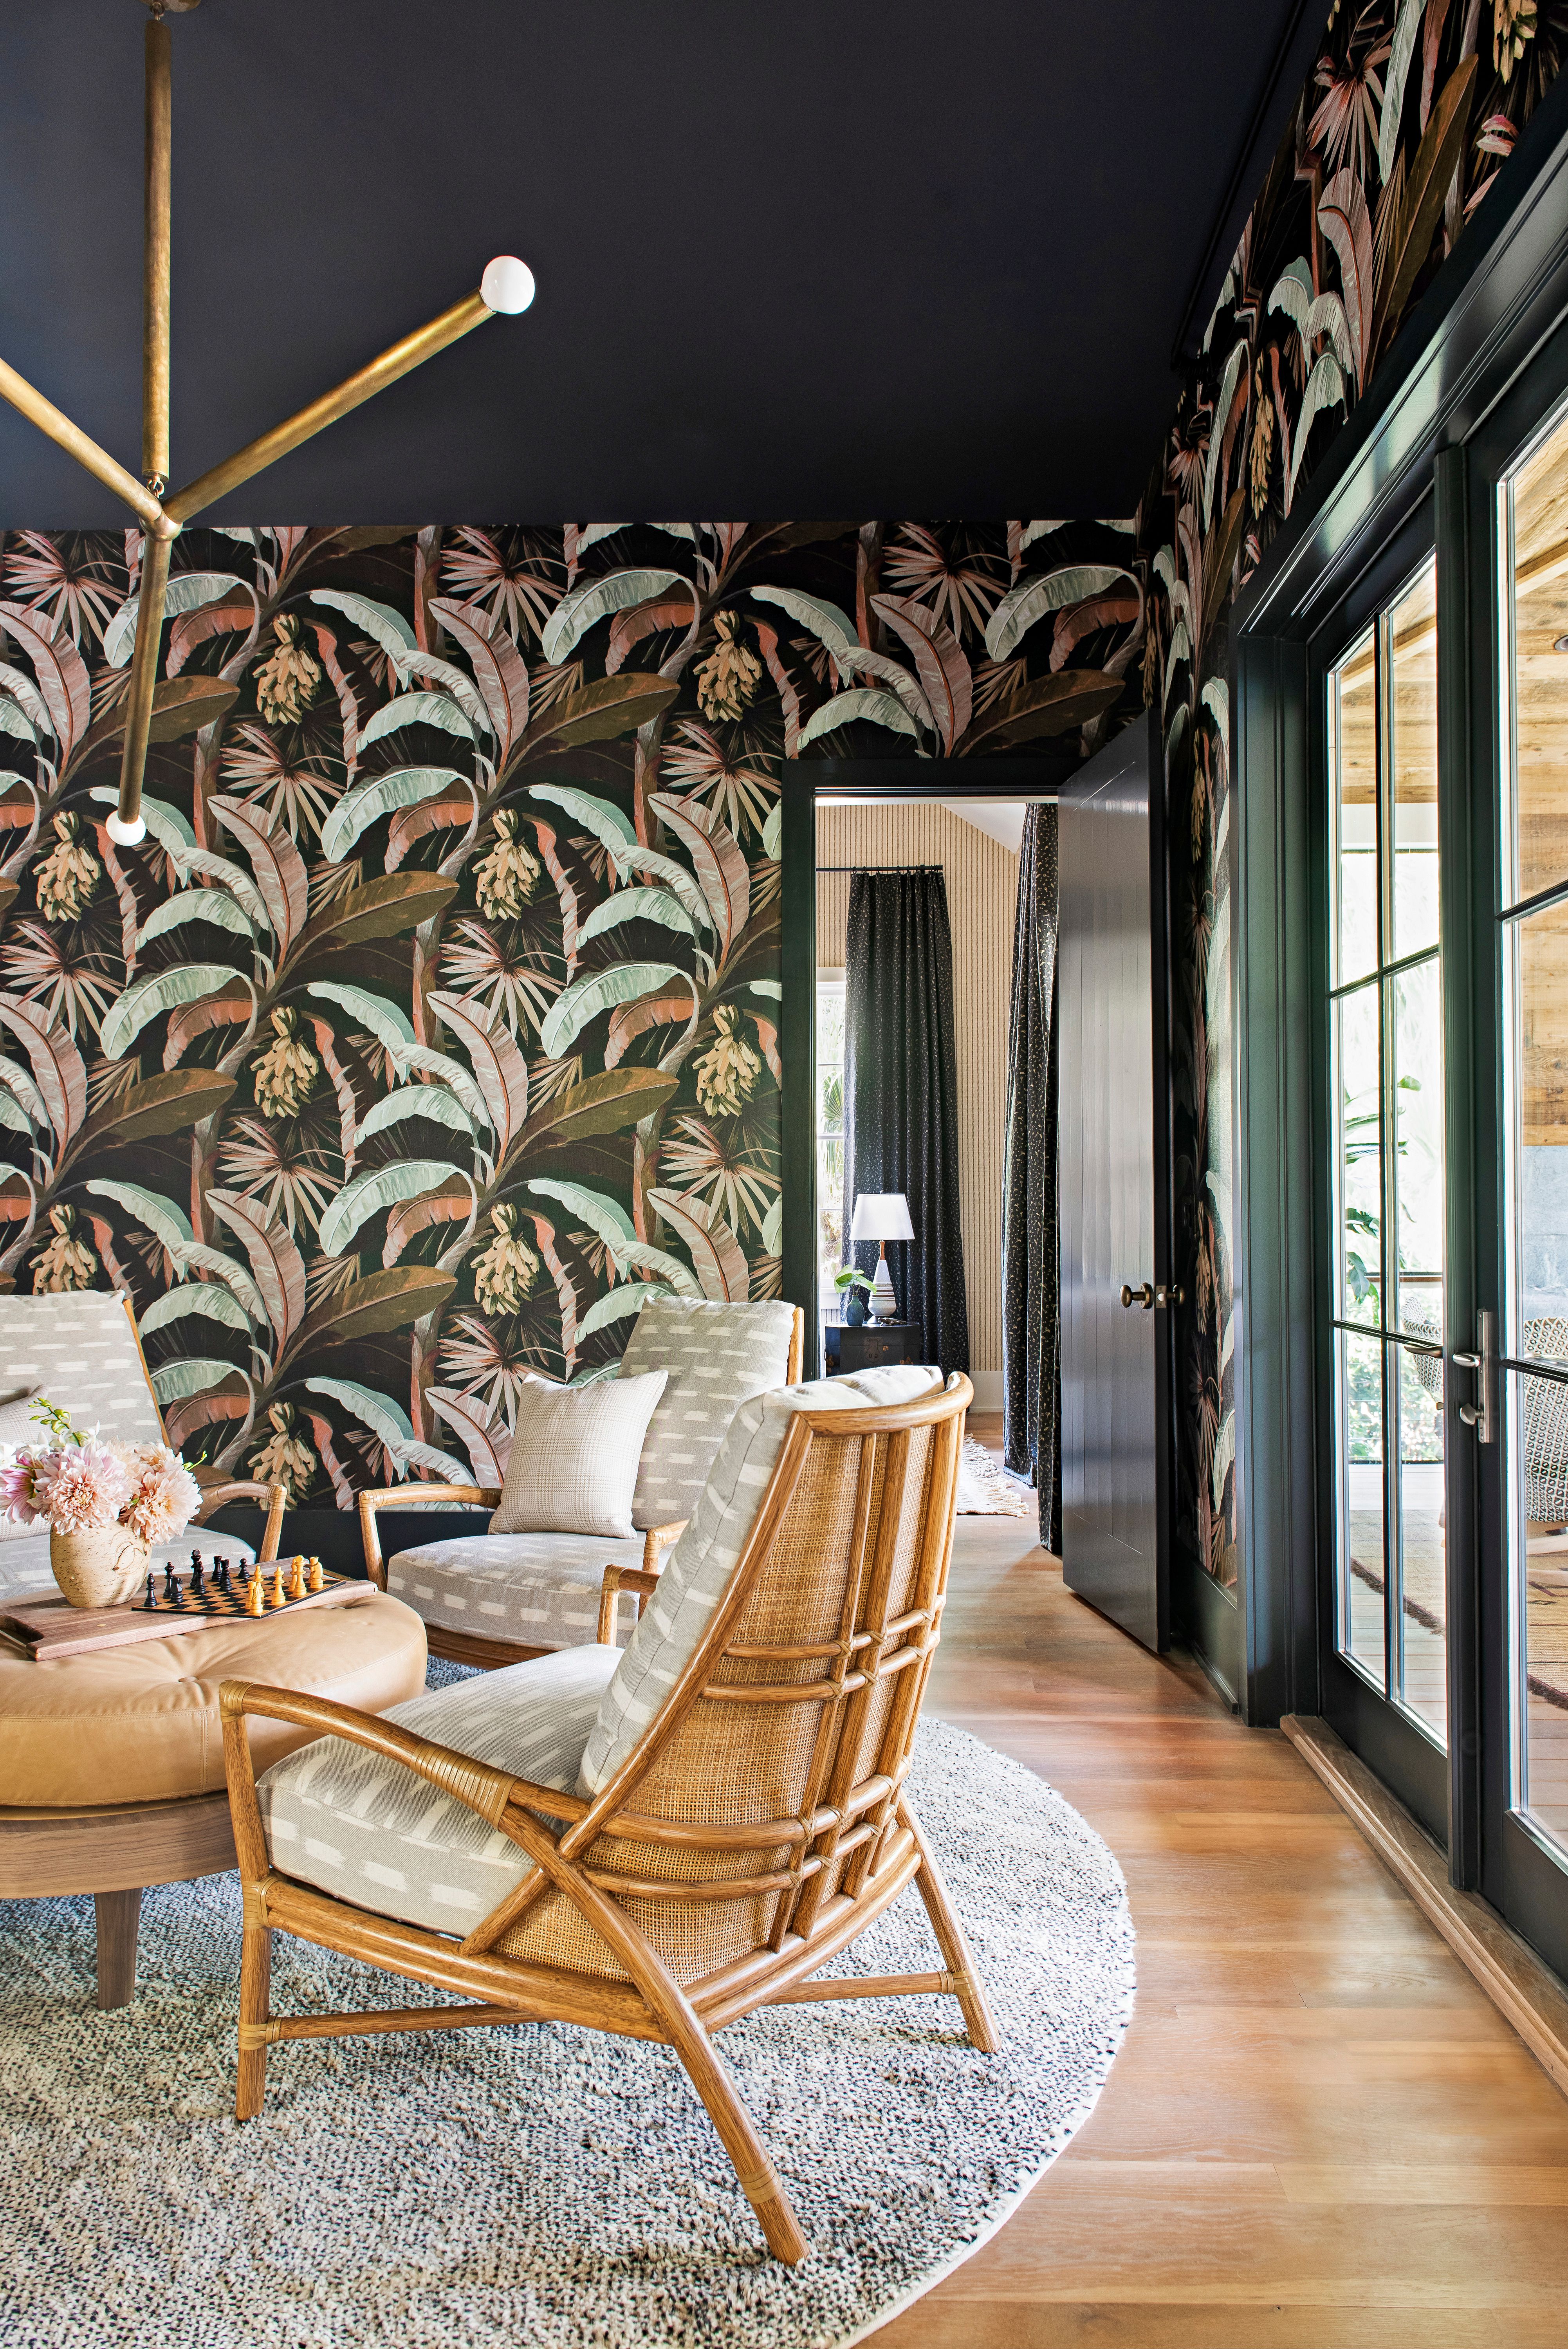
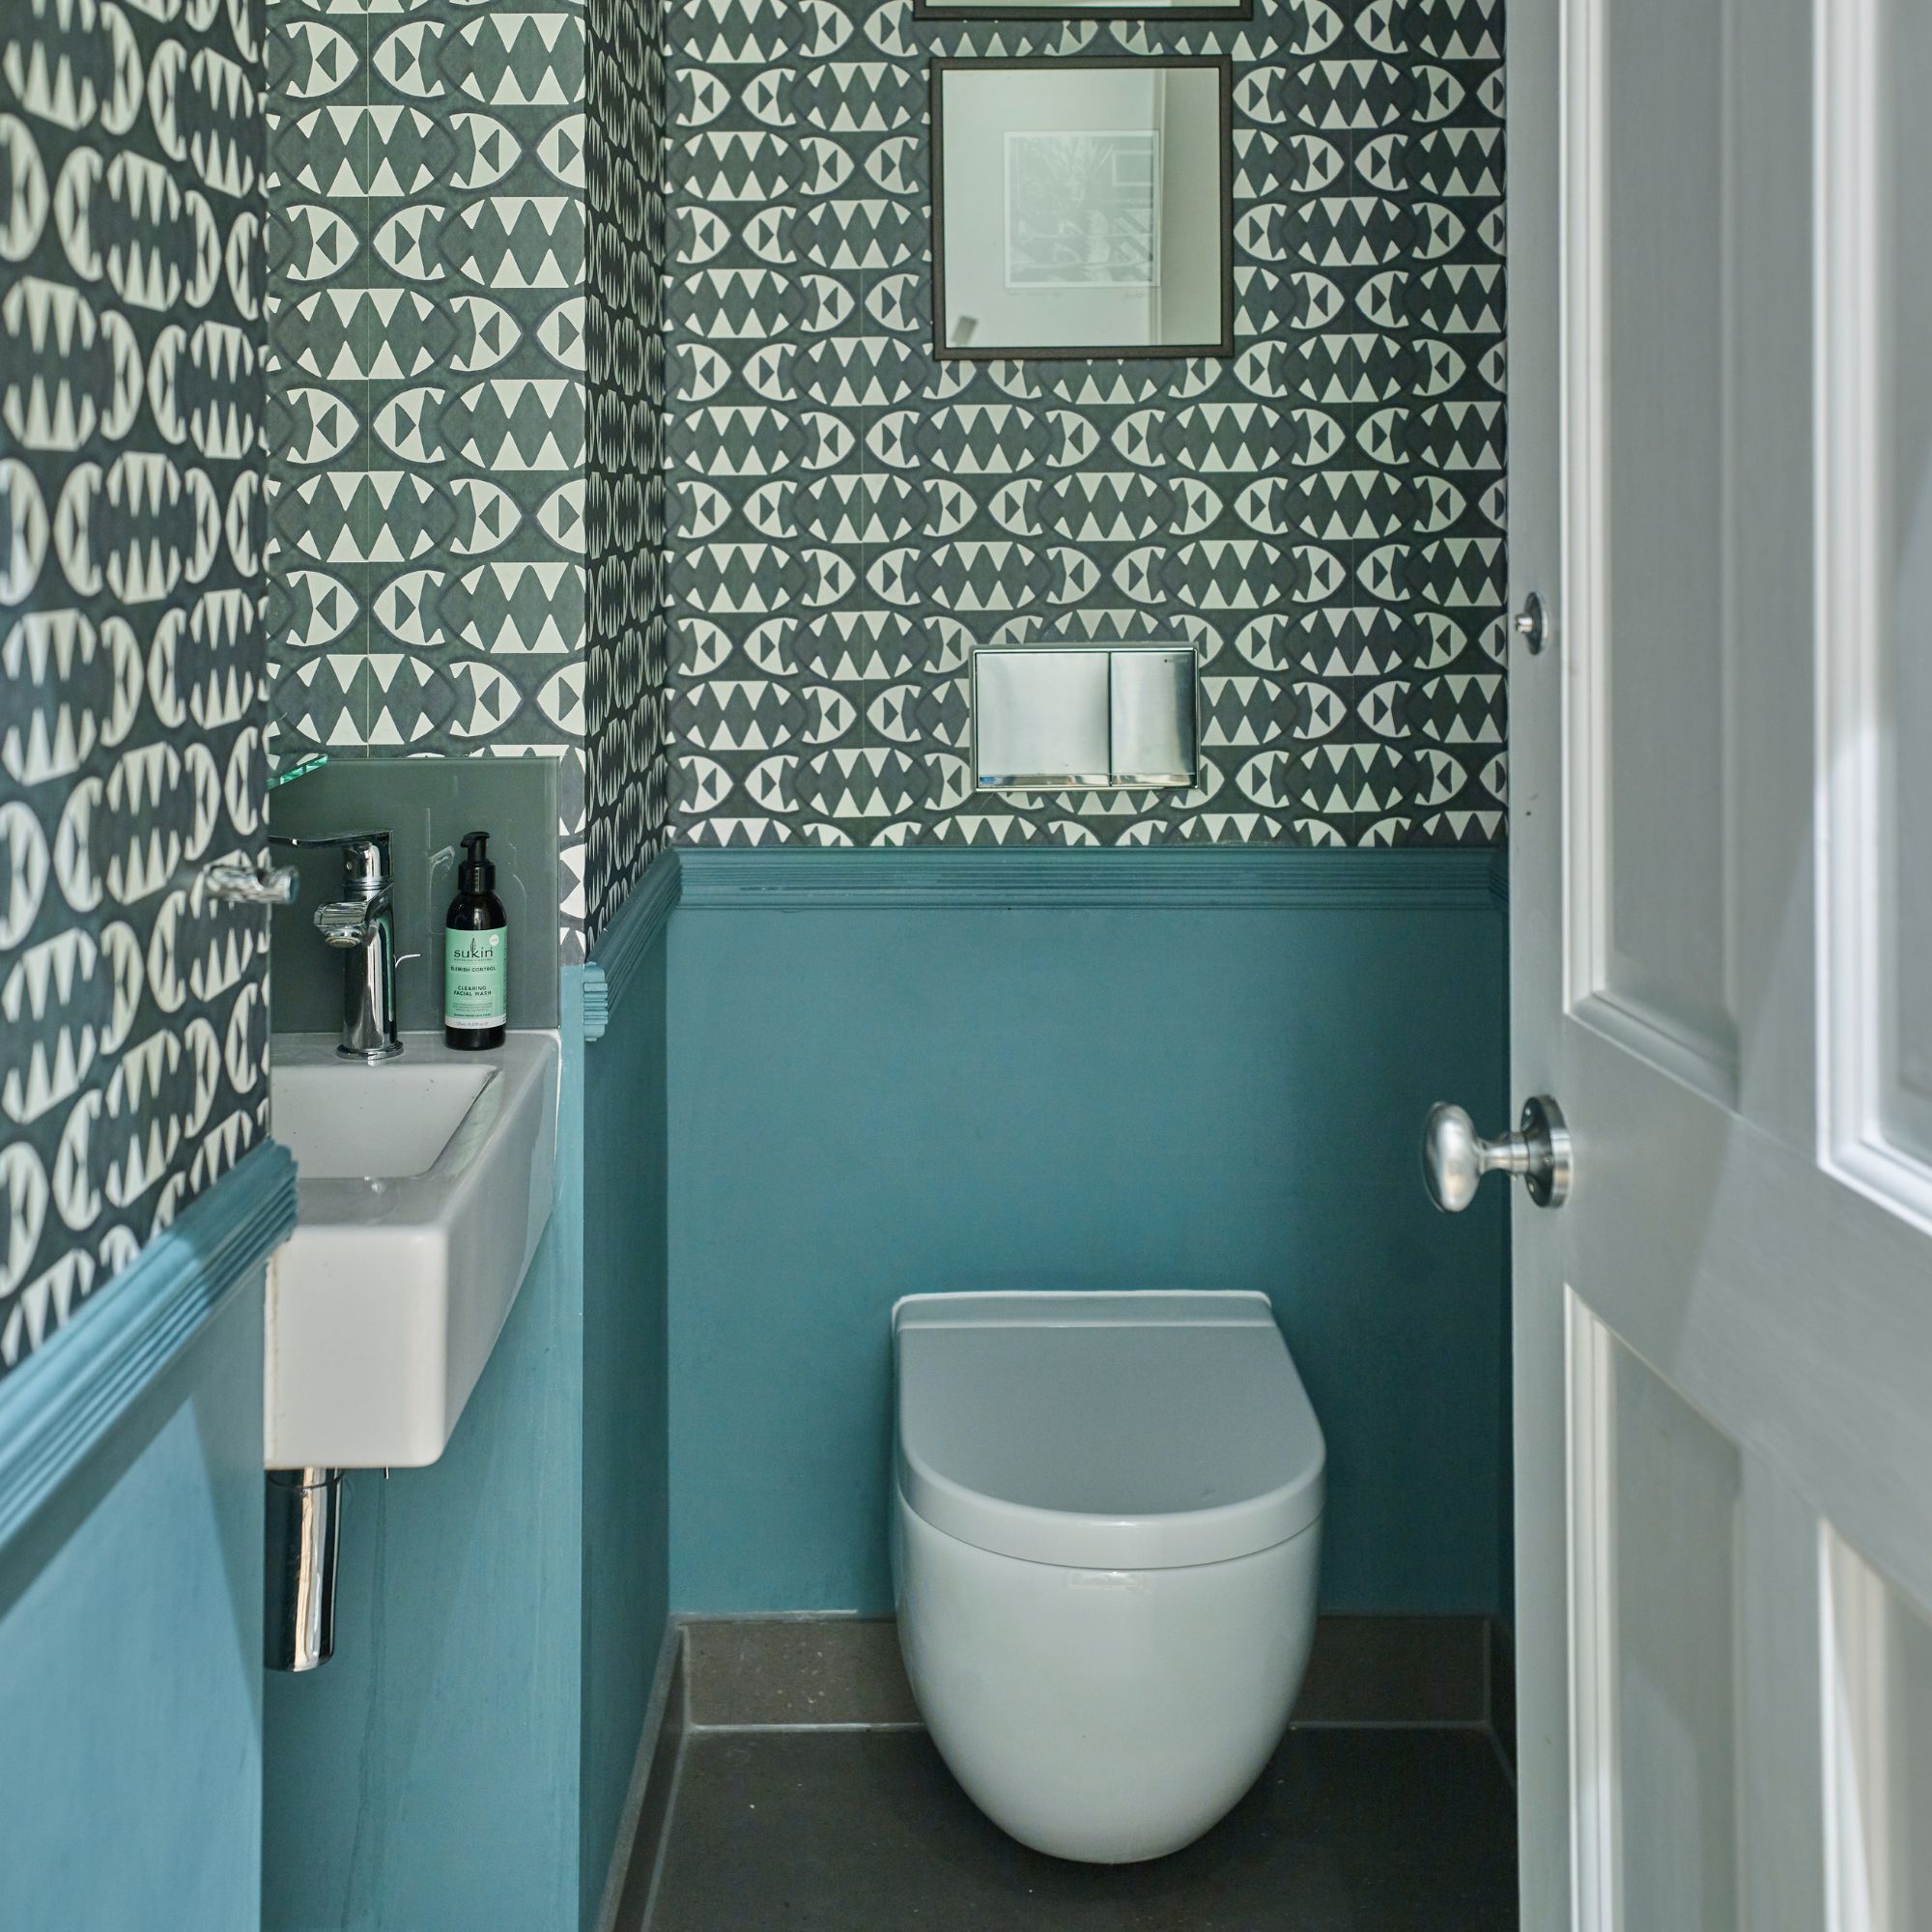
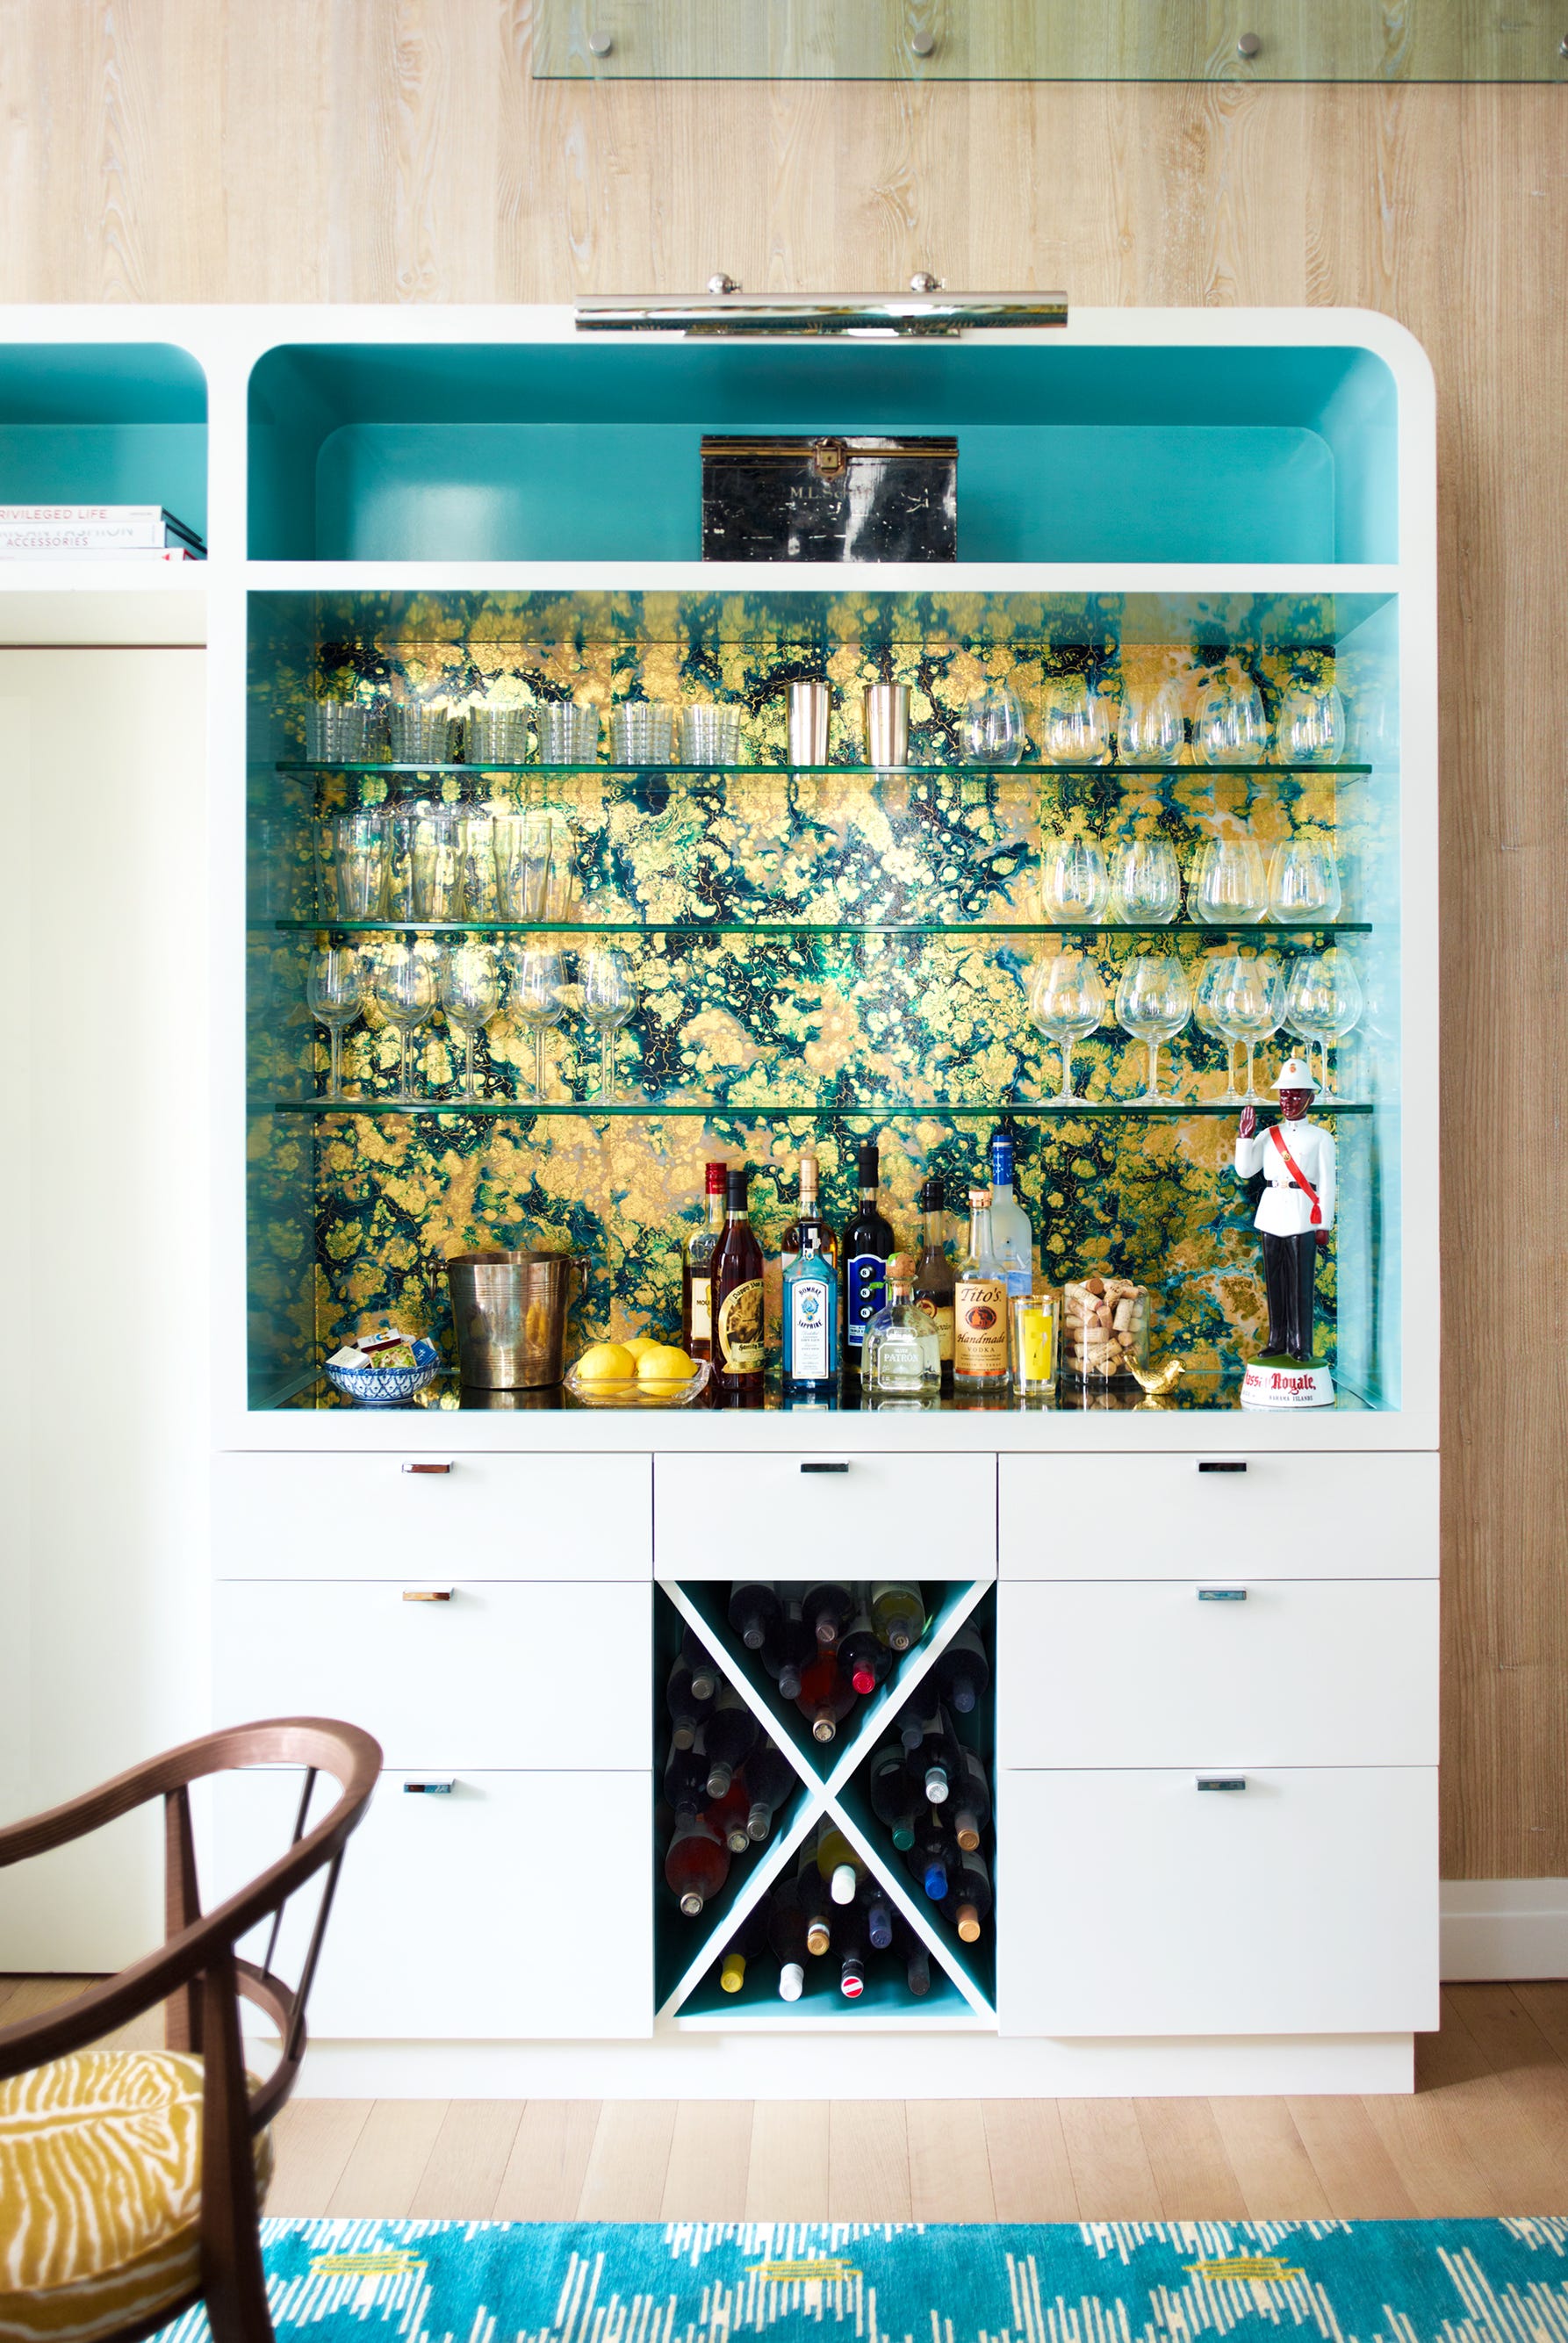
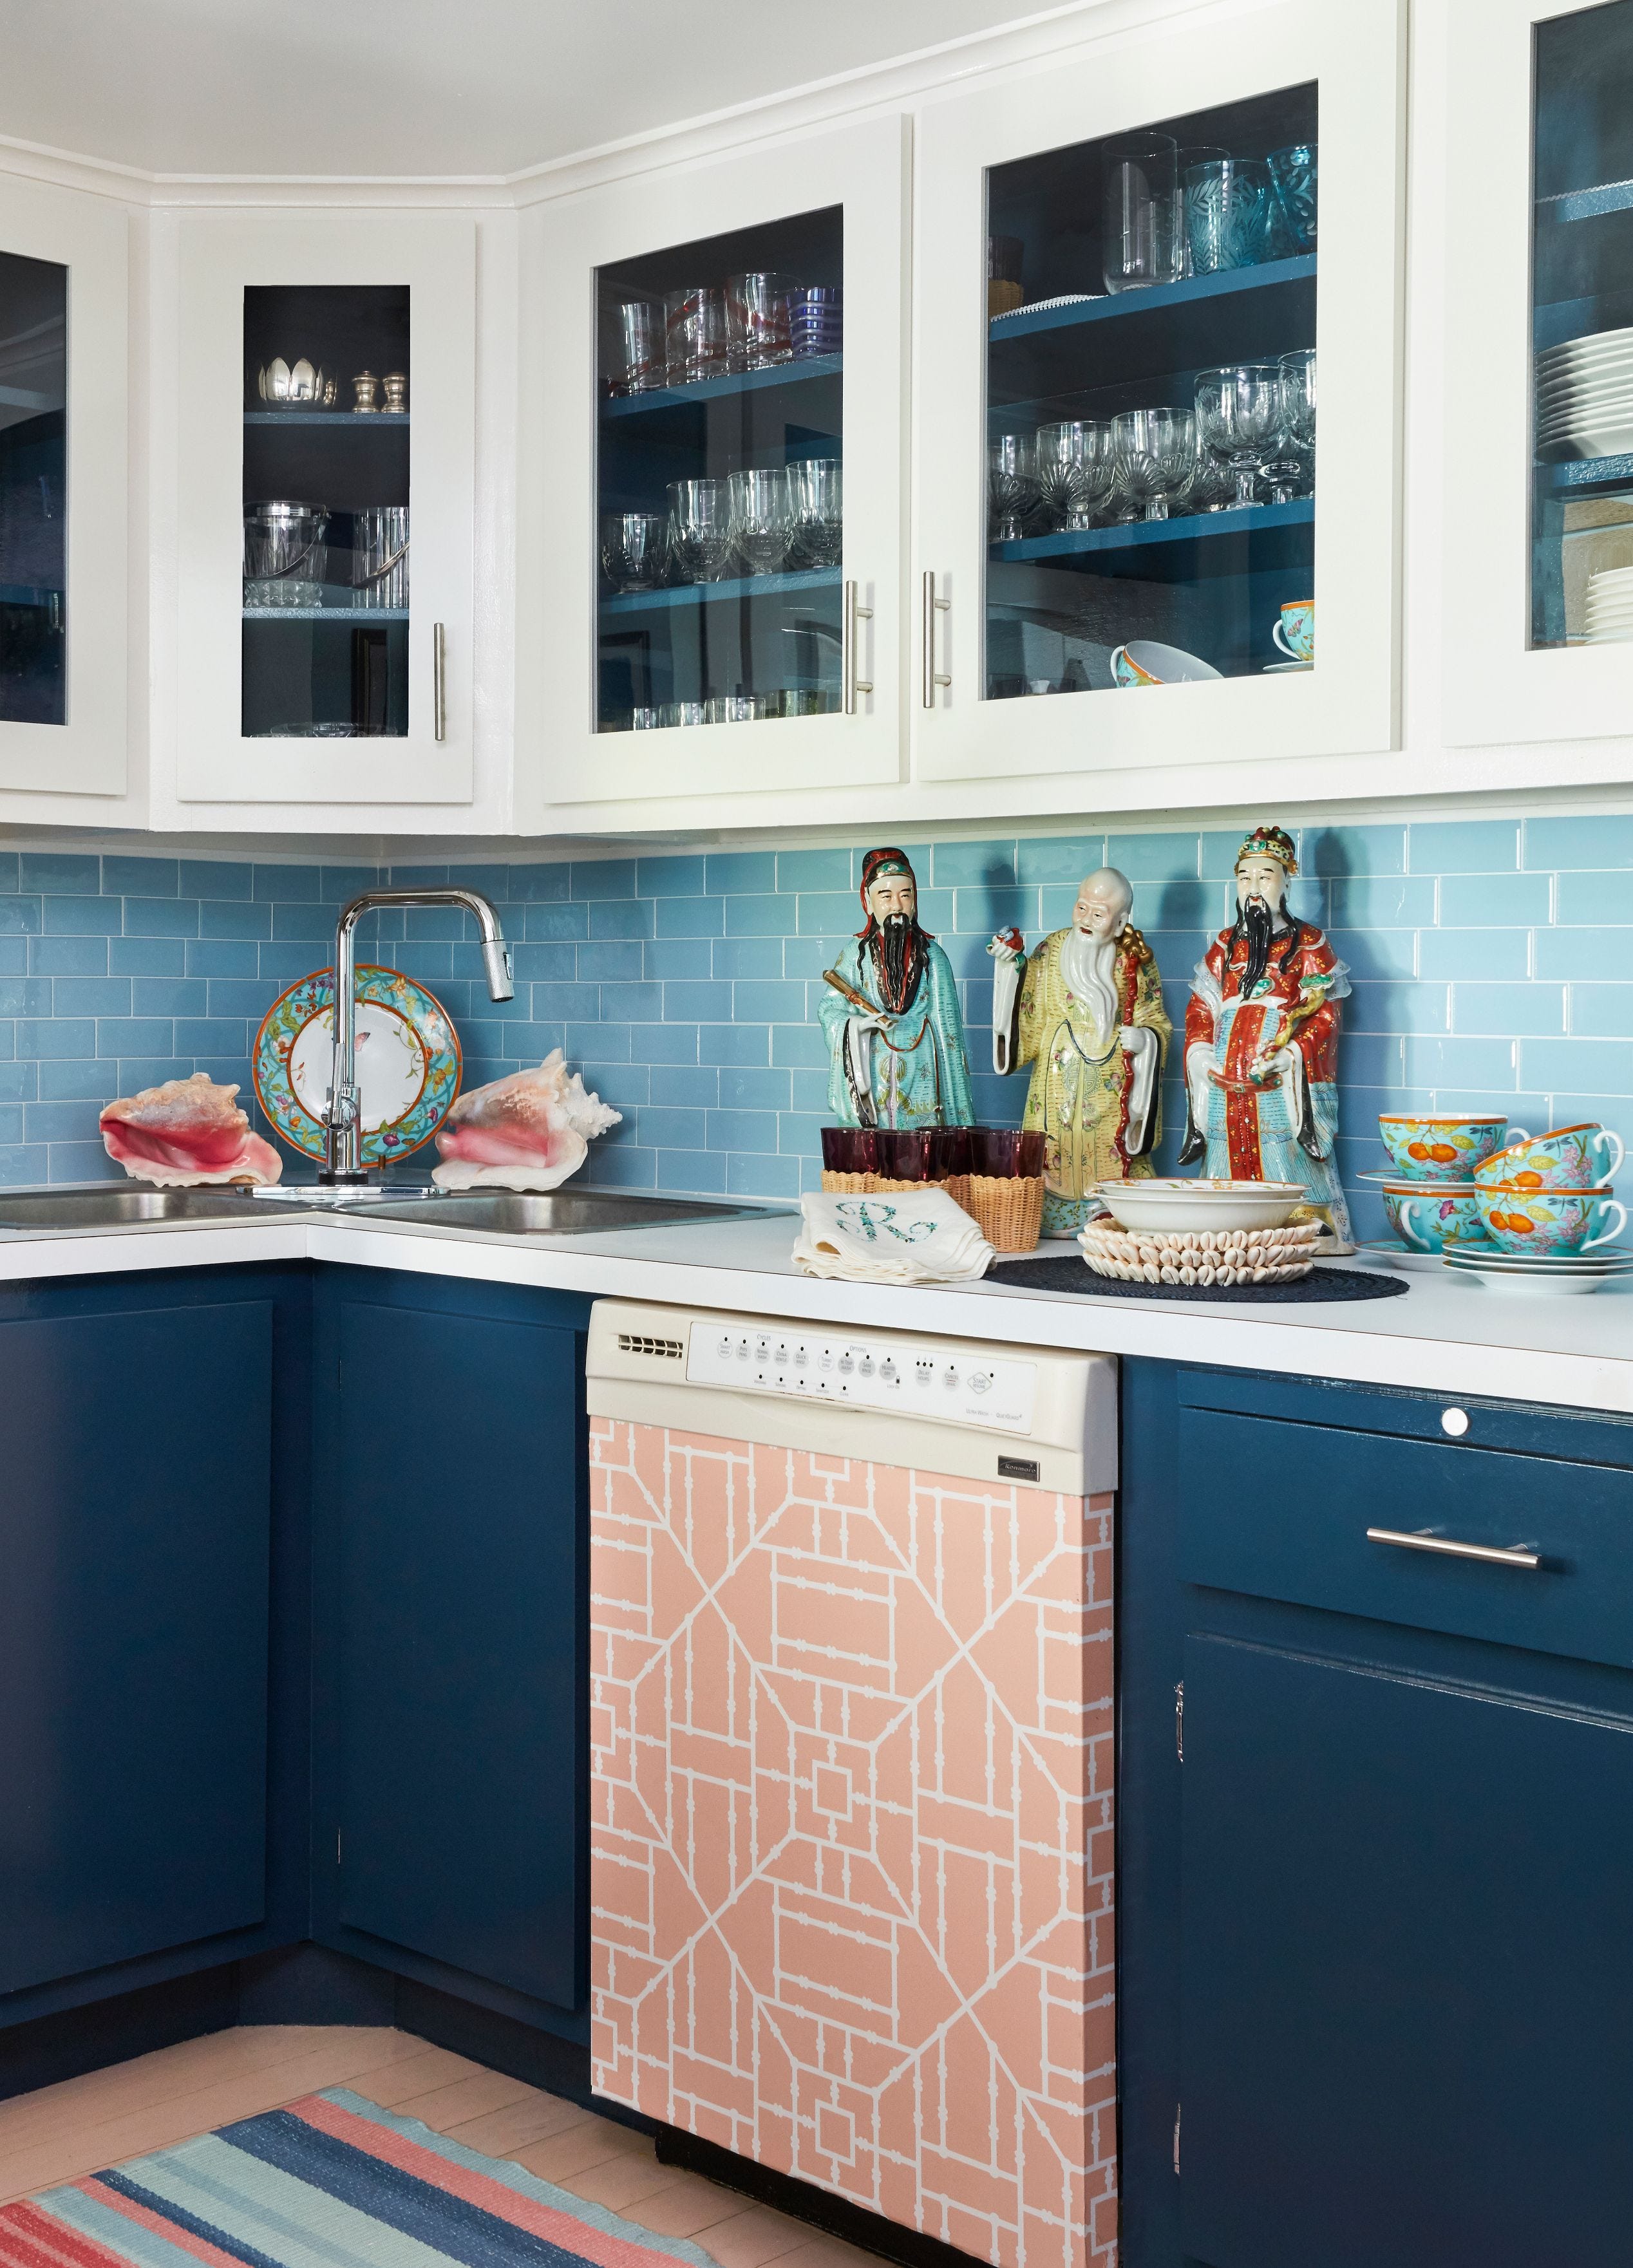
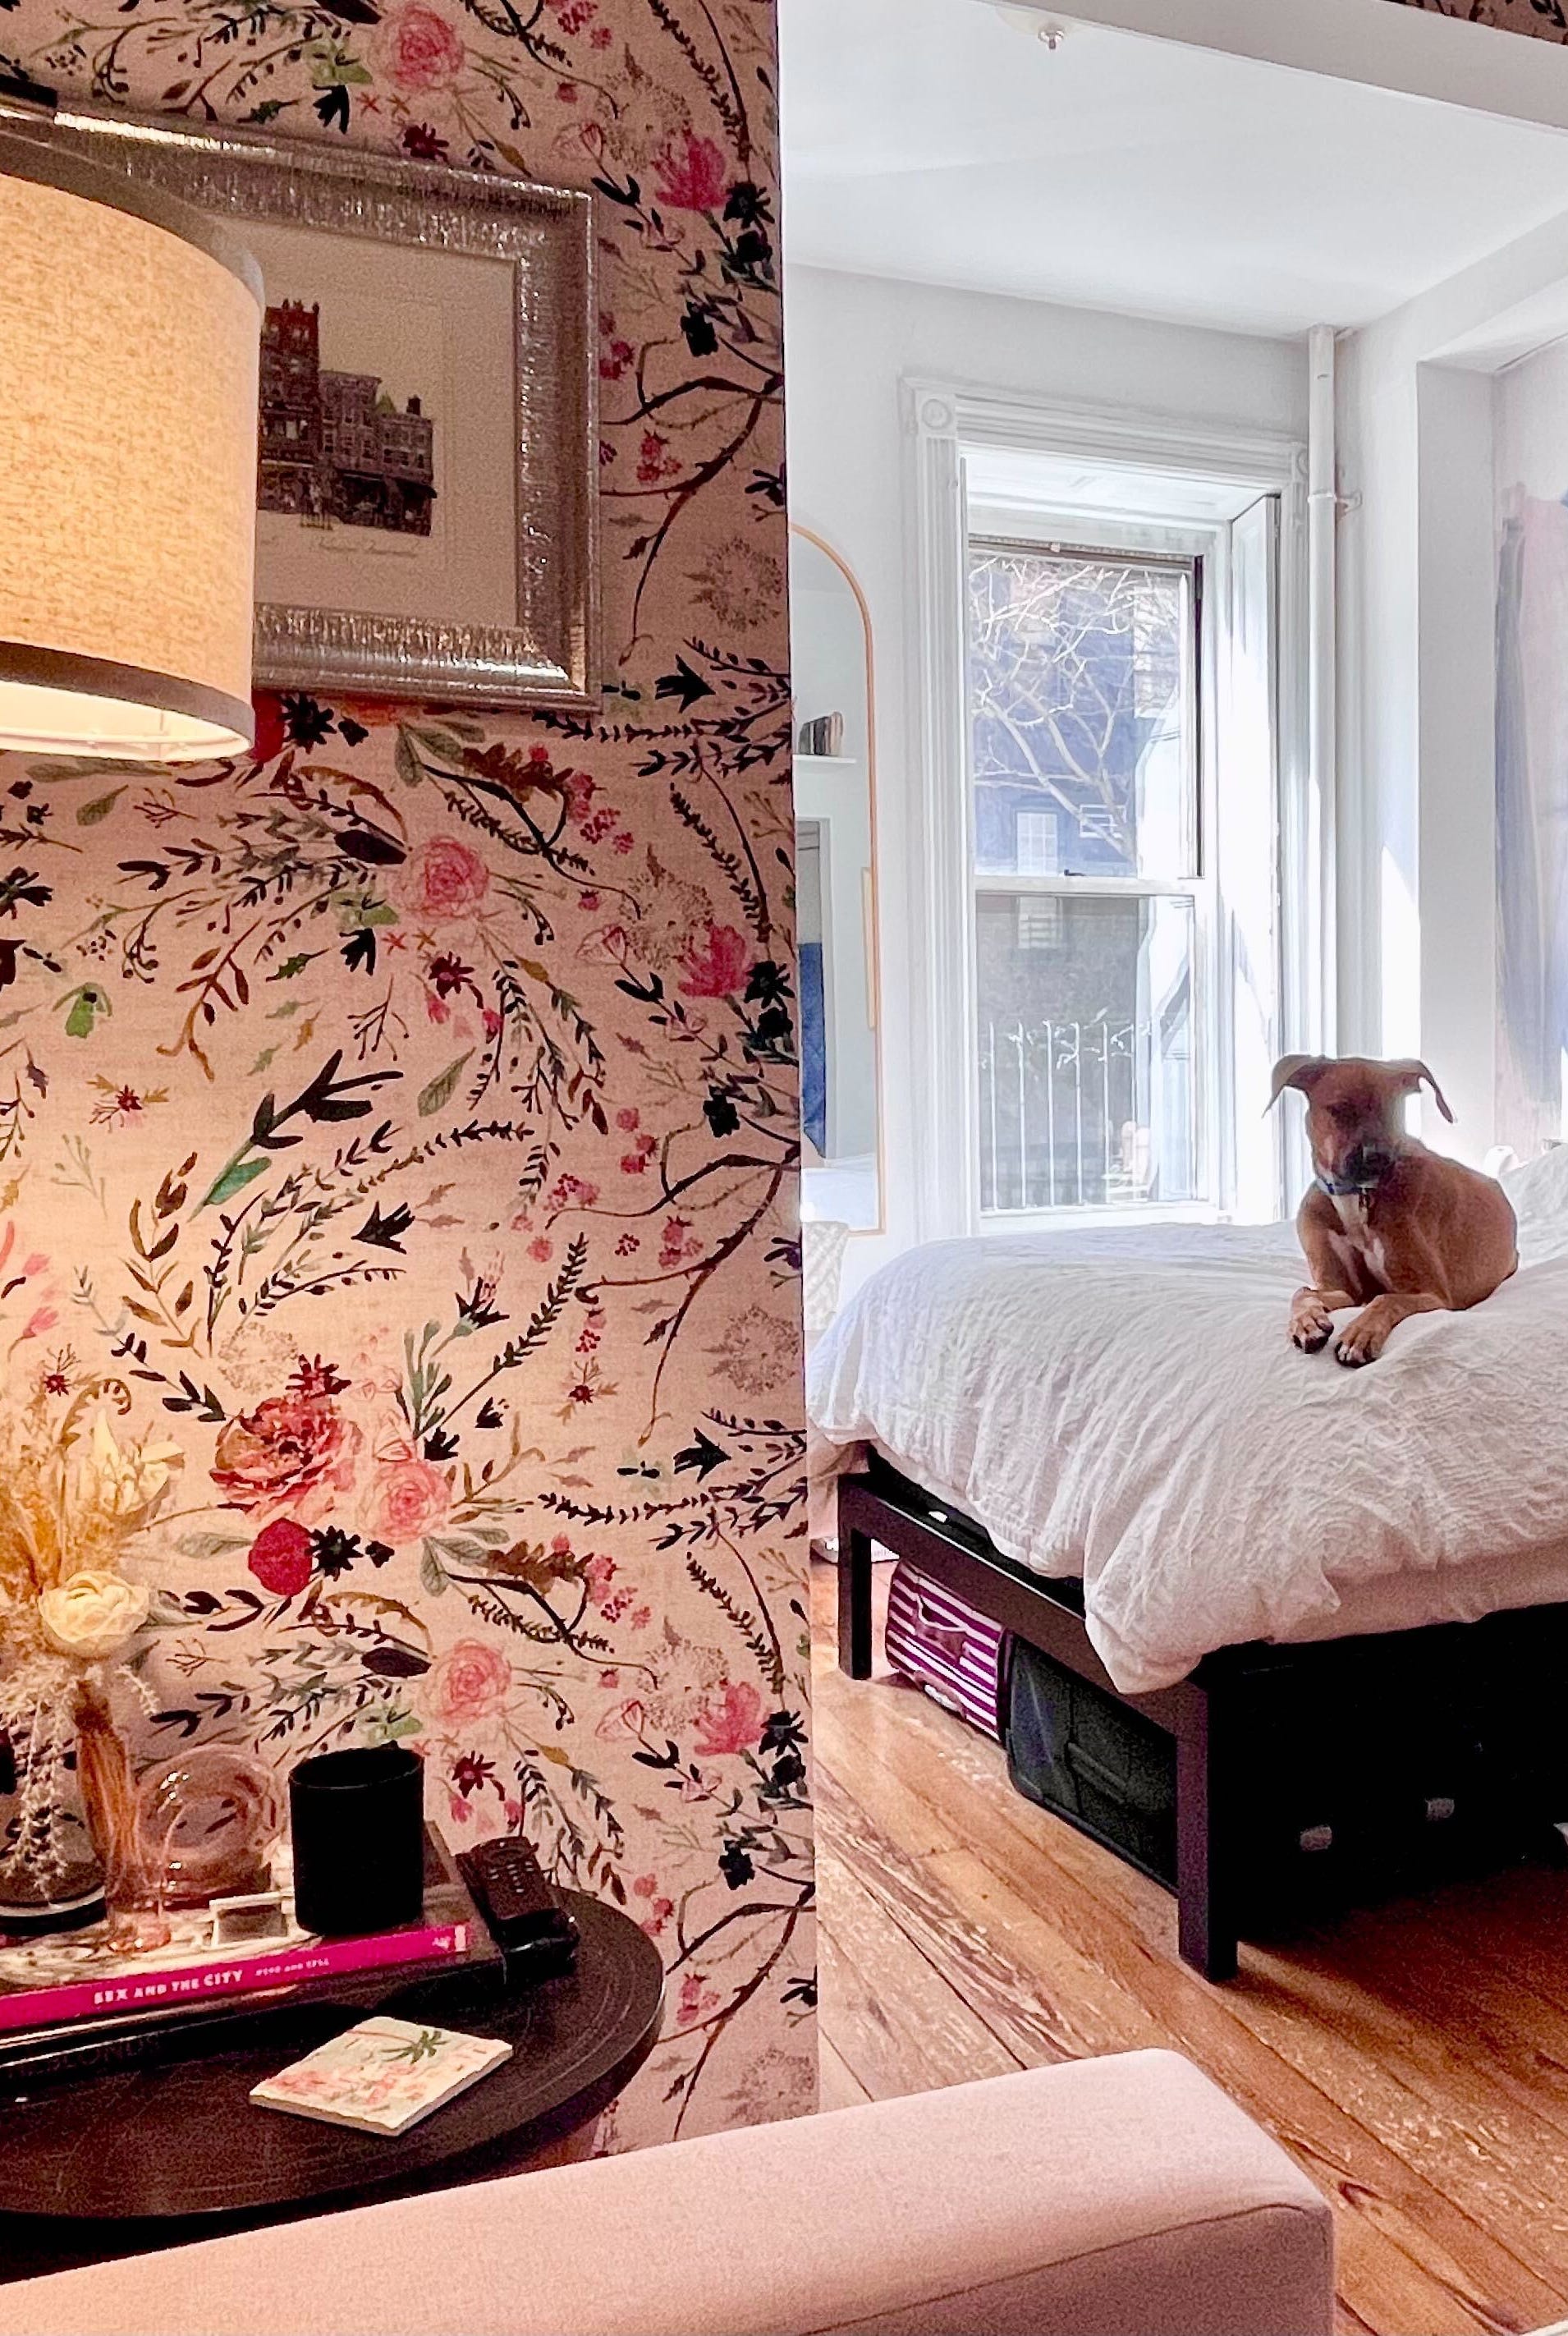
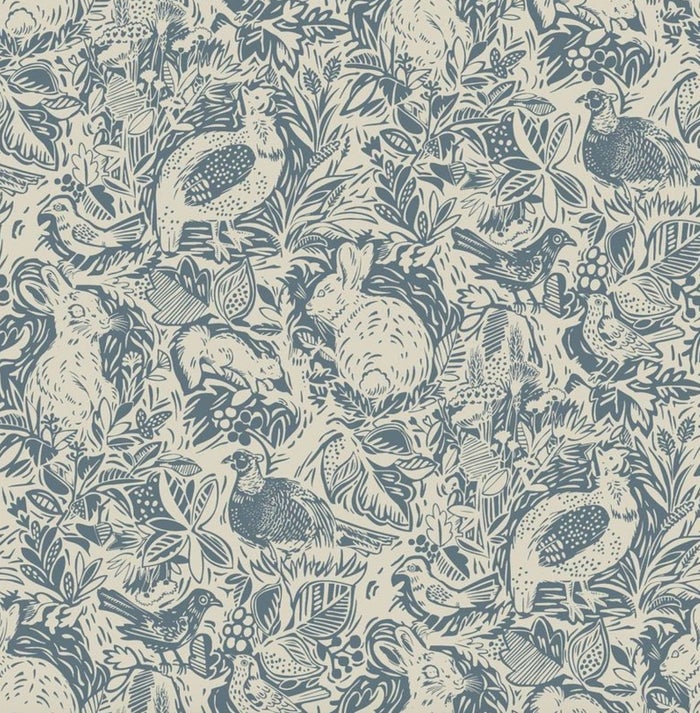
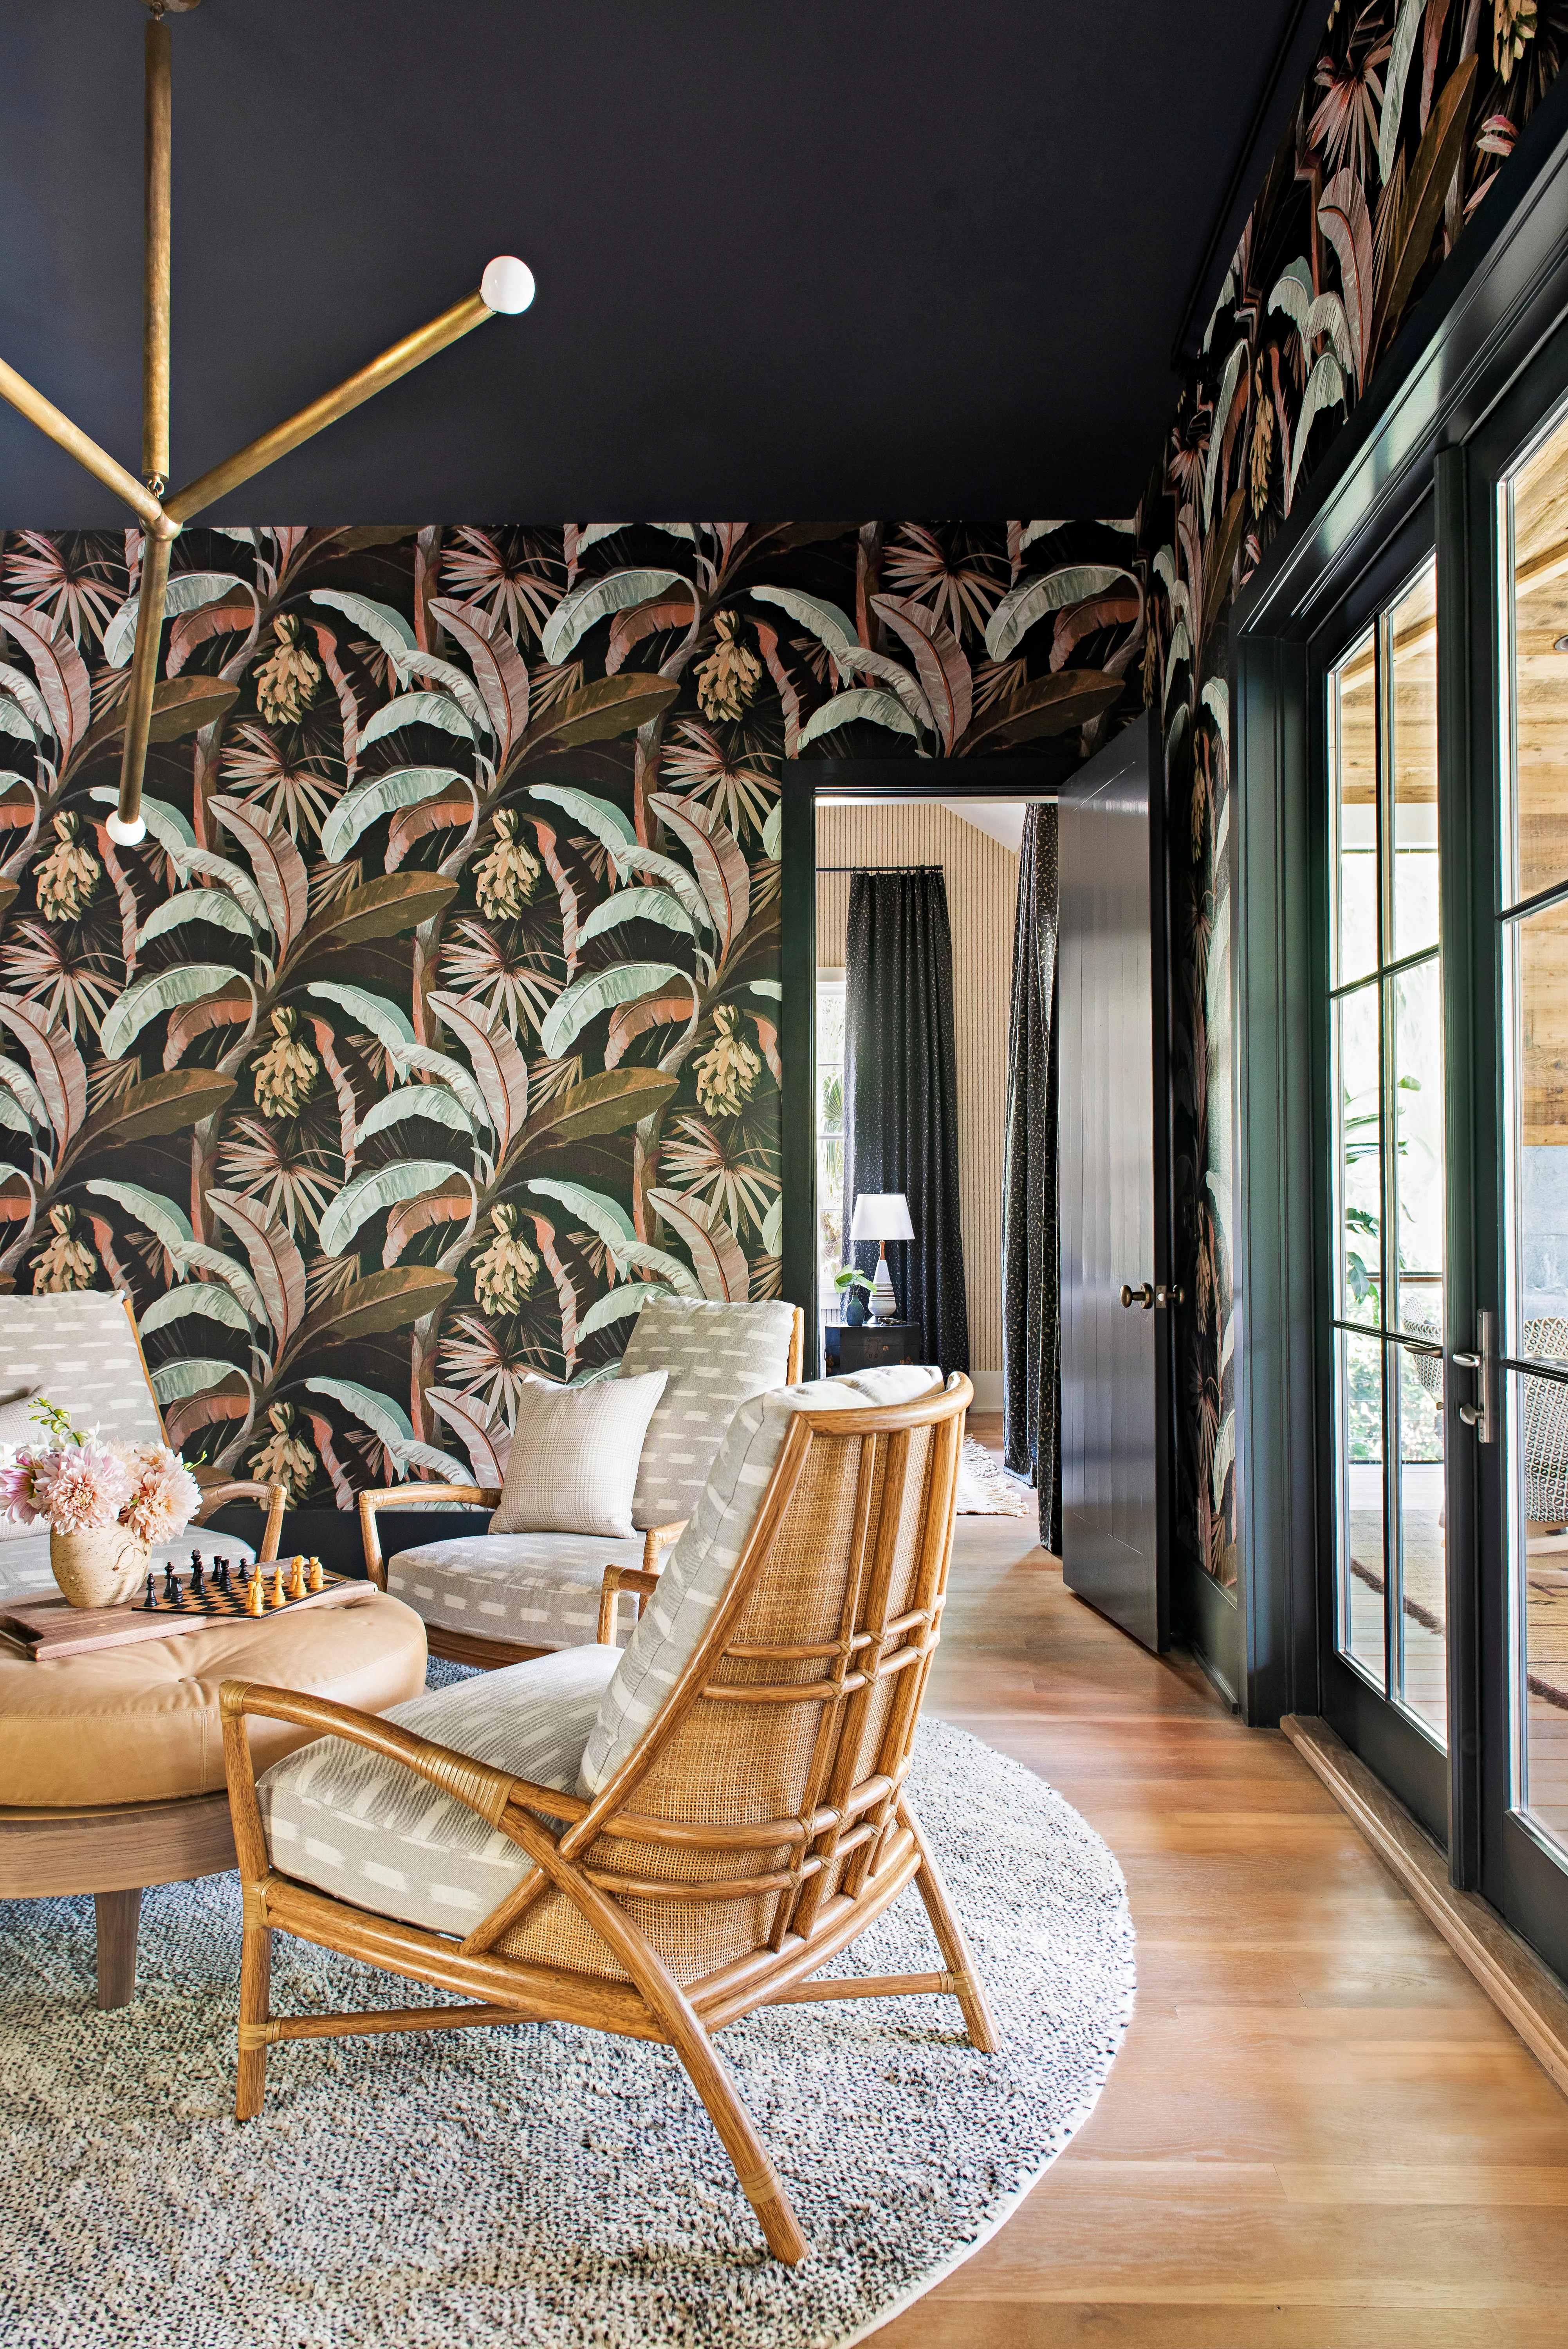
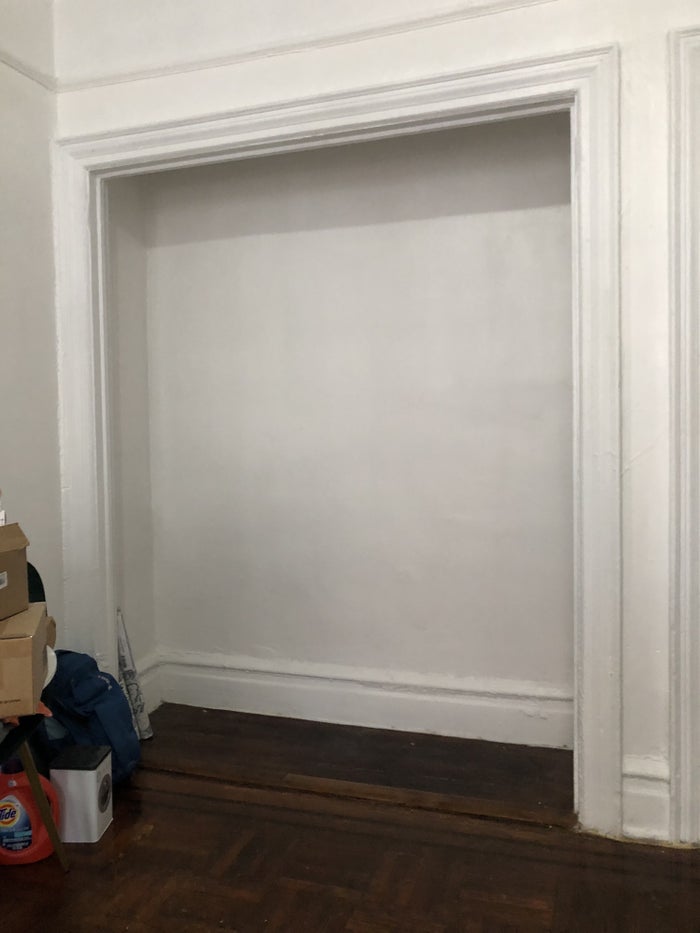
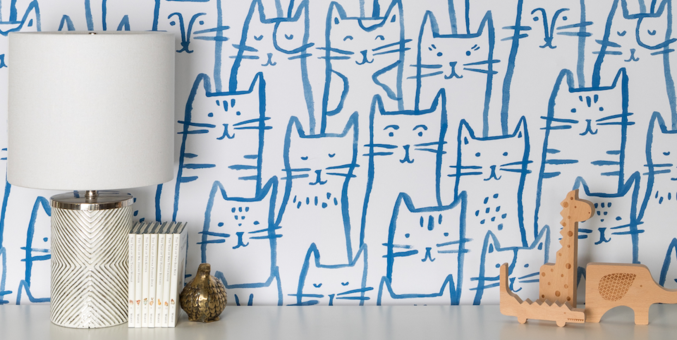
The first step involved selecting a pattern, emphasizing that the abundance of choices makes narrowing them down the primary challenge. The author chose a chalkboard panel for a fridge, avoided geometric prints to better suit a pre-war apartment, and opted for a fun, slightly unconventional "Wild" print, highlighting the advantage of temporary wallpaper for taking design risks. A key tip provided is to select a chaotic or busy pattern to effectively conceal imperfections like bumps or bubbles during installation. Additionally, many companies offer cheap samples for pattern evaluation.
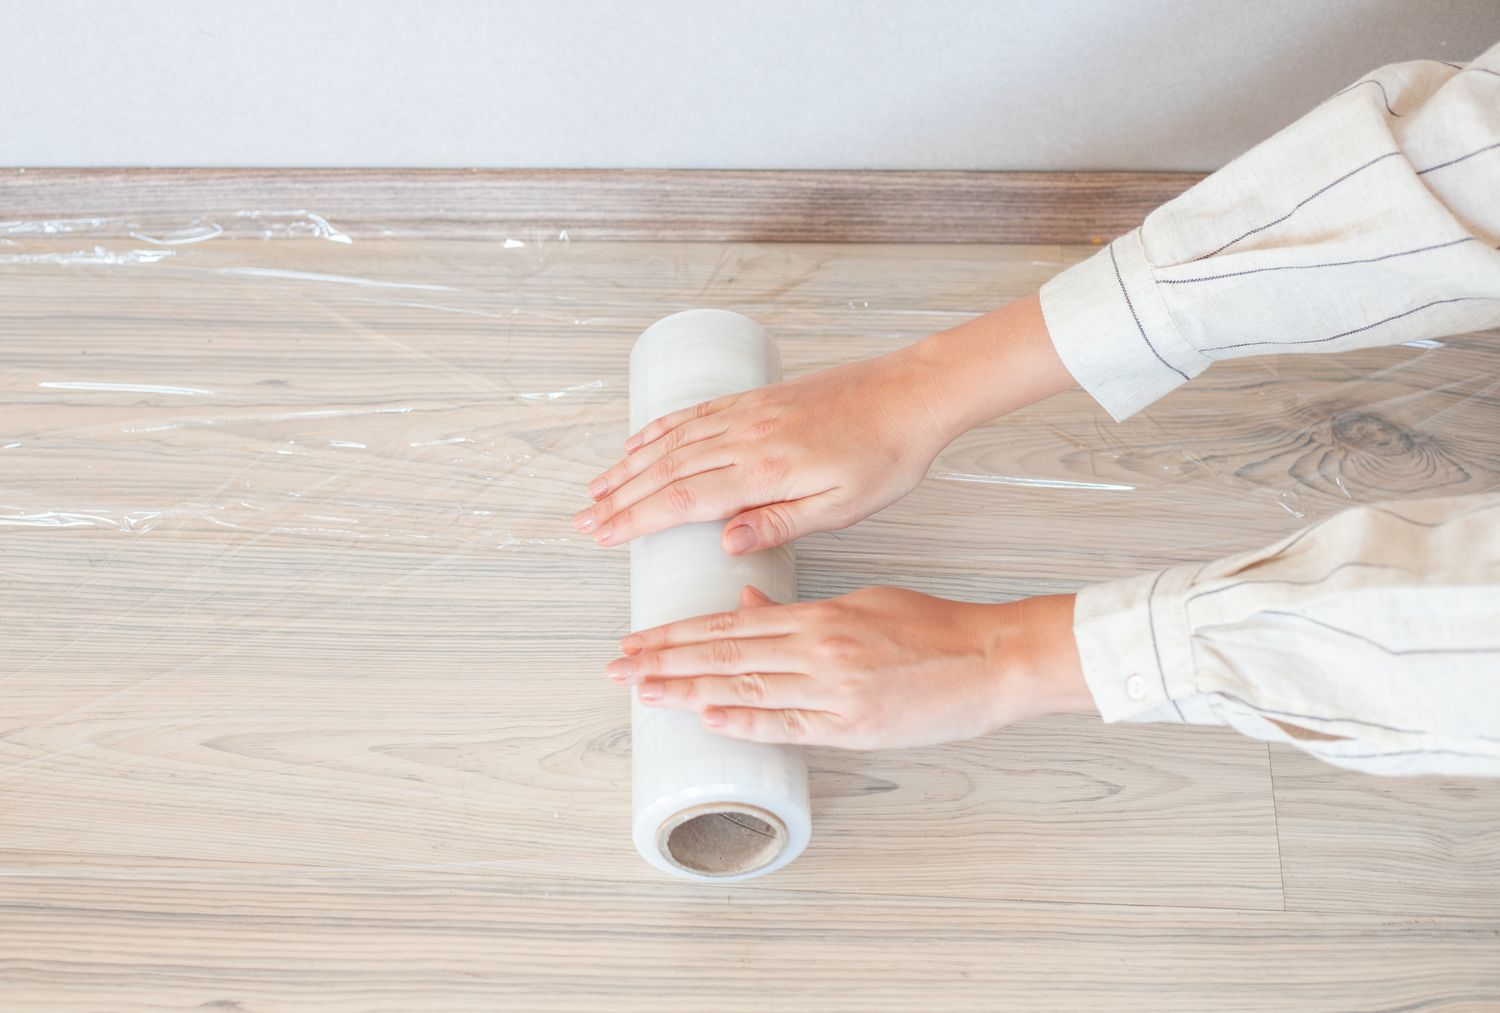
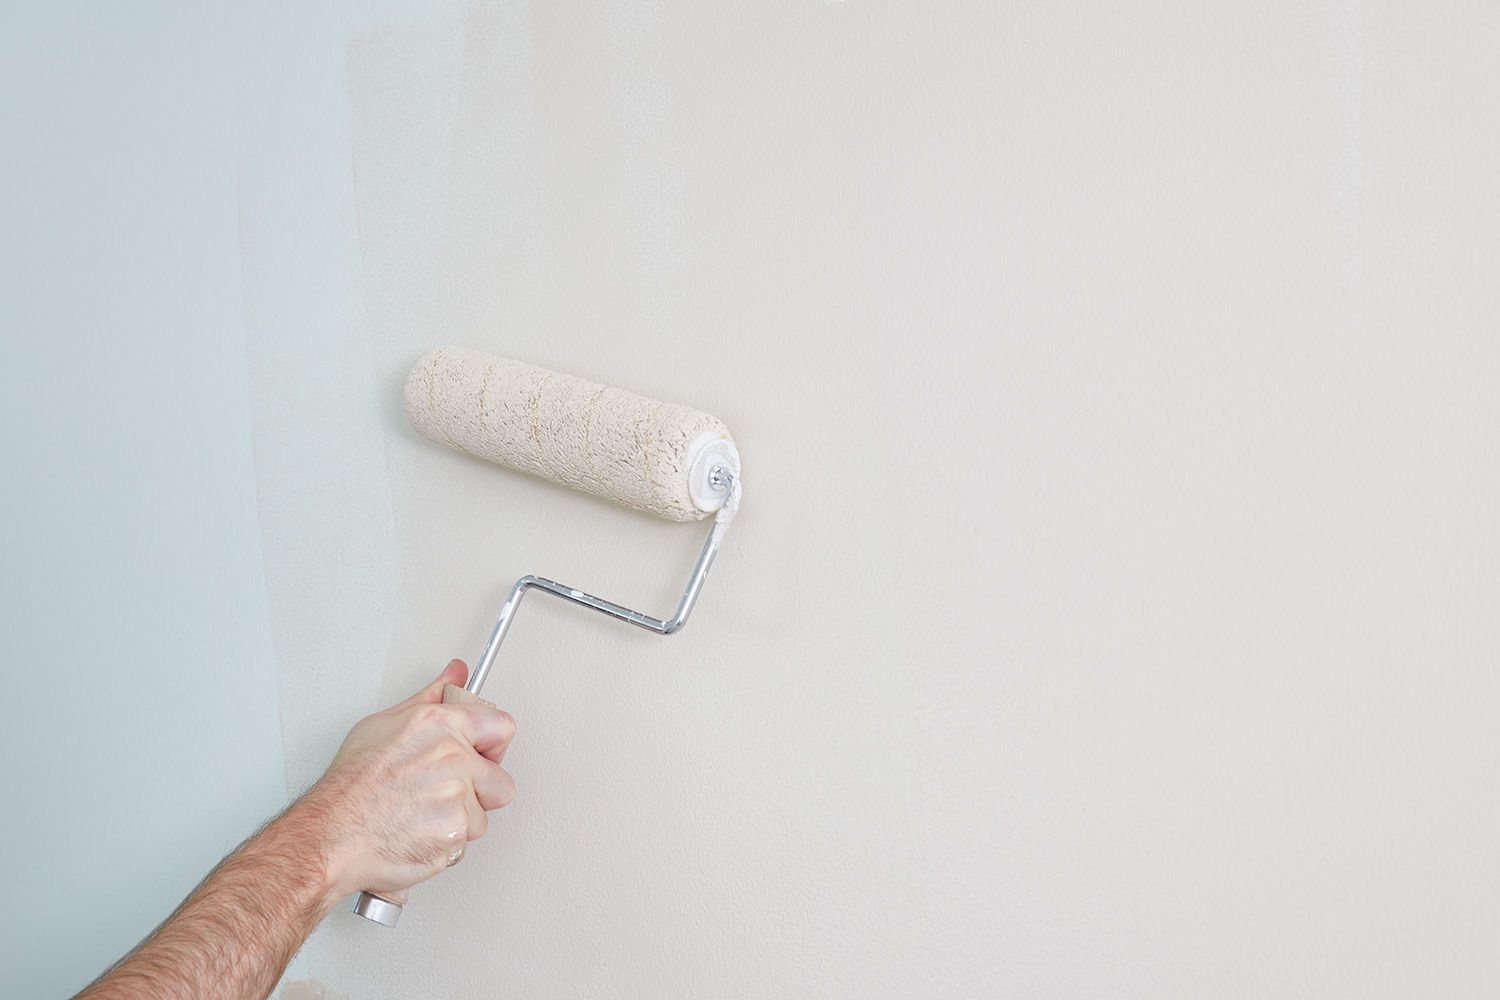
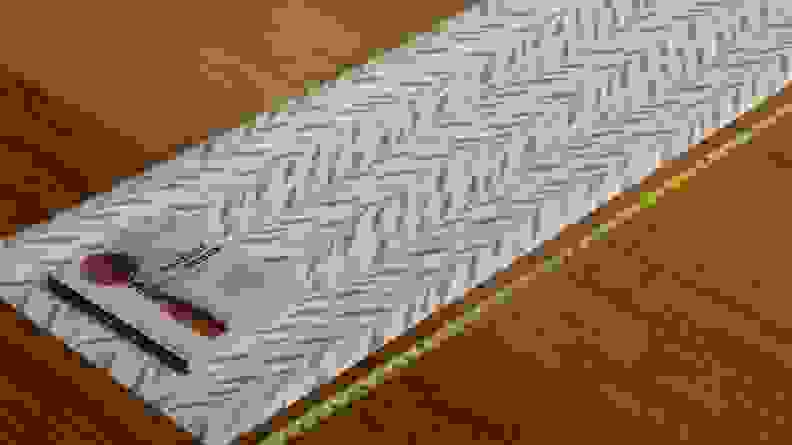
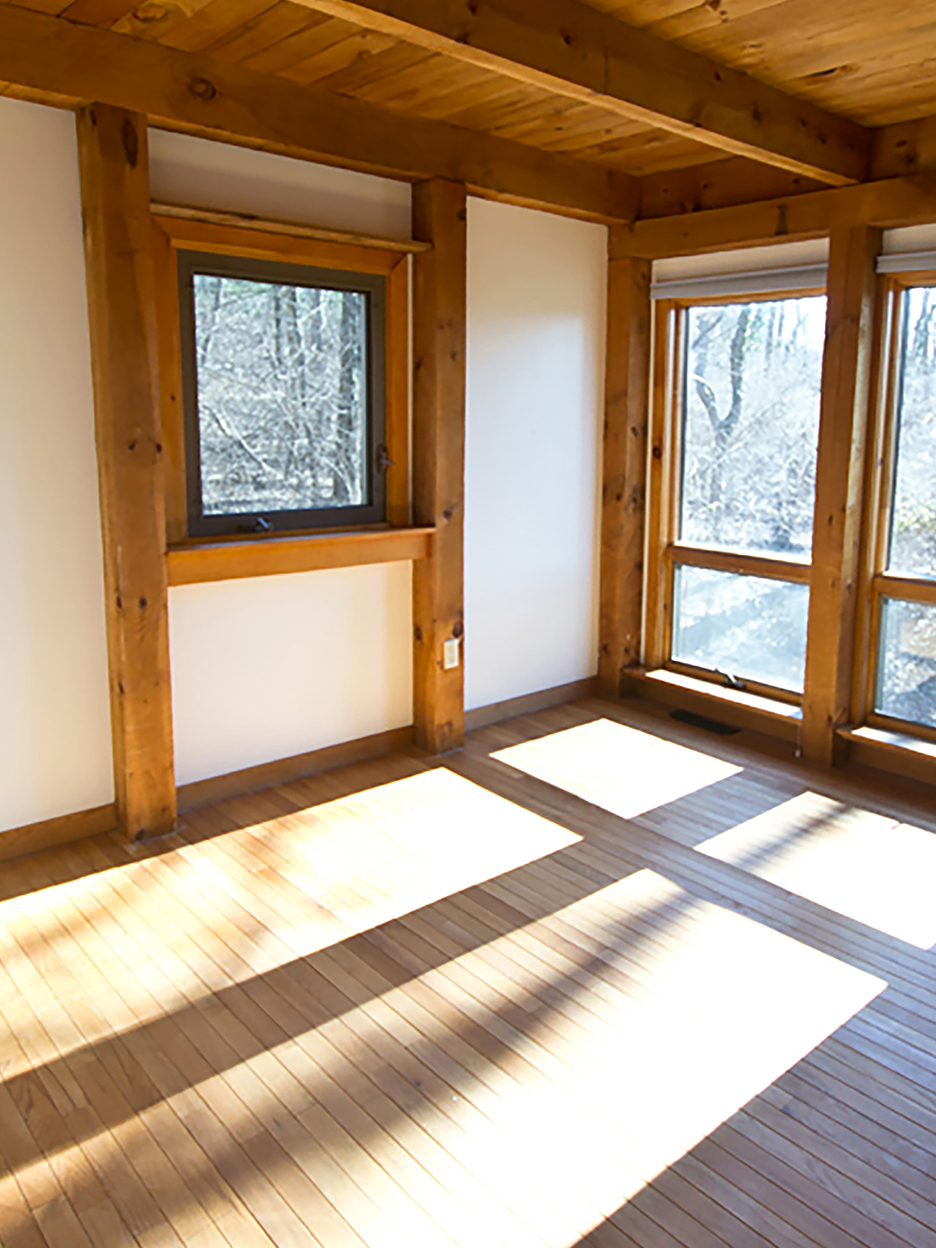
The second step focuses on wall preparation, which included wiping down surfaces with a damp cloth to remove dirt, dust, and plaster remnants. The author notes that instructions were gleaned from another temporary wallpaper manufacturer, Swag Paper, due to a lack of specific guidance from Chasing Paper. A practical tip is to flatten the wallpaper panels under heavy books for a few days before installation to prevent curling edges, which can complicate the process.
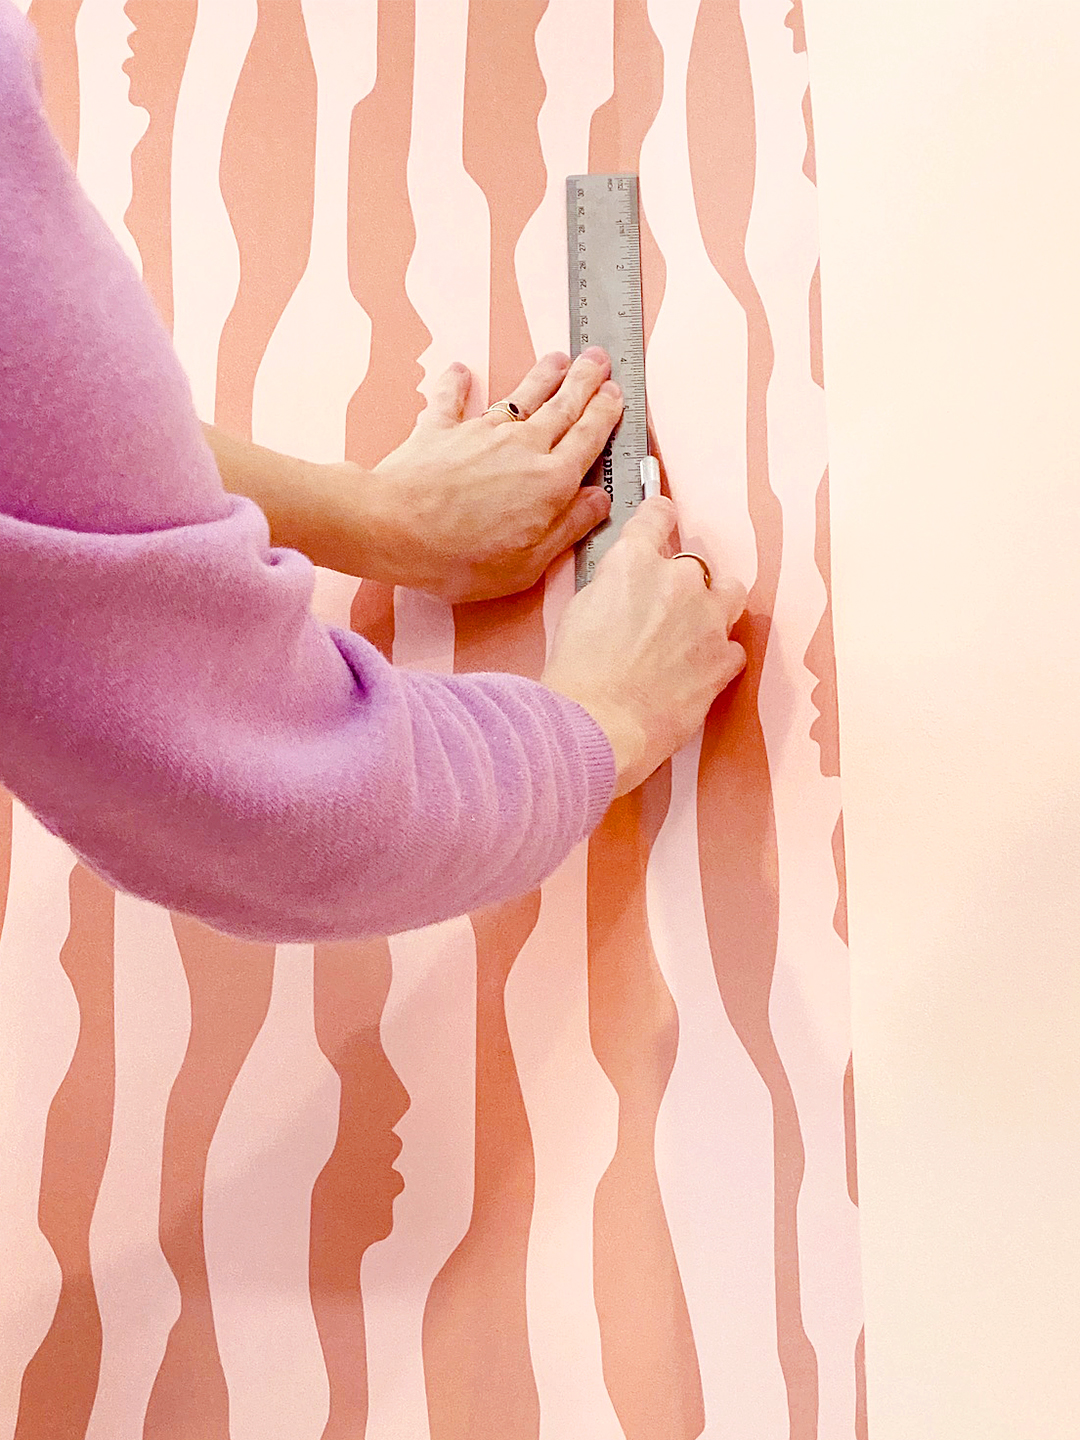
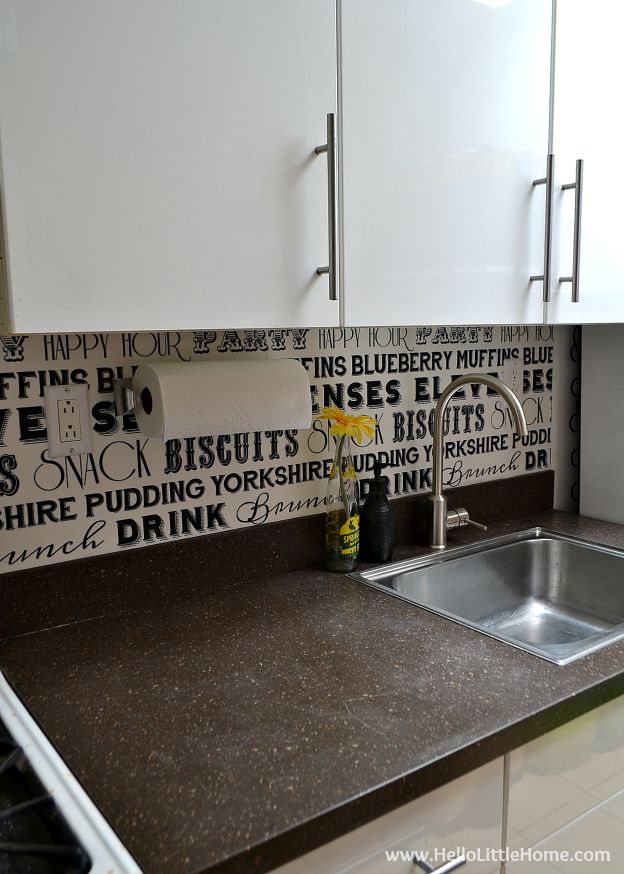
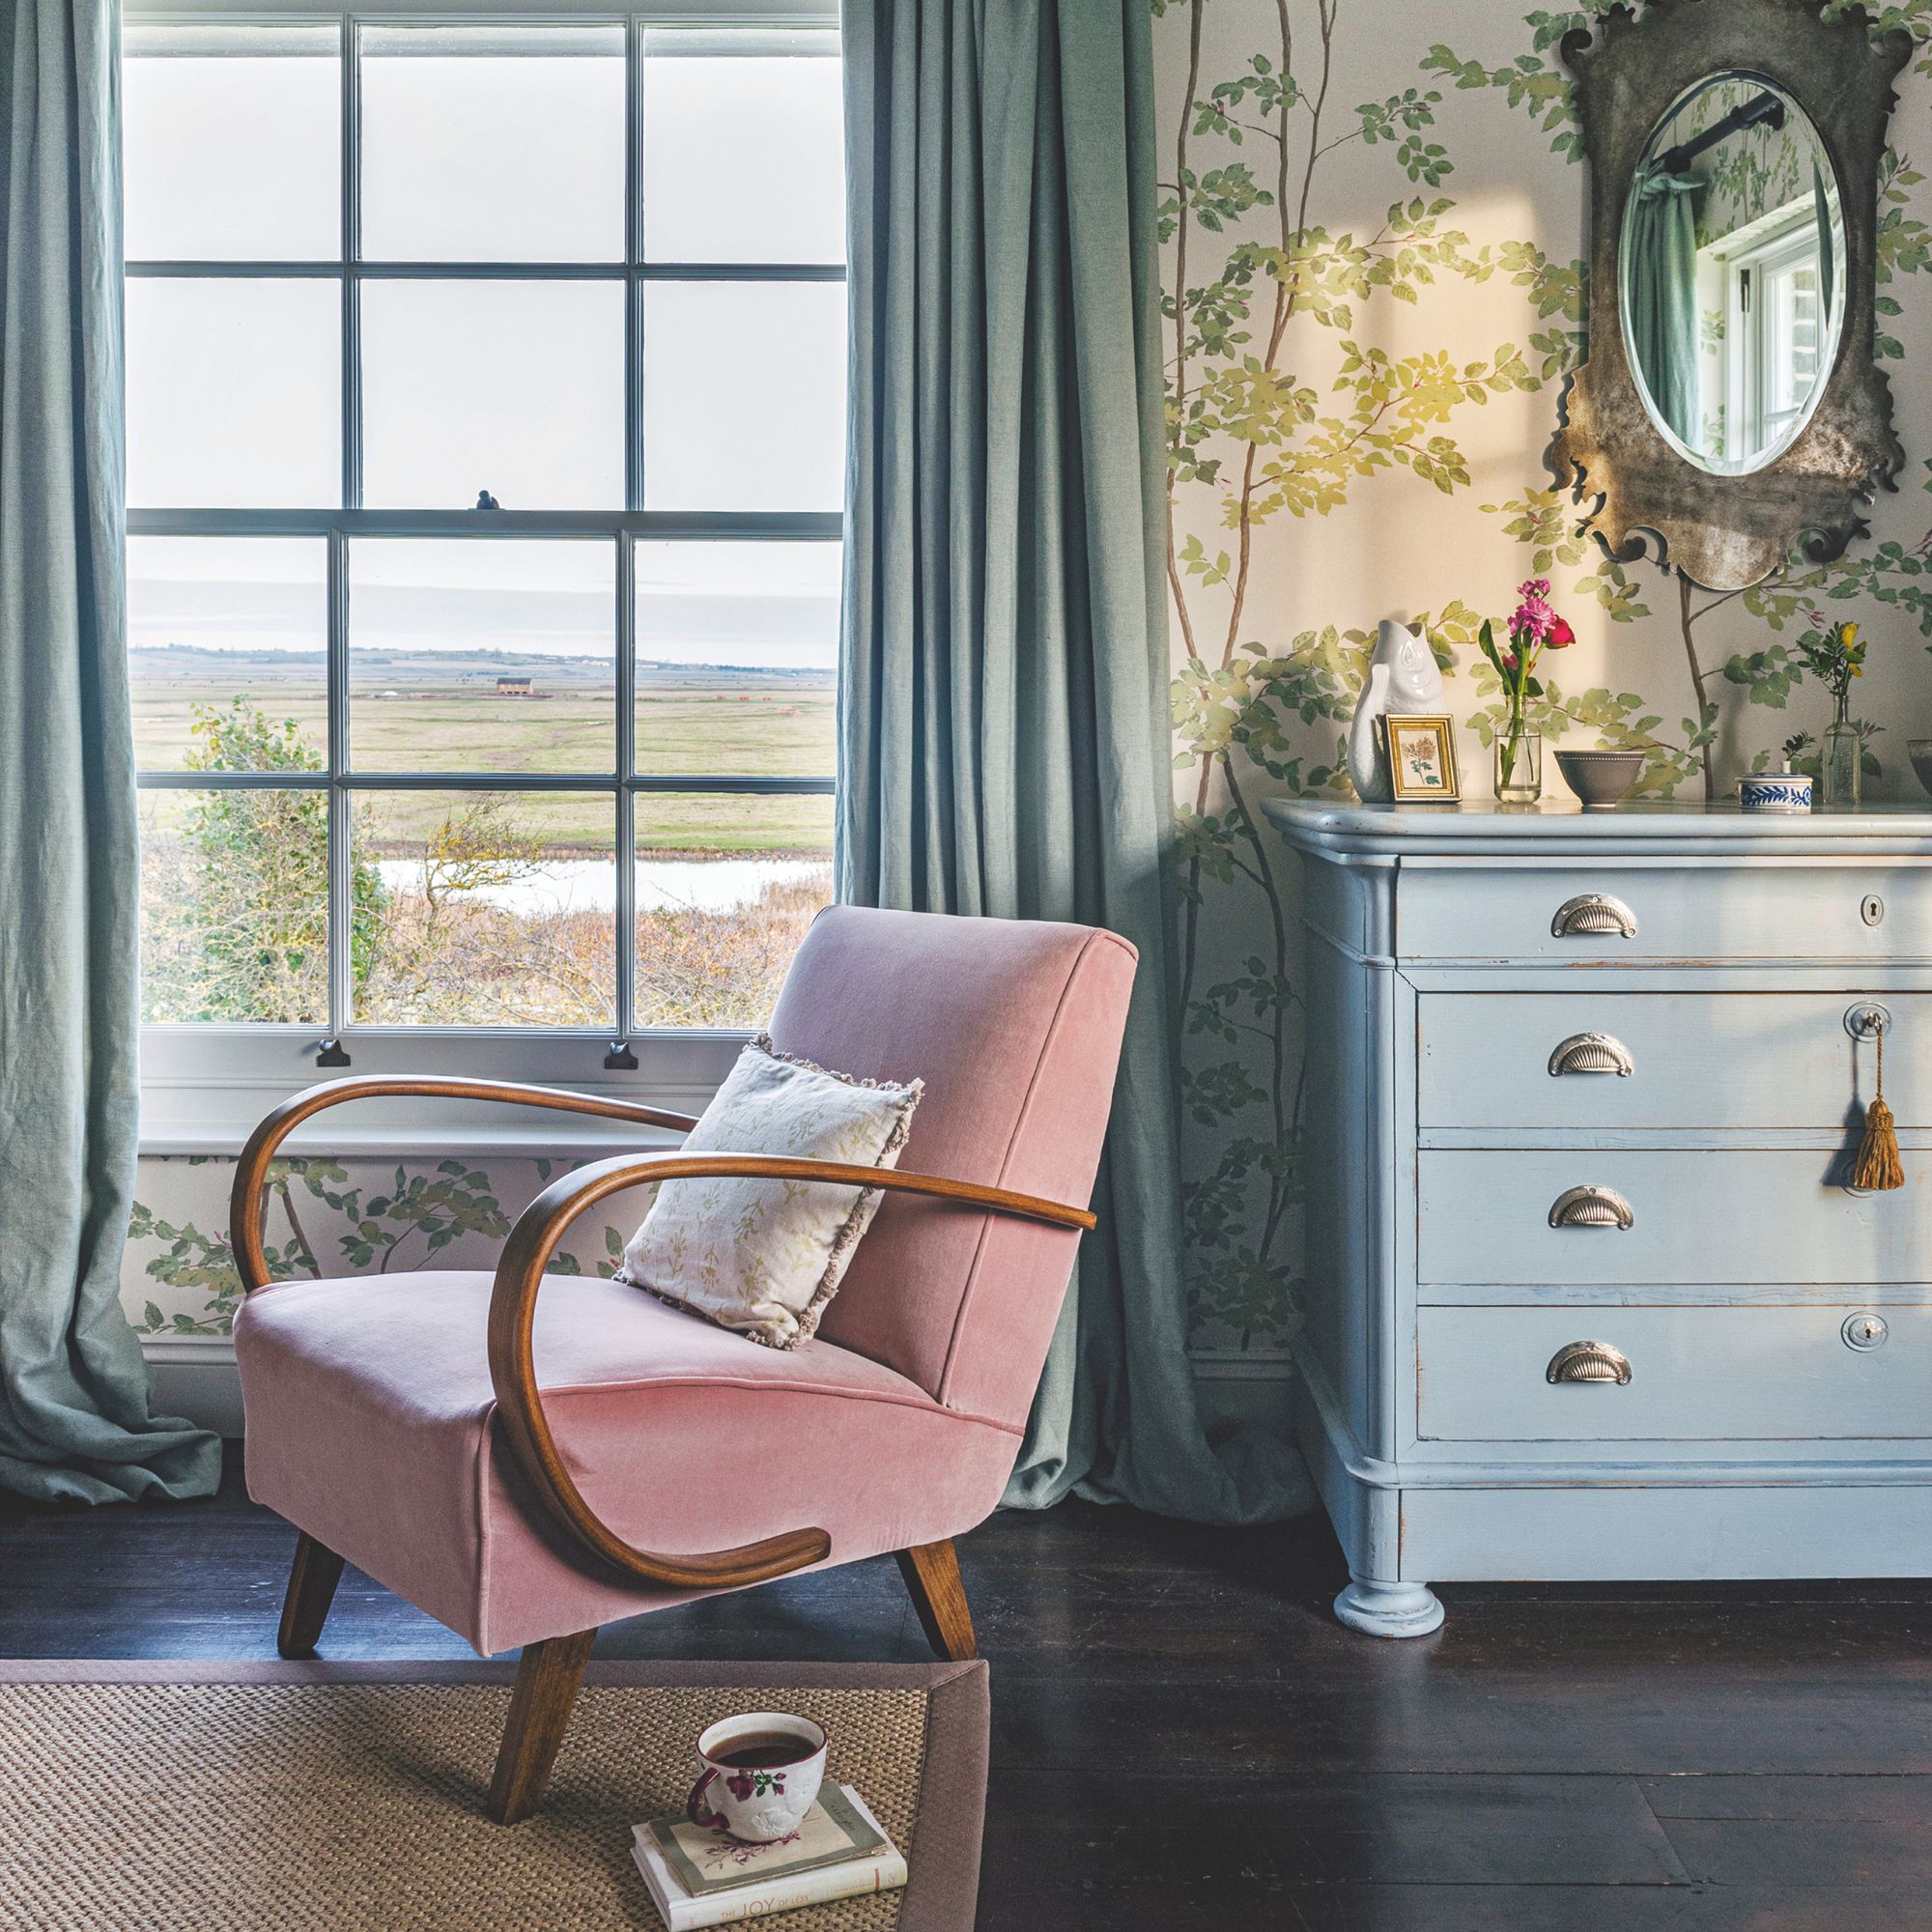
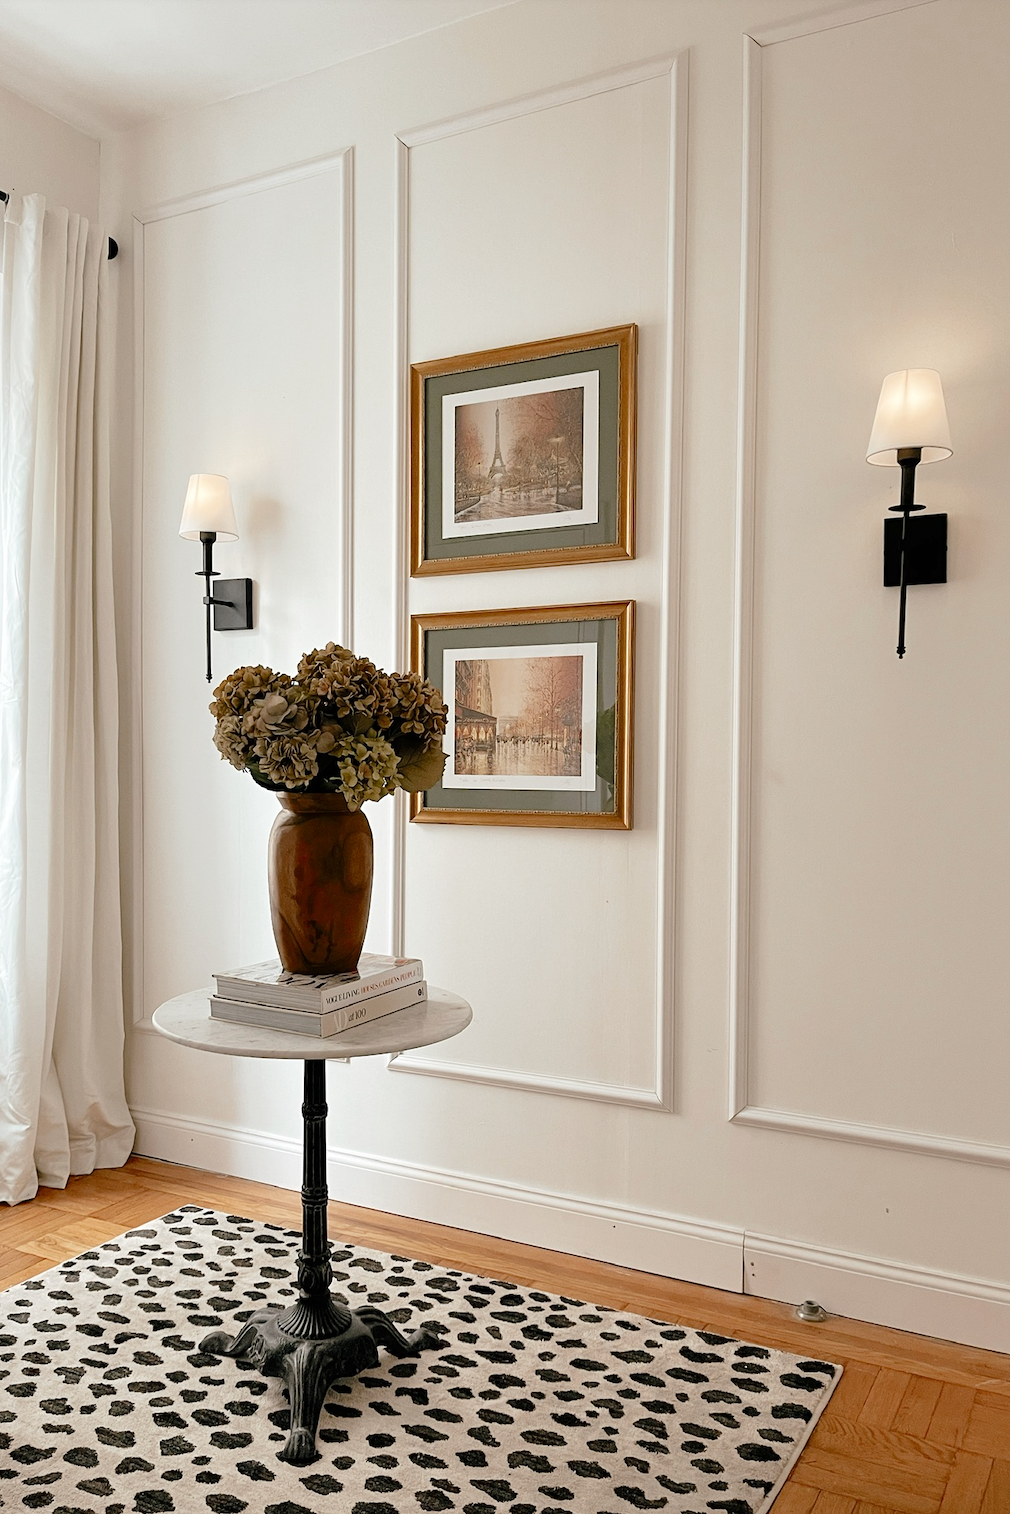
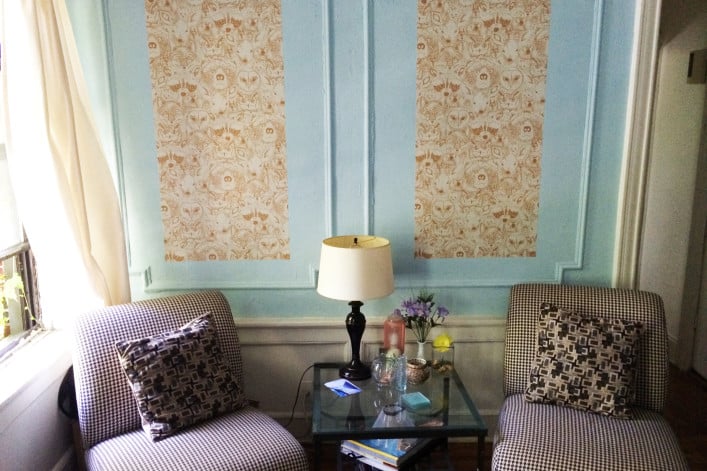
Measuring and cutting are detailed as the third and most time-consuming step. The author measured the specific areas for each panel, such as the fridge and freezer for the chalkboard, and a door for the “Book Worm” panels. The “Wild” panels were left uncut to serve as a painting-like accent between existing moldings, revealing varying molding widths in the apartment. The advice here is to consider temporary wallpaper as an alternative to a painting rather than a full room covering, using full panels as trompe l'oeil effects or vertical accents.
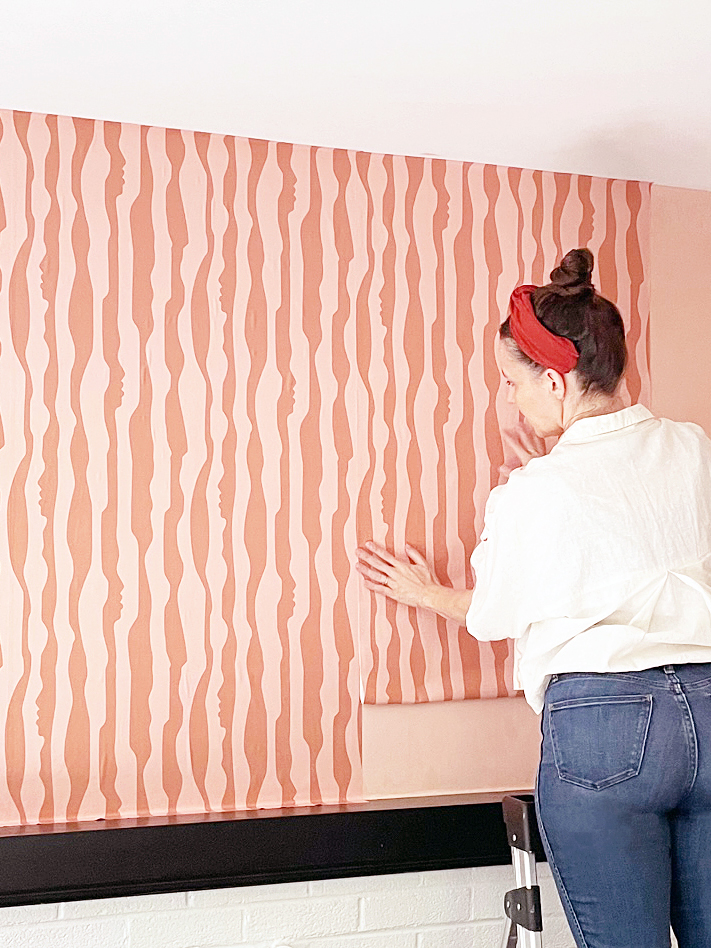
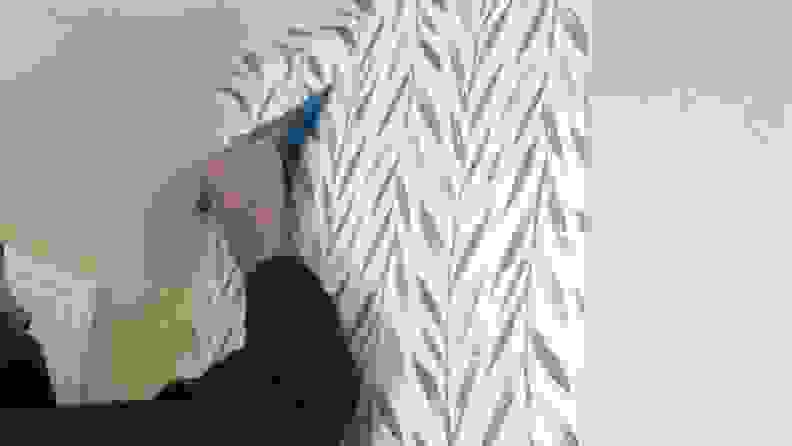
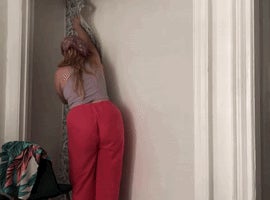
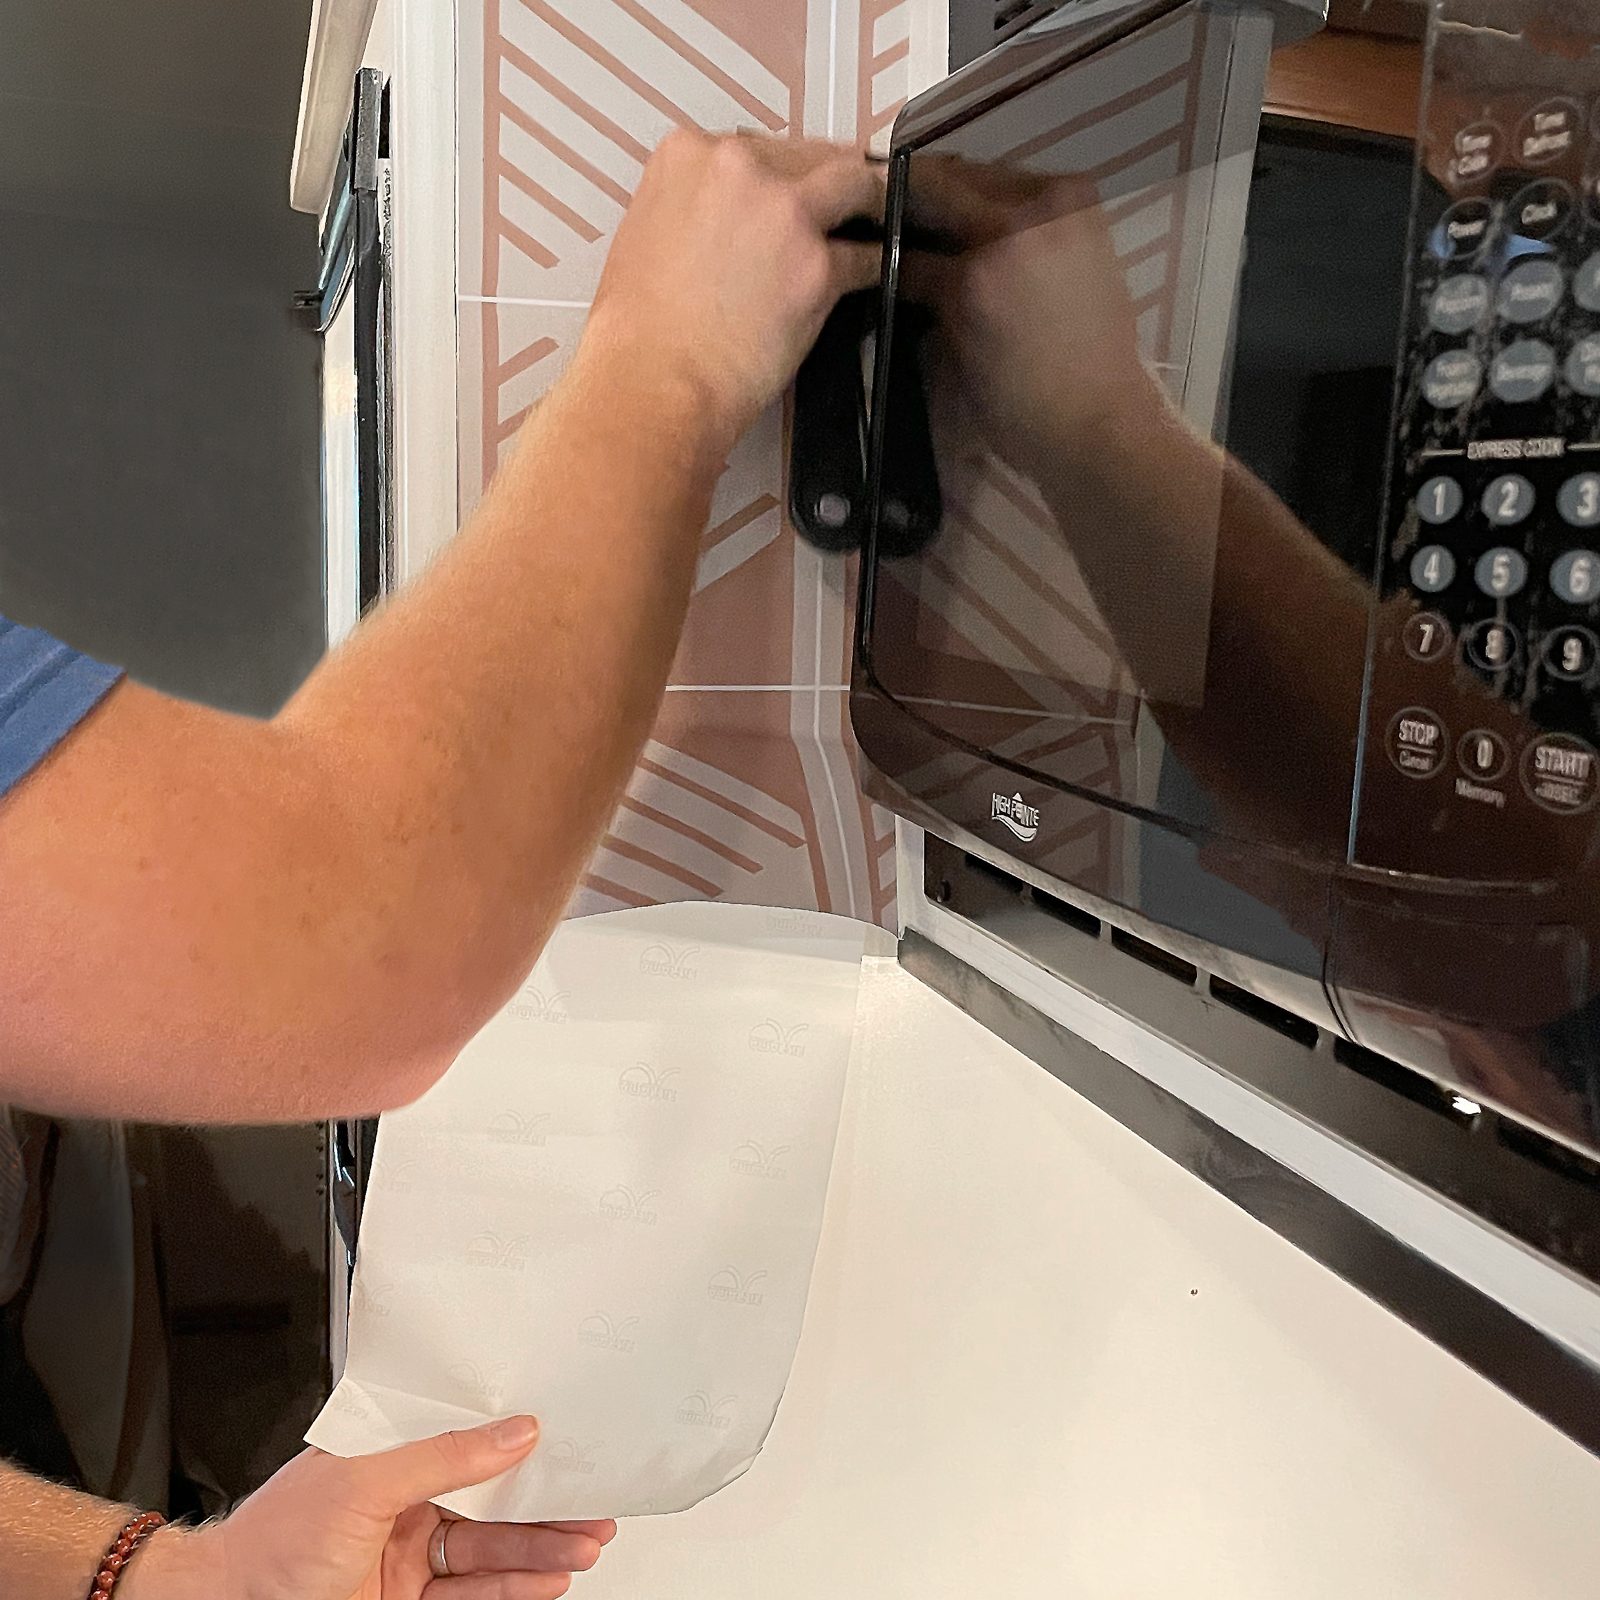
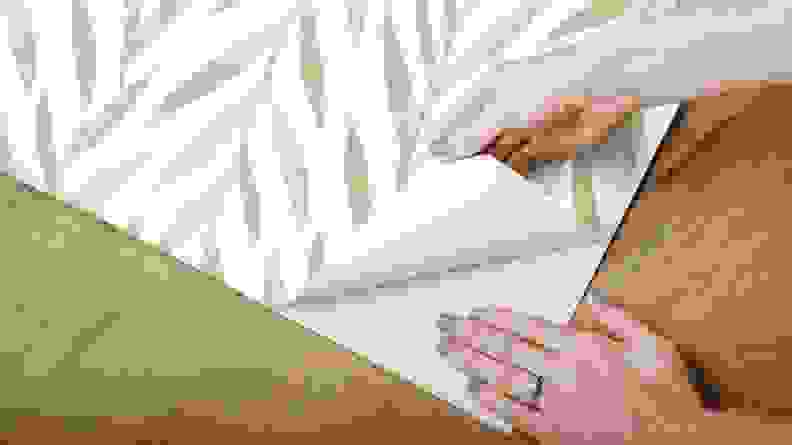
The fourth step covers the actual application of the wallpaper. The recommended technique involves peeling off the top two corners of the backing, bending the backing away from the paper, sticking the exposed two to three inches to the wall, and then slowly and smoothly pulling the rest of the backing off while simultaneously smoothing the paper with hands.
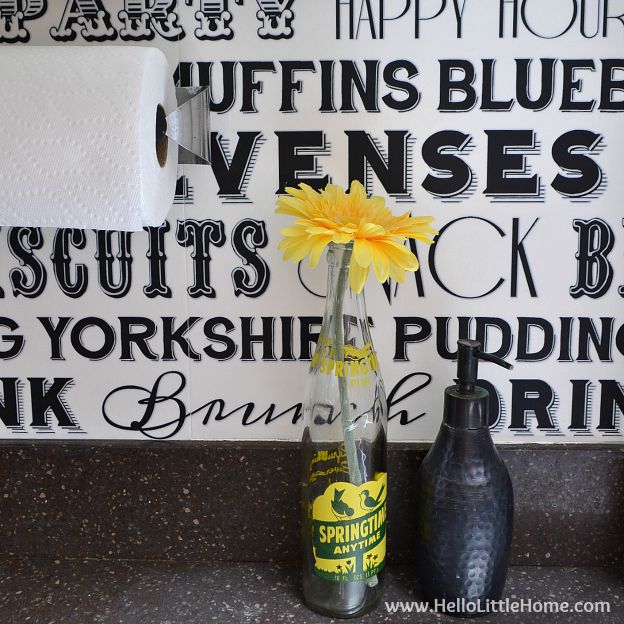
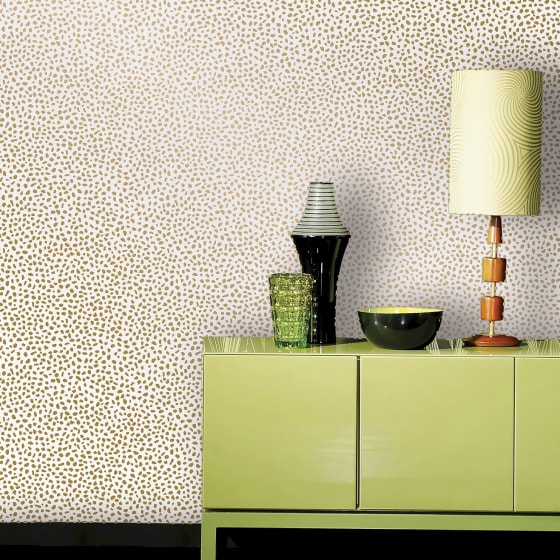
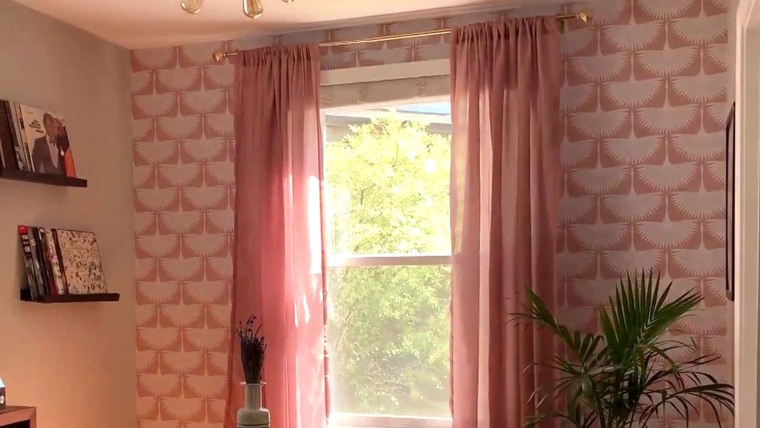
Finally, the fifth step addresses how to deal with bubbles and creases that may appear after application. The author found that a busy pattern, like the “Wild” and “Book Worm” prints, helped to obscure these imperfections more effectively than on the solid chalkboard panel. Chasing Paper suggests using a safety pin to pop air bubbles, followed by smoothing, and the author also found that carefully running a fingernail over creases could help eliminate them. The article concludes with a satisfied outlook on the purchase, noting how the patterns invigorated the walls and fridge, and promises a follow-up post to assess the wallpaper’s removal ease.
#DIY #Renovation #TemporaryWallpaper #HomeImprovement #InteriorDesign #PeelAndStick #ApartmentDecor #HomeDecor #ChasingPaper #DIY #Renovation #TemporaryWallpaper #HomeImprovement #InteriorDesign #PeelAndStick #ApartmentDecor #HomeDecor #ChasingPaper
共0条评论
你可能还喜欢
Peel-and-stick wallpaper tips and shopping


How to Hang Wallpaper Yourself in 8 Simple Steps, Straight from a Pro


You’d Never Know That These Stylish Wallpapers Are Totally Removable

Tips for Applying Peel and Stick Wallpaper

How to Hang Wallpaper (the Permanent Kind!) | domino
Skip Wallpaper in Favor of an (Almost) Free Painter’s Tape DIY
8 Common Wallpaper Mistakes (and How to Fix Them)

16 Renter-Friendly Design Upgrades You Won't Regret Trying


How to Hang Wallpaper (the Permanent Kind!)


Buyer's Guide To Peel and Stick Wallpaper
How to remove wallpaper - expert-approved steps to prevent damage and ensure a smooth finish

Setting Up Wallpapers With Hyprpaper in Hyprland


7 Simple Steps for Hanging Wallpaper Yourself

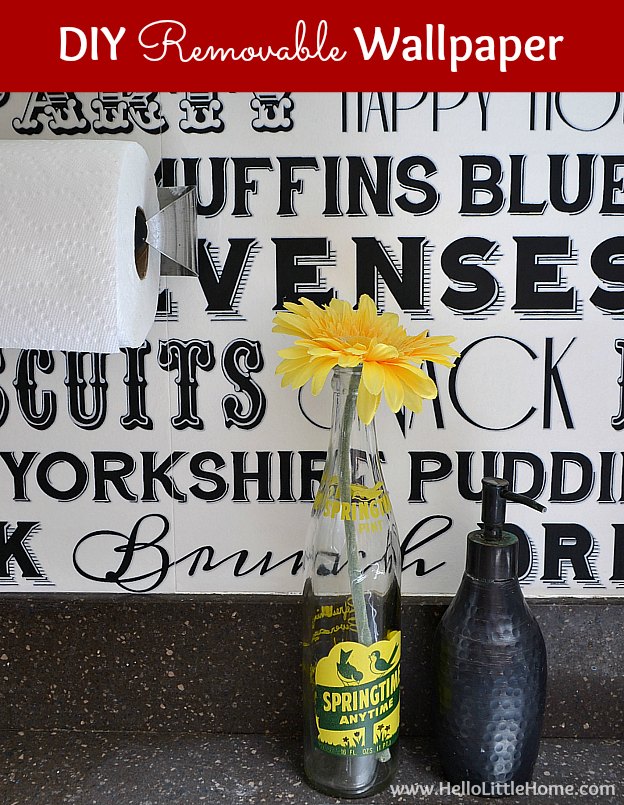
DIY Removable Wallpaper

13 Creative Ways to Use Peel-and-Stick Wallpaper

I Tried Putting Up Target Peel-And-Stick Wallpaper And It Wasn't A DIY Disaster


How to Hang Wallpaper (the Permanent Kind!)
This Removable Wallpaper Lets You Update Your Home Without Commitment
I tried Joanna Gaines’ removable wallpaper—and it's a home decor game-changer

Transform your room with peel and stick wallpaper