
How to Paint Wood Furniture—From Sanding to Sealing
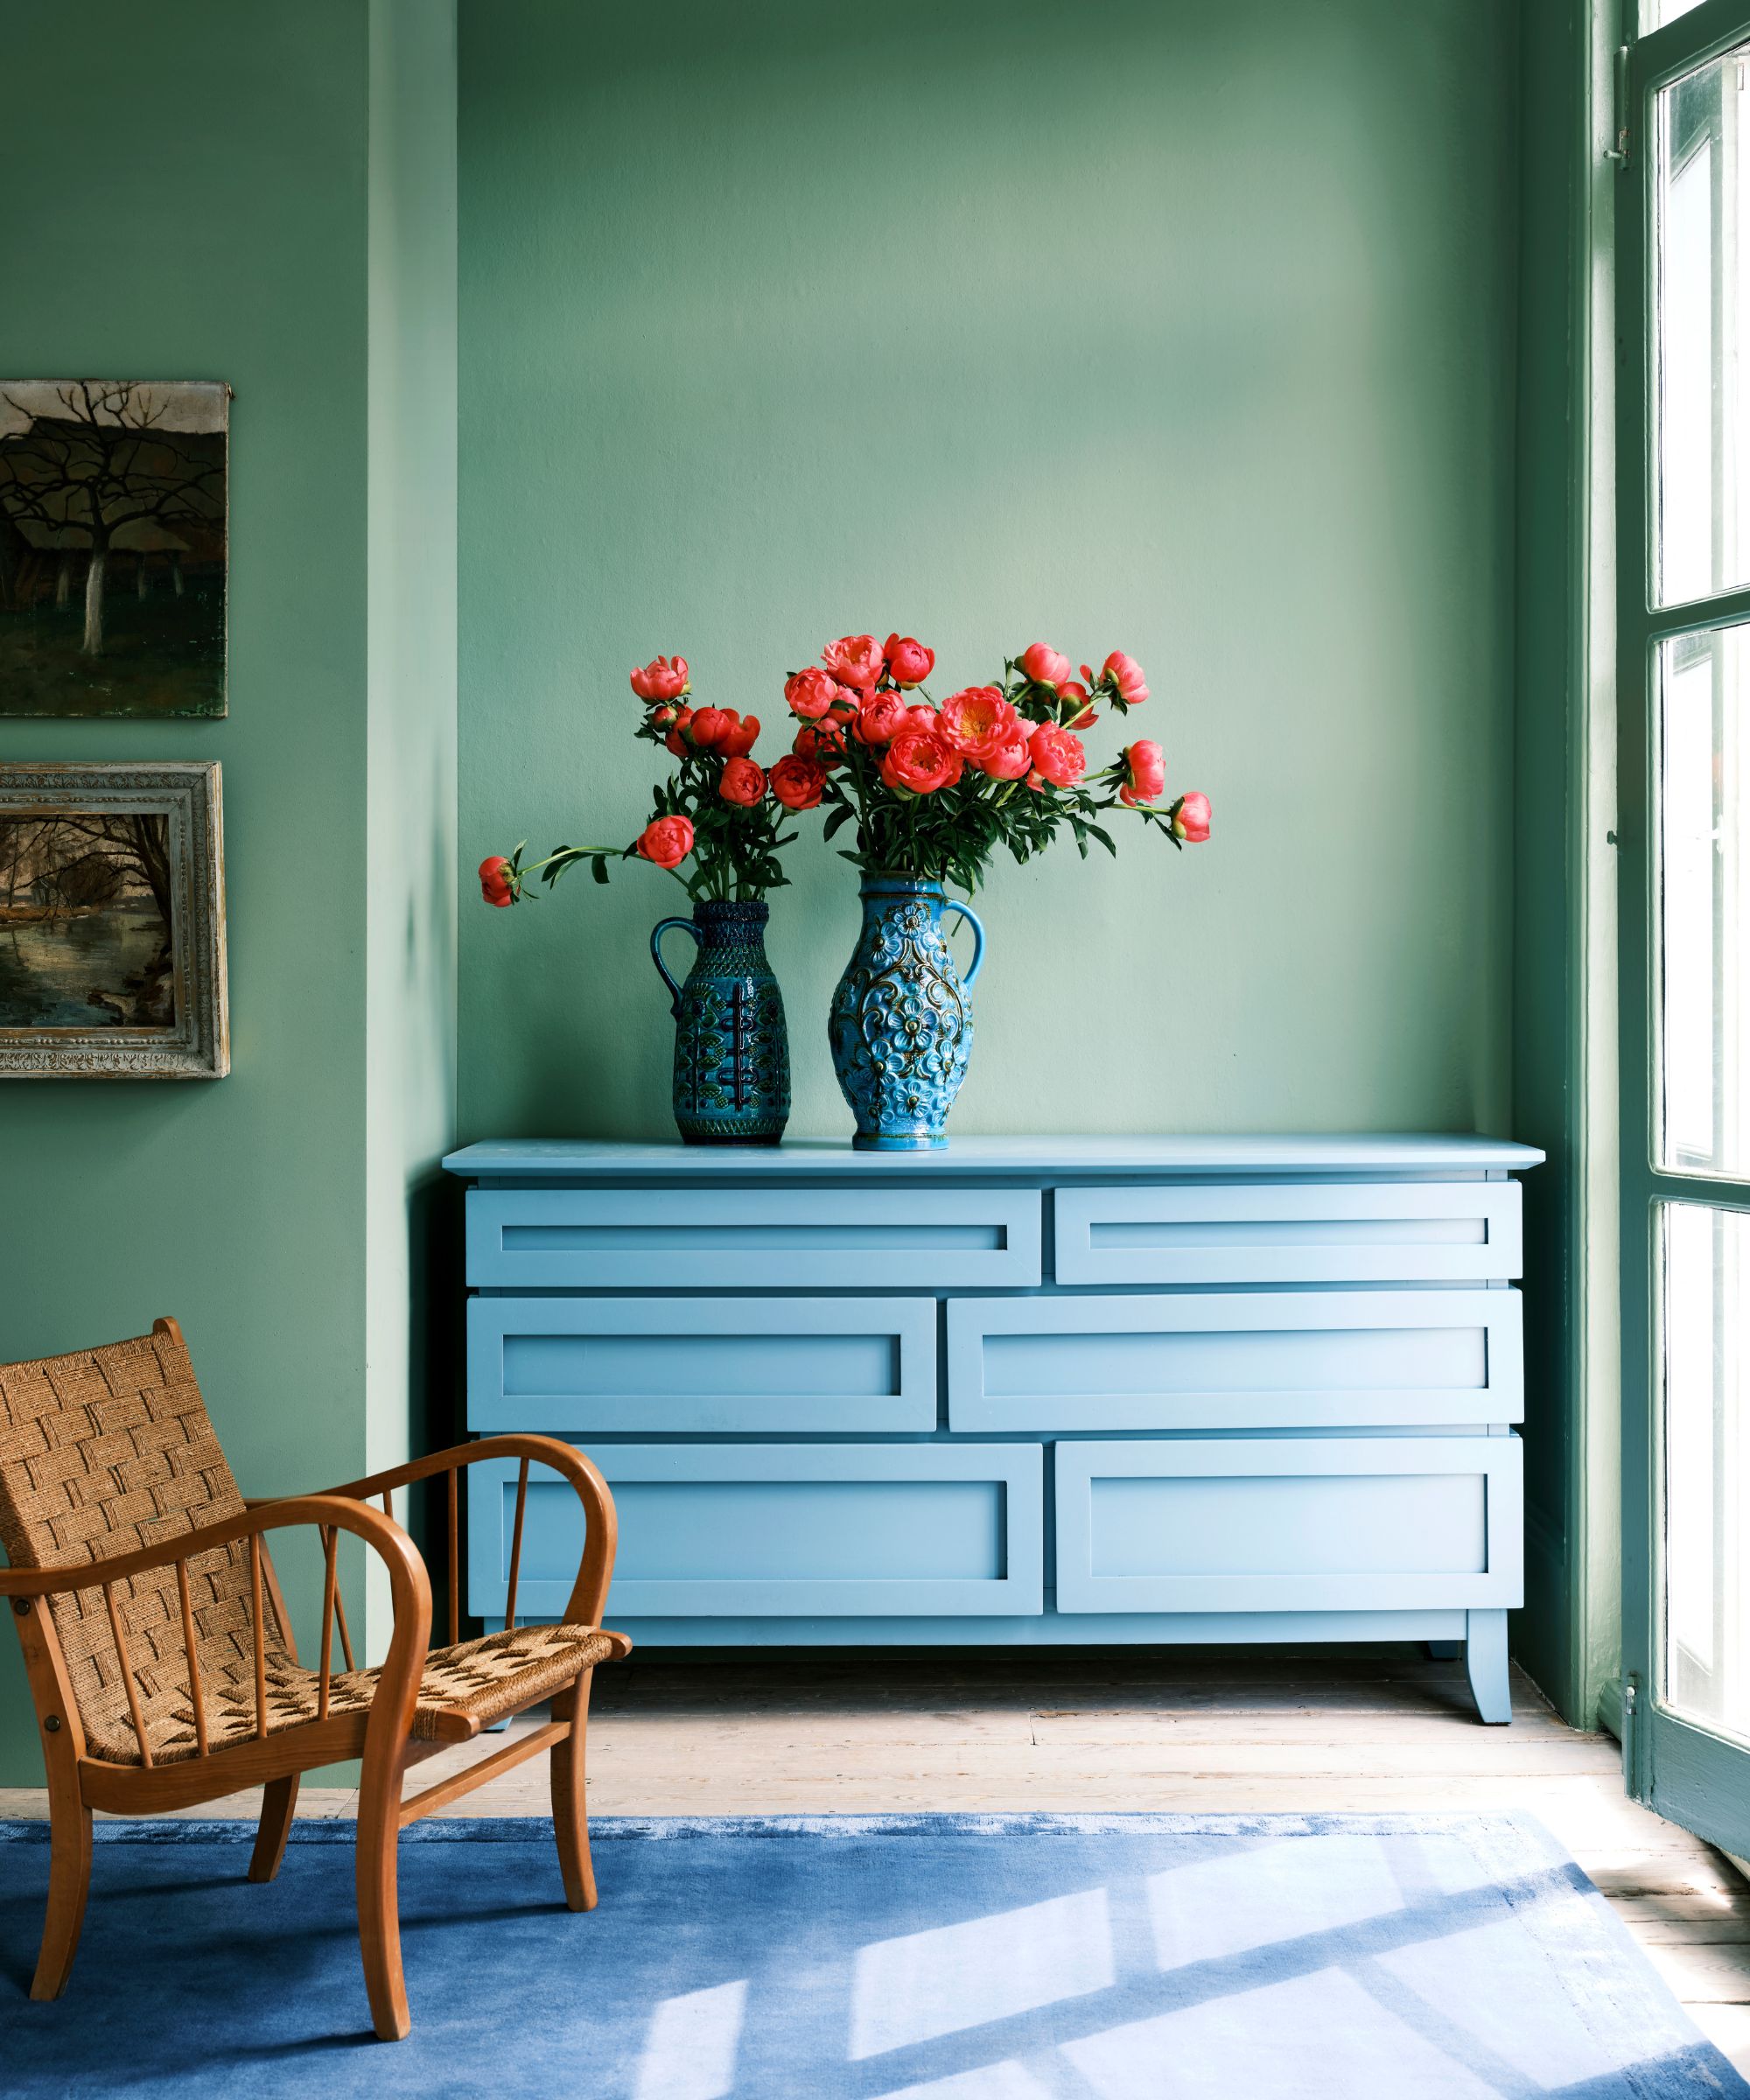
Painting wood furniture offers a budget-friendly and creative approach to revitalizing old or worn pieces, whether they are dressers, chairs, desks, or vanities. This process allows for personalization and can disguise aesthetic damage, promoting a do-it-yourself mentality over constant purchasing of new items. The steps involved are consistent across various wood furniture pieces, making it a versatile skill.
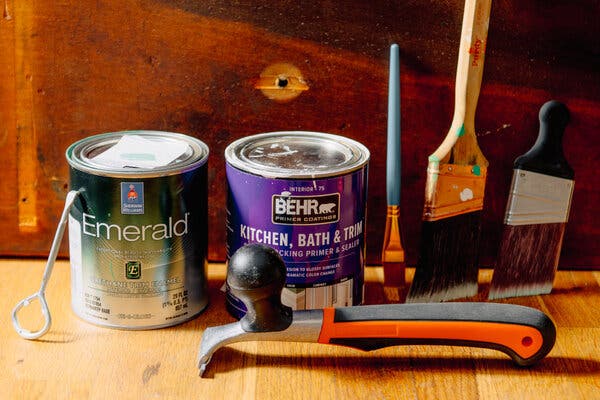
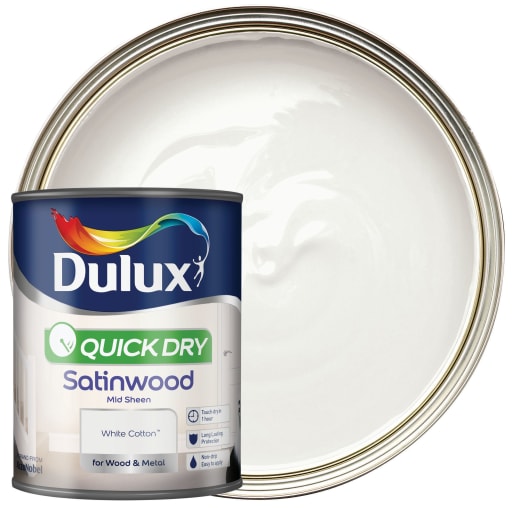
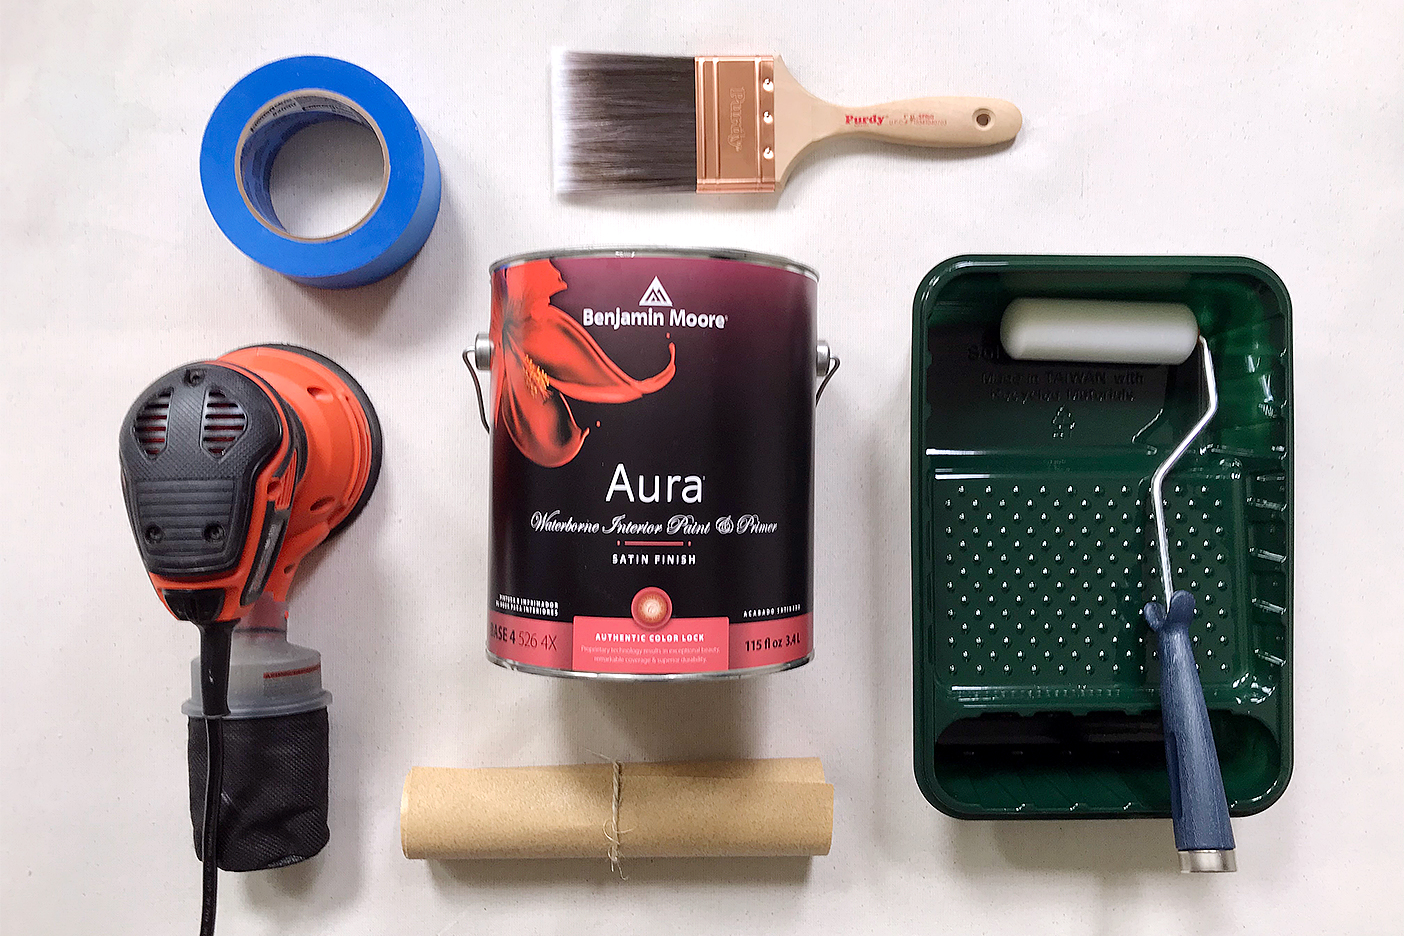
Key materials for painting wood furniture include a drop cloth, painter’s tape, 180- and 220-grit sanding sponges, a damp cloth, primer, paint, a paint brush, a safety mask, and sealant. The type of primer needed depends on the wood's condition and whether it's stained or raw. Unstained wood generally requires a high-quality latex or oil-based primer, while stained wood, redwood, or cedar benefit from a stain-blocking primer. Furniture with exposed wood, chalking, or chipped paint also needs an oil-based primer. It is recommended to match the primer base to the paint base, using water-based primer for water-based paints and varnish-based products for varnish-based paints.
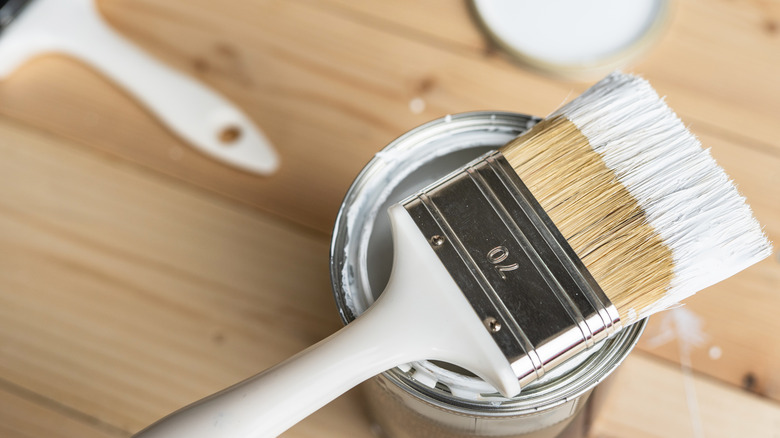
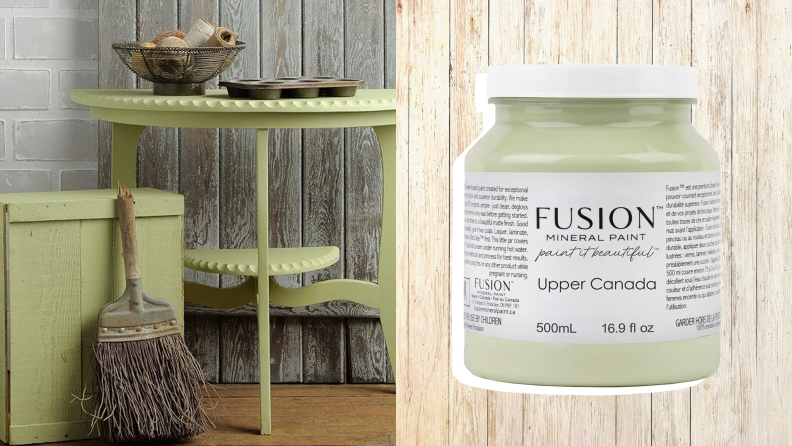
Chalk paint, also known as chalk finish or chalking paint, is highly recommended for furniture projects due to its ease of use and ability to create a unique matte finish where brushstrokes and imperfections contribute to the aesthetic. The choice of paint brush depends on the desired finish; smooth-bristled flat brushes yield a modern, flat finish, while synthetic-bristle brushes are suitable for latex paint and natural-bristle brushes for oil-based paint.
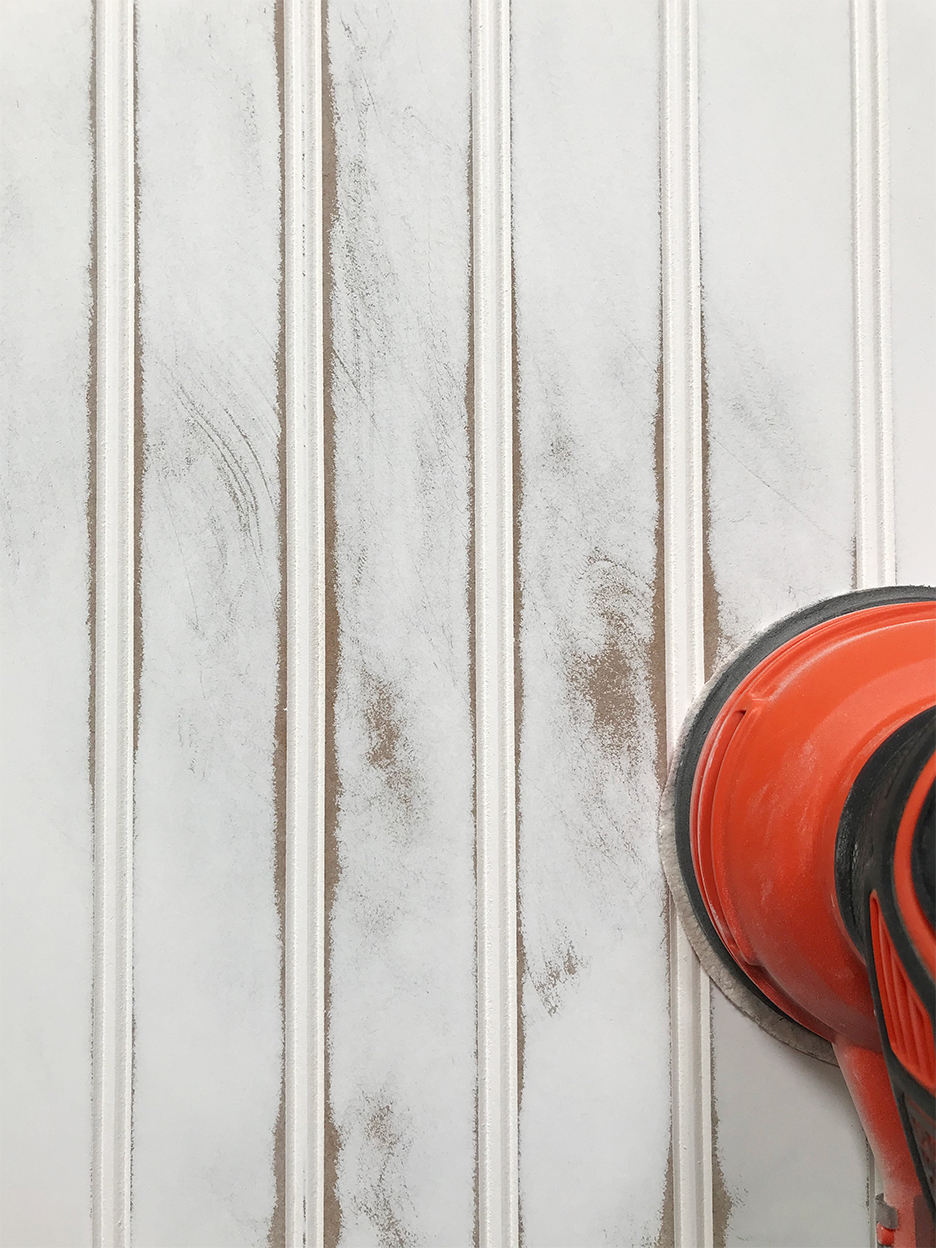
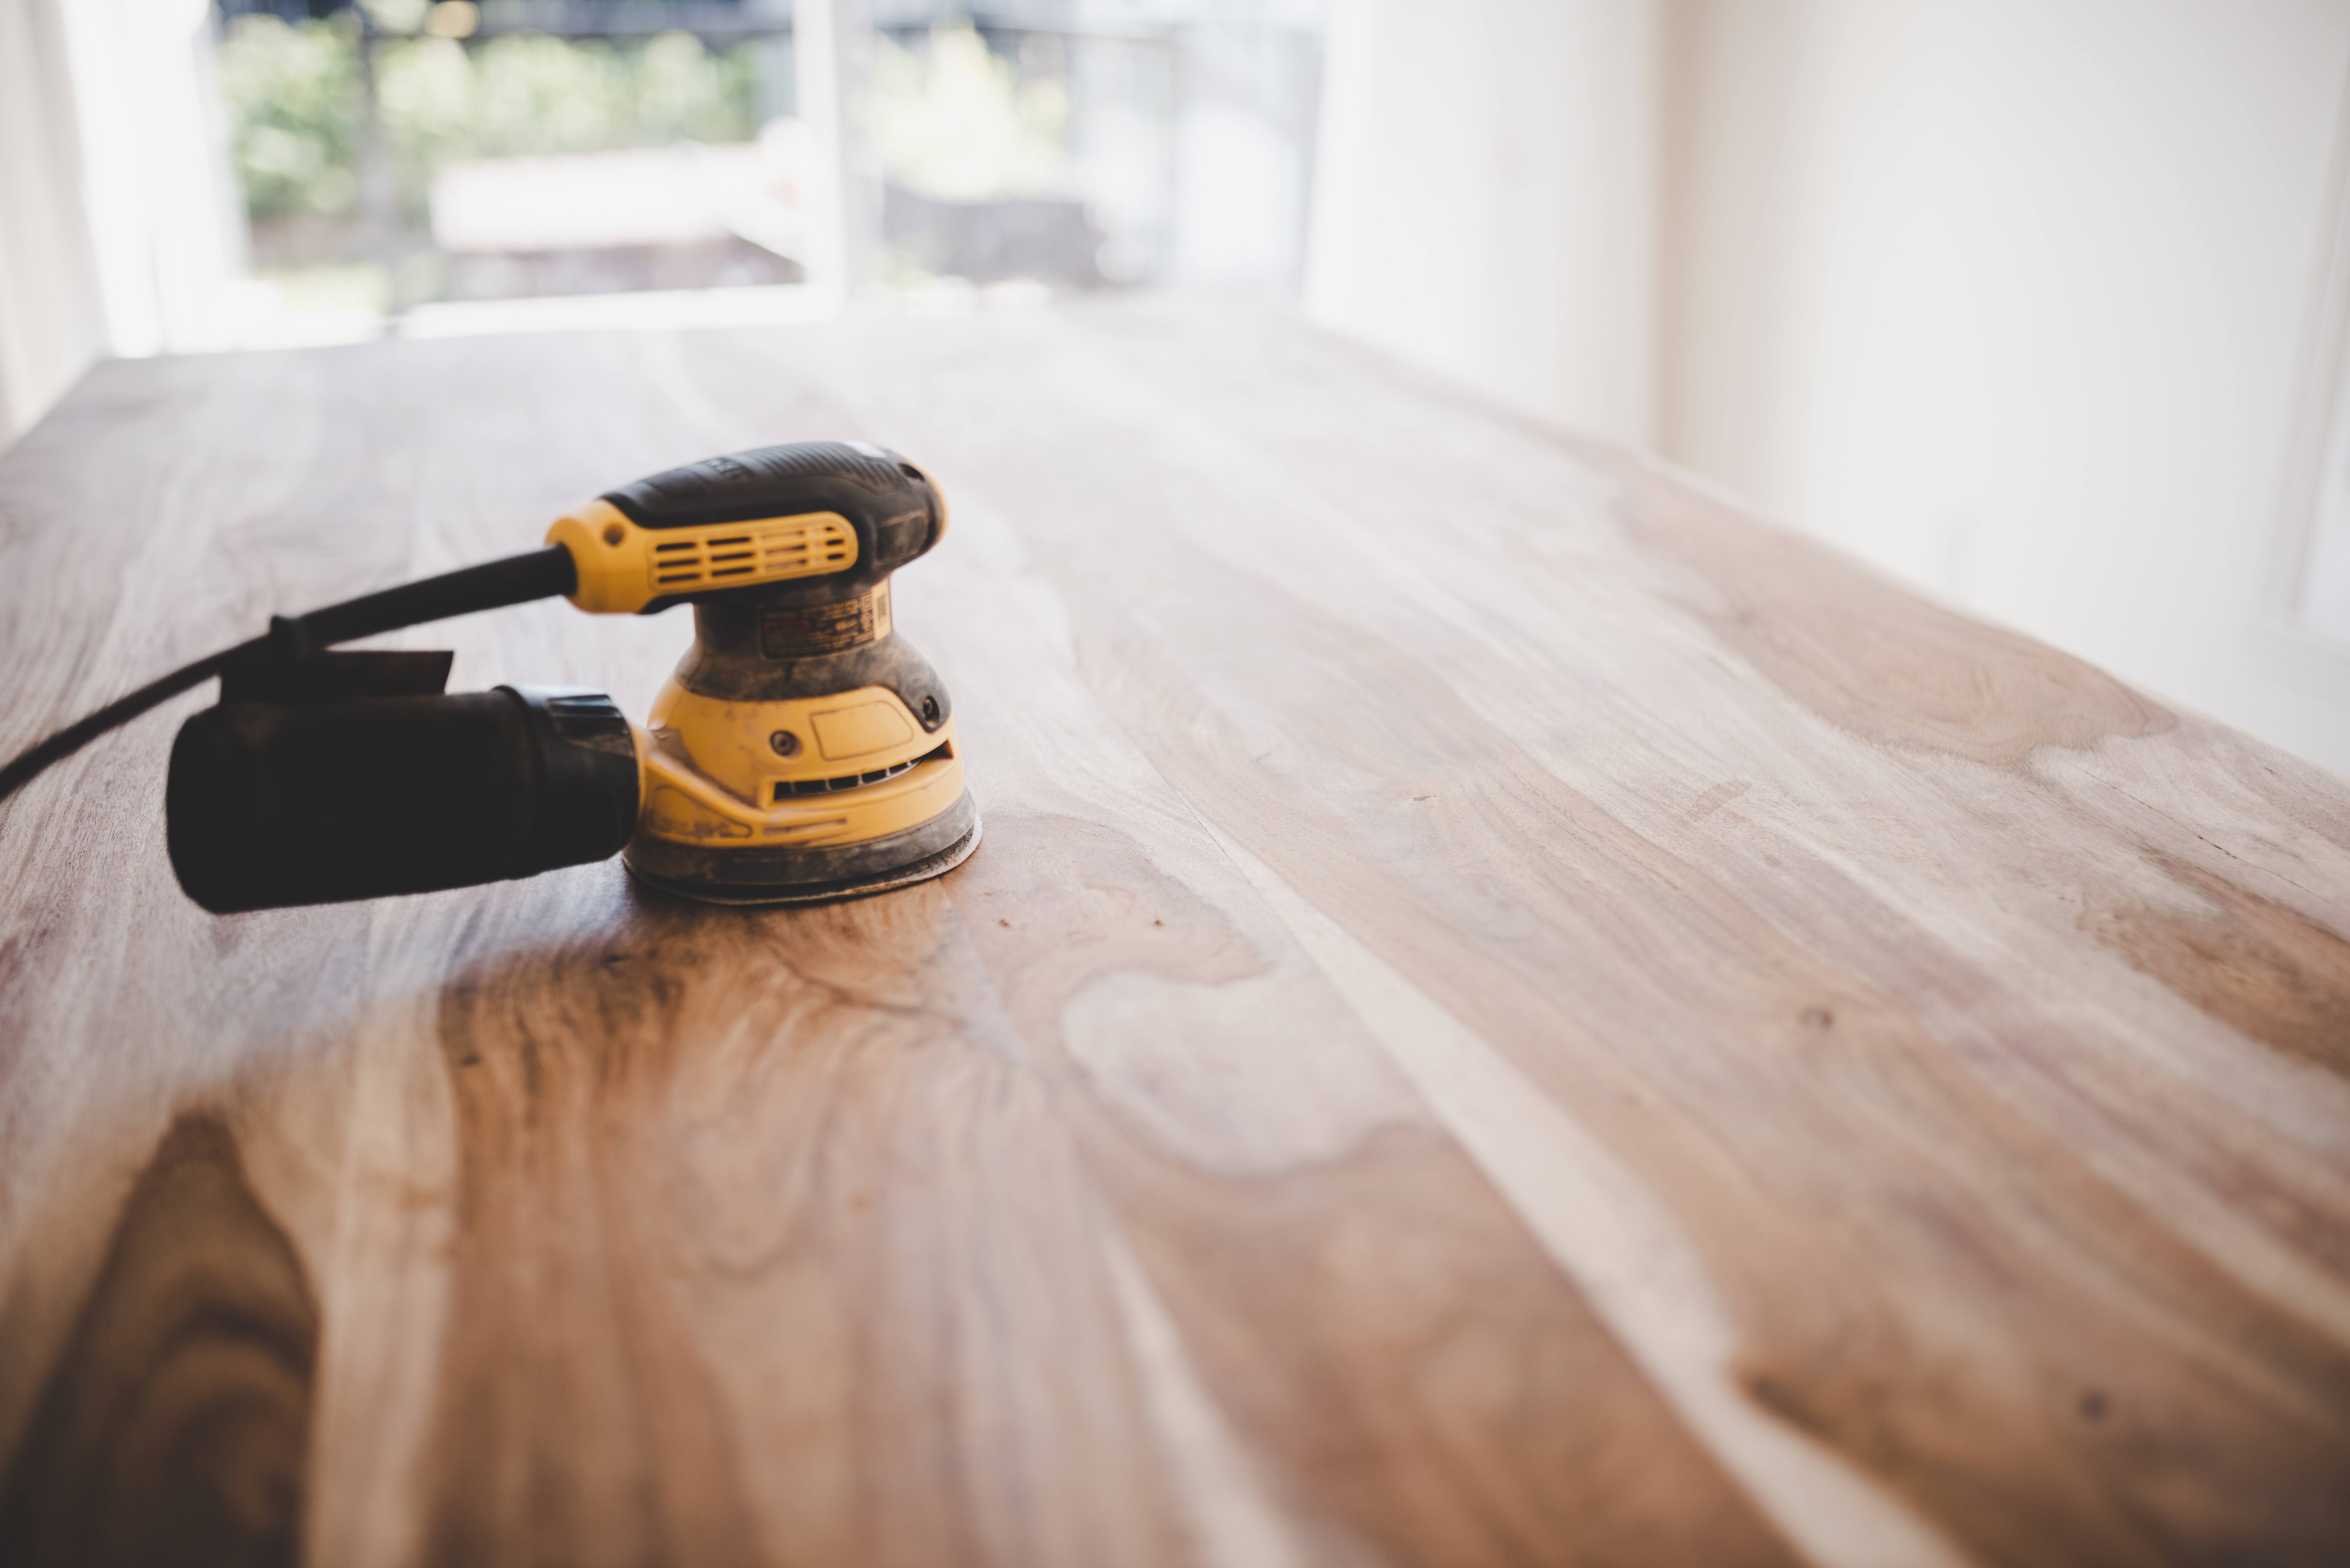
Preparation is crucial before painting. This involves removing drawers, loose shelves, and hardware. If the interior is to be painted, the back of the piece should also be removed if possible. For drawers with removable front pieces, labeling them before disassembly aids in reassembly. The furniture should be placed over a drop cloth to catch debris. Sanding is the next step: a 220-grit sanding sponge is used for already smooth surfaces, while rougher surfaces require both 180- and 220-grit sponges. After sanding, the furniture must be wiped clean with a damp cloth to remove dust, preventing particles from showing through the paint.
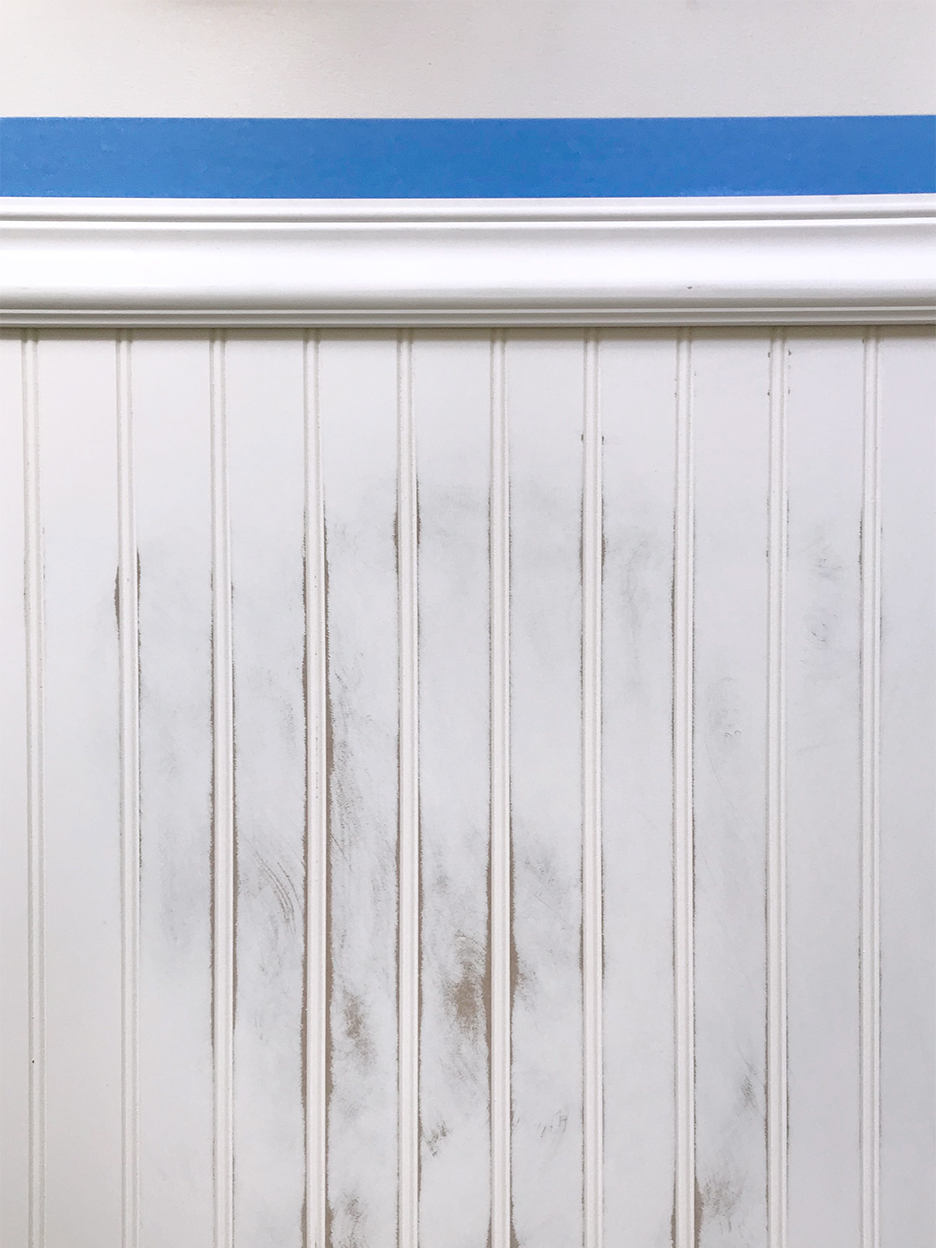
After sanding and cleaning, areas not to be painted, such as unremovable hardware or hinges, are taped off. A face mask should be worn to protect against fumes during priming. Priming is essential for bare wood or damaged, patched surfaces. The primer is applied in the direction of the wood grain, using an angled sash brush for corners, and allowed to dry. After the first coat of primer, the surface is lightly sanded with a 220-grit sponge and wiped clean. A second coat of primer may be applied if a smoother base is desired.
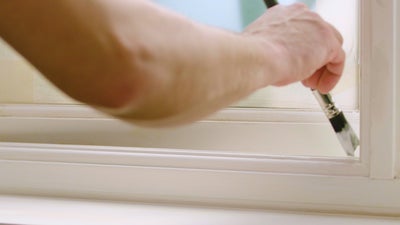
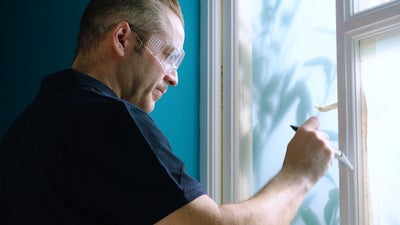
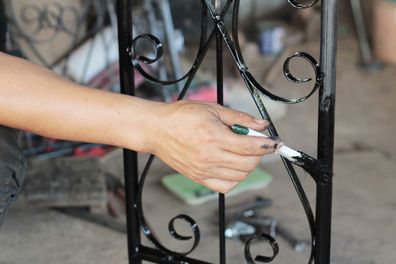
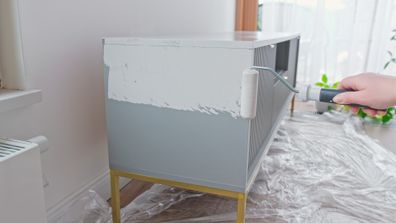
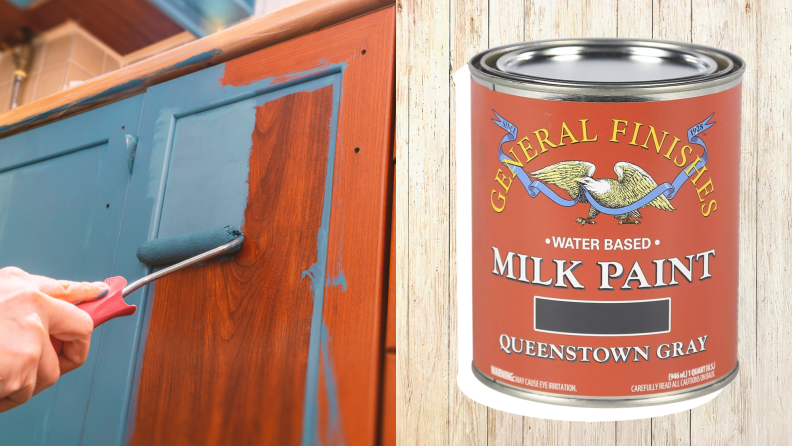
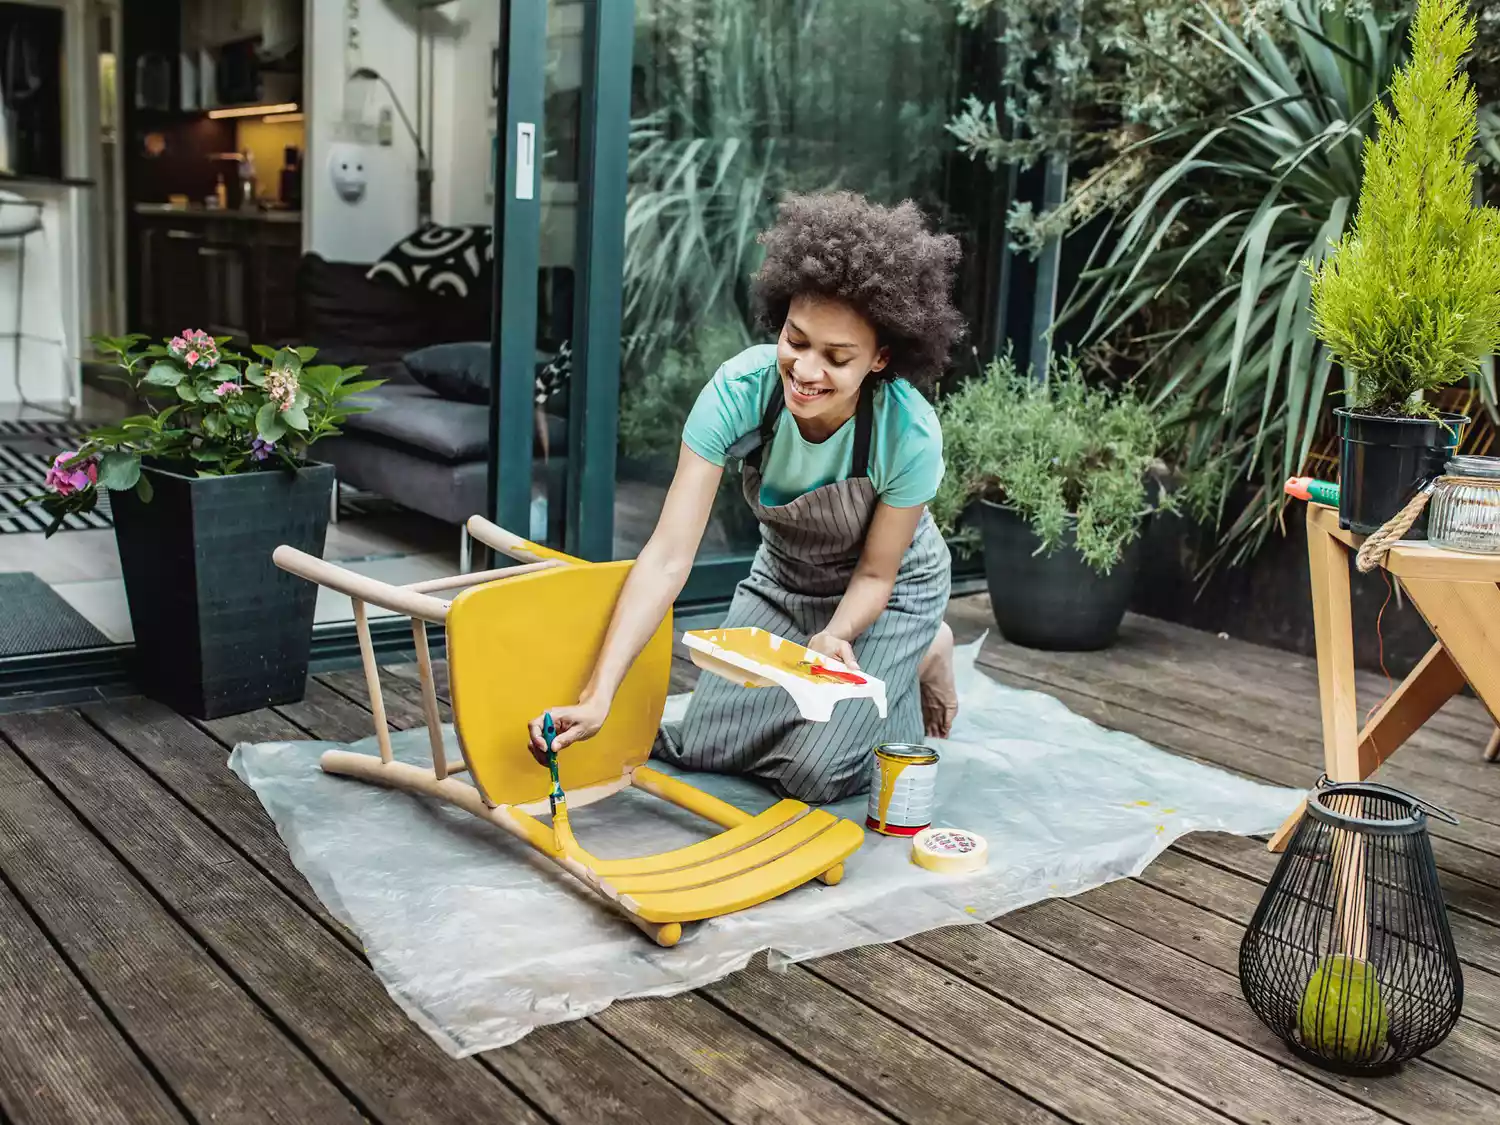
Once prepared, painting begins by dipping the brush into the paint and applying it back and forth in the direction of the wood grain or along the length of a previously painted surface, using broad strokes from the armpit rather than the wrist or elbow. The number of coats needed varies based on the surface, paint thickness, and color. After the first coat dries, any drips or runs should be carefully sanded off; if paint collects on the sandpaper, sanding should stop immediately to avoid scratching the surface. Repairs are then concealed with a thin second coat, ensuring adherence to manufacturer drying times. Finally, sealing the paint, especially water-based chalk paint, is recommended to prevent transfer and protect the finish. Clear chalk paint wax, matte, or gloss chalk paint lacquer can be applied over the entire painted surface. Once dry, all removed drawers and hardware can be reattached.
#WoodFurniture #FurniturePainting #DIYHomeProjects #ChalkPaint #HomeImprovement #FurnitureRestoration #PaintingTechniques #PrimerApplication #WoodFurniture #FurniturePainting #DIYHomeProjects #ChalkPaint #HomeImprovement #FurnitureRestoration #PaintingTechniques #PrimerApplication
0 комментариев всего
 Комментариев пока нет
Вам также может понравиться
How to Paint Wood-Paneling

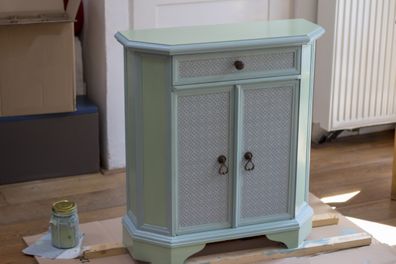
How to paint furniture: The one detail you need to get right for best results
Painting a Dining Table — 6 Steps to Follow for a Durable Finish

How to Paint Wood Paneling Like a Pro

10 mistakes to avoid when painting wooden furniture, according to experts

The Best Way To Paint Wood Paneling, According To An Expert
How to Paint Wood Paneling the Right Way

Interior Wood Paint

How to Prepare Interior Woodwork For Painting
Let’s Learn How to Paint Furniture

Garden Furniture Paint & Stain

How to Fall in Love with Your Furniture (Again)

How to Paint Wood Furniture Like a Pro

How to Paint Wood Paneling and Its Best Friend, the Trim


Furniture Paint & Cupboard Paint
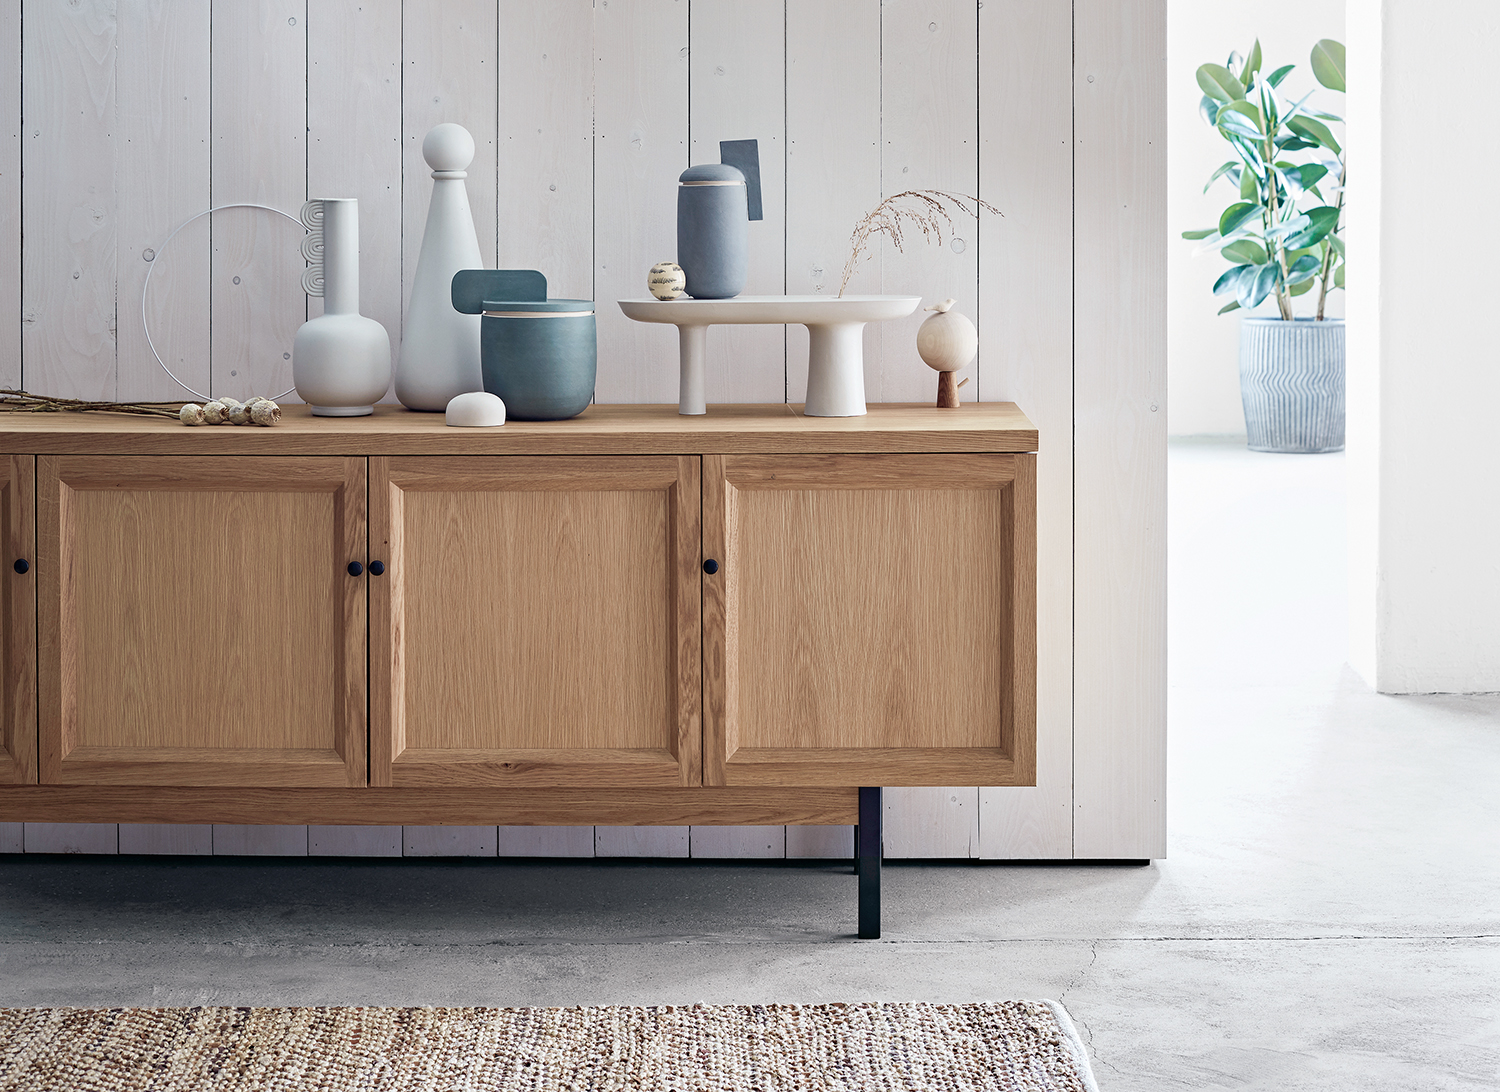
How to refinish wood furniture - easy ways to totally overhaul your decor
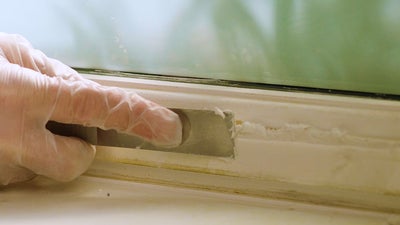
How to paint interior woodwork
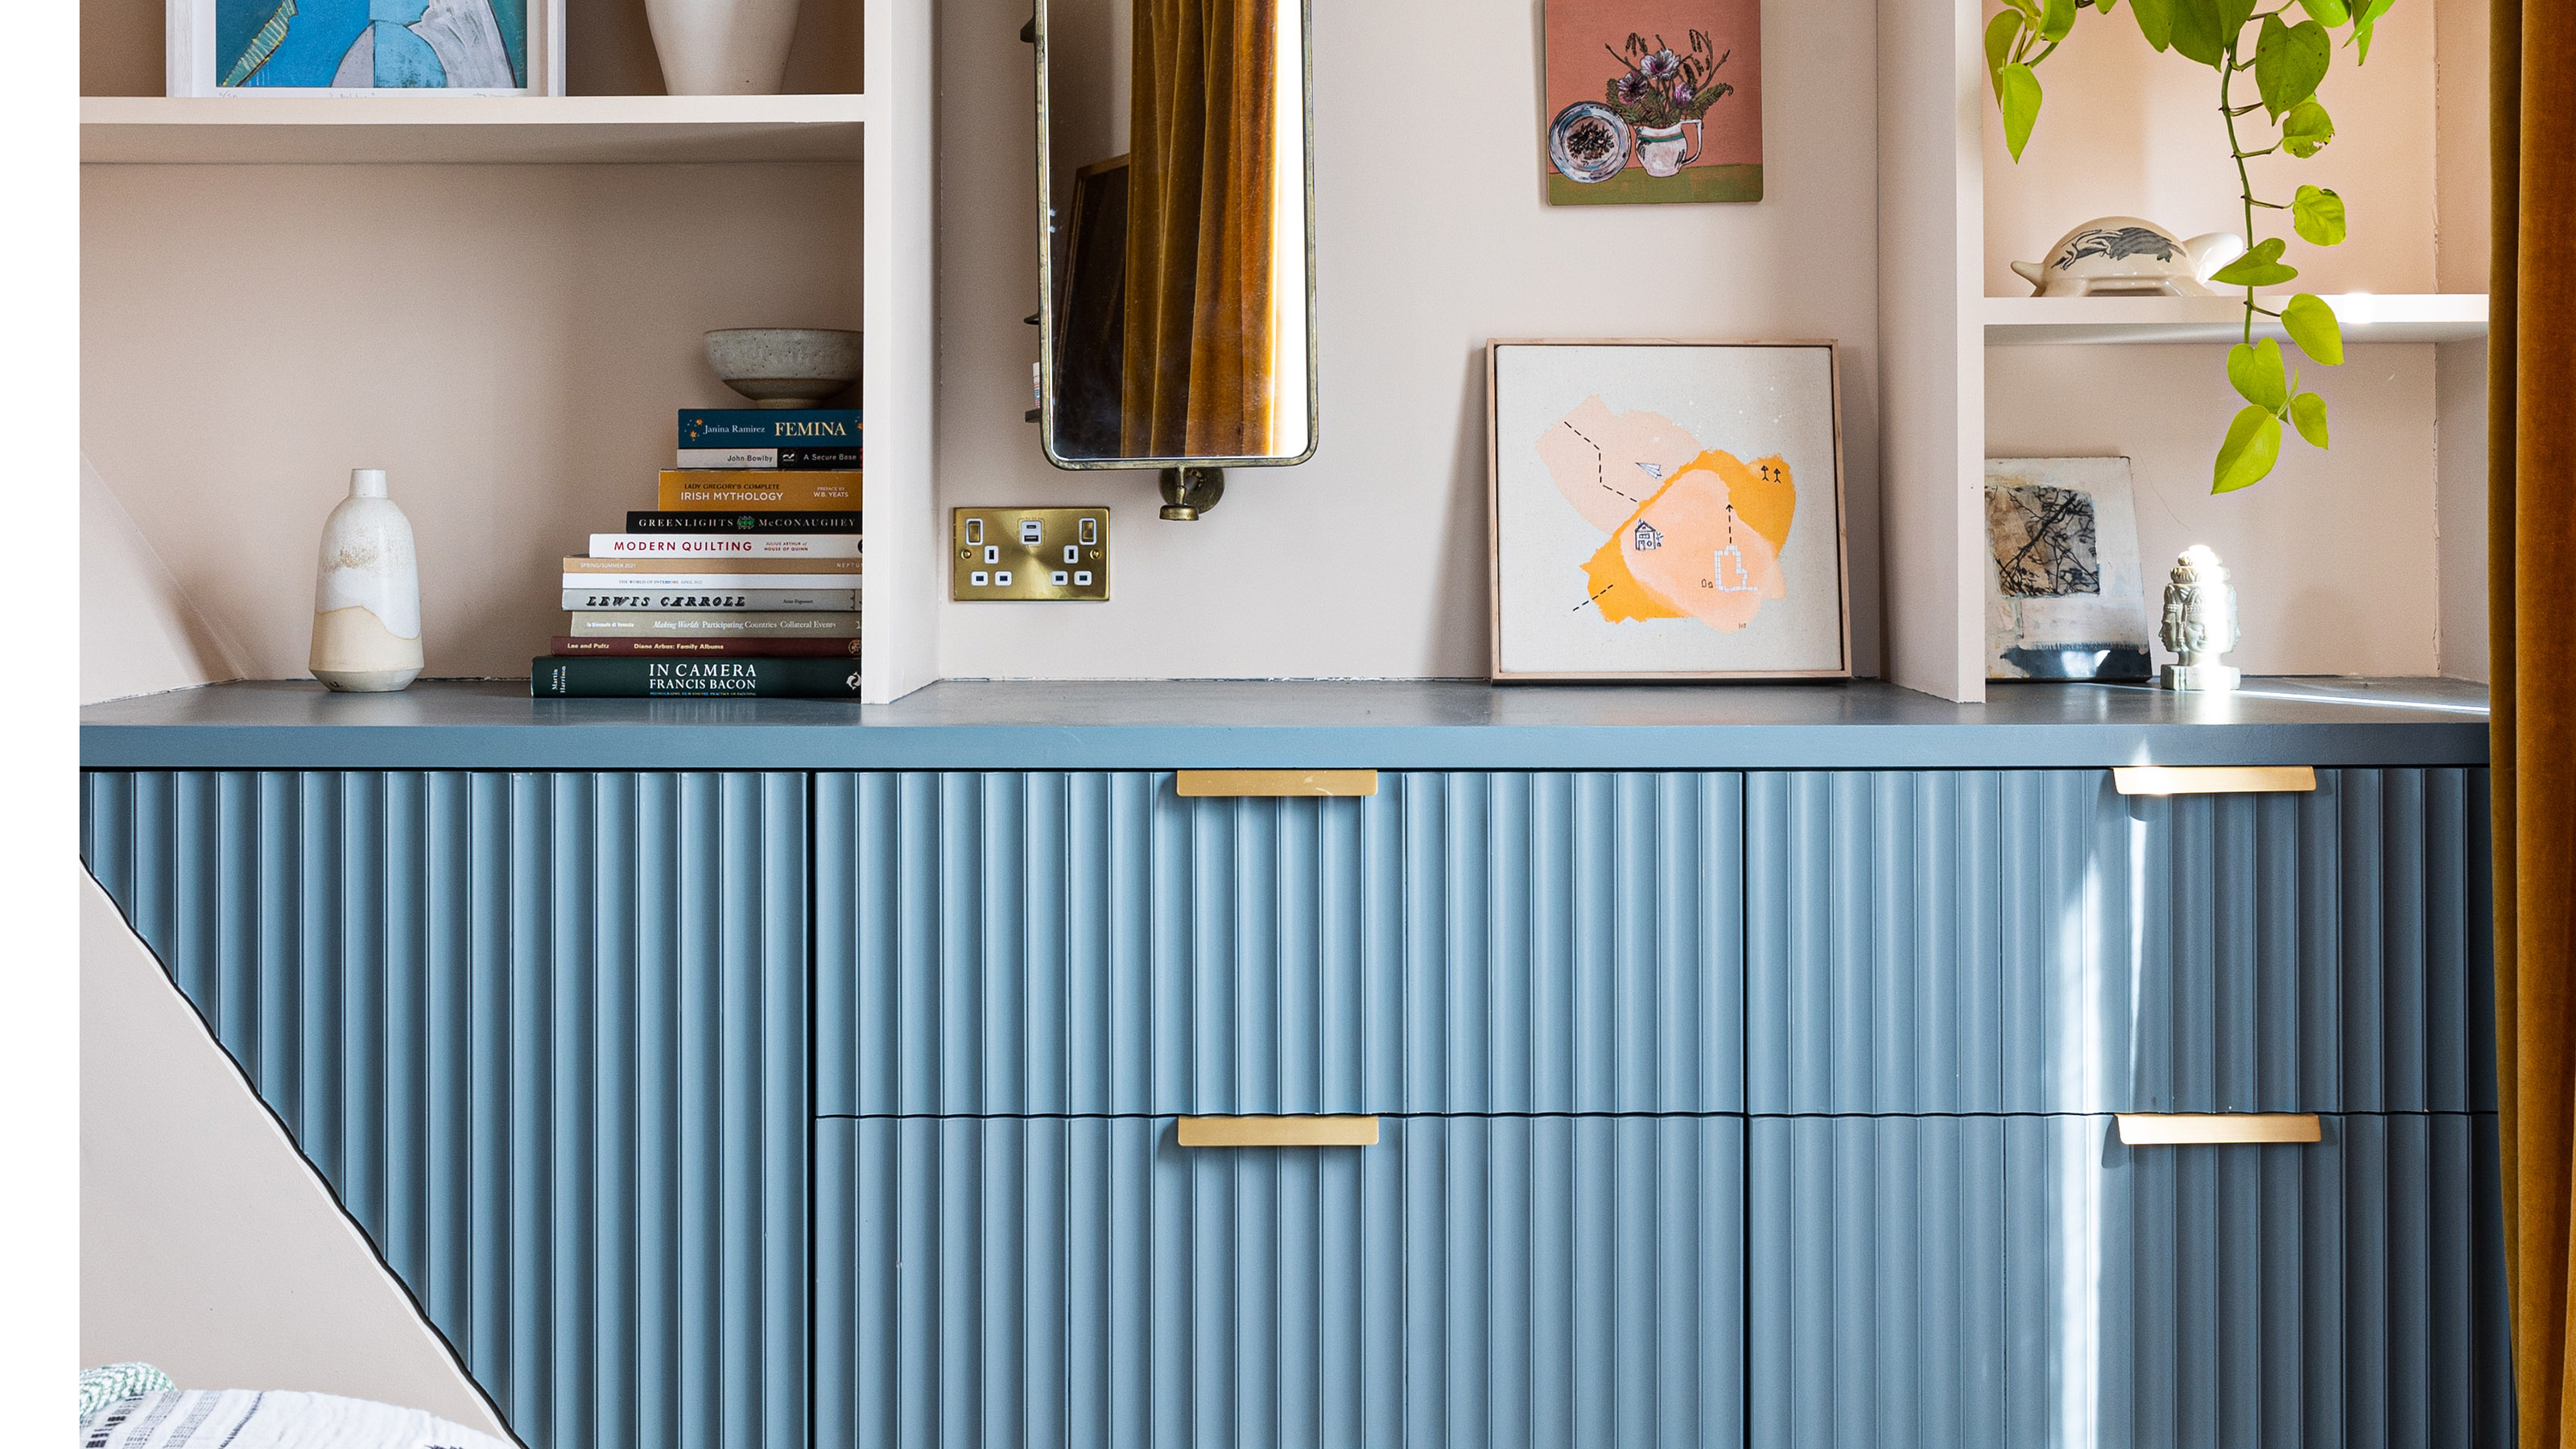
How to paint laminate furniture - the pro tips experts swear by for a perfect finish
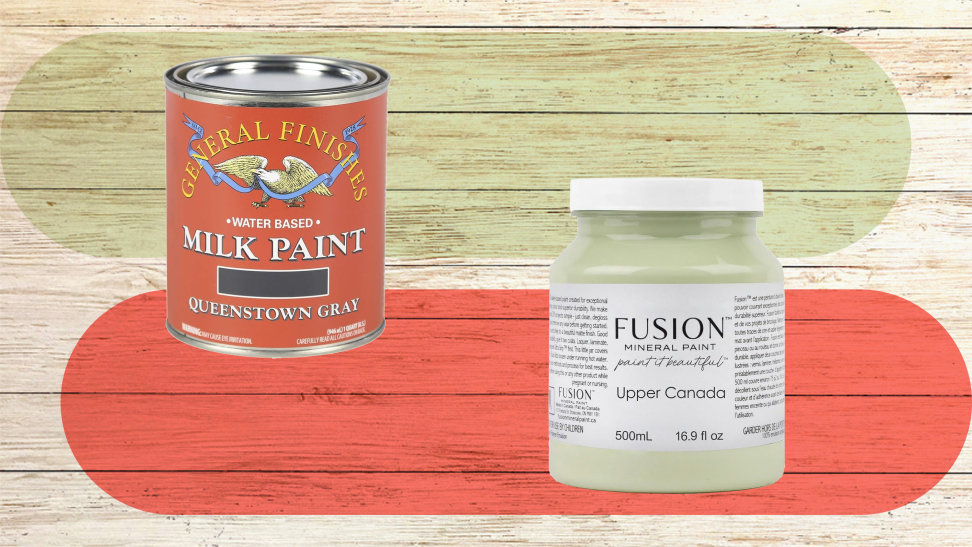
The Best Furniture Paint of 2026

Buying the Best Paint for Wood Means Nothing Without This Important First Step