1/6
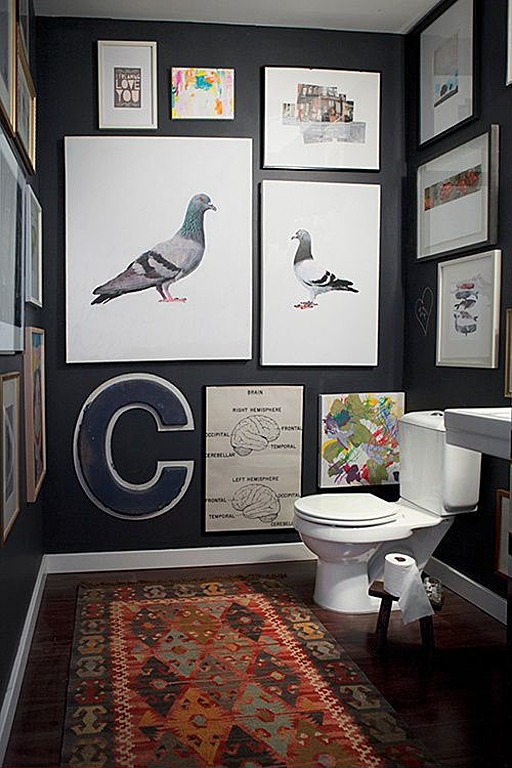
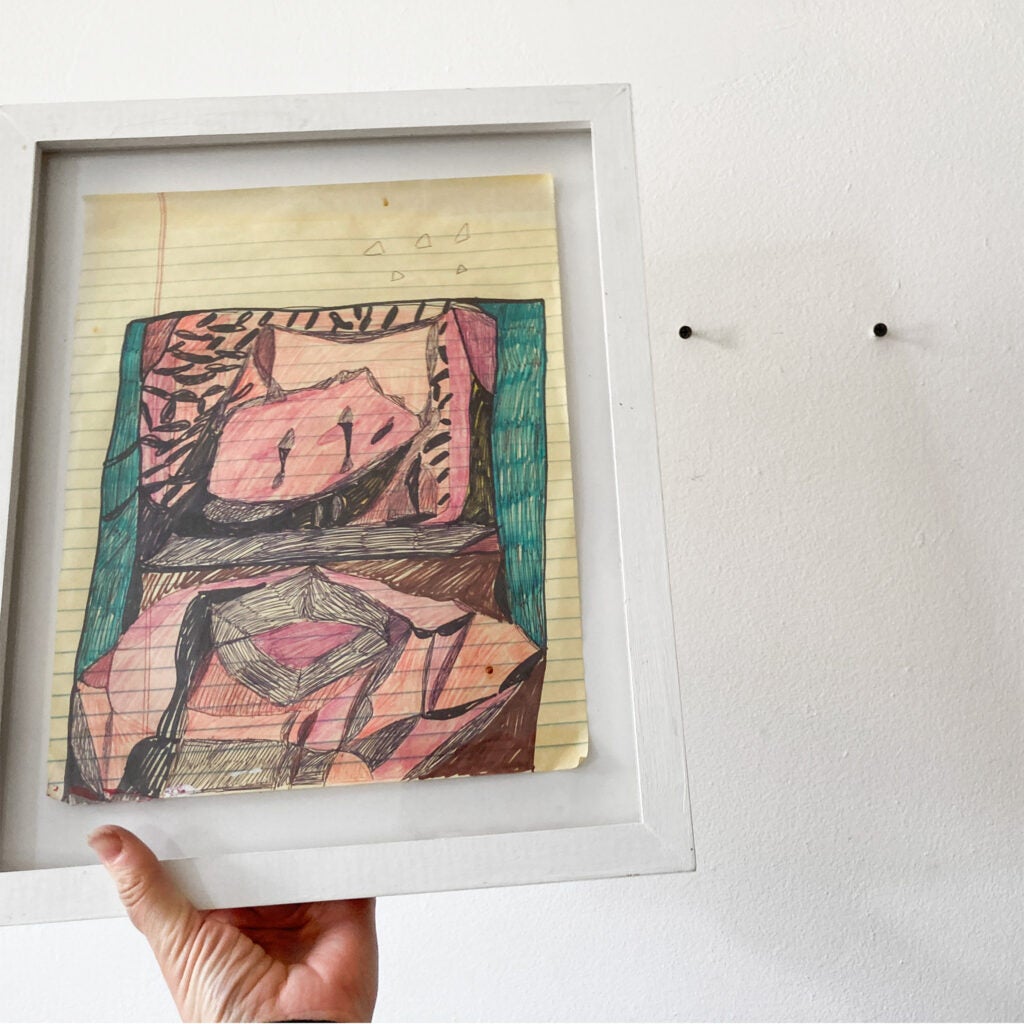
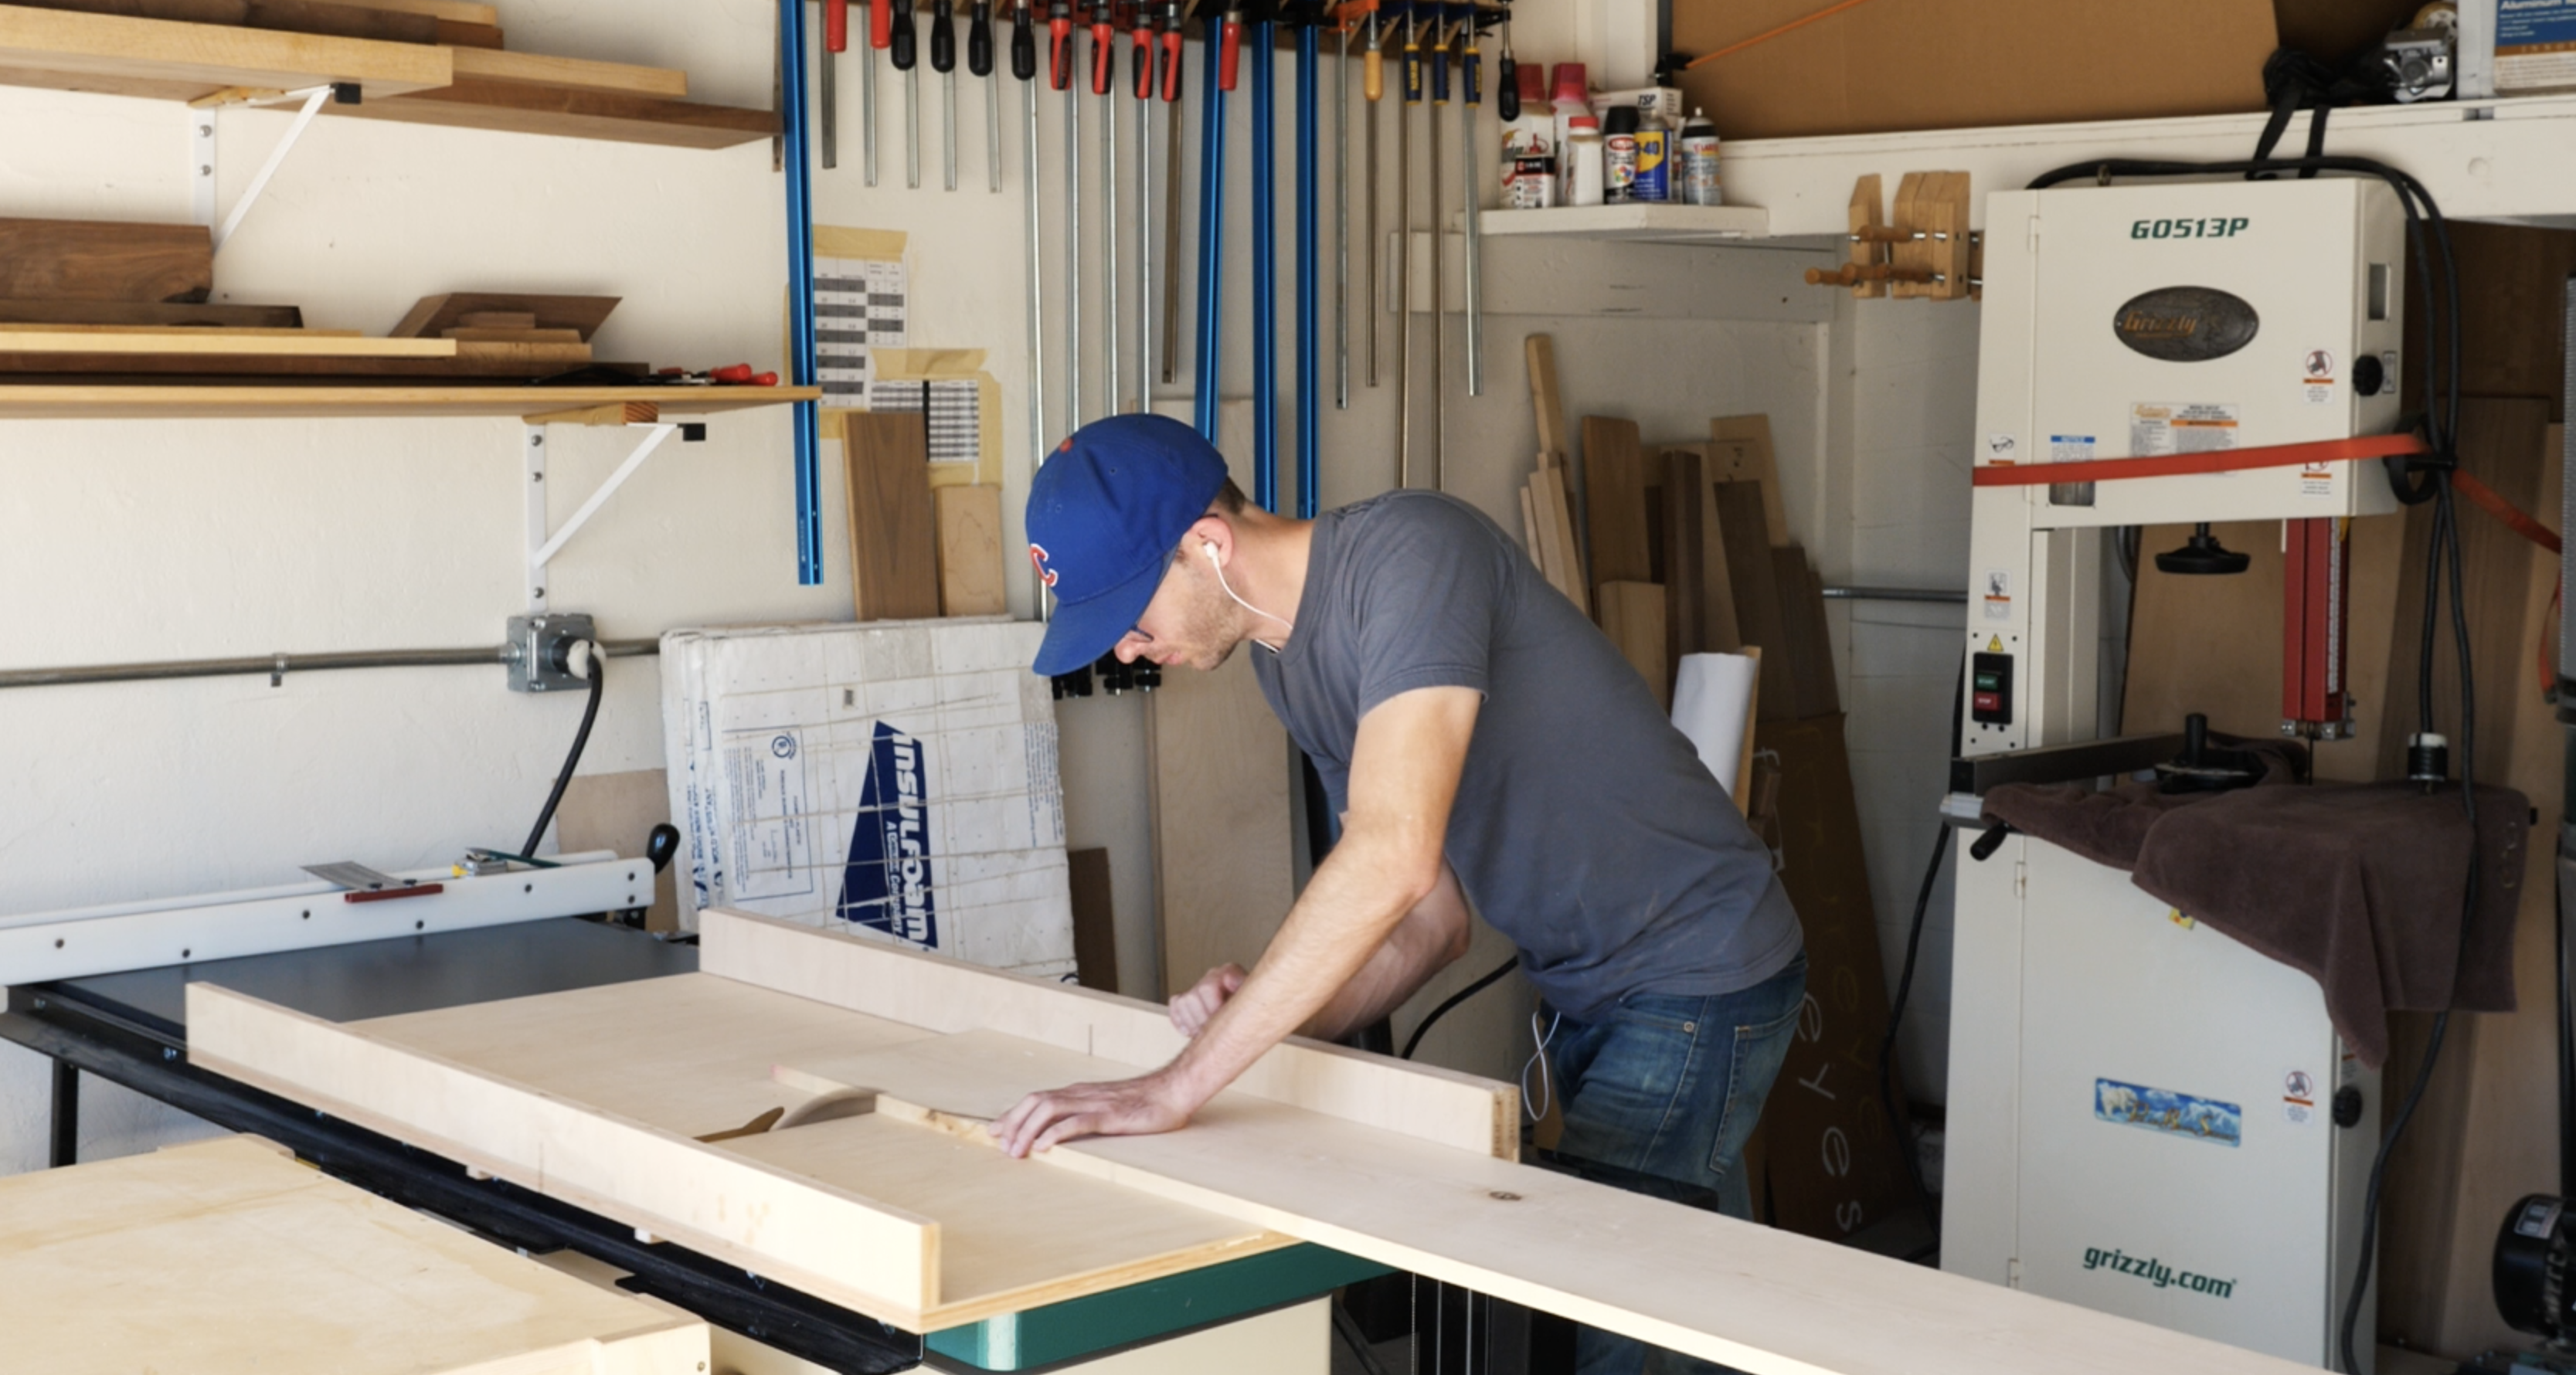
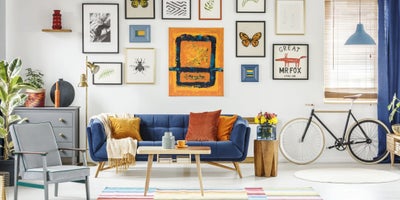
Dwell Made Presents: DIY Picture Wall
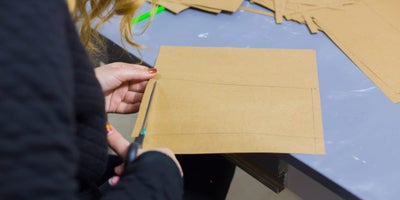
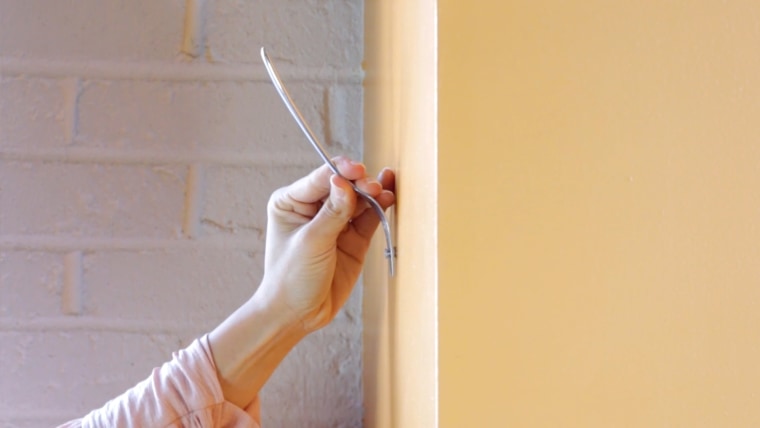
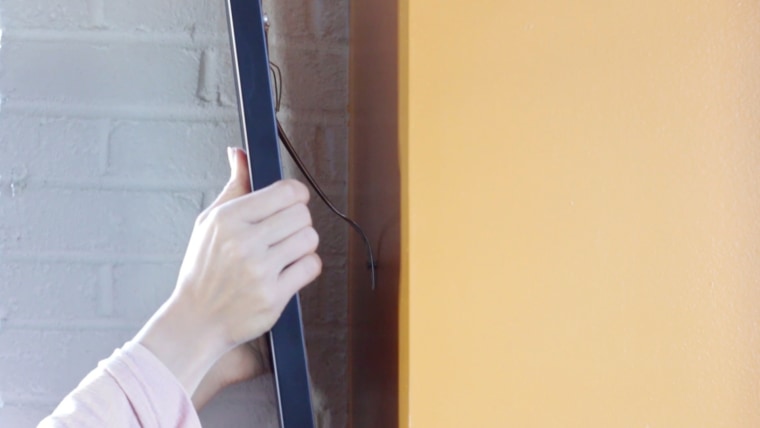
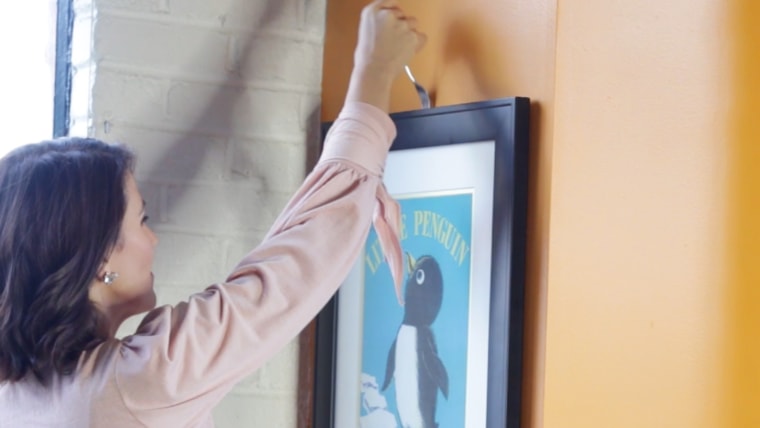
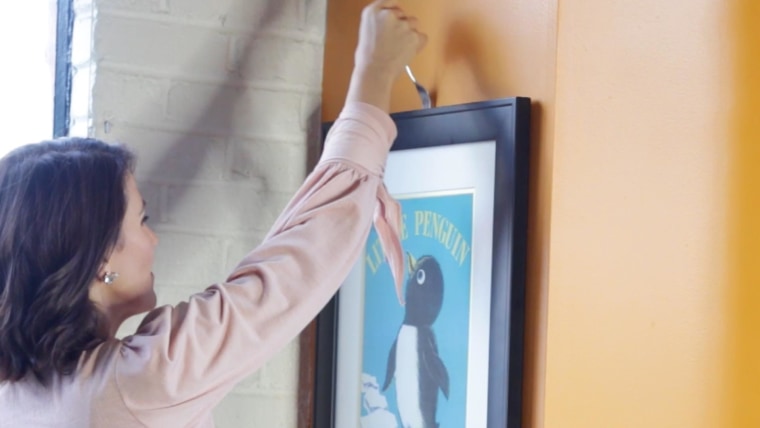
This article presents a detailed, step-by-step guide to constructing a modern and customizable DIY picture wall, suitable for displaying various artworks and photographs. The project, demonstrated by Chris Salomone of Foureyes Furniture as part of the Dwell Made series, emphasizes a minimalist design and offers flexibility in materials and dimensions. The key materials required are ¾-inch hardwood, softwood, or plywood, along with 10x10-inch pre-cut mat boards, though alternative sizes are also permissible. The construction process begins with cutting the chosen wood to a desired finished length, with 64 inches used as an example, but adaptable to individual wall specifications. This can be achieved using various tools such as a table saw with a cross-cut sled, a chop saw, or a handheld circular saw. Following the initial length cut, the board is then cut into multiple strips. The example uses 1 ½-inch wide strips, but this dimension can be altered to fit specific design preferences, with four strips being necessary for the demonstrated design. A crucial step involves cutting a groove into both the top and bottom edges of each strip. This is accomplished by setting a table saw blade to protrude approximately 1/8 inch above the table surface and adjusting the fence to position the groove towards the back, but not directly on the edge, of the pieces. After cutting, the fit of the mat board within the groove is tested, and adjustments to the fence are made if necessary to widen the grooves for a perfect fit. The subsequent step focuses on finishing the wood pieces. This includes sanding with progressively finer grits—80, 120, and finally 180 grit sandpaper—to achieve a smooth surface. A coat of wipe-on Polyurethane finish is then applied, though the article notes that almost any type of finish can be used. The final stage involves the installation of the picture wall. Prior to installation, careful planning and marking of the desired layout on the wall are essential. The first or bottom piece is installed using a level to ensure accuracy, and secured with finish nails. To maintain consistent spacing between subsequent pieces, mat boards are used as temporary spacers on either end. This process is repeated until all strips are securely installed, creating a cohesive and visually appealing display system. The article concludes by inviting readers to follow Dwell Made on Instagram and YouTube for more DIY projects.
#DIY #PictureWall #HomeDecor #Woodworking #ModernDesign #Craftsmanship #FoureyesFurniture #InteriorDesign #HomeImprovement #DIY #PictureWall #HomeDecor #Woodworking #ModernDesign #Craftsmanship #FoureyesFurniture #InteriorDesign #HomeImprovement
0 комментариев всего
Вам также может понравиться
This Blogger Shows You How to Make a Sliding Collage Photo Frame in Just 30 Minutes

Wonder Walls

RS Recommends: The Best Hanging Kits Will Make Your Gallery Wall Dreams Come True


This Is The Best Way To Hang Pictures, According To An Expert
'No forking way!' – this genius hack might have just solved our biggest problem with hanging art on a wall
to create a gallery art wall - Ideas & Advice
30 Photo Wall Ideas No One Shares Because They’re Built Around Real Memories

Yes, You Can Hang Art Like a Pro | Reviews by Wirecutter
21 Wall Art Ideas That Will Give Your Home Some Major Personality
34 Creative DIY Wall Art Ideas to Decorate Your Space

How to create a gallery wall in your home
My editor swears by this framing trick to make any wall art look more expensive – I’m taking her advice on board, and so should you
25 Ways To Transform Your Boring, Empty Walls Into Something You'll Actually Want To Look At

9 Things (Other Than Photos) That Look Great In A Gallery Wall
How to Paint a Wall Mural Even If You’re Not an Artist

The Best Gallery Wall Ideas Right Now

7 DIY tips for how to hang a gallery wall from experts

How to hang wall perfectly: Use a fork

Curating art for the home is an art in itself

Wall decals, tea towels and other creative ways to display your pics