1/5
to create a gallery art wall - Ideas & Advice
This article outlines a detailed guide on creating a gallery art wall, offering a trendy and flexible method to transform any room. It emphasizes that gallery walls allow individuals to inject personality, add color, and establish a specific mood by filling empty spaces with their favorite artwork, making a statement focal point. The beauty of an art wall lies in its versatility and adaptability, allowing for modifications and additions over time as personal collections grow and tastes evolve.
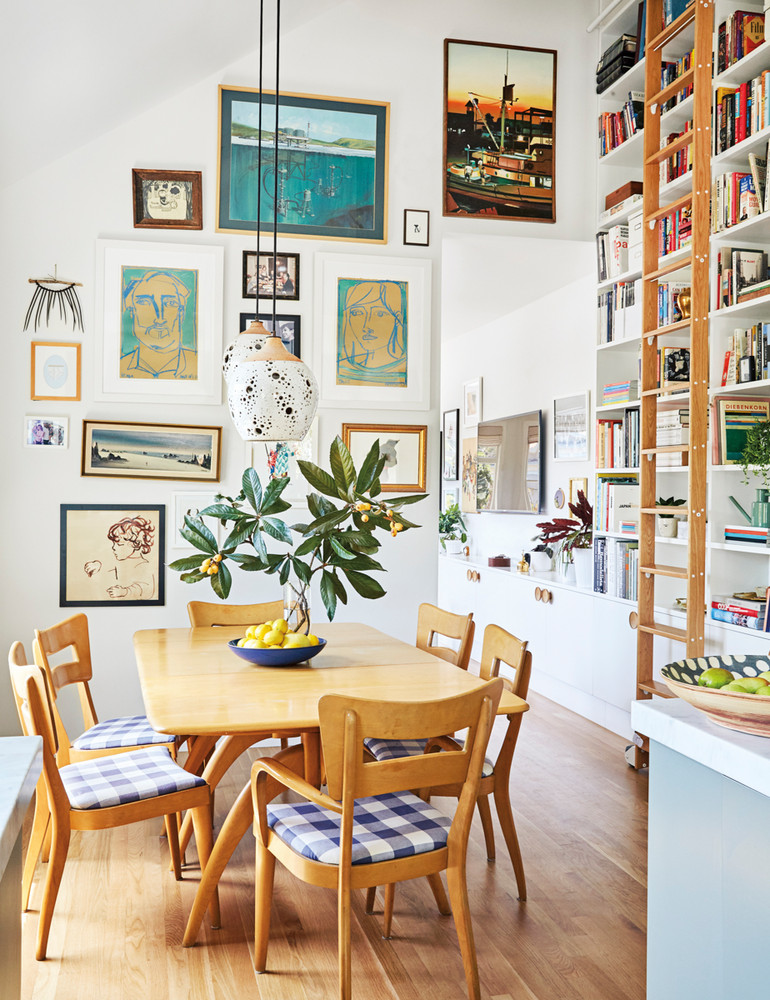
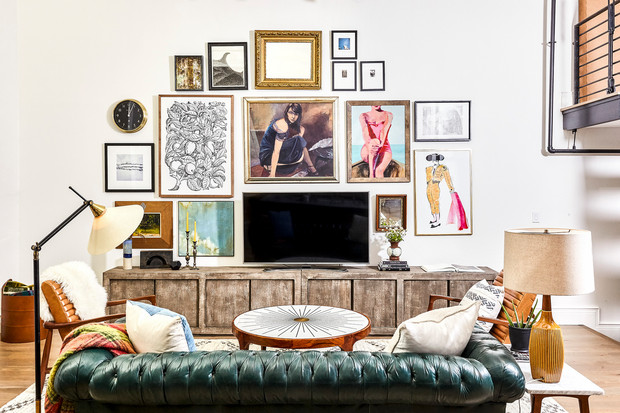
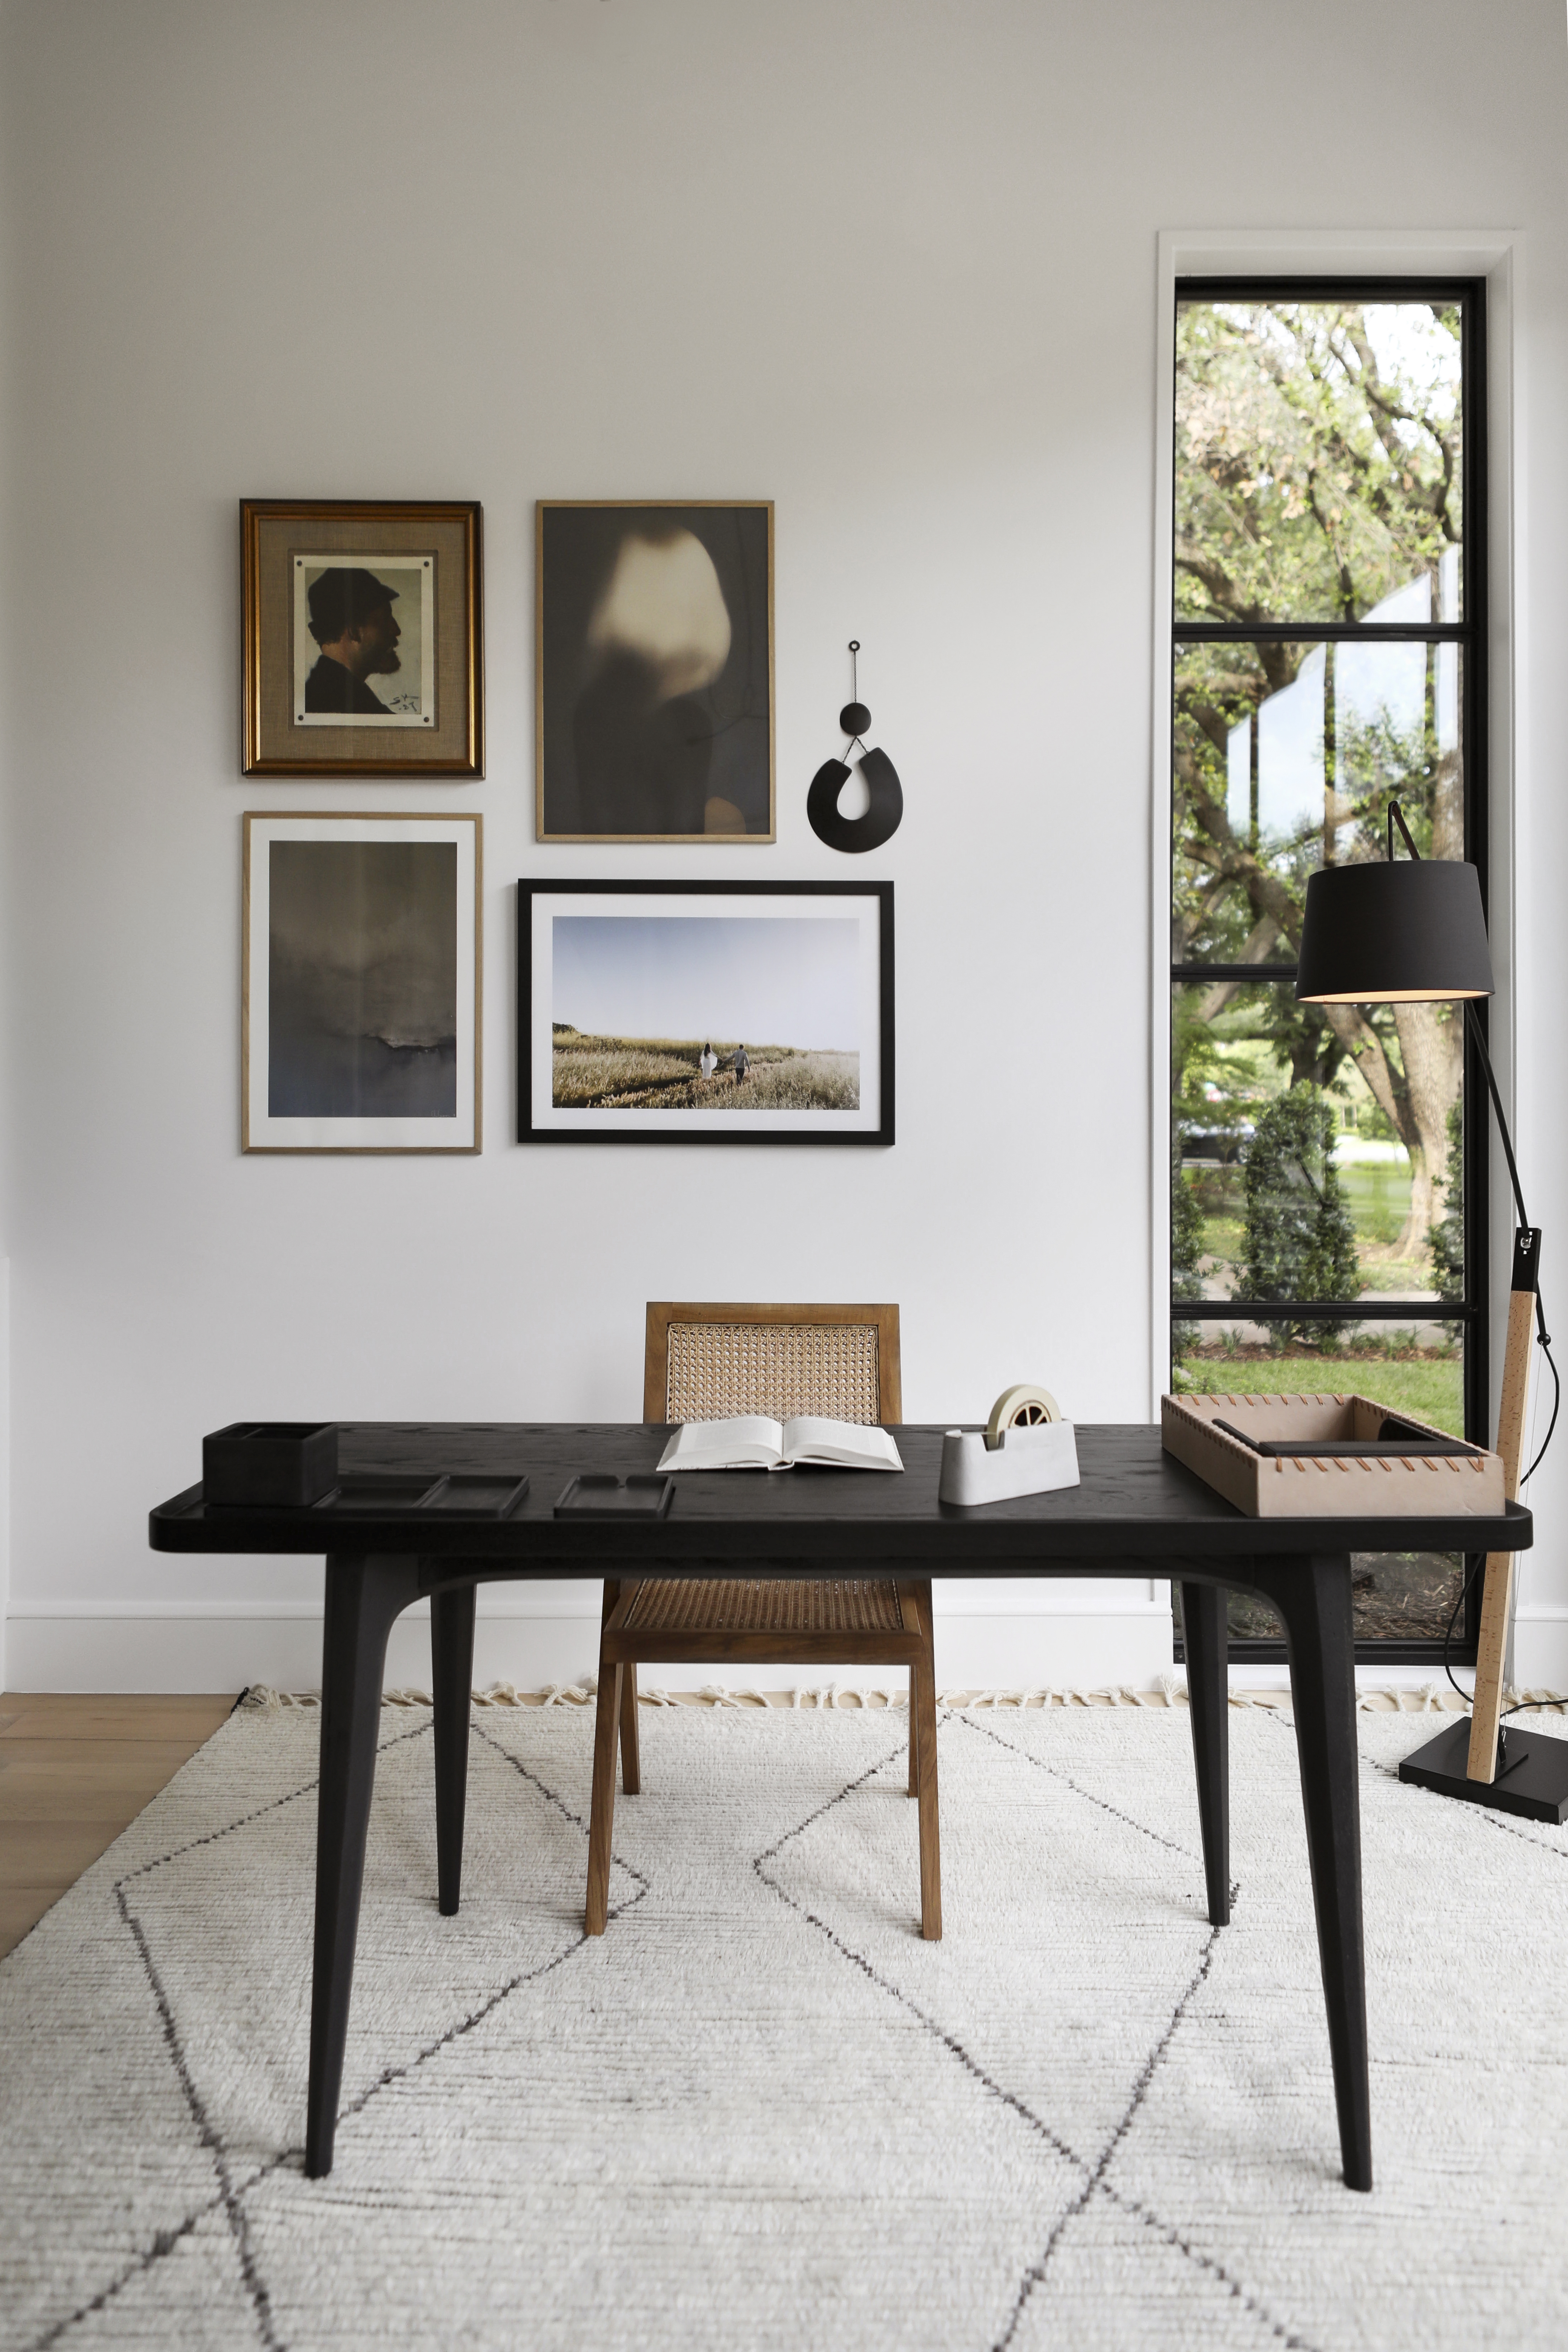
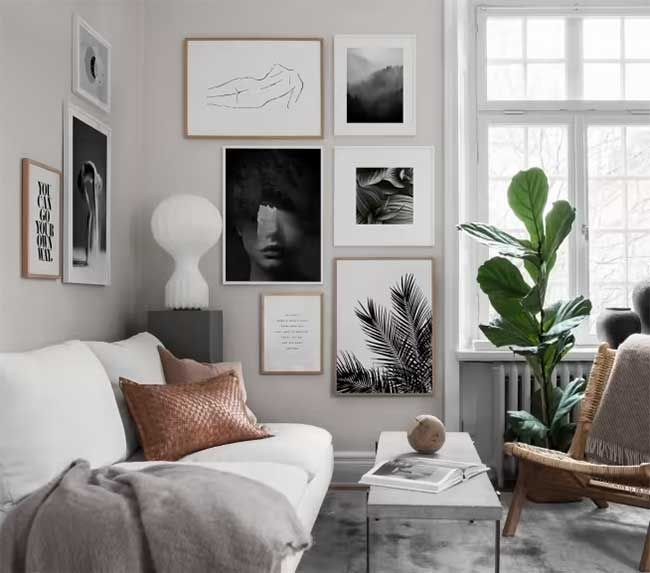
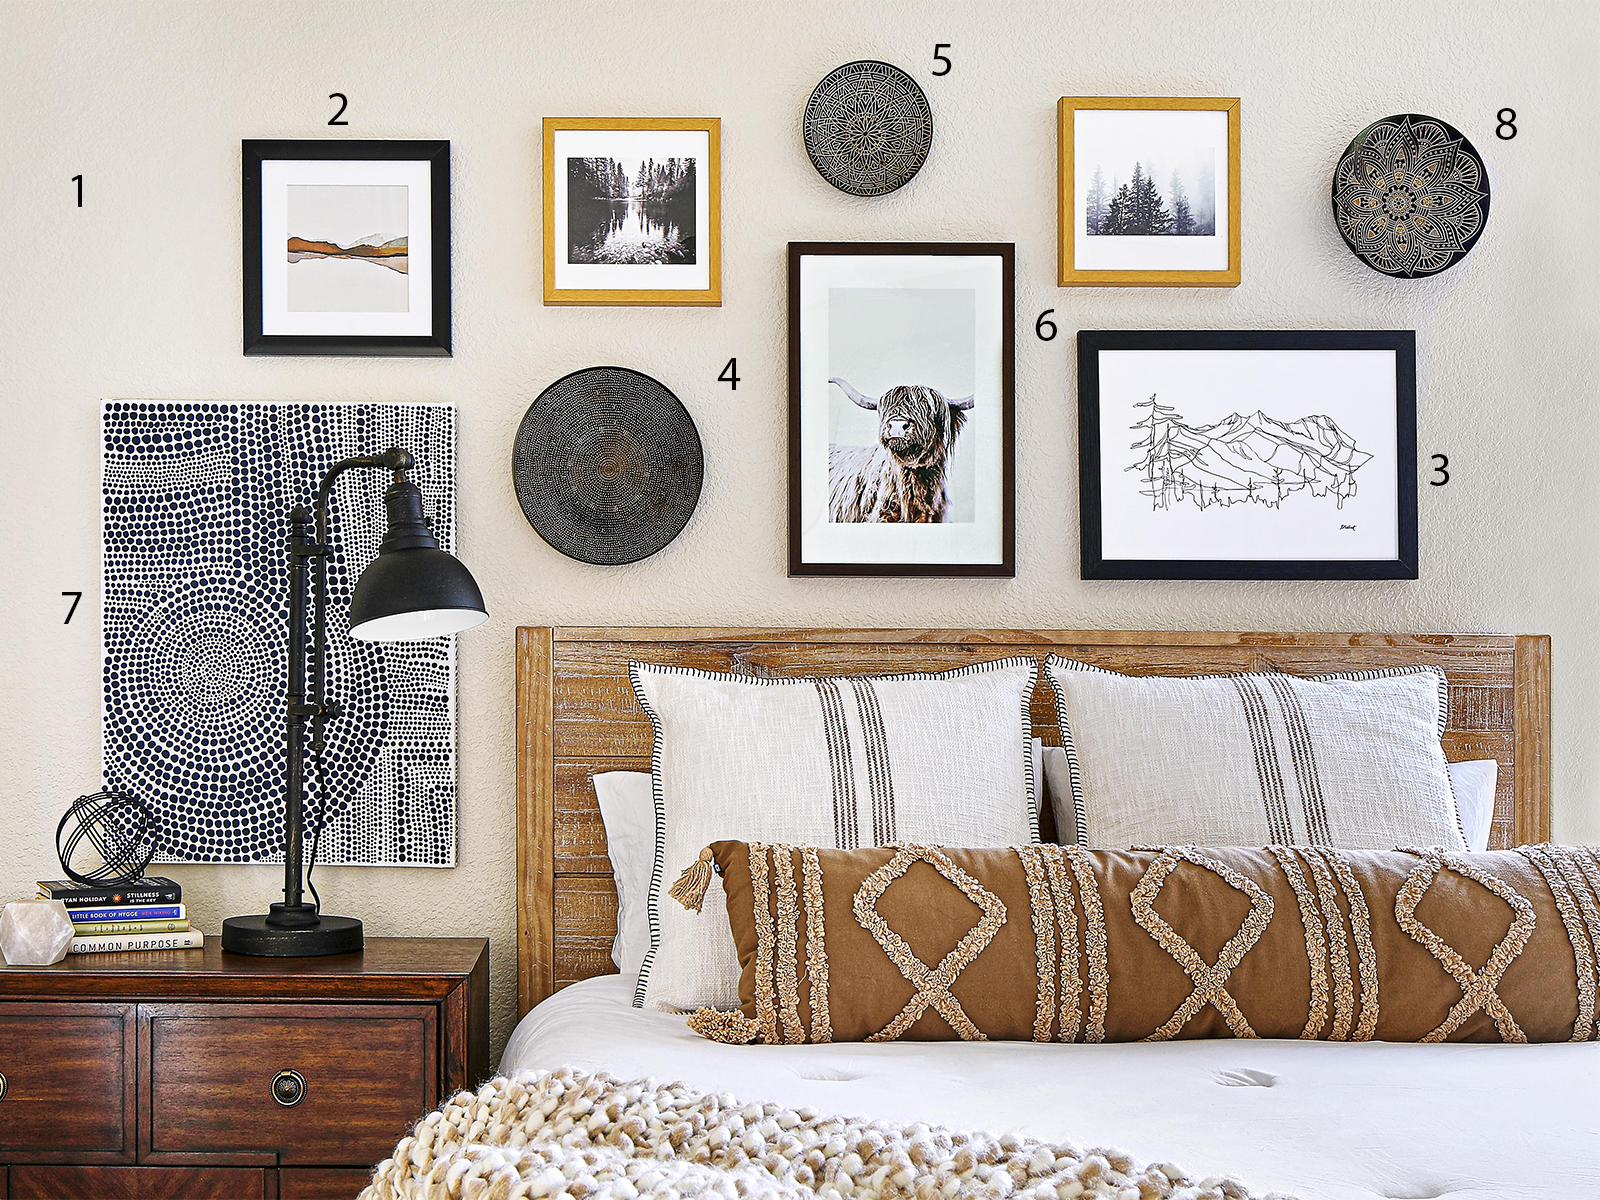
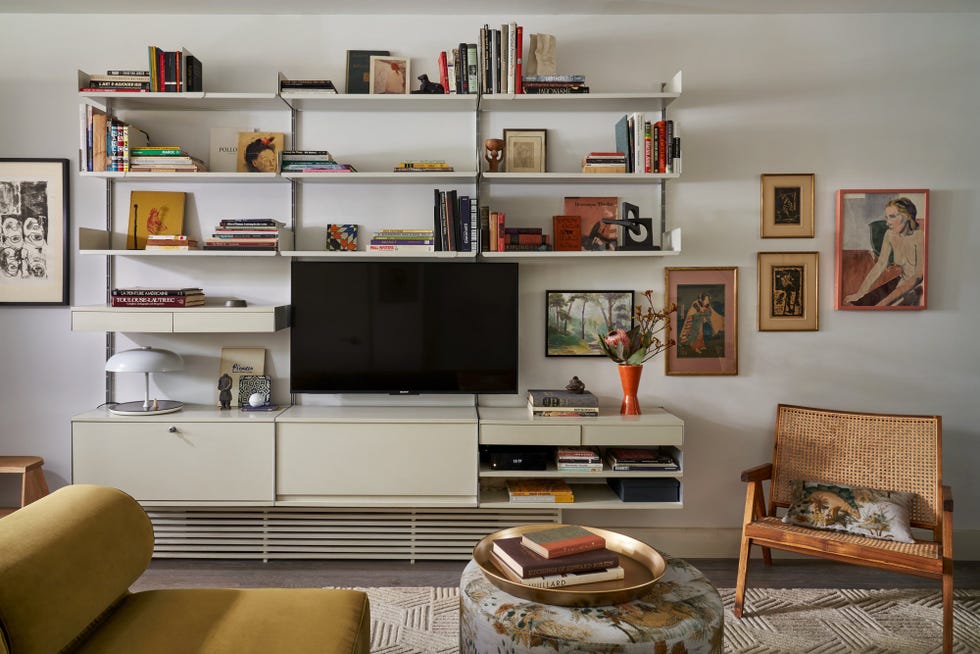
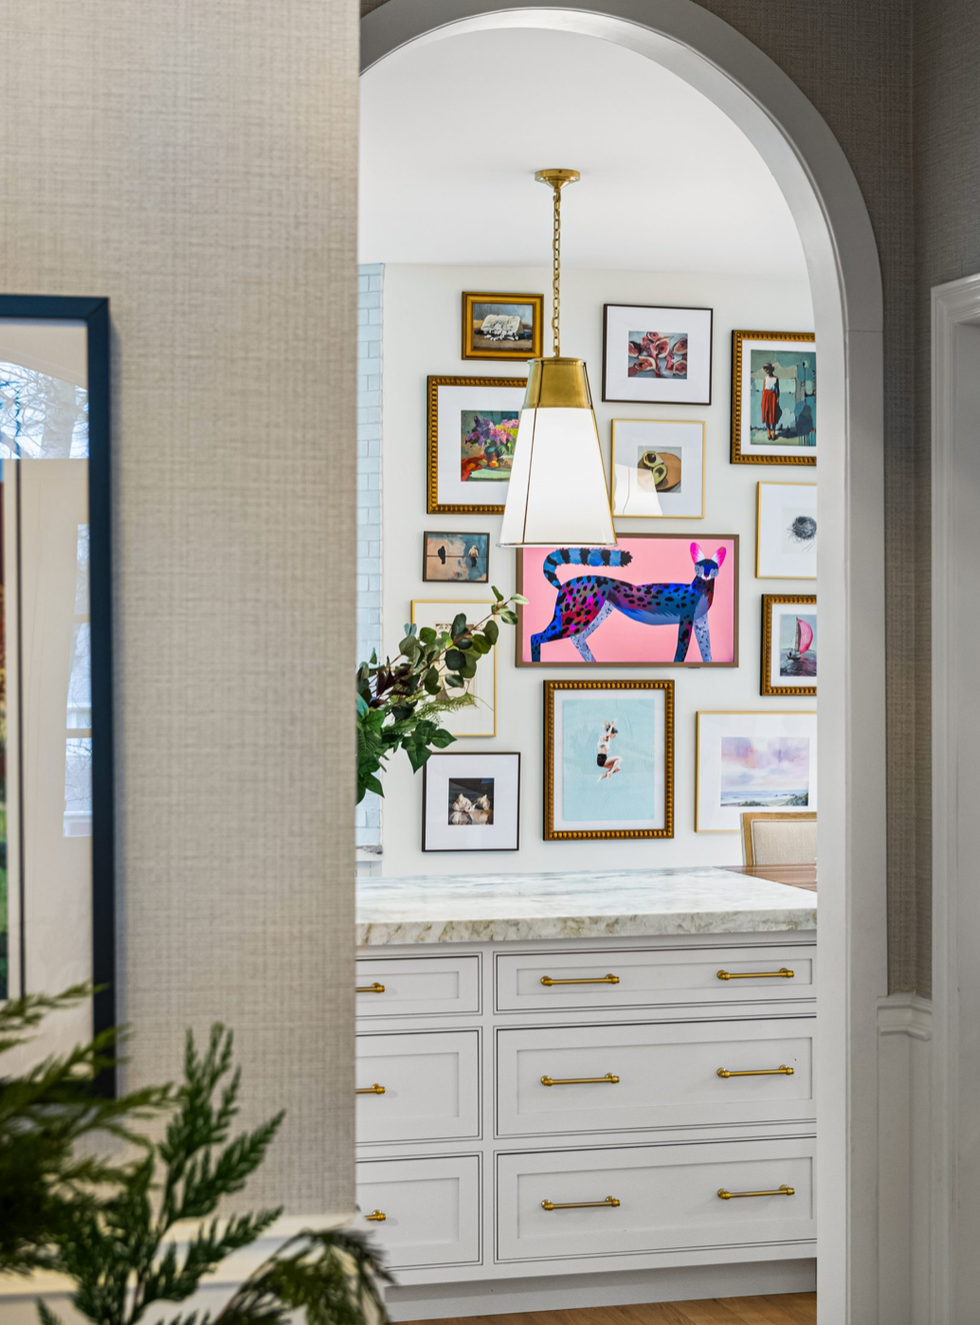
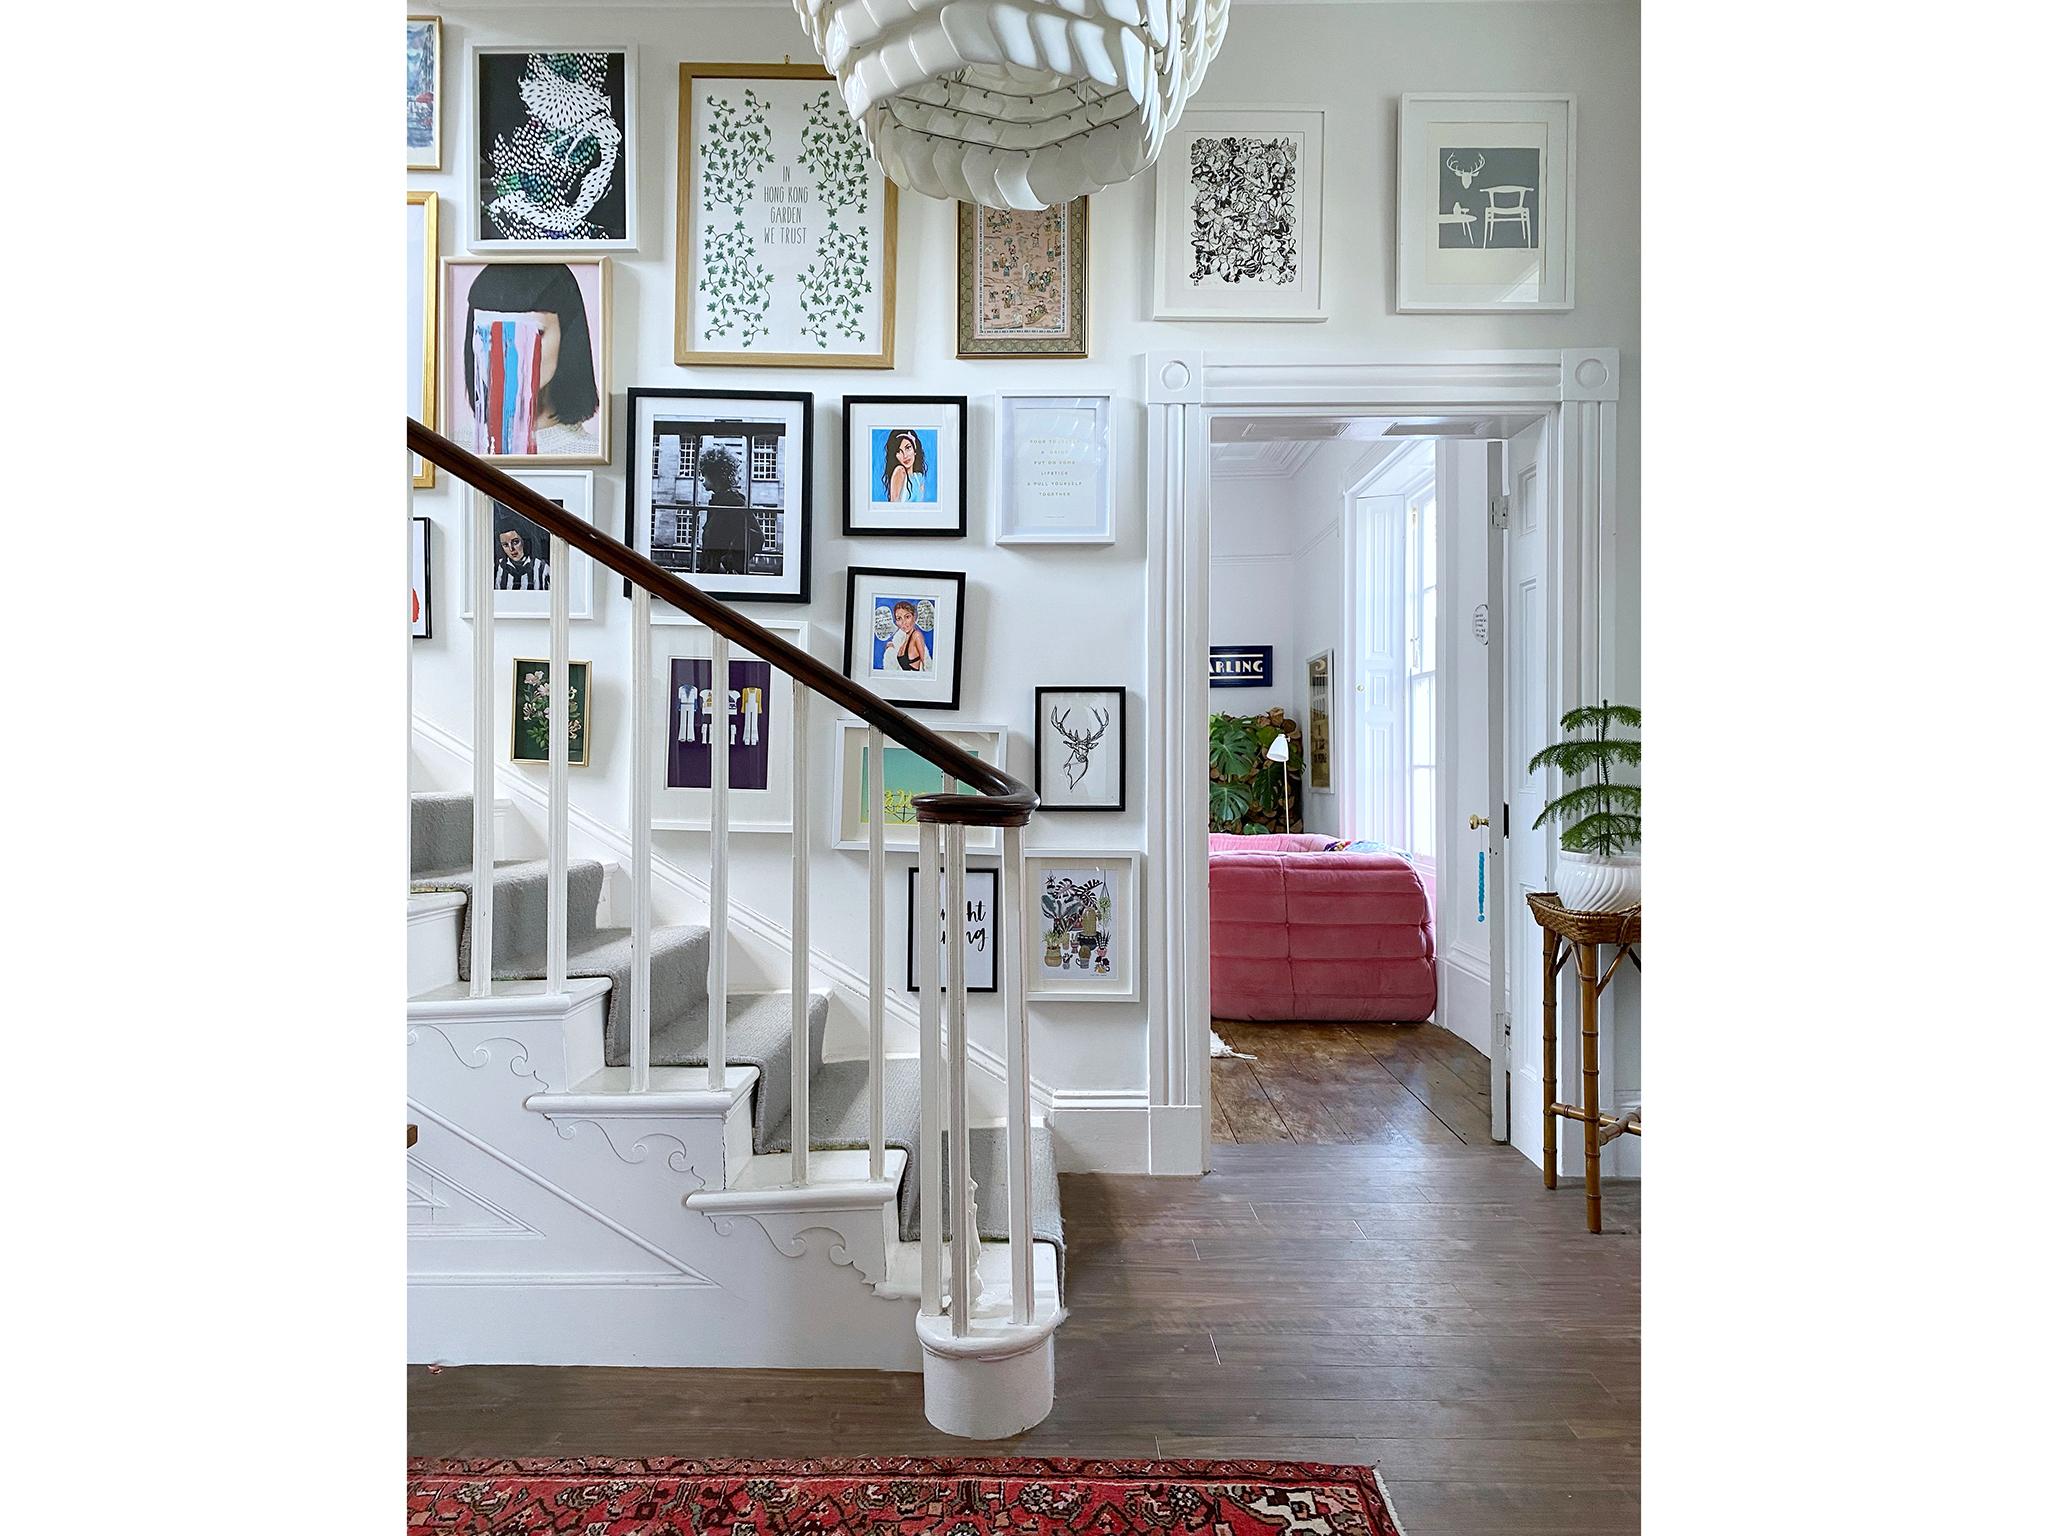
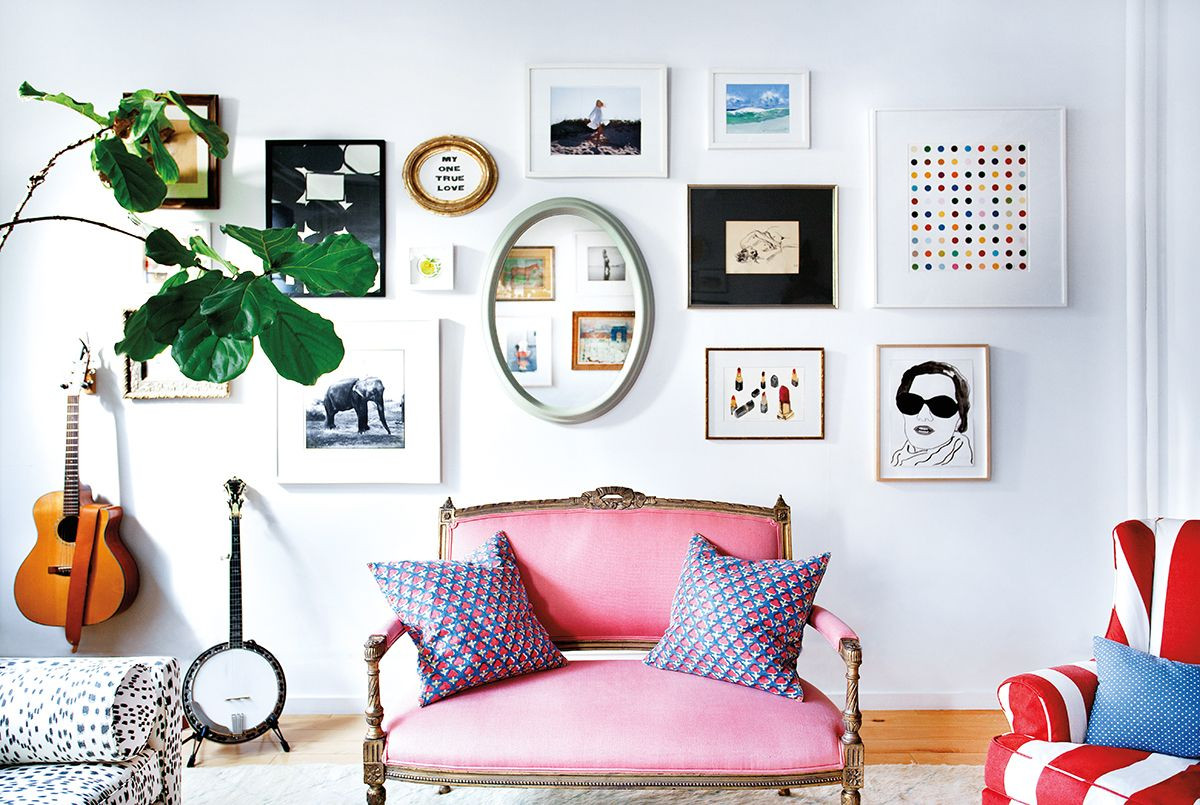
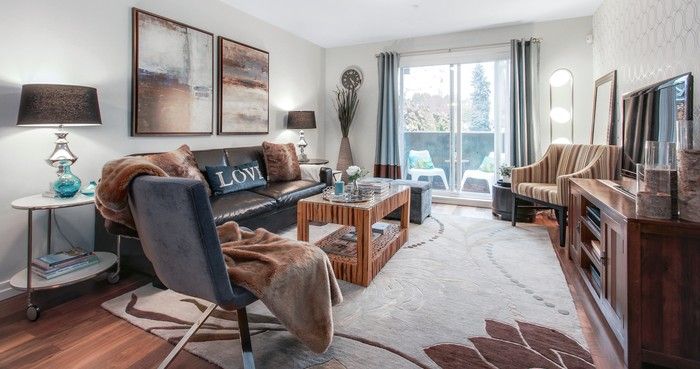
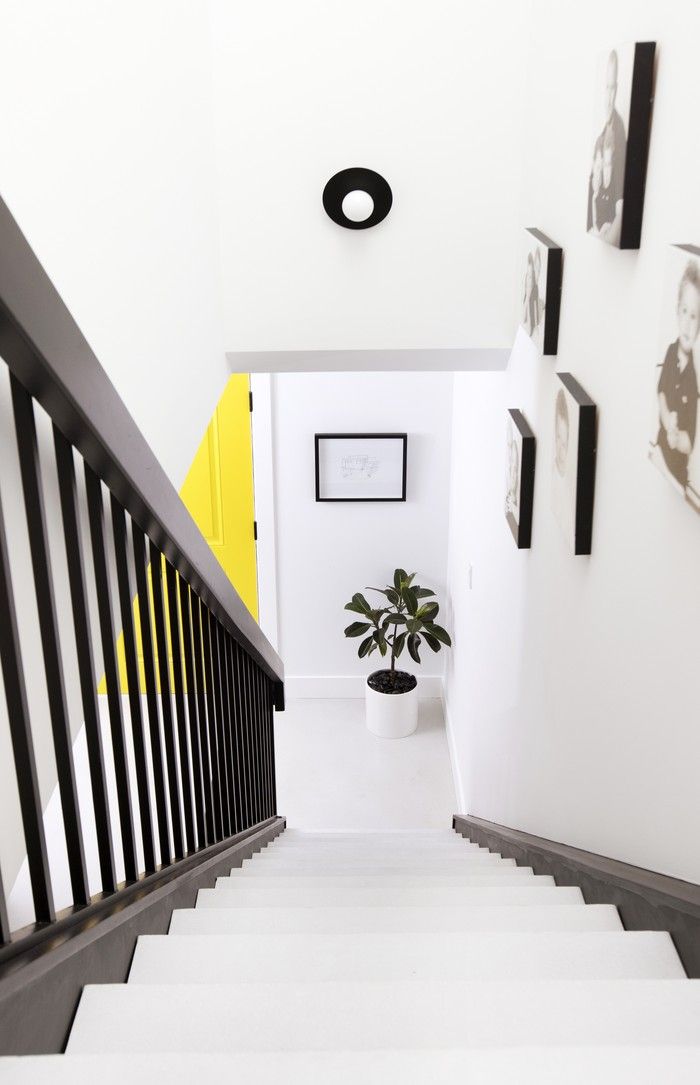
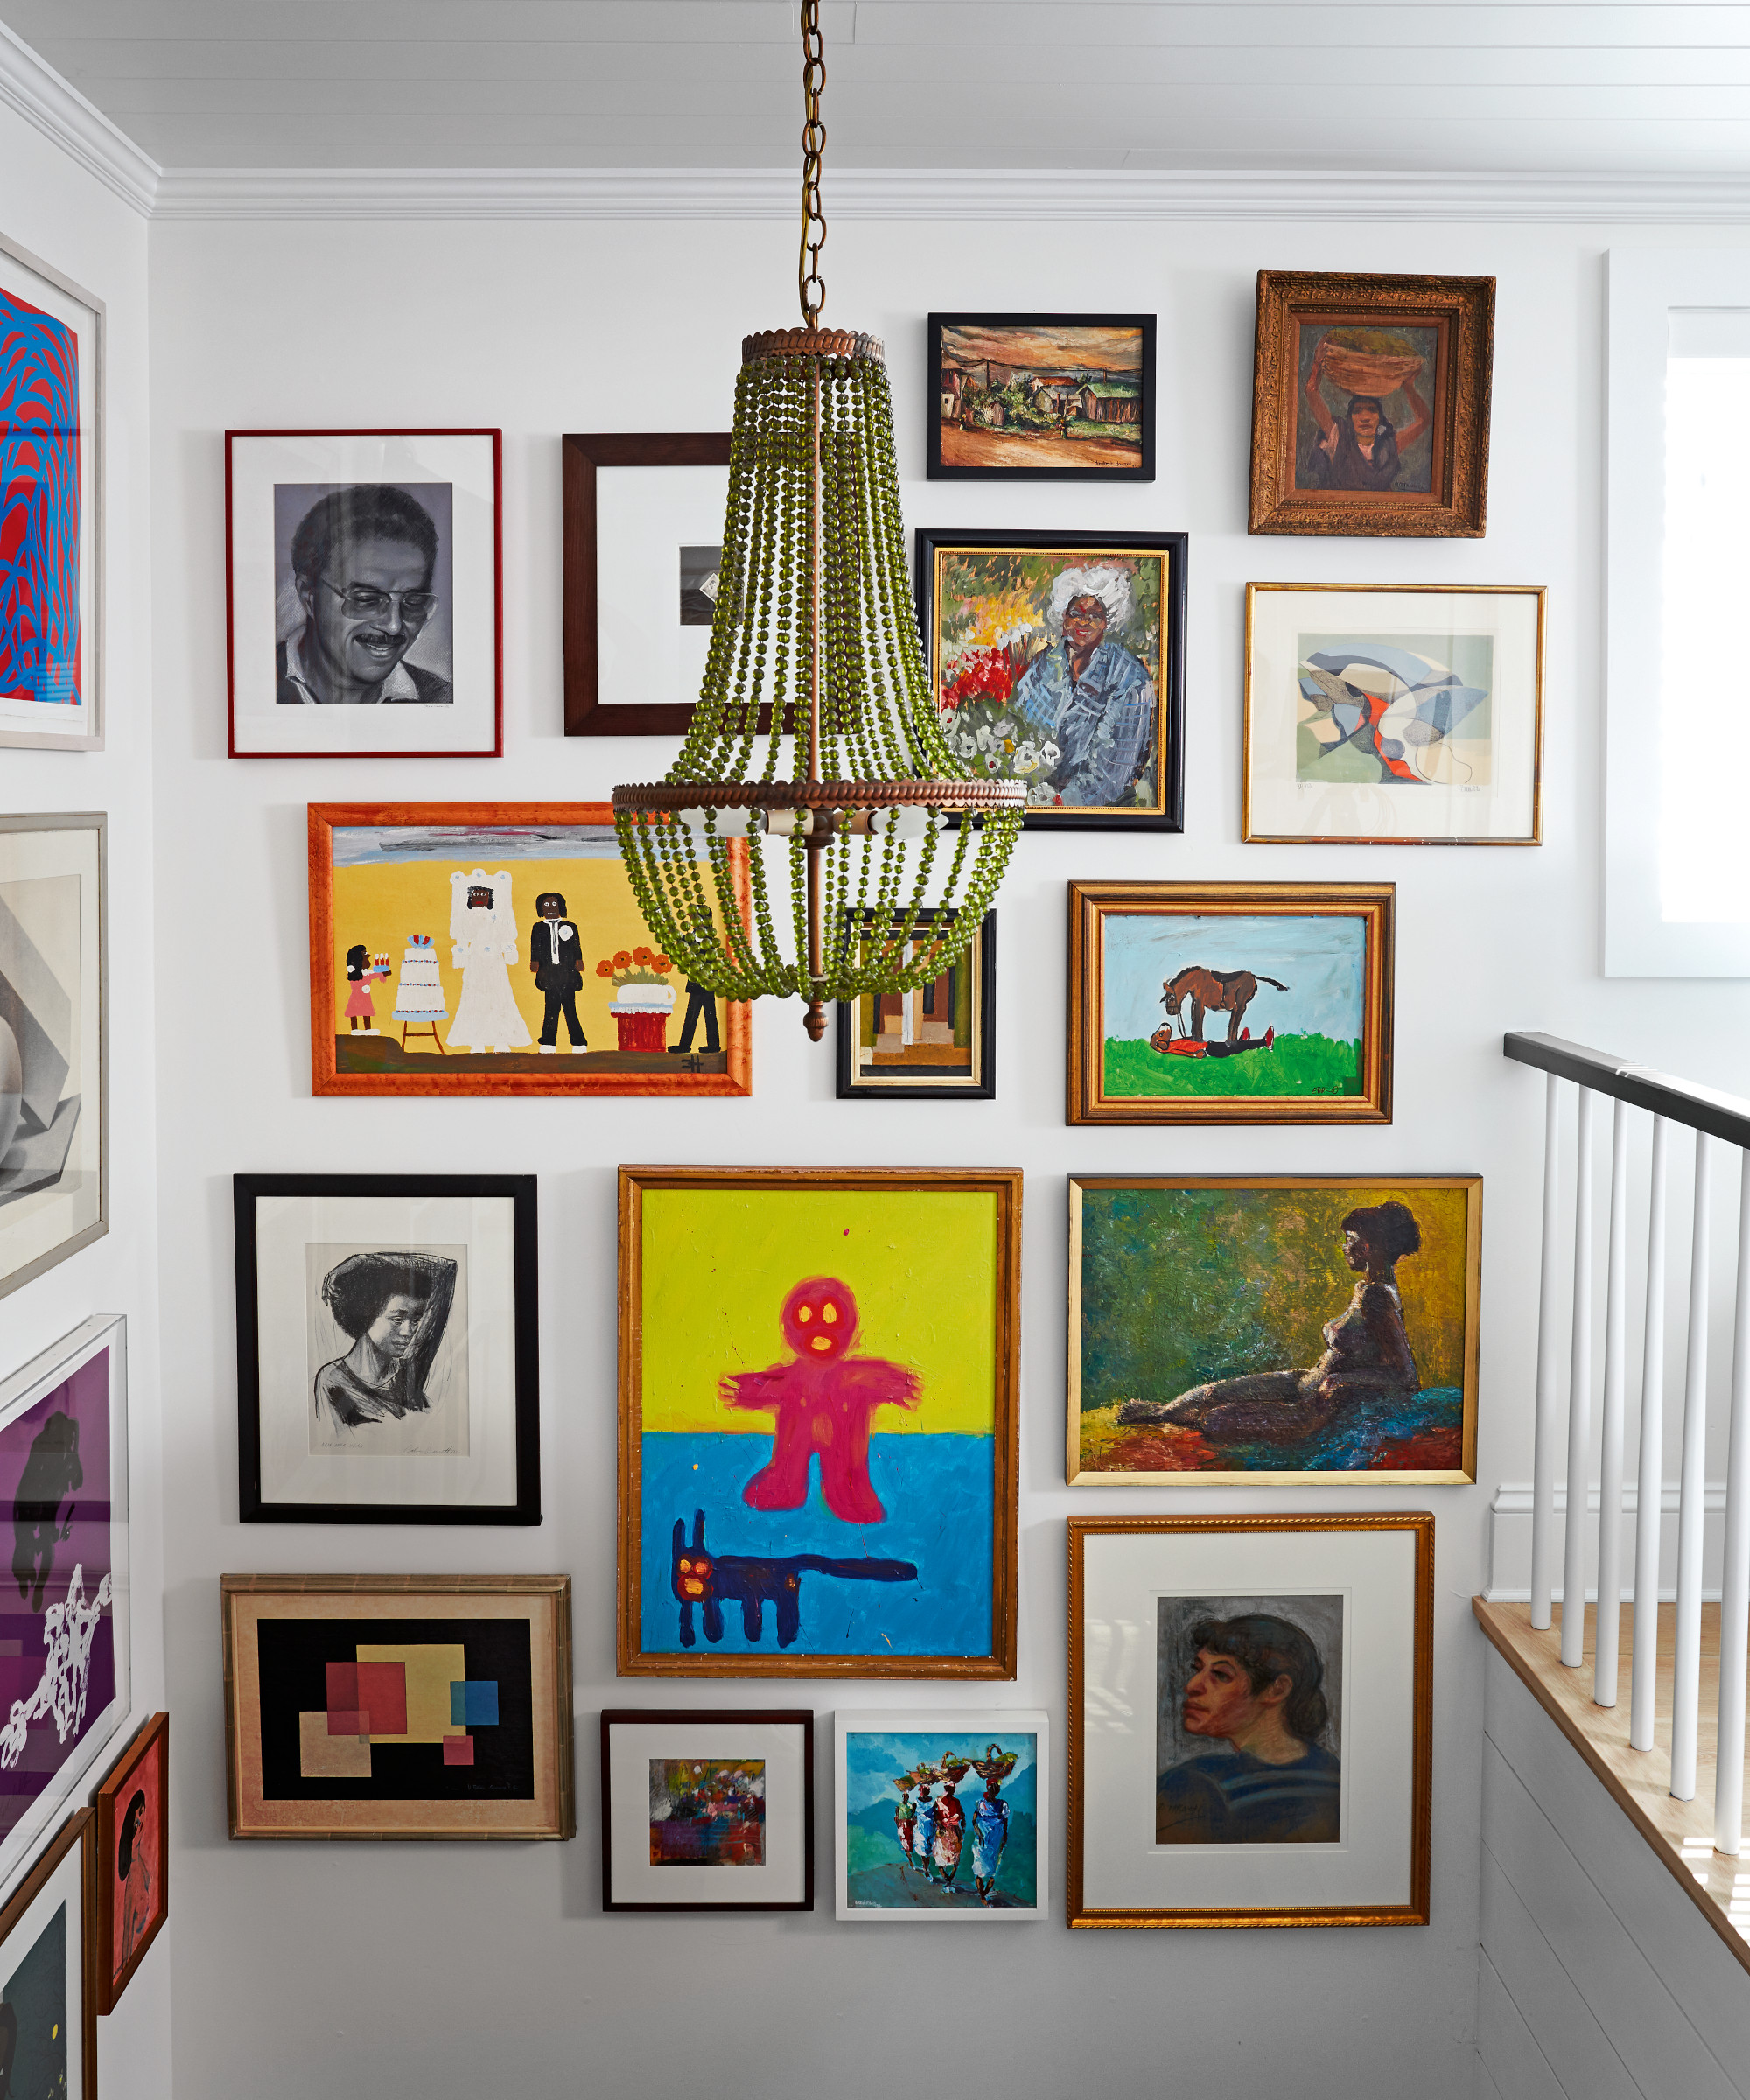
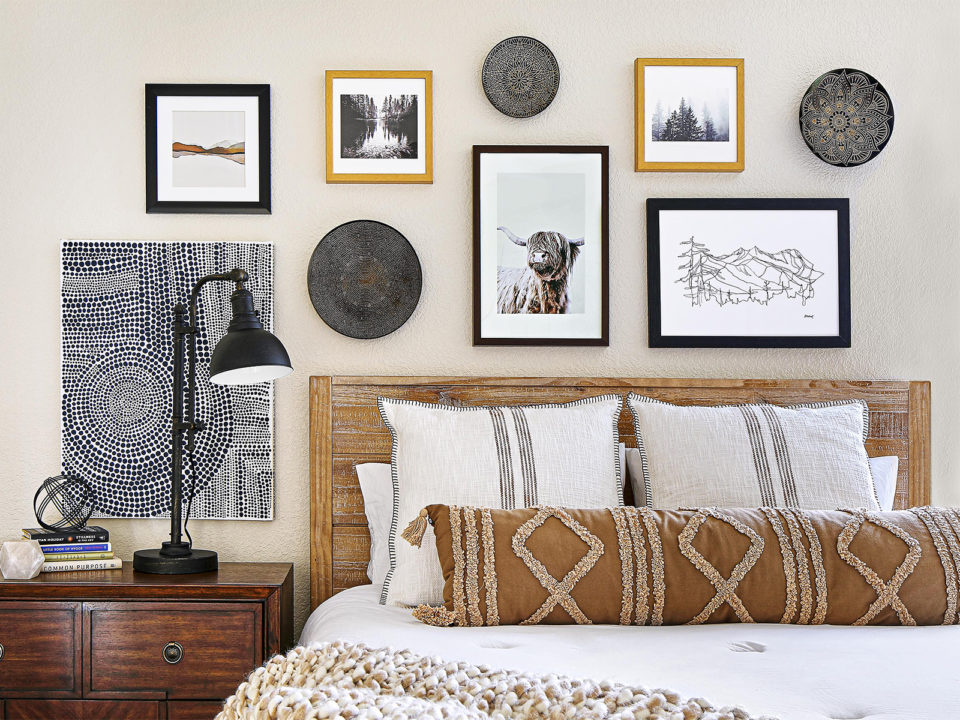
The guide begins by advising on how to choose the right space for a gallery wall. It suggests measuring the available area and considering eye-level placement from the floor. It encourages using the entire space, from floor to ceiling, for a comprehensive effect, providing examples such as running prints up a stairwell, extending from skirting boards to ceiling coving. Other suggestions include creating a bold statement above a sofa, bed frame, or desk area, theming food prints above a kitchen dining table, or replacing a mirror with prints above a mantelpiece.
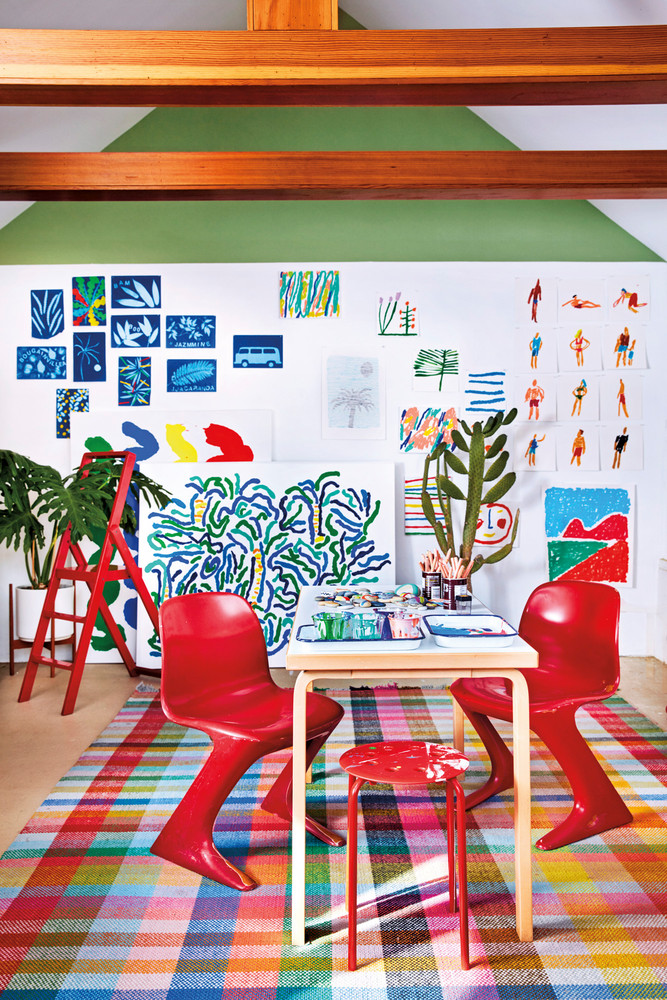
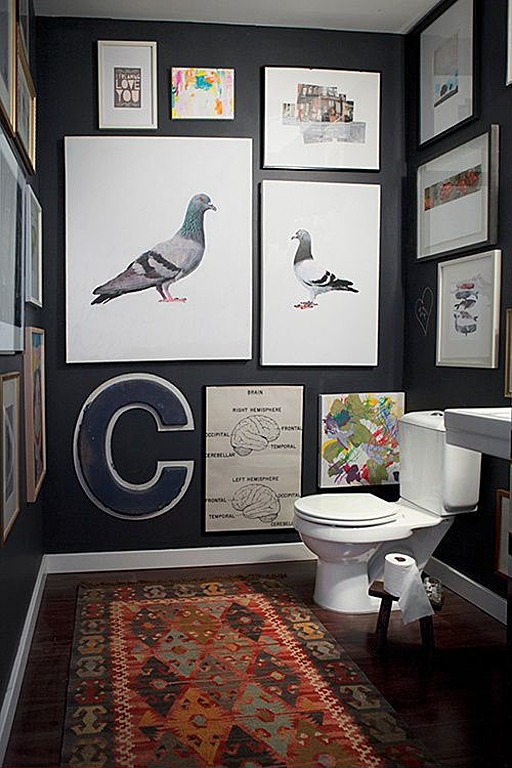
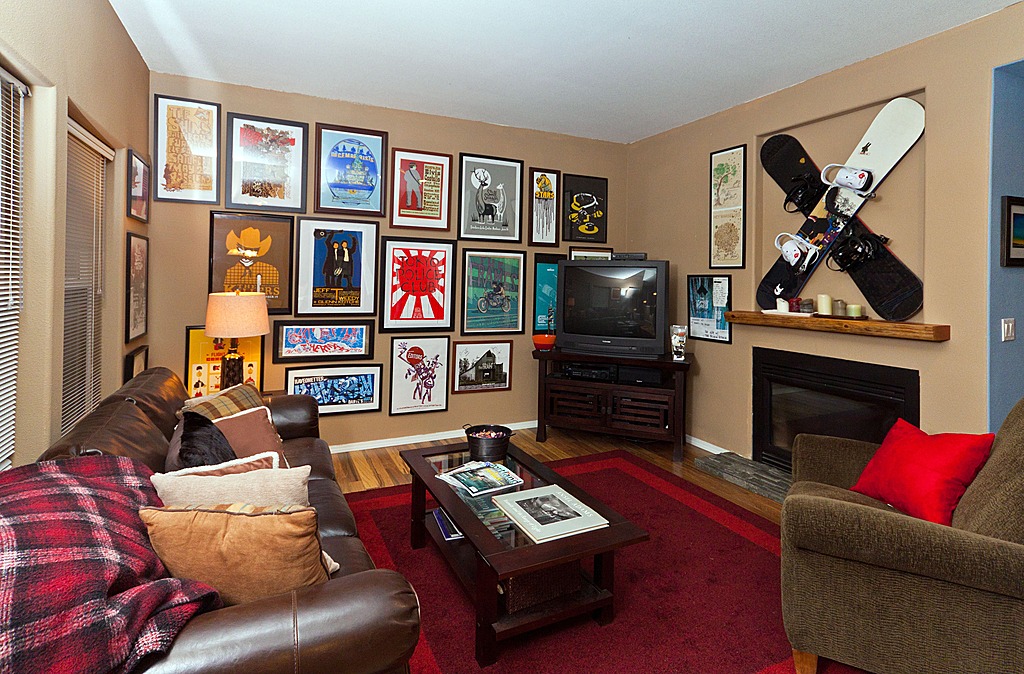
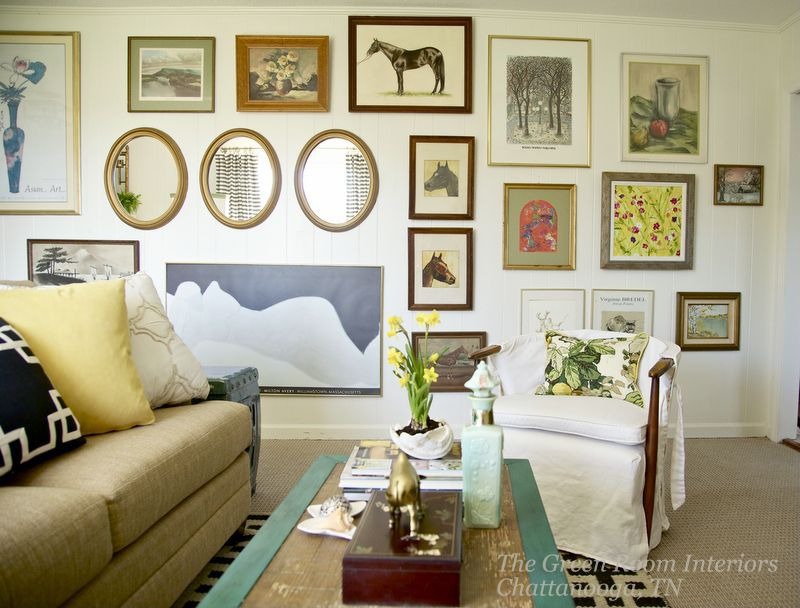
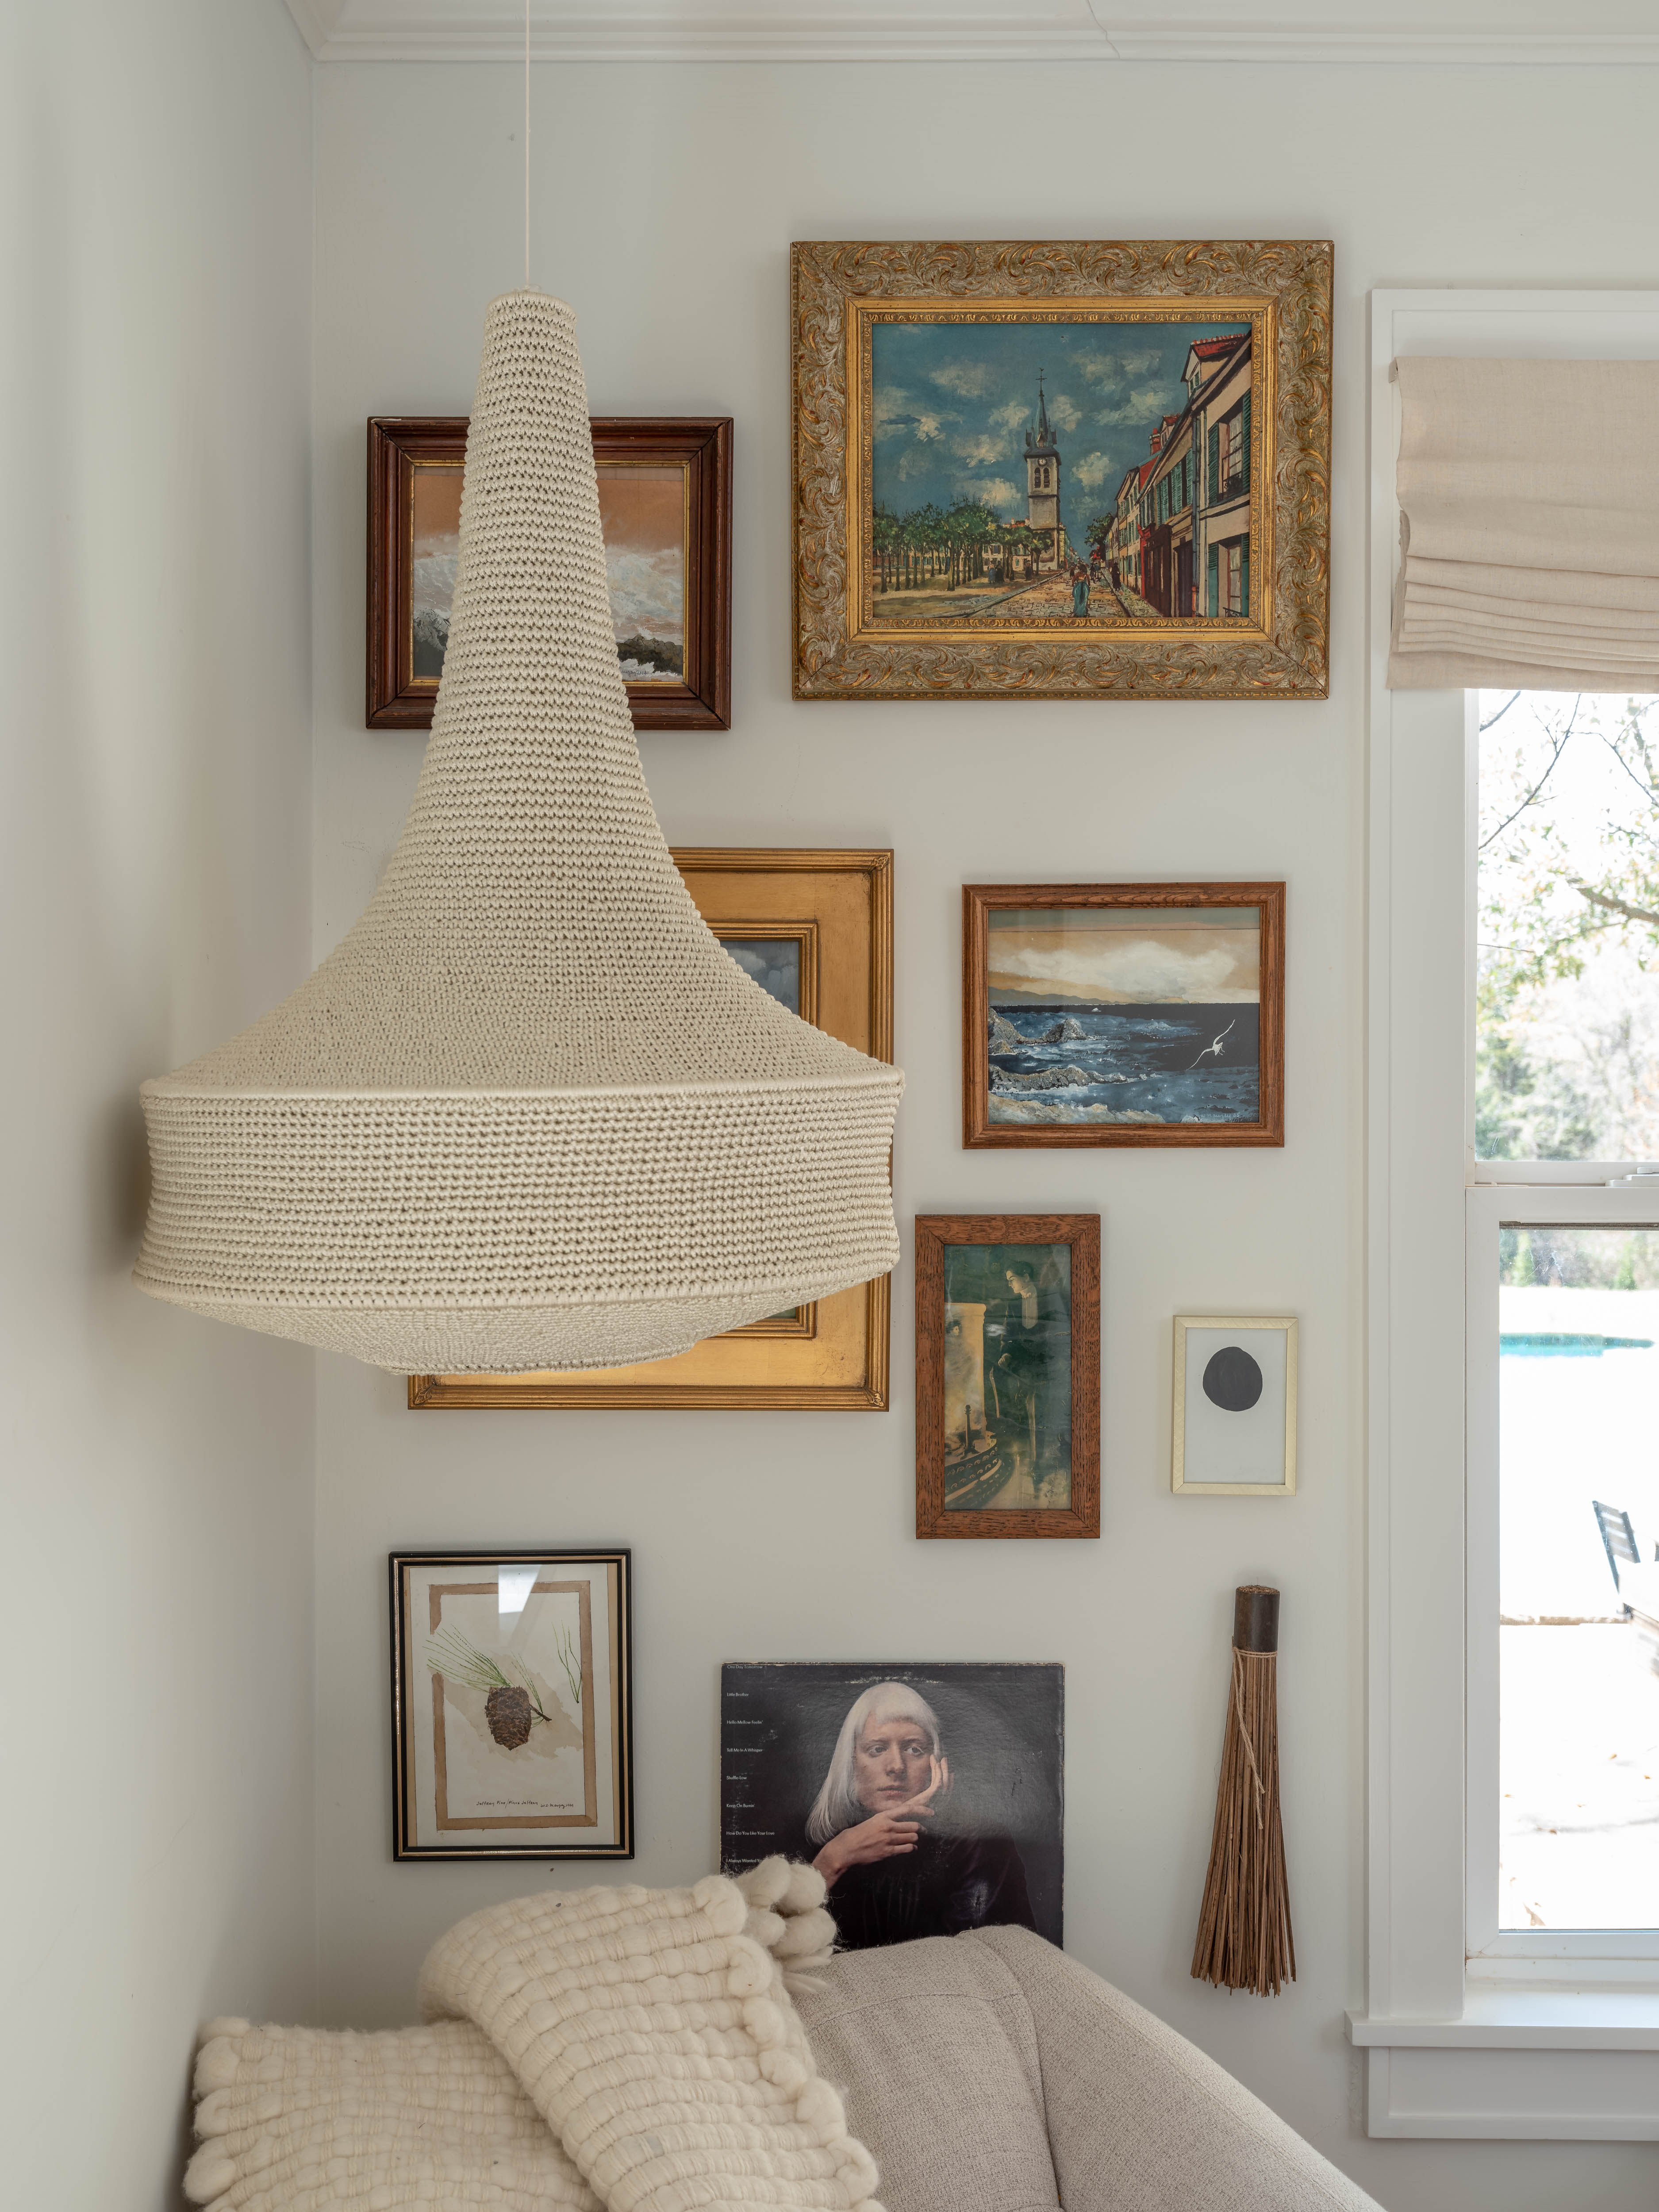
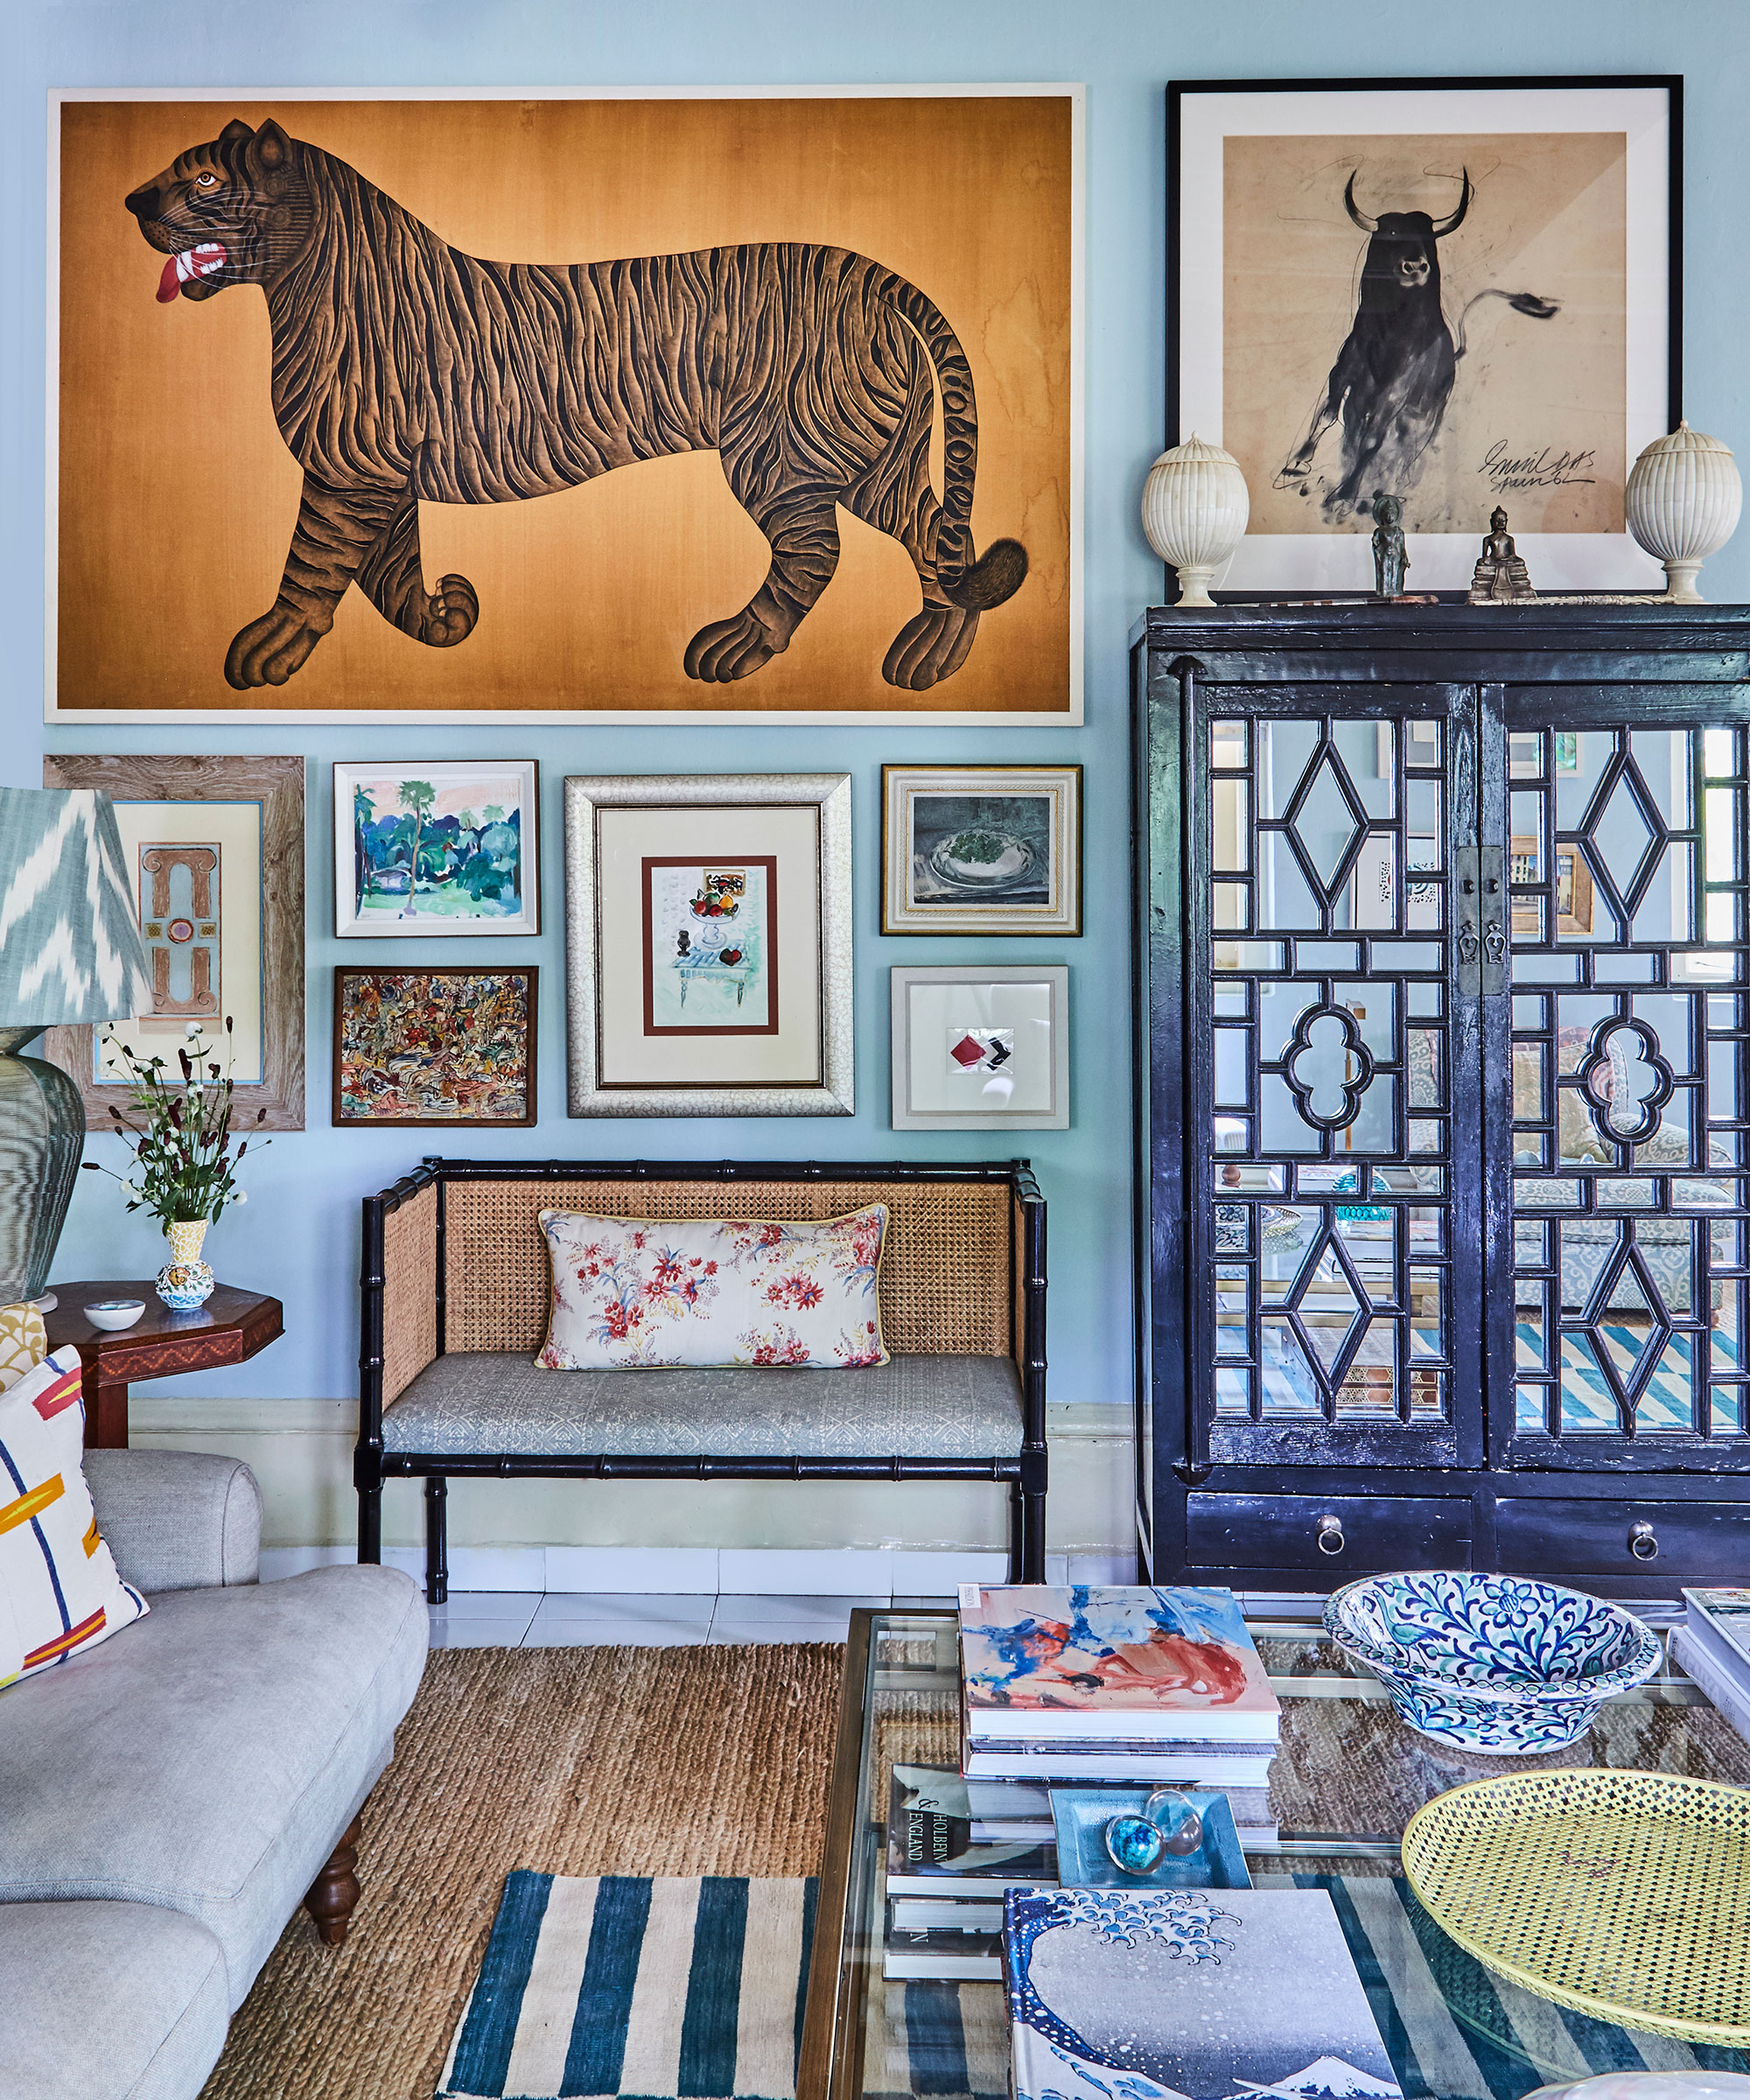
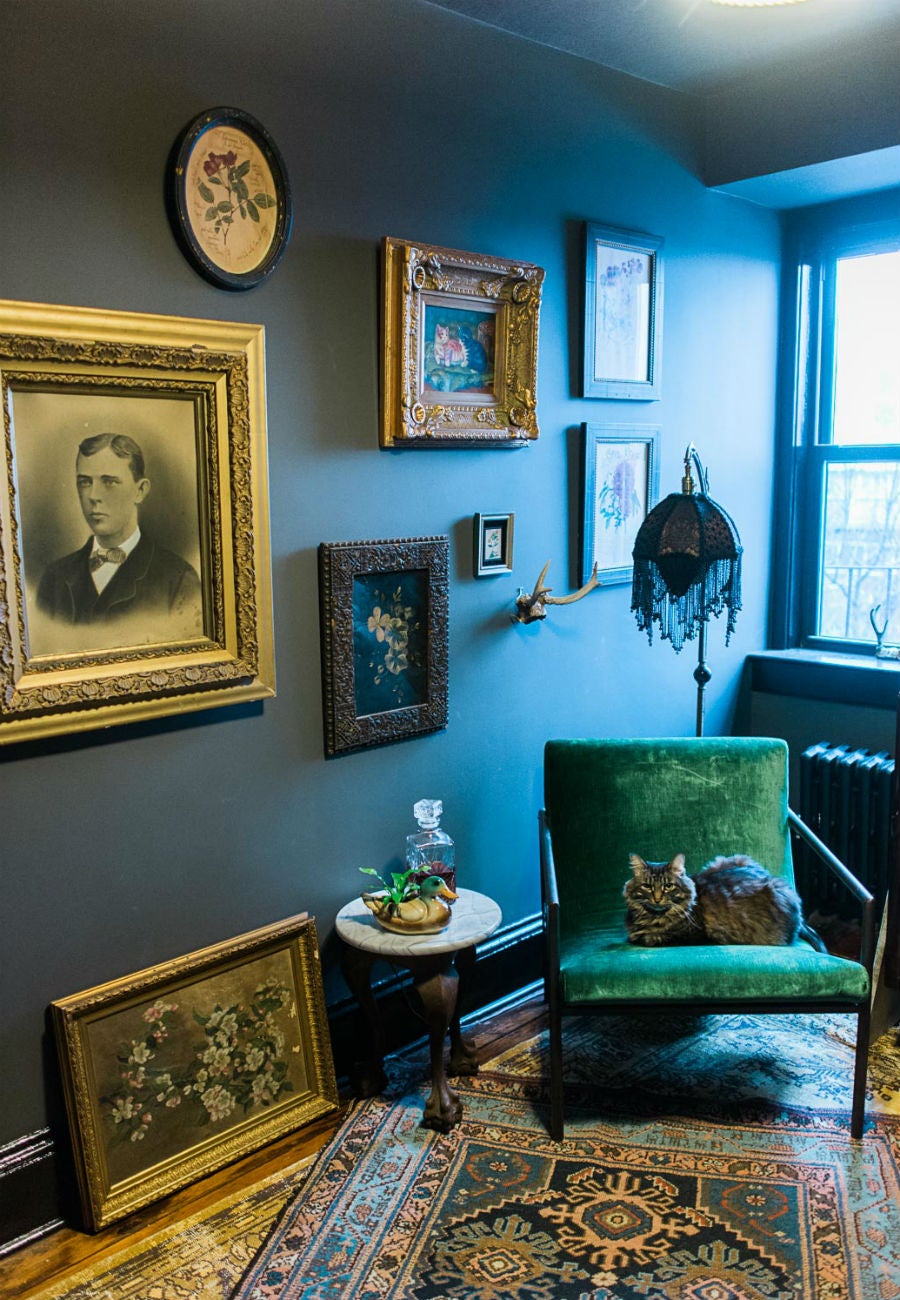
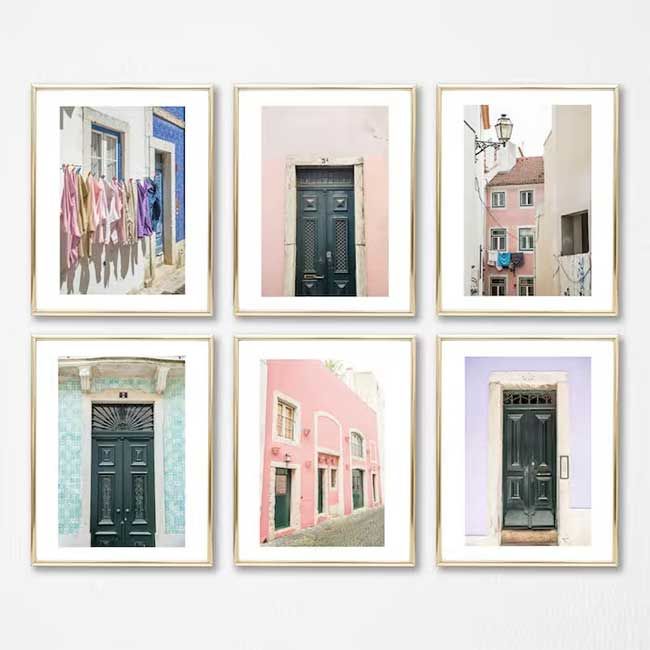
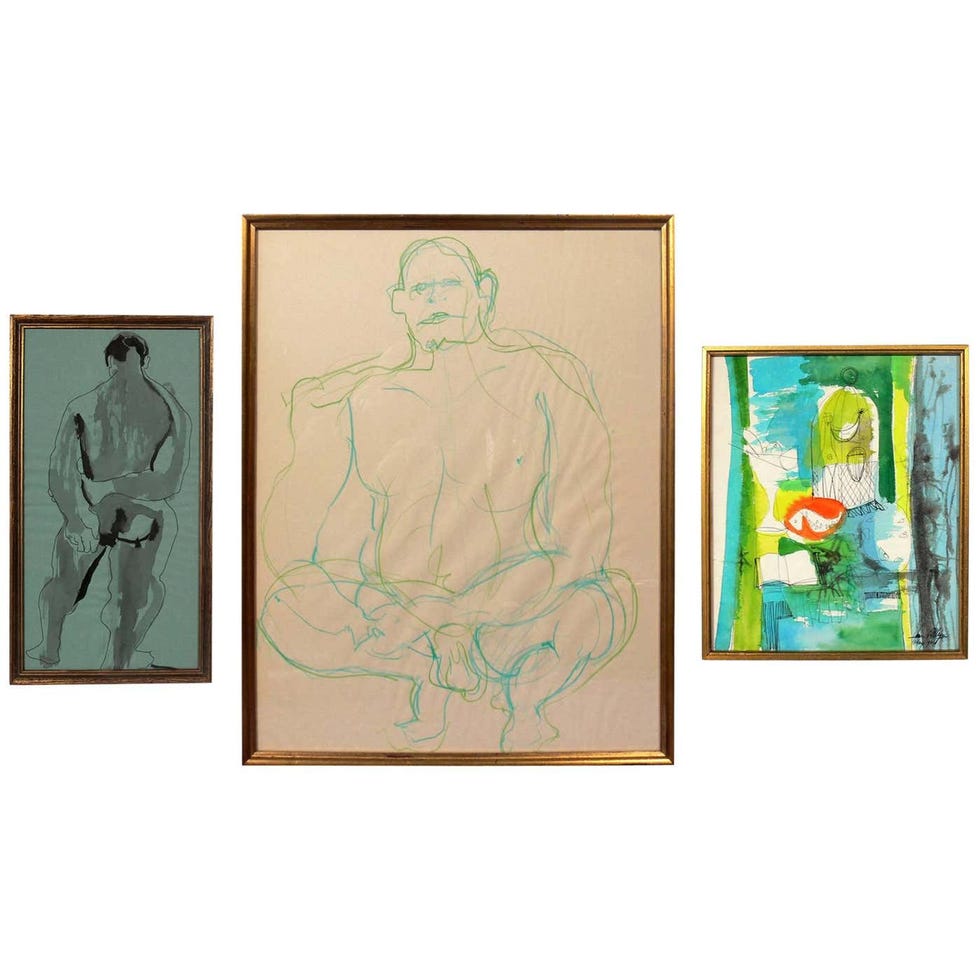
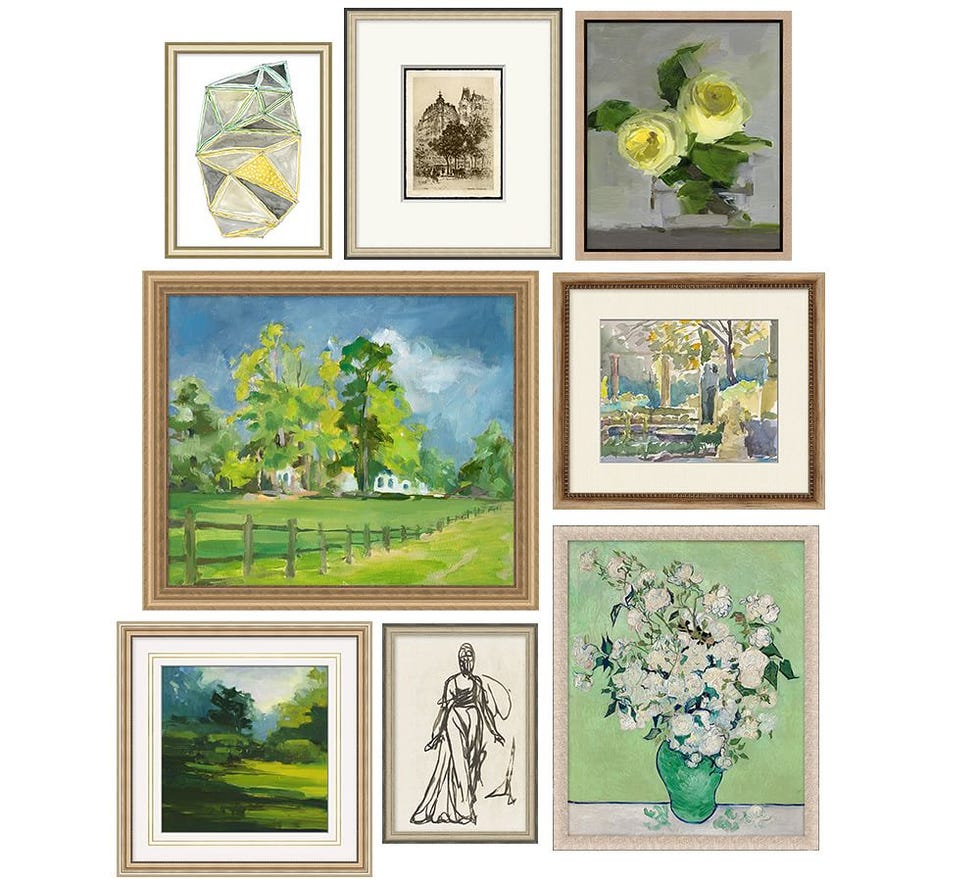
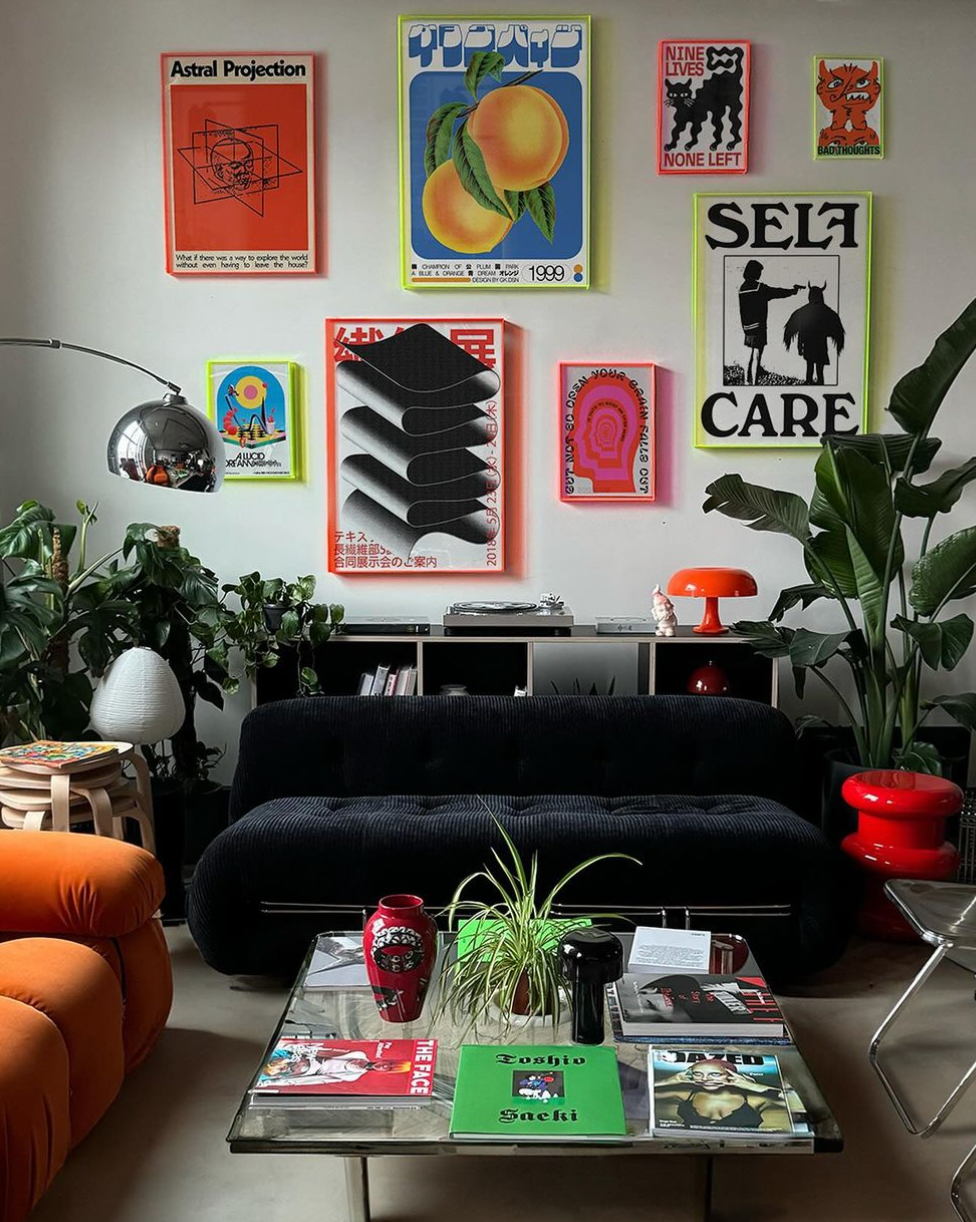
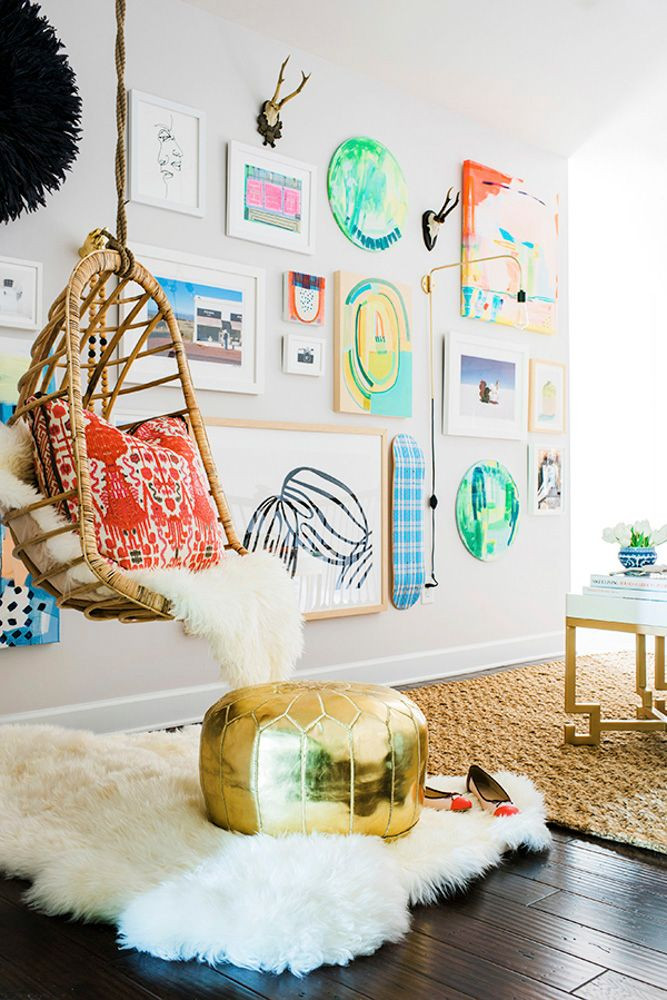
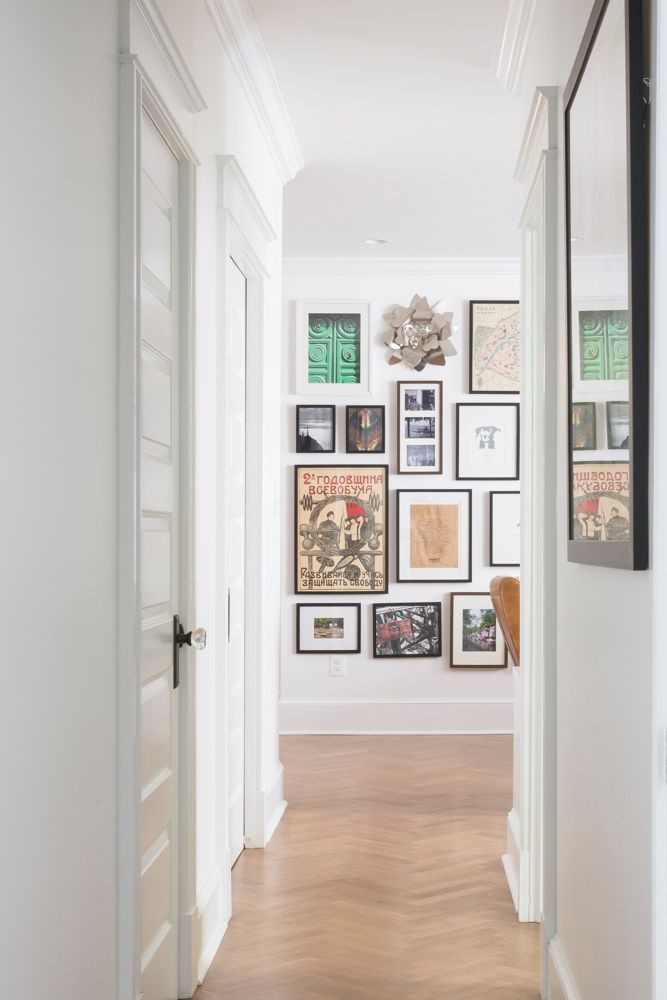
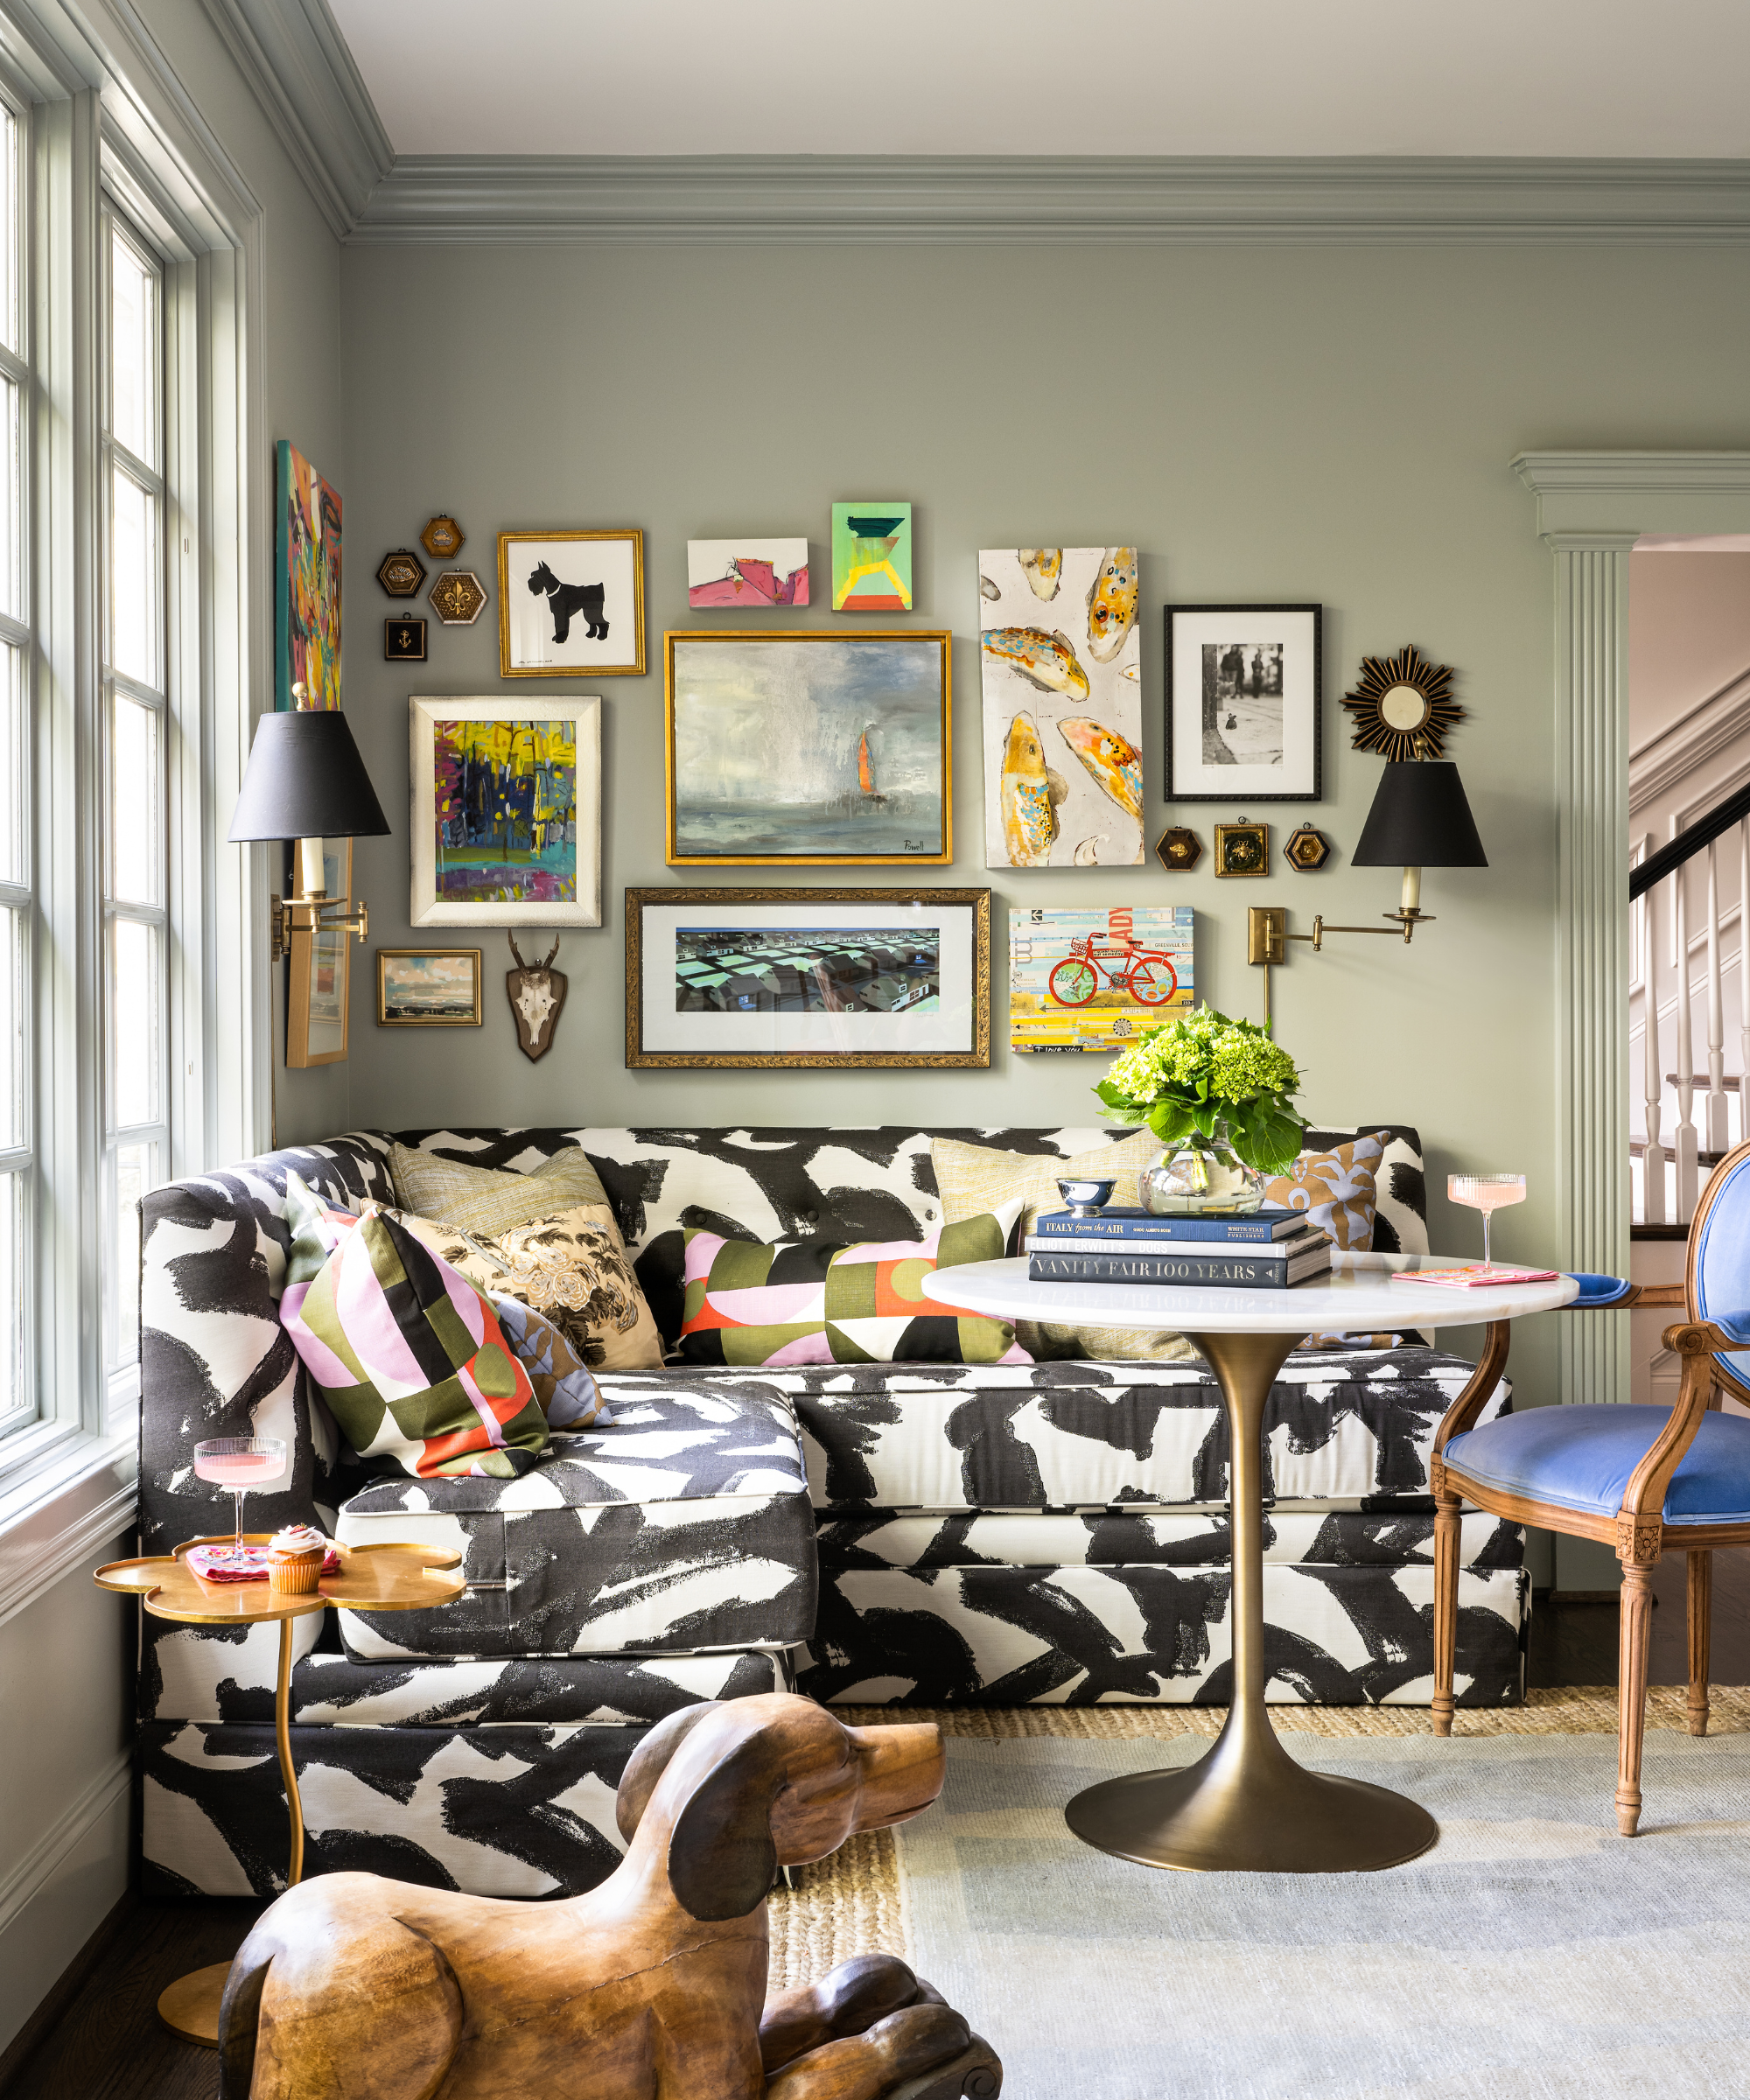
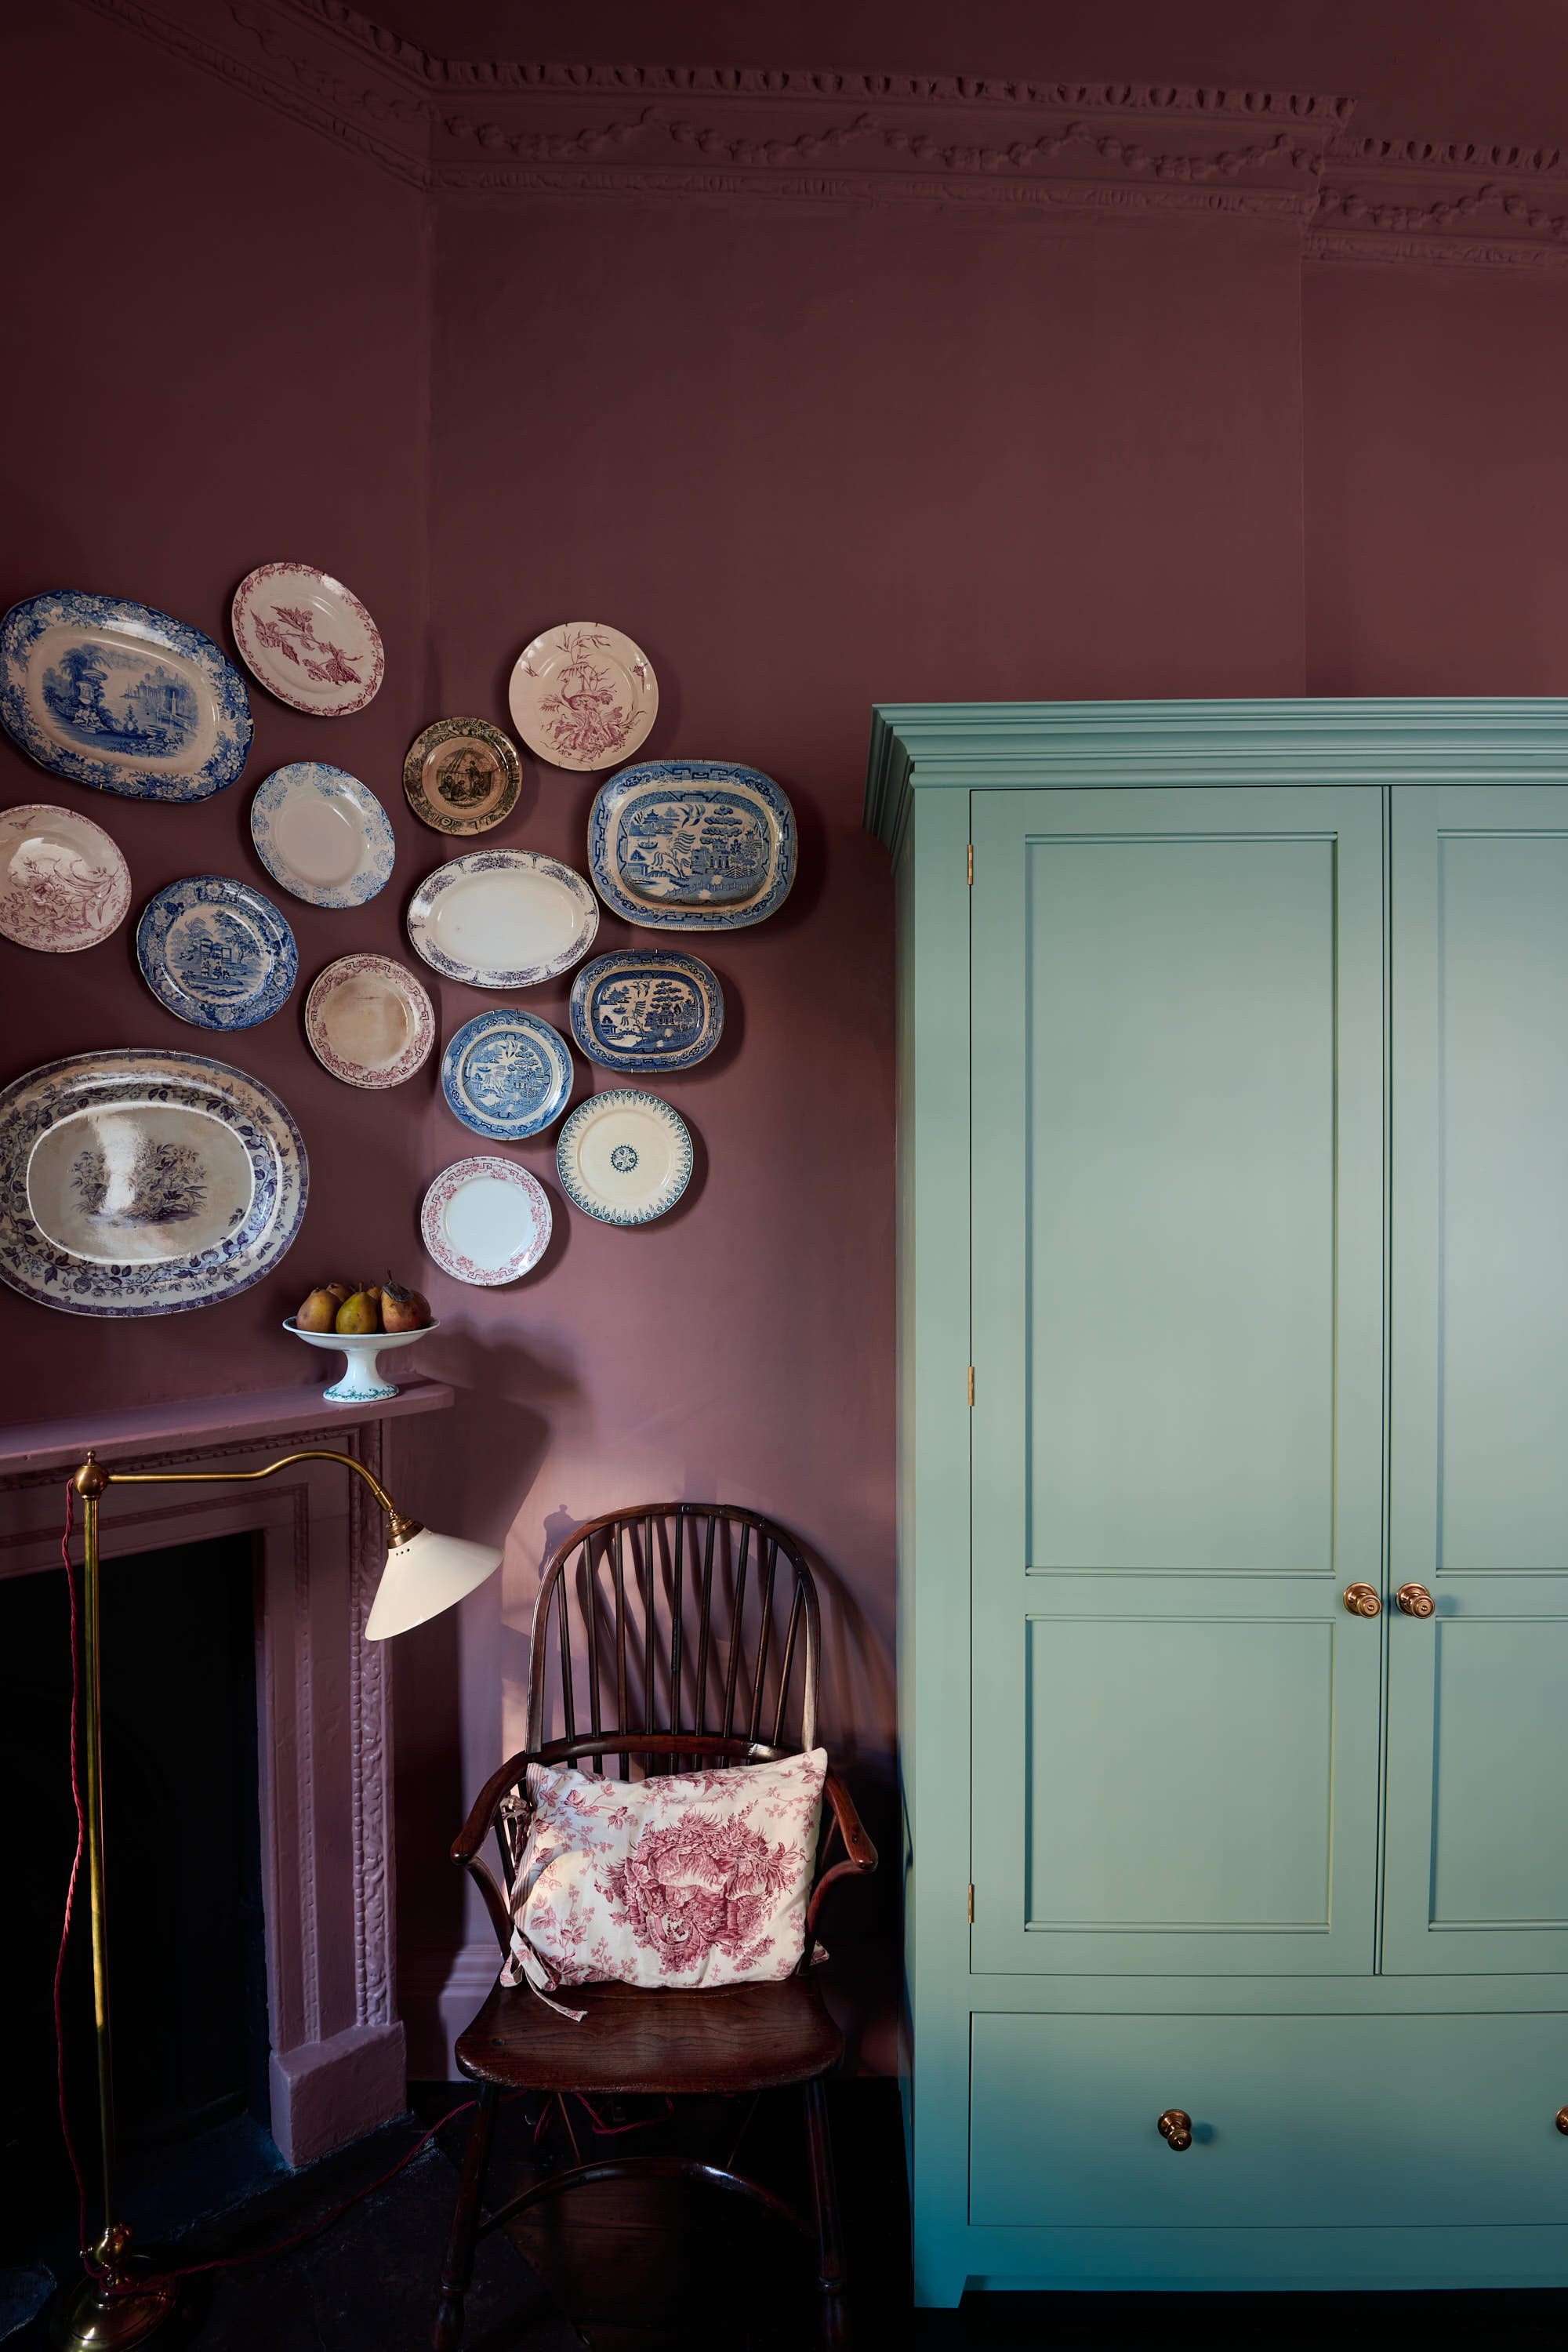
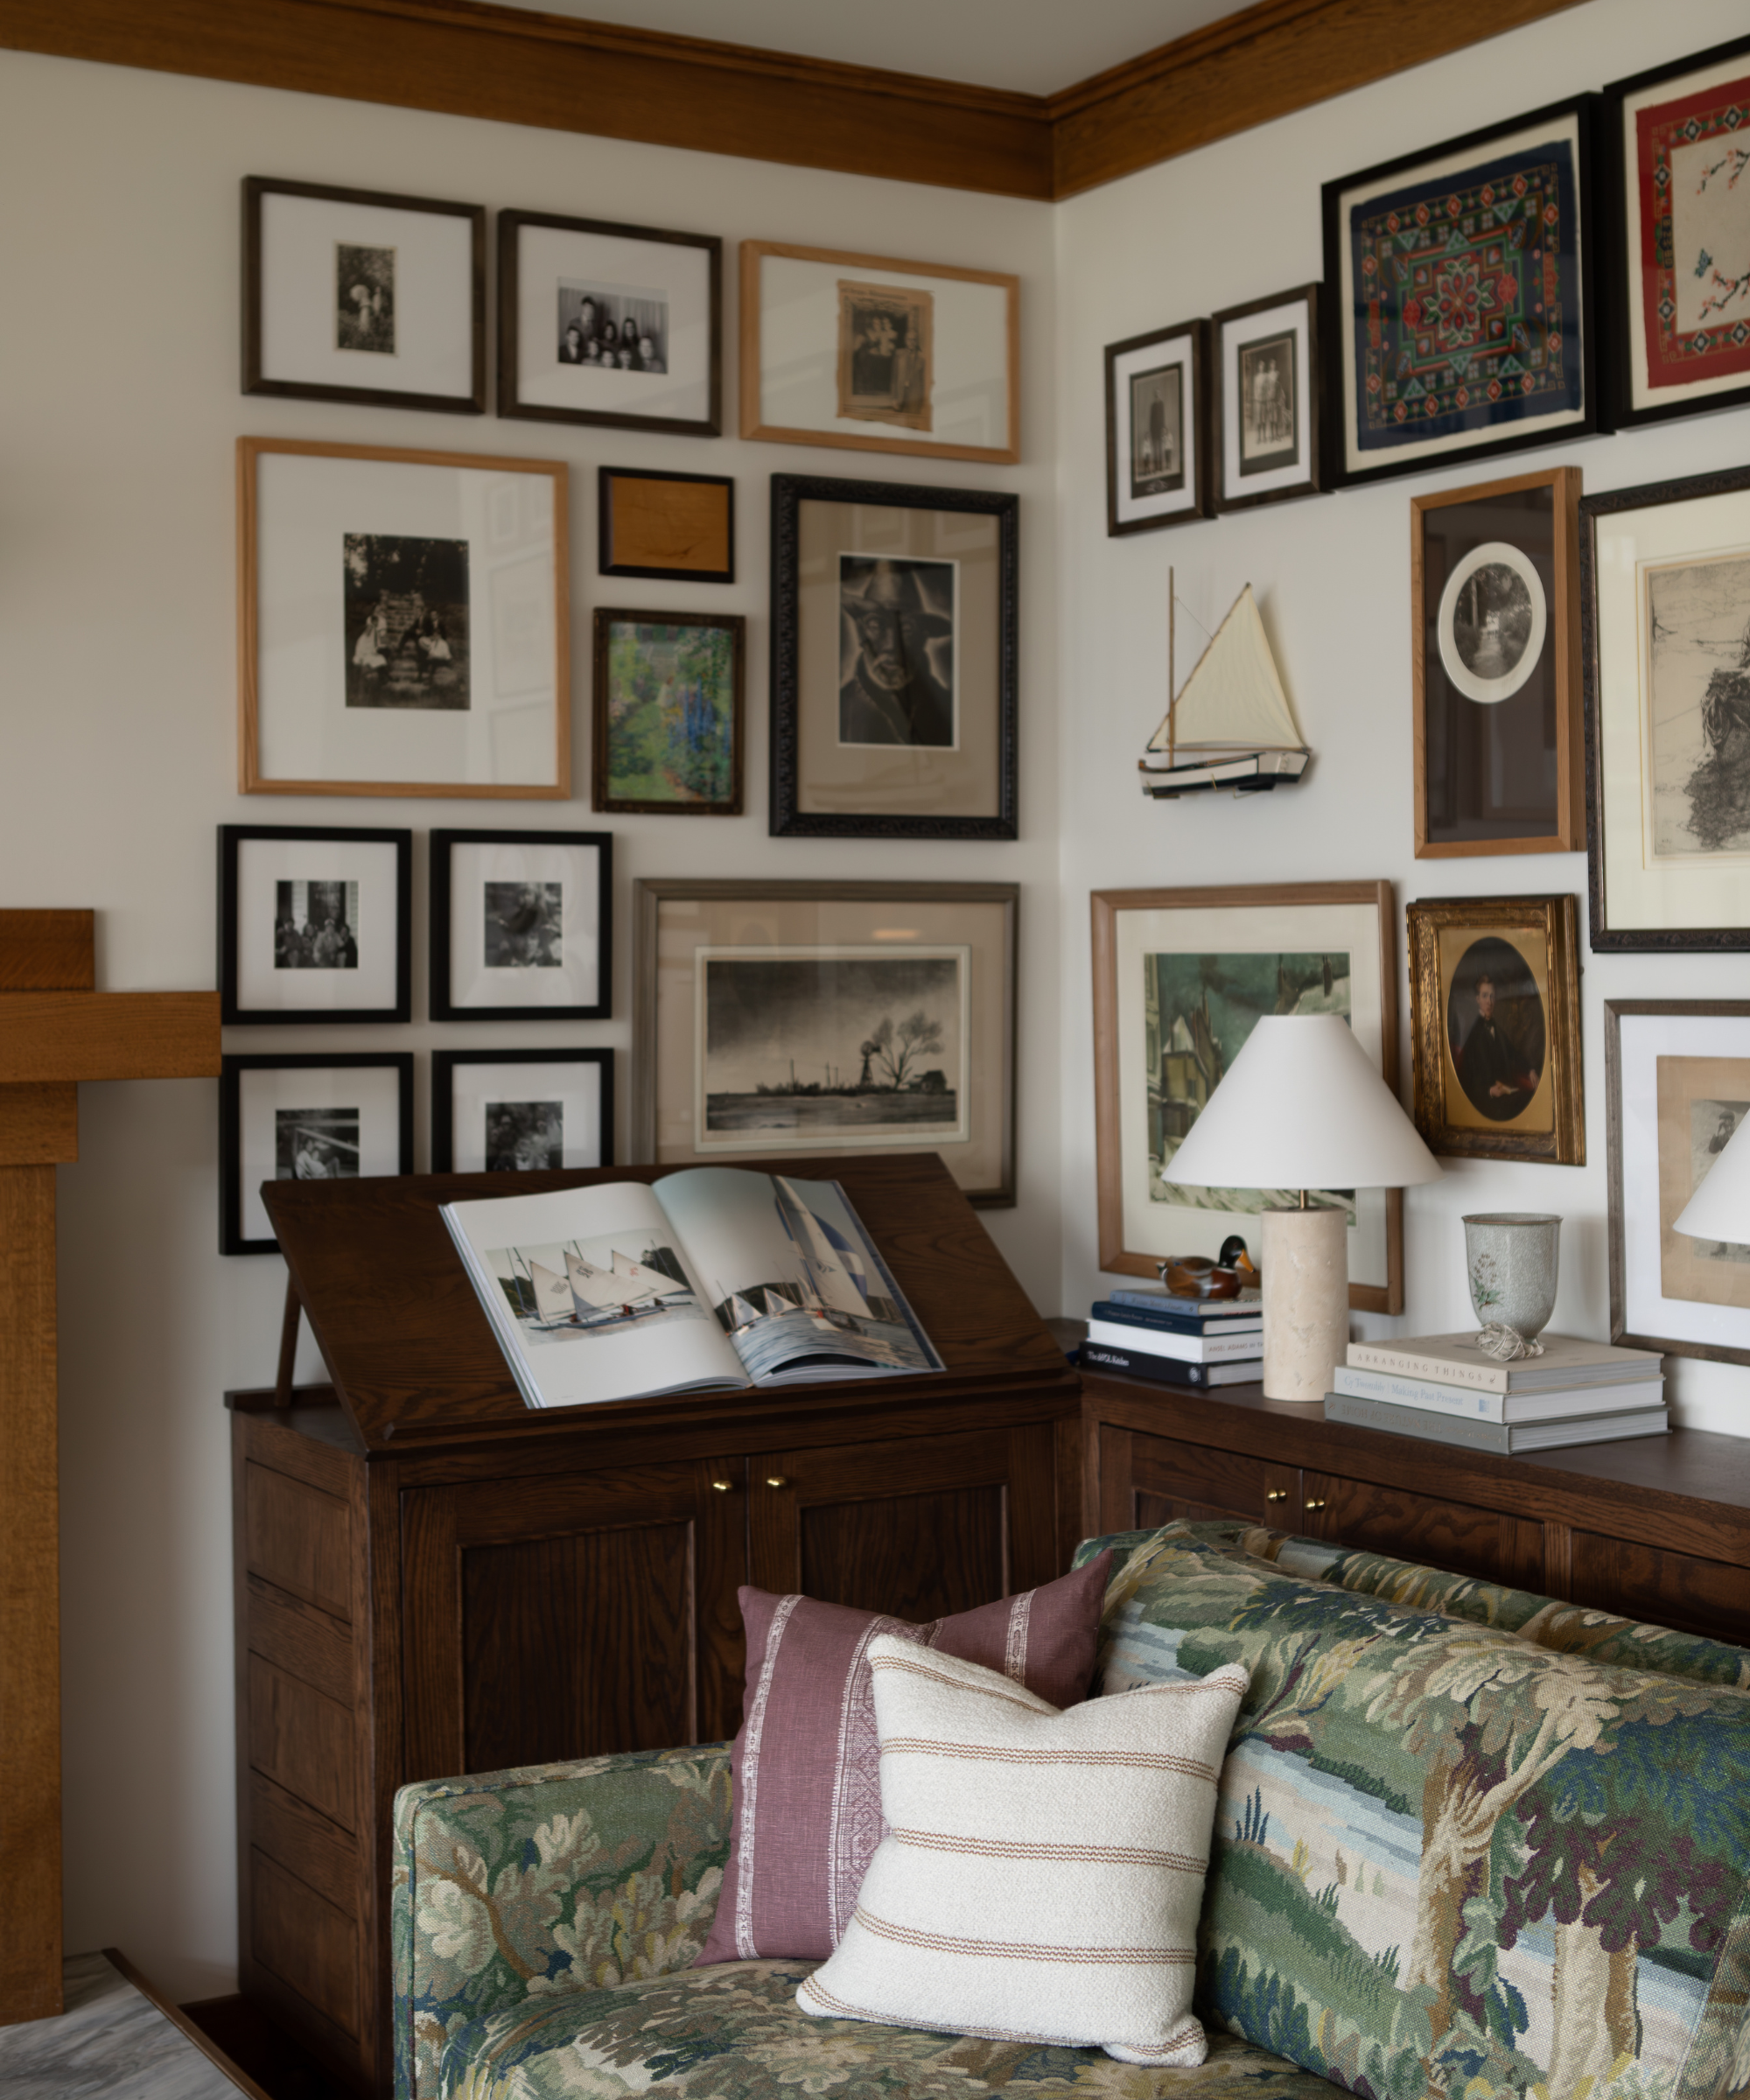
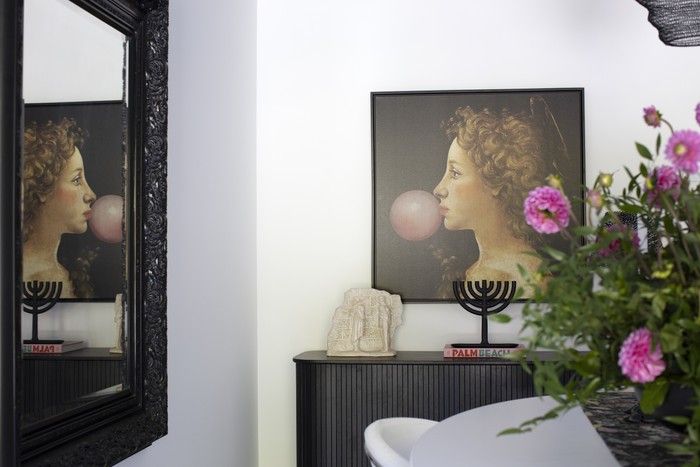
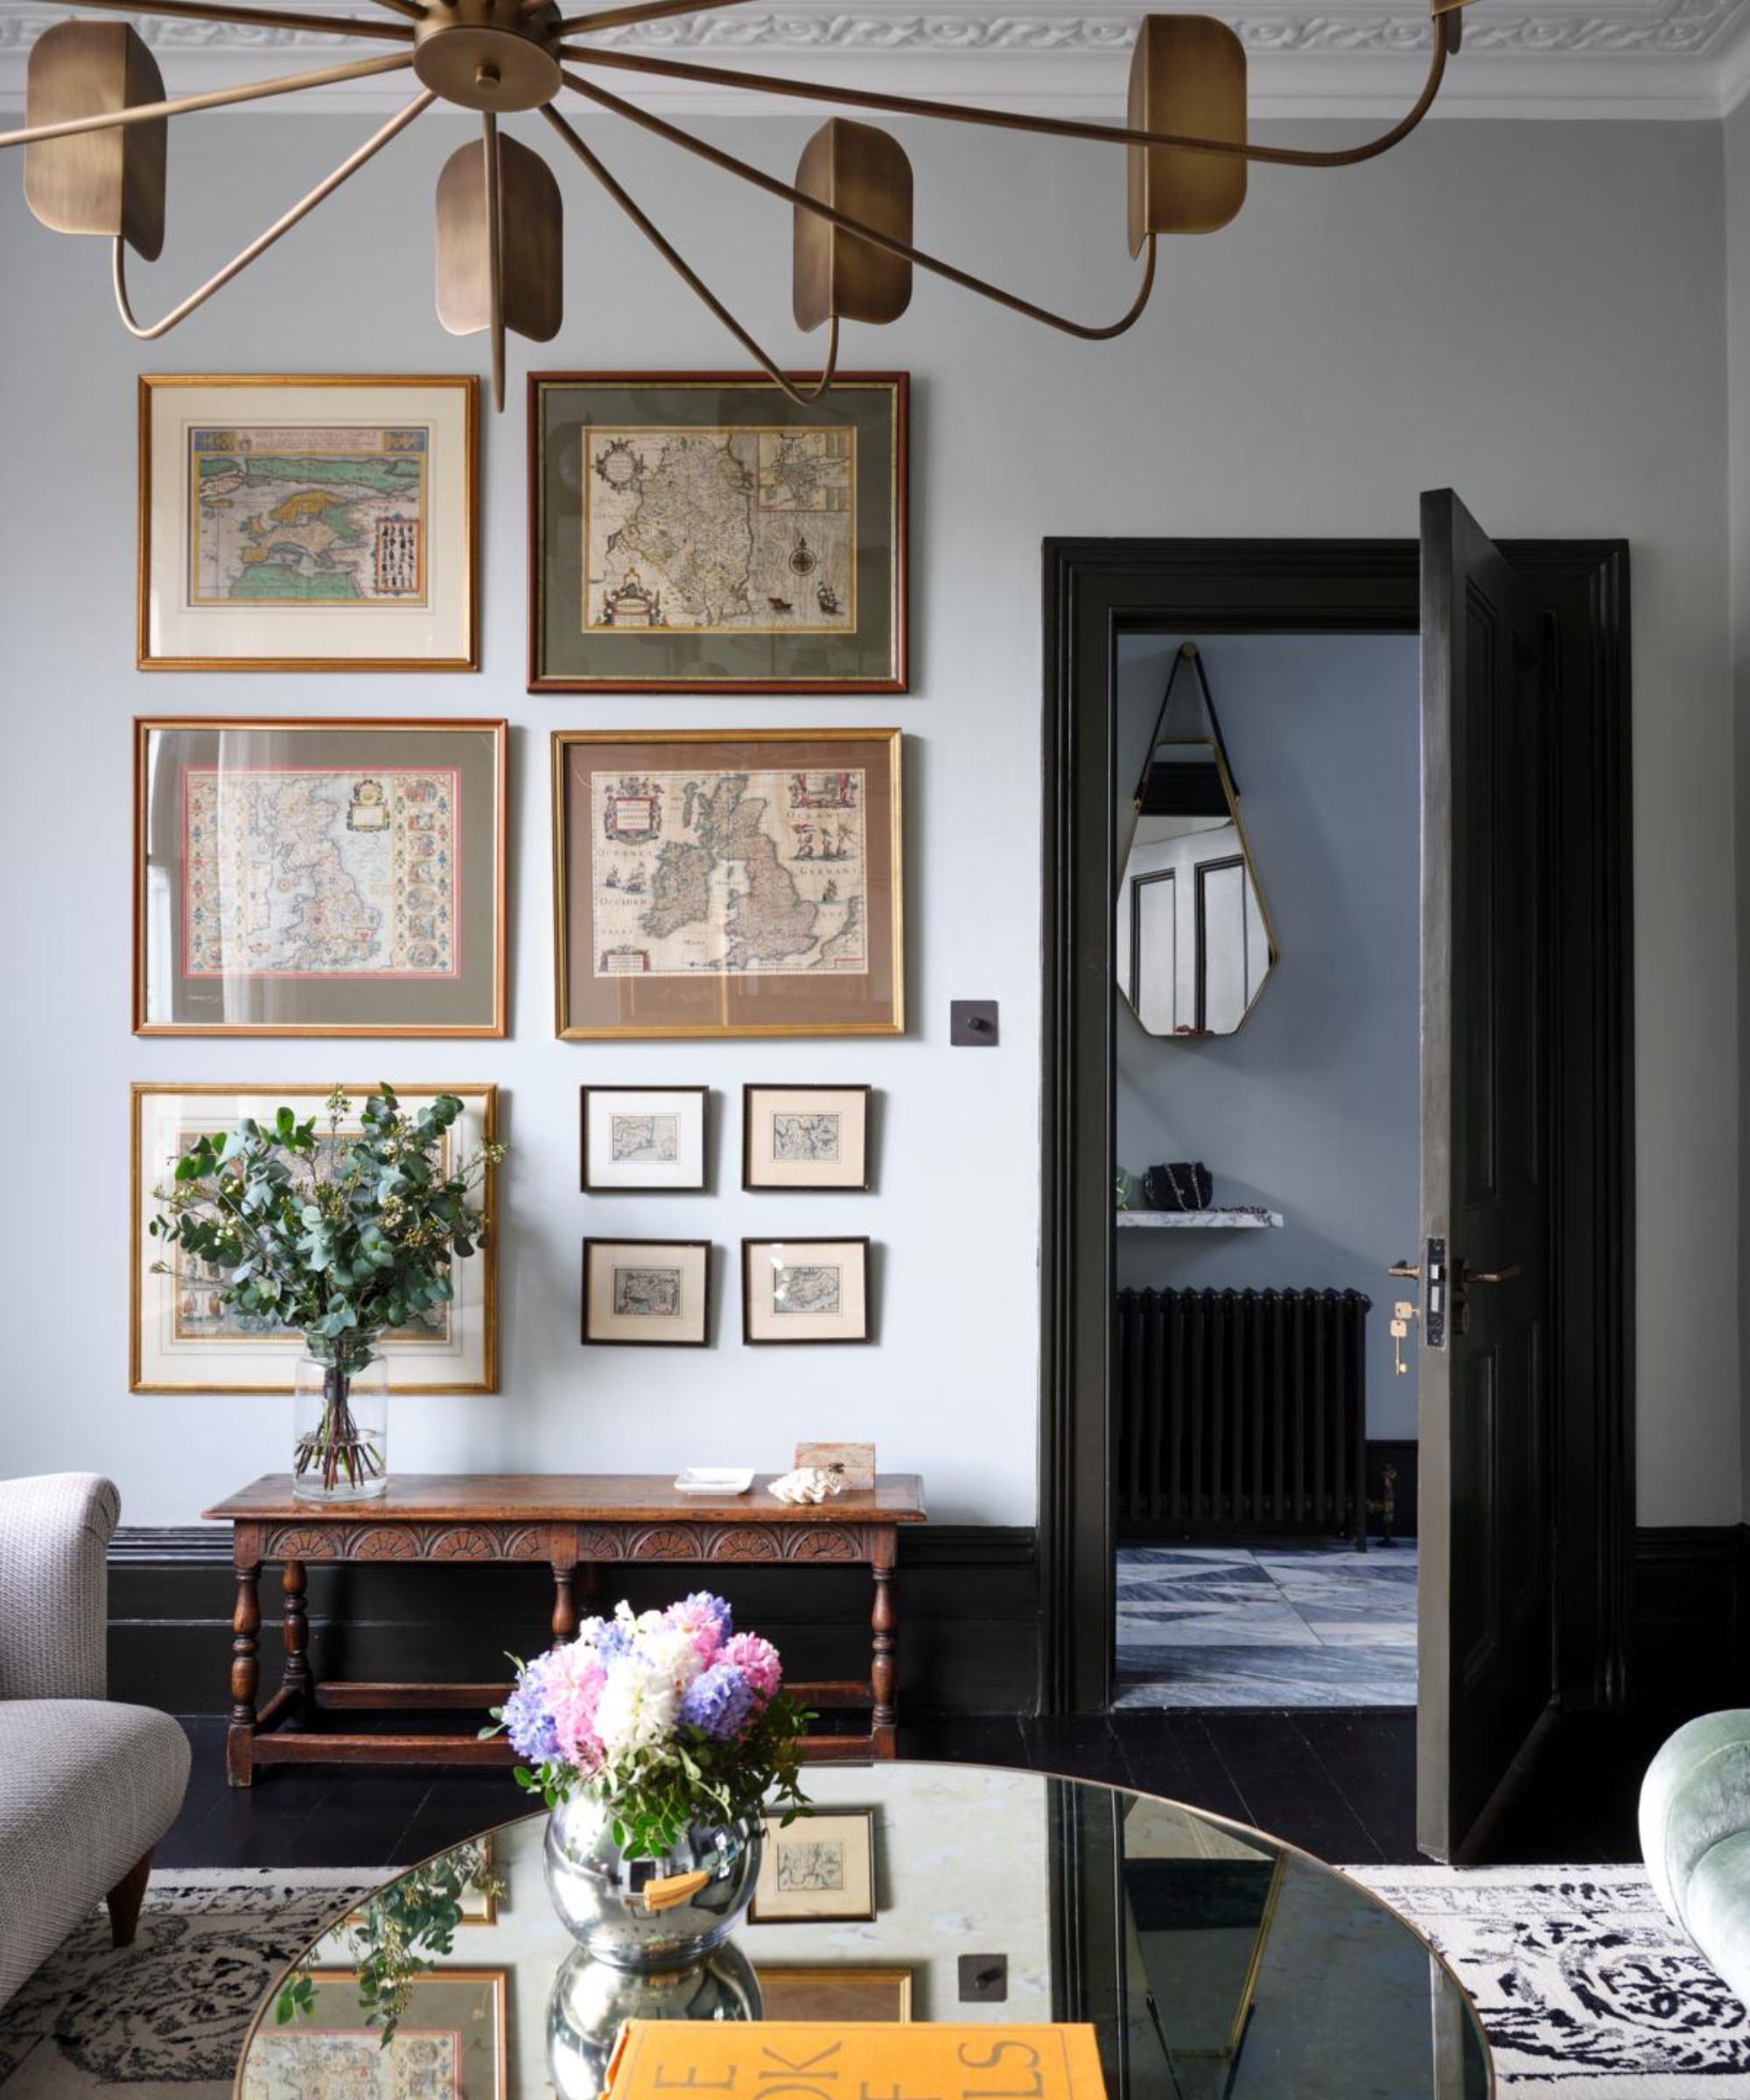
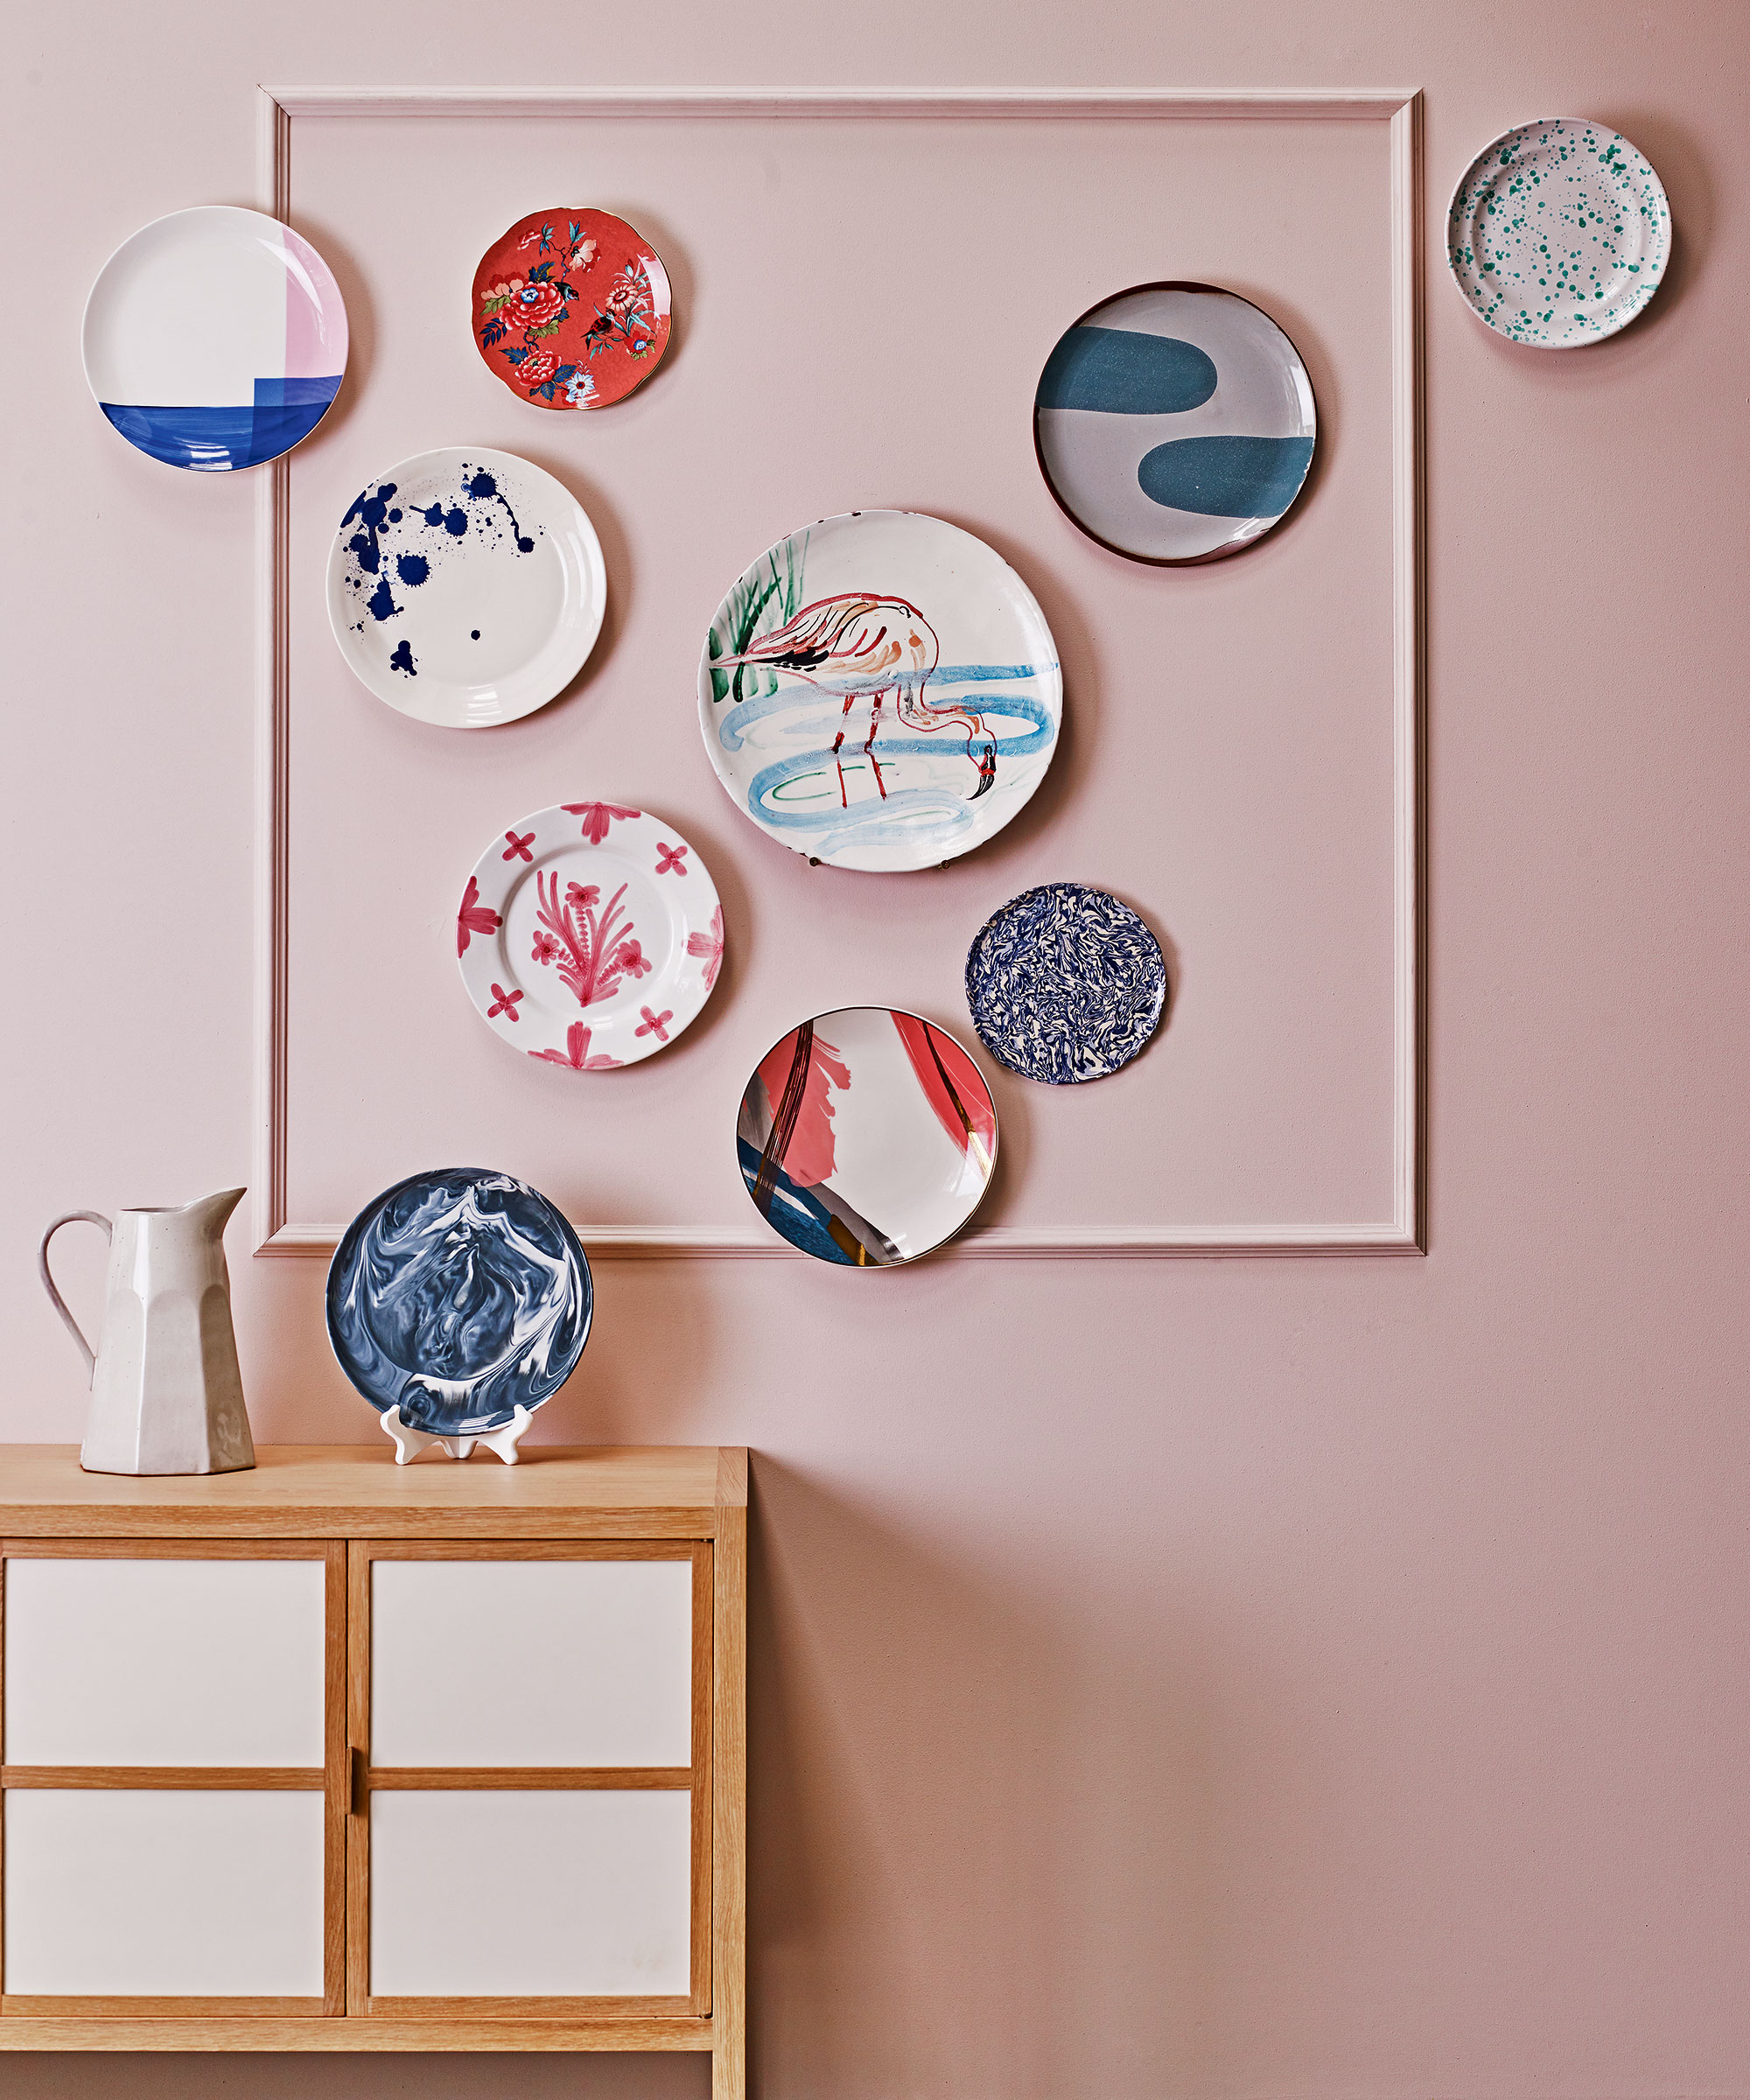
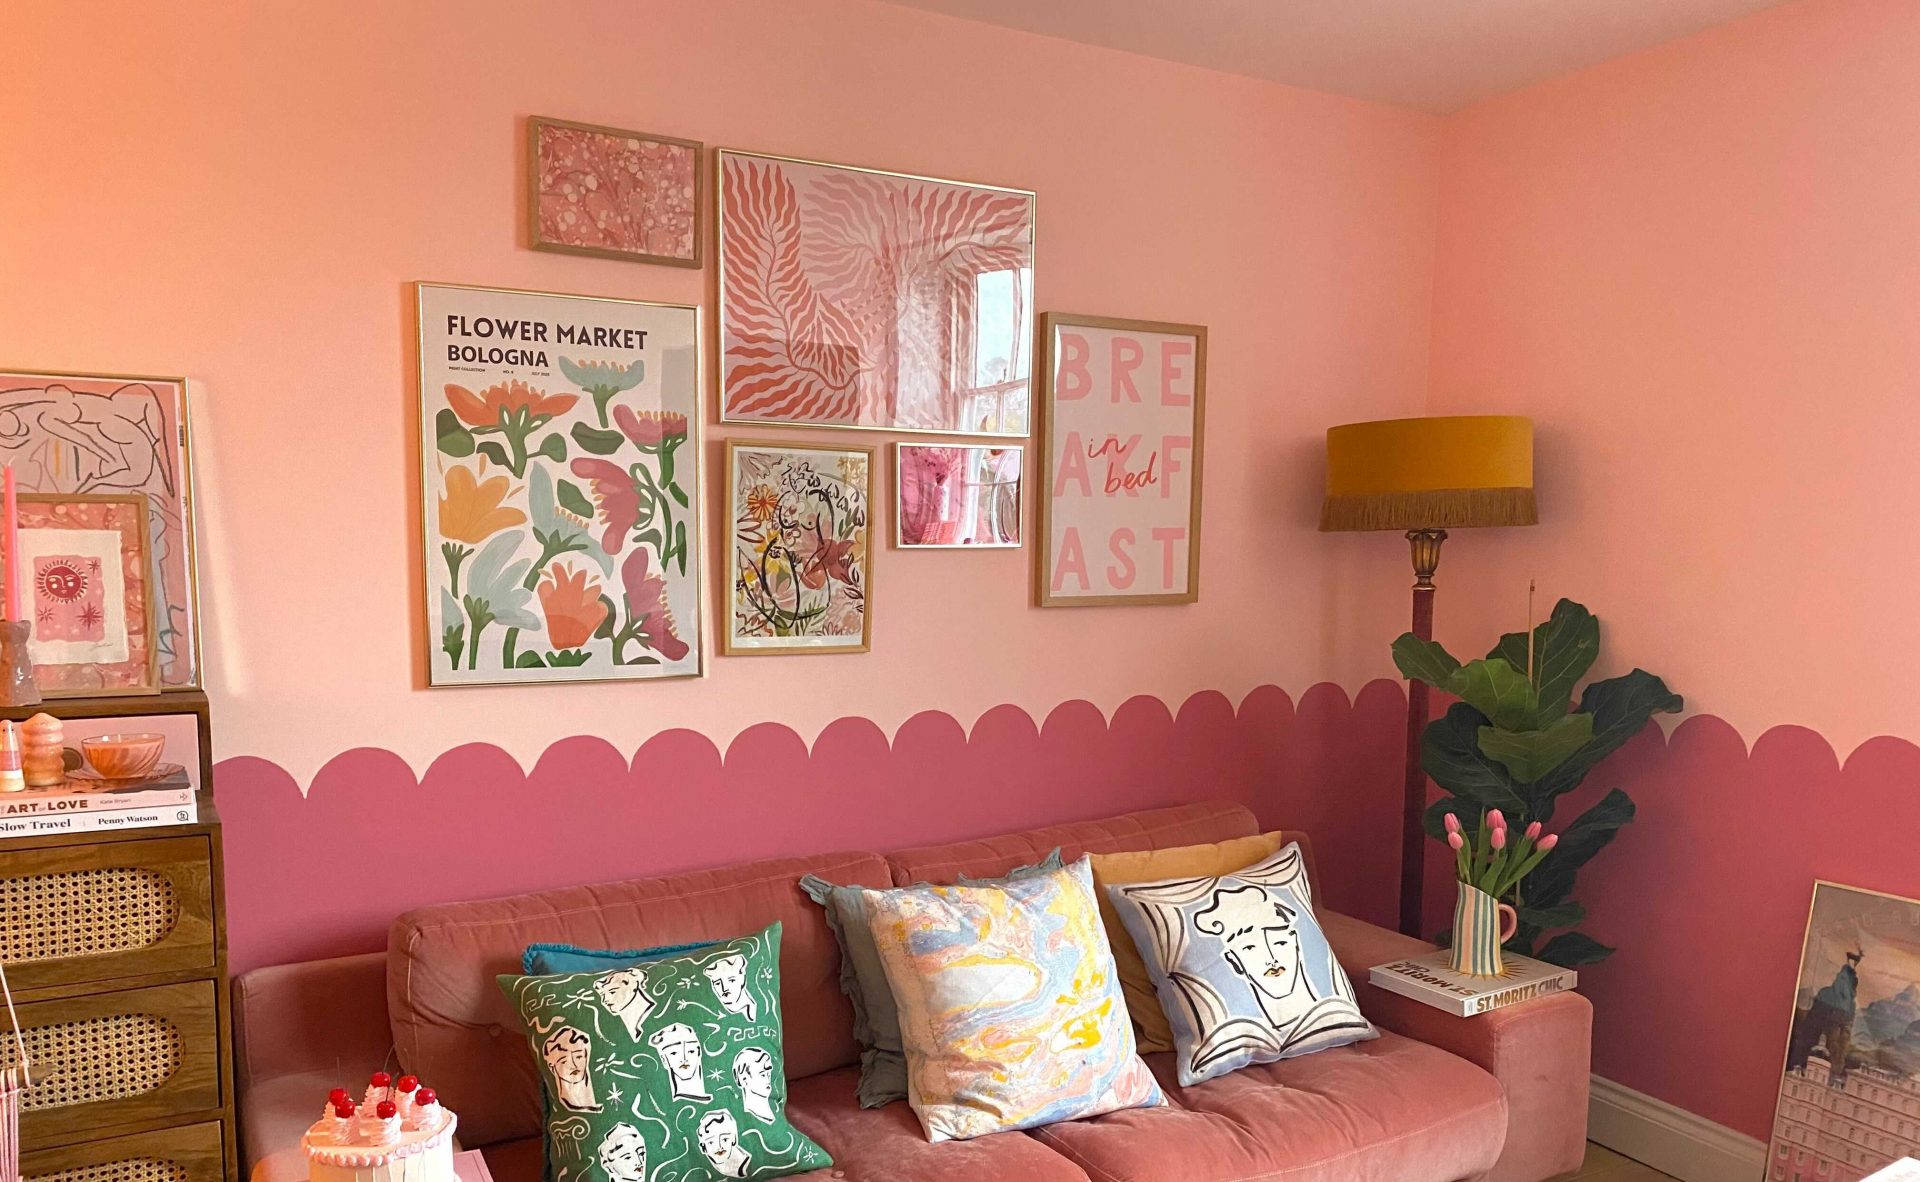
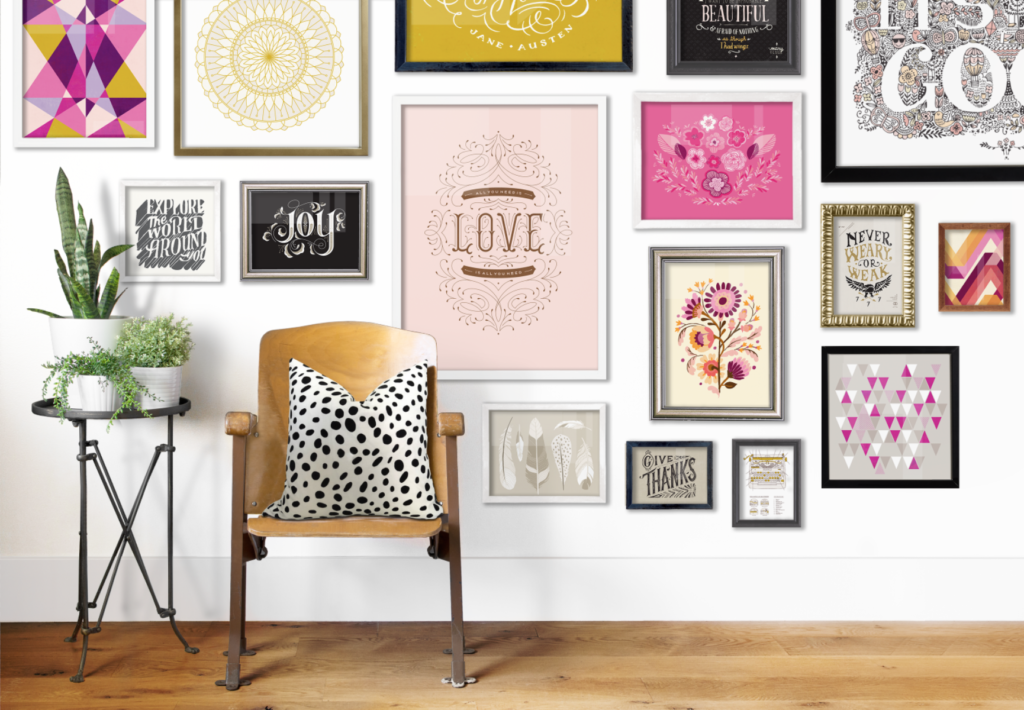
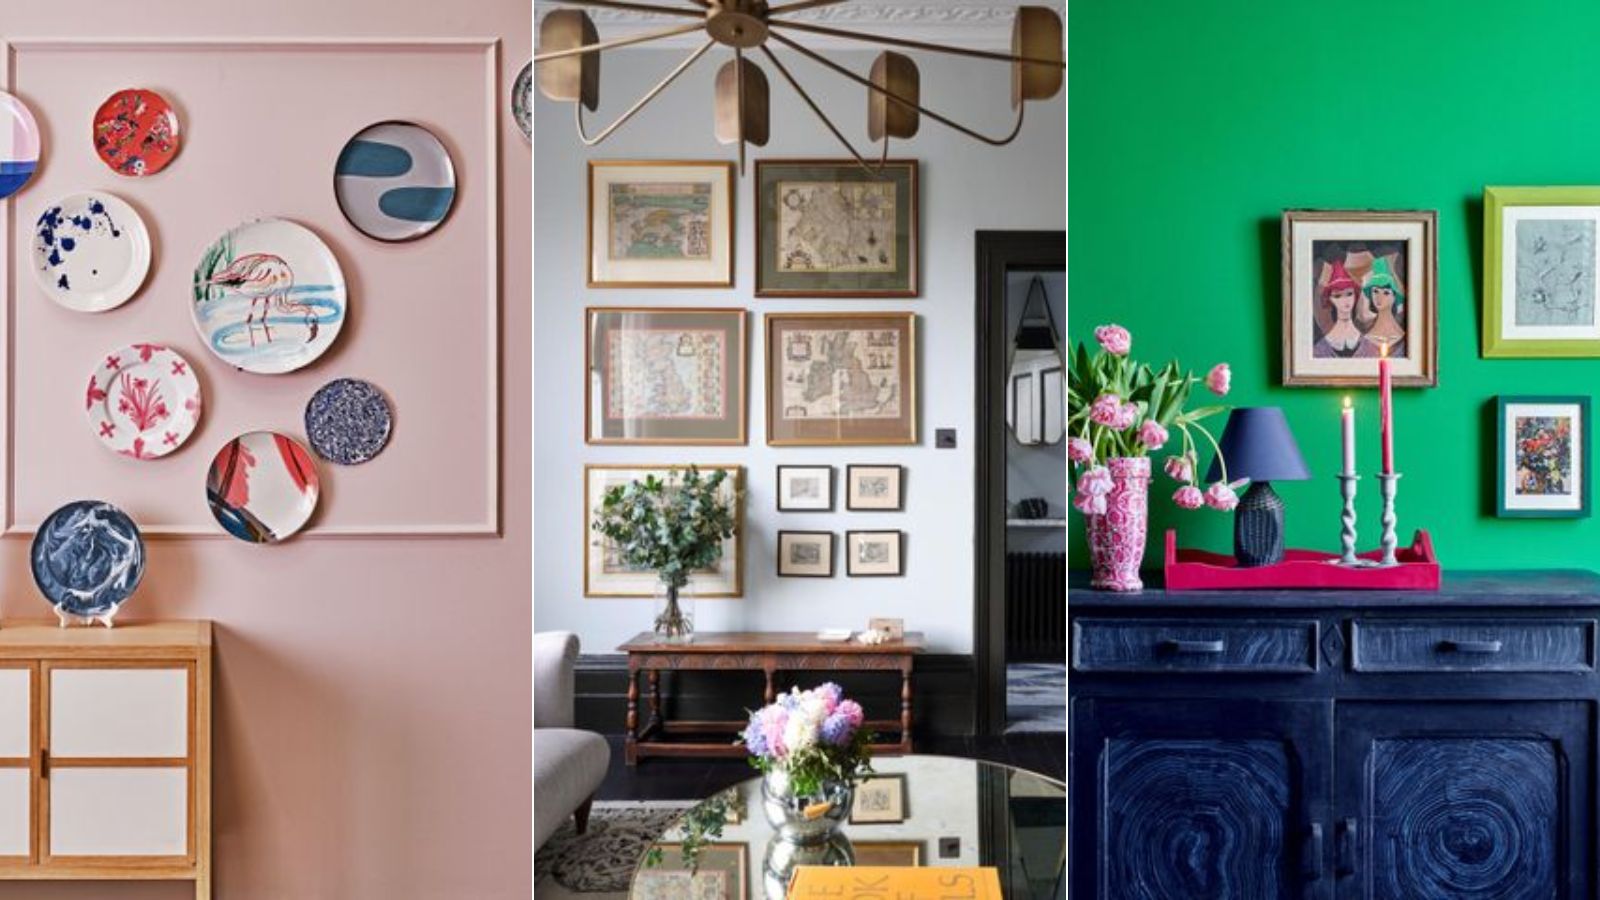
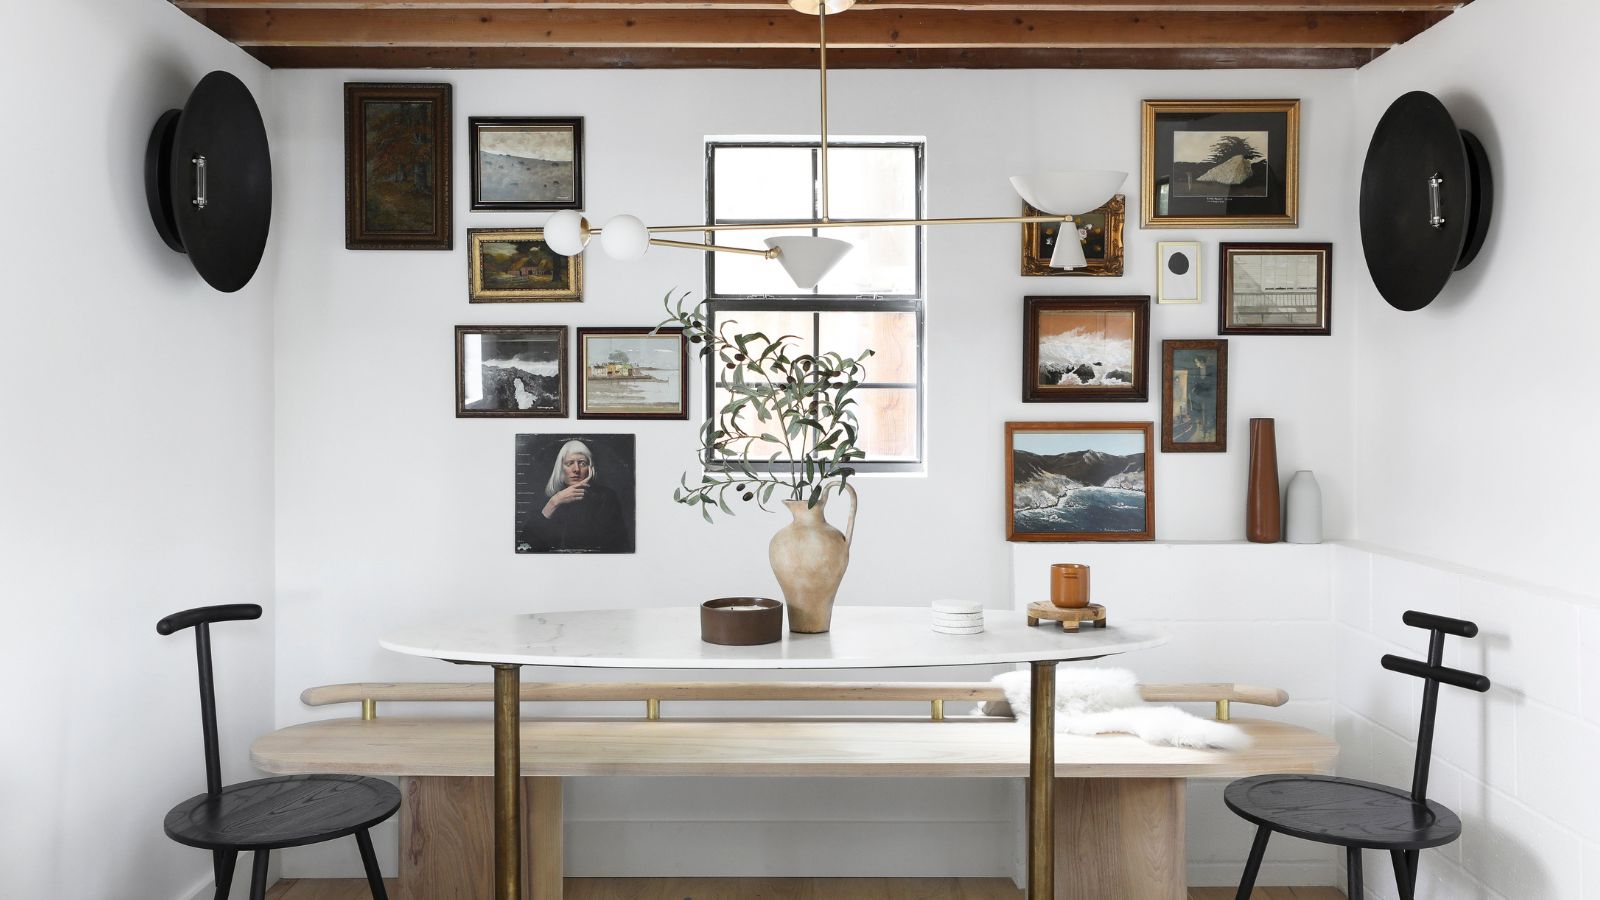
Next, the article discusses collecting pieces for the gallery. It states that there are no strict rules, whether one prefers a classic collection of framed family photos or an eclectic assortment of artwork. It suggests mounting family photos in black and white frames, arranging travel snaps in multi-photo collage frames, or displaying colorful illustrations and prints in ornate frames. The guide encourages mixing different media, such as illustrations, vinyl sleeves, magazine covers, canvases, mirrors, maps, 3D signs, and old plates, to create an eclectic display. It also recommends theming or complementing pieces to a specific color scheme or room, for instance, floral pieces for a garden room or pastel prints to match wall paint. Furthermore, it suggests being bold by contrasting colors, designs, and prints, particularly against dark or white walls, for a versatile display.
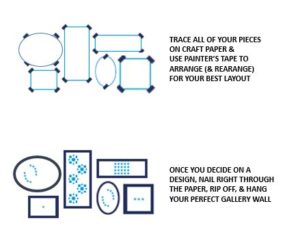
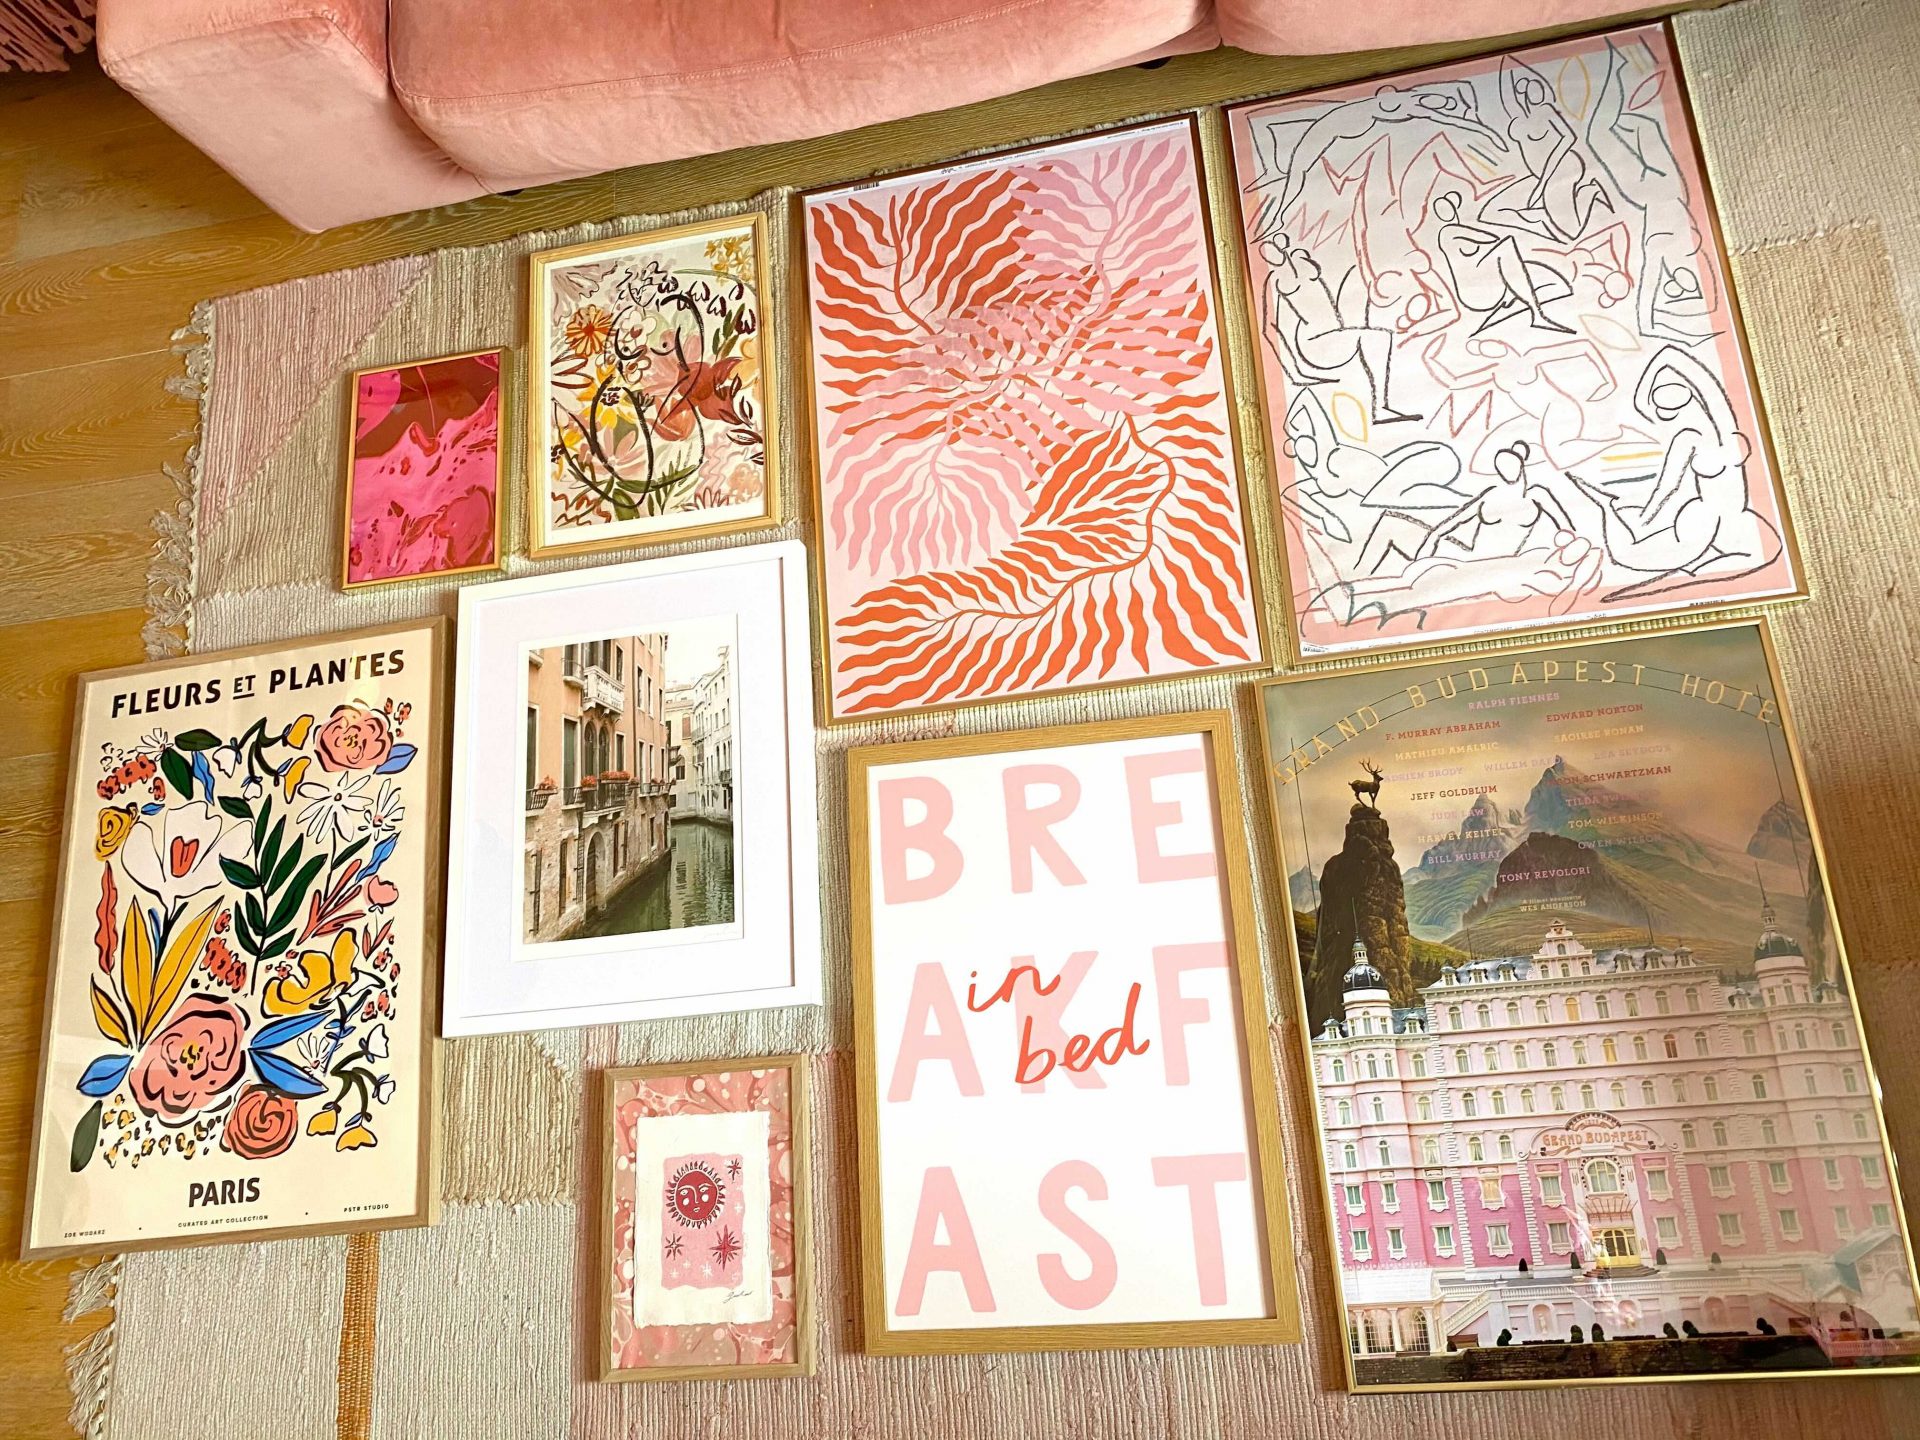
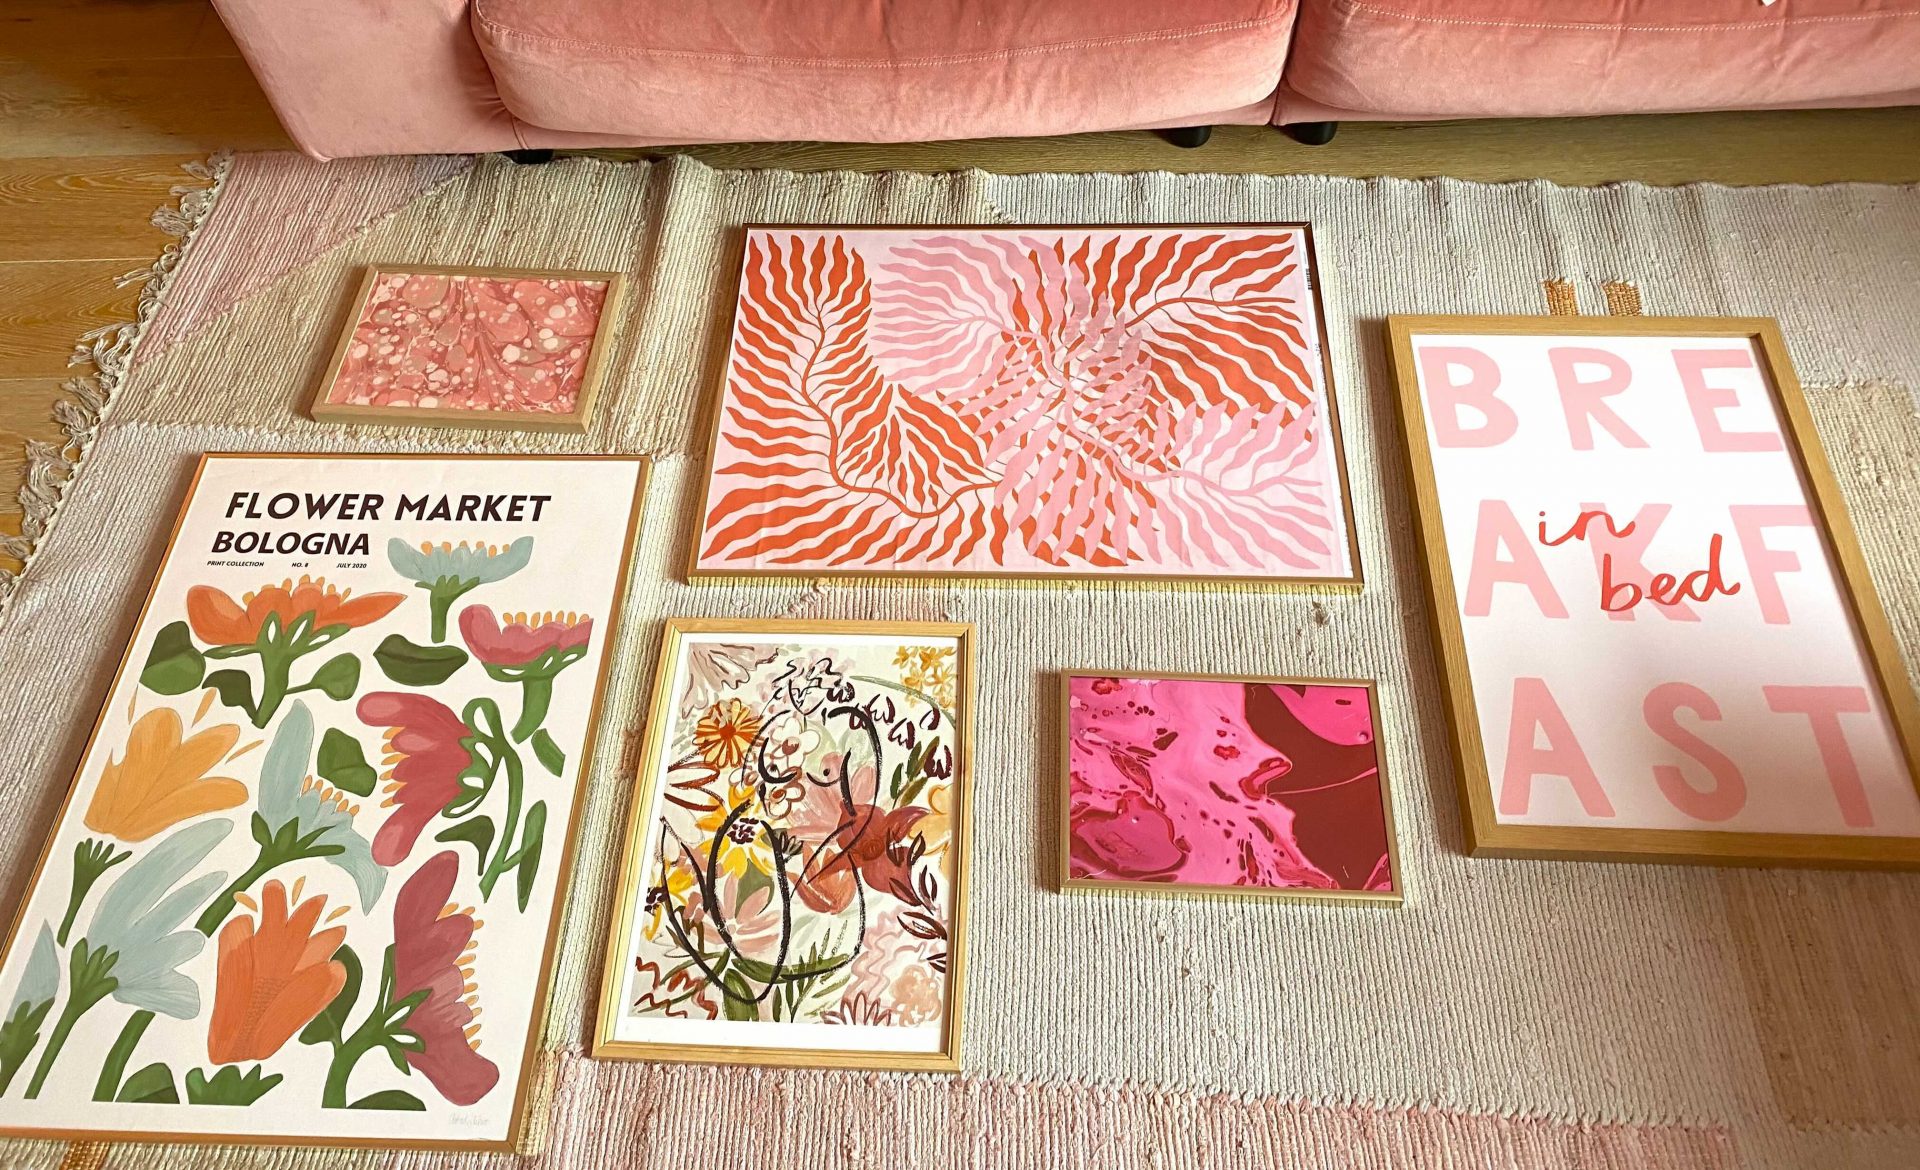
Before making any permanent changes, the article recommends laying out the arrangement on the floor to plan the gallery effectively. For those using picture hooks, brown paper templates are suggested as a handy way to transfer the design to the wall for precise placement. If a staggered layout is preferred, the largest or favorite piece should be positioned first as a focal point, with other pieces arranged around it. The process involves drawing around each frame with a pencil to create templates, taking a photo of the layout, and then cutting out each template. For picture hooks, making a small fixing mark in each outline to indicate the pin's placement is also advised.
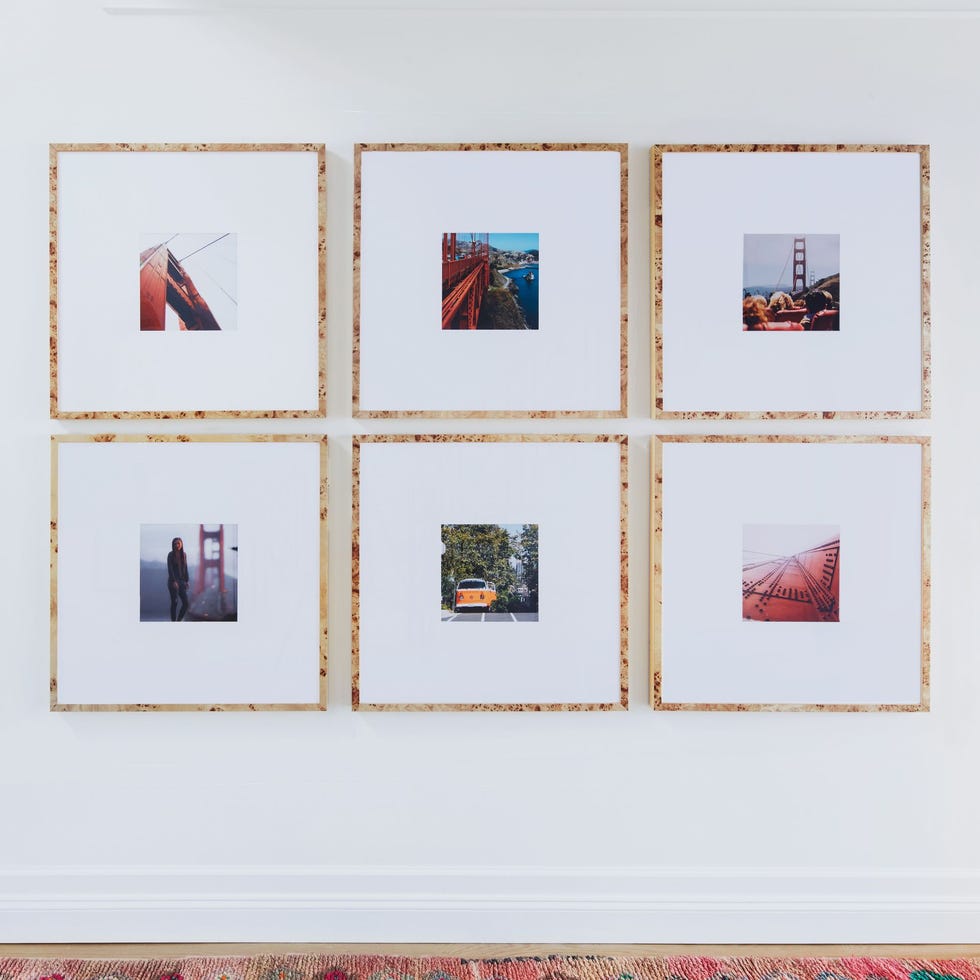
Finally, the guide provides instructions on correctly hanging the pieces. It mentions various methods for affixing pictures securely, including adhesive strips, traditional picture hooks, or wall plugs and screws for heavier items. When using brown paper templates and picture hooks, the templates should be taped onto the wall, starting with the focal piece aligned with eye level. After taping the remaining templates and adjusting their placement, a pin can be hammered into each fixing mark, the paper removed, and the artwork hung. For grid layouts, which are ideal for collections of photos or series of pieces in matching frames, a gap of 2-5 inches between frames is generally recommended, scaled according to the space. If using adhesive strips, the focal piece should be placed first, followed by the remaining pieces until the design is complete.
#GalleryWall #HomeDecor #InteriorDesign #ArtDisplay #WallArt #CreativeSpaces #HomeImprovement #DIYHomeDecor #GalleryWall #HomeDecor #InteriorDesign #ArtDisplay #WallArt #CreativeSpaces #HomeImprovement #DIYHomeDecor
0 comment in total
 No comments yet
You may also like
The Best Gallery Wall Ideas Right Now

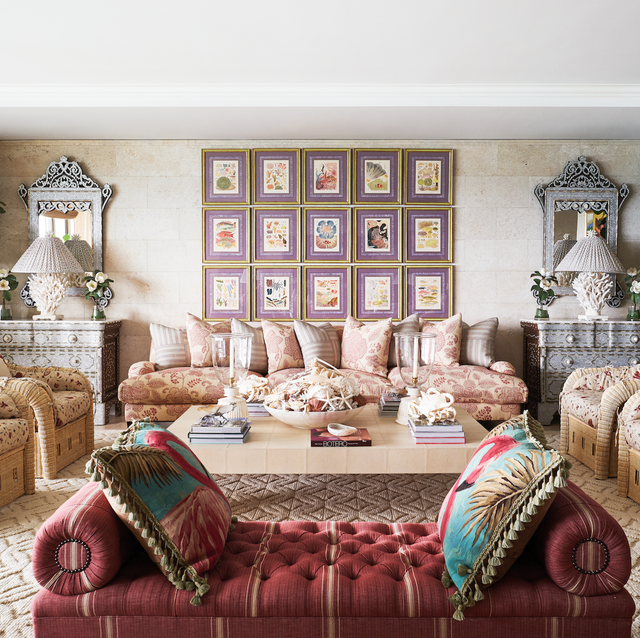
Are Gallery Walls Still in Style? Here’s What Designers Say

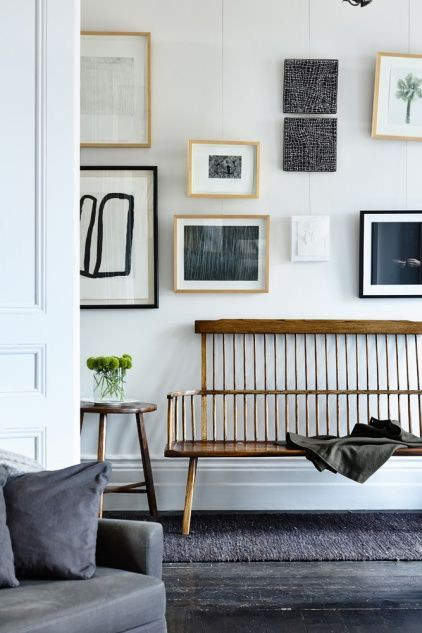
how to style a 3D gallery wall
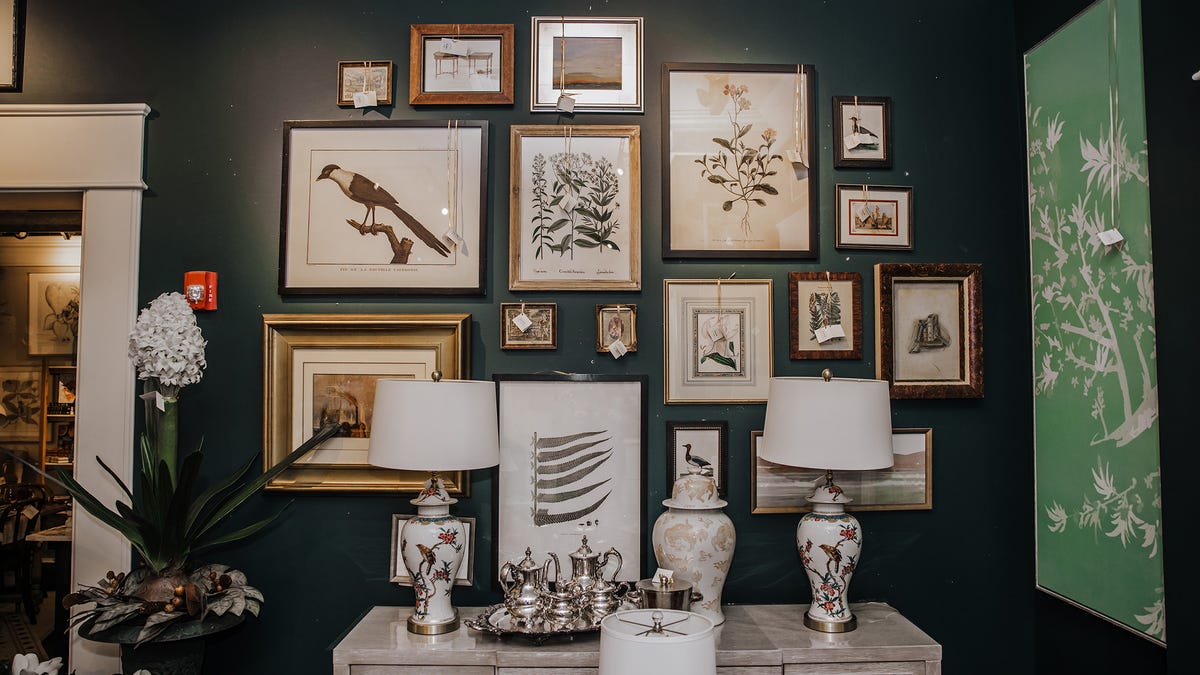
Style at Home: Creating the perfect gallery wall

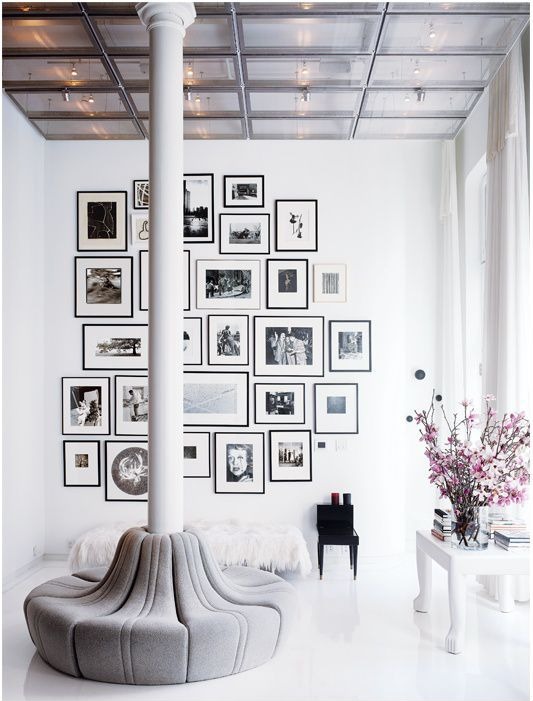
How to create a gallery wall in your home

9 Things (Other Than Photos) That Look Great In A Gallery Wall
How to build a gallery wall for your home

7 DIY tips for how to hang a gallery wall from experts

5 common gallery wall mistakes designers warn to always avoid – to create the chicest of displays
How to Create a Gorgeous Gallery Wall in Your Home

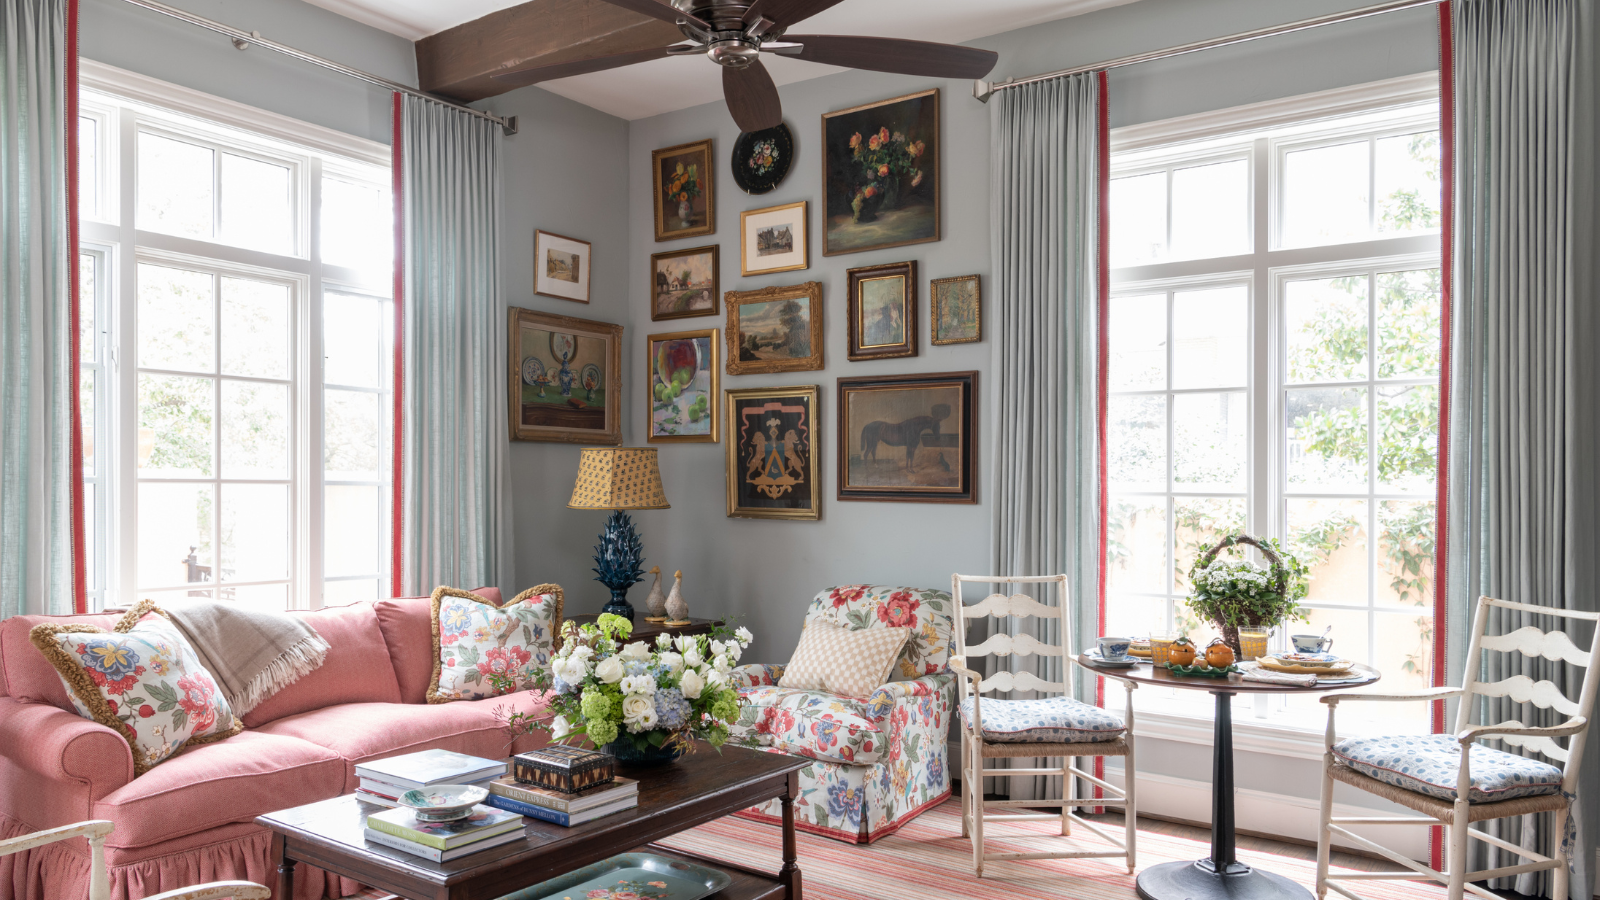
I thought I was over gallery walls, but this designer-approved hanging method has changed my mind – it makes awkward corners look 'softer, layered and lived-in'
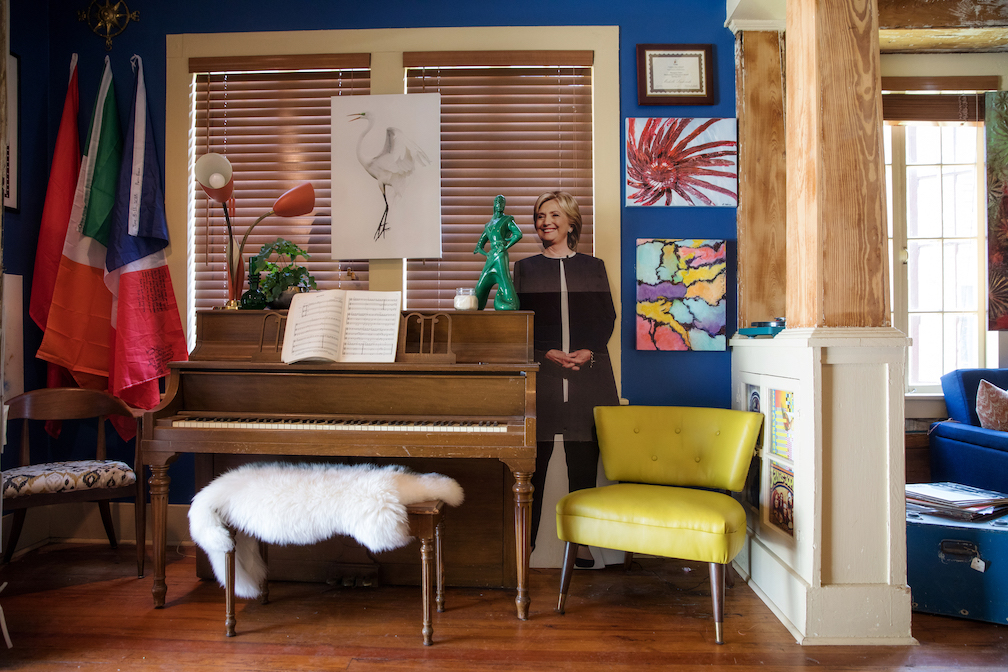
The key to building a great gallery wall is, well, thinking a little off-the-wall

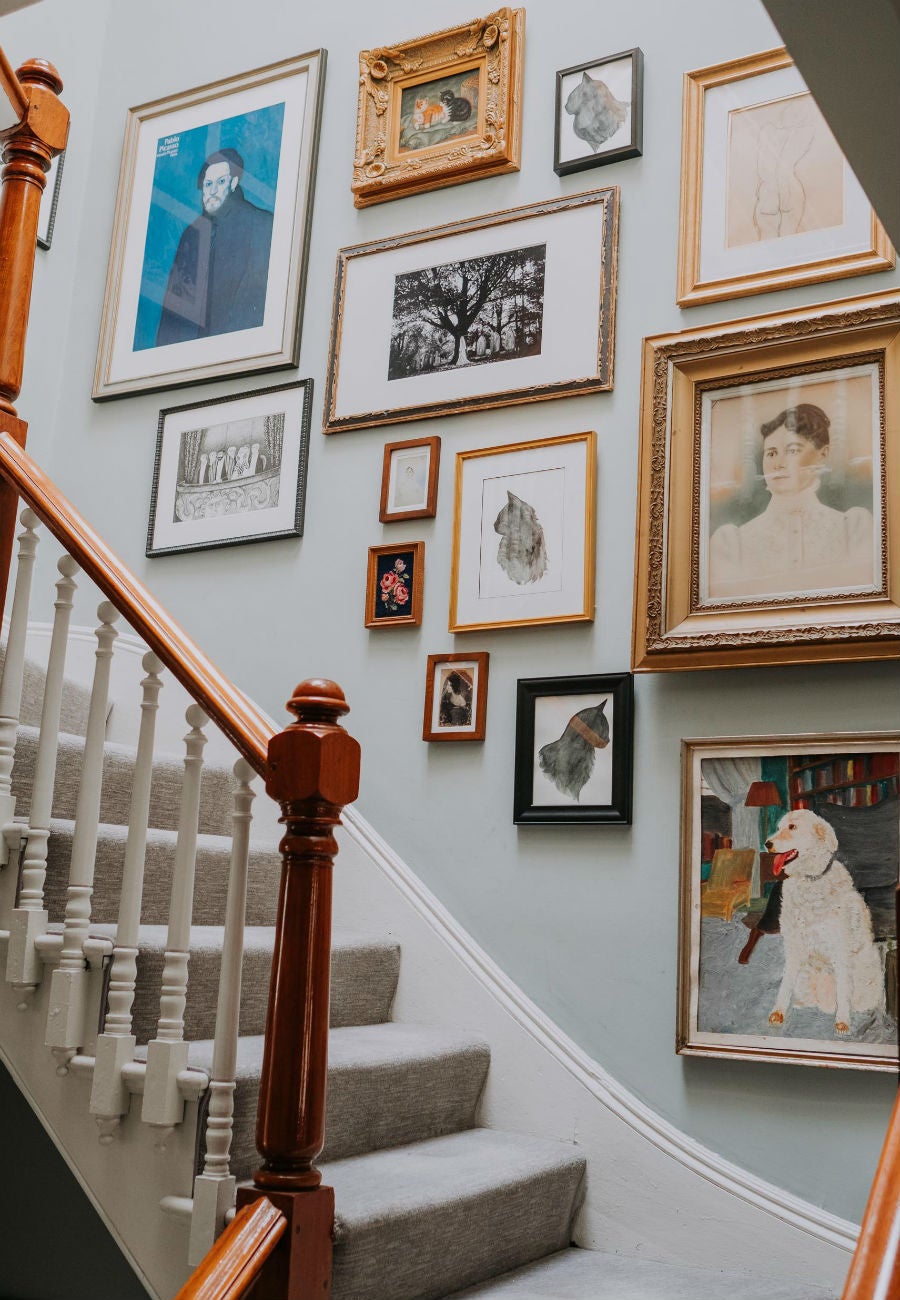
Ask The Expert: How To Create A Gallery Wall

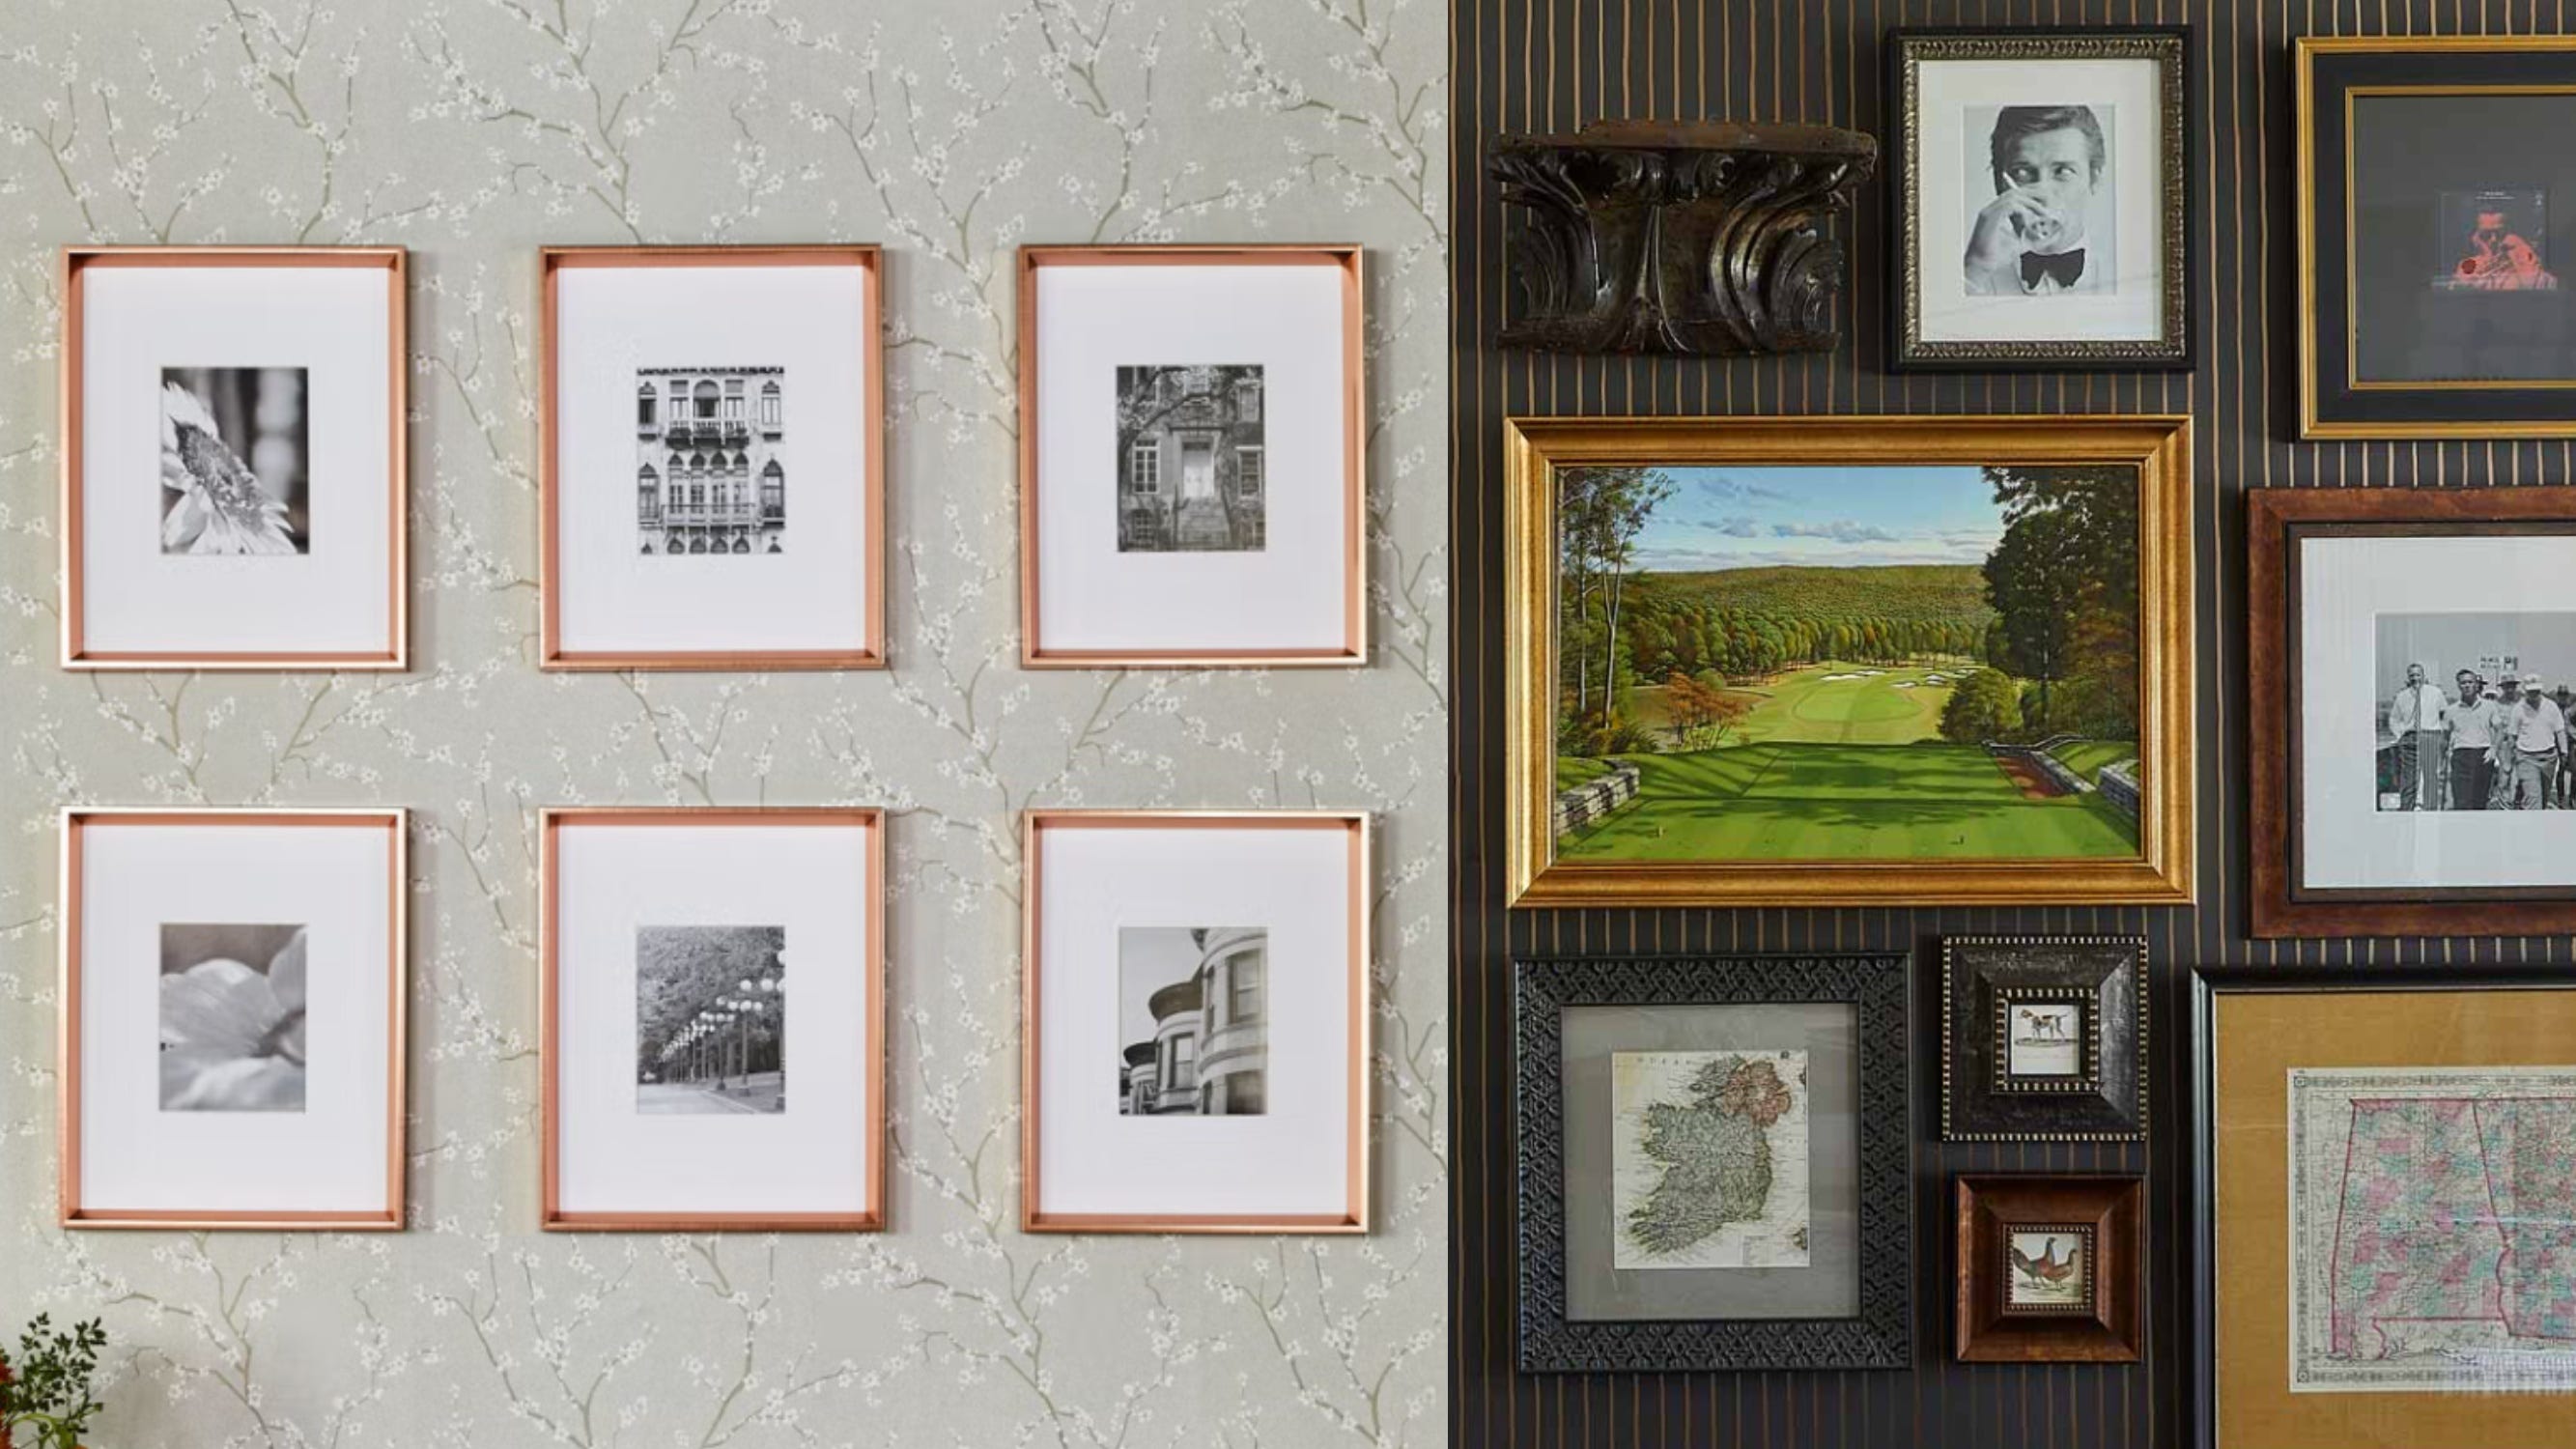
Matching or Mismatched Gallery Wall? Big-Time Designers Have a VERY SPECIFIC Preference

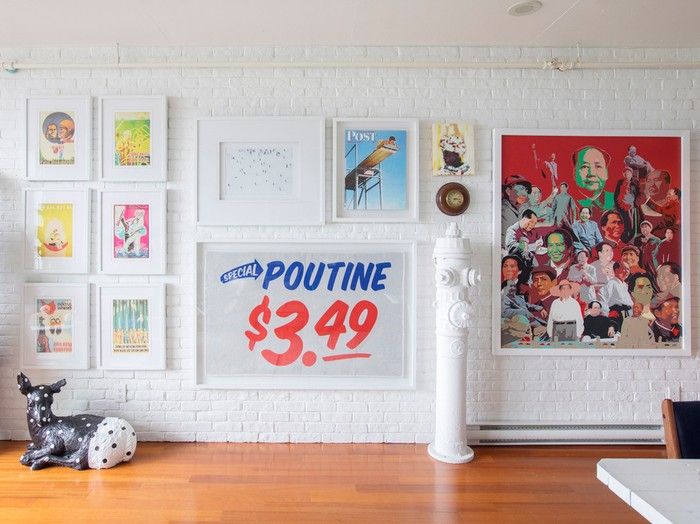
Curating art for the home is an art in itself

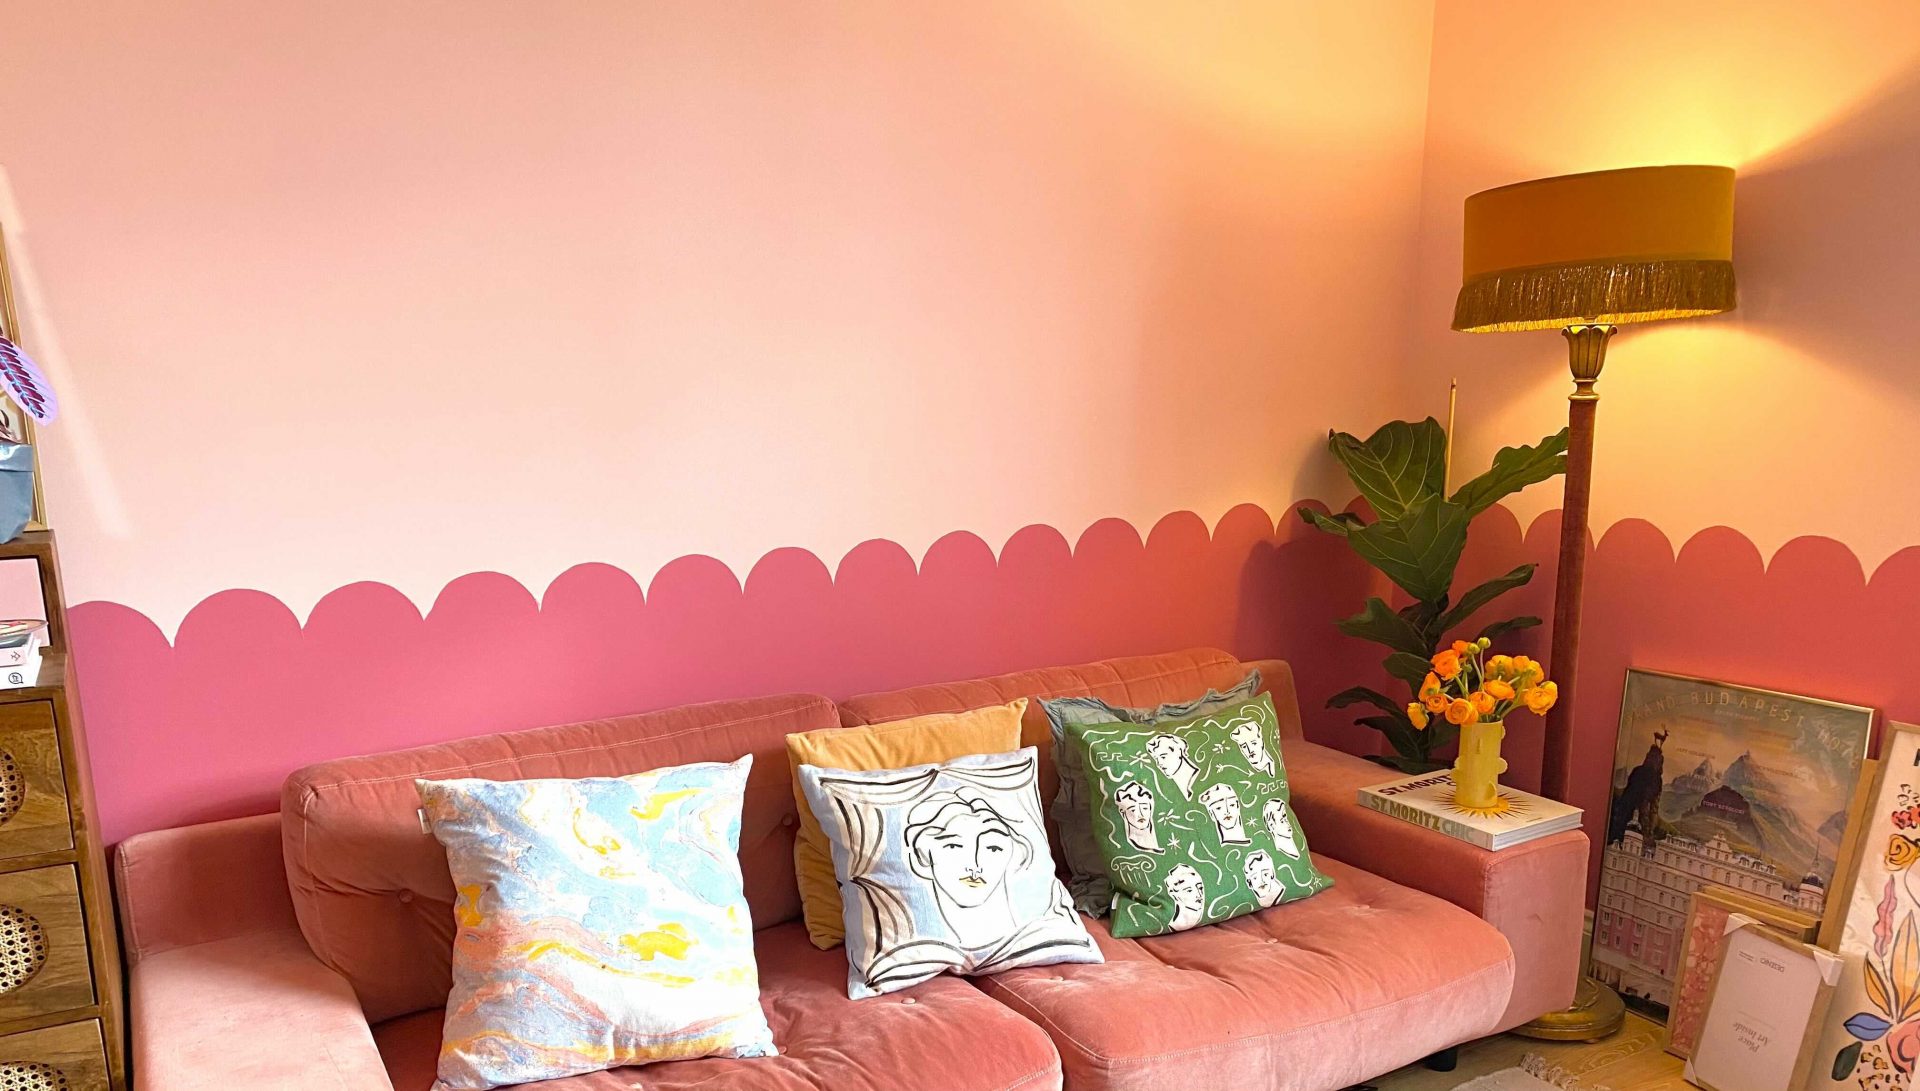
Big Trends Small Spaces: how to create a tonal gallery wall in 8 steps
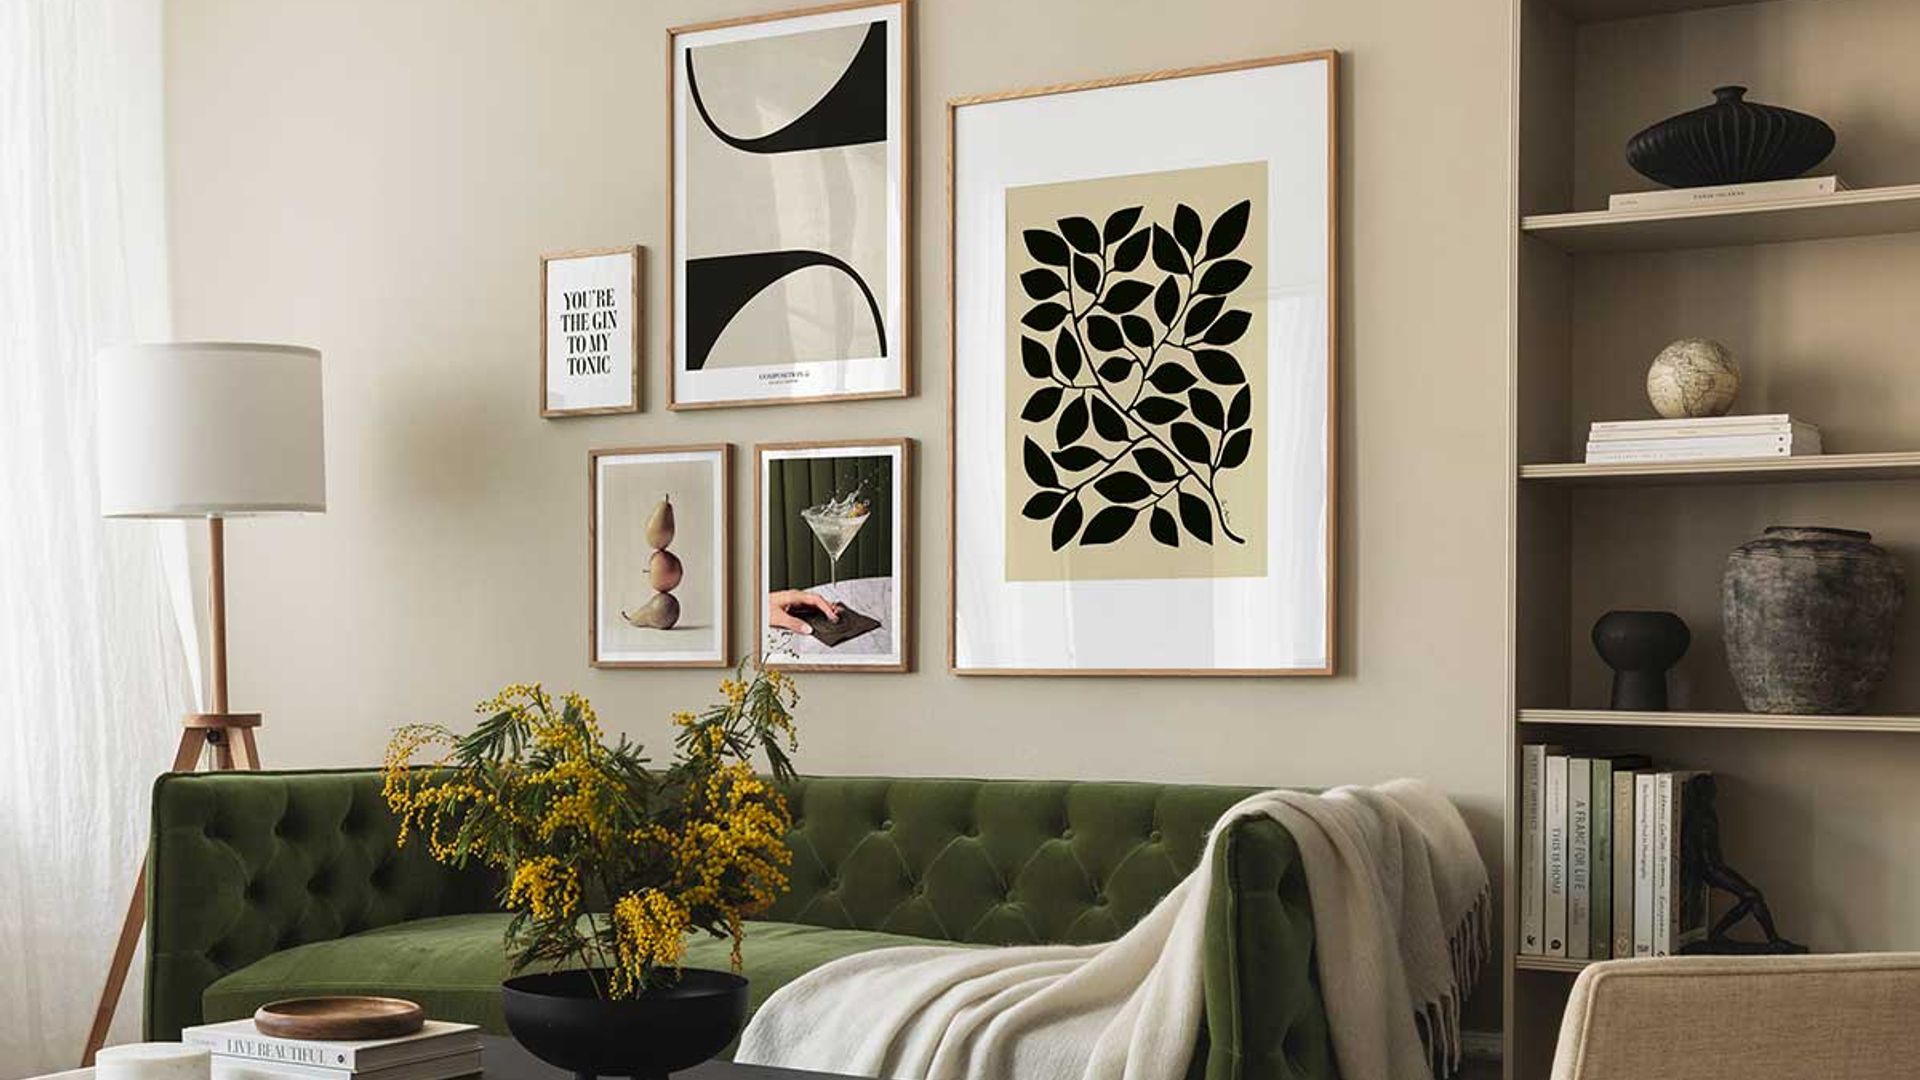
Where to buy the best wall art to create a spectacular gallery wall

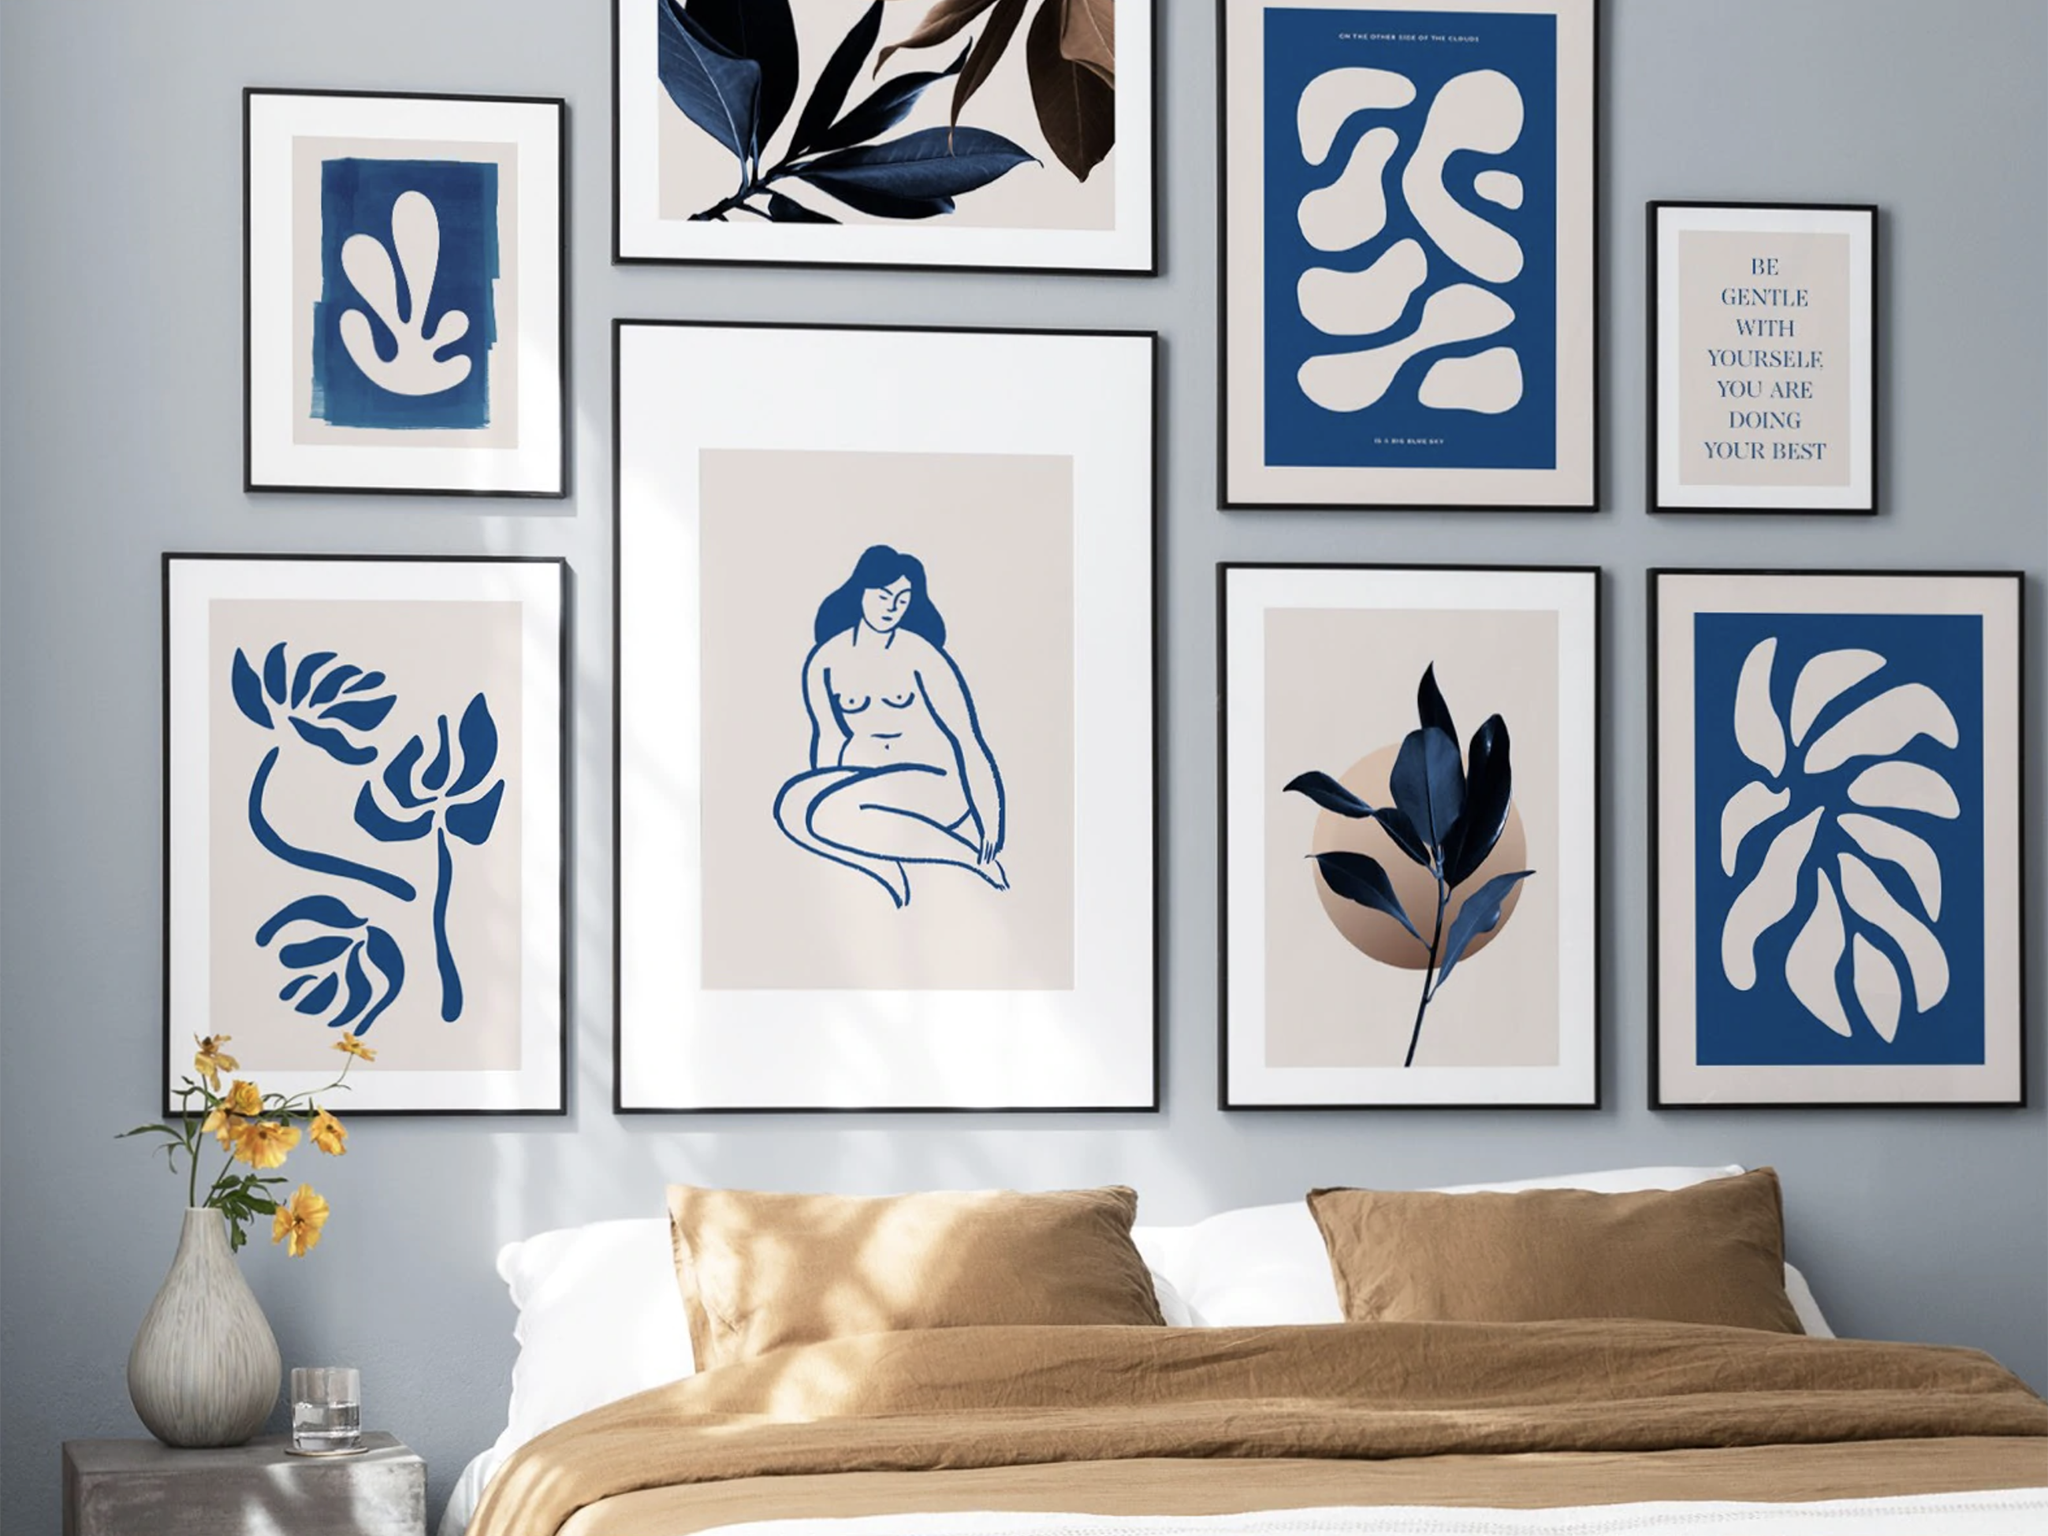
How to create an Instagram-worthy gallery wall: Interiors experts on framing and displaying your art
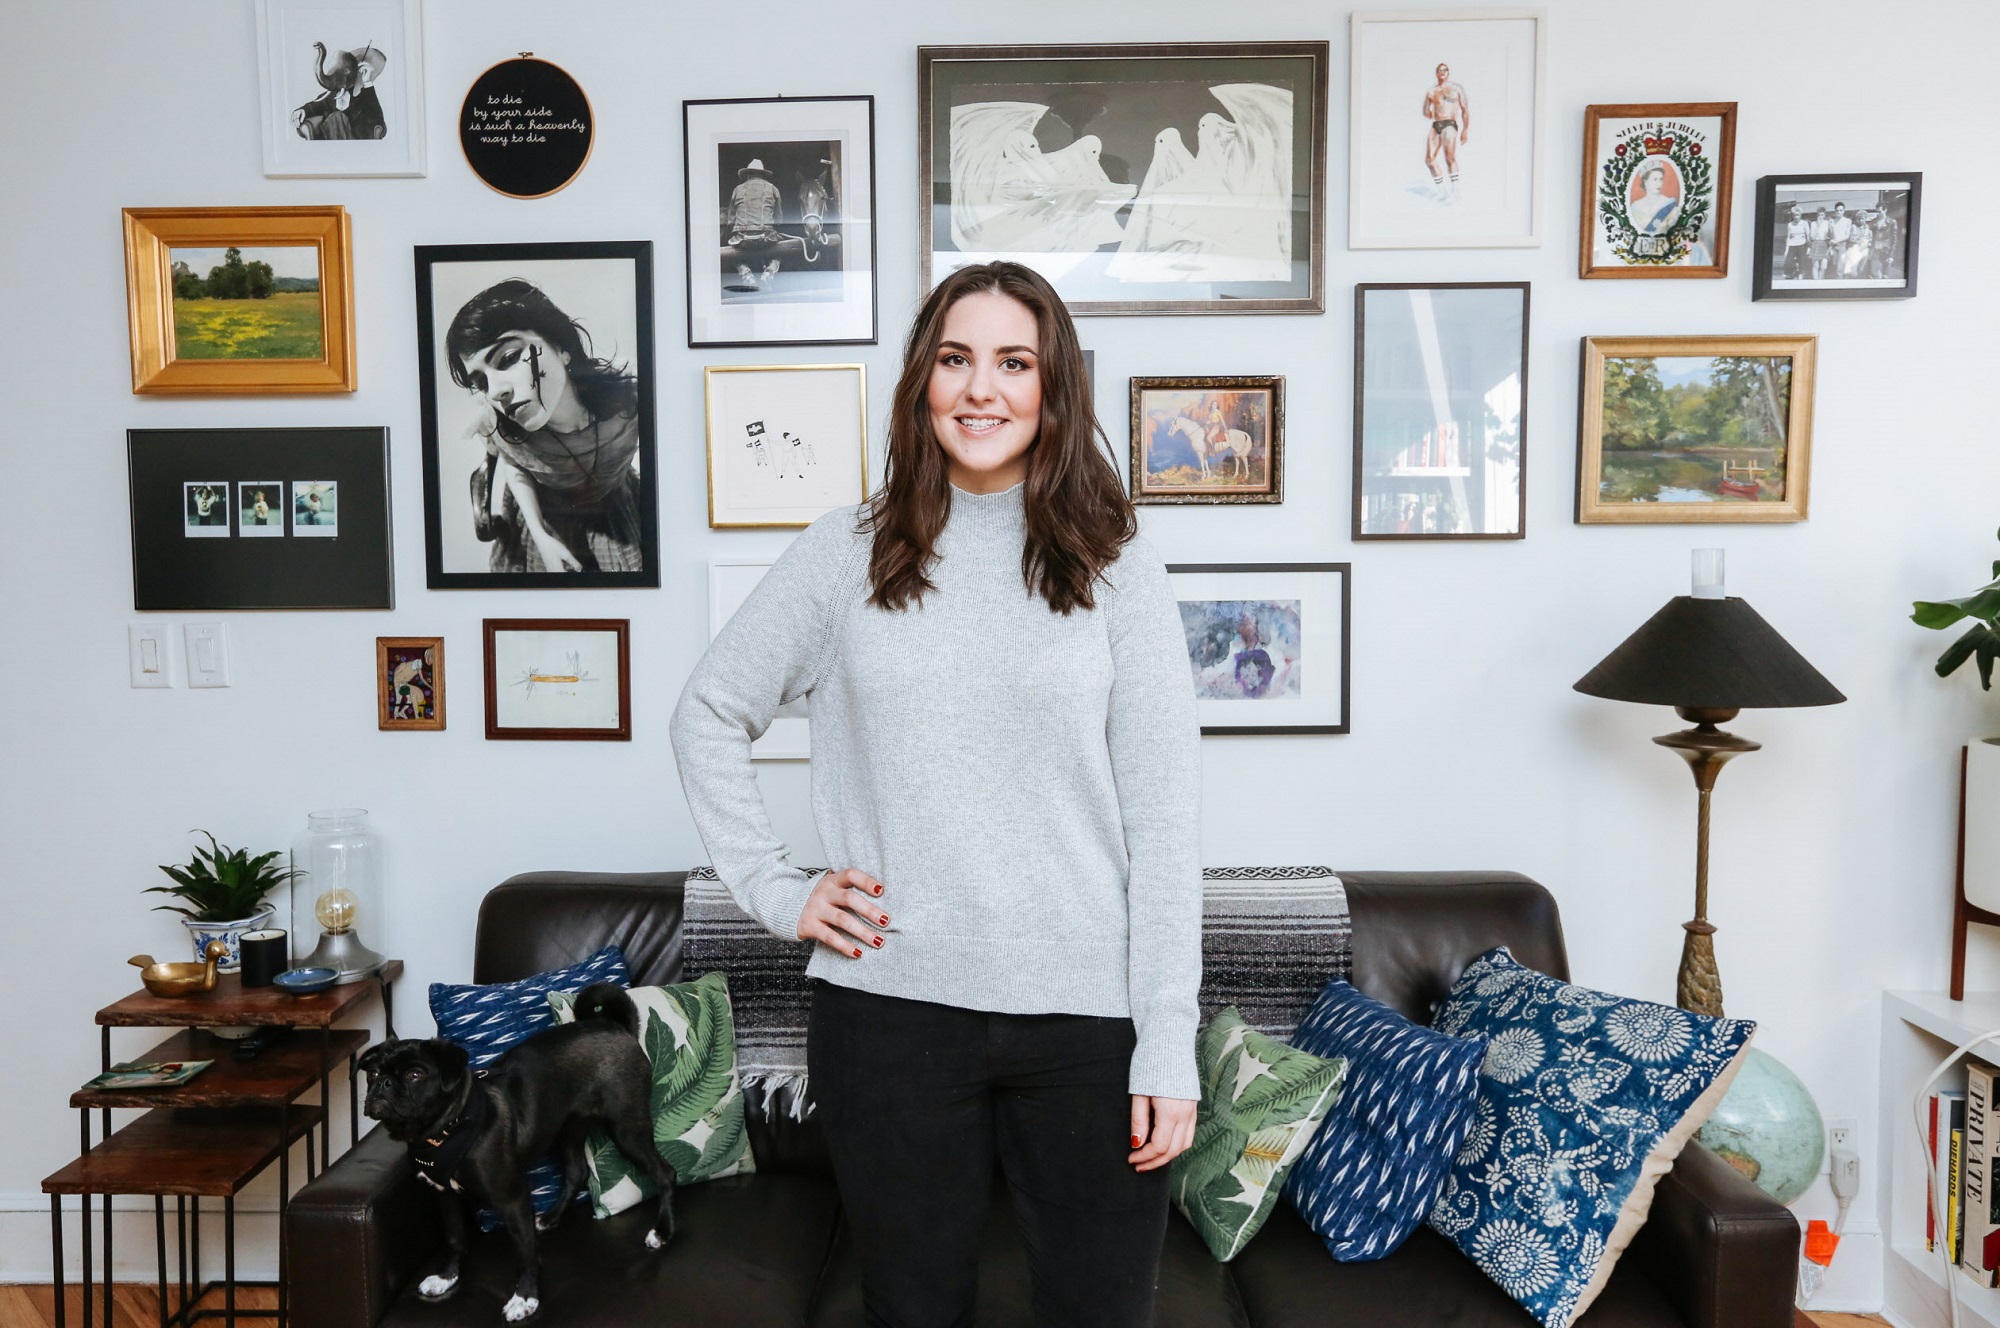
Even newbies can master this popular home-decor trend
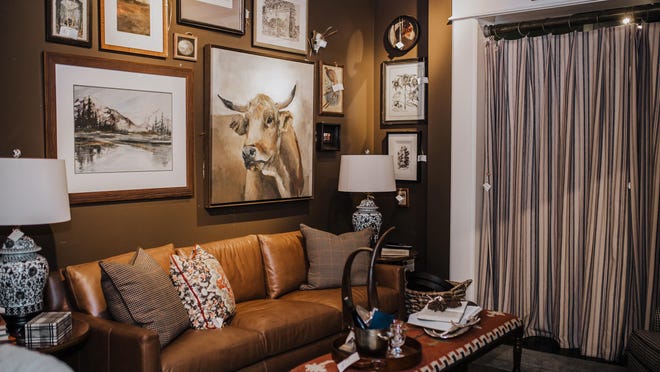
Style at Home: Creating the perfect gallery wall