1/4
How to Tile a Bathroom Floor Yourself
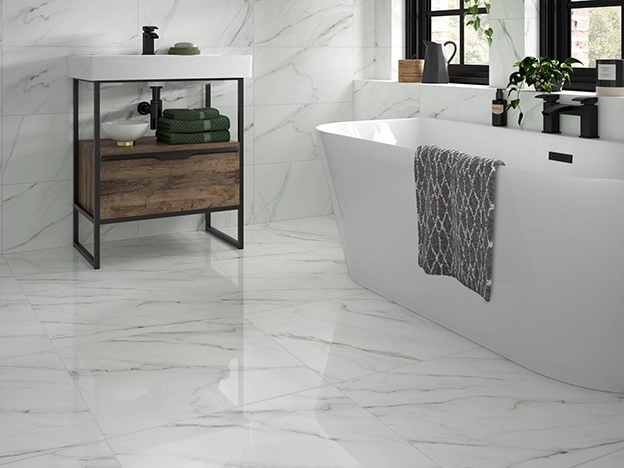
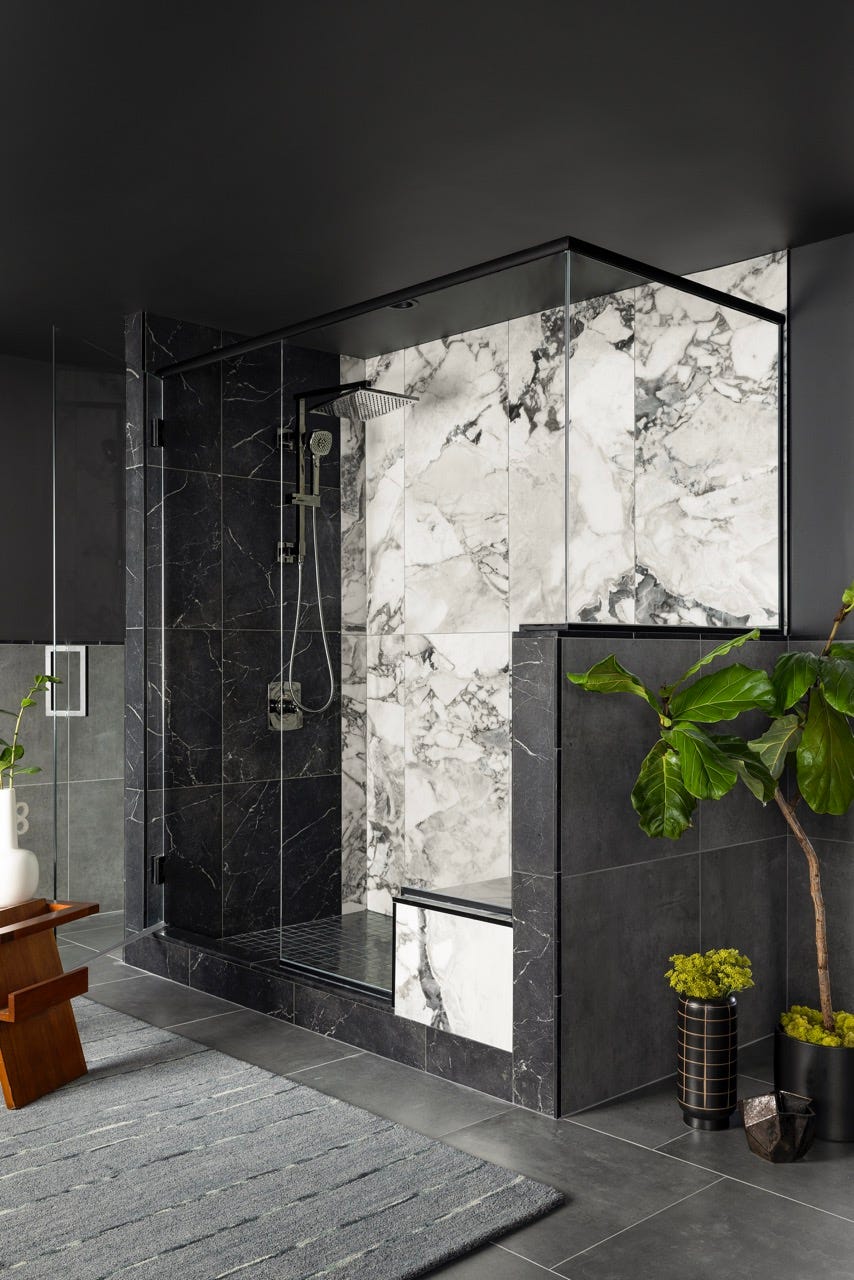
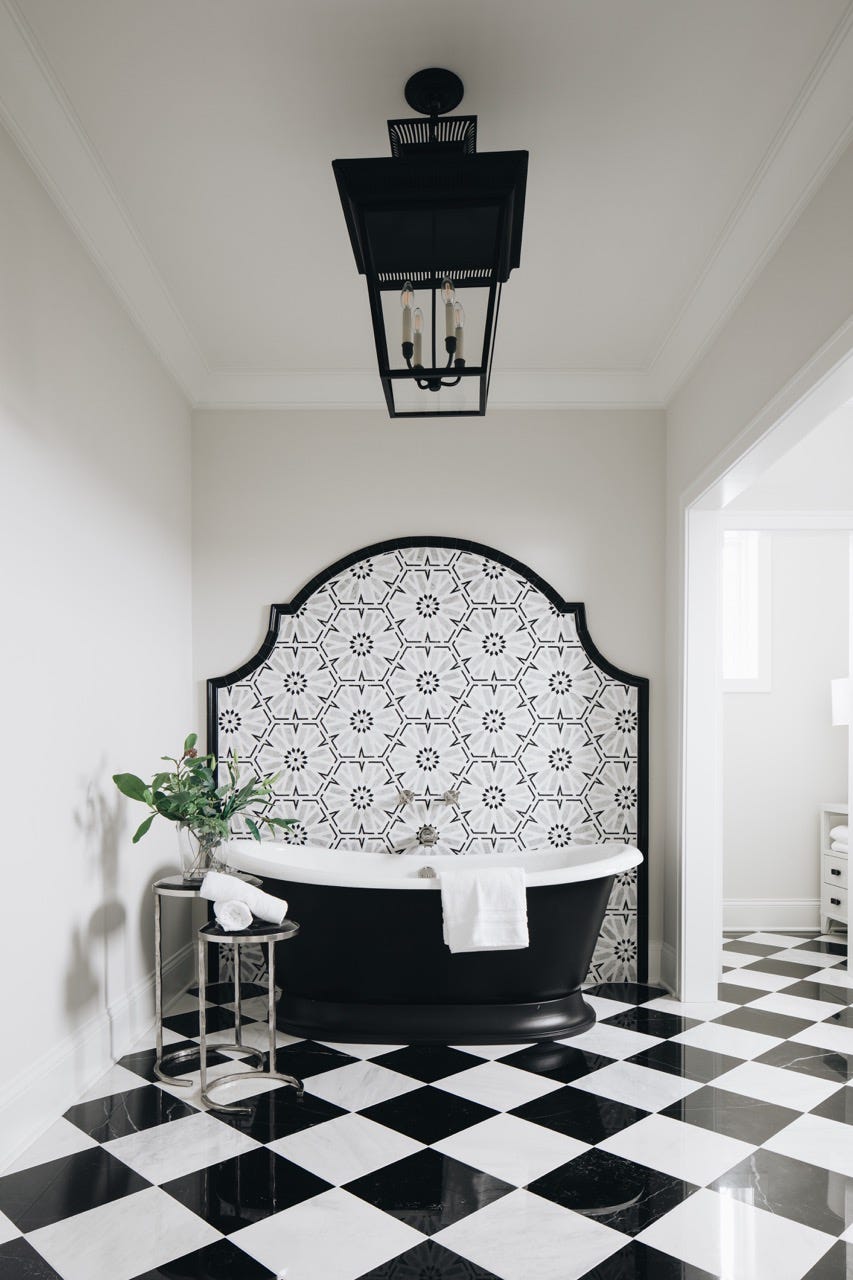
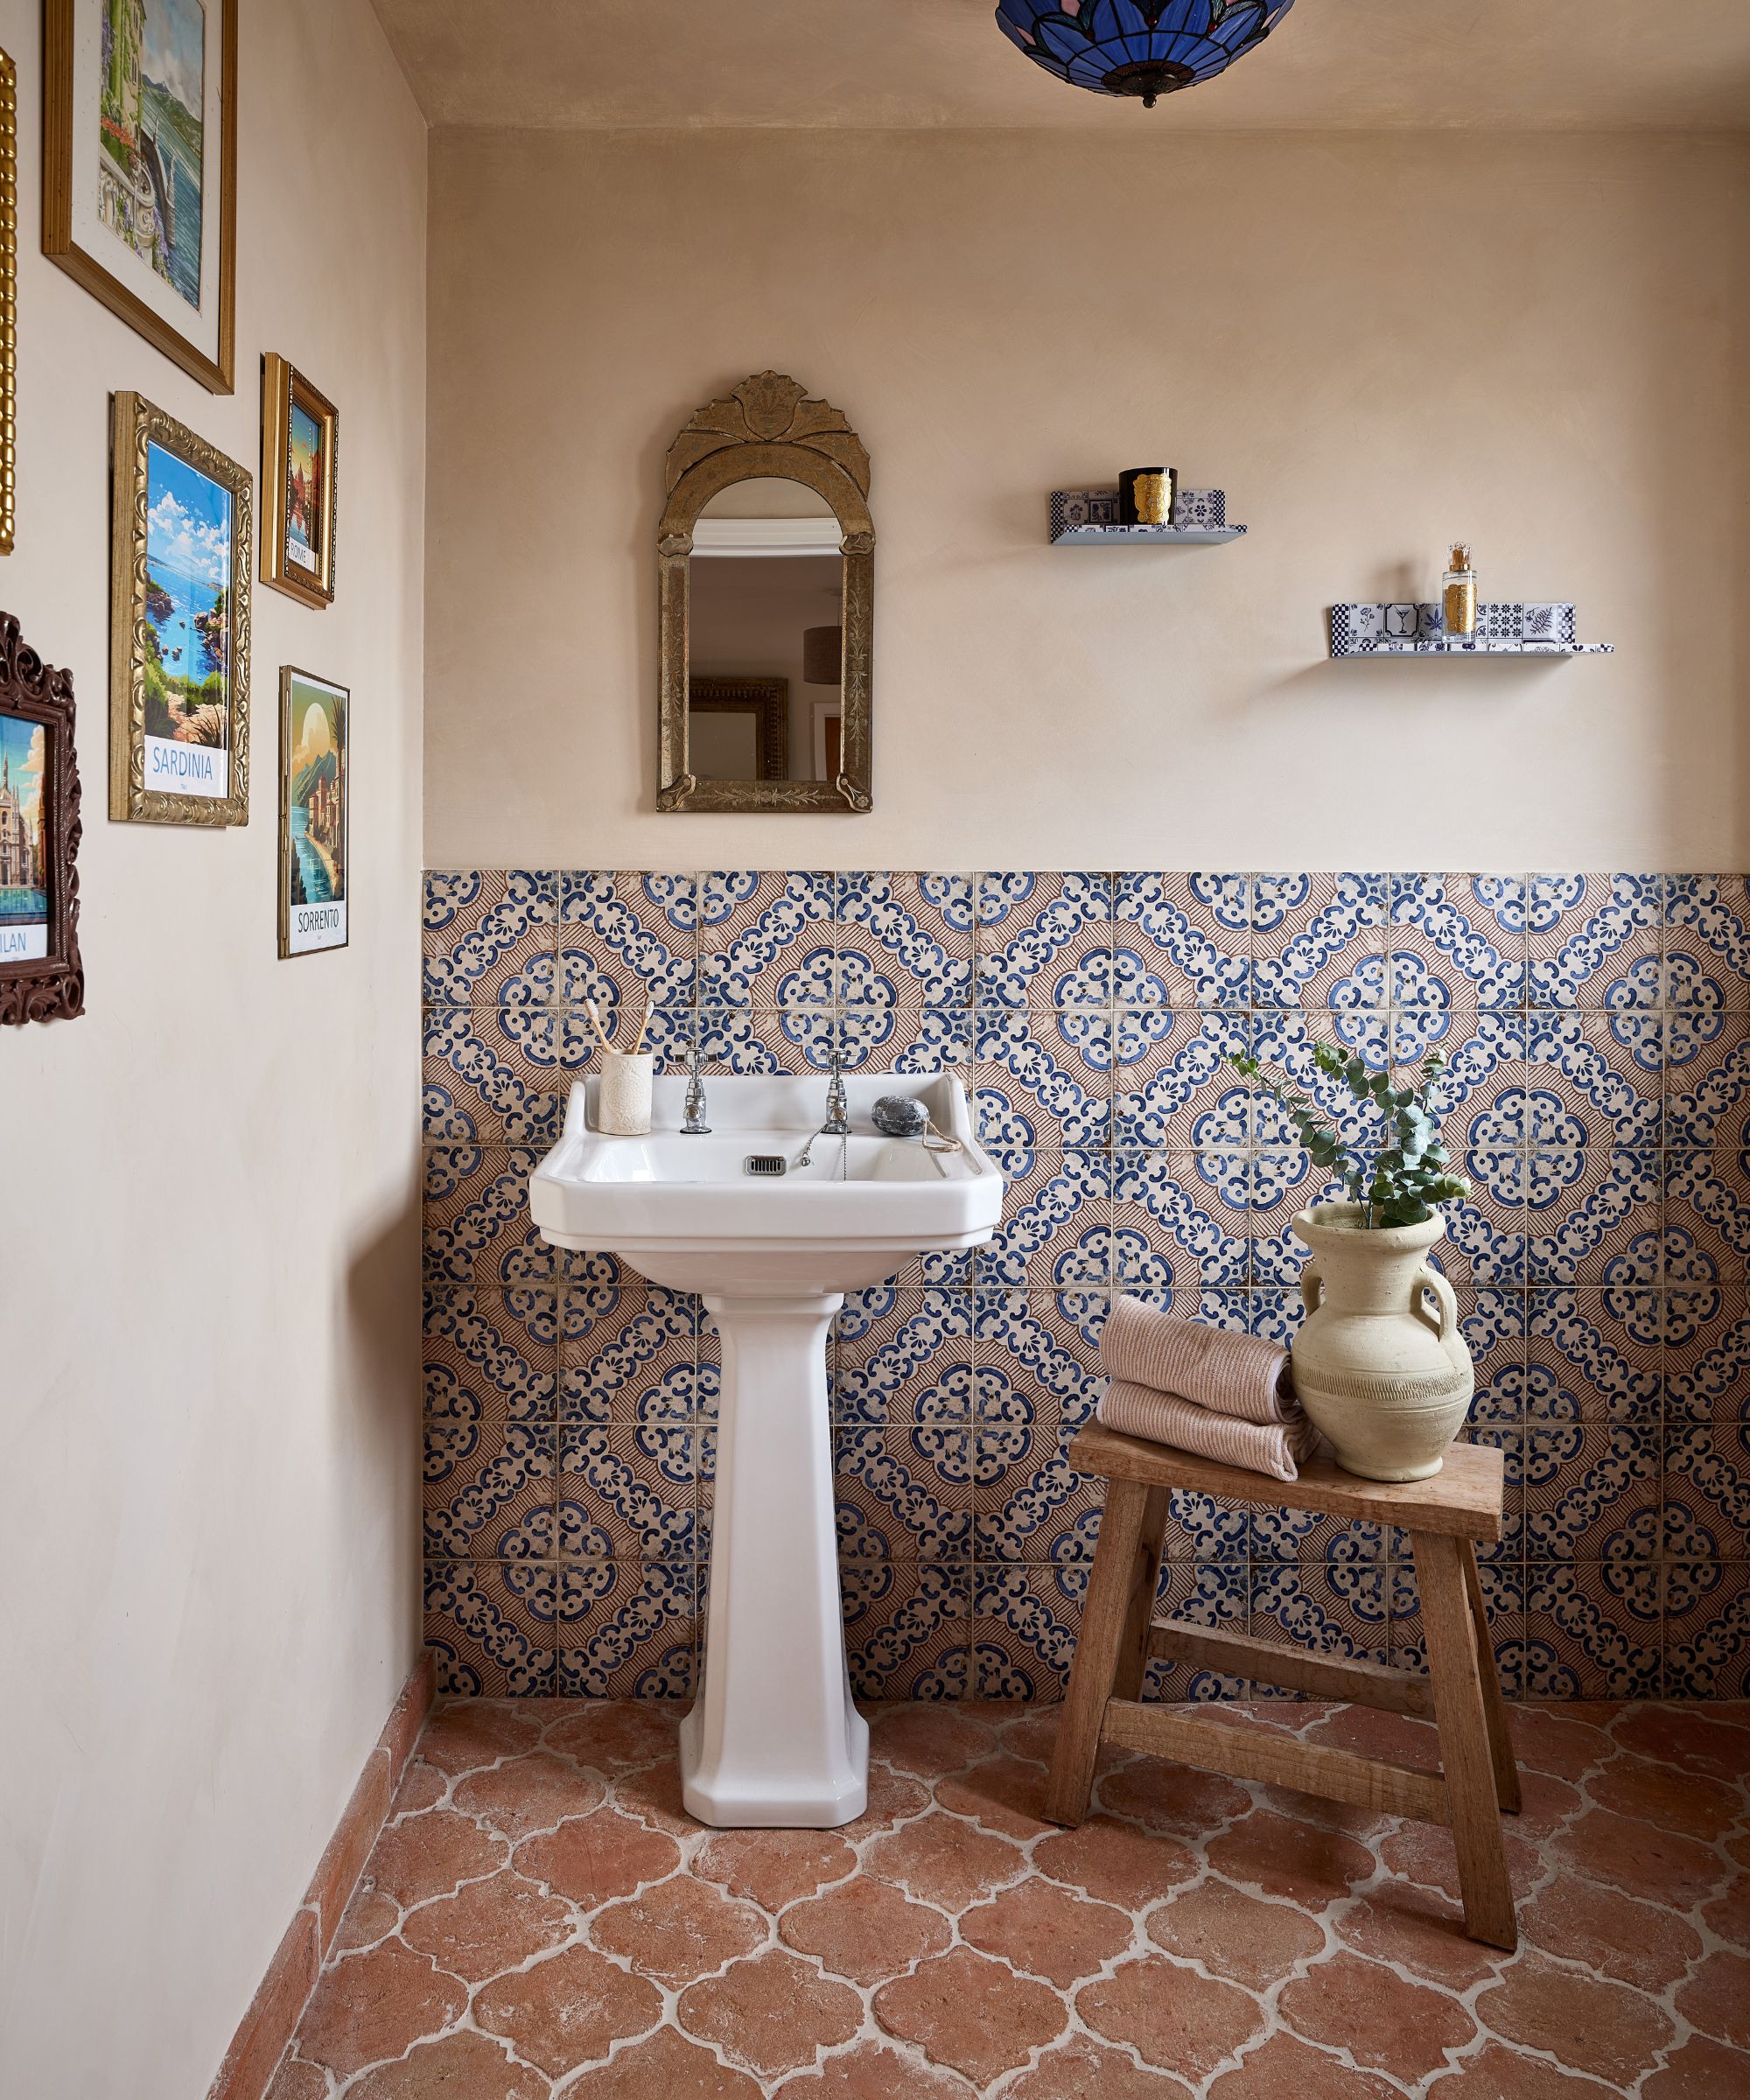
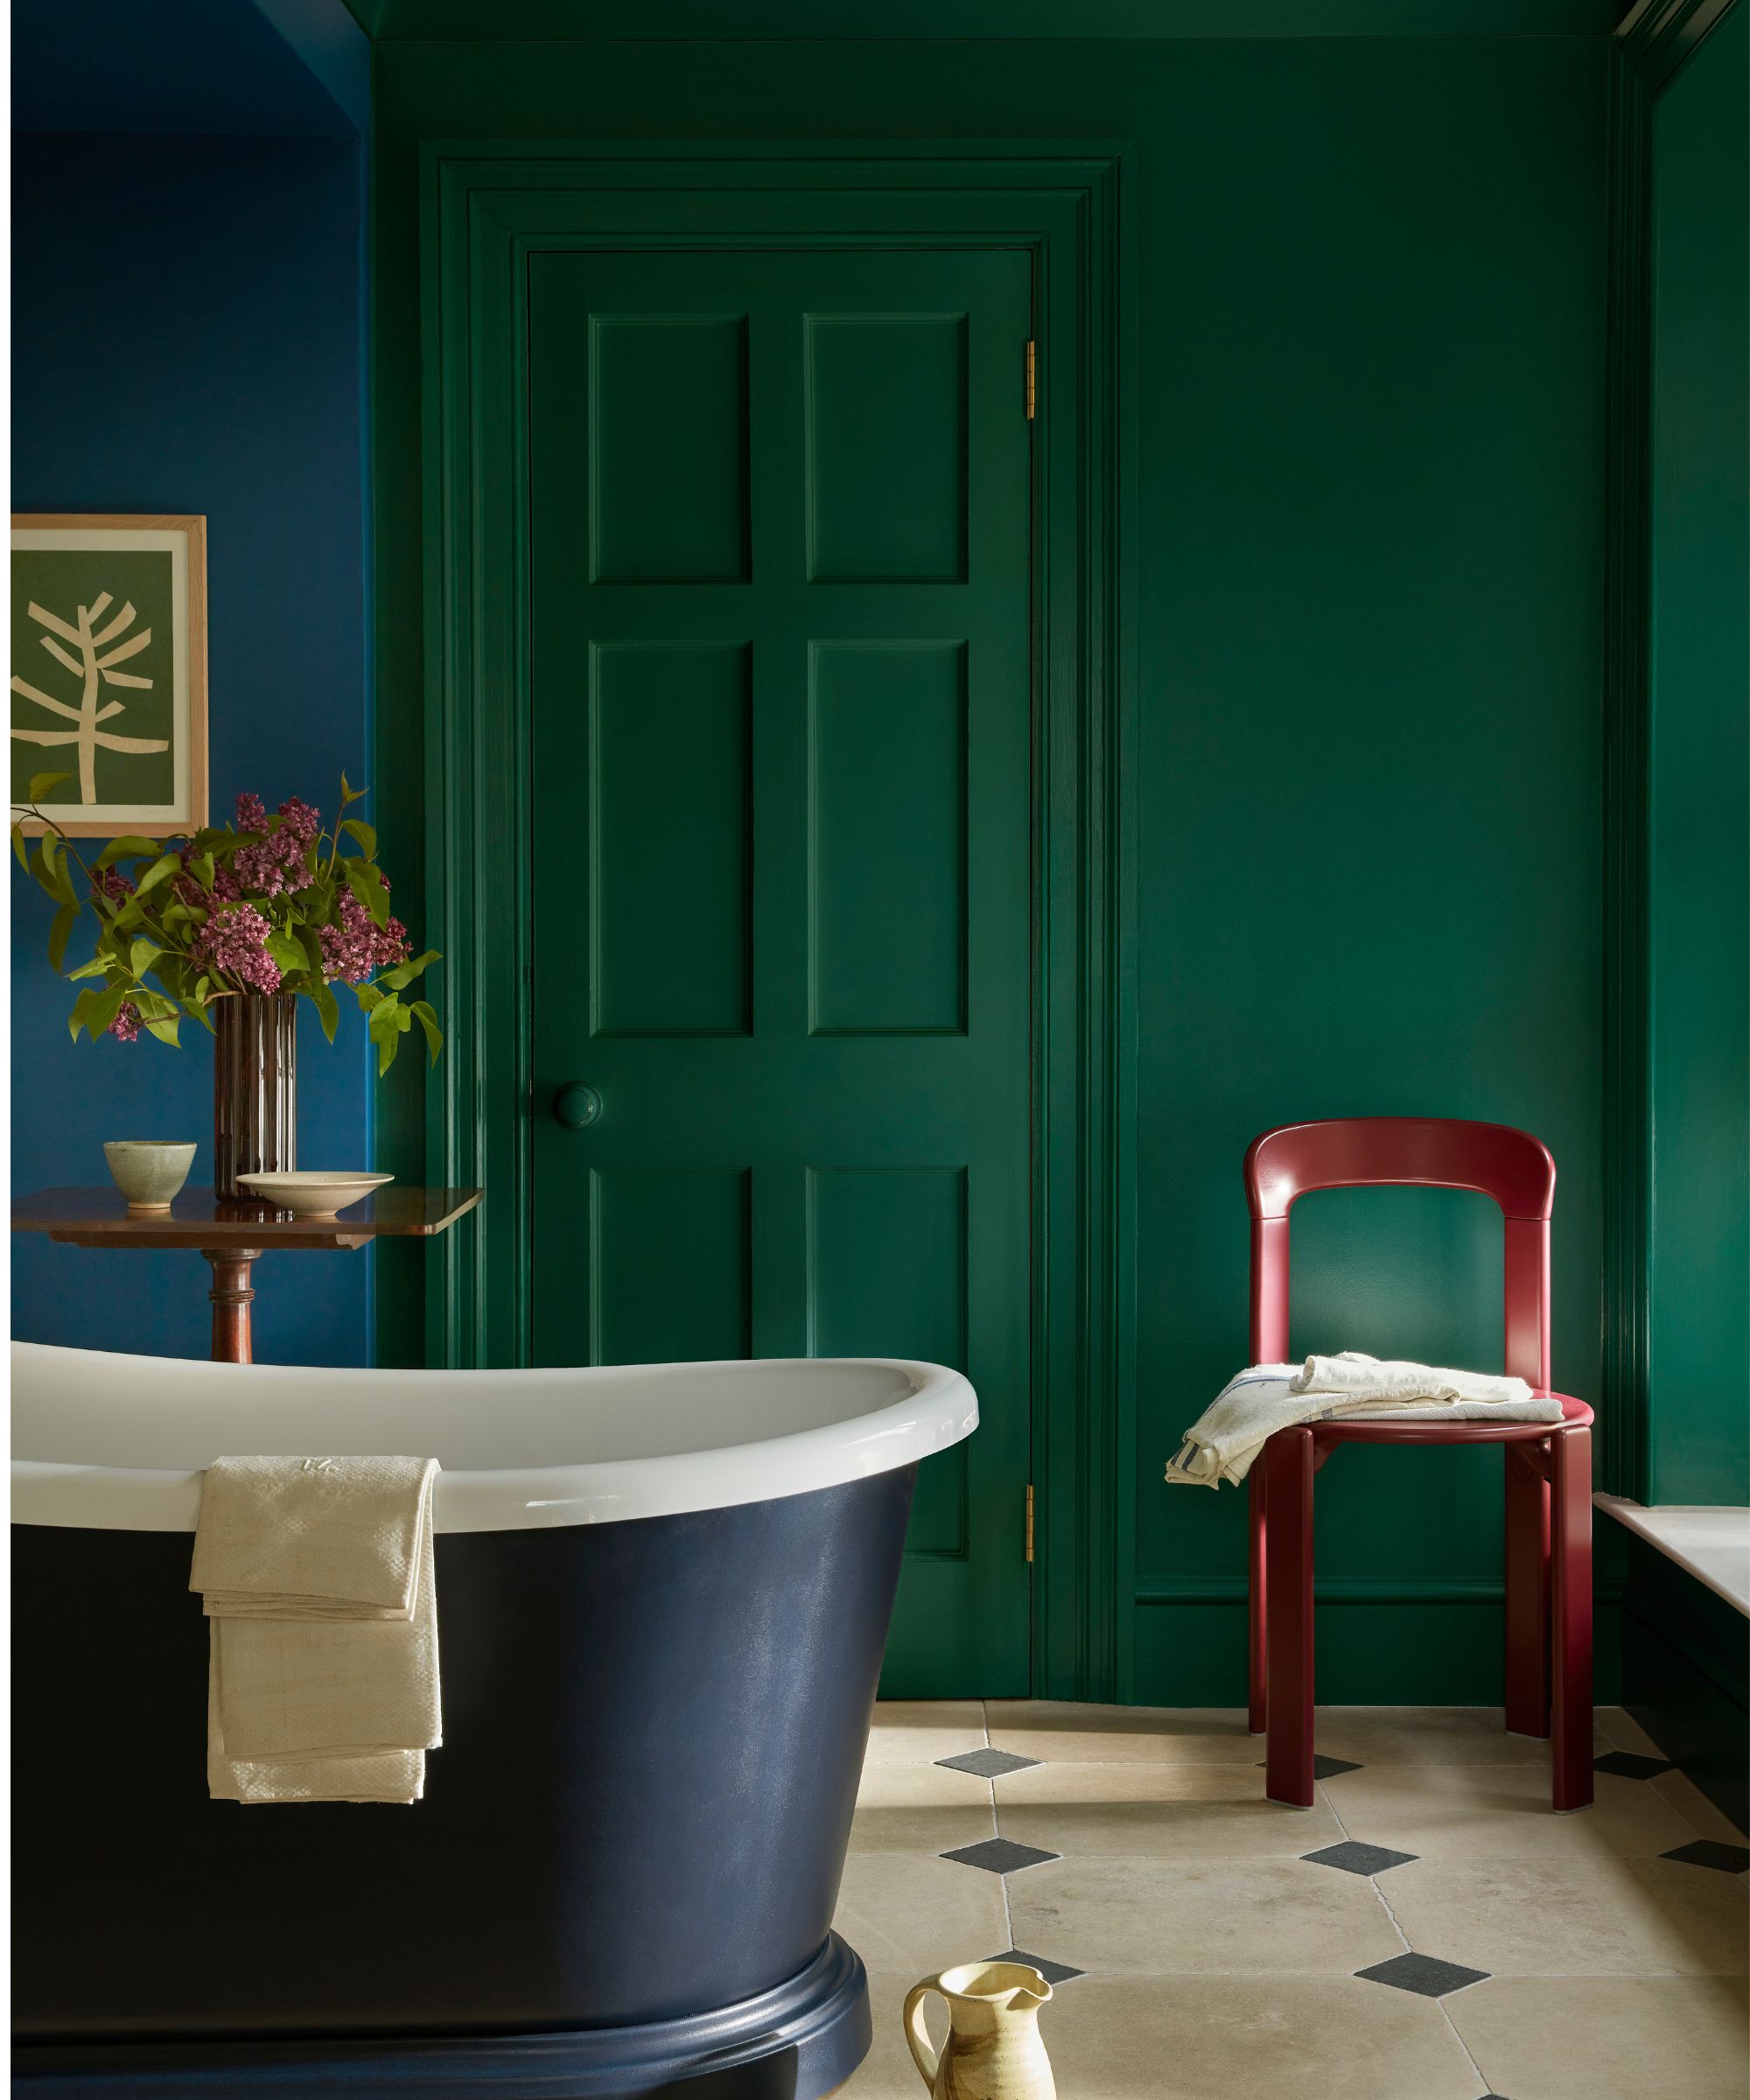
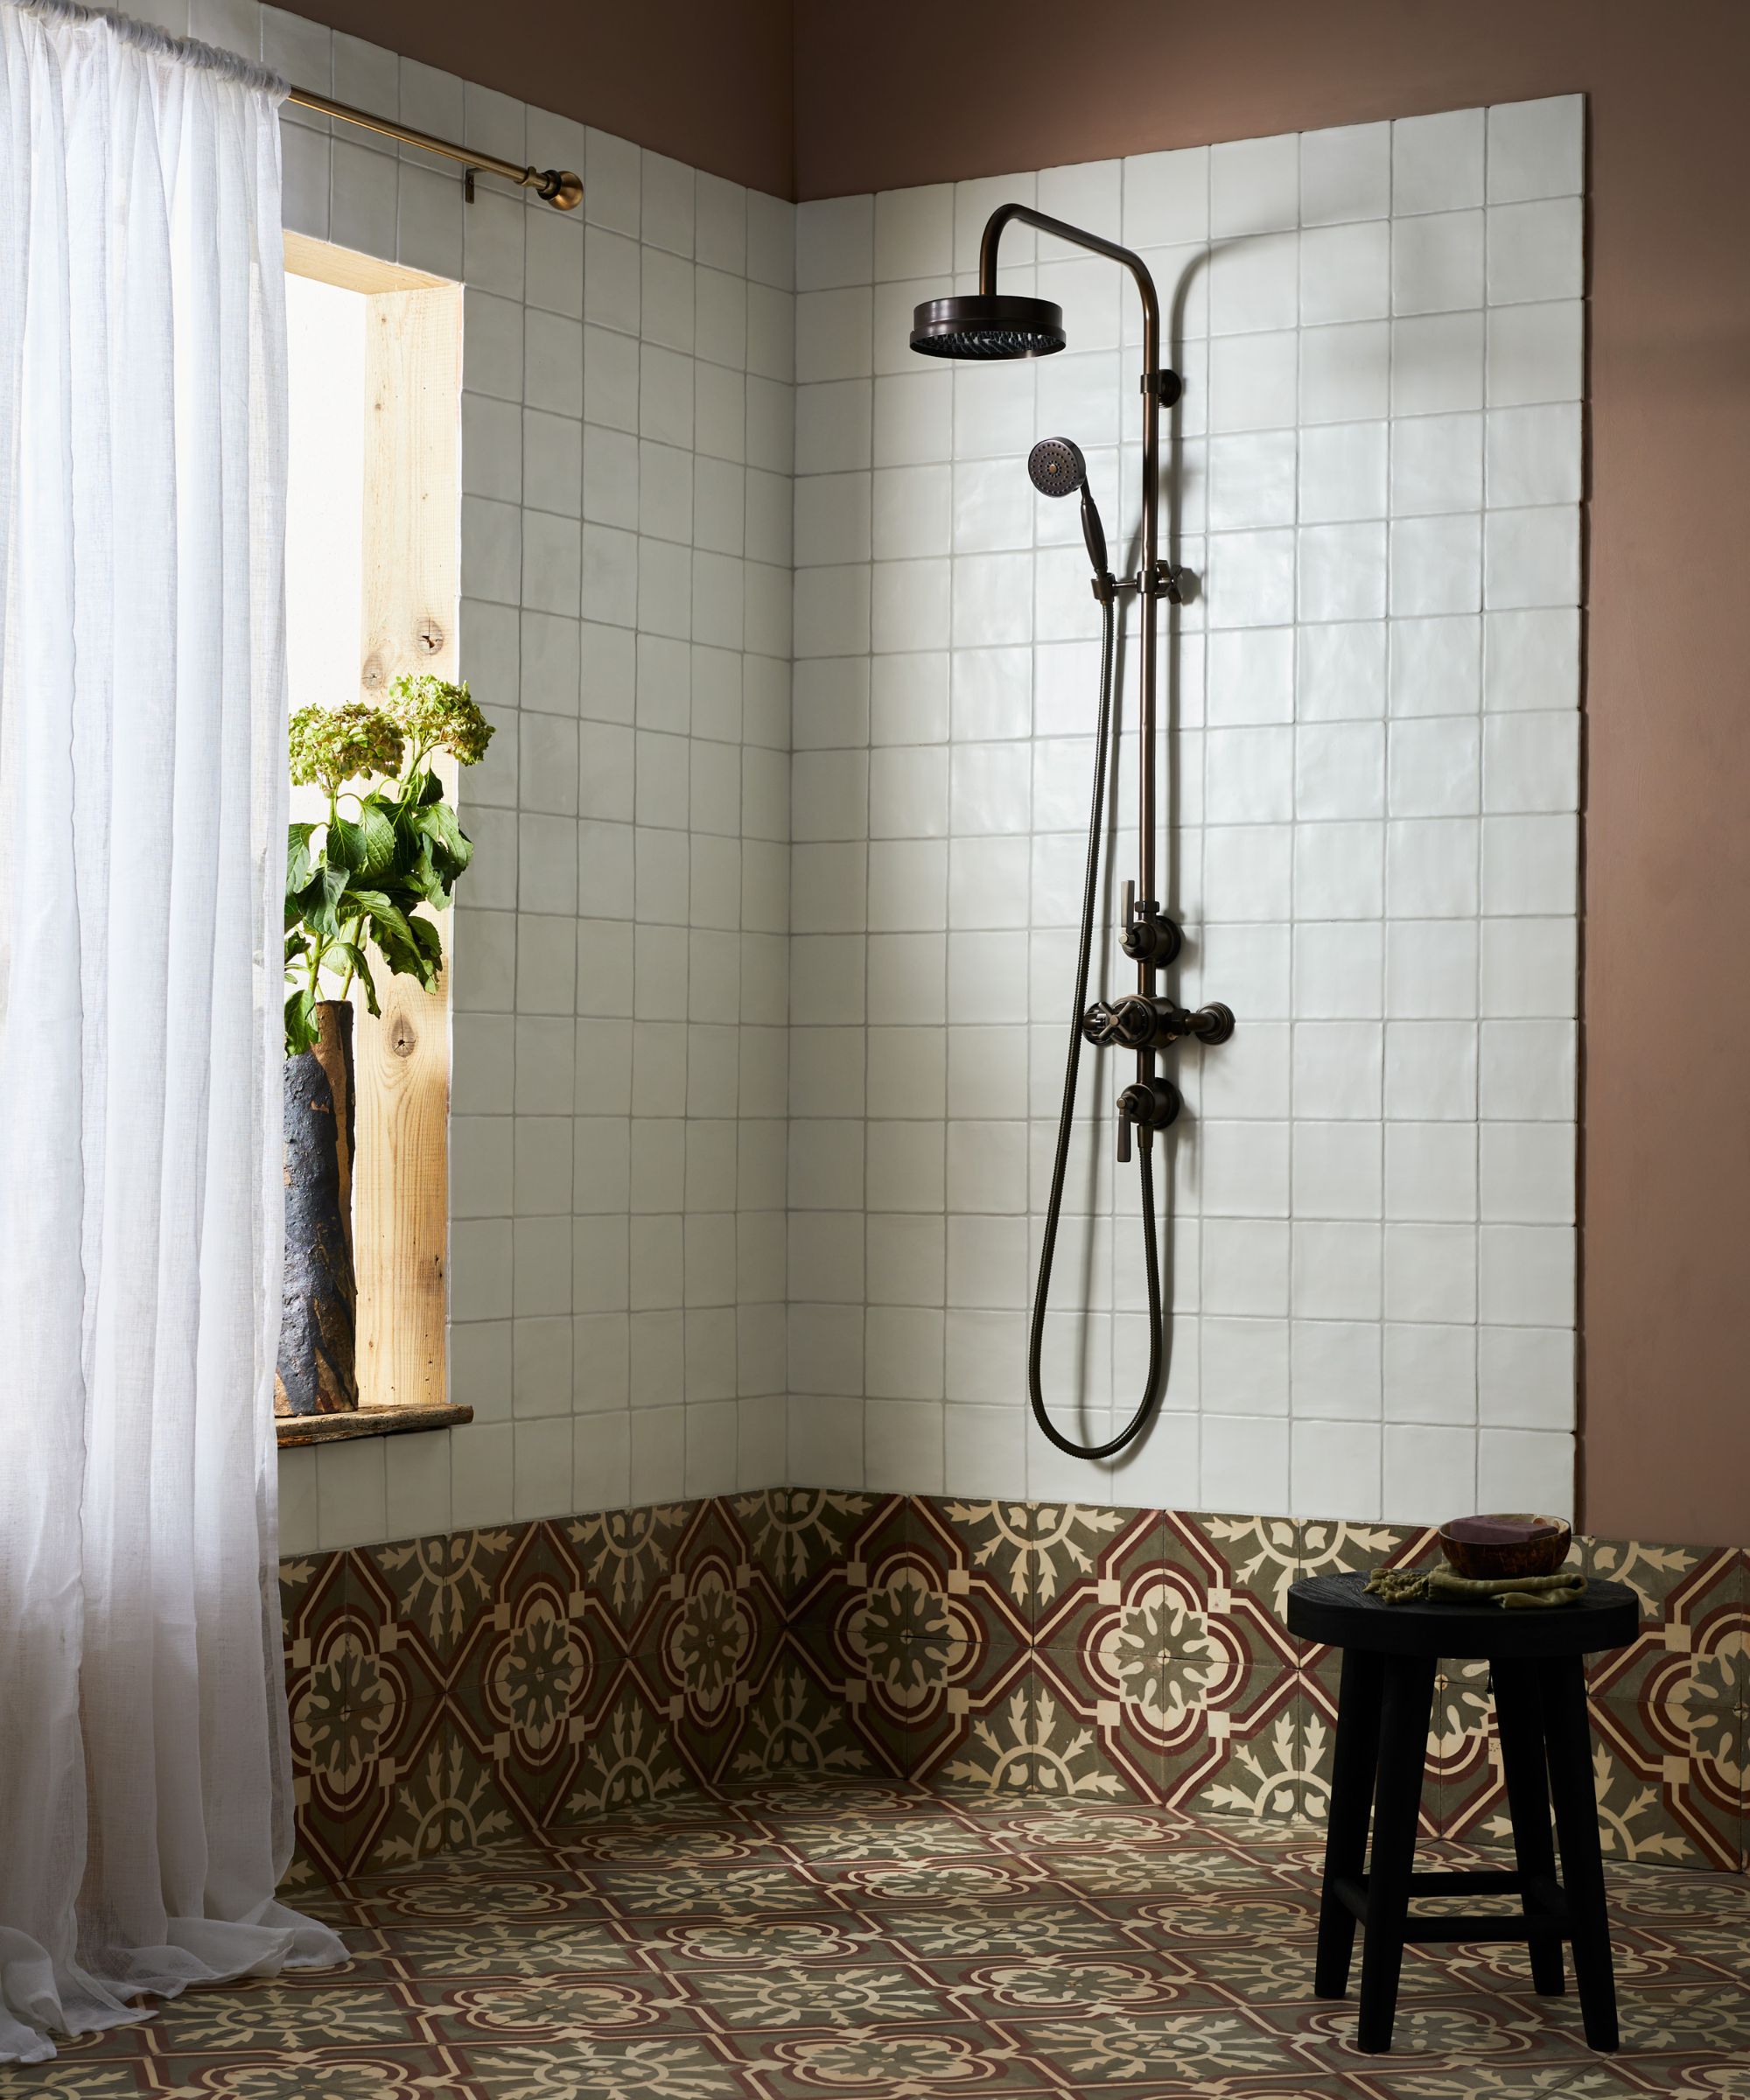
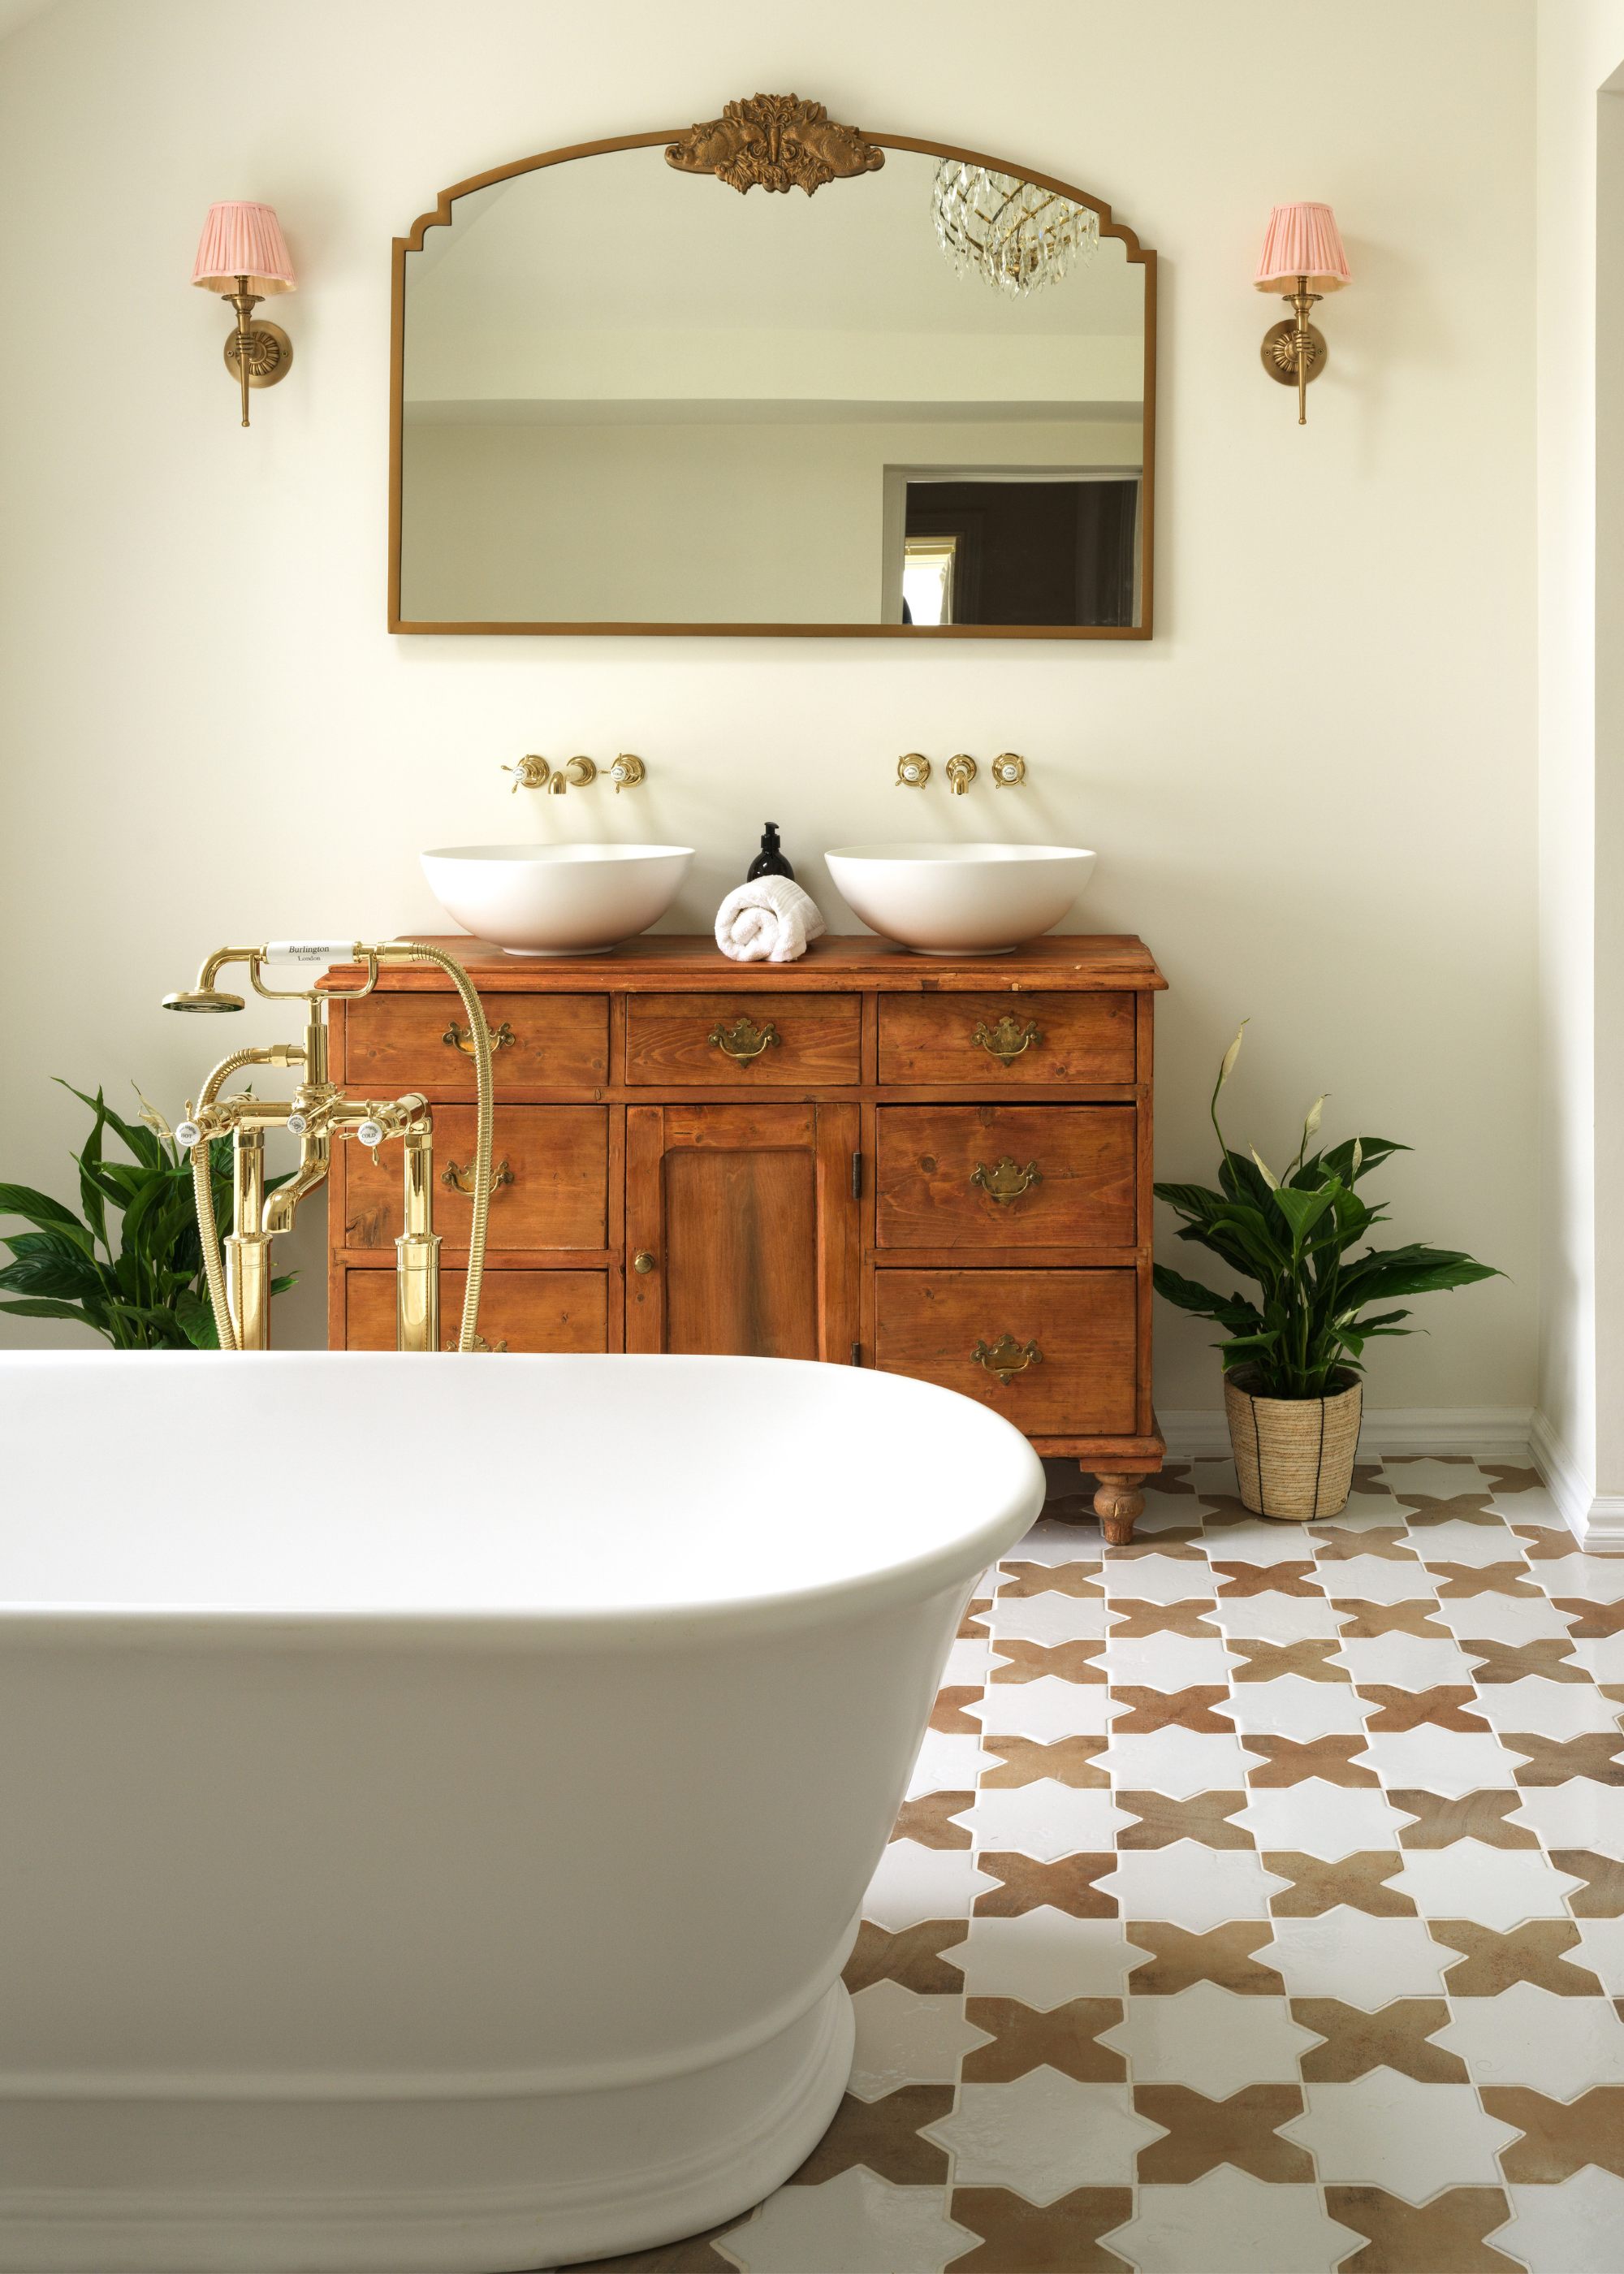
Tiling a bathroom floor can significantly enhance a space, even small ones. This DIY project, while requiring careful planning, is achievable with the right preparation and guidance. Before starting, it is crucial to understand that while a professional can handle the demolition and leveling of the existing surface, one can also attempt it using tutorials such as the one from A Beautiful Mess. Once the backerboard is in place, the creative phase of designing the tile layout begins.
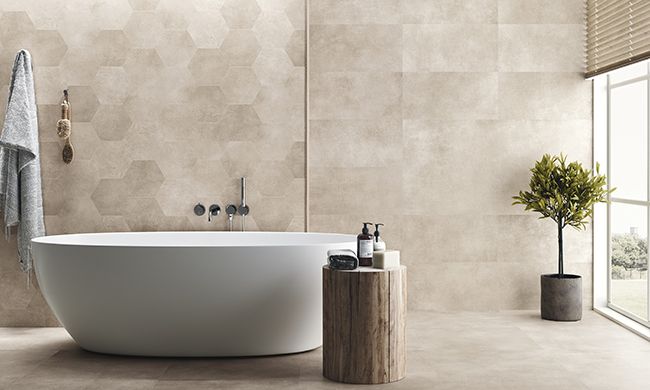
Experts at Block Renovation, like designer Stephanie Lee, emphasize the importance of over-planning. Sketching the design is recommended to anticipate any complex conditions and make adjustments before installation. Ordering extra tiles is a practical tip, as it accounts for breakage and necessary cuts for angled walls. Opting for larger, basic shapes like squares and rectangles simplifies the installation process compared to more intricate designs such as hexagons. The actual tile laying can take several days to a week, depending on the pattern's complexity and the room's size. It is advised to take time and potentially seek help from a friend.
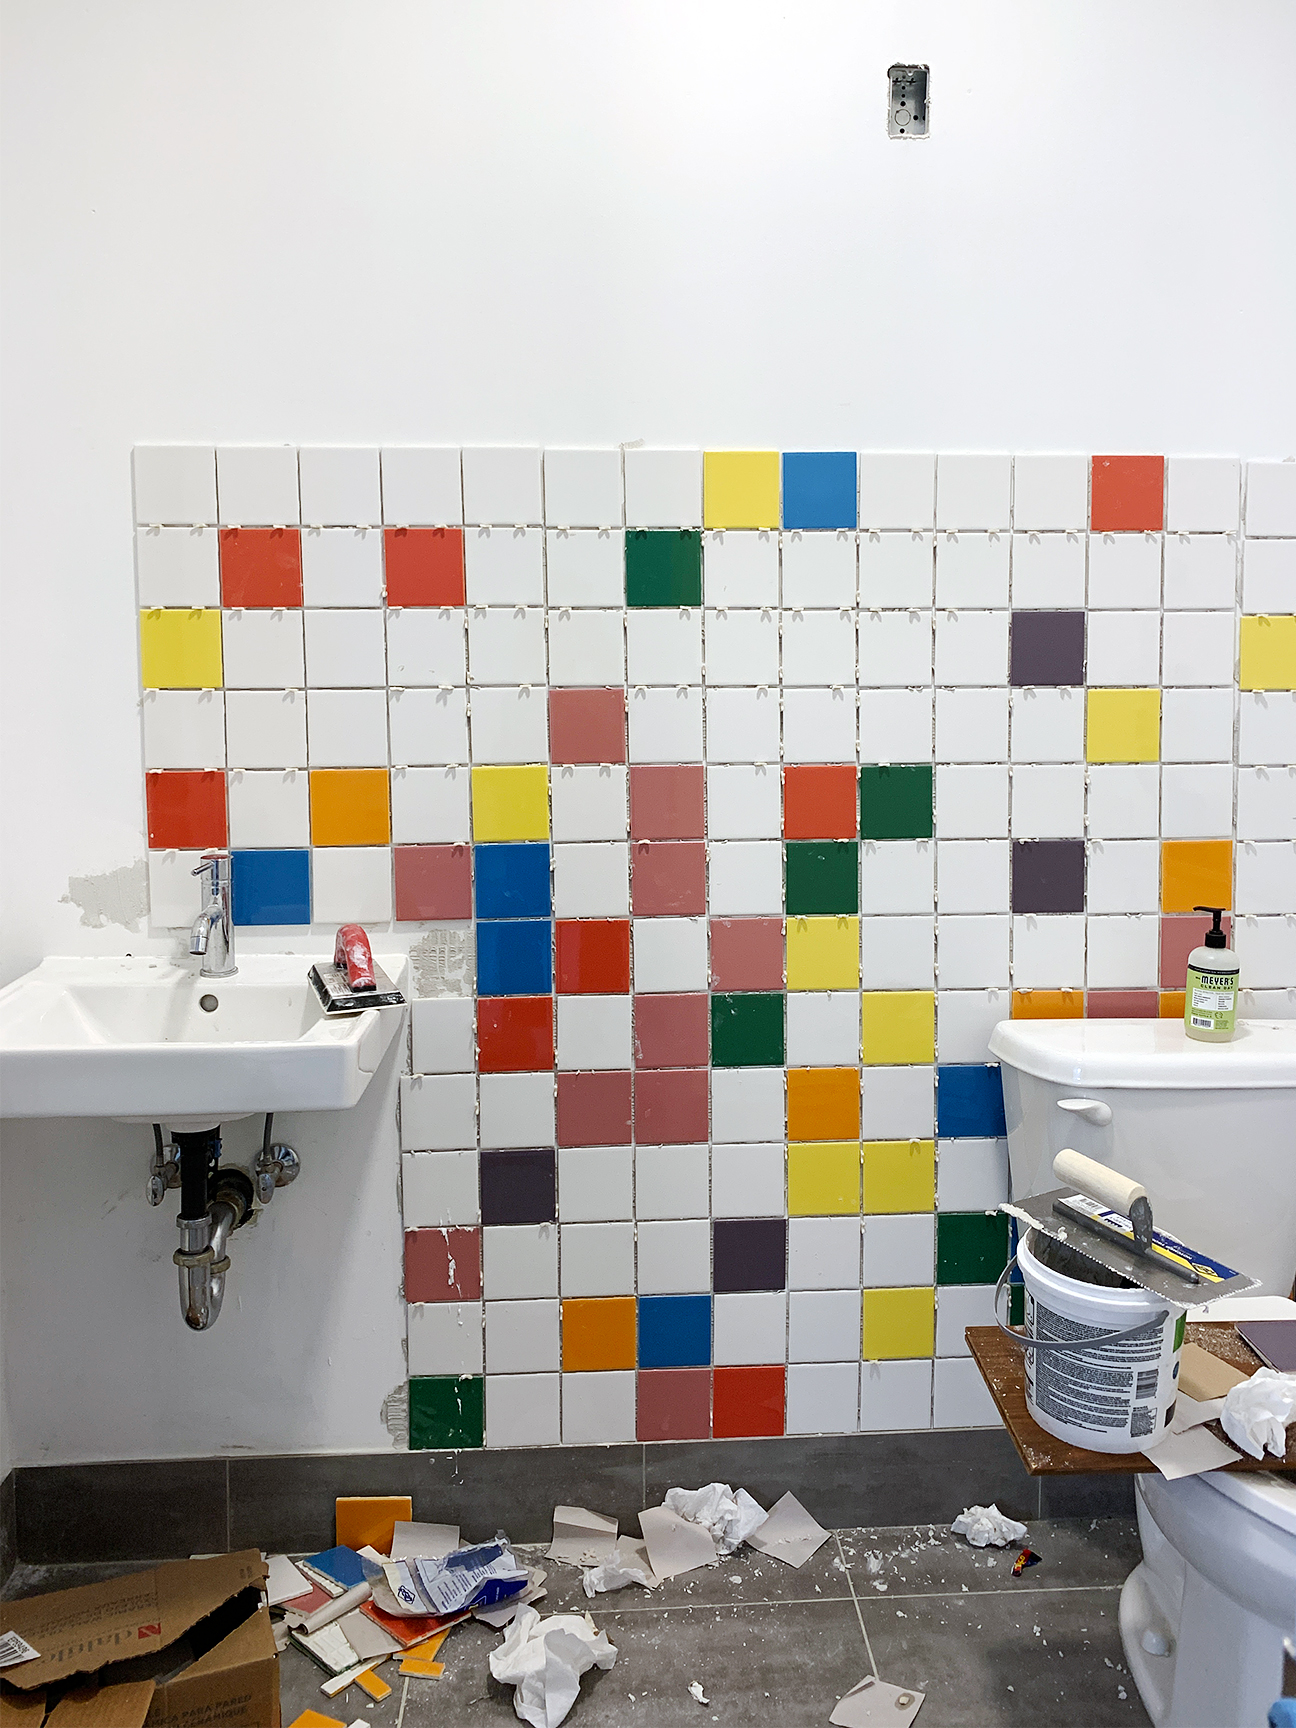
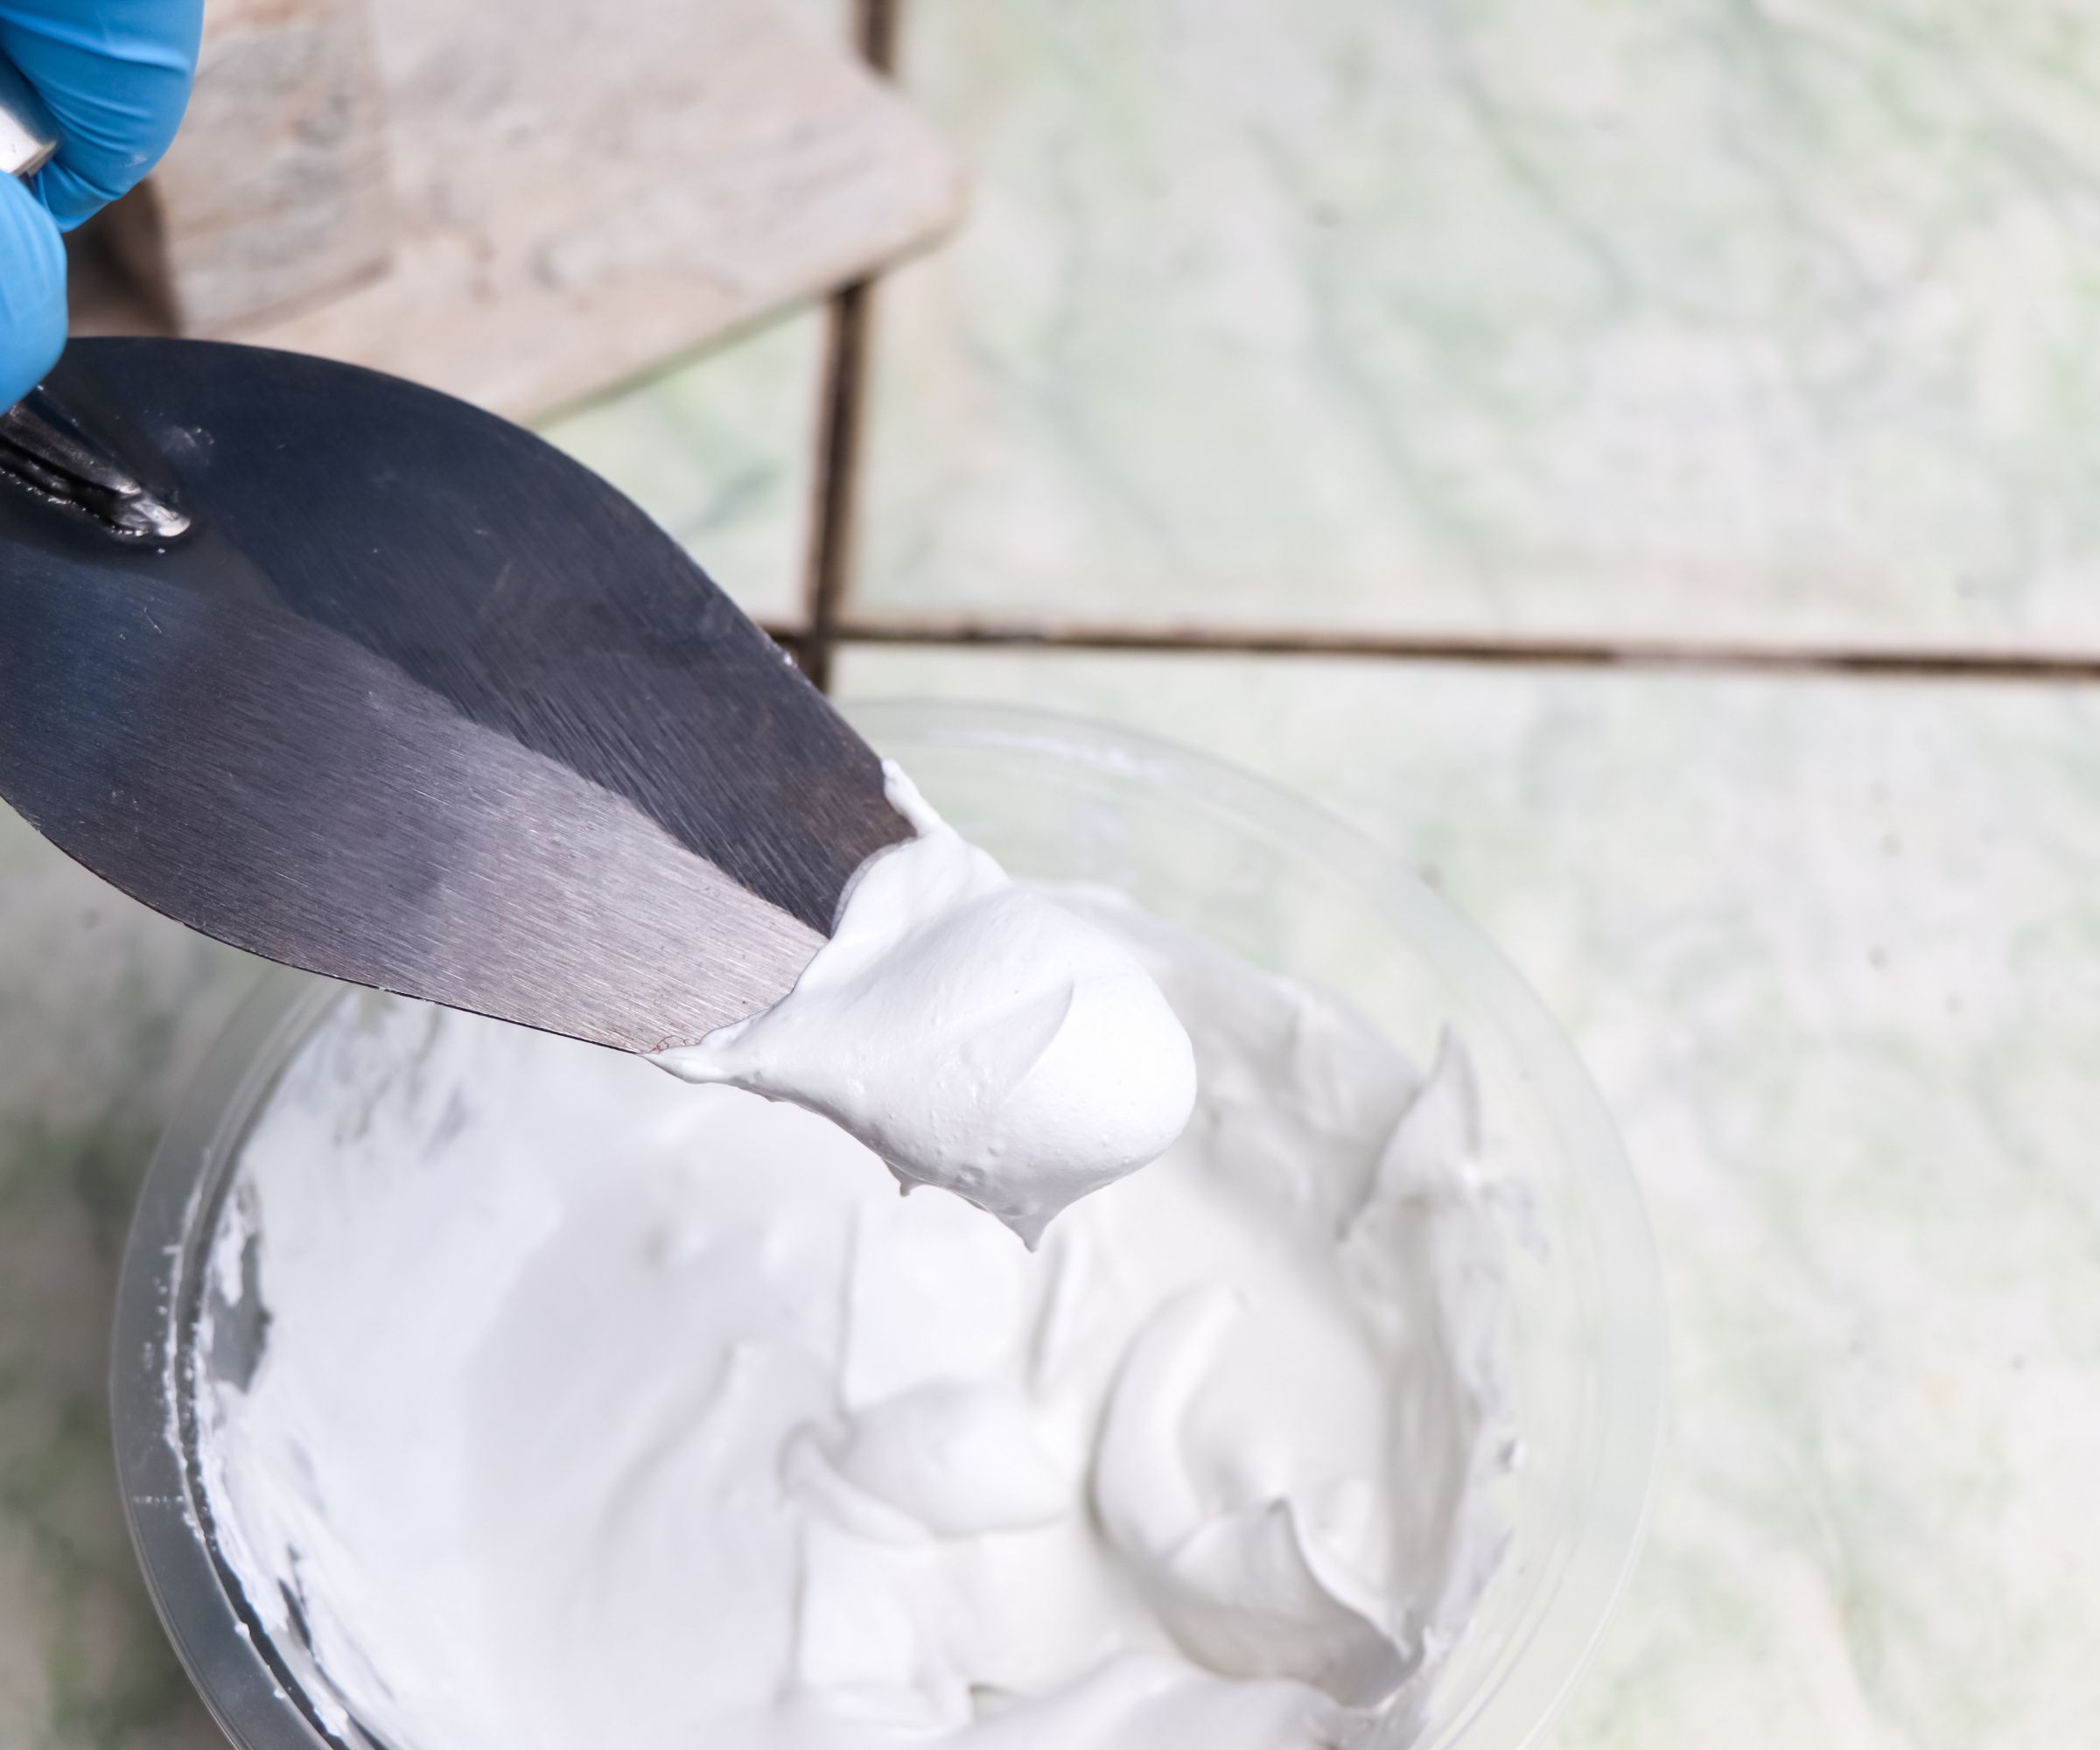
Eric Heinowitz, a construction supervisor at Block, outlines the necessary supplies, which include thinset mortar, the chosen tiles, spacers, grout, a notched trowel, a tile saw (optional), a rubber grout float, stone sealer, and a sponge. The first step involves mapping out the pattern before applying any adhesive. This allows for addressing potential issues beforehand. It is common to start tiling from the center of the room and work outwards, but for oddly sized corners or tiles, beginning at the edges can be more effective. If custom cuts are needed, measure and mark the tiles, then use a tile saw for trimming.
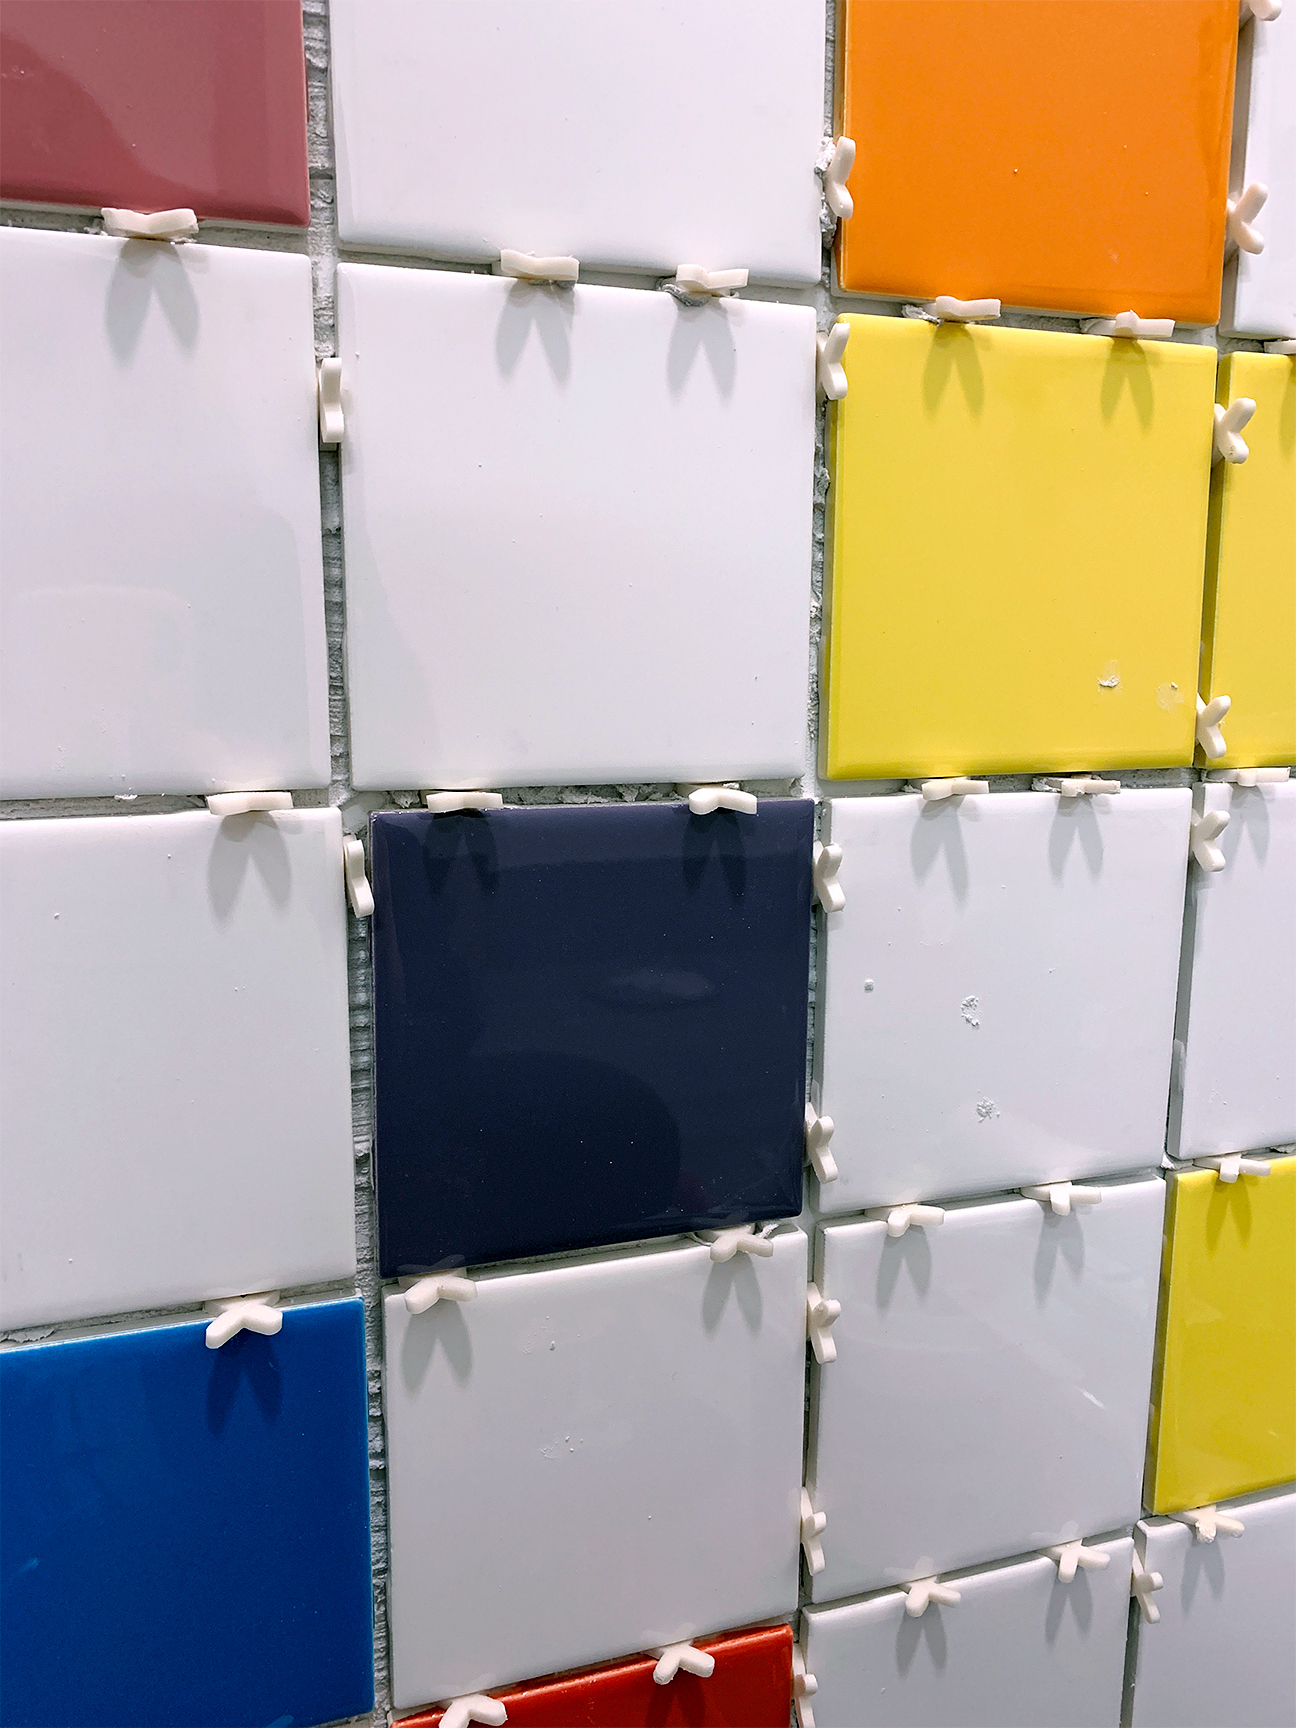
For installation, an even coat of thinset is applied directly onto the backerboard for smaller tiles. For natural stone or large format tiles (over 12 inches), an additional step of "back buttering" is required, where mortar is applied to the back of each tile. Tiles are then firmly pushed into place. Spacers or leveling clips are inserted to maintain even gaps between tiles, which are removed after about 24 hours.
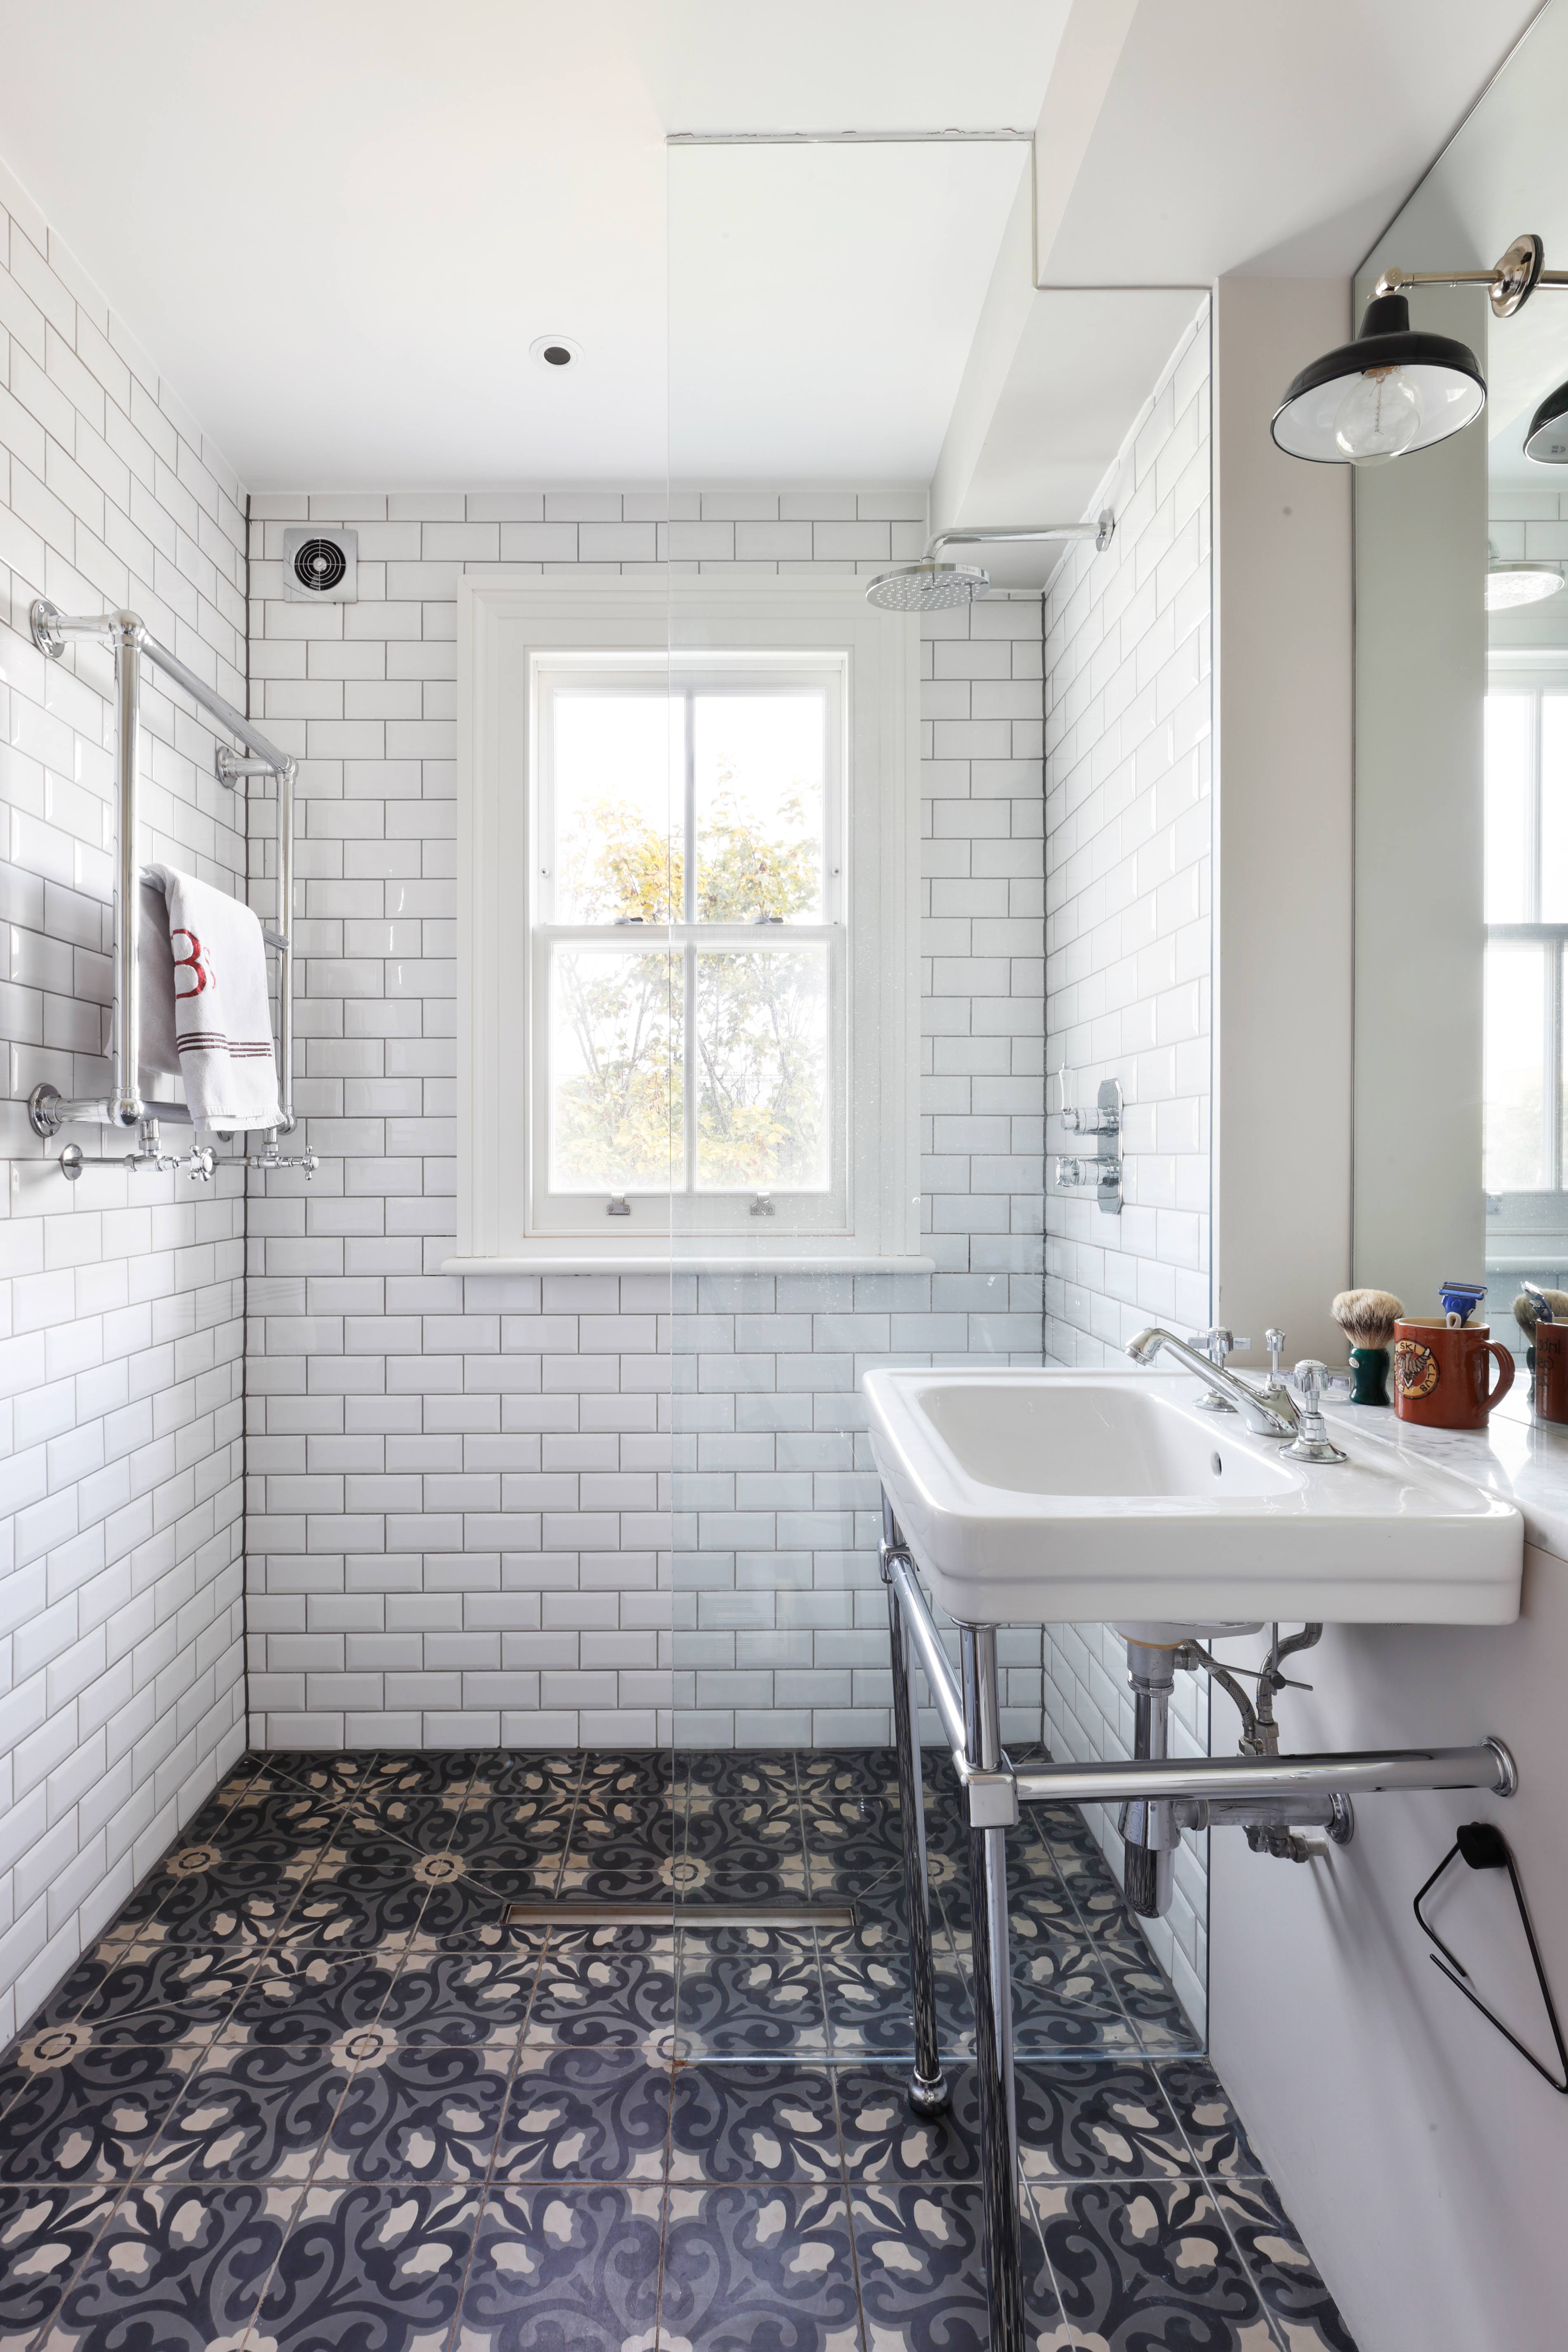
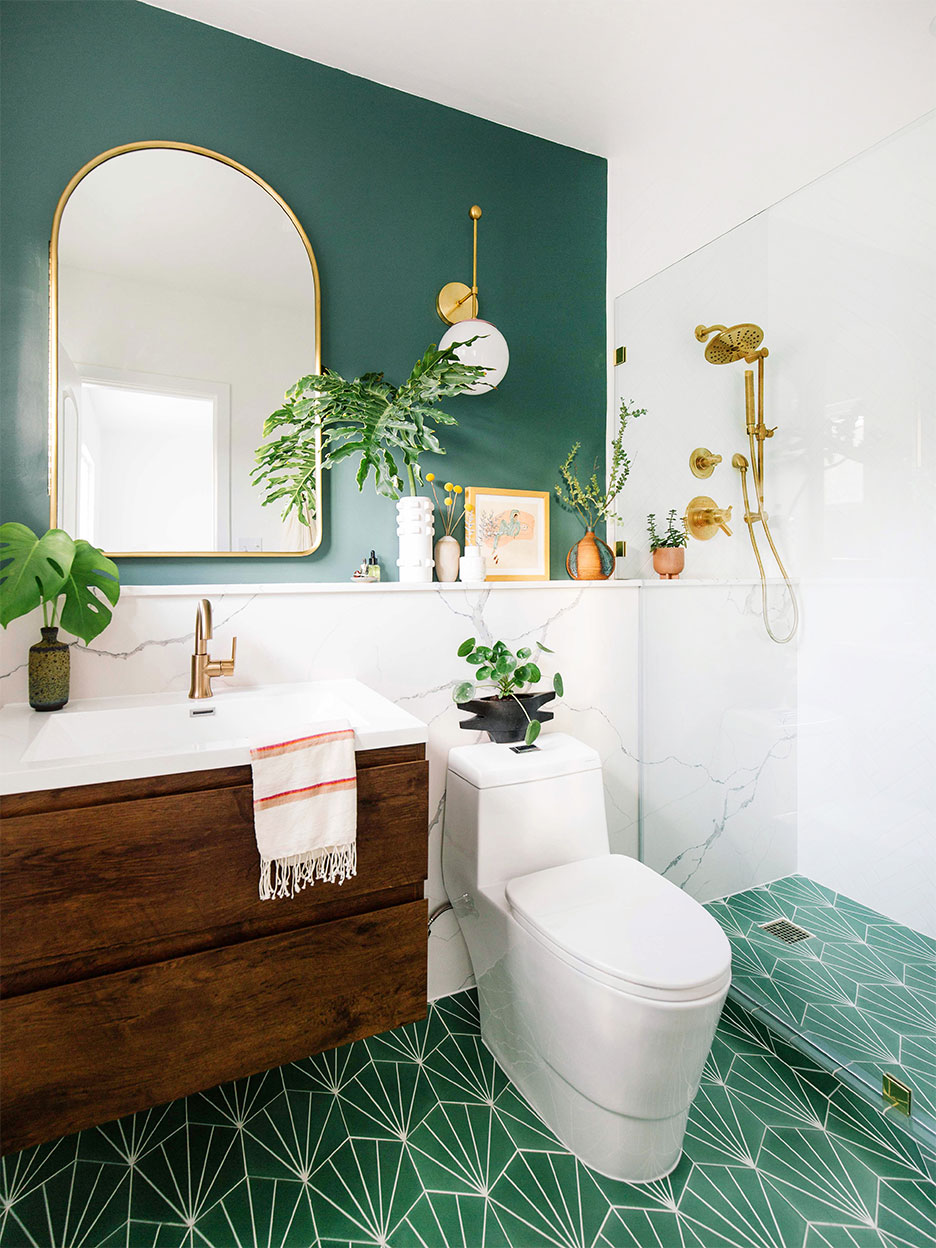
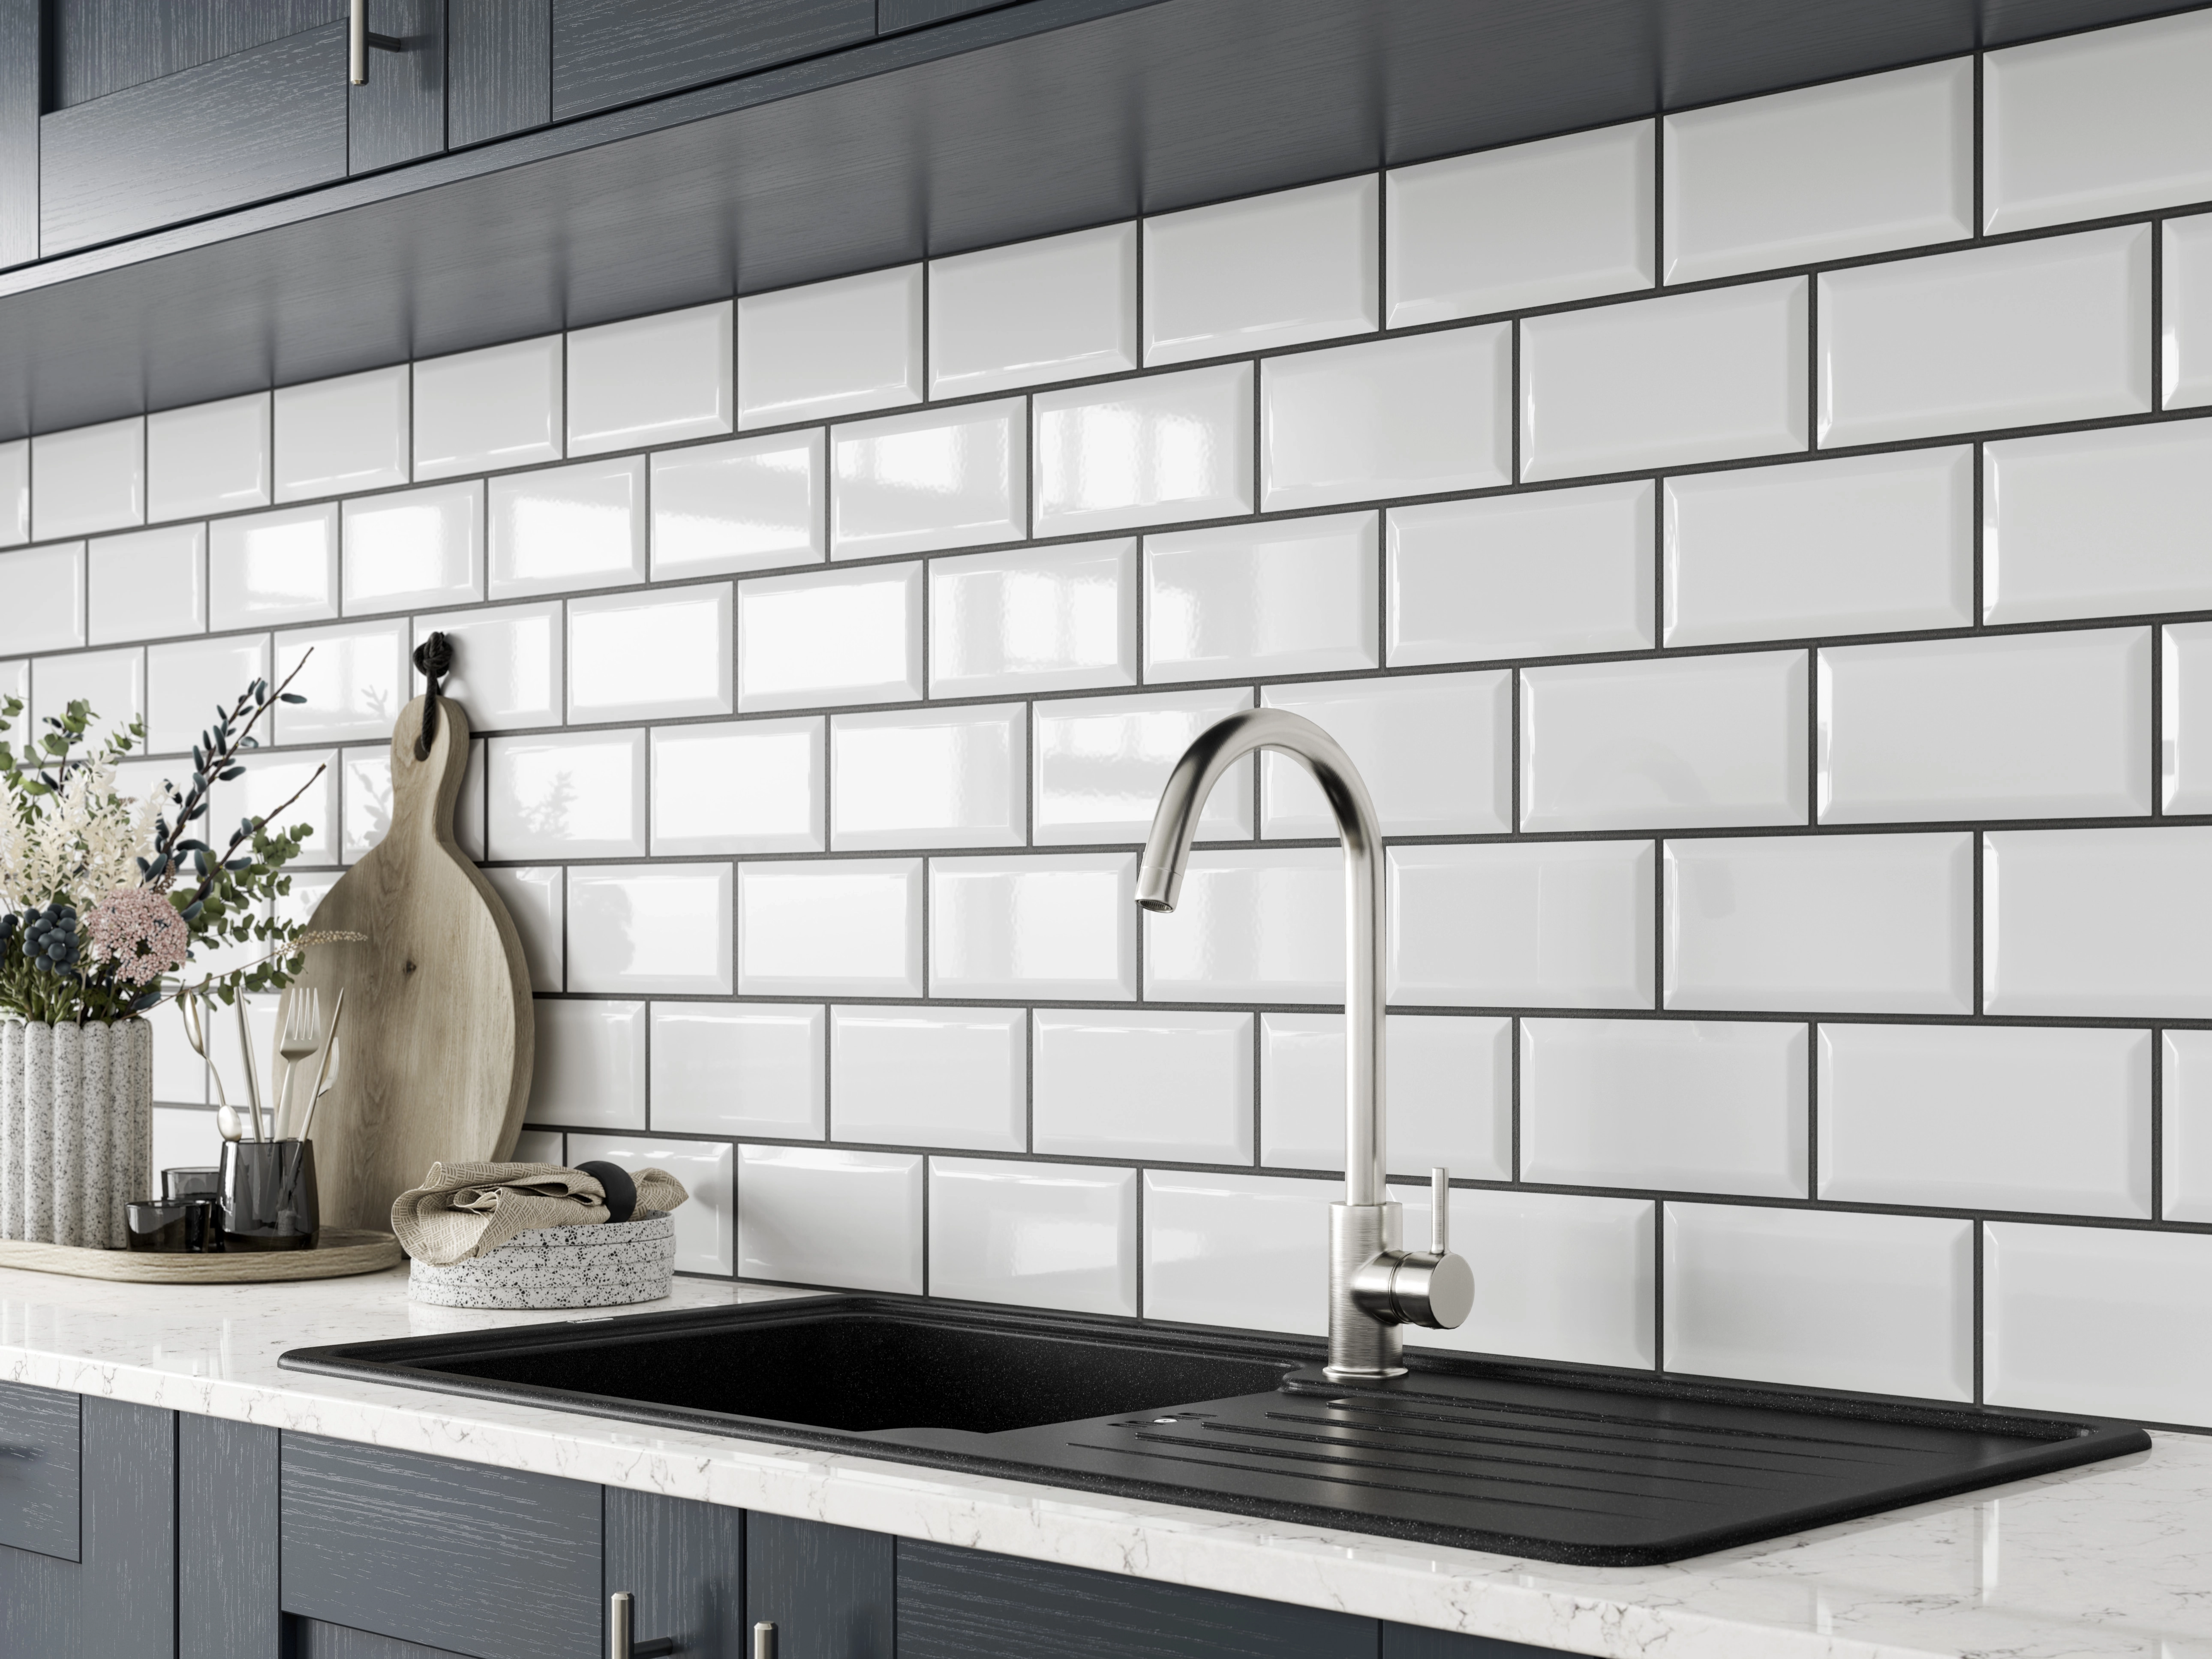
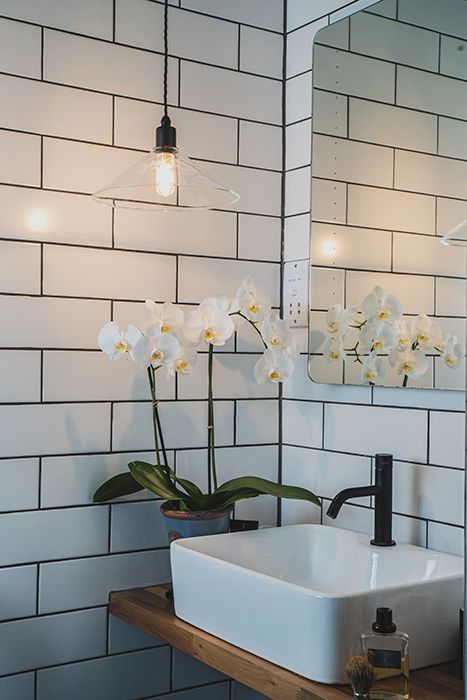
Choosing the right grout tone is a critical aesthetic decision. A matching shade to the tile creates a seamless look, while a contrasting color offers an edgier finish. Darker grout is often recommended for high-traffic areas due to its resilience to wear and tear. Grout should be mixed in small batches to prevent premature solidification. It is then applied evenly into the tile spacing using a float. After a few minutes, excess grout is wiped away with a damp sponge, being careful not to disturb the grout in the joints. The final step involves applying a stone sealer once the grout is completely dry, completing the custom bathroom floor.
#BathroomRenovation #TileInstallation #DIYHomeImprovement #HomeDesign #Flooring #BathroomTile #InteriorDesign #HomeRenovation #BathroomRenovation #TileInstallation #DIYHomeImprovement #HomeDesign #Flooring #BathroomTile #InteriorDesign #HomeRenovation
0 commentaire au total
 Aucun commentaire pour le moment
Vous aimerez aussi
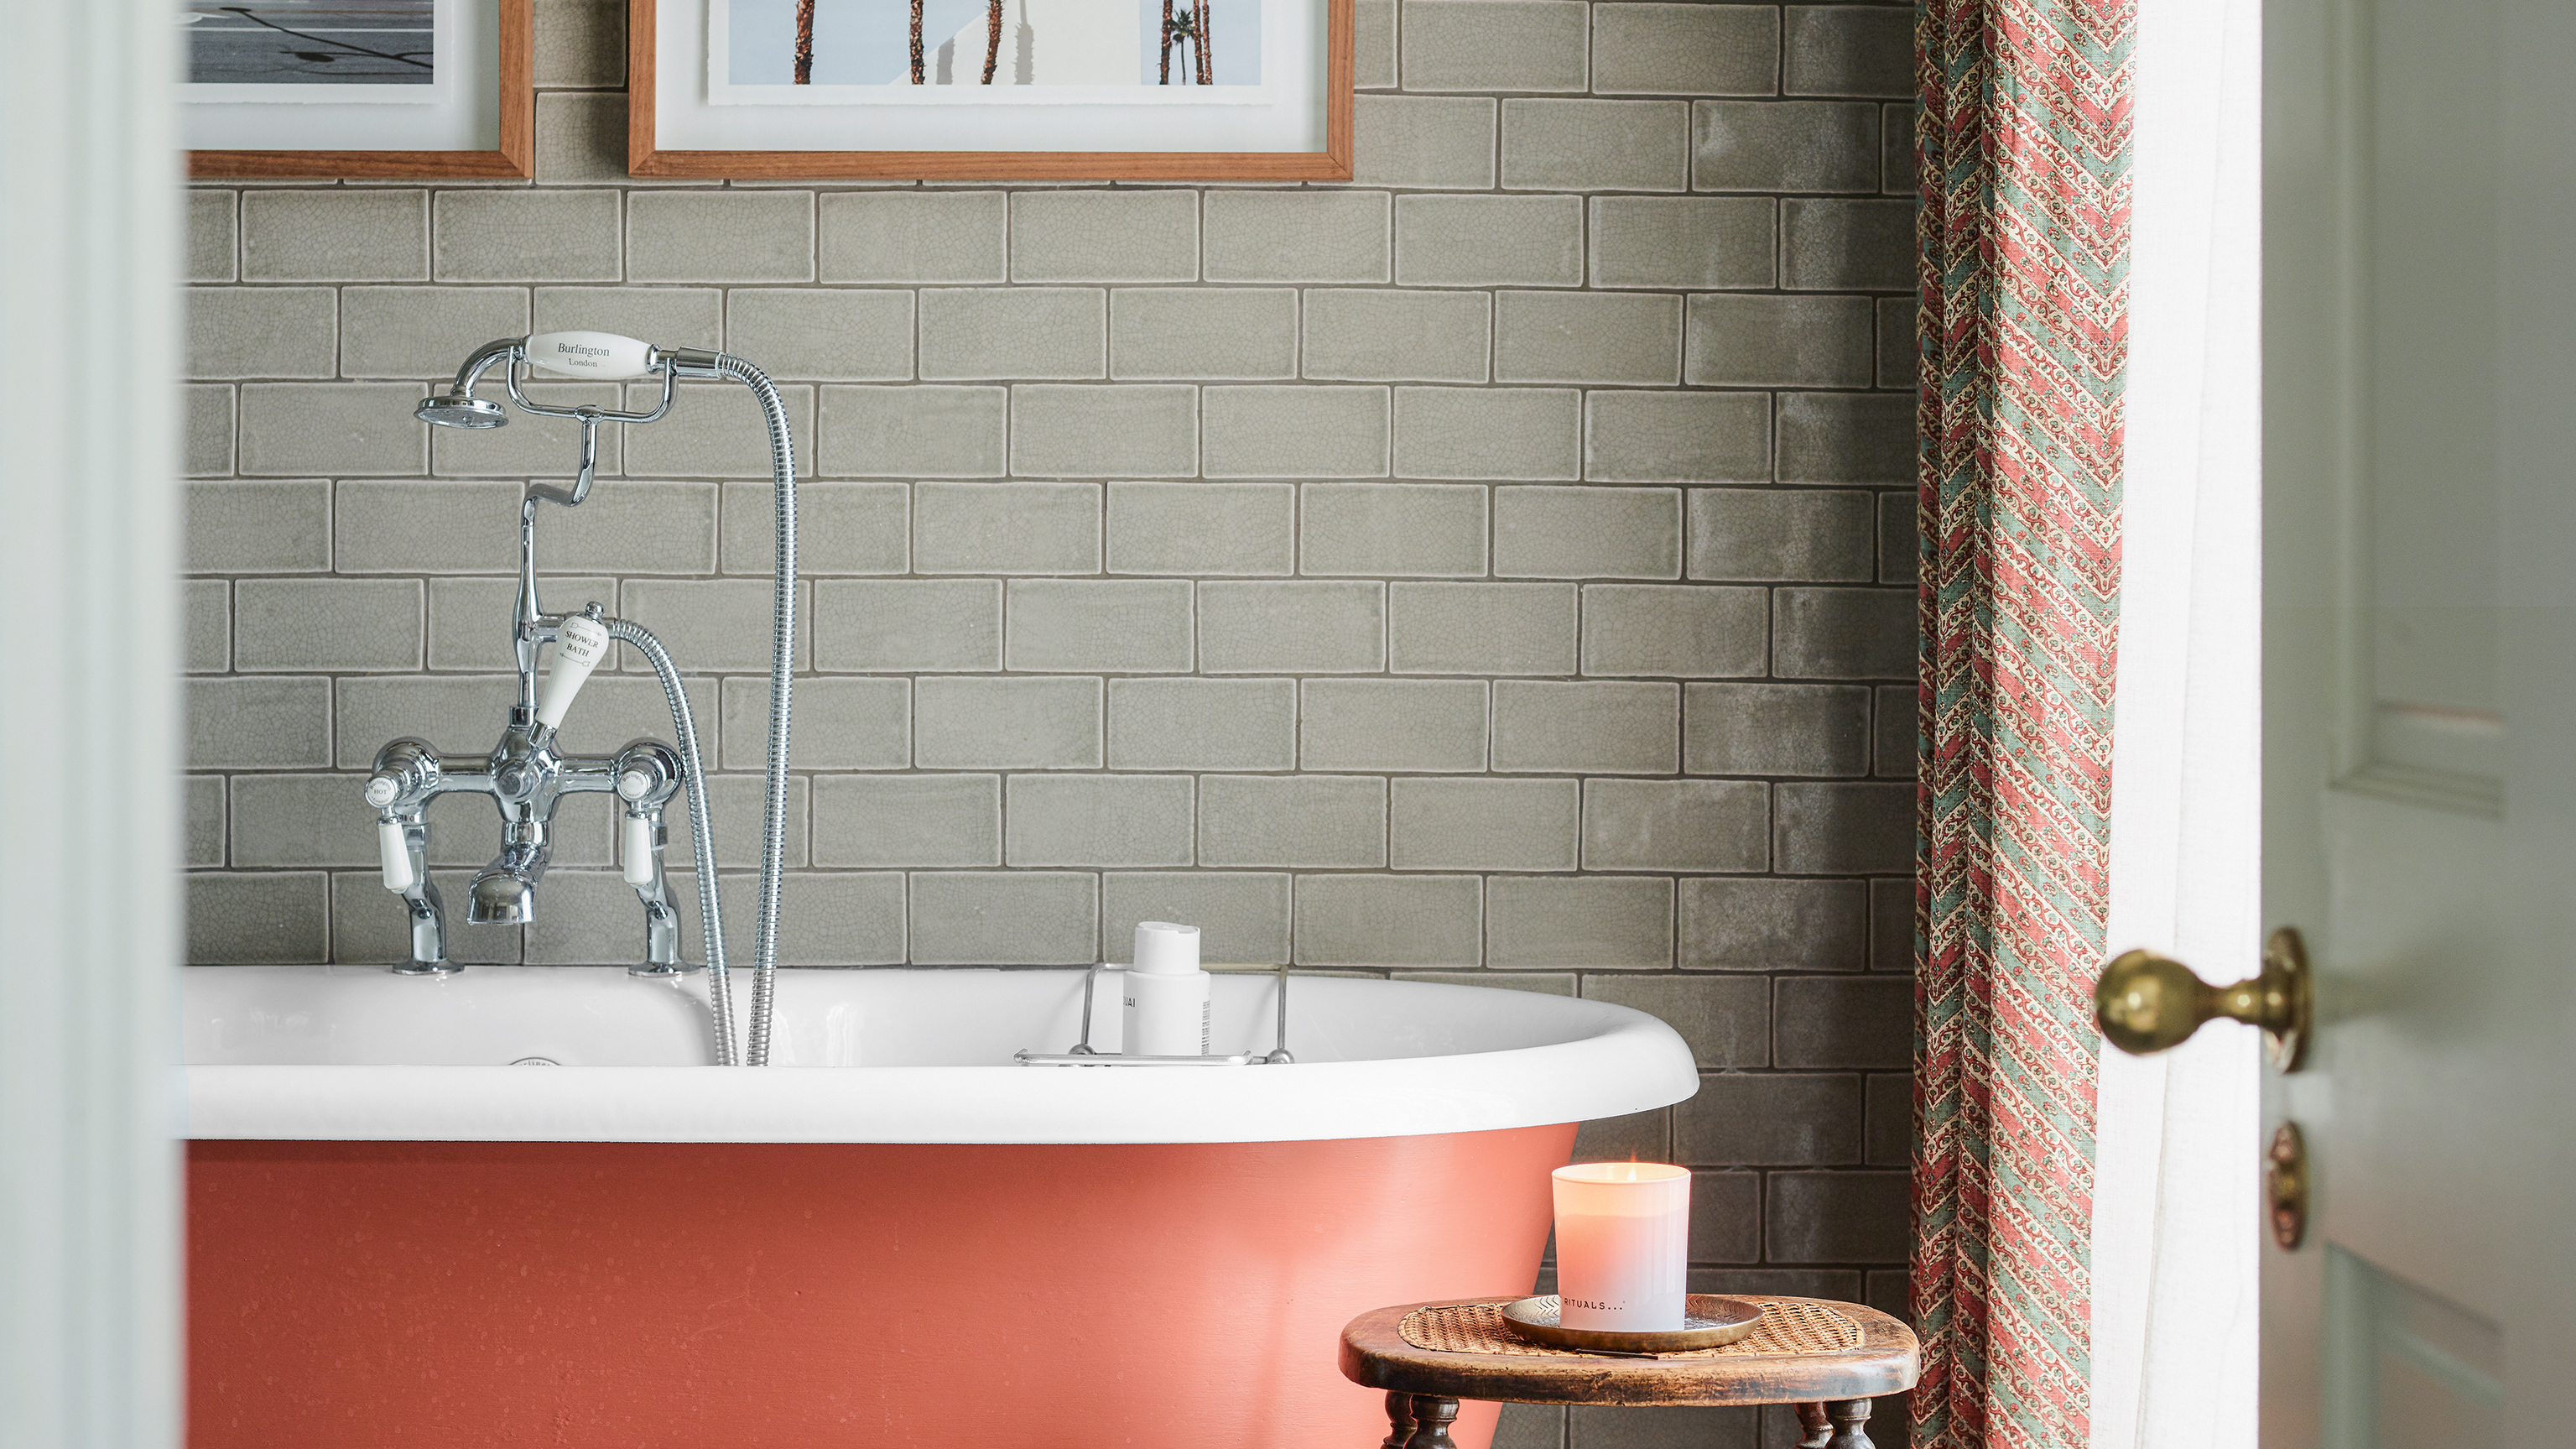
How to tile a bathroom wall – 10 steps to give your space a DIY refresh

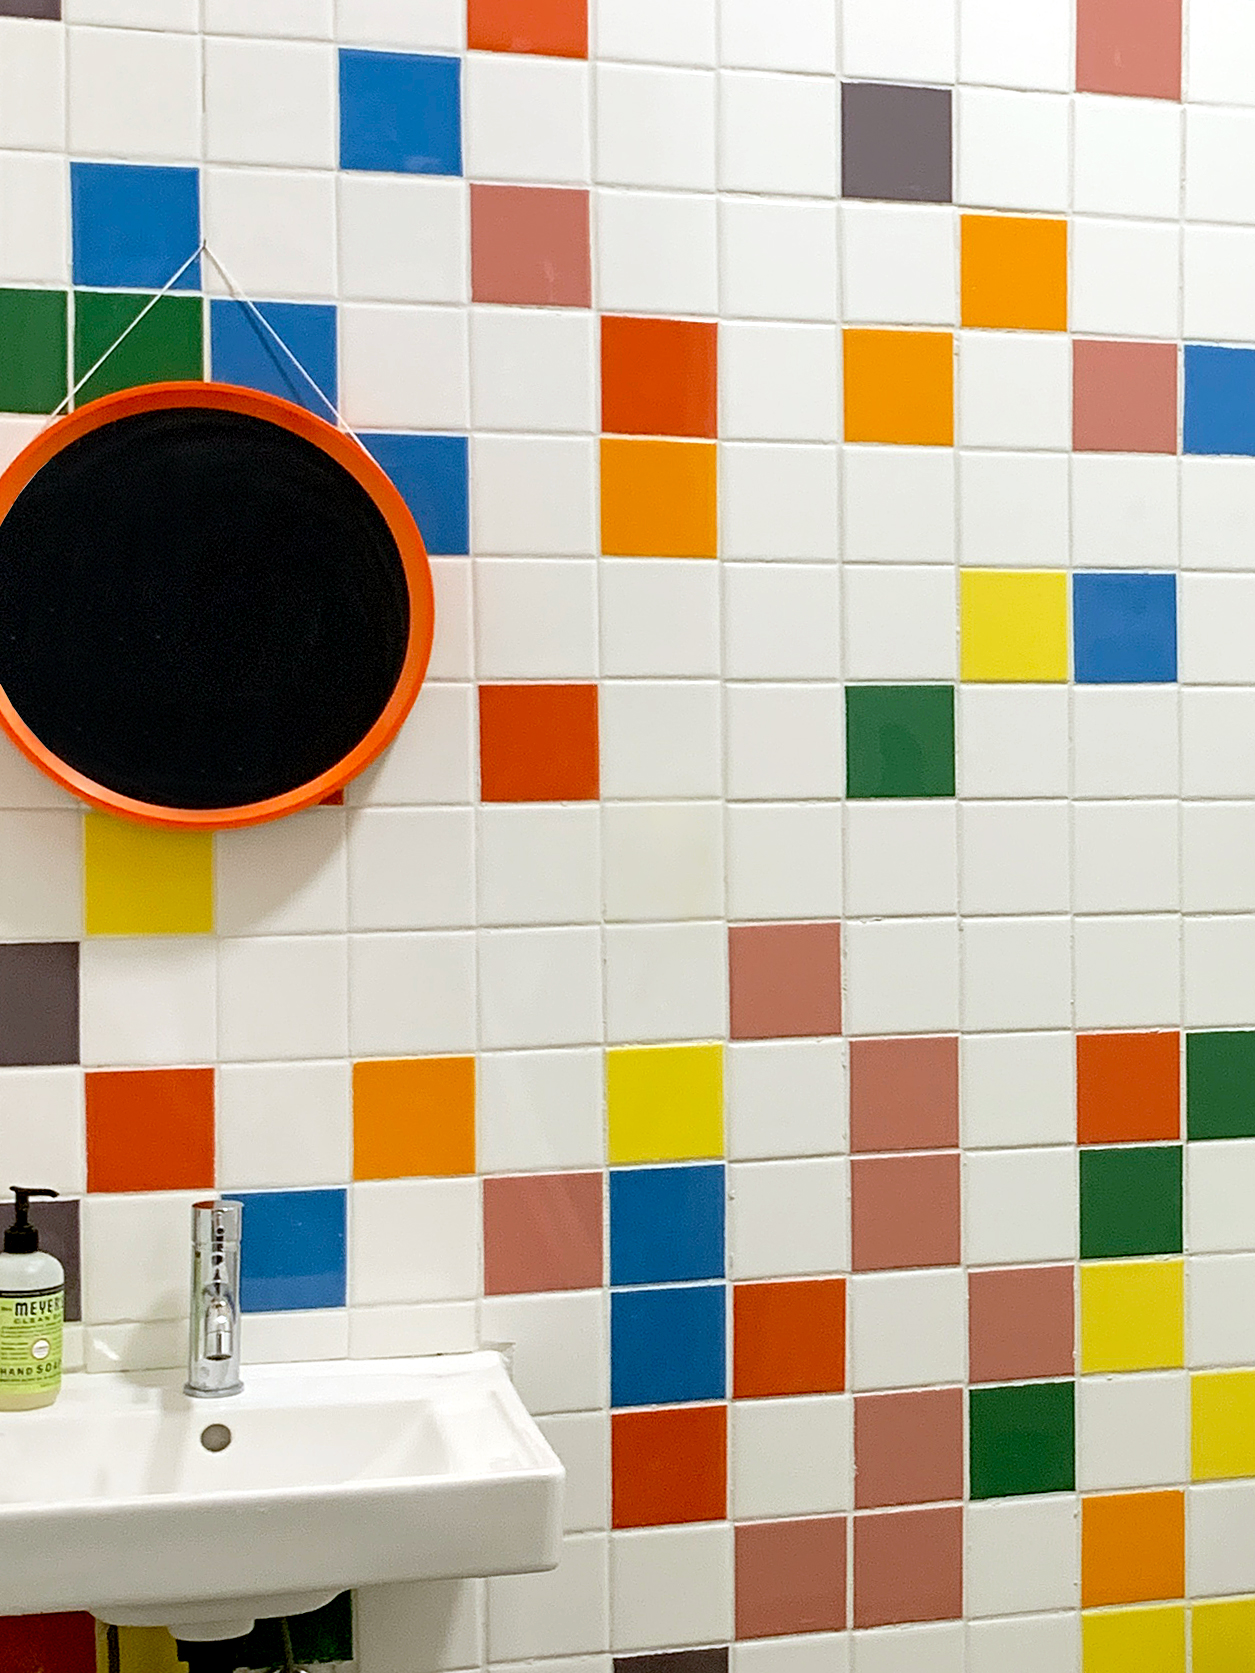
The Home Union Founders Retiled Their Bland Bathroom in Less Than a Week

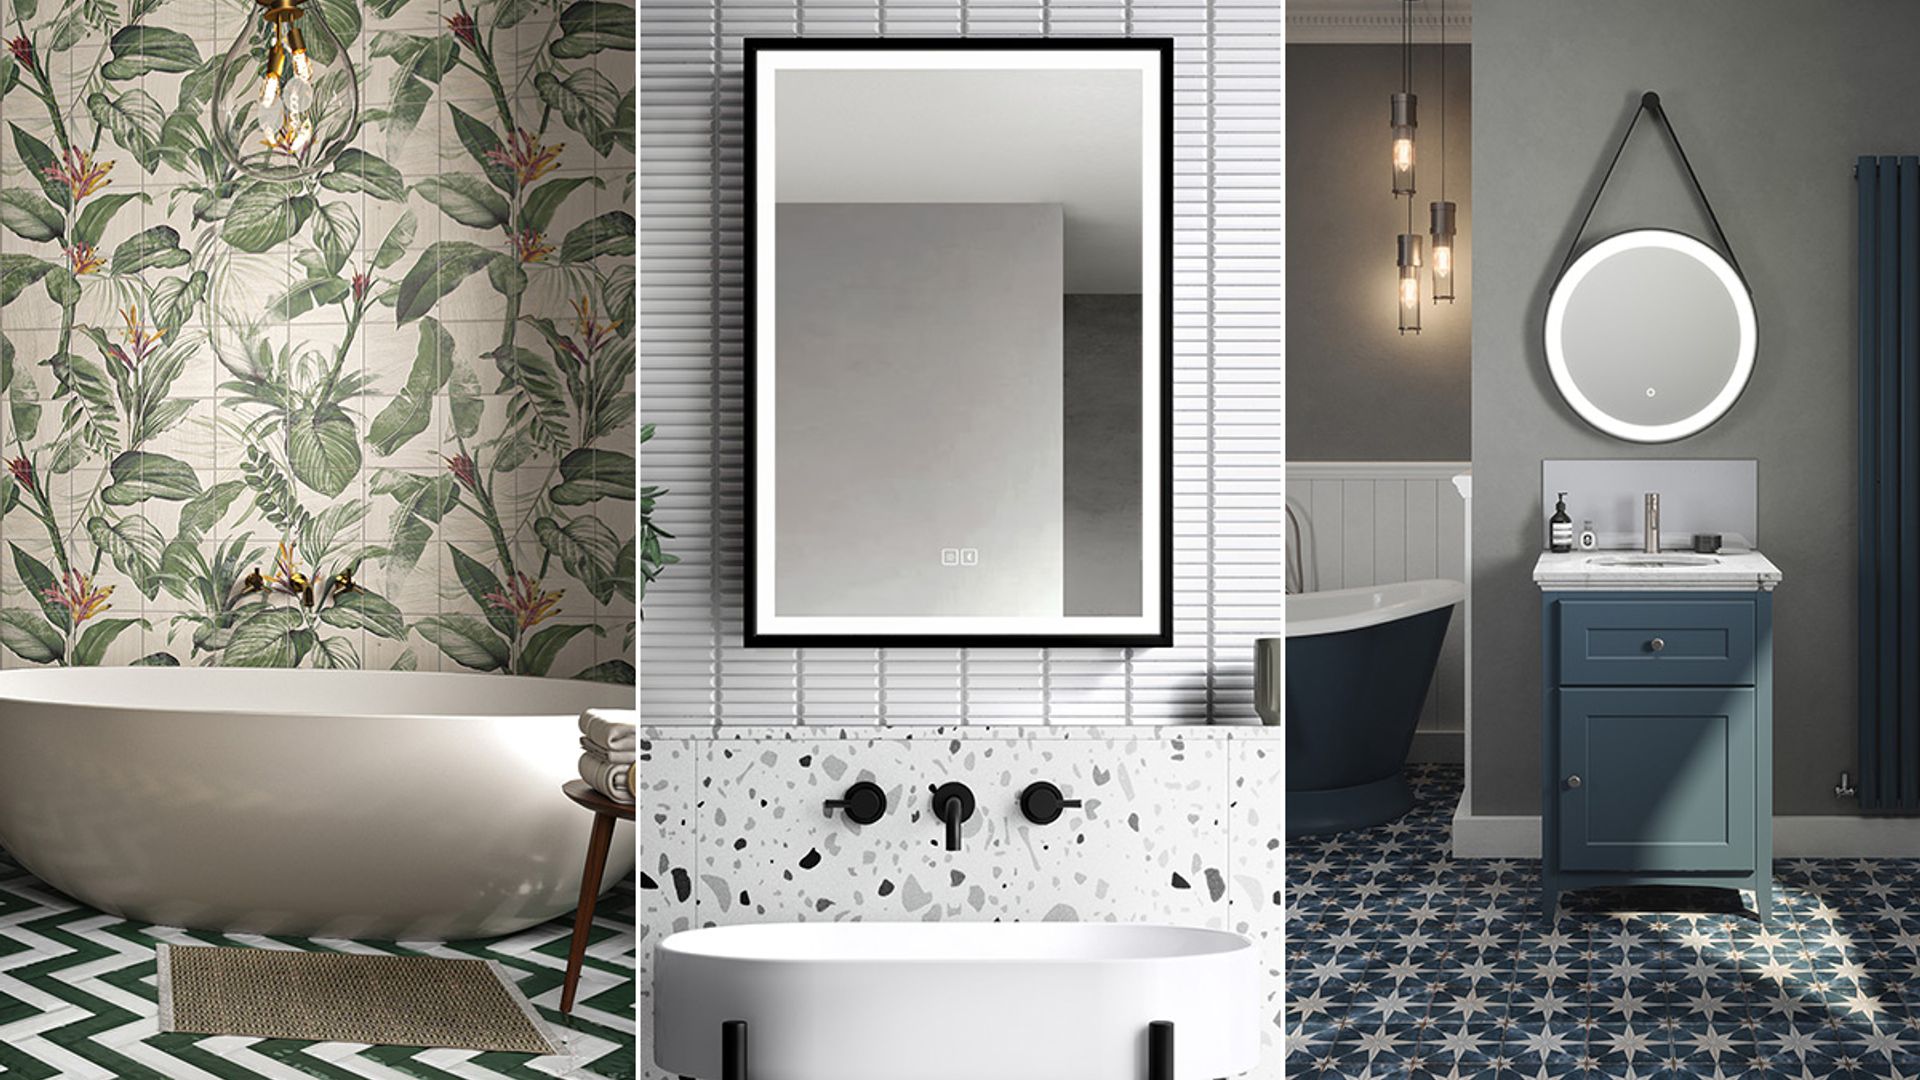
16 bathroom tile ideas to transform your space

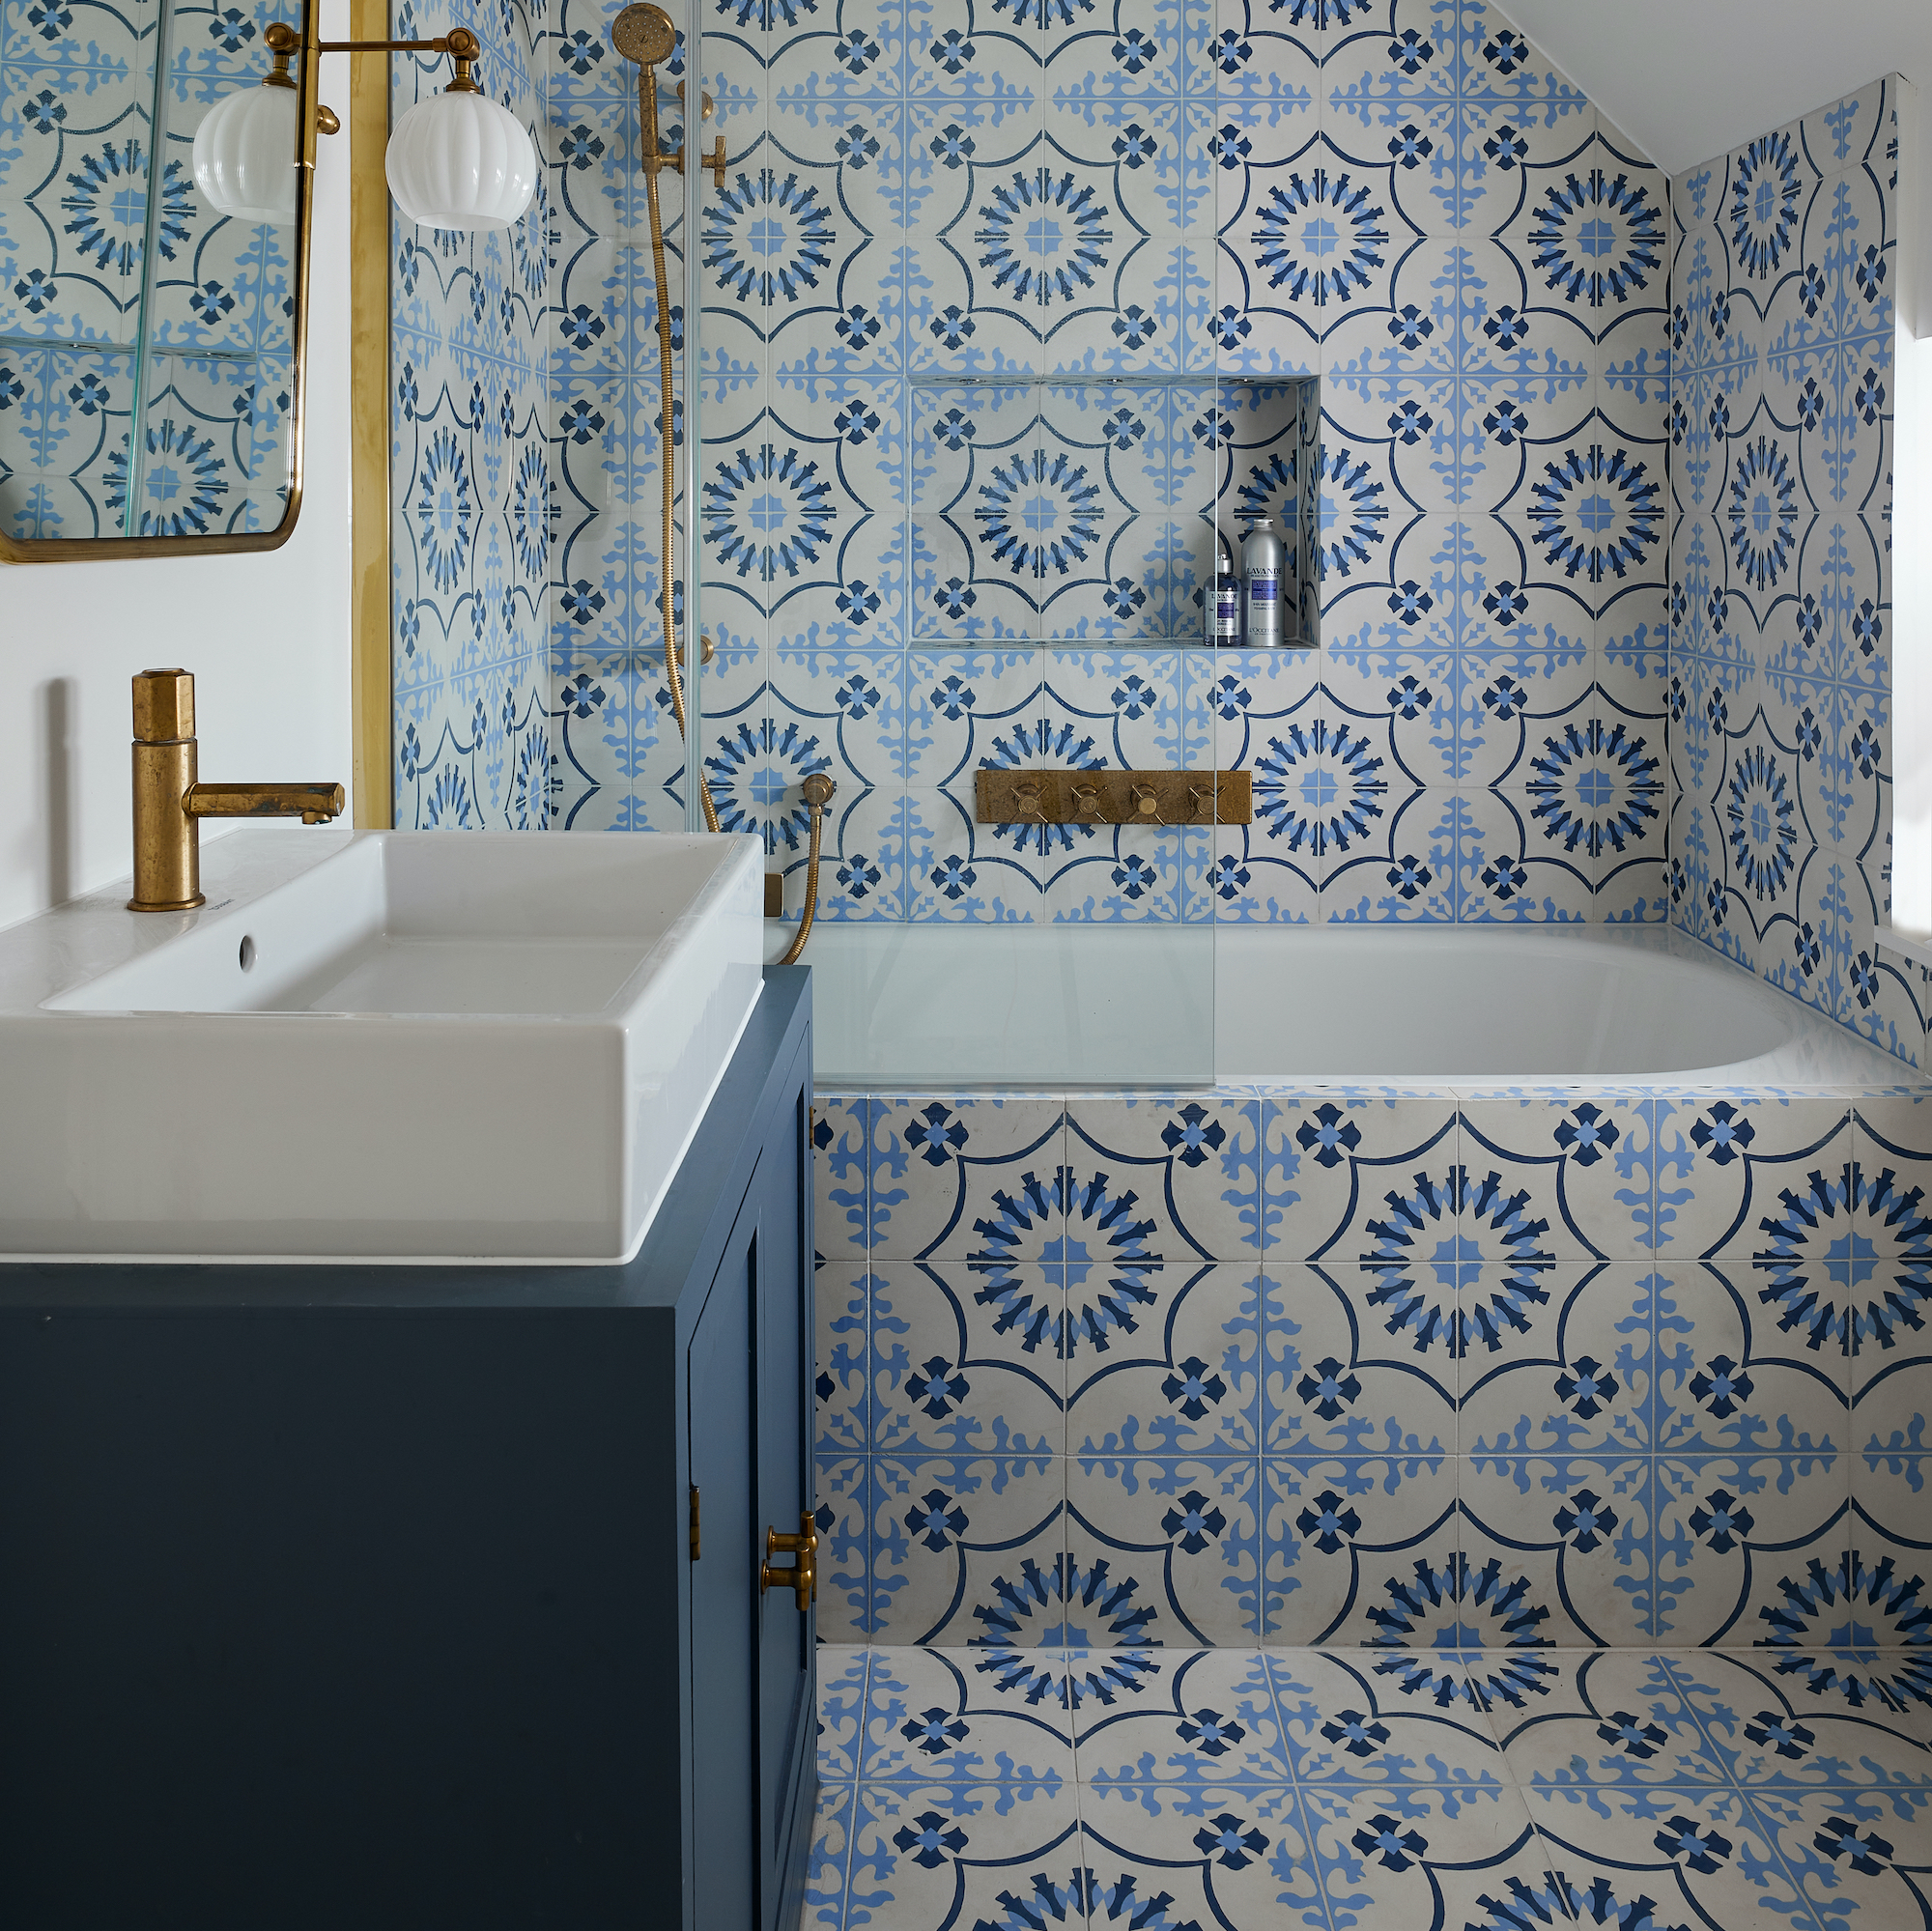
How to tile a bathtub – for a stylish, practical finish


Bathroom Tiles

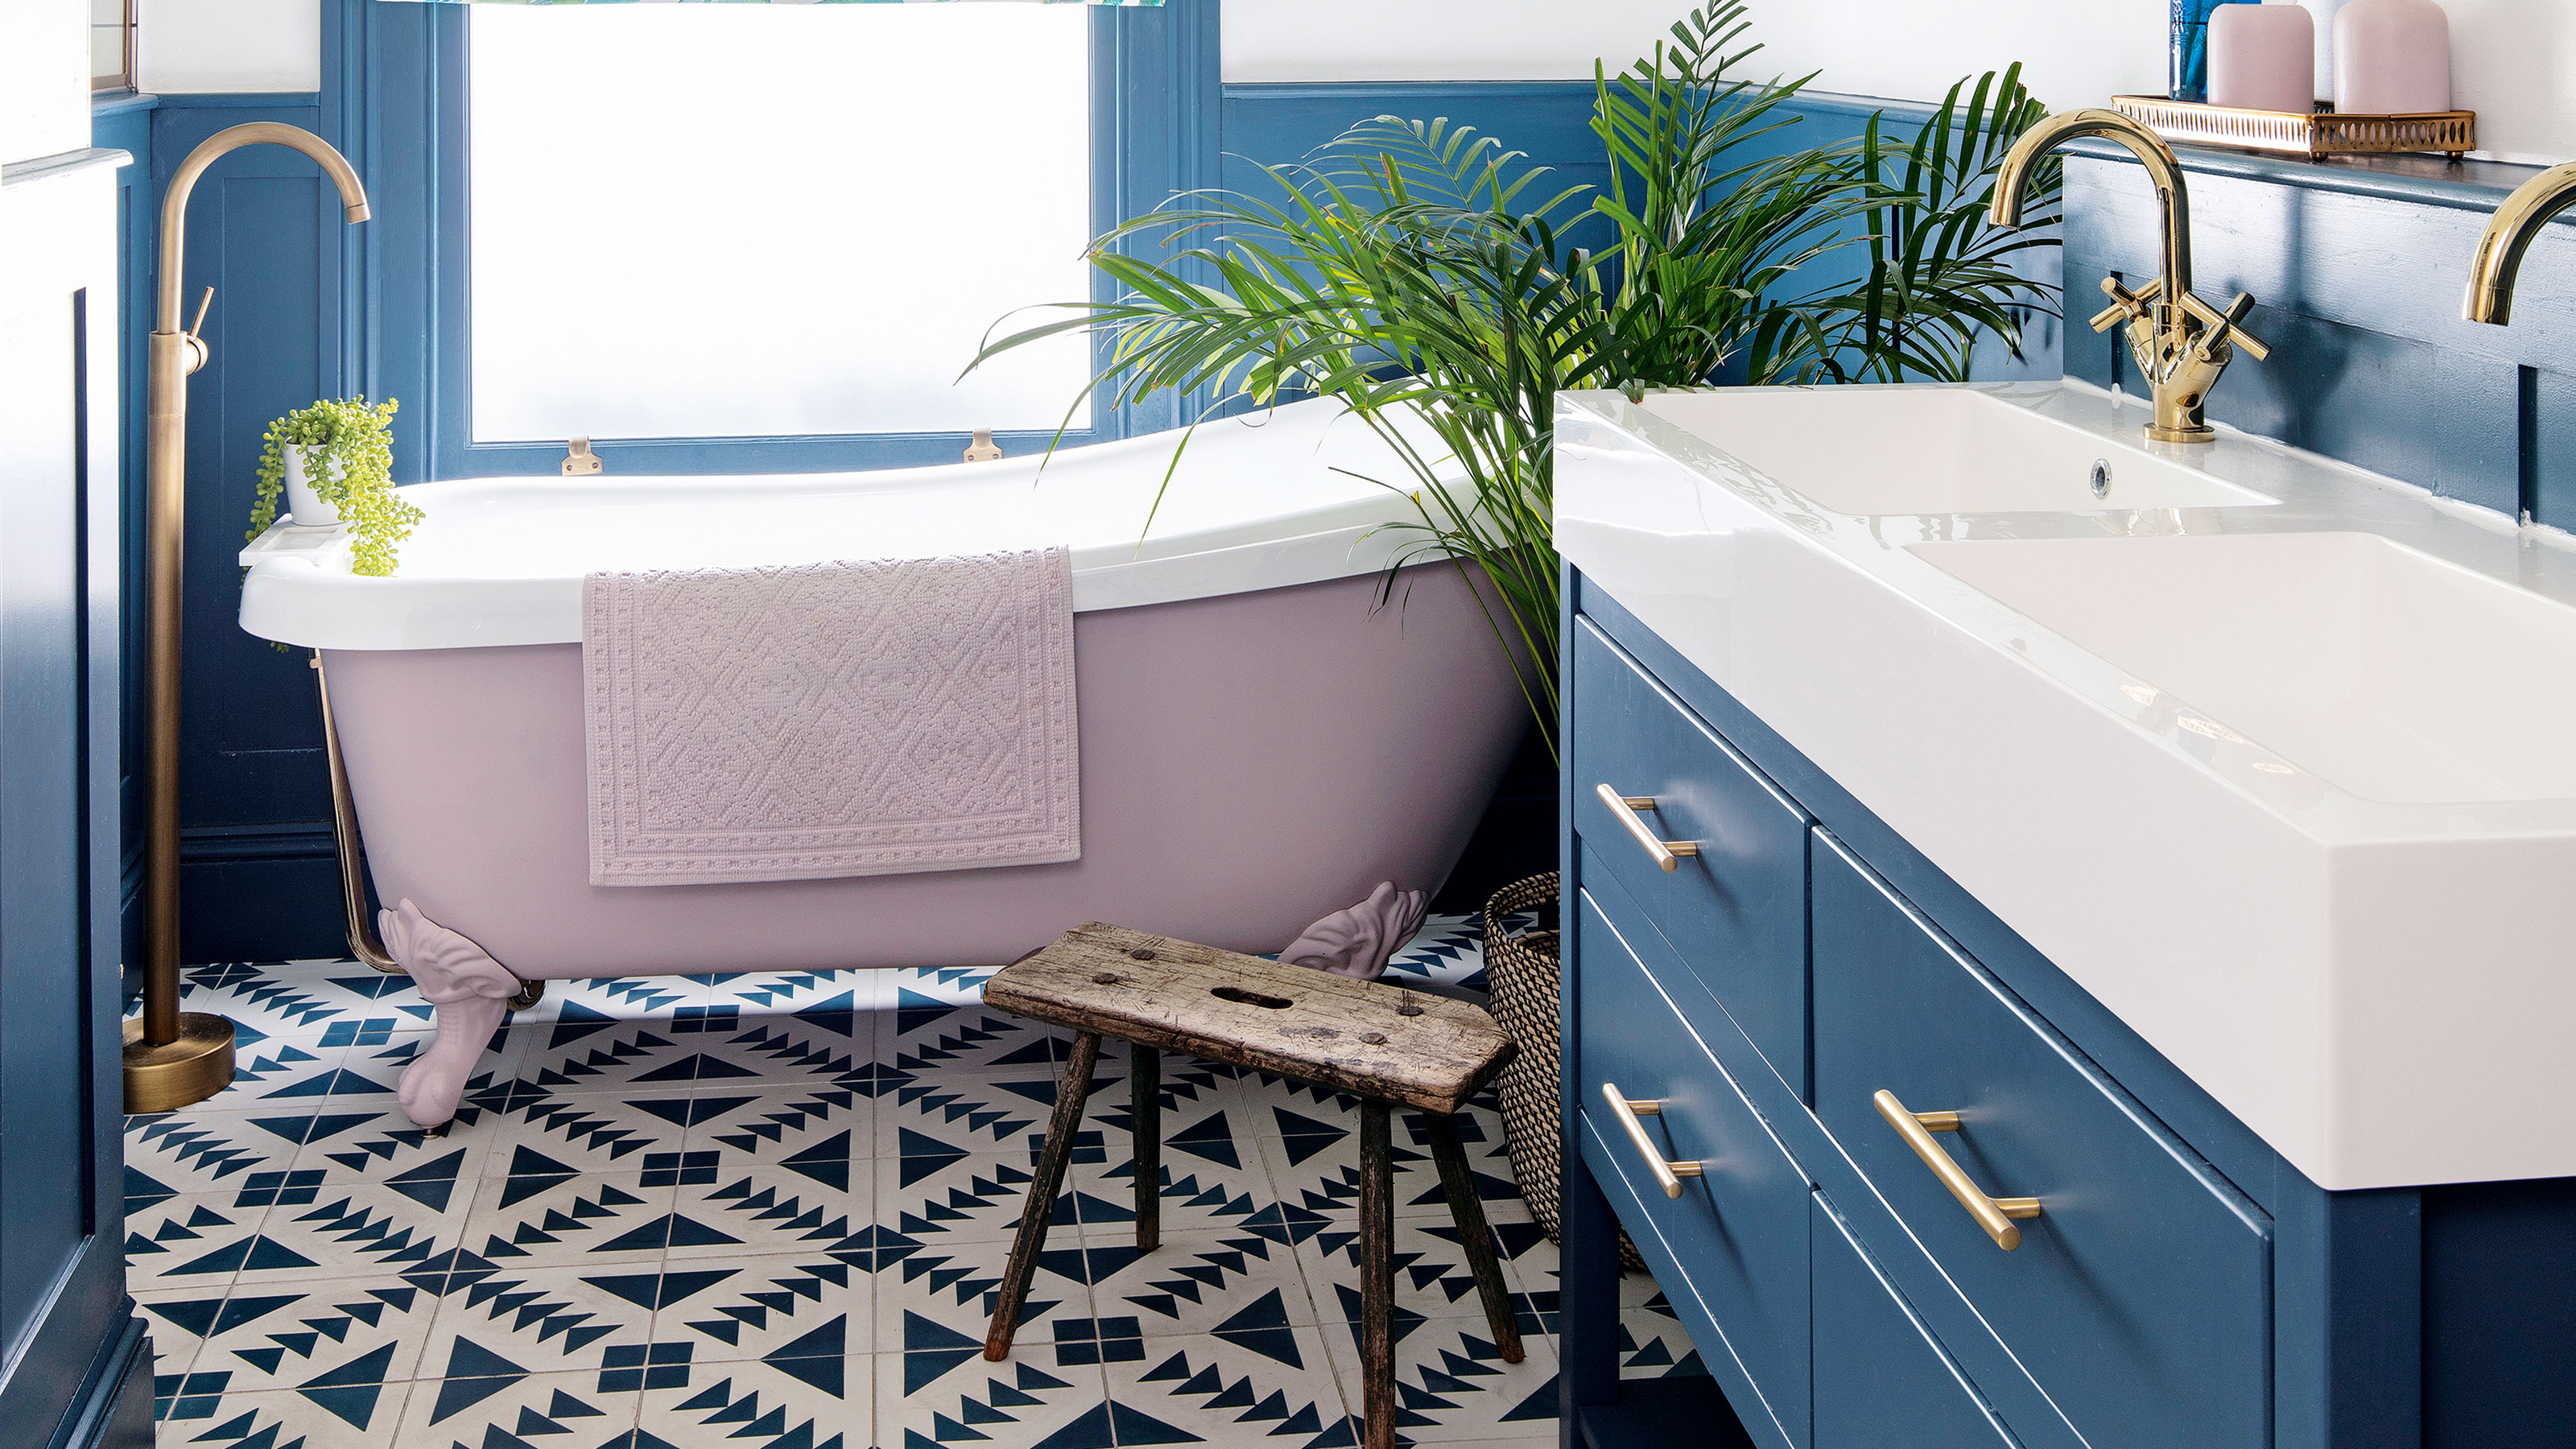
Experts warn against these 6 bathroom flooring mistakes - what to do instead
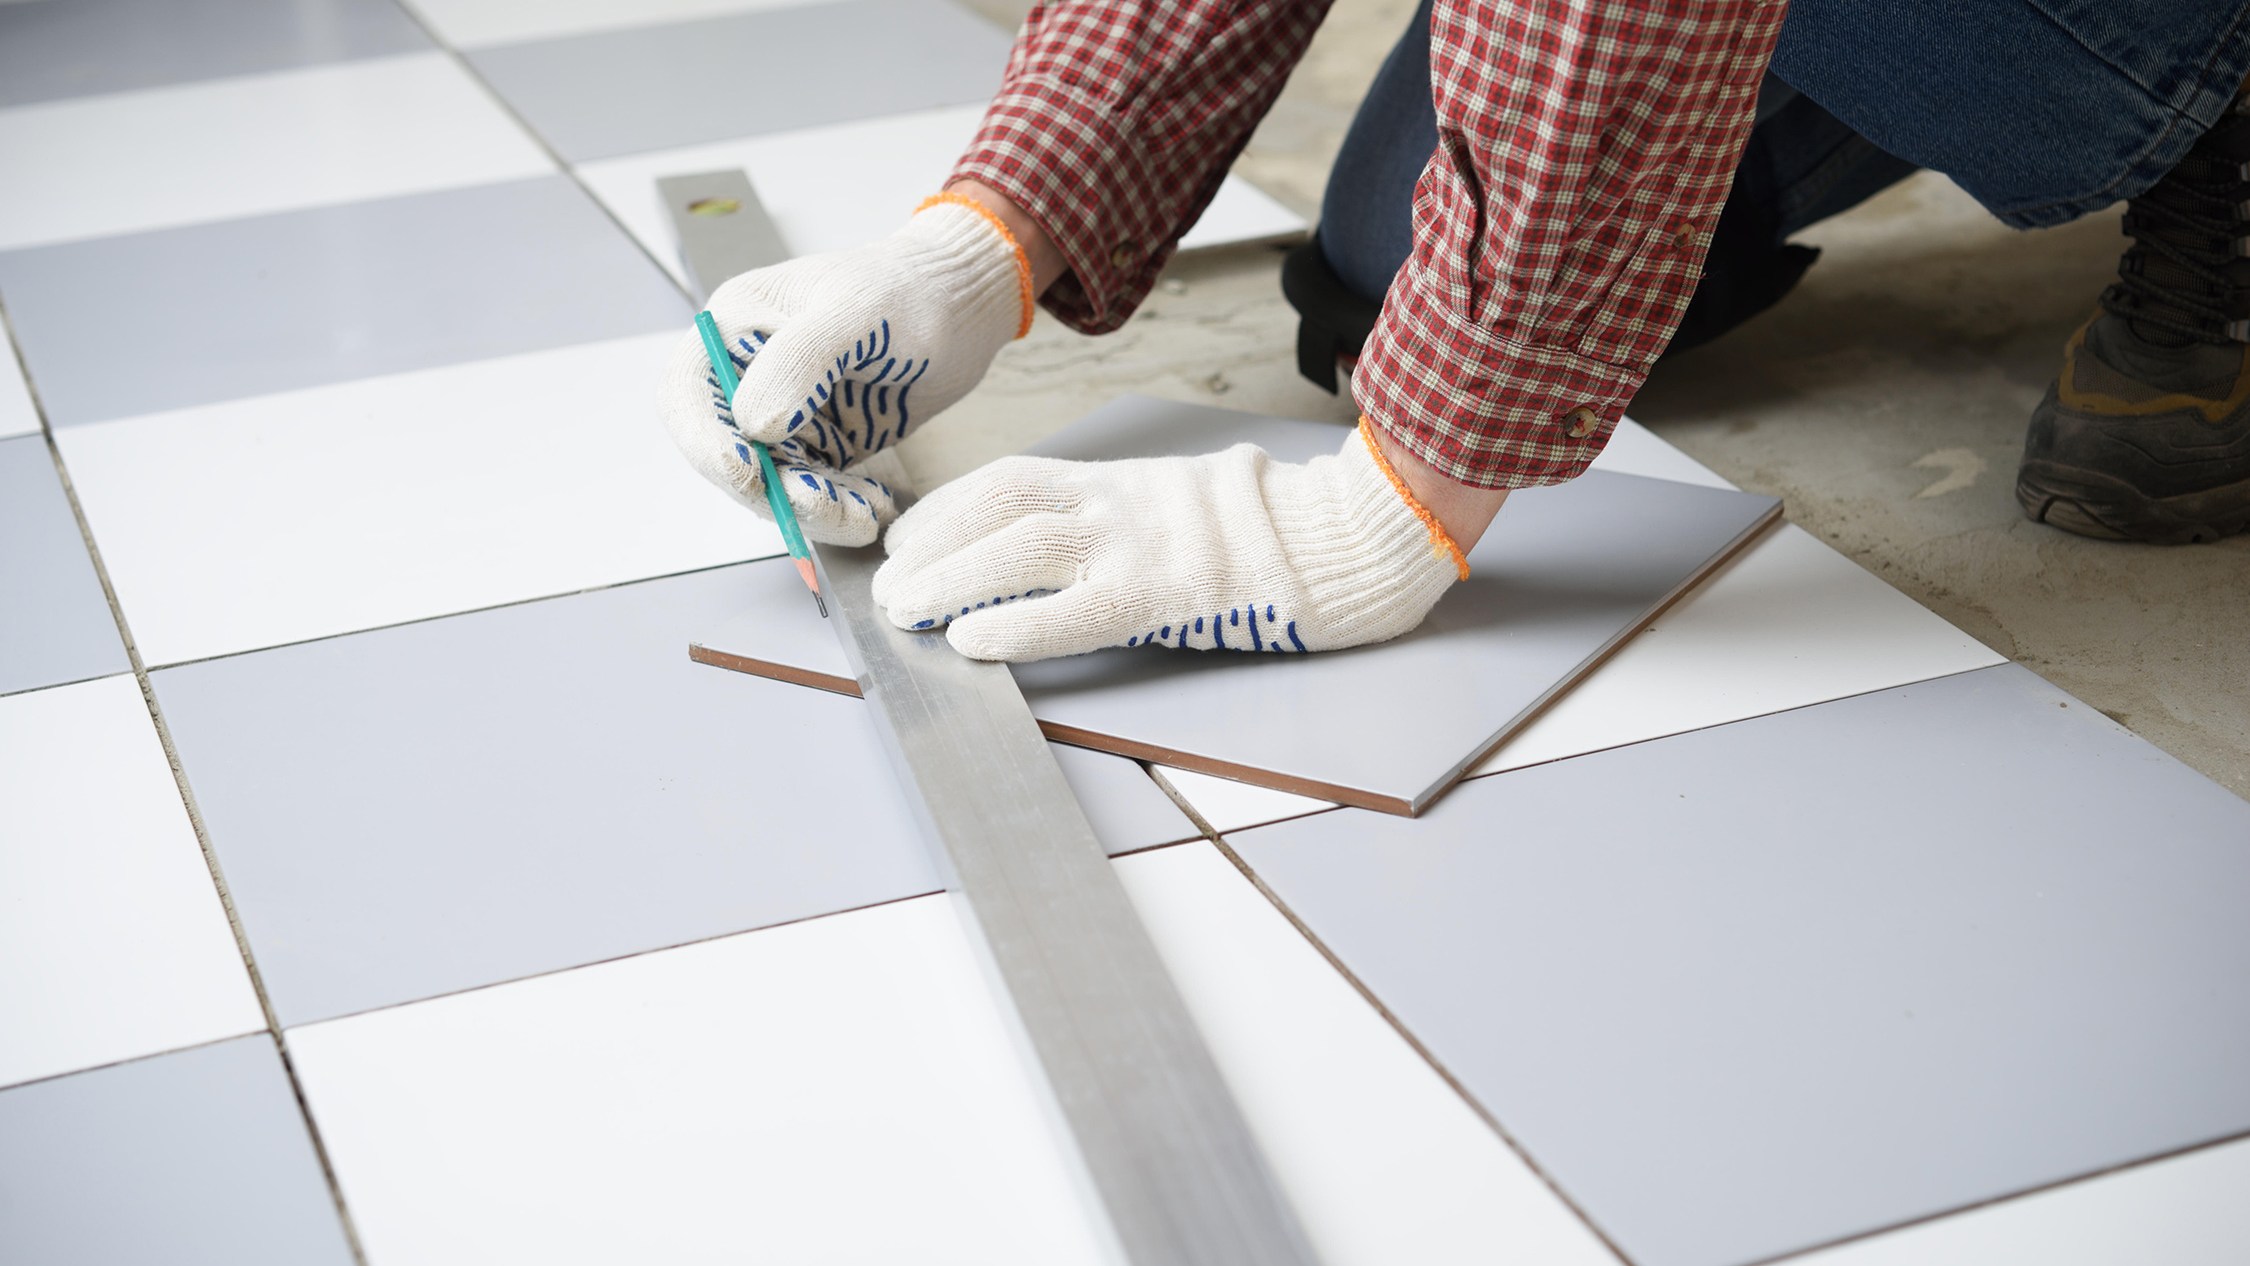
From preparation to cutting, here's how to lay floor tiles
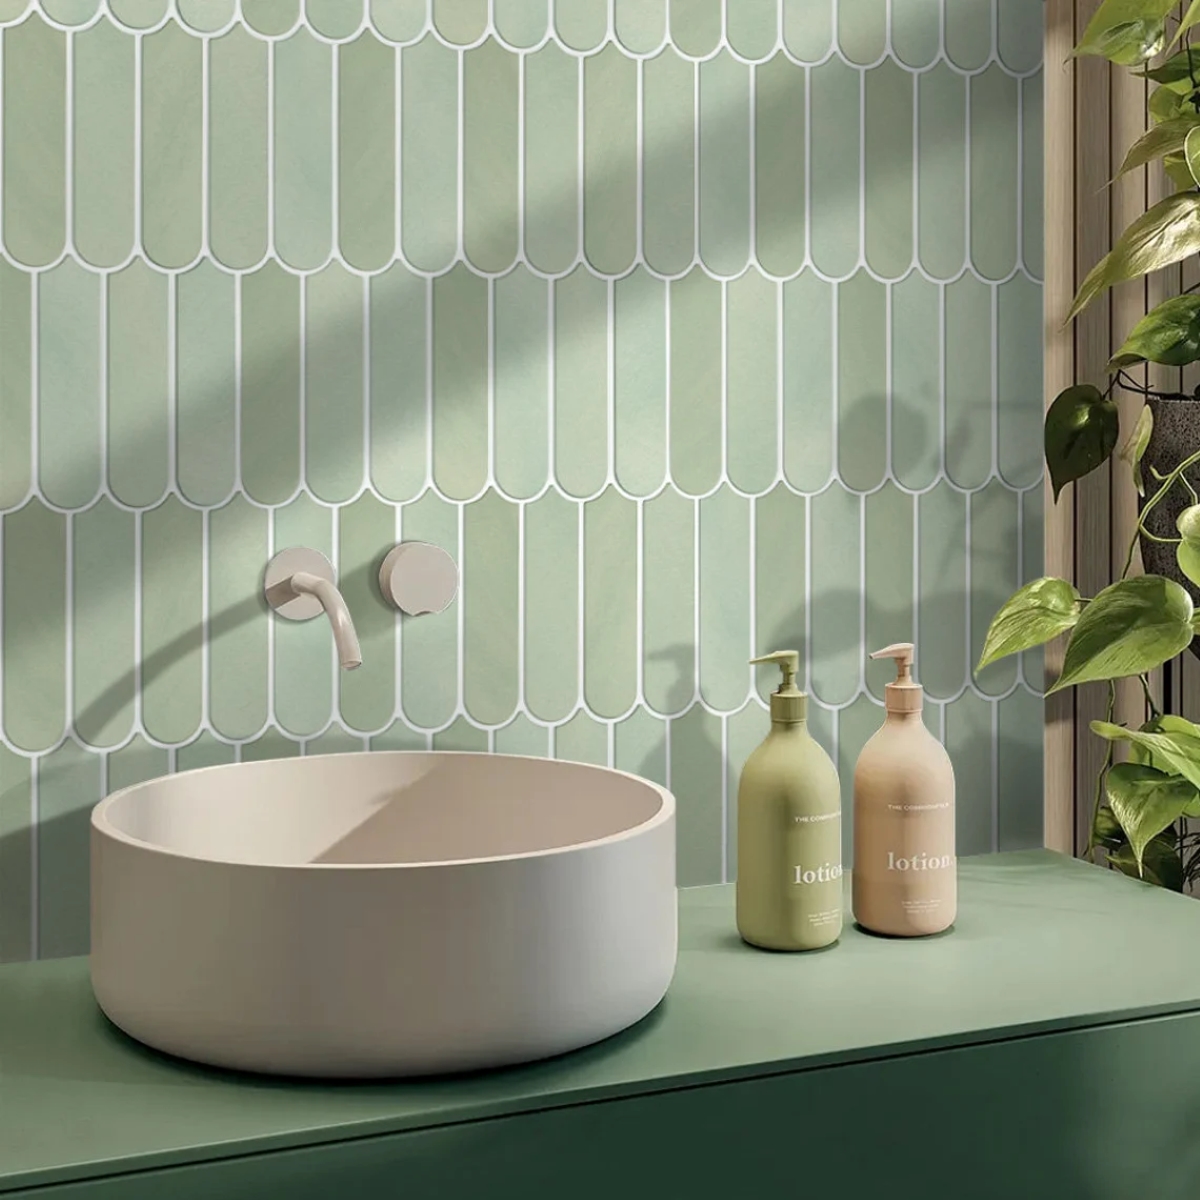
11 Ways to Decorate Your Bathroom for a One-of-a-Kind Look on a Budget

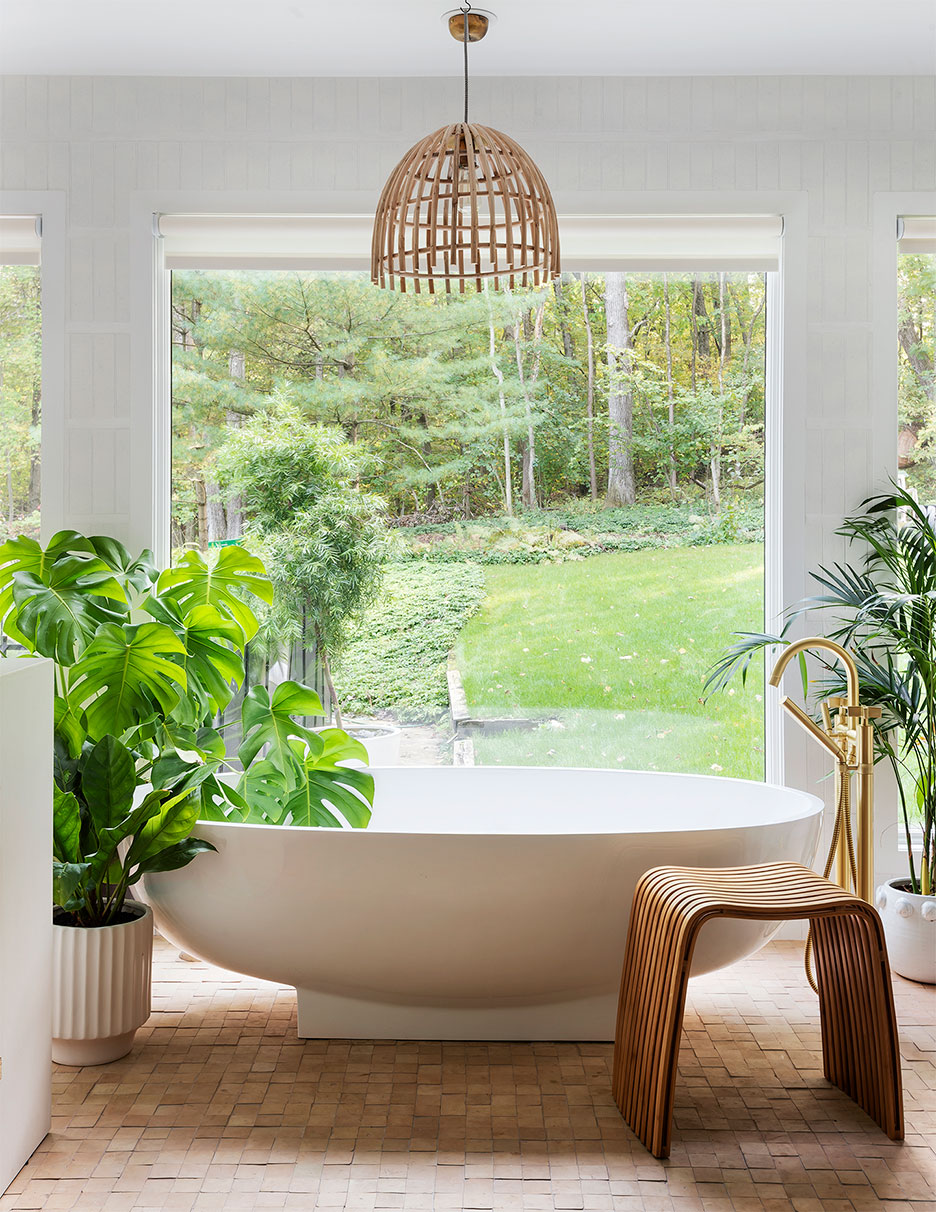
7 Designers Weigh in on the Best Tile for Bathroom Floors
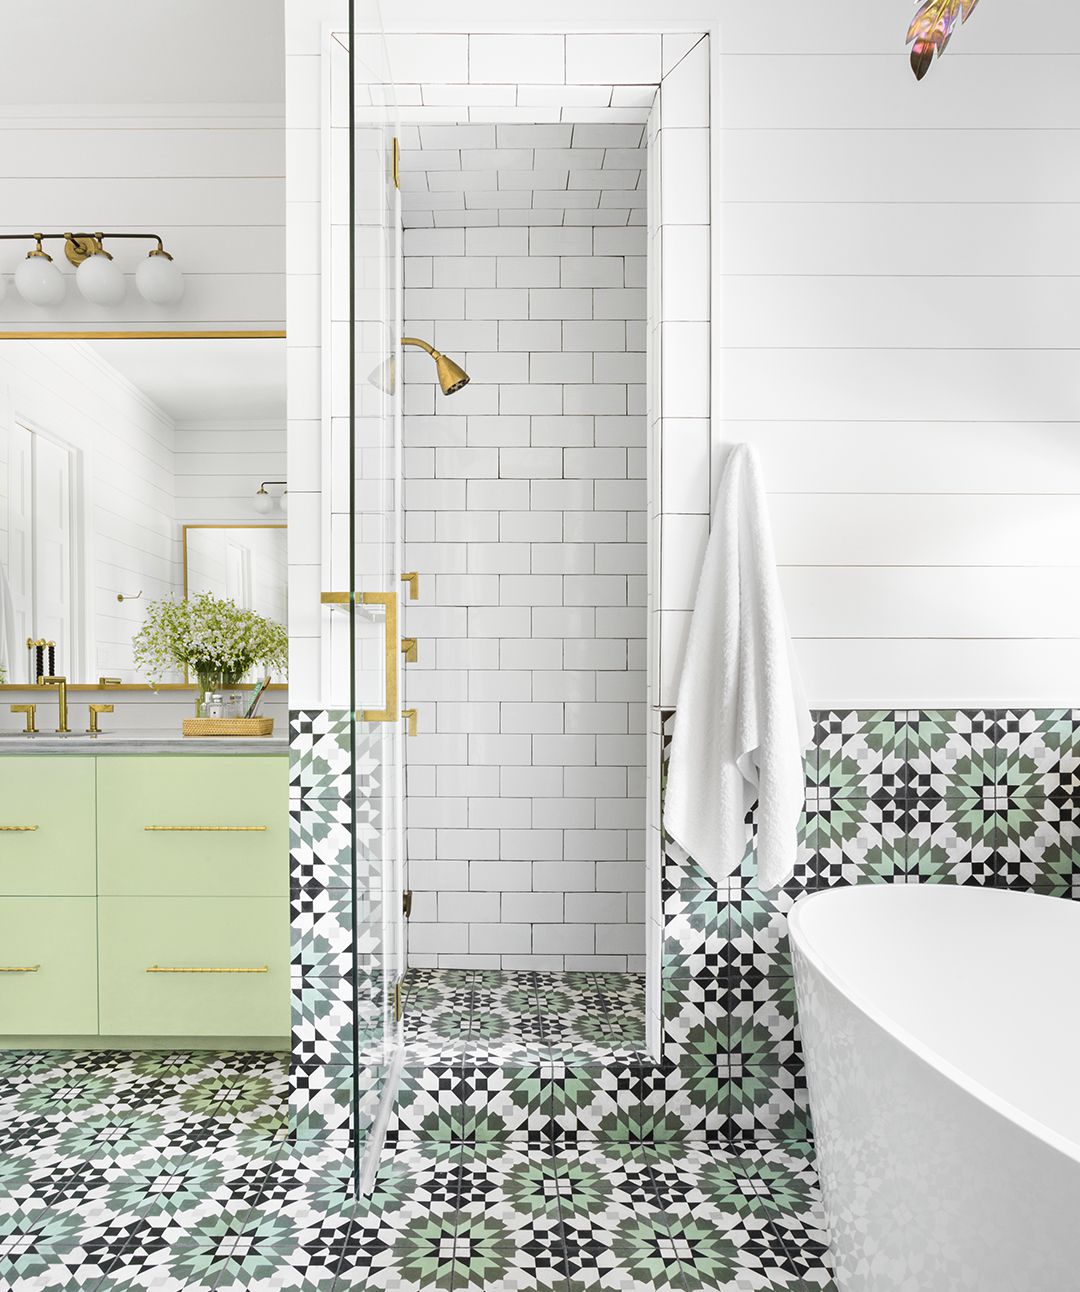
14 Types of Bathroom Tiles You Need to Know Before You Remodel

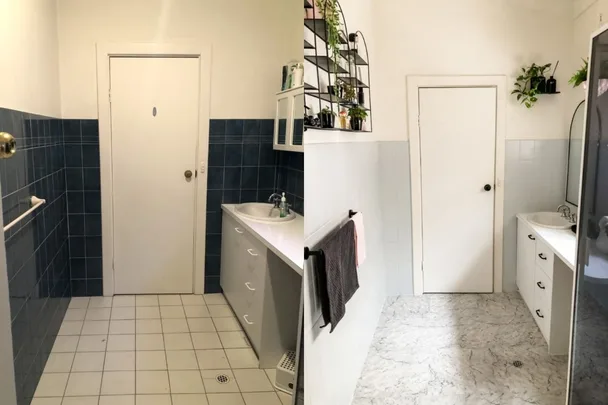
This stunning bathroom makeover cost only $550 using self-stick vinyl floor tiles

Learn How to Install Laminate Flooring Yourself

Tiling 102: The Bathroom Floor (Published 2013)

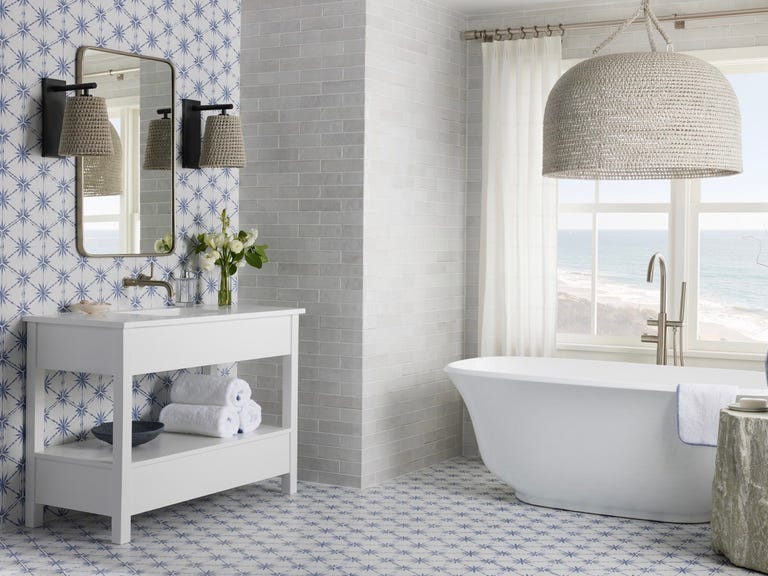
4 Designer Tips for Creating an All-Tile Bathroom

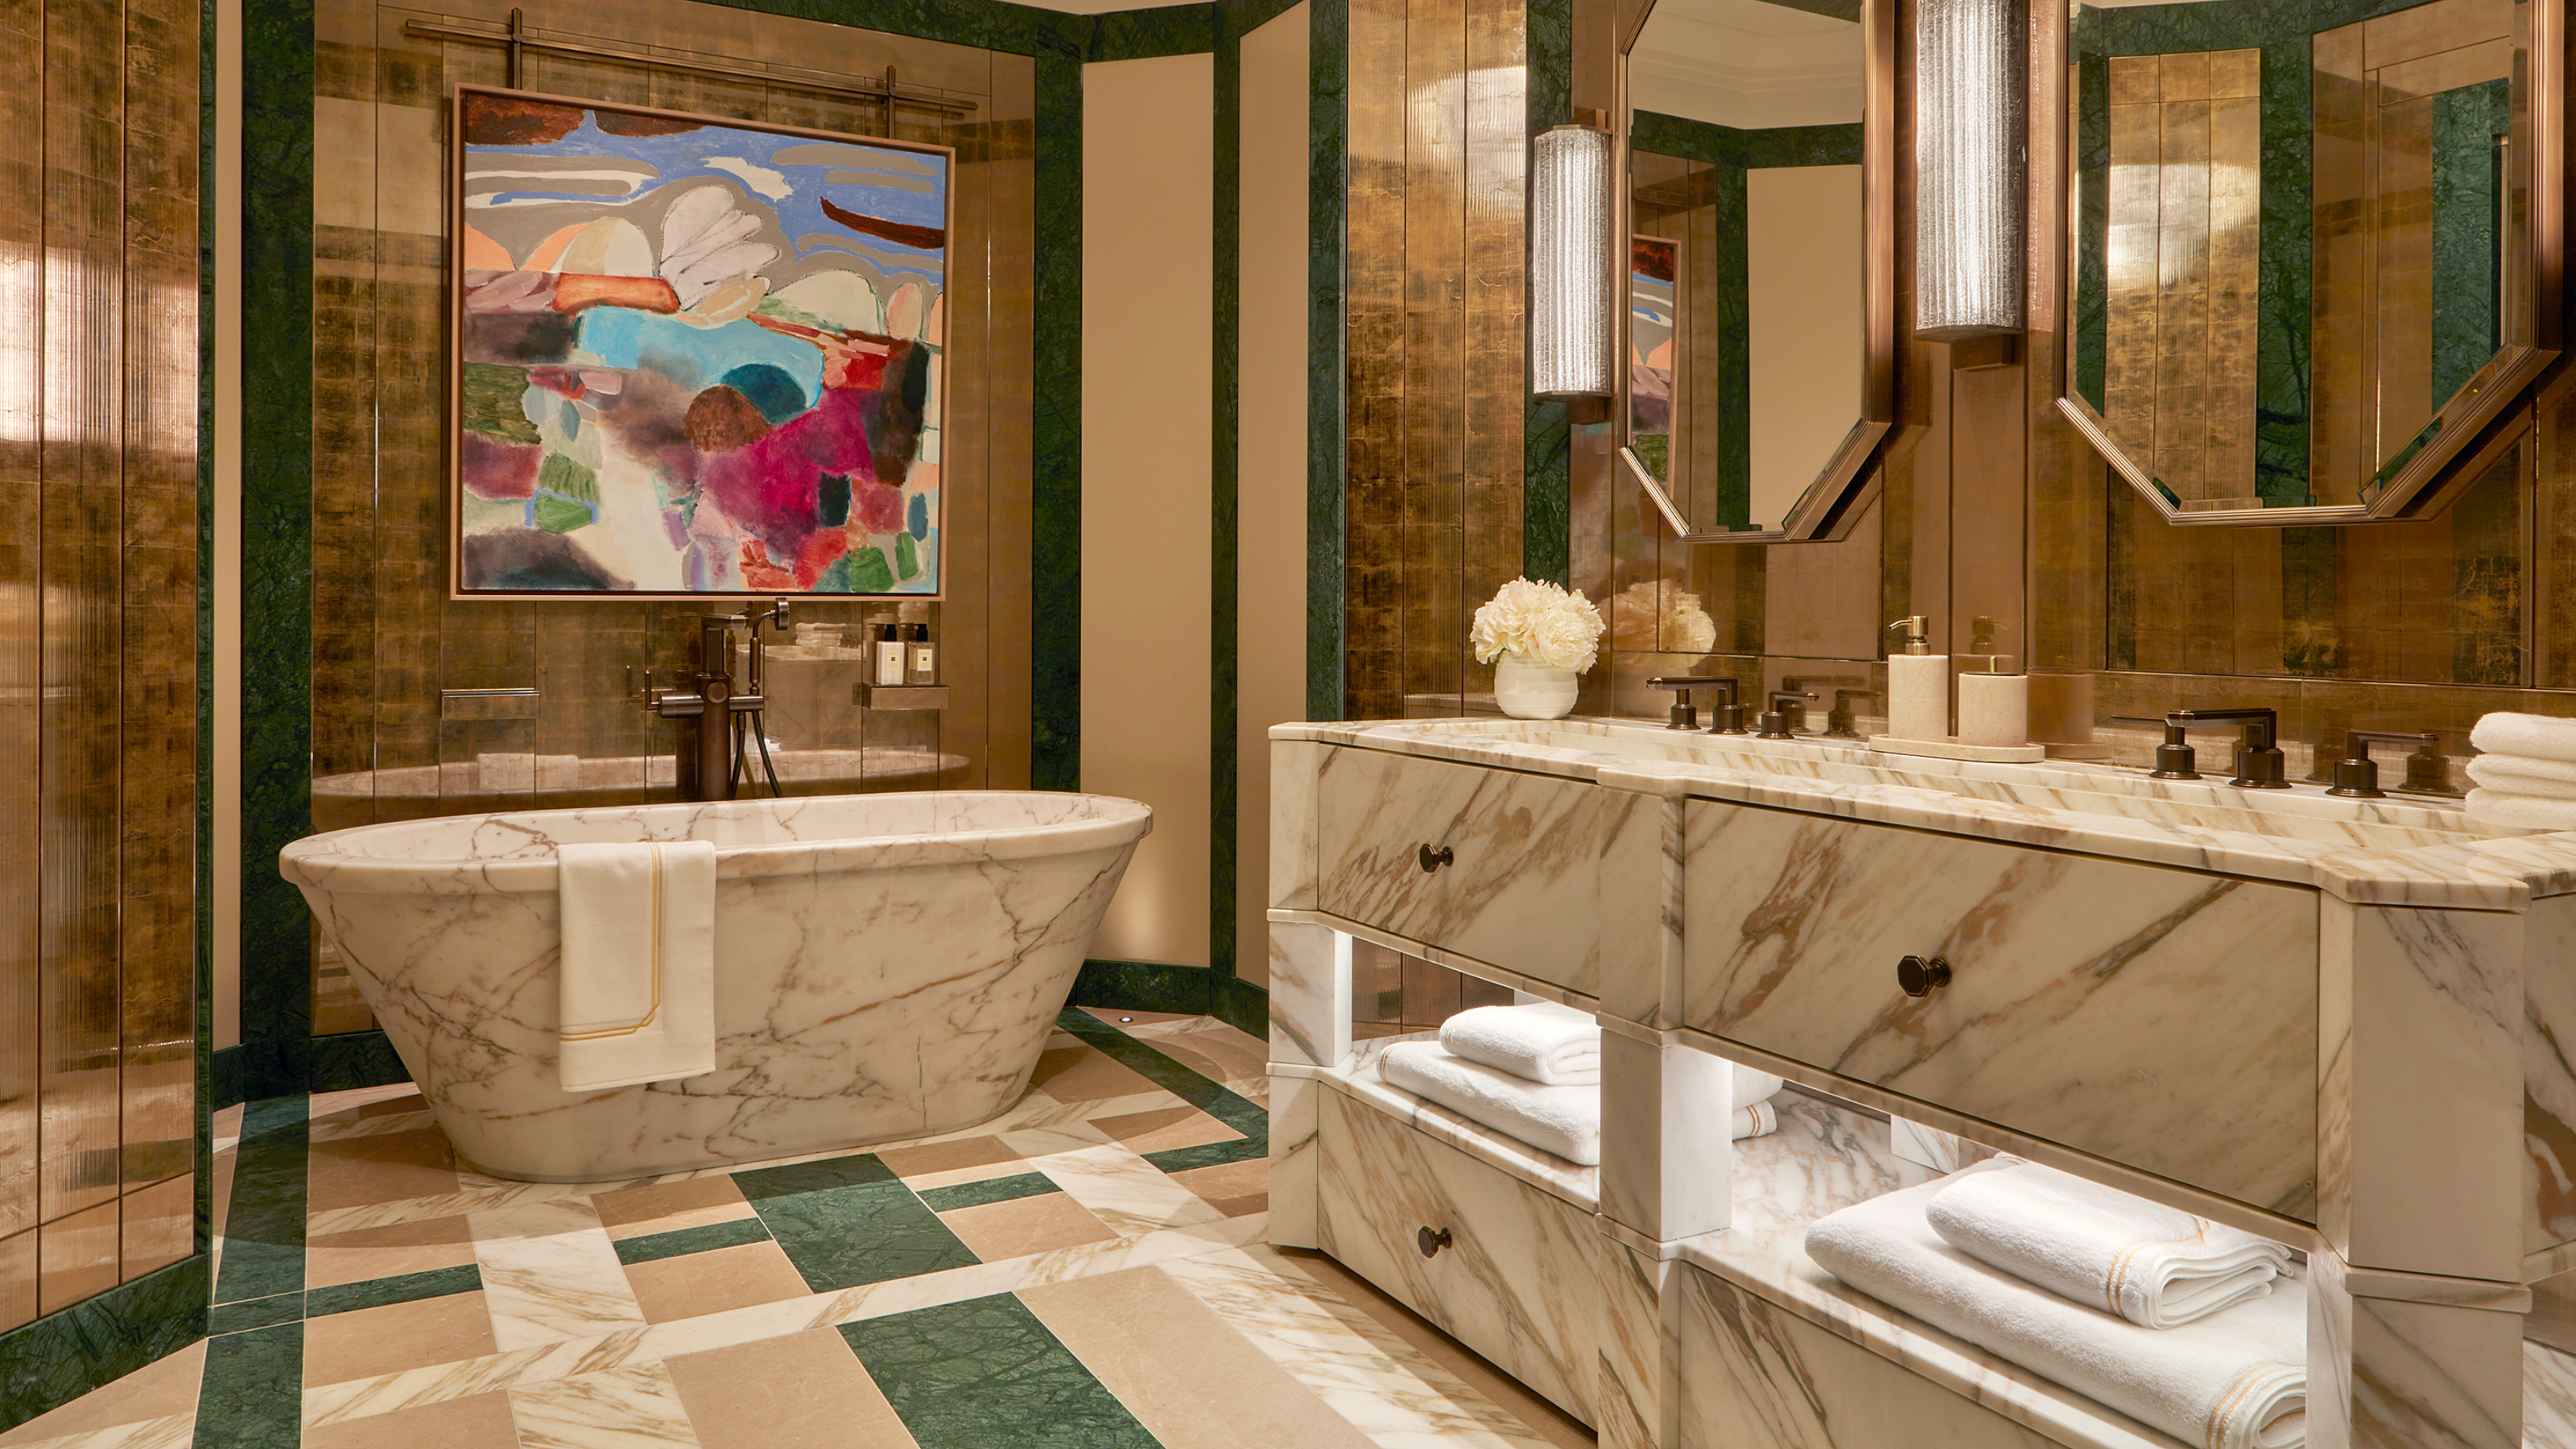
5 Outdated Bathroom Flooring Trends to Avoid in 2025 — Plus the Ones the Experts Want to See More of in Your Home
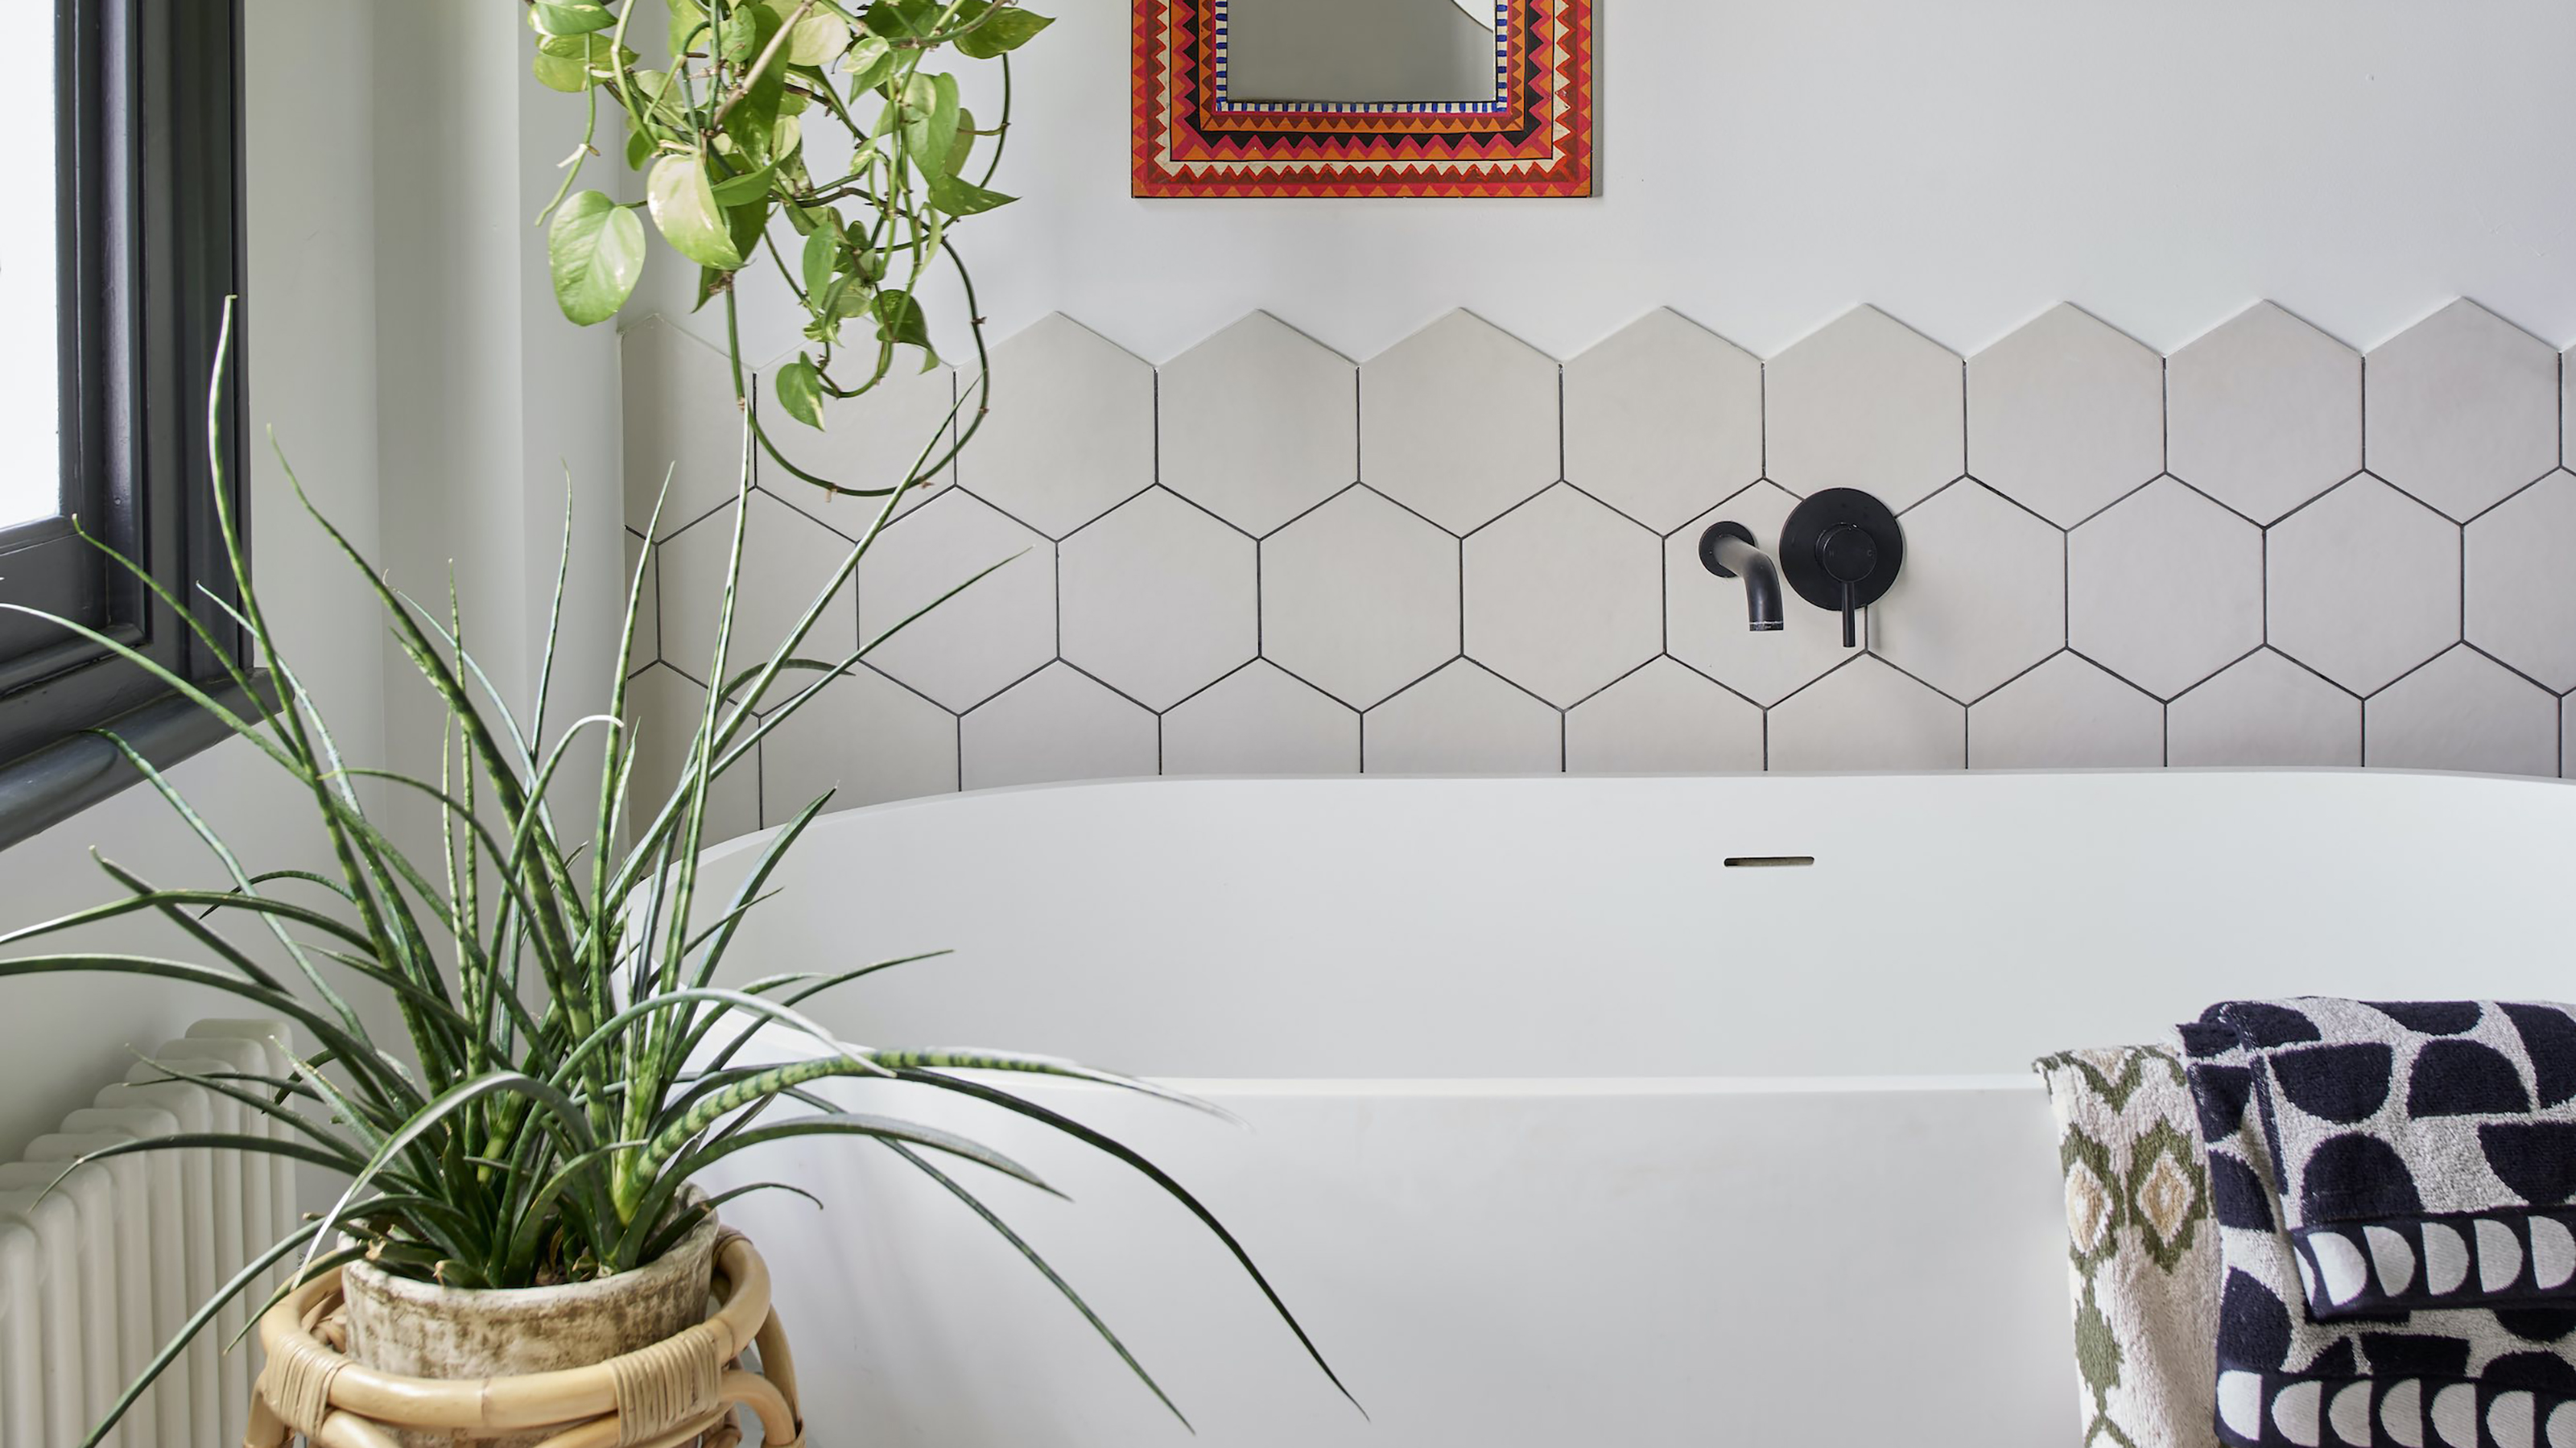
6 ways to update bathroom tile ideas on a budget - trend-led ways to revamp a look for less
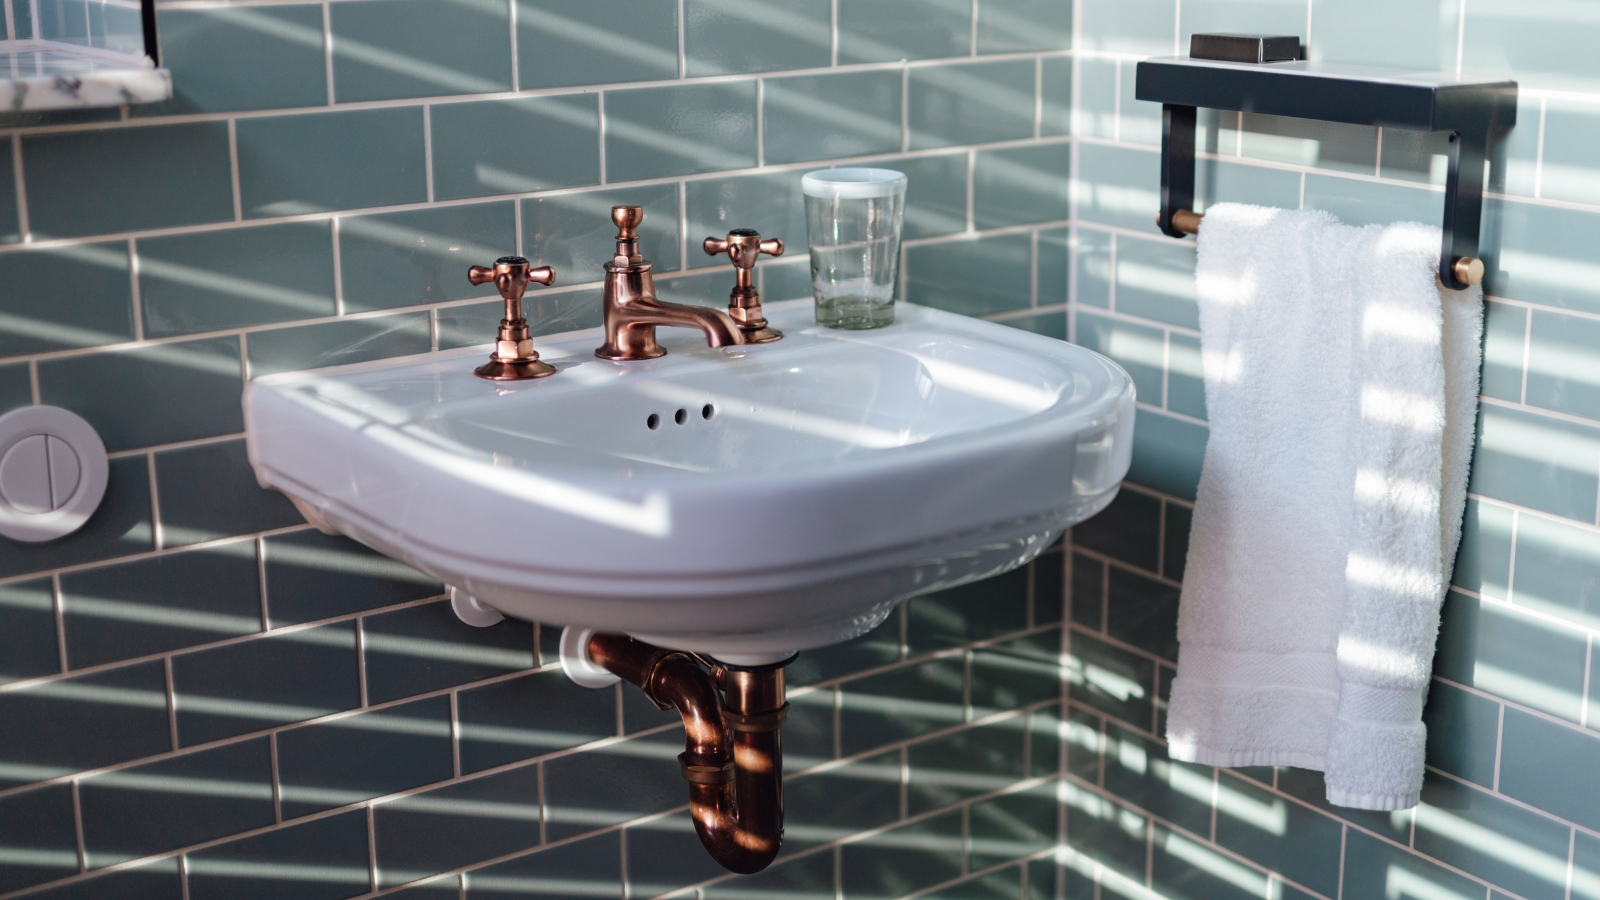
How to regrout between tiles to keep them from looking tired in 6 simple steps
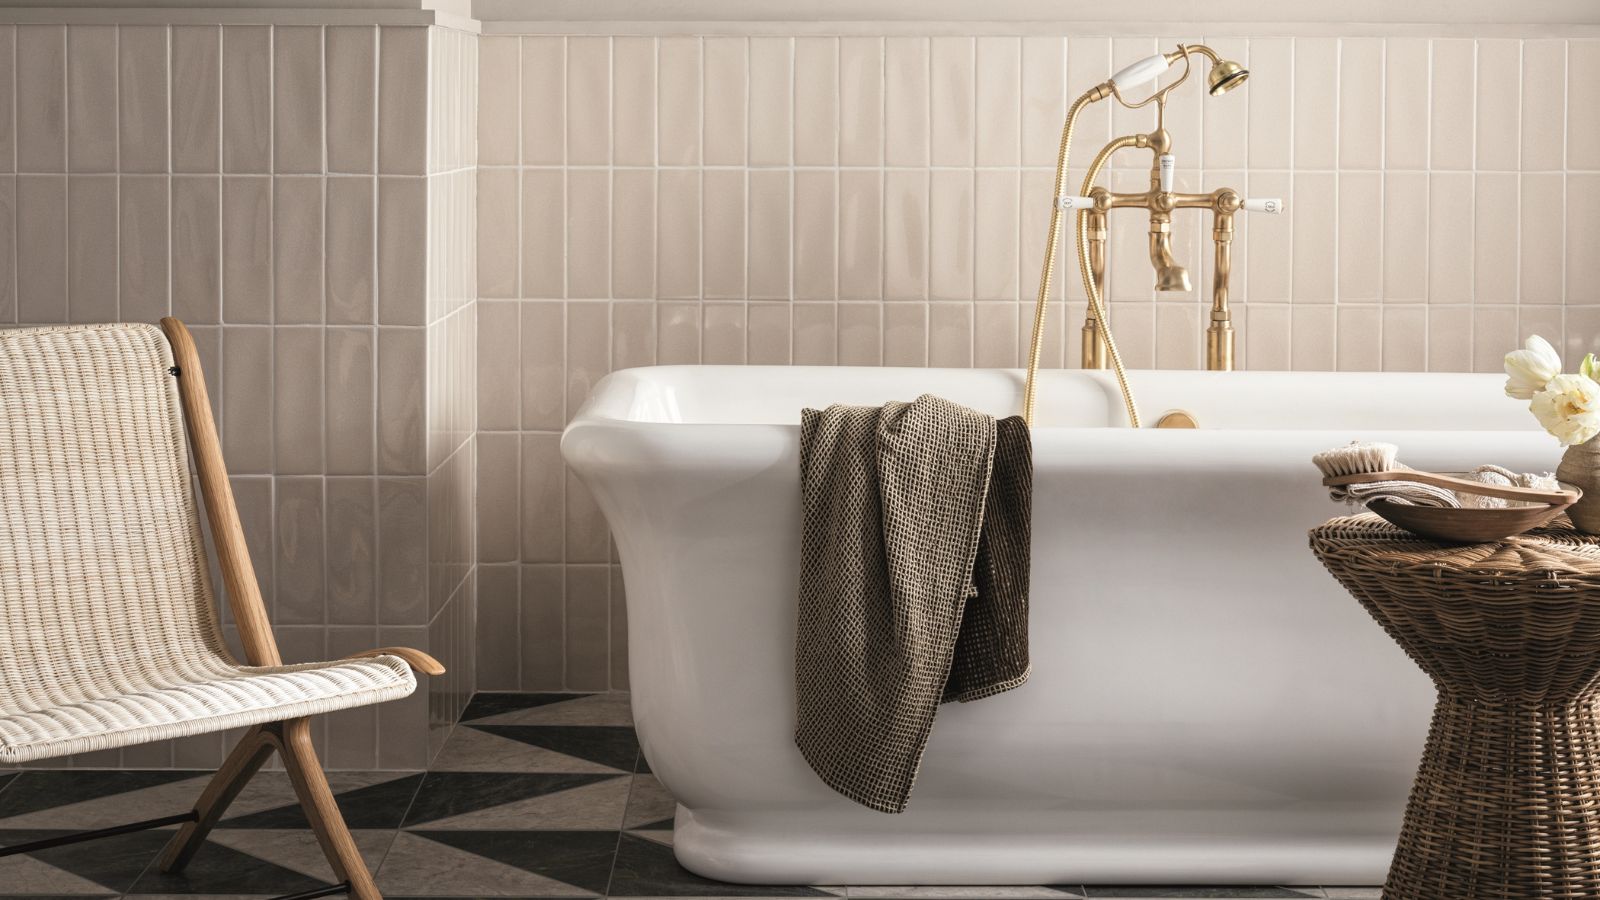
What’s making your bathroom tiles look cheap? 7 things to look out for, according to experts
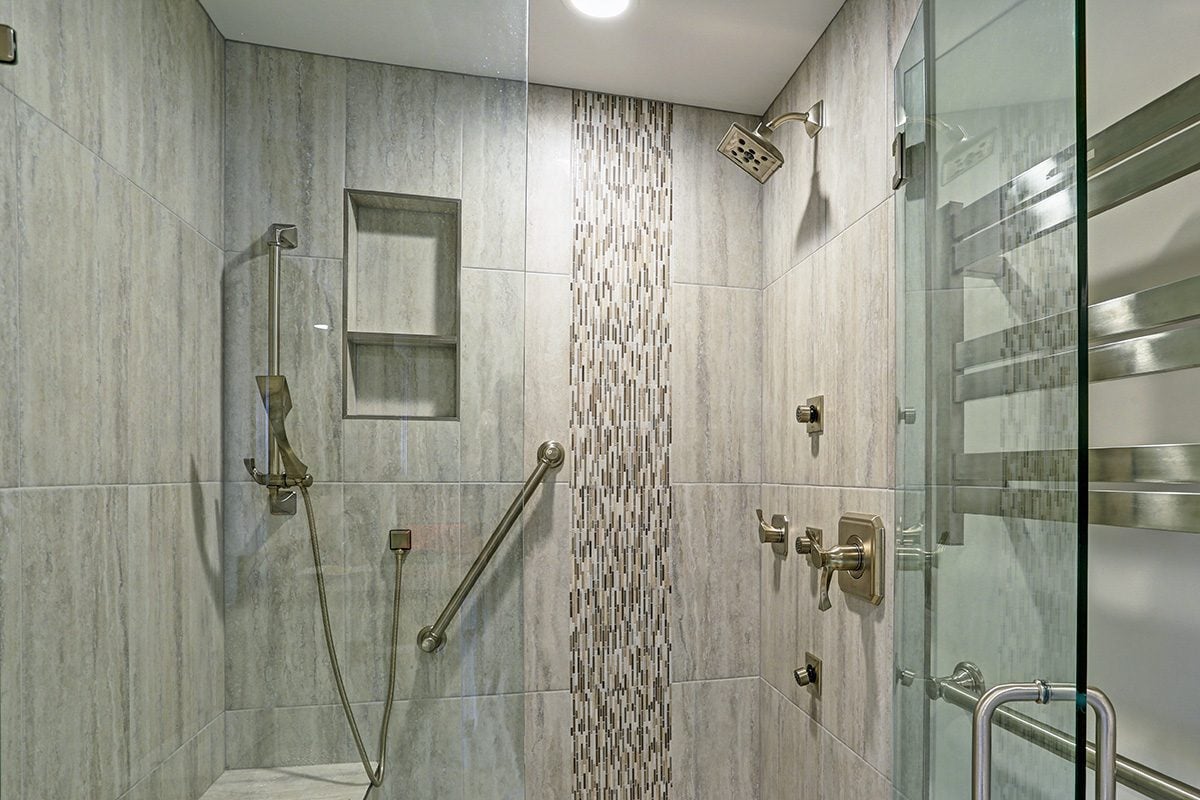
Upgrade Your Shower With These 8 Gorgeous Tile Design Ideas