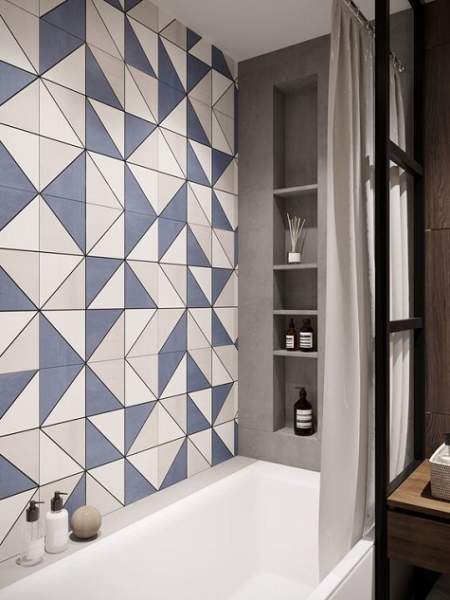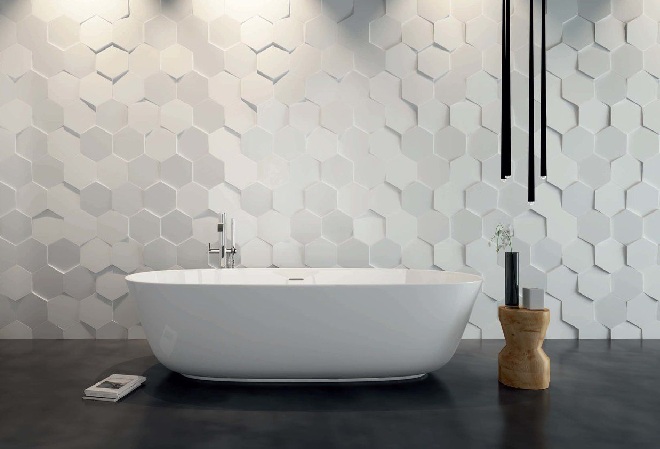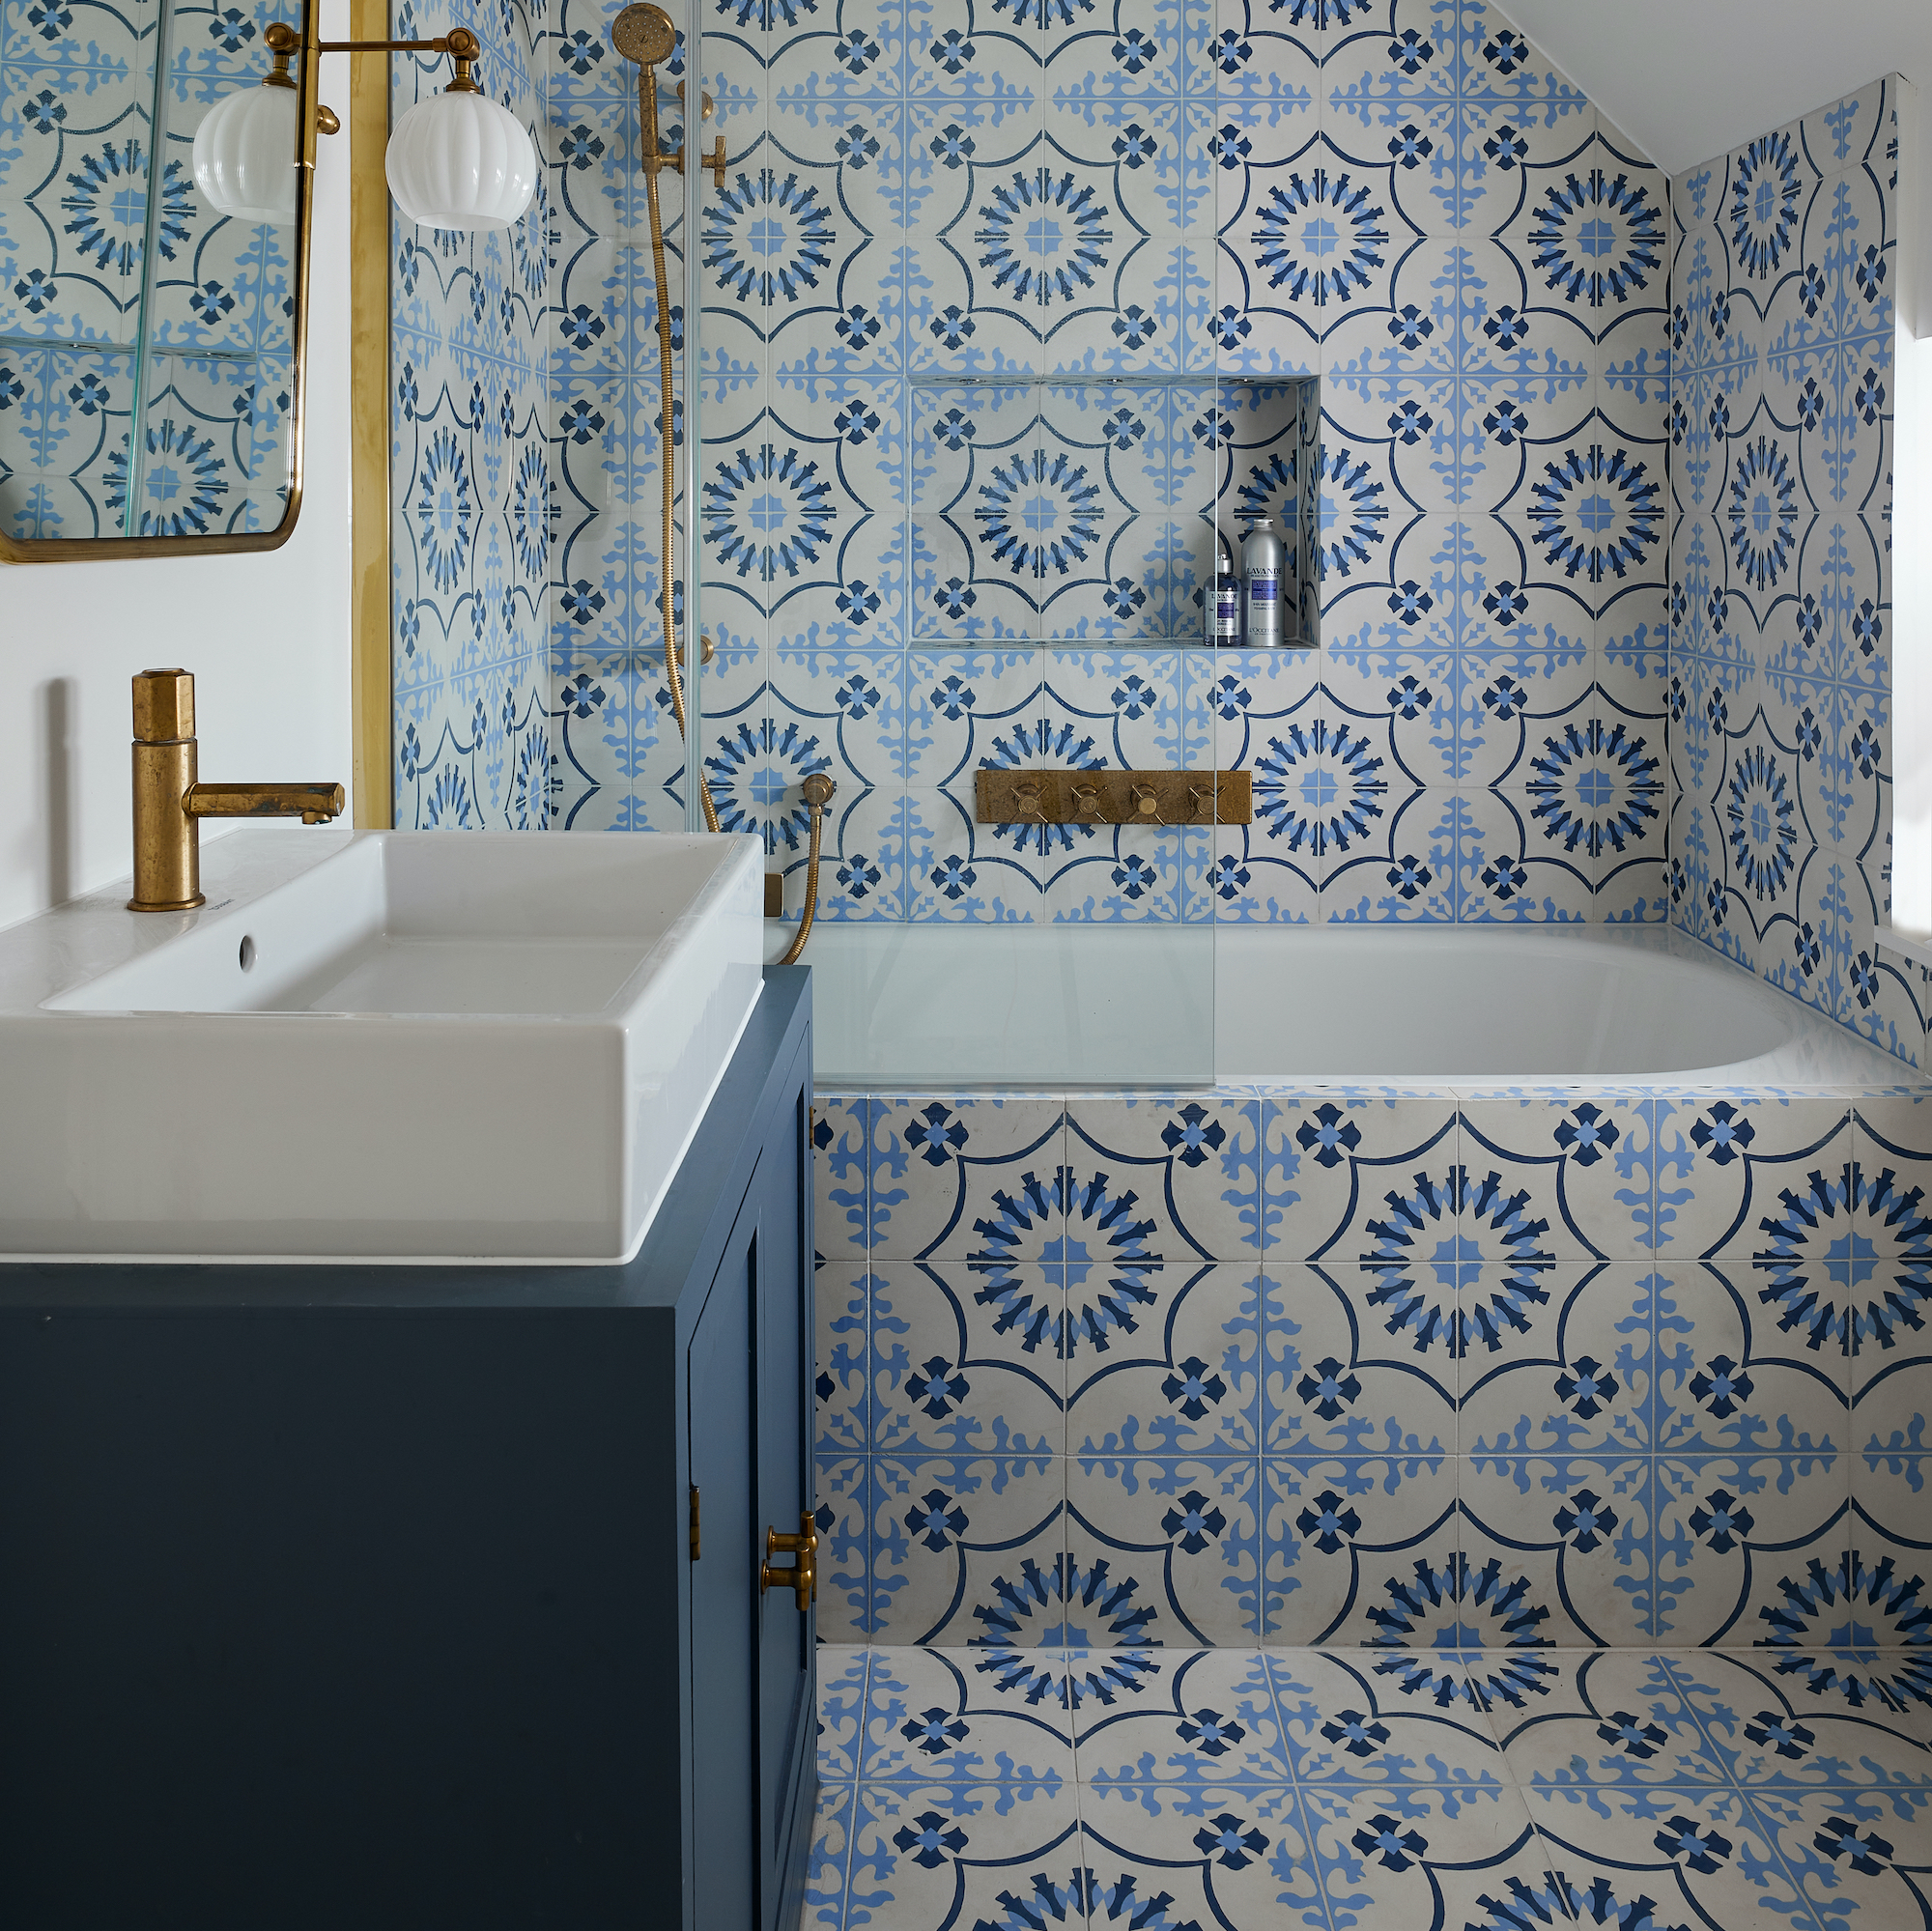
How to tile a bathtub – for a stylish, practical finish
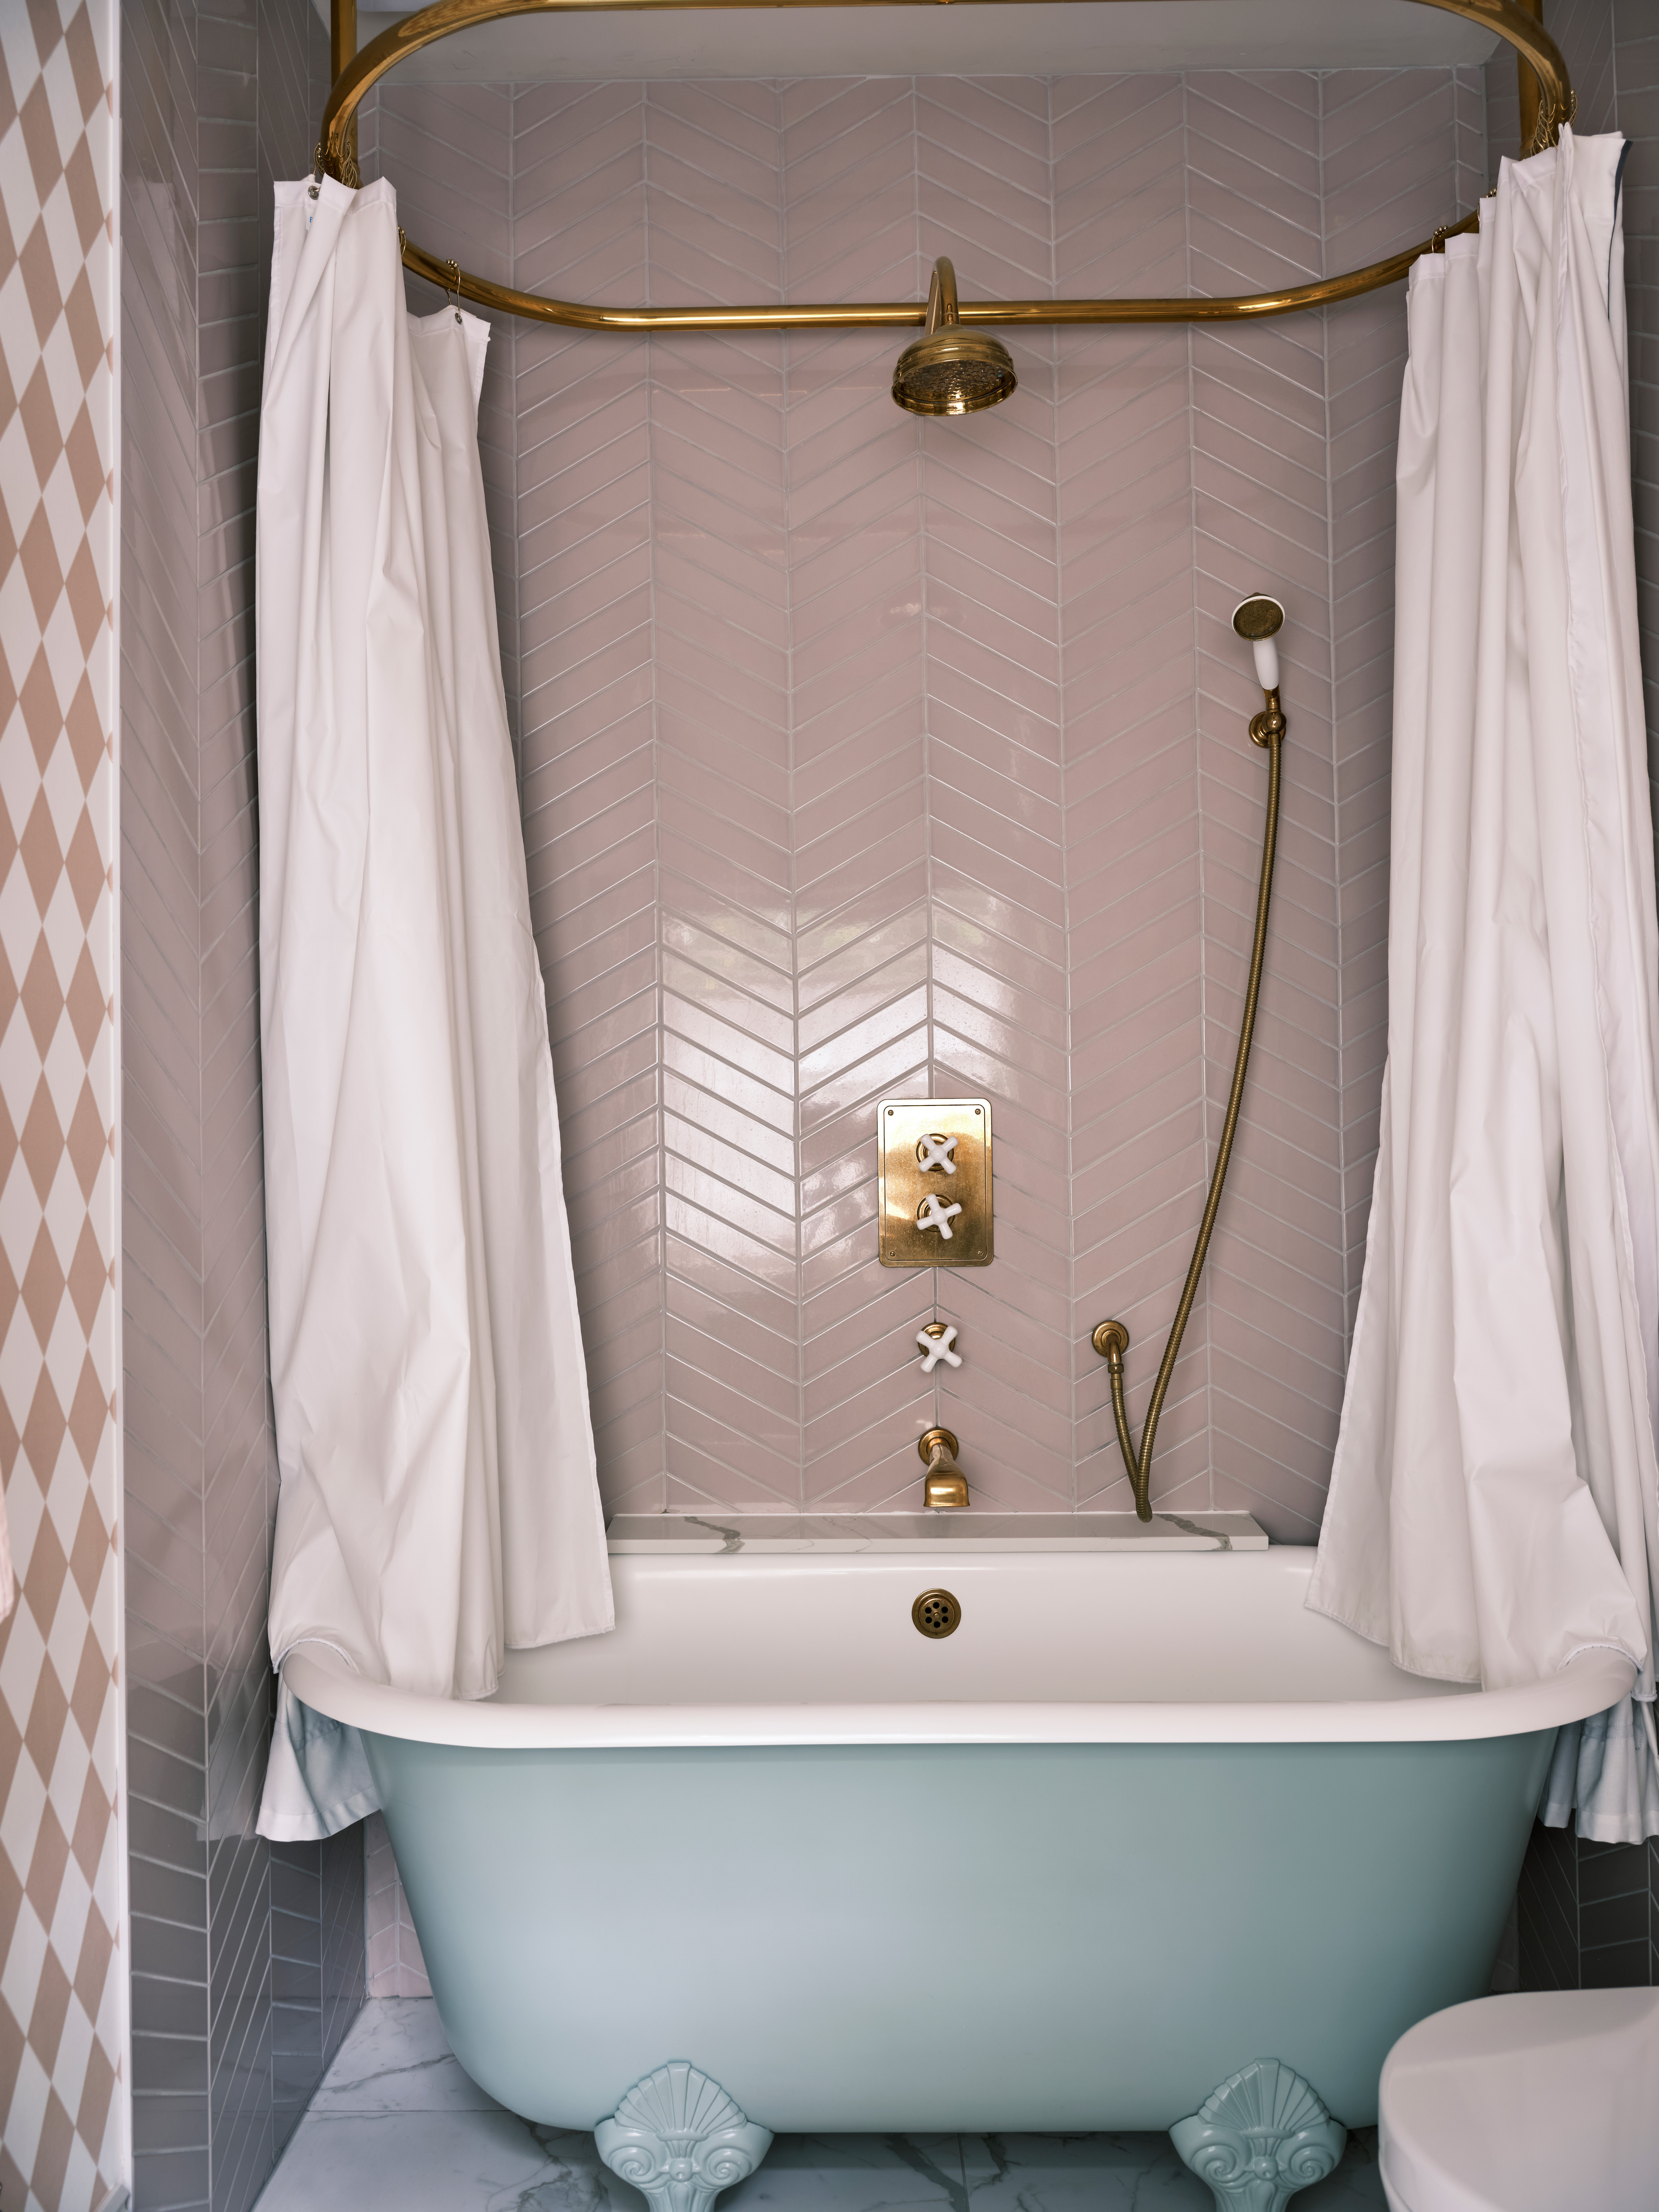
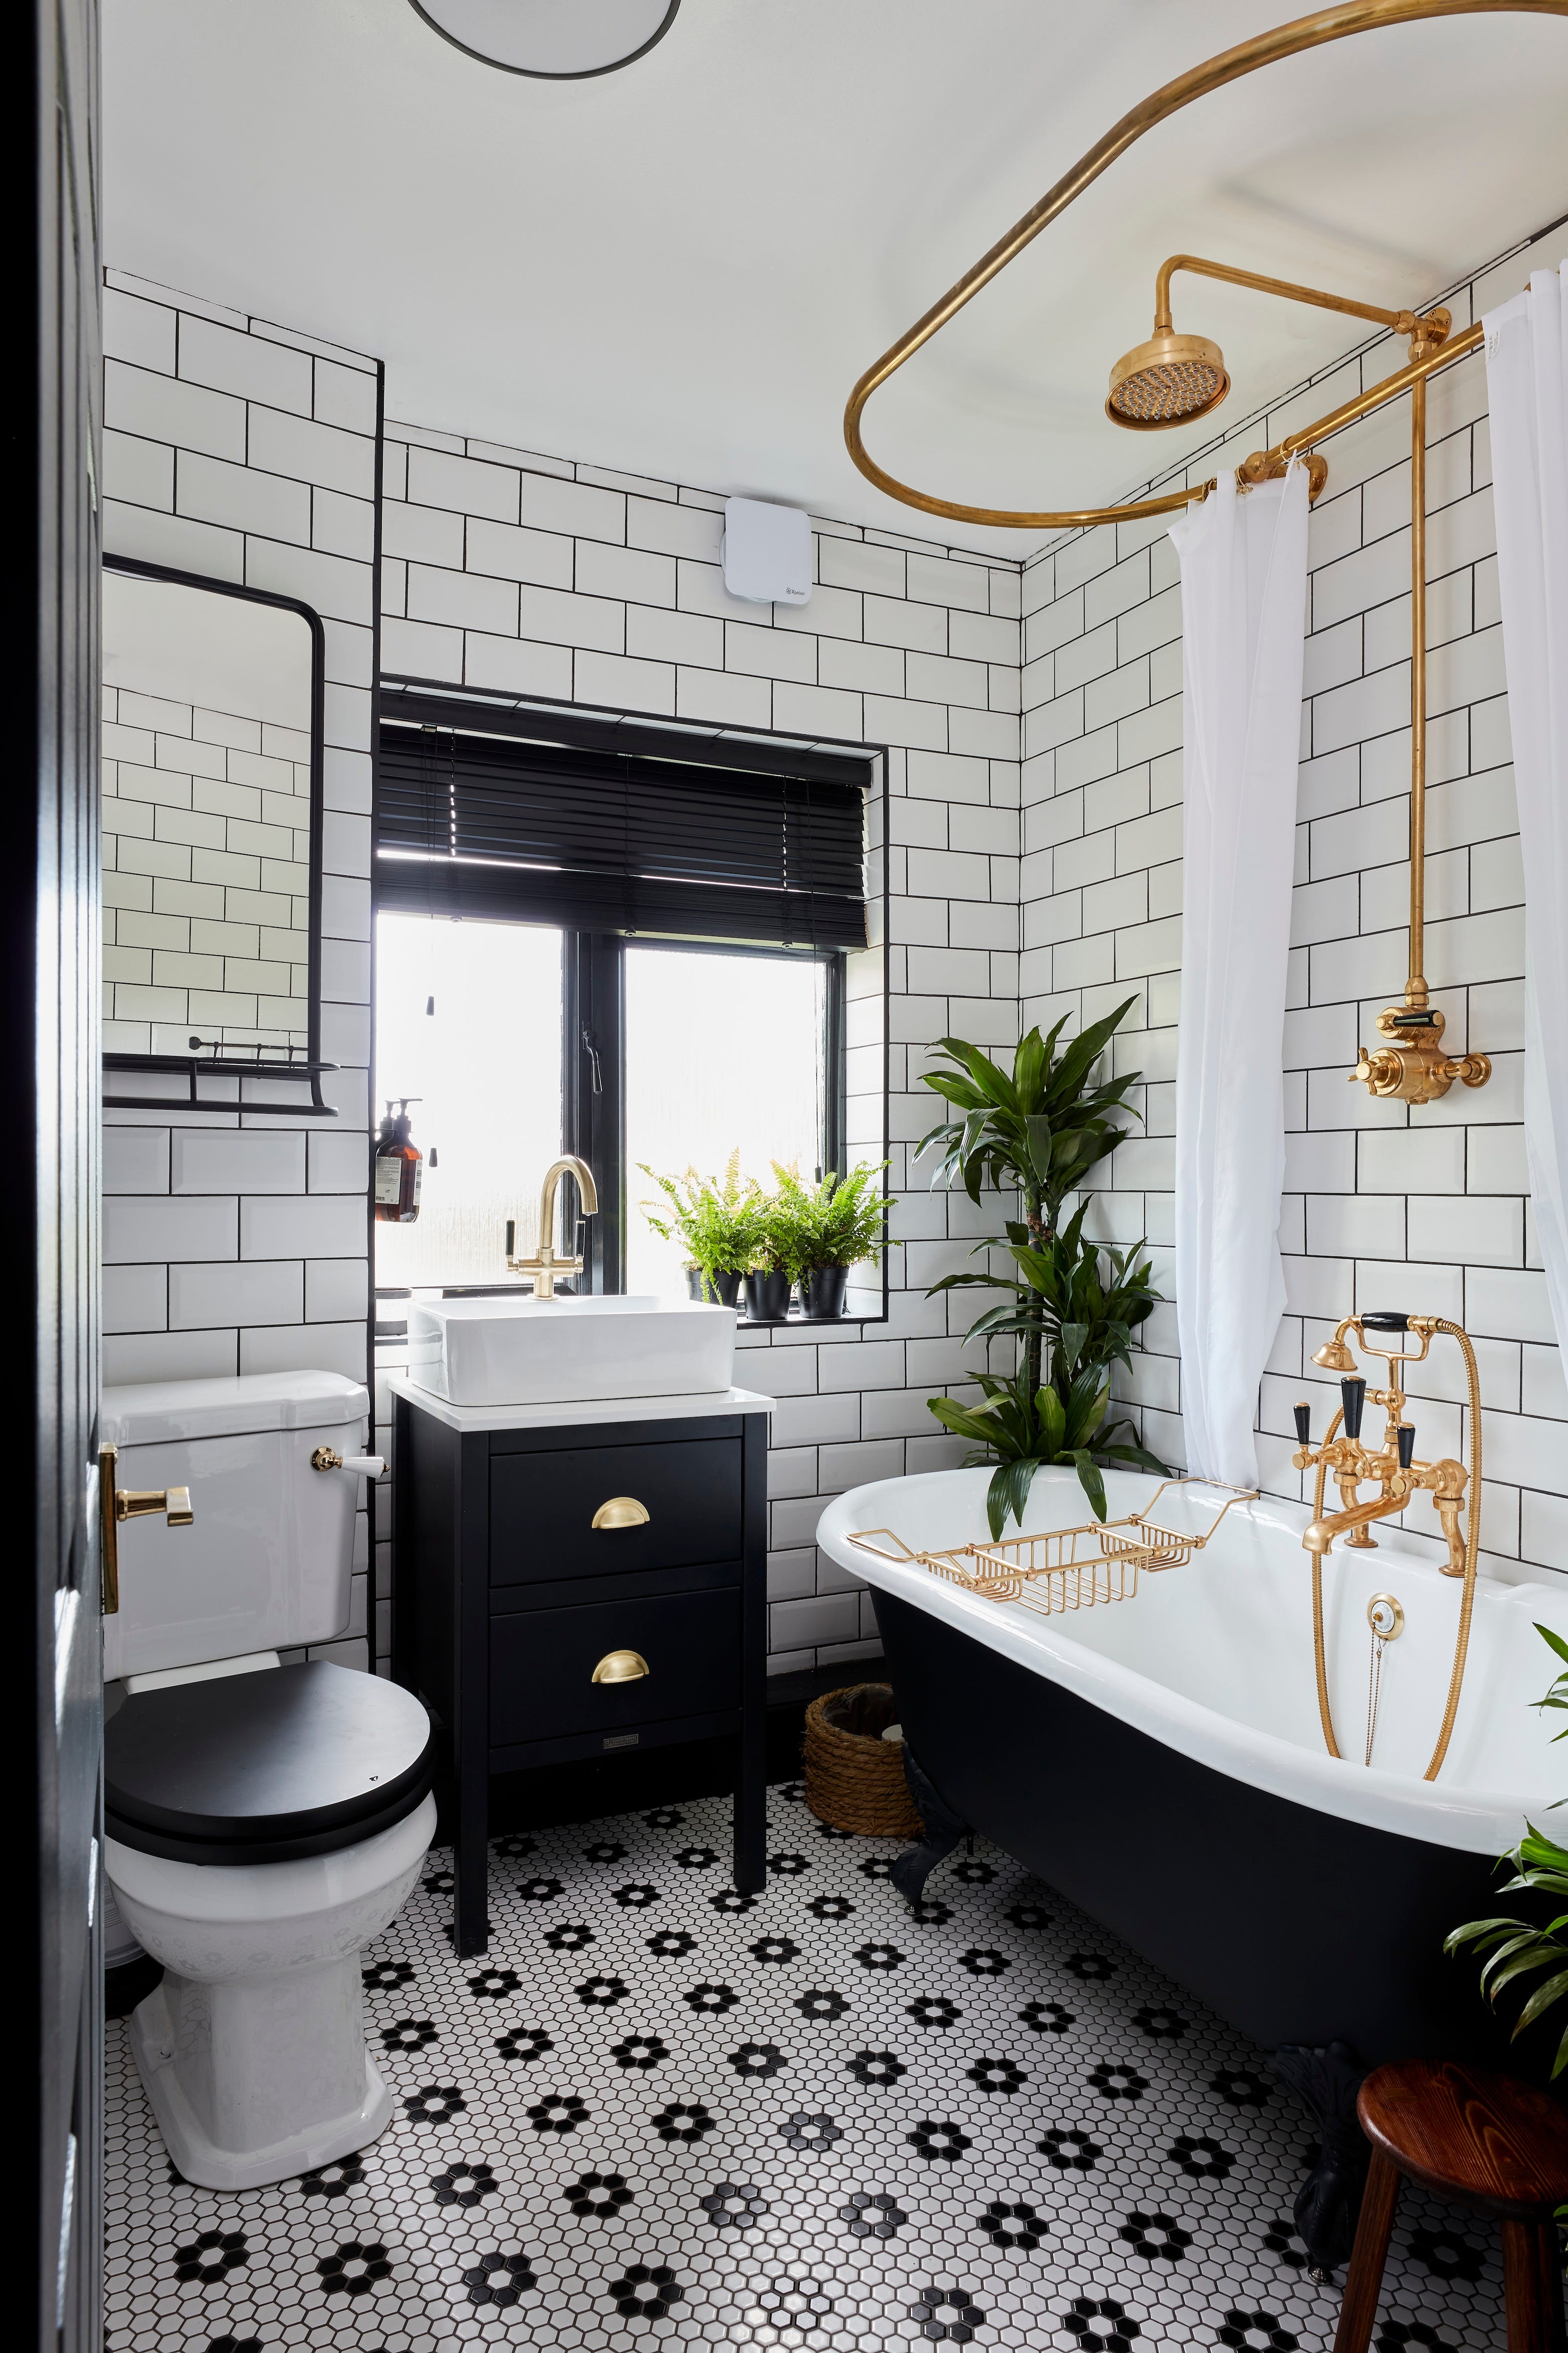
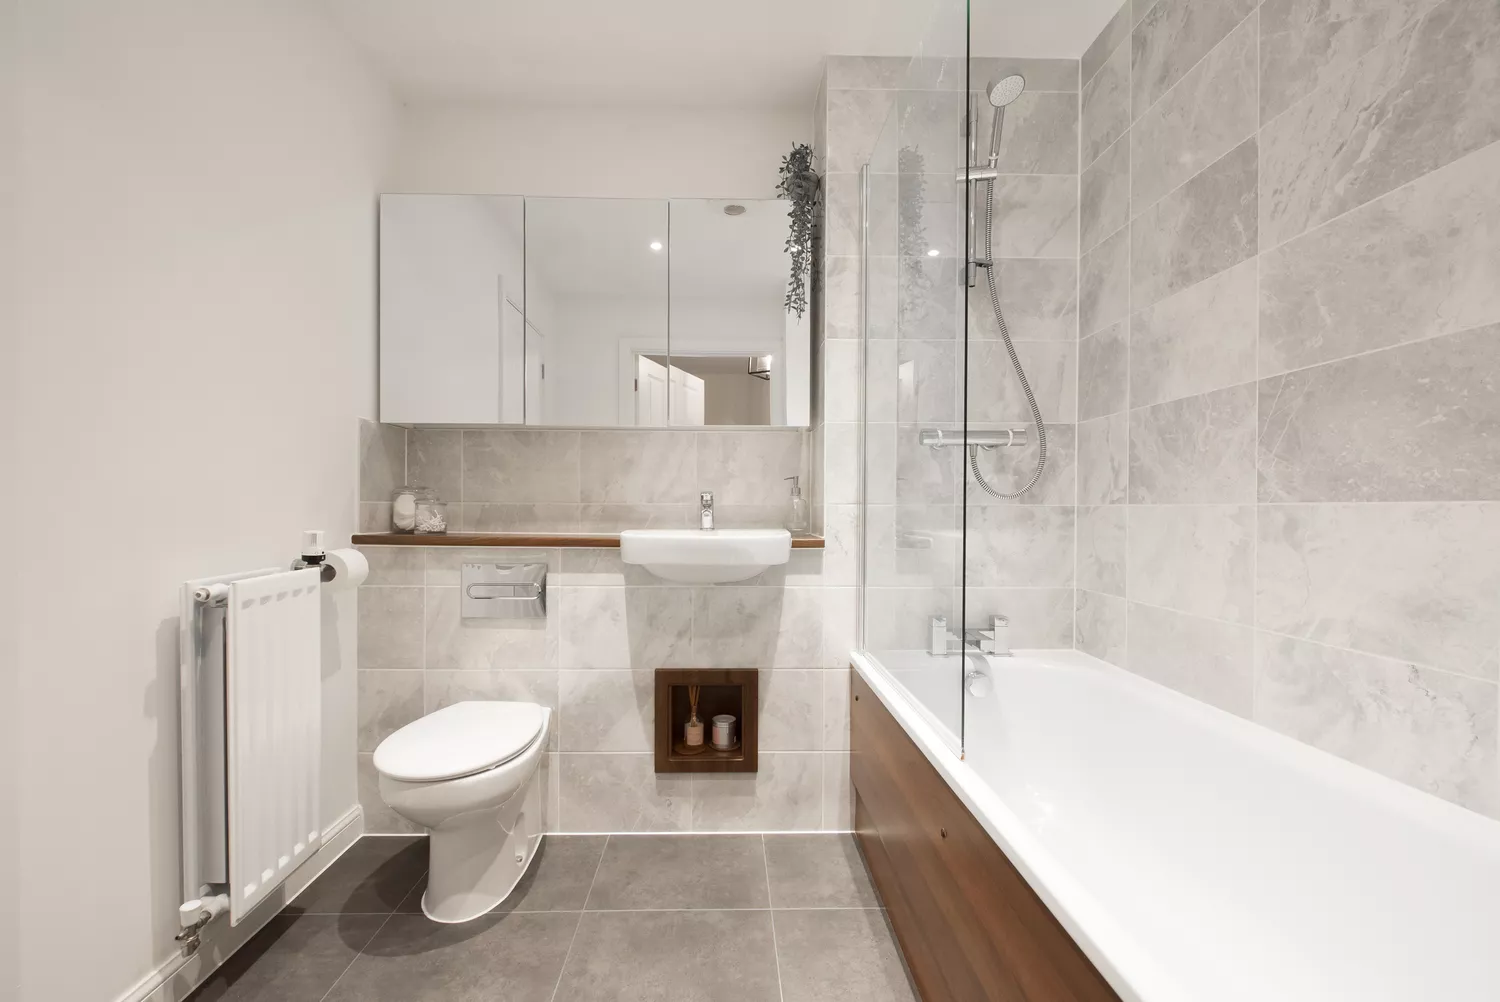
Tiling a bathtub offers numerous benefits, especially for households with children, as it provides a practical and aesthetically pleasing solution for splash zones. This DIY project is a cost-effective way to refresh a bathroom without replacing the entire sanitaryware or rerouting plumbing. The process, achievable over a weekend, can transform a dated or stained bath area into a modern, eye-catching space. Design professionals emphasize the creative potential of tiling a bathtub, noting that its relatively small area allows for bold designs and interesting tile layouts. The article provides a detailed, step-by-step guide for both installing new tiles and revamping old ones around a bathtub, ensuring a professional finish.
The initial step involves preparing the surface. This requires ensuring the substrate is clean, flat, and stable. A thin layer of waterproof sealer must be applied to the walls, particularly in high-splash areas, as grout is not inherently waterproof. This step is crucial to prevent water from penetrating behind the tiles, which can lead to issues such as shadowing and mold. For new bathtub installations, sealing the joint between the bath and wall with silicone before tiling is recommended. If renovating, old silicone should be refreshed. The next stage involves marking out the start position. It is advisable to begin tiling from the center of the bath (lengthways) and work outwards. Calculations for tile count, including grout lines, are necessary to ensure a balanced aesthetic, avoiding very narrow cuts at the corners. A gap of at least 1/16th of an inch should be left between the bath rim and the first row of tiles for caulking. The tiling height is largely a matter of personal preference, though an overhead shower necessitates tiling to the ceiling.
Applying adhesive is the third step. A thin layer is trowelled onto the surface, avoiding guide lines, and ridged with a notched trowel to ensure even distribution. Mixing adhesive in small batches helps prevent premature setting. Laying tiles follows, starting from the marked center line and extending outwards, then up towards the ceiling and down to the bathtub. Tile spacers are used to maintain consistent gaps. All full tiles are laid first, followed by cut tiles, with raw edges concealed in corners or against the ceiling. For wall-mounted fixtures, pre-drilling holes with a diamond-bit hole saw is necessary, or alternatively, positioning pipes at tile joints and using nippers to create crescent shapes. The final stages involve grouting and sealing. Grouting is performed with a grout float and smoother, ensuring no air gaps or pinholes, particularly in this high-splash environment. The grout should be flush with the tiles to prevent water retention. After the grout has dried, the gap between the bath and tiles is sealed with silicone, a flexible product that prevents cracking. Using mold-protected, color-matched sealant is recommended. For optimal watertightness, the bath should be filled halfway before sealing, and at least 24 hours allowed for curing.
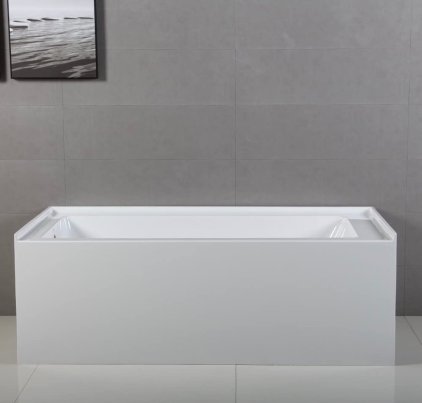
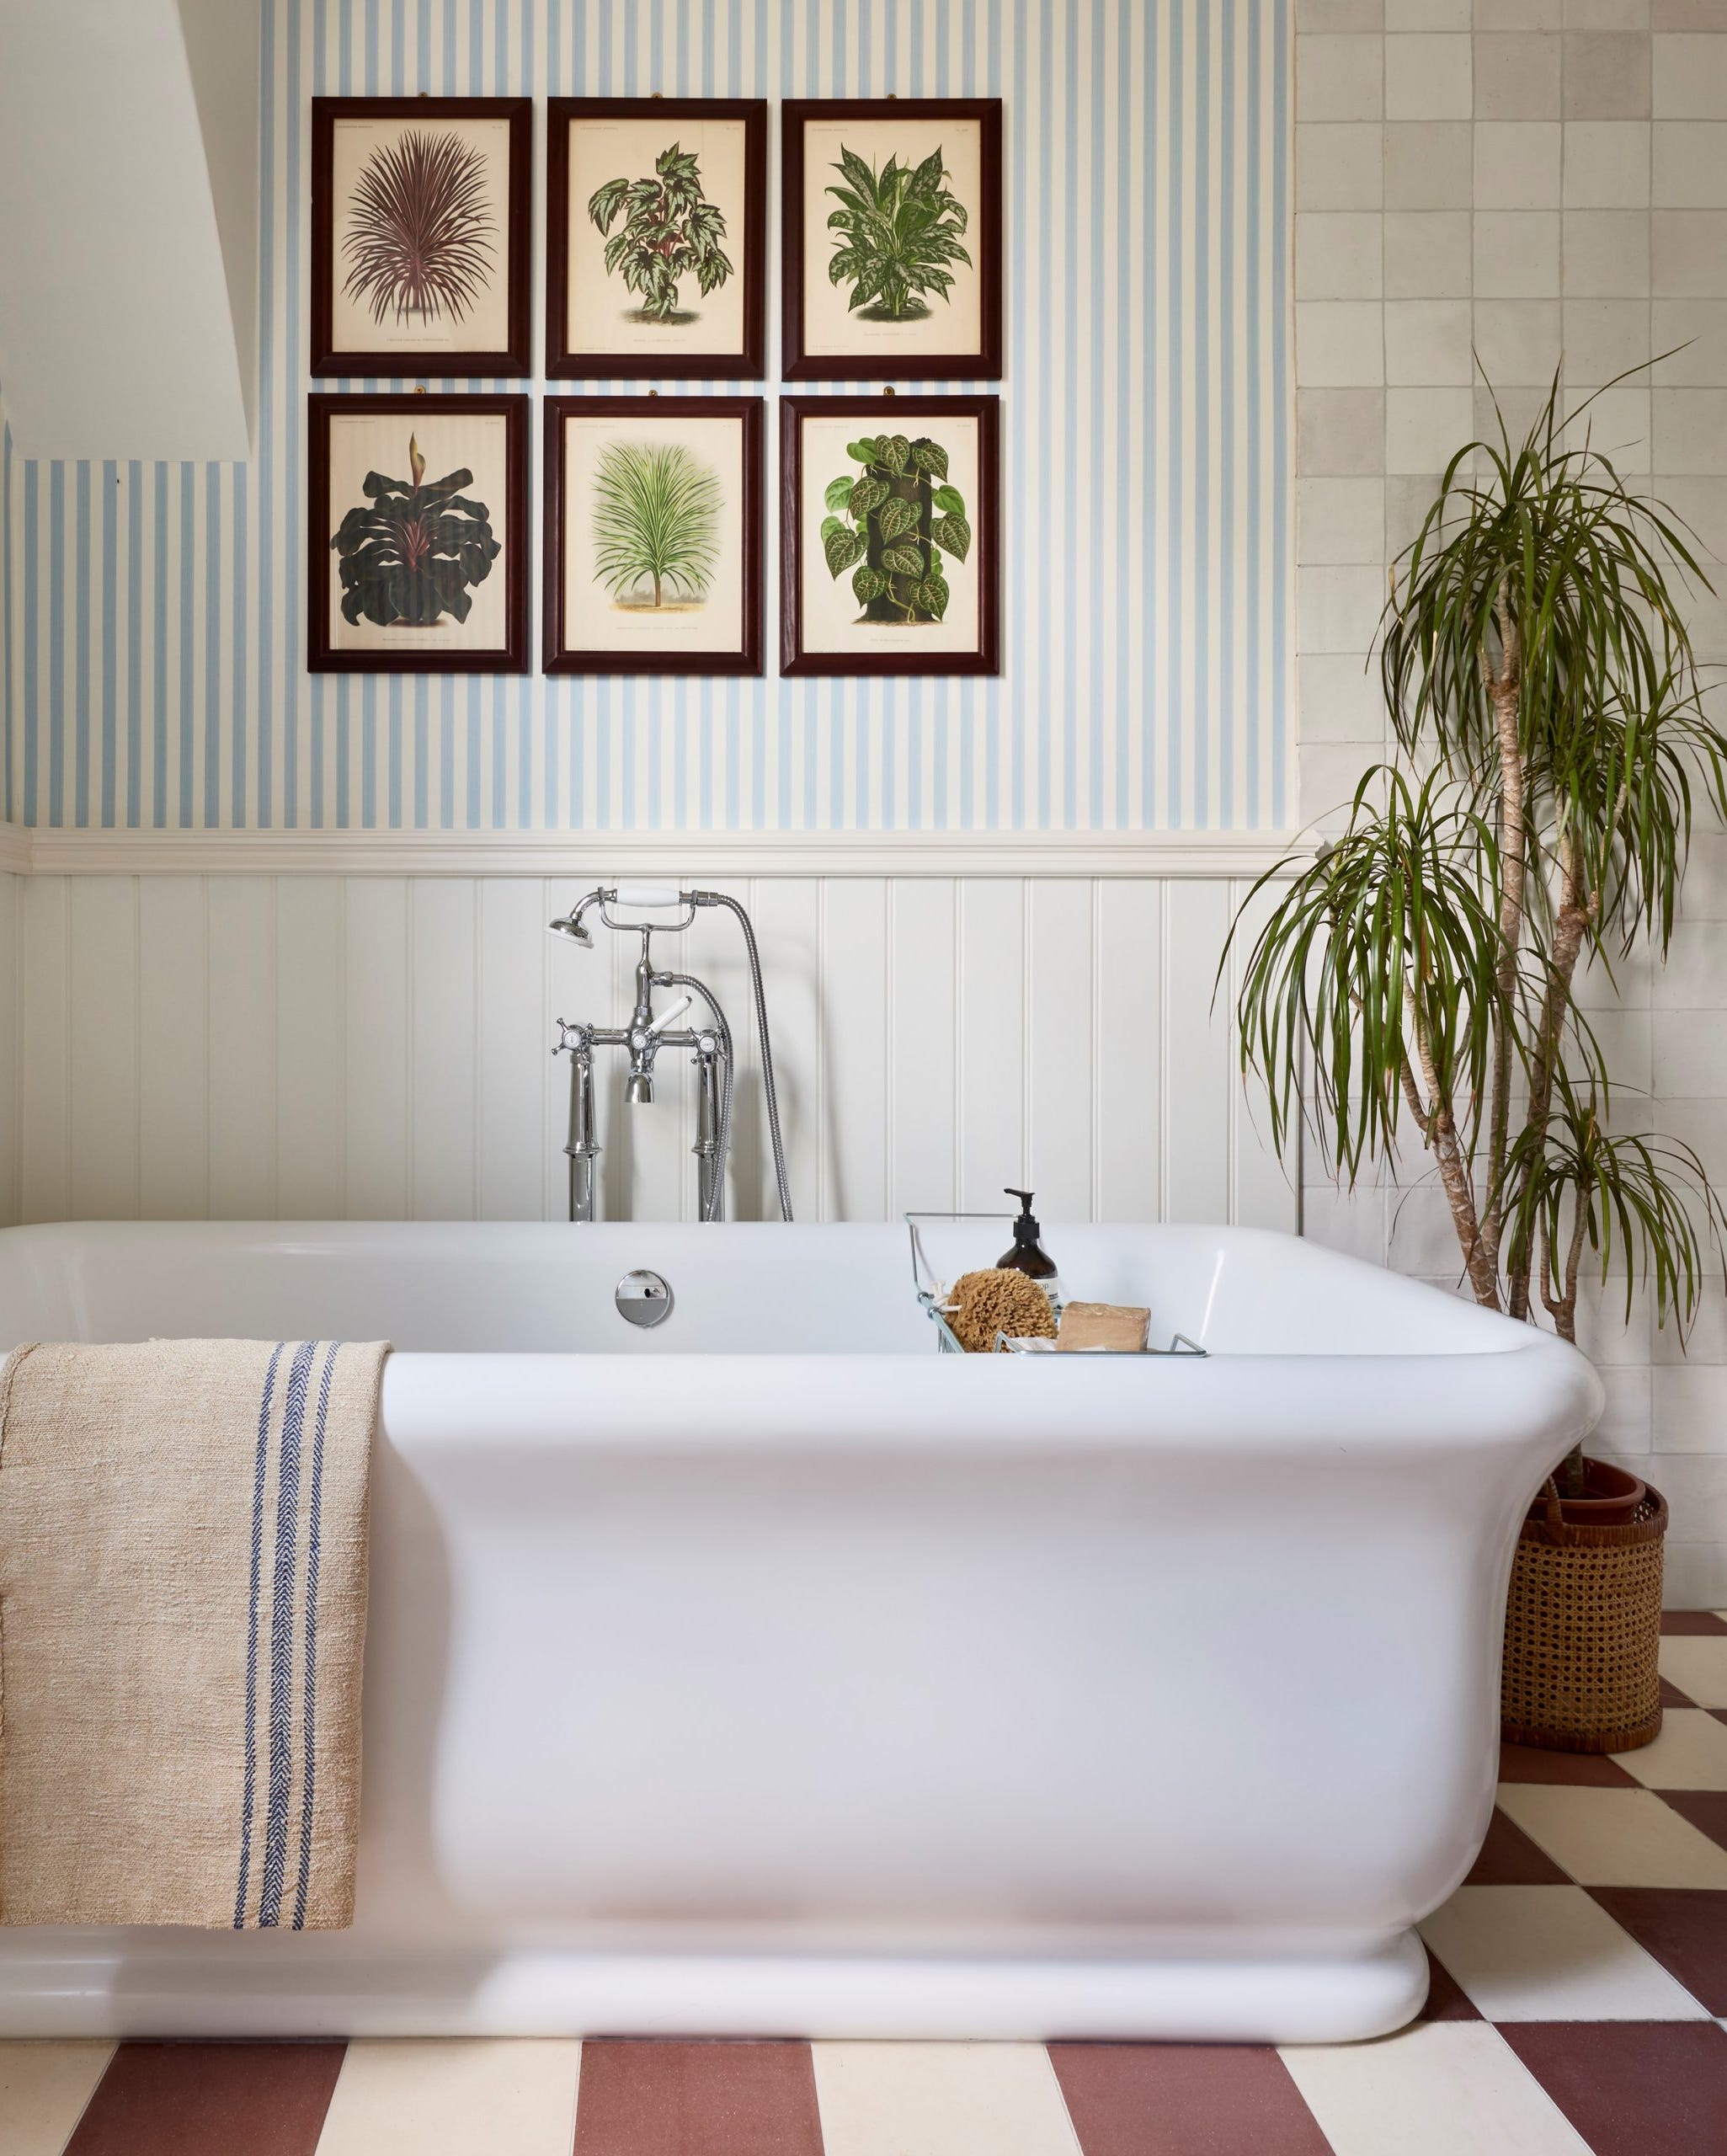
The article also addresses common questions regarding tiling a bathtub. The height of tiling is flexible, unlike shower areas, unless a shower attachment is present. Alternatives include tiling three-quarters up the wall and painting the remainder, which can create a sense of height in smaller bathrooms. For baths without wall-mounted showers, a lower tiled backsplash is an option, requiring careful consideration of edge finishing with trim or border tiles. Tiling bath panels is also discussed, particularly for inset baths with stable panels. This offers creative design opportunities, either by matching the wall tiles for a seamless look or introducing contrasting patterns. Accessibility to plumbing through an access panel, potentially tiled over with magnetic options or a bespoke timber frame, is an important practical consideration. In bathrooms with limited daylight, using lighter, polished tiles on the bath panel can enhance brightness and spaciousness. This comprehensive guide aims to equip homeowners with the knowledge and confidence to undertake this transformative bathroom renovation project.
#BathtubTiling #BathroomRenovation #DIYHomeImprovement #TileInstallation #BathroomDesign #Waterproofing #Grouting #SiliconeSealing #BathtubTiling #BathroomRenovation #DIYHomeImprovement #TileInstallation #BathroomDesign #Waterproofing #Grouting #SiliconeSealing
0 comment in total
 No comments yet
You may also like

Bathtub Styles, Fixes and Cleaning

20 Beautiful Bathtub Ideas to Inspire Your Dream Remodel

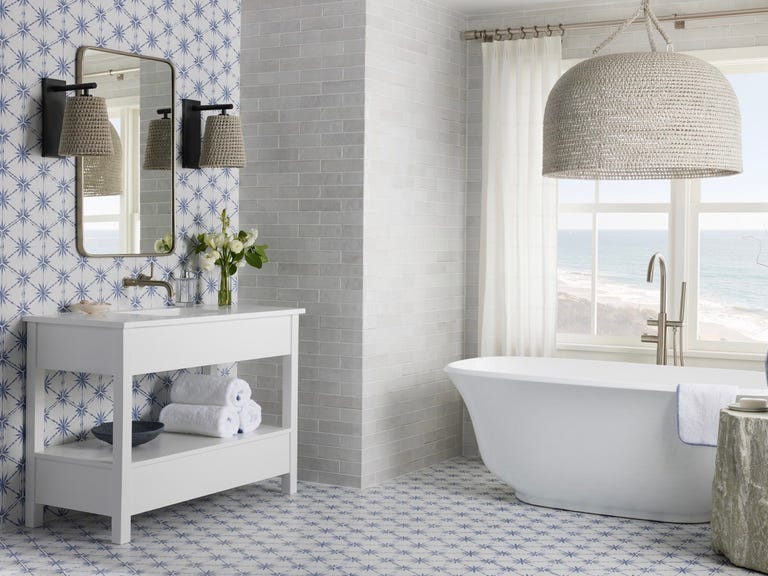
4 Designer Tips for Creating an All-Tile Bathroom
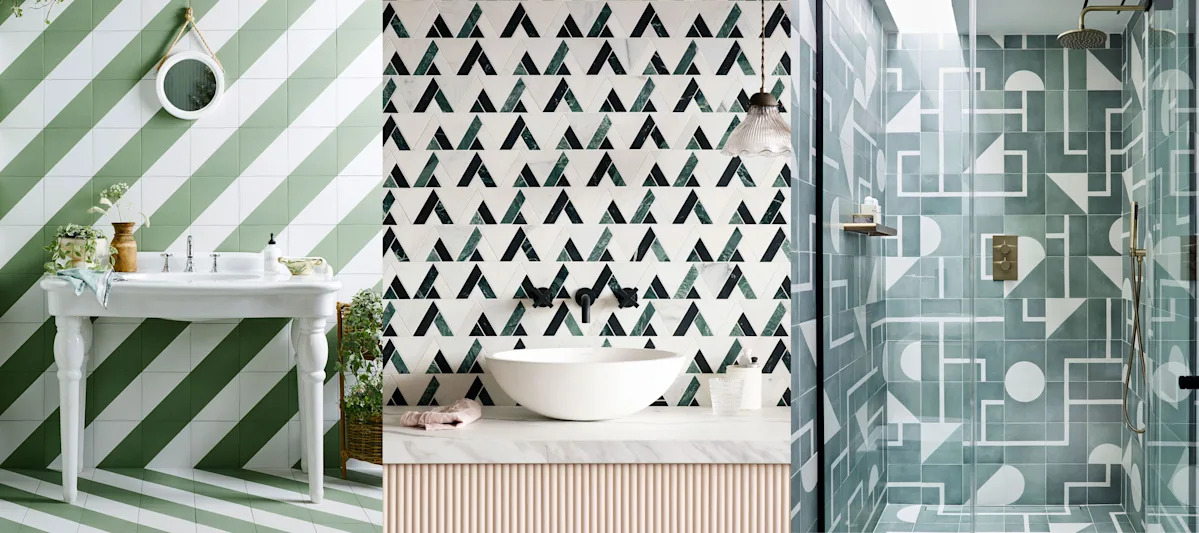
Beautiful bathroom tile ideas
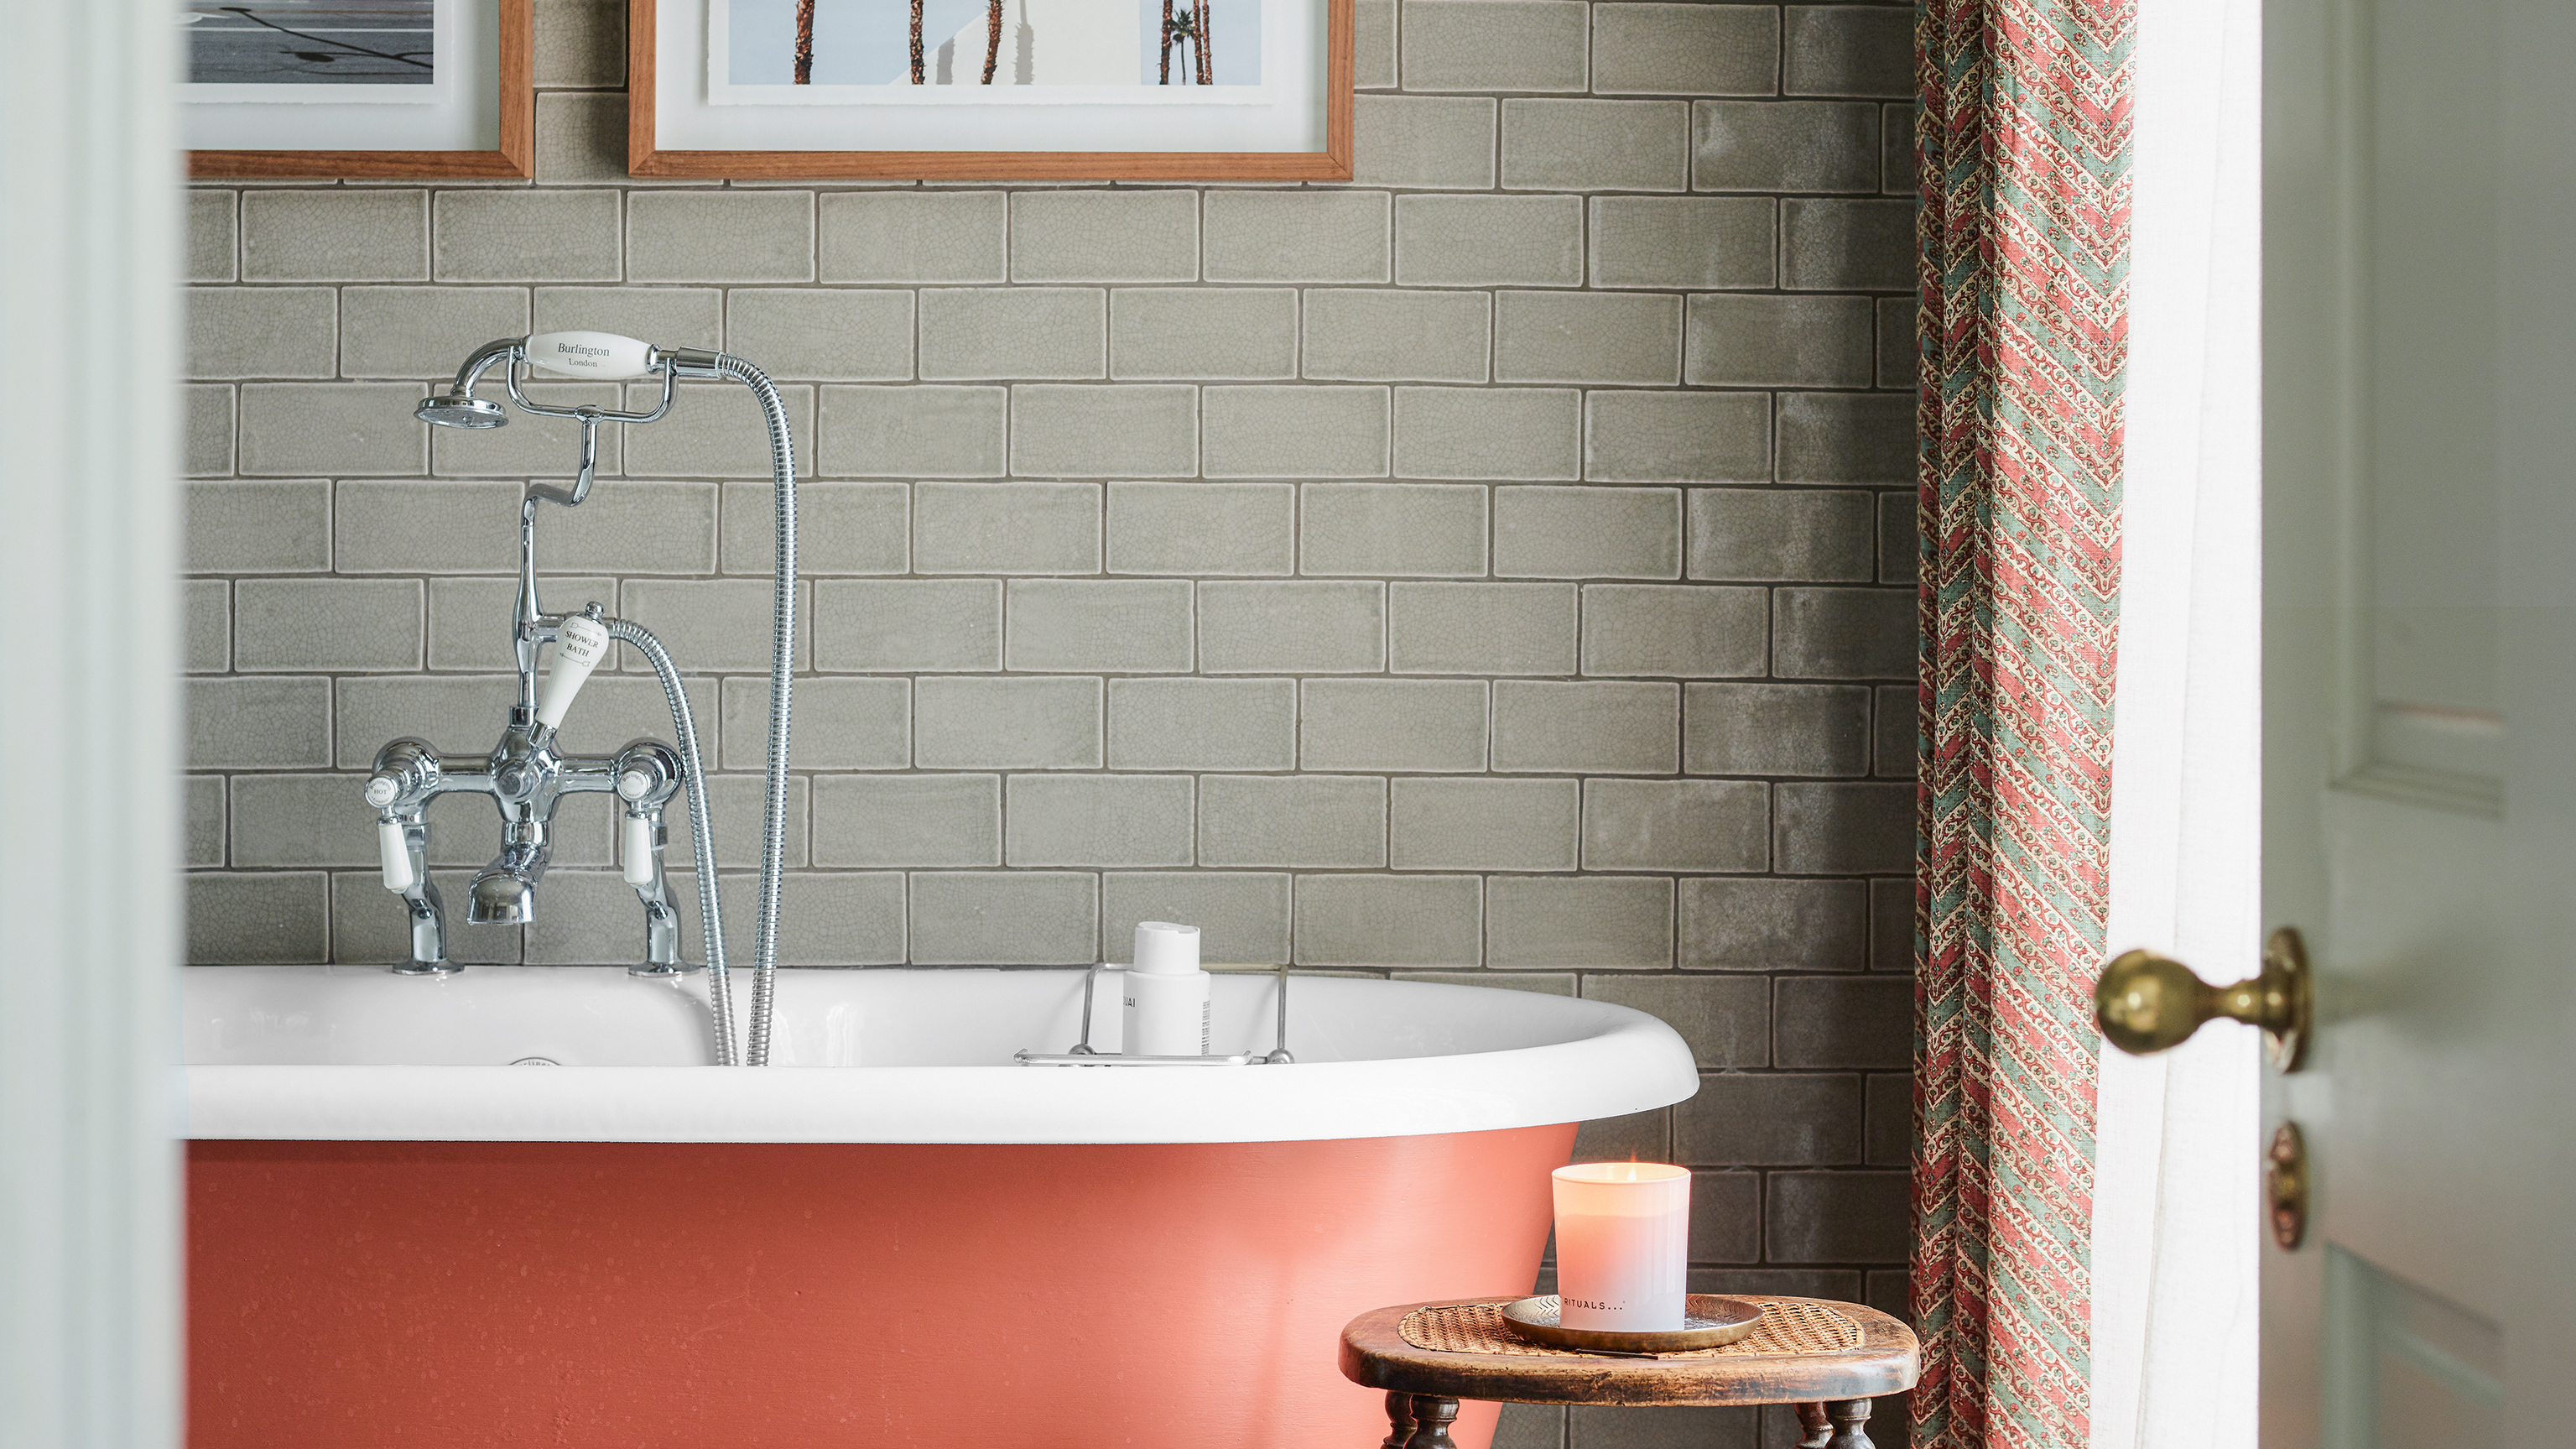
How to tile a bathroom wall – 10 steps to give your space a DIY refresh

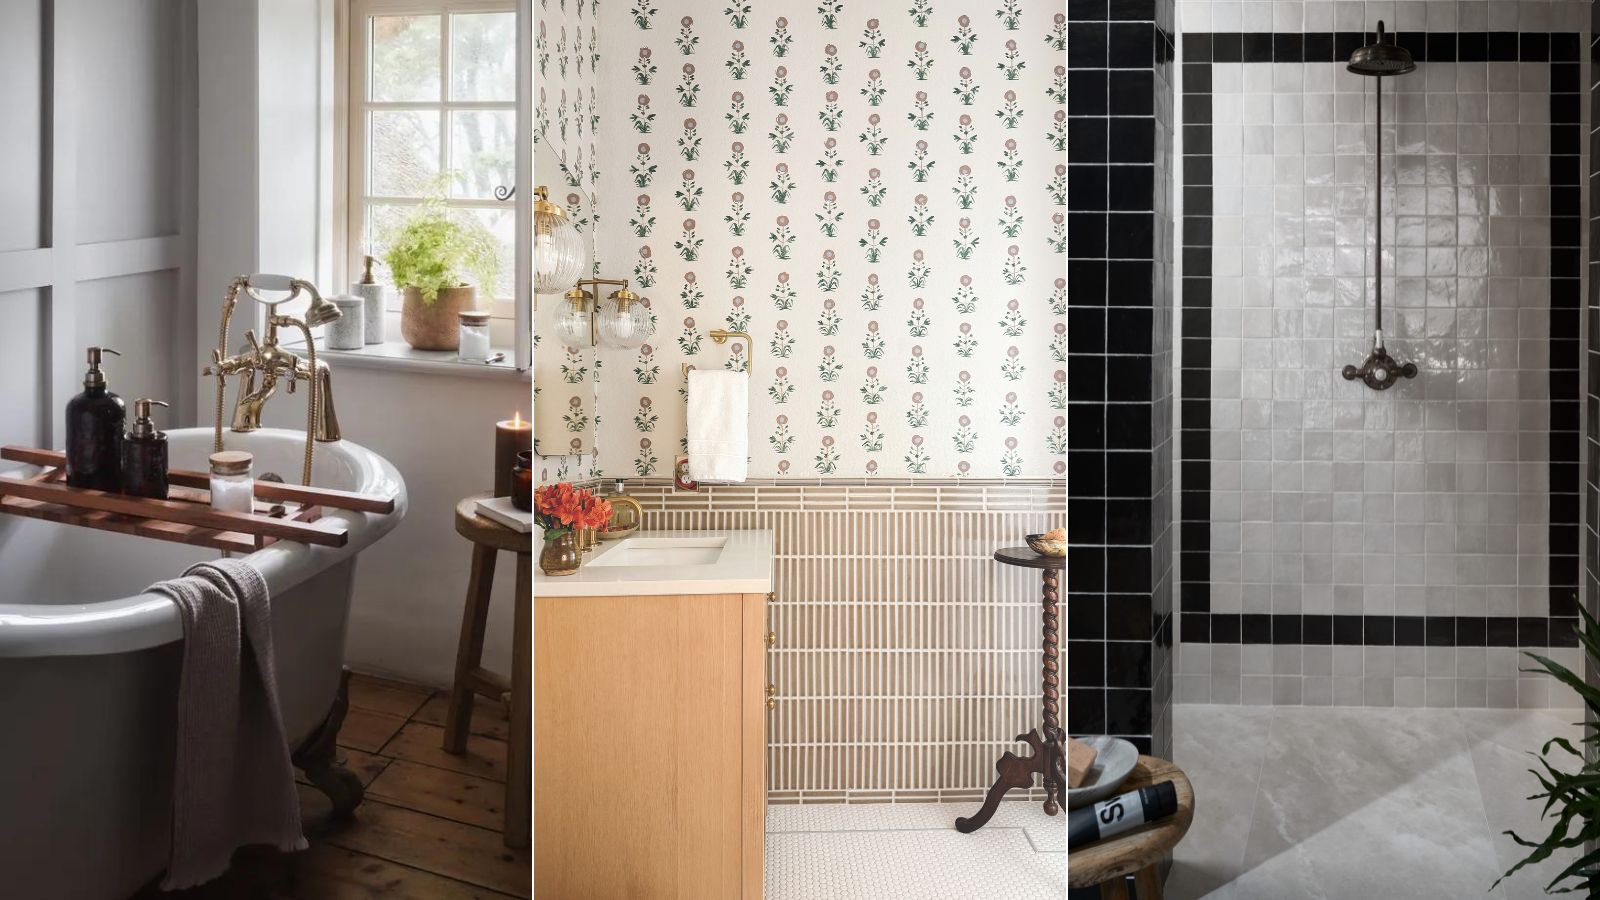
6 bathroom design myths experts say you shouldn't believe
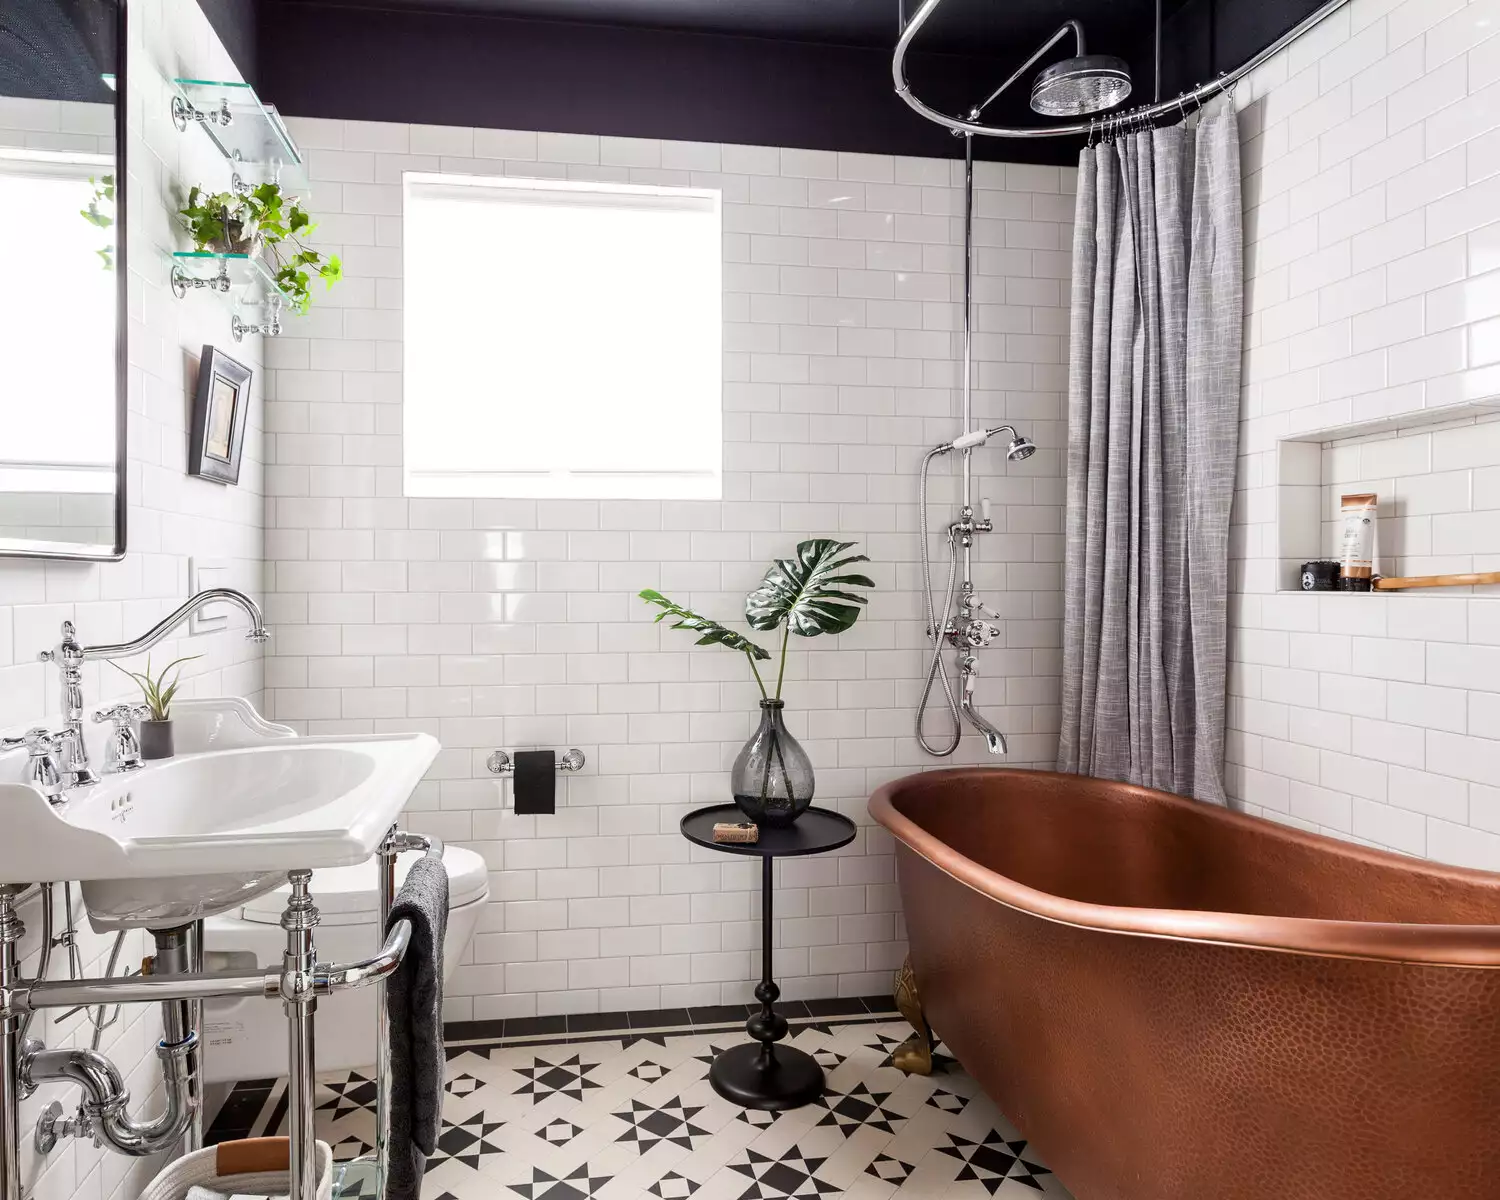
How to Choose Bathroom Tile That You'll Love Forever, According to a Designer

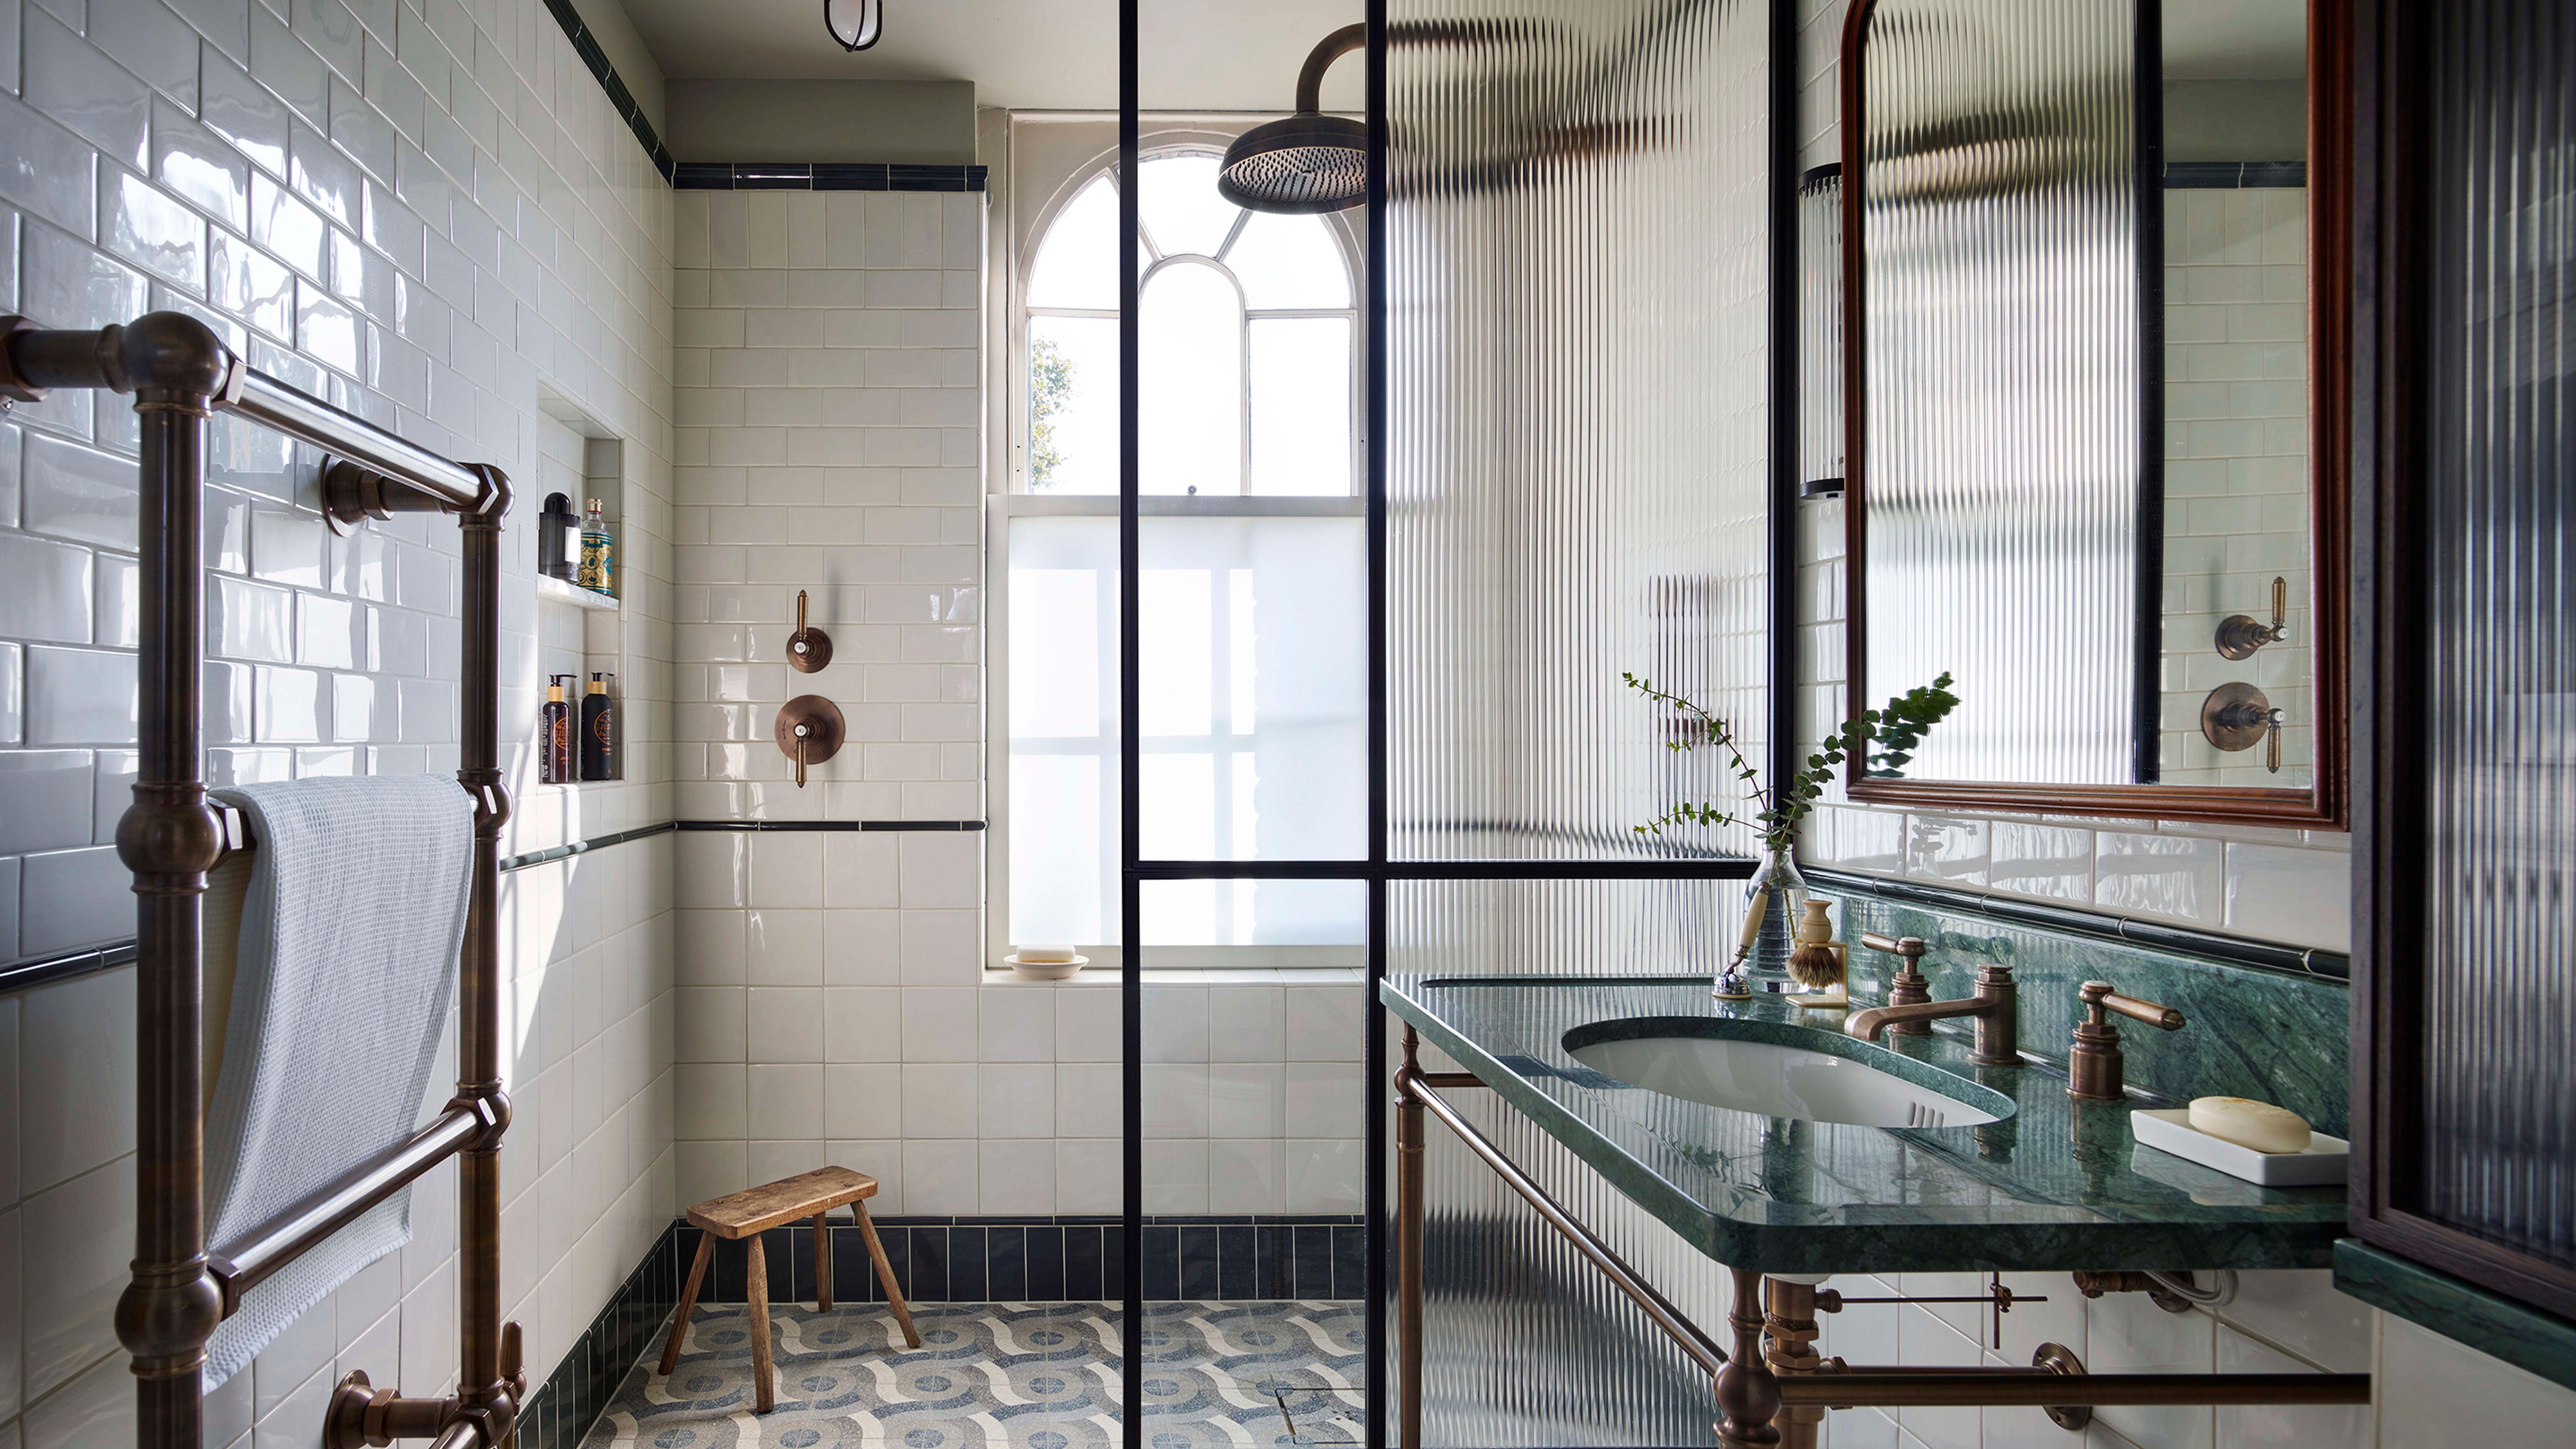
13 shower floor tile ideas – from color and layout to picking the right size

Bathroom Tiles

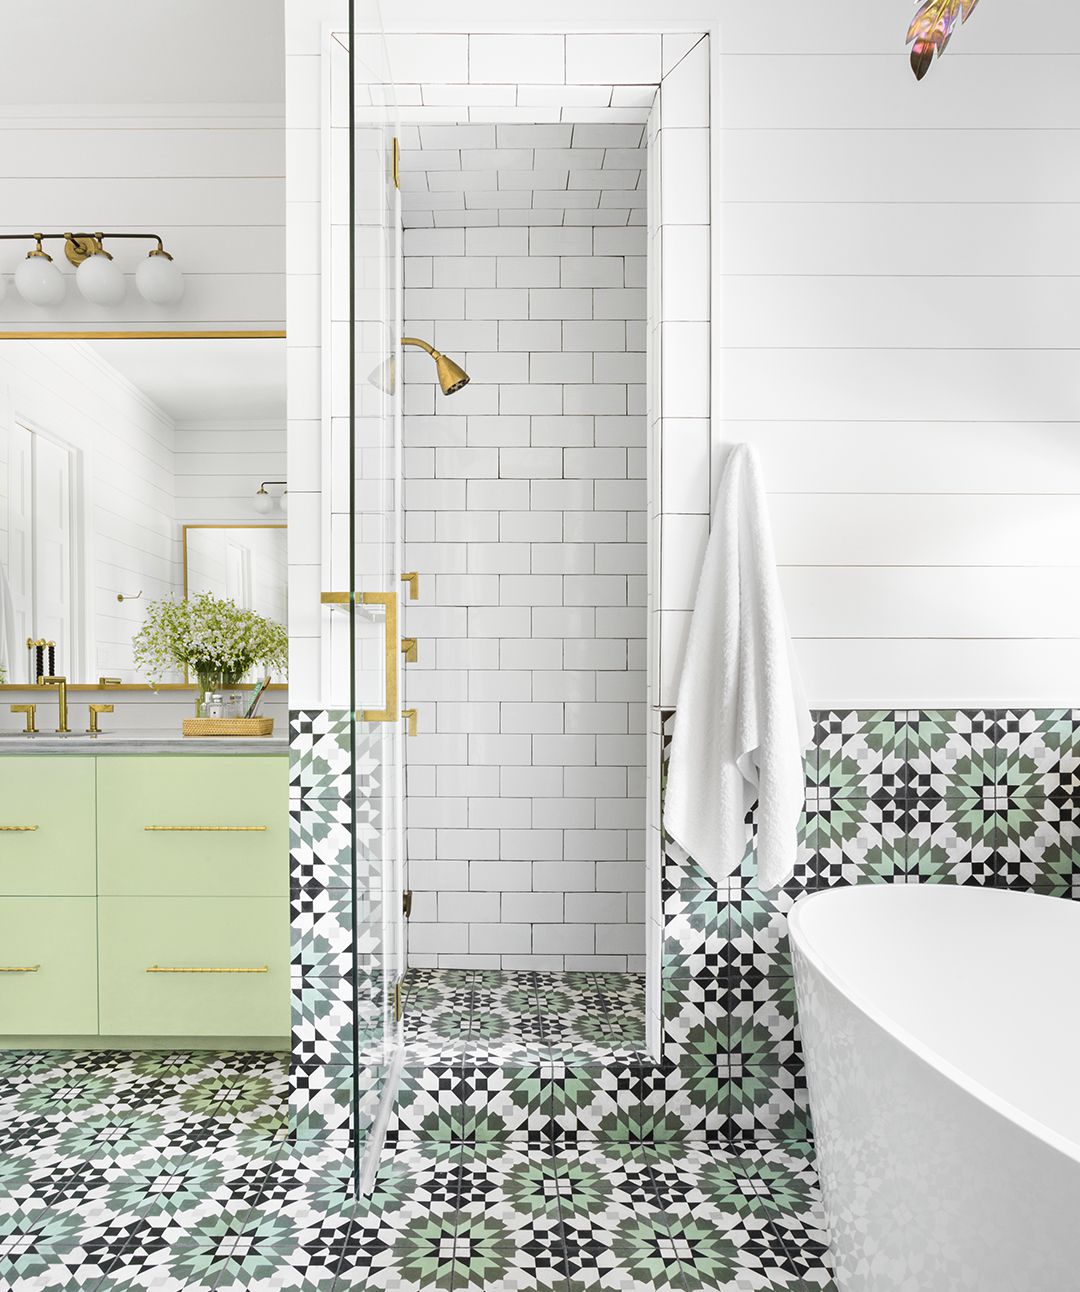
14 Types of Bathroom Tiles You Need to Know Before You Remodel

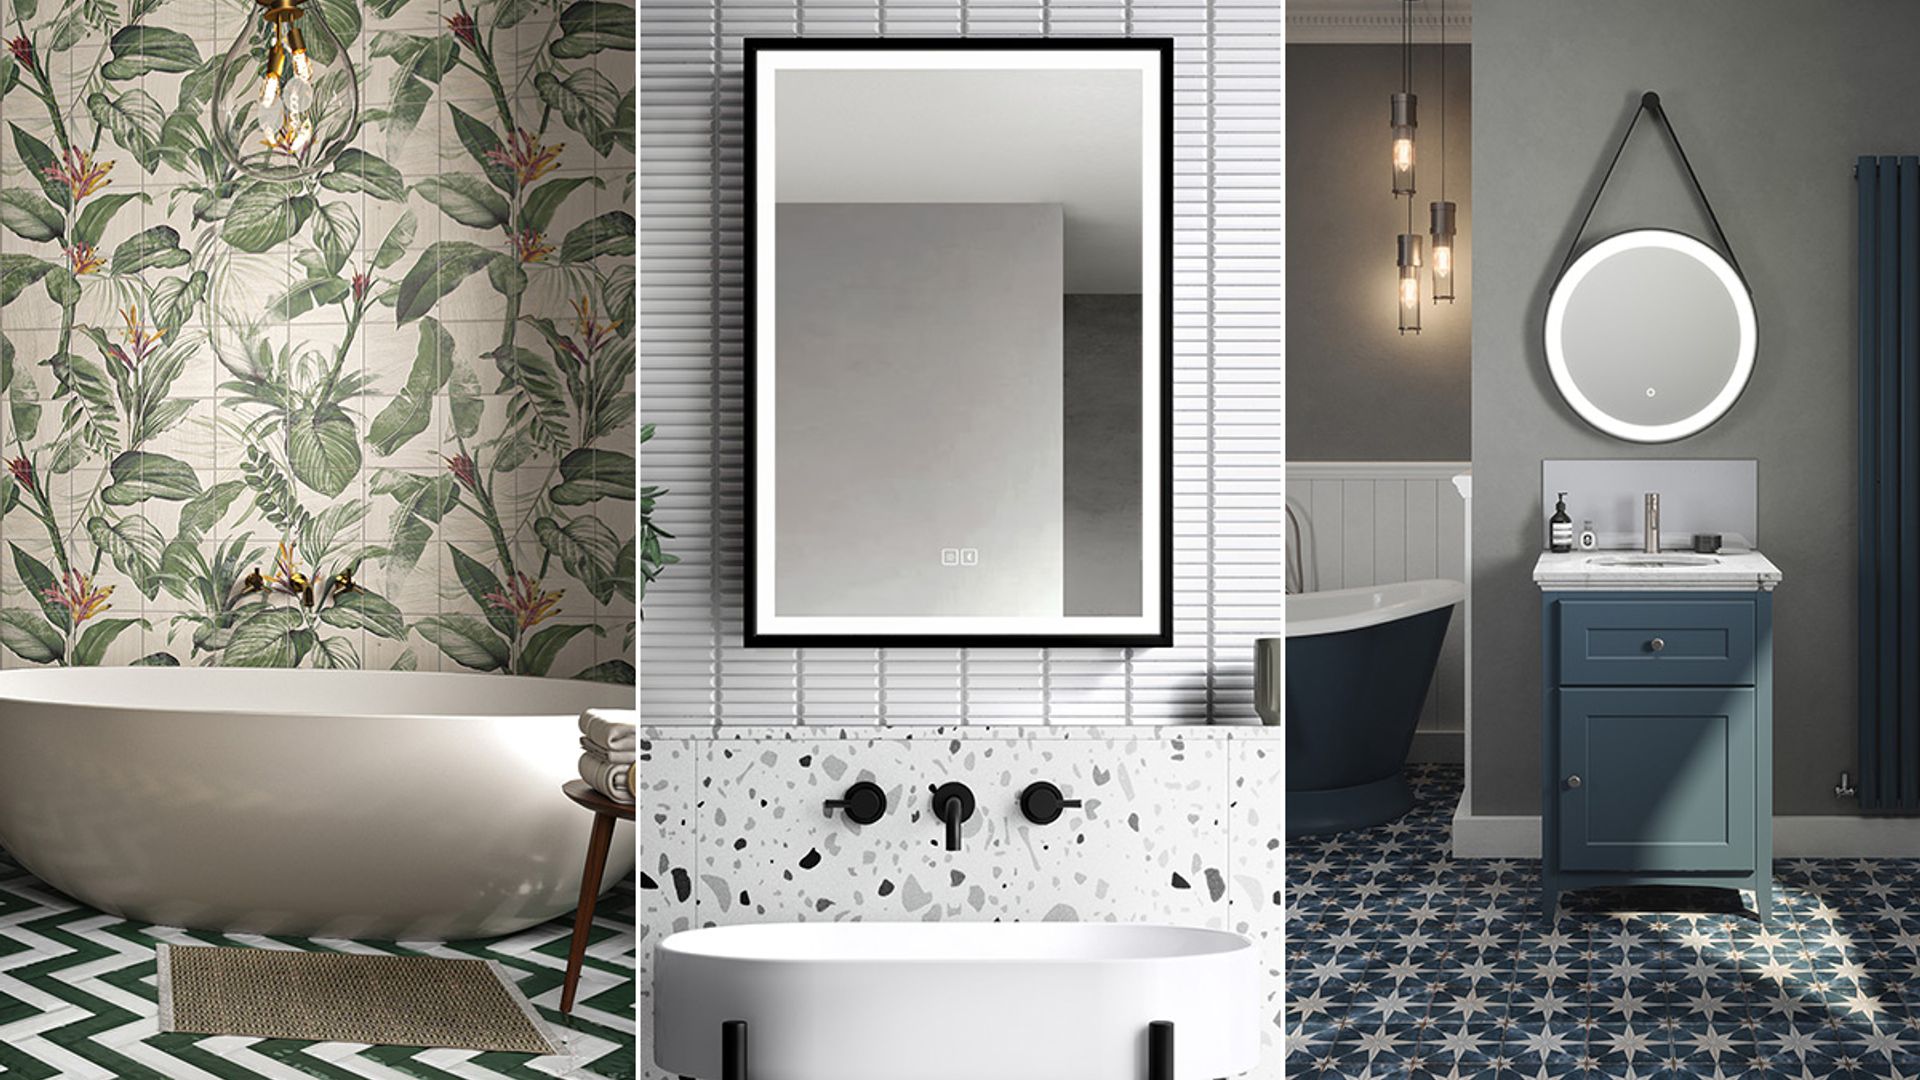
16 bathroom tile ideas to transform your space

8 Types of Tile Shapes to Consider For Your Next Bathroom Reno — Number 4 Is Our Favorite Pick for 2025
Upgrade Your Shower With These 8 Gorgeous Tile Design Ideas
The Best Bathtubs for Your Style and Budget, Vetted

What’s making your bathroom tiles look cheap? 7 things to look out for, according to experts
25 Latest Bathroom Tiles Designs With Pictures In 2023

5 Experts Share Their Favorite Tile for a Knockout Shower
"Your Eye Doesn't Know Where to Land" — Yes, You Can Have Too Much Tile in Your Bathroom, Here's the Rule to Get the Balance Right
'Tile drenching': The statement-making interiors trend to try in 2025
4 Bathroom Tile Trends That Are So Outdated, According to Designers