1/17
How to plaster a wall
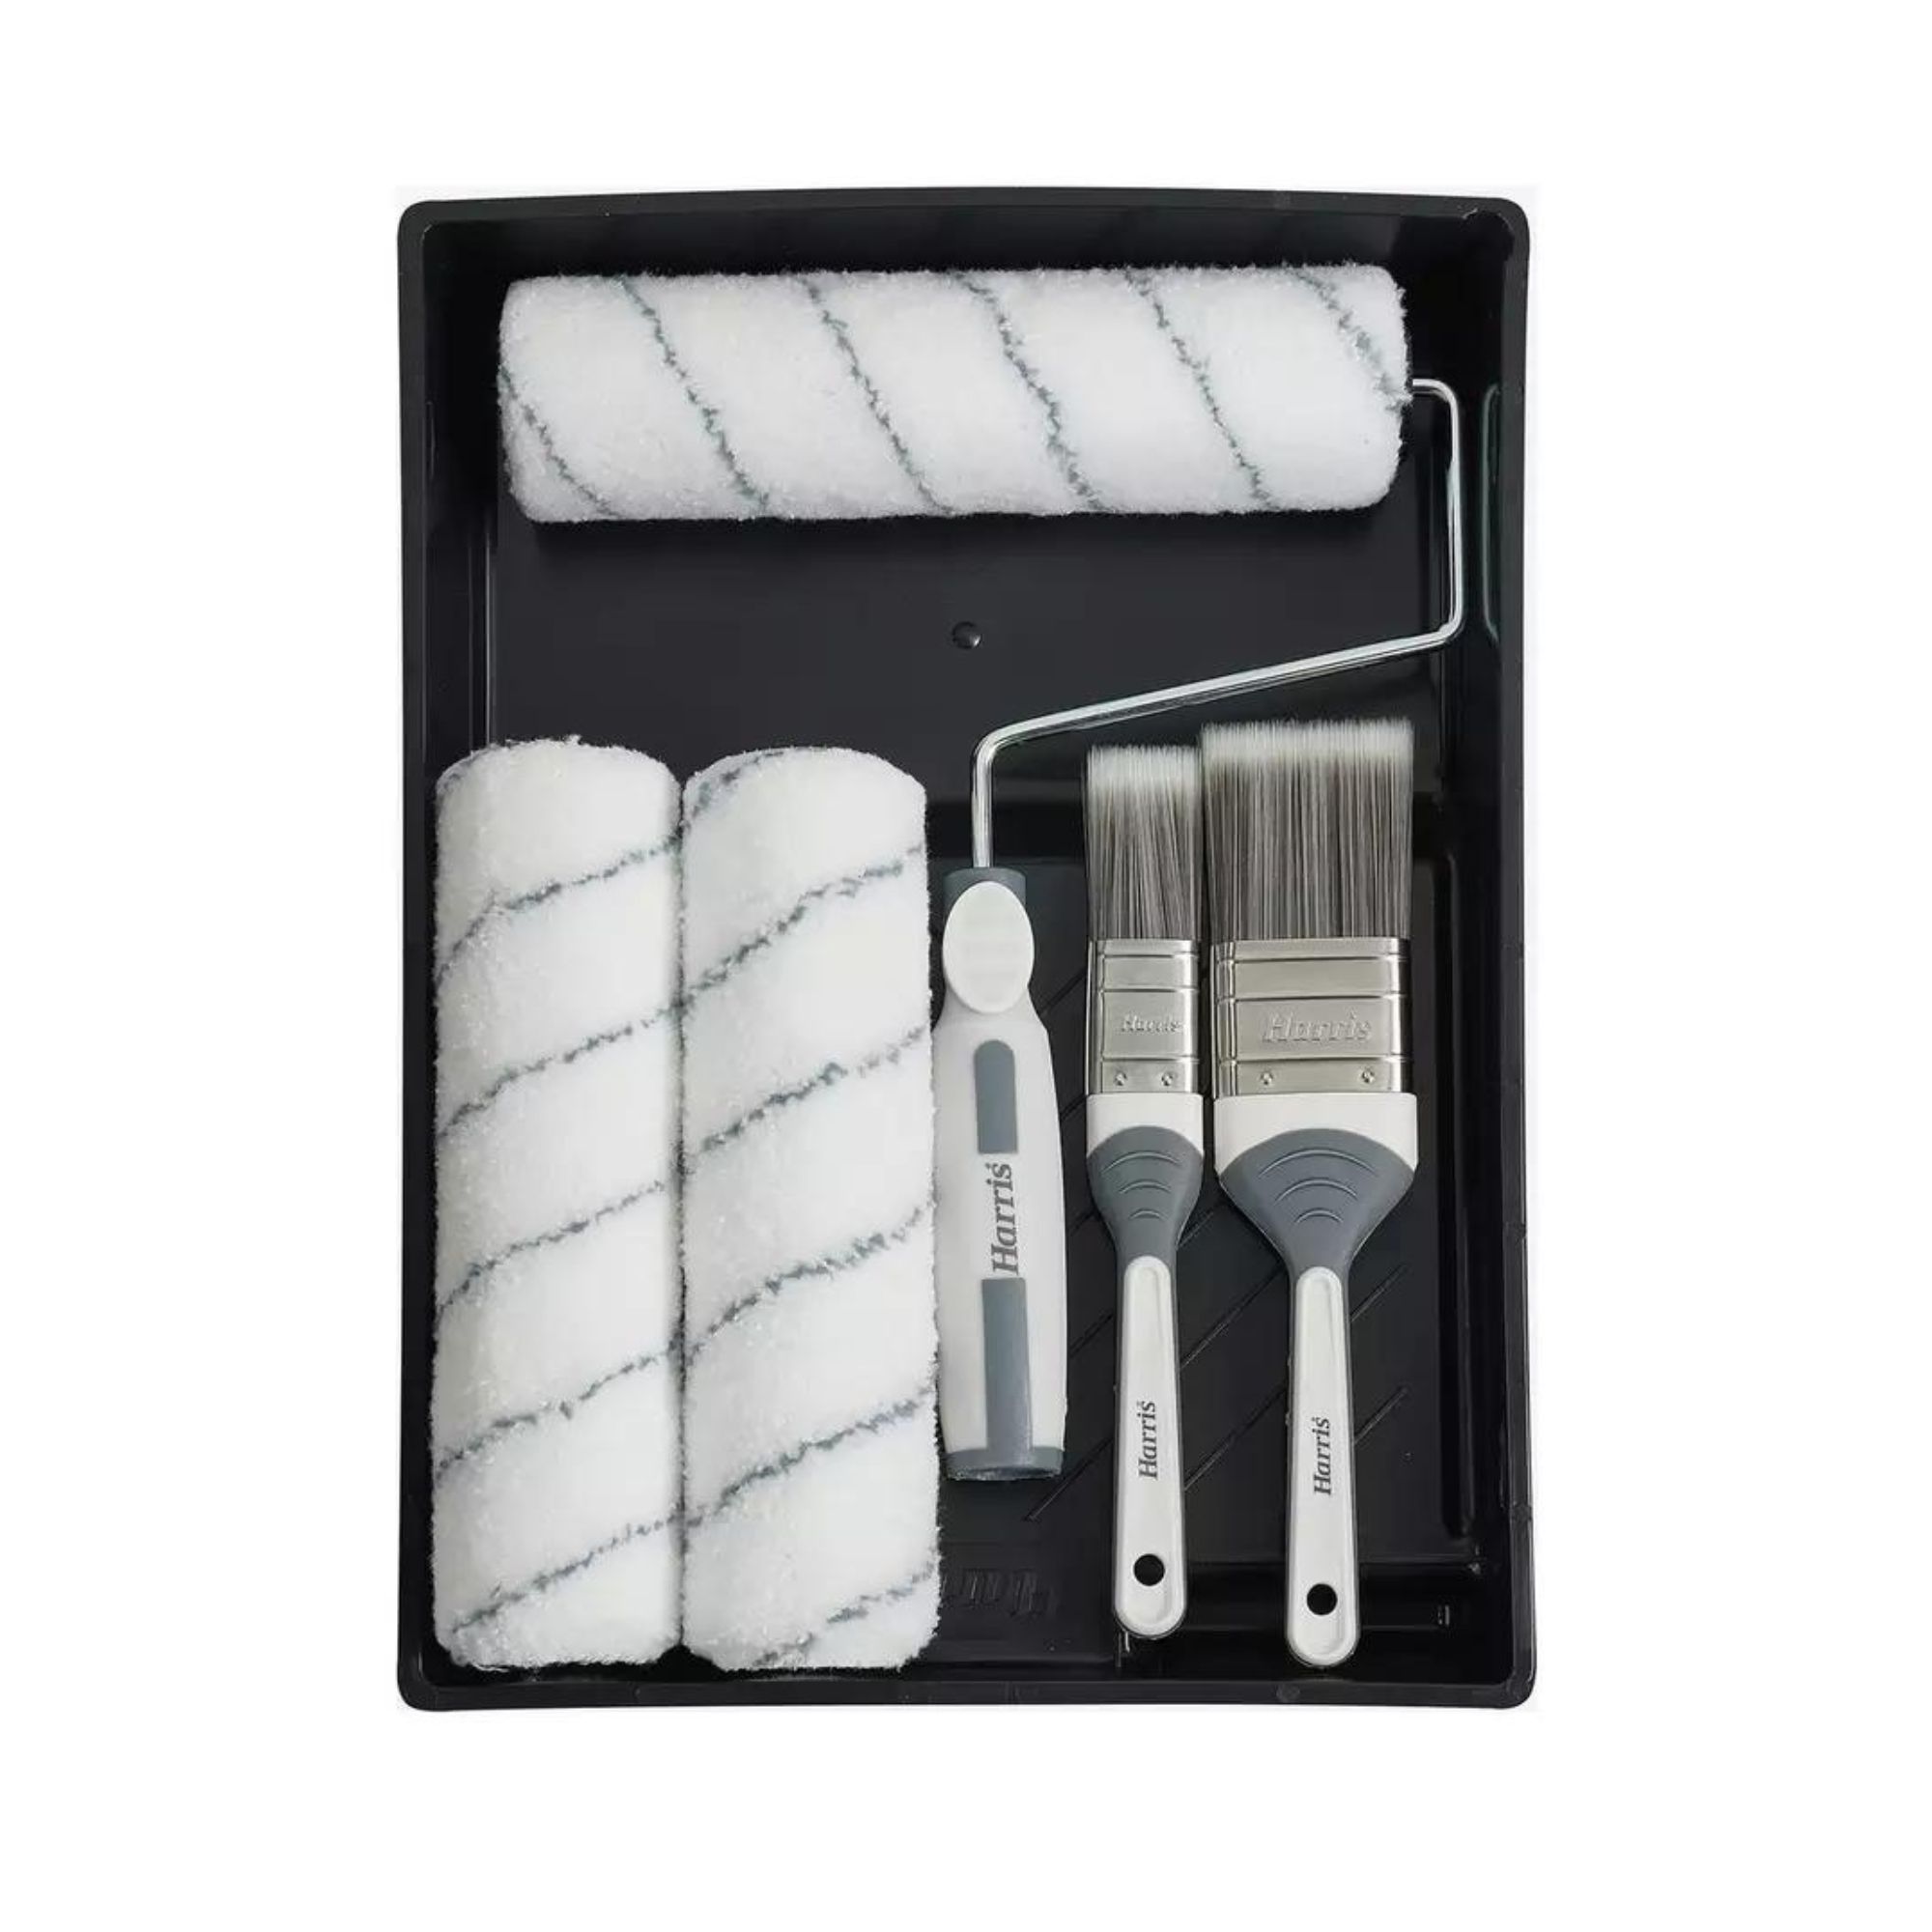
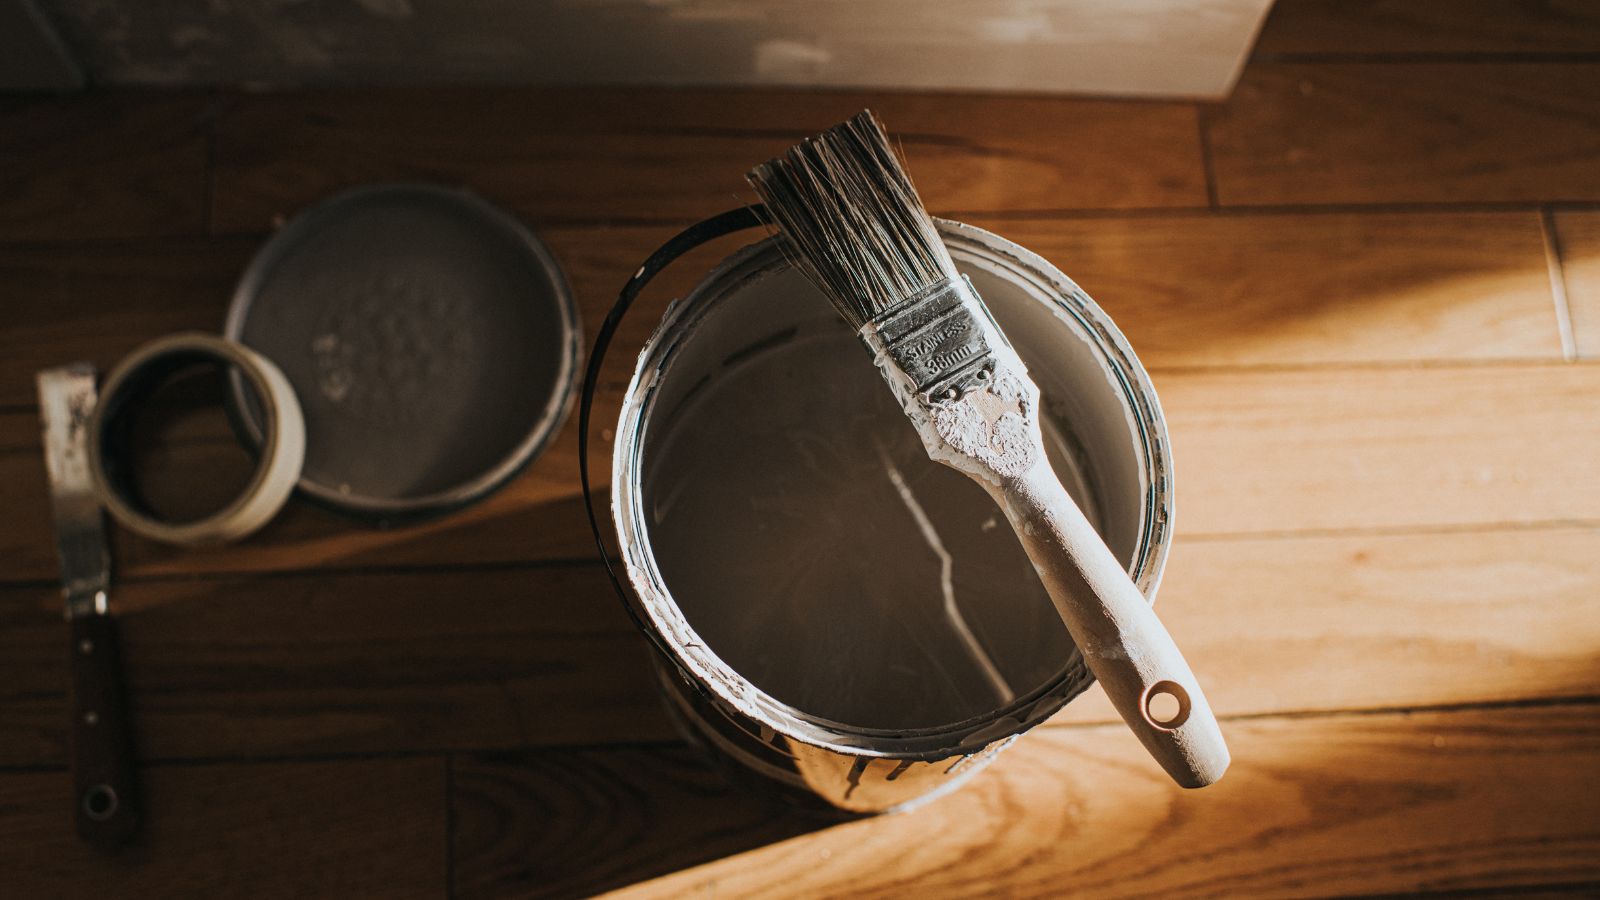
This comprehensive guide explains the process of plastering a wall, a task often left to professionals but achievable for DIY enthusiasts with proper preparation and technique. The article begins by acknowledging that while plastering can seem daunting, a smooth, paint- or wallpaper-ready surface is attainable by following a detailed method. It emphasizes the importance of selecting suitable tools, detailing a list of essential items such as a plastering trowel, a plasterer's hawk board (available in lighter plastic or more durable wood), a bucket trowel for scooping plaster, a power mixer for efficient mixing (especially for larger jobs), and a quality paintbrush for clean edges and water application. A critical note is provided regarding tool cleanliness, stressing that all plaster residue must be removed from previous uses to prevent contamination.
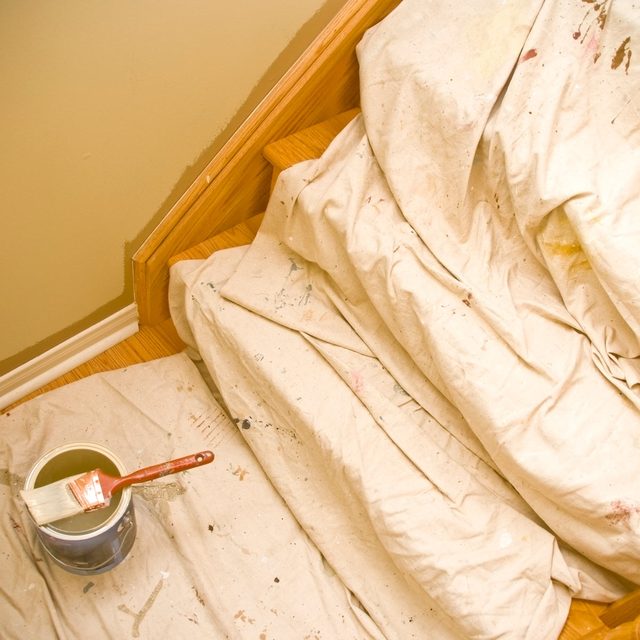
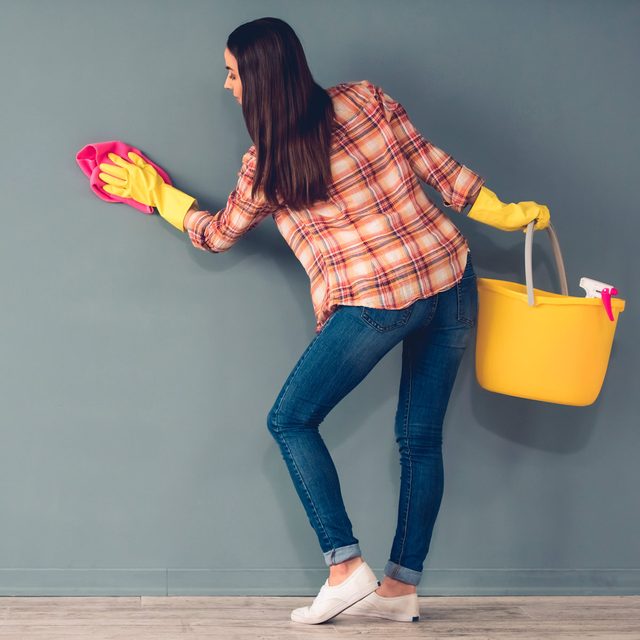
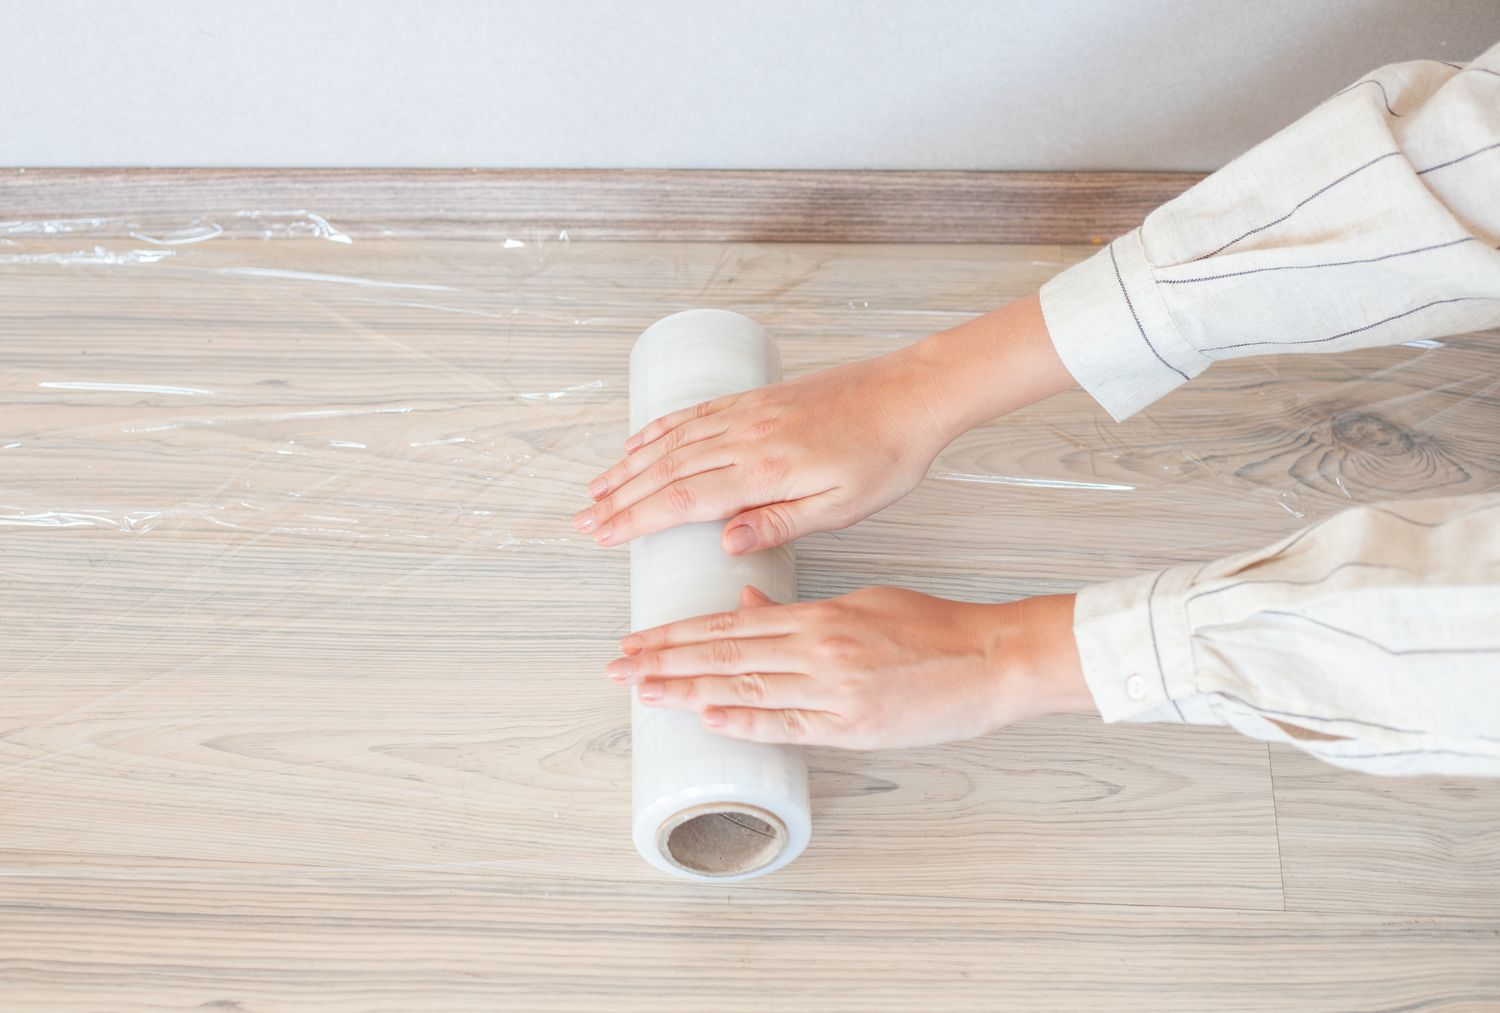
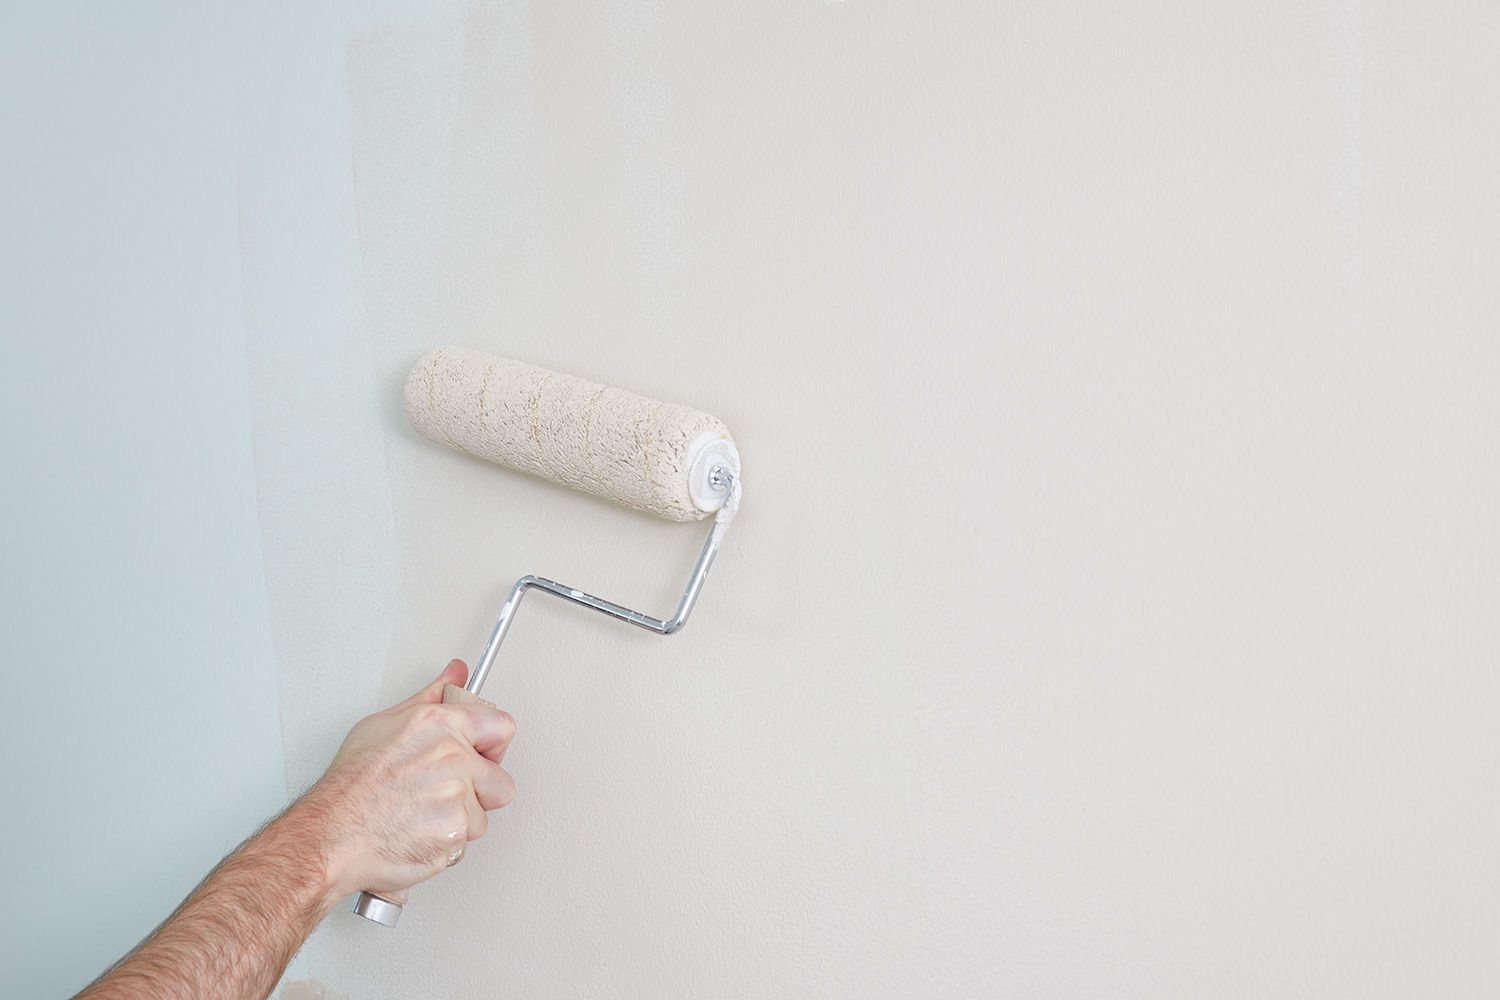
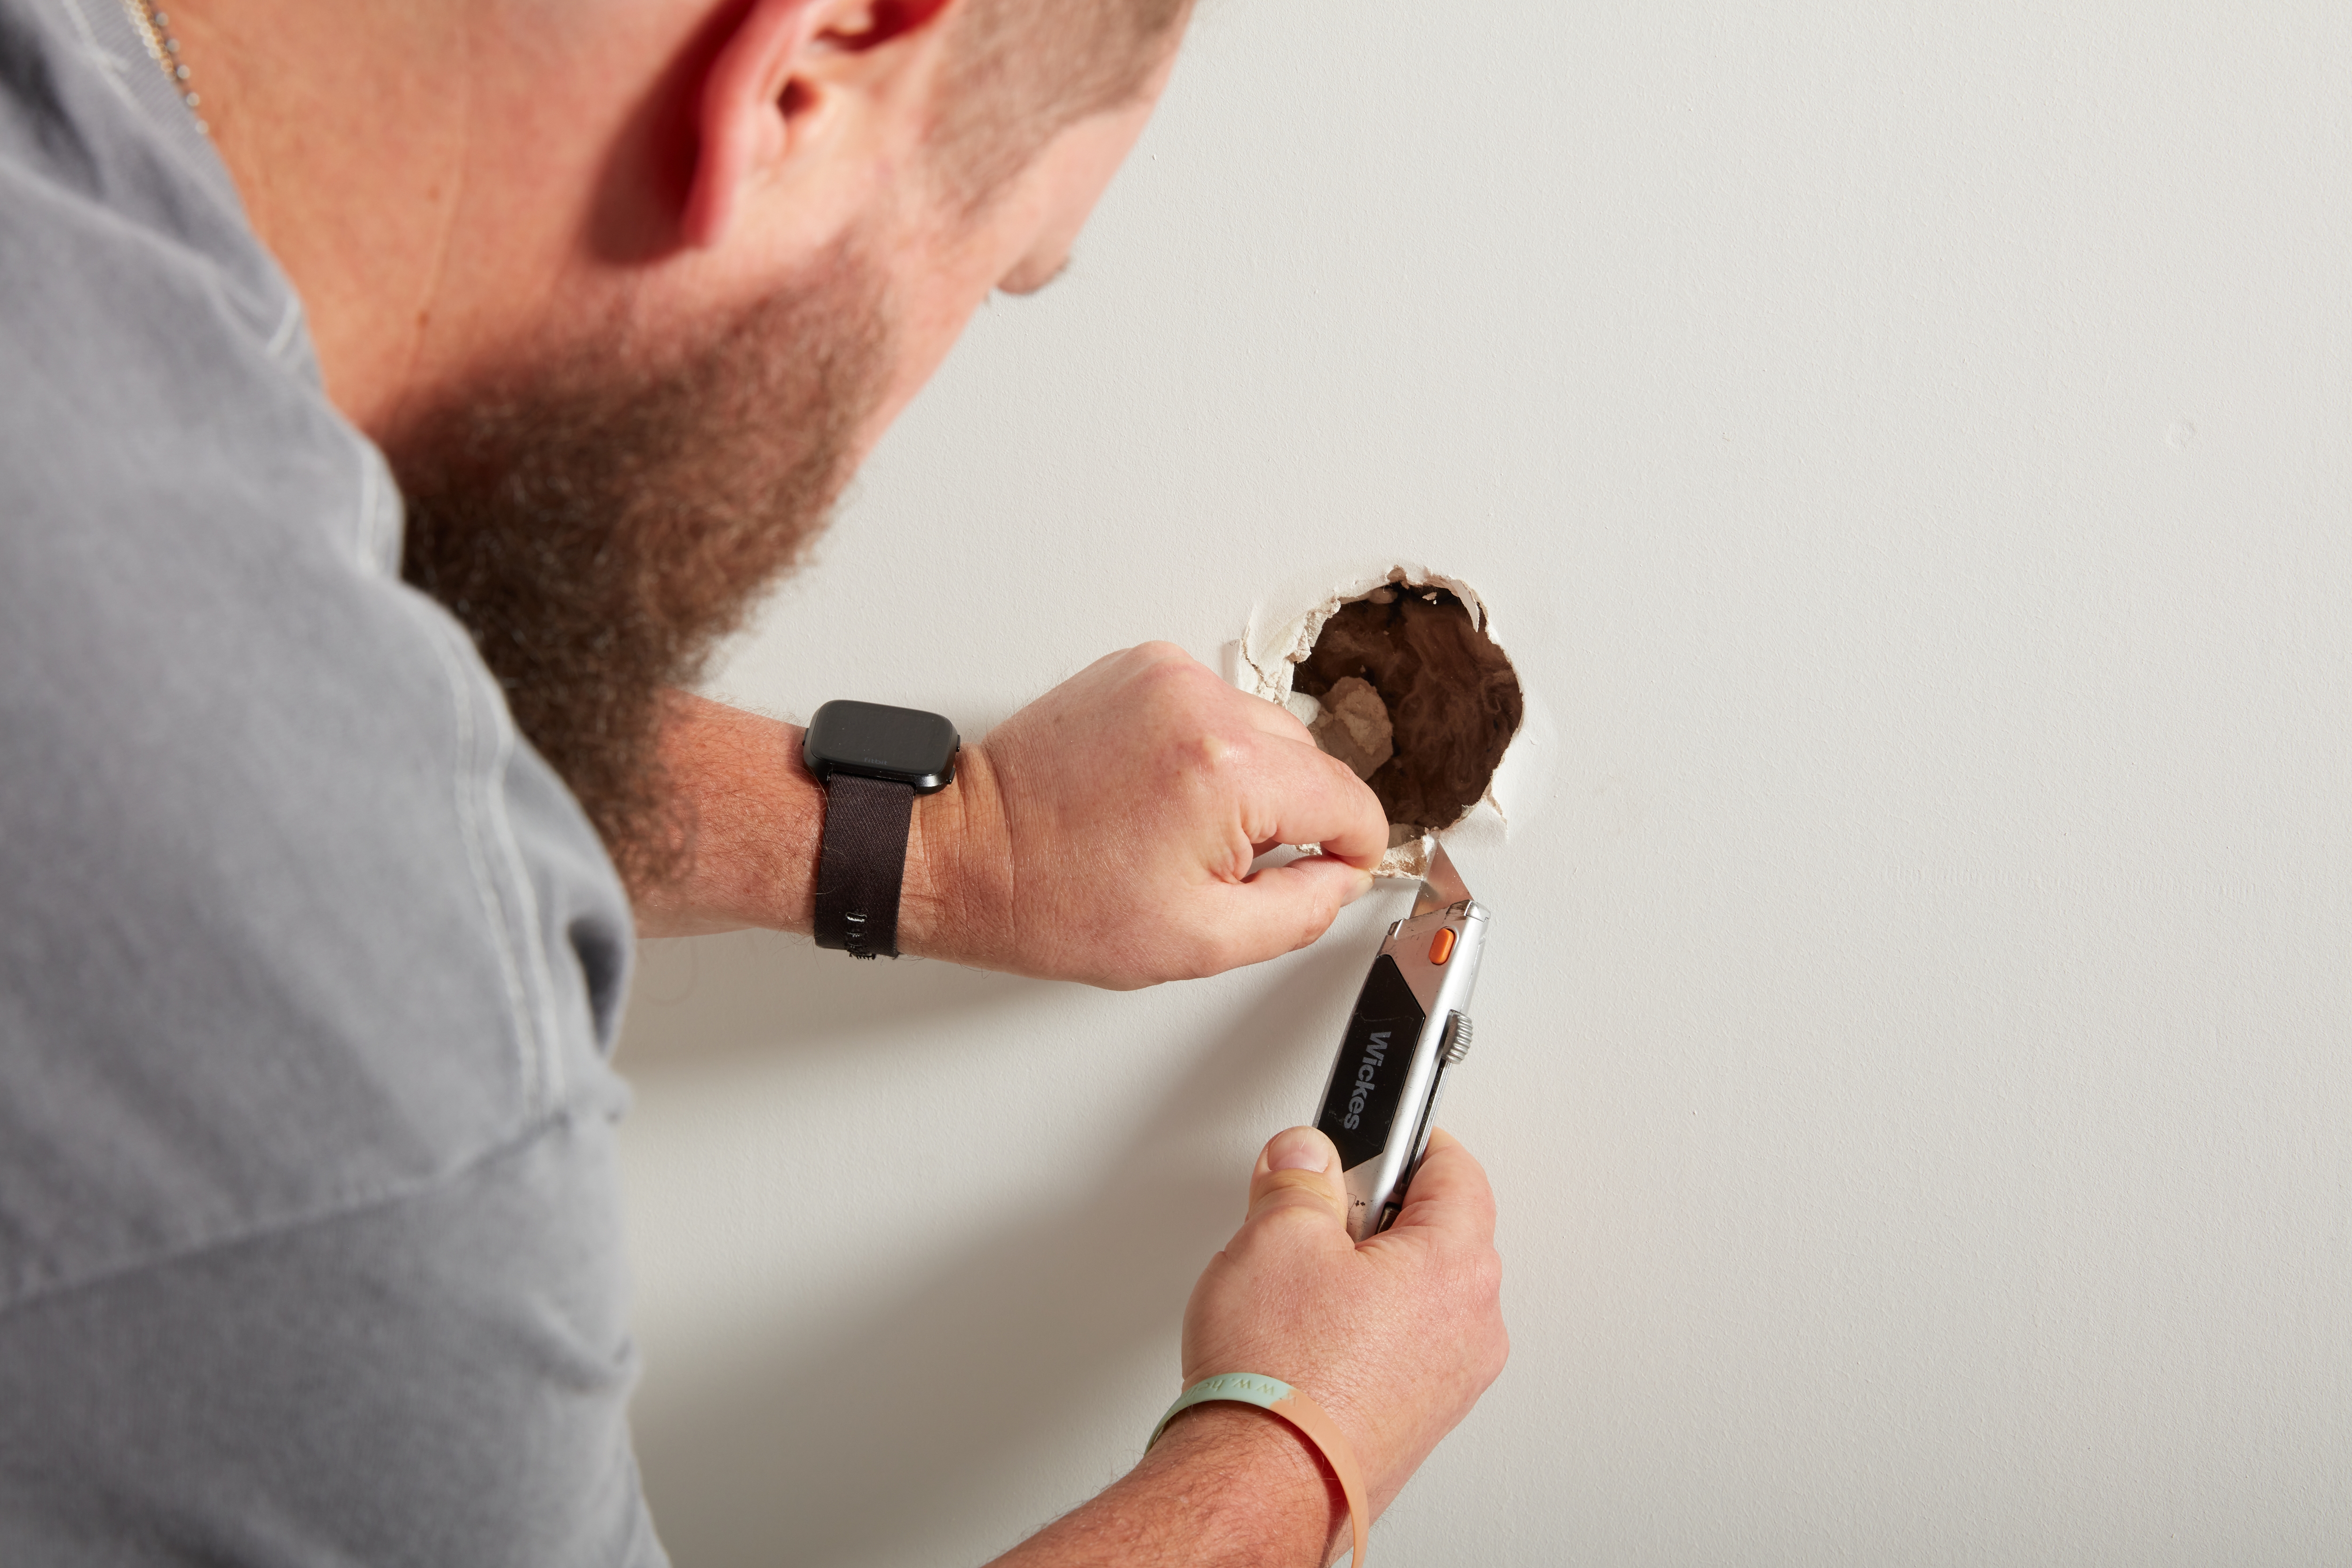
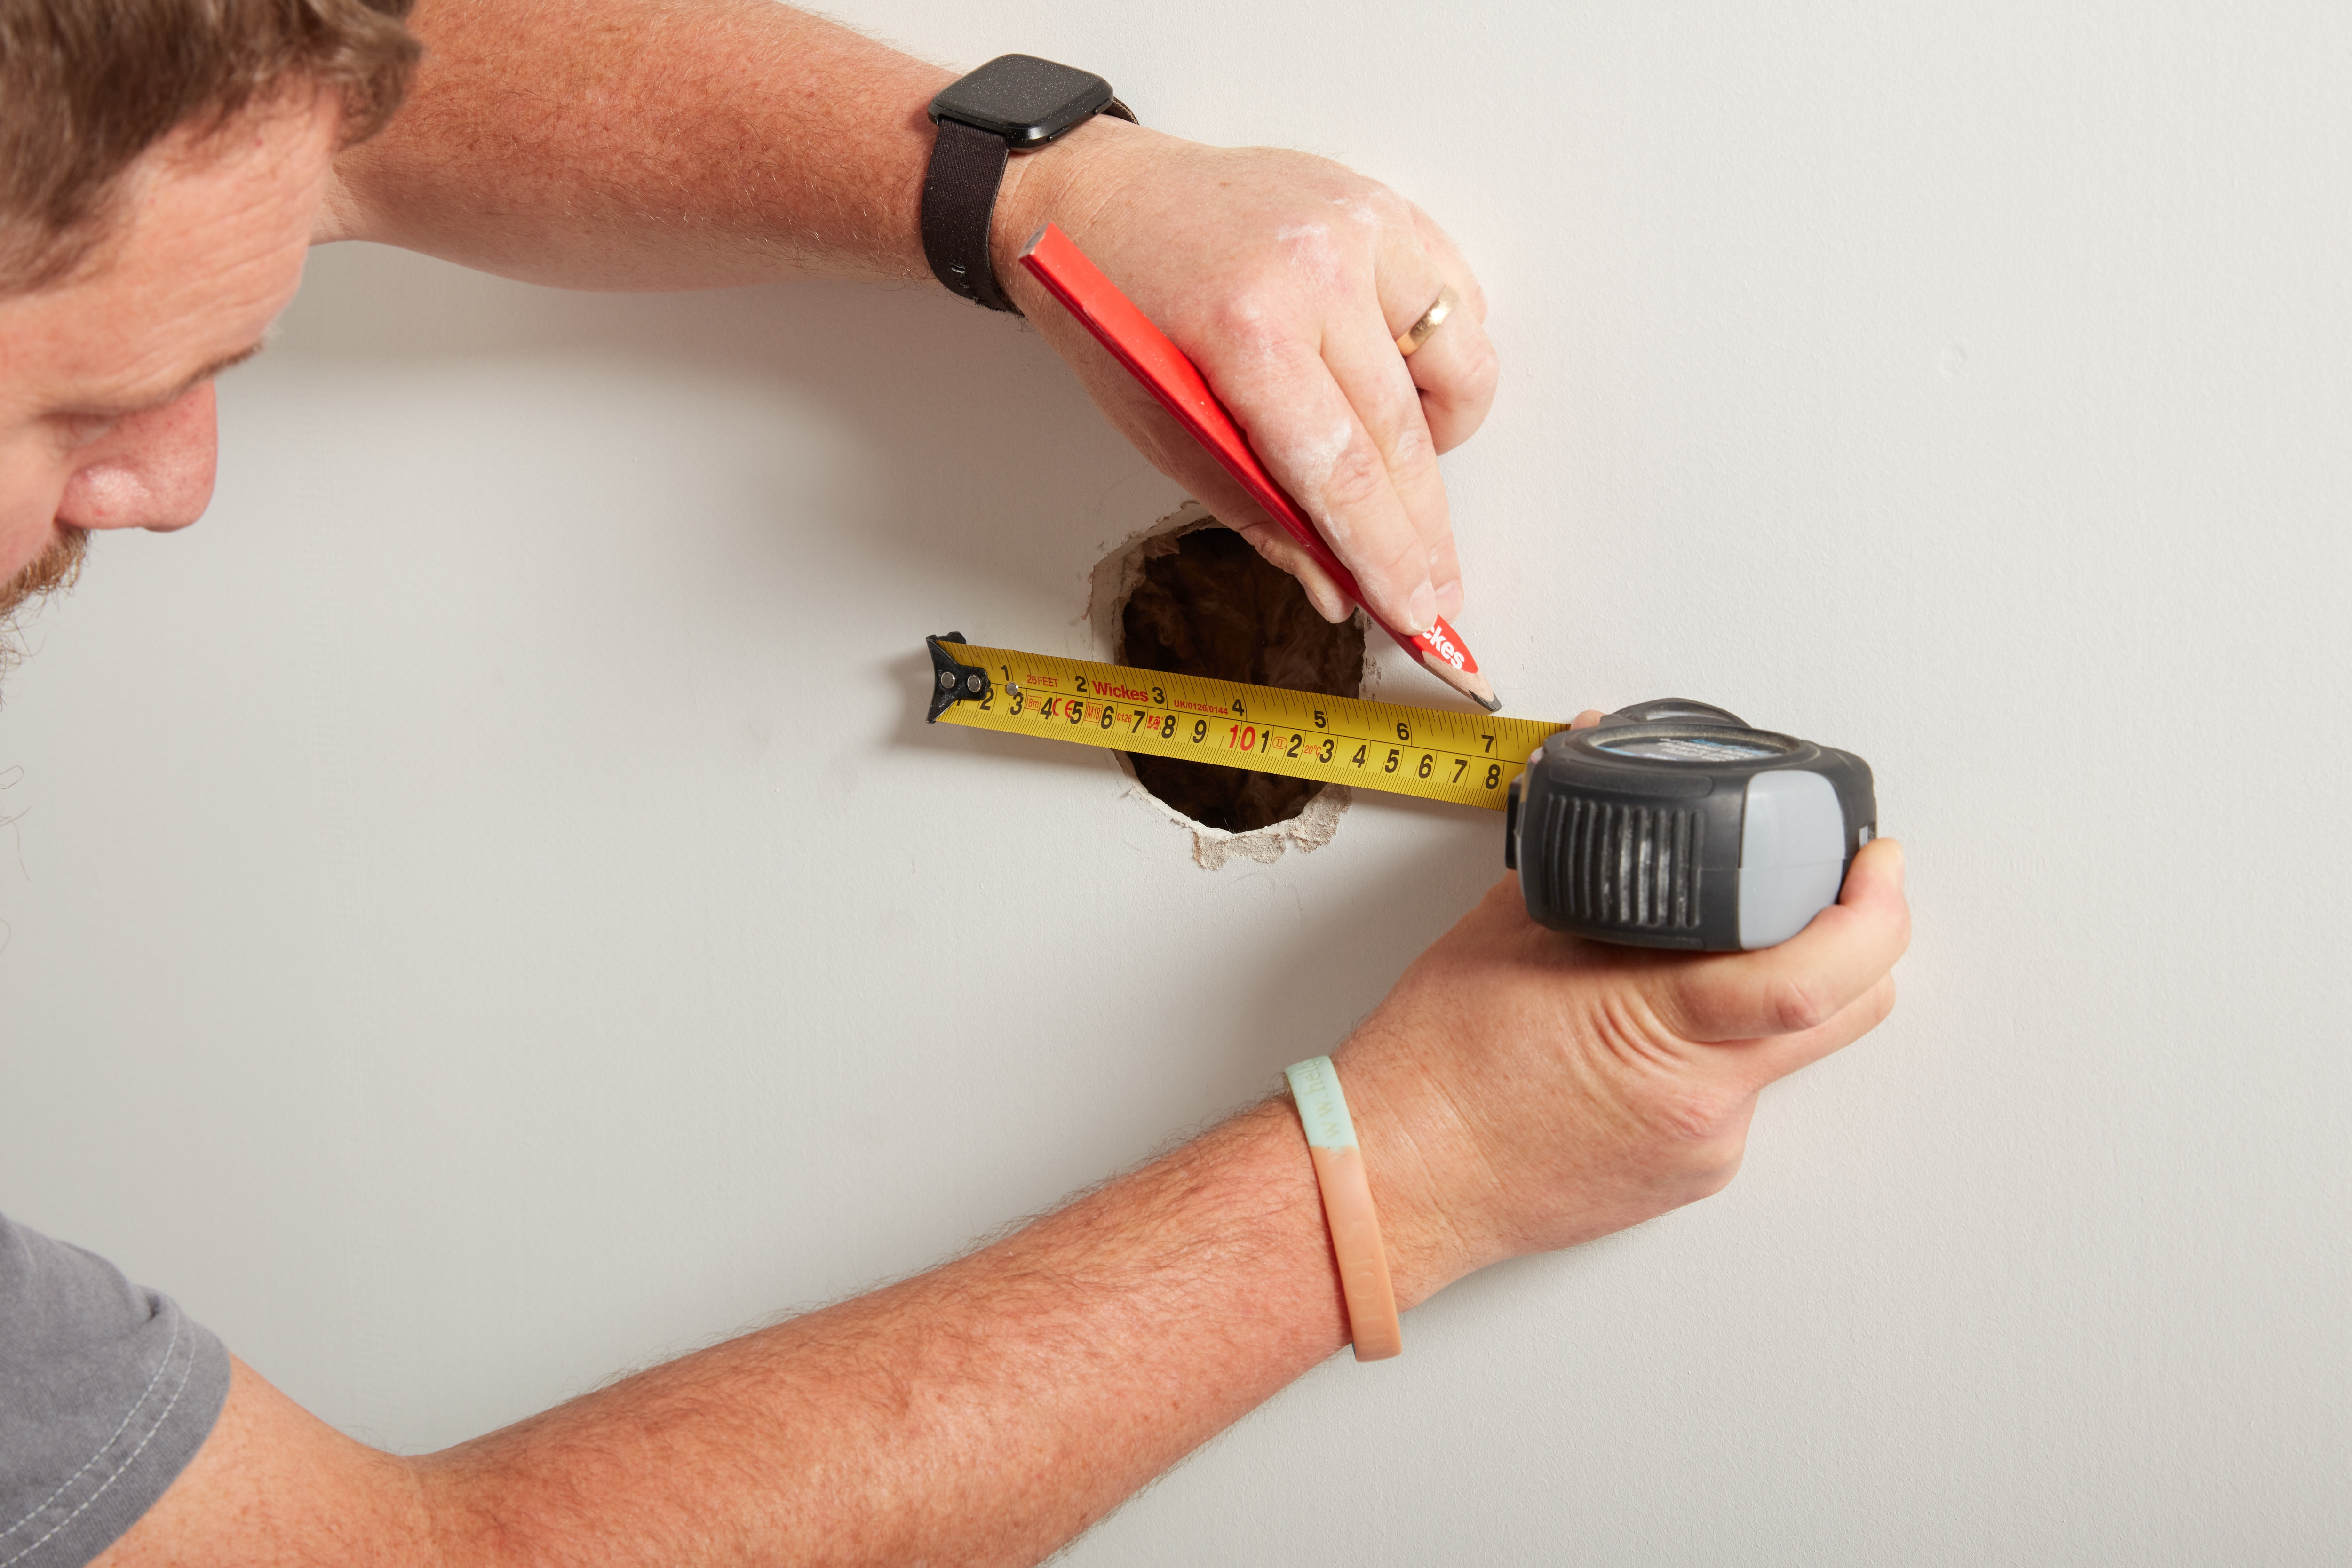
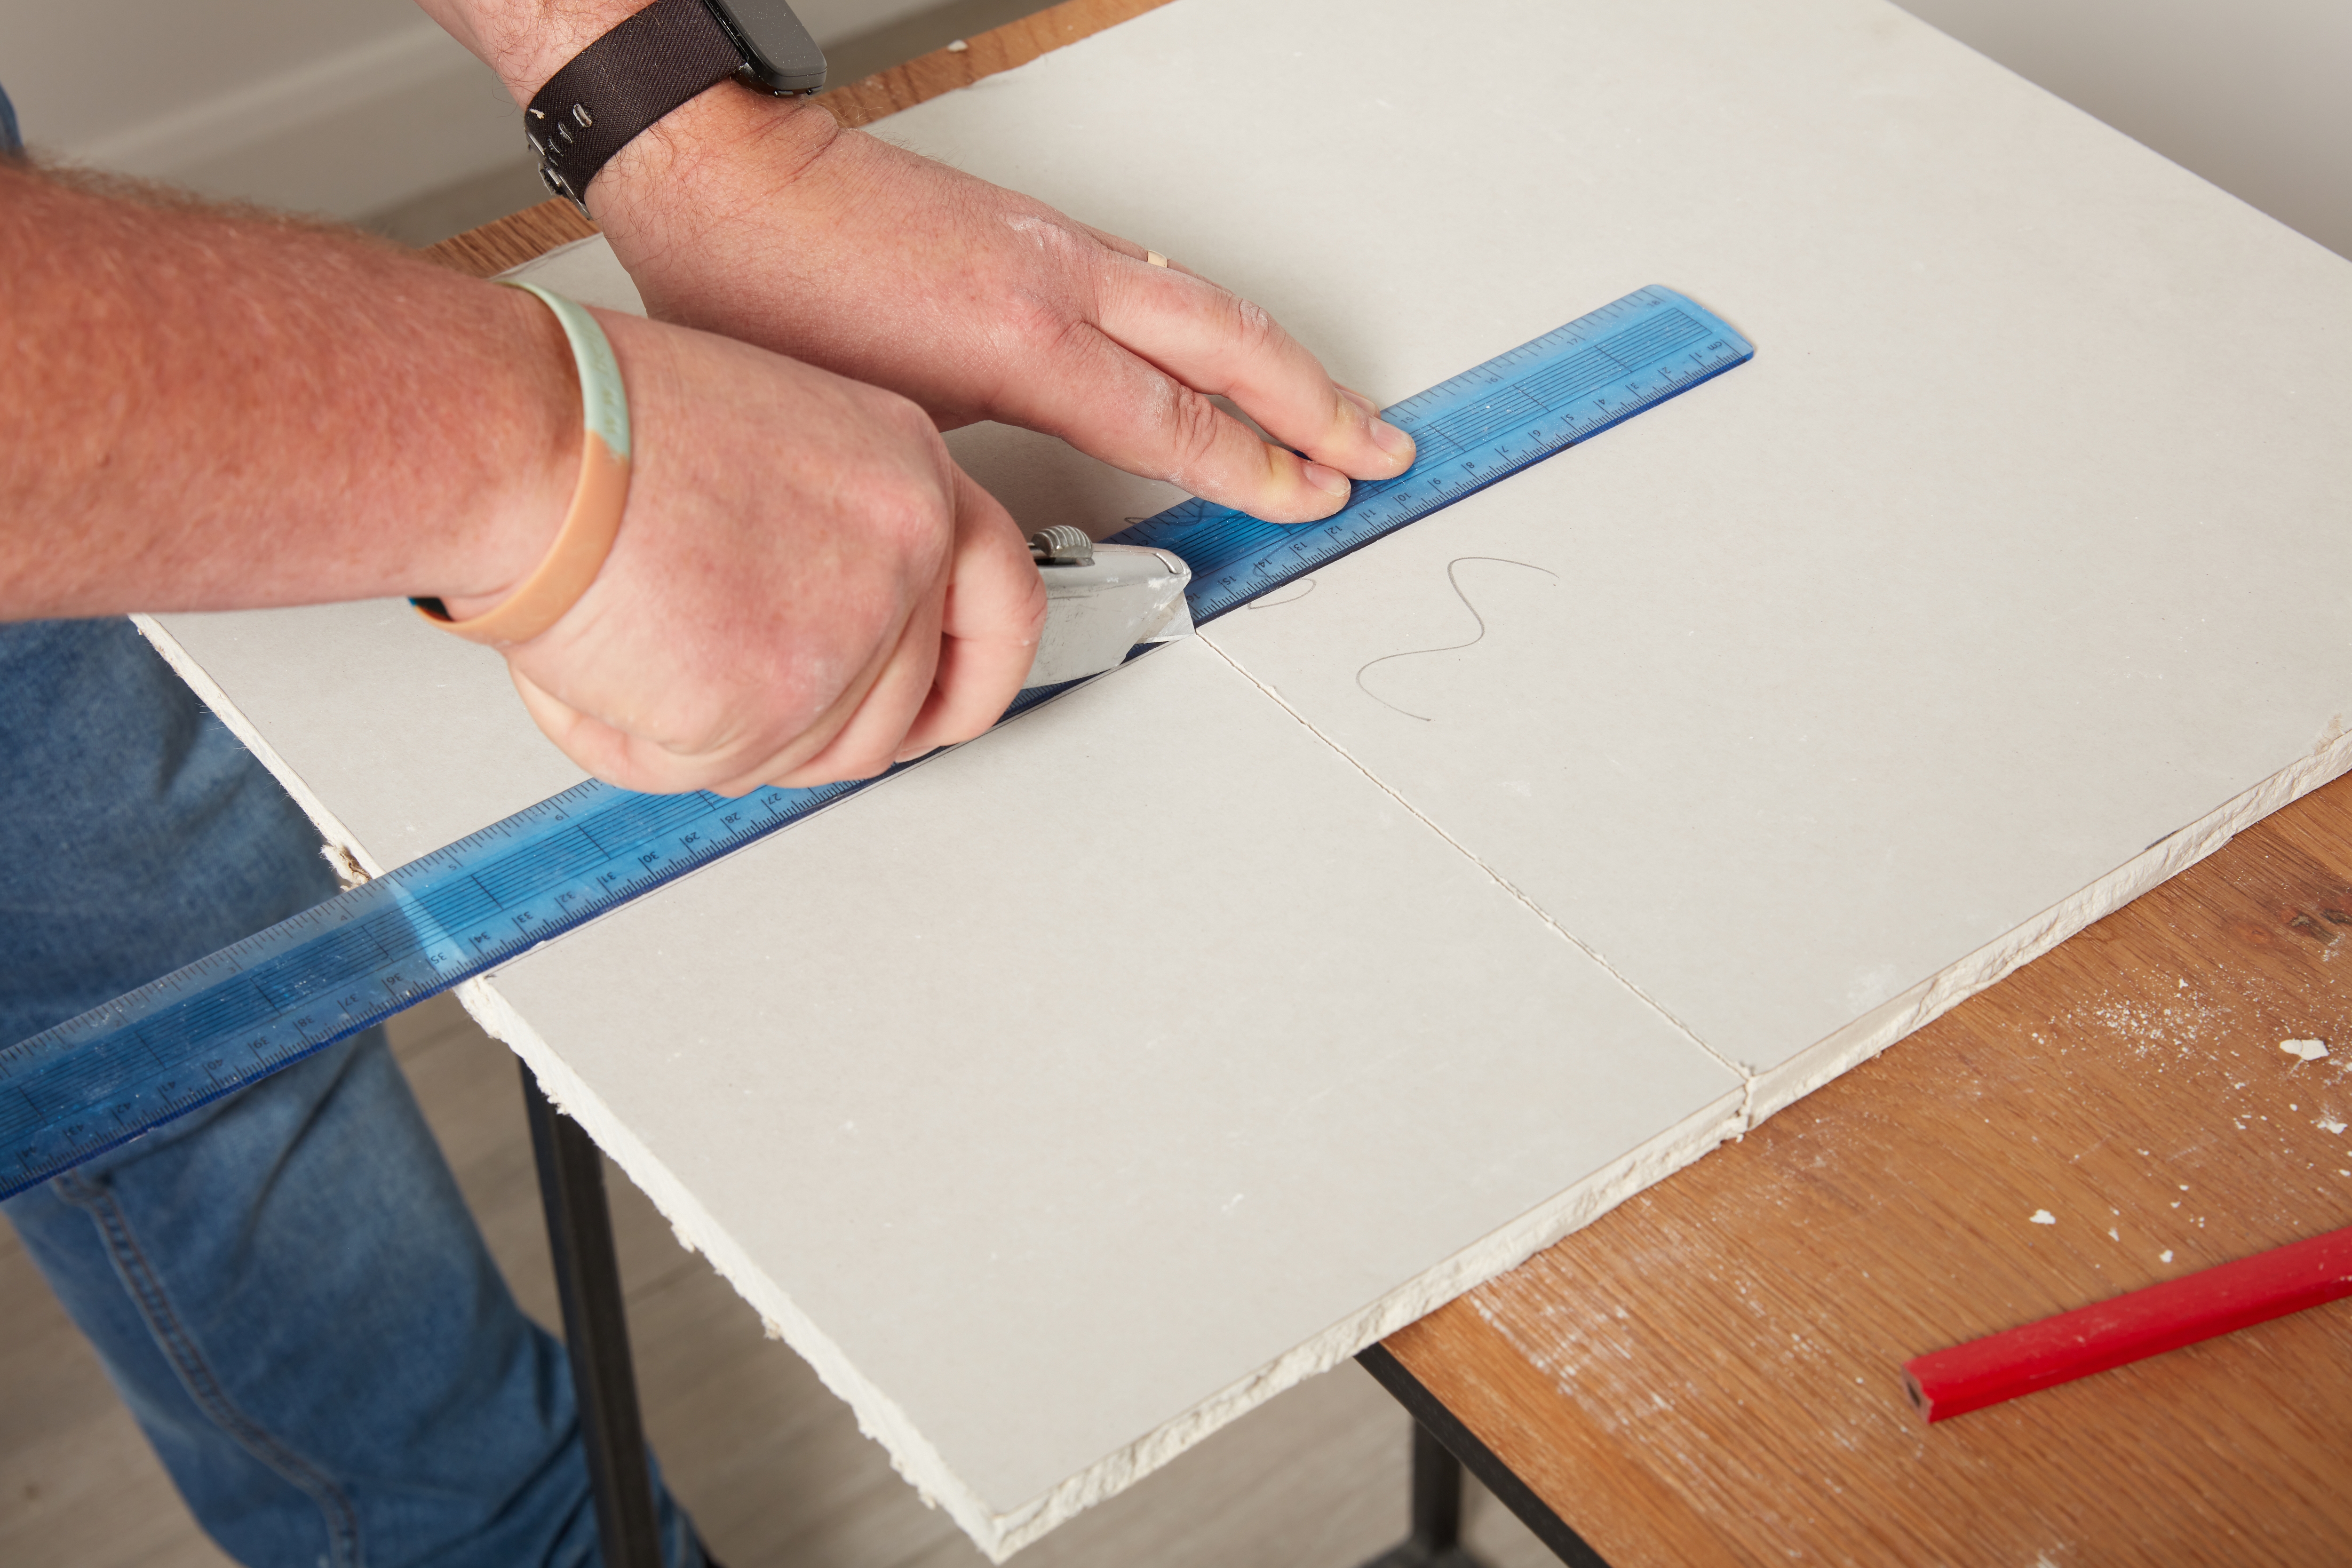
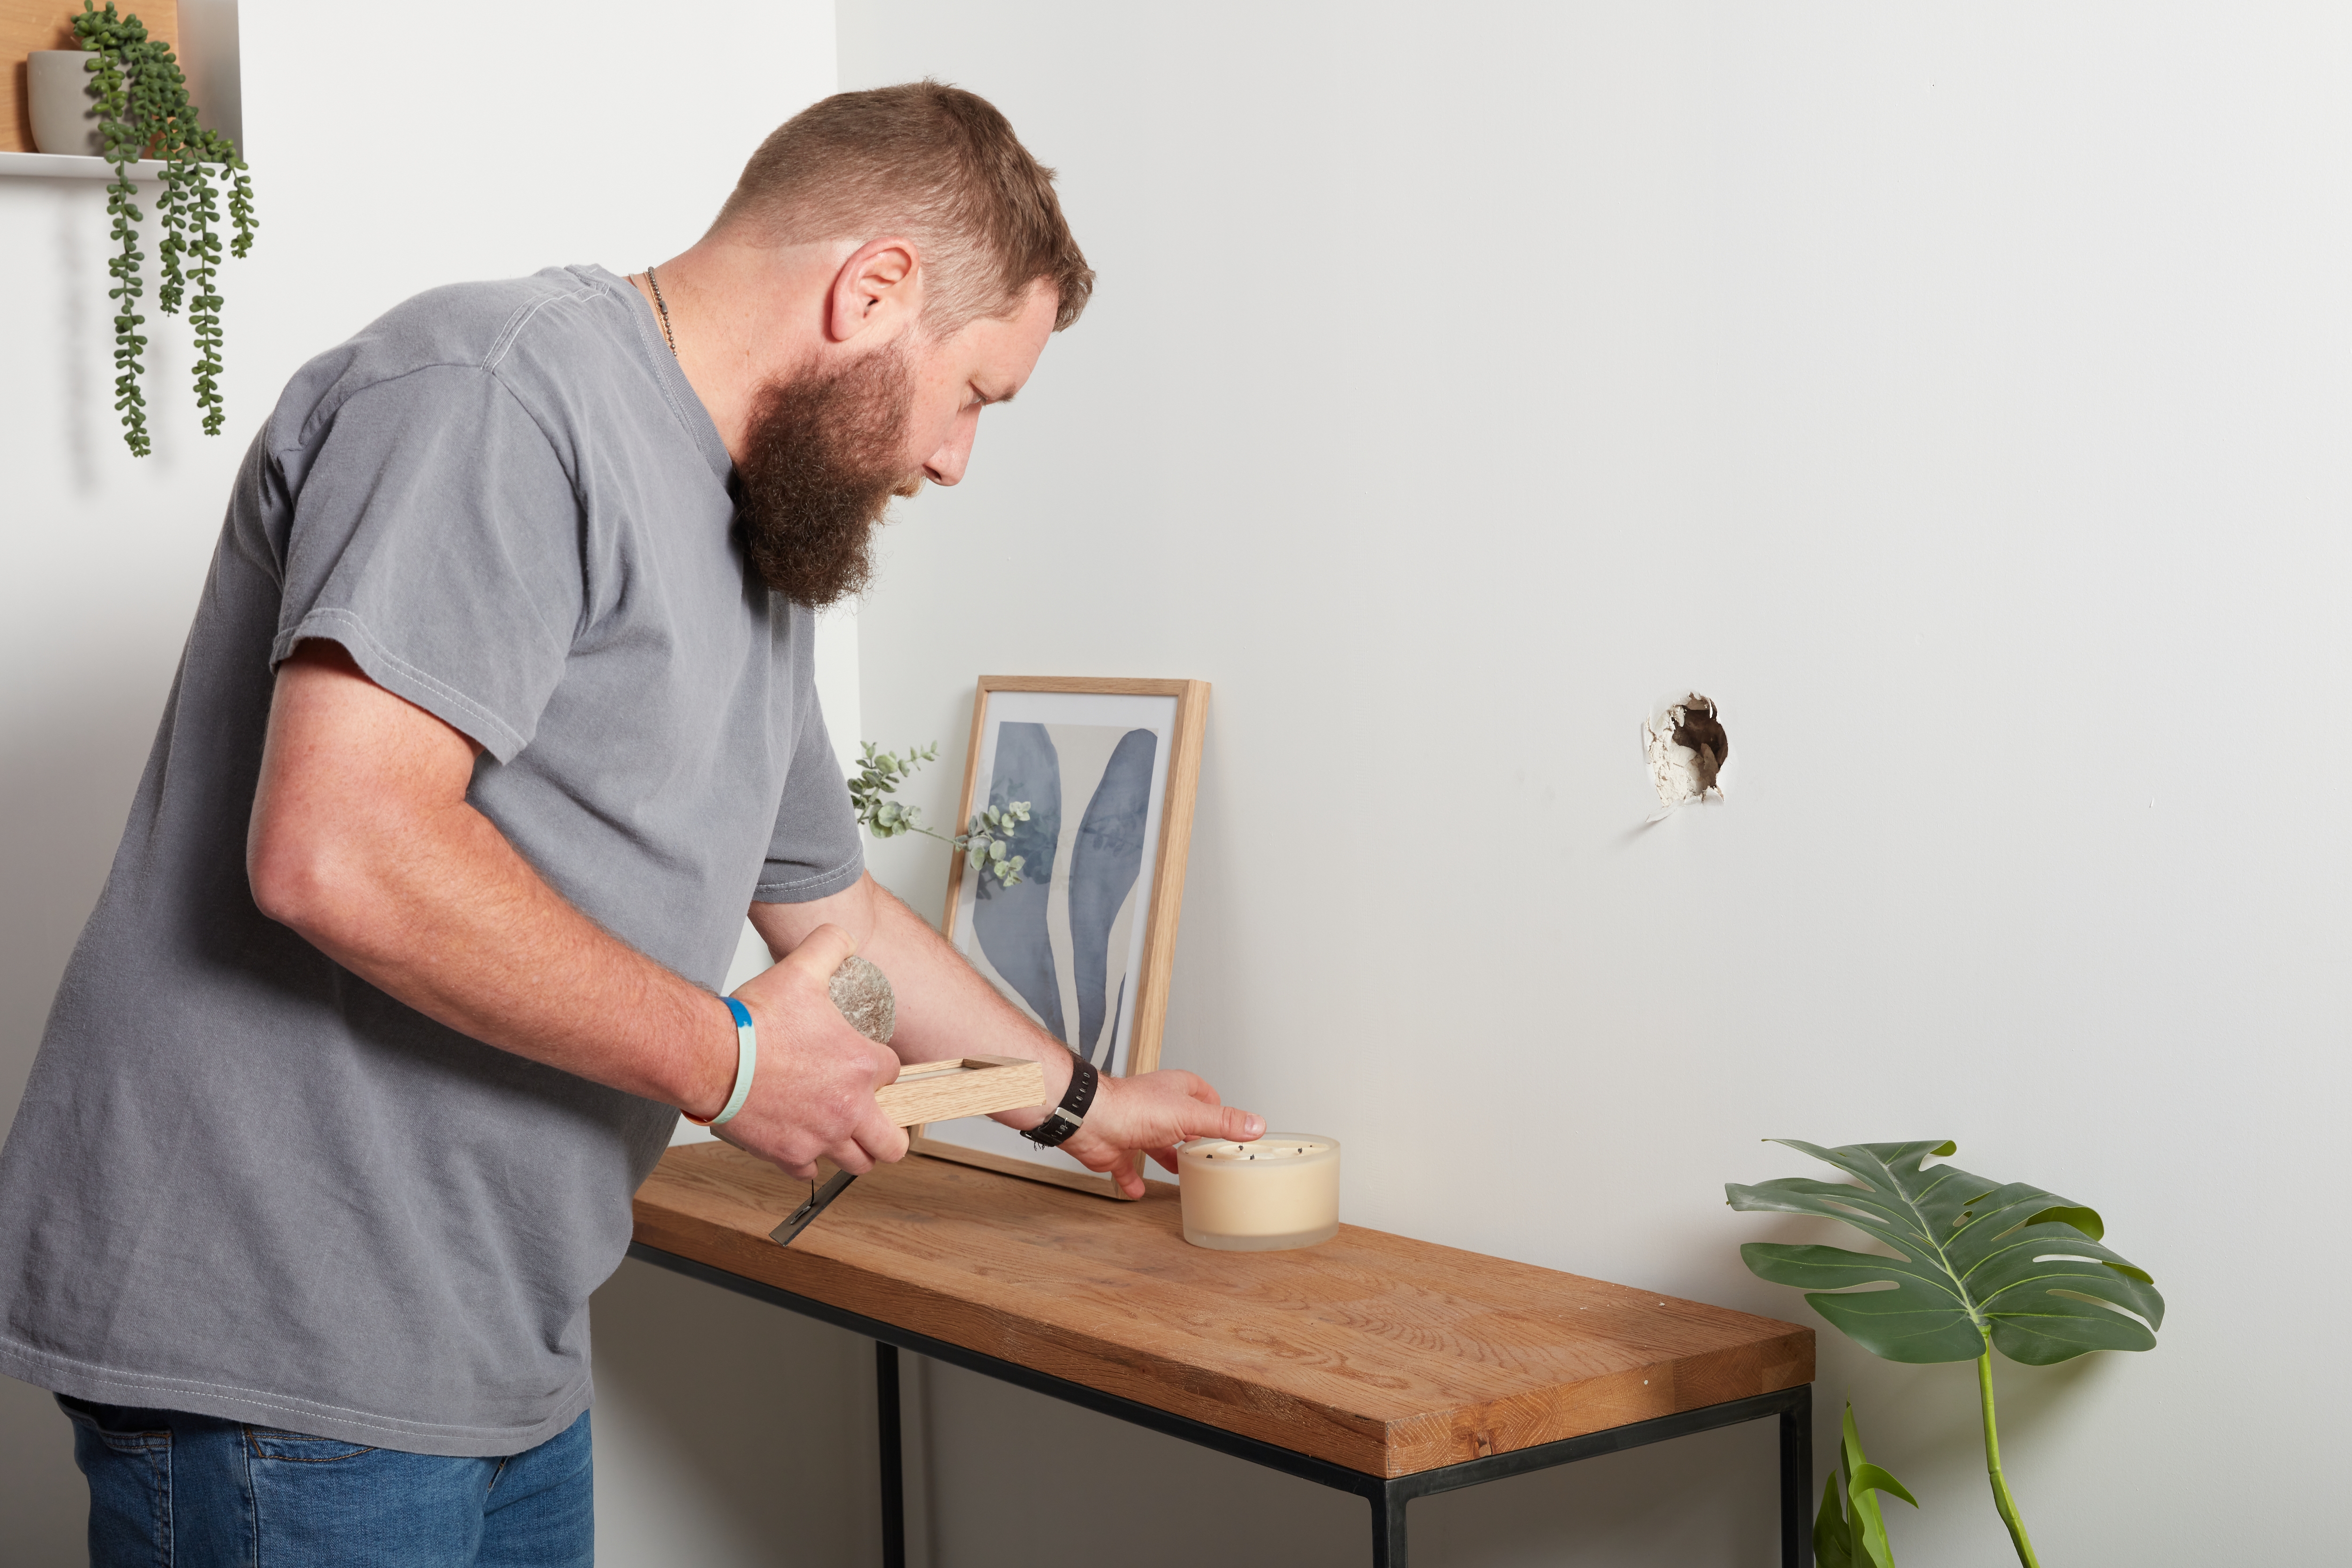
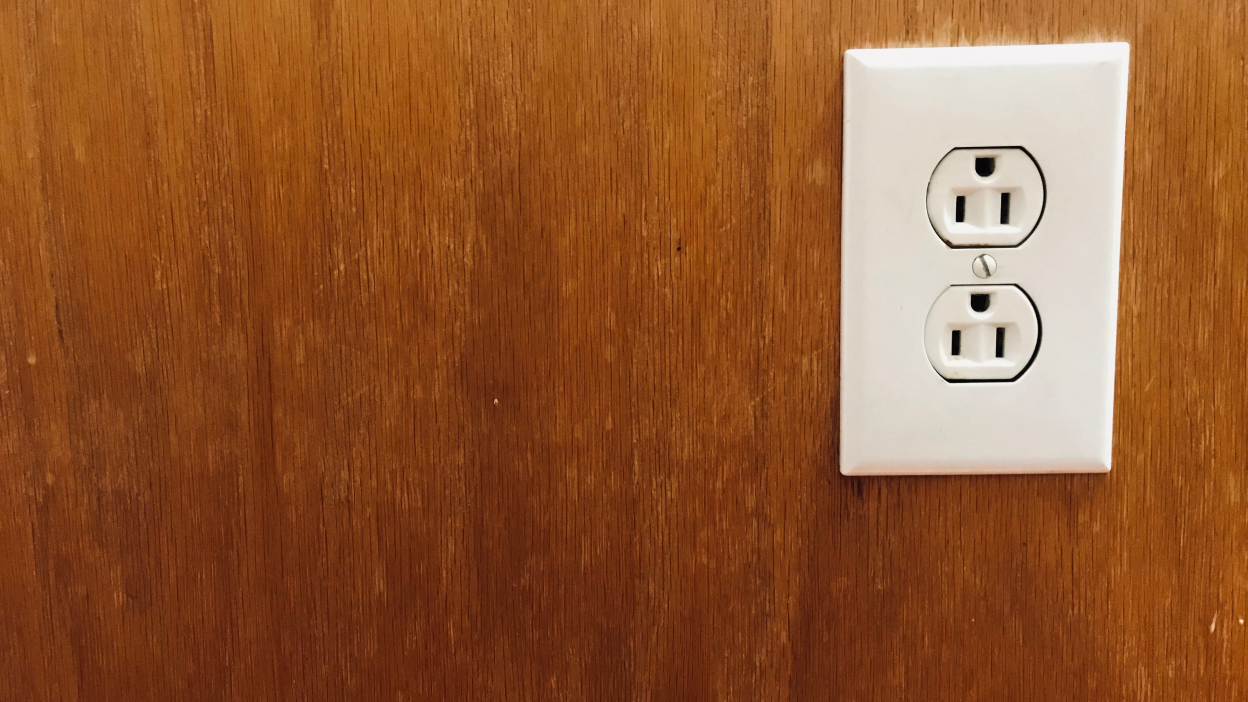
Preparation of the work area is highlighted as a crucial first step. Plastering is inherently messy, necessitating a clear, unobstructed environment. Readers are advised to remove furniture, curtain rails, dado rails, and even radiators if necessary, and to tape up electrical sockets to protect them from plaster. Heavy-duty protective sheets should be laid on the floor, with a recommendation for two sets if old plaster is being removed to avoid contaminating new plaster with dust. The wall must be thoroughly cleaned, removing any wallpaper, loose plaster, grease, or dust, as these can hinder plaster adhesion. For new plasterboard, applying plaster tape over all joints and trimming it neatly with a sharp knife is recommended. The next preparatory step involves applying diluted PVA glue (typically a 1:4 glue-to-water ratio) to the wall using a roller or brush. The plaster application should commence when the PVA becomes tacky, not fully dry.
Instructions for mixing plaster are provided, stressing adherence to manufacturer guidelines. The process involves filling a clean bucket with clean tap water, then gradually adding plaster to ensure a smooth, lump-free consistency. A bucket trowel should be used to incorporate any dry plaster from the bucket's edges. Mixing can be done manually or with a power mixer, with the latter being more efficient for larger quantities. The mixture should achieve a consistency similar to "thick custard," and the power stirrer should be cleaned immediately after use to prevent plaster from setting on the blades.
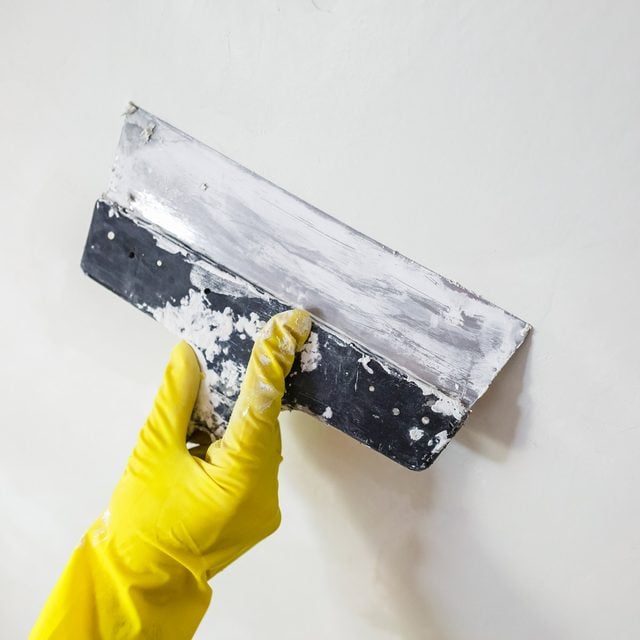
The guide then details the application of plaster. For larger areas, plaster should be poured onto a spot board, spreading but not running. A small amount of plaster is transferred to a hawk board using a bucket trowel. The plaster is then applied to the wall with a plastering trowel, using firm, upward strokes with the trowel angled slightly away from the wall. Each stroke should end by flattening the trowel to smooth the plaster. The process starts from the bottom left corner, working upwards and outwards with small amounts of plaster, gradually transitioning to longer sweeps for smoothness. Electrical sockets should be disconnected and taped for safety during this stage. After allowing the first coat to dry for approximately 20 minutes, any bumps are smoothed out with the trowel, using a spray bottle to dampen stubborn sections if needed. Corners and edges are refined with a wet brush. A second, thinner coat of plaster is then applied, repeating the smoothing process. The article concludes with the finishing steps, which involve lightly polishing the slightly damp, but firm, plaster surface with a clean trowel and spray bottle, angling the blade to smooth the plaster. Edges and corners are meticulously finished with a small damp brush. Once fully dry, the plastered wall is ready for painting or wallpapering. Instructions for storing unused plaster, noting its limited shelf life of a couple of weeks, are also included.
#PlasteringWalls #HomeImprovement #DIYDecorating #WallPreparation #PlasteringTools #HomeRenovation #InteriorFinishing #DecoratingTips #PlasteringWalls #HomeImprovement #DIYDecorating #WallPreparation #PlasteringTools #HomeRenovation #InteriorFinishing #DecoratingTips
0 commentaire au total
Vous aimerez aussi

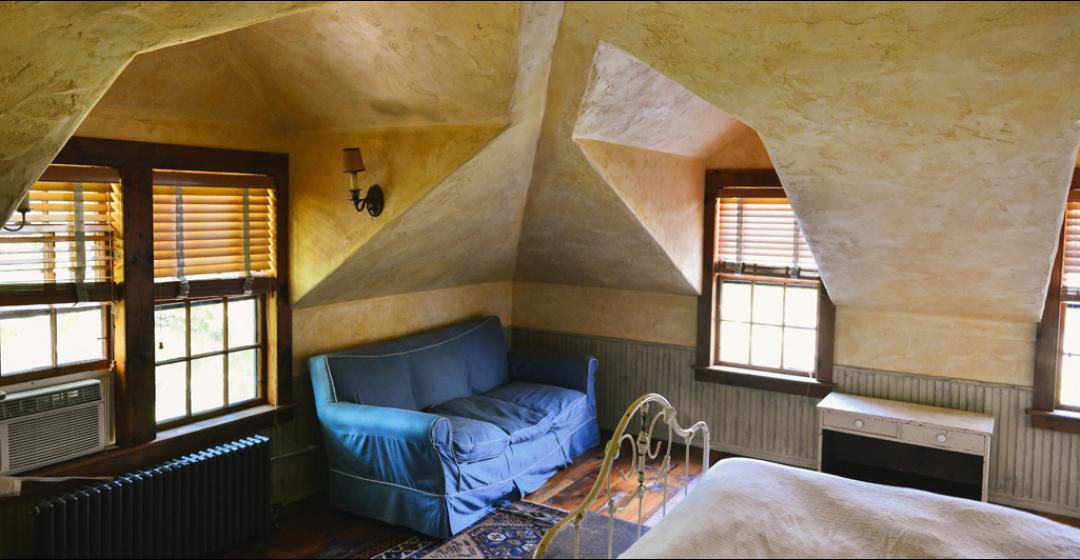
How to add texture to your walls - a beginner's guide to the many beautiful plaster finishes

How to repair a wall or ceiling


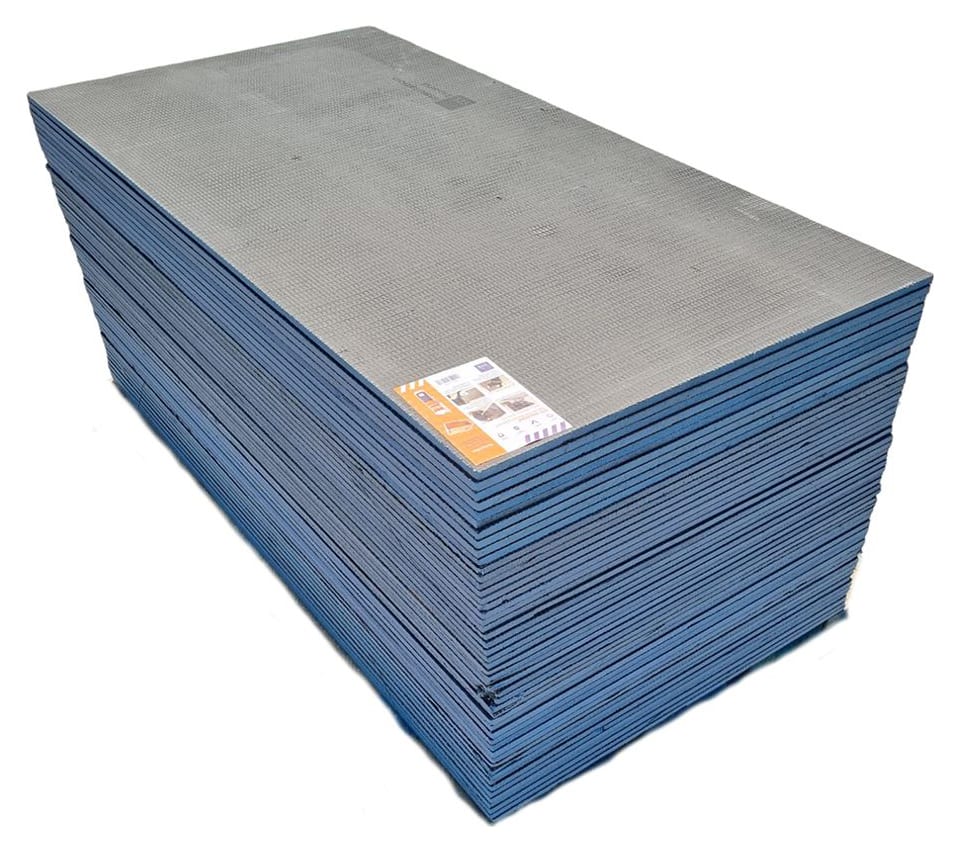
Plasterboard

Why Plaster Walls Are So Popular, Plus 3 Ways to Get the Look

How to create plaster effect walls – the modern rustic trend everyone's trying
Plaster Walls—a Signature of Warm Modernist Interiors—Are Having a Moment

How to Figure Out What Kind of Walls You Have Behind Your Wall Paneling

4 Common Wall Hanging Myths, Busted
Everything You Need to Know About Mural Wall Painting

Minimize Plaster Repair With These 5 Tips for Perfect Plaster Walls
Plastered In Style
How to texture a wall – 5 expert methods for intriguing wall textures

The Art of Plaster

Everything you need to know about painting over new plaster - including how long to wait before painting
Can you plaster over tiles? The experts issue a surprising warning...
How to panel a wall – DIY this trending look in your home this weekend

How to Hang Wallpaper Yourself in 8 Simple Steps, Straight from a Pro

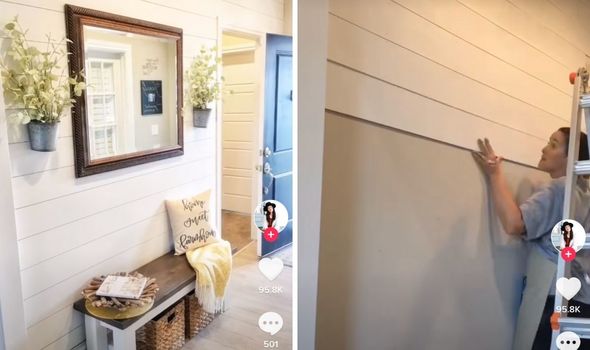
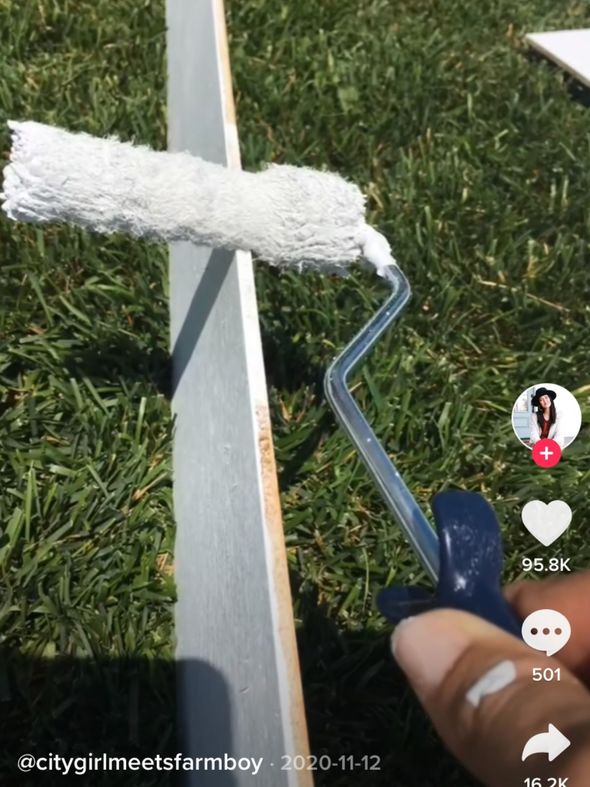
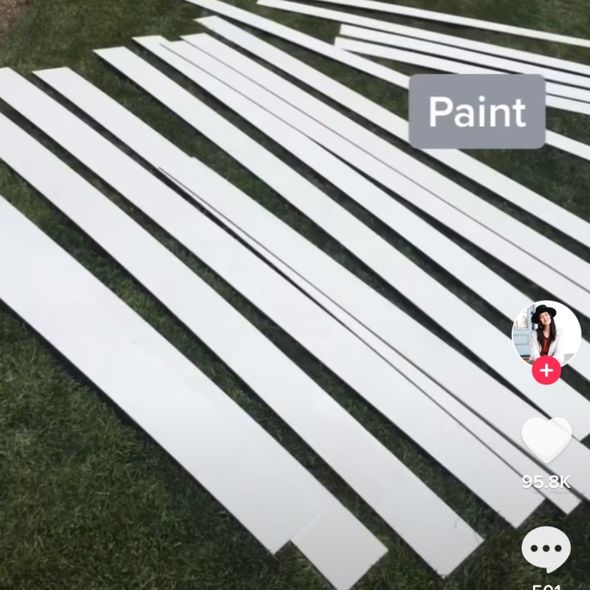
DIY shiplap walls: How to install shiplap on wall
This expert’s ‘BRB’ technique is something I'll forever use when painting wall paneling to avoid drips and paint build-up
7 Simple Steps for Hanging Wallpaper Yourself