1/9
Everything you need to know about painting over new plaster - including how long to wait before painting
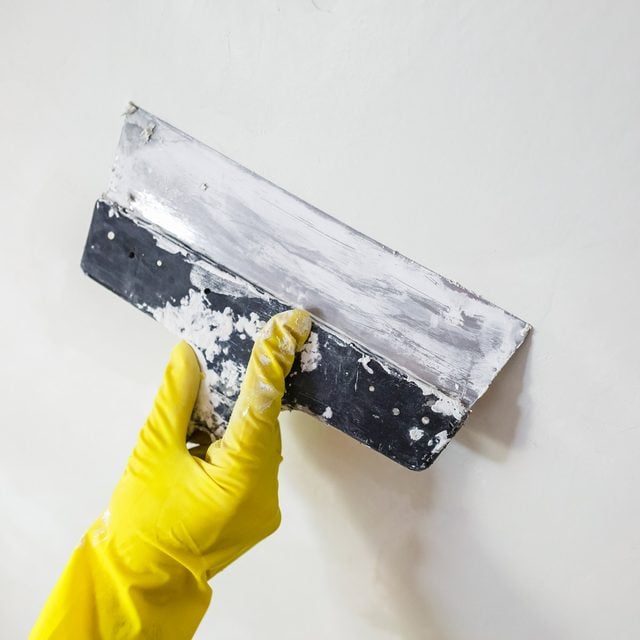
Painting over new plaster correctly is crucial for both the aesthetic appeal and the structural integrity of the walls. It is a process that requires patience and adherence to specific steps to ensure a high-quality finish and prevent issues like cracking or peeling paint. This guide consolidates expert advice on painting new plaster, covering the necessary drying times, the reasons behind these waiting periods, and a detailed, step-by-step approach to the painting process.
The most critical aspect of painting new plaster is allowing it sufficient time to dry completely. Experts emphasize that this drying period can range from two to four weeks, depending on various factors such as the type and thickness of the plaster layers, and ambient weather conditions. Smaller repairs might dry faster, within about a week, while extensive plasterwork may require a full month or more. It is essential not to rush this stage, as premature painting can lead to significant problems. When the plaster is fully dry, it will exhibit a light, consistent color without any dark, damp patches. Professional plasterers can offer a more precise estimate for drying times based on their specific work and materials.
Attempting to paint new plaster before it is thoroughly dry is ill-advised because wet plaster is highly absorbent. Applying paint to a damp surface will result in the paint being soaked up rather than forming a durable layer on top. This absorption can cause the paint to crack, peel, and bond improperly to the plaster, necessitating costly and time-consuming repairs. Therefore, waiting for the plaster to cure completely is a preventative measure against such issues.
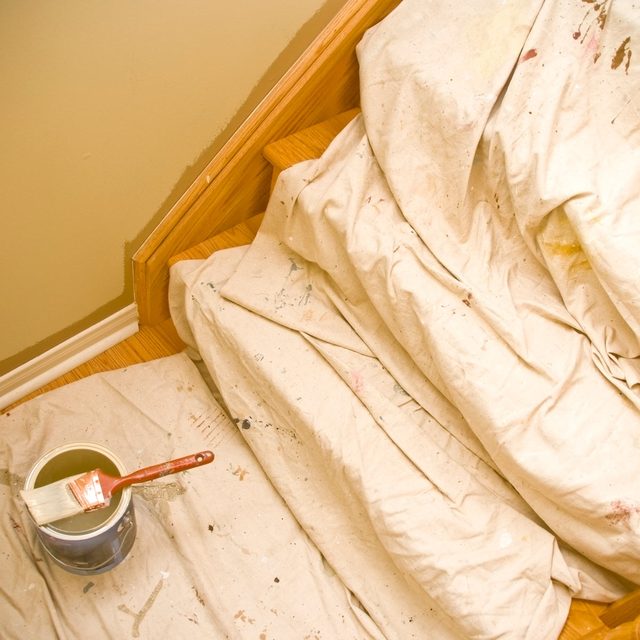
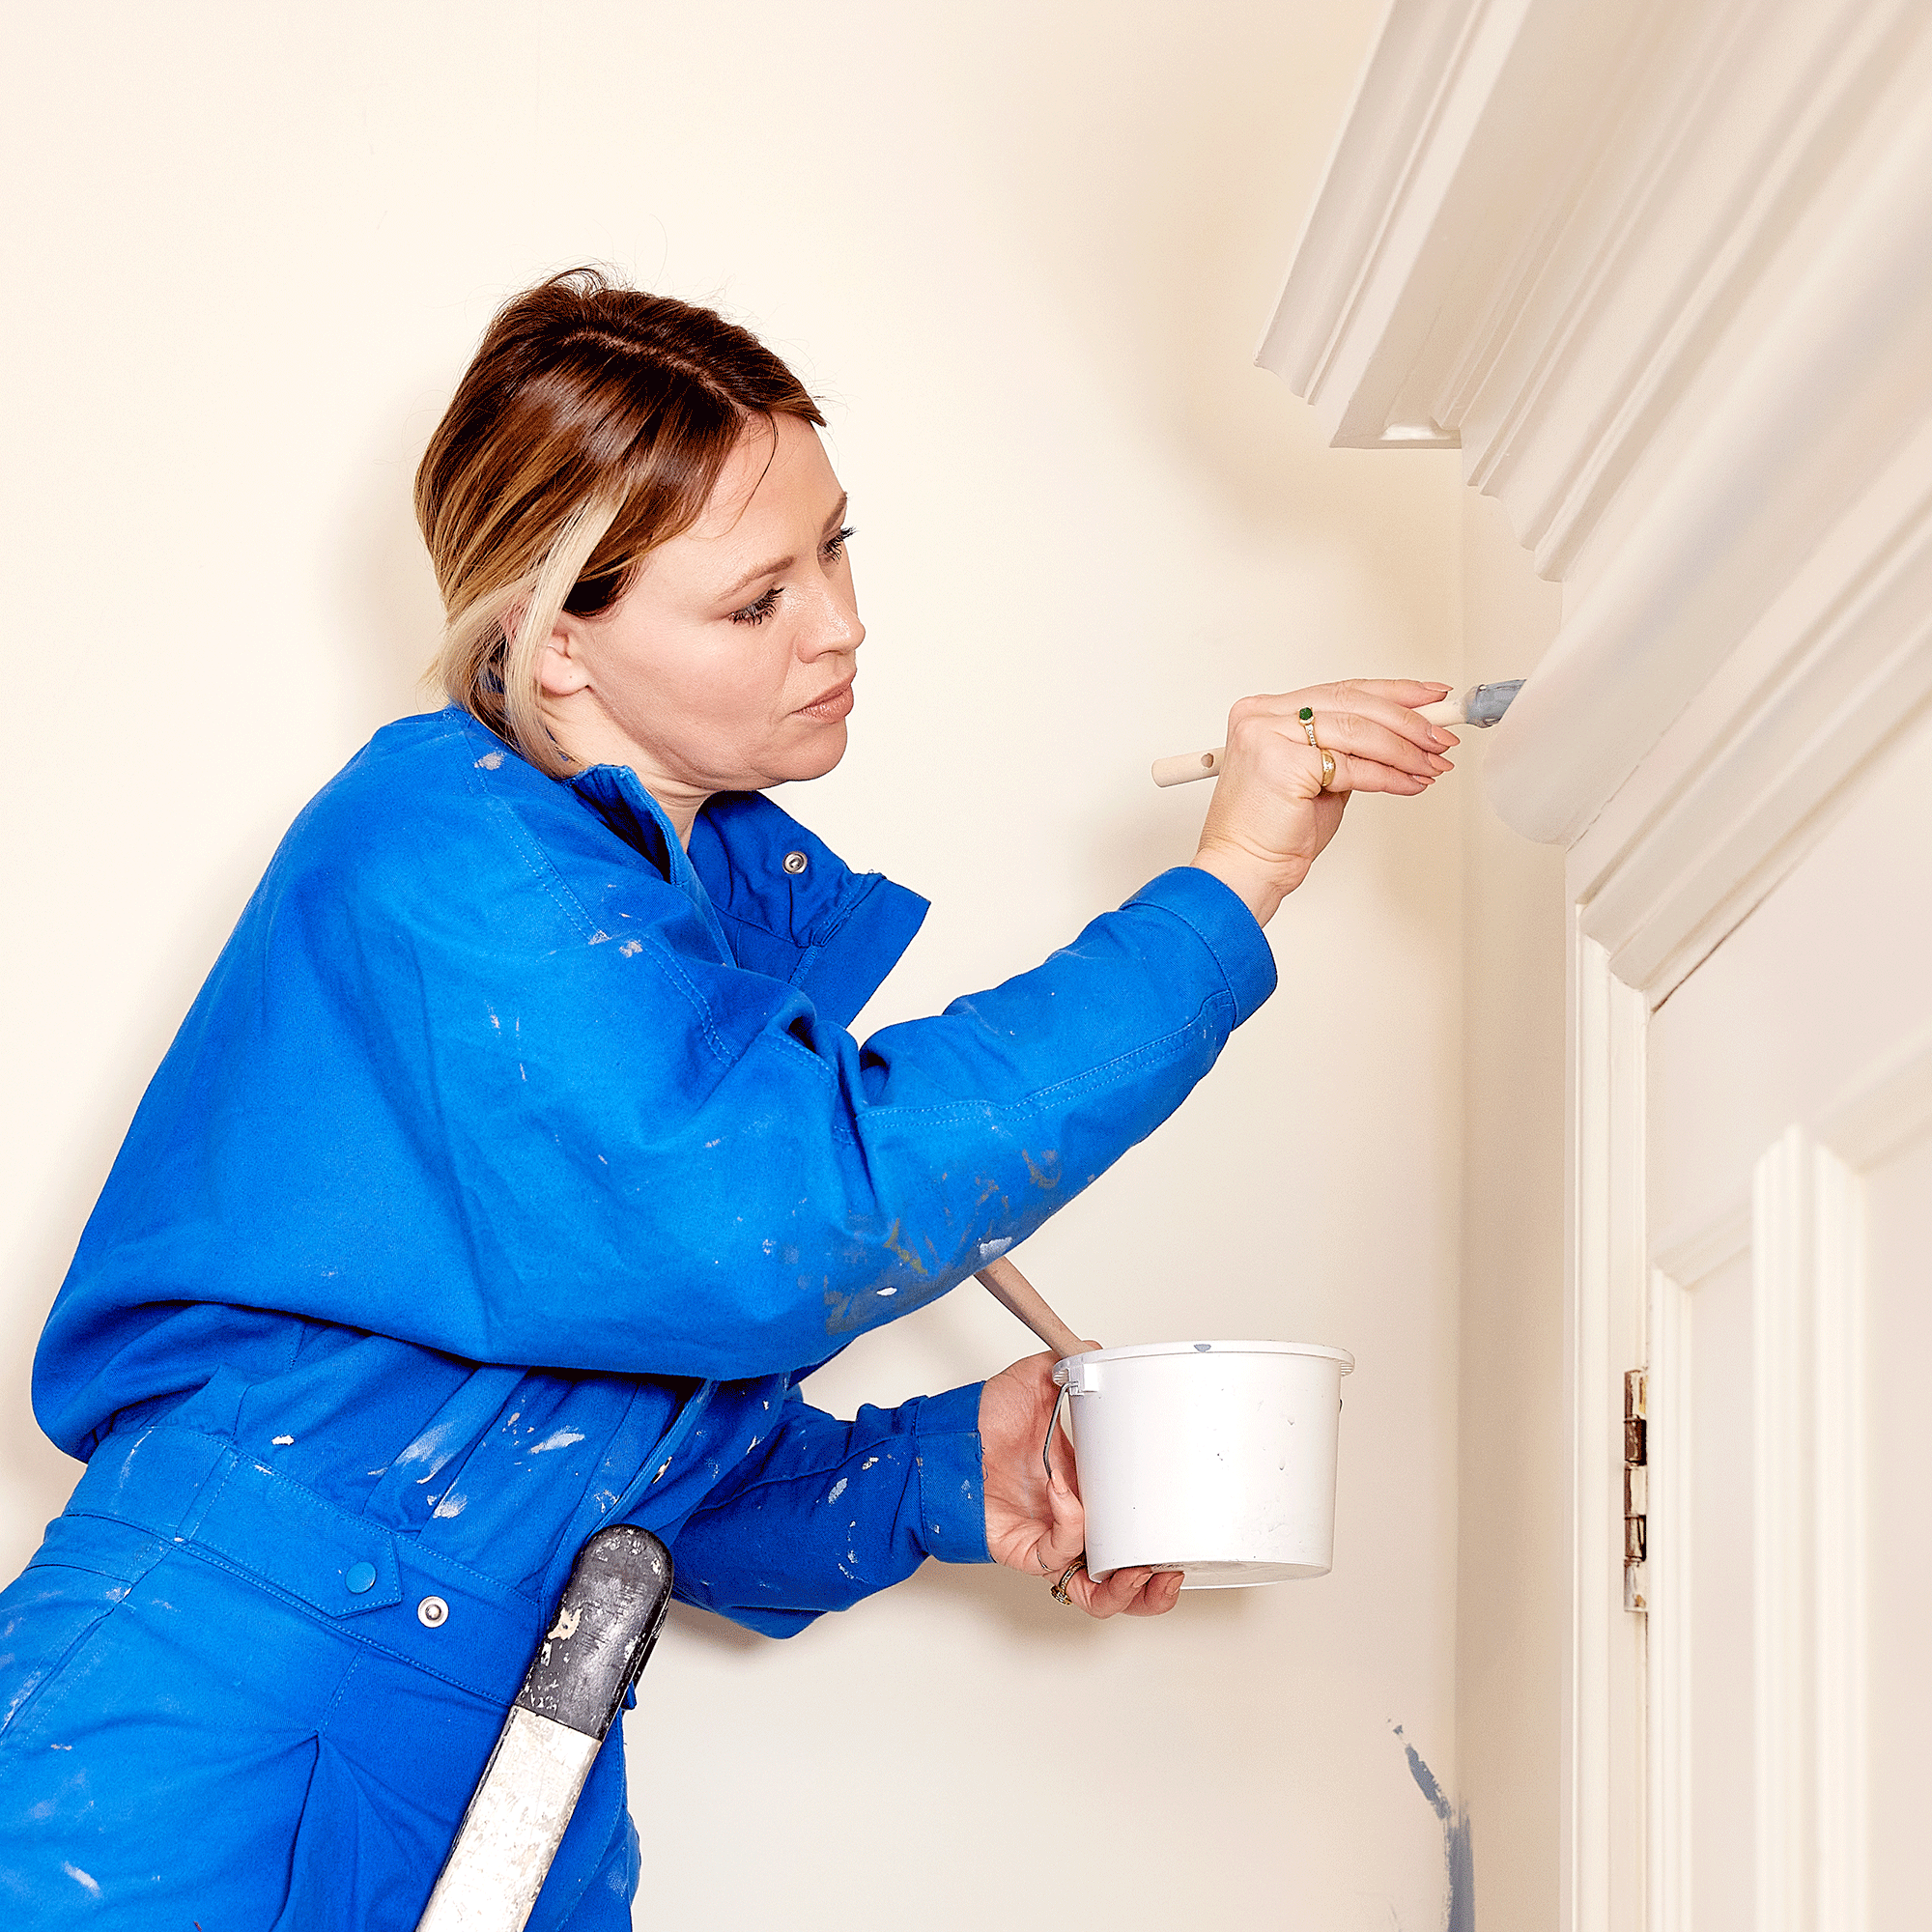
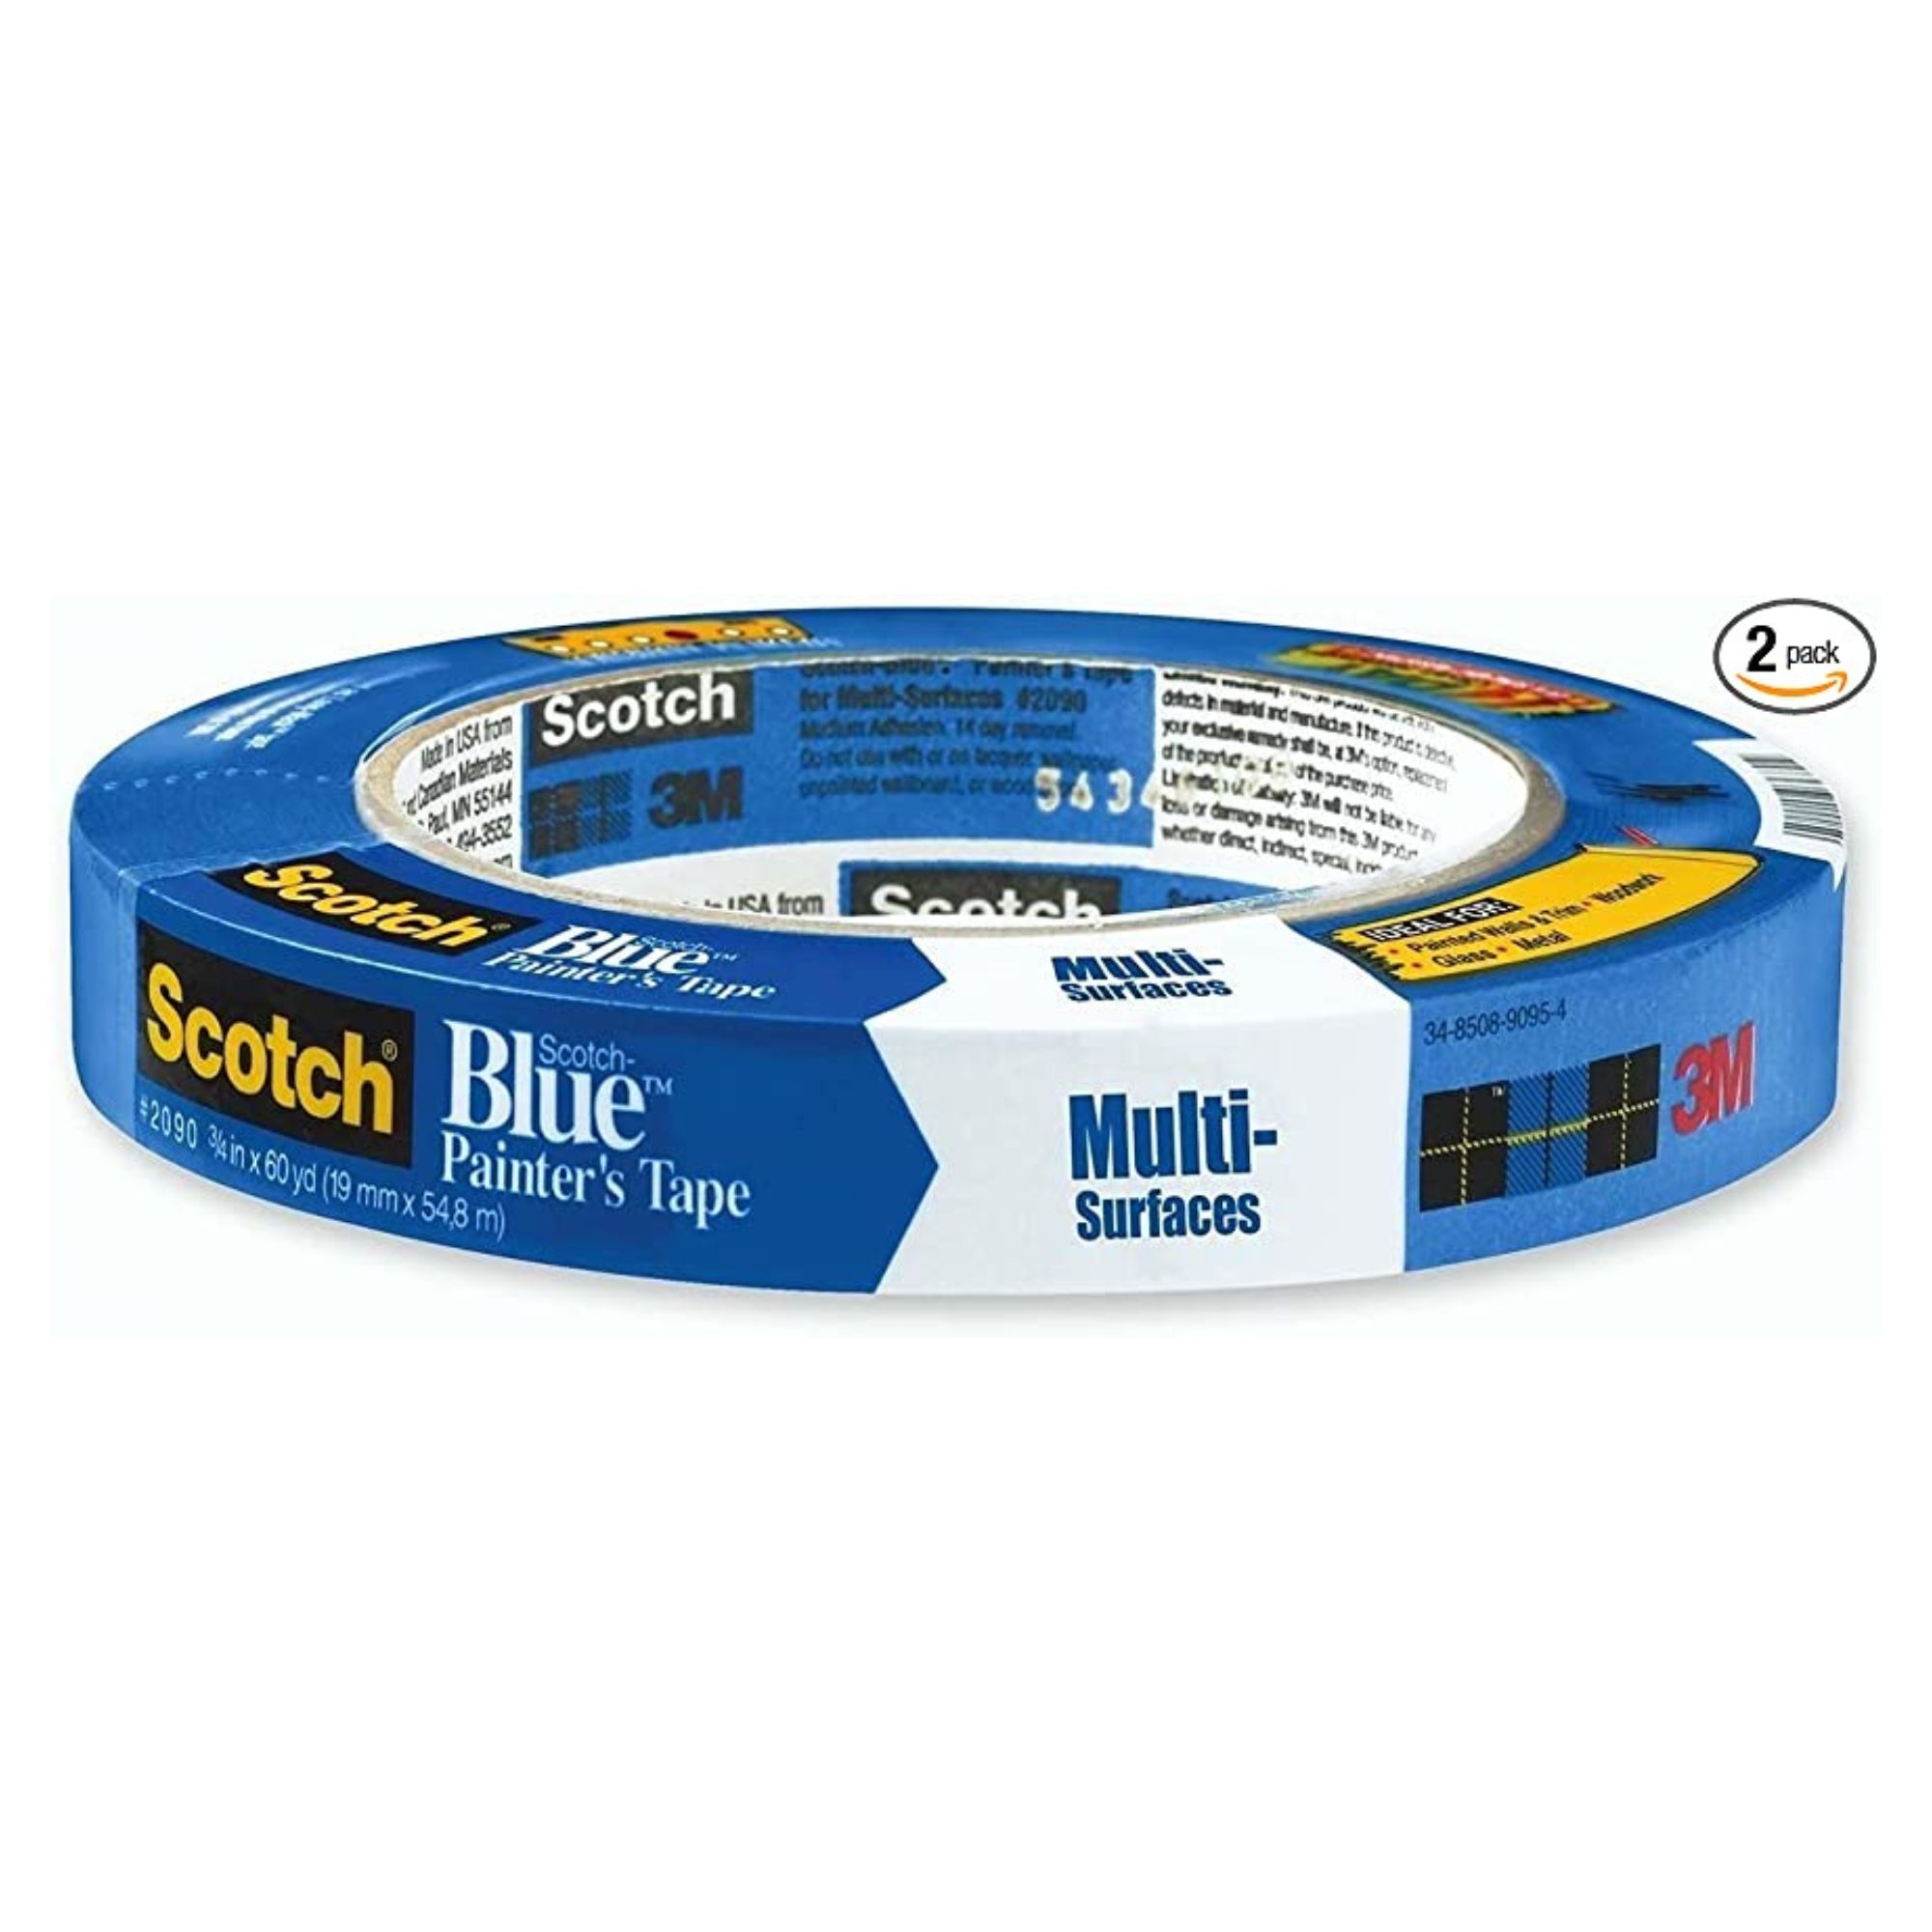
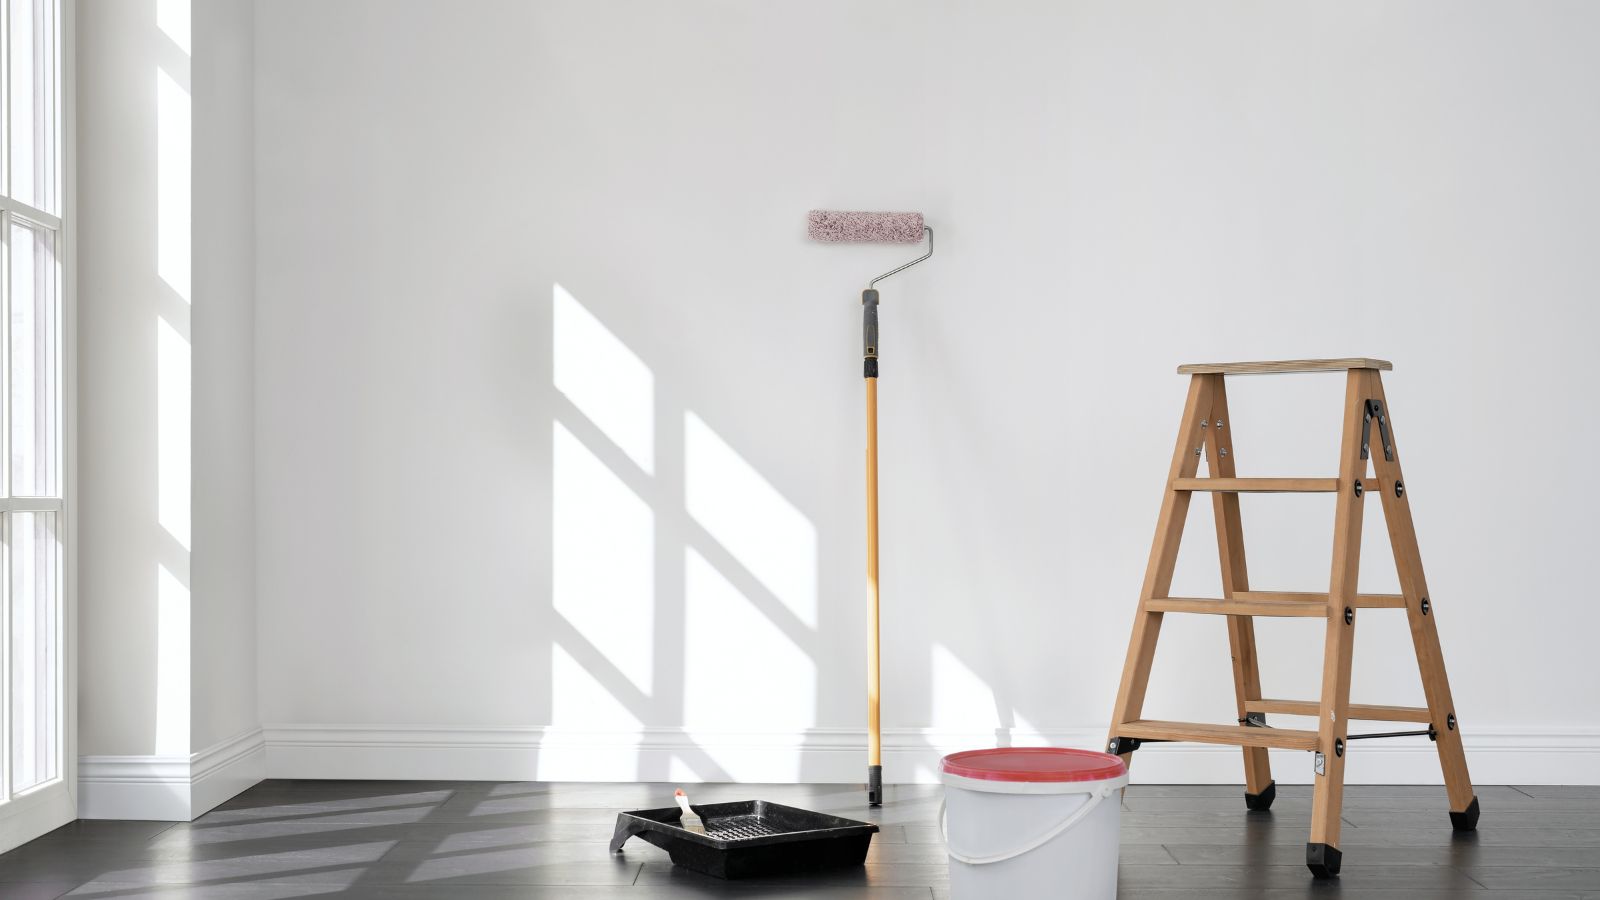
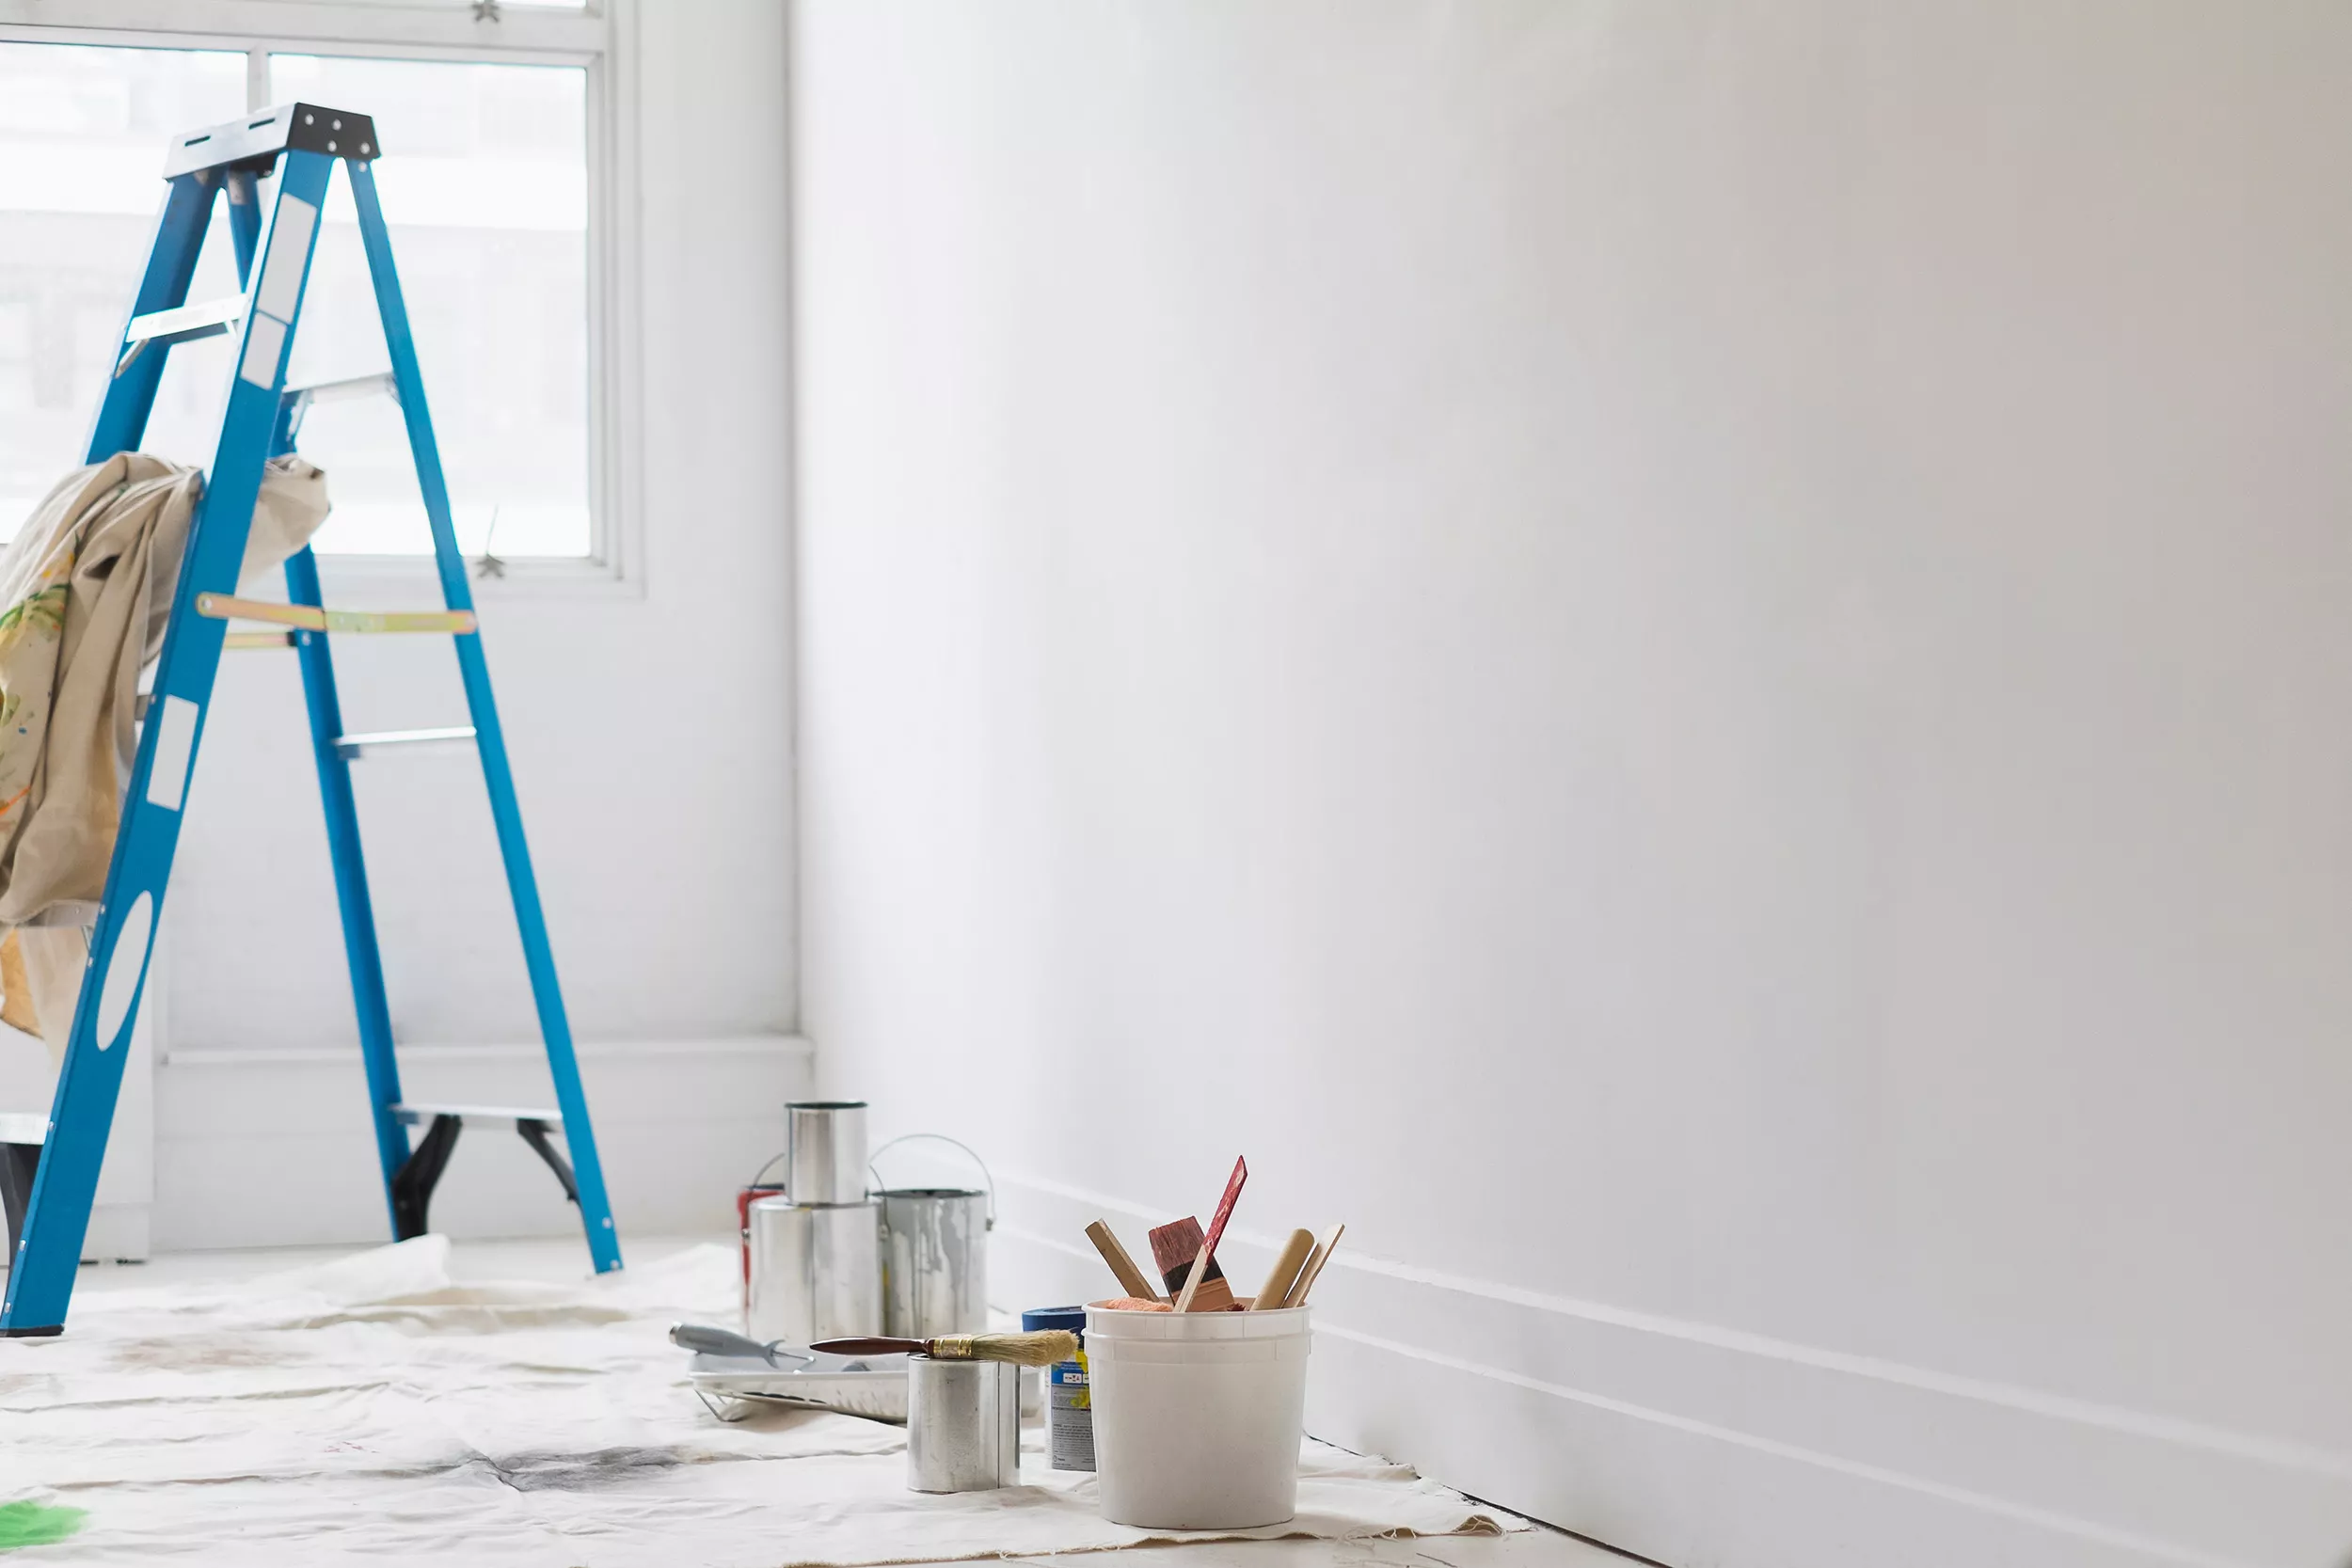
The painting process begins with thorough preparation, which includes covering all furniture and flooring to protect against paint splashes. Self-adhesive protector rolls are recommended for floors, and reusable plastic dust sheets or old bed sheets are ideal for furniture. Personal protective clothing is also advised.
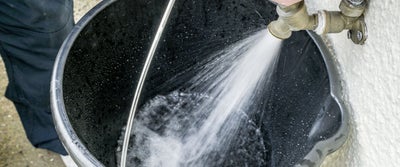
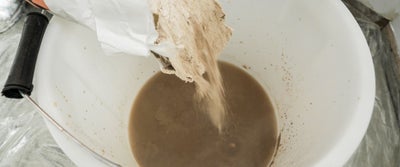
Next, a mist coat must be prepared and applied. A mist coat is a thinned-down emulsion paint, typically white, that acts as a primer and sealant for the new plaster. The recommended ratio is three parts paint to one part water, creating a milky consistency. This thinned paint penetrates the plaster, ensuring proper adhesion for subsequent paint layers. The mist coat does not require precise application; it can be applied with a sprayer, roller, or brush. However, due to its thin consistency, it can splatter, so drips and streaks should be addressed quickly before they dry. After application, the mist coat must be allowed to dry for at least 24 hours.
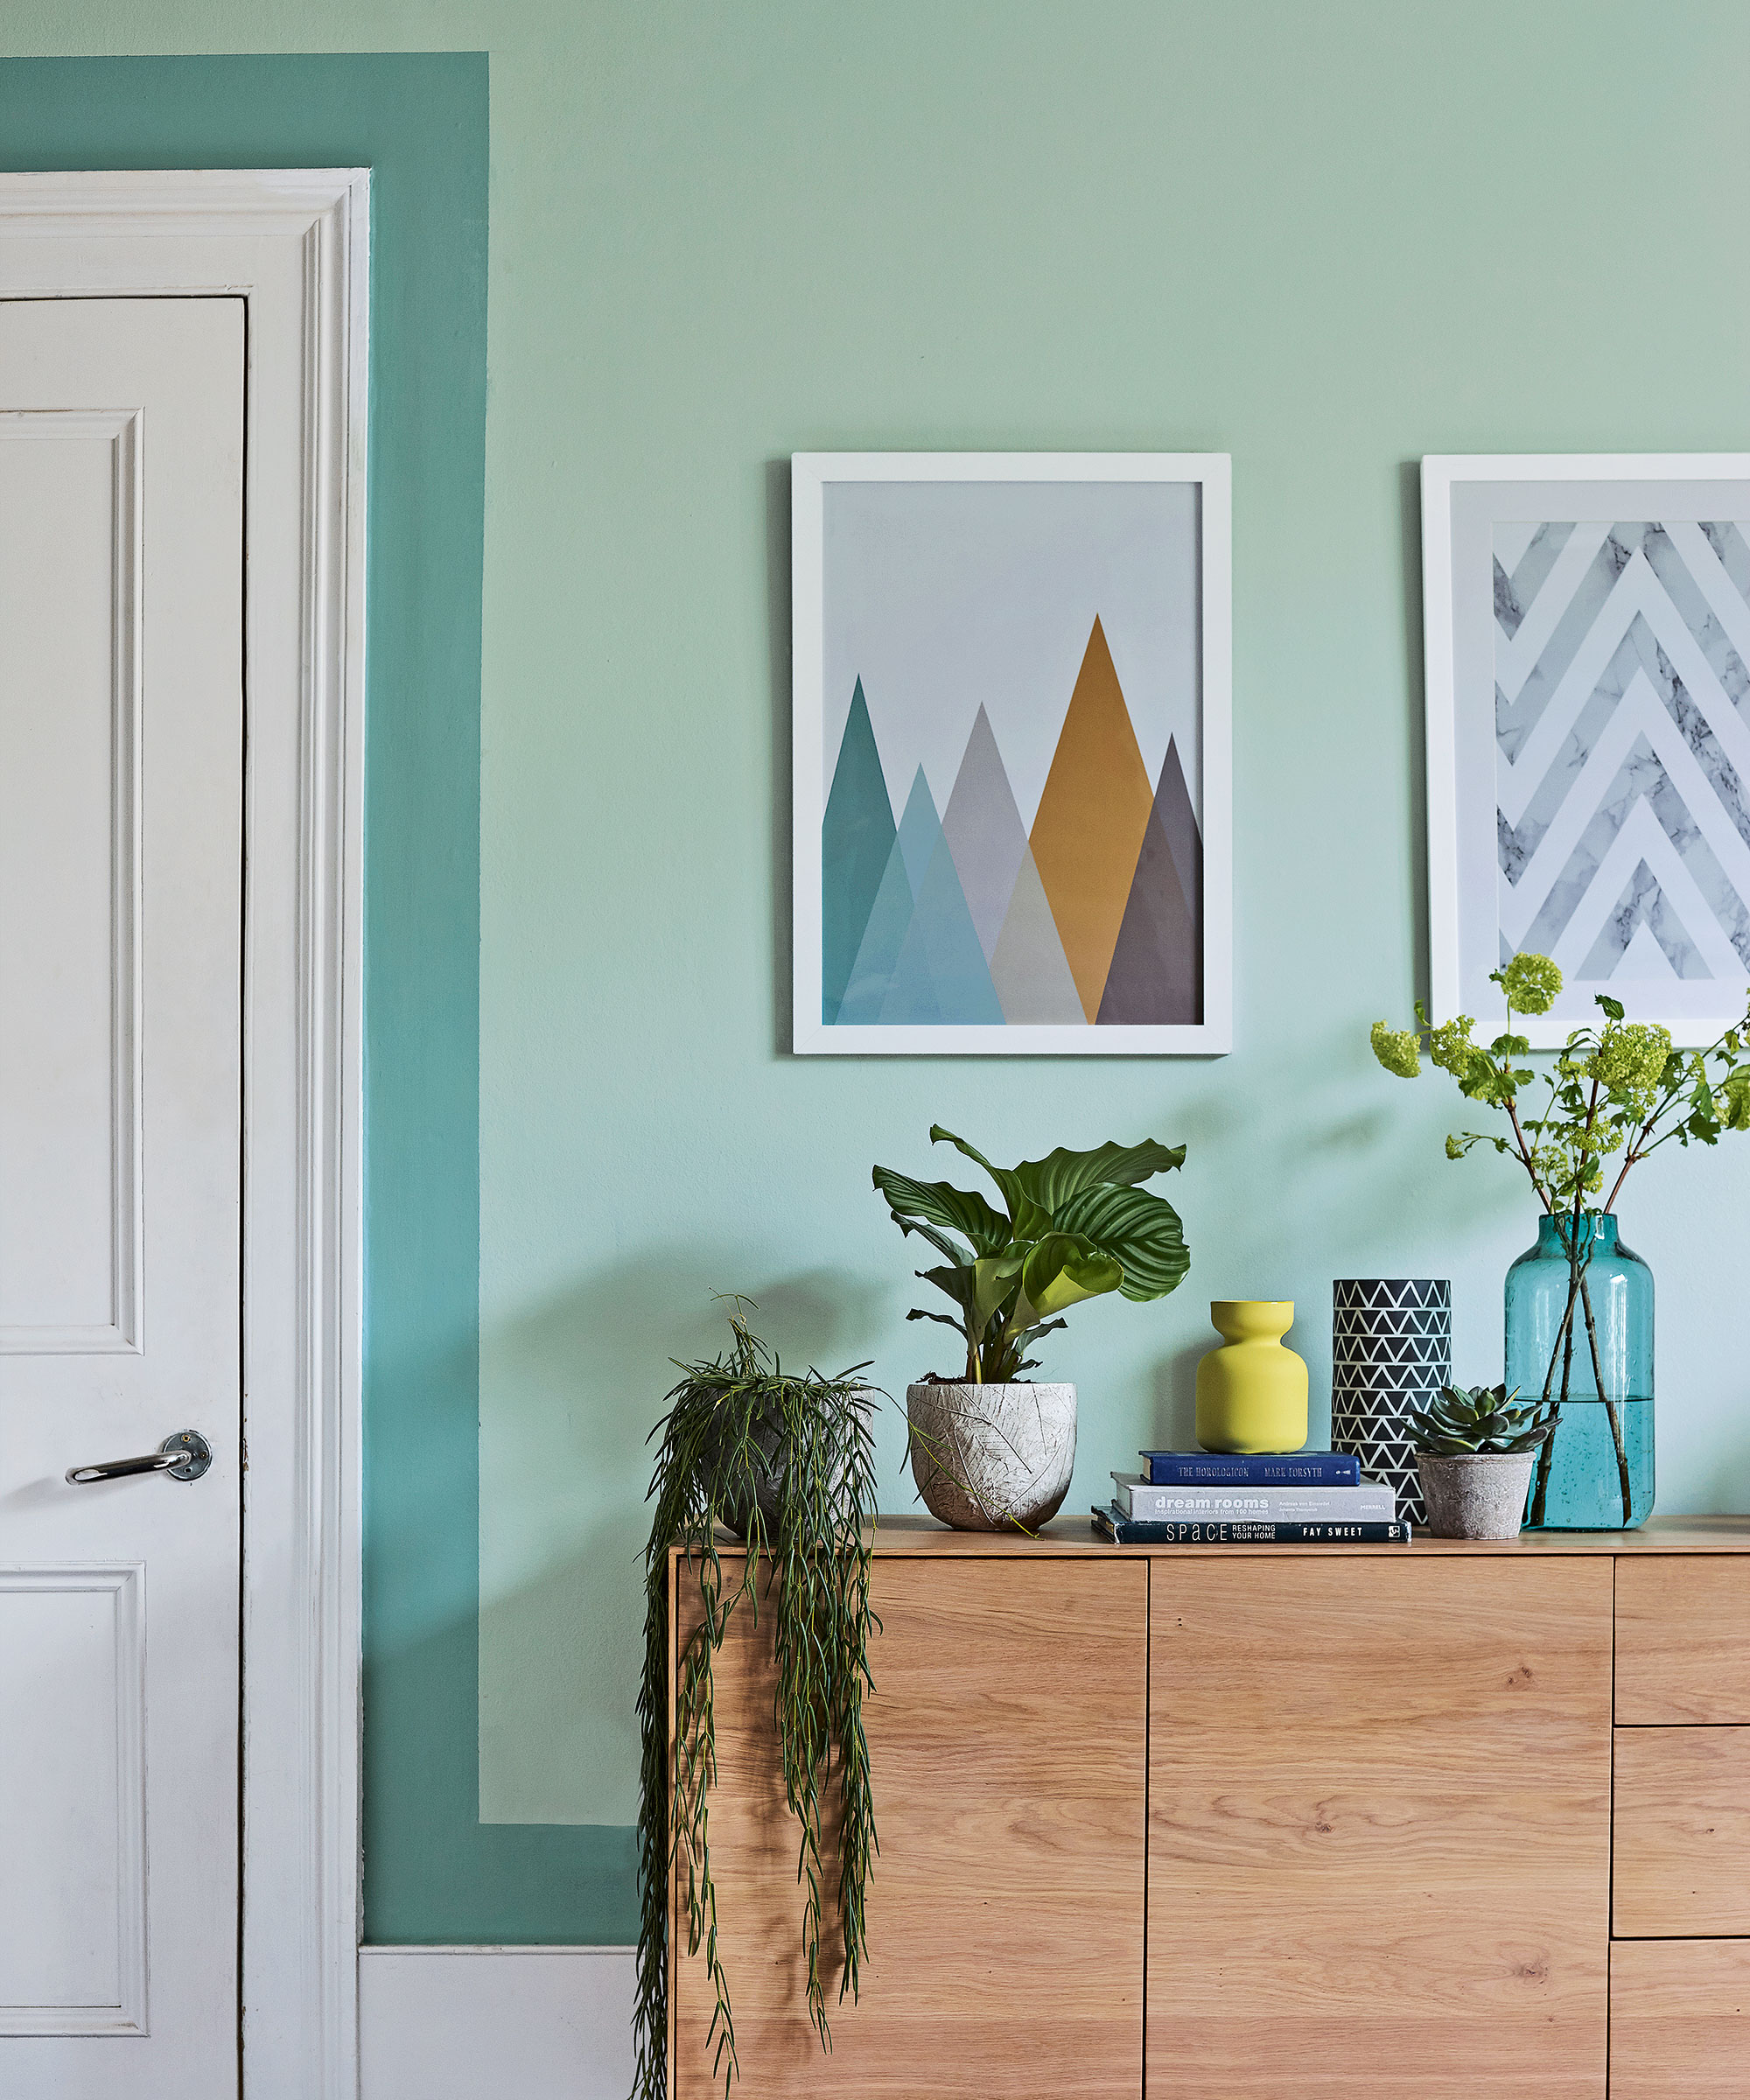
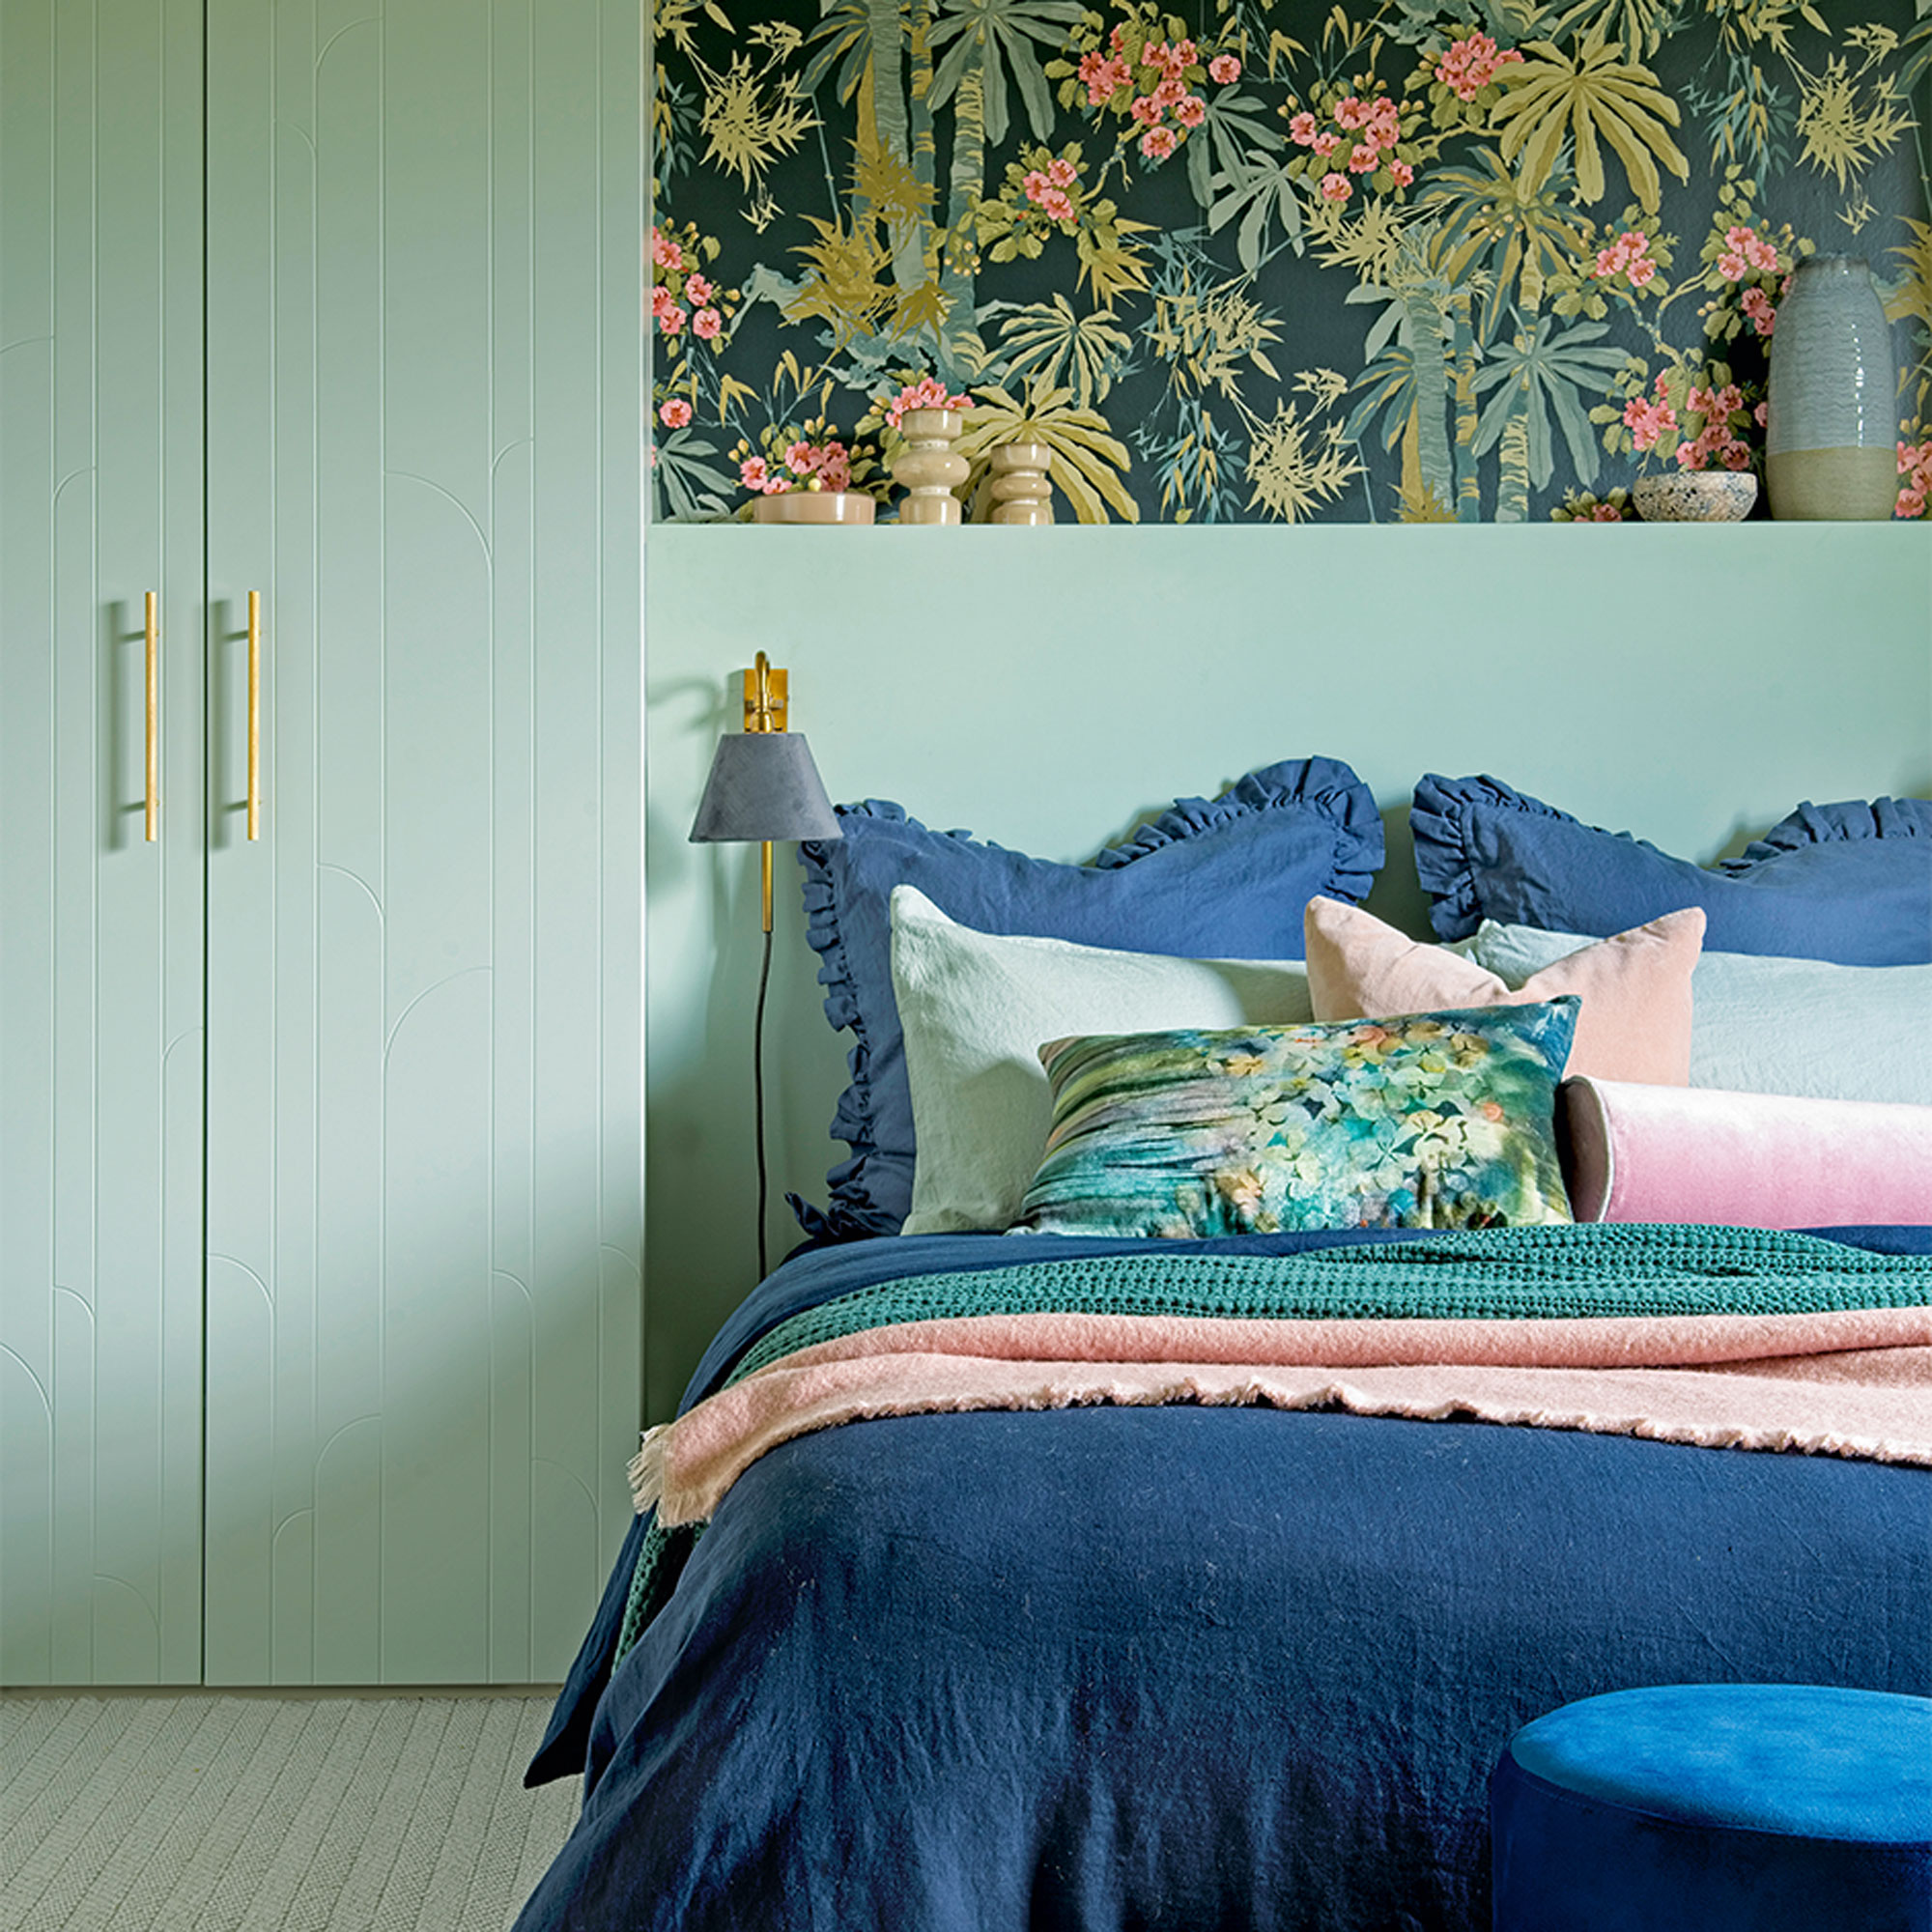
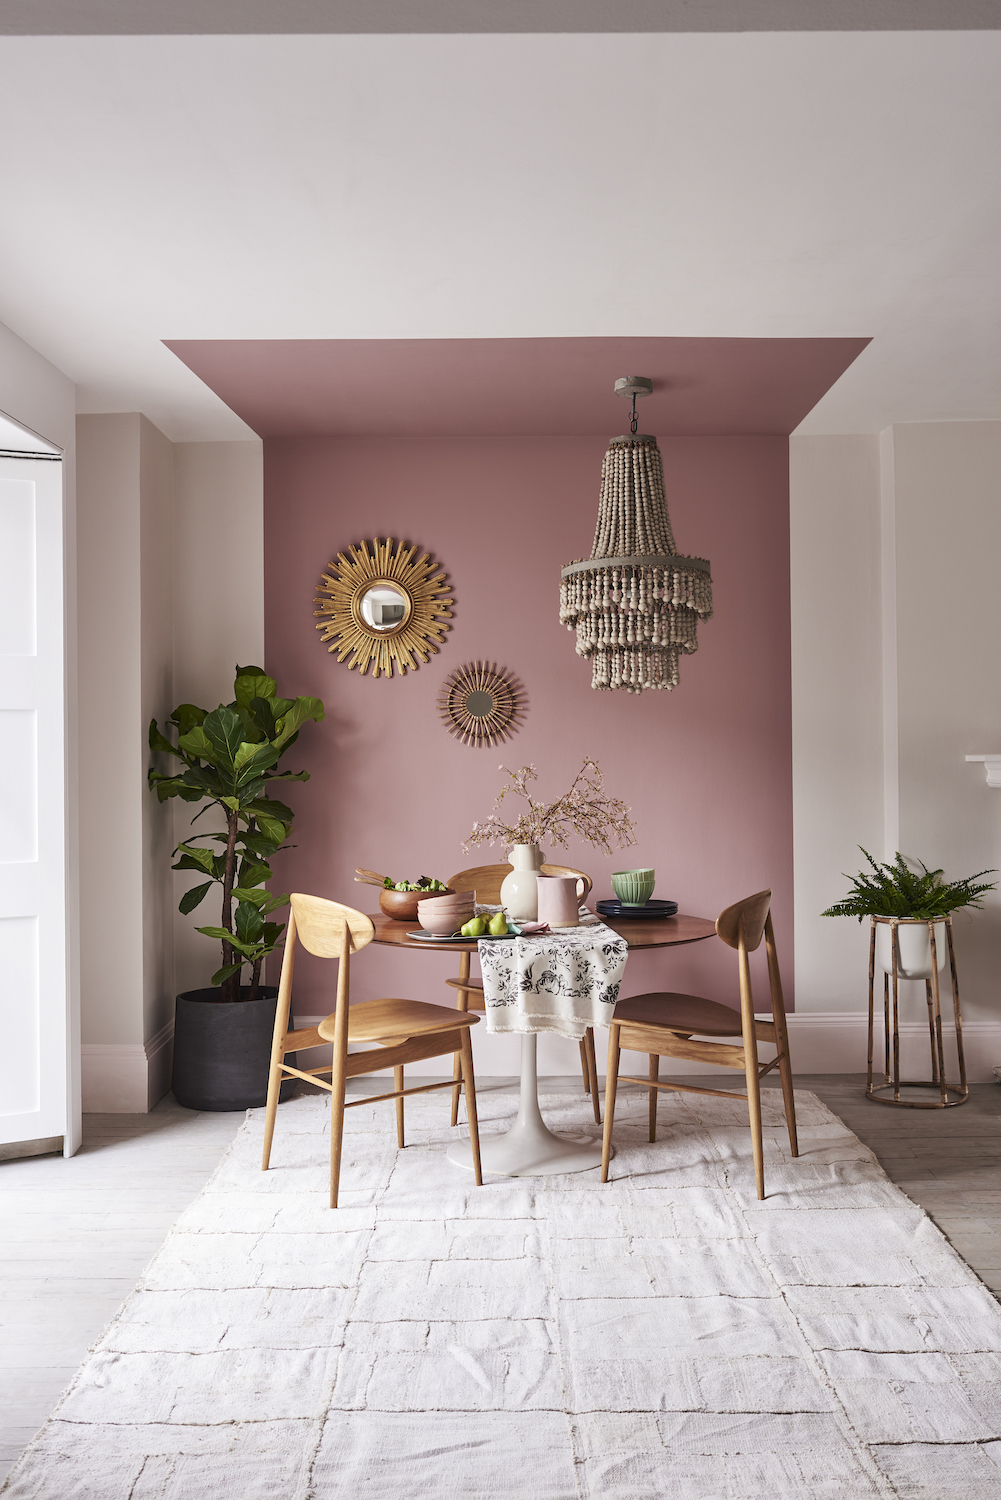
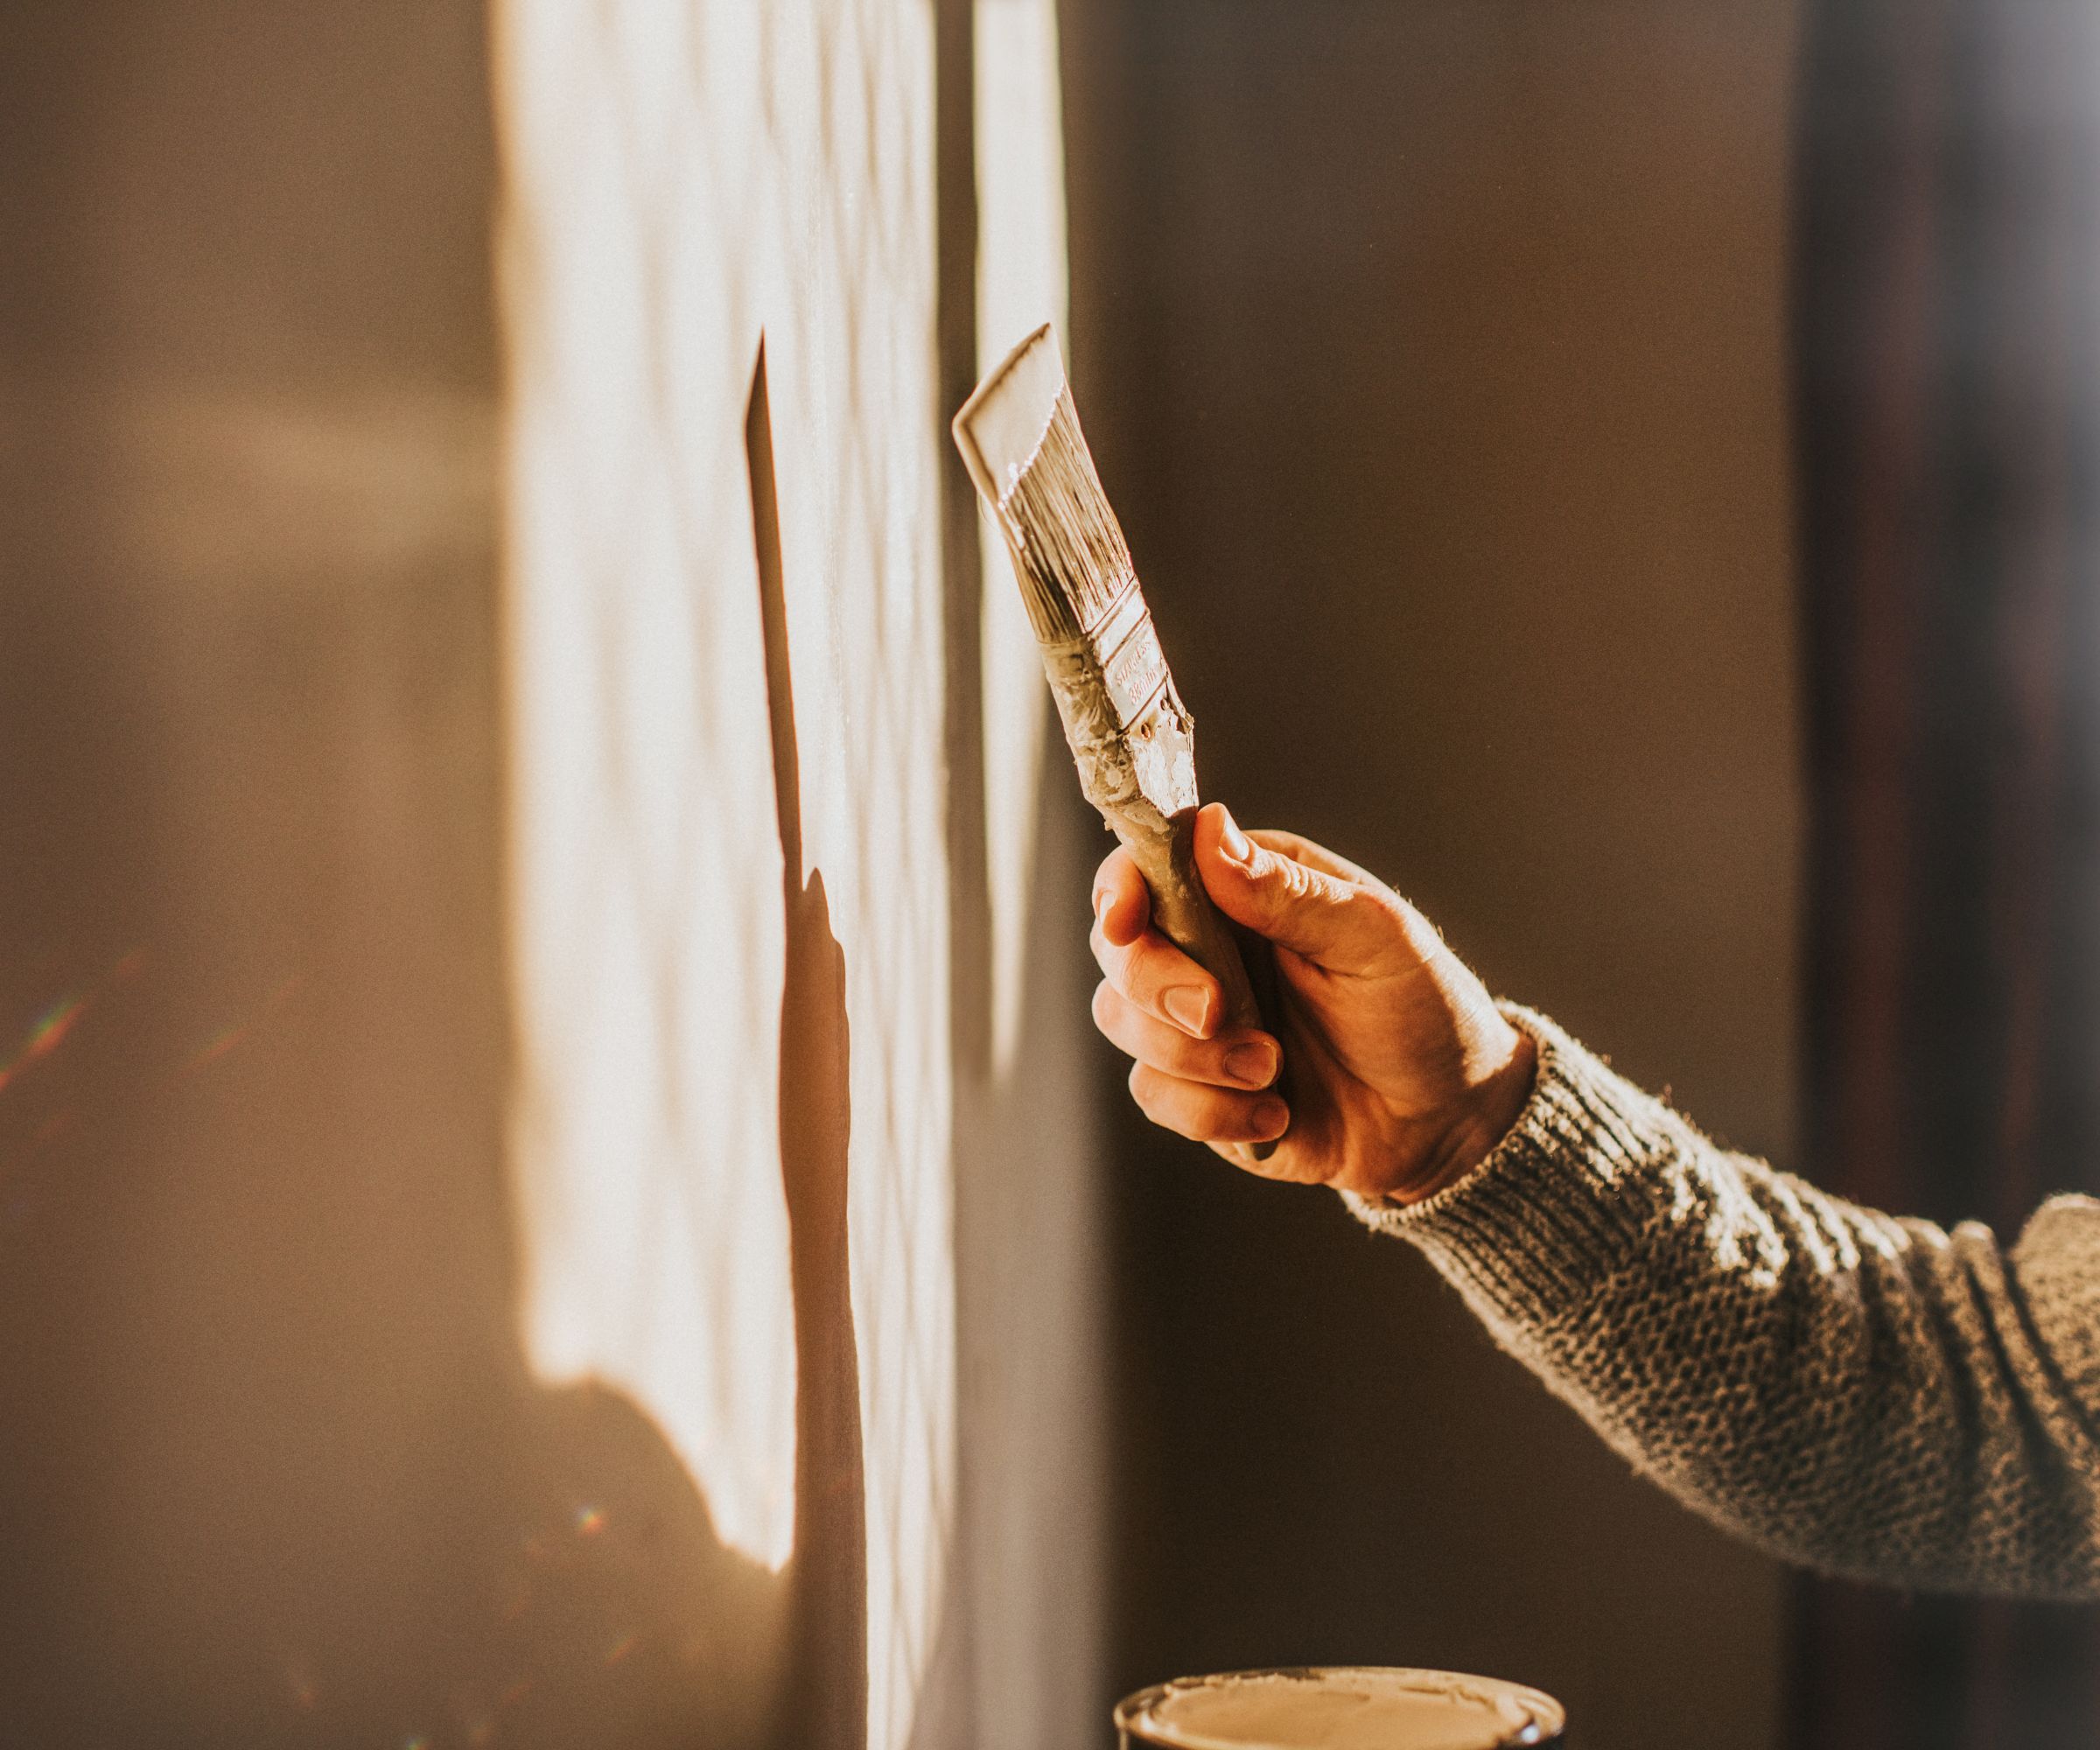
Once the mist coat is completely dry, the walls are ready for the chosen color. At this stage, sanding is usually unnecessary as the mist coat would have prepared the surface. The final paint can be applied using a roller, paintbrush, or sprayer. The number of coats required typically ranges from two or more, depending on the paint's coverage and the desired finish. Some all-in-one products may reduce the number of coats needed. This final step allows for creative choices such as color drenching or creating a feature wall, completing the renovation with a professional and lasting result.
#HomeRenovation #DIYProjects #InteriorPainting #PlasterWalls #PaintApplication #HomeImprovement #MistCoat #DryingTime #HomeRenovation #DIYProjects #InteriorPainting #PlasterWalls #PaintApplication #HomeImprovement #MistCoat #DryingTime
0 comment in total
 No comments yet
You may also like

How to plaster a wall

5 Questions on Decorative Plasterwork You Need to Ask Before Specifying It in 2025 — Answered by Interior Designers

How to paint a ceiling - the expert guide to giving the fifth wall a fresh look
How to choose the right type of paint when decorating a room


Everything You Need to Know About Mural Wall Painting

What You Should Know Before Painting Hardwood Floors
What you need to know before painting your home's ceiling - with one surprise twist
Undercoat & Primer Paints

Can you plaster over tiles? The experts issue a surprising warning...
Spotlight: Wait for the just-right conditions before tackling any exterior painting and staining

12 top interior painting tips from experts – for a flawless, fabulous finish

The Best Way To Paint Wood Paneling, According To An Expert
The Art of Plaster
Can you paint over wallpaper? Experts explain how to make this time-saving hack work
How to prolong the life of your paint job, according to painters and decorators
Understanding paint finishes
How to add texture to your walls - a beginner's guide to the many beautiful plaster finishes
Before and After Spray Paint Photos That Will Blow You Away
The best paints for streak-free coverage, from Dulux to Farrow & Ball

How Long Does Primer Take to Dry? Experts Share Their Best Advice