1/4
You Need to Clean Your Chimney Yearly. Here's How.
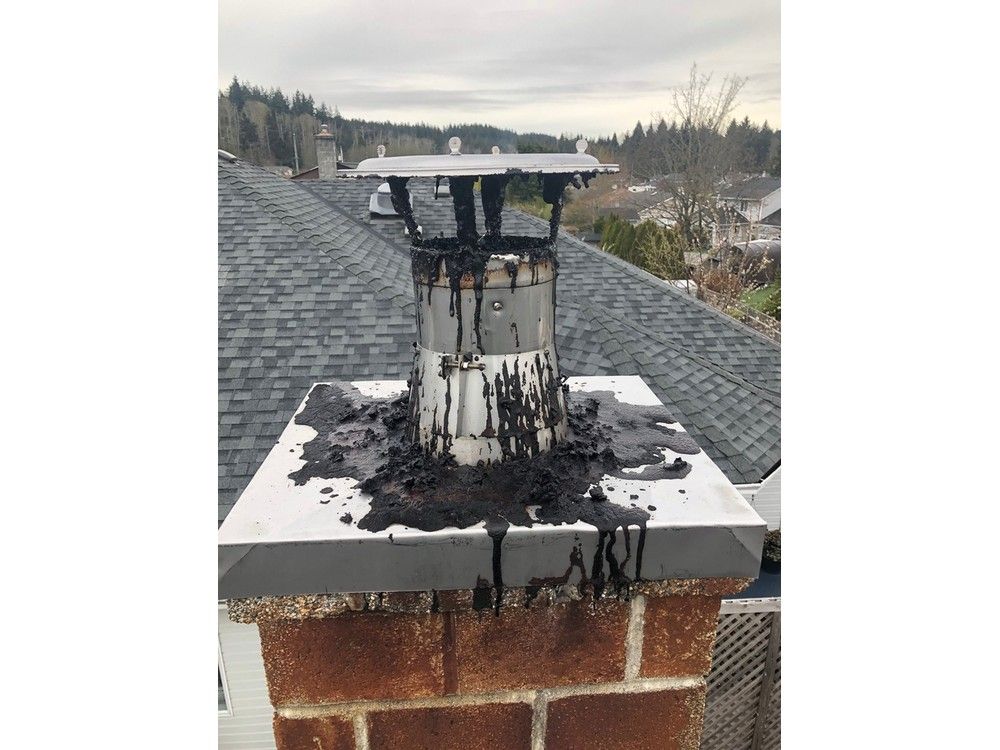
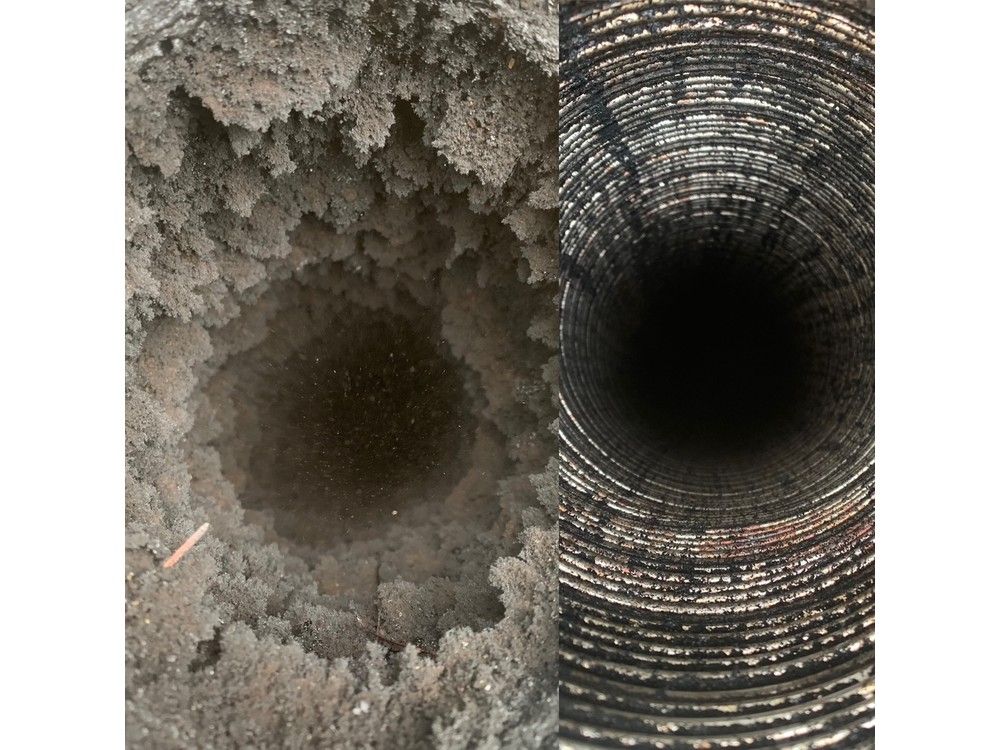
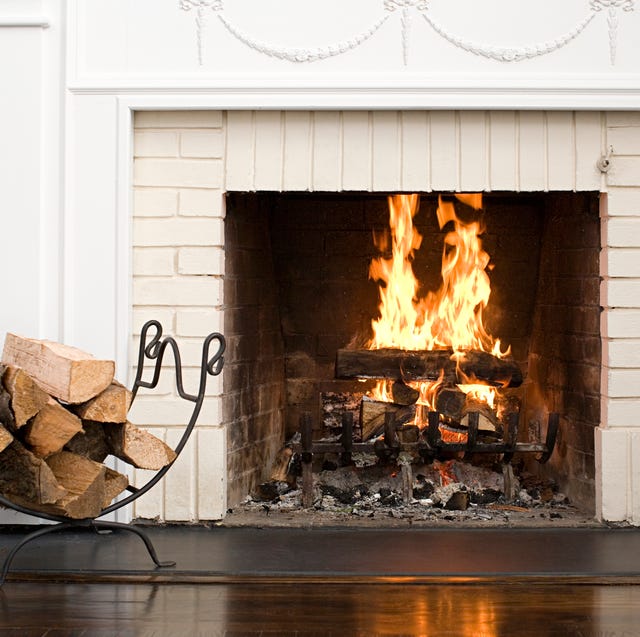
Chimney cleaning is an essential annual maintenance task for homes with wood-burning fireplaces to ensure safe operation and prevent chimney fires. When wood burns slowly, it produces unburned exhaust gases that can condense and form creosote deposits on the chimney liner. Creosote is highly combustible, and even a 1/8-inch layer can ignite at temperatures as low as 451 degrees Fahrenheit, leading to a chimney fire. Such fires can cause extreme heat, cracking masonry tile liners and warping metal liners, potentially exposing combustible materials in the home's structure. Therefore, regular cleaning is critical to remove these dangerous deposits.
The ideal time to clean a chimney, whether DIY or with professional help, is in early fall, around September. This timing avoids the busy season for professionals and the intense summer heat for DIYers working on roofs, which can damage asphalt shingles. An early fall cleaning also allows time for any necessary repairs before the heating season begins. While cleaning from the roof is generally recommended for effectiveness and less mess, cleaning from inside the house (bottom-up) is an alternative, though it can be messier and require more containment of dust.
Before cleaning, a thorough inspection from both the top and bottom of the chimney is necessary. From the bottom, clear out ash, remove grates, and, wearing goggles and a dust mask, look up the flue with the damper open to check for obstructions and creosote buildup. A fireplace poker can be used to gauge the thickness of creosote; if it's 1/8-inch or more, cleaning is definitely required. From the roof, remove the chimney cap and inspect the chimney crown and flashing for any damage or mortar degradation. Look down the flue for obstructions and note its shape (round, square, or rectangular) and measure its diameter or width to select the correct chimney brush. Measuring the flue height with a weighted rope helps determine the number of extension rods needed for the brush. Installing a chimney cap is also highly recommended to prevent water intrusion and blockages from nesting animals.
To clean the chimney, gather essential tools including a chimney brush matching the flue size and shape (metal for masonry, plastic/poly for metal liners), chimney brush rods, plastic drop cloths, painter's tape, a noodle brush, a long-handled brush, and a shop vac or ash vacuum. The process begins by preparing the fireplace: covering the floor with a drop cloth, taping it down, and either covering the fireplace opening completely with another drop cloth if cleaning from the top, or leaving it open if cleaning from the bottom (while covering furniture). Damper removal may be necessary for manufactured fireplaces.
The scrubbing process involves attaching the chimney brush to a rod, inserting it into the flue, and pushing it down and pulling it up repeatedly. Additional rods are added as the brush descends until it reaches the bottom. This process is repeated until the creosote is visibly scrubbed away. If cleaning from the bottom, rods are pushed up the chimney. After scrubbing, allow ten to fifteen minutes for dust to settle. Cleanup involves wearing gloves and a dust mask, carefully rolling up the plastic drop cloth, scooping out debris with a dustpan, and then vacuuming fine dust. For masonry fireplaces, the smoke chamber also needs cleaning using a long-handled brush and a bent noodle brush to clear debris from the shelf behind the damper. Finally, reinstall the damper and any removed fireplace components.
#ChimneyCleaning #FireplaceMaintenance #HomeSafety #CreosoteRemoval #DIYHomeMaintenance #AnnualInspection #FirePrevention #ChimneyBrush #HomeImprovement #ChimneyCleaning #FireplaceMaintenance #HomeSafety #CreosoteRemoval #DIYHomeMaintenance #AnnualInspection #FirePrevention #ChimneyBrush #HomeImprovement
0 comment in total
 No comments yet
You may also like

How to care for your chimney this winter and reduce chance of chimney fires


How to clean your HVAC system – 6 expert tips to make this essential task DIY-friendly


New Year cleaning checklist: 10 places to focus on in 2025
How to Clean a Ceiling Fan, From the Blades to the Motor
How to clean a fireplace – these expert tips will keep your fireplace looking its best
You need to deep clean your couch every few months — here’s how experts say to do it

How to Clean Your Range Hood and Vent in 4 Easy Steps


Cleaning experts are urging people to wipe down their windowsills every day this summer
How to clean vent covers and how often to do it - TODAY


How to Fix Chimney Smell in the Summer


Winter Deep-Clean: 5 Things Pros Never Forget in December

How to draught-proof a chimney — 3 DIY solutions recommended by the experts
Here's How Often You Should Sweep If You Want a Truly Clean Home

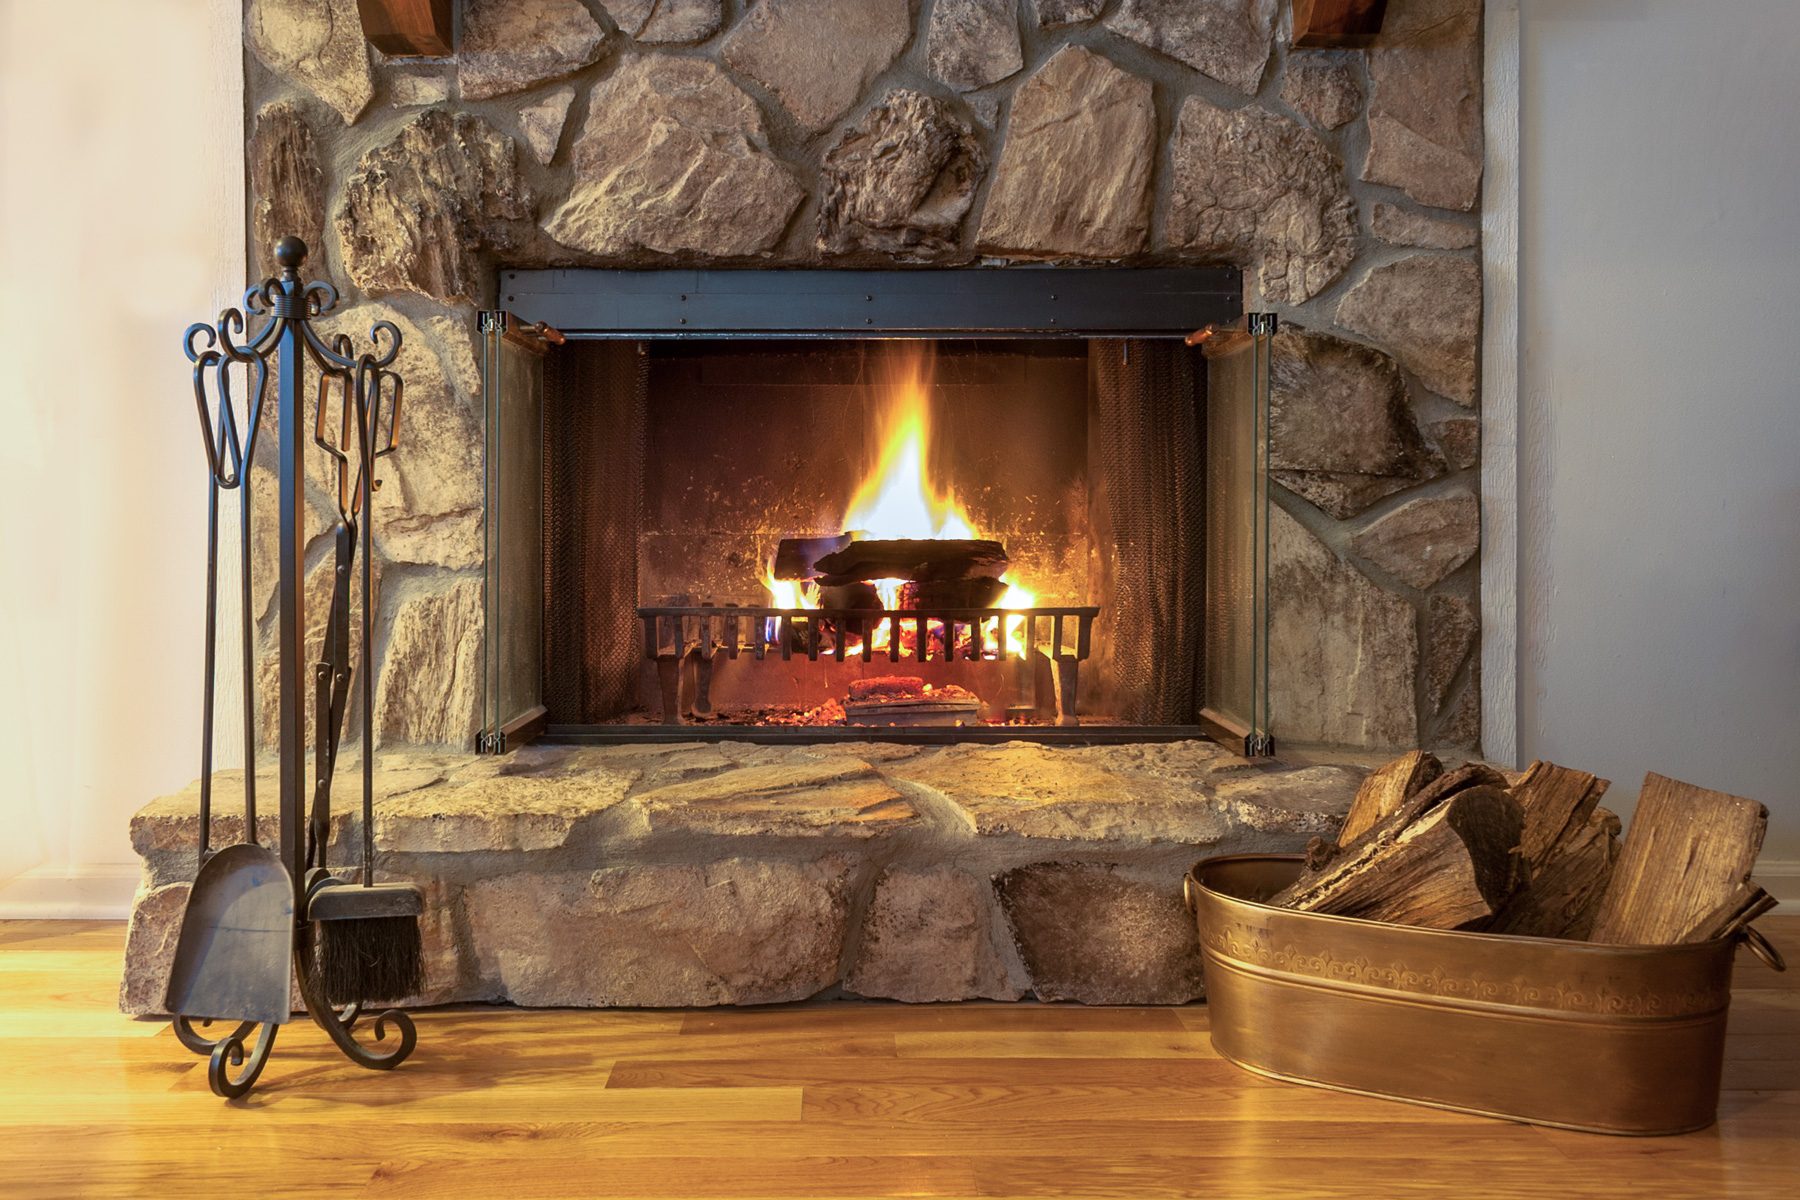
Ways To Increase the Heat From Your Wood-Burning Fireplace

DIY Project Planner: The Best Home Tasks to Conquer Each Month

Podcast 563: Caulking Old Siding, Tearing Into Leaky Walls, and HVAC in Unconditioned Attics

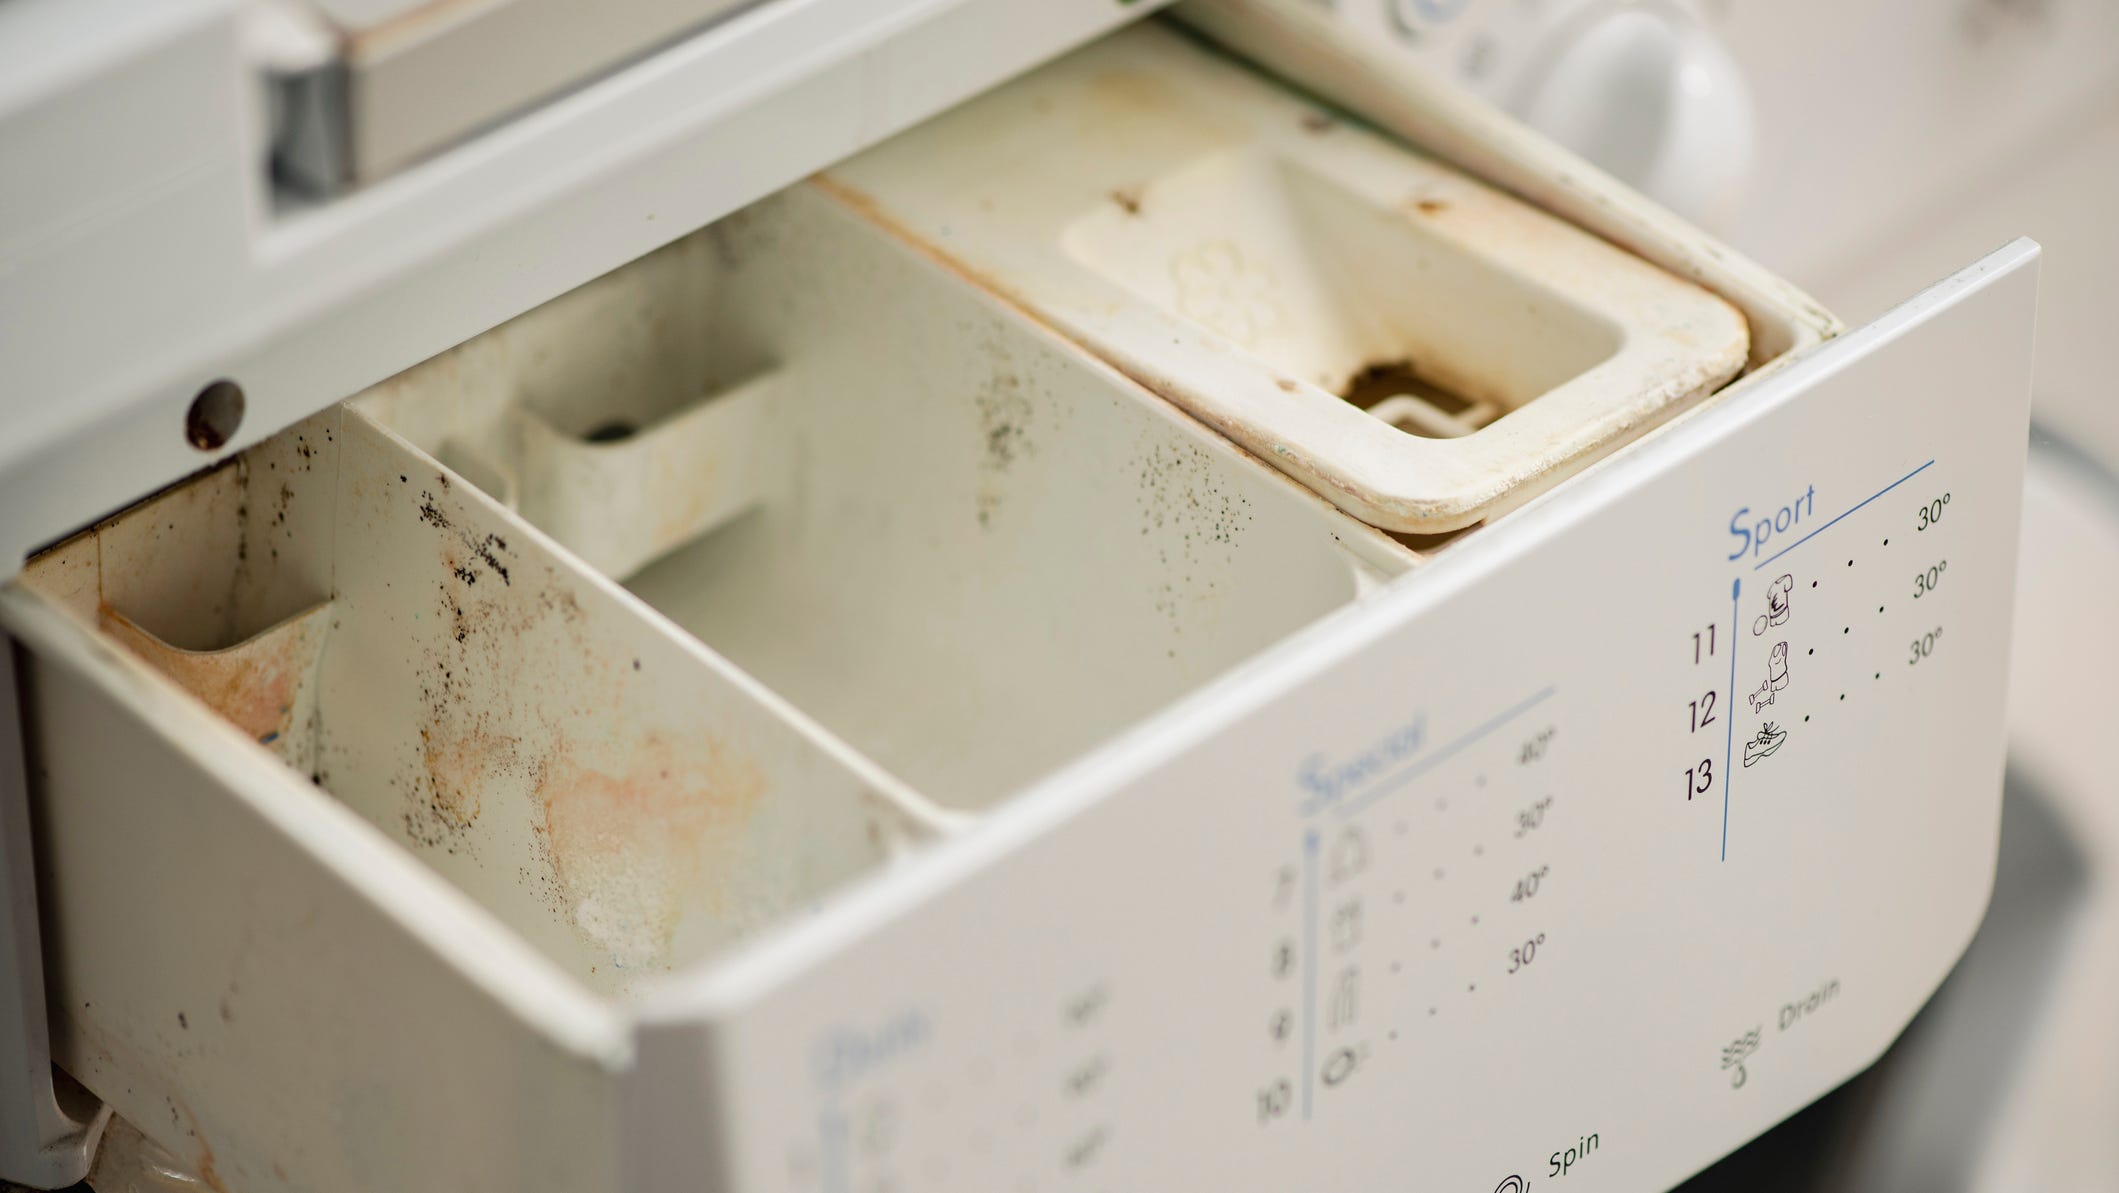
Here’s How Often You Should Clean Your Washer to Stop Mildew

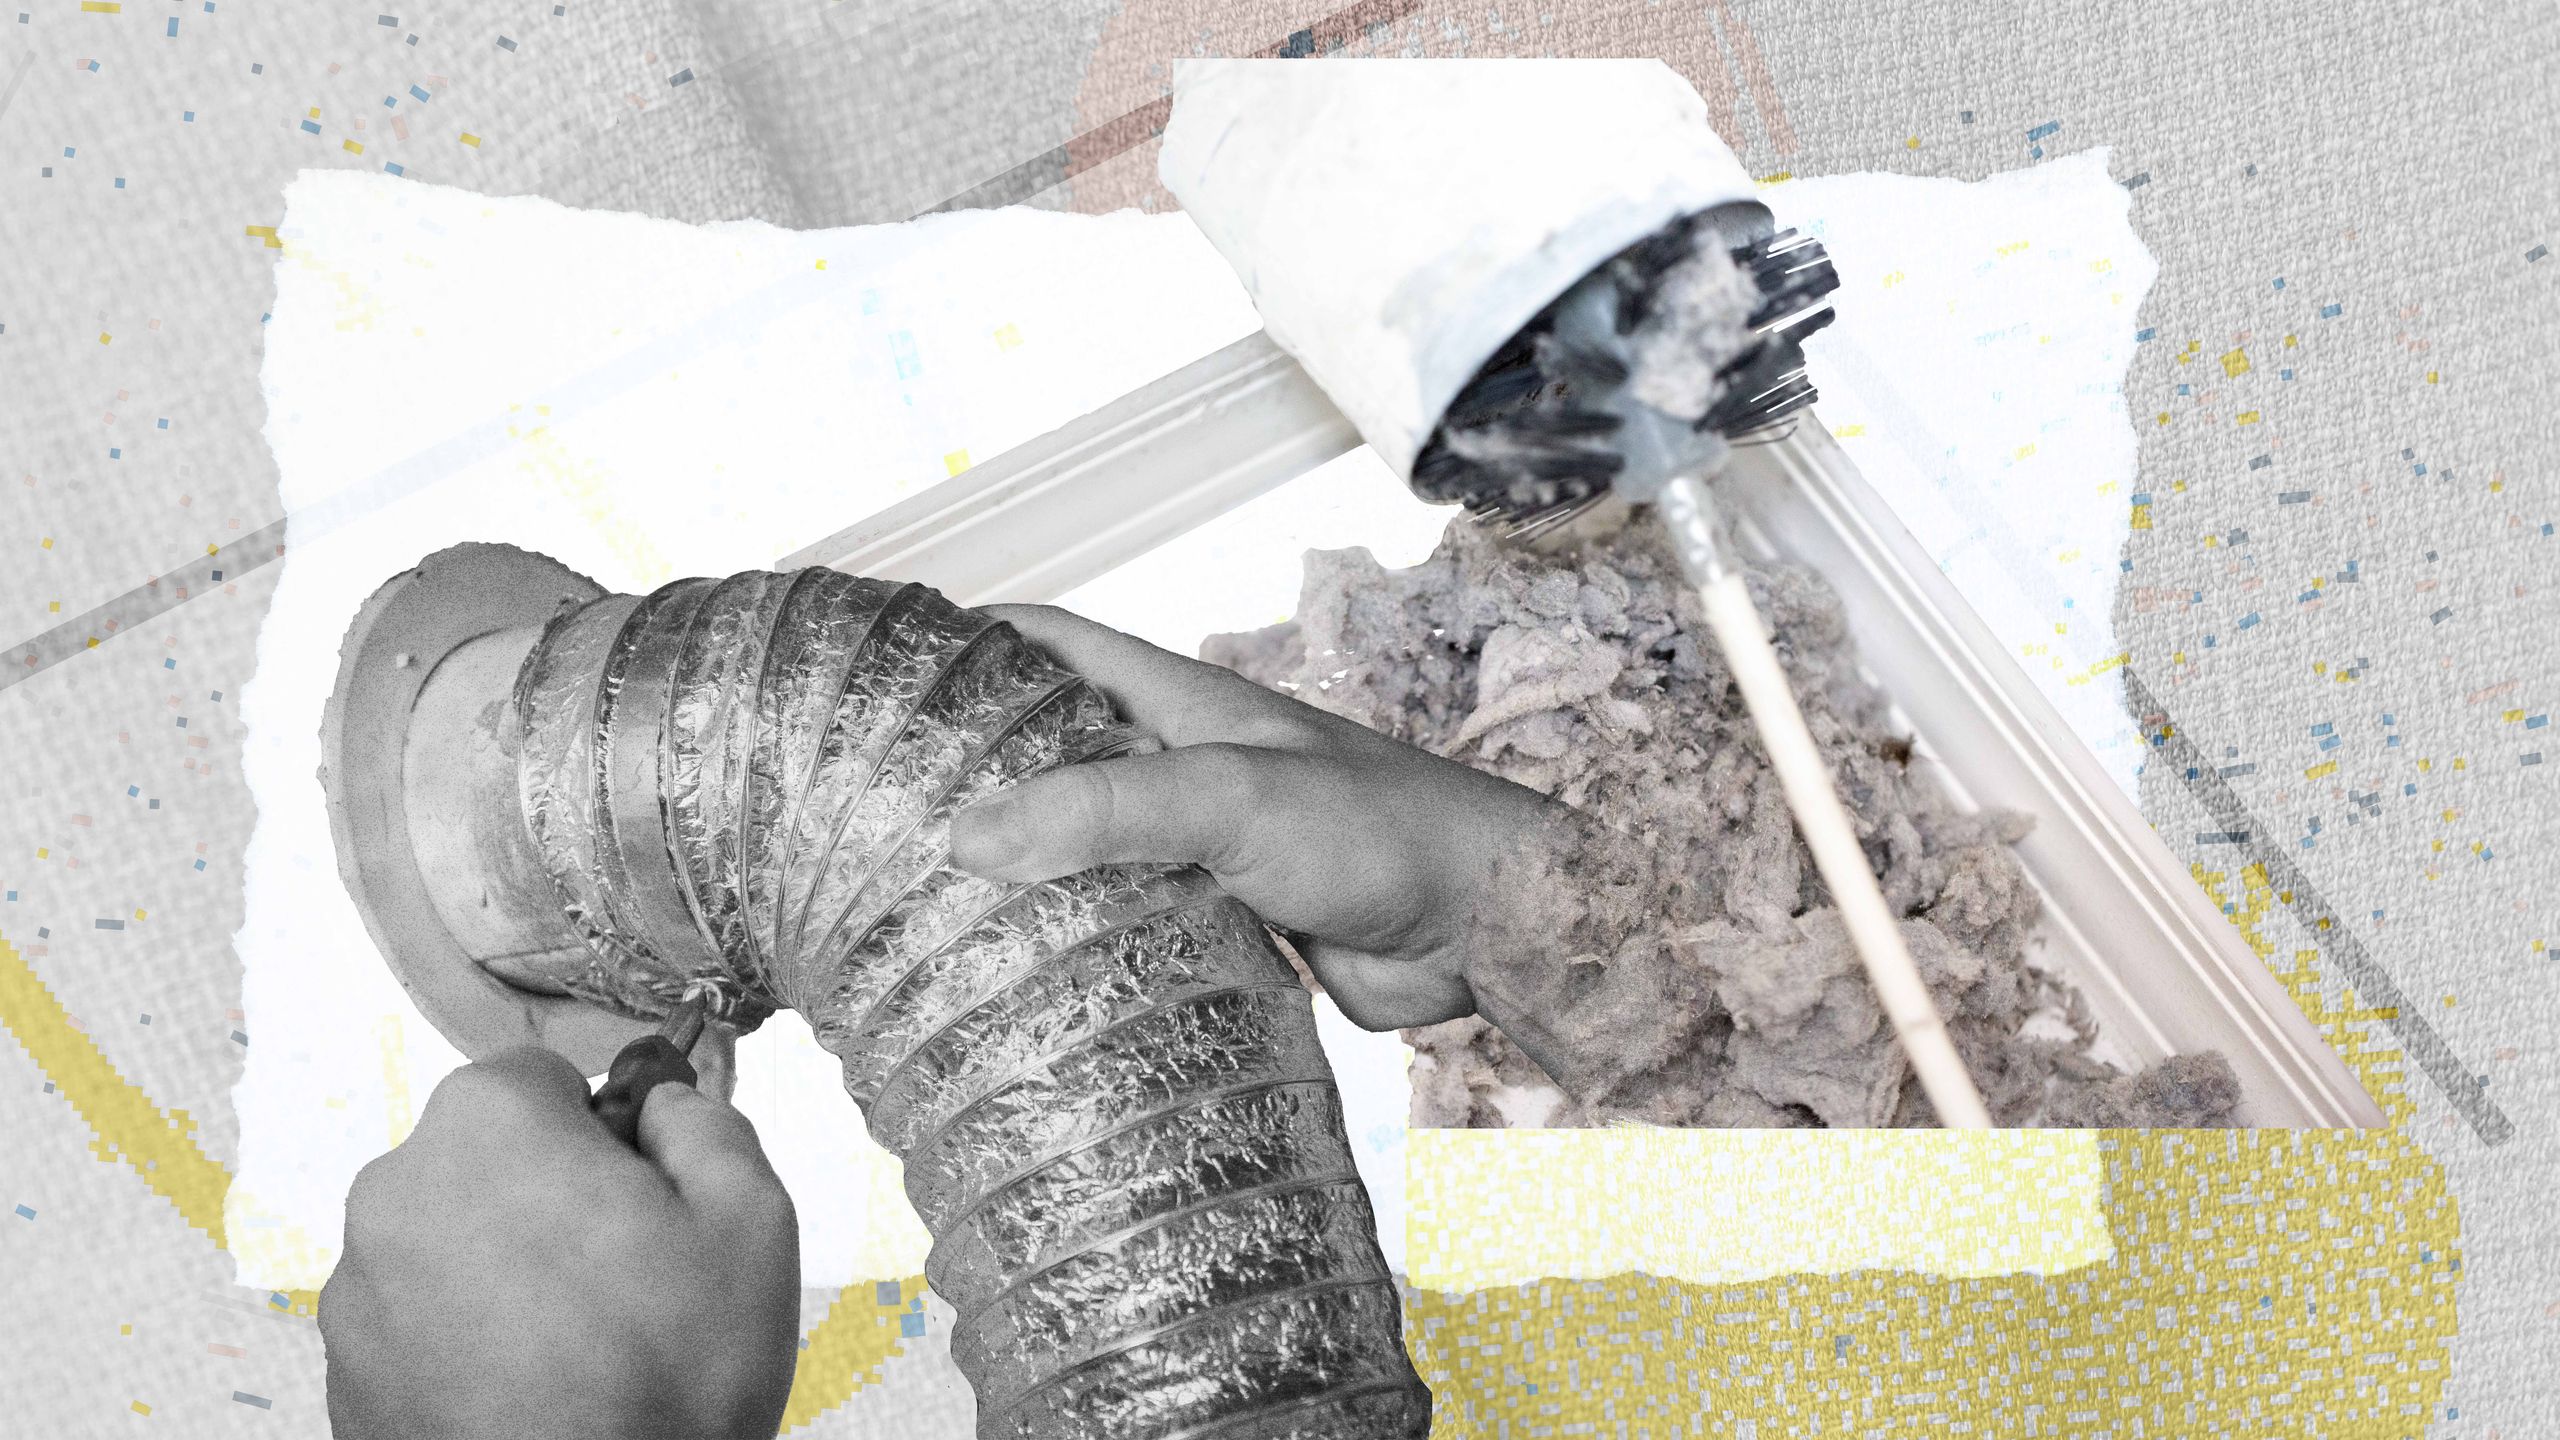
How to Clean a Dryer Vent in 7 Simple Steps


Gas Stove or Not, This Is the Proper Way to Use Your Range Hood
How to Clean Your Air Vents