How to Clean Your Range Hood and Vent in 4 Easy Steps
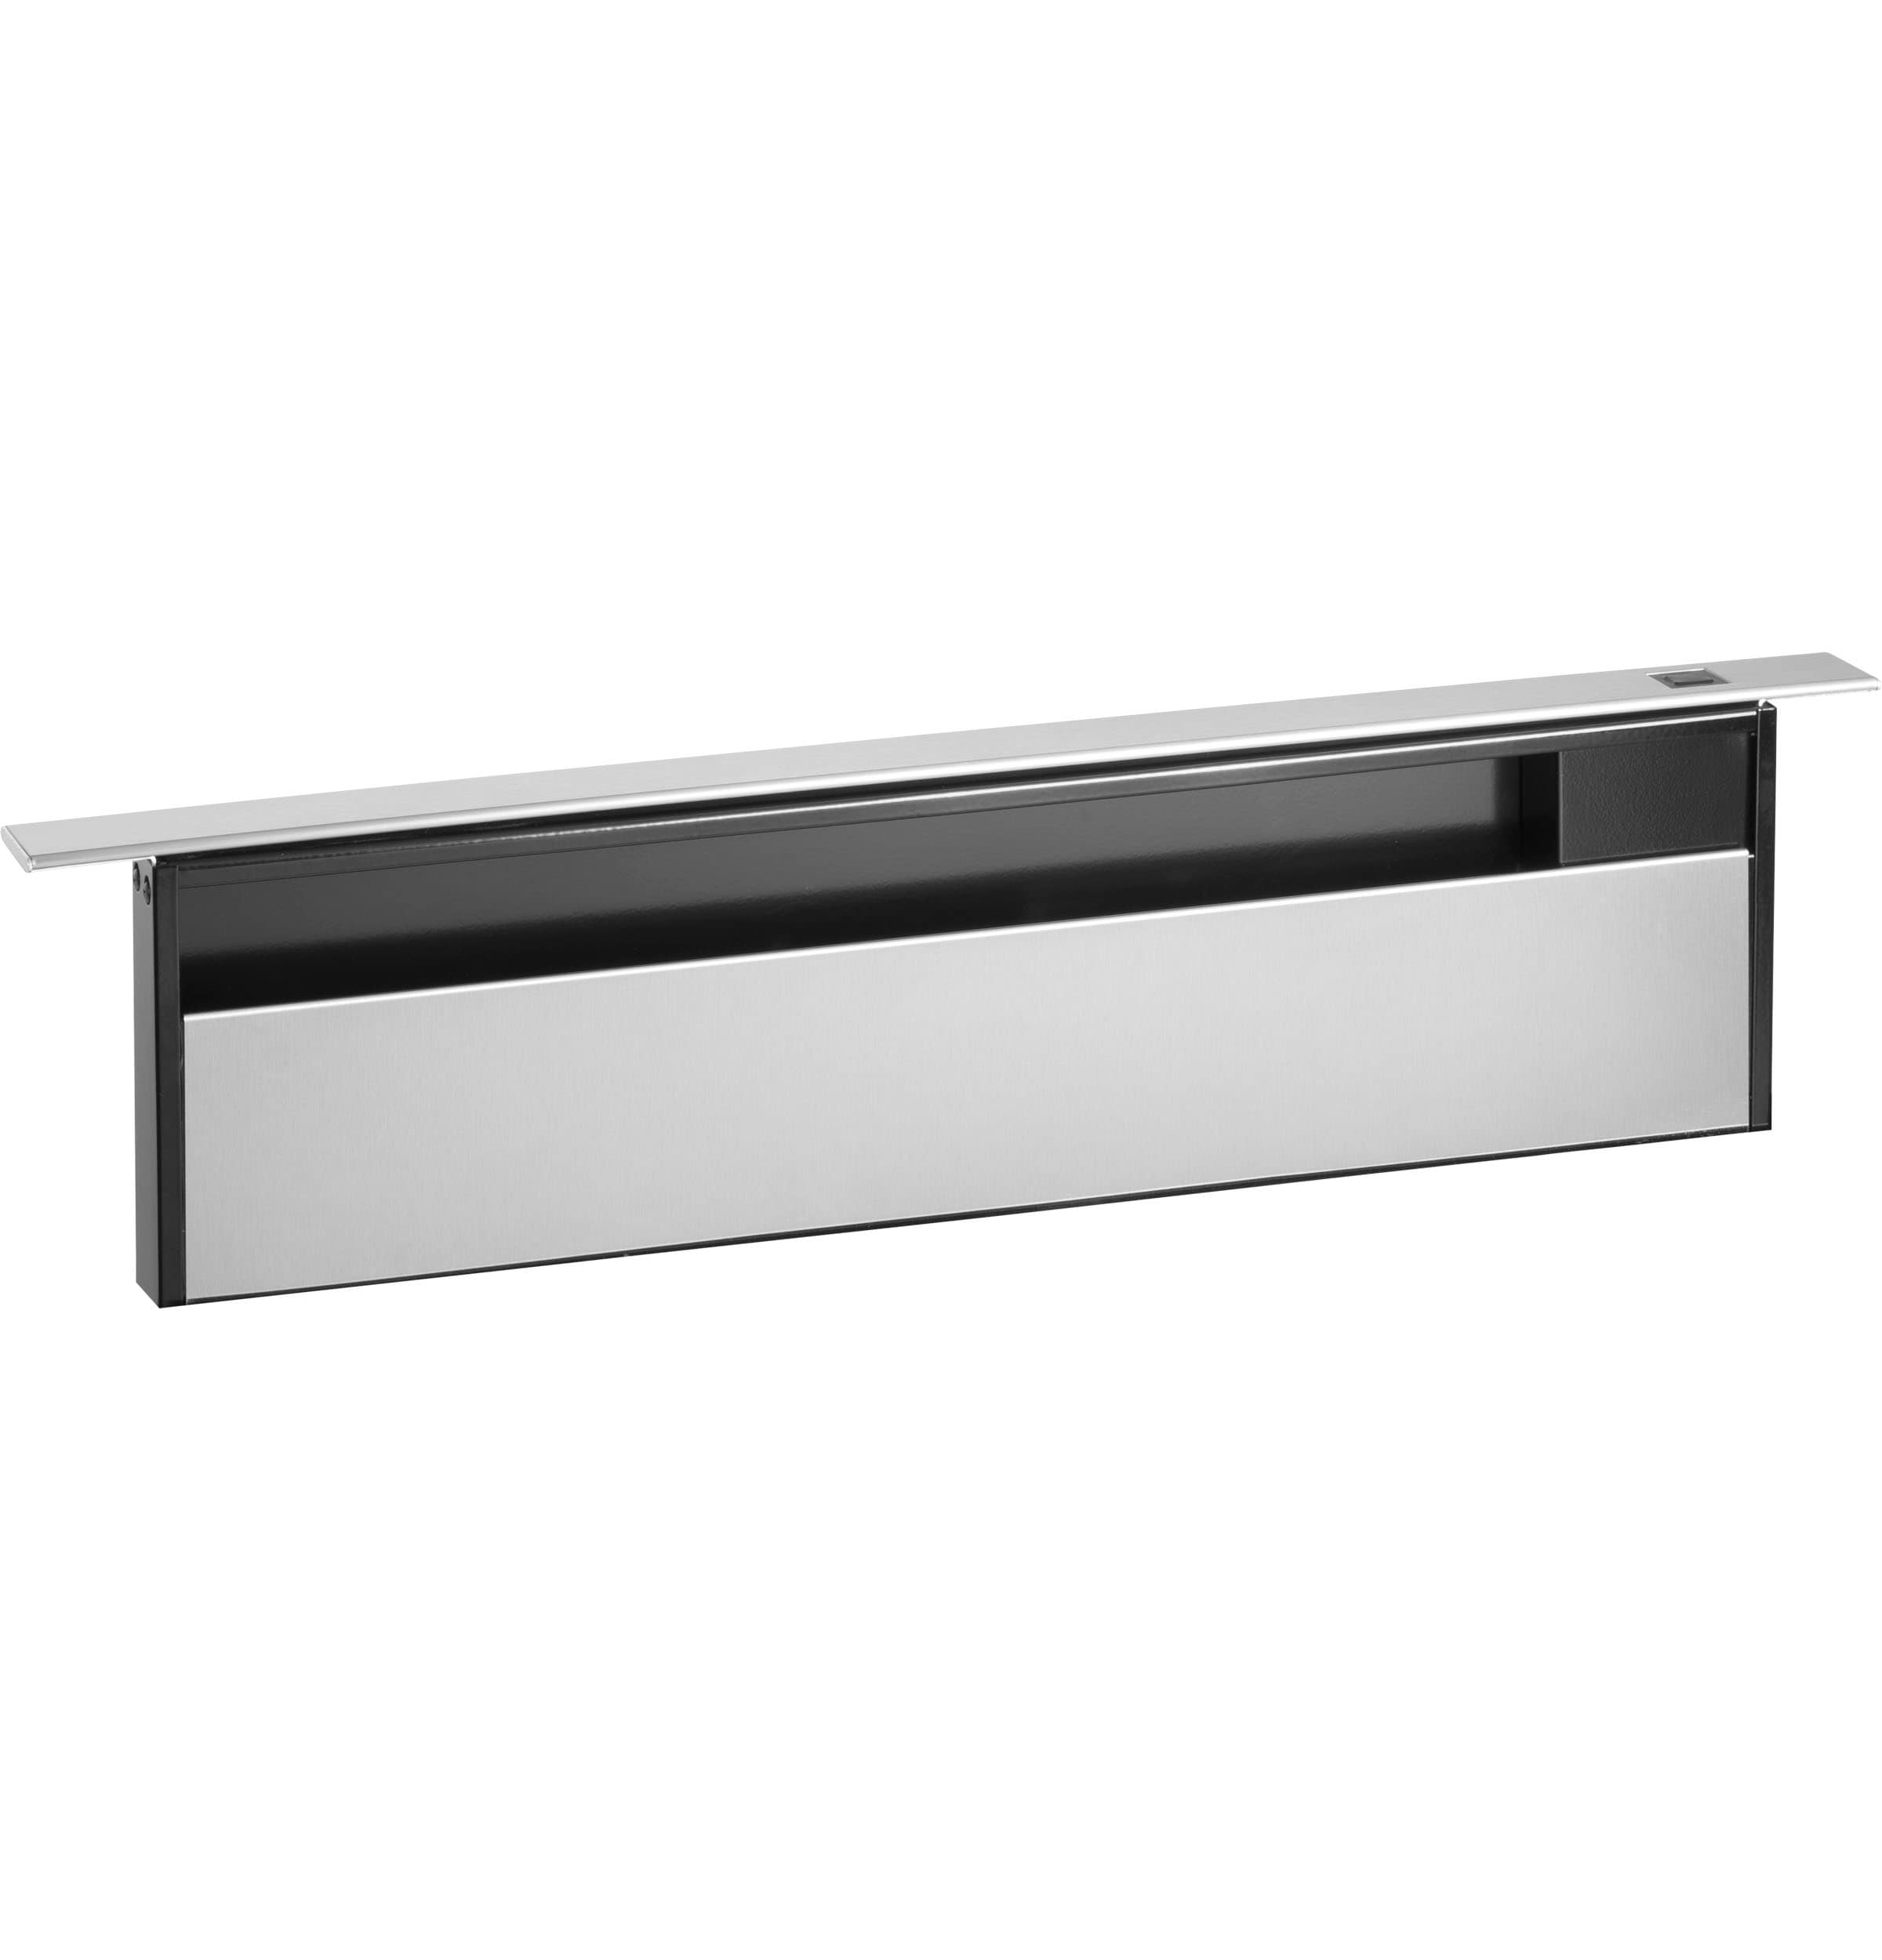
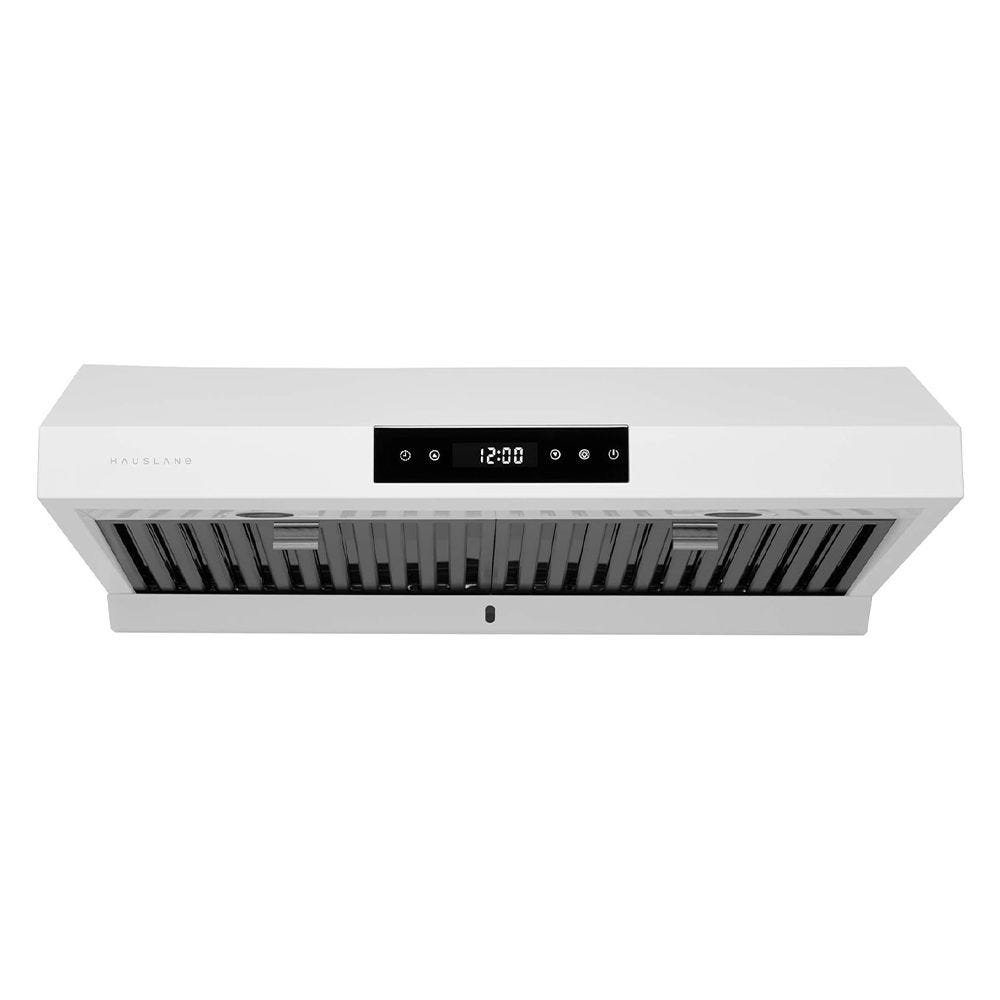
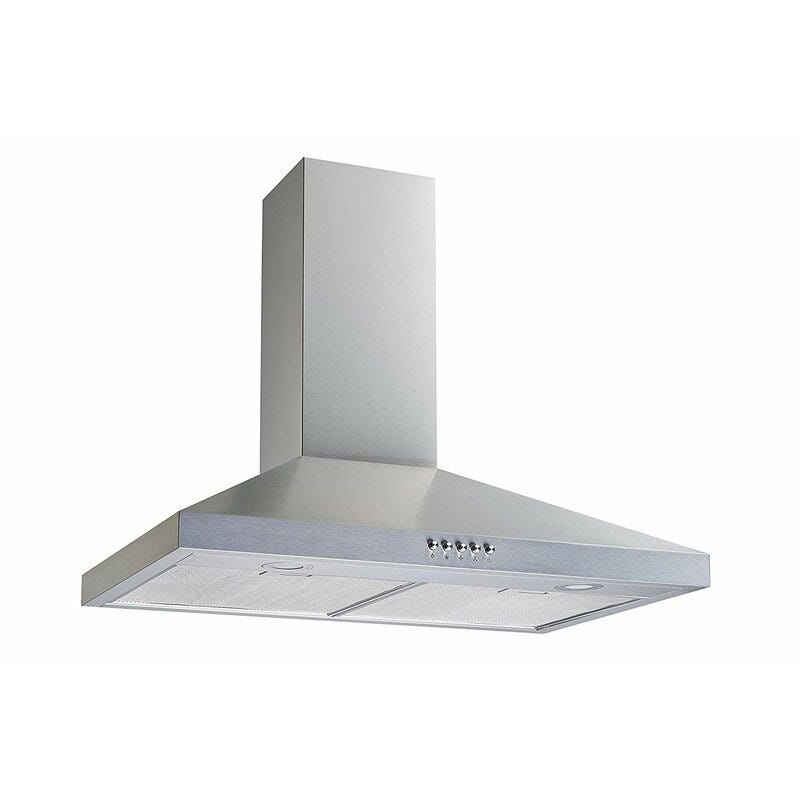
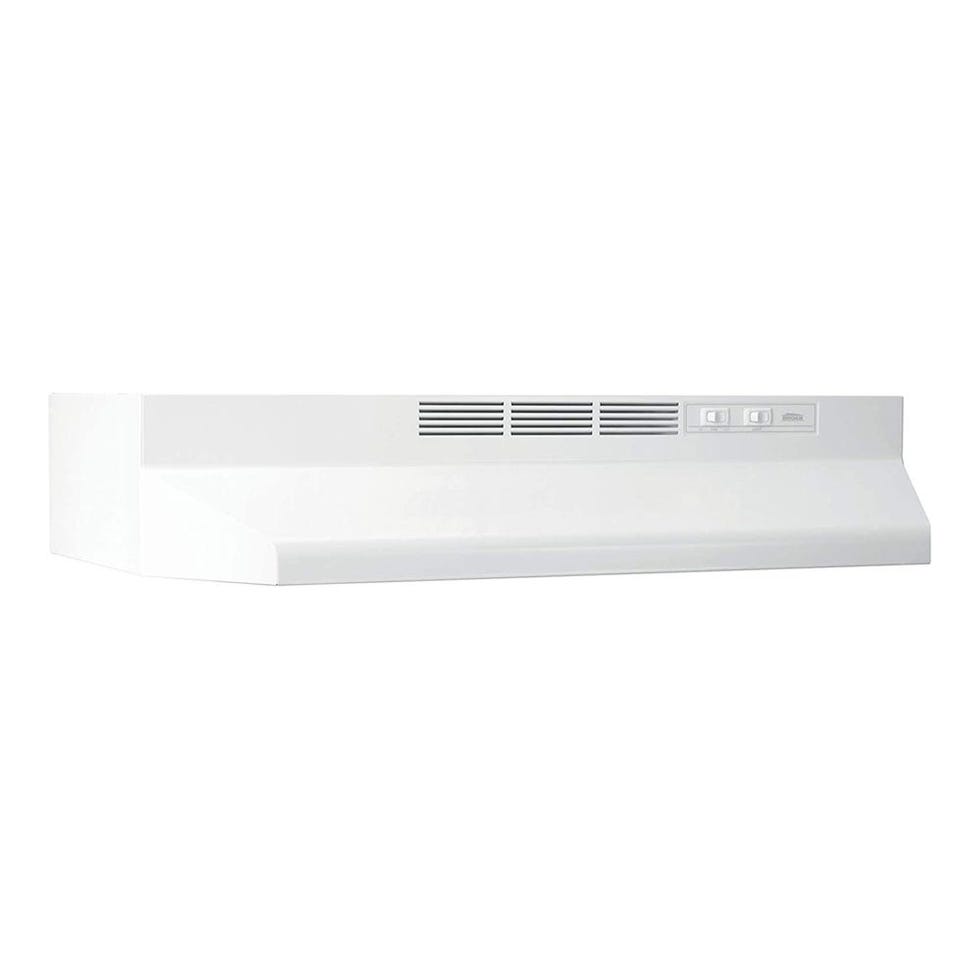
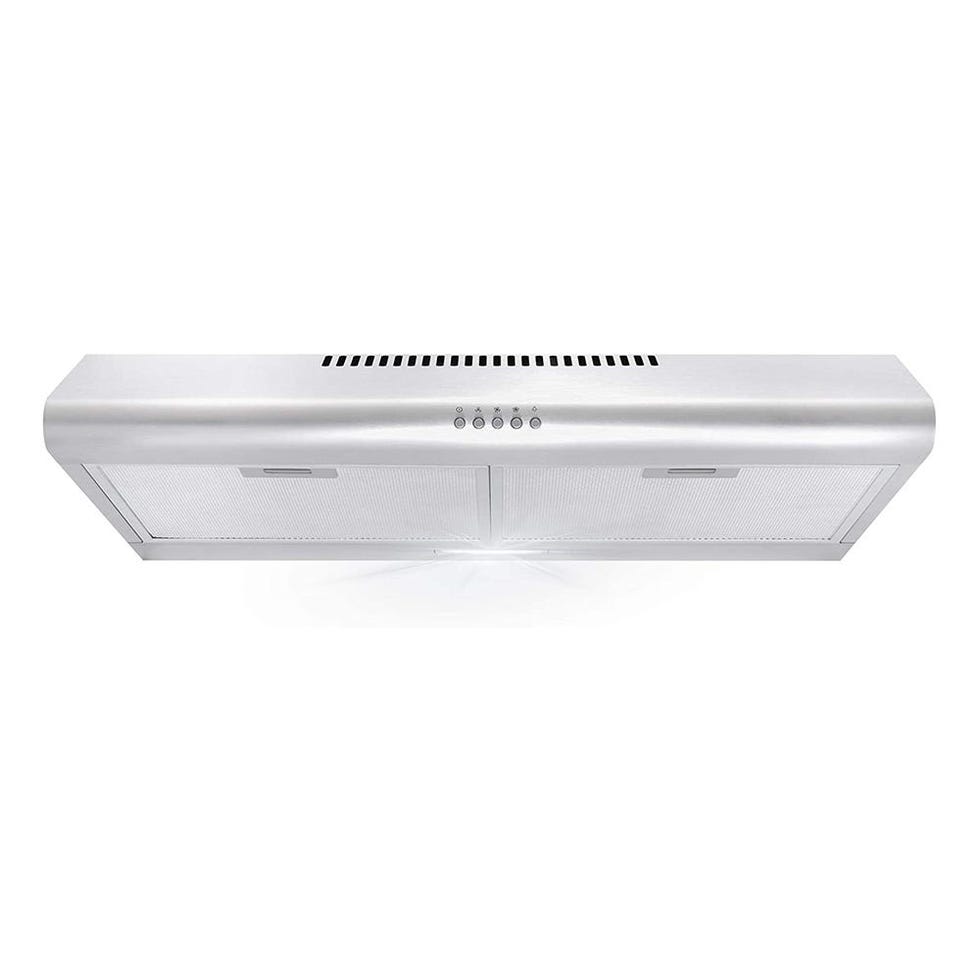
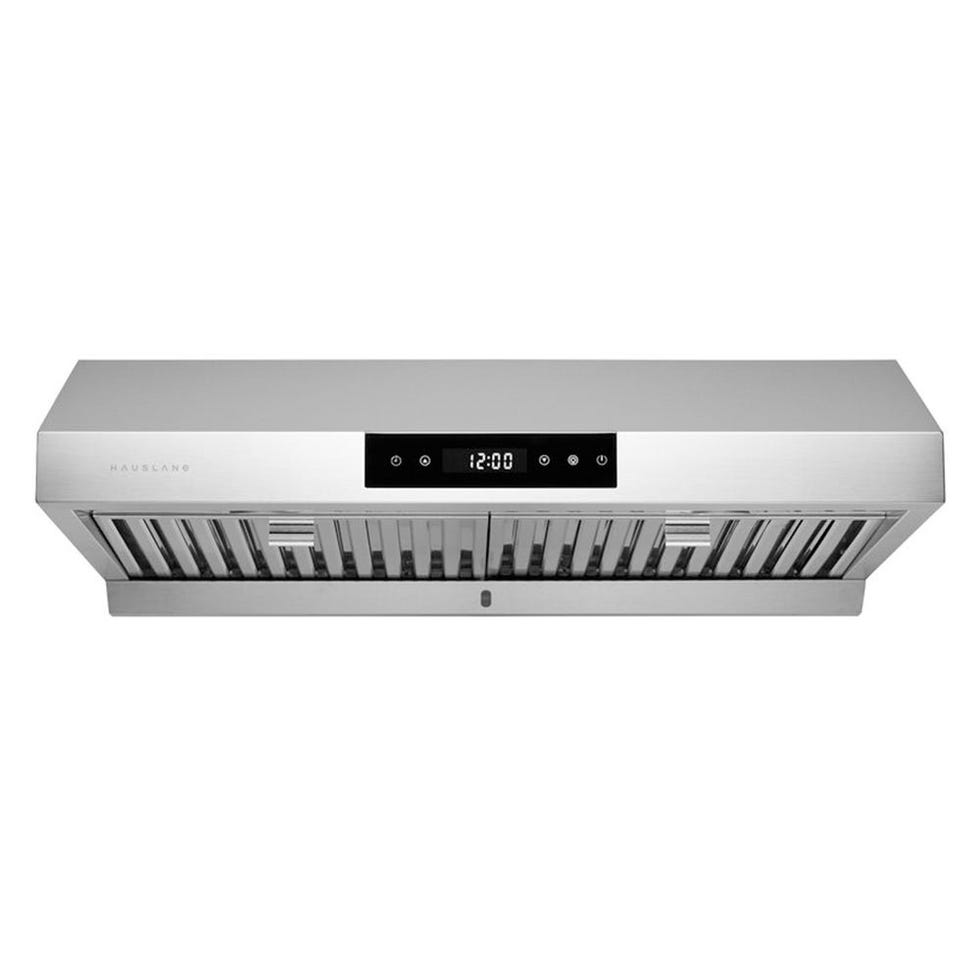
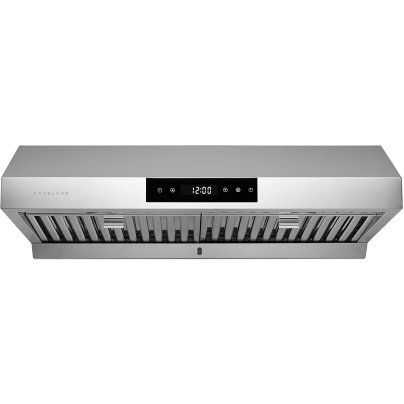
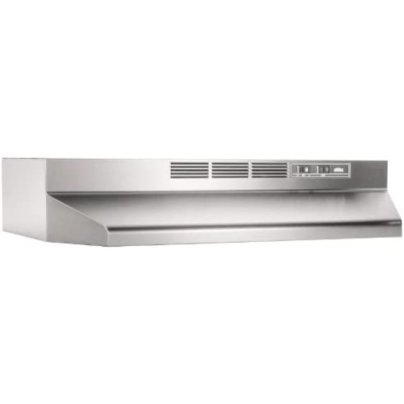
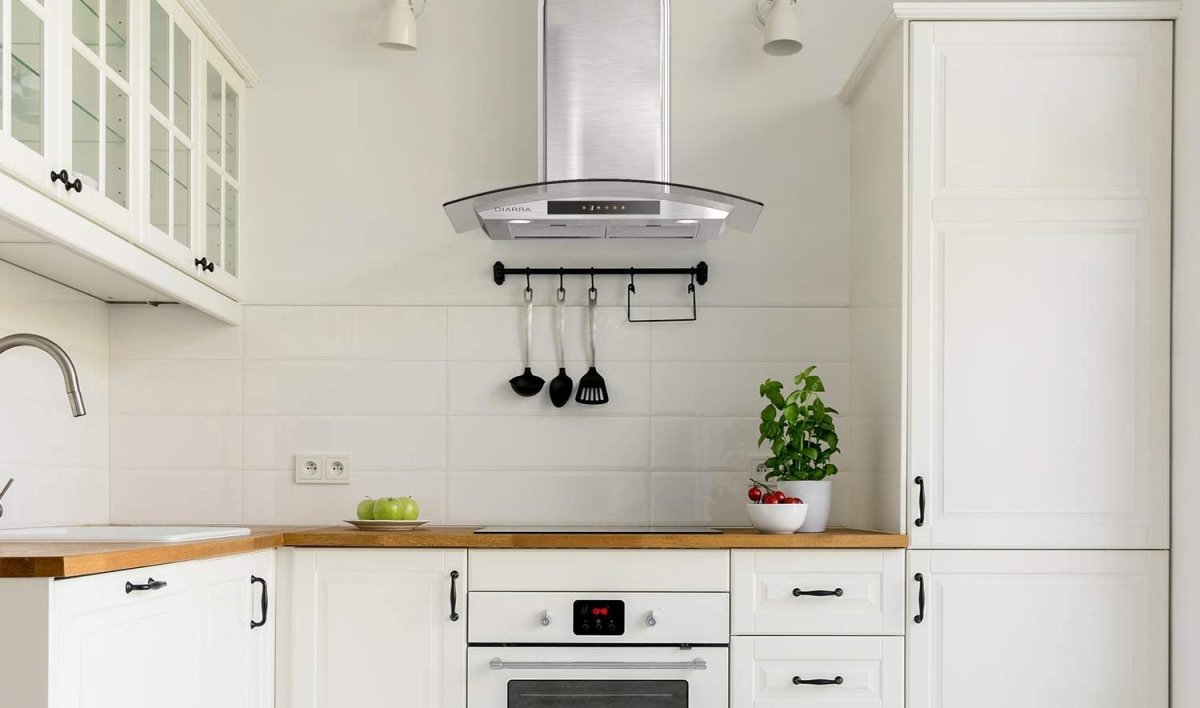
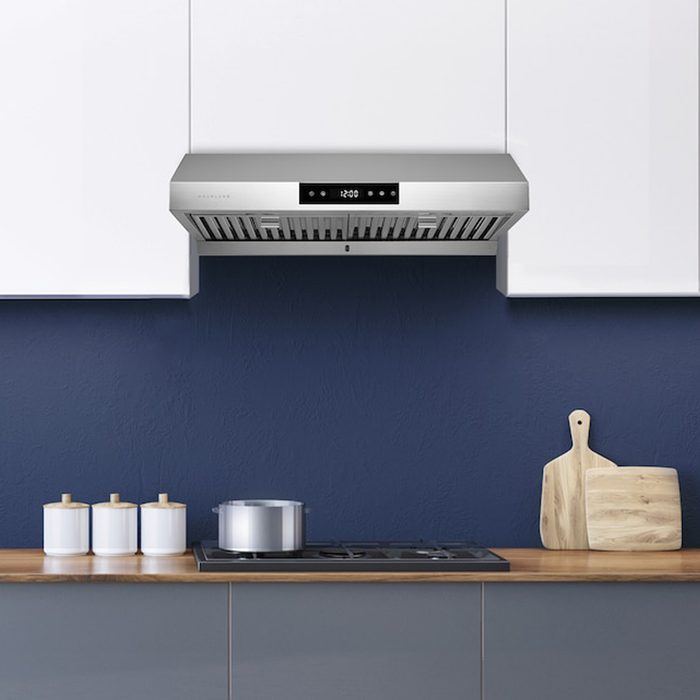
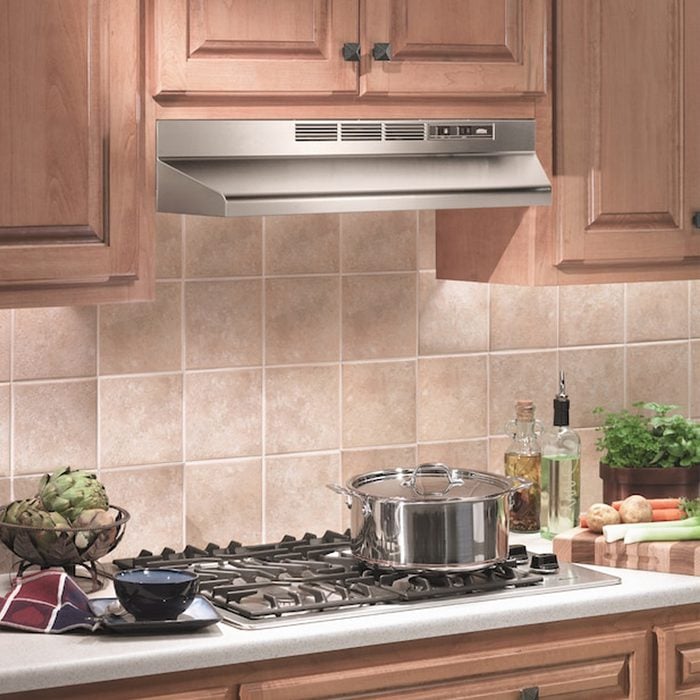
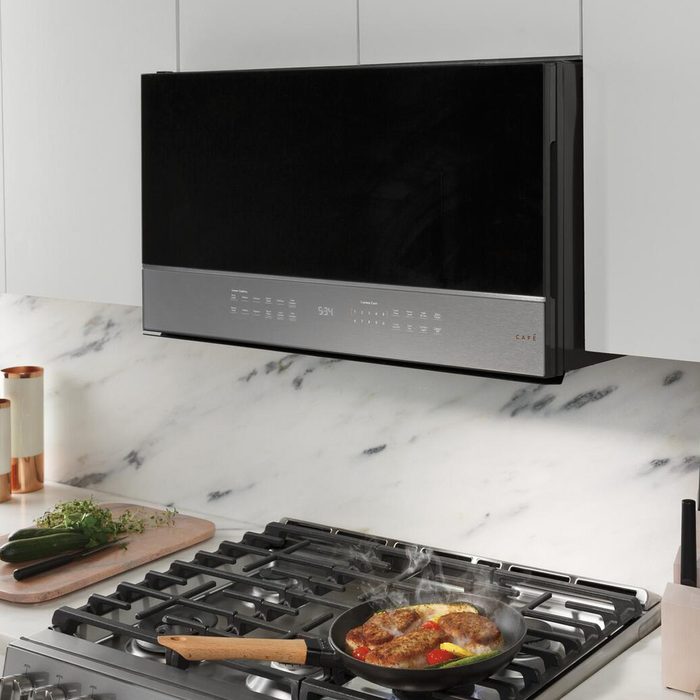
The range hood and its vent are essential kitchen components that accumulate grease and grime over time due to their proximity to the cooktop. Maintaining a clean range hood is crucial for its proper functioning and for ensuring a comfortable kitchen environment. Experts recommend a consistent cleaning schedule to prevent buildup and maintain efficiency. This guide outlines a four-step process for effectively cleaning the range hood, including its exterior, internal vent, fan blades, grates, and filters.
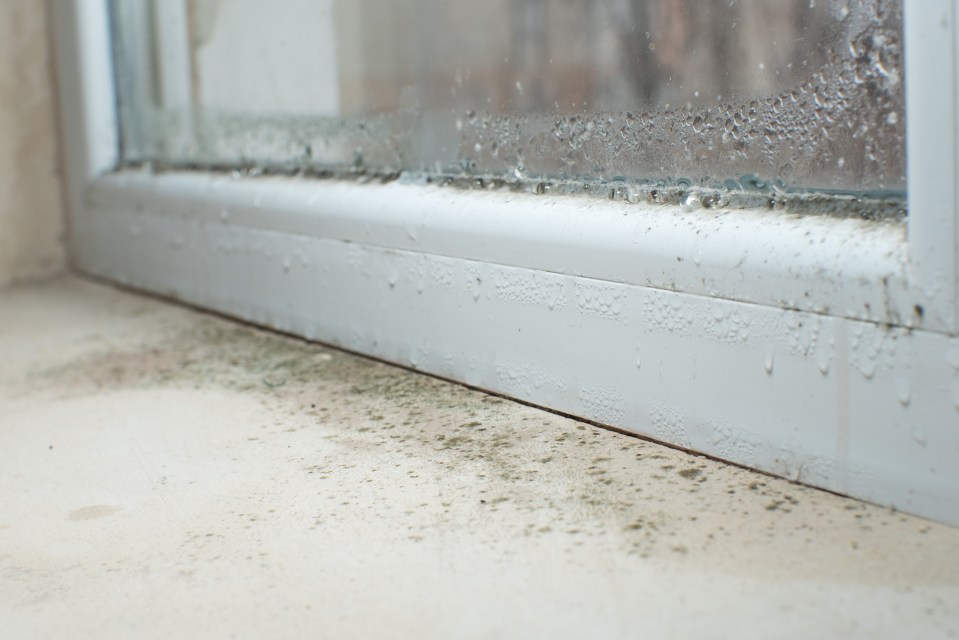
The primary reason for cleaning a range hood's vent is its role in removing excess heat and moisture from the kitchen, which contributes to superior comfort and temperature control. Regular cleaning keeps the kitchen's filtration system in optimal condition, necessitating the cleaning of internal parts such as fan blades and filters. The frequency of cleaning depends on cooking habits; daily cooks should clean their vent hood monthly to prevent significant buildup, while those who cook less frequently can deep clean every three months. Consulting the owner's manual for the specific model's recommended cleaning schedule is always advisable for the most accurate guidance.
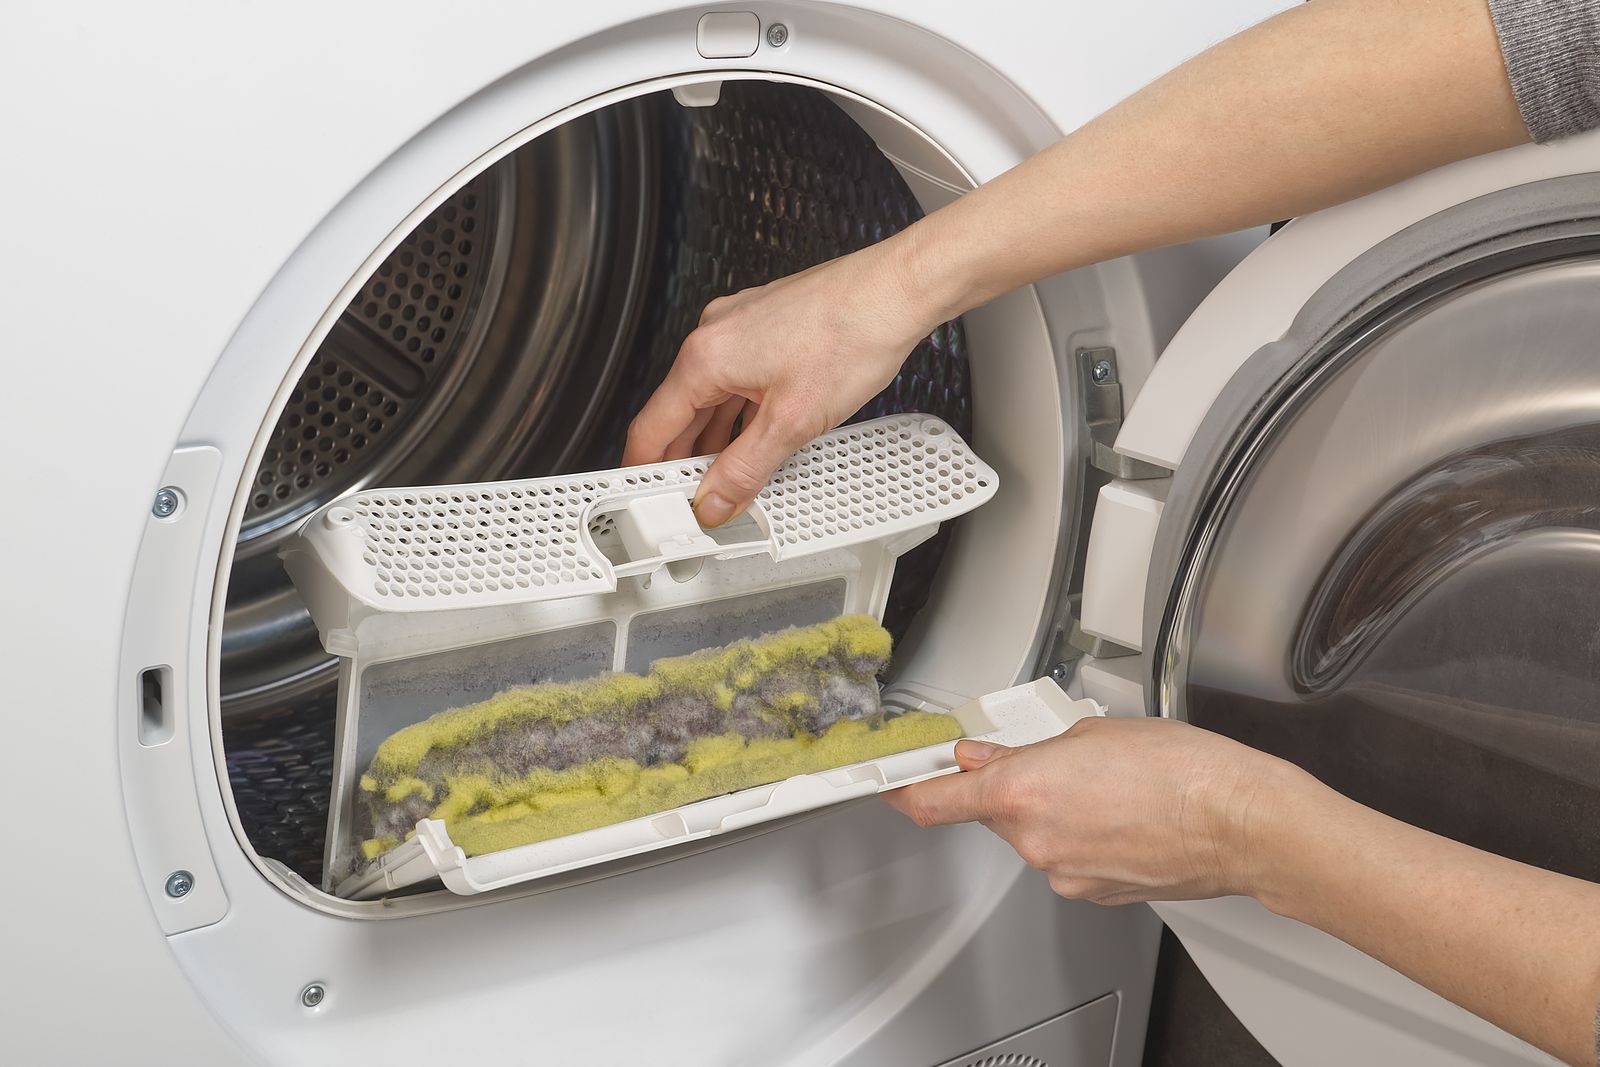
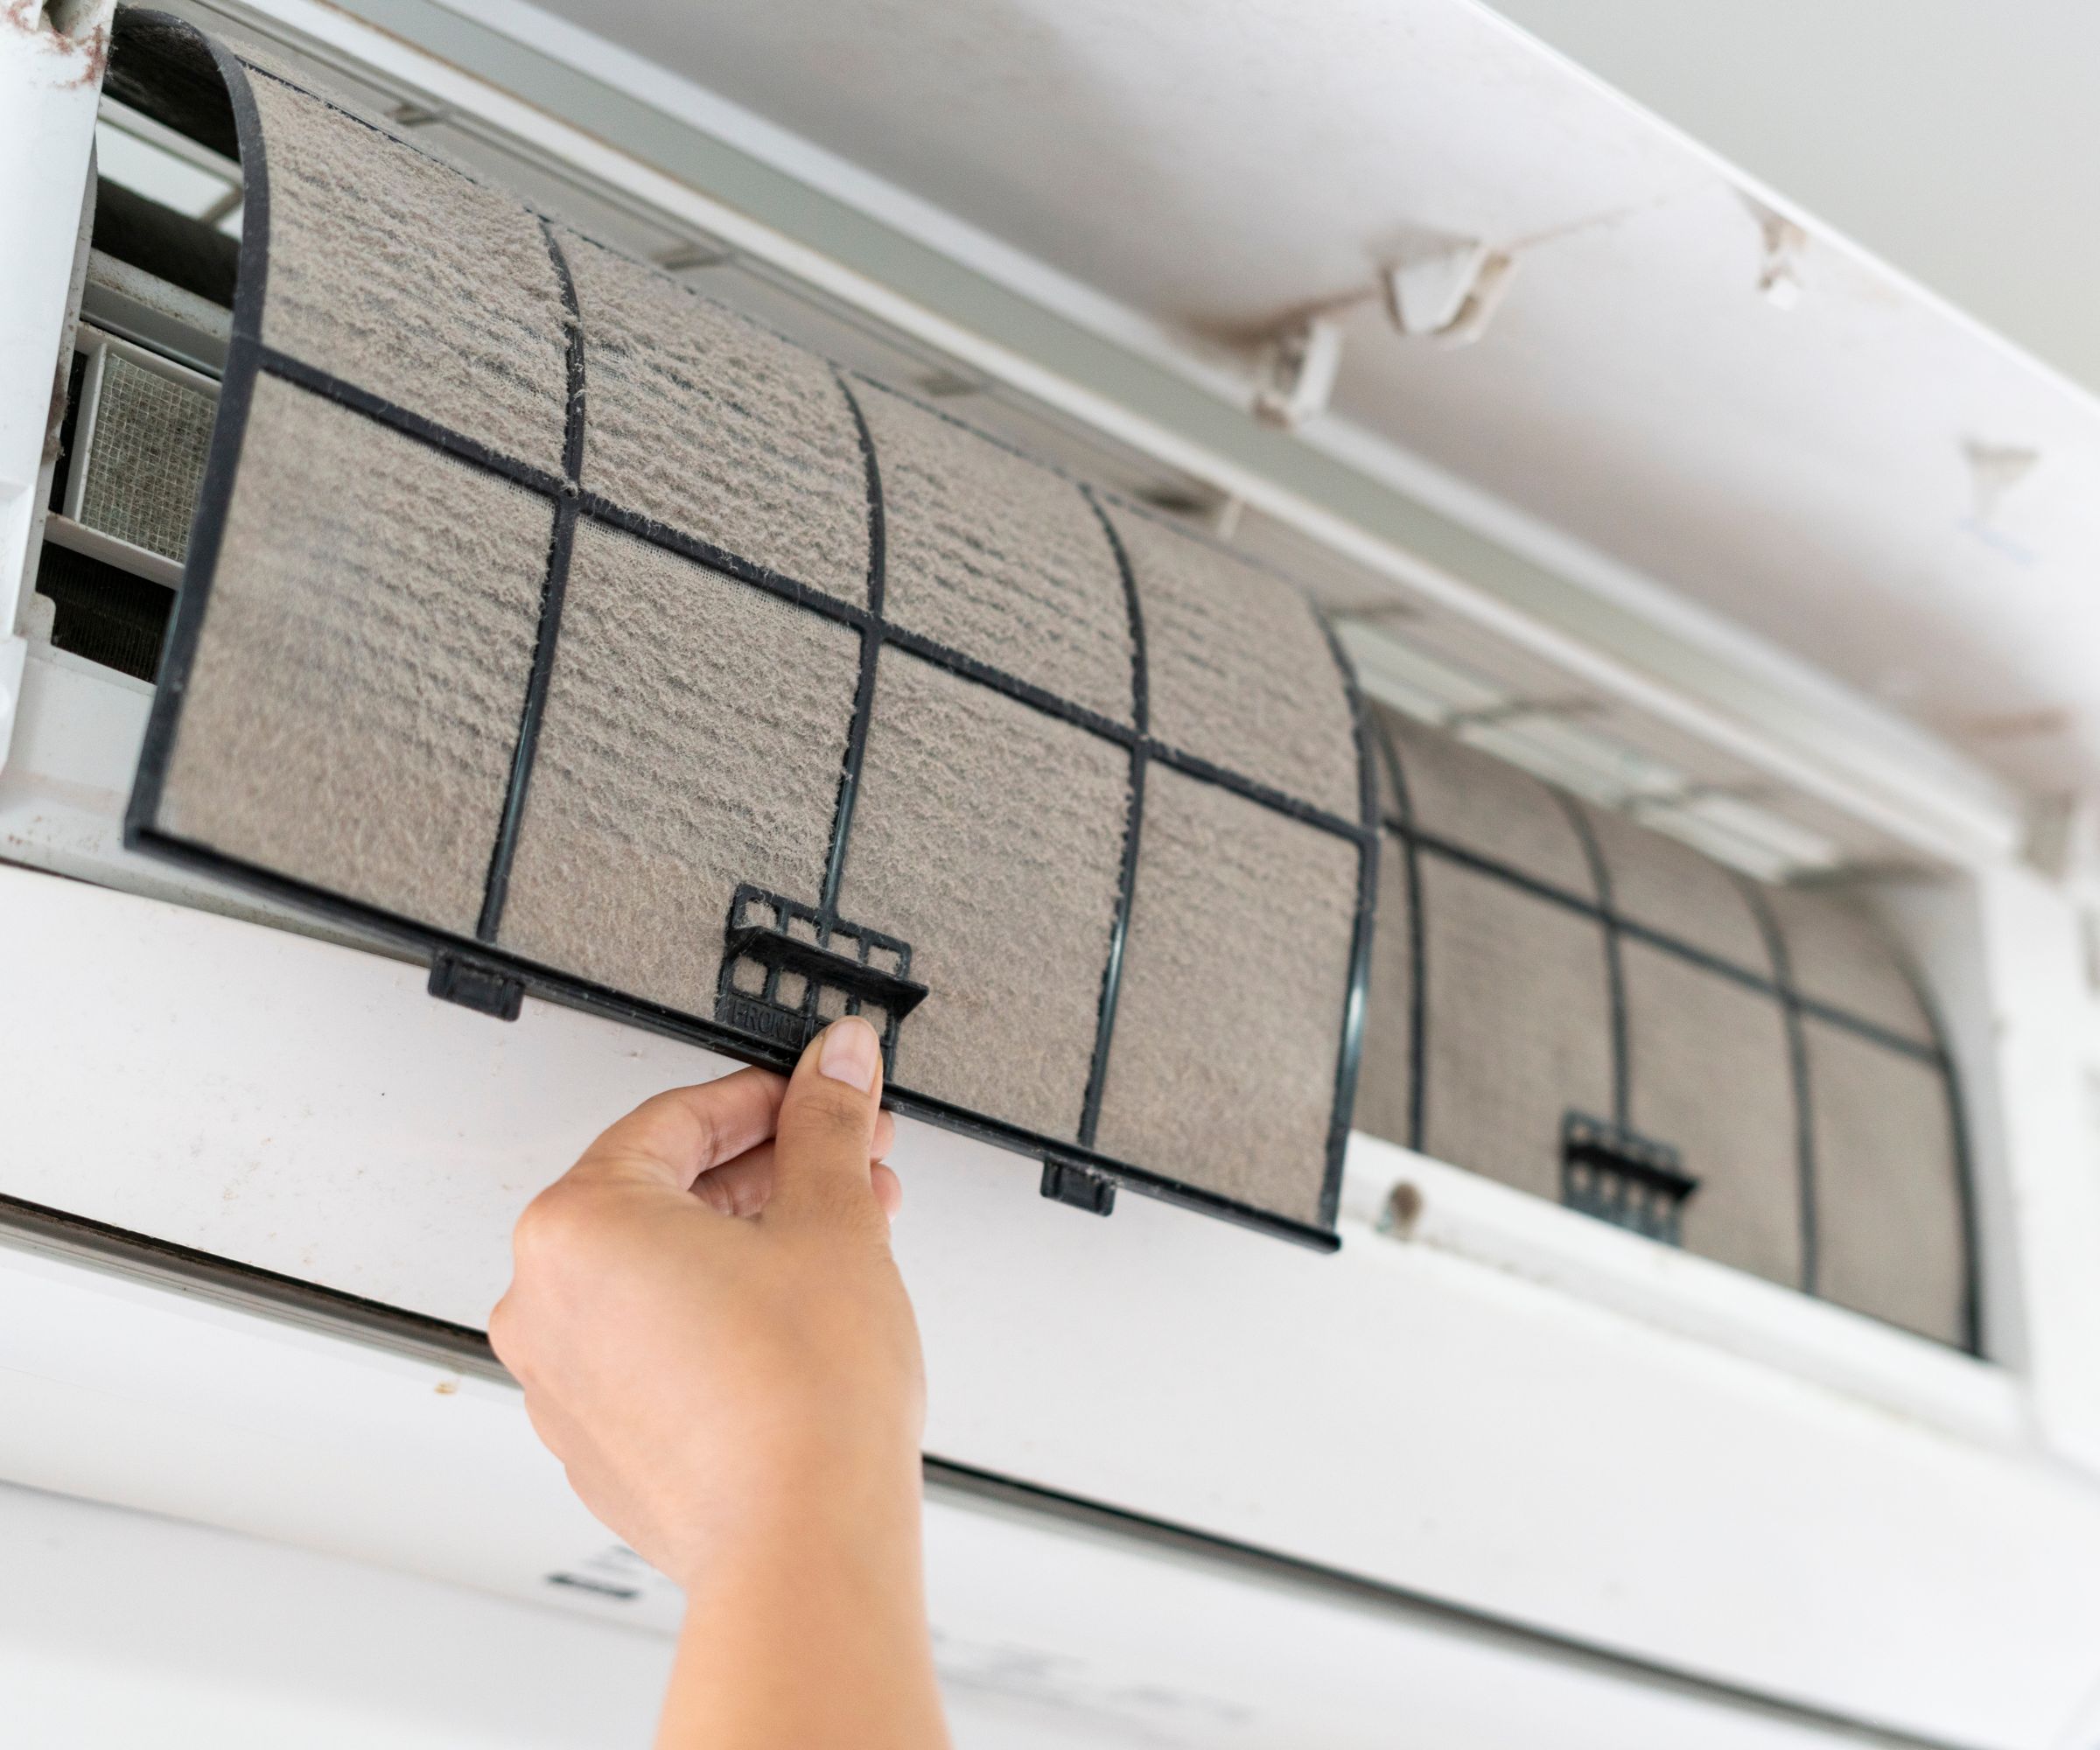
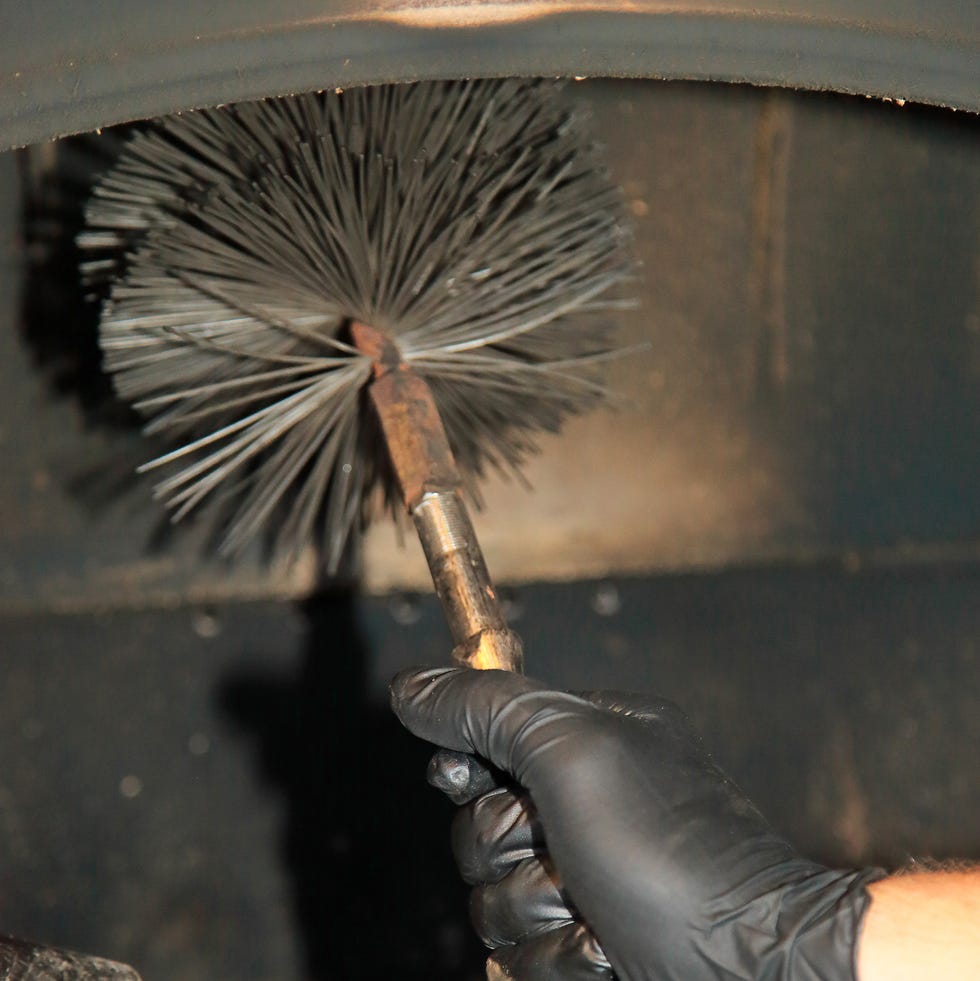
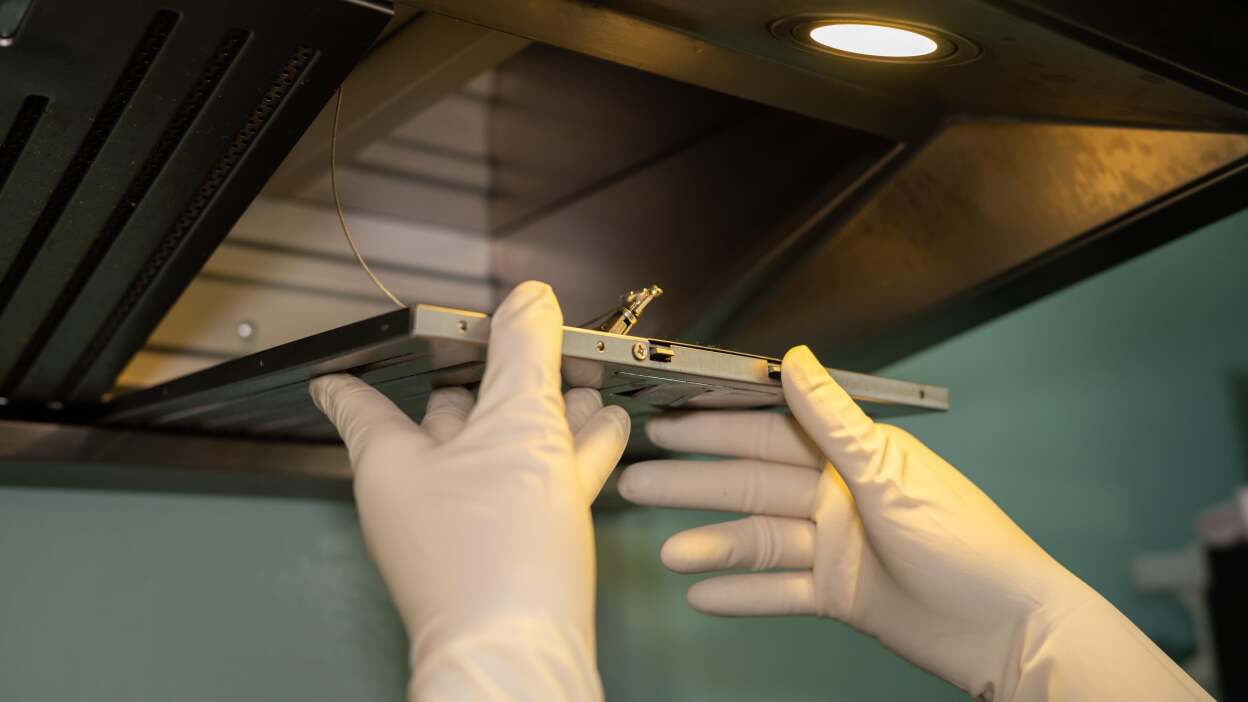
The cleaning process begins with safety precautions. The first step involves unplugging the unit or turning off the circuit breaker that powers the vent to prevent electrical hazards. Once power is disconnected, the grease and charcoal filters should be removed. This step allows access to the fan blades, which can then be cleaned with a damp cloth or sponge along with a degreaser, ensuring all greasy residue is removed from these critical components.
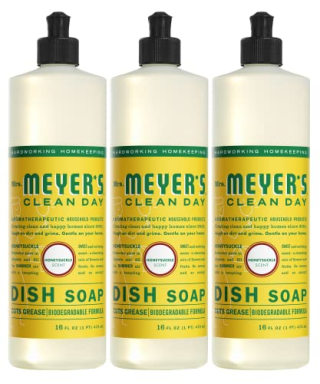
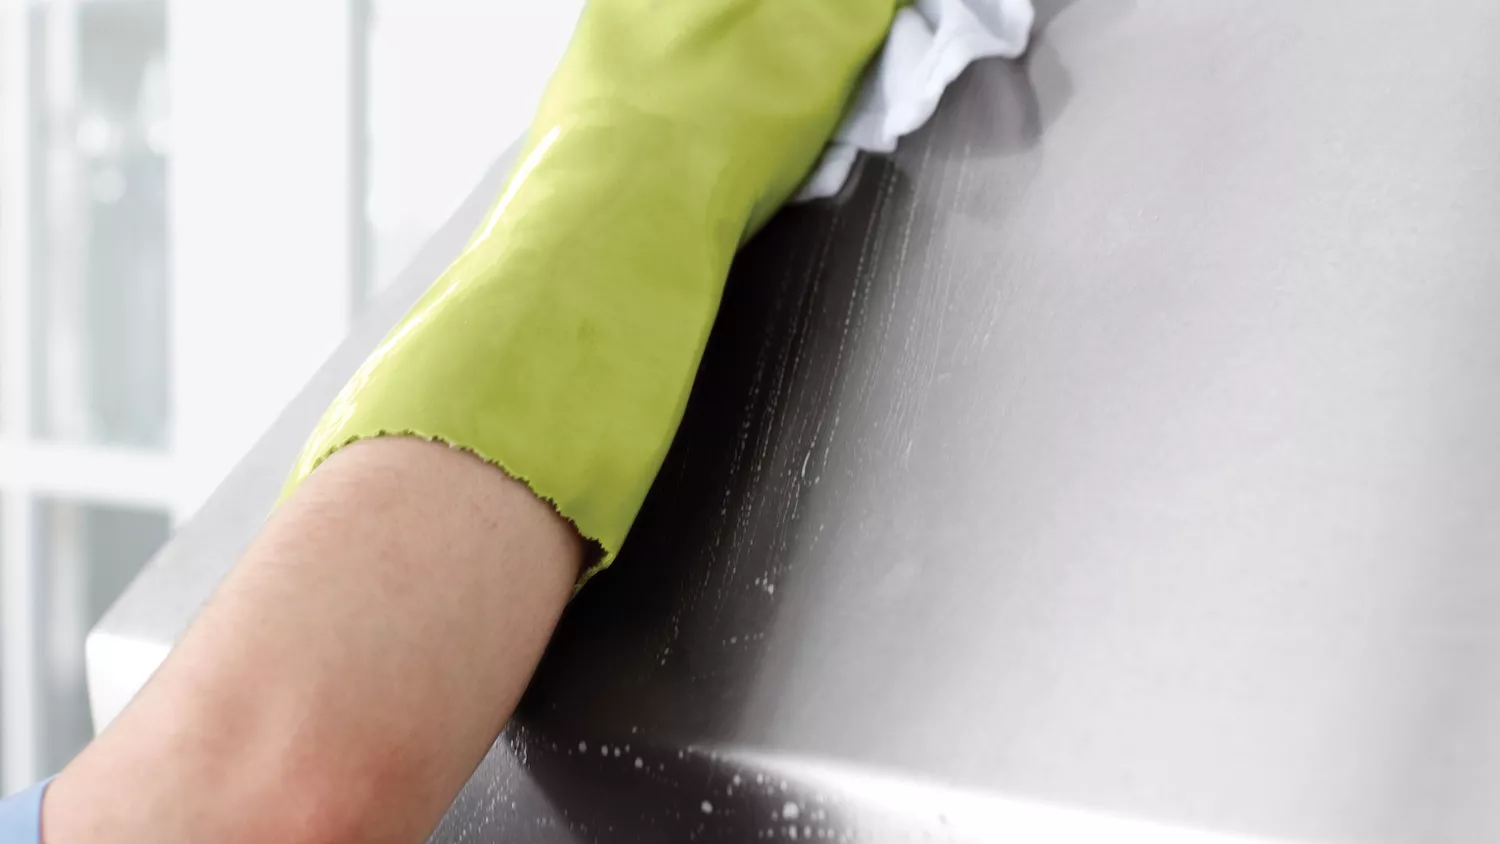
The second step focuses on cleaning the range hood's exterior. The exterior often bears the brunt of smoke, cooking odors, and splatters from the cooktop, leading to visible layers of grease or grime. A mild soap and water mixture is recommended for degreasing the exterior. This solution can be applied using a spray bottle filled with warm water and a few drops of dish soap. A microfiber towel should be used, moving with the grain of stainless steel surfaces to prevent scuff marks, as circular motions can leave surface imperfections. For more stubborn stains that do not respond to soap and water, a DIY paste made from vinegar and baking soda can be applied.
Third, the grates and filters, often made of stainless steel, require soaking. These components are usually simple to remove. They should be immersed in warm, soapy water to thoroughly clean out any channels where grease and food particles might accumulate. After an adequate soaking period, they should be rinsed thoroughly before being reinstalled. This soaking process helps to loosen caked-on grease and food matter that may be difficult to remove otherwise.
Finally, for any stubborn spots on filters and grates that remain after soaking, additional scrubbing may be necessary. A nonstick pan-cleaning brush with soft bristles can be used for this purpose. However, caution is advised to avoid damaging the material; abrasive cleaners or harsh scrubbing techniques should not be used on delicate surfaces like stainless steel or wood. Instead, a milder cleaning agent, such as a dish soap with a degreasing component, and a soft cloth are preferable. This step ensures that all parts are free from grease and grime, optimizing the range hood's filtration performance and maintaining a clean and sanitary kitchen environment.
#KitchenCleaning #RangeHoodMaintenance #VentCleaning #HomeCareTips #GreaseRemoval #DIYCleaning #ApplianceMaintenance #HouseholdChore #KitchenCleaning #RangeHoodMaintenance #VentCleaning #HomeCareTips #GreaseRemoval #DIYCleaning #ApplianceMaintenance #HouseholdChore
0 comment in total
 No comments yet
You may also like
How to clean vent covers and how often to do it - TODAY


Gas Stove or Not, This Is the Proper Way to Use Your Range Hood

I use a laundry item to clean my fan - it works so much better than a cloth, and the coating repels dust for weeks

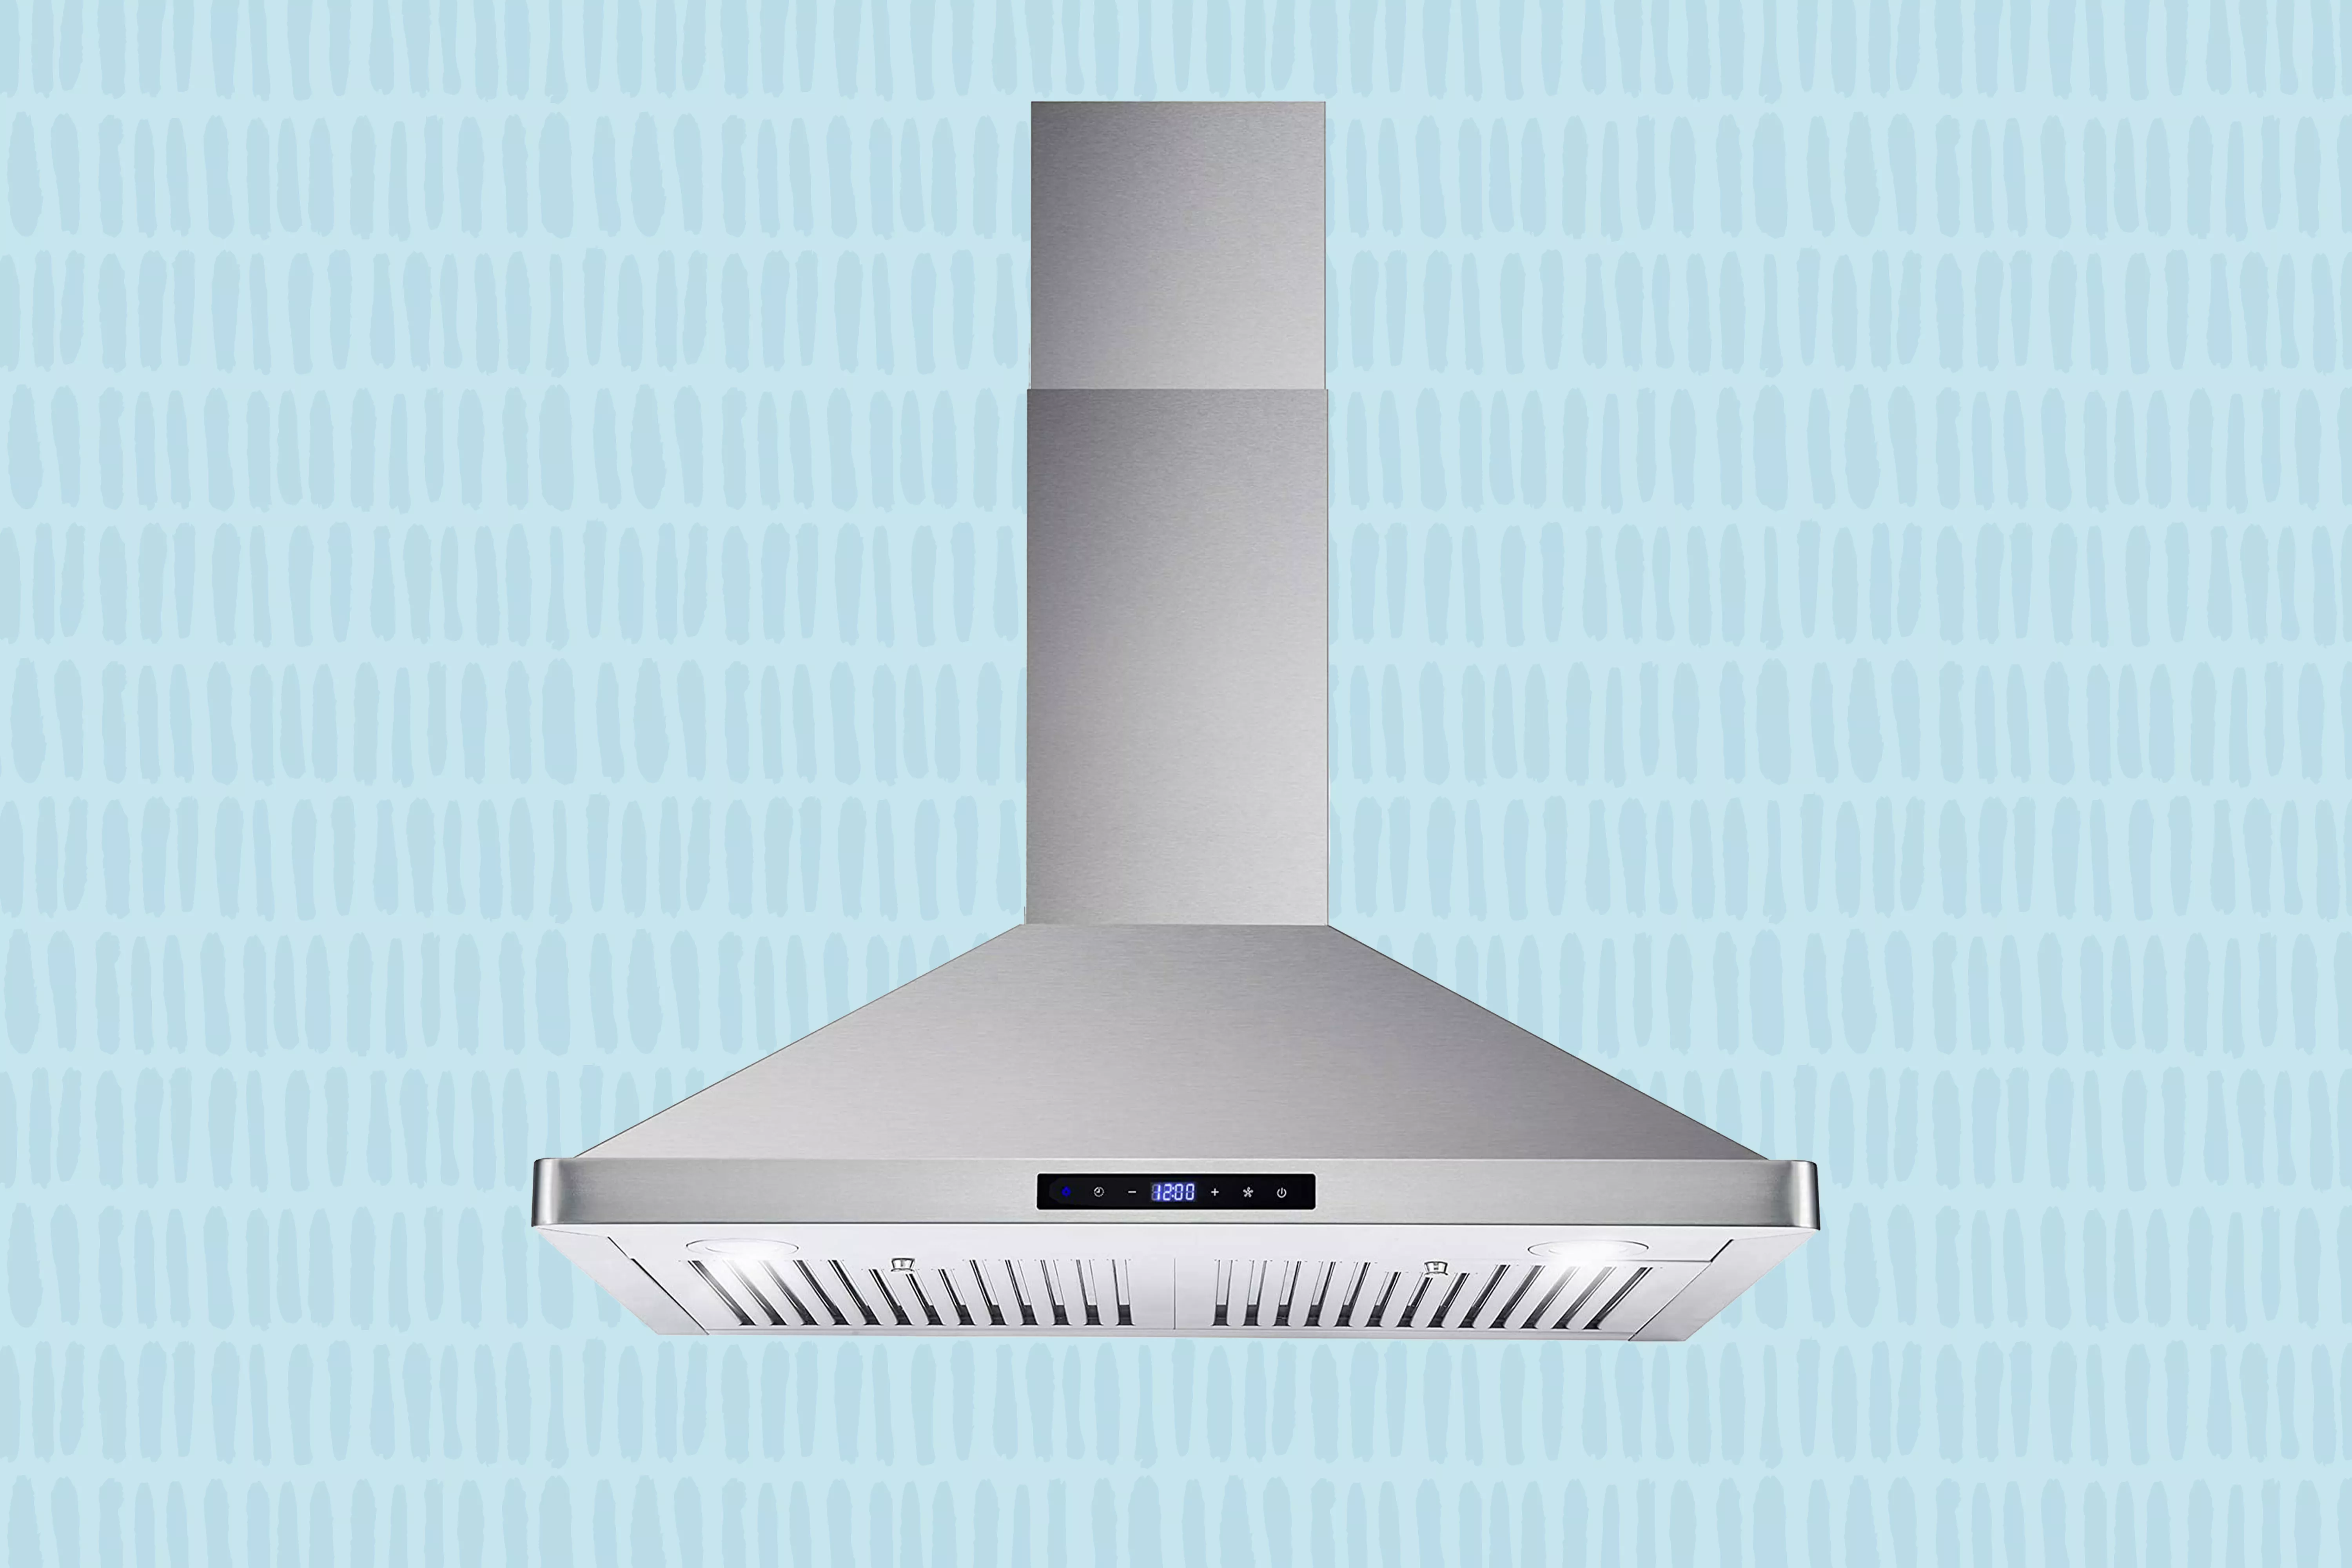
Eliminate Unwanted Kitchen Smells With These 6 Range Hoods


How to Clean a Dryer Vent in 7 Simple Steps

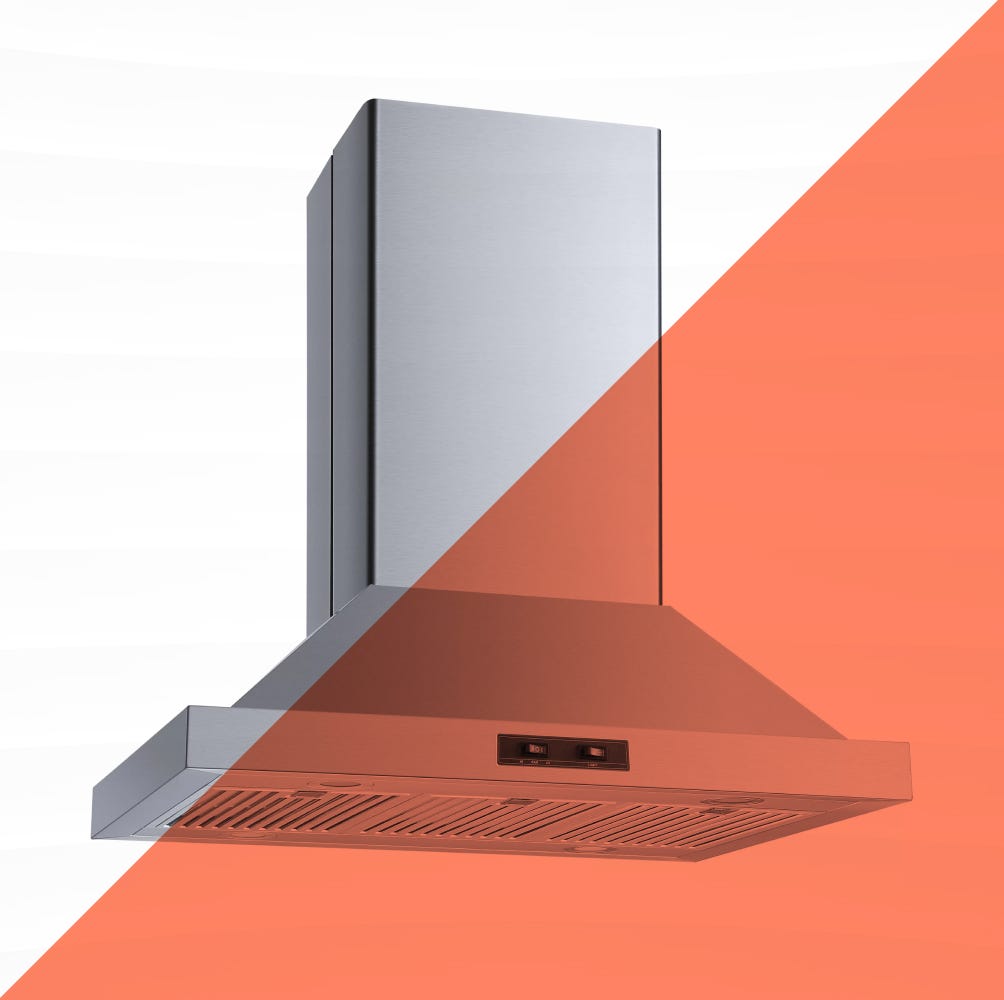
Keep Your Kitchen Fresh With the Best Range Hoods

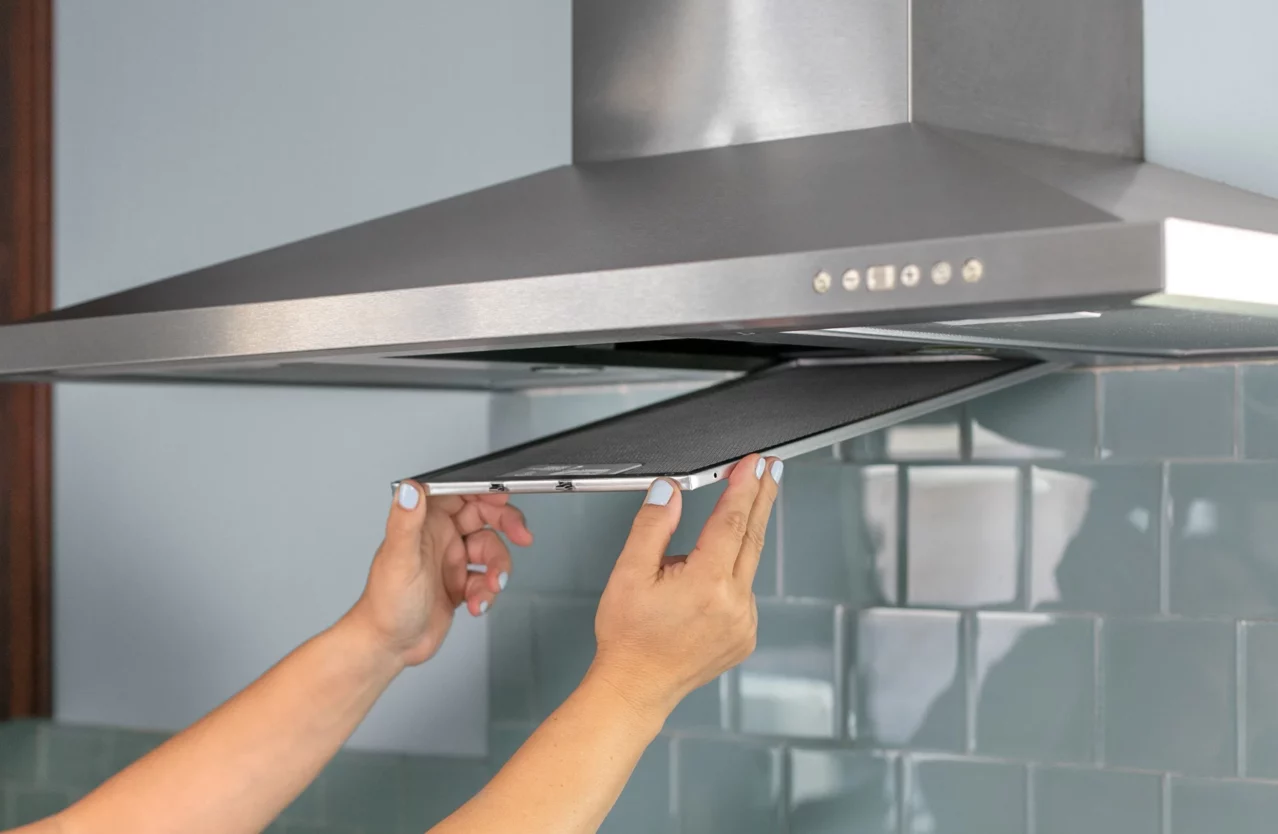
CLEAN YOUR KITCHEN VENTS DAY - June 17, 2026

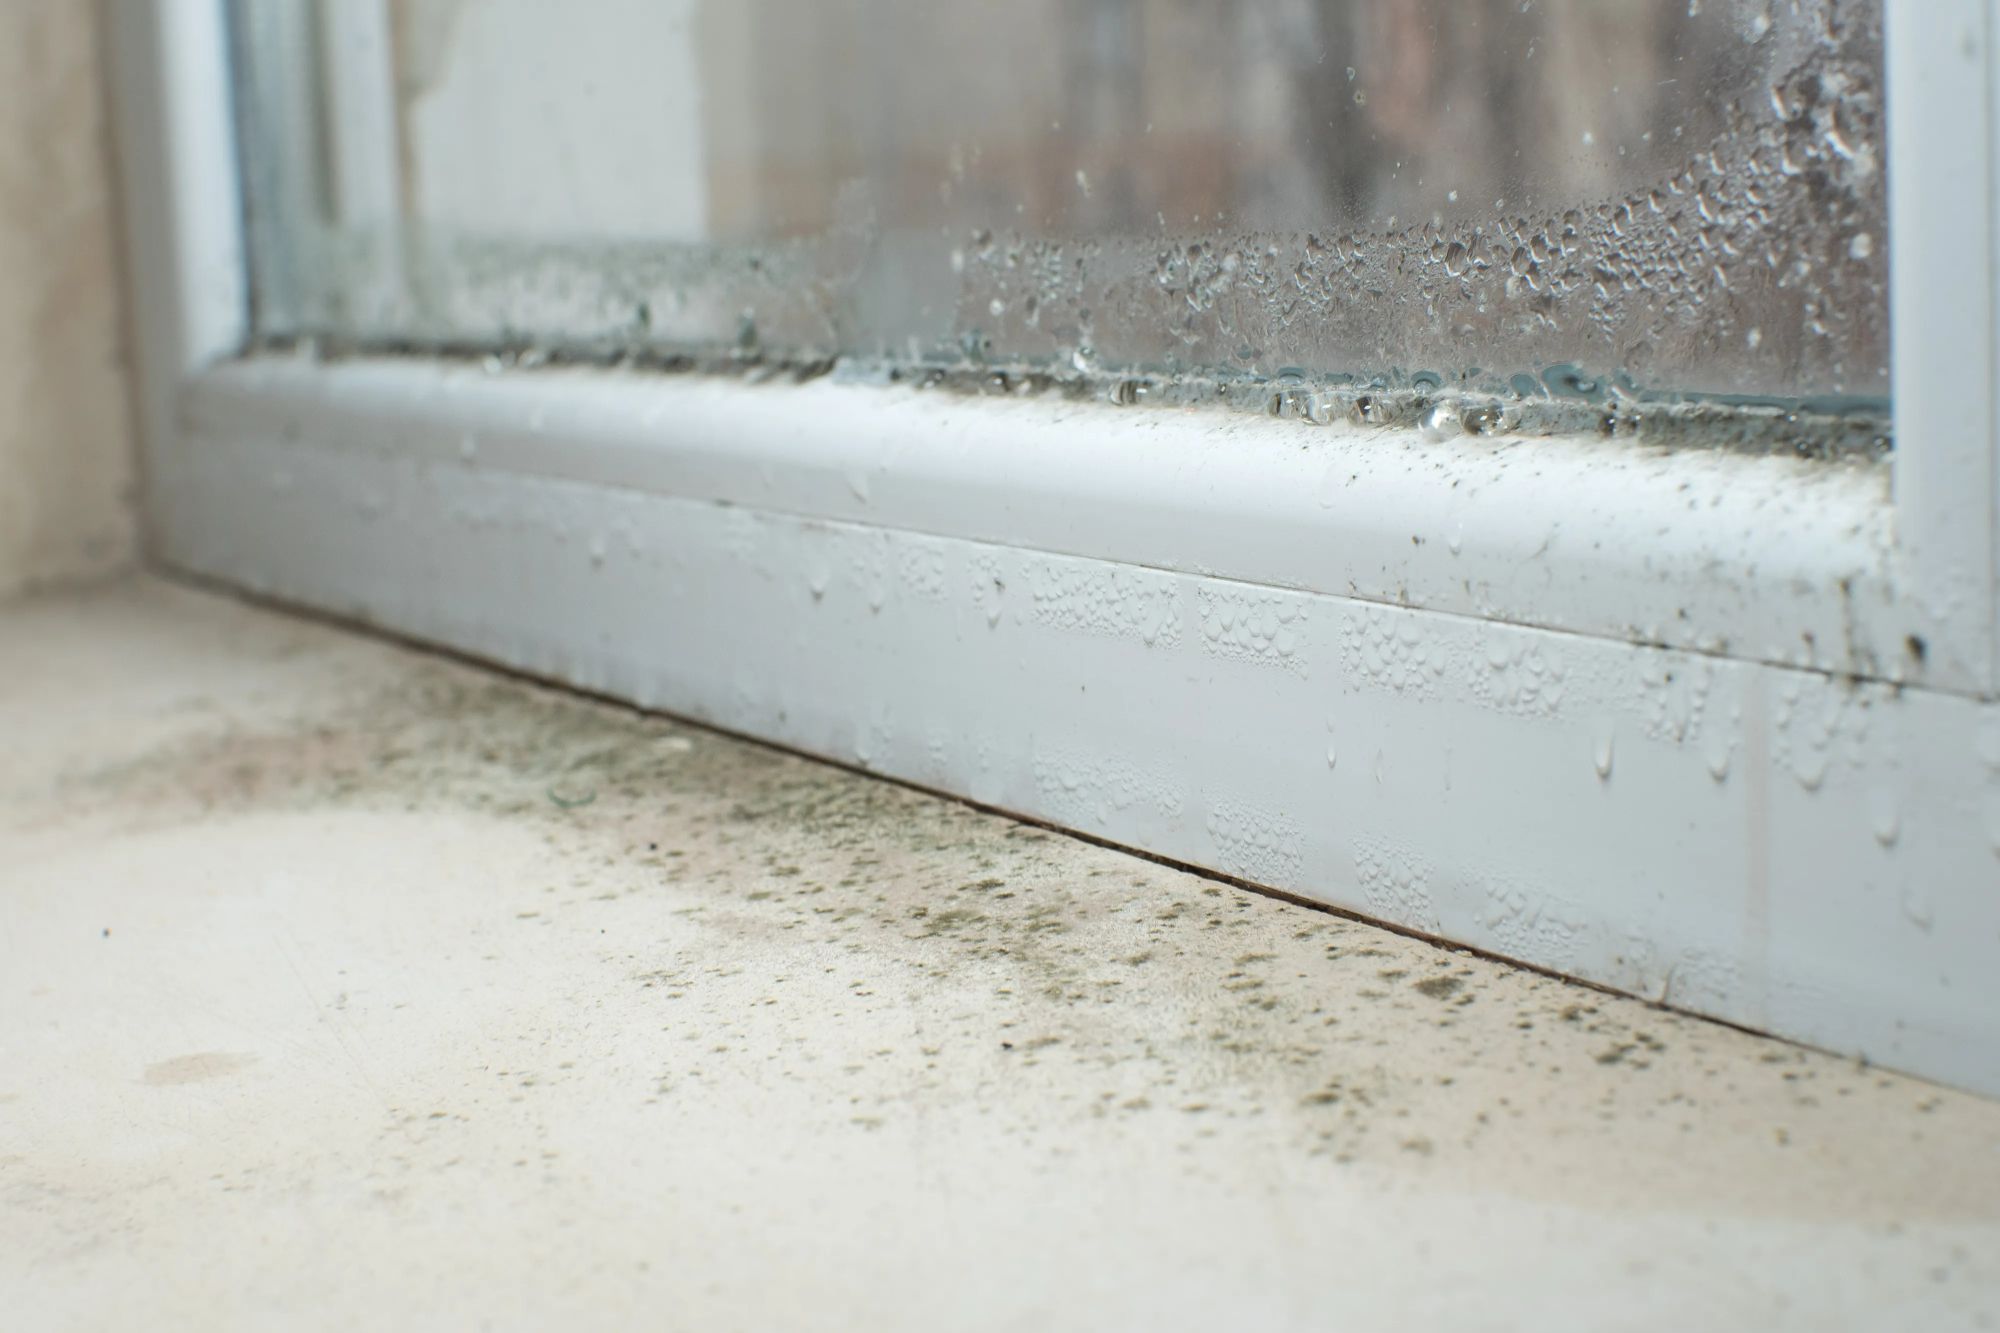
The free condensation-busting item which comes in the post - but you're binning


Have you forgotten about cleaning your oven extractor fan vent? This viral hack may be key to banishing years of grease
How to Change the Filter on Your Range Hood

Nix Odor, Smoke, and Yuck with These Range Hoods
You Need to Clean Your Chimney Yearly. Here's How.
How to Clean Your Air Vents


How to clean a fireplace – these expert tips will keep your fireplace looking its best

The Best Range Hoods, Reviewed

How to clean candle wax off upholstery and carpet - 3 easy steps to deal with festive tablescape disasters


How to clean your HVAC system – 6 expert tips to make this essential task DIY-friendly

10 Best Cooker Hoods in Singapore for Easy Cleaning – Kitchen Hood Review (2025)
Best Stovetop & Hanging Range Hoods For Optimum Kitchen Ventilation


This simple trick will clean ceiling fans without a mess