How to strip paint from wood safely
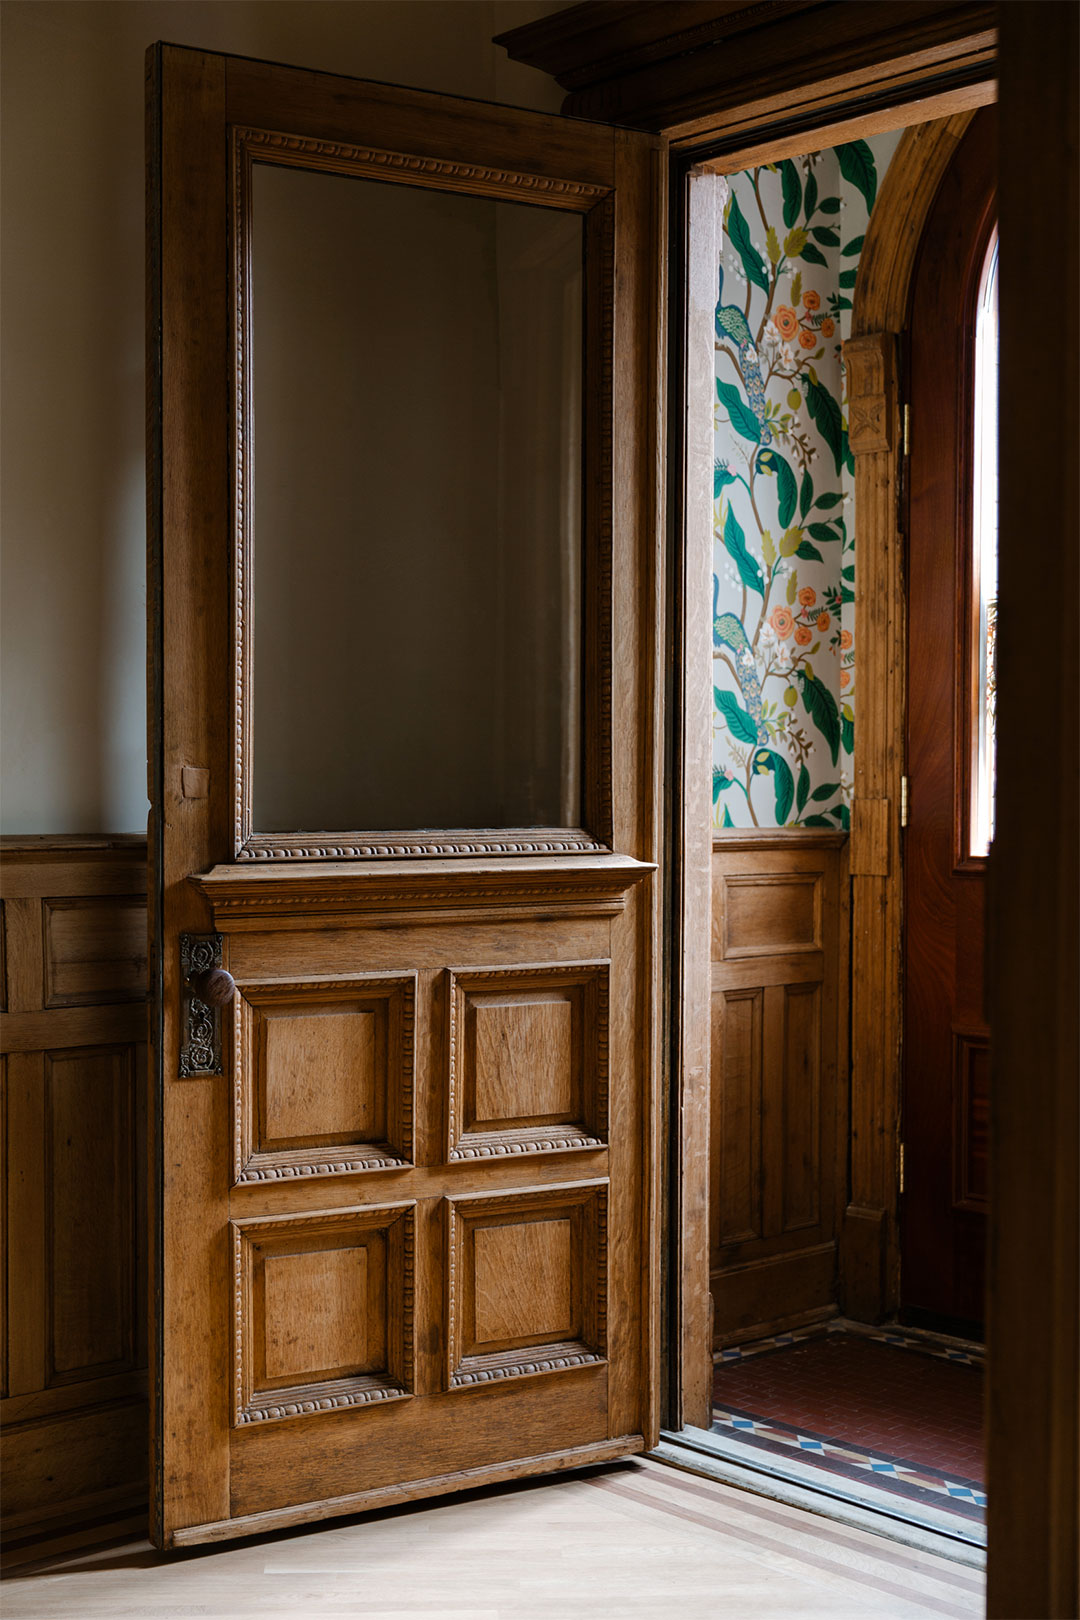
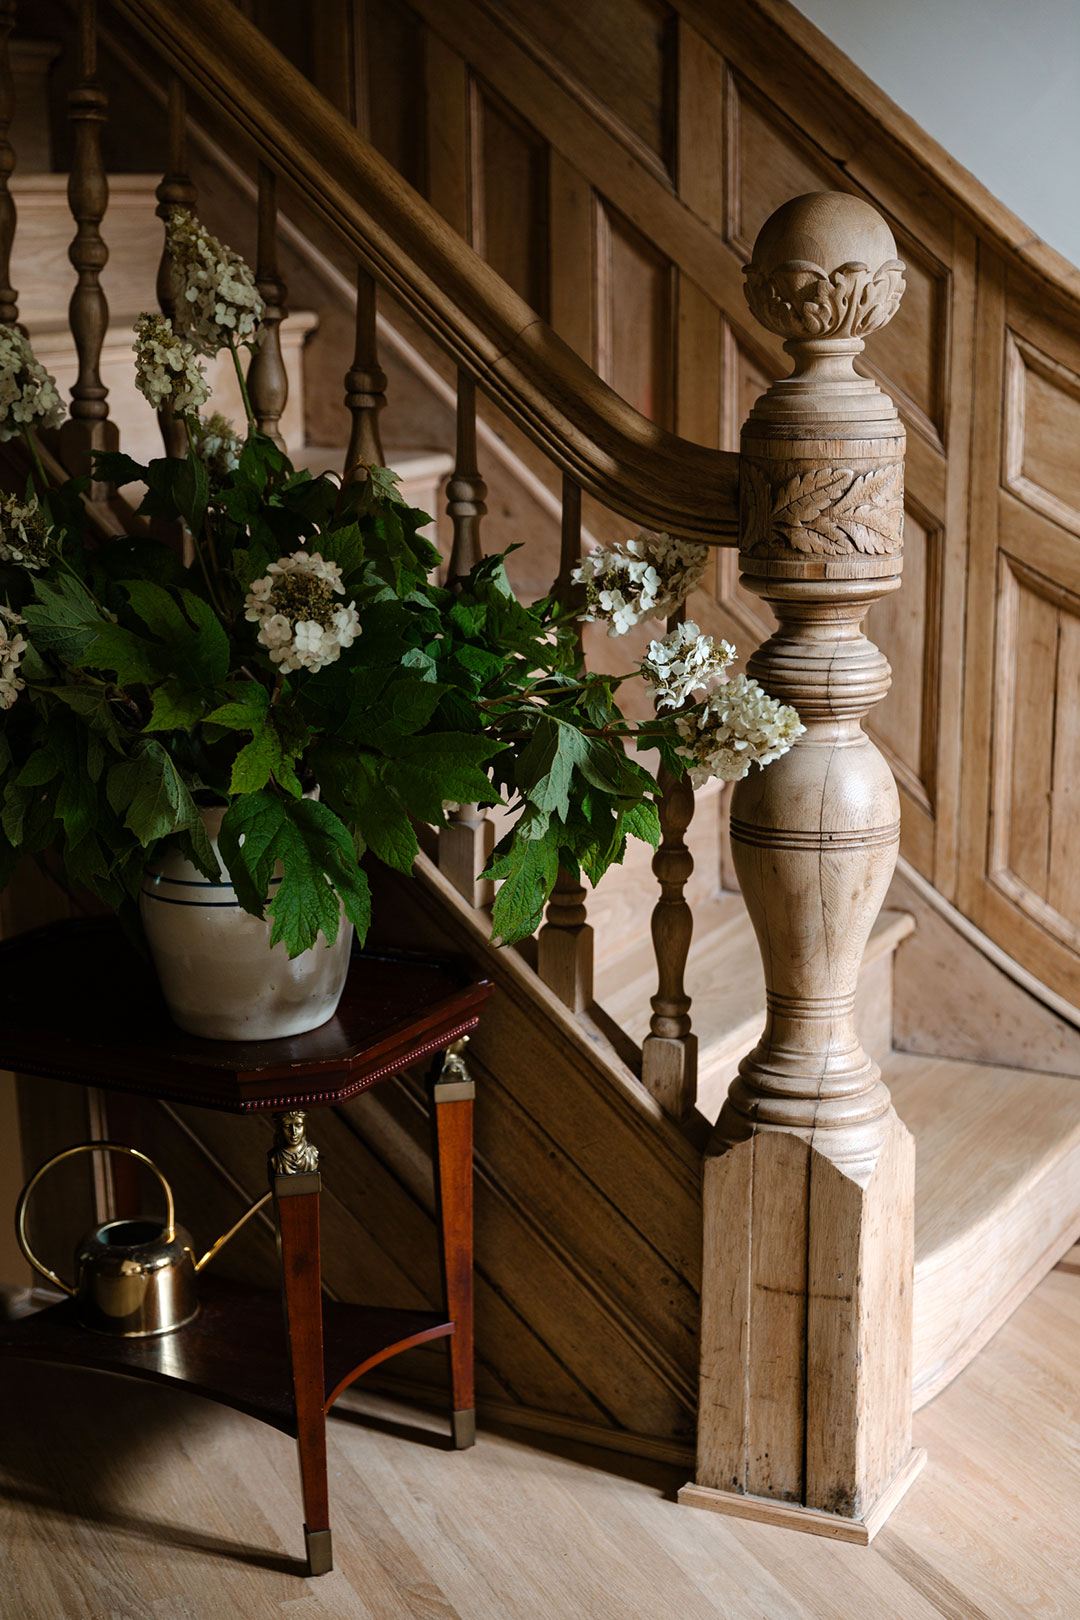
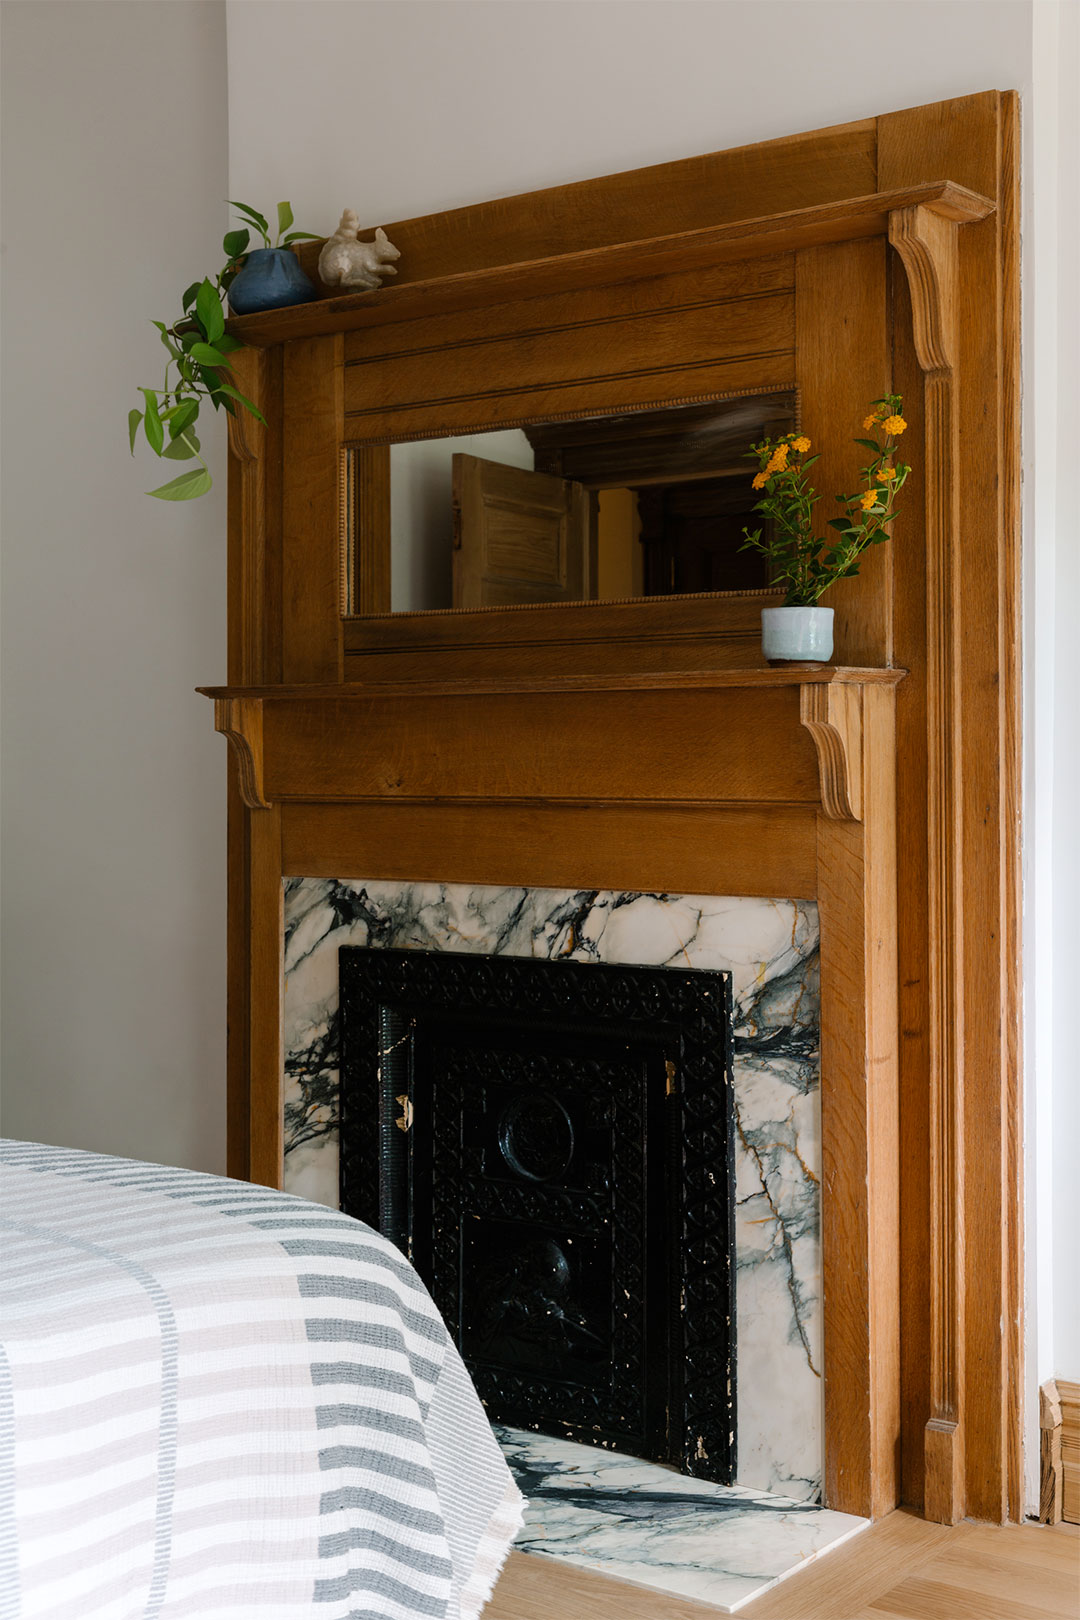
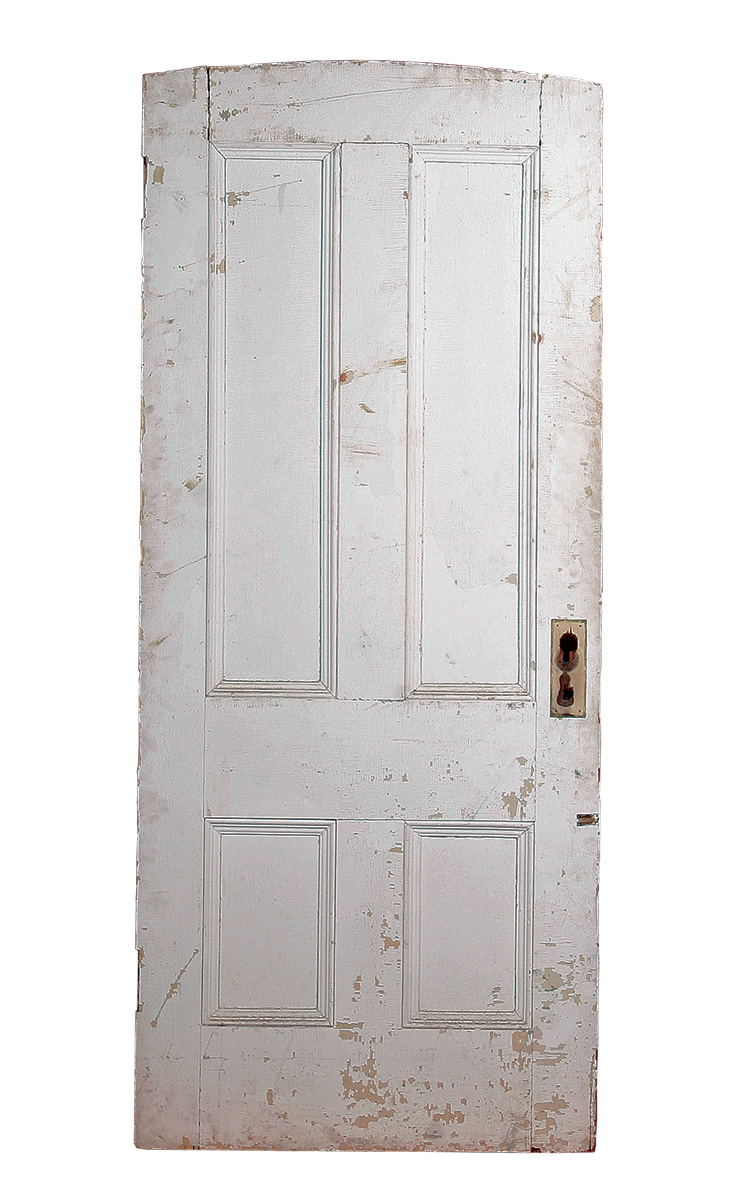
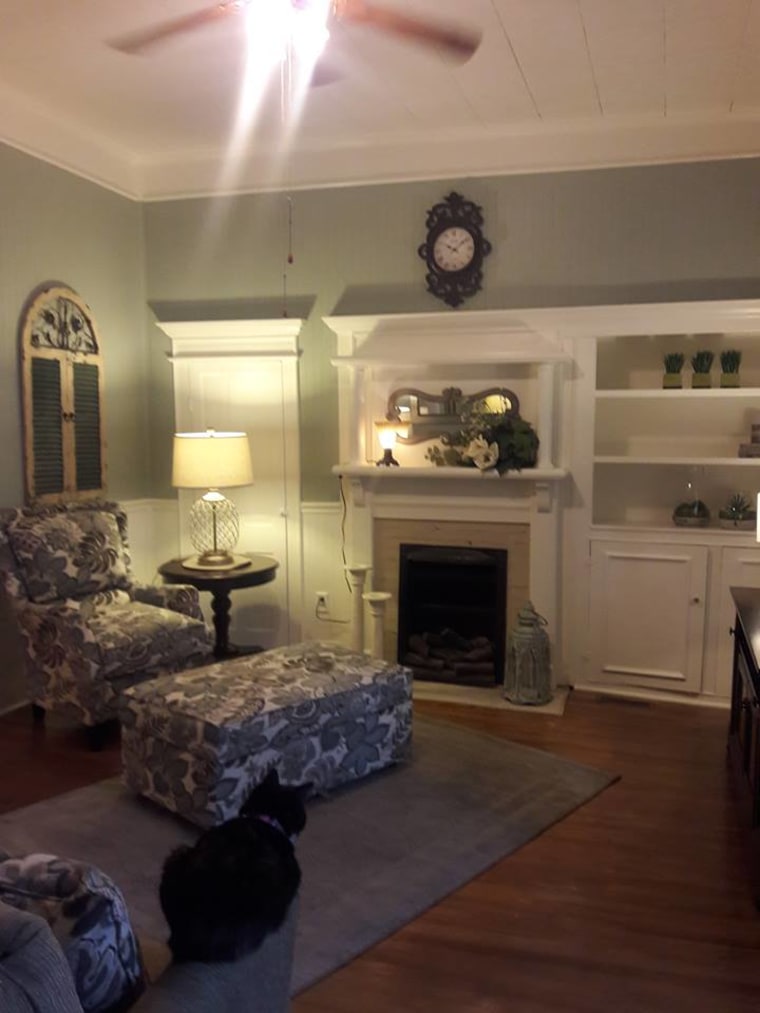
The article addresses the common scenario in older homes where original woodwork, such as molding, windows, trim, and baseboards, has been covered with multiple layers of paint. While restoring this wood to its original finish can significantly enhance a historic home's aesthetic, it is a labor-intensive and potentially expensive undertaking. The decision to strip paint is often driven by personal reasons rather than a direct return on investment.
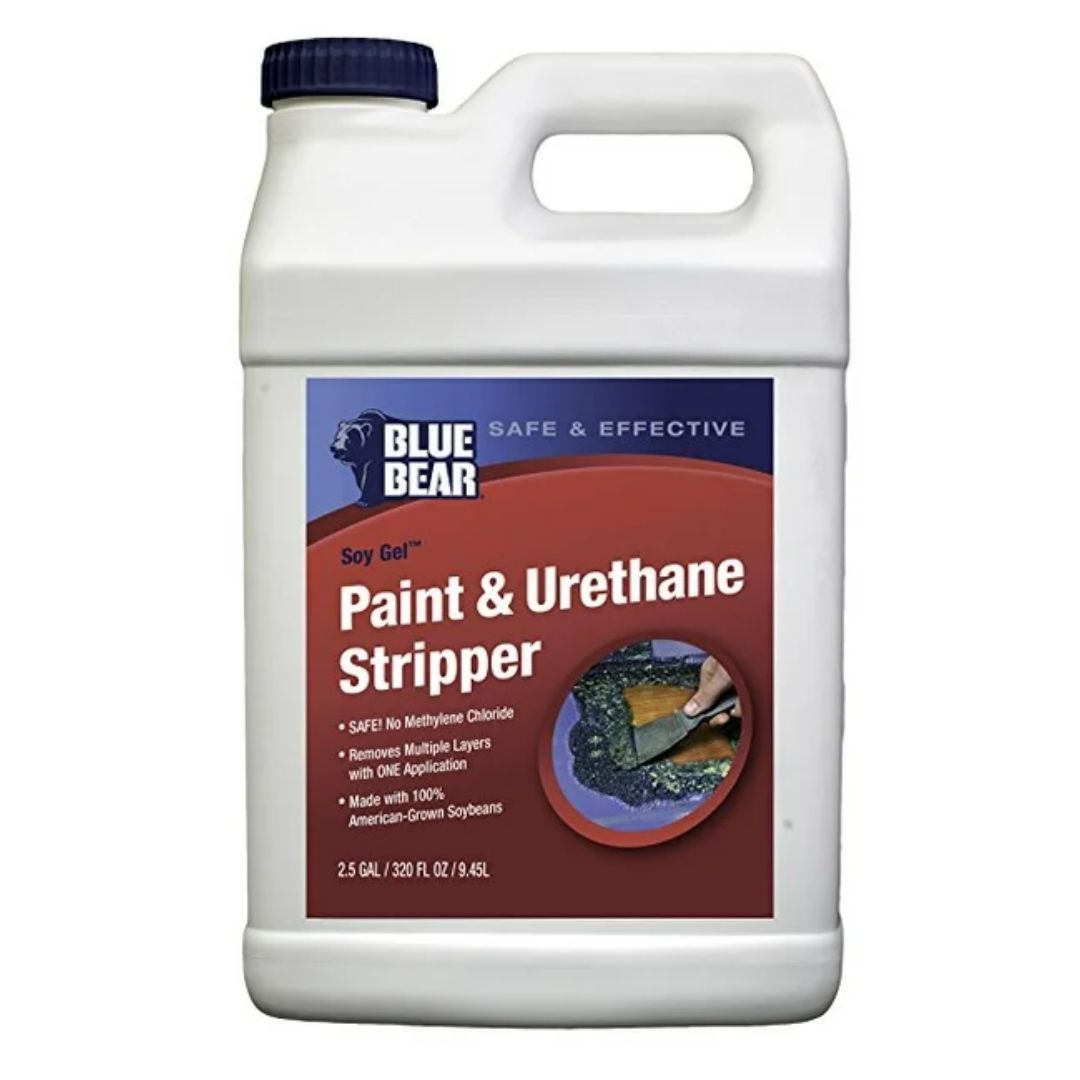
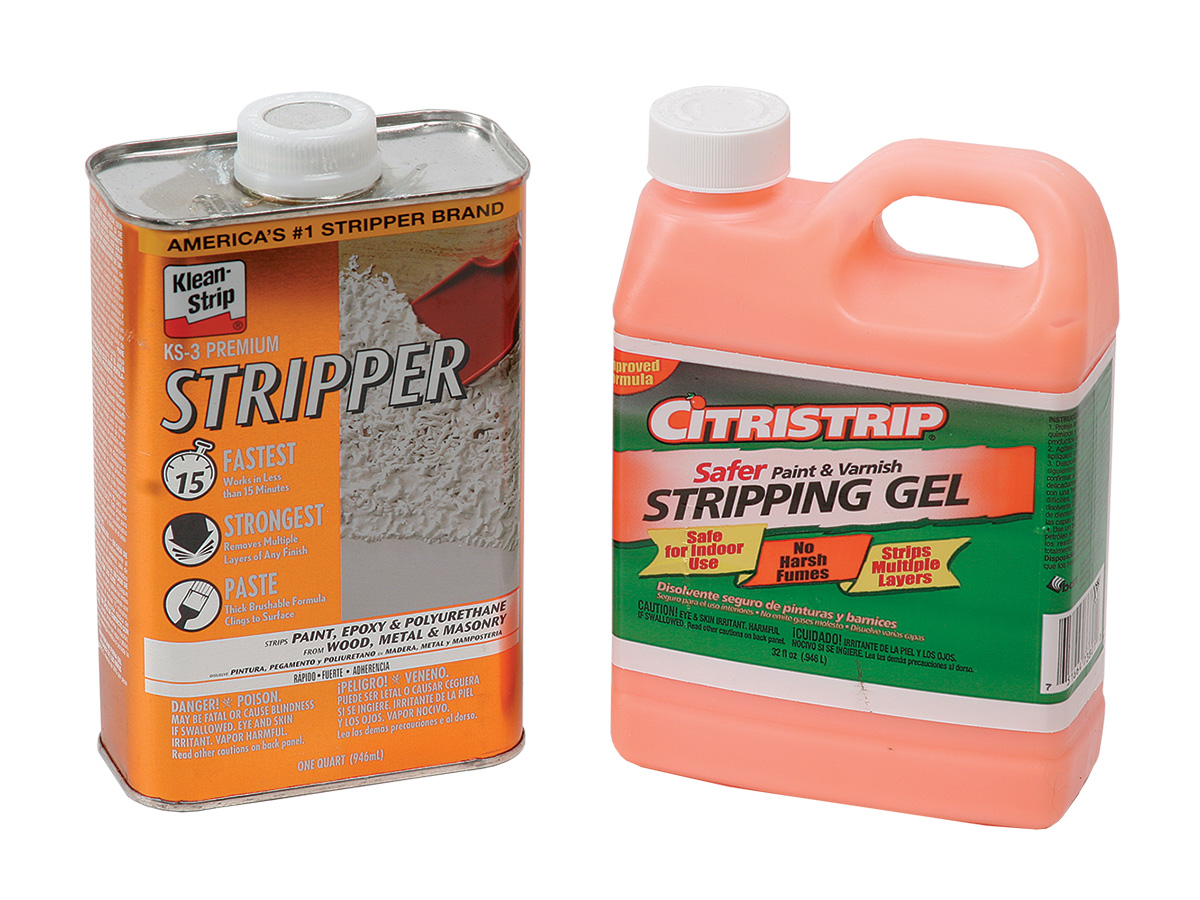
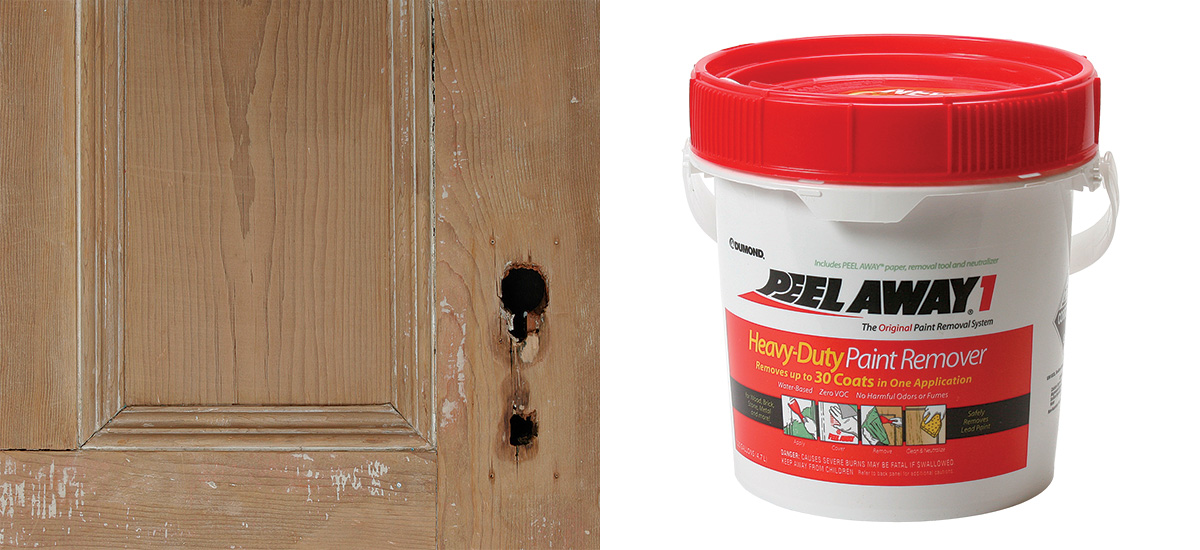
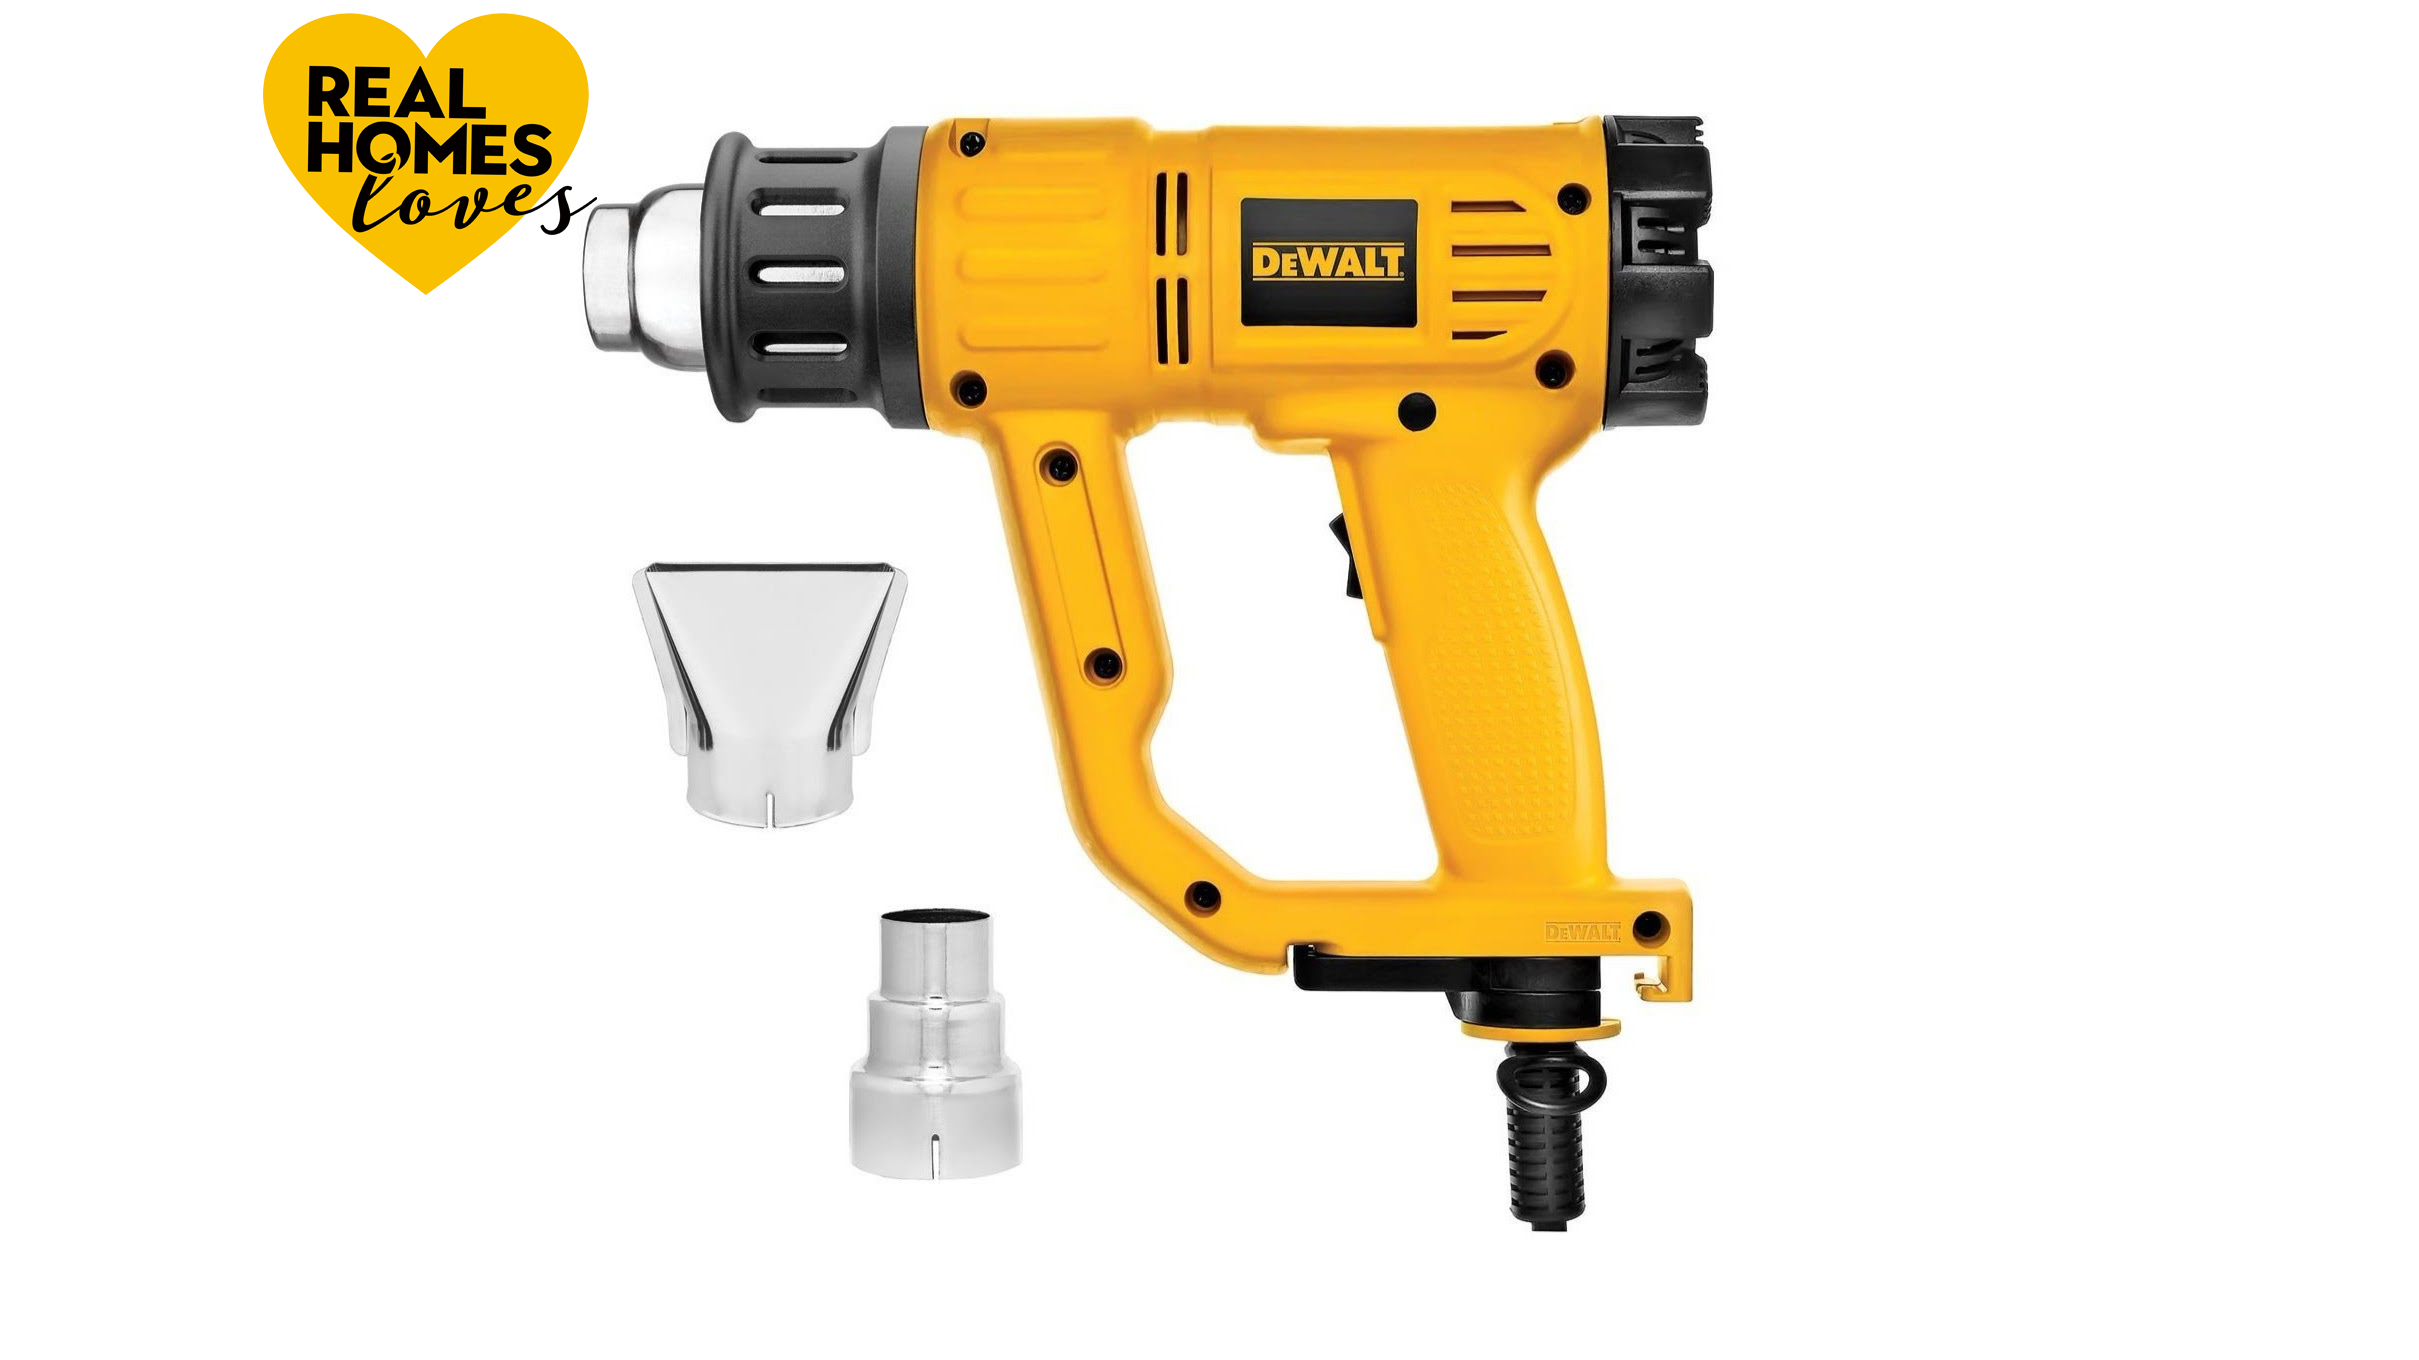
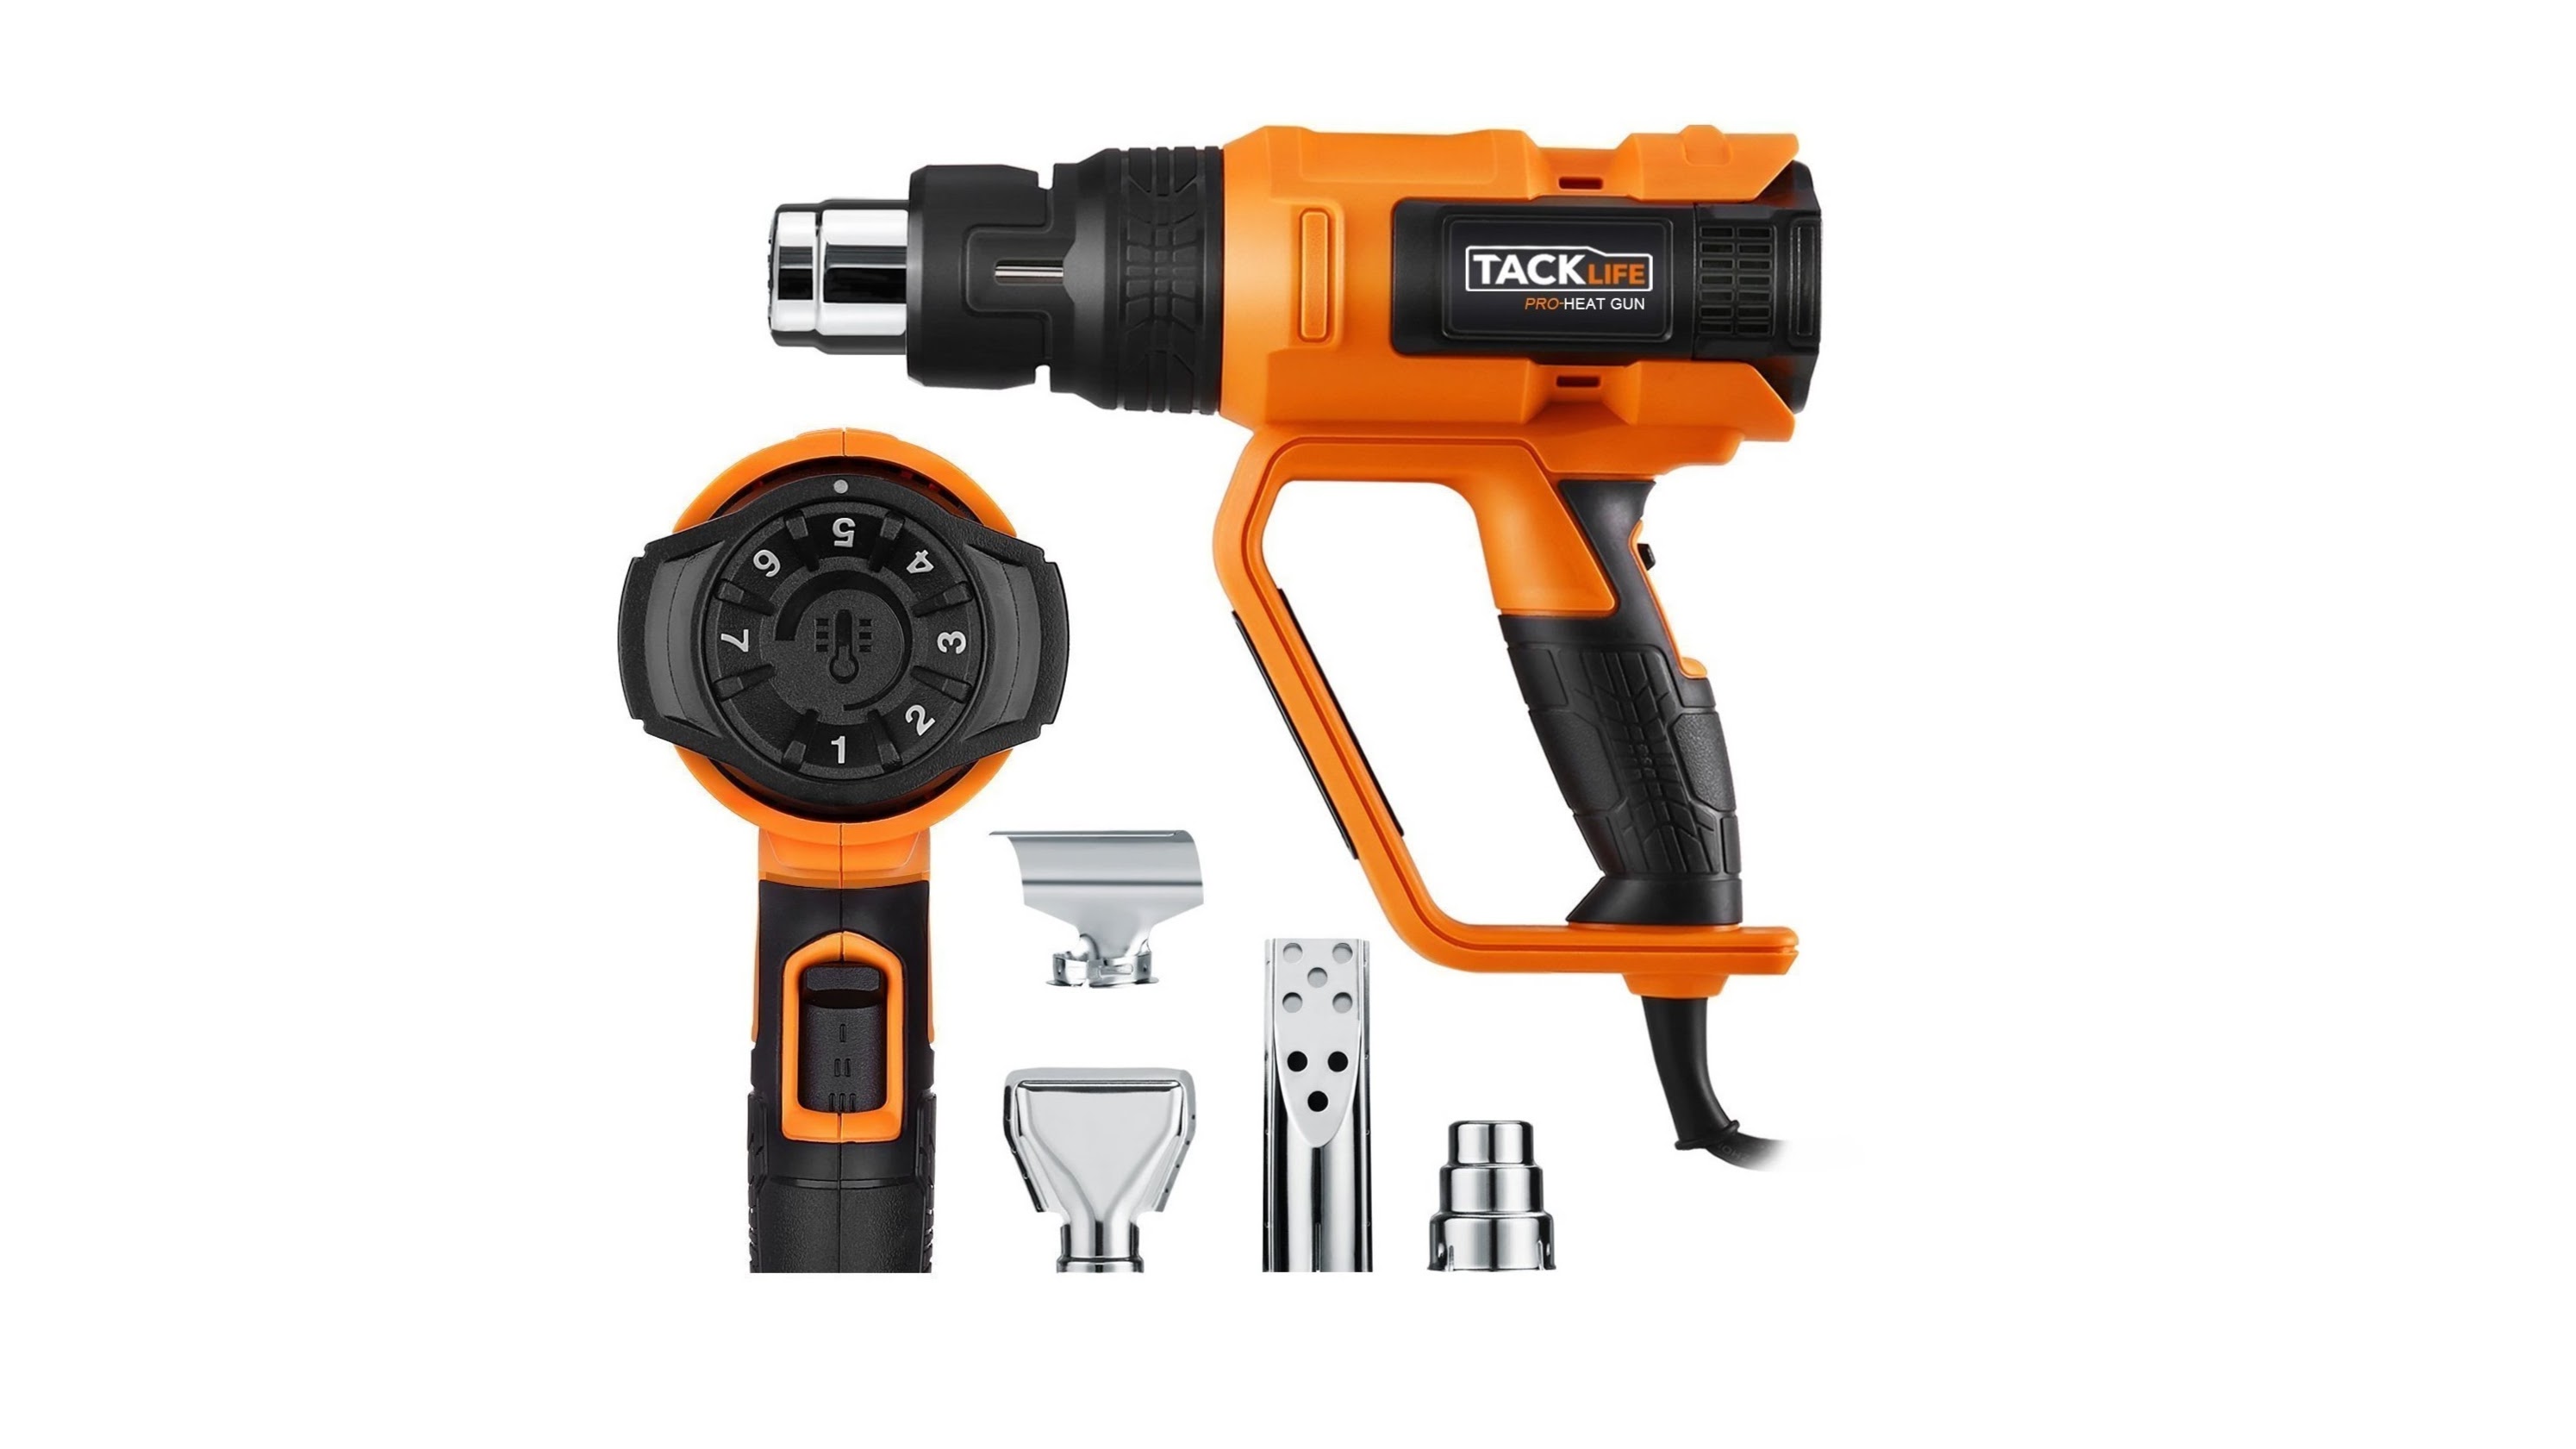
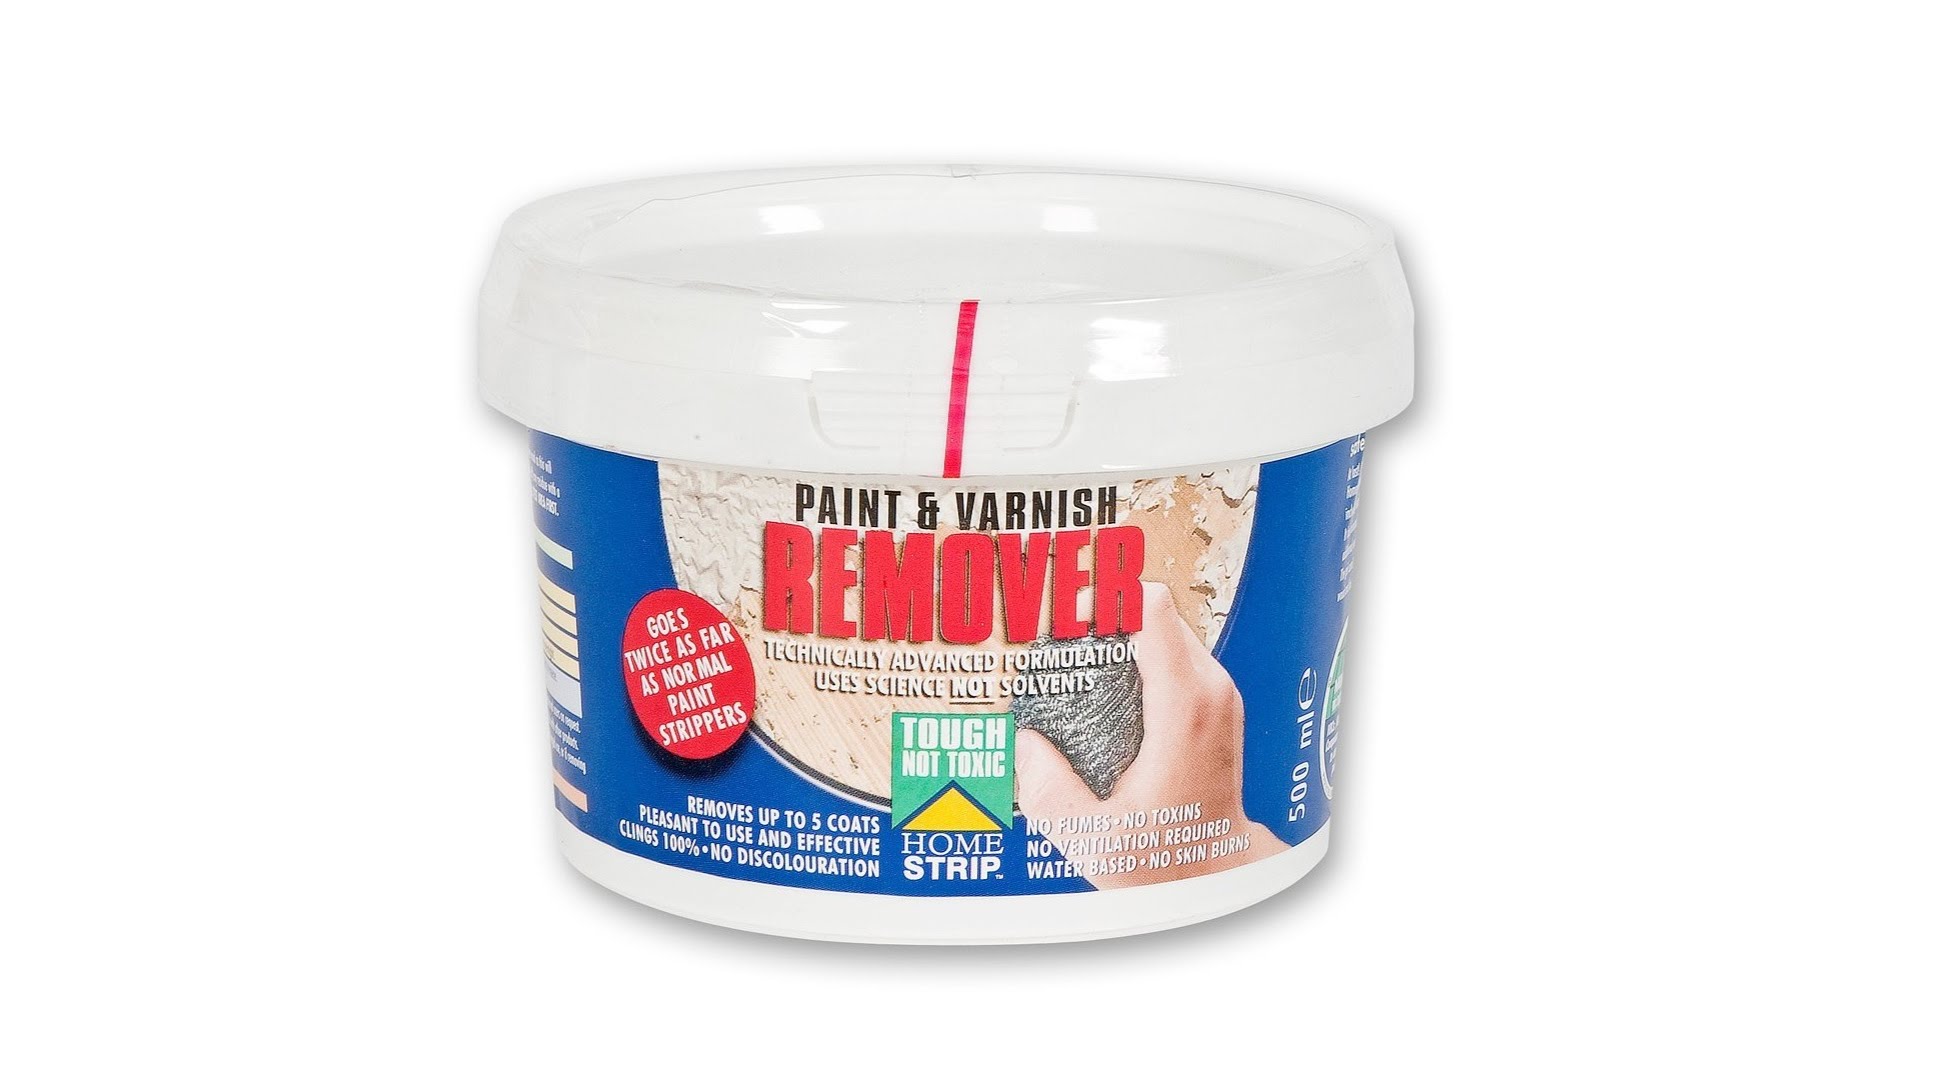
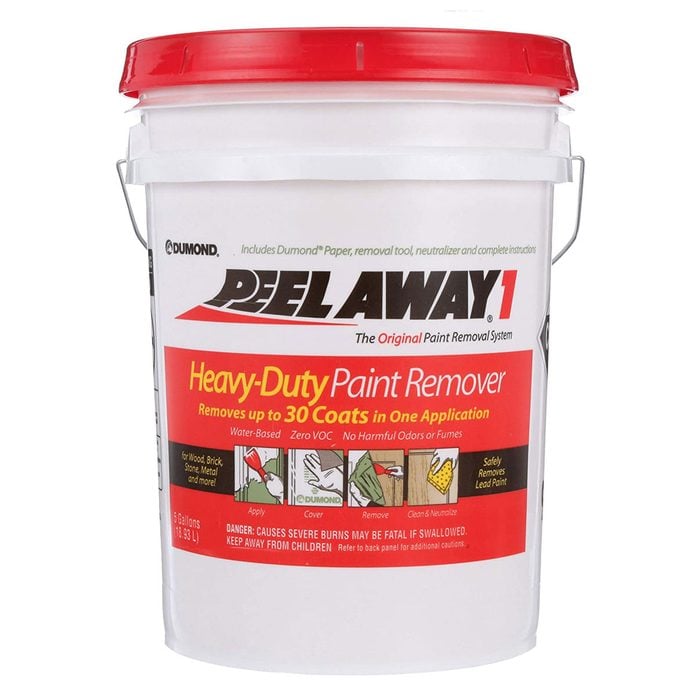
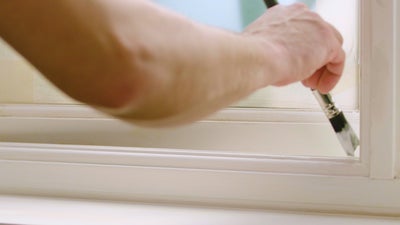
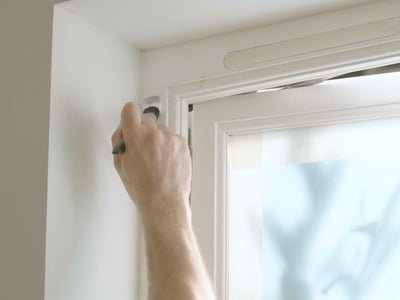
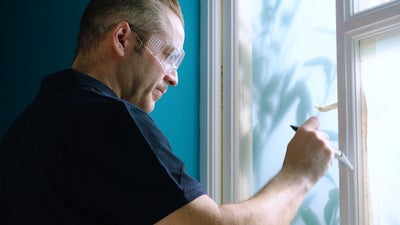
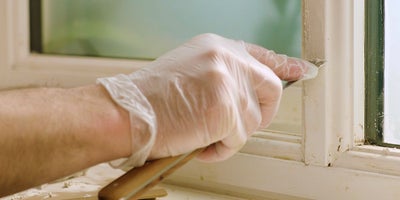
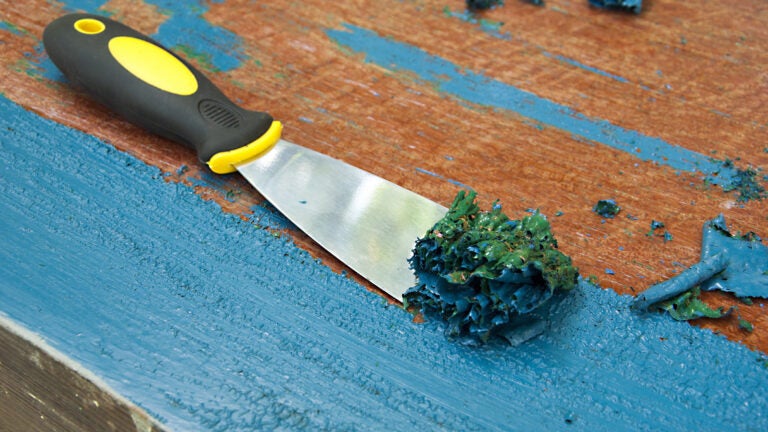
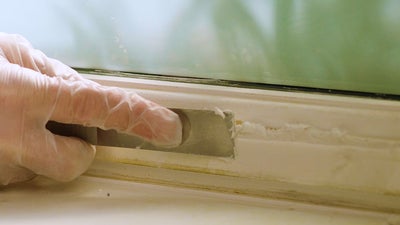
Mark Philben, a project development manager at Charlie Allen Renovations, advises against using heat guns for paint removal due to the risk of fumes and fire. Instead, he recommends two primary products: Peel Away and Smart Strip. Peel Away involves applying a paste to the wood, covering it with paper, and allowing it to sit for 24 hours, after which the paper is removed, taking the paint with it. Smart Strip operates similarly but without the paper backing, requiring the paste to be wiped or scraped off after the same duration. For both products, protective gloves are essential, and any hardware should be removed or taped over before application.
After removing the bulk of the paint, it is crucial to use a neutralizing agent, available at paint stores, to prevent residual paint-removing properties from affecting subsequent staining. The wood must then be allowed to dry and air out for several days, as it becomes tender and susceptible to damage immediately after stripping. This drying period allows the wood to release absorbed chemicals and regain some of its original hardness.
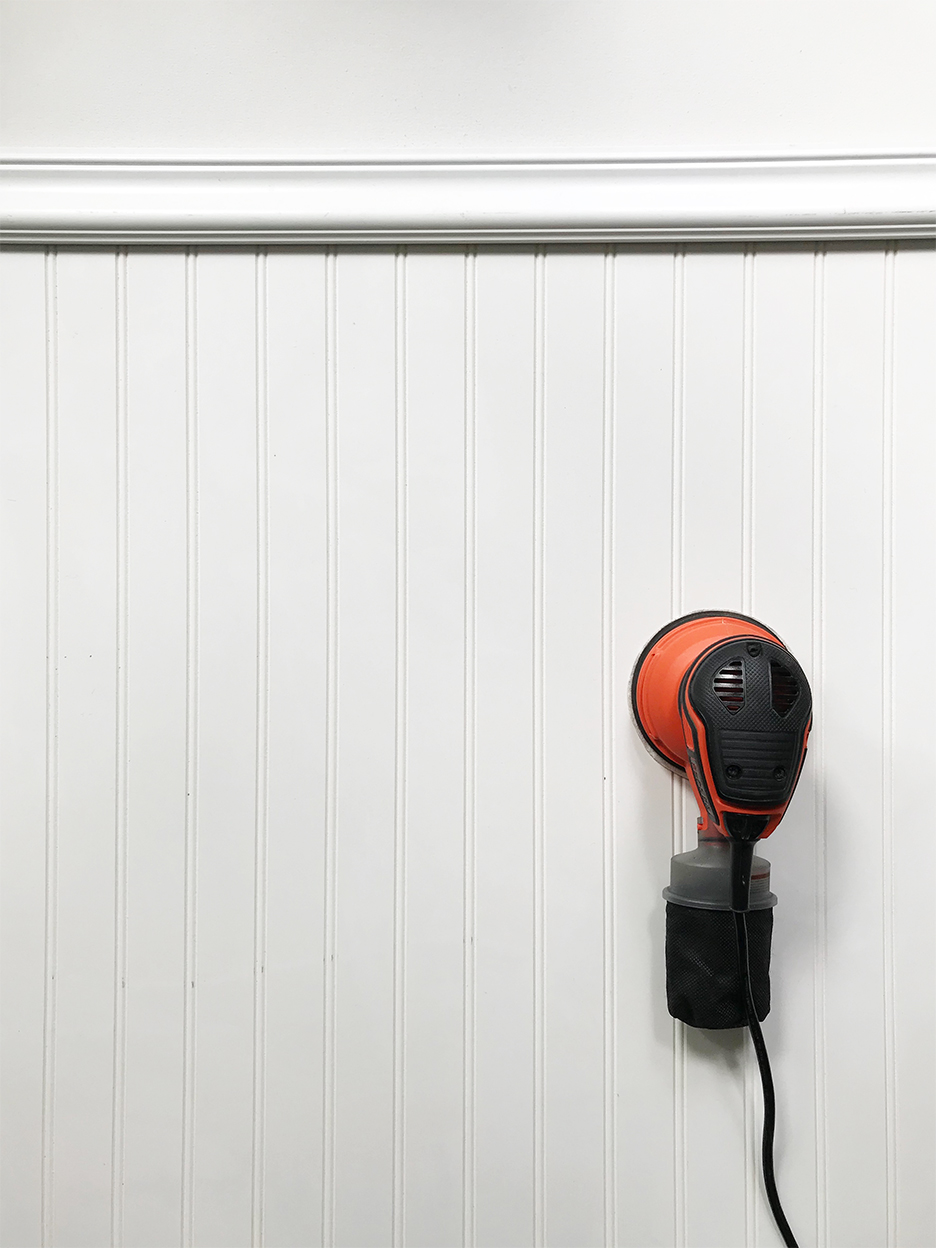
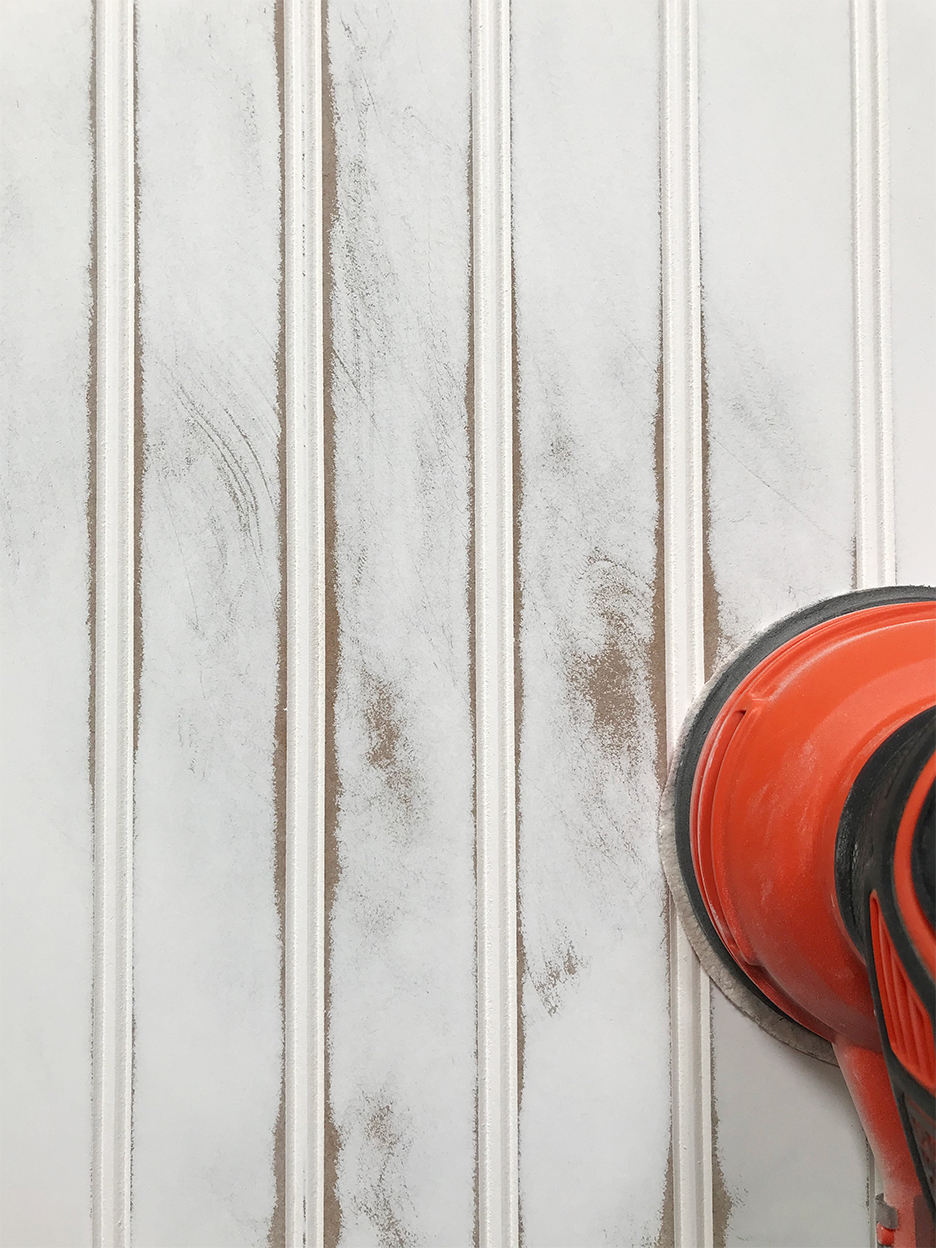
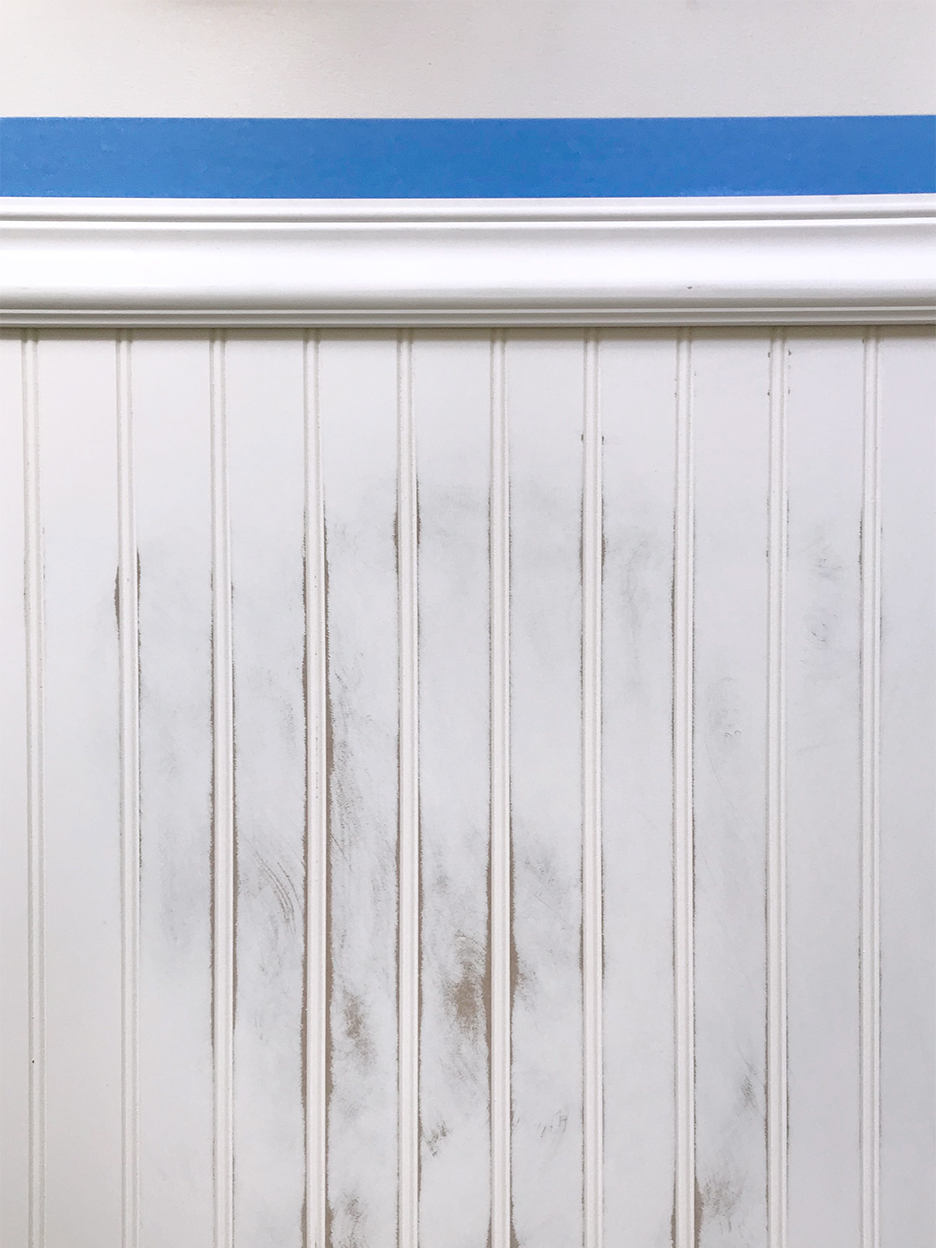
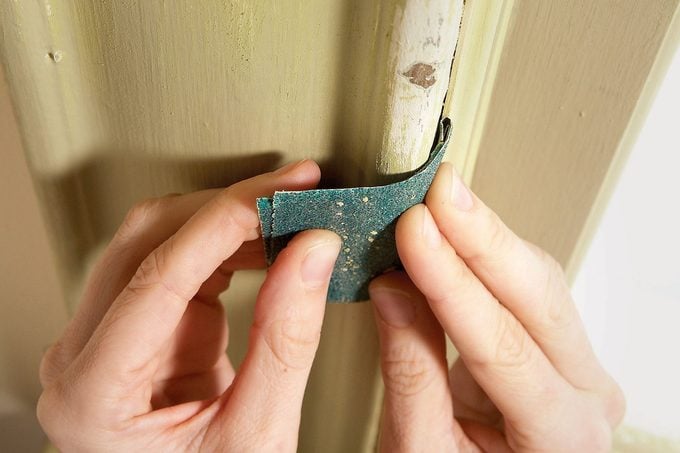
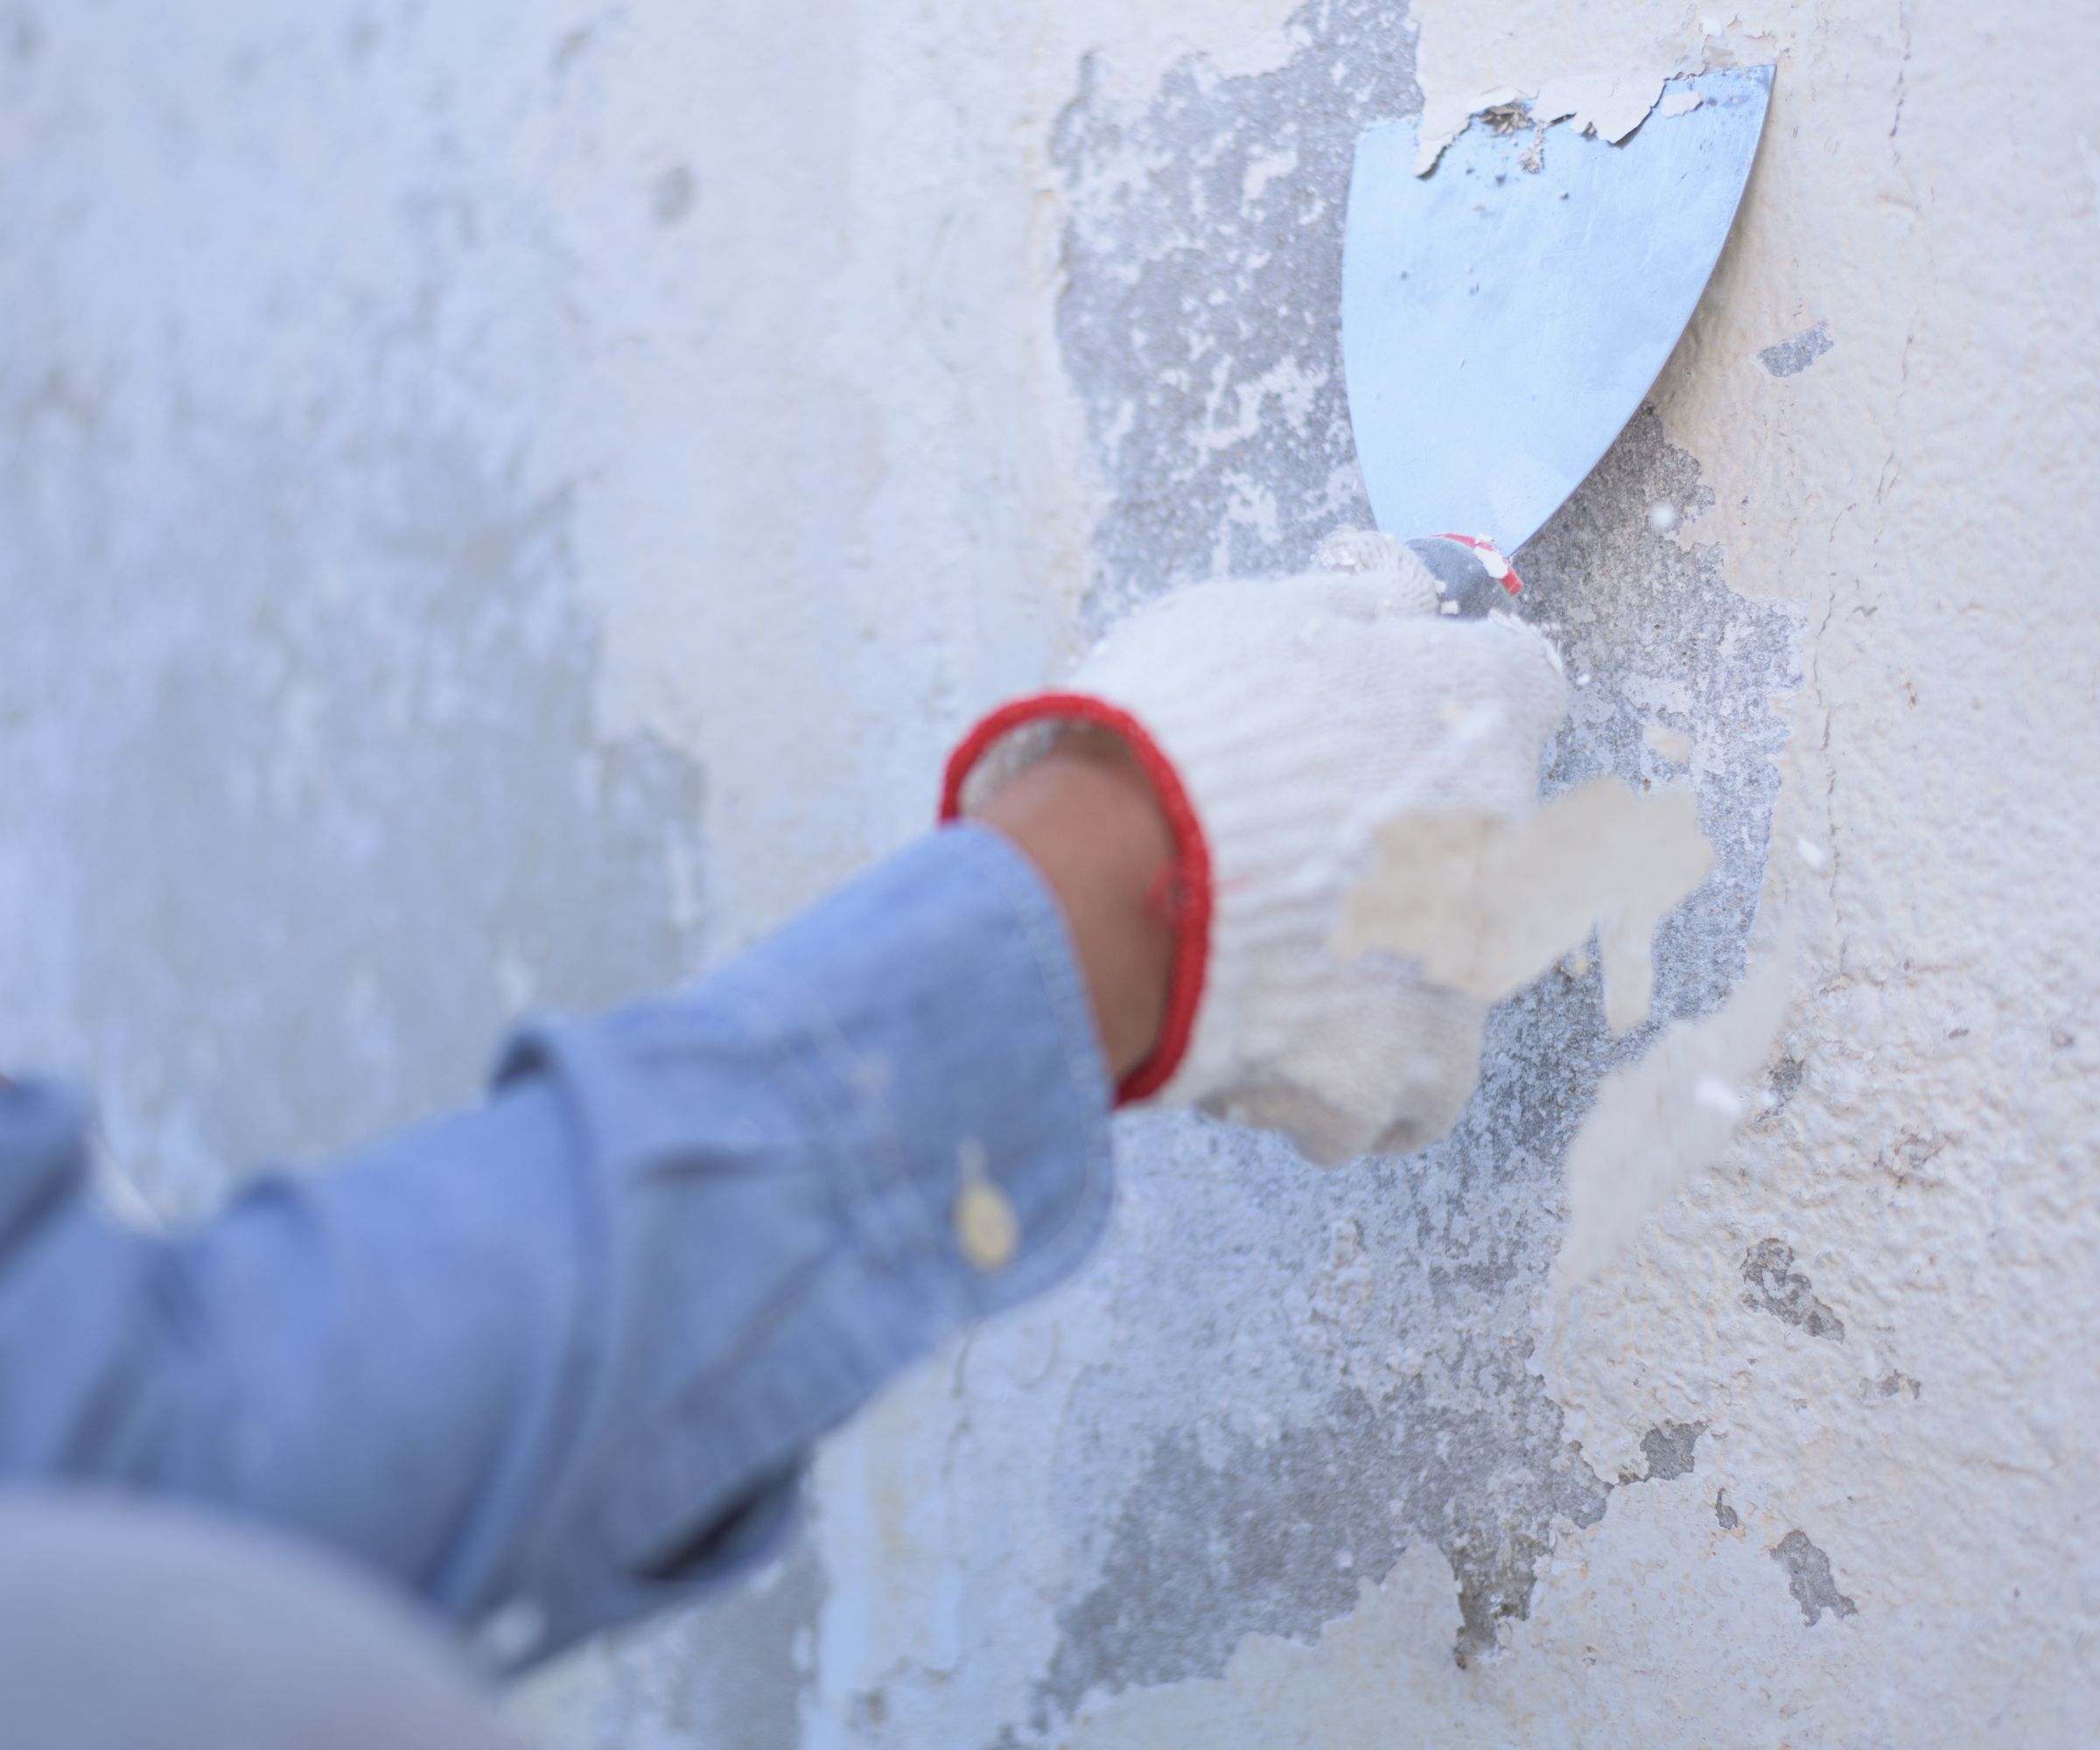
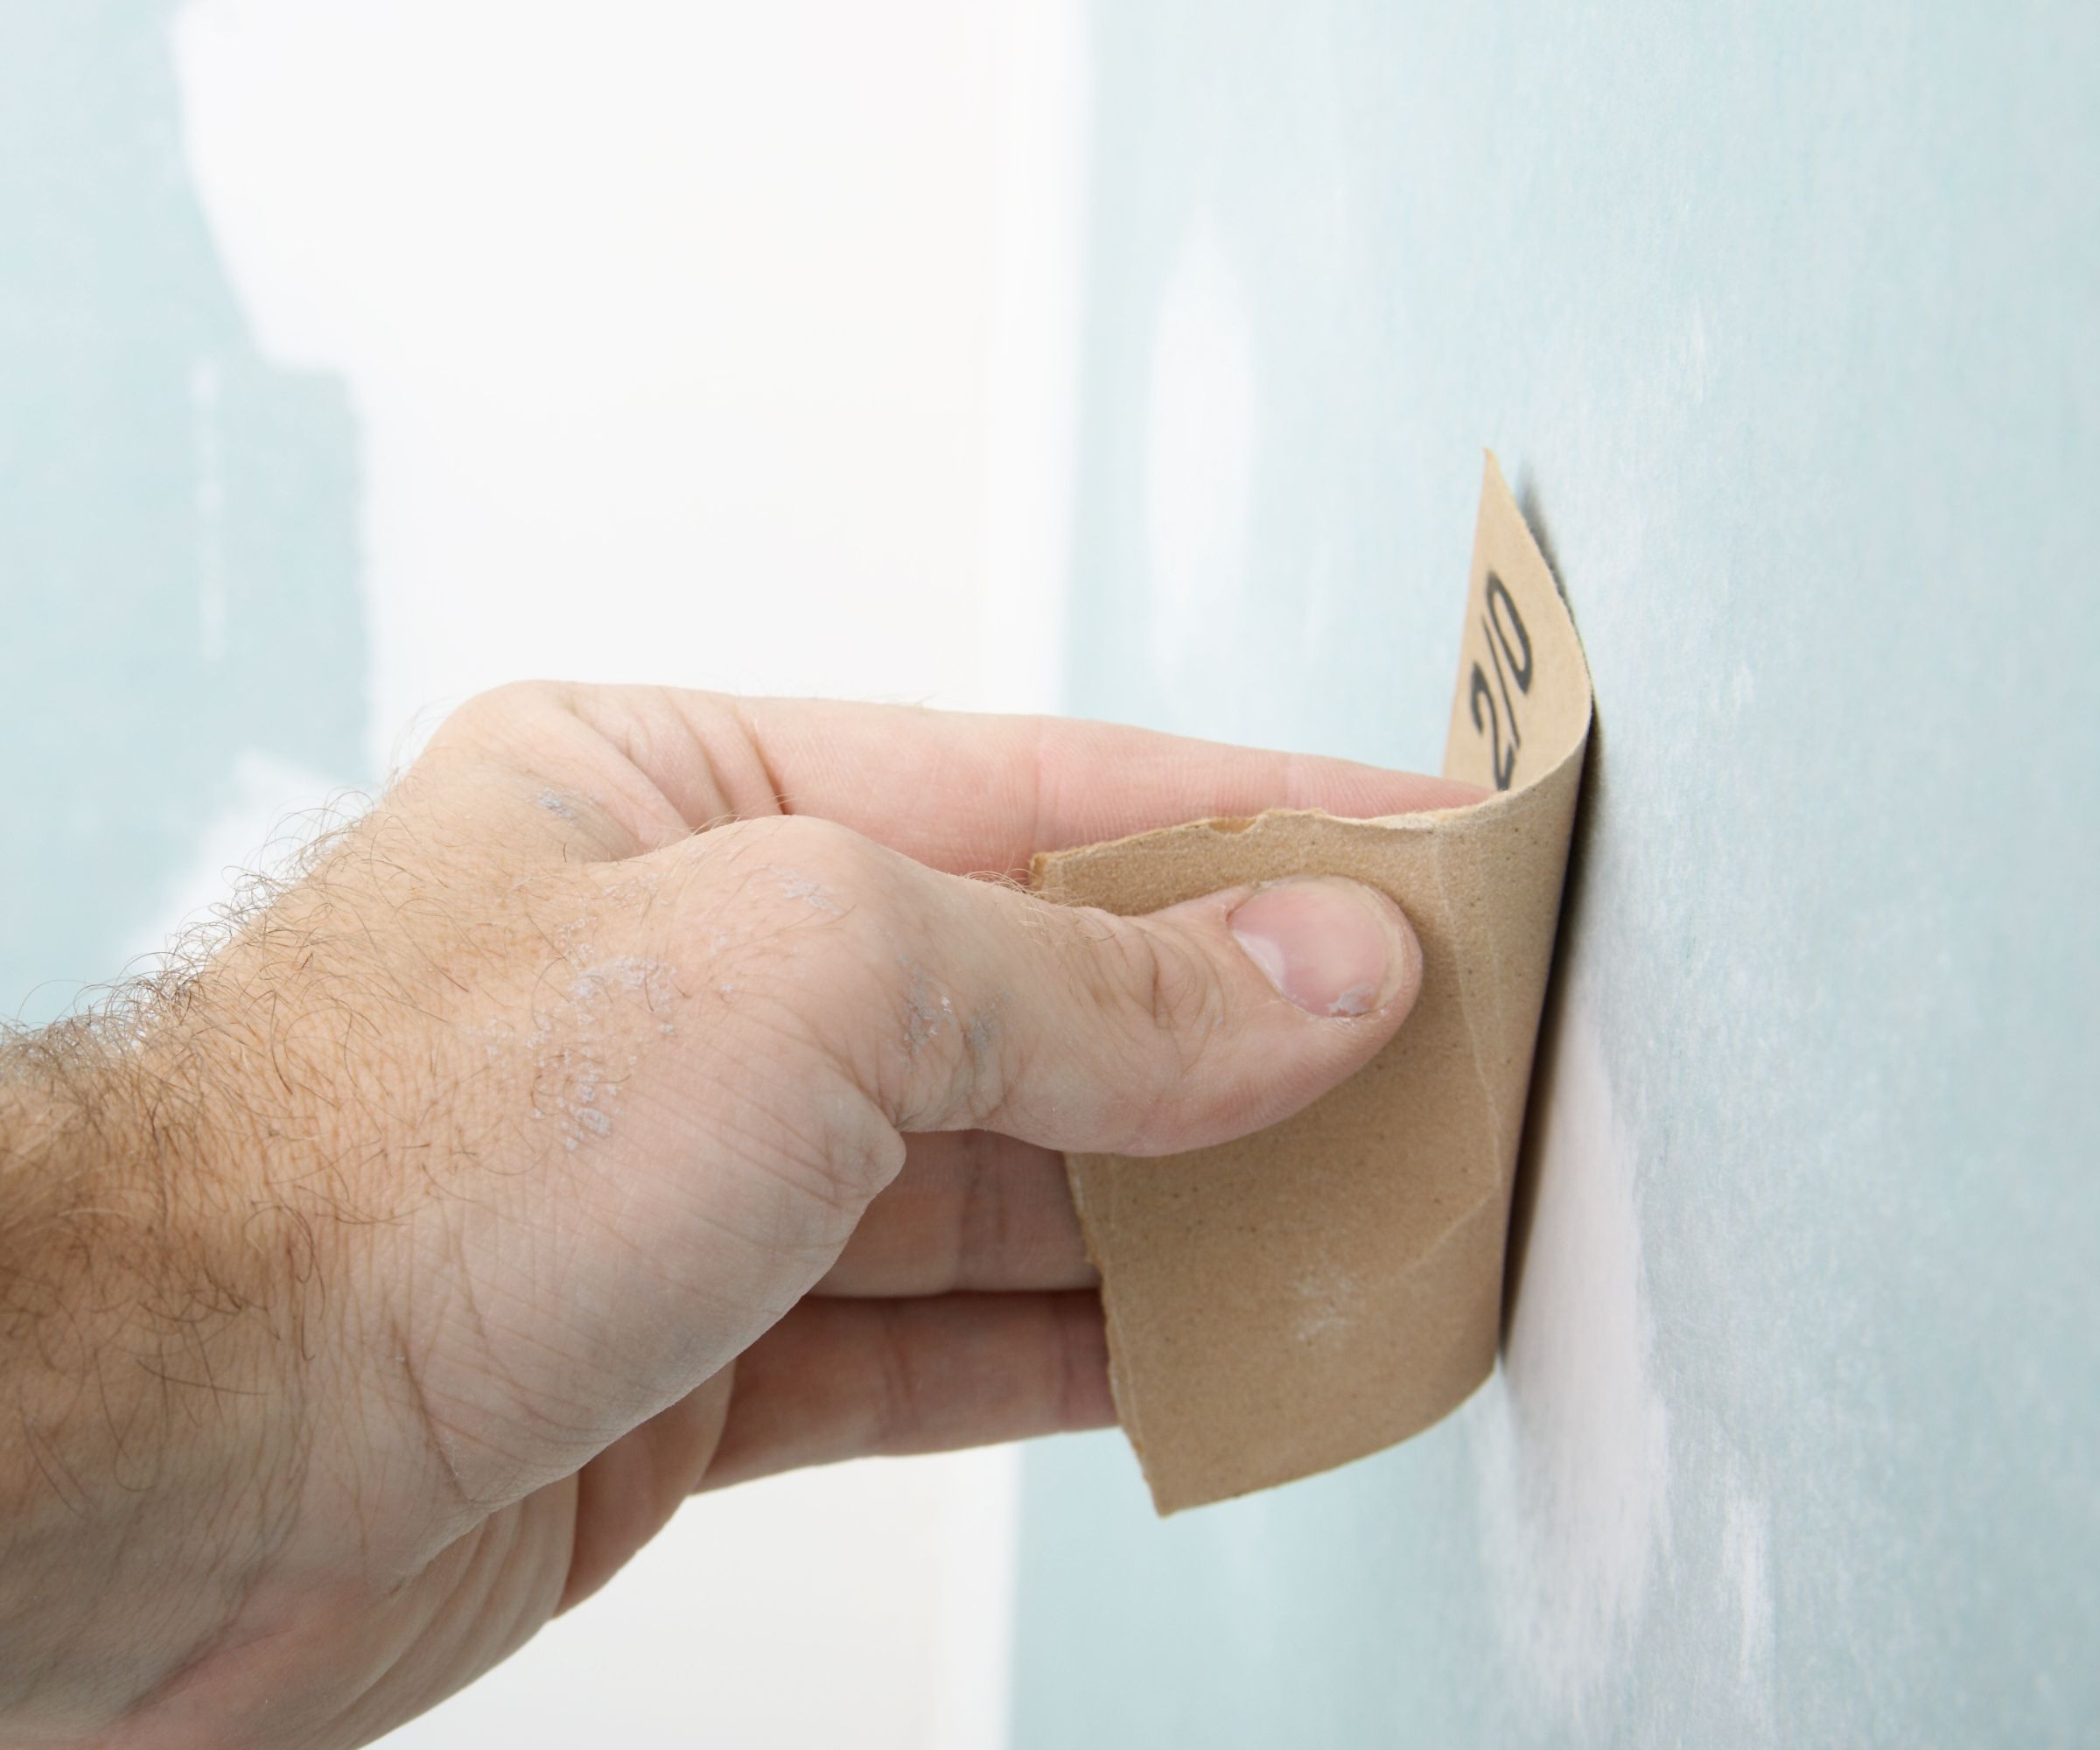
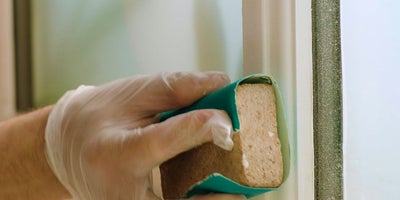
Once the wood has aired out, any remaining paint bits can be gently removed using sandpaper, a scraper, or a wire brush, taking care not to gouge the softened wood. Extensive sanding will likely be necessary to prepare the surface for a new stain, as the wood’s condition will be rough after stripping. This sanding process can be as time-consuming as the initial paint removal, especially for intricate details on old moldings.
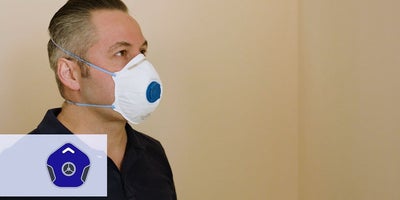
Historical wood often has multiple layers of finishes, including hard-to-remove milk paint, original varnish, lead paint, and latex paint. Philben notes that varnish can be particularly challenging to penetrate. If lead paint is suspected—common in homes or furniture painted before 1978—additional safety precautions are mandatory. These include covering the floor with plastic, sealing off the work area, using a respirator, gloves, goggles, and a Tyvek suit. After work, the area should be cleaned with a HEPA vacuum, and all materials disposed of in sealed heavy-duty garbage bags to prevent lead dust contamination.
For large-scale paint removal projects, hiring a professional might be more practical given the significant labor and cost involved. Before committing to a full stripping project, it is advisable to use a sample paint remover kit on an inconspicuous area to identify the underlying wood species. This step helps determine if the effort is worthwhile, as some woods, like poplar or pine, may not warrant staining. The goal is to uncover desirable woods such as oak or mahogany, revealing the warm glow of restored timber.
#HomeImprovement #PaintRemoval #WoodRestoration #DIYHome #HistoricHomes #LeadPaintSafety #WoodStripping #HouseholdMaintenance #RenovationTips #HomeImprovement #PaintRemoval #WoodRestoration #DIYHome #HistoricHomes #LeadPaintSafety #WoodStripping #HouseholdMaintenance #RenovationTips
0 comment in total
 No comments yet
You may also like

DIY Paint Stripper — 9 Eco-friendly Methods to Remove Paint Naturally

The 7 Best Paint Strippers and Removers of 2025

11 Pro Tips for How To Paint Trim

How to Paint Wood Furniture—From Sanding to Sealing

The Brownstone Boys Reveal Their “Secret Sauce” for Stripping Away Sad Paint and Varnish

How to Paint Wood-Paneling

I tested 4 popular wood strippers to find the best paint and varnish removers for DIY furniture projects
How to Prepare Interior Woodwork For Painting

Torture Test: Paint Strippers

How to Paint Wood Paneling the Right Way

The Best Way To Paint Wood Paneling, According To An Expert
I Asked My Furniture-Maker Dad How to Remove Water Stains From Wood — These Are His 3 "Tried and Tested" Tricks

How to Remove Wax Drips From Wood (Without Damaging the Finish)

How to Paint Wood Paneling and Its Best Friend, the Trim

How to paint interior woodwork
10 mistakes to avoid when painting wooden furniture, according to experts

The best paint stripper: 6 best buys for easy paint removal

How to remove wallpaper - expert-approved steps to prevent damage and ensure a smooth finish
How to fix peeling paint in 4 steps – and reasons why your paint is crumbling
How to Paint Wood Furniture Like a Pro