1/17
Building Big Doors, On Site
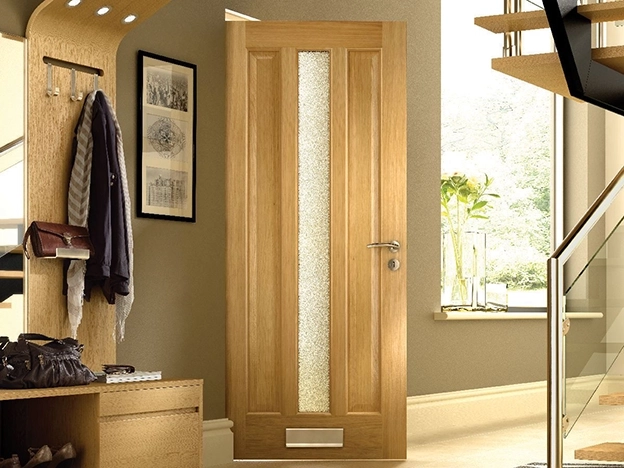
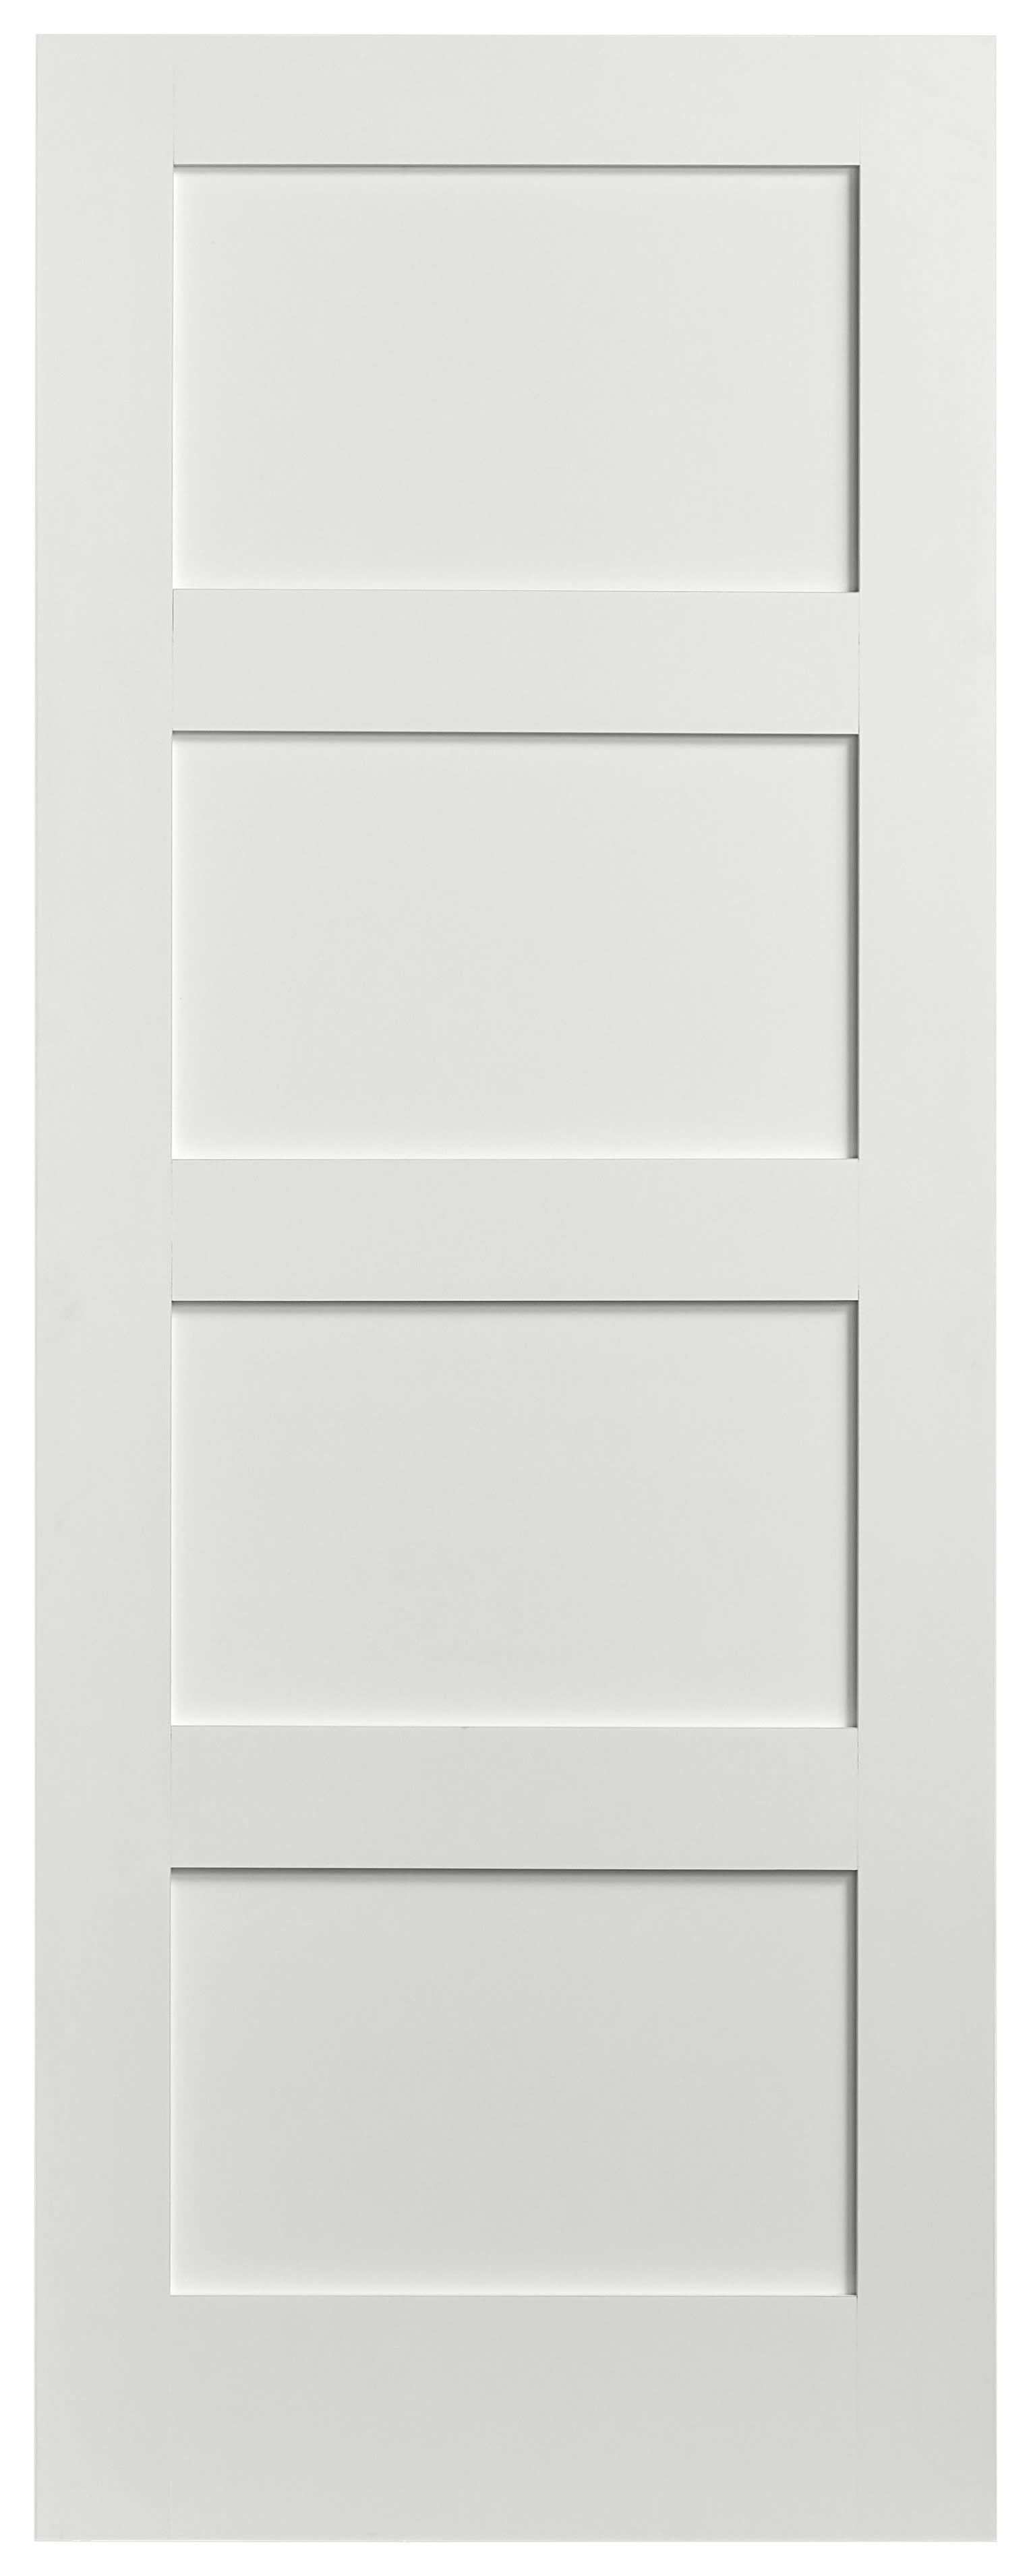
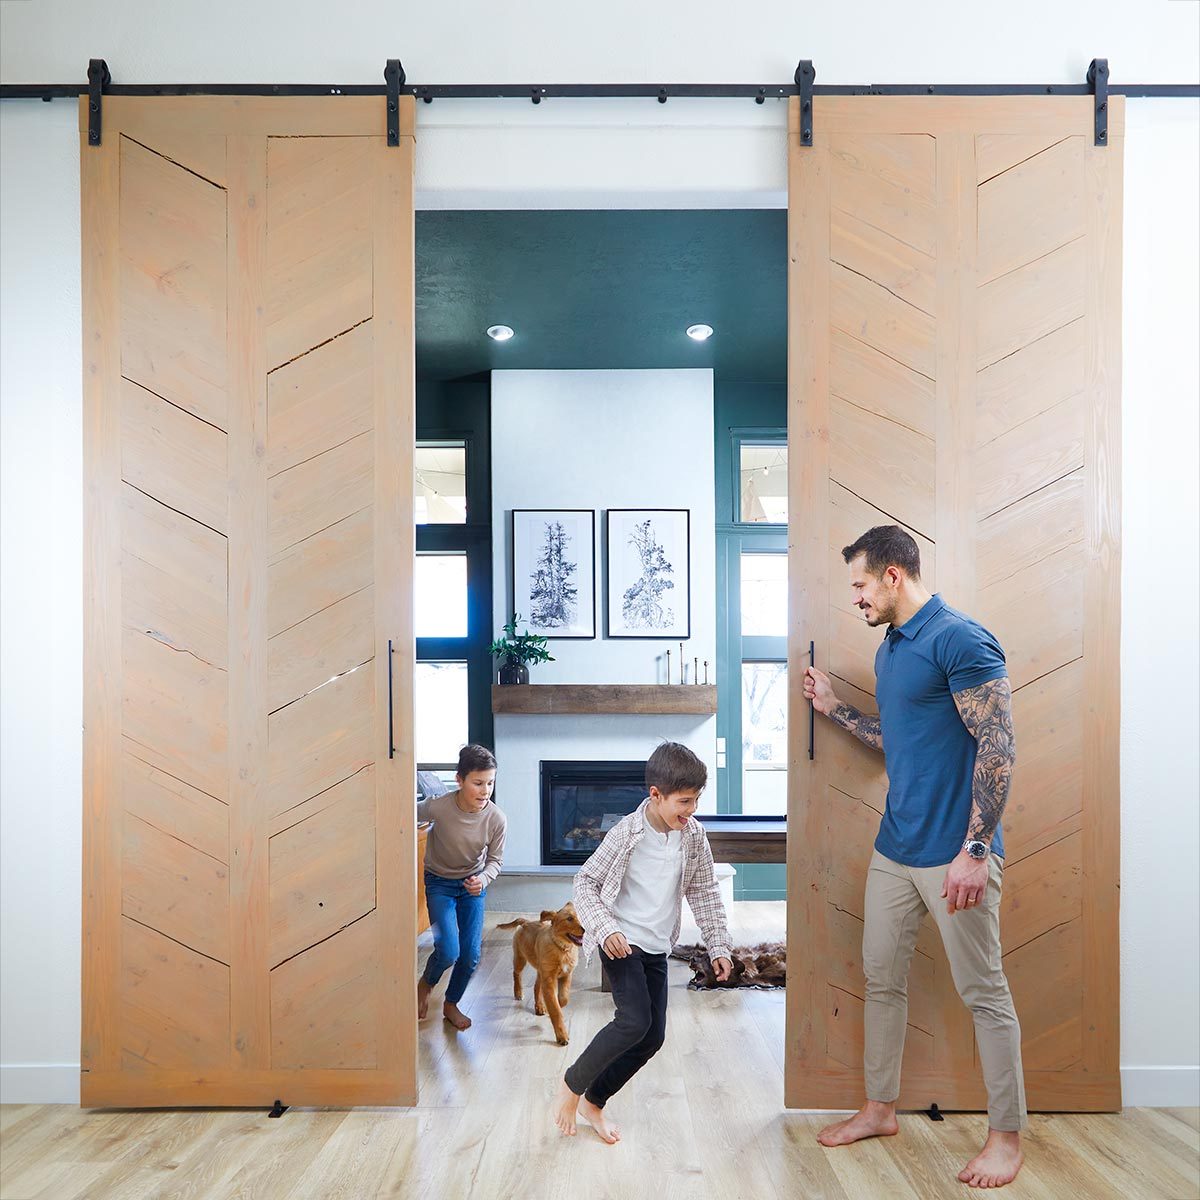
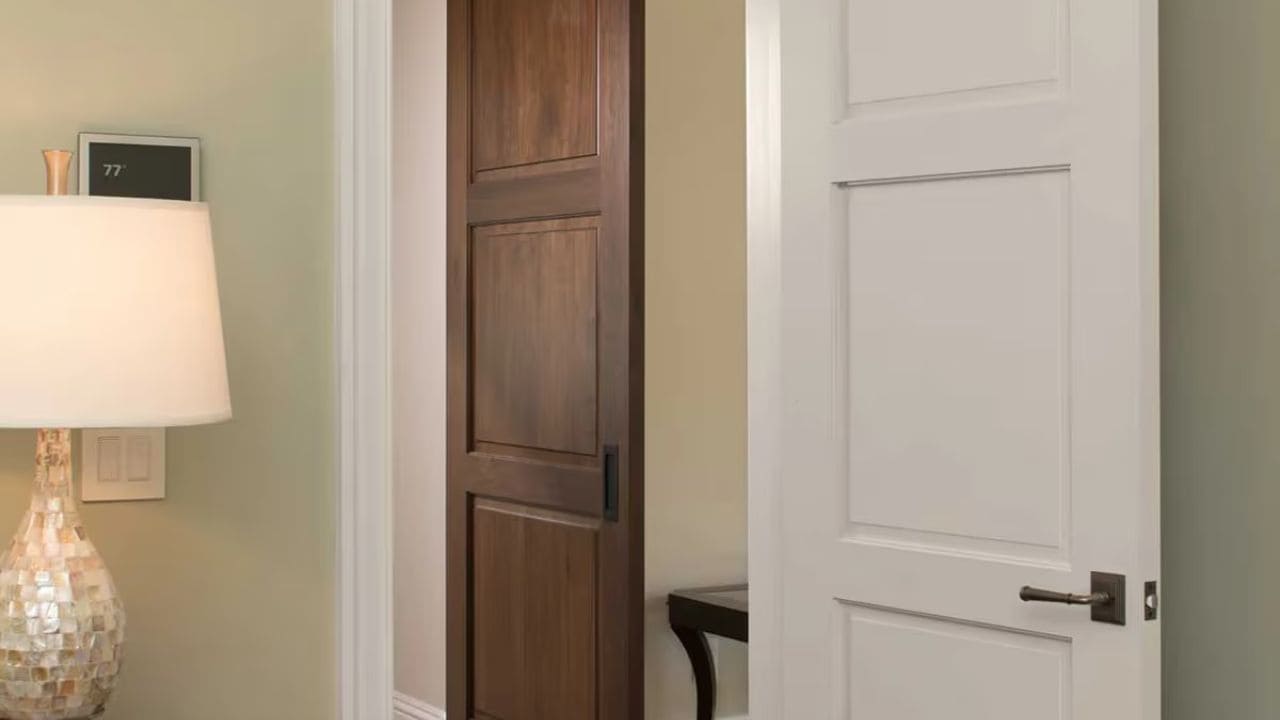
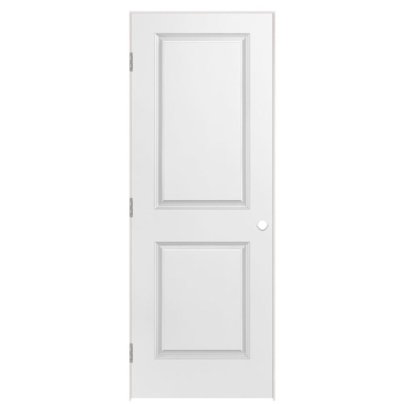
This article details a method for building custom-sized frame-and-panel doors on-site, offering a cost-effective alternative to purchasing pre-made custom doors. The process begins with the initial decision-making phase, where the author, a carpenter, evaluates whether to buy or build custom doors based on specific project needs, such as size, style, and finish (paint or stain grade). For a recent project requiring large sliding doors to separate two home office/guest bedrooms, building on-site proved to be more economical, even when accounting for labor. The doors were designed to complement existing paint-grade frame-and-panel doors in the house.
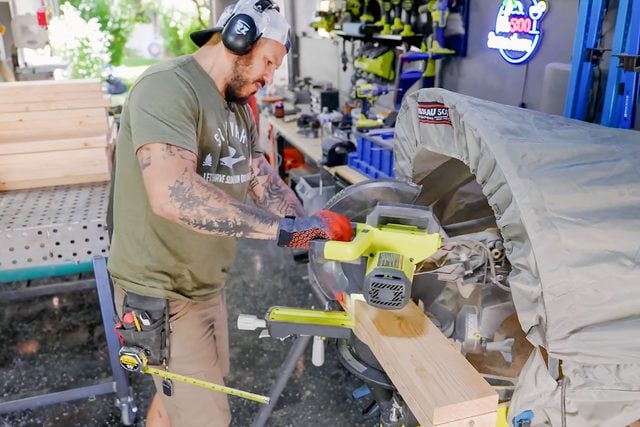
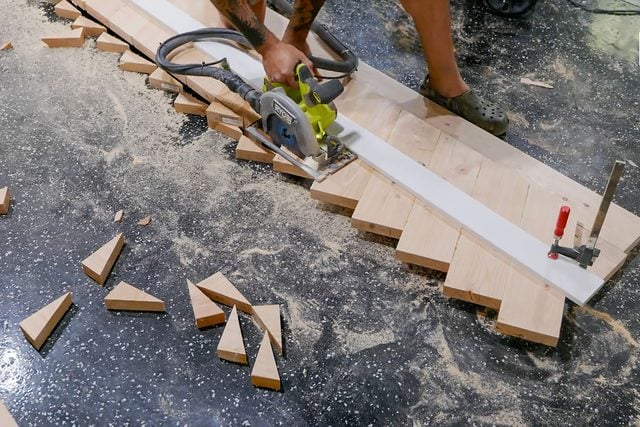
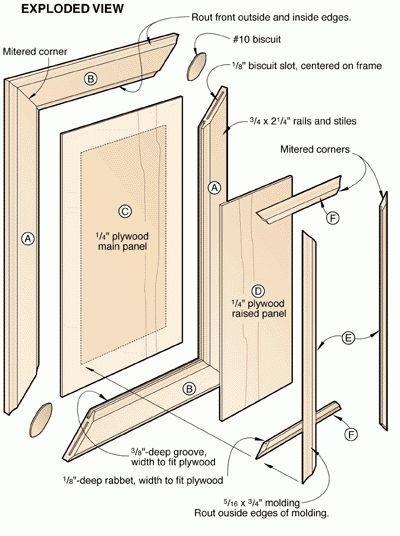
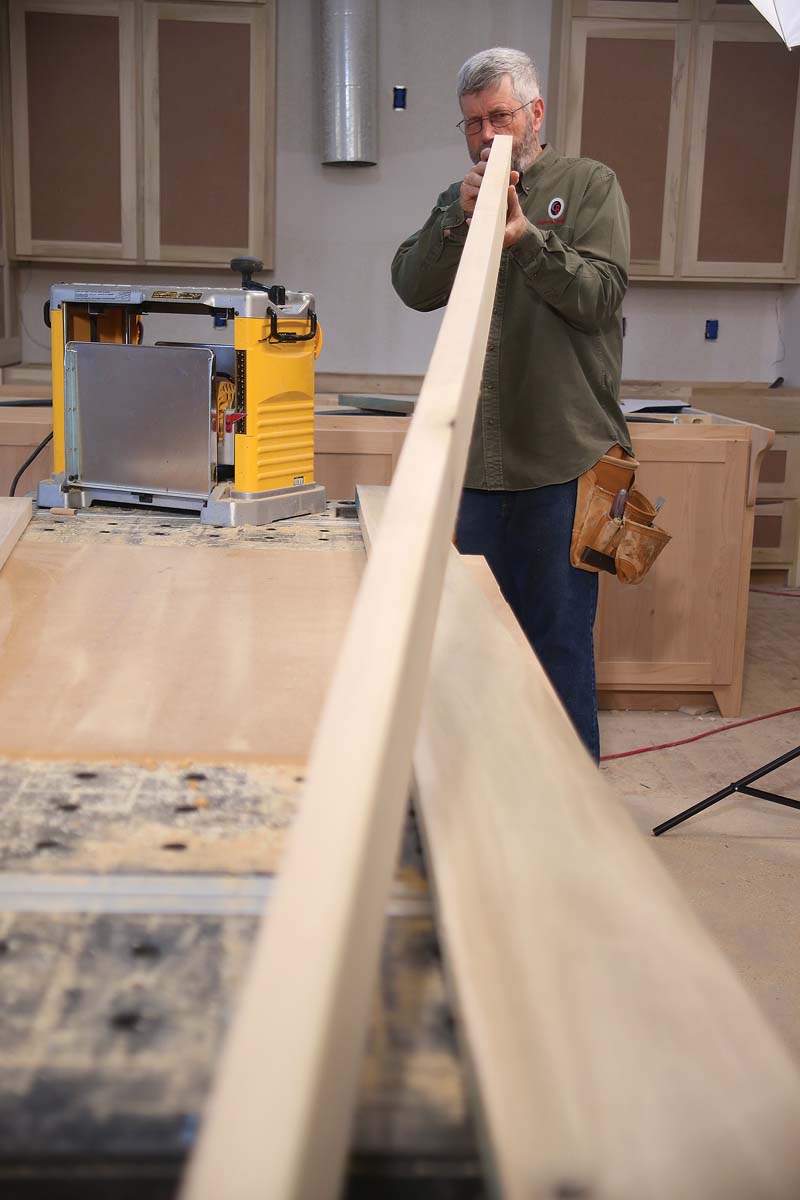
The material selection for these doors involved using 6/4 (1-1/2-inch thick) poplar for the stiles and rails and 1/2-inch plywood with two good faces for the panels. The author outlines a meticulous milling process for the lumber. Upon delivery, the poplar boards are sorted to identify the straightest and flattest pieces for the full-height outermost stiles, while other boards are designated for intermediate stiles and rails. Special attention is paid to achieving consistent thickness for all parts, which is crucial for accurate joinery. Boards are rough-cut longer to accommodate planer snipe, and a two-stage planing process ensures uniformity. Ripping boards to their precise width on a tablesaw, often utilizing a sled for boards lacking a straight edge, and then planing them to their final dimension, completes the initial material preparation. Finally, all parts are cut to their exact lengths using a miter saw with a stop for consistency.
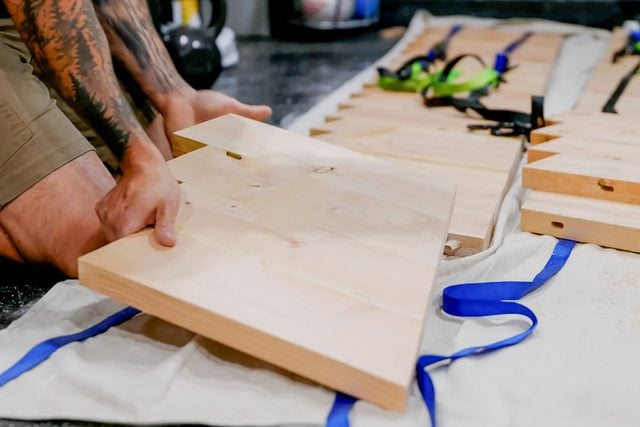
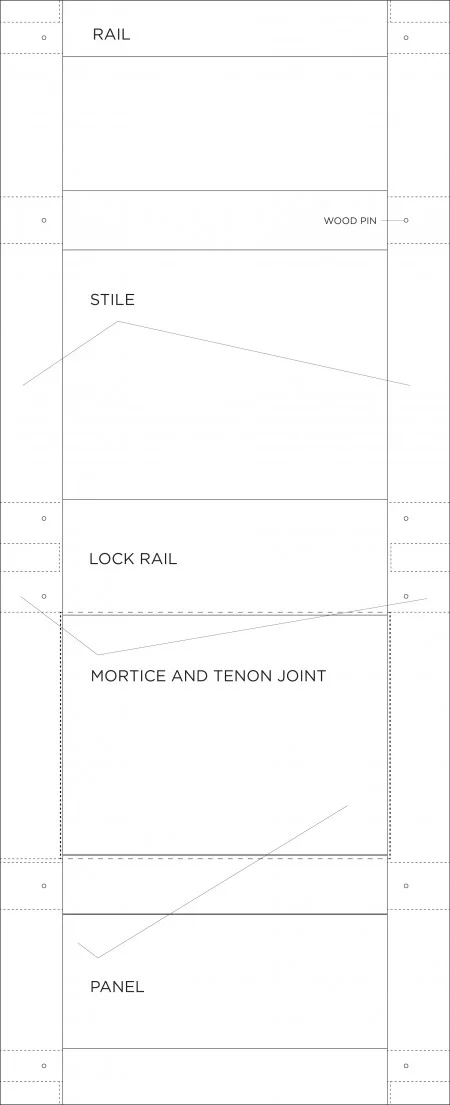
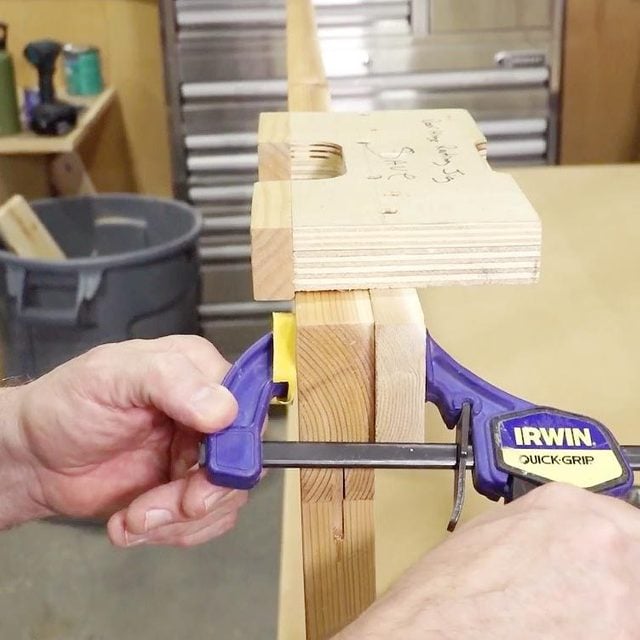
The next stage involves preparing the joinery for the door assembly. The door parts are temporarily laid out and clamped together to mark and label each joint, ensuring correct reassembly. During this mock-up, measurements for the plywood panels are taken, adding 3/4 inch to both width and height to accommodate for the grooves. The article emphasizes creating clean and consistent grooves for the door panels using a slot-cutting router bit. To accommodate the 1/2-inch thick plywood, two passes are made from each face of the board, and a third pass with a different cutter might be necessary to clear the remaining material in the center. The router cuts are made freehand to follow any slight variations in the wood, ensuring a perfectly centered groove. To create robust joints, a double row of Domino tenons is used, with the mortises cut slightly wider than the tenons to allow for some flexibility during the glue-up.
The final phase is the glue-up and assembly. The author provides three key rules for this critical step: enlisting help, ensuring a flat working surface to prevent warping, and pre-sanding all panels before assembly. The doors are initially assembled and glued on a table for convenience, then moved to a dead-flat floor for final clamping. Checking for squareness is typically done by measuring diagonals, but precise rail cuts can also ensure accuracy. Excess glue squeeze-out is promptly wiped away, and the doors are left clamped for at least half a day or overnight. Post-curing, joints are flattened using a random-orbit sander, or a belt sander for more significant material removal, followed by a final pass with 100-grit paper. The custom-built doors provide both aesthetic appeal and practical flexibility, proving this on-site construction method to be a valuable solution for custom door requirements, including both sliding and swinging door applications.
#CustomDoors #Woodworking #DIYHomeImprovement #SlidingDoors #FrameAndPanel #CarpentryTechniques #OnSiteConstruction #DoorBuilding #FineHomebuilding #CustomDoors #Woodworking #DIYHomeImprovement #SlidingDoors #FrameAndPanel #CarpentryTechniques #OnSiteConstruction #DoorBuilding #FineHomebuilding
0 comment in total
You may also like

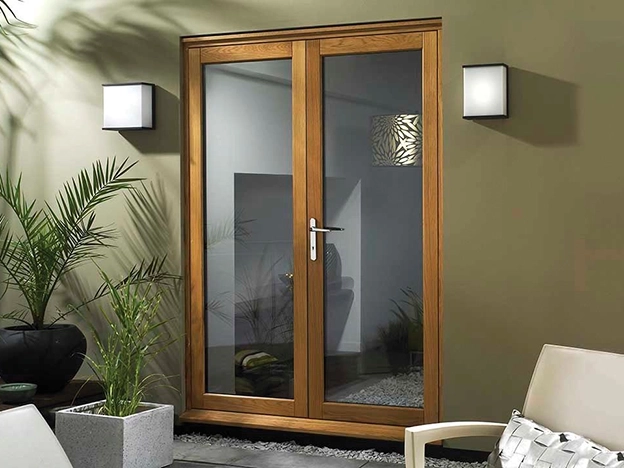
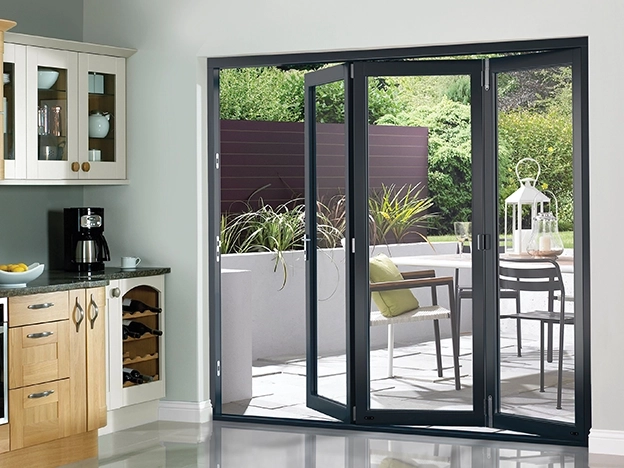
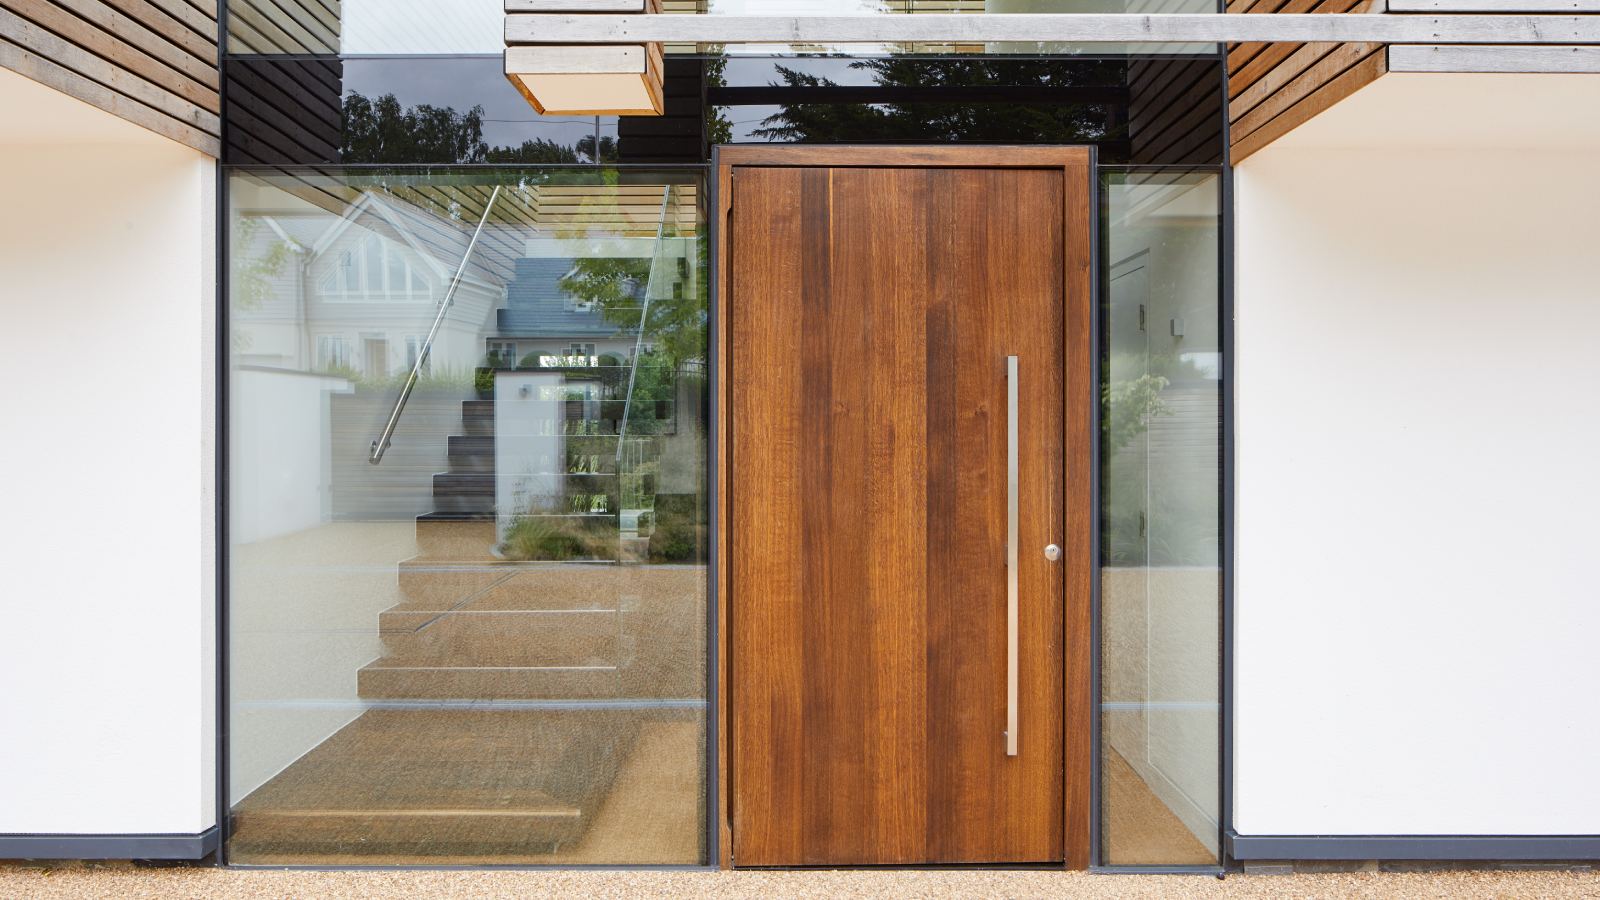
External Doors

How To Build Modern Barn Doors for Your Home (DIY)

How to Recess Hinges on a Door (DIY)
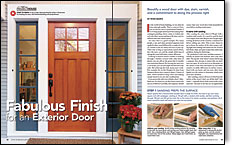
Video Series: Finishing an Exterior Door
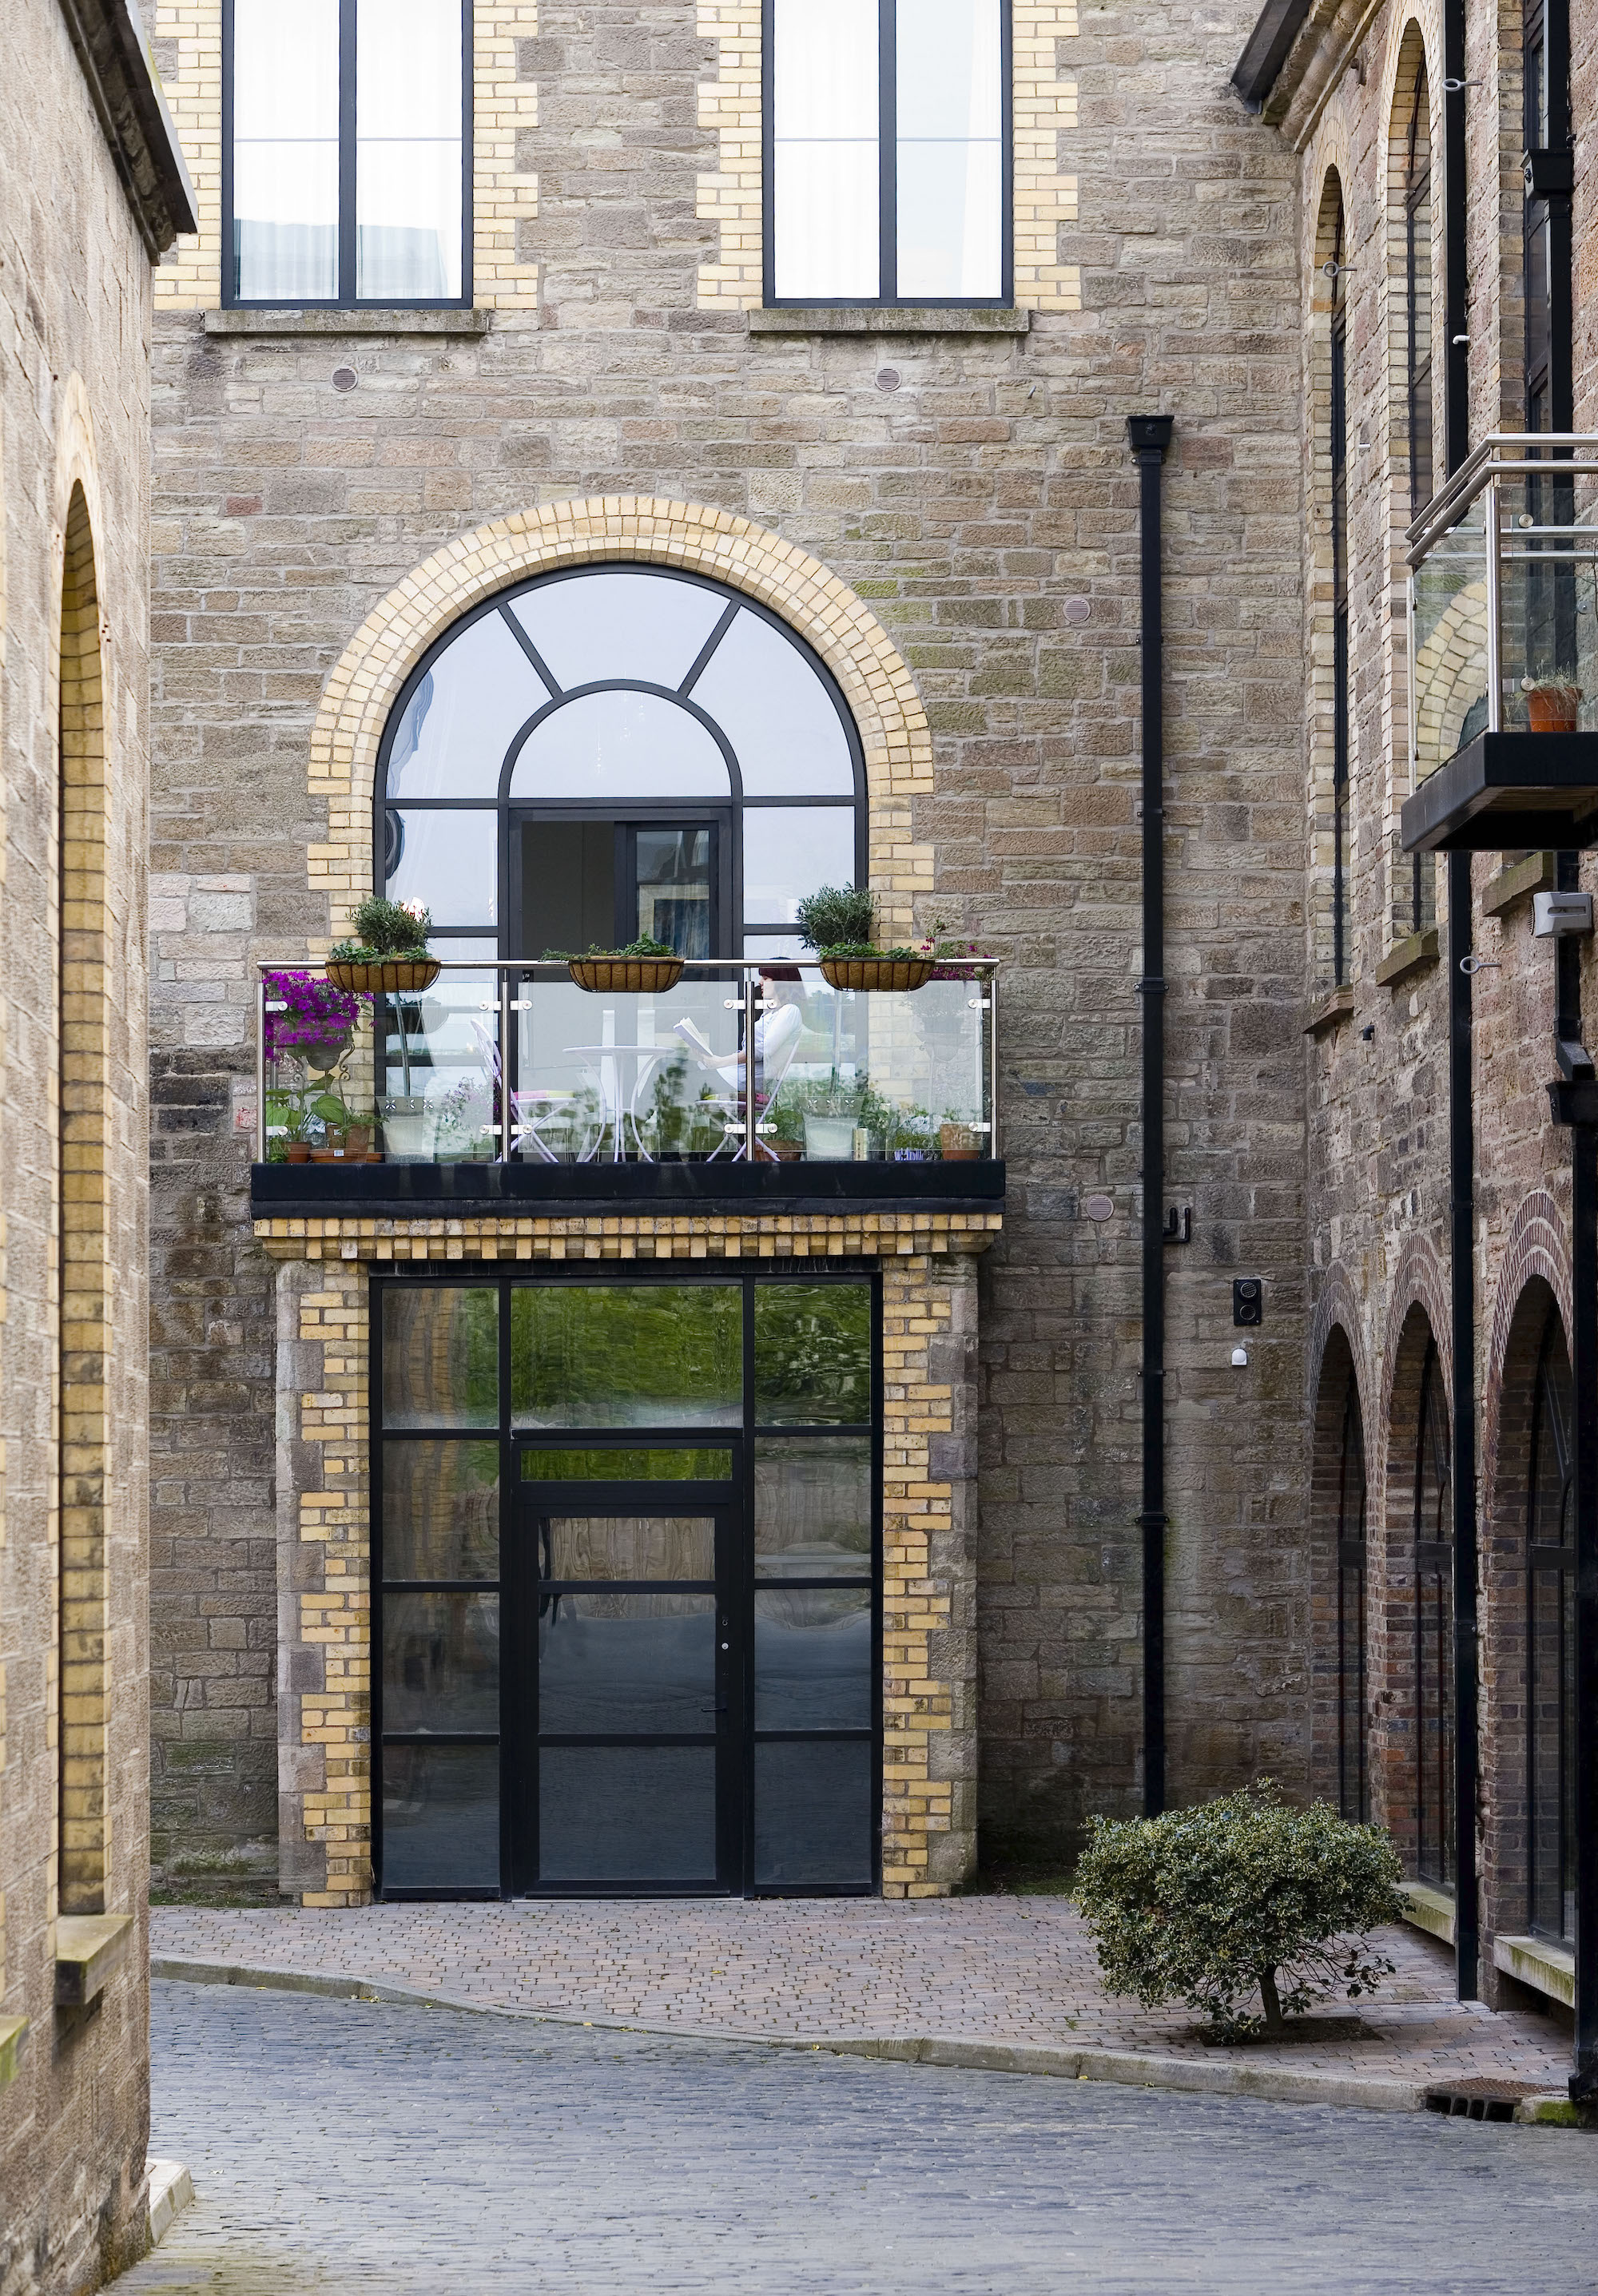
Front Doors | Back Doors

Internal Door Frames & Casings

![The best door suppliers in Canberra [Updated for 2025]](https://gstatic.ideal.house/news/images/7073b29168b74d5f98318515f0652ac5.jpg)
The best door suppliers in Canberra [Updated for 2025]
Ever Wondered Why Wooden Doors Have Raised Panels? Here’s The Real Reason

Door Frames & Fixings

Top 10 Door Manufacturing Companies in India

We Tested 3 Door Hinge Jigs—This One Worked Best


Front door design: a guide to choosing a new front door

Build a Tool Shed Series: Installing Windows and Doors
Internal Doors

Door closer hinges: A new approach
The Best Interior Doors

Doors & Windows

Piecing Together 18th-Century Doors


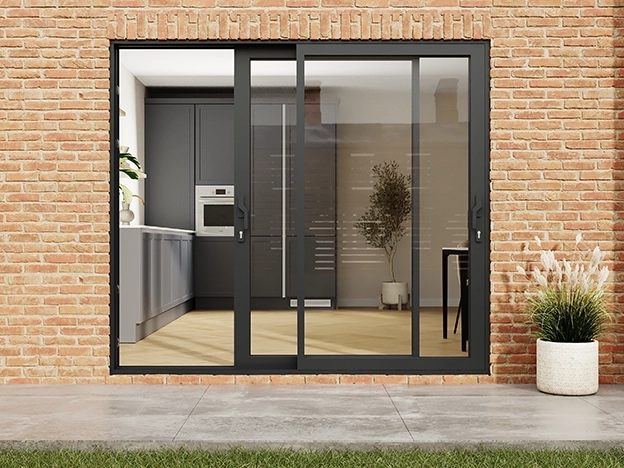
Made to Measure Sliding Doors
How to Frame a Door Opening