Build a Tool Shed Series: Installing Windows and Doors
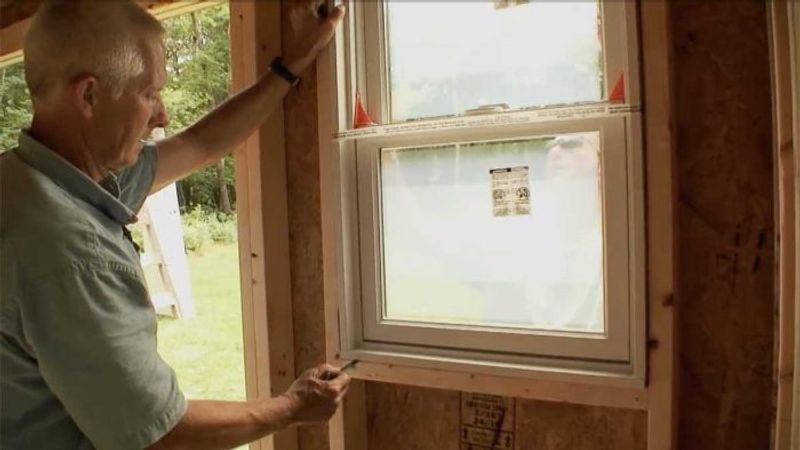
This article, part of a comprehensive series on building a tool shed, focuses on the crucial steps of installing windows and doors. The process begins with ensuring that the rough openings, which are the framed-out spaces in the shed's walls designed to accommodate windows and doors, are correctly prepared. Proper preparation of these openings is essential for a seamless and accurate installation, regardless of whether pre-fabricated units or custom-built components are used. A properly sized and squared rough opening ensures that the windows and doors fit snugly, operate smoothly, and provide adequate insulation and weather protection.
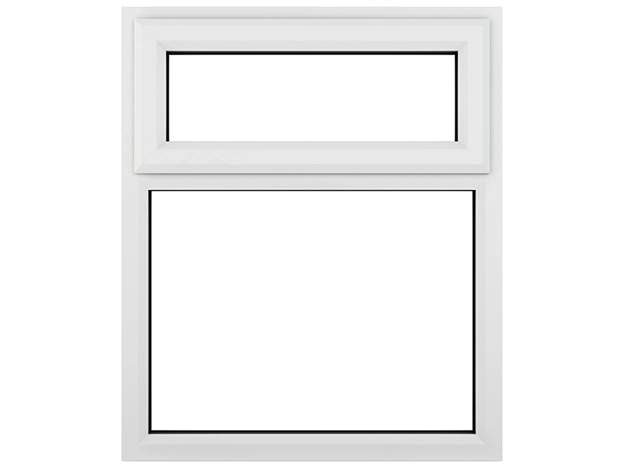
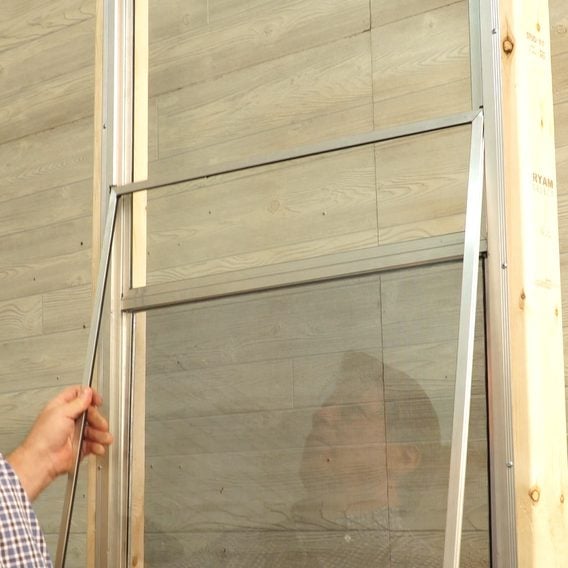
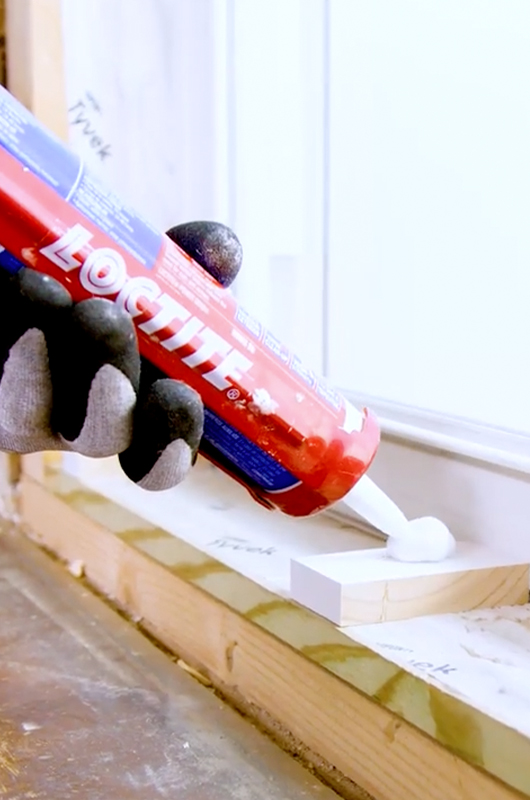
The article outlines Rick Arnold's systematic approach to both pre-made and custom-built installations. For pre-purchased windows and doors, the emphasis is on fitting the units precisely into the prepared rough openings. This involves careful measurement to confirm that the dimensions of the unit match the opening, and then positioning the unit within the opening, often using shims to ensure it is plumb, level, and square. Once positioned, the unit is securely fastened to the framing according to manufacturer instructions, typically involving screws or nails through the frame or mounting flanges. The final steps for pre-made units often include sealing the perimeter with flashing tape or caulk to prevent water infiltration, and then adding interior and exterior trim for a finished look and enhanced weather resistance.
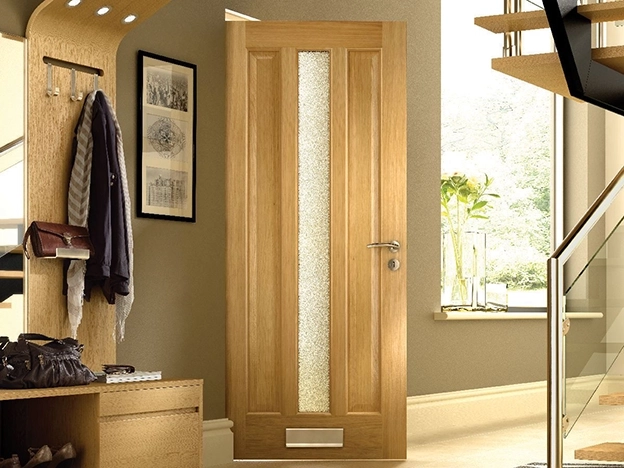
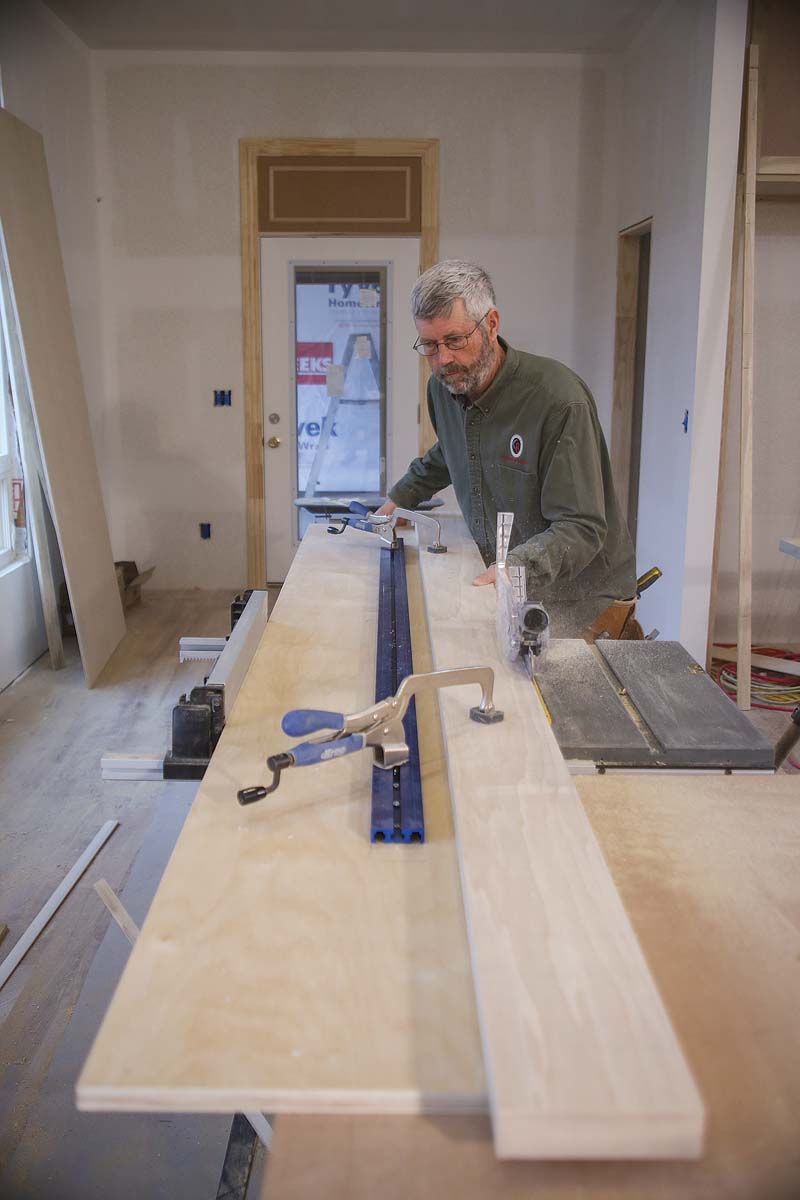
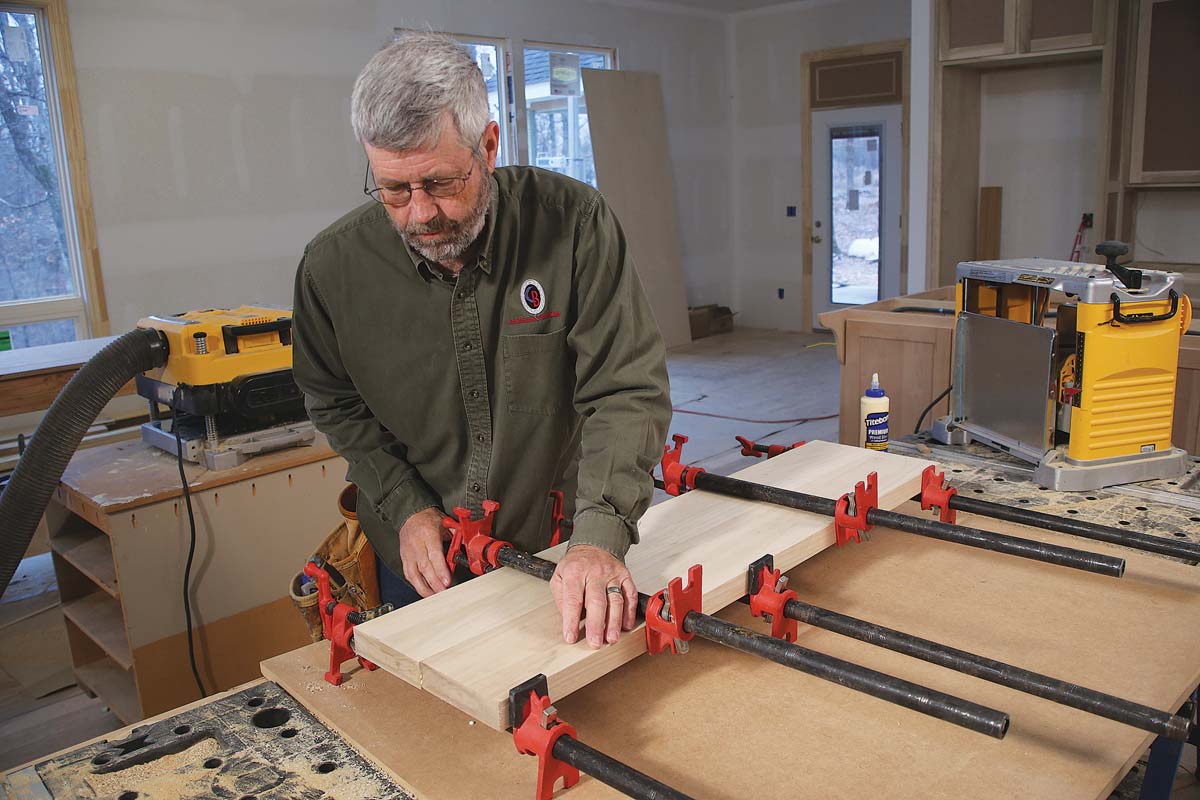
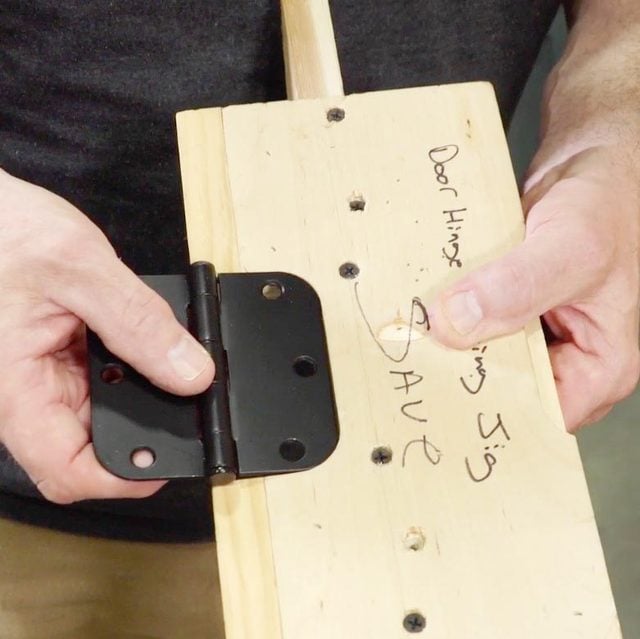
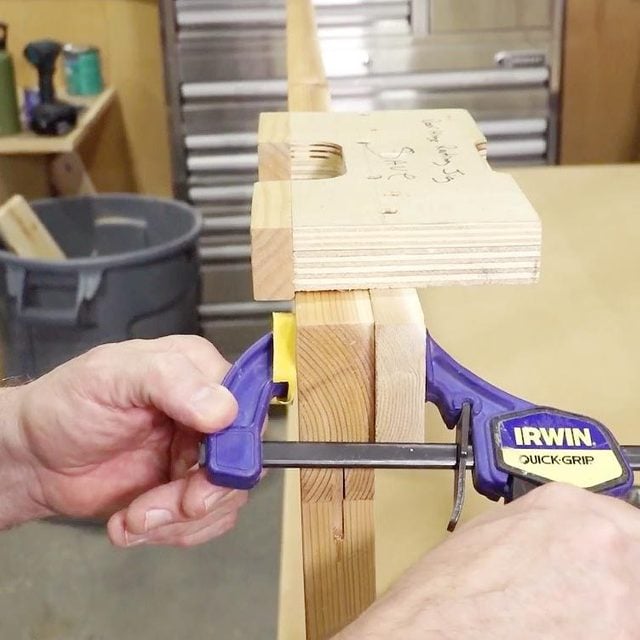
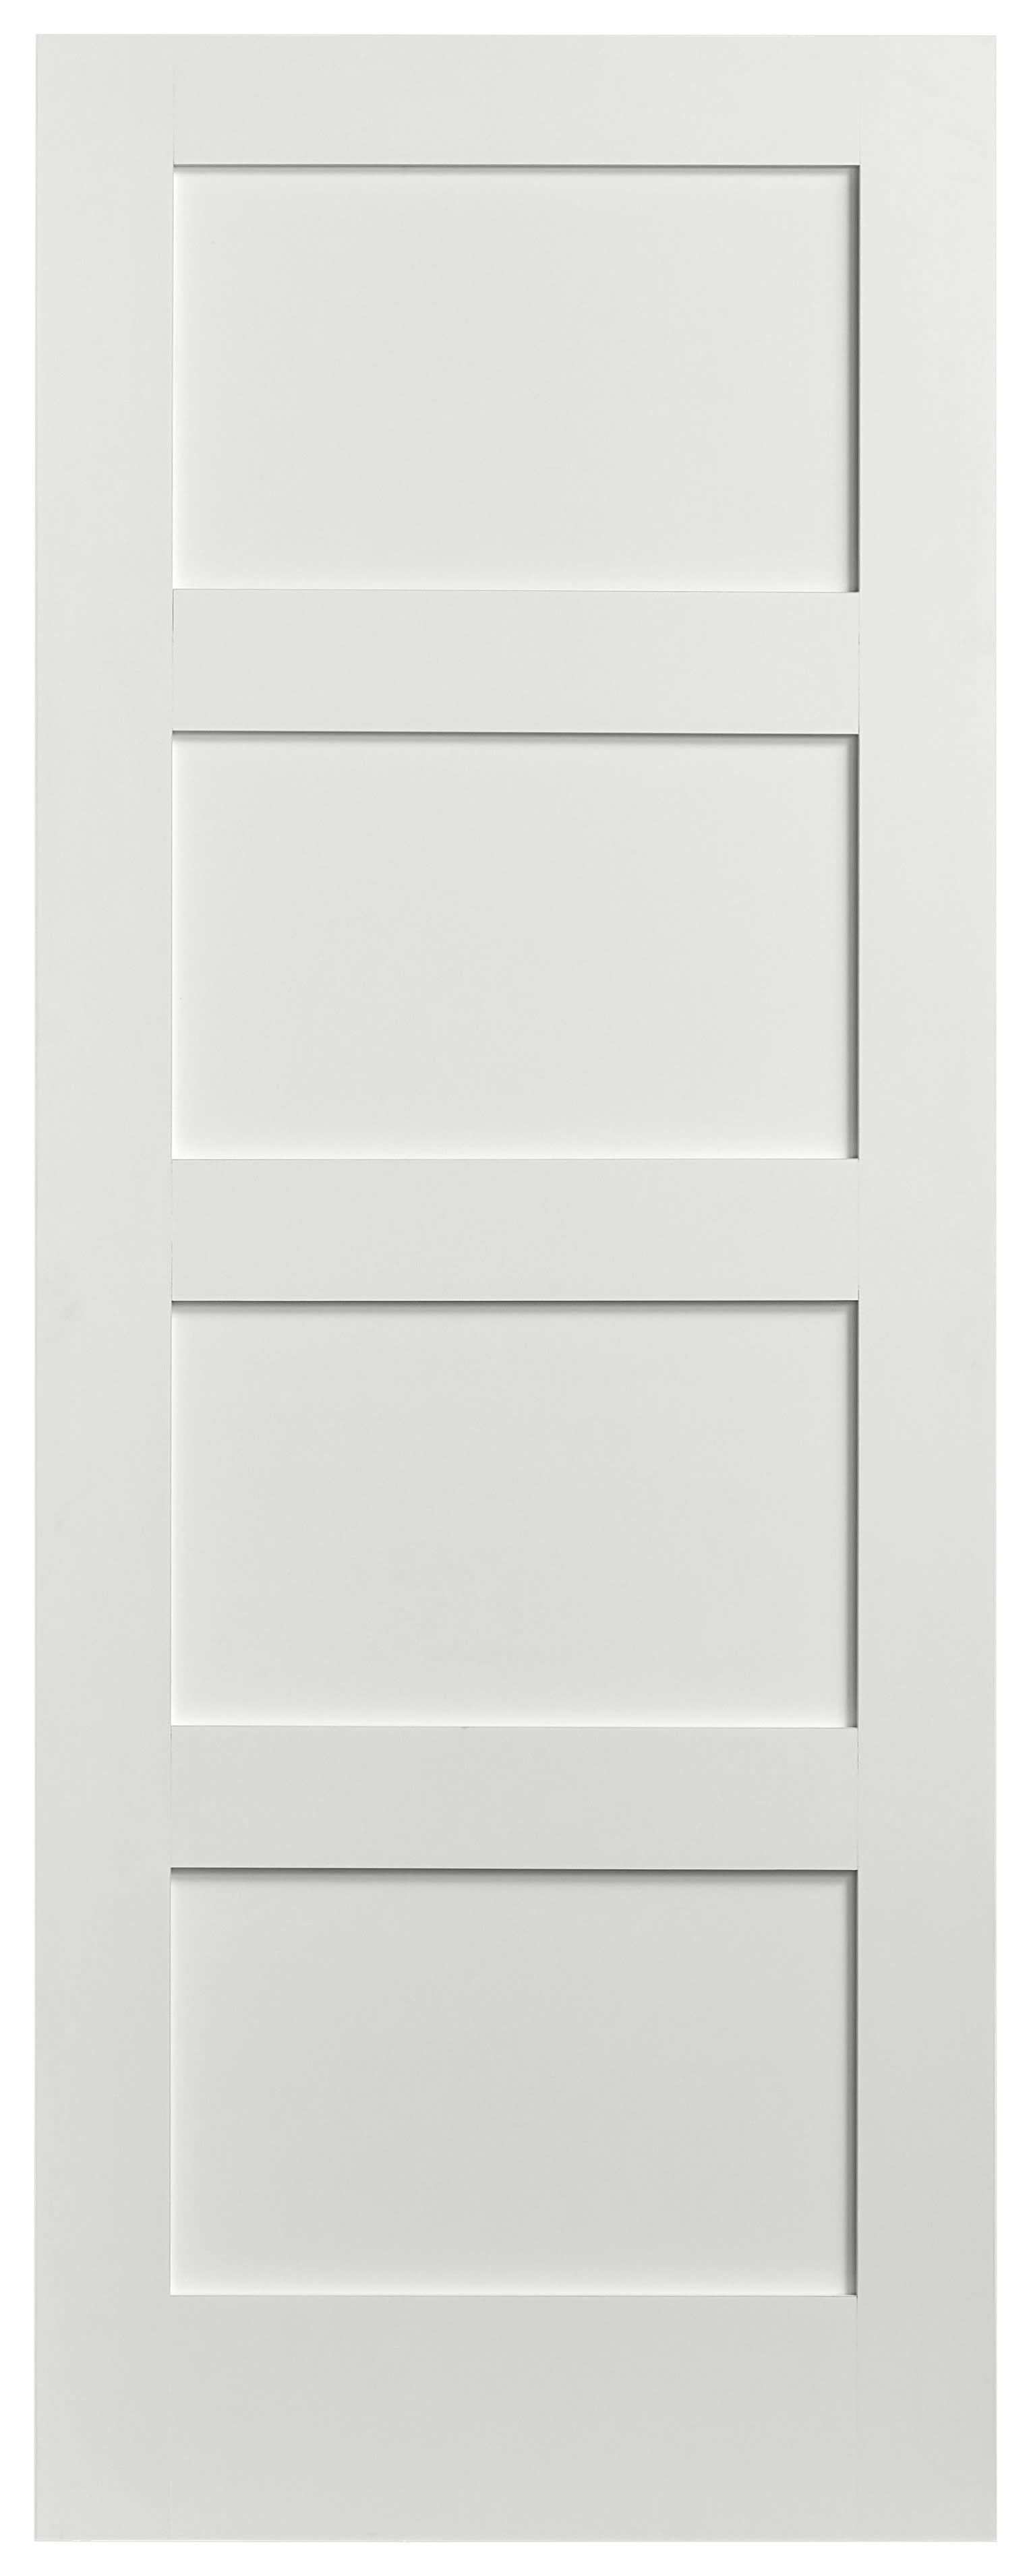
Building a custom door for the shed, as demonstrated by Rick, presents a more involved but creatively liberating task. This approach allows for greater customization in terms of design, material choice, and dimensions, enabling the builder to match the door to a specific aesthetic or functional requirement of the shed. The process of building a door from scratch typically involves selecting appropriate lumber, cutting and assembling the door components (such as stiles, rails, and panels), and ensuring the door is square and stable. Once constructed, the custom door needs to be fitted into its rough opening. This involves similar principles to installing a pre-made door, such as ensuring proper clearance around all edges for smooth operation and preventing binding. Hinges are then mortised into both the door and the door frame, allowing the door to swing freely. The installation concludes with the addition of hardware, such as a latch or handle, and any necessary weatherstripping to seal the gaps around the door.
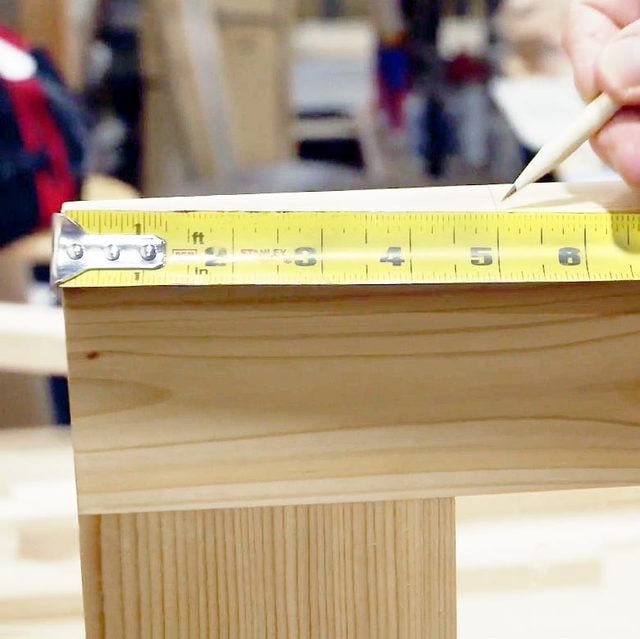
Throughout the installation process for both windows and doors, several universal aspects are highlighted. These include the importance of accurate measurements to minimize gaps and ensure a proper fit, the strategic use of shims to achieve level and plumb installations, and the application of sealants and flashing to create a weather-tight envelope. Whether installing a pre-fabricated window or a custom-built door, the objective remains the same: to integrate these elements into the shed structure in a way that is functional, durable, and aesthetically pleasing. The detailed explanation provides a valuable guide for builders looking to successfully complete this critical phase of shed construction, emphasizing precision and careful execution at each step.
#ToolShedConstruction #WindowInstallation #DoorInstallation #ShedBuilding #DIYHomeImprovement #RoughOpenings #CustomDoor #BuildingTechniques #ToolShedConstruction #WindowInstallation #DoorInstallation #ShedBuilding #DIYHomeImprovement #RoughOpenings #CustomDoor #BuildingTechniques
0 comment in total
 No comments yet
You may also like
Doors & Windows

We Tested 3 Door Hinge Jigs—This One Worked Best

The Best New Tool Storage and Workshop Gear of 2025
How to Achieve a Professional Finish on Trim and Built-Ins
15 Easy Ideas for Tool Storage
Spring Is the Perfect Time to DIY Garage Shelves for Extra Storage Space
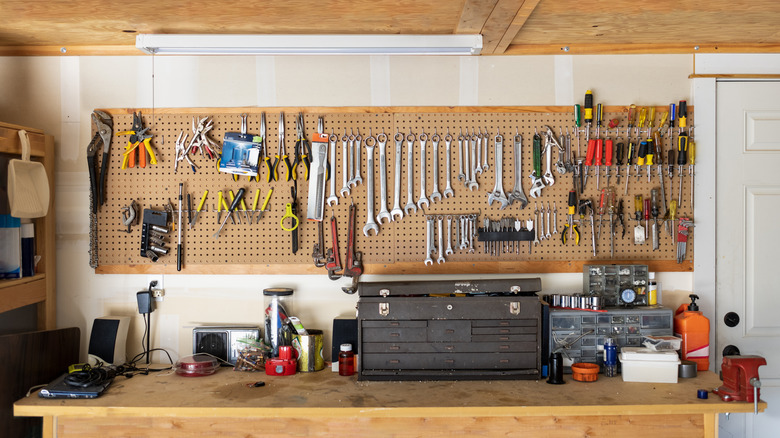
Harbor Freight's Hanging Tool Storage Cabinet That Users Are Raving About

How to hang a curtain pole

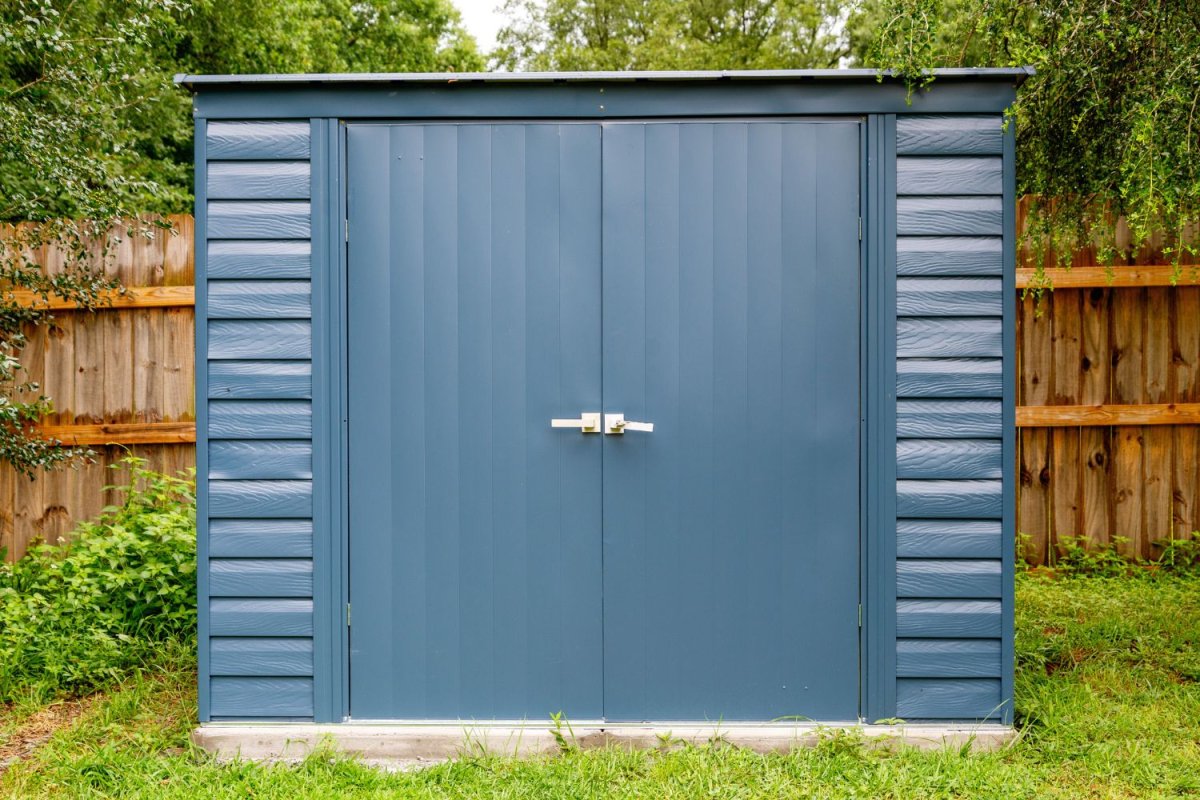
Building a Shed Looks Easy—Here’s What We Learned When Building a ShelterLogic Shed
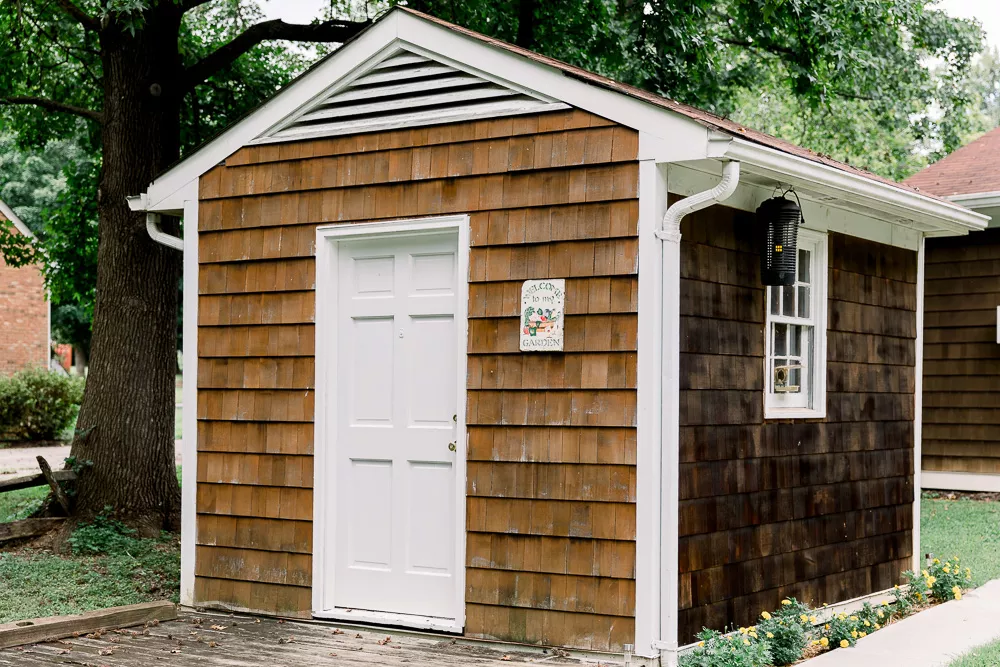
14 Free Shed Plans for Every Size and Budget


Eight well-designed sheds and outbuildings that extend the home
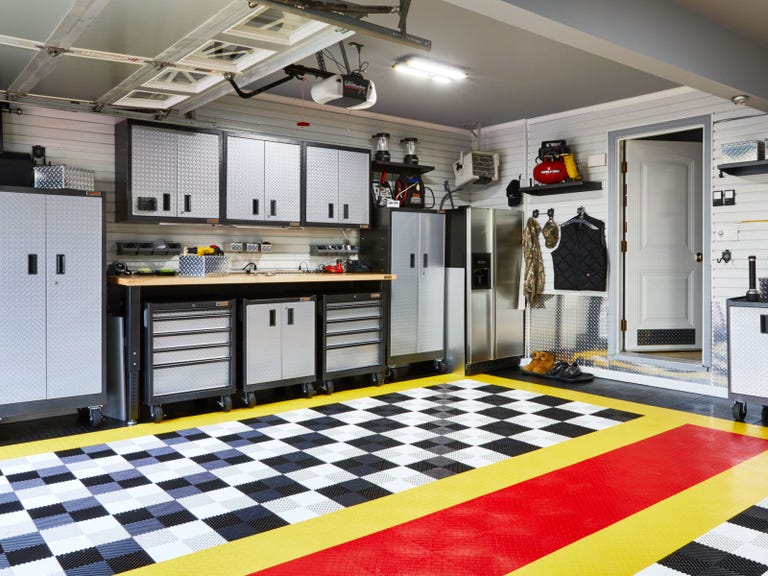
How to Upgrade Your Garage in 8 Days (Or Less)
What's Included In Ryobi's Door Latch Installation Kit And Is It Worth Buying? Here's What The Reviews Say

How to Recess Hinges on a Door (DIY)

Home Window Installation, Parts and Repair

Internal Door Frames & Casings
Building Big Doors, On Site
How To Build Modern Barn Doors for Your Home (DIY)
15 Shed Building Mistakes and How to Avoid Them
Add Privacy and Expand Your Home's Use With This DIY Interior Wall Project