1/8
How to Recess Hinges on a Door (DIY)
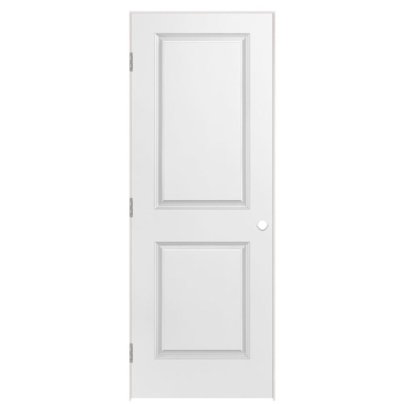
This blog post details a step-by-step guide on how to recess door hinges using a router, a process also known as mortising. The task is categorized as a beginner-level DIY project, estimated to take an hour or less to complete, with costs varying depending on materials and tools. The introduction highlights that new doors often do not come with pre-attached hinges, necessitating the recessing process before installation.
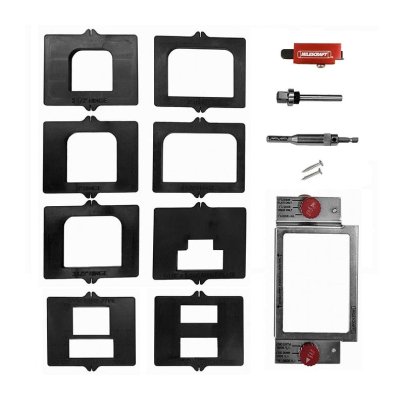
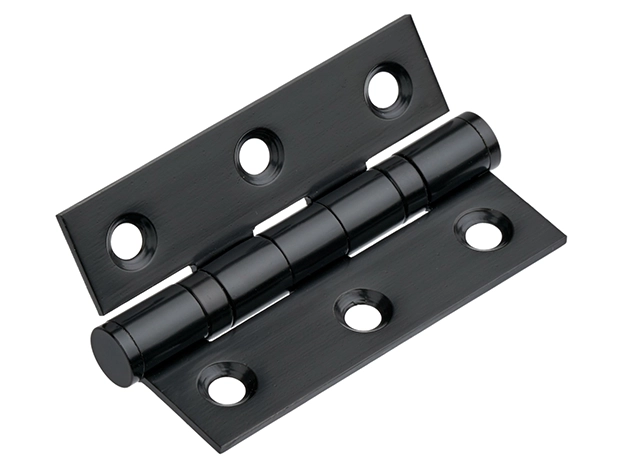
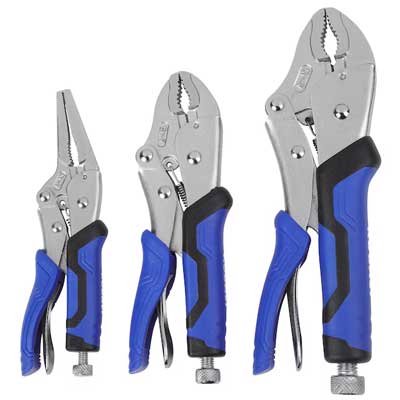
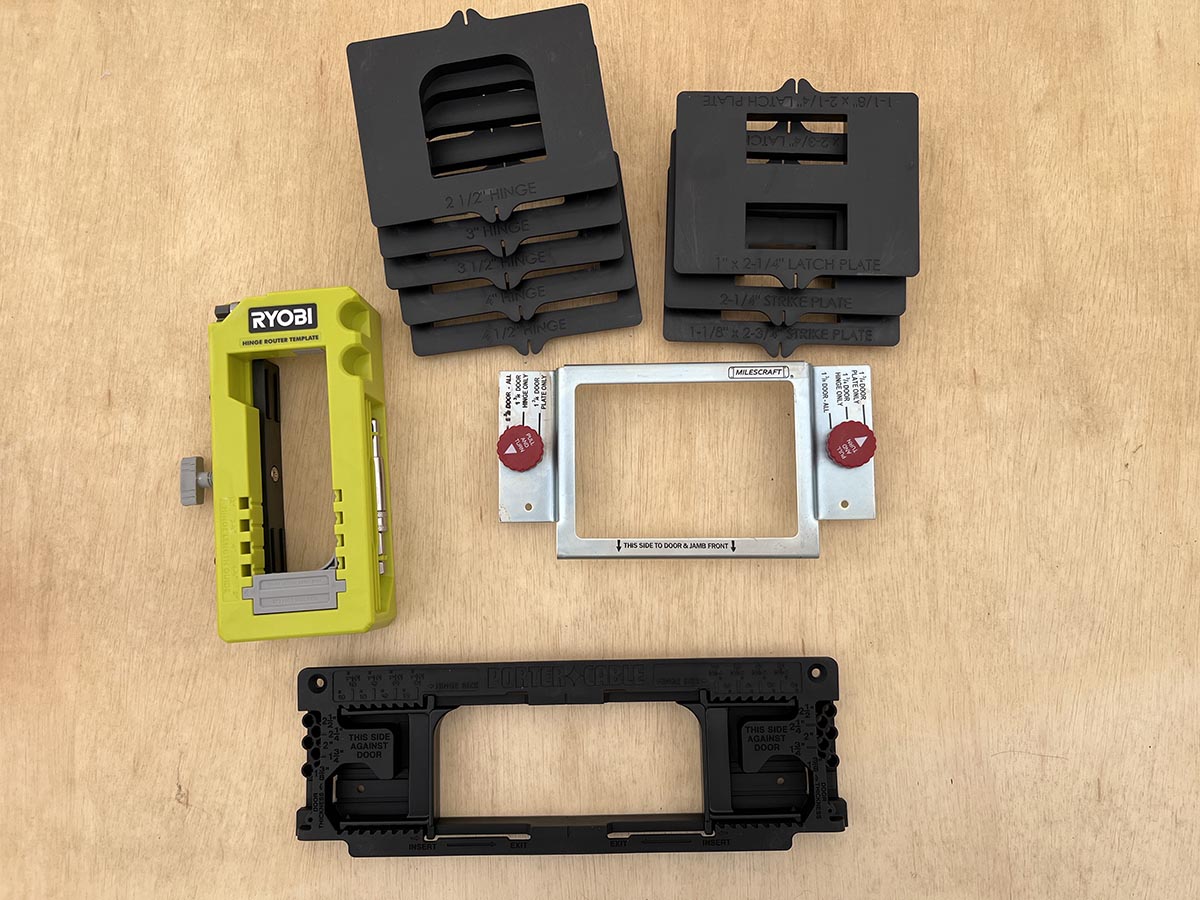
The article outlines the necessary tools and materials. Tools required include an adjustable plunge router, a door hinge template, hearing and eye protection, a measuring tape, a mortise bearing bit, Quick-Grip clamps, and a self-centering drill bit. Materials needed are hinges and a new door. The project is broken down into four main steps, each with specific instructions and supporting visuals.
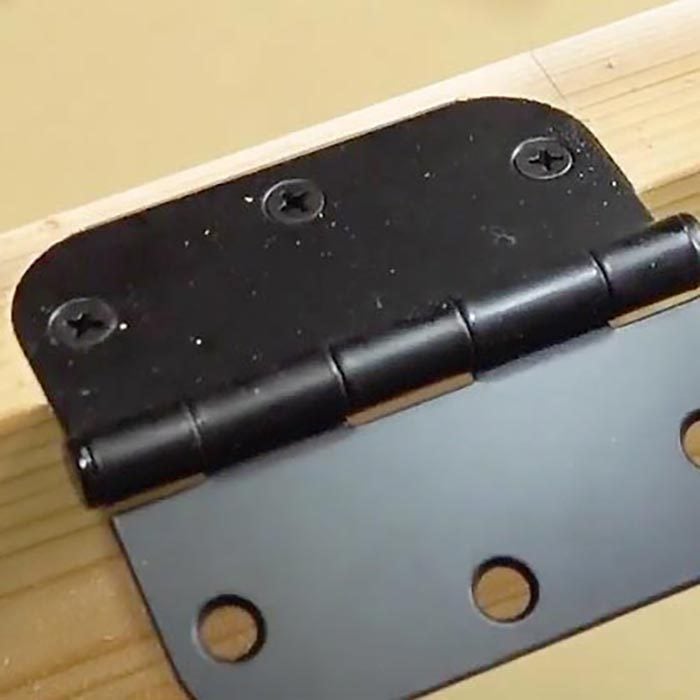
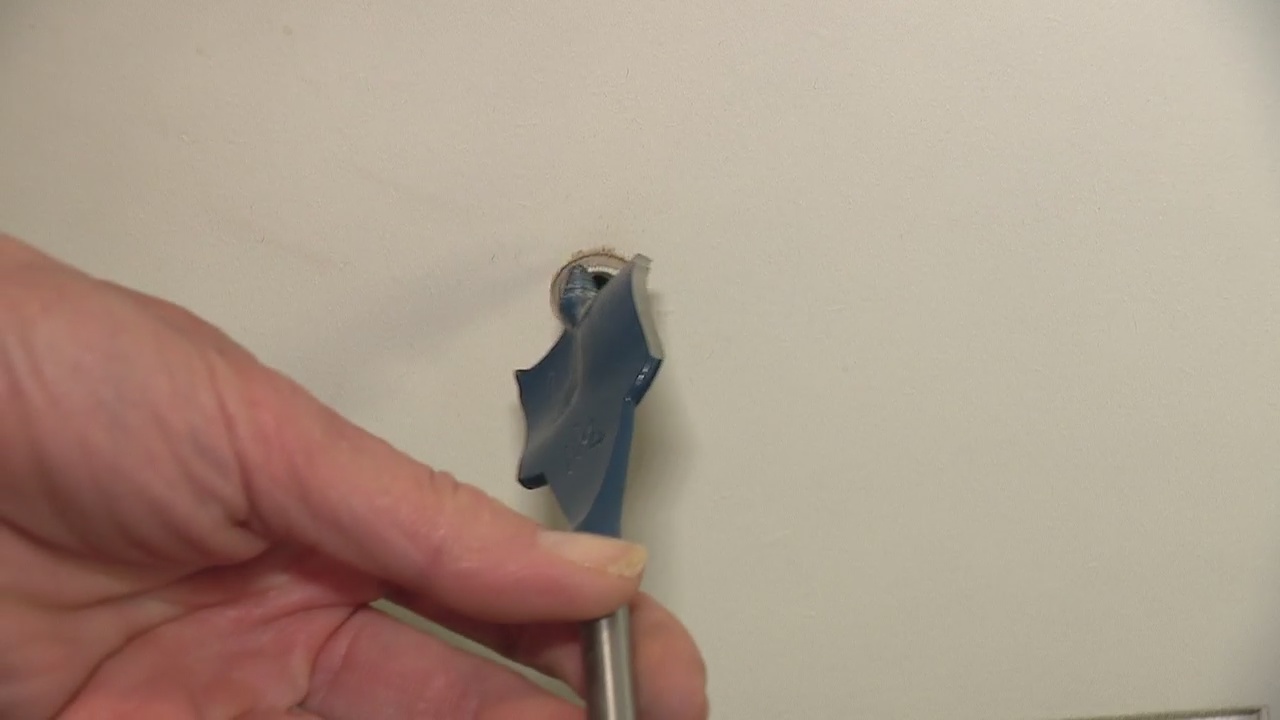
Step 1 focuses on the door hinge template. It explains that while a wood chisel can be used to remove material for the hinge recess, a router with a flush-cut bearing bit and a door hinge template offers a more efficient and precise method. Readers are advised to either purchase a pre-made template or create one that matches the profile of their specific hinges.
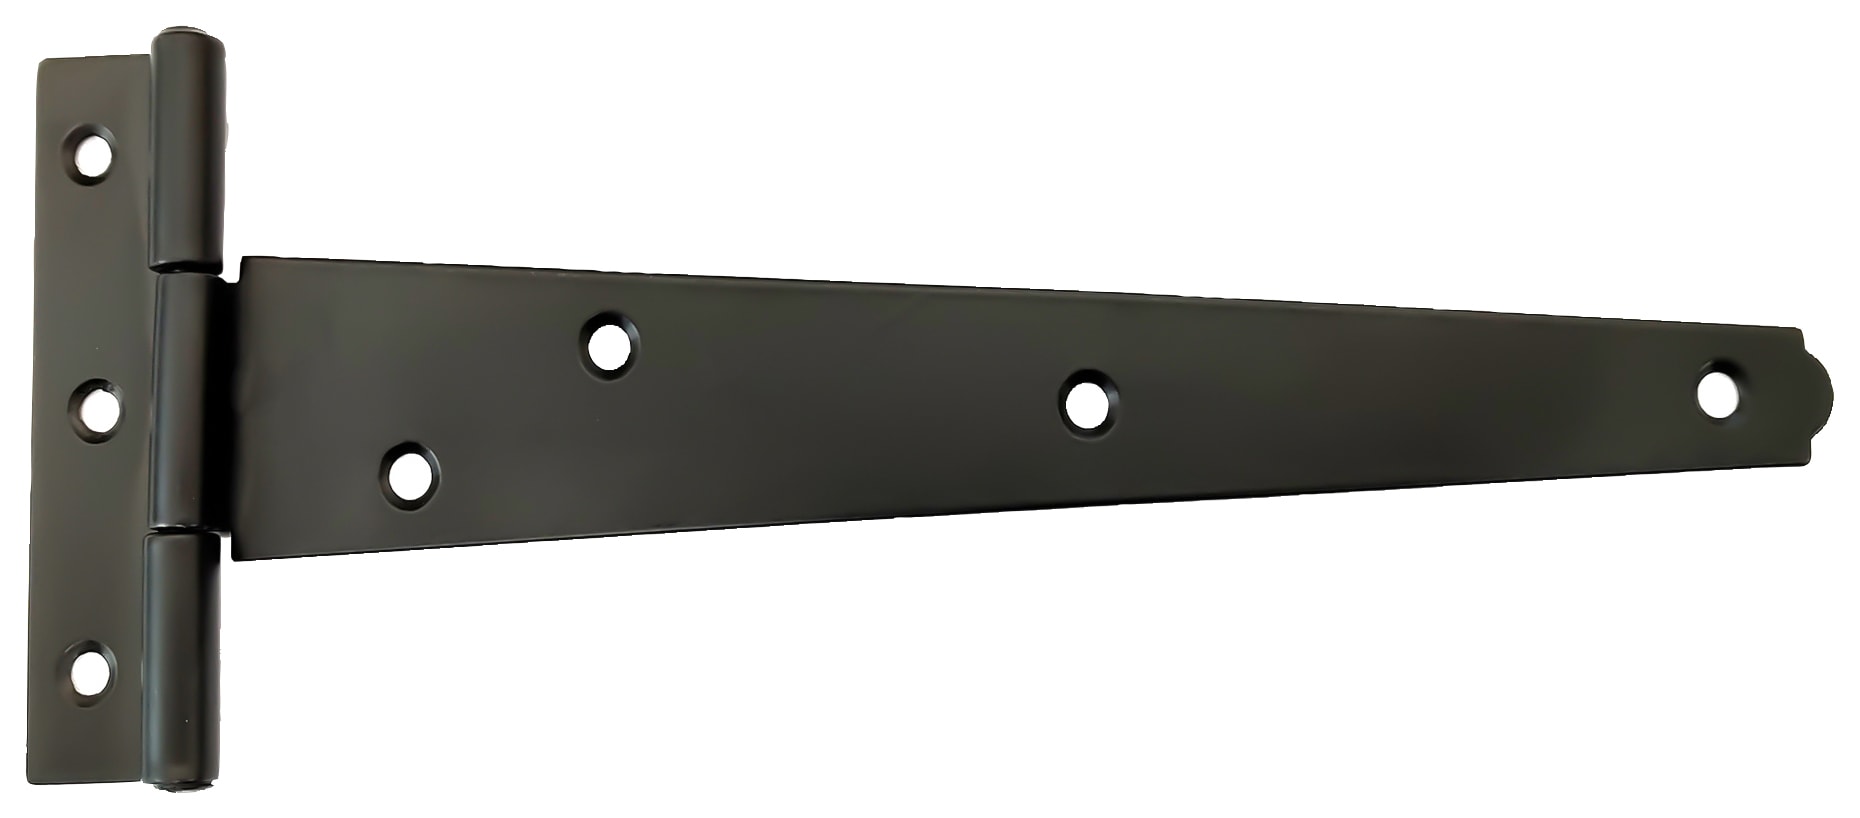
Step 2 covers hinge layout. For most 80-inch doors, three hinges are typically sufficient. The article instructs positioning these hinges five to eight inches from the top and bottom edges of the door, with the third hinge placed centrally. Accurate marking of these positions is crucial before proceeding to the routing phase.
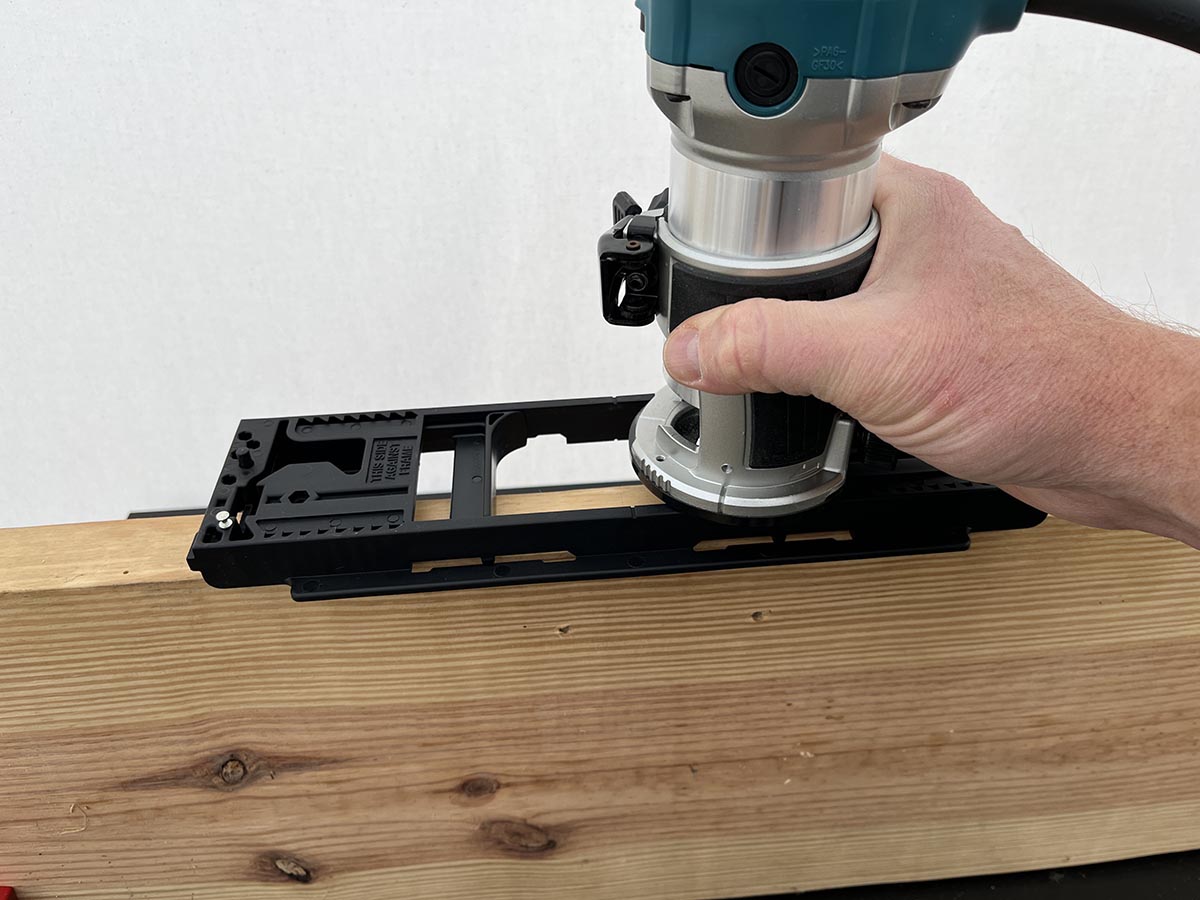
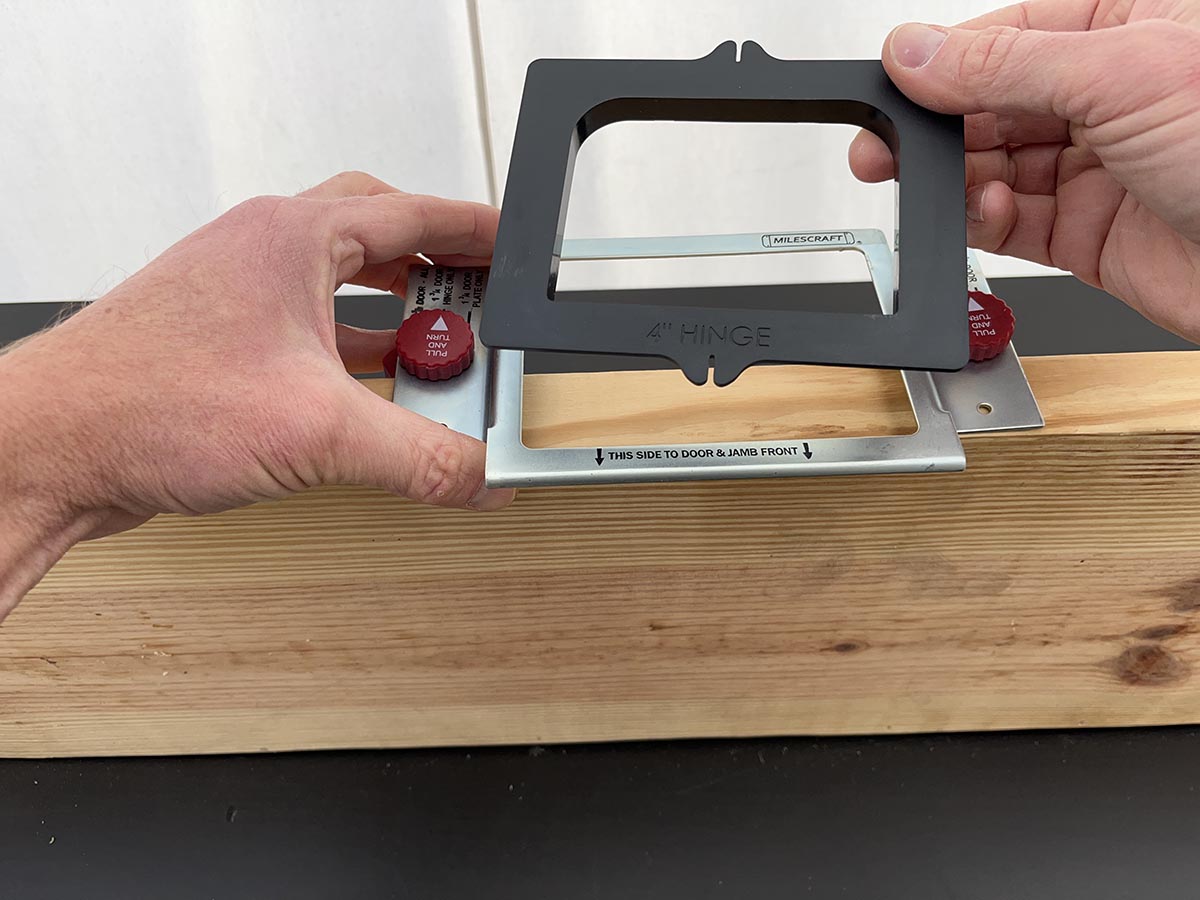
Step 3, titled "Time to rout," guides users through the routing process. Before starting, the router bit's depth must be set by measuring the combined thickness of the router template and the hinge plate. It is recommended to test this depth on scrap wood first. The template is then placed on the door's edge, aligned with the marks, and secured with clamps. A key safety and operational tip is to always move the router in the same direction as the clockwise-spinning bit. After routing, the clamps are released, and the process is repeated for subsequent hinge recesses.
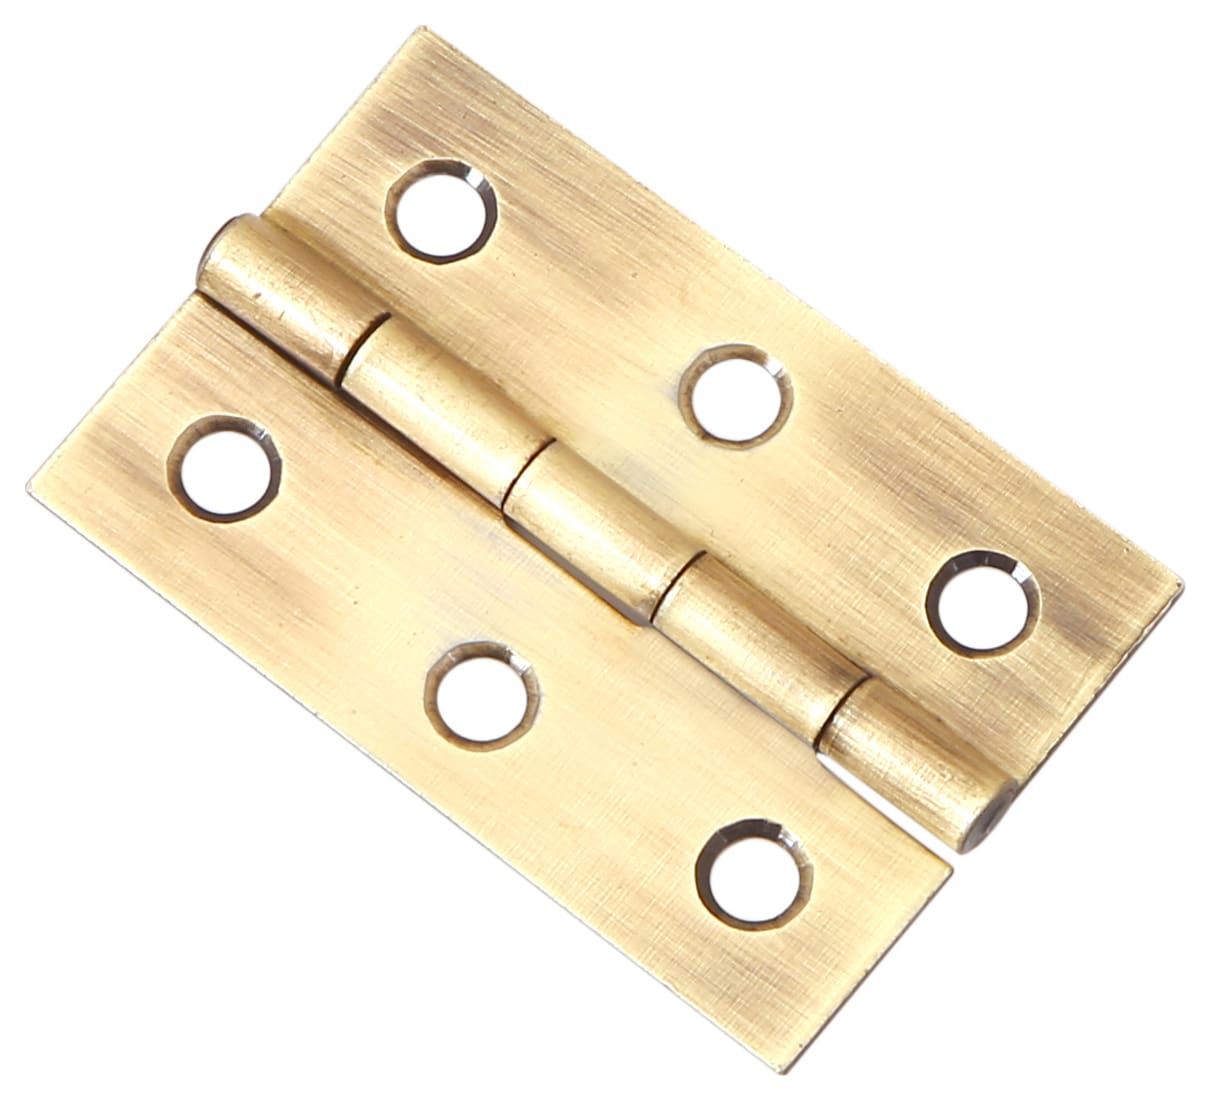
Step 4, "Attaching hinges," provides final installation advice. It suggests placing the hinge into the routed recess, marking the screw hole centers, and then drilling pilot holes. The use of a self-centering drill bit is highly recommended for accuracy. A cautionary note is included to avoid over-tightening screws when securing the hinges to prevent stripping them out. The article emphasizes a clear, practical approach to hinge recessing, making it accessible for DIY enthusiasts.
#DIYProject #DoorInstallation #HingeRecessing #Woodworking #RouterUsage #HomeImprovement #DoorHinges #DIYTutorial #DIYProject #DoorInstallation #HingeRecessing #Woodworking #RouterUsage #HomeImprovement #DoorHinges #DIYTutorial
0 comment in total
You may also like

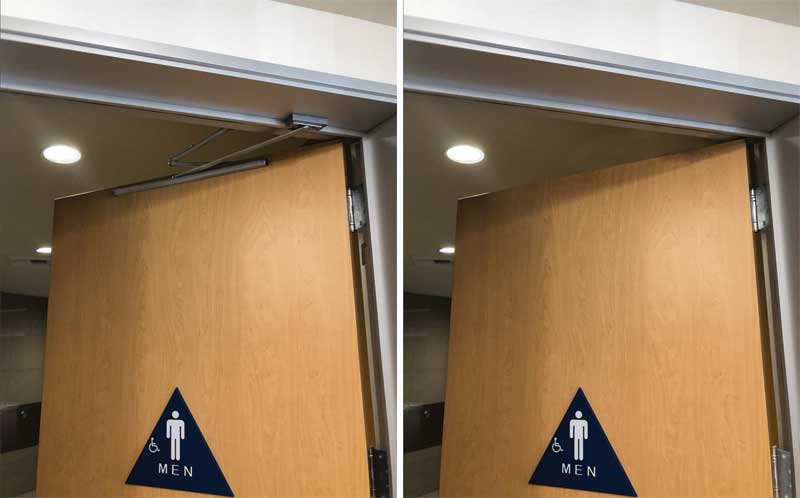
Door closer hinges: A new approach

Piecing Together 18th-Century Doors


Kitchen Cabinet Hinges


Garden Gate Hinges
Door Handles


Internal Door Frames & Casings | Interior Door Linings
Exterior pre-hung door installation is best for do-it-yourselfers


Fixing a garage door yourself vs calling the pros

We Tested 3 Door Hinge Jigs—This One Worked Best

Jill of All Trades fixes loose door handles
Door Frames & Fixings

These 17 Unique Doorstoppers Are As Fun As They Are Functional
Are You Using Your Door Stoppers Wrong? I Tried the Viral TikTok Hack

The Best Interior Doors

How the Right Door Hardware Can Be the Perfect Finishing Touch in Your Home
Handsome Wooden Pocket Door Handles and Hooks from Tirar


The 15 Very Best Doorknobs

How To Build Modern Barn Doors for Your Home (DIY)

Internal Doors
A distinctive turn