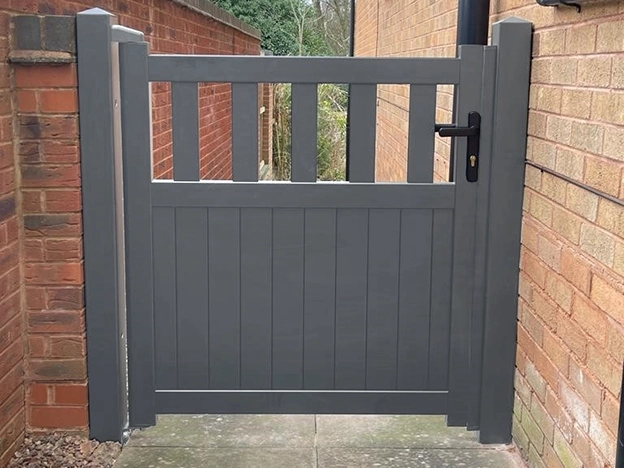
How to build a fence gate – top tips from the experts
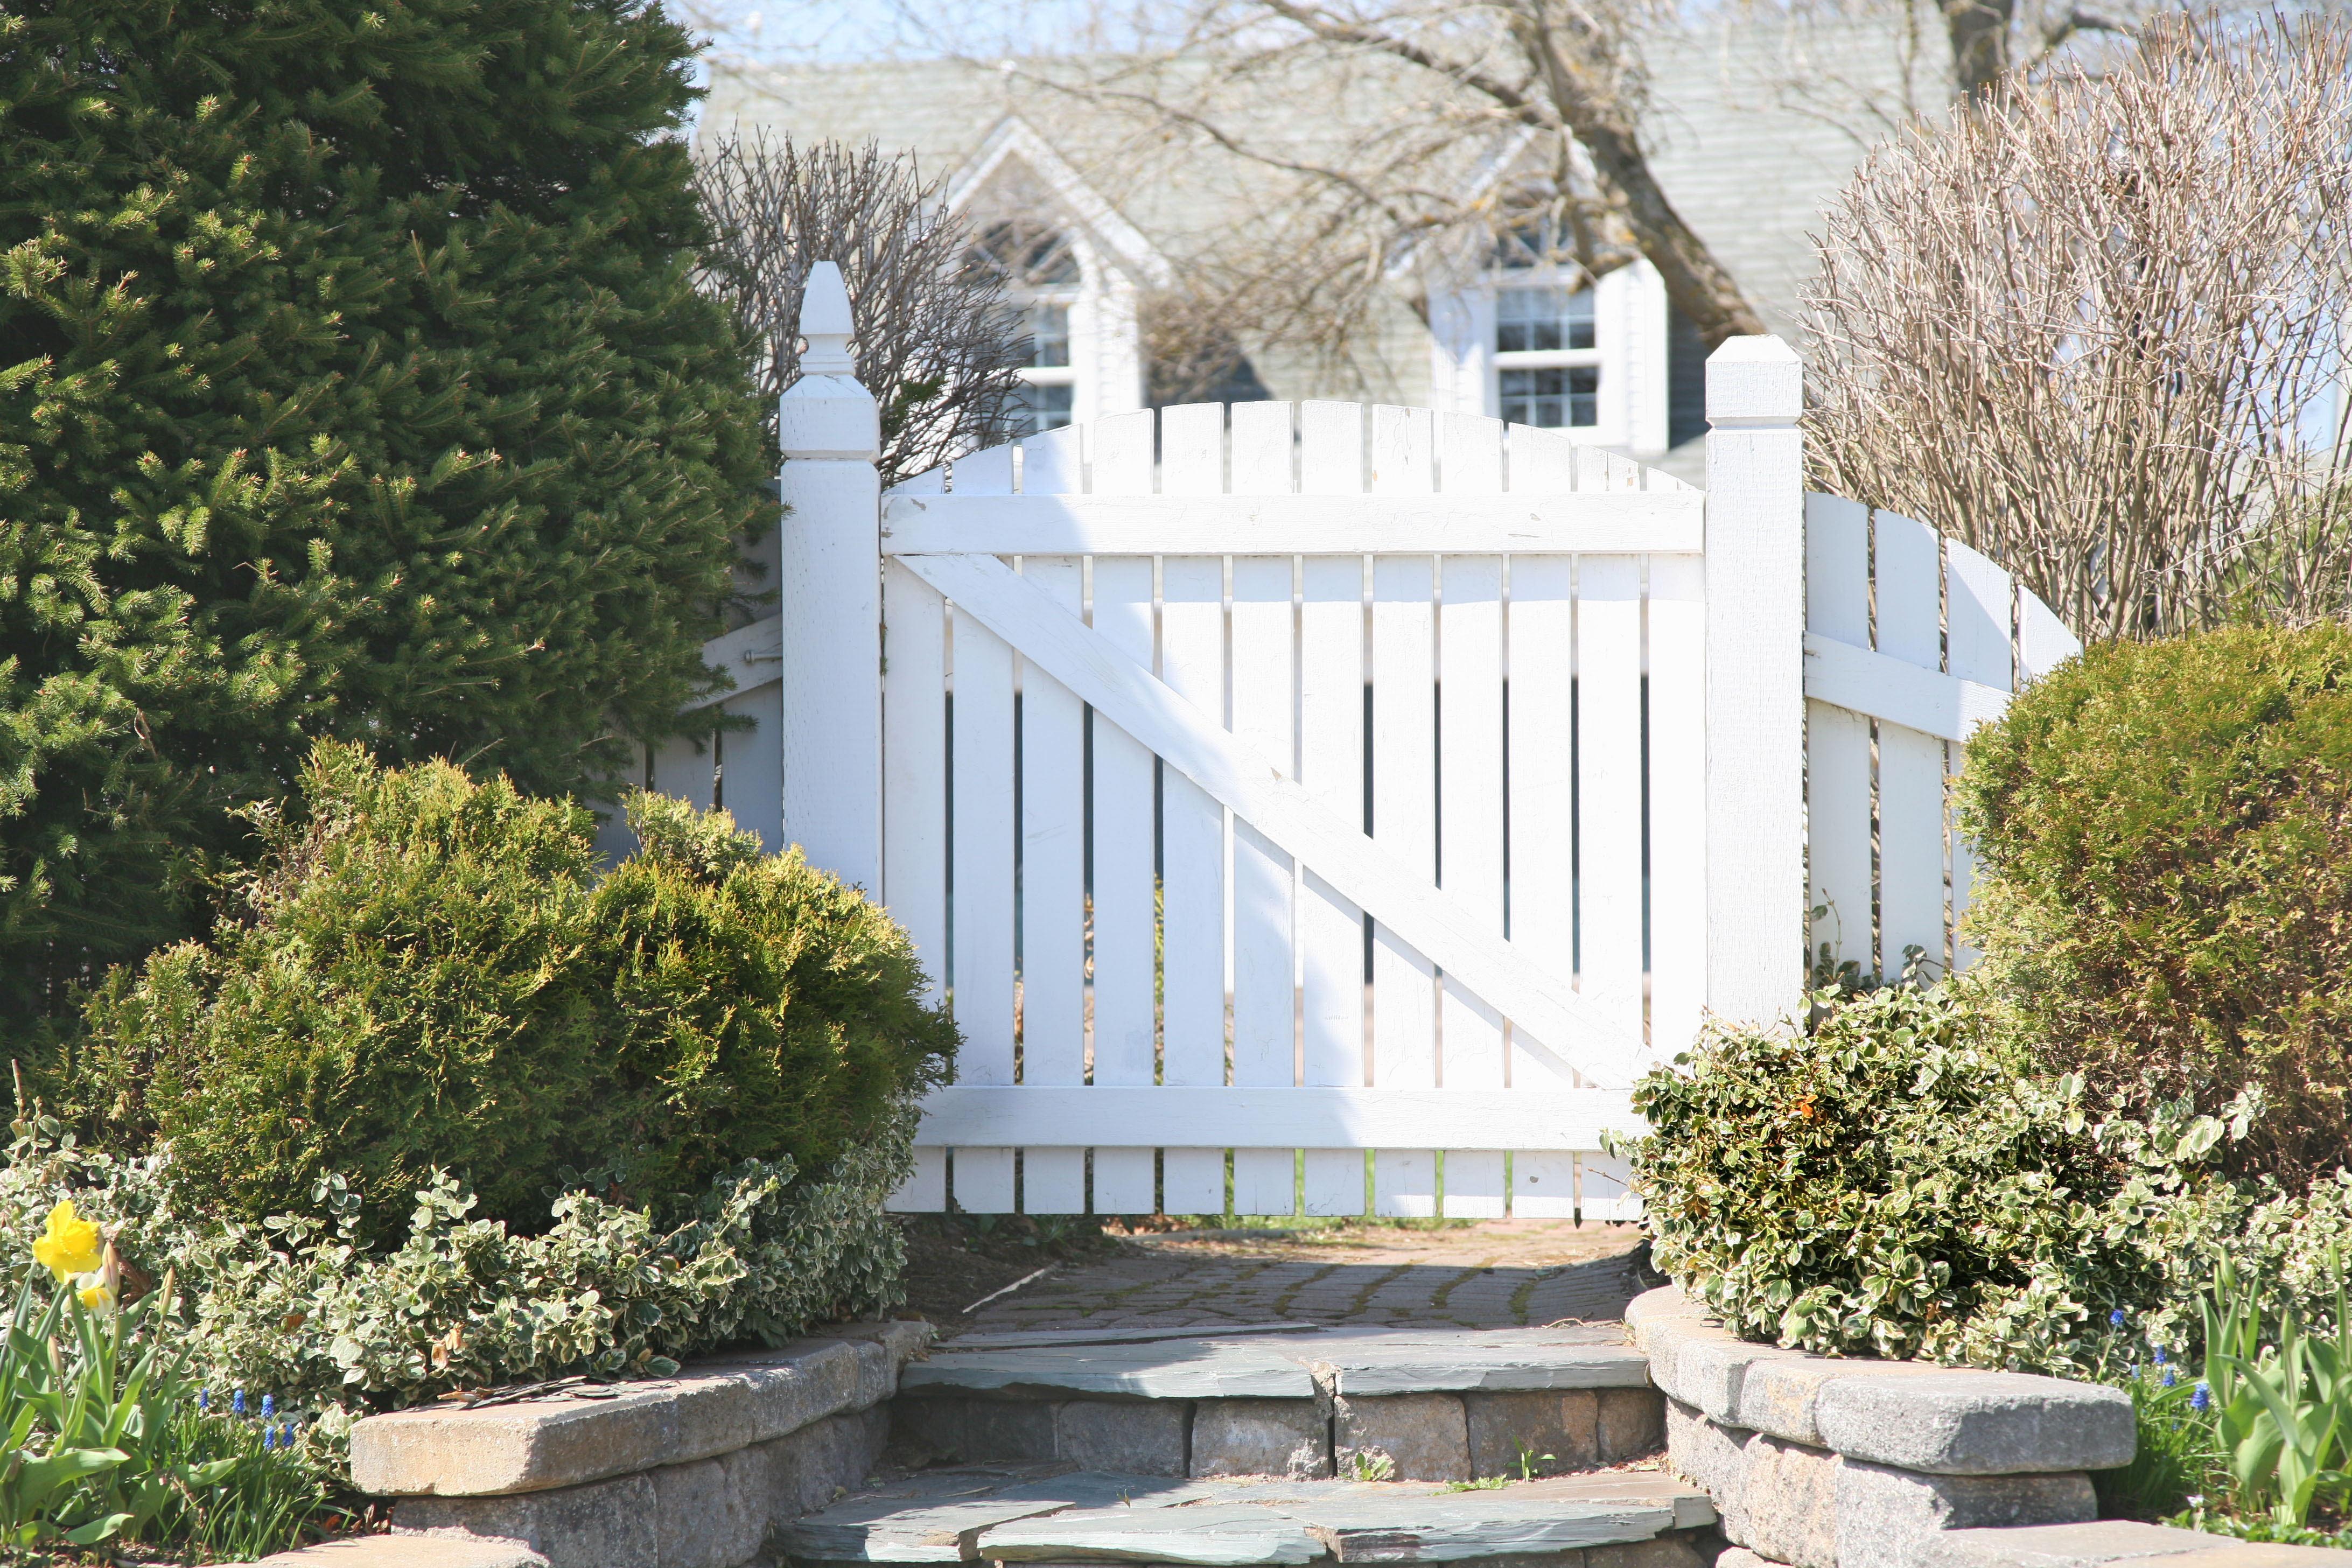
Building a fence gate is a DIY project suitable for confident individuals with basic carpentry skills, ideally undertaken on a warm, dry day. This guide focuses on constructing a wooden fence gate, though materials like vinyl, chain link, or wrought iron are also options. For wooden gates, hardwoods such as Iroko, European Oak, Sapele, Idigbo, and Cedar are recommended due to their durability, resistance to weather, insects, and fungi, and their dense, tight grain. Regular staining and painting further enhance their longevity and protection against UV rays and insect attacks.
The process begins with preparing the gateposts. These should be approximately 610mm taller than the intended gate height, or 760mm taller for heavier gates. Before installation, the gateposts must be treated with a wood preservative and set in concrete. Galvanized metal fixtures like brackets and bolts are crucial to prevent rust. An important tip for drainage is to cut the top of the gateposts at a slant and then treat the slanted surface with wood preserver.
Next, the optimal position for the fence gate needs to be determined. The gate should be laid on the ground in the direction it will open. Using timber lengths and offcuts, it can be raised to the desired height, aligning it with the posts. Hinges are then attached, with pilot holes drilled after marking screw locations to prevent the drill bit from being too large. Galvanized screws are used for installation, and a 5mm gap must be maintained between the gate and the post for proper function.
To ensure structural integrity, the gate and posts are braced with three lengths of wood. The ground where the gate opens should be leveled using a spirit level. If the ground is soft, a 200mm deep and 300mm wide trench between the post holes should be dug and filled with concrete. This step helps prevent the gate's weight from pulling the posts inward. The gate posts are then lowered into the holes, ensuring they are straight with a spirit level.
Finally, the gate and posts are concreted into place, using wooden props to maintain their position. After waiting a few days for the concrete to dry (or less for quick-drying cement), the supports can be removed. Finishing touches include sanding, staining, and painting the wooden gate to improve its aesthetic and weather resistance. The gate's height off the ground should be around 4 to 5 inches to make it easily identifiable without appearing to float. A general rule for gate swing is inwards, towards the property, rather than outwards into public space. Hinges should be placed at the top, bottom, and middle for enhanced strength and durability.
#FenceGate #DIYProject #GardenDesign #Woodworking #HomeImprovement #OutdoorLiving #CurbAppeal #HardwoodDurability #FenceGate #DIYProject #GardenDesign #Woodworking #HomeImprovement #OutdoorLiving #CurbAppeal #HardwoodDurability
0 comment in total
 No comments yet
You may also like
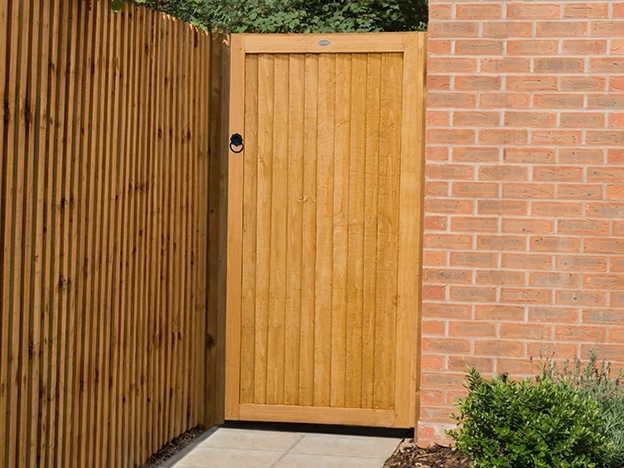
Garden Gates & Railings


The Best Dog Gates For Doorways


10 Best Dog Gates


Wooden Garden Gates
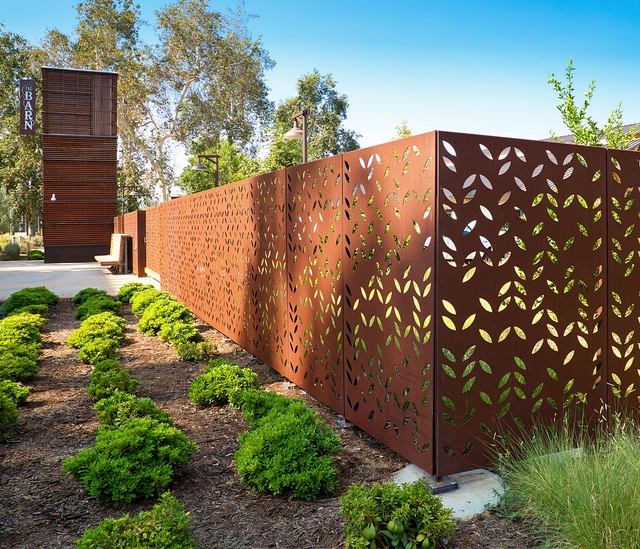
Fence System from BŌK Modern


10 Latest Iron Gate Designs For House With Pictures In 2023

Feather Edge Boards


20 Fences That Instantly Add Charm to Any Backyard

Garden Fence Panels
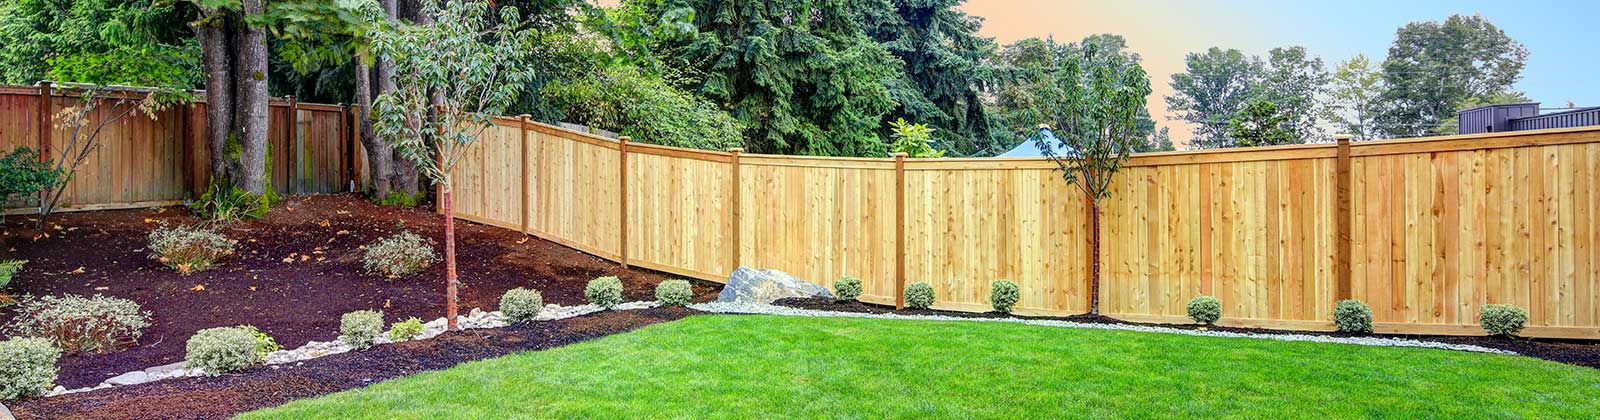
Fences

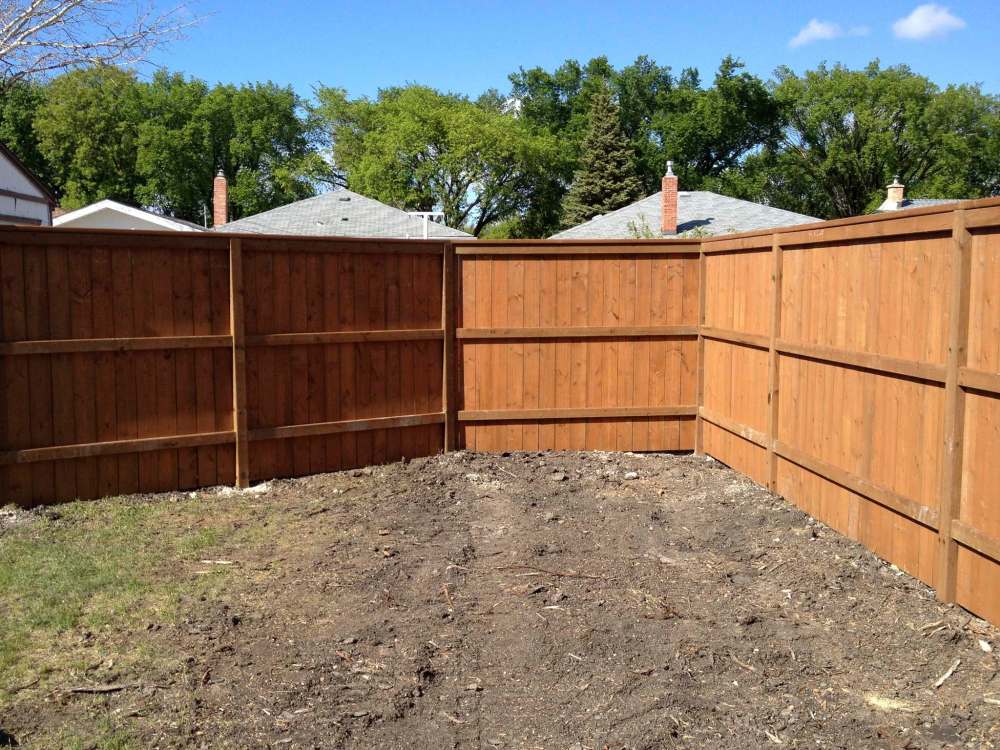
Apr 2017: This fencing project had an interesting twist

Baby Safety Gates: 17 Top Picks For Your Home In 2025


Garden Gate Hinges

10 Privacy Fence Ideas for Your Yard


10 Best Dog Gates for Rottweilers

The Best Indoor Dog Fences in 2024
Garden railings and gates – everything you need to know, including whether you need planning permission

The Best Dog Gates | Reviews by Wirecutter

6m Sliding Gate for Woven Wire Mesh Chain Link Fence Factory Price

Building a Split-rail Fence