How to Create a Plate Wall Just Like an Interior Designer
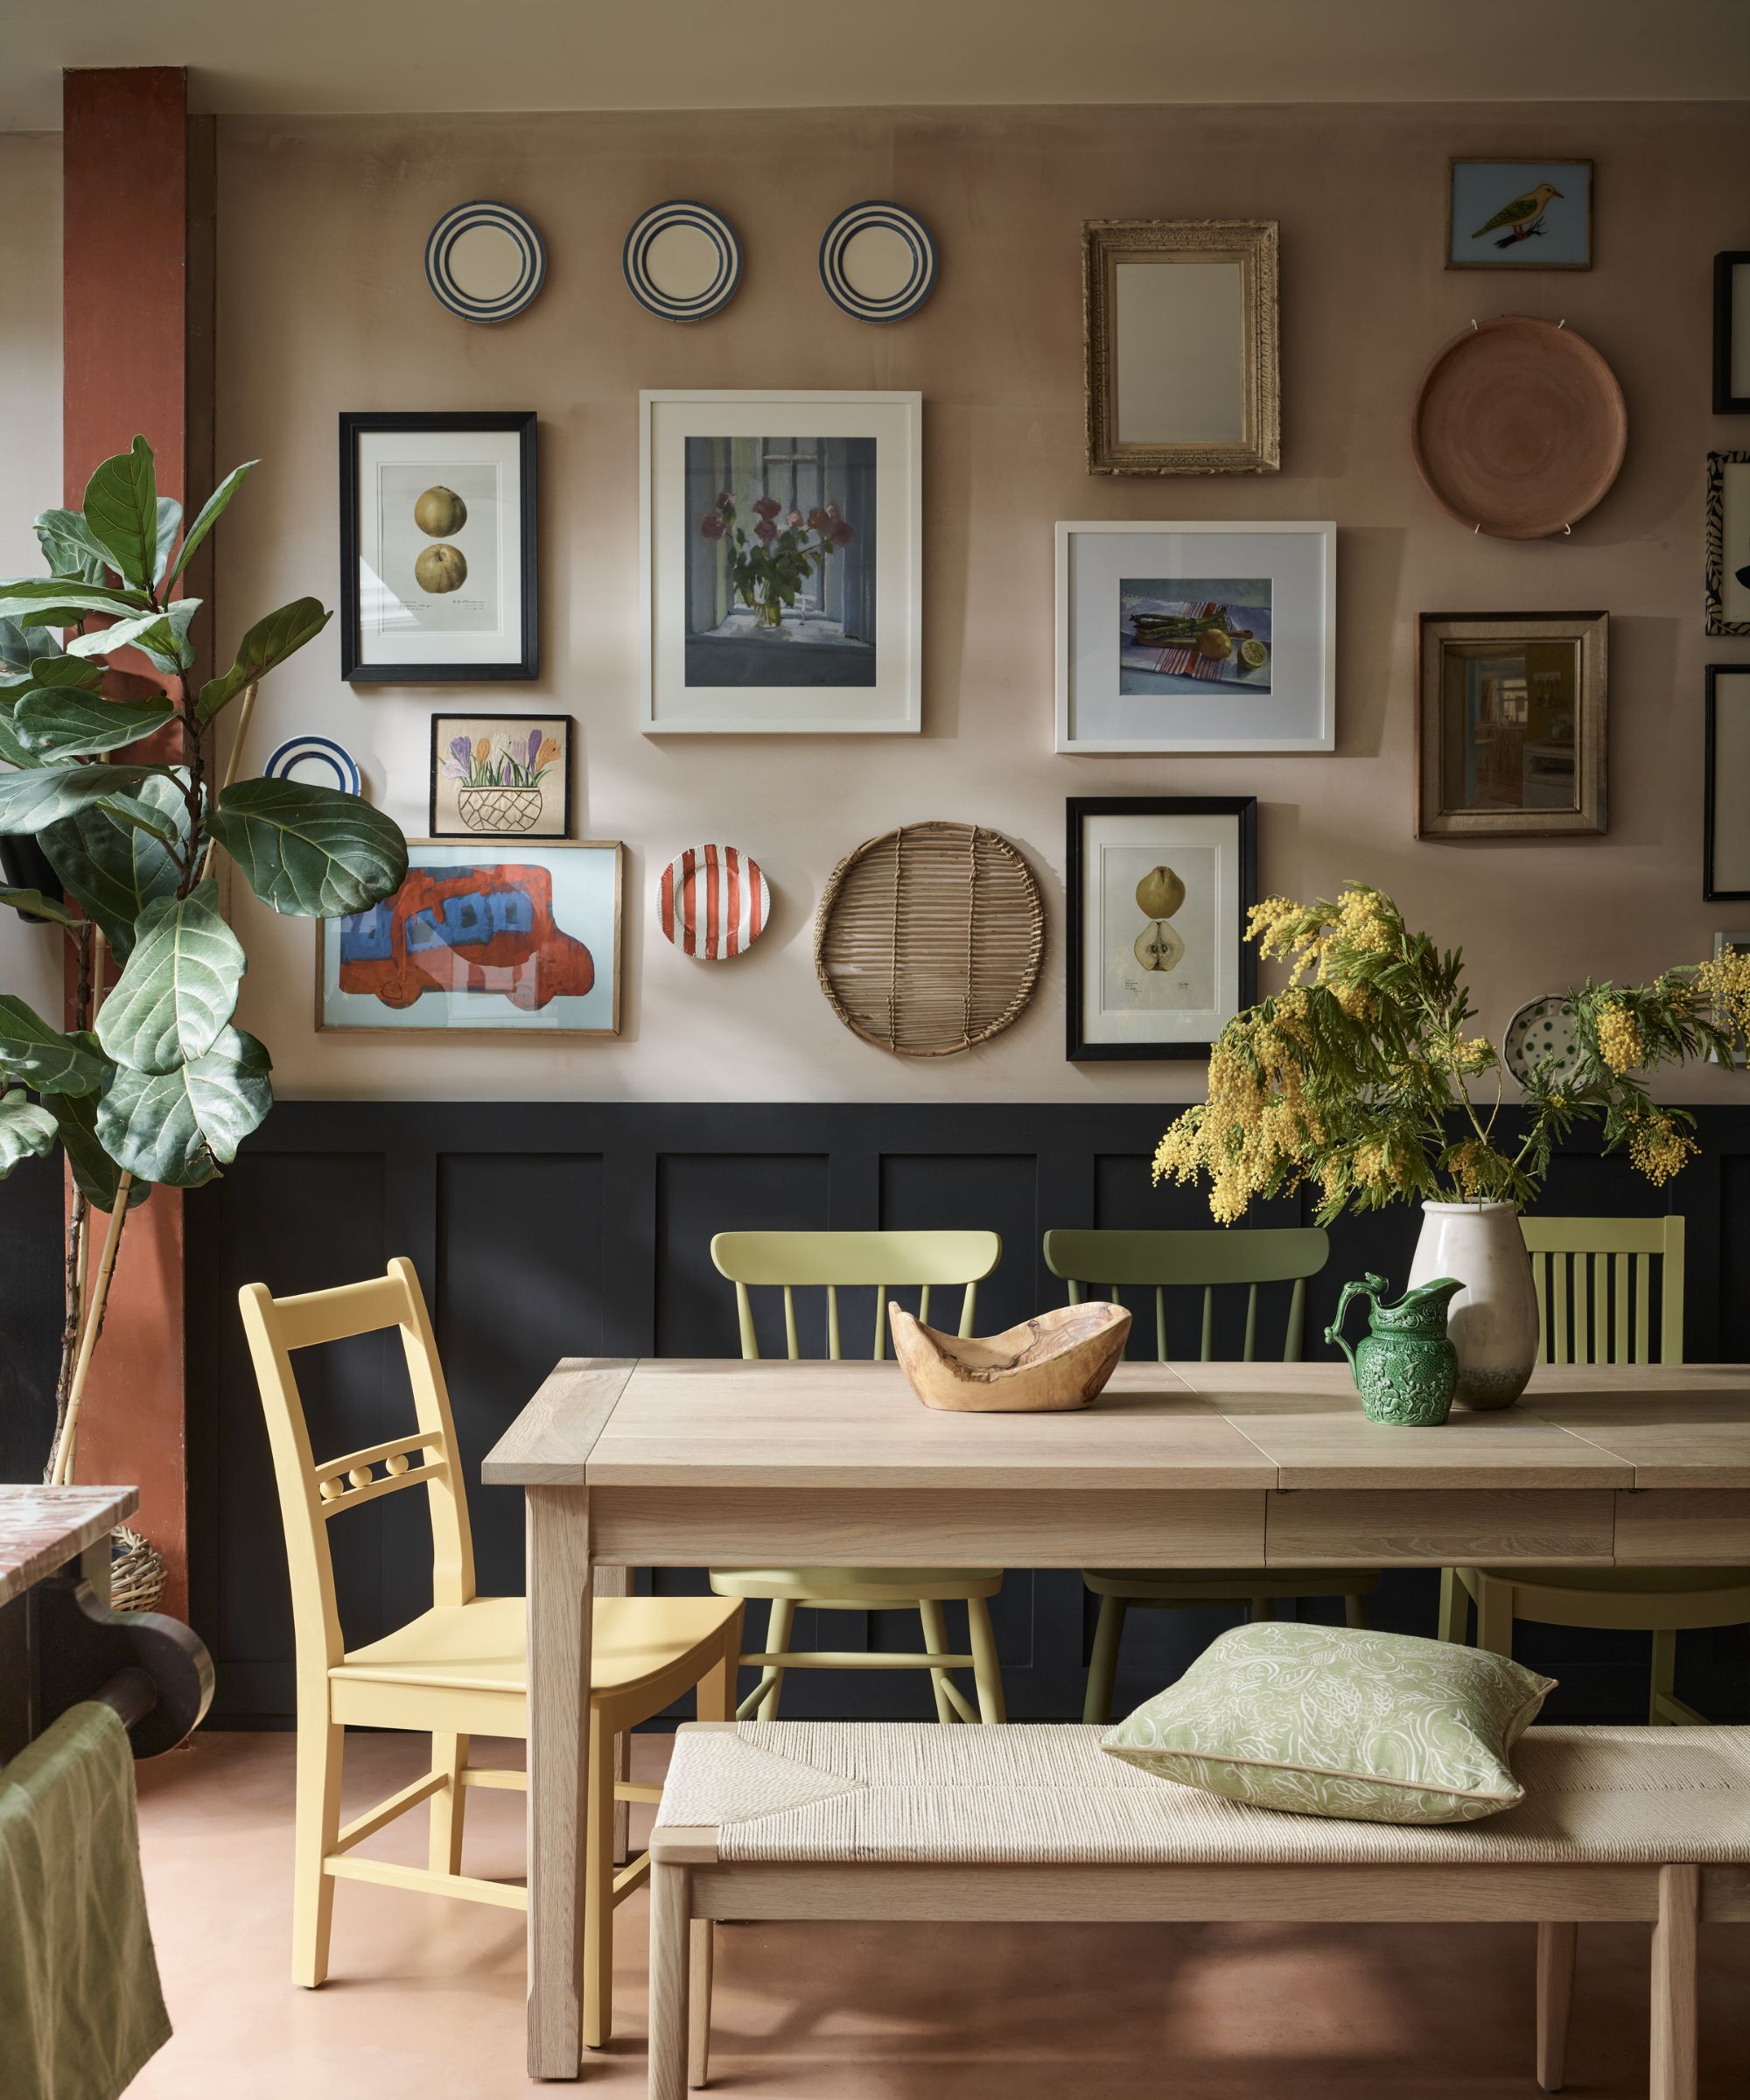
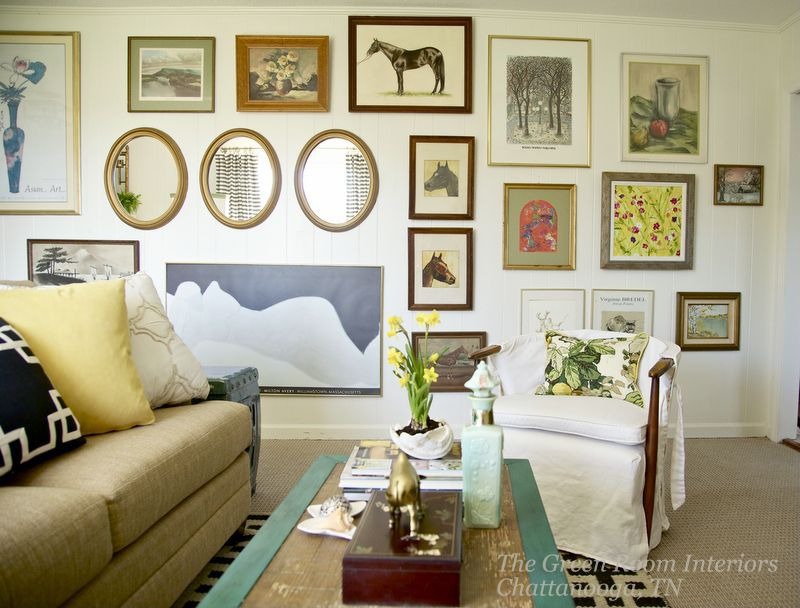
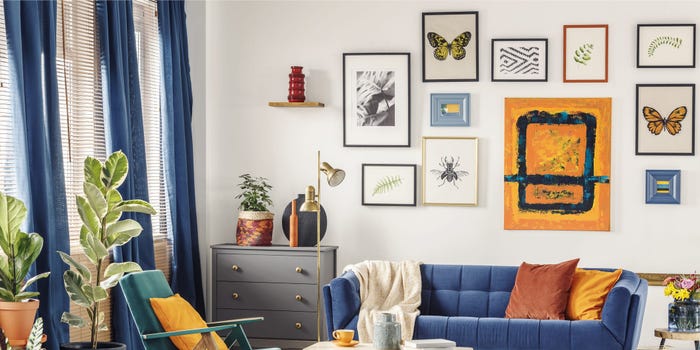
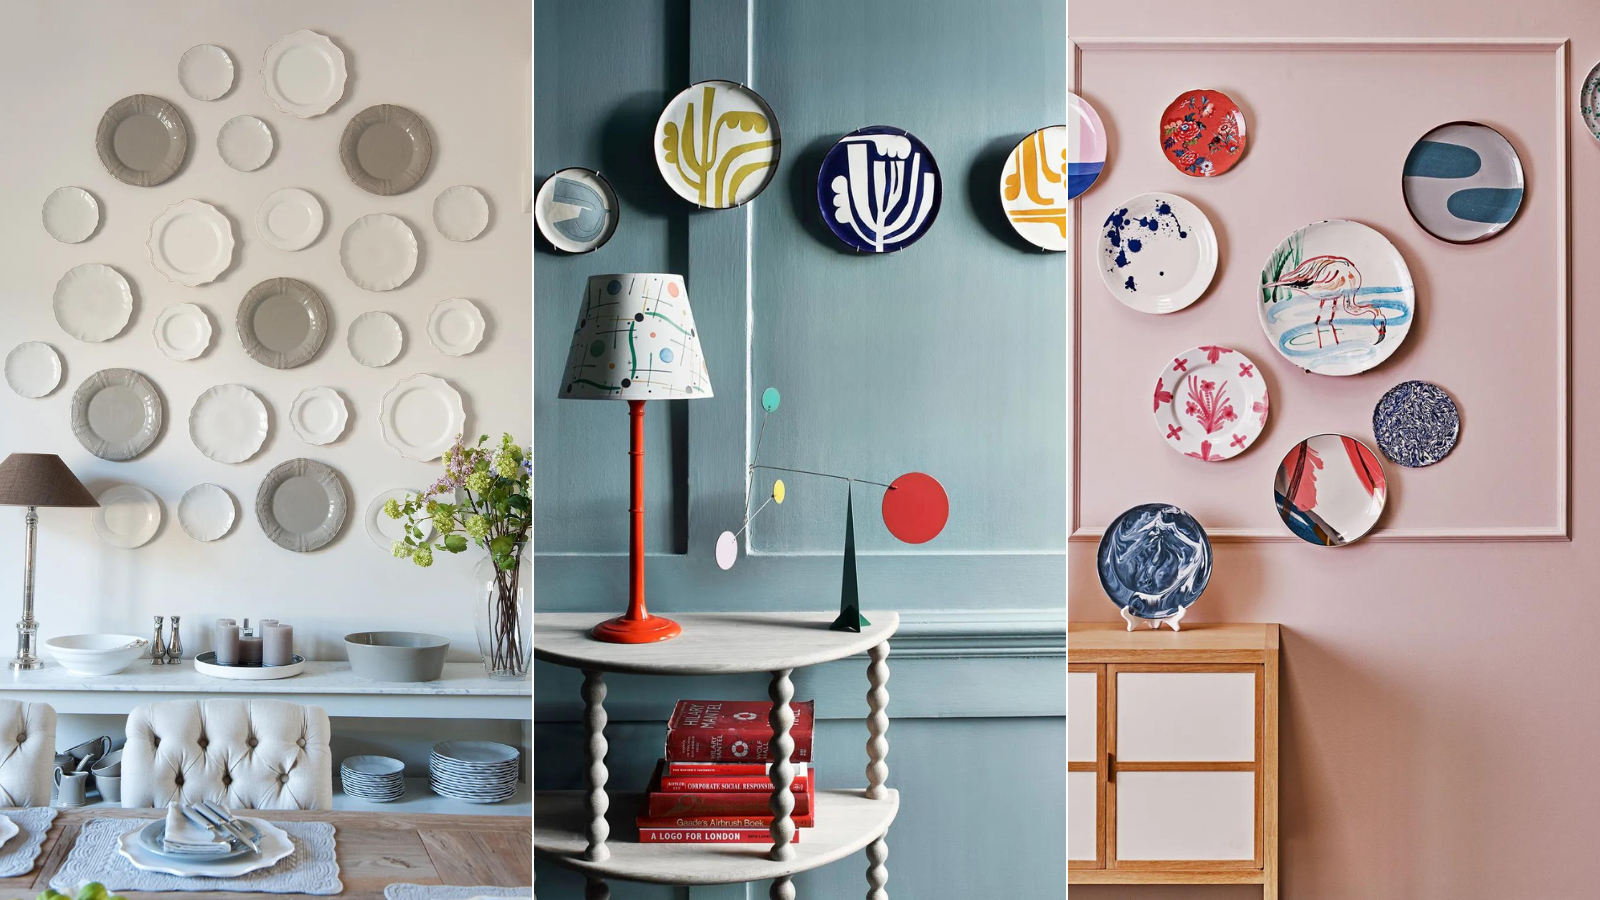
The article explores the resurgence of plate walls as a maximalist home decor trend, moving away from minimalist aesthetics and millennial gray. This trend, which involves hanging decorative plates on walls, offers a unique way to personalize living spaces and display cherished items like thrifted finds or family heirlooms. Interior designers Gideon Mendelson and Jacqueline Mersene highlight the versatility of plate walls, emphasizing their ability to add character, nostalgia, and a bespoke feel to any home. Mendelson notes that this trend allows homeowners to add unique touches, especially by mixing old and new pieces, while Mersene views homes as spaces that should be filled with energizing items that reflect life's best moments.
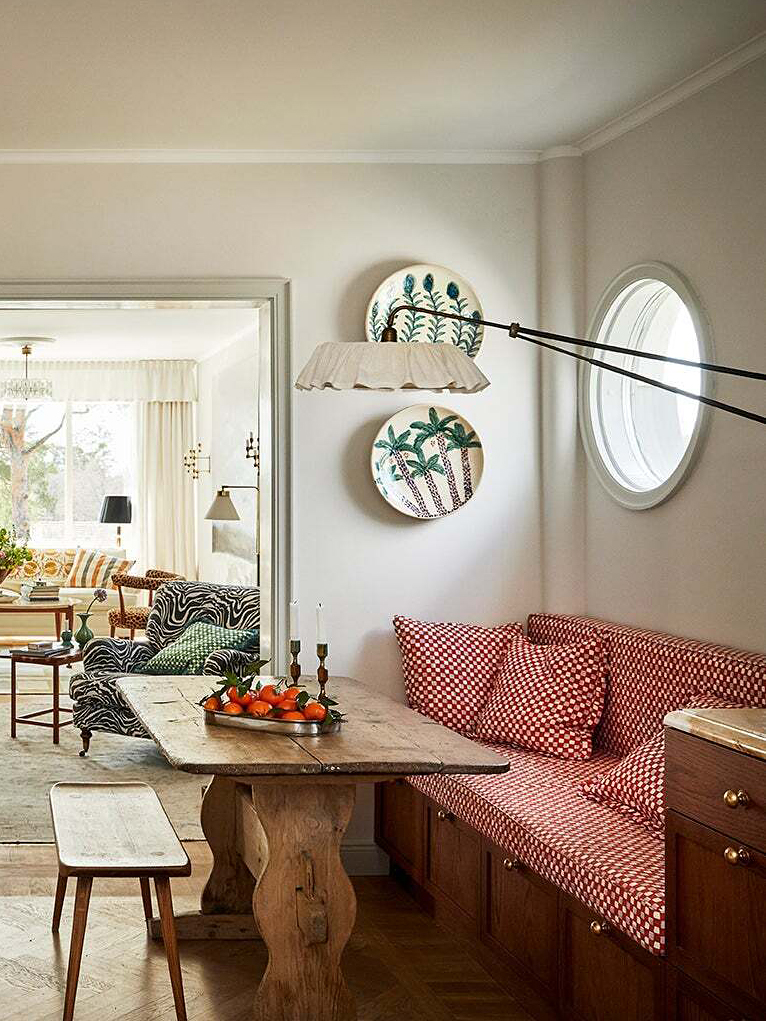
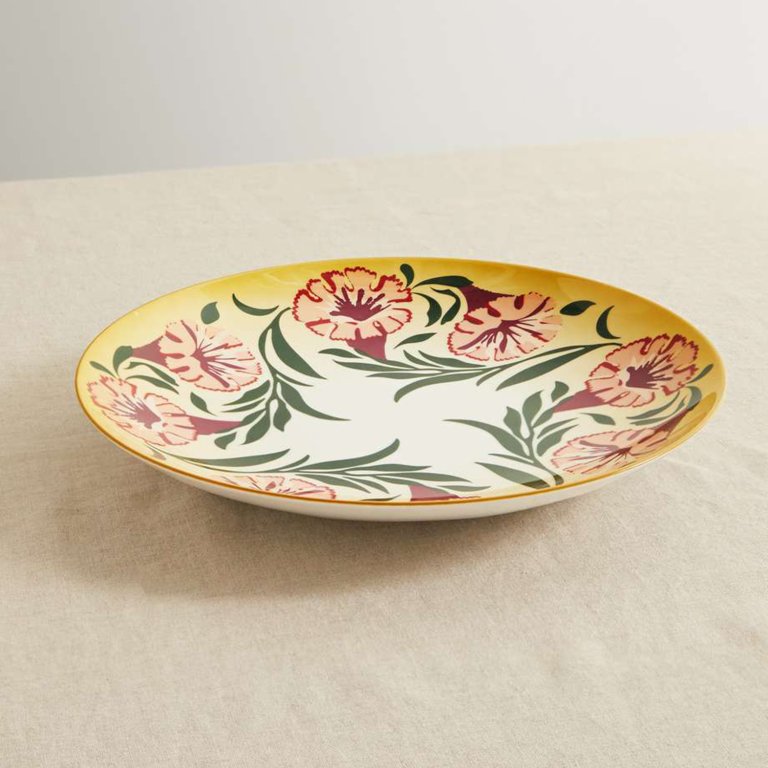
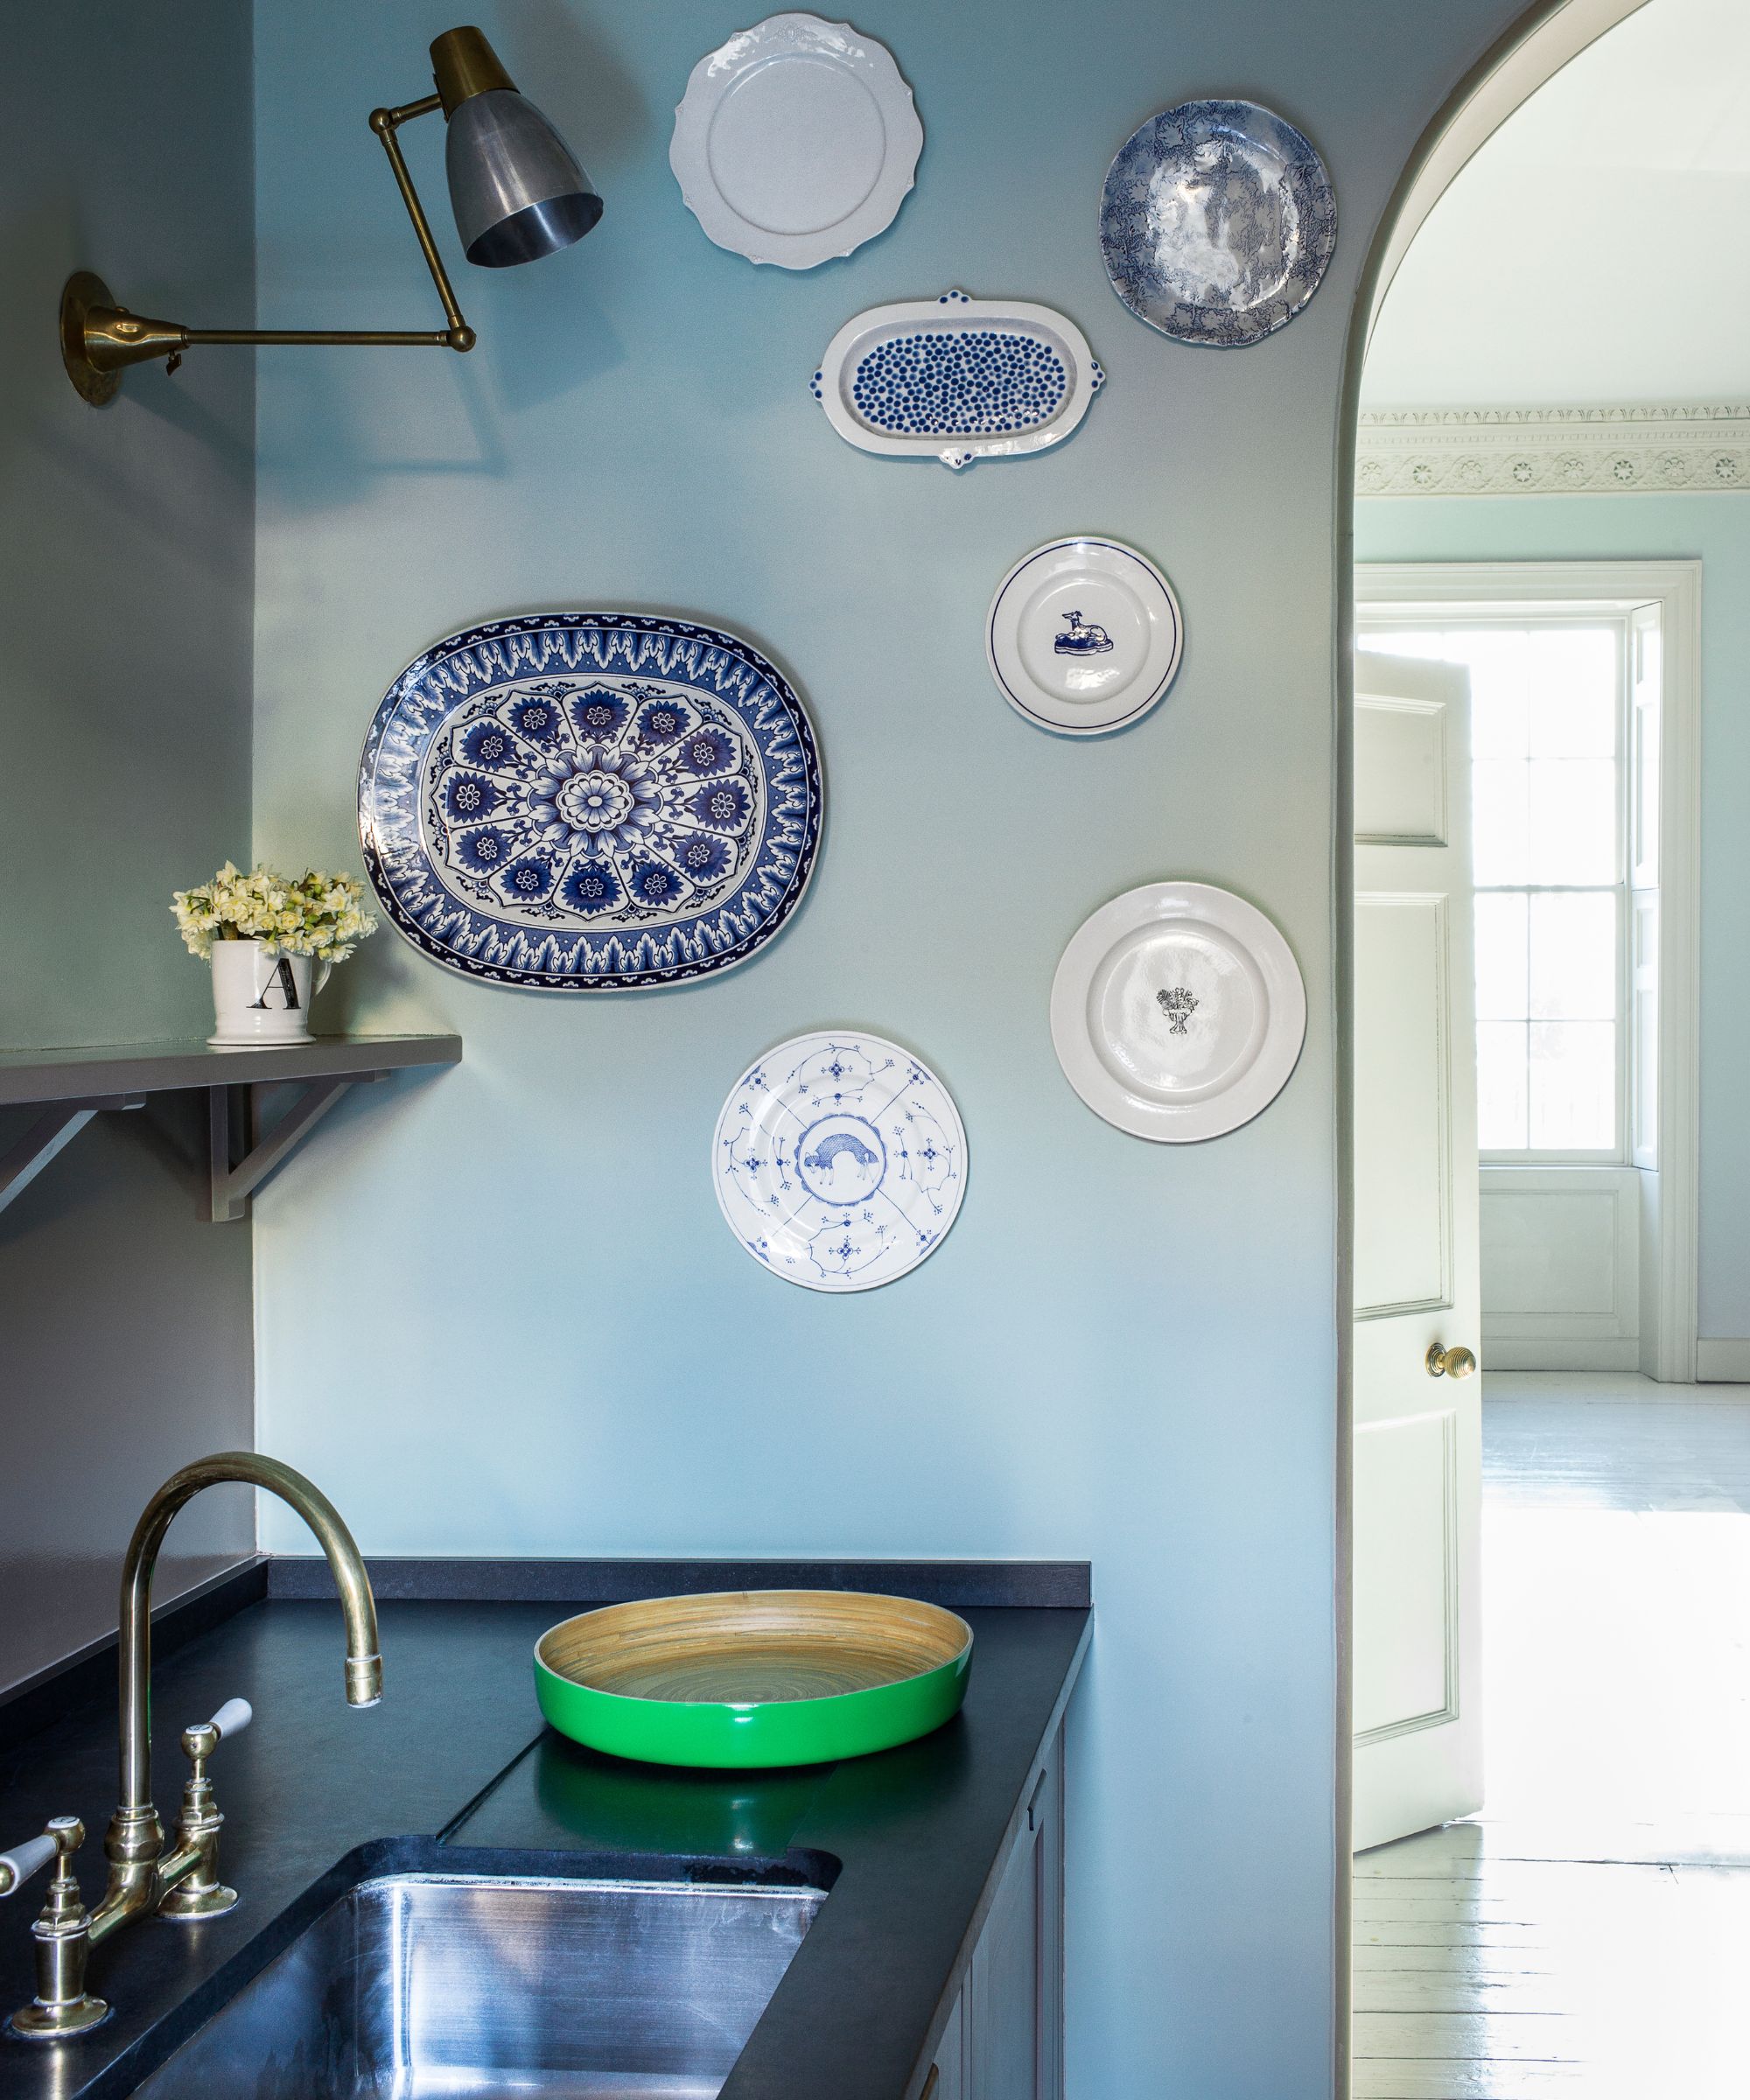
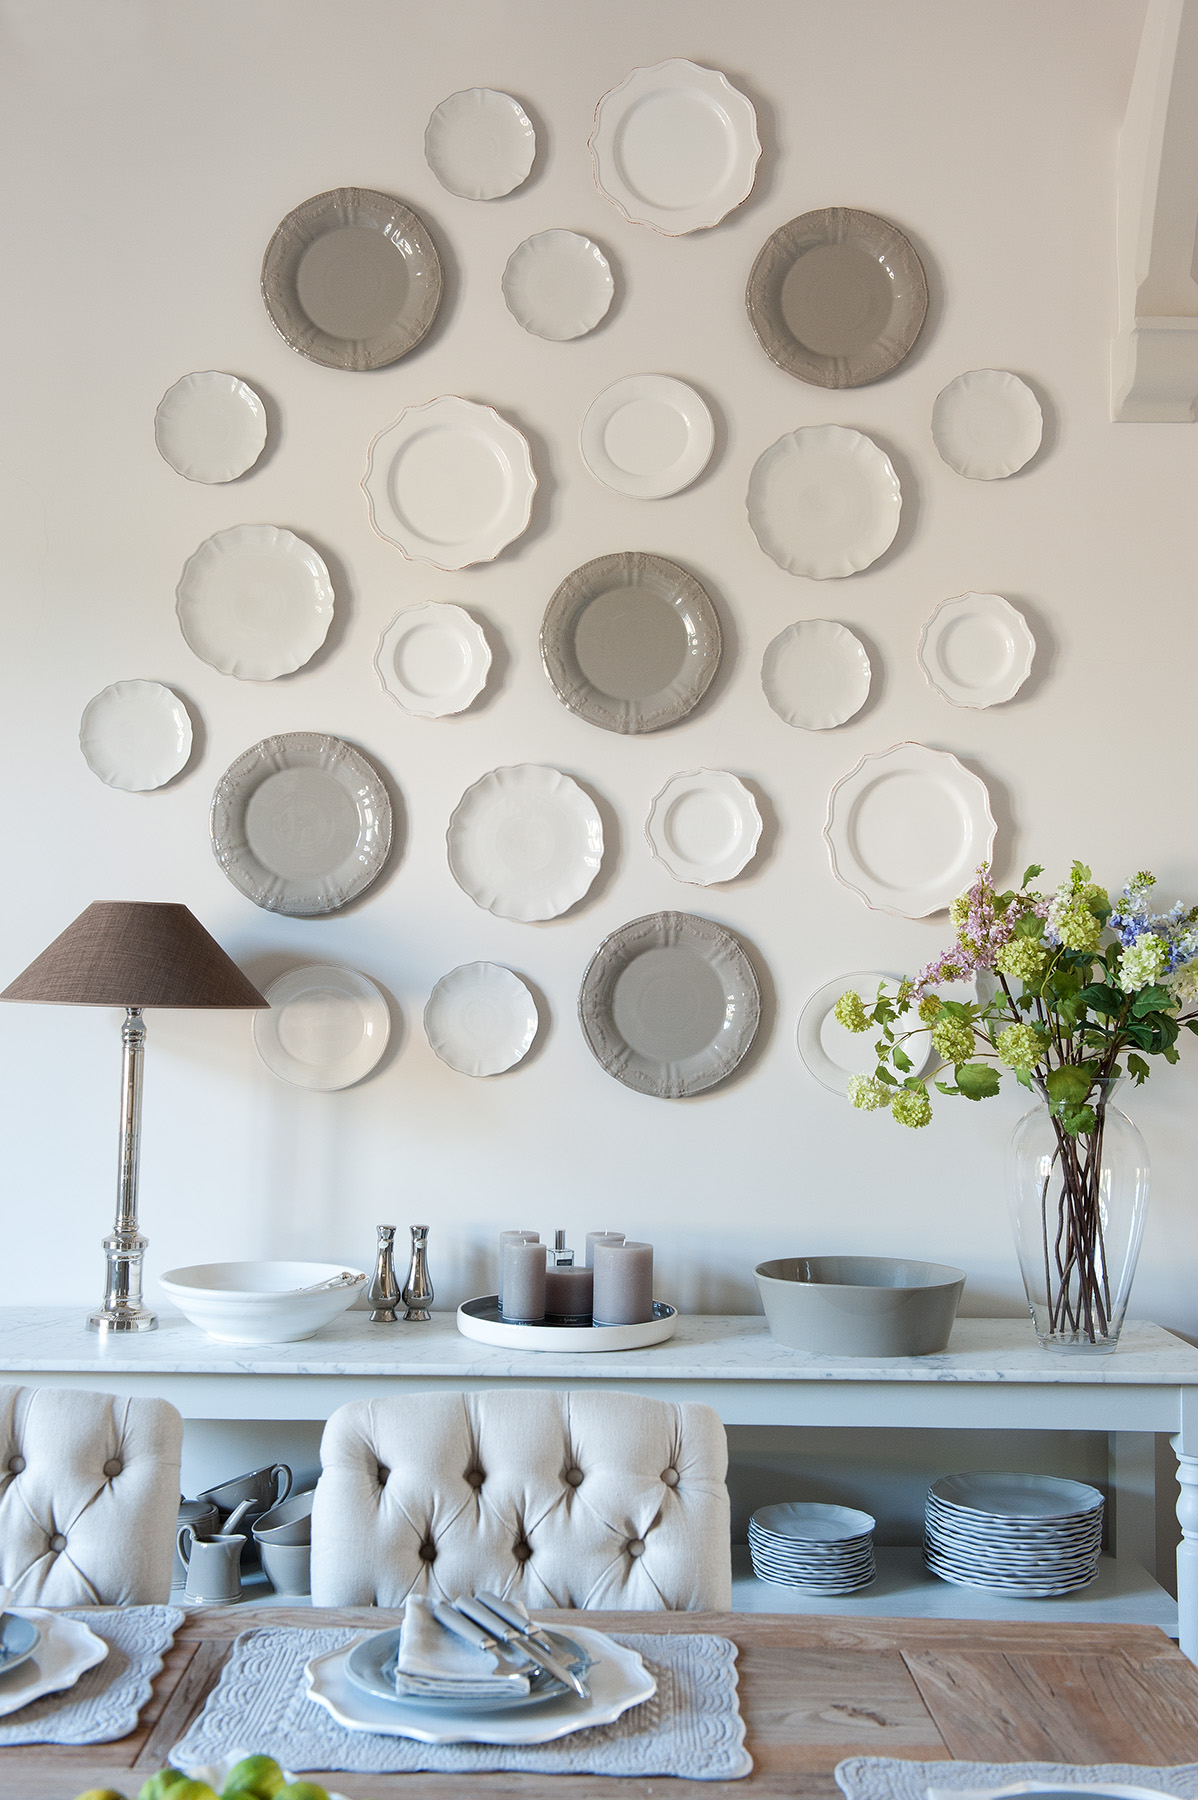
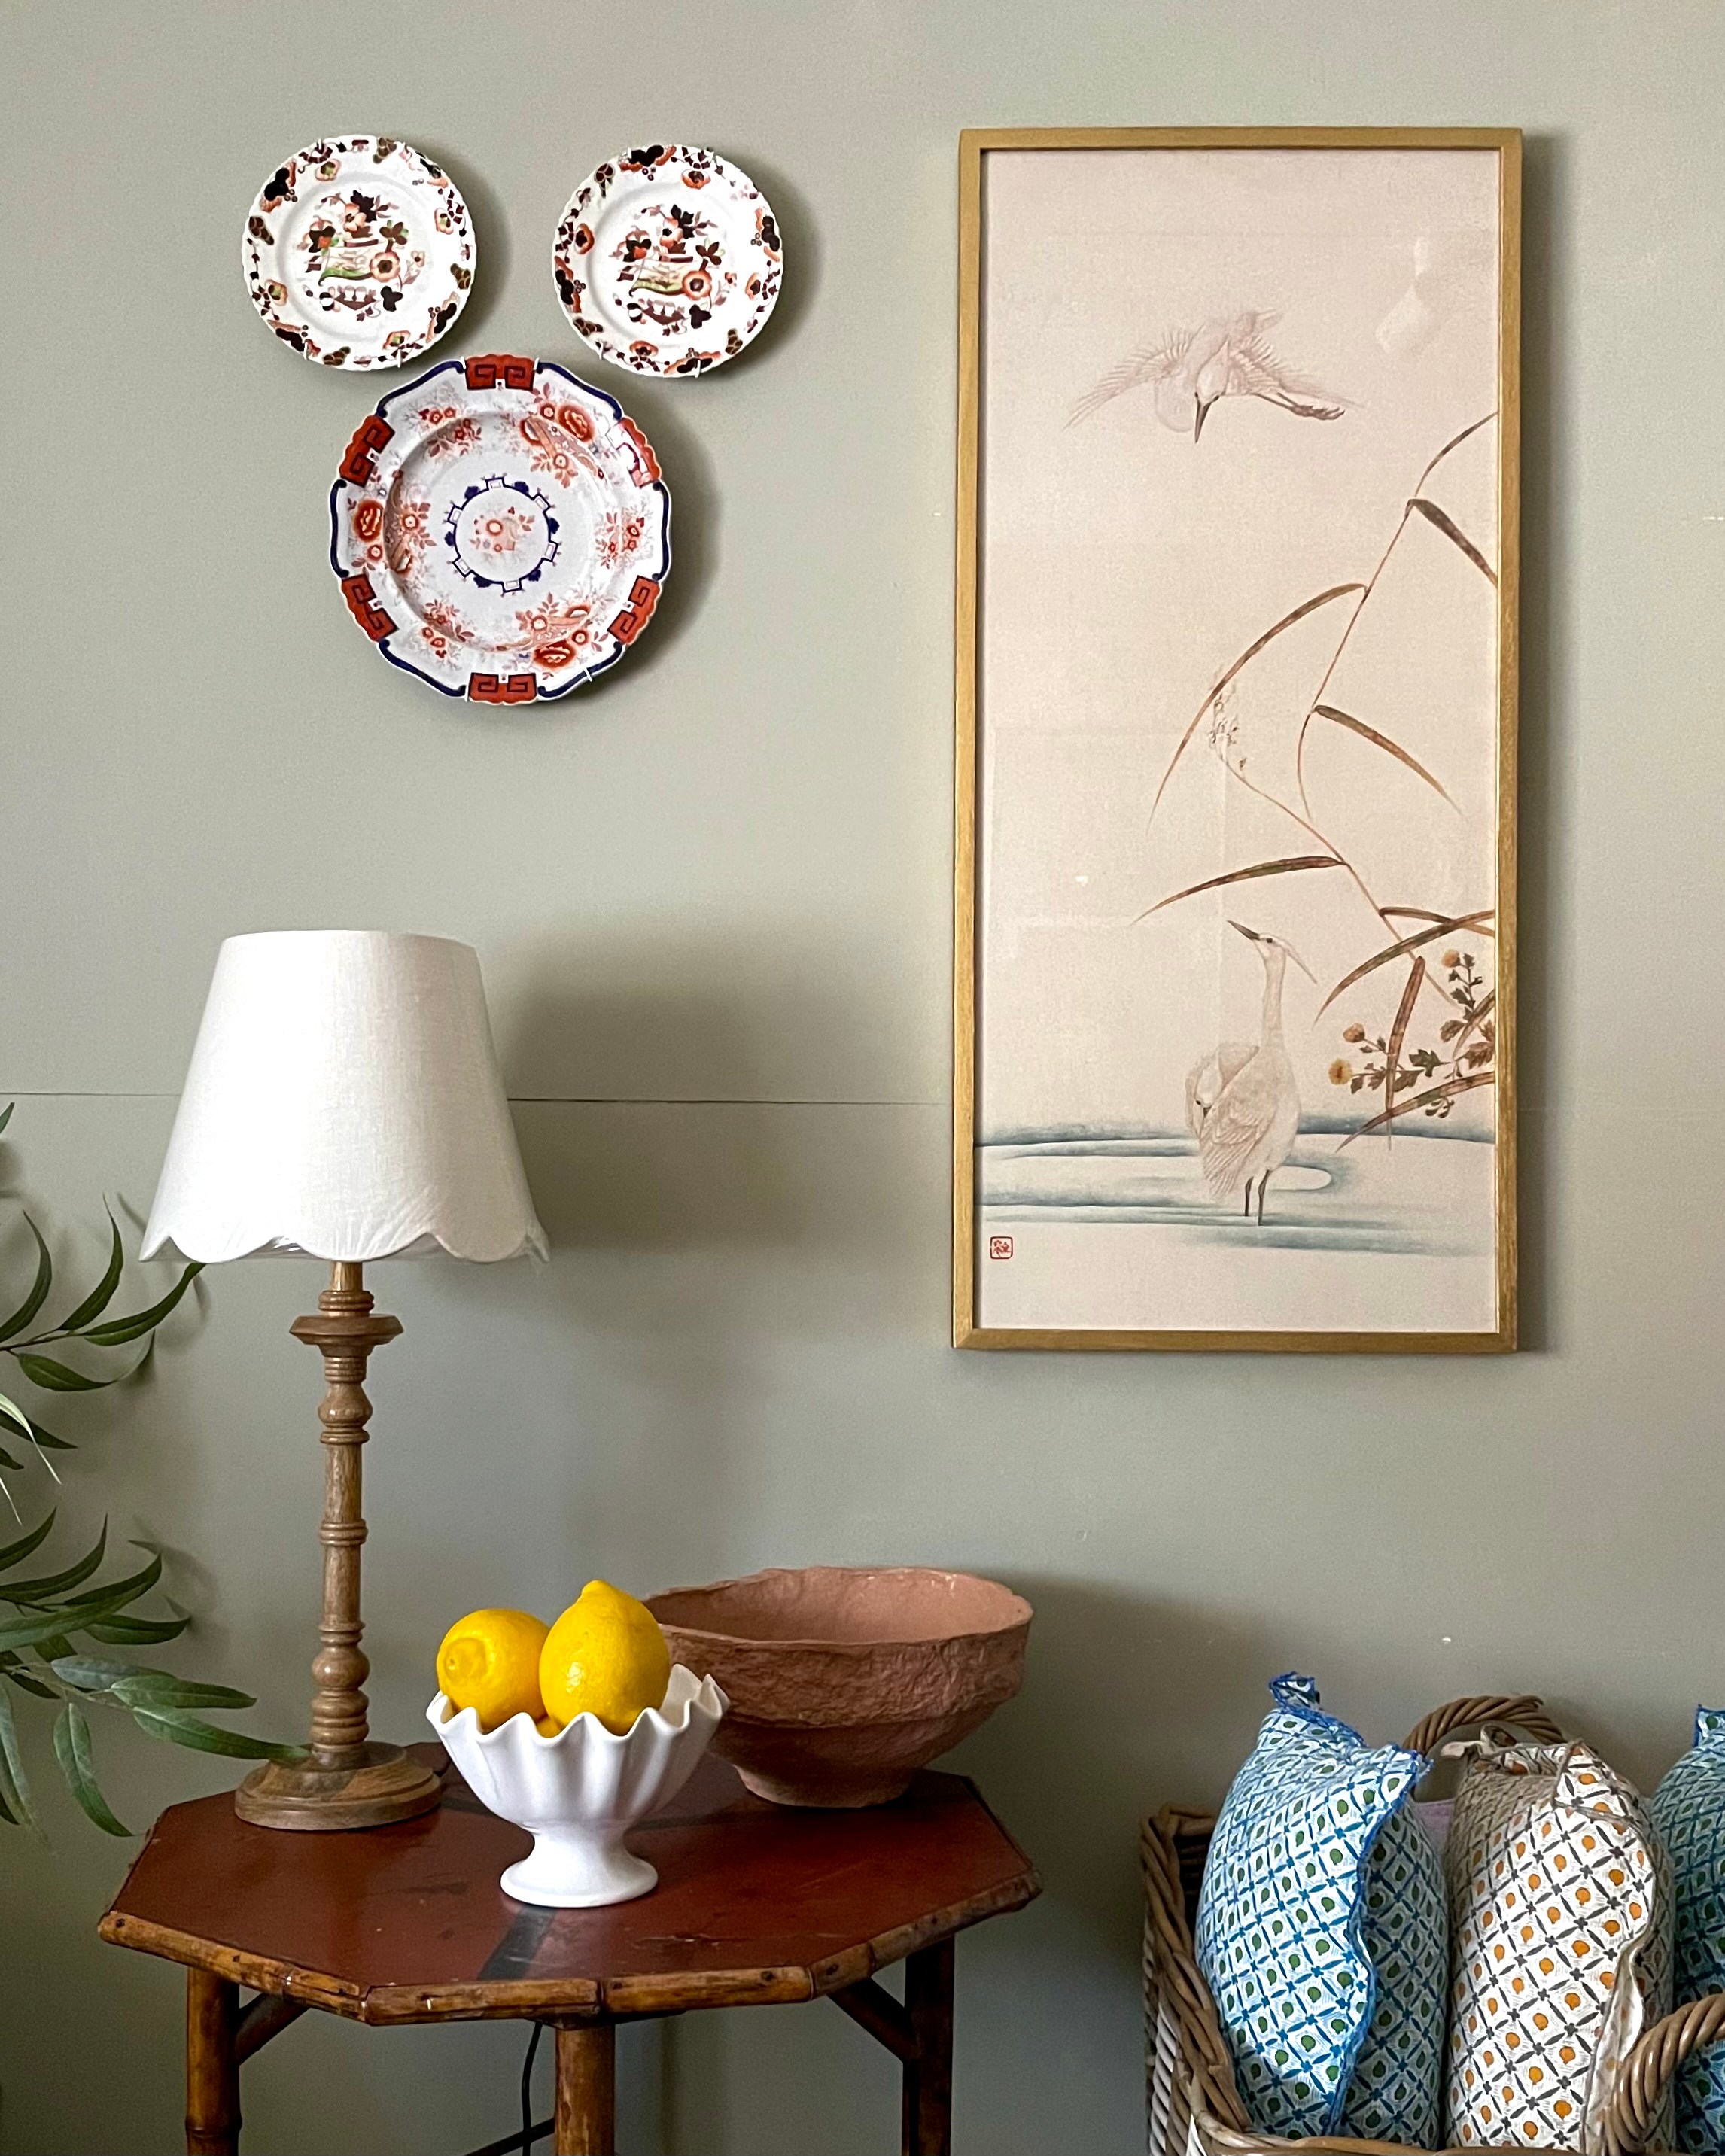
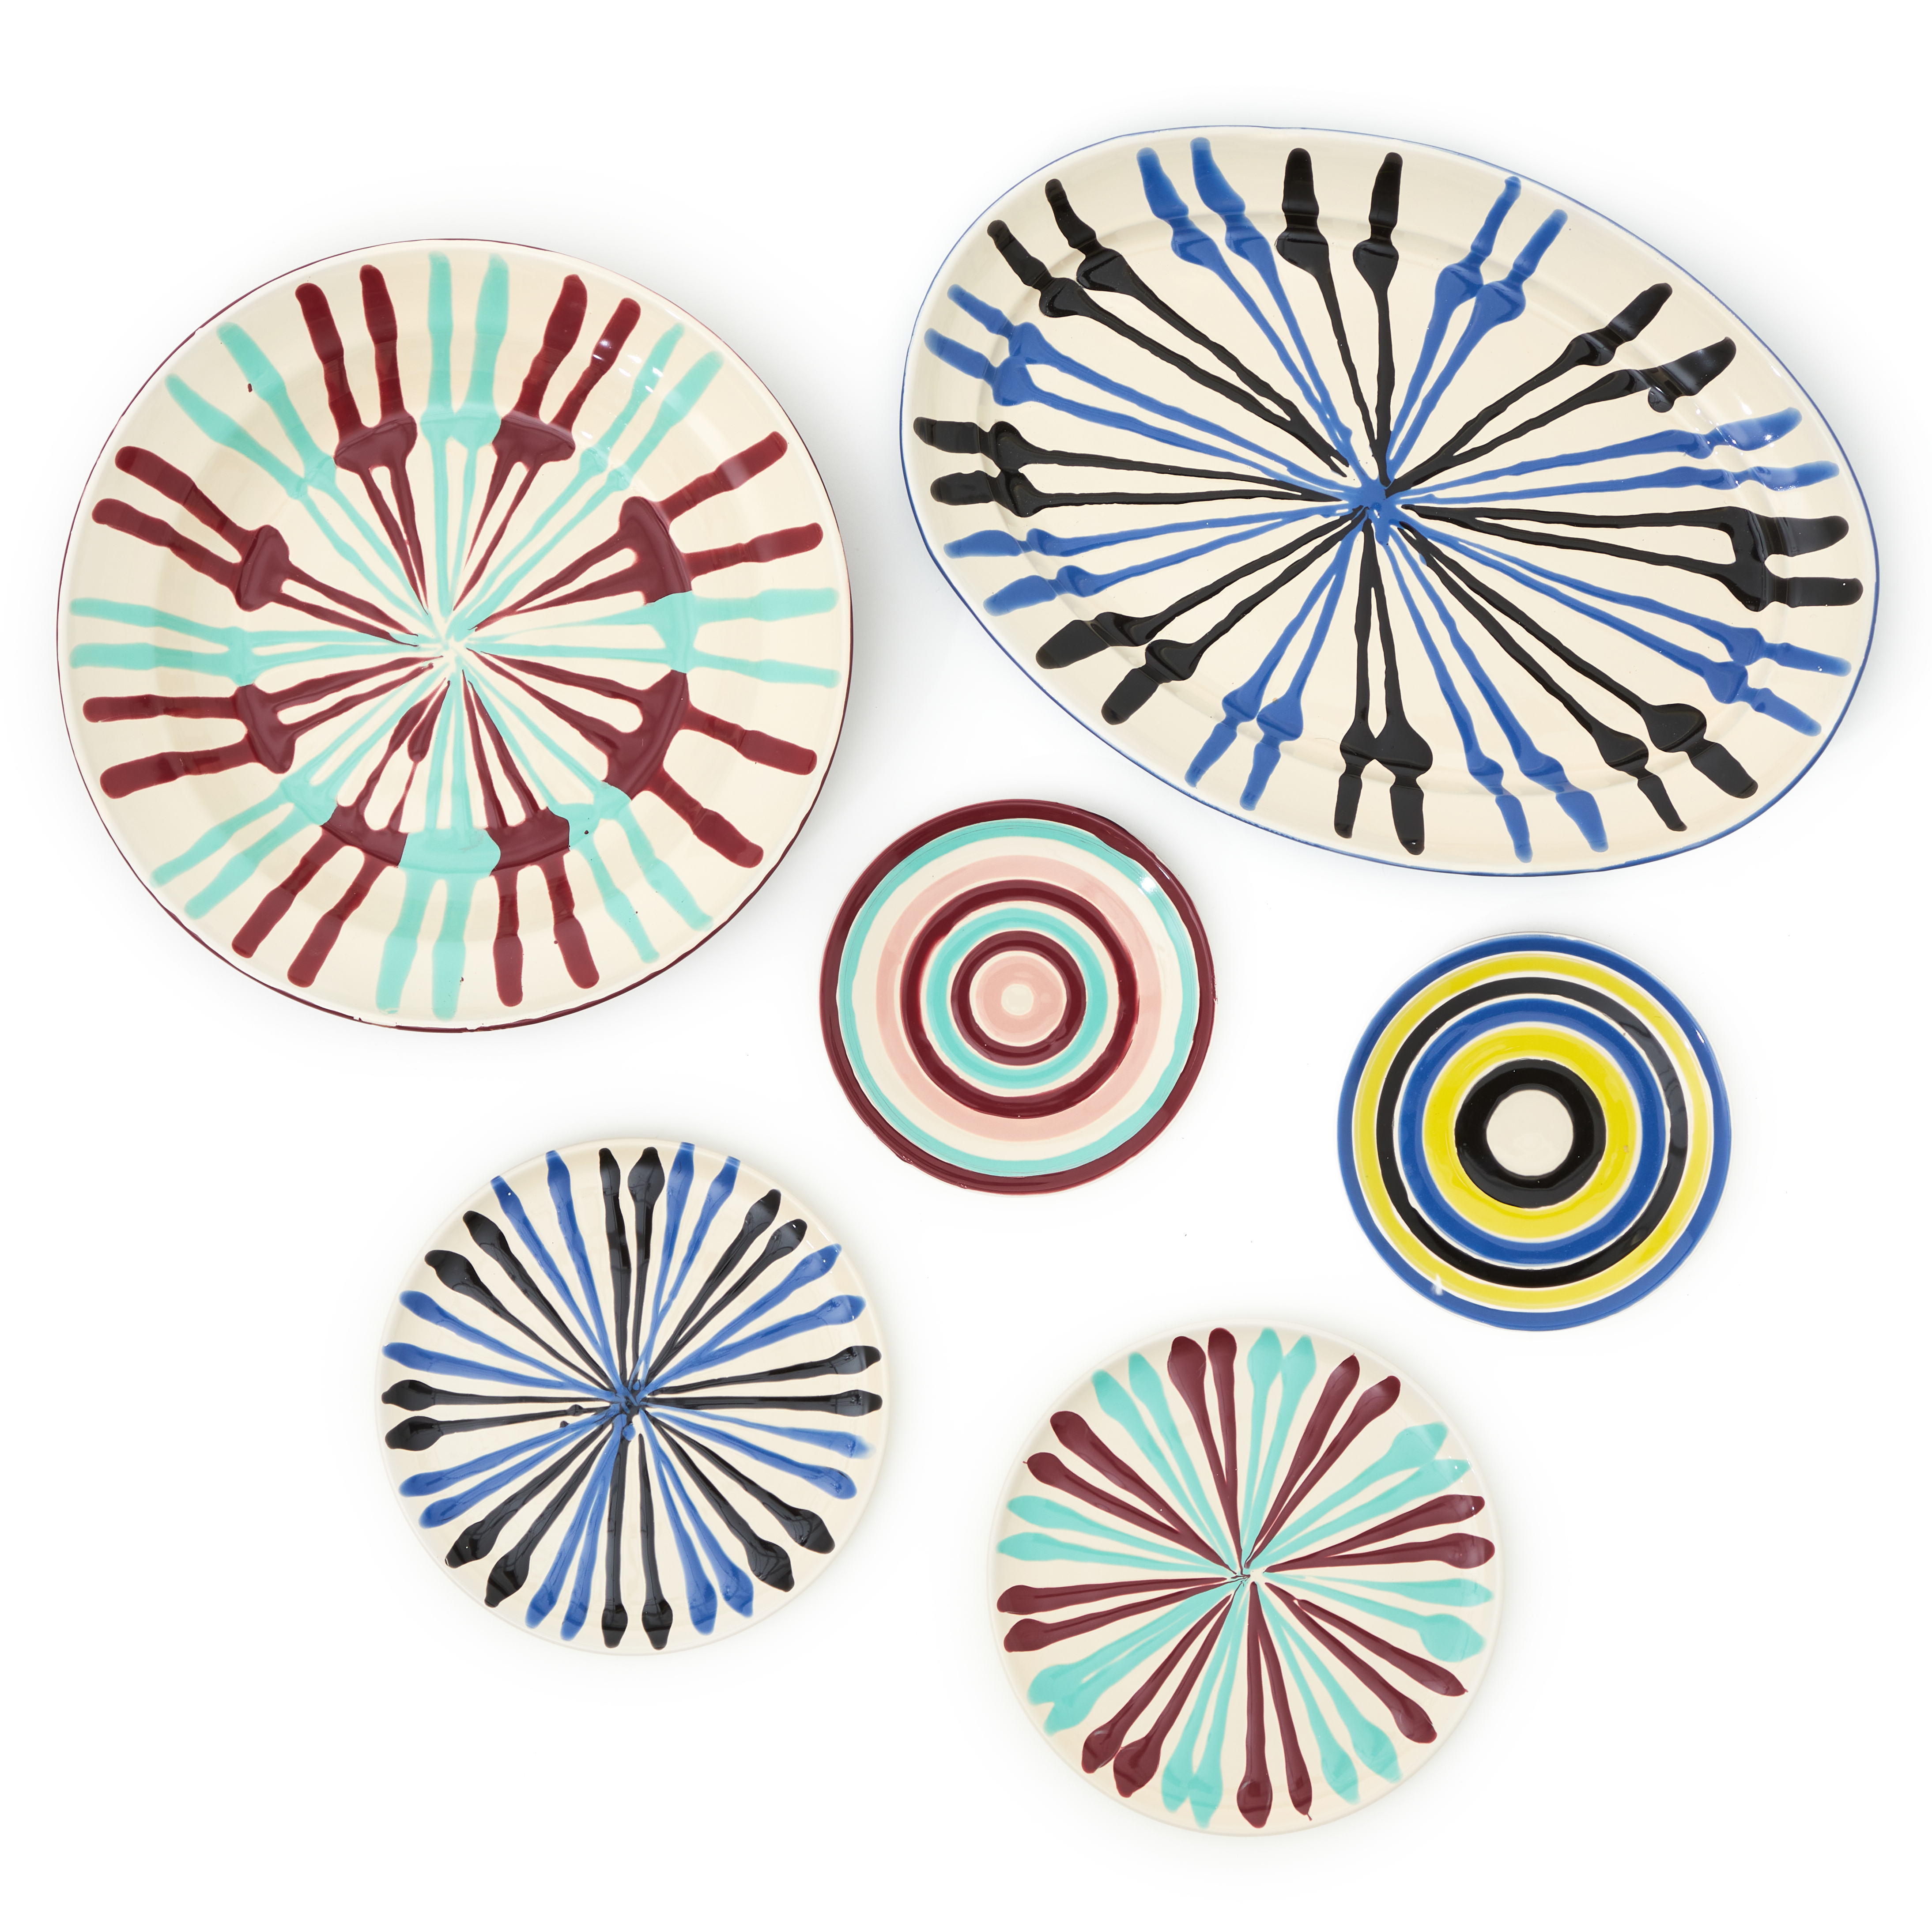
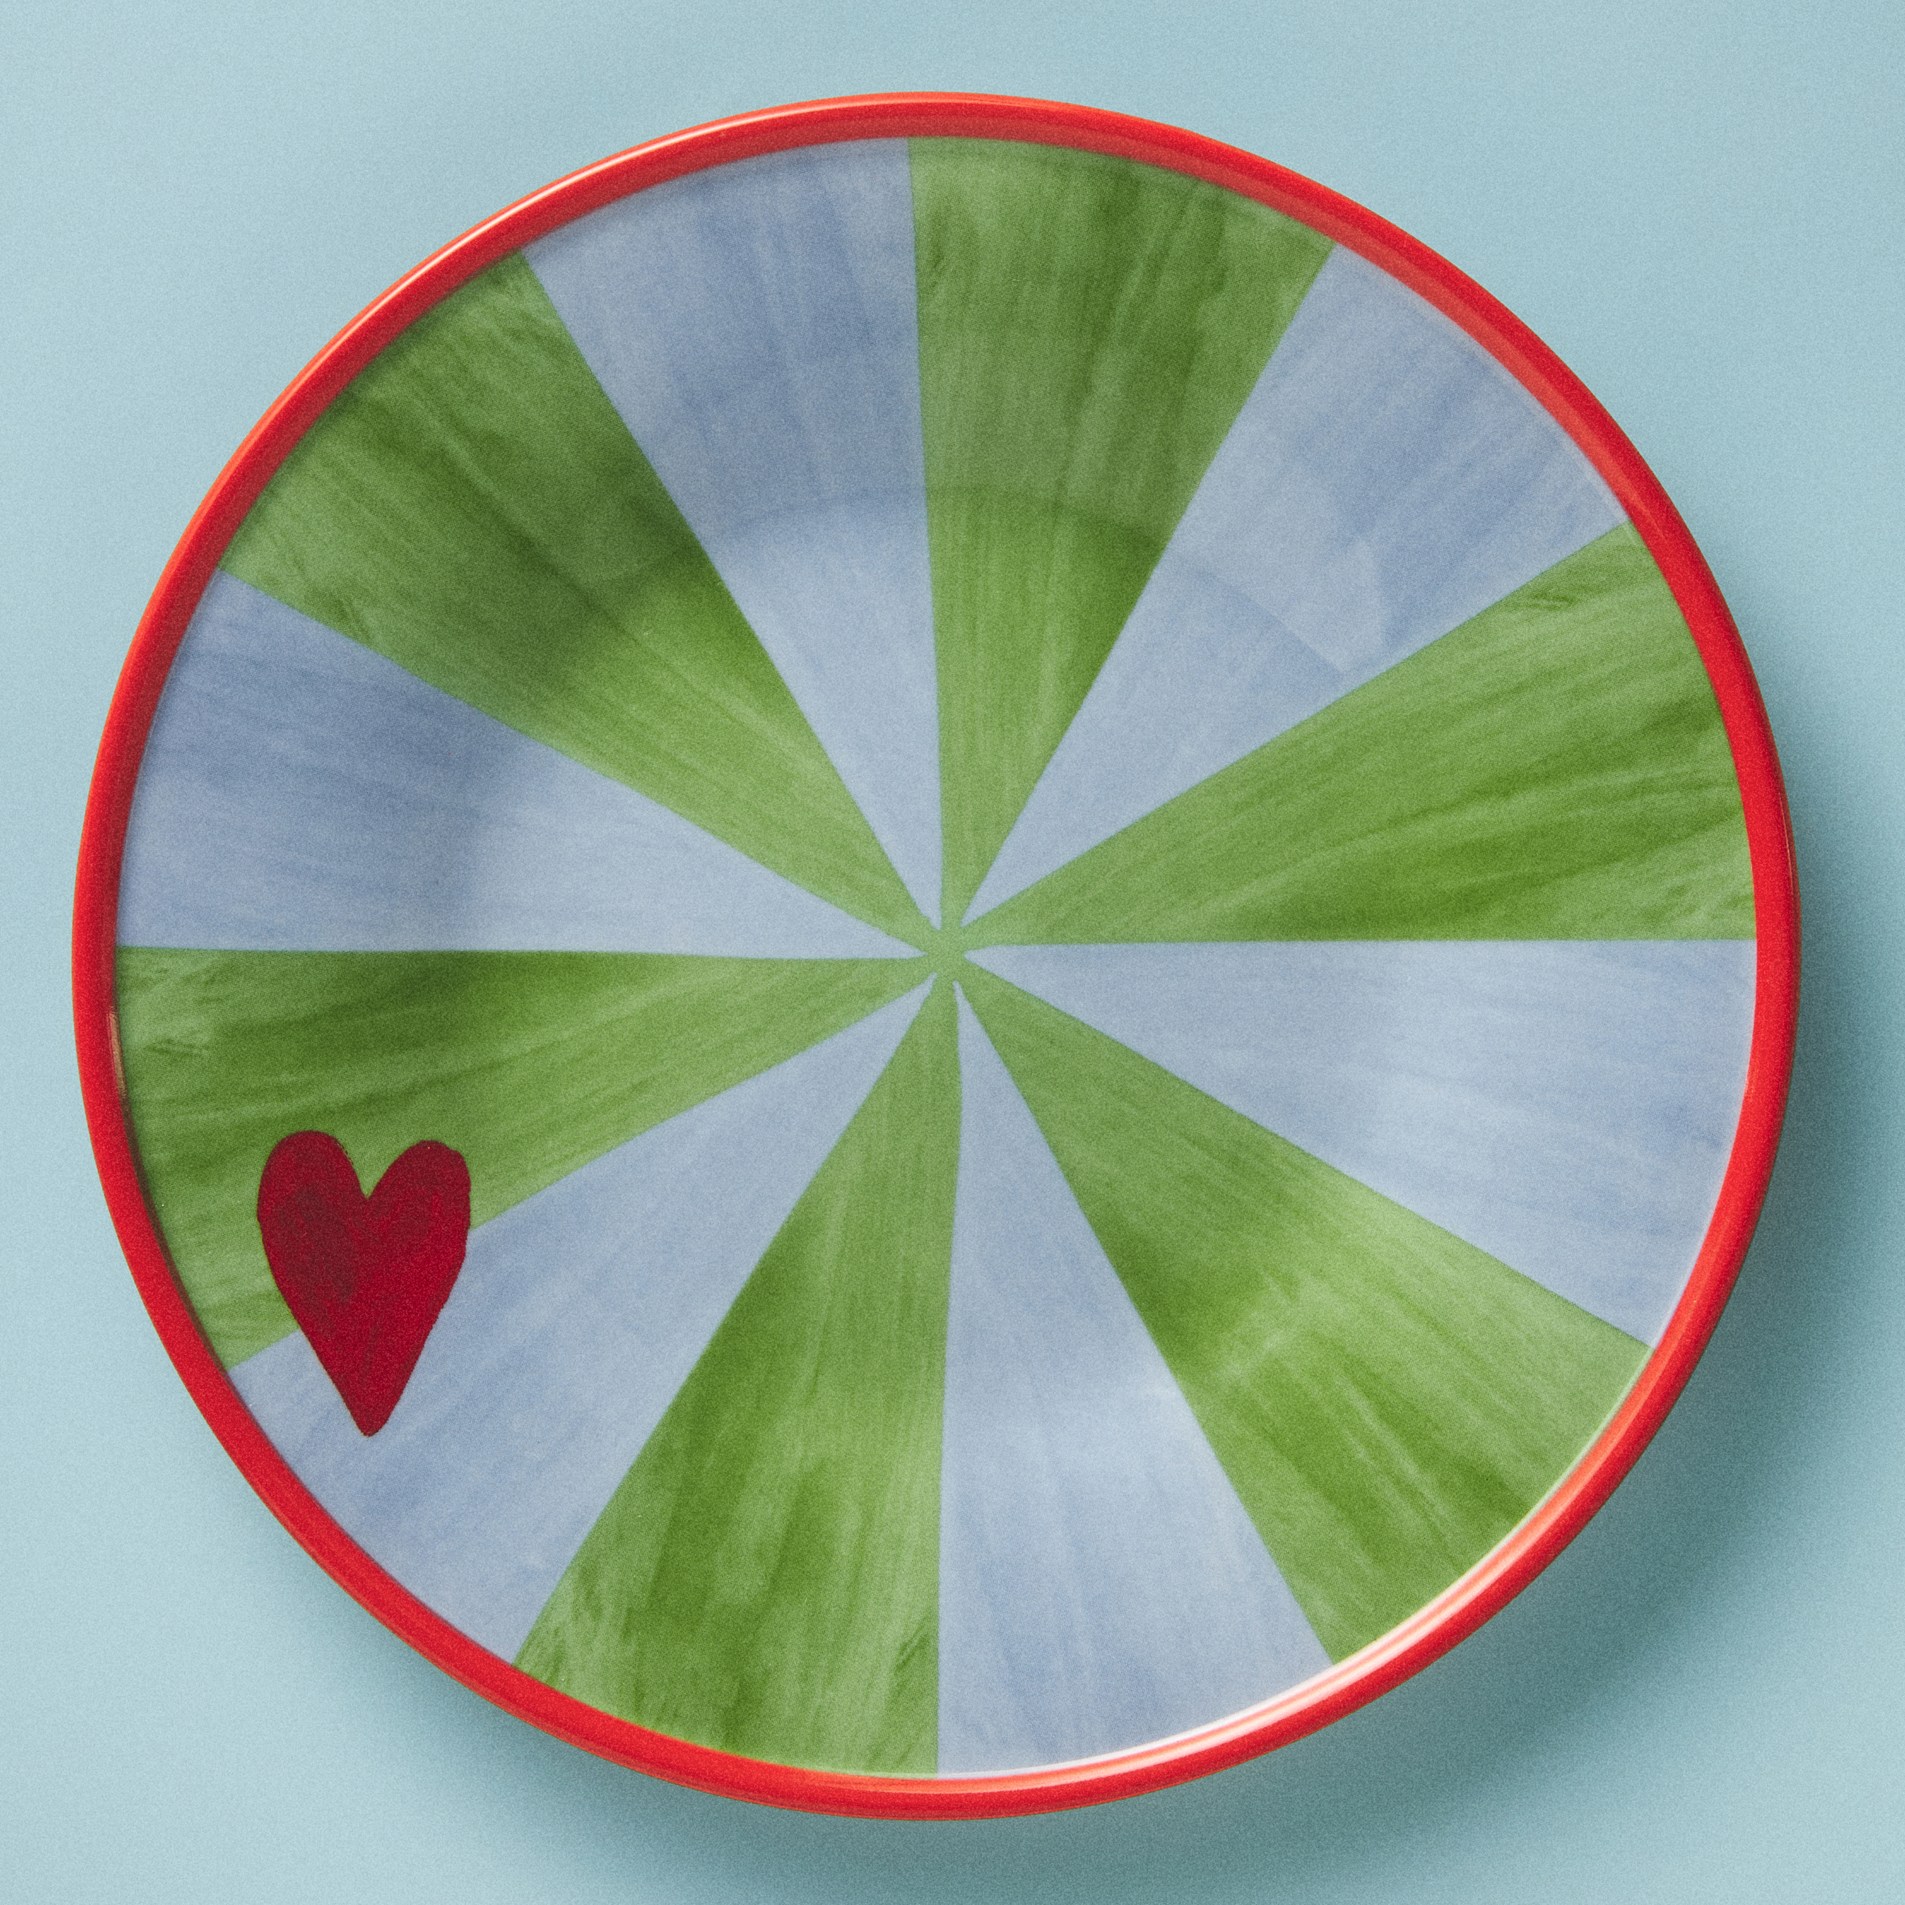
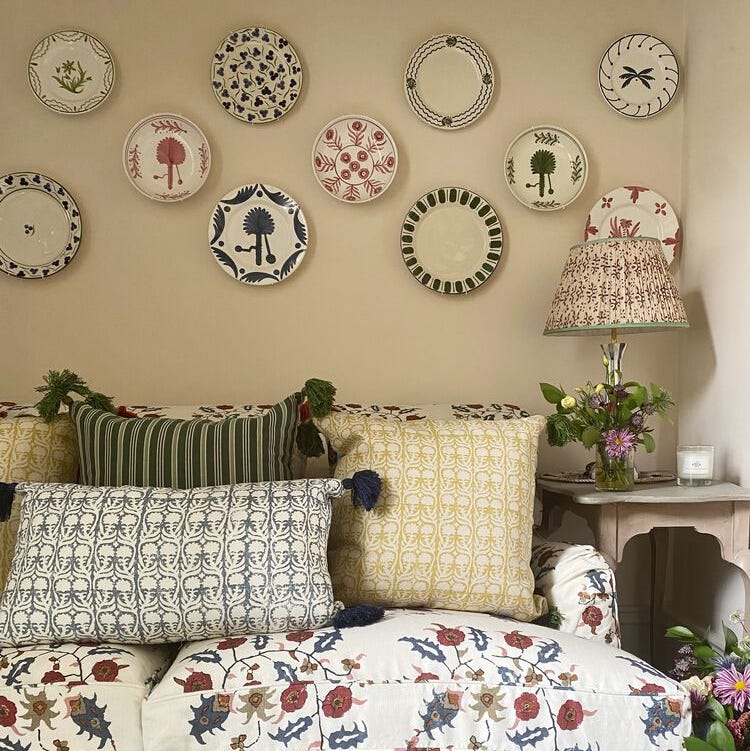
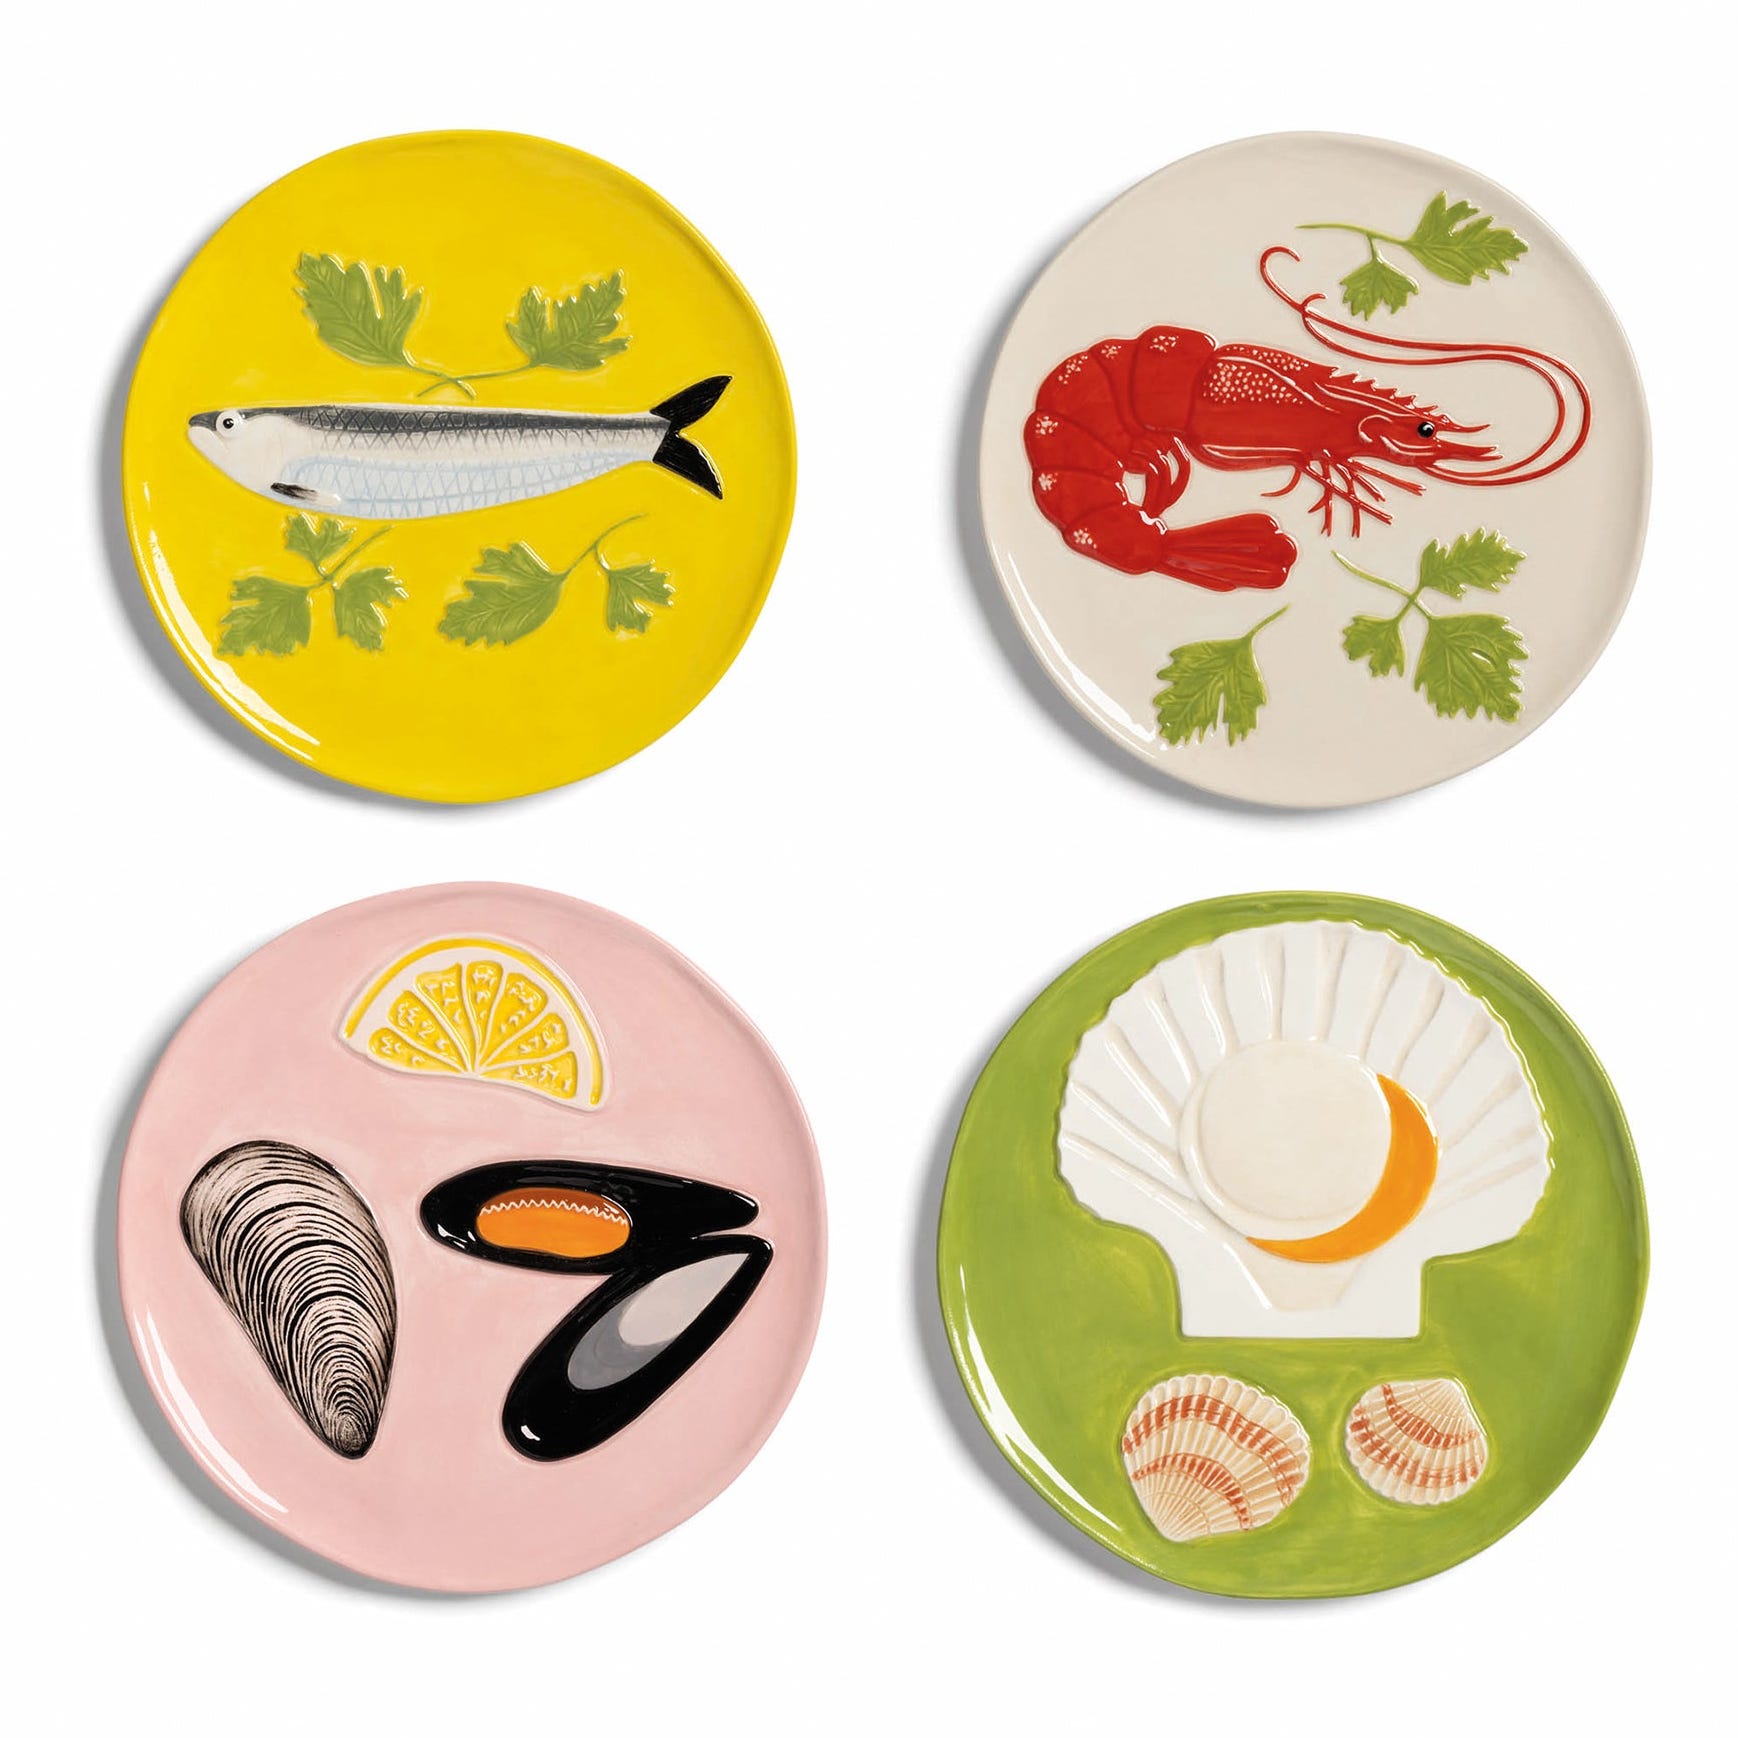
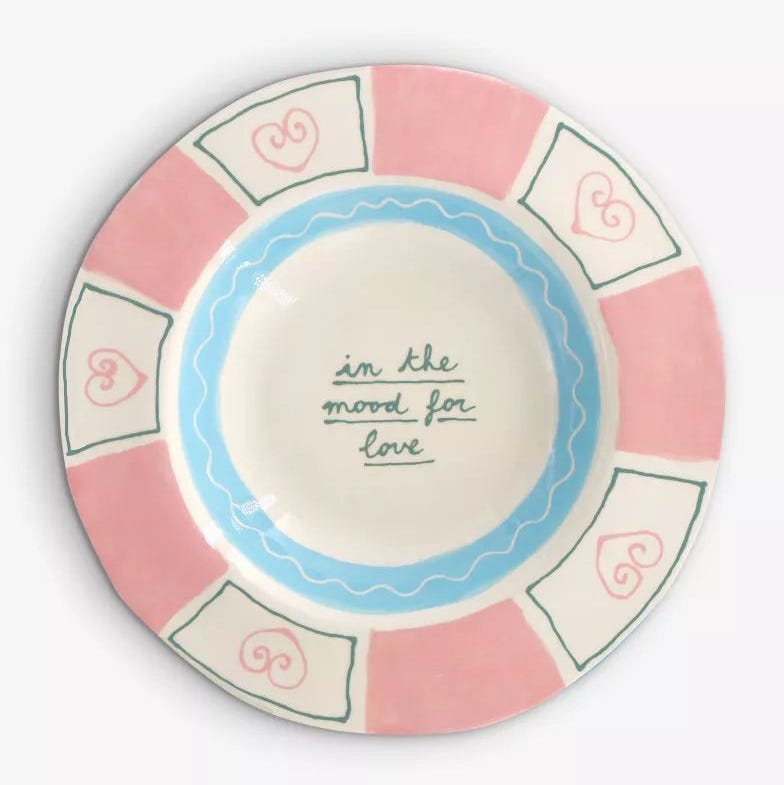
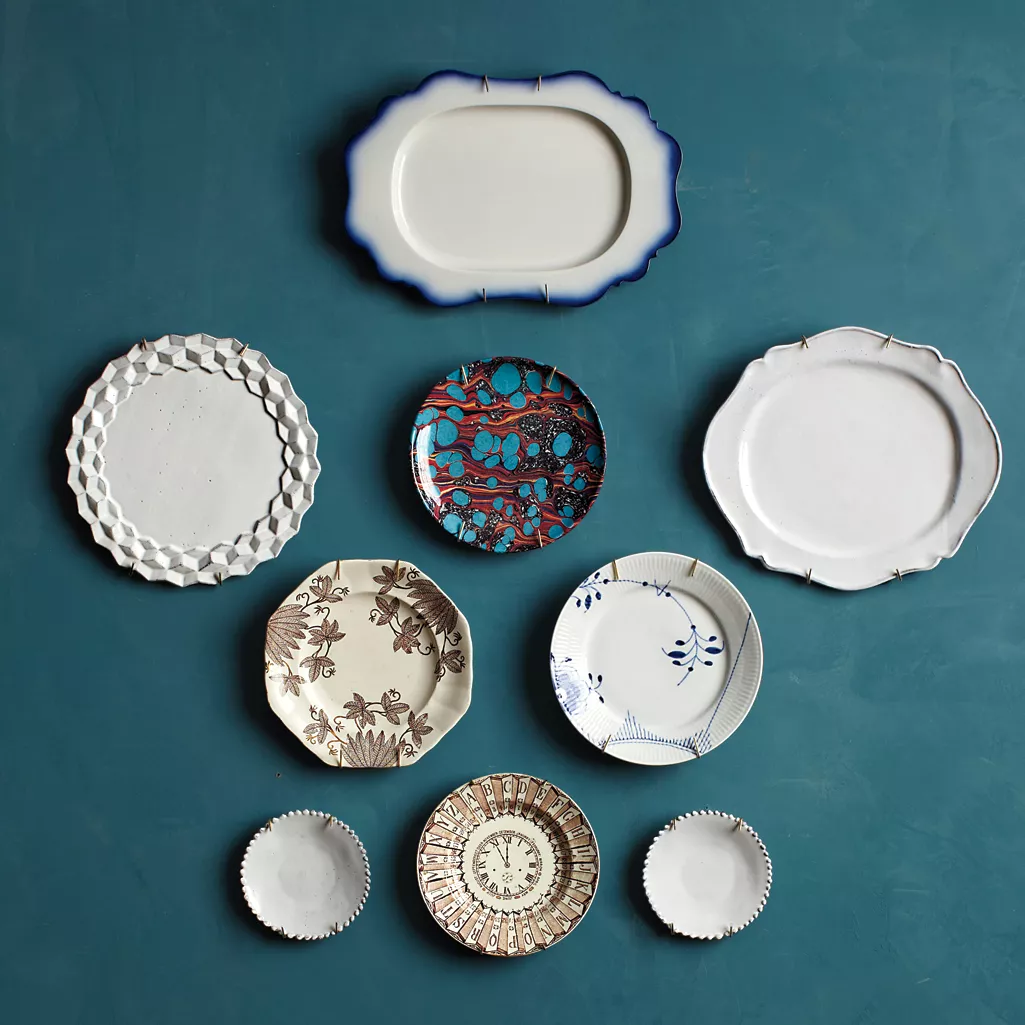
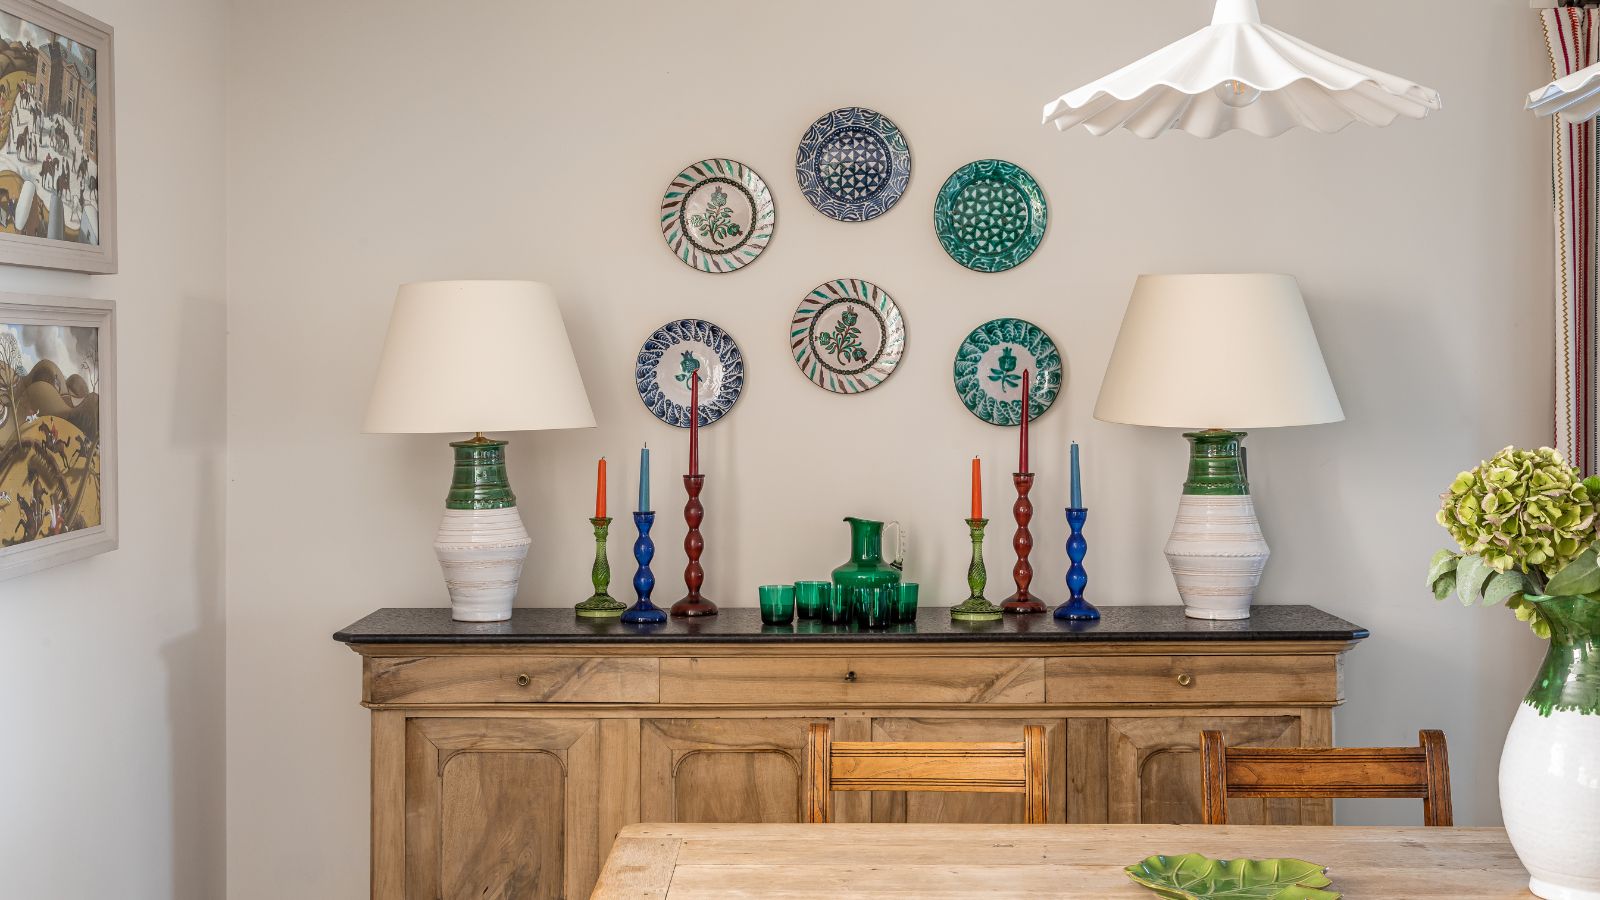
The article provides a detailed, step-by-step guide on how to create a plate wall like a professional interior designer. The first step, 'Curate Your Plates,' advises prioritizing pieces that are personal and have a cohesive theme. Mersene suggests being bold with combinations but ensuring the arrangement feels intentional. Flat, shallow plates are recommended for easier and more stable hanging. A cohesive color scheme or a balance between ornate and minimal designs is crucial for visual harmony.
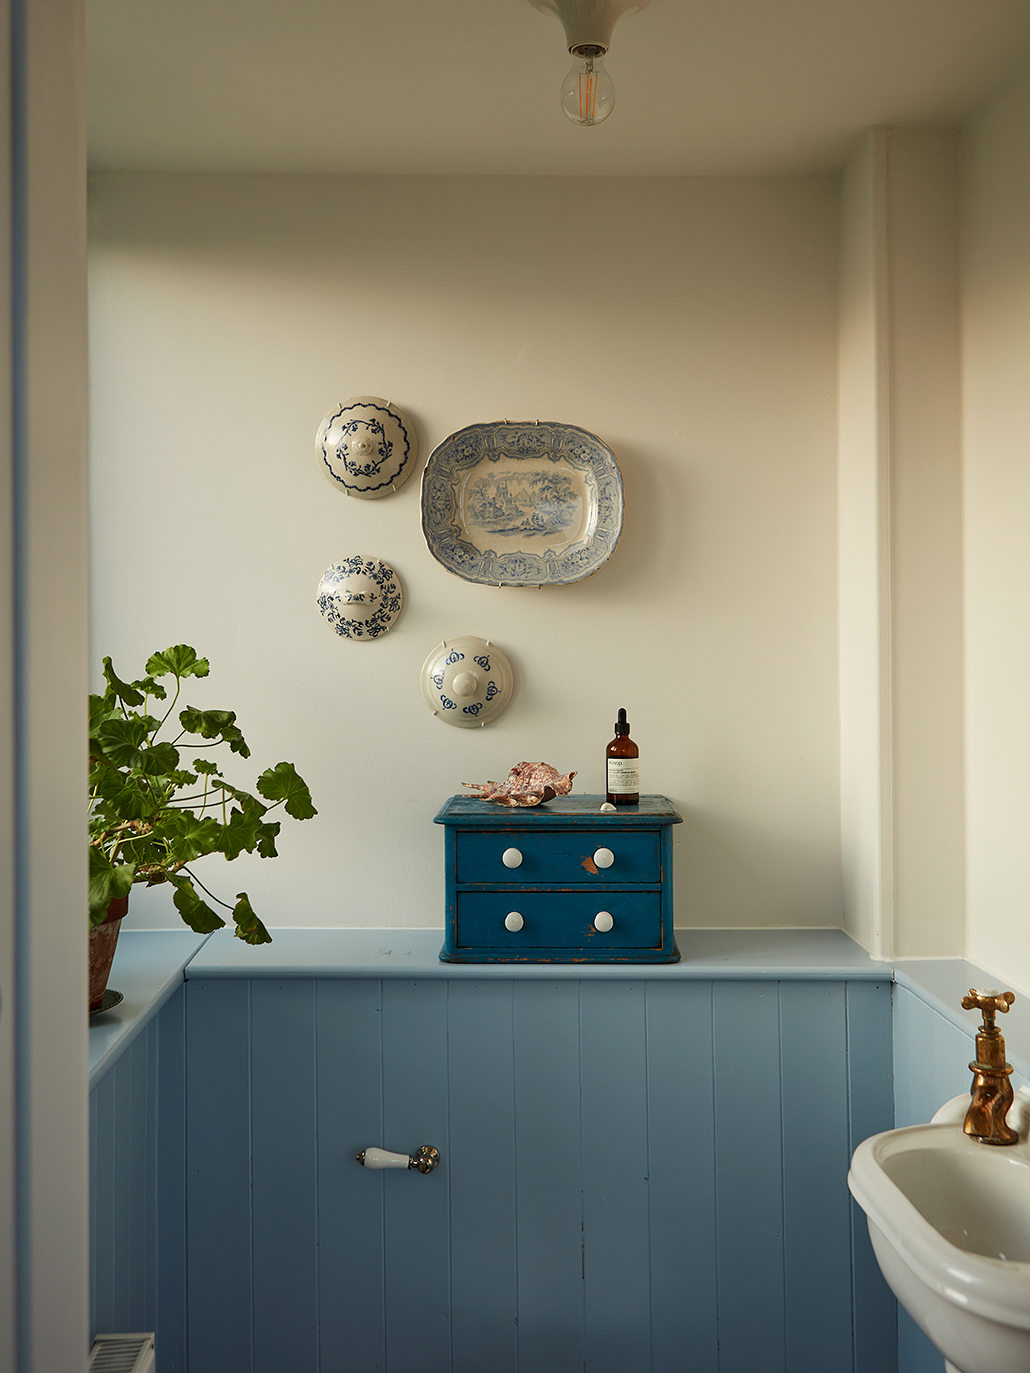
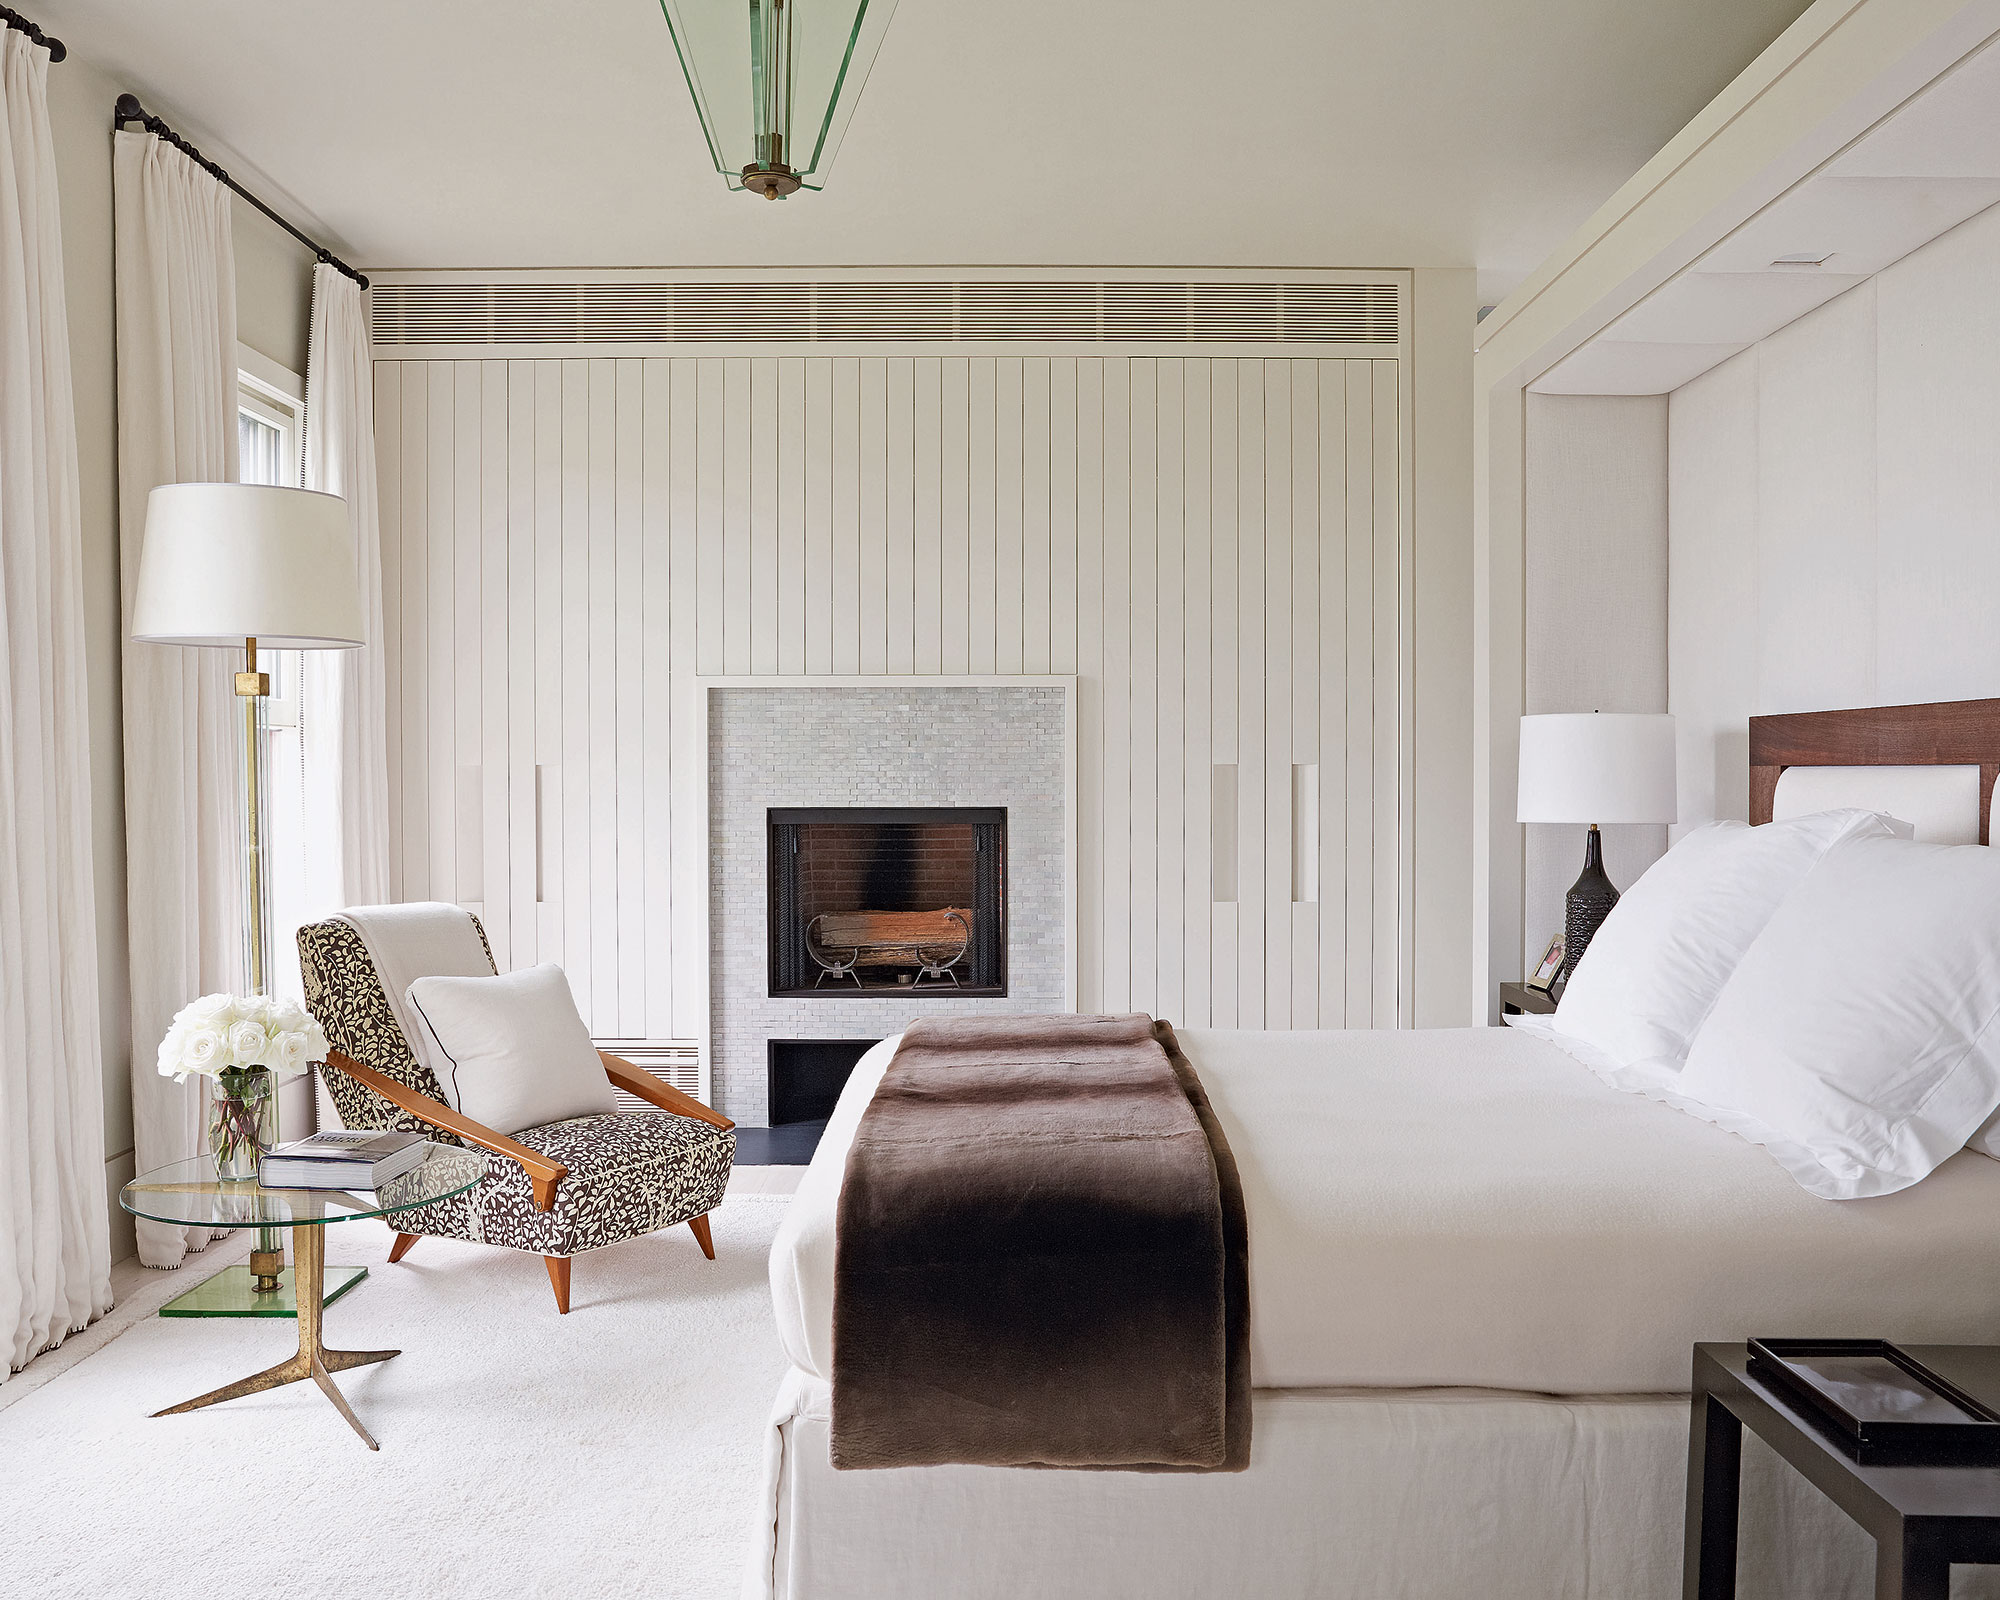
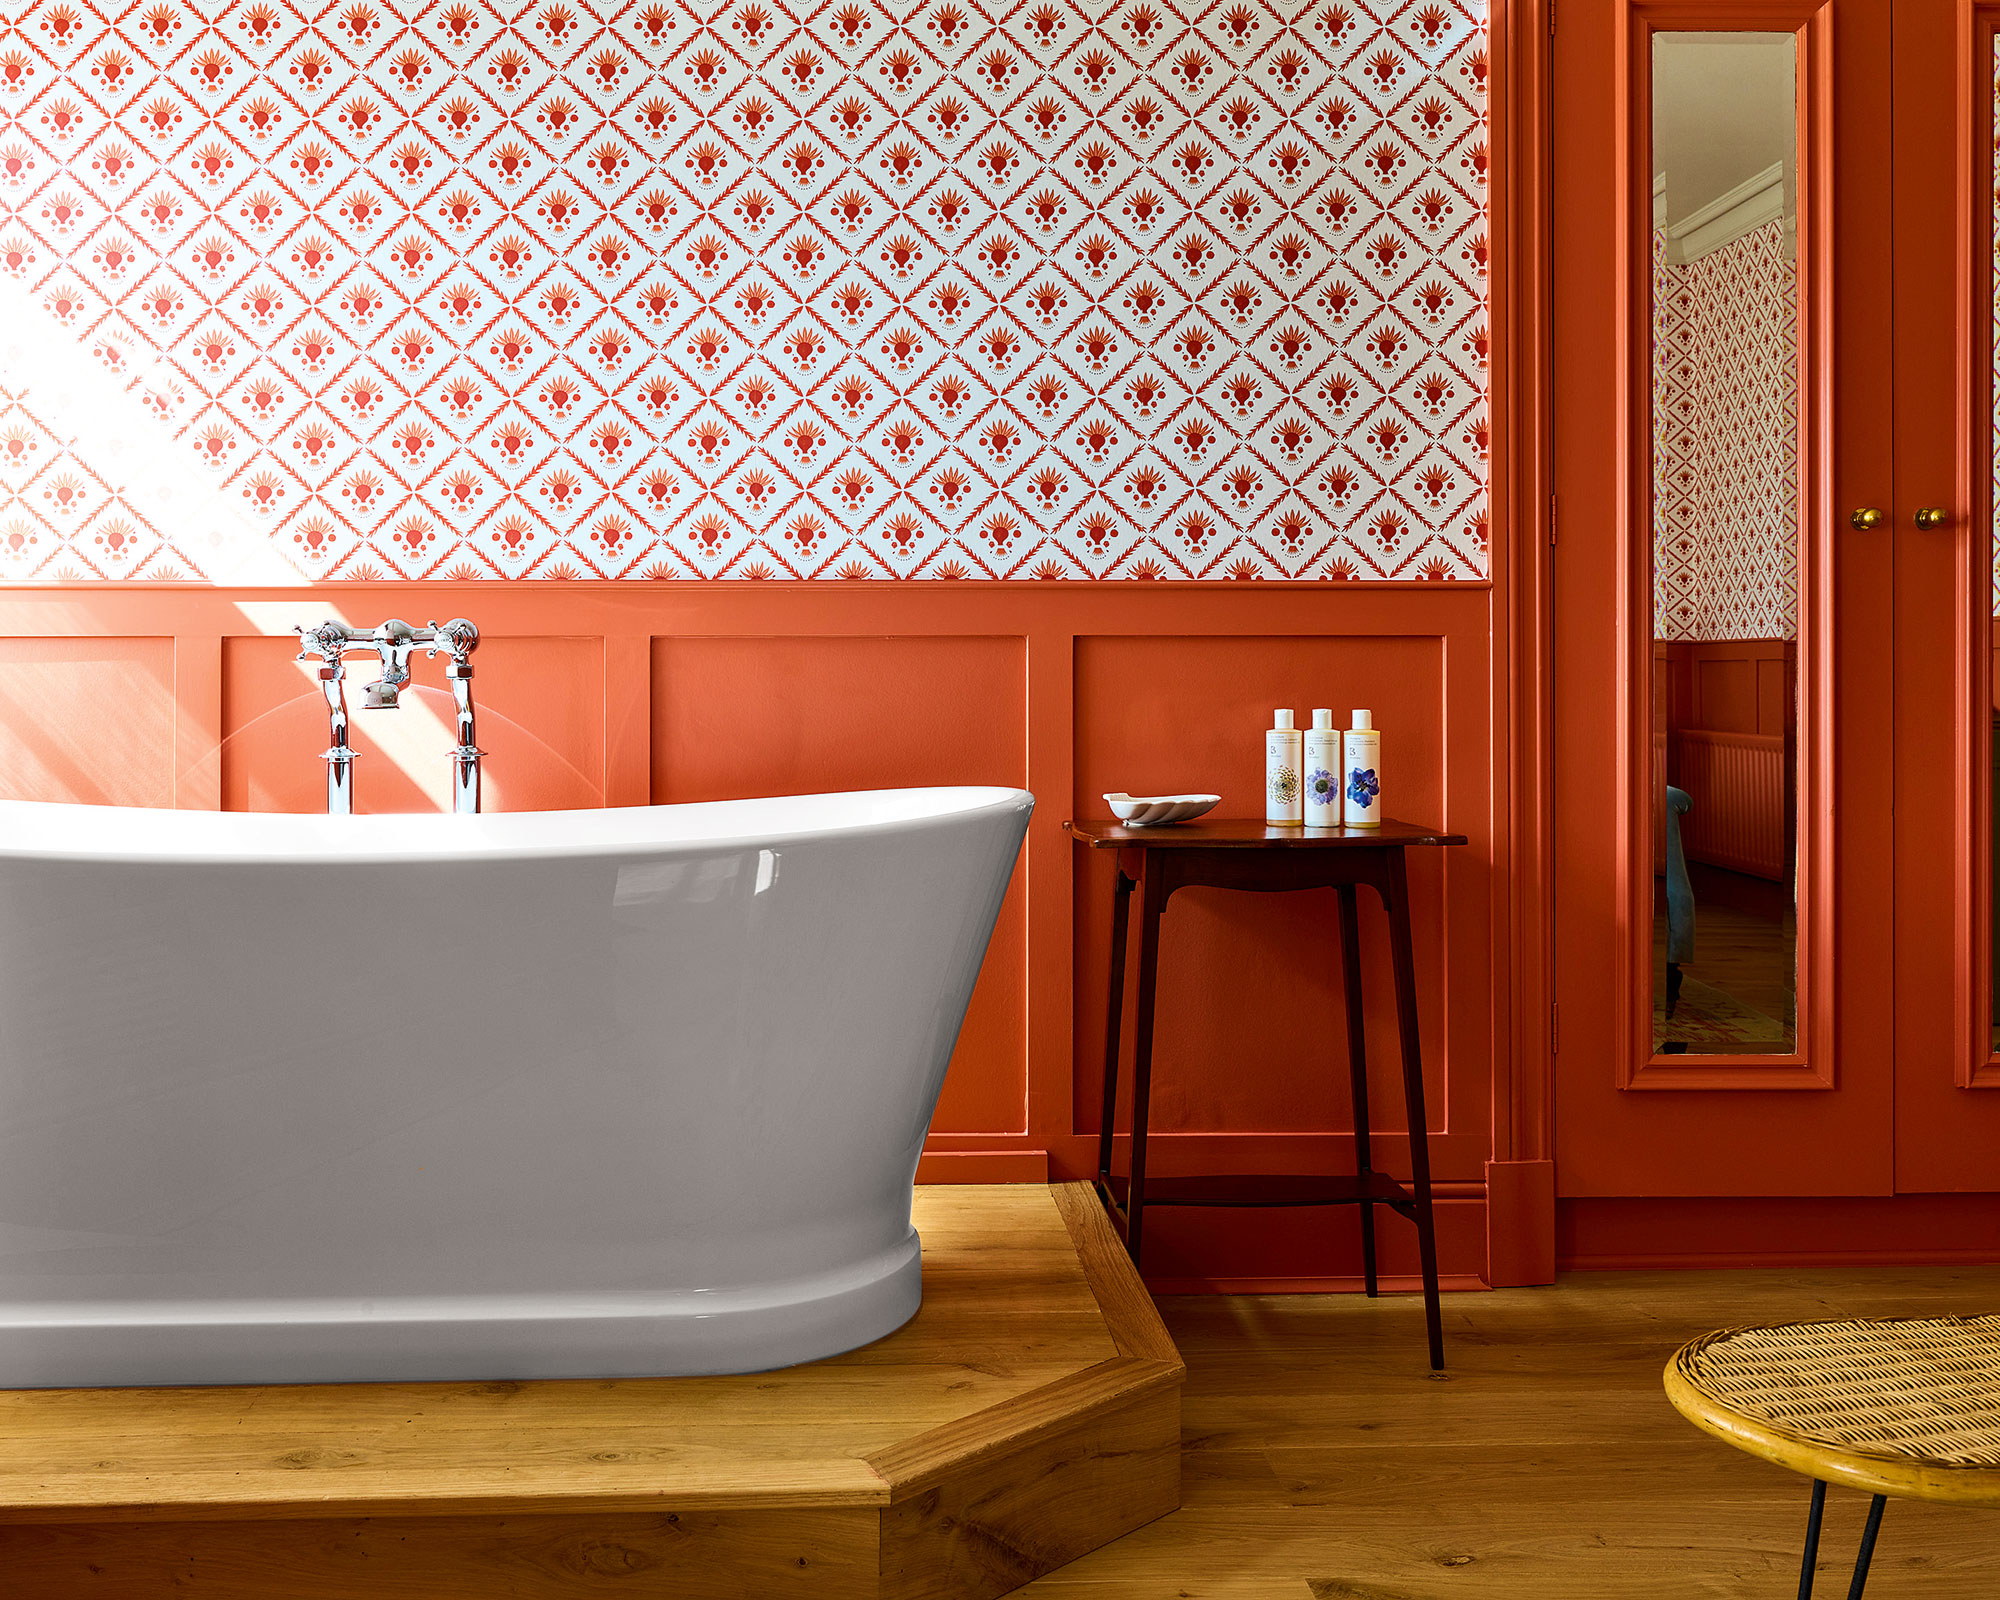
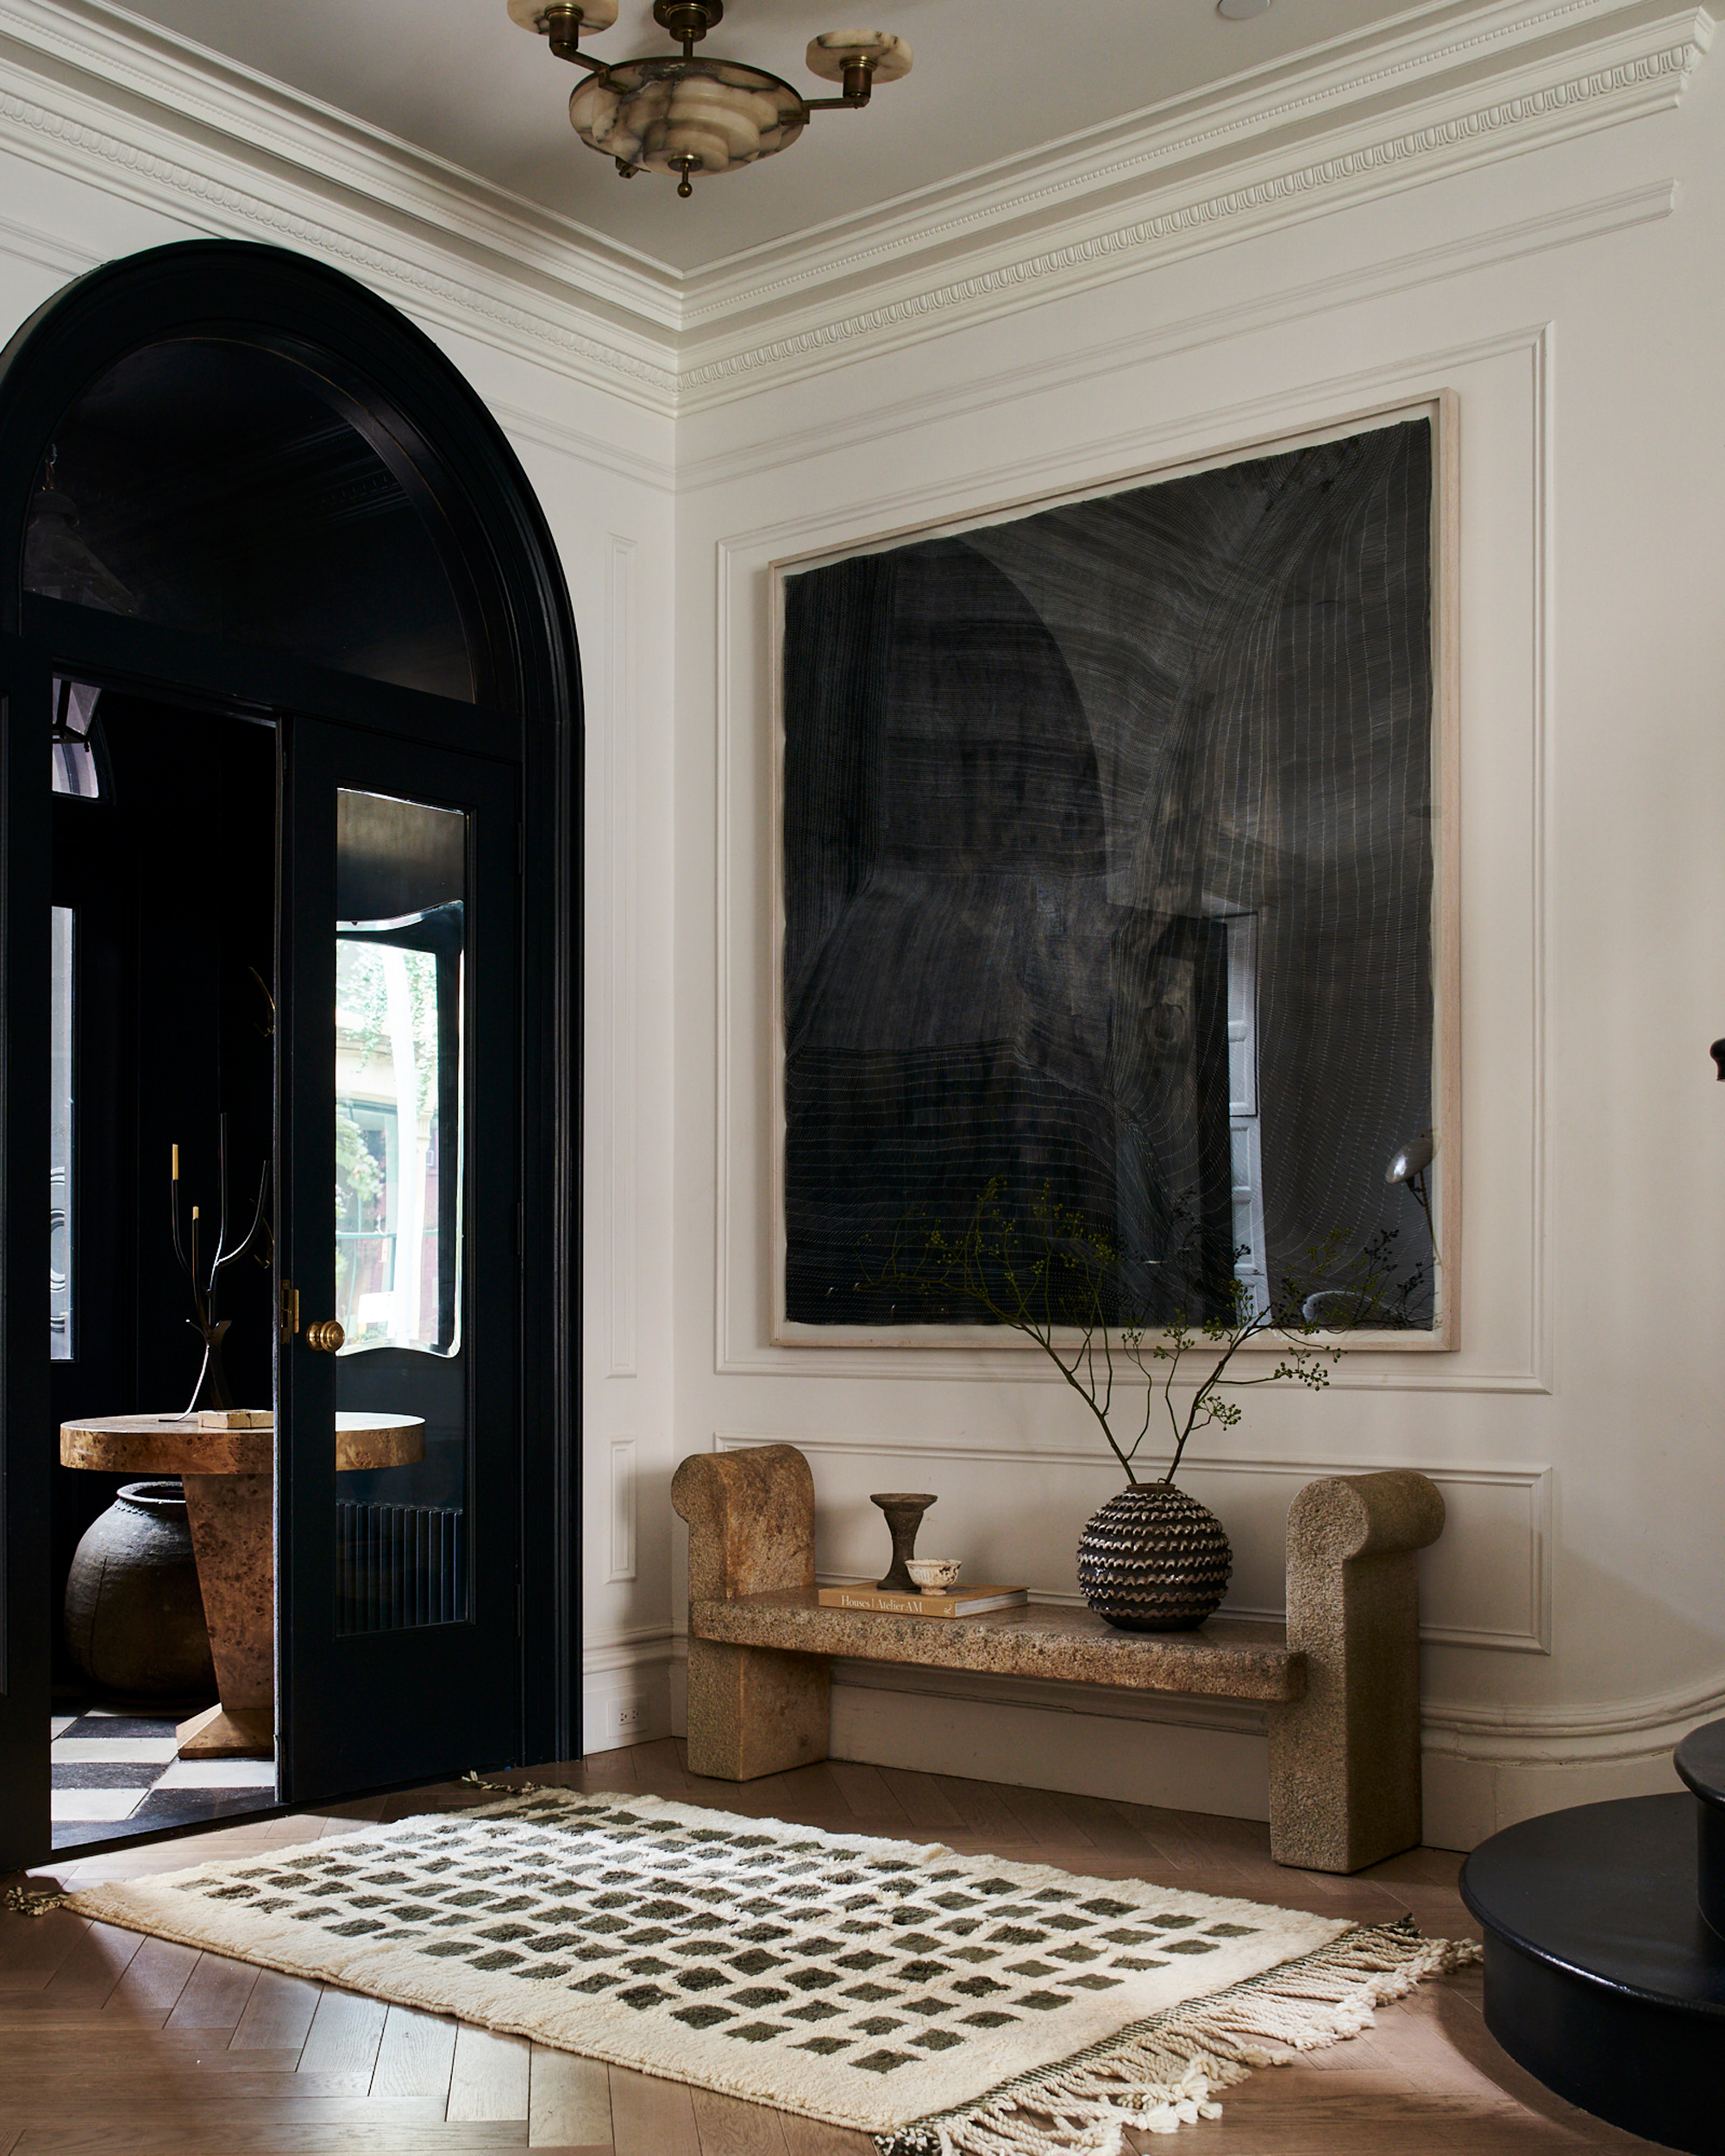
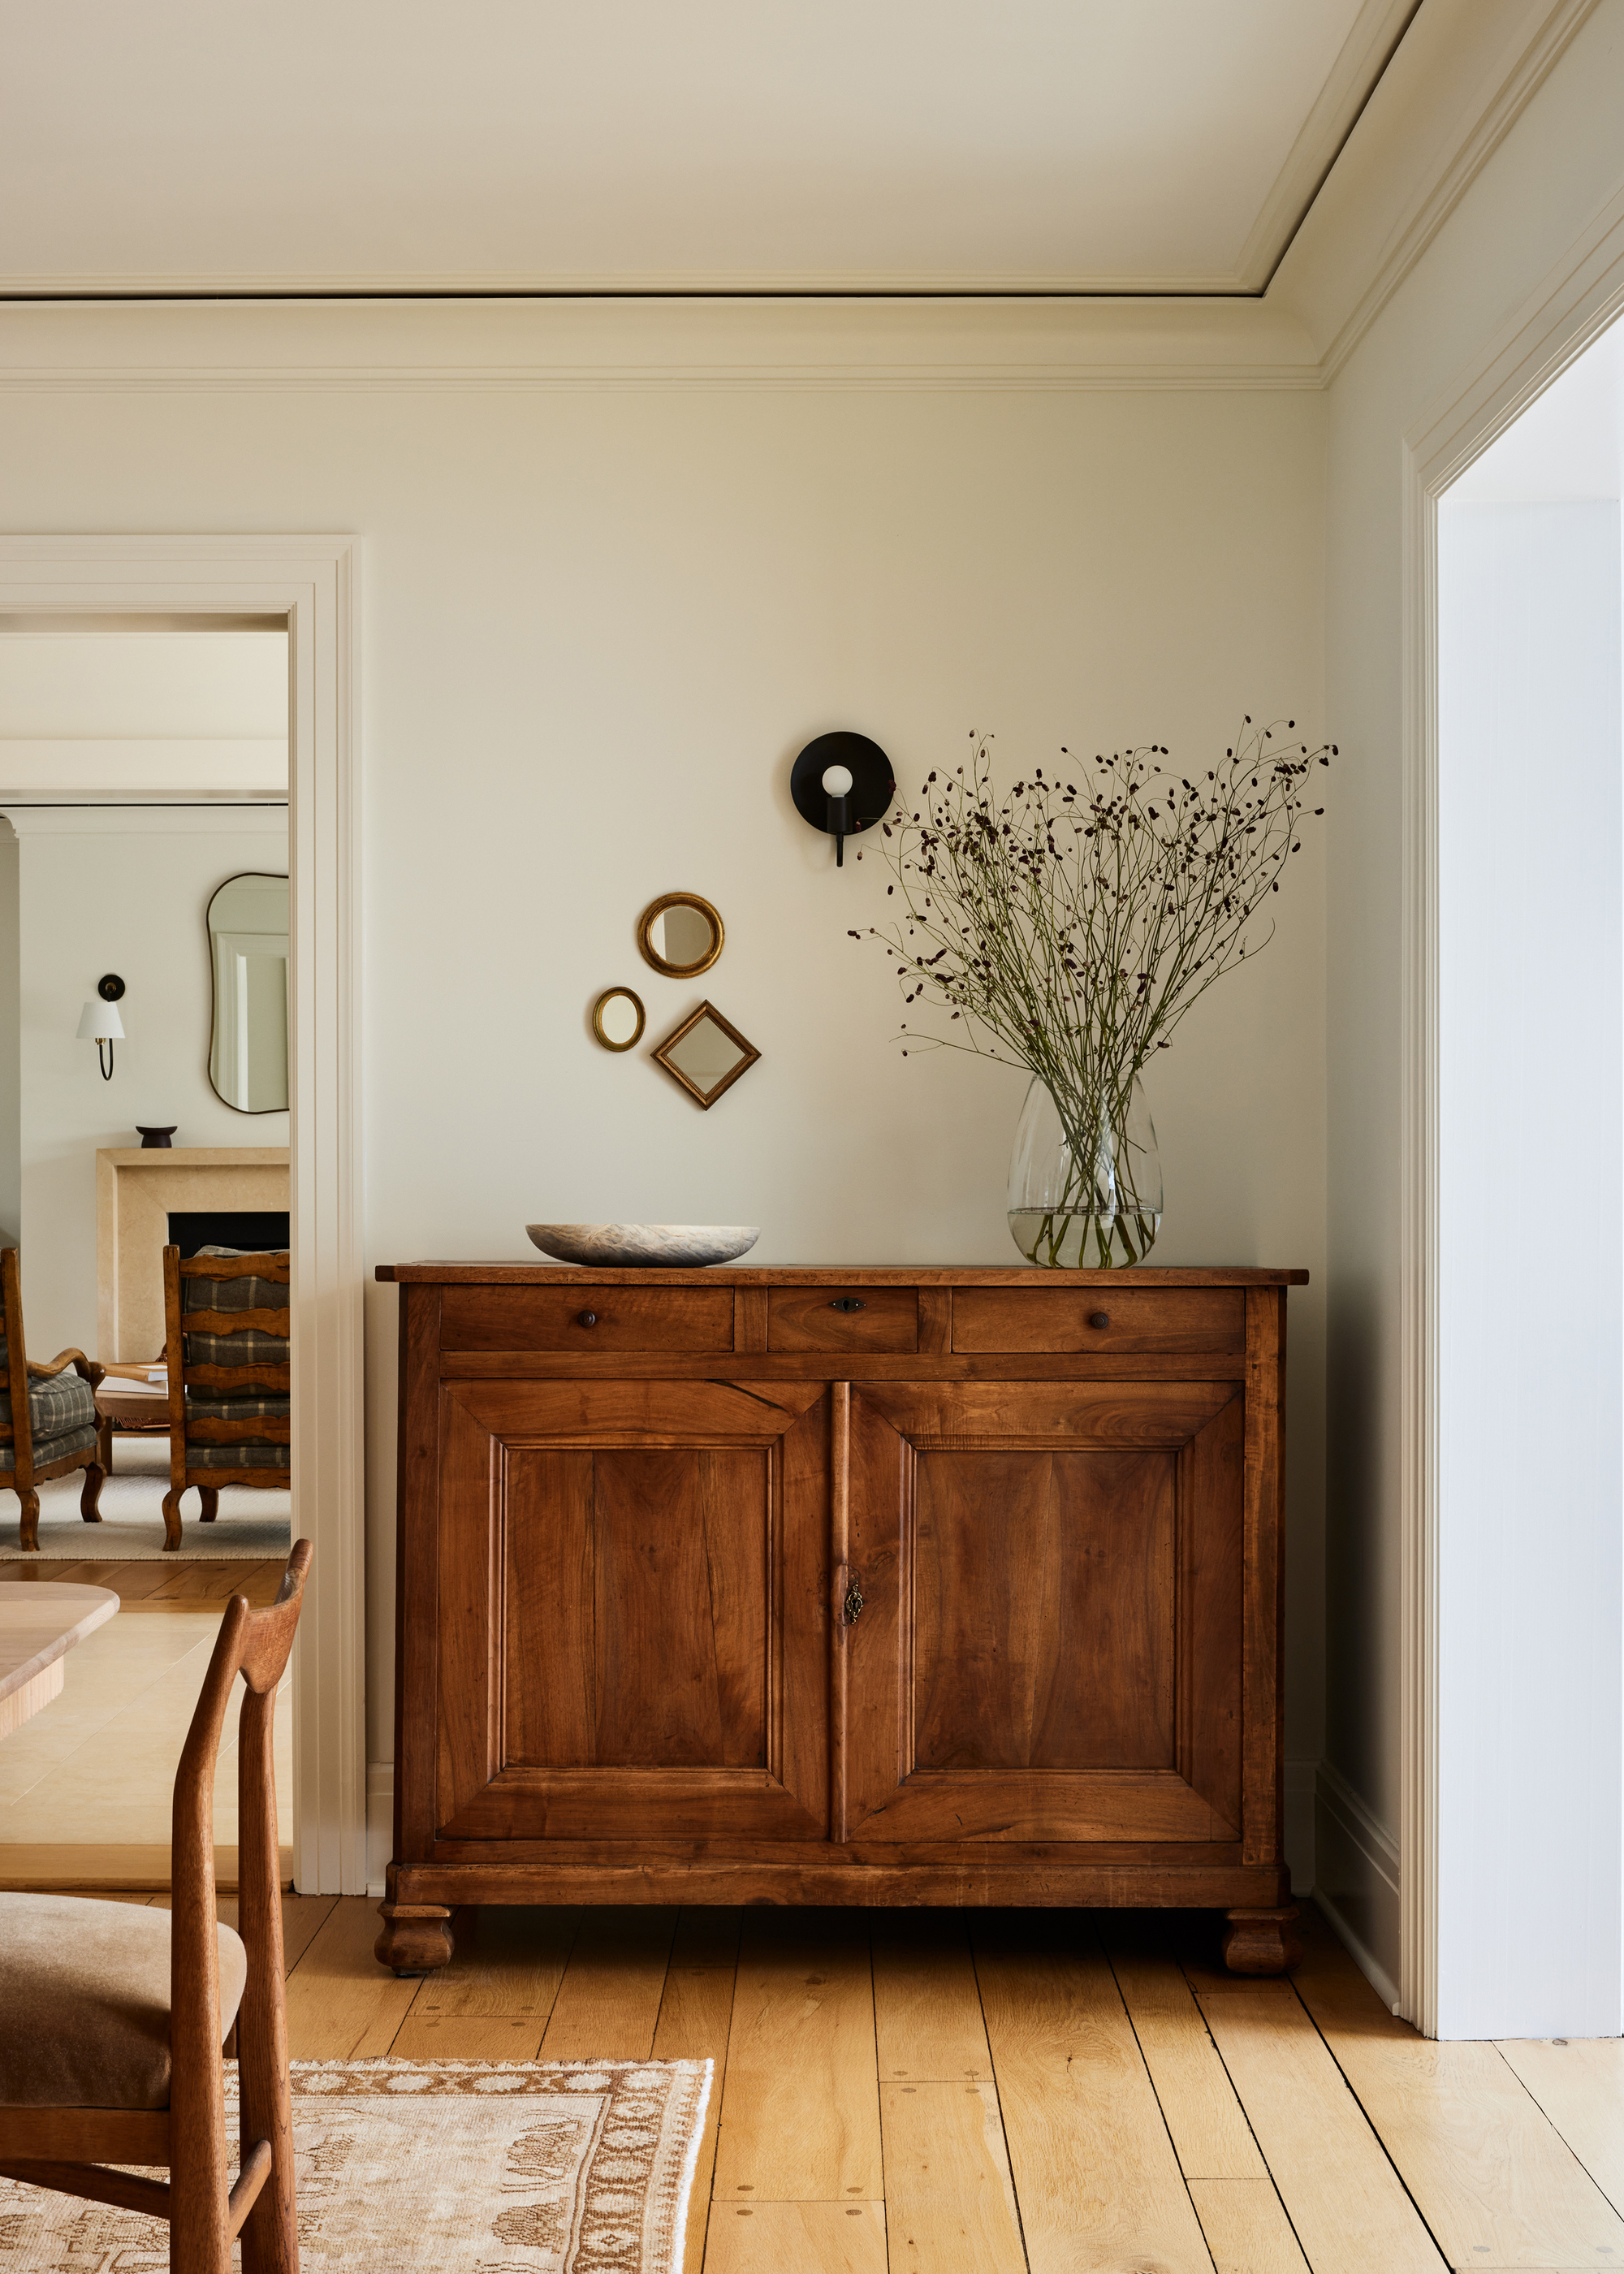
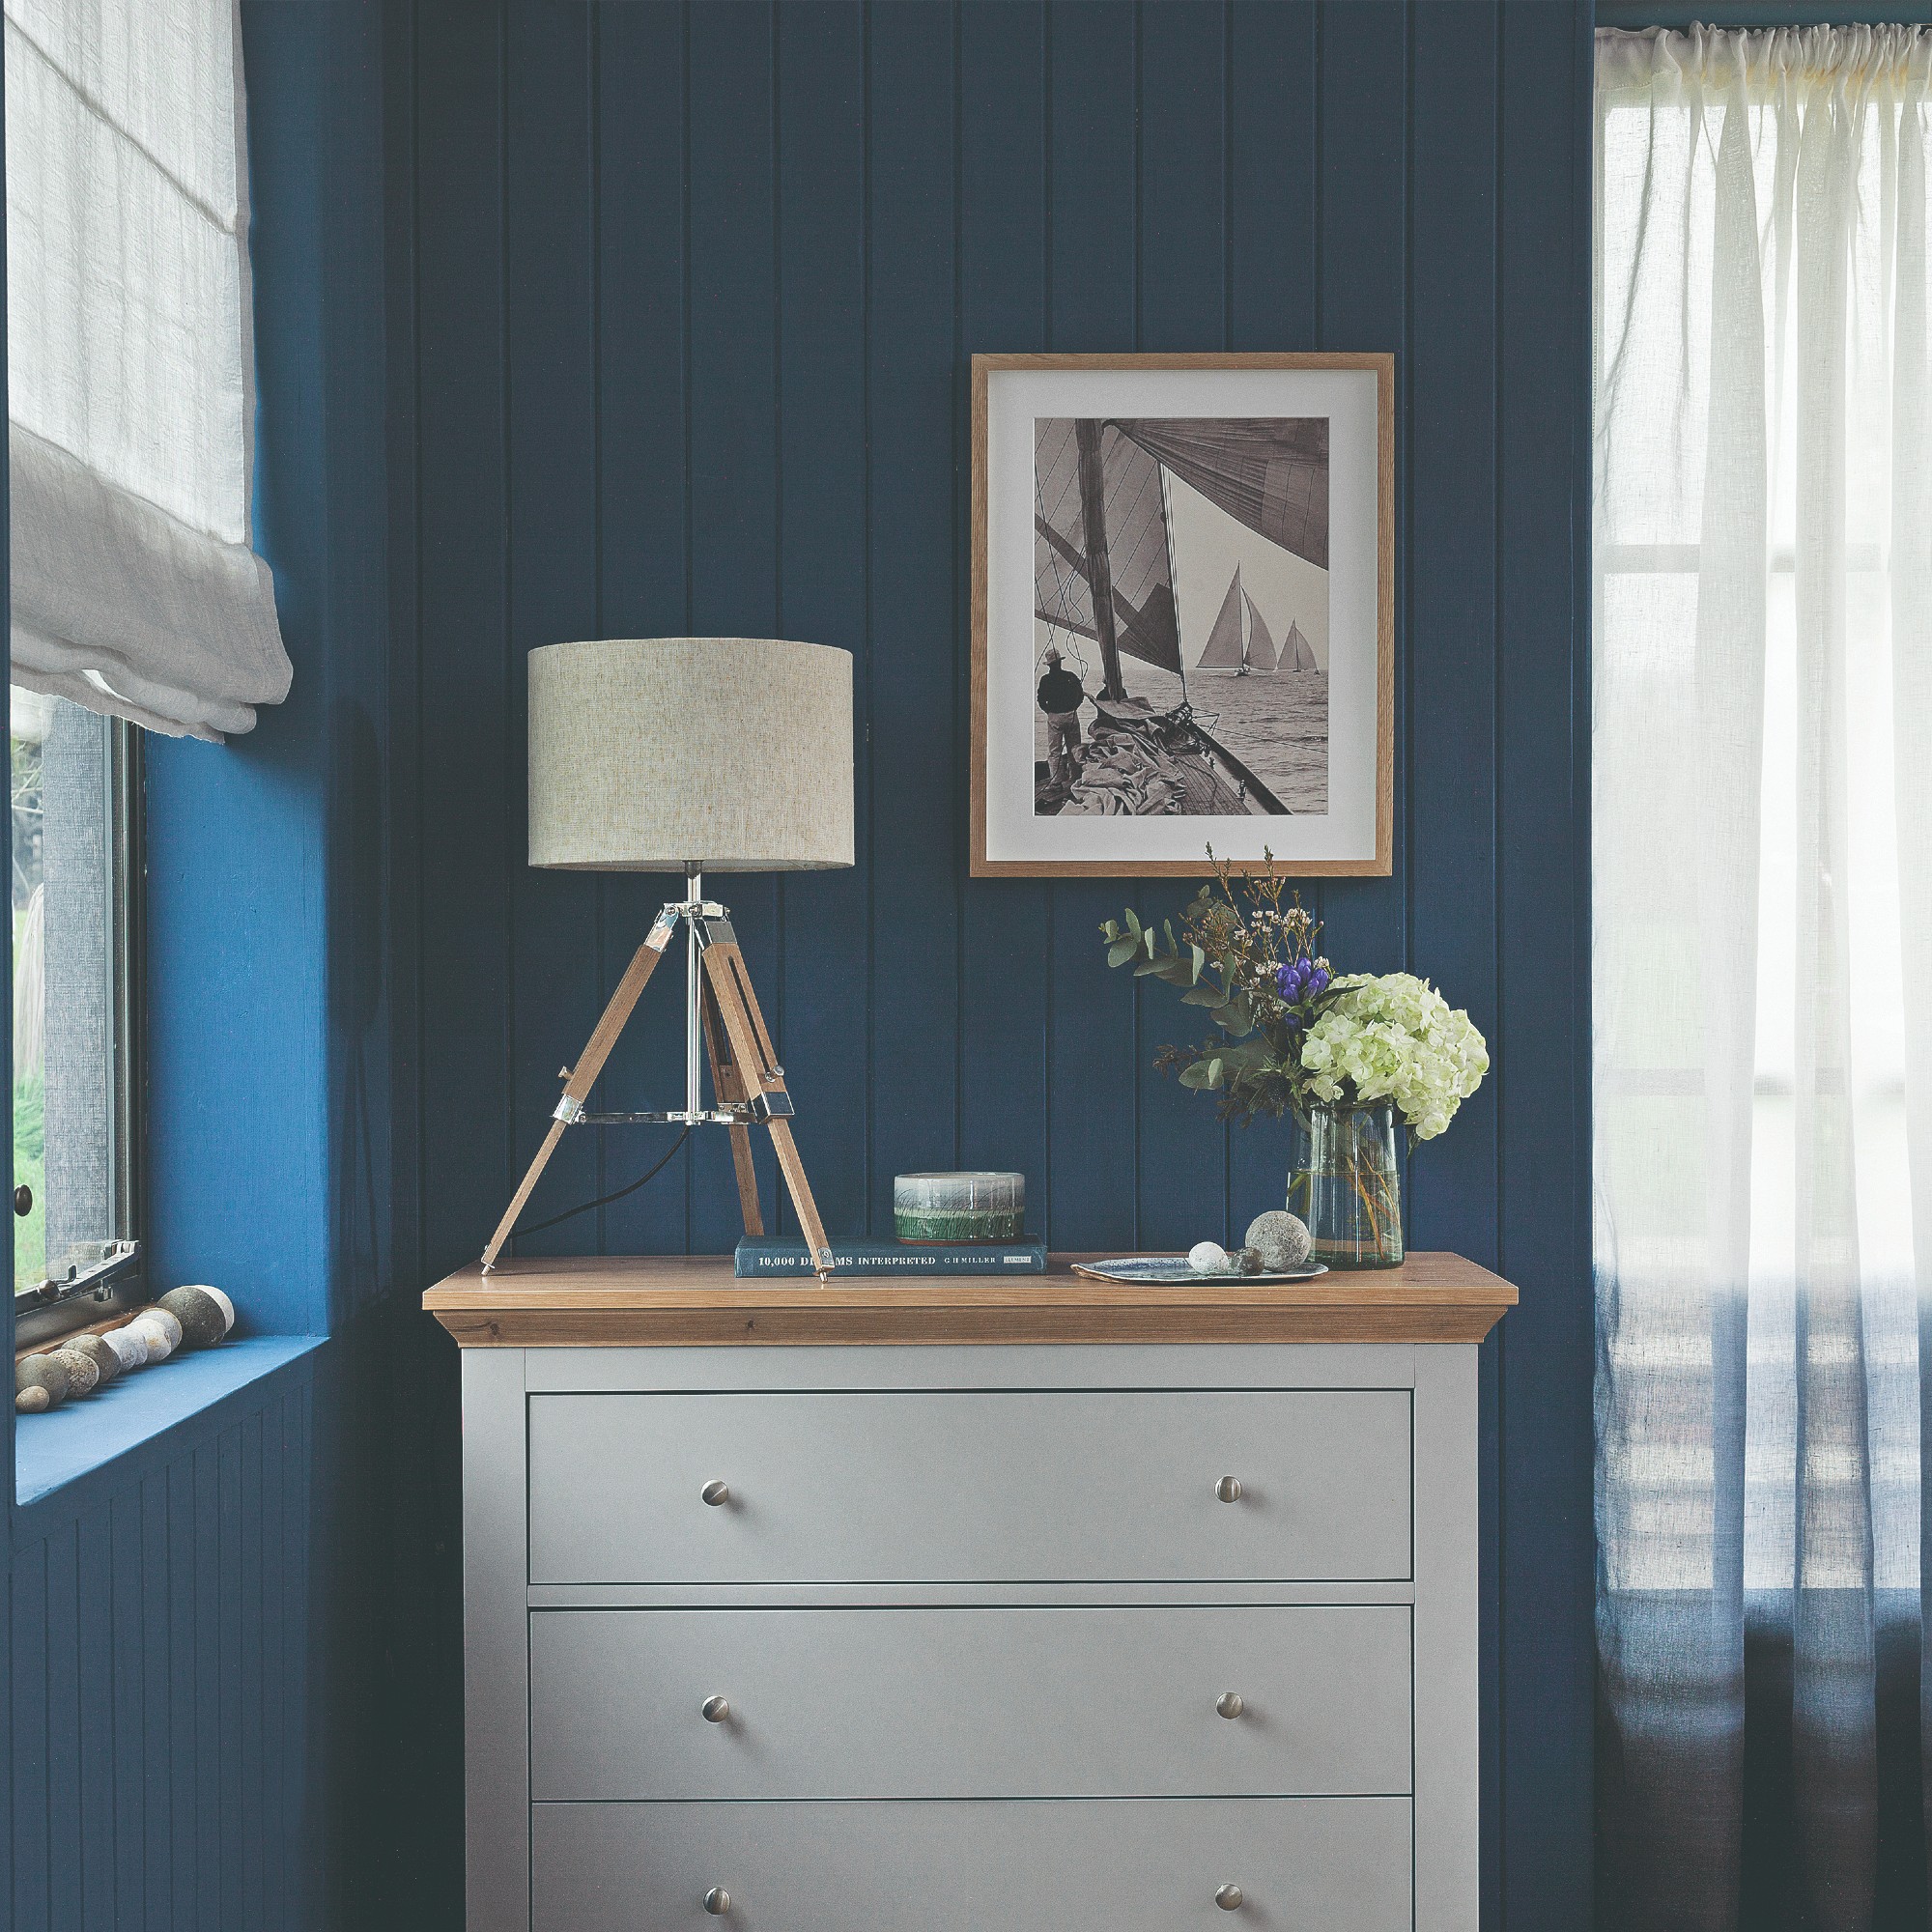
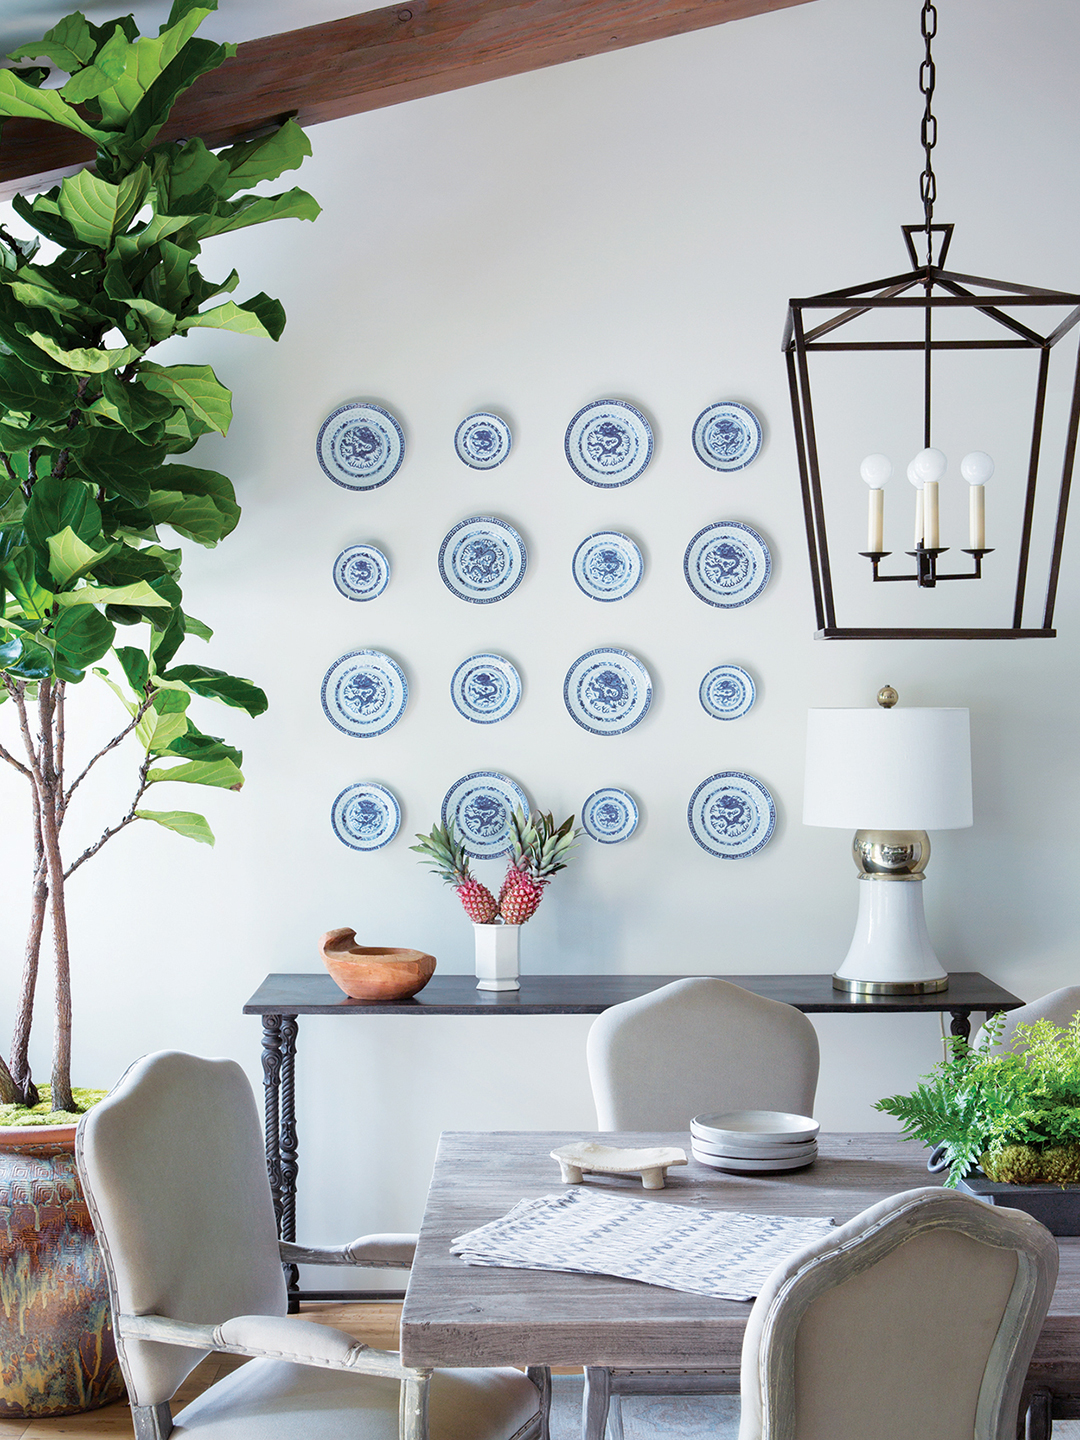
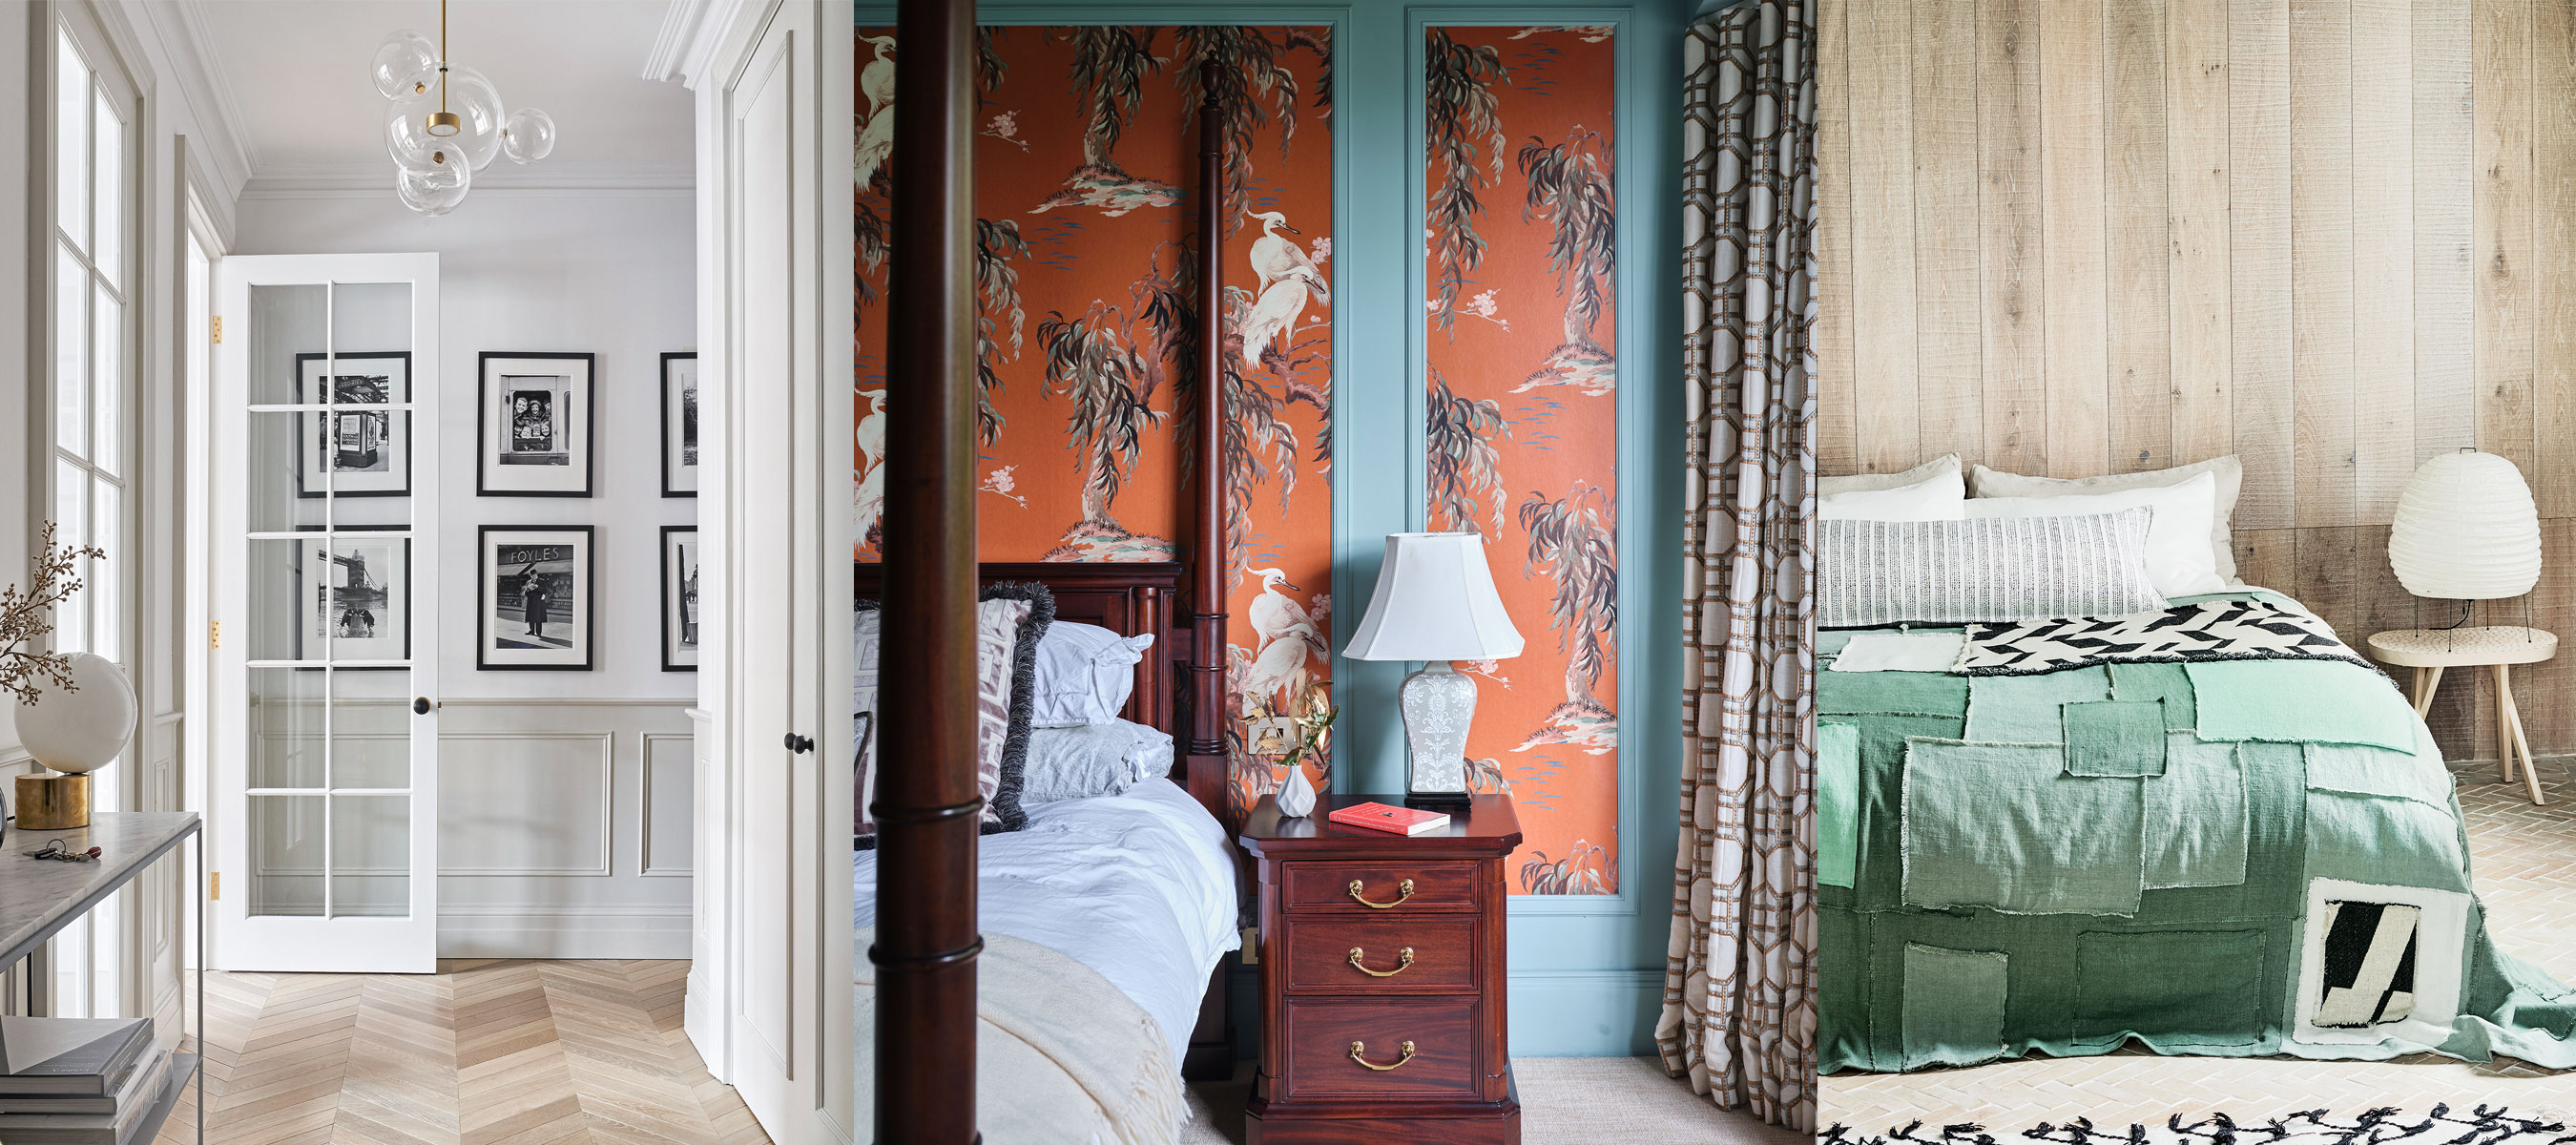
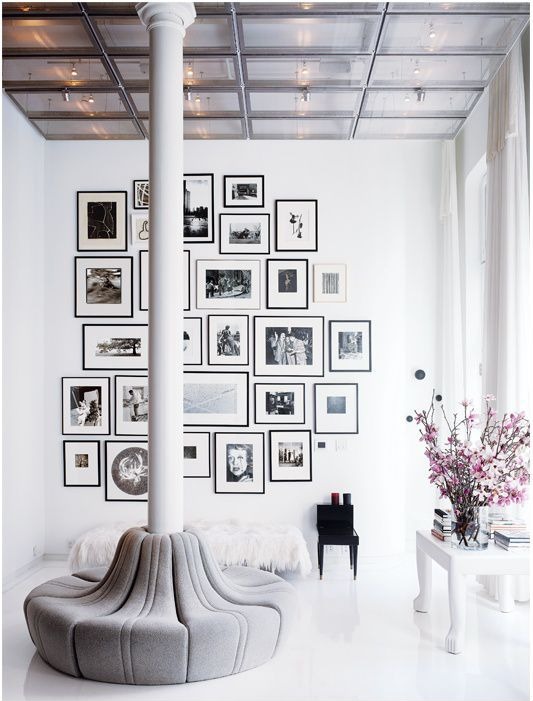
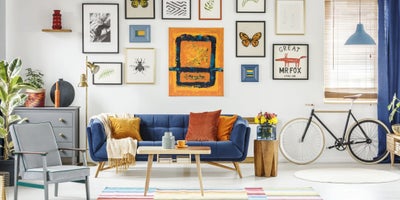
Next, the article addresses 'Choose Where to Hang Them.' While kitchens and dining rooms are natural choices, other areas like hallways, bathrooms, living rooms, and bedrooms can also serve as effective backdrops for plate displays. The key is to select a location where the plates can act as a focal point, such as an entryway or above a bed, ensuring they are placed high enough to avoid accidental bumps.
'Configure Your Arrangement' is the third step, involving laying out the plates on the floor to experiment with different combinations until a visually appealing scheme is achieved. Taking a photograph of the chosen arrangement is suggested for easy reference in subsequent steps. The fourth step, 'Transfer the Design to Your Wall,' involves mapping out the arrangement on the wall using a measuring tape, level, and pencil for precise spacing. Painter’s tape can be used as a guide before making permanent marks.
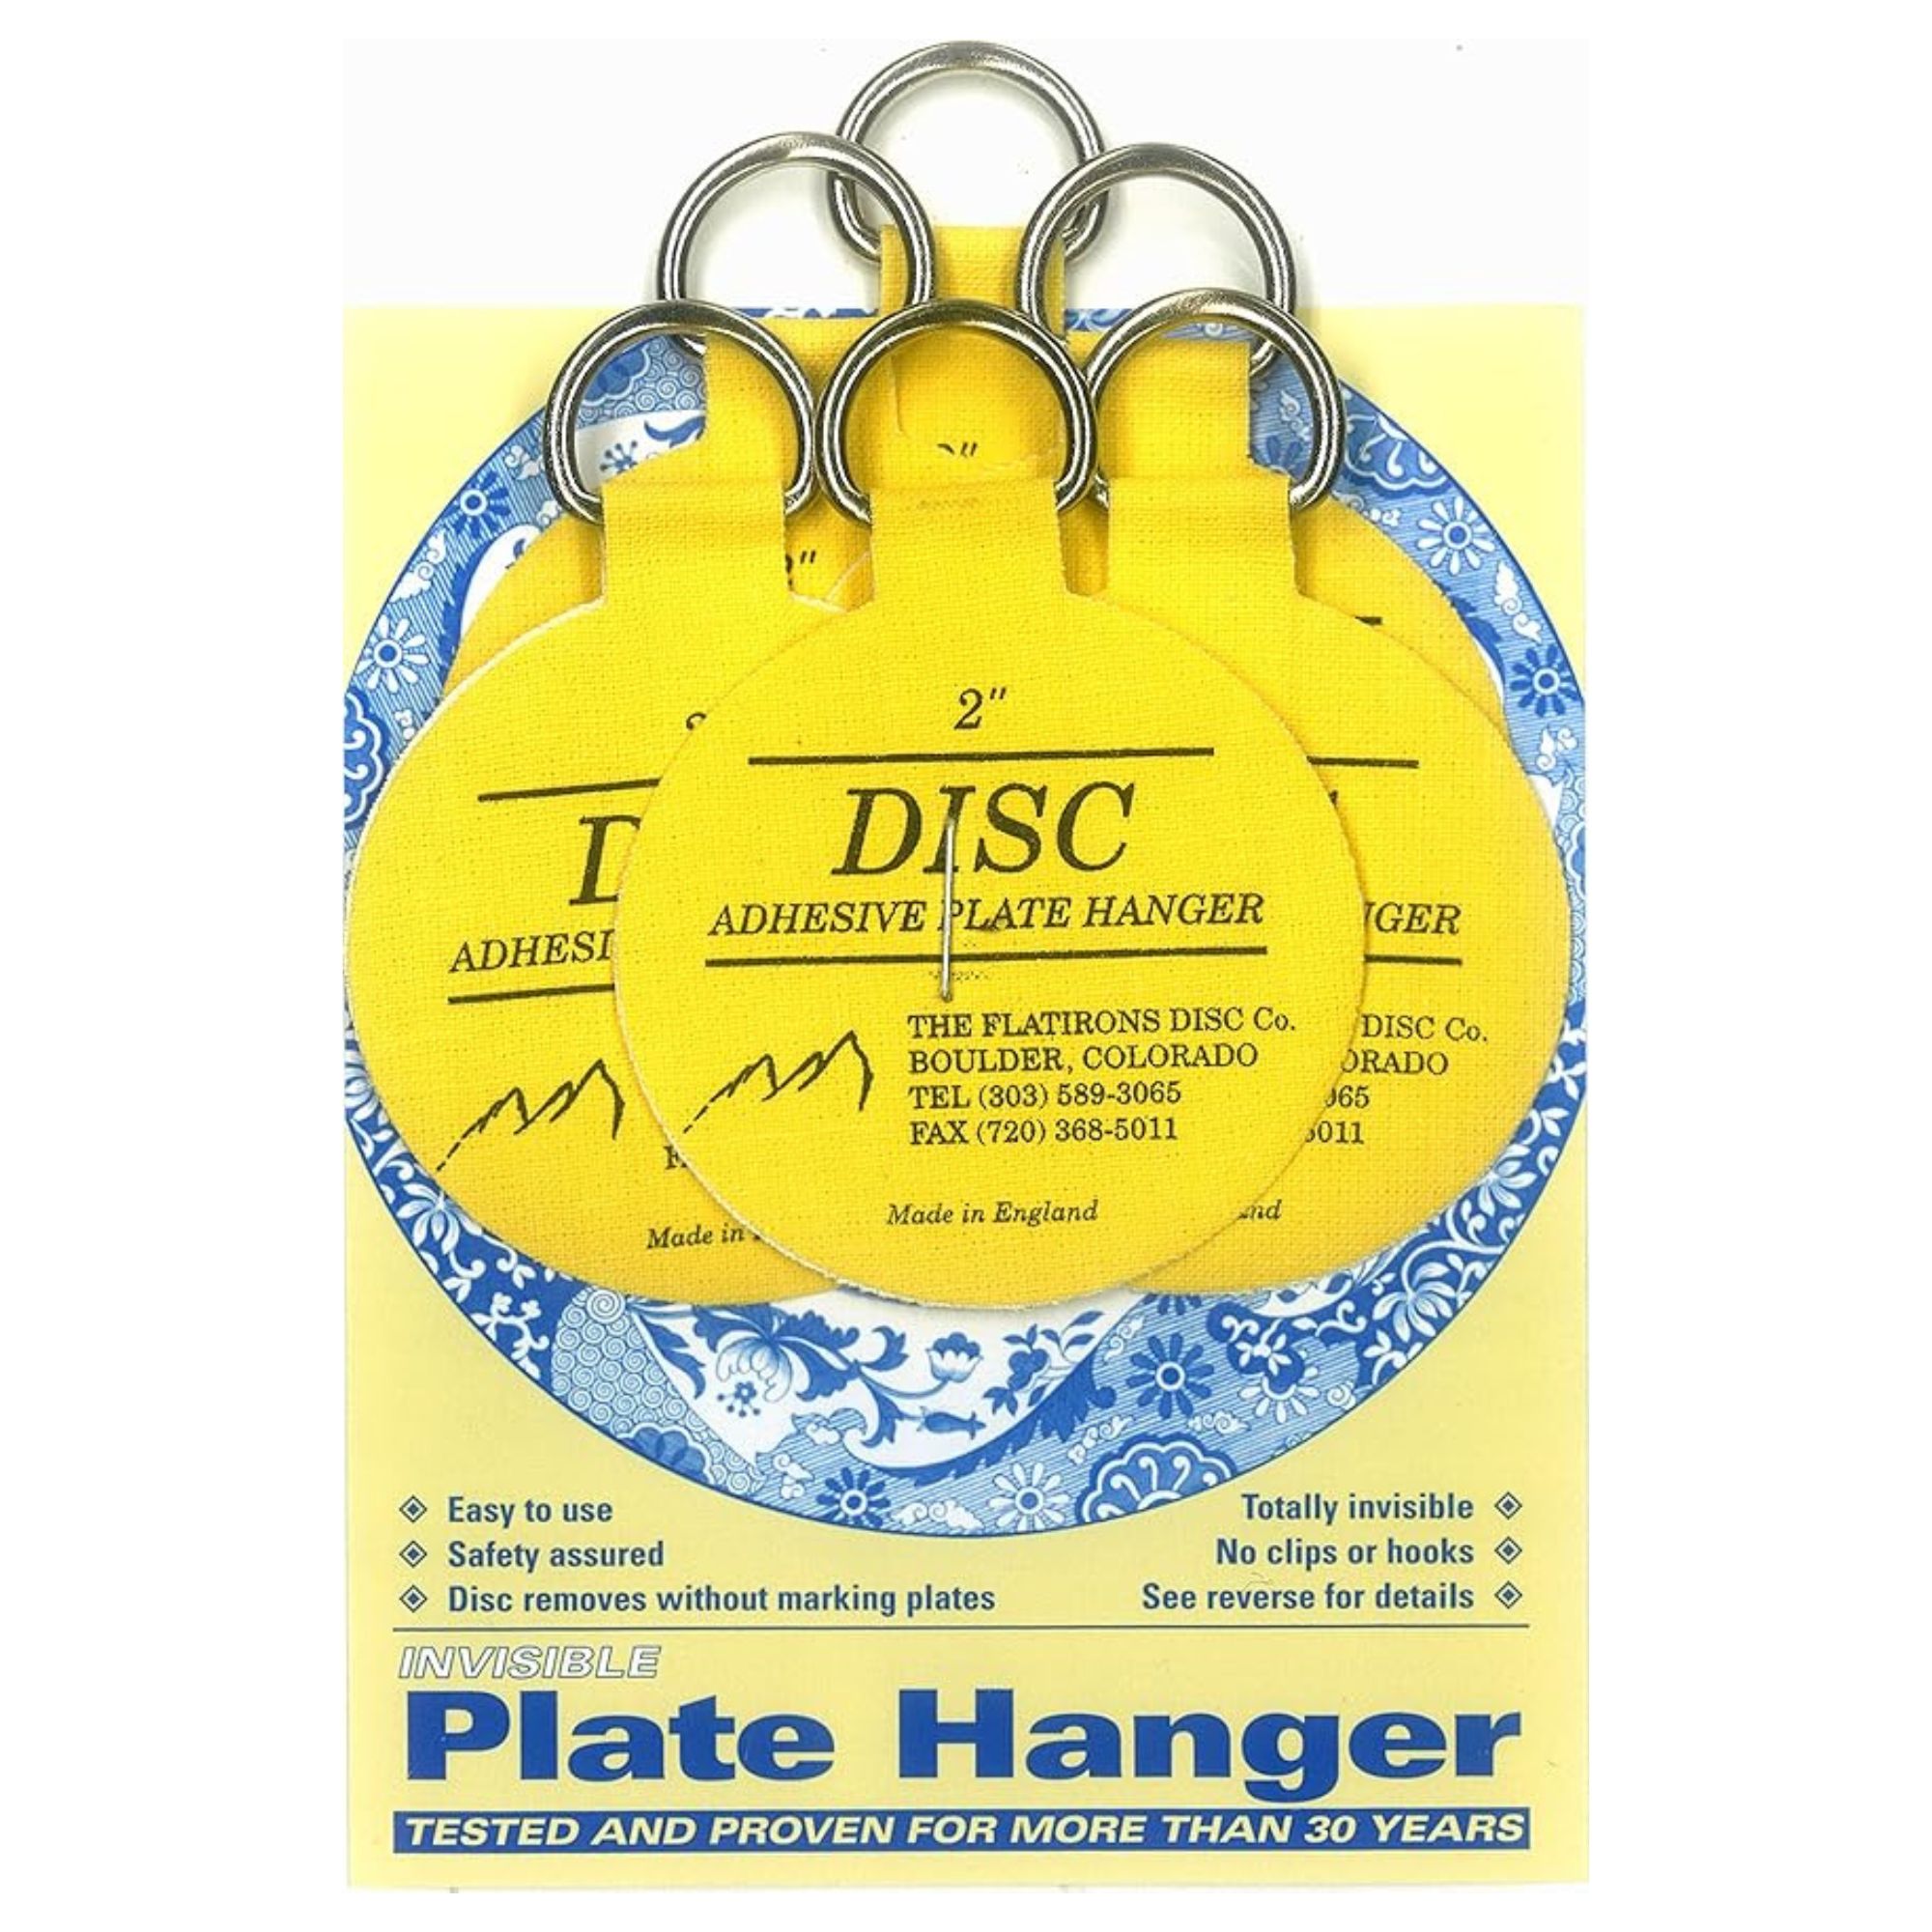
The fifth step, 'Hang the Plates,' details the actual installation process. It recommends starting with a central plate and working outwards, constantly referencing the planned layout. Various hanging methods are discussed, including plate hangers that stretch over the plate, adhesive disc hangers, plate racks, or heavy-duty Command Strips. For plates with pre-existing holes, ribbon or wire can be used for a decorative hang. Emphasizing security, the article stresses the importance of ensuring each plate is firmly attached to prevent falls.
Finally, 'Make Any Adjustments' encourages a critical review of the gallery wall. Homeowners are advised to add, subtract, or replace pieces until the overall design feels balanced and aesthetically pleasing. Mendelson recommends incorporating different sizes to create a focal point and enhance visual interest. The article concludes by reiterating that there are no strict rules, encouraging creativity and personal expression in crafting the perfect plate gallery wall.
#PlateWalls #HomeDecor #InteriorDesign #MaximalistTrend #VintageDecor #DIYHomeProjects #WallArt #PersonalizedHome #HeirloomDisplay #PlateWalls #HomeDecor #InteriorDesign #MaximalistTrend #VintageDecor #DIYHomeProjects #WallArt #PersonalizedHome #HeirloomDisplay
0 comment in total
You may also like
Gallery Walls Are Cool, But Do You Have a Plate Wall?

6 ways to fake wall panelling and create the sought-after look on a budget
Top Designers Reveal How to Pull Off Shiplap Walls

How to put together a gallery wall according to design professionals
This 1 thing helped me hang a stunning plate wall in less than 10 minutes

Wall paneling ideas – 18 ways to add decorative cladding and moulding

6 Plate Wall Ideas That Bring a Fresh Twist to the Classic Display
28 wall panelling ideas to add depth and character to any room in your home
Top tips to create a feature wall

Hanging A Plate Wall Is Easier Than You Think, Thanks To This Pantry Staple
Decorative plates are the new gallery wall
Thought Decorative Wall Plates Were Old-Fashioned? Think Again

7 expert tips for hanging plates on a wall – perfectly
How to create a gallery wall in your home
to create a gallery art wall - Ideas & Advice


Bedroom wall panel ideas – 7 easy ways to give your room an incredible architectural edge

9 Designer Wall Treatments That Will Reinvent Your Interiors

There's Hanging Art, and Then There's Hanging Art Like an Interior Designer — Here's How to Do the Latter
How to panel a wall – DIY this trending look in your home this weekend
How To Decorate A Large Blank Wall, According To A Designer