1/2
How to Achieve a Professional Finish on Trim and Built-Ins
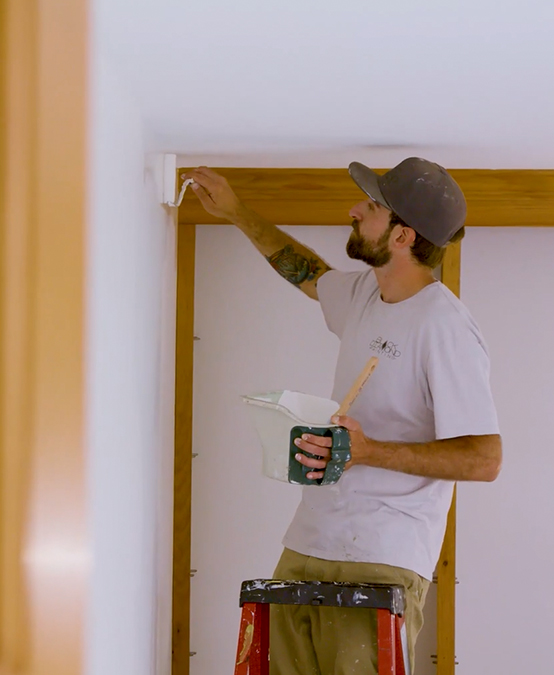
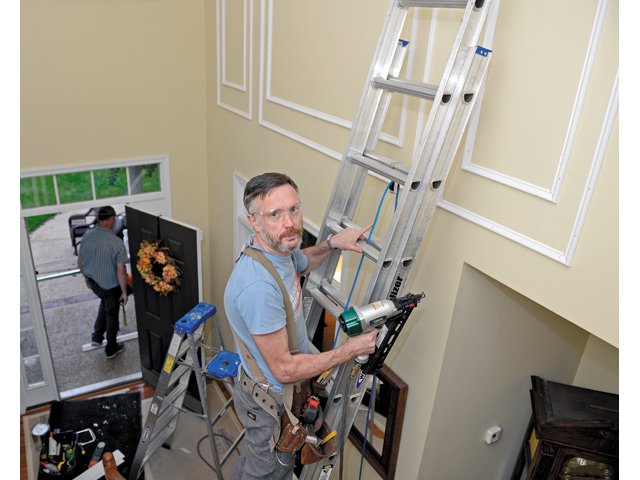
This article details the process of updating window trim and built-ins in the dining room of the Loctite® 2nd Chance House, a Habitat for Humanity project, utilizing Loctite® Power Grab Heavy Duty construction adhesive to achieve a professional finish while minimizing the use of fasteners. The project is led by Tyler Grace, who emphasizes the importance of proper preparation and adhesive application for a high-quality outcome.
The initial step in updating the windows involves ensuring a complete seal. This is achieved by using spray foam between the window and the rough opening. Following this, the extension jambs are preassembled. A key technique highlighted is the wet shimming of the bottom jambs using Loctite® Power Grab Heavy Duty adhesive. This method helps to avoid the need for numerous fasteners, contributing to a cleaner aesthetic and more efficient installation. After the initial shimming, an additional round of spray foam is applied between the extension jamb and the rough opening to further seal and insulate.
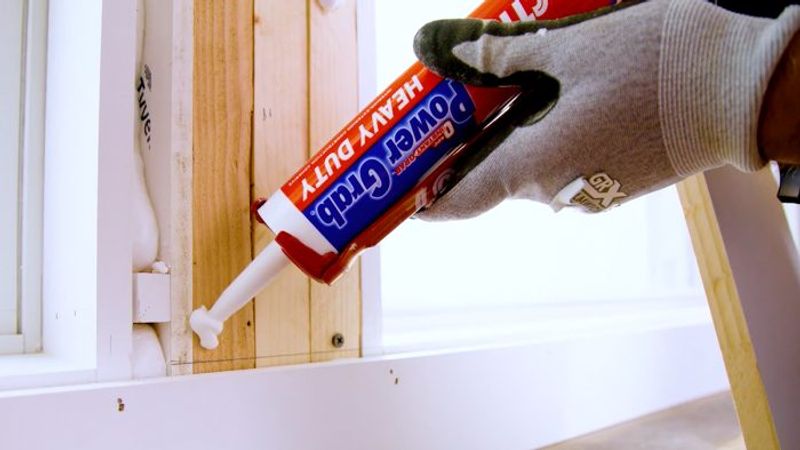
Once the jambs are securely installed, the process moves to casing the windows. Tyler Grace marks a 1/4-inch reveal on all jambs to ensure precise alignment of the casing. The construction adhesive is again employed as a wet shim, a crucial step to ensure that all components are coplanar before they are nailed into place. The application of the adhesive involves cutting the tube at least 3/8 inch from the end, allowing for a substantial glob of adhesive to be applied. This generous application ensures that the trim can be effectively floated and flattened, particularly when working over varying surfaces like drywall, lumber, and plaster.
A significant advantage of using this specific adhesive is its strong holding power. This characteristic allows for a reduction in the number of nails required to hold the trim in place while the adhesive cures, promoting a less fastener-dependent installation. Special attention is paid to the joinery between different pieces of trim. Recognizing that these pieces may not be on the exact same plane, a generous amount of adhesive is applied in these areas. This technique helps to flatten the two pieces, creating a perfectly coplanar surface. This is particularly important for achieving a smooth, uniform appearance once paint is applied, effectively masking any inconsistencies between the wood pieces.
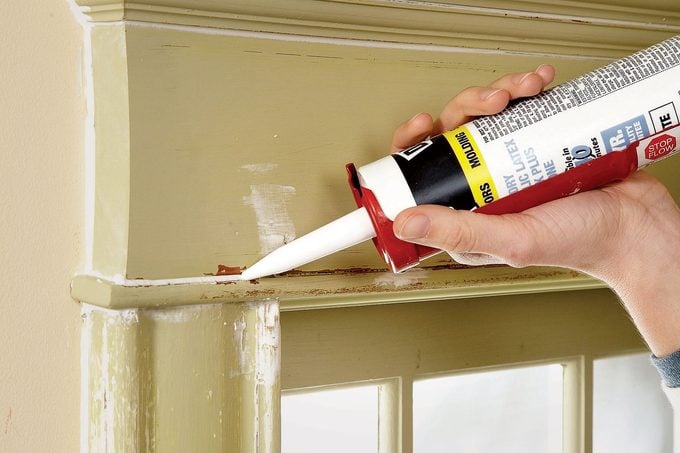
The final stage of the installation involves adding transitional moldings. For this, a small bead of adhesive is applied along the entire length where the molding meets the ceiling, the window casing, and the existing built-ins. This completes the detailing work, leaving the surfaces ready for painting by the Habitat for Humanity team. The overall approach underscores the effectiveness of modern construction adhesives in enhancing efficiency, reducing visible fasteners, and achieving a professional, durable finish in interior trim and built-in projects.
#HomeImprovement #WindowTrim #BuiltIns #ConstructionAdhesive #DIYProjects #HomeRenovation #InteriorDesign #ProfessionalFinish #HomeImprovement #WindowTrim #BuiltIns #ConstructionAdhesive #DIYProjects #HomeRenovation #InteriorDesign #ProfessionalFinish
0 comment in total
 No comments yet
You may also like
In Depth: Trim & Moulding


This wall panelling method is going viral on TikTok – how to get the look, according to DIY experts

Understanding paint finishes

Make your home renovation shine with these builder tips

11 Pro Tips for How To Paint Trim

How to achieve beautiful paint finishes according to interior designer, Nicola Harding

How to Achieve Ceiling Paint Finish Perfection

Should I paint my wall trim white? The pros and cons to painting your molding

12 top interior painting tips from experts – for a flawless, fabulous finish


Installing Boral TruExterior Trim for the First Time

Ceiling trim ideas – 12 ways to enhance this architectural feature
How to Paint Wood Paneling and Its Best Friend, the Trim

Today's Best Exterior Trim


10 New Trends in Wood Trim for 2018

Door trim ideas – 8 ways to upgrade your home's door frames that prove attention to detail pays off
Trend Alert: Here’s How To Perfect The Painted Ceiling Look

Finishing Touches
In Depth: Moulding, millwork & trim

Design, Debated — Can You Put Decorative Ceiling Trim in a Modern Home? And More Importantly, Should You?
Fanciful Finishes