1/11
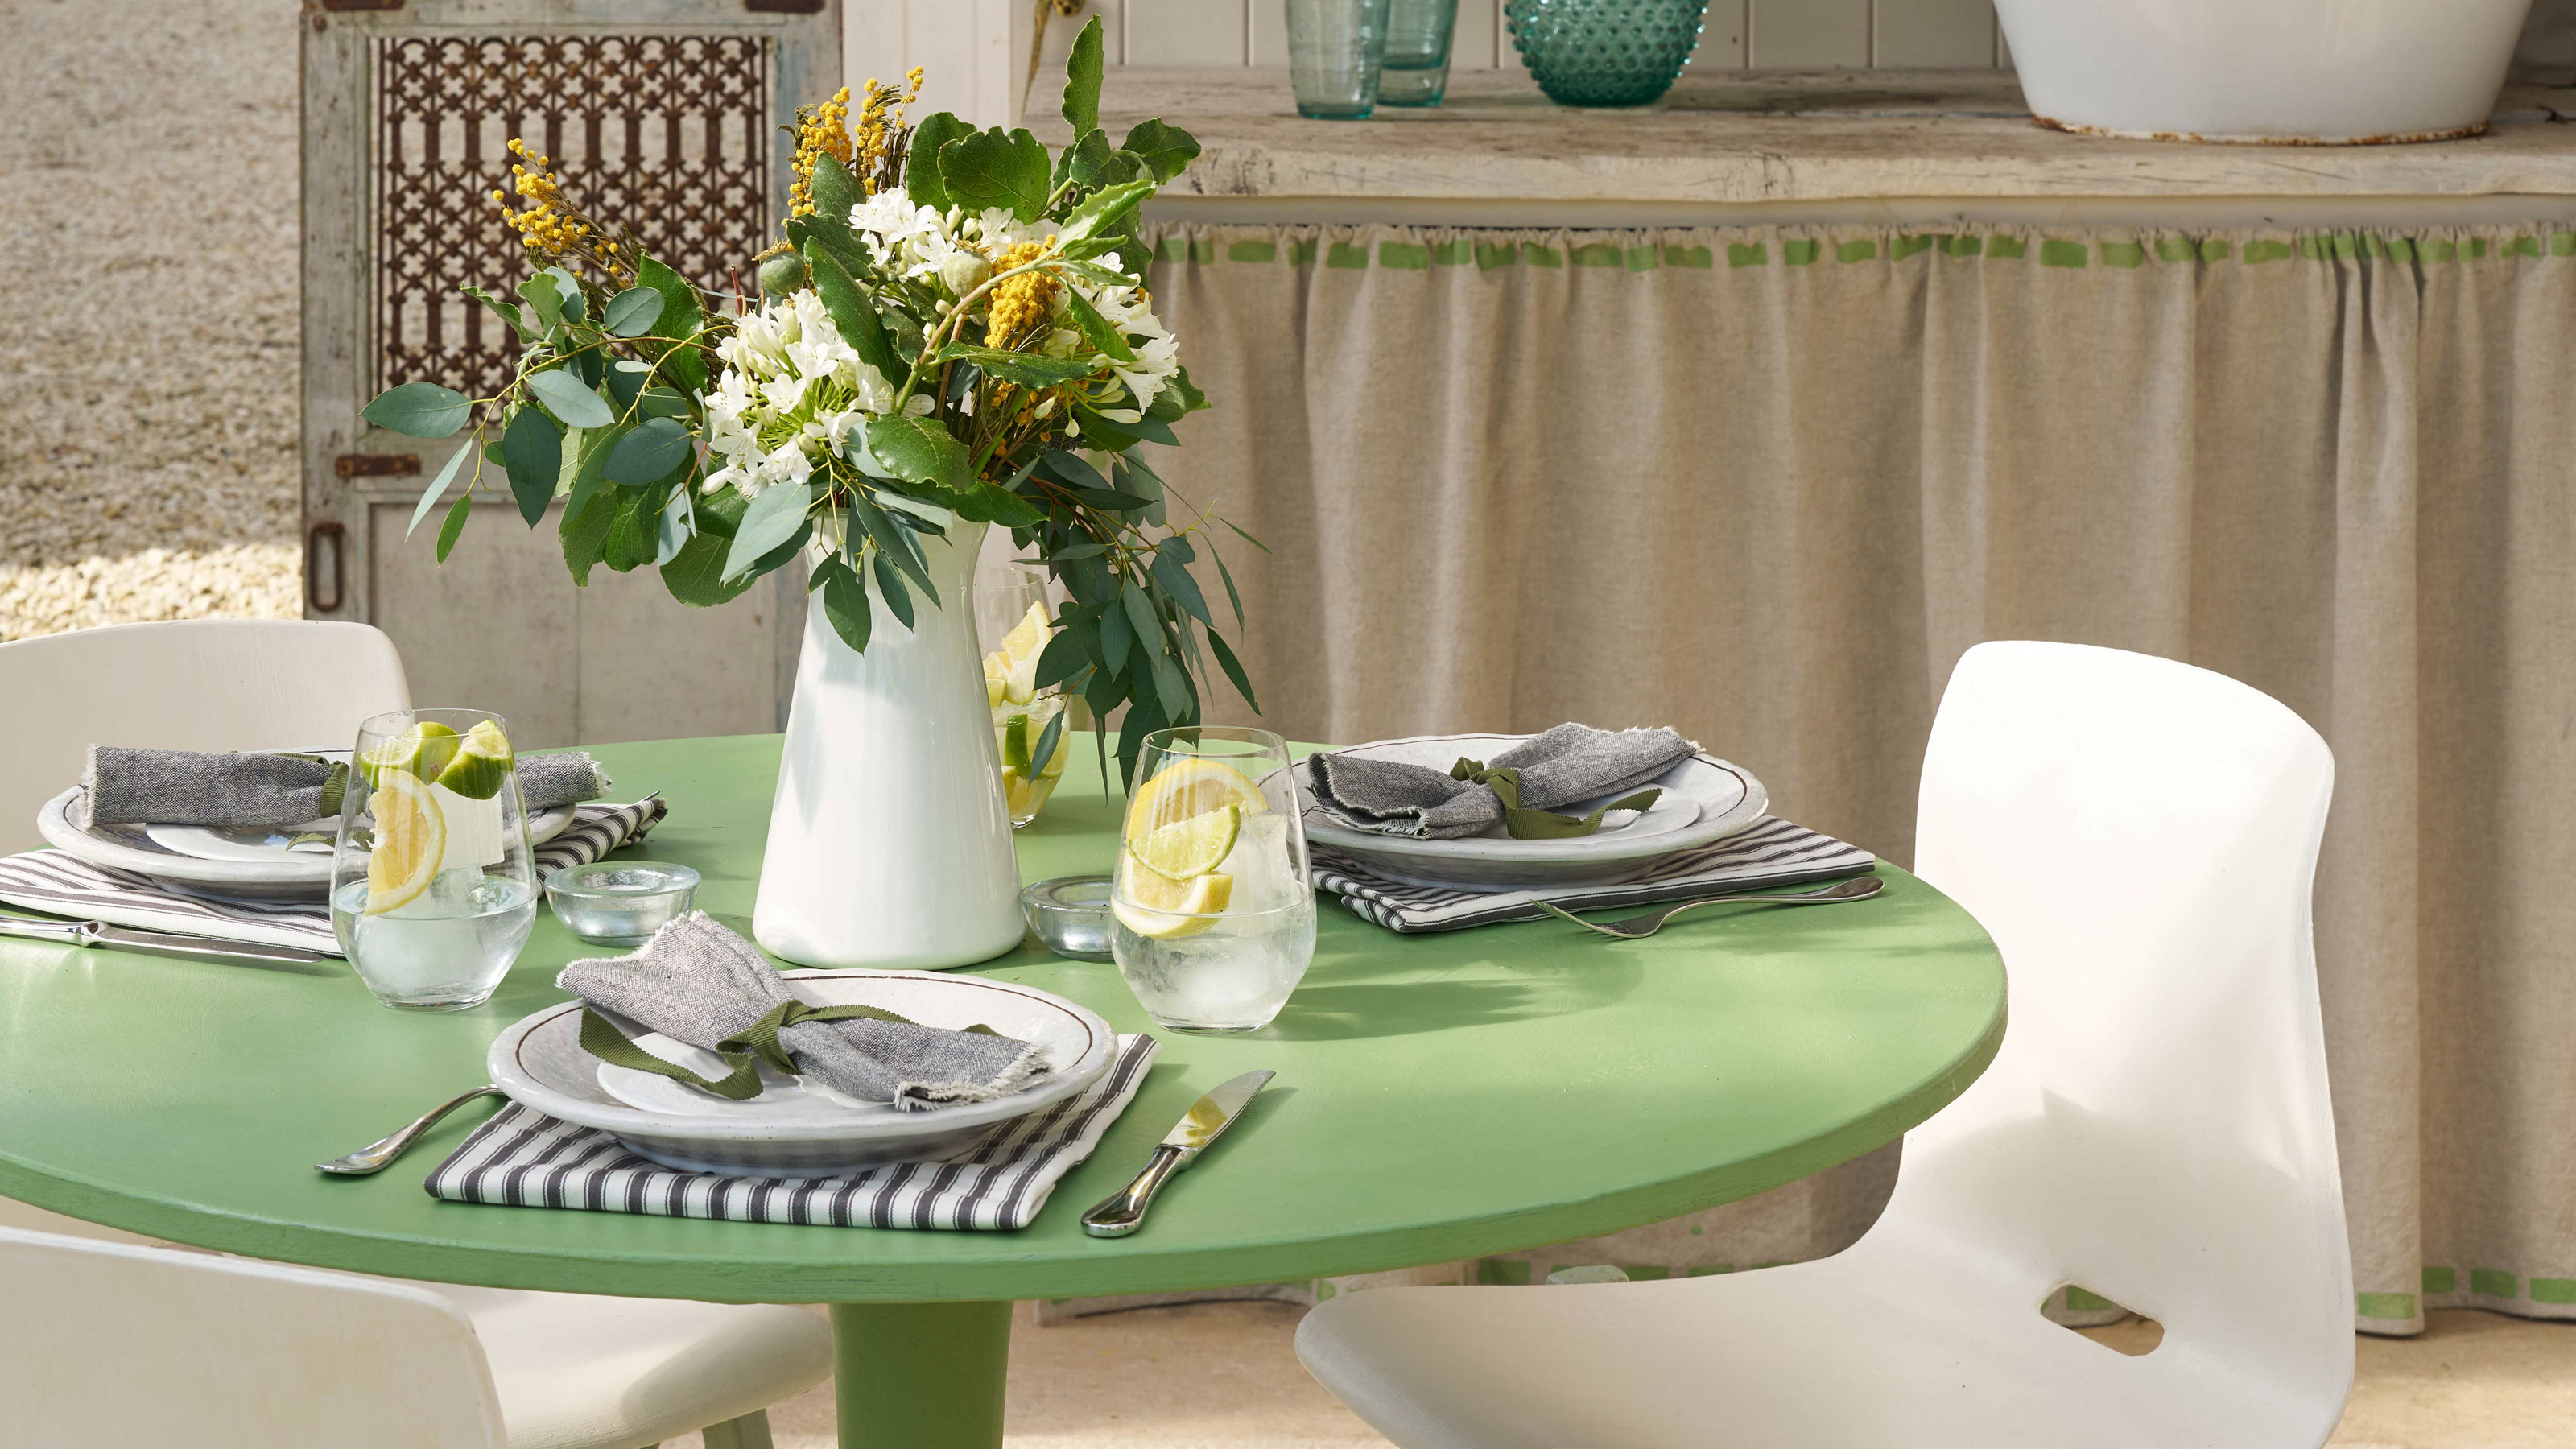
Painting a Dining Table — 6 Steps to Follow for a Durable Finish
This article provides a comprehensive, step-by-step guide on how to paint a dining table to achieve a durable and aesthetically pleasing finish. It emphasizes that while painting a dining table is similar to painting other furniture, it requires extra attention due to its frequent use and exposure to wear and tear. The process begins with gathering necessary tools, including clean rags, soapy water, an electric orbital sander or sandpaper (80/120 grit), deglosser if needed, primer, a preferred paint brush (such as a 2" angled brush), the paint of choice, and a top coat if required.
The first step involves thoroughly cleaning the dining table to remove any dirt or grime. If the table has an old coat of paint, varnish, or wax, it must be removed. Deglosser can be used as an alternative or in conjunction with sanding to prepare the surface. The second step focuses on sanding the table. Expert painter Jessie Read recommends using an electric sander with 80-grit sandpaper to smooth out dents and scratches and remove any remaining finish, followed by 120-grit sandpaper for a smoother surface. Brandon Walker, a paint expert and construction manager, highlights that sanding is crucial for removing old finishes from every crevice and preparing the surface for better paint adhesion. He also notes that sanding to a finer grit, like 300+, is an aesthetic choice that can result in a nicer finish.
The third step is to apply a layer of primer. Primer helps the paint adhere better and last longer. The article advises applying primer in thin layers, moving with the grain of the wood, and allowing it to dry for about an hour before proceeding. The fourth step involves choosing the right type of paint. The choice depends on the desired finish and color. Chalk paint, a water-based option, dries to a flat finish and requires minimal prep, often needing to be thinned. Mineral paint, known for its durability and quick drying time, dries to a matte finish, is self-leveling, and typically doesn't require a top coat. For a high-gloss finish, acrylic high-gloss paint is suggested, though it requires a longer drying time of at least four days.
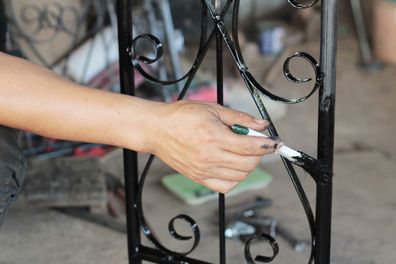
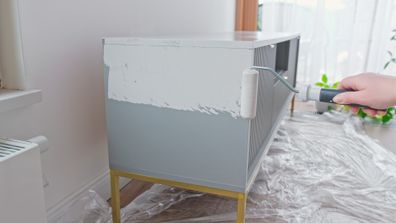
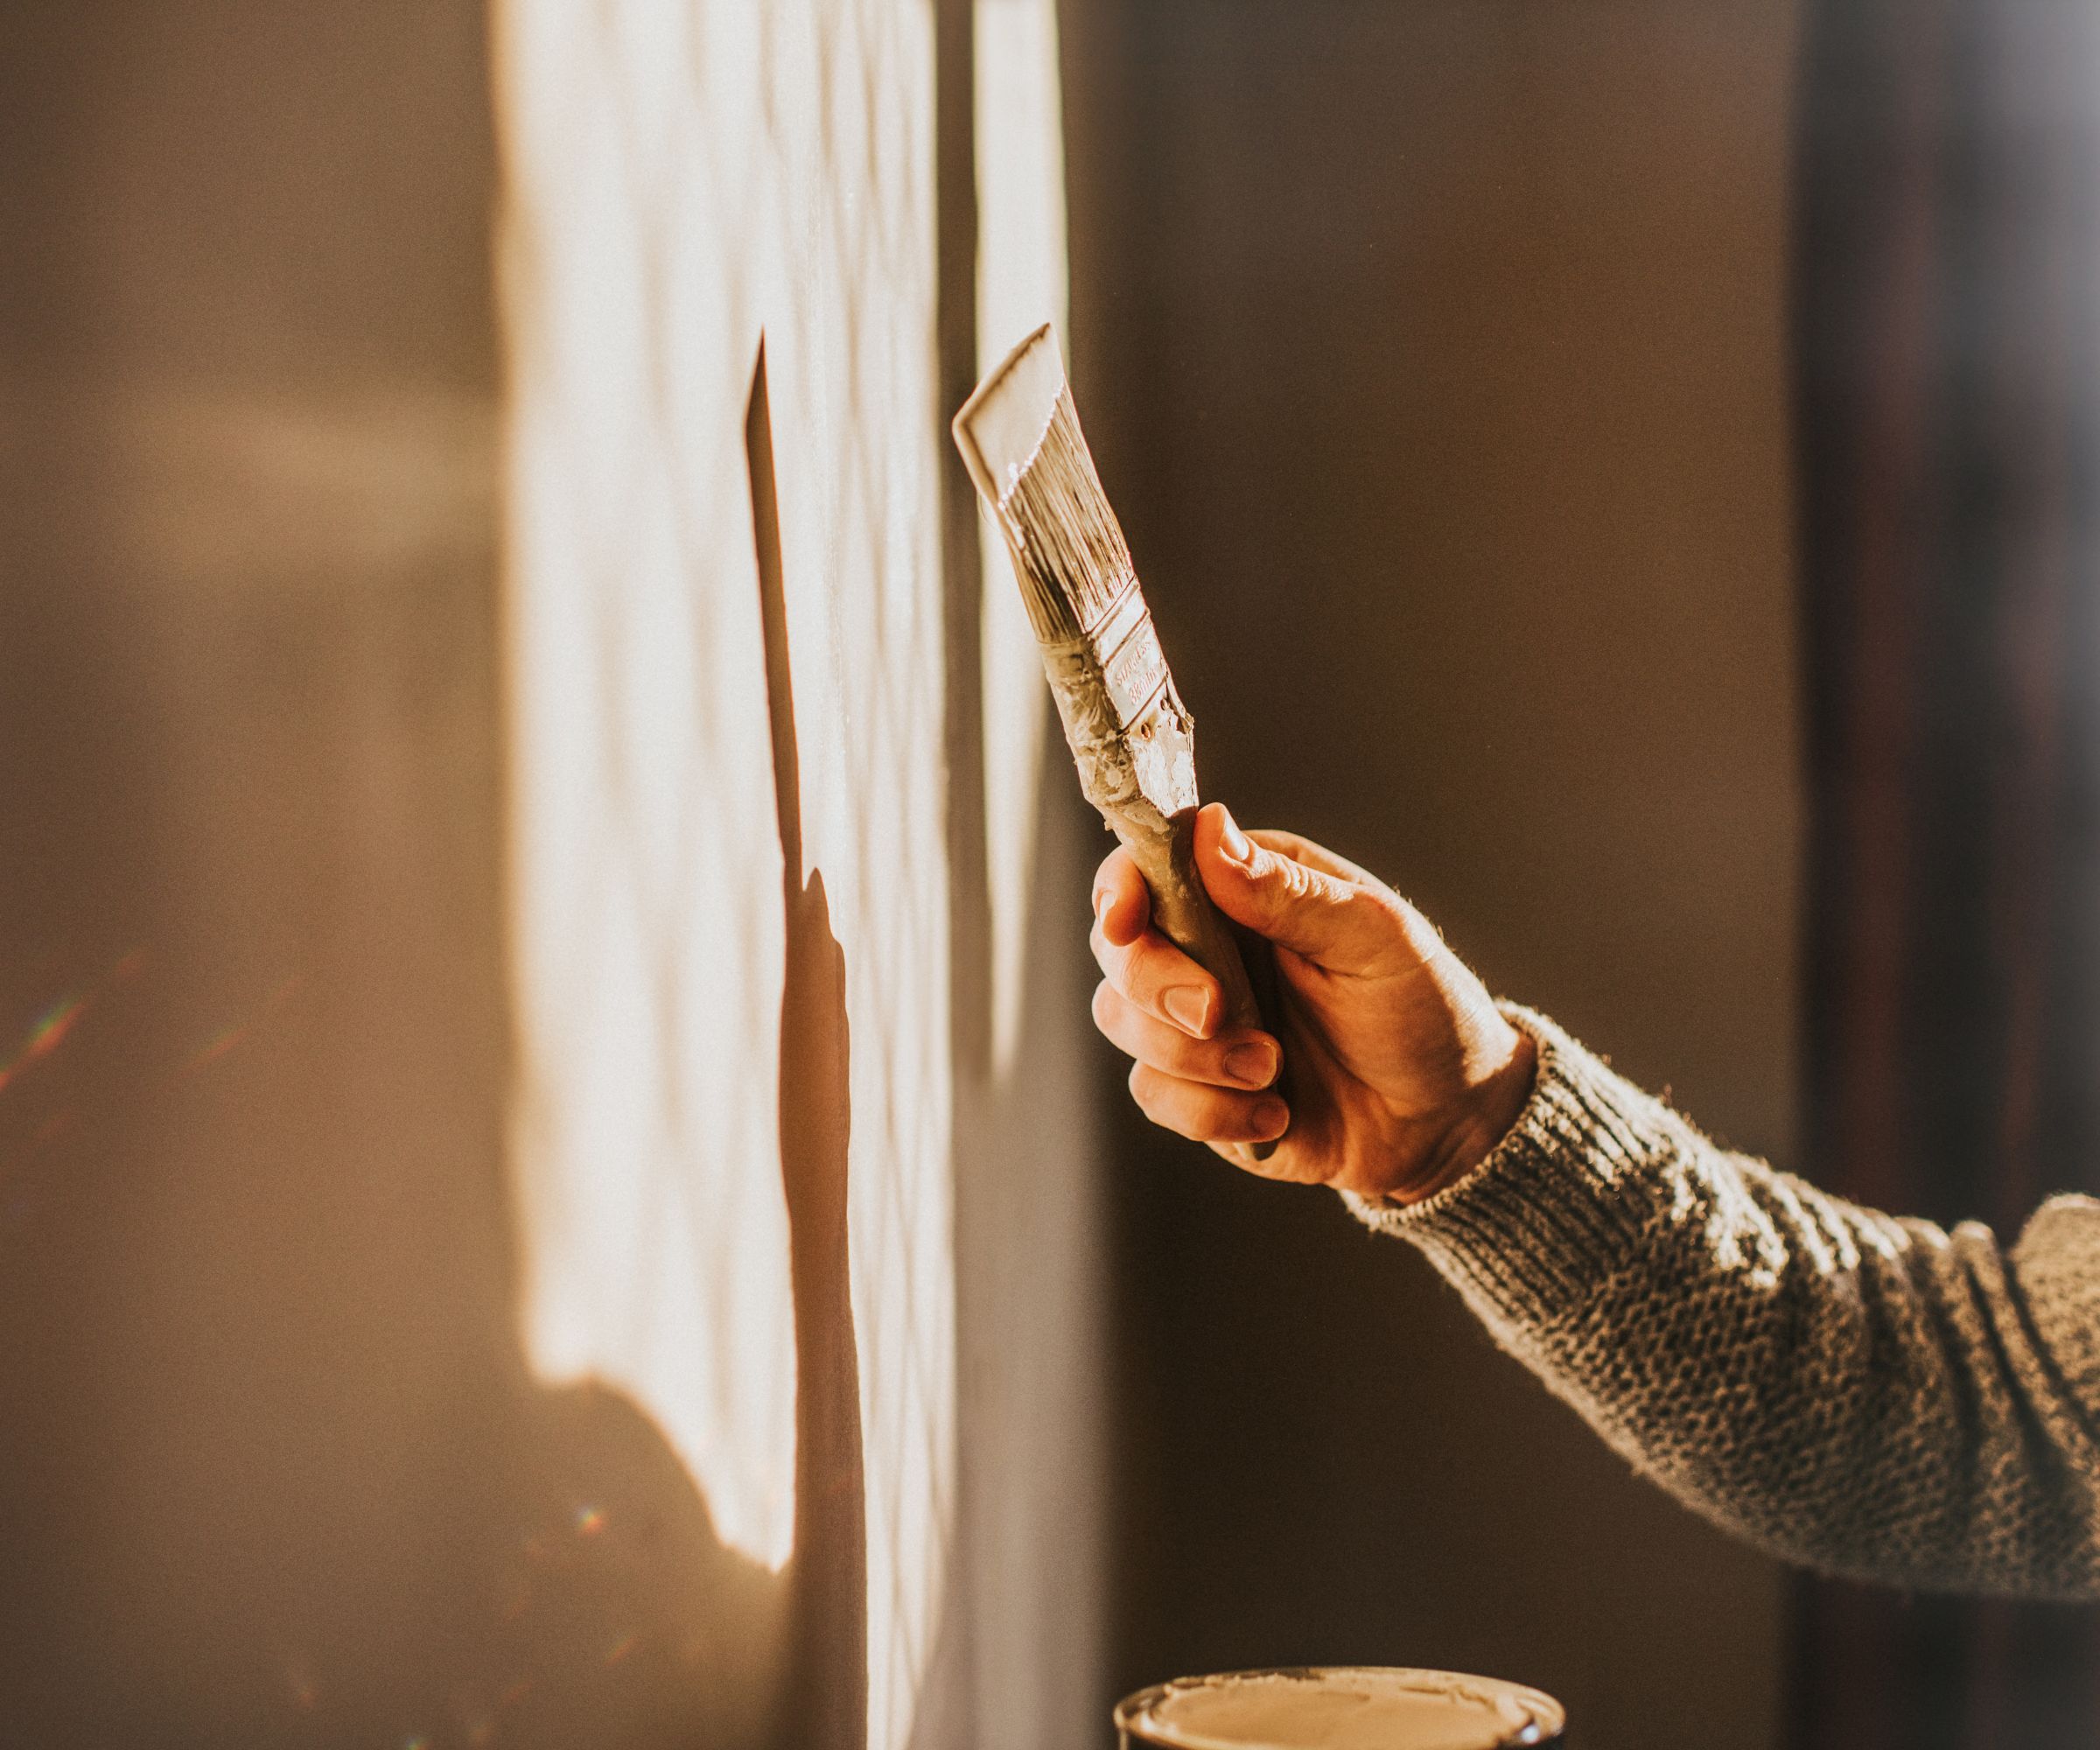
Step five is the actual painting process. Jessie Read suggests starting in the center of the table and distributing the paint towards the edges to prevent drip marks. Long, gentle brush strokes are recommended for a smooth finish. Sanding between coats, especially with high-gloss paints, helps minimize brushstrokes. The final step, number six, is applying a second coat after the first has completely dried. Two coats are generally needed for optimal color and finish. It is advised to allow the table to dry fully for one to two days after the final coat before using it to ensure proper curing and durability.
The article also addresses frequently asked questions, such as drying times, which vary significantly based on paint type (oil-based paints may take six hours to dry but up to two weeks to cure). The decision to paint or stain depends on the table's characteristics. If the table has intricate designs or many grooves, repainting might be easier than re-staining. However, for good quality wood, staining is often preferred as it highlights the natural grain and texture, which paint would cover. Sanding and priming are deemed essential for proper paint adhesion and a smooth finish.
#DiningTablePainting #FurnitureRefinishing #DIYHomeDecor #InteriorDesignAdvice #PaintTypes #SurfacePreparation #HomeImprovement #FurnitureUpcycling #DiningTablePainting #FurnitureRefinishing #DIYHomeDecor #InteriorDesignAdvice #PaintTypes #SurfacePreparation #HomeImprovement #FurnitureUpcycling
0 comment in total
 No comments yet
You may also like
6 ways to prevent damage to your dining table

The Only Dining Room Paint Colors You’ll Ever Need
12 top interior painting tips from experts – for a flawless, fabulous finish
The 6 Best Paint Types for Furniture

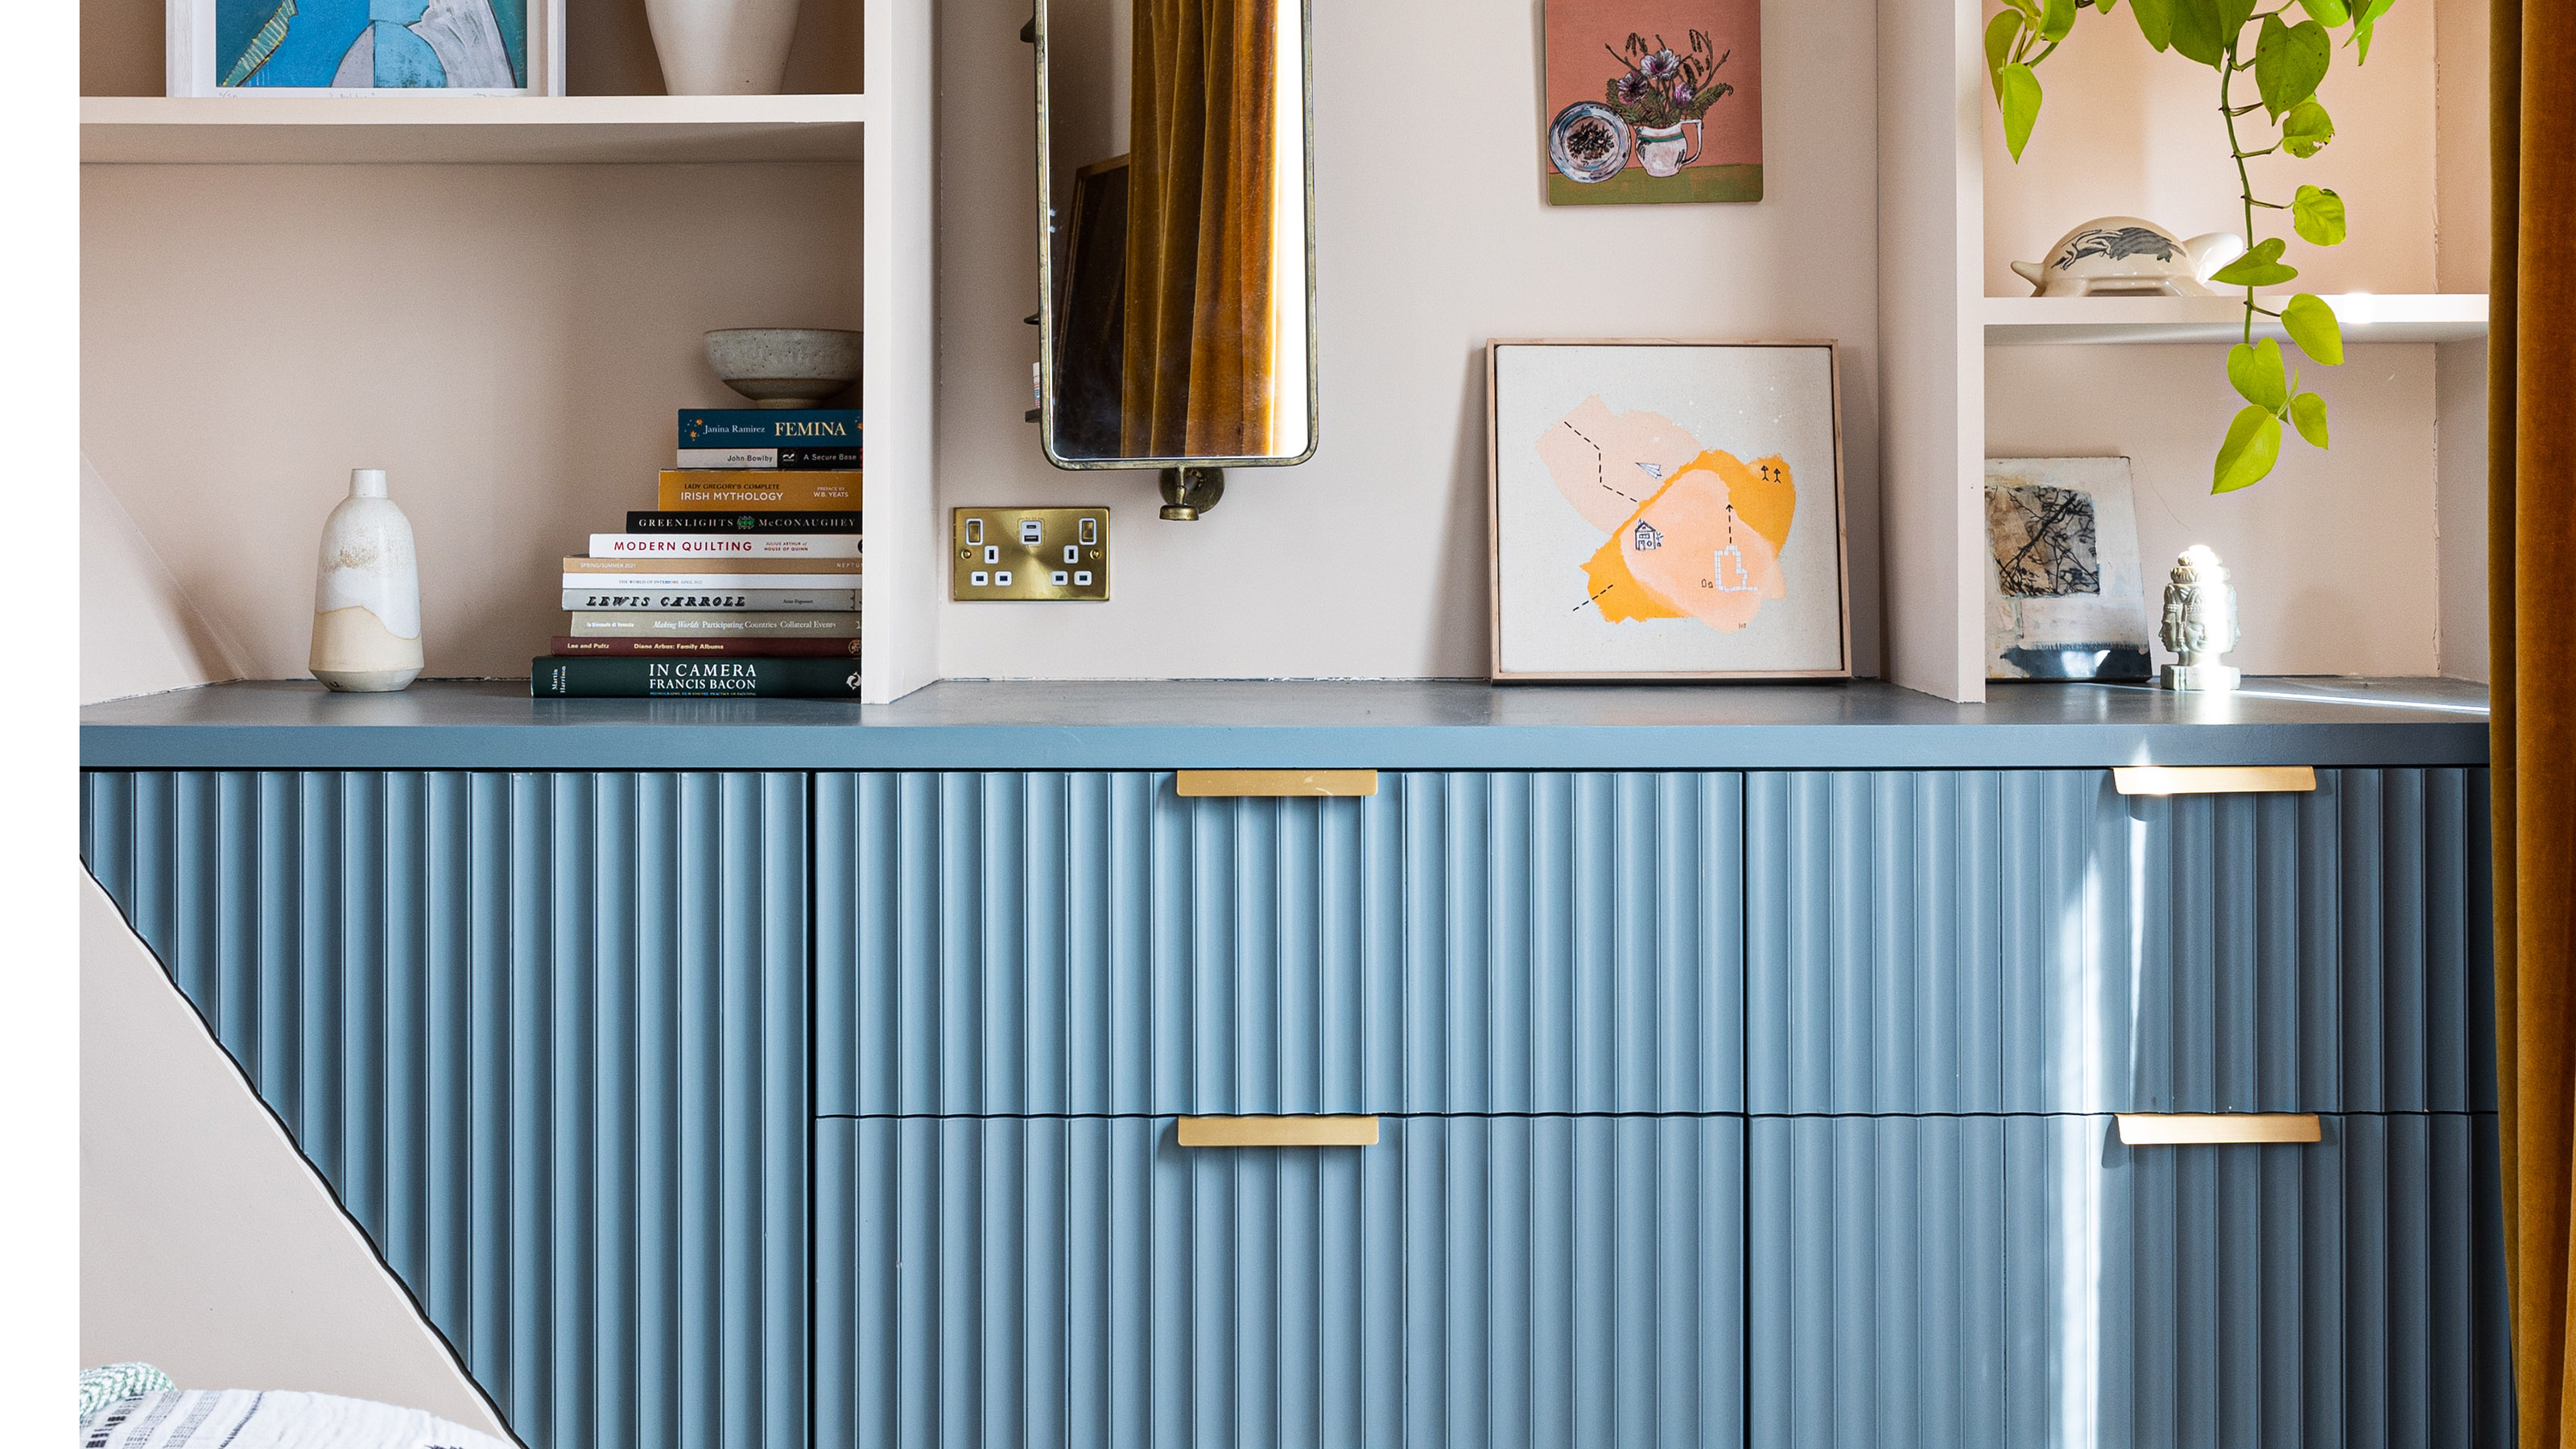
How to paint laminate furniture - the pro tips experts swear by for a perfect finish
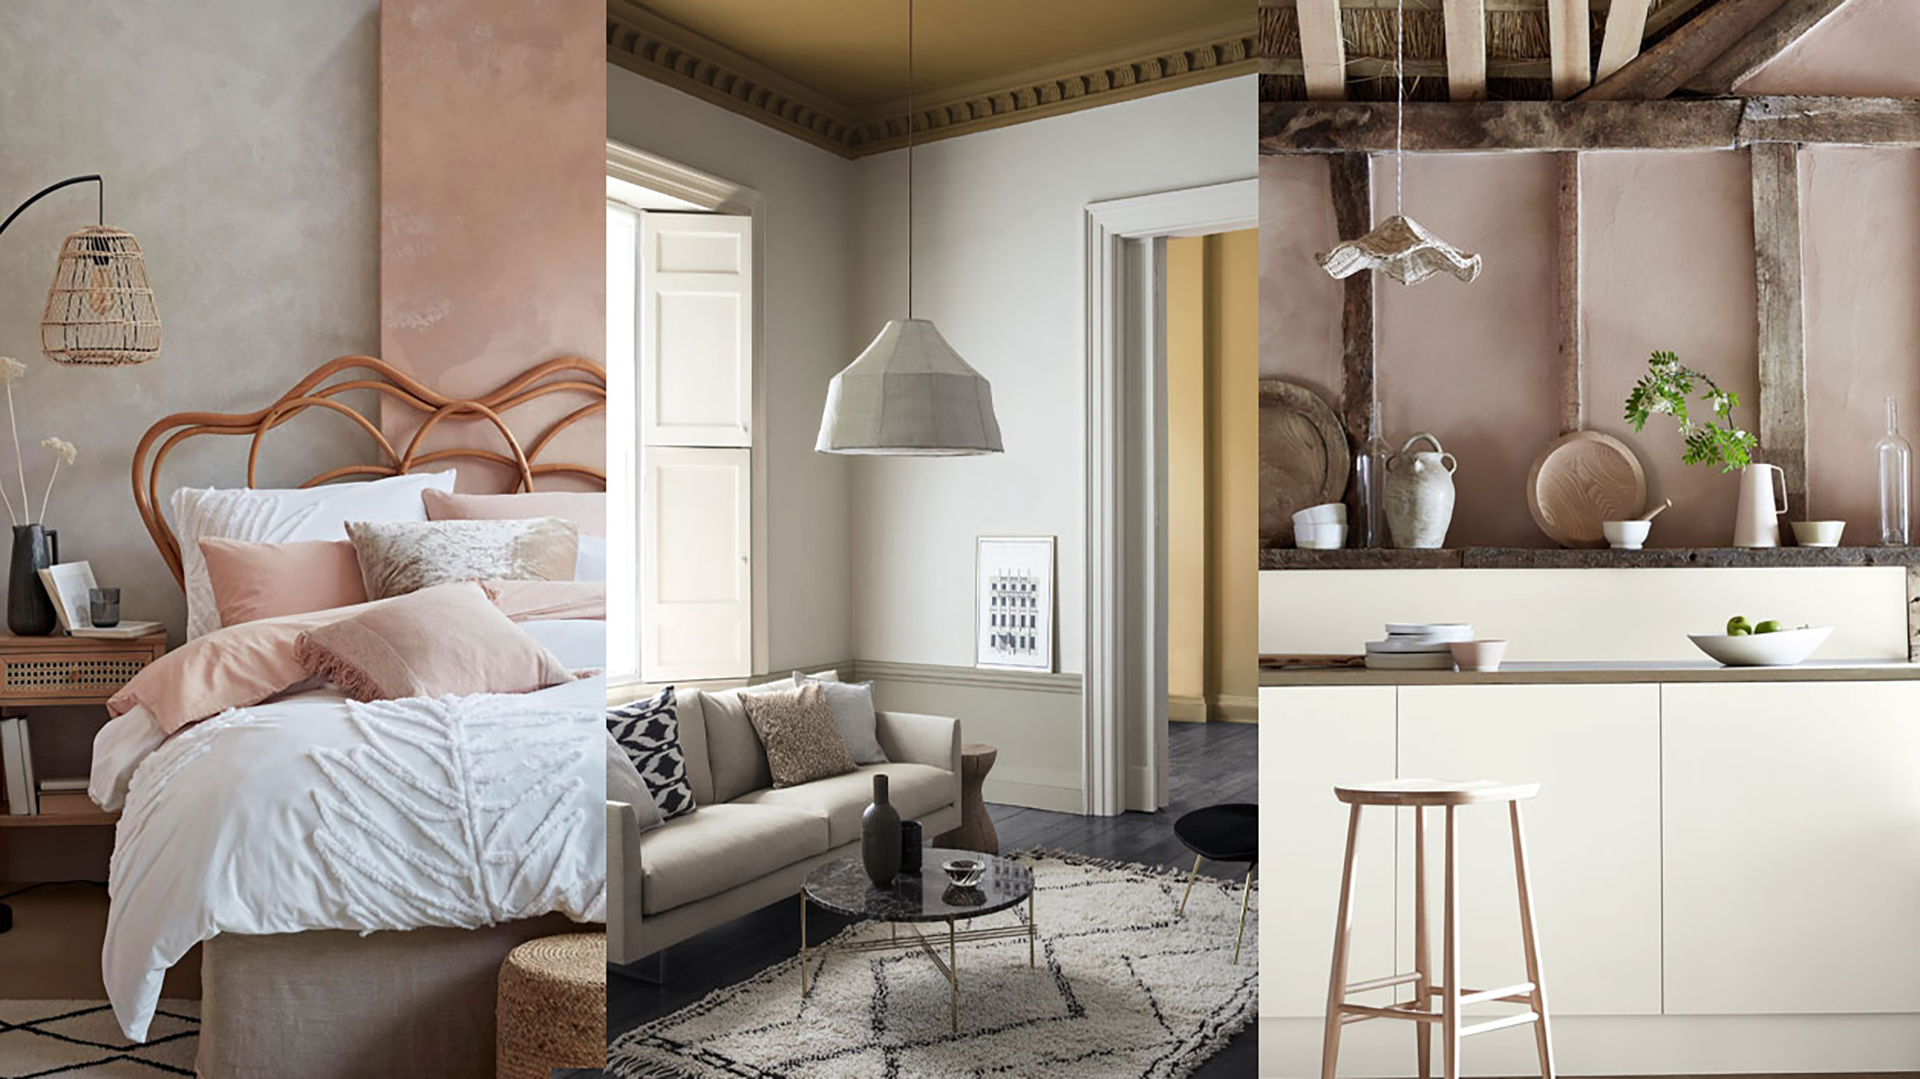
Paint finishes – a guide for every room
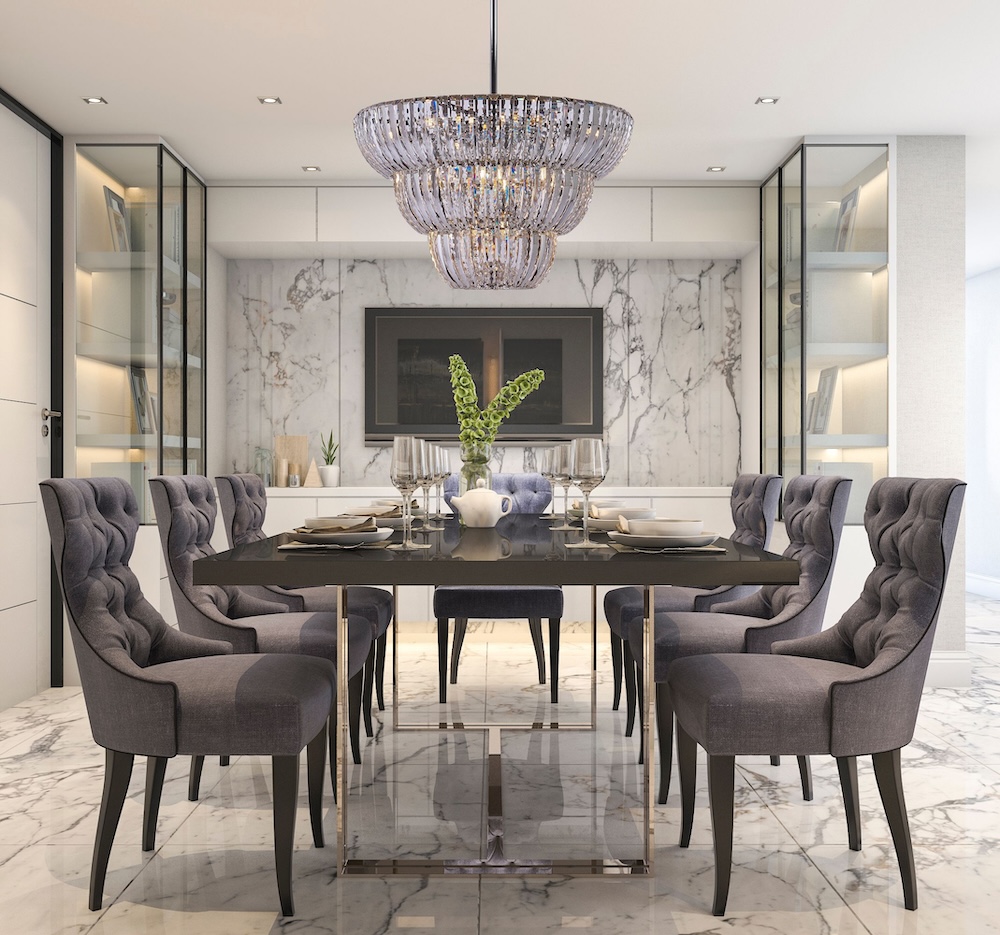
6 Designer Tips for Showcasing the Dining Room
The Best Dining Tables (and How to Shop for One)
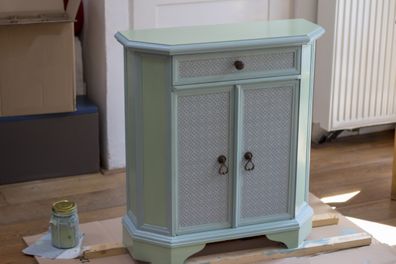
How to paint furniture: The one detail you need to get right for best results
5 Dining Room Paint Colors For An Entertaining-Worthy Space

How to style a mantelpiece – 6 expert tips from interior designers
Need A Furniture Refresh? These Are Paint Colors That Top Designers Recommend

6 Styling Tricks Designers Always Use to Make Any Dining Room Look Instantly Finished
10 mistakes to avoid when painting wooden furniture, according to experts
The Color Trend Designers Are Painting Dining Rooms Right Now
How to style a living room end table – 6 ideas from interior designers

Expert tips for styling a beautiful tablescape

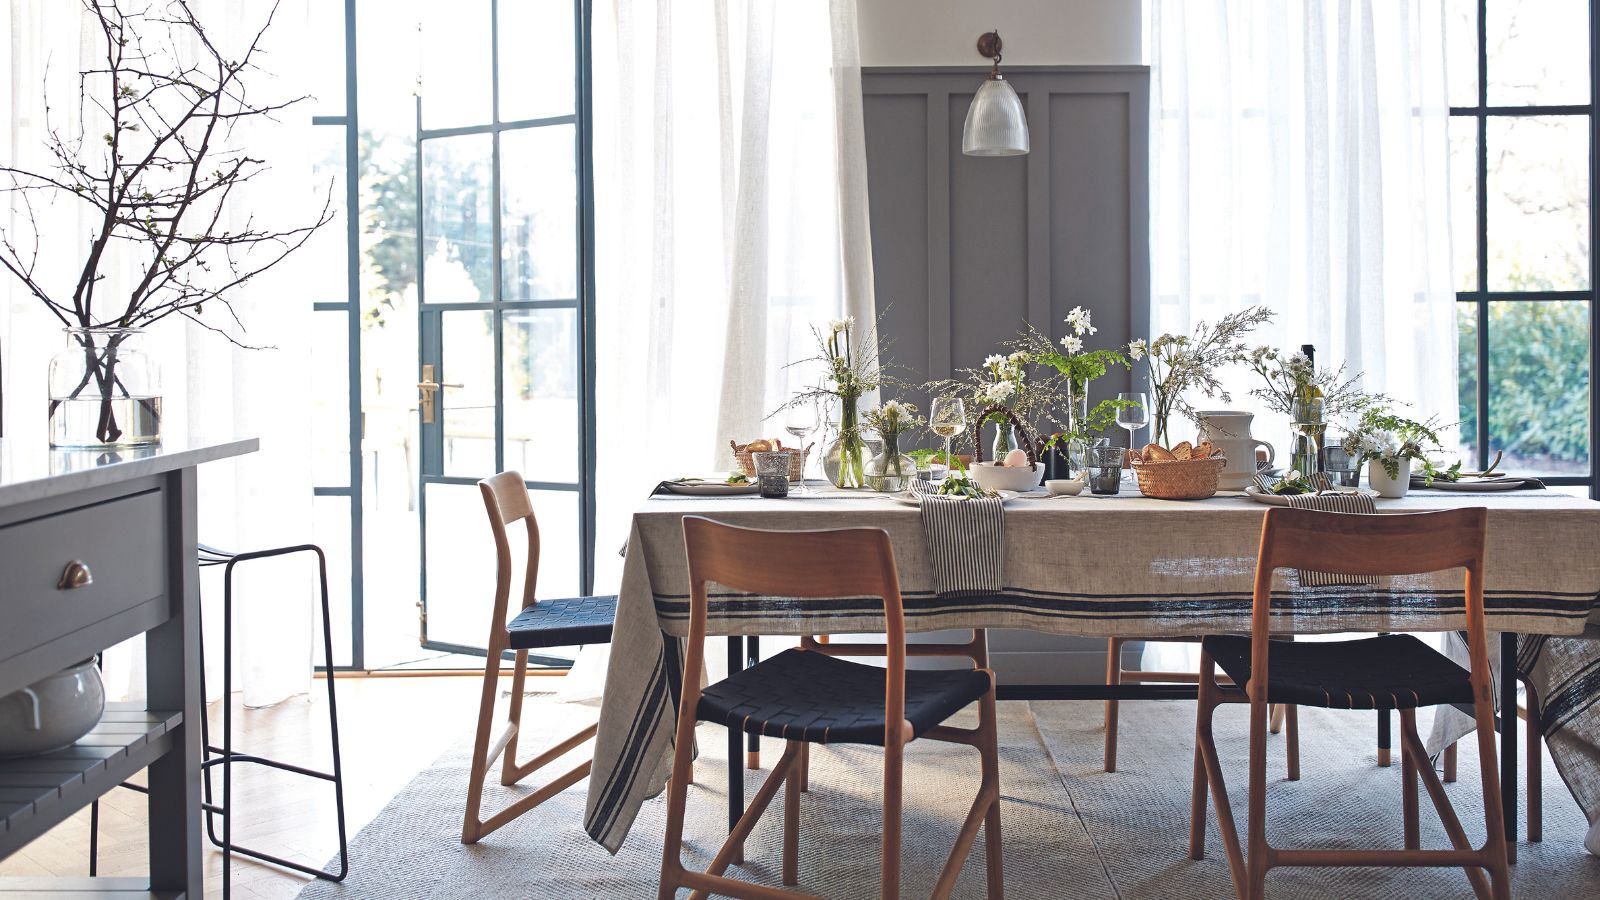
Round vs rectangular dining room tables – which one is best for your space?
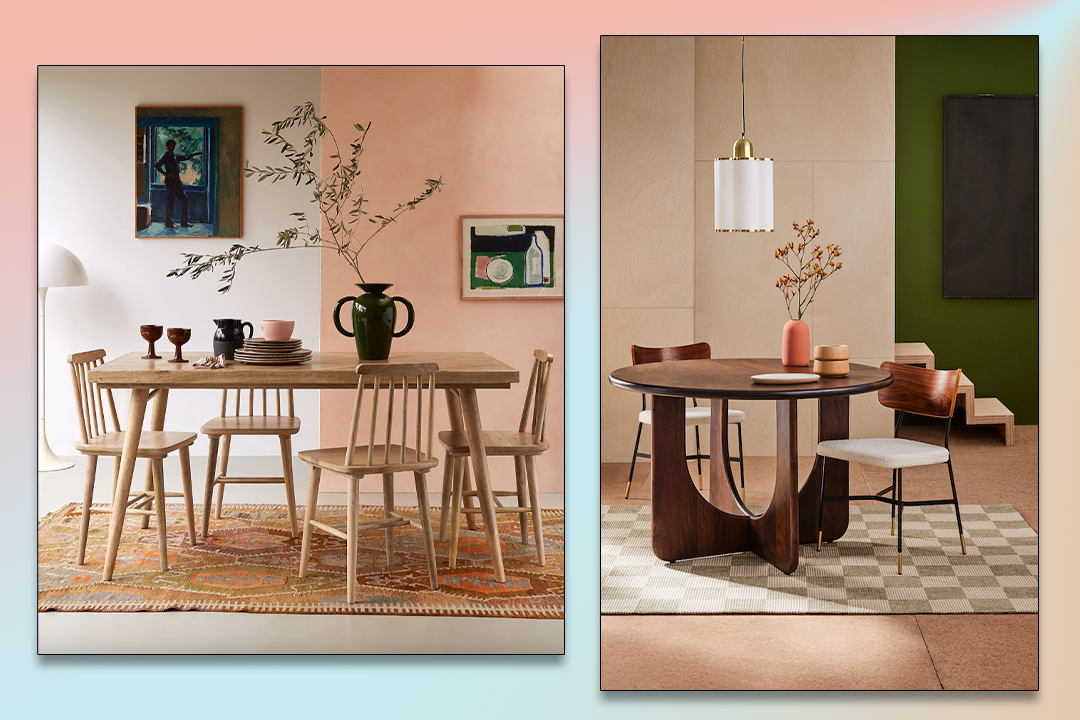
The best dining tables for entertaining in style, tried and tested

How to Paint Wood Furniture—From Sanding to Sealing