1/4
How to sponge paint a room with unique textures and patterns and unleash your inner designer, according to the pros
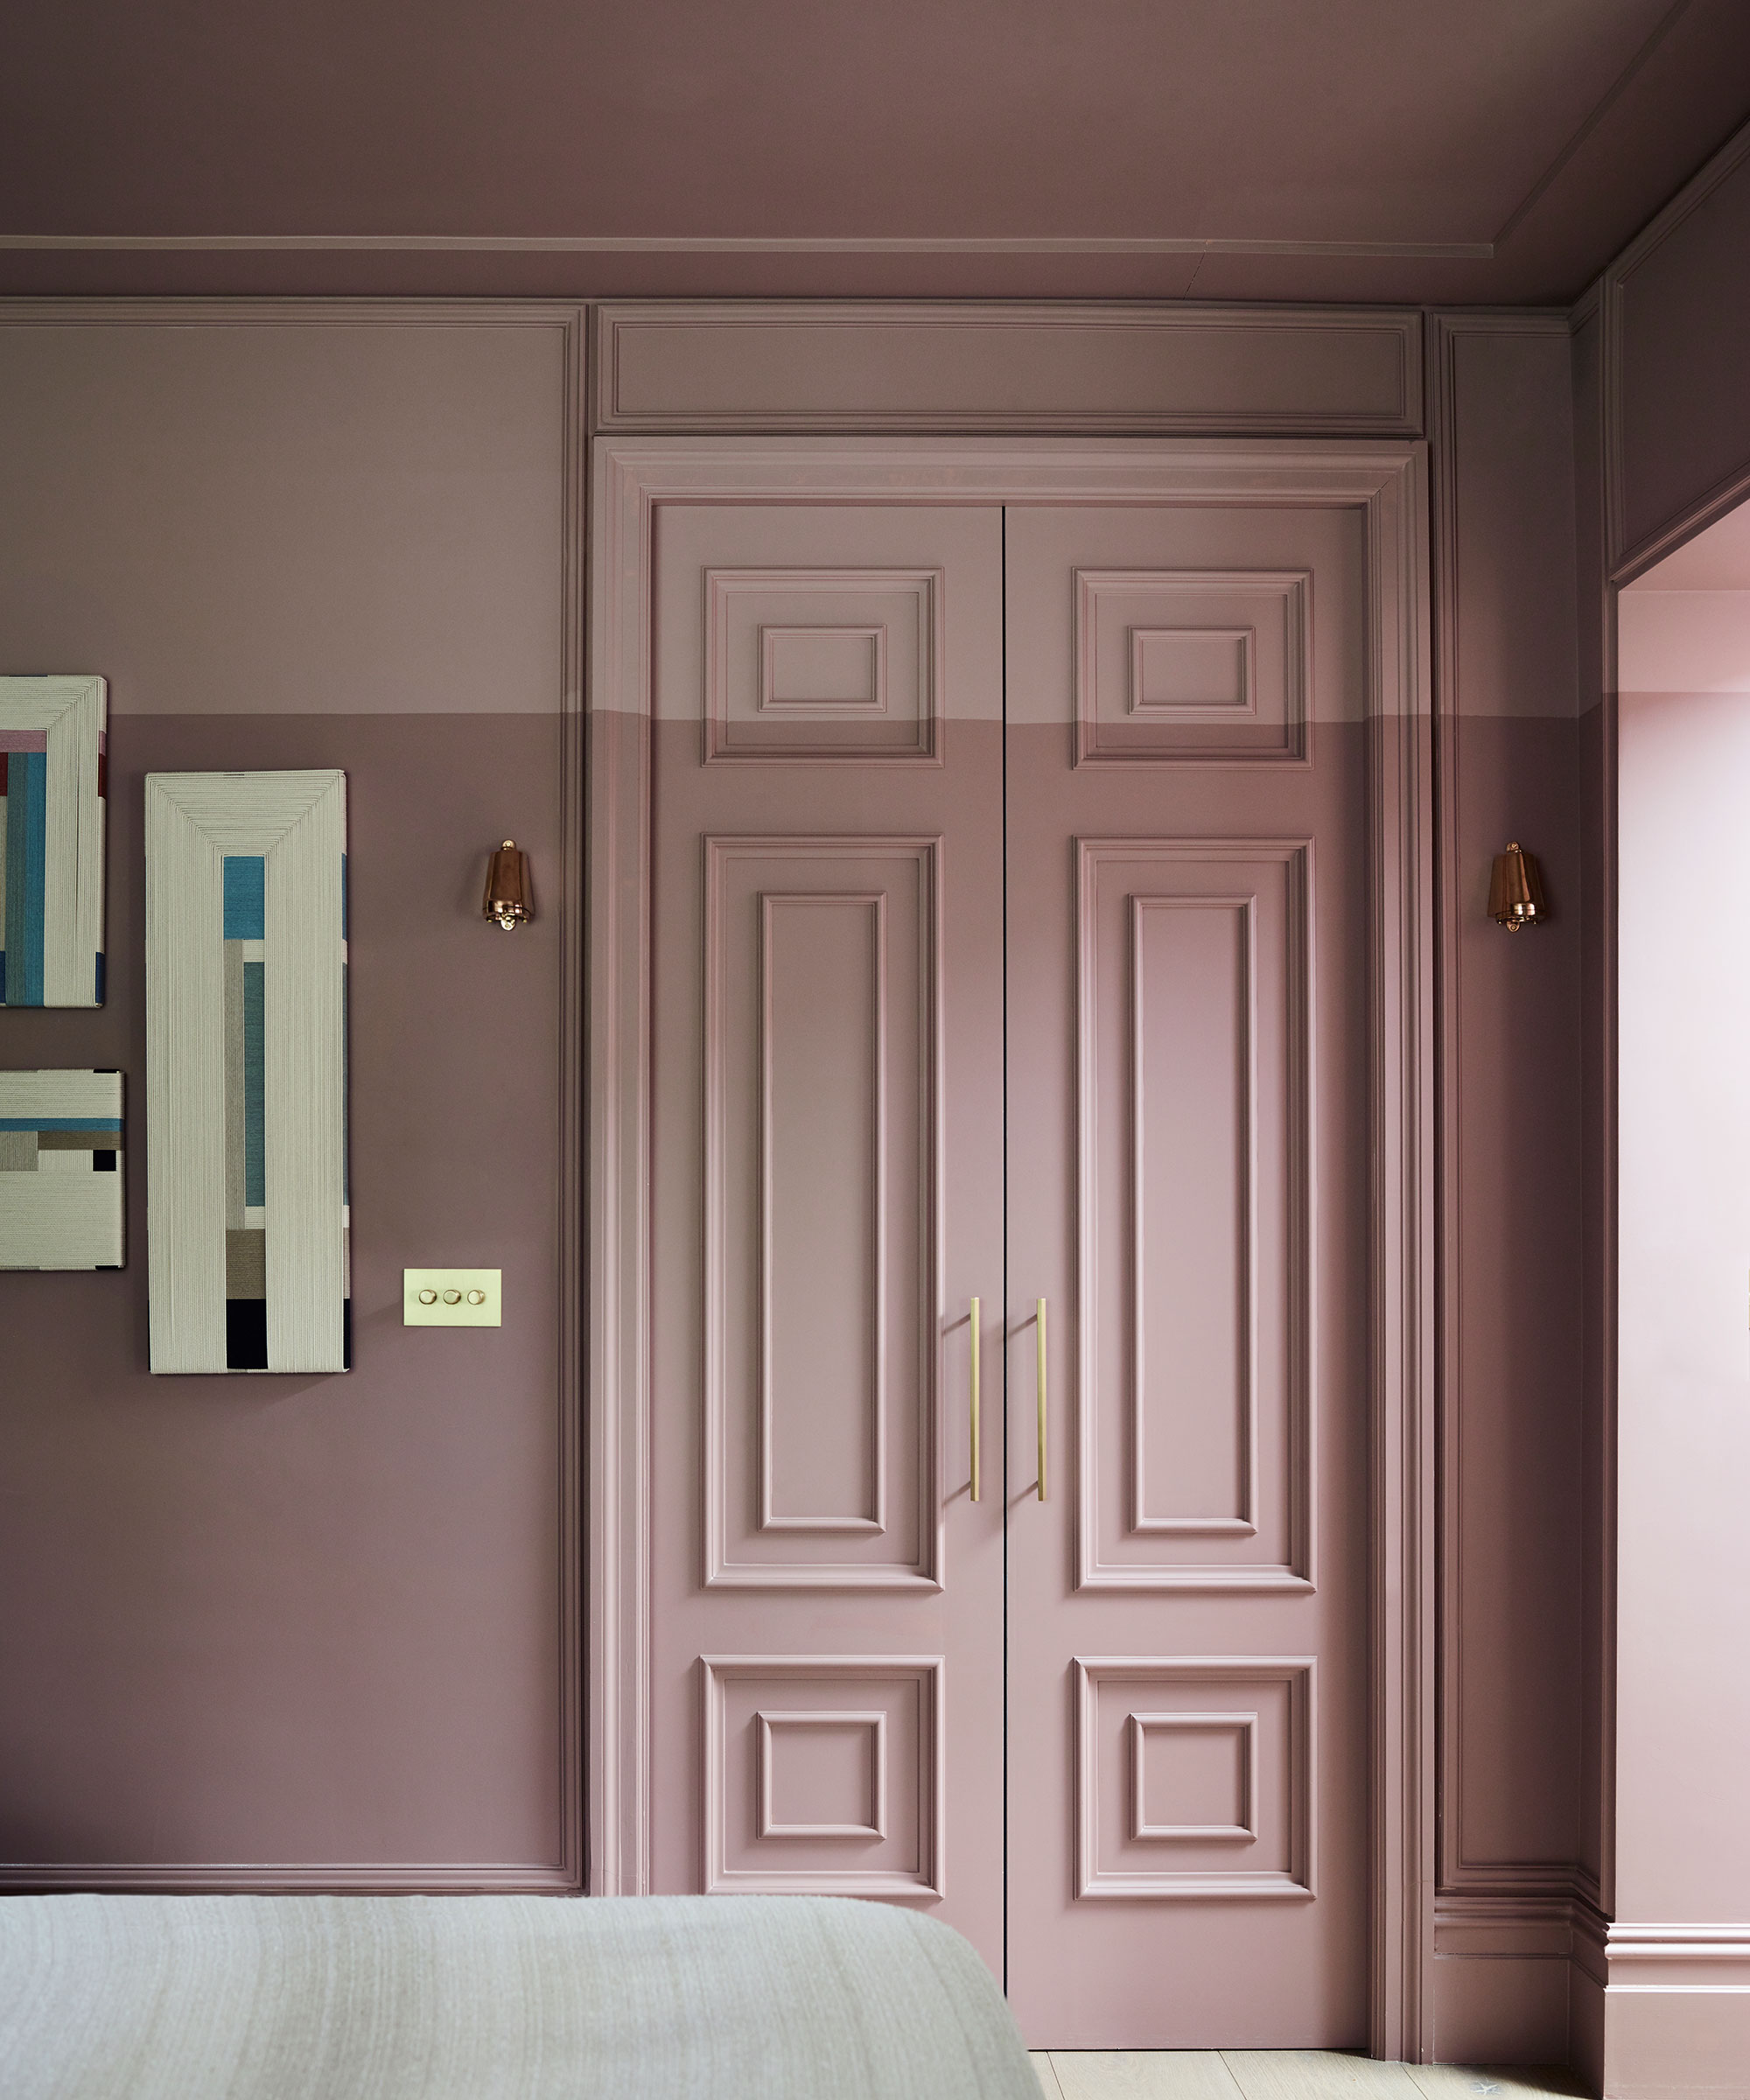
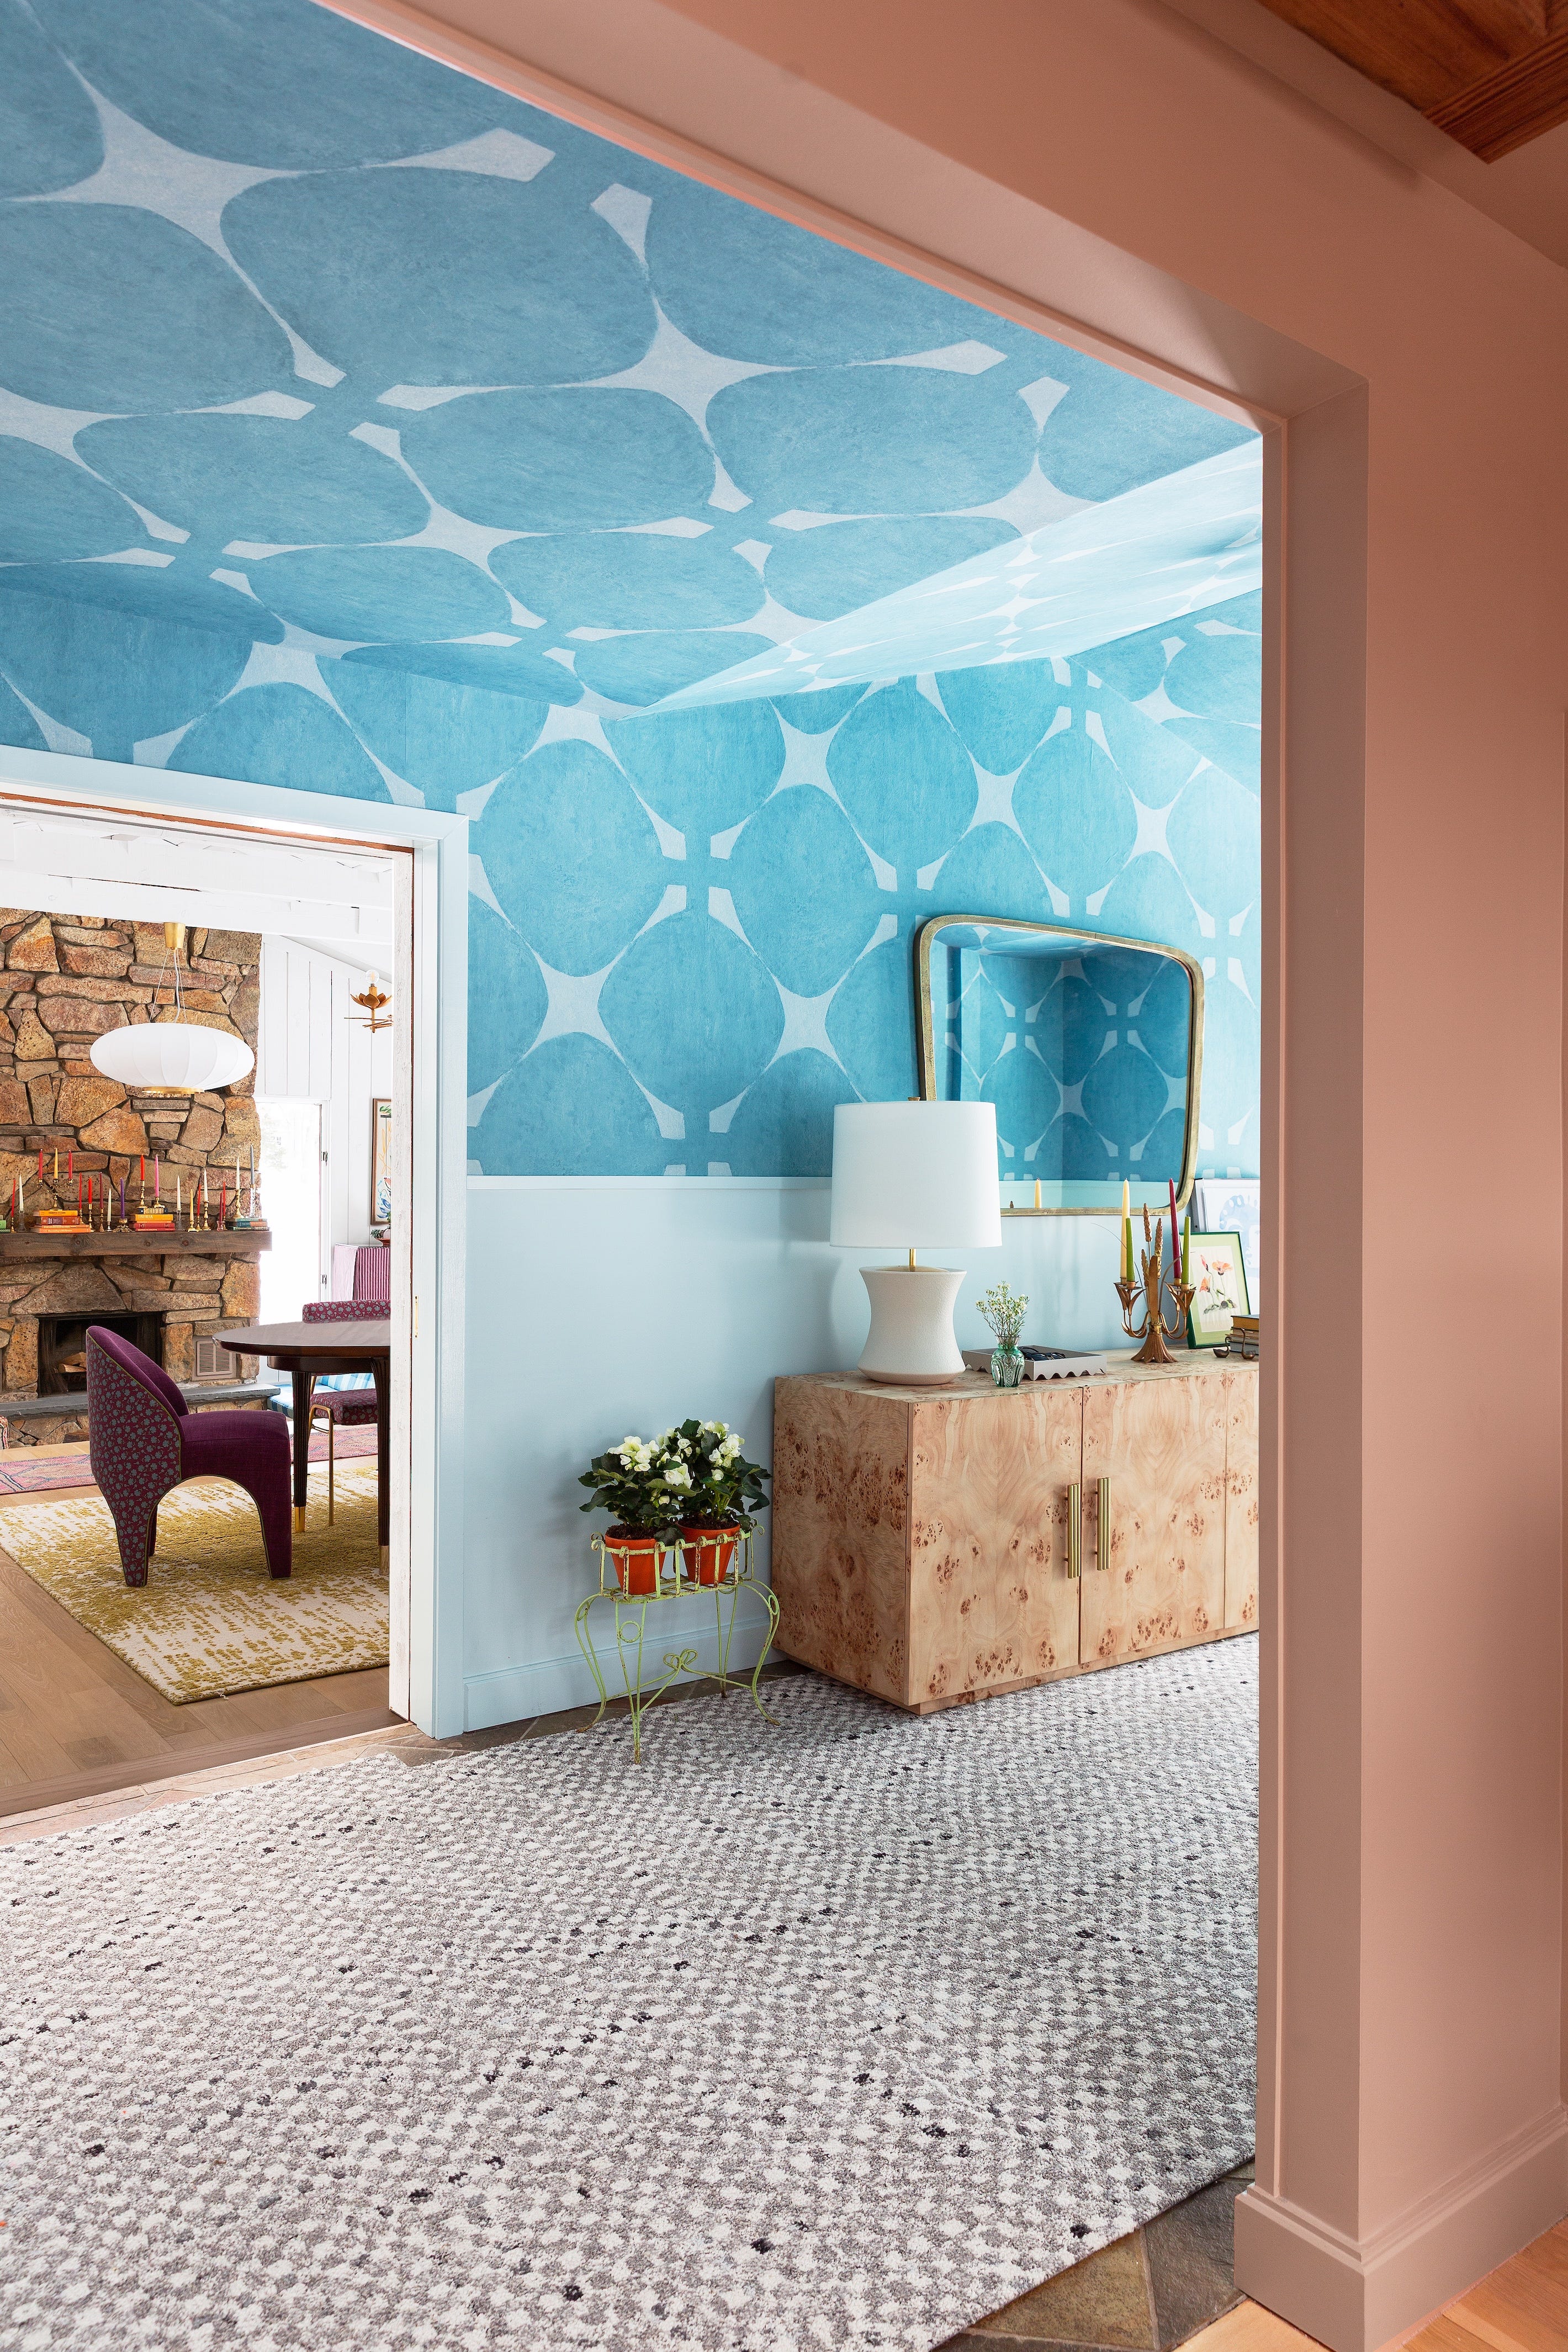
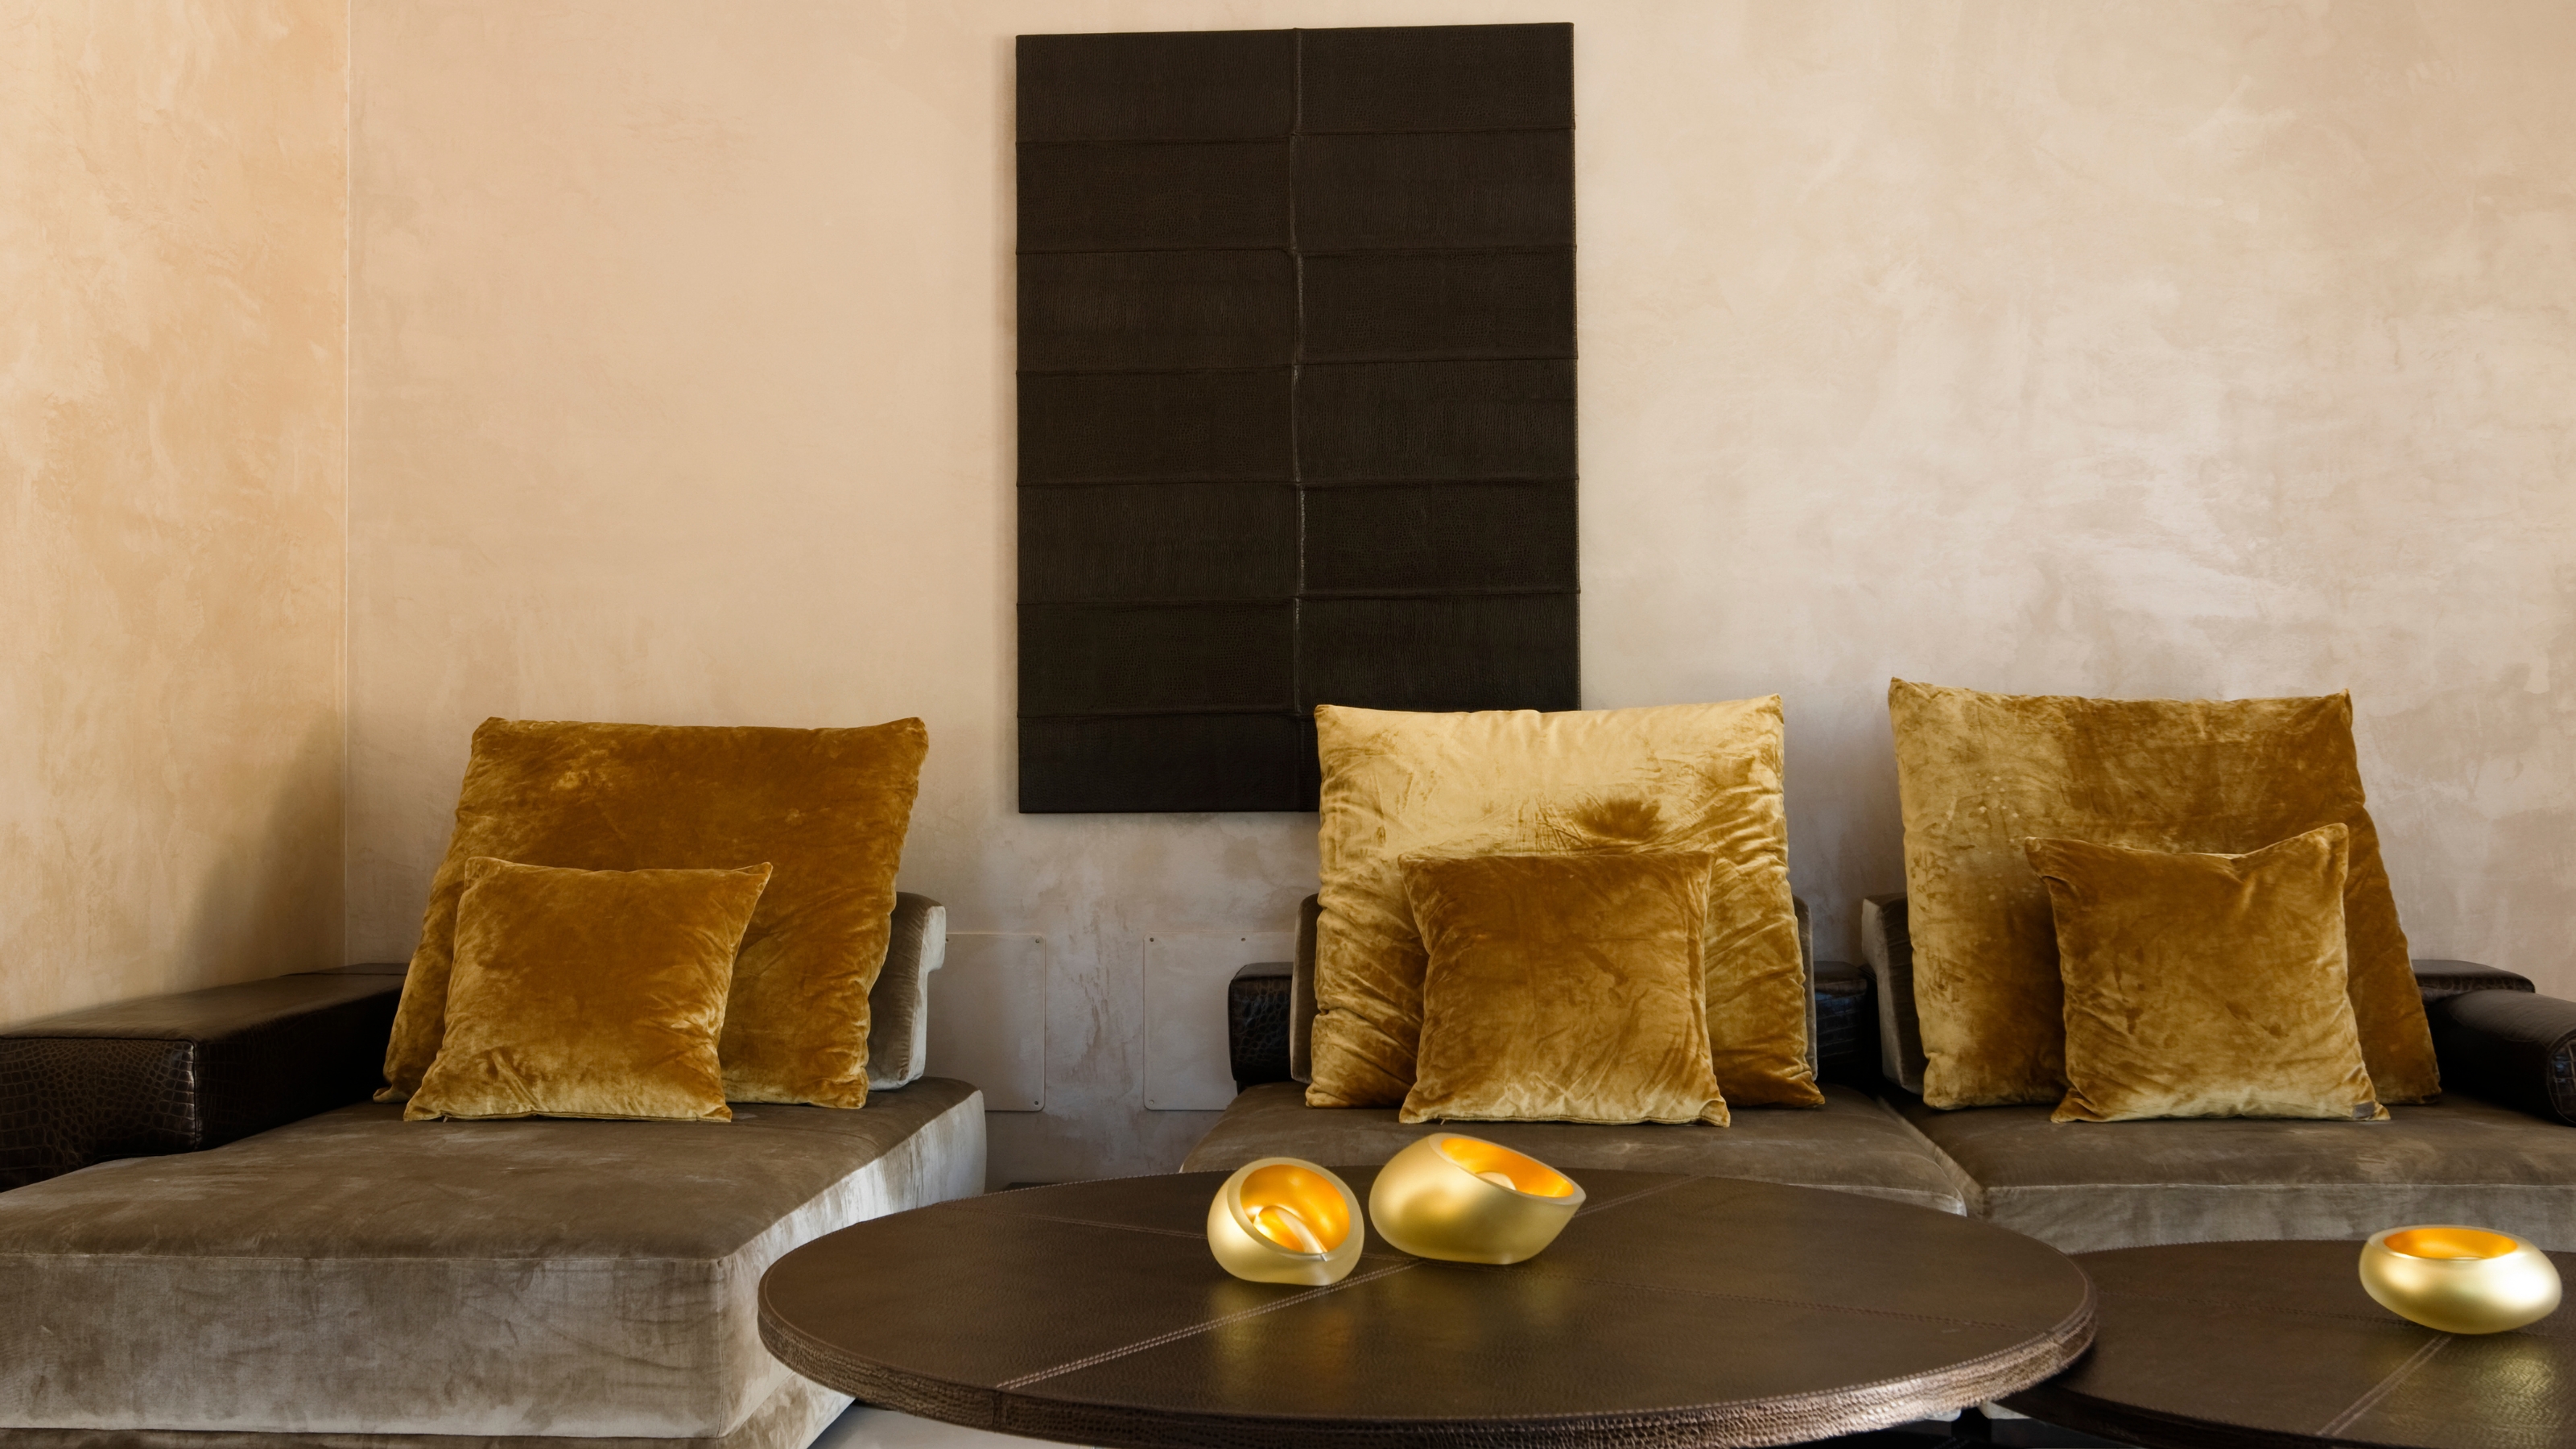
Sponge painting, also known as faux painting, offers a versatile and impactful method for transforming a plain wall, allowing individuals to add visual interest and personalize their living spaces. This technique is easily achievable within a weekend and is favored by designers for its timeless appeal and ability to introduce unique patterns and textures. The process involves five key steps, starting with thorough room preparation.
The initial step requires removing all fixtures and pictures from the walls and moving furniture at least four feet away, then covering everything to protect against paint splatter. Following this, the walls need to be prepped by cleaning off dust and debris, caulking, patching any holes or dents for a smooth finish, and sanding. After sanding, vacuuming is crucial to remove any residual dust. Finally, caulk any gaps around windows, doors, or baseboards; using painter's caulk for areas to be painted over or waterproof silicone for added protection around windows and doors.
The third step involves applying a base coat of solid paint. The choice of base color is crucial, as a dark color on a light background will yield different results than a light color on a dark background. Regular interior wall paint is suitable for this purpose. The key to the final finish lies in the chosen sheen and the amount of glaze added. A flat base with a flat top coat maintains similar tones, while a higher sheen like eggshell or semi-gloss creates contrast and offers increased durability and ease of cleaning, especially in high-traffic areas. The glaze, which is added to the paint, will ensure the top coat does not result in a solid color.
Before applying the final top coat with the sponge, a glaze must be created. Glaze is vital for sponge painting as it slows down the drying process, allowing more time to work with the paint, particularly fast-drying varieties. It also increases the paint's transparency; more glaze results in a lighter color but a longer drying time. A general guideline is to mix four parts glaze to one part paint. To test the color and drying time, it is recommended to dab a small patch on an inconspicuous area or a scrap piece of wallpaper and allow it to dry.
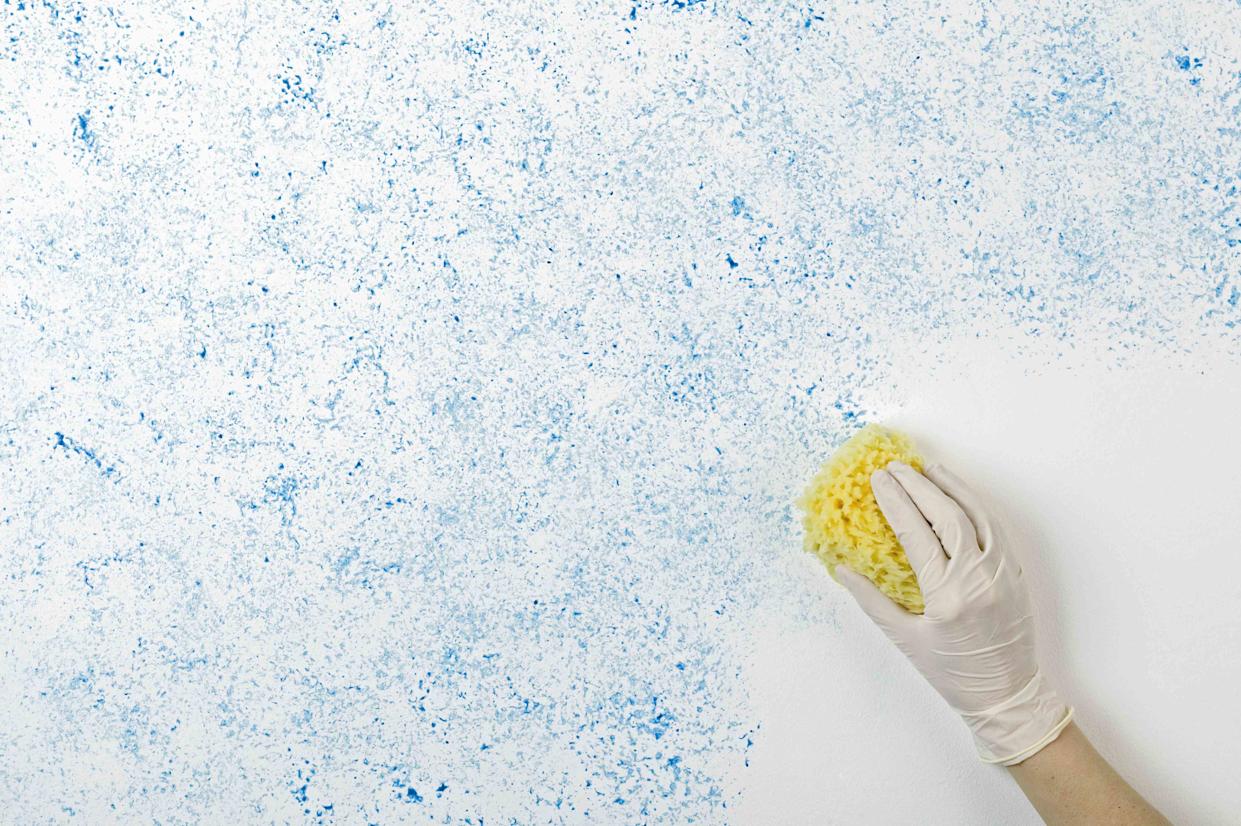
The final and most creative step is the sponge painting itself. Any type of sponge can be used, with the choice depending on the desired pattern and texture. Different sponges hold varying amounts of paint and release it differently, leading to diverse effects. For instance, a car wash sponge with small pores creates a solid pattern, a loofah sponge offers a deeper patterned finish, and shower puffs can create wider, more original patterns. Experimenting with different sponges on a practice surface like wallpaper is advised to achieve a consistent and desired finish. Painting experts suggest creating circular patterns with the sponge, adjusting the size, amount, and depth of color in the glaze to control how much of the base color or glaze is visible. Tone-on-tone or bold complementary color combinations are popular choices for sponge painting. While sponge painting can be done with regular paint, the sheen and glaze are critical. The two primary techniques are 'sponging on,' where paint is applied with a sponge over a dry base, and 'sponging off,' where paint is applied to the wall and then lifted off with a sponge. Sponging on is generally easier and recommended for beginners due to the longer working time. The decision to sponge paint one wall or all walls depends on personal preference, with a single wall creating a feature while multiple walls provide a unique overall room pattern. Some experts suggest combining a faux painted feature wall with wallpaper on other walls to incorporate current design trends.
#SpongePainting #FauxPainting #InteriorDesign #DIYHomeDecor #WallTreatment #PaintTechniques #RoomTransformation #HomeImprovement #SpongePainting #FauxPainting #InteriorDesign #DIYHomeDecor #WallTreatment #PaintTechniques #RoomTransformation #HomeImprovement
0 comment in total
 No comments yet
You may also like
Paint tricks – 10 painting tips and techniques loved by the experts
7 different interior designers on ingenious ways they use paint to easily elevate a room
Is colour drenching really a radical new way to decorate, or is it just lazy decorating?
Interior Design Tips: The Dos and Don’ts of Layering

6 great ways to use colour drenching in your home
What are the best paint techniques for walls? 11 inventive effects that go beyond basic

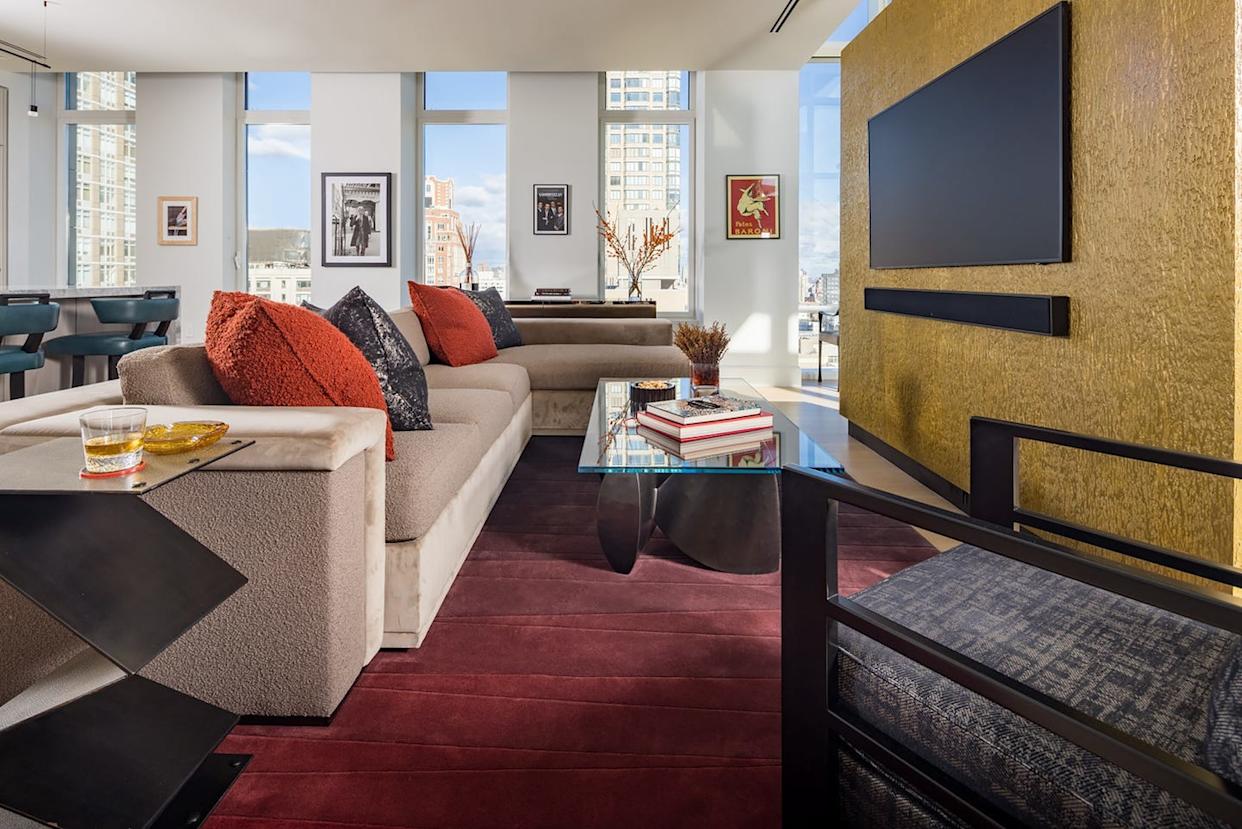
Designers Say You Might Be Mixing Textures in Your Home All Wrong

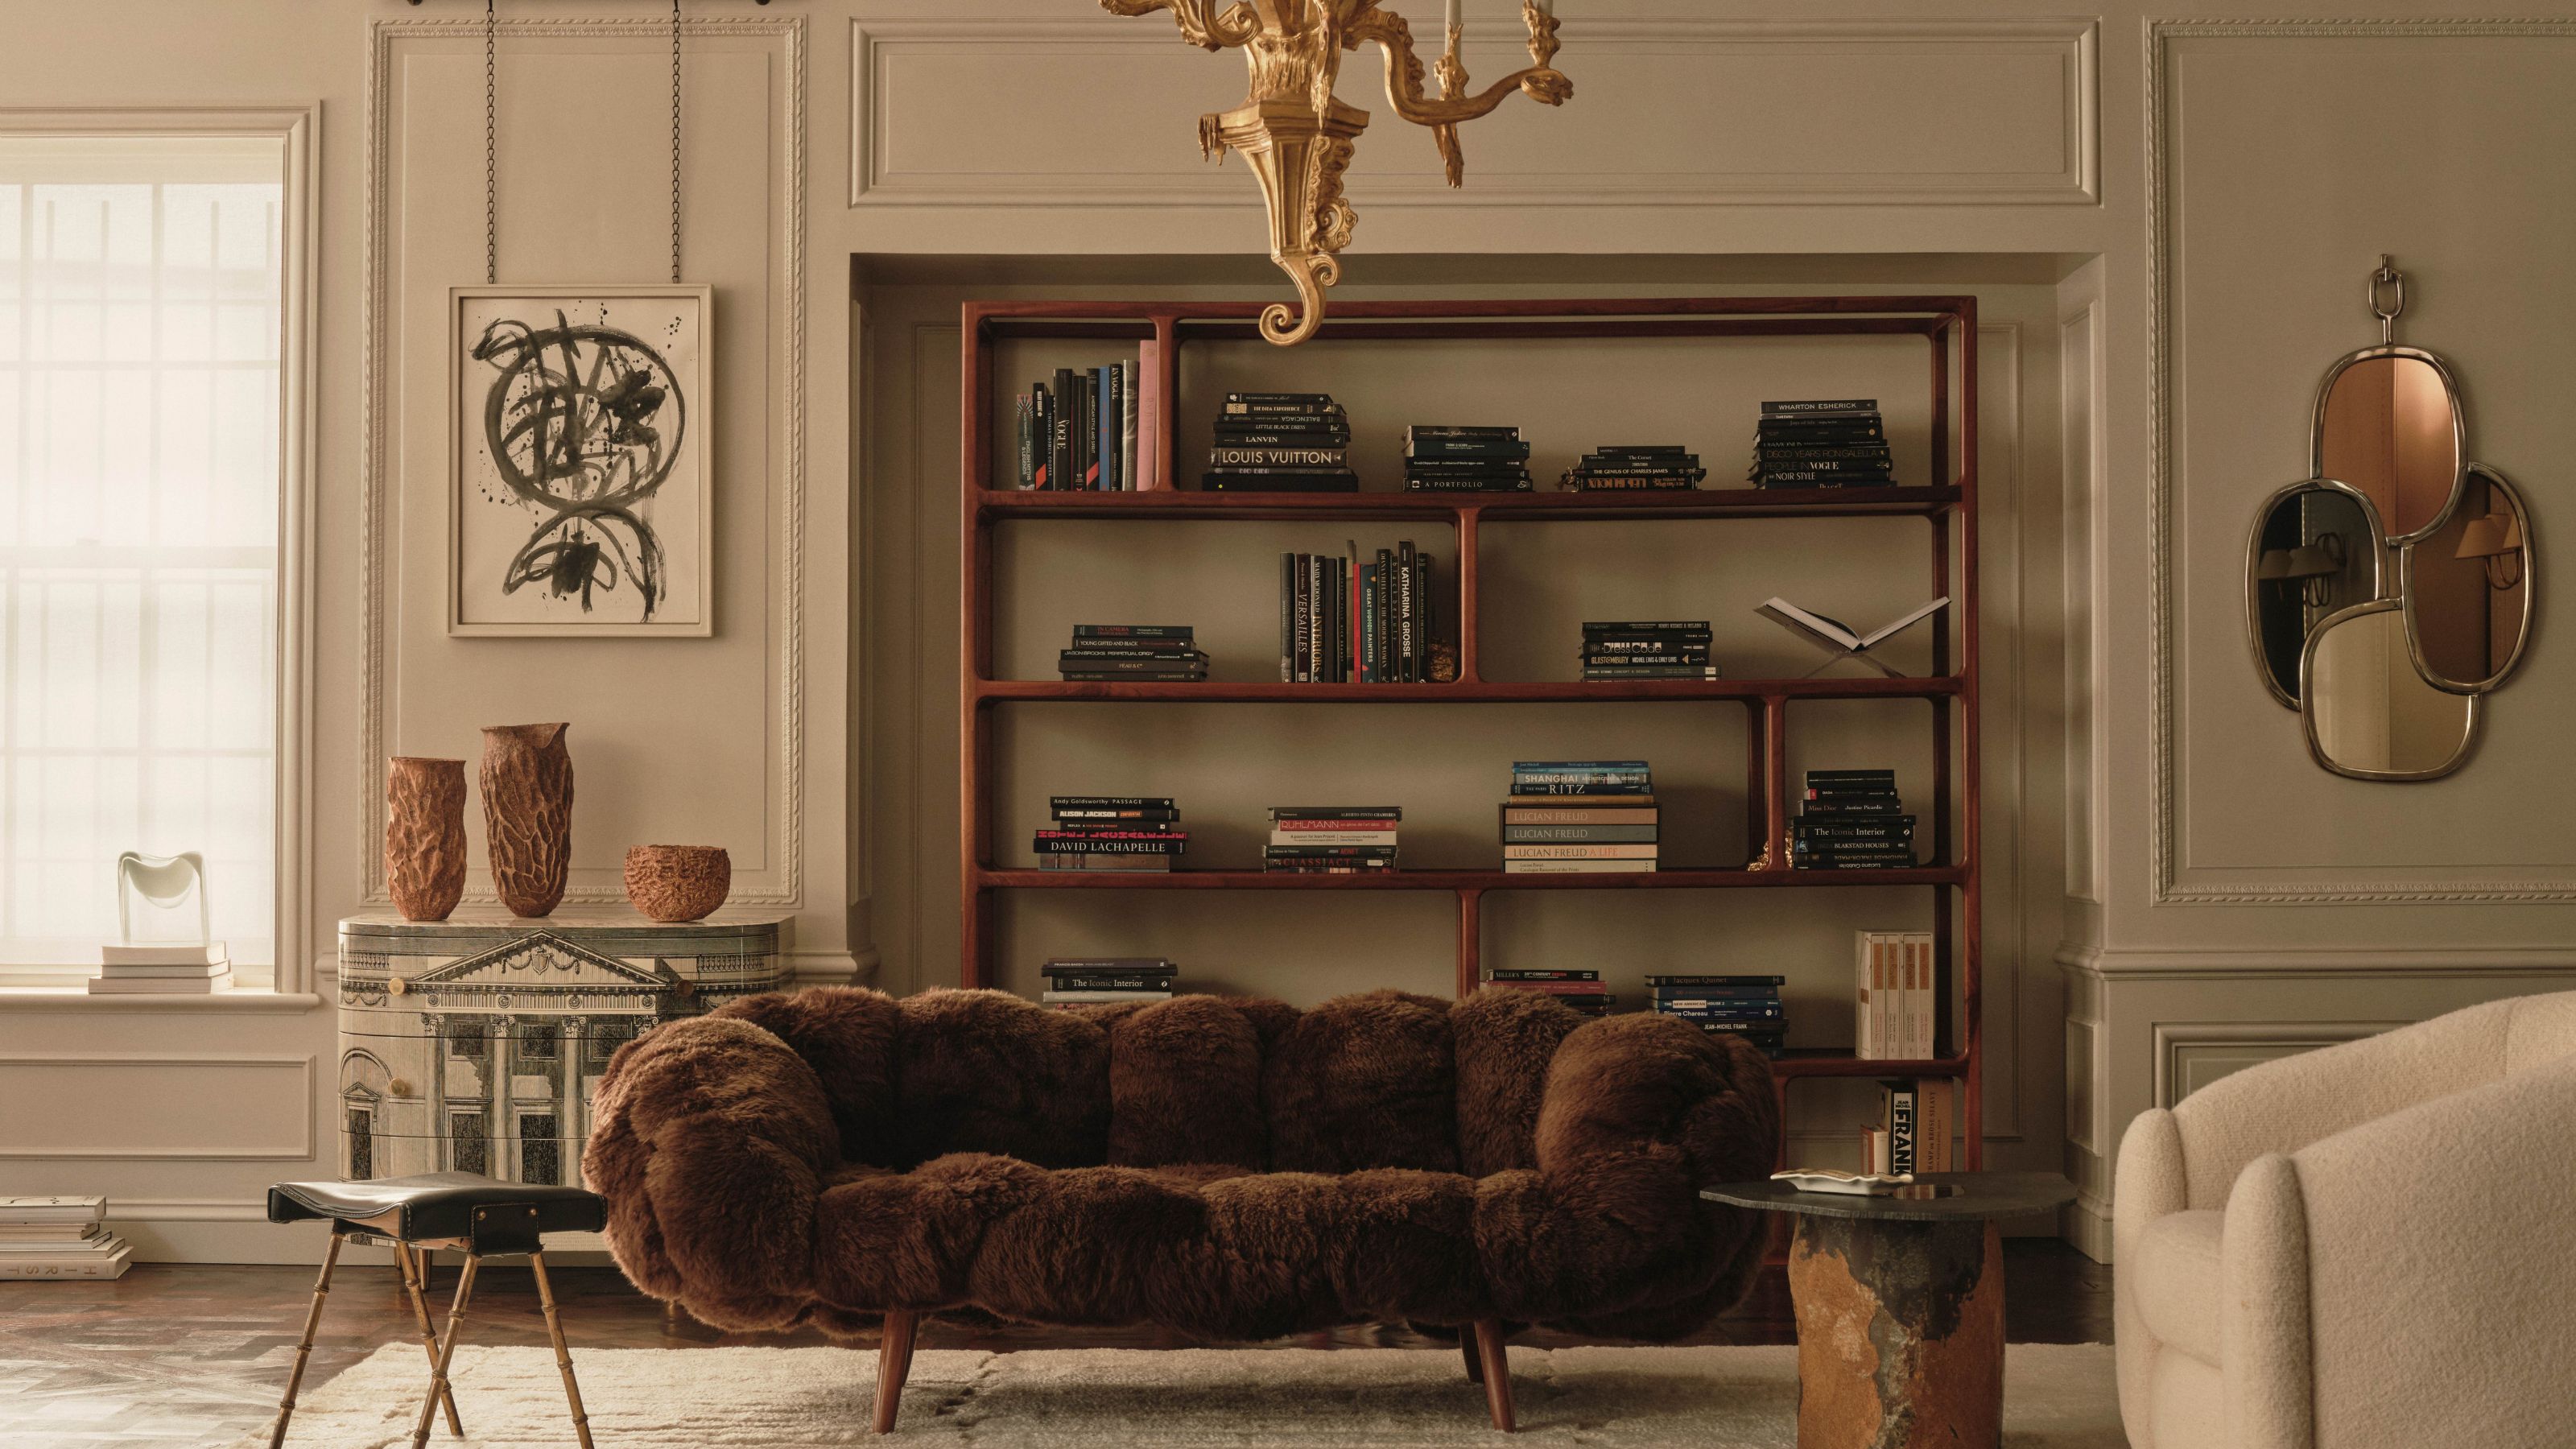
The Power of Texture in Interior Design – 6 Ways Designers Use It to Shape the Look (and Feel) of Every Room
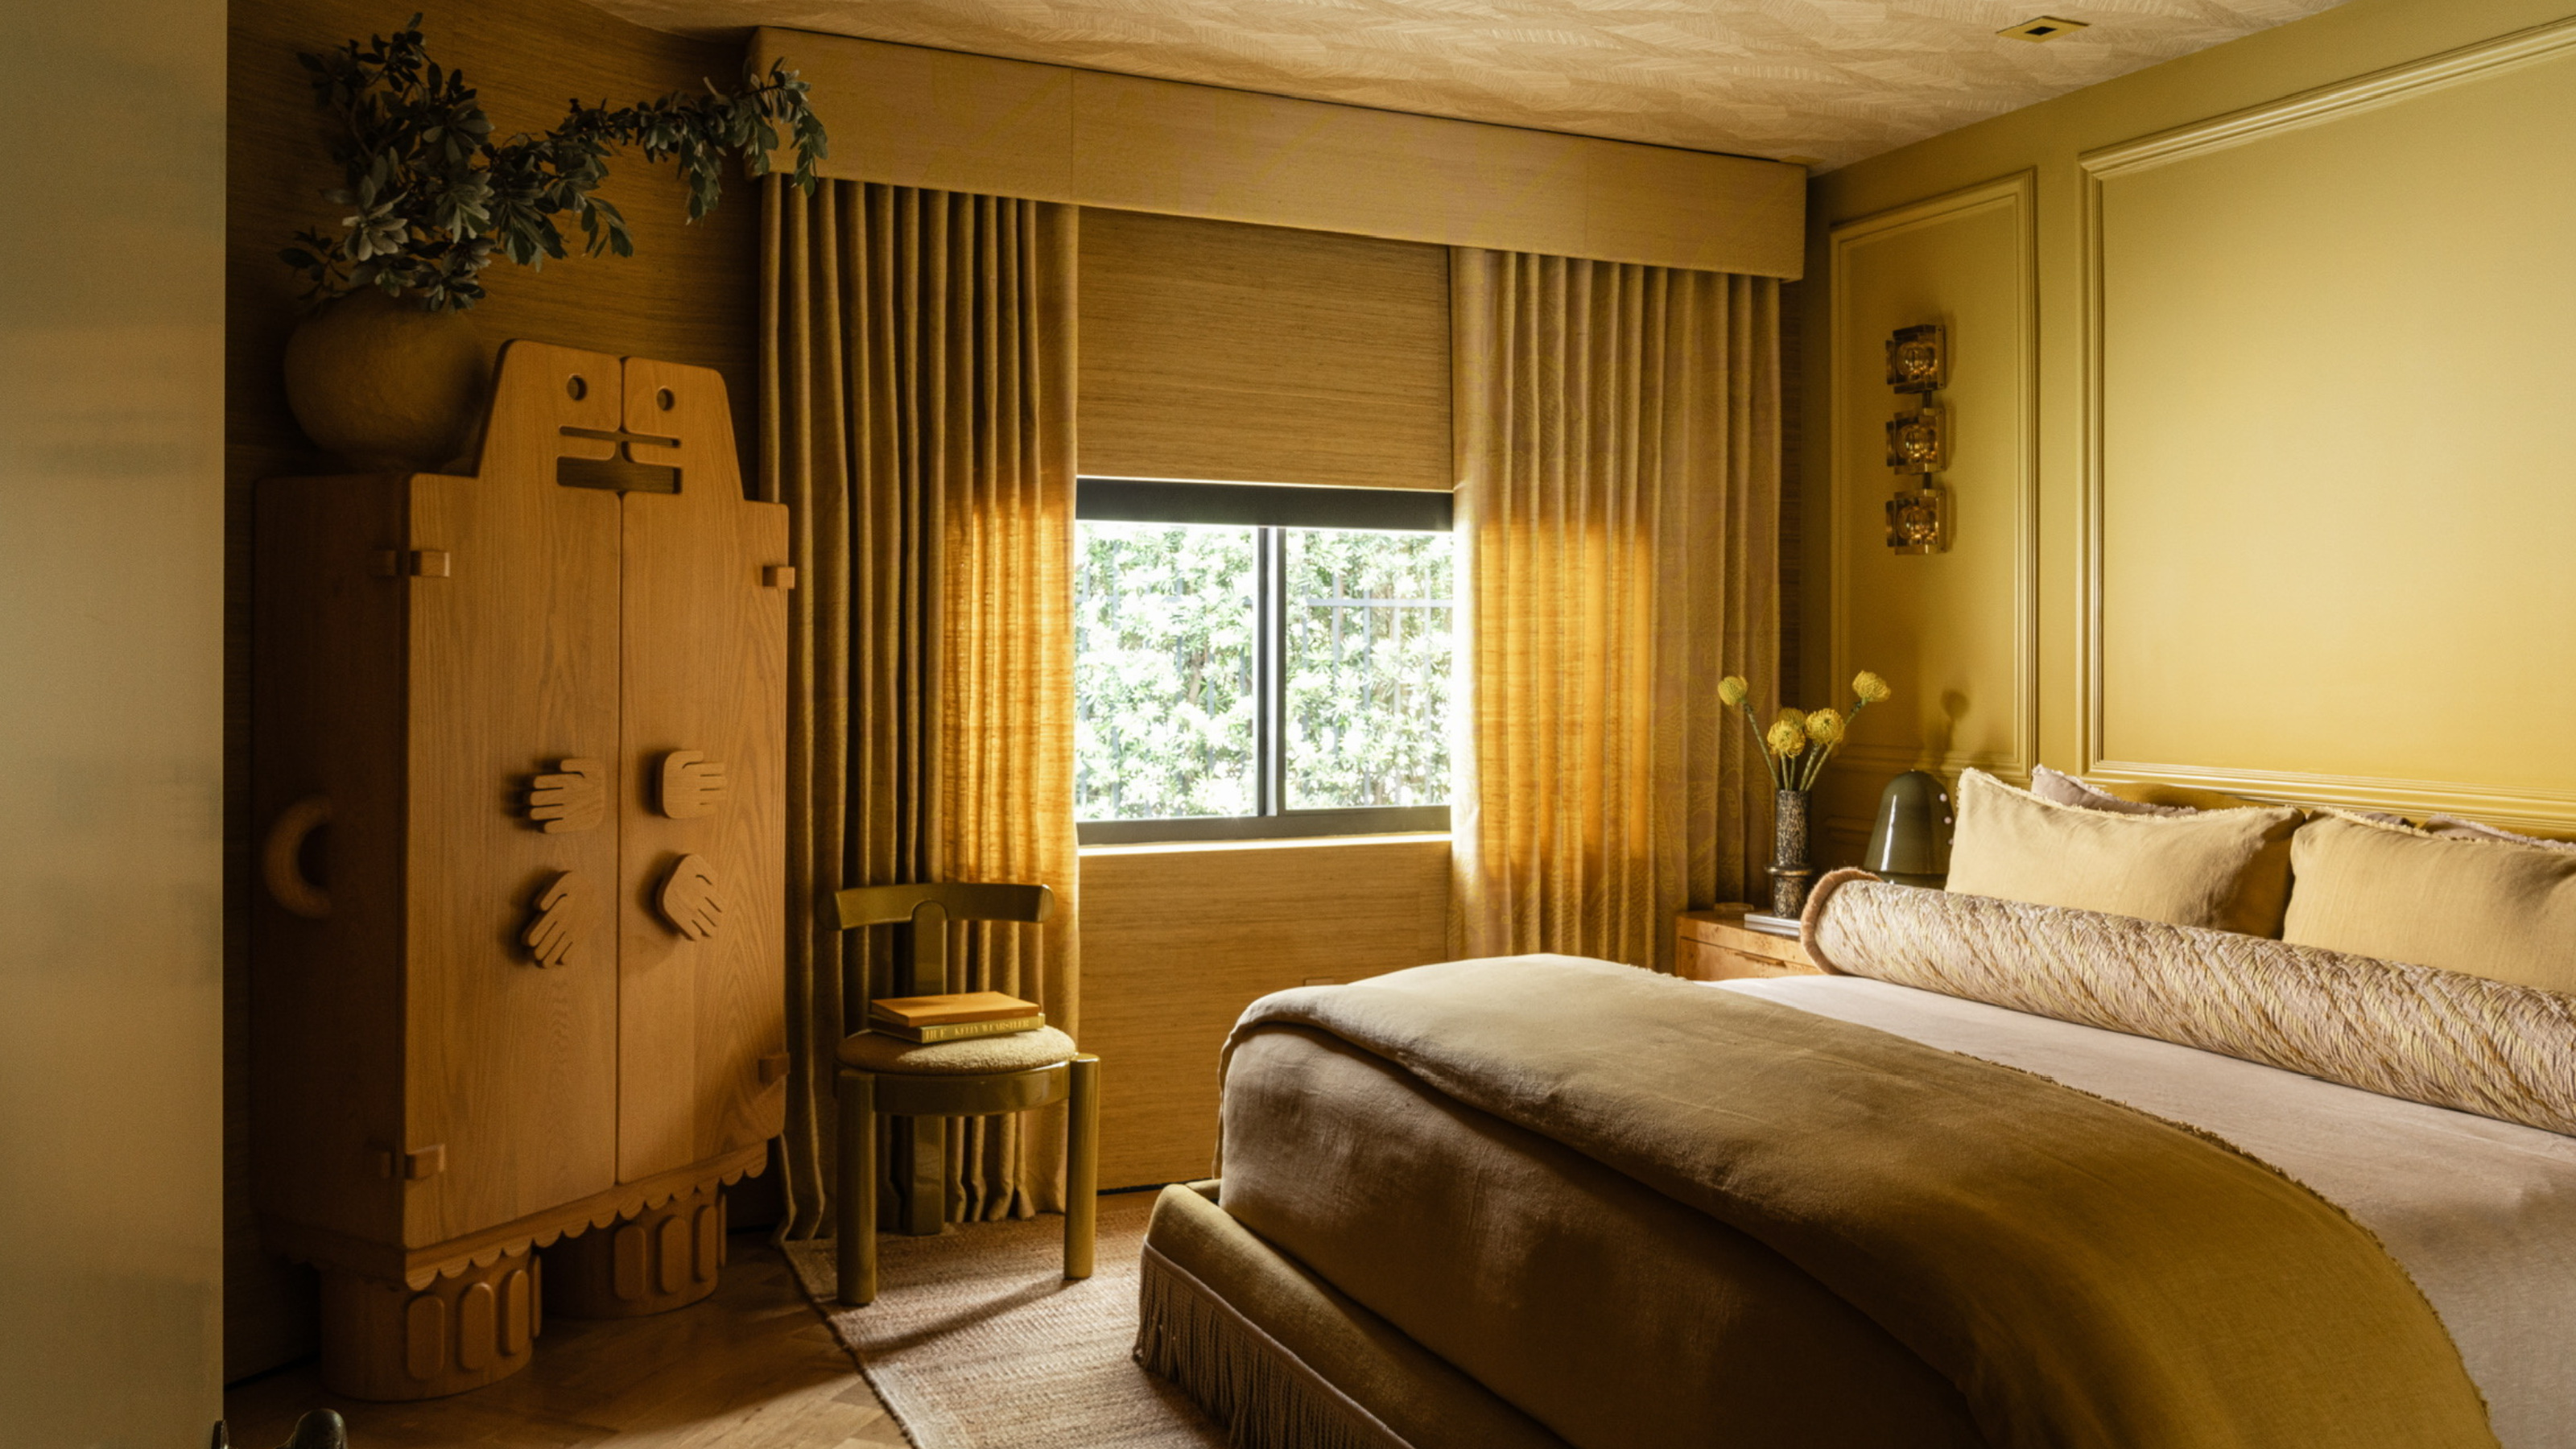
I Asked Interior Designers: 'How Do You Ensure a Room Isn't Boring?' These Are Their 5 Top Tips
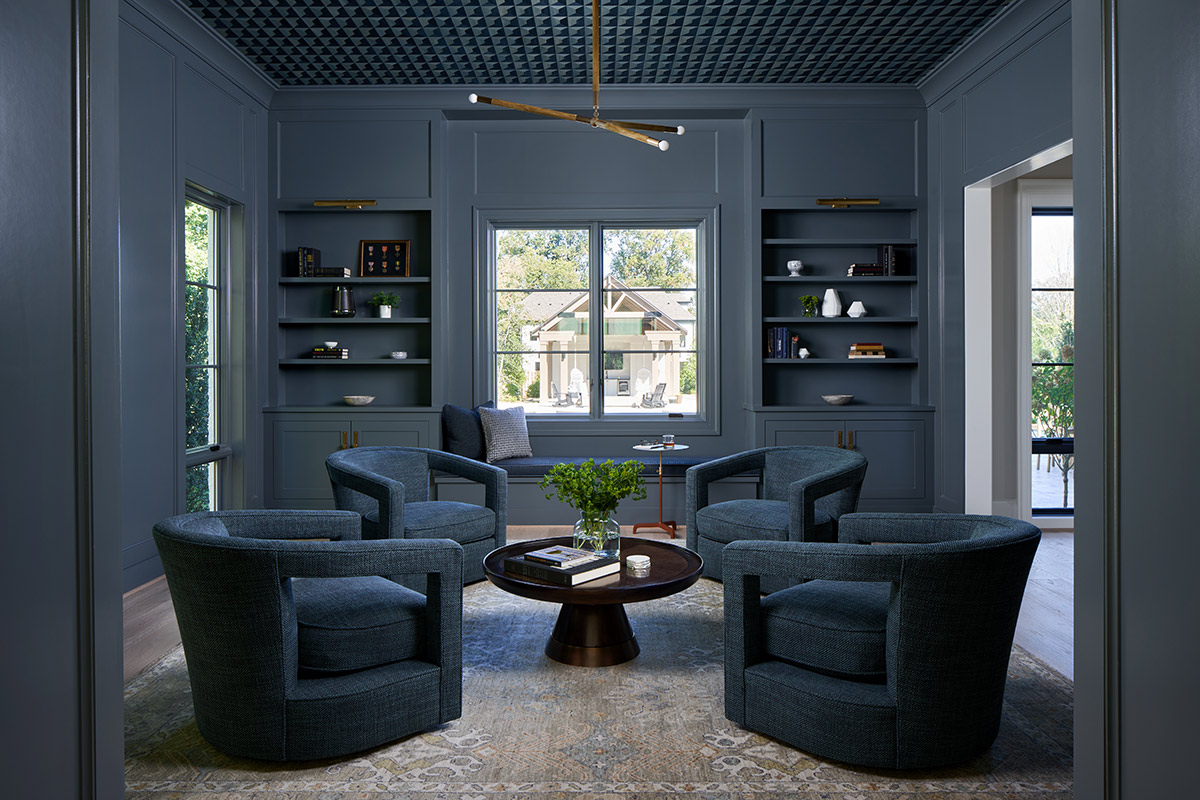
How to Incorporate Color Drenching in Your Home Design
How to transform your rooms with colour drenching
Color drenching has never been simpler with this color expert's one-paint-finish approach for the whole room
The 2000s Paint Trend We Hope Never Comes Back—And Designers Agree
How to use paint to change the size and shape of your room
If you color drench any room make it this one
Designers Say These Unusual Paint Color Combos Will Transform Your Home

8 Expert Tips for Styling Surfaces in Every Room

9 rooms that prove color drenching makes small spaces look bigger
How to make a room look bigger with paint: 10 expert tips

Pattern Drenching Is the Latest Maximalist Approach to Home Decor—Here’s How to Embrace It Without Feeling Overwhelmed