Transform Plain Concrete Floors with Just a Stencil and Paint
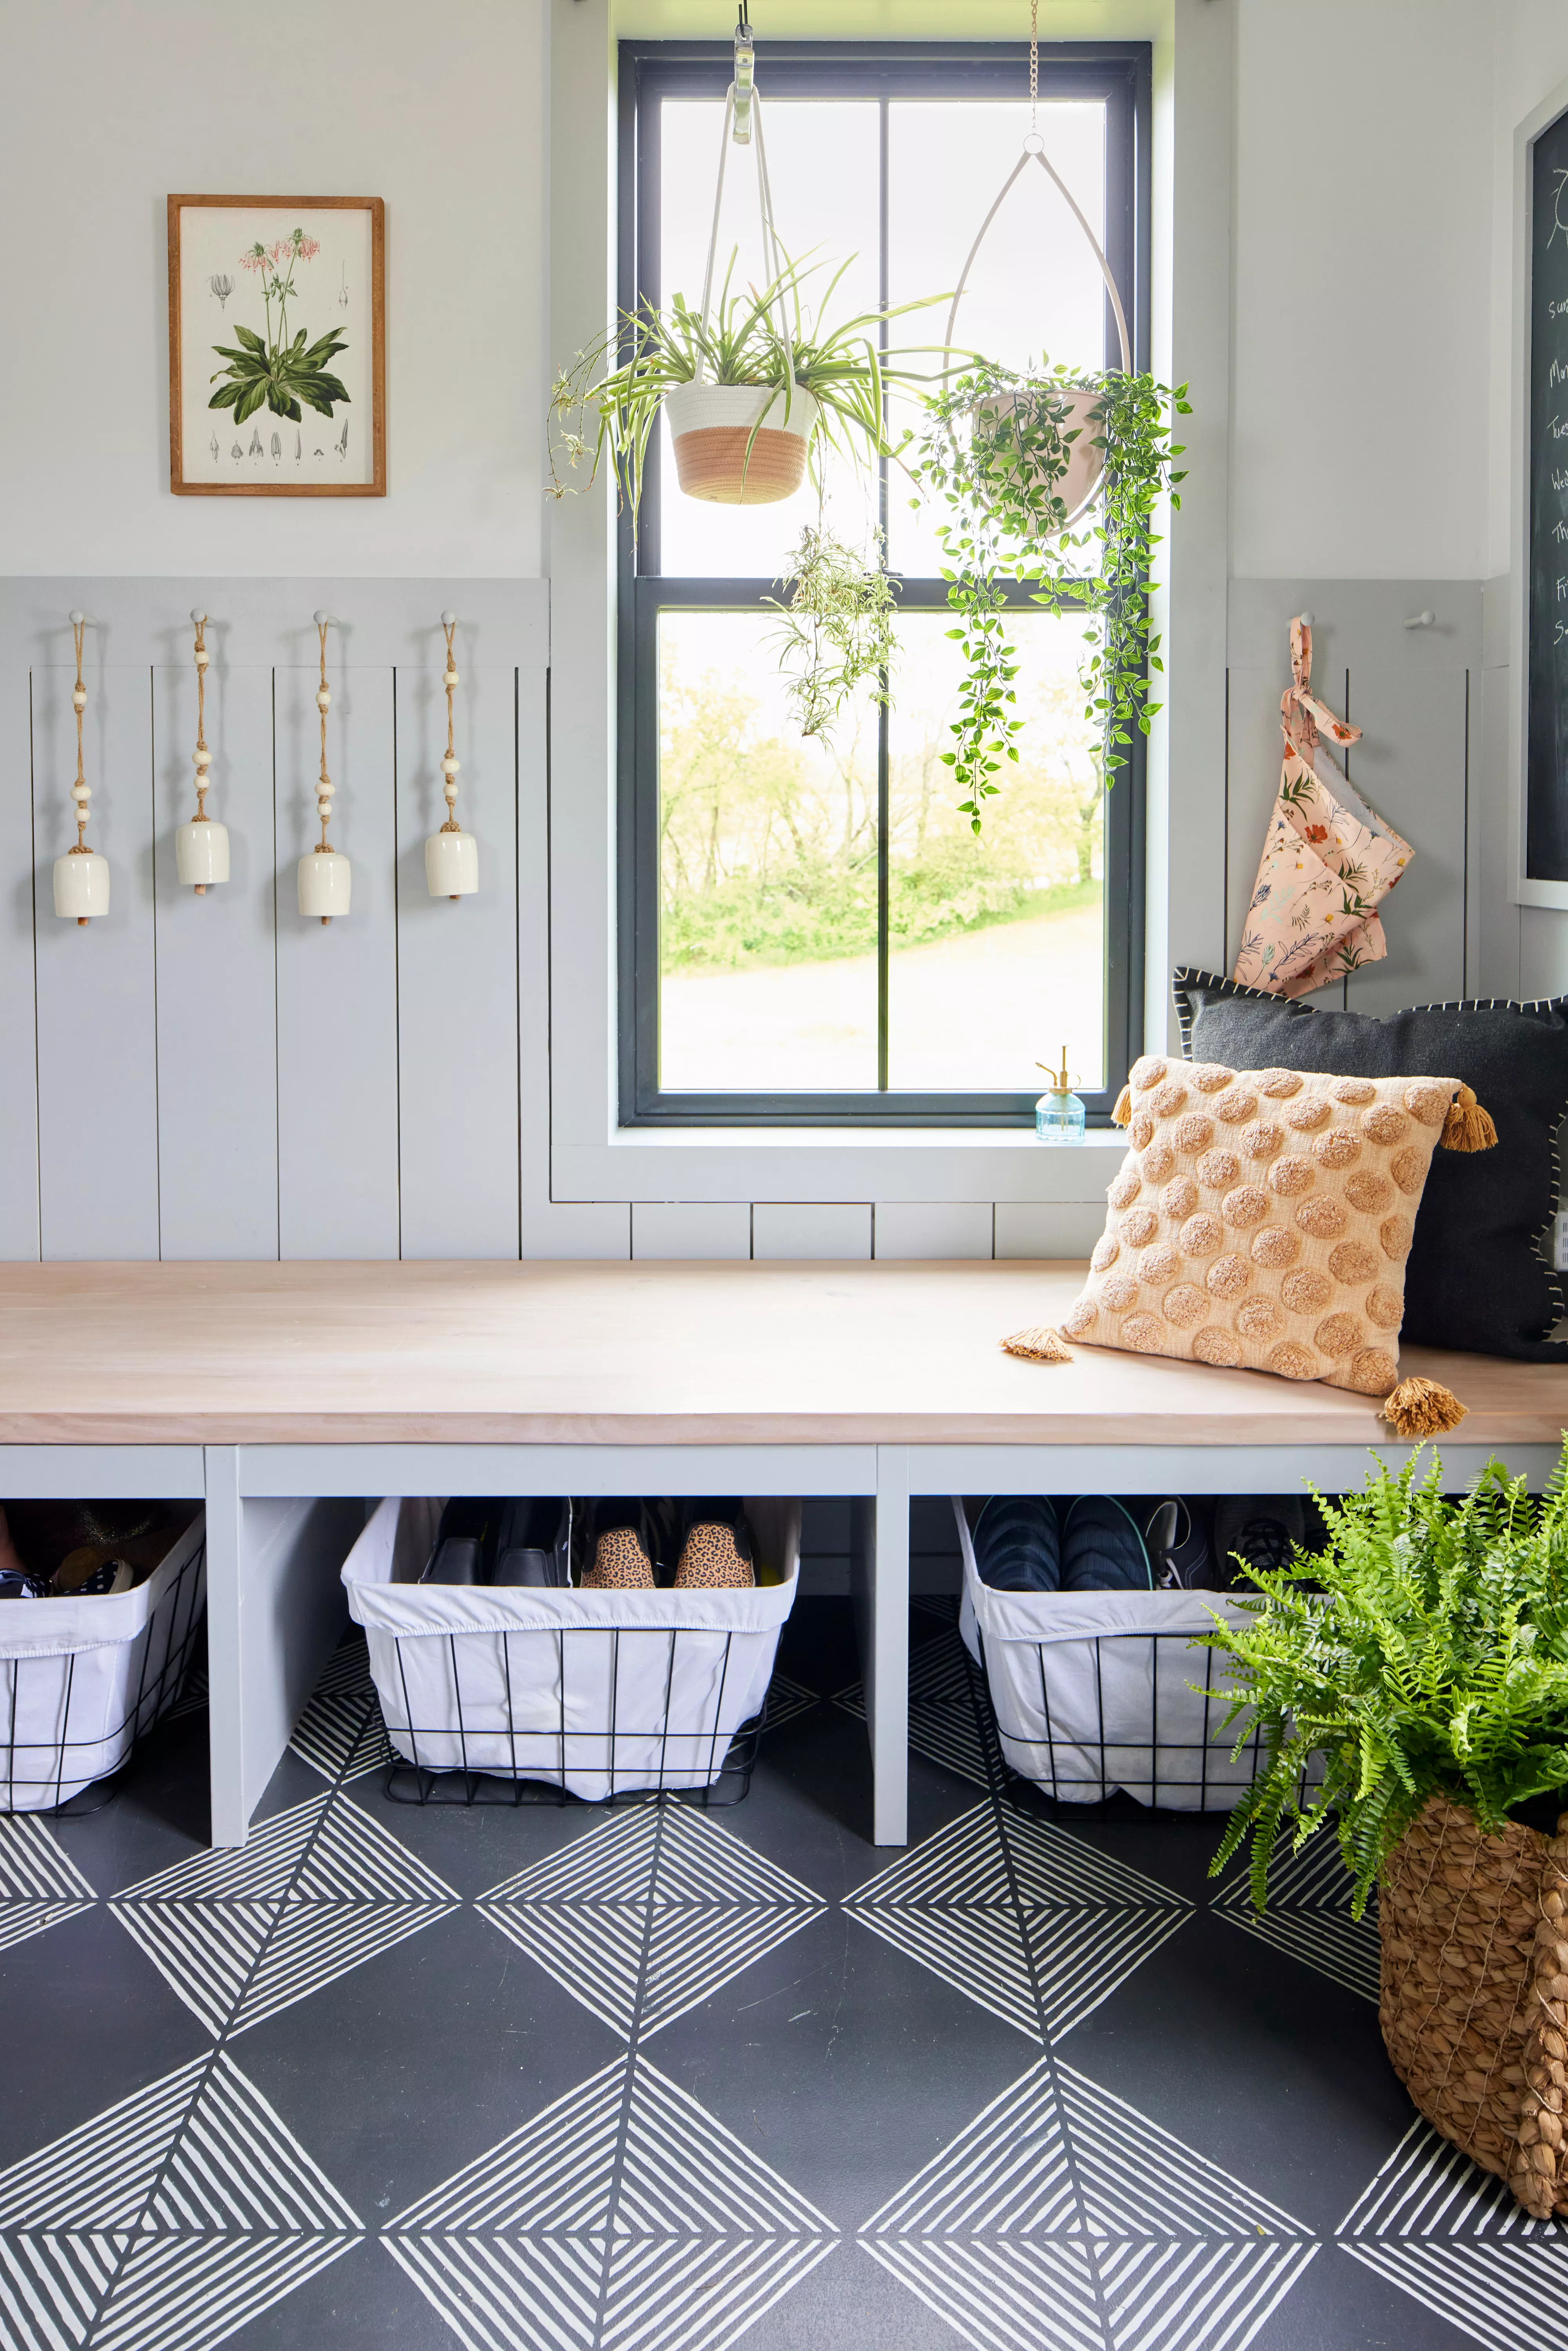
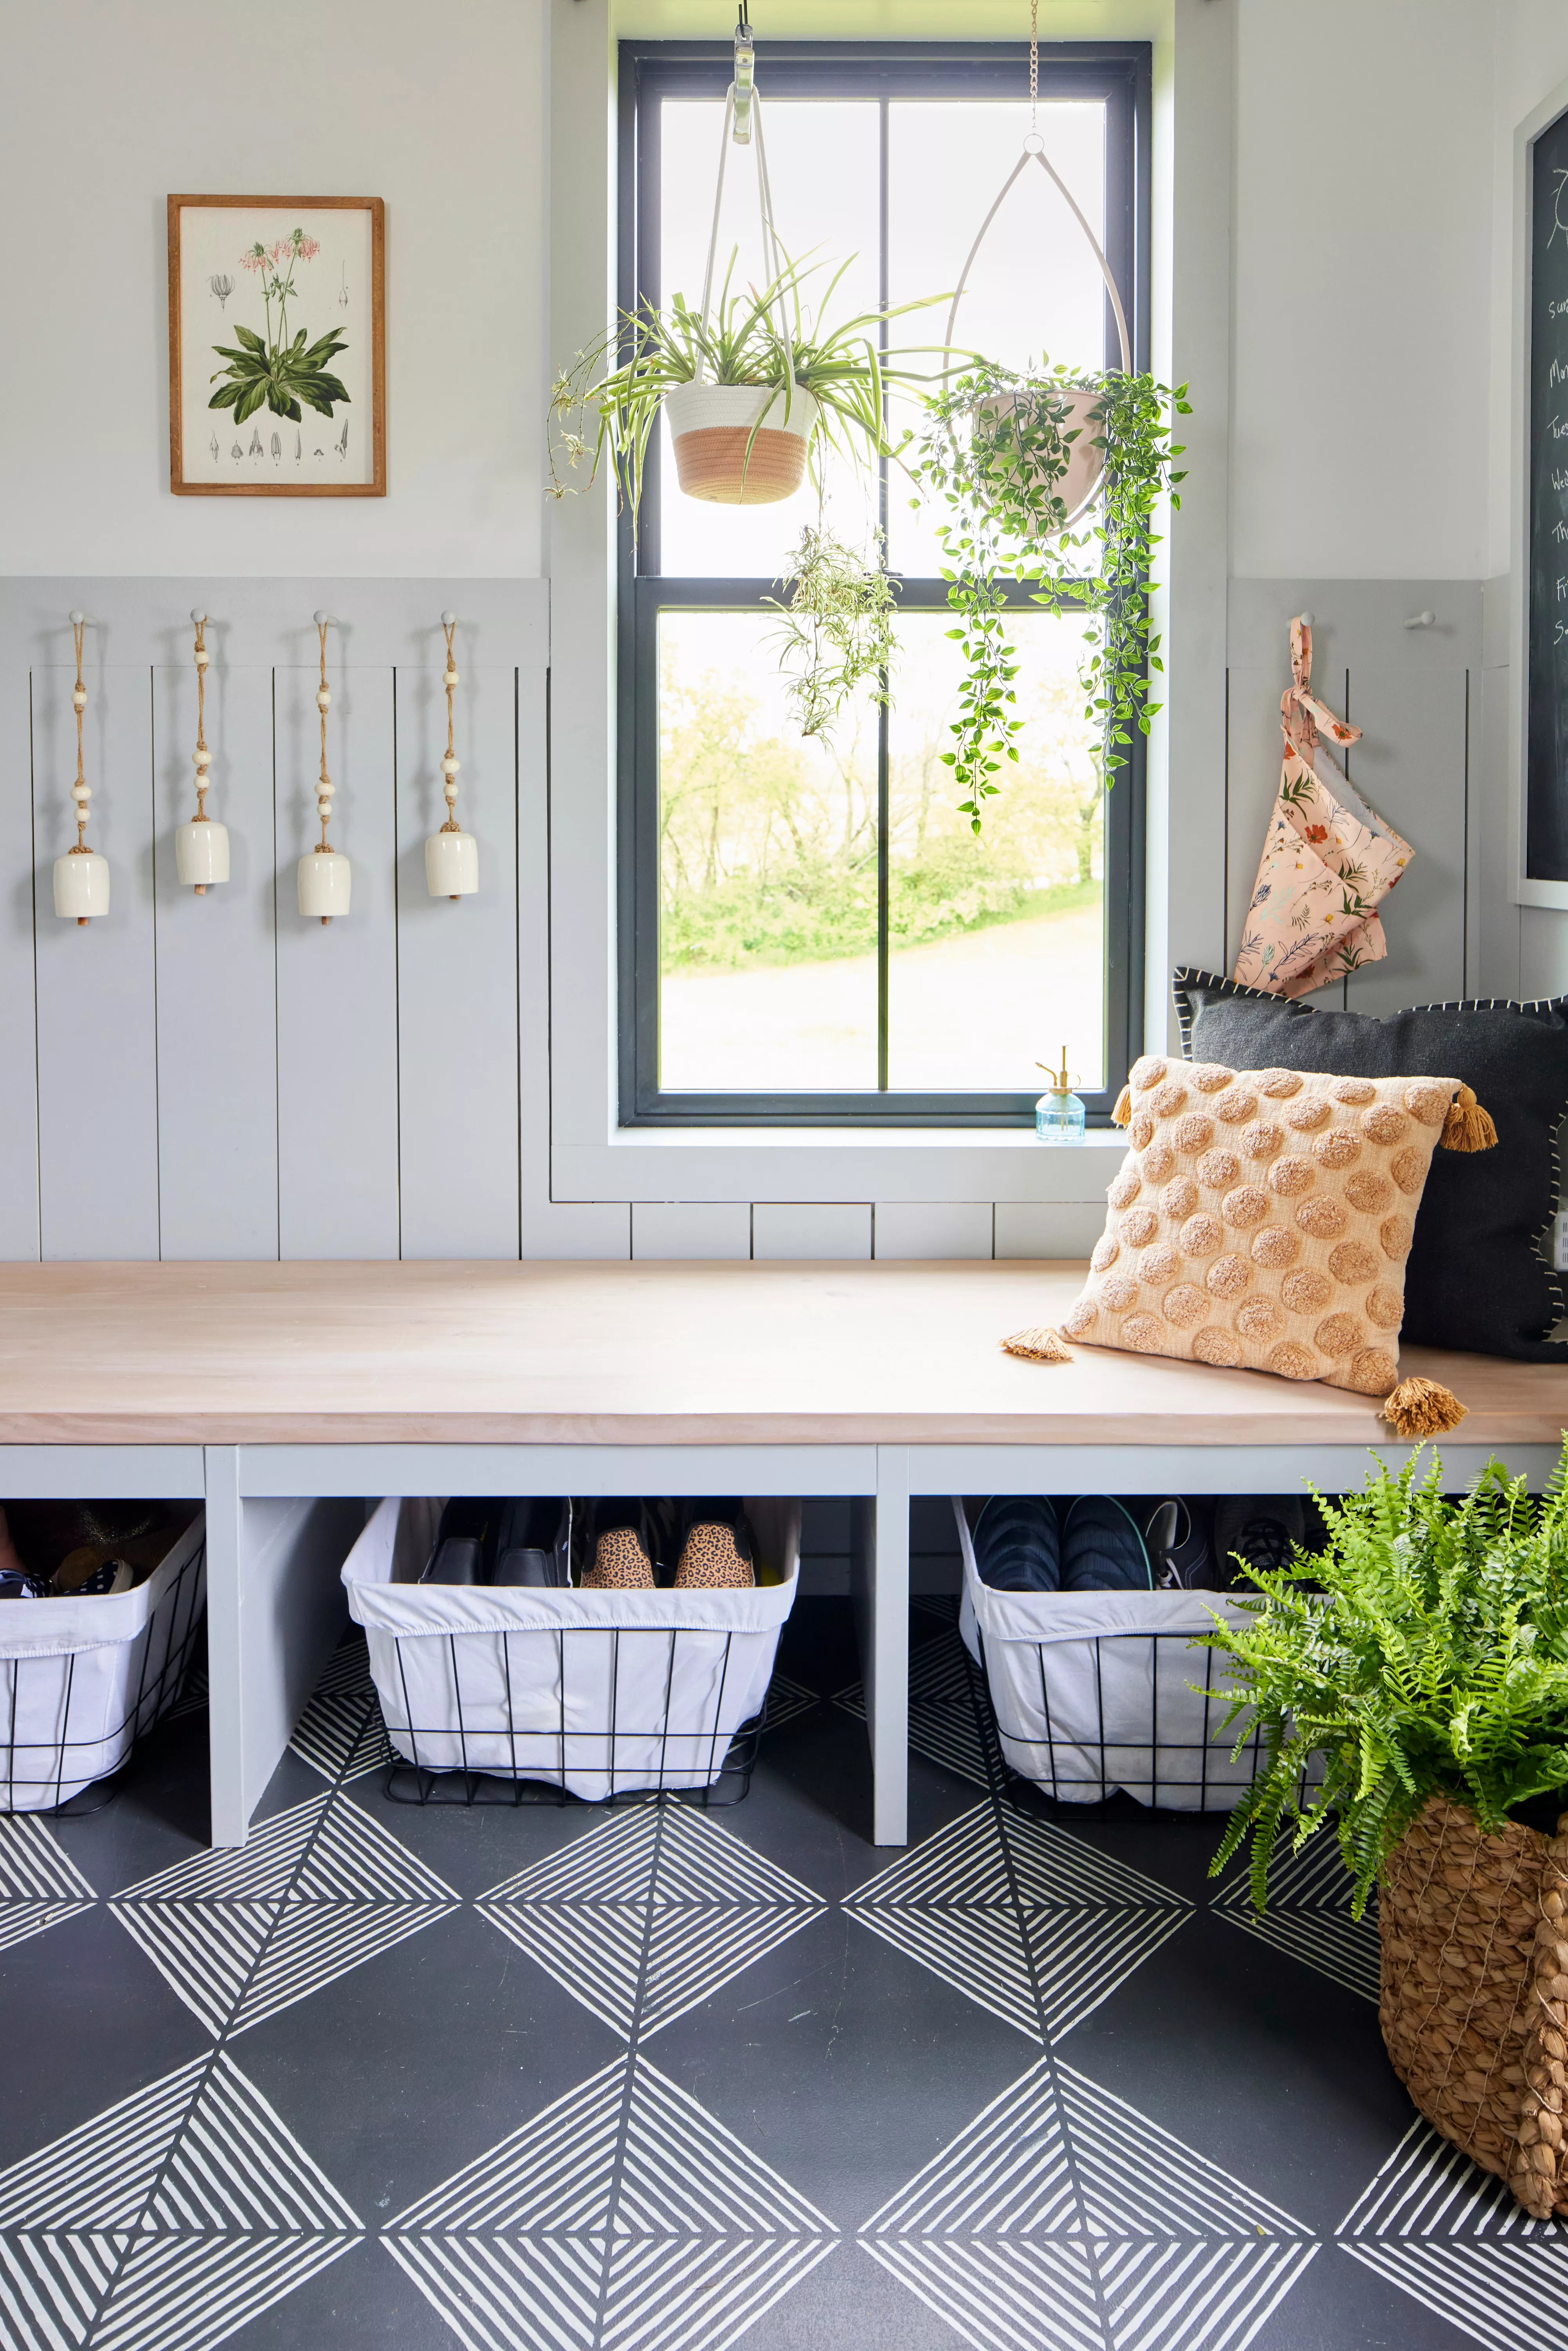
This article details a DIY home improvement project where a homeowner, Sasha Thoen, transformed plain concrete floors into stylish, stenciled tiles in her mudroom. Facing budget constraints and indecisiveness during the construction of her farmhouse, Sasha sought an affordable and changeable solution for her mudroom floor, which was originally dark concrete. Instead of investing in costly and permanent cement tiles, she opted for a stenciled and painted approach to mimic the desired geometric design. The project had an estimated cost of $115, a working time of 5 hours, and a total time of 8 hours, categorized at a beginner skill level.
The project commenced with Sasha cladding the lower walls of the mudroom with shiplap while she considered flooring options. Her low-investment solution involved a $25 stencil and readily available black and white paint. The first step of the process was to thoroughly clean and scrub the concrete floor, allowing it to dry completely, followed by priming and sealing the surface. This preparation ensures proper adhesion and durability of the paint.
Next, two coats of black latex paint, specifically Sherwin-Williams Iron Ore, were applied using a paint roller, with a paintbrush used for the edges of the room. Adequate drying time was allowed between coats. To add depth and replicate the appearance of natural stone tiles, Sasha optionally applied a slightly lighter black/dark gray latex paint over the base coat, allowing it to dry partially before rolling.
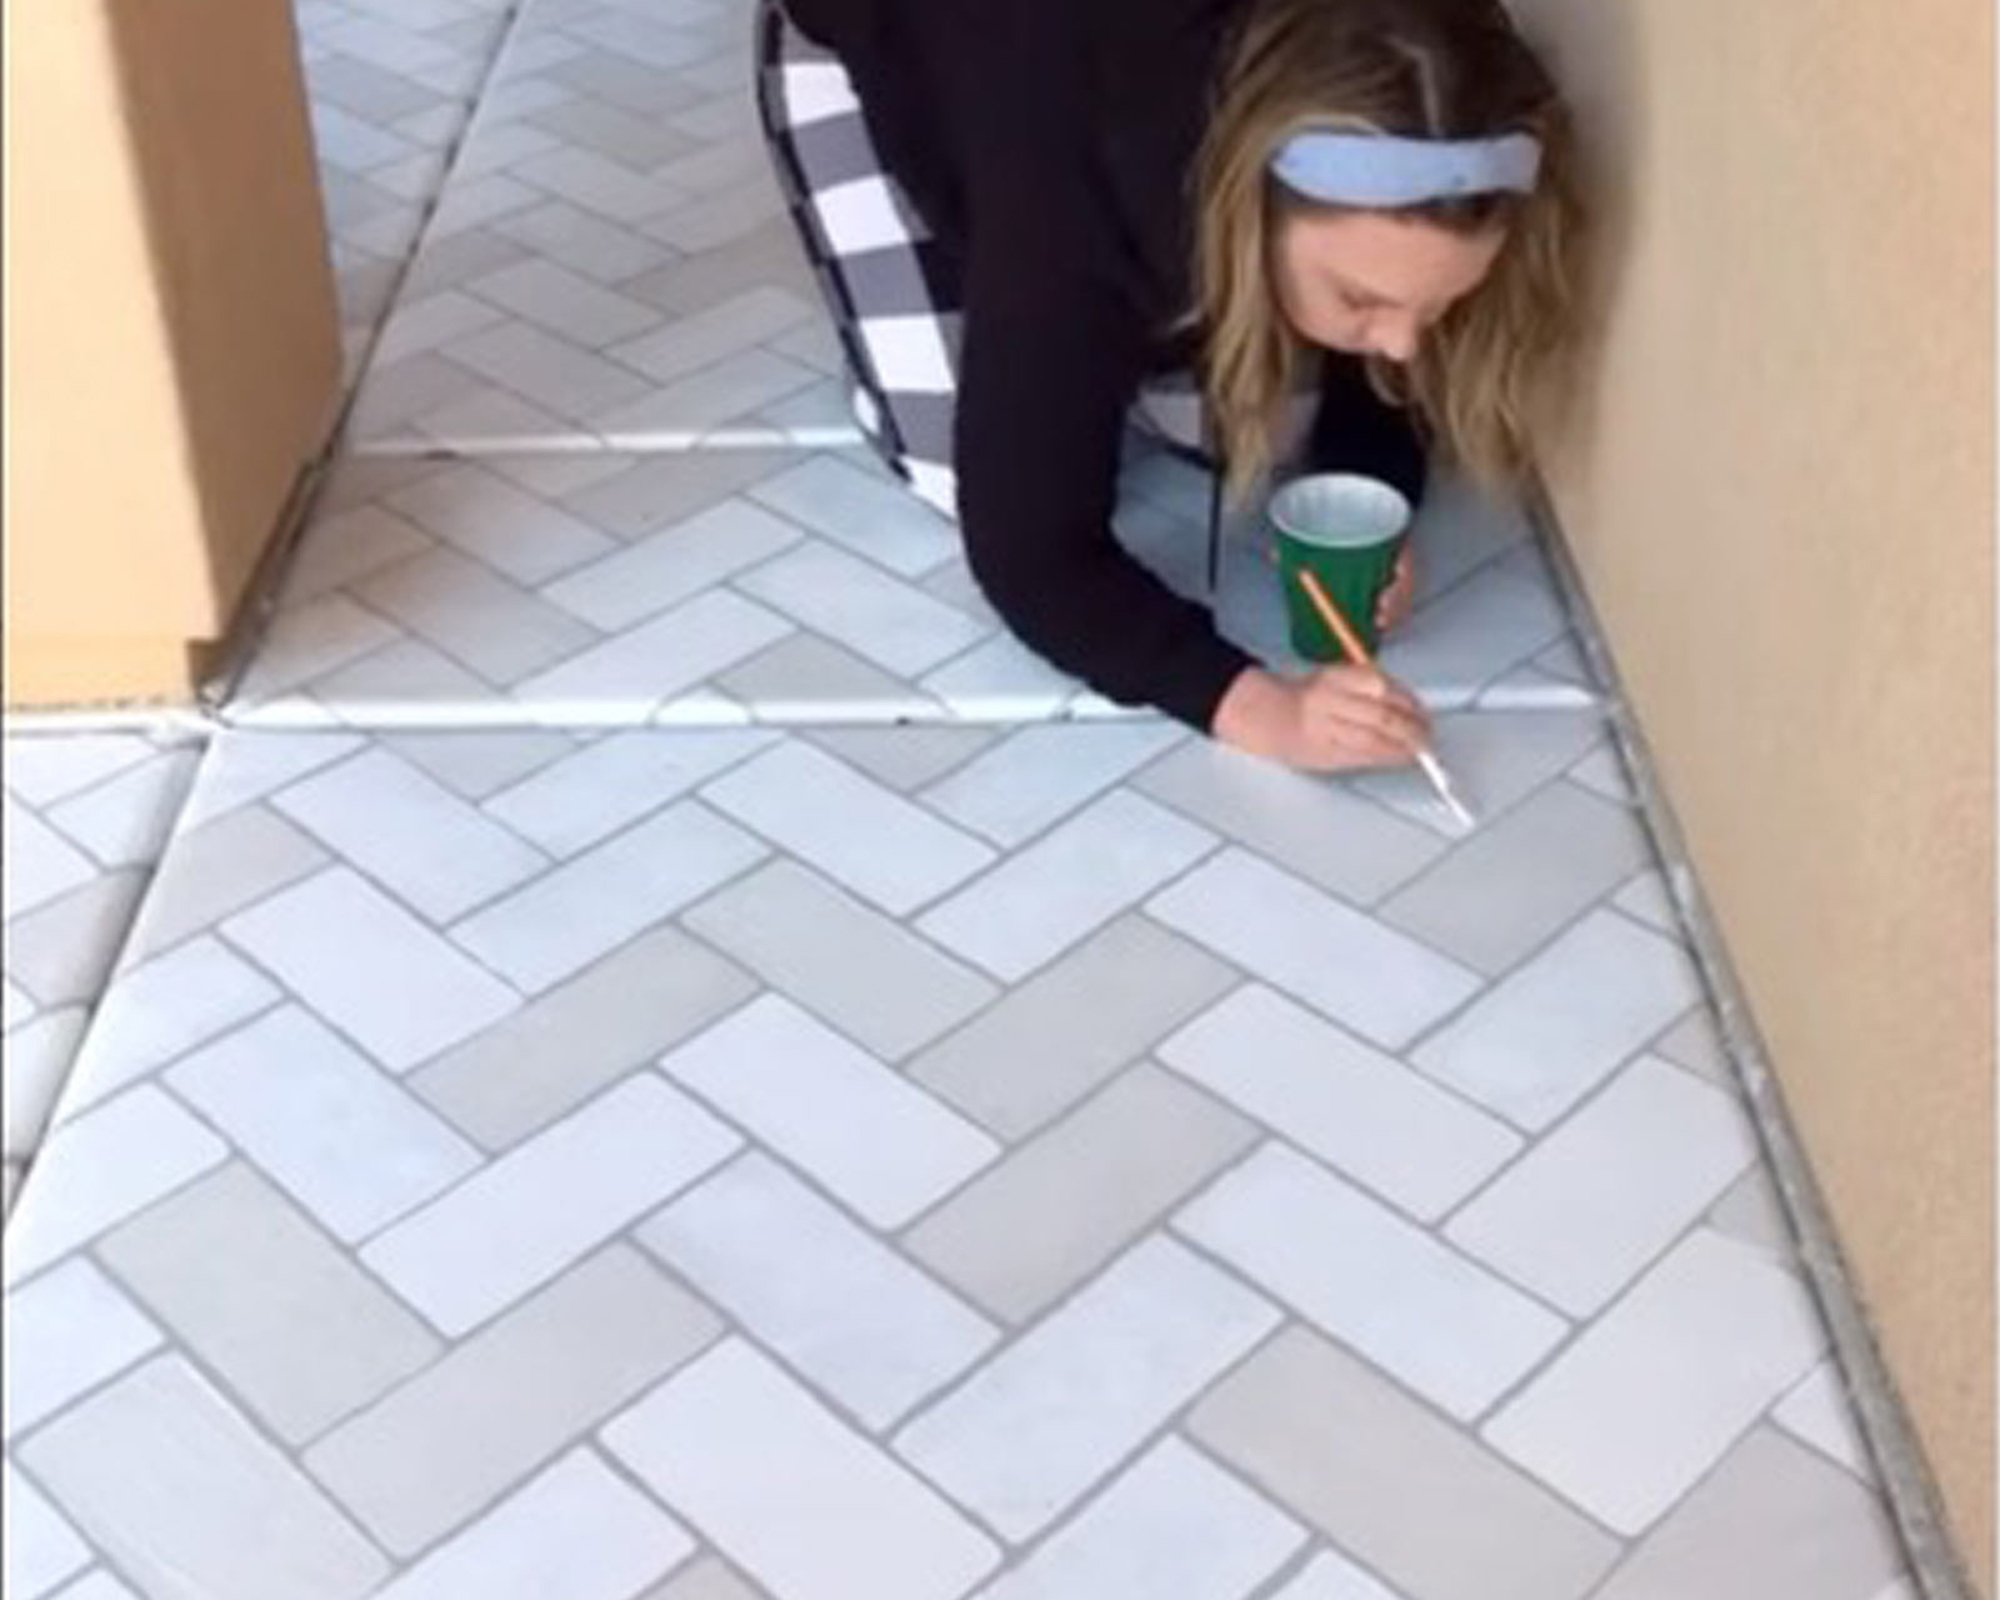
For the stenciling phase, the room's length and width were measured. These measurements were divided by two to mark the center points along each wall. Chalk lines were then snapped to create a straight grid, serving as a guide for stencil alignment and determining the starting point. Sasha began stenciling from the interior doorway and worked outwards. Before applying paint to the floor, she practiced stenciling on scrap cardboard to ensure familiarity and precision. The chosen stencil was the Nola Tile Stencil from Cutting Edge Stencils.
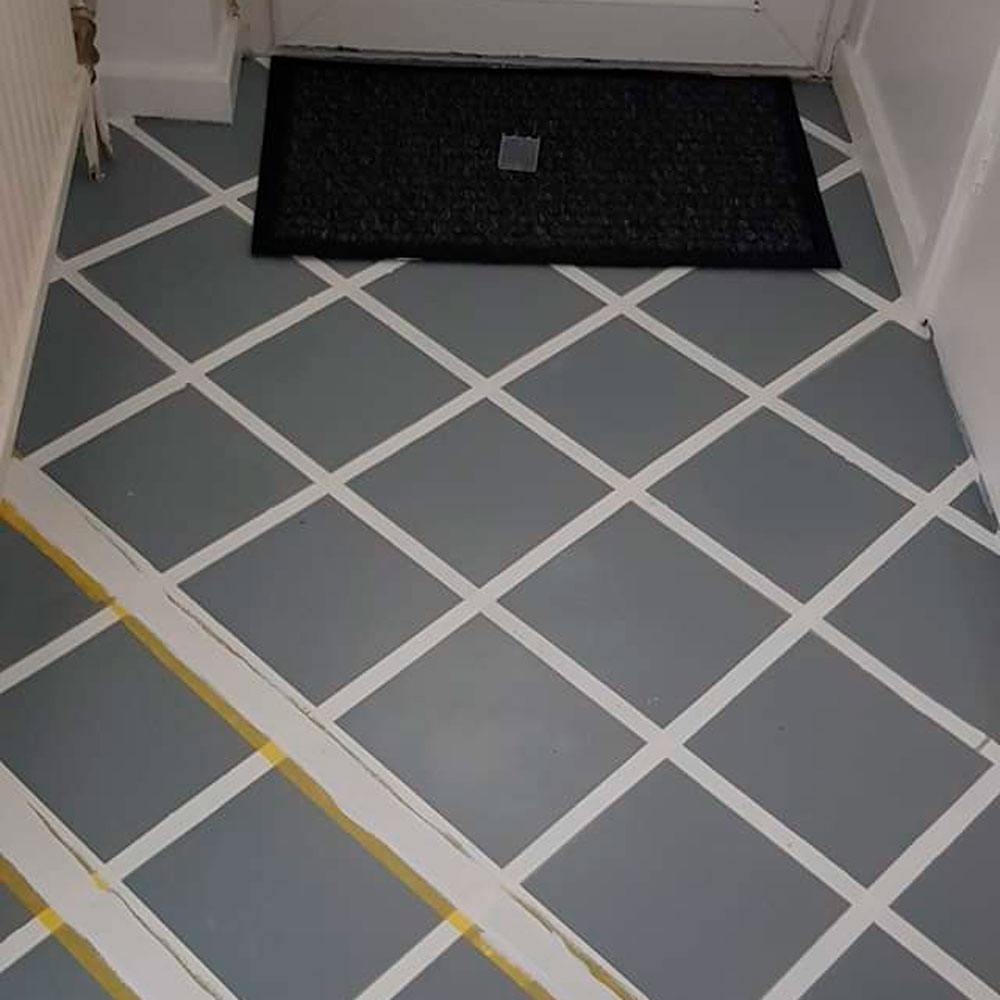
The stencil was positioned along a chalk line and secured with painter's tape or repositionable spray adhesive. White latex paint was then applied over the stencil using a paint roller. To prevent paint bleed, the roller was used in the angle of the stencil design. After painting, the stencil and tape were removed, and the paint was allowed to dry. This process was repeated, aligning the stencil against a previously completed square. Sasha strategically completed five side-by-side squares before moving to other areas, minimizing waiting time for paint to dry. The entire stenciled floor was then sealed with a protective polyurethane coat to enhance durability and longevity. Regular cleaning of dried paint from the stencil was emphasized to maintain clean and precise lines. For any minor imperfections or paint bleeds, Sasha used baby wipes for wet paint and an artist's paintbrush for touch-ups on dry paint.
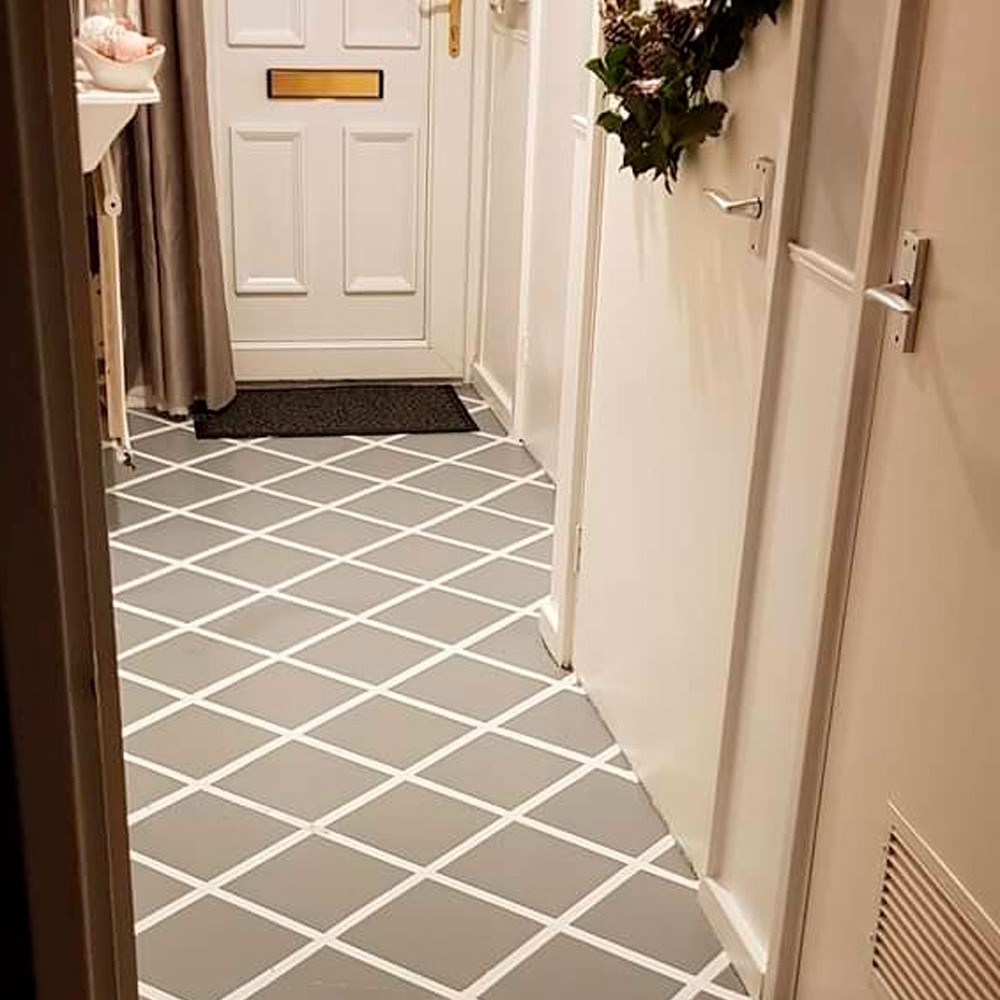
Beyond the floor, Sasha also constructed a 16-foot-long bench along one wall of the mudroom, providing a functional space for bags and storage for shoes in baskets beneath. The stenciled floor, however, is highlighted as the element that creates a significant visual impact, eliciting a "wow factor" upon entry into the mudroom. The project demonstrates an effective and budget-friendly method for dramatically updating the aesthetic and functionality of a space.
#DIYHomeImprovement #ConcreteFloors #StenciledTiles #MudroomMakeover #BudgetDecorating #InteriorPainting #HomeRenovation #FloorDesign #CreativeHomeSolutions #DIYHomeImprovement #ConcreteFloors #StenciledTiles #MudroomMakeover #BudgetDecorating #InteriorPainting #HomeRenovation #FloorDesign #CreativeHomeSolutions
0 comment in total
 No comments yet
You may also like

DIY-er turned a concrete path into a dream brick entryway with this smart stencil hack

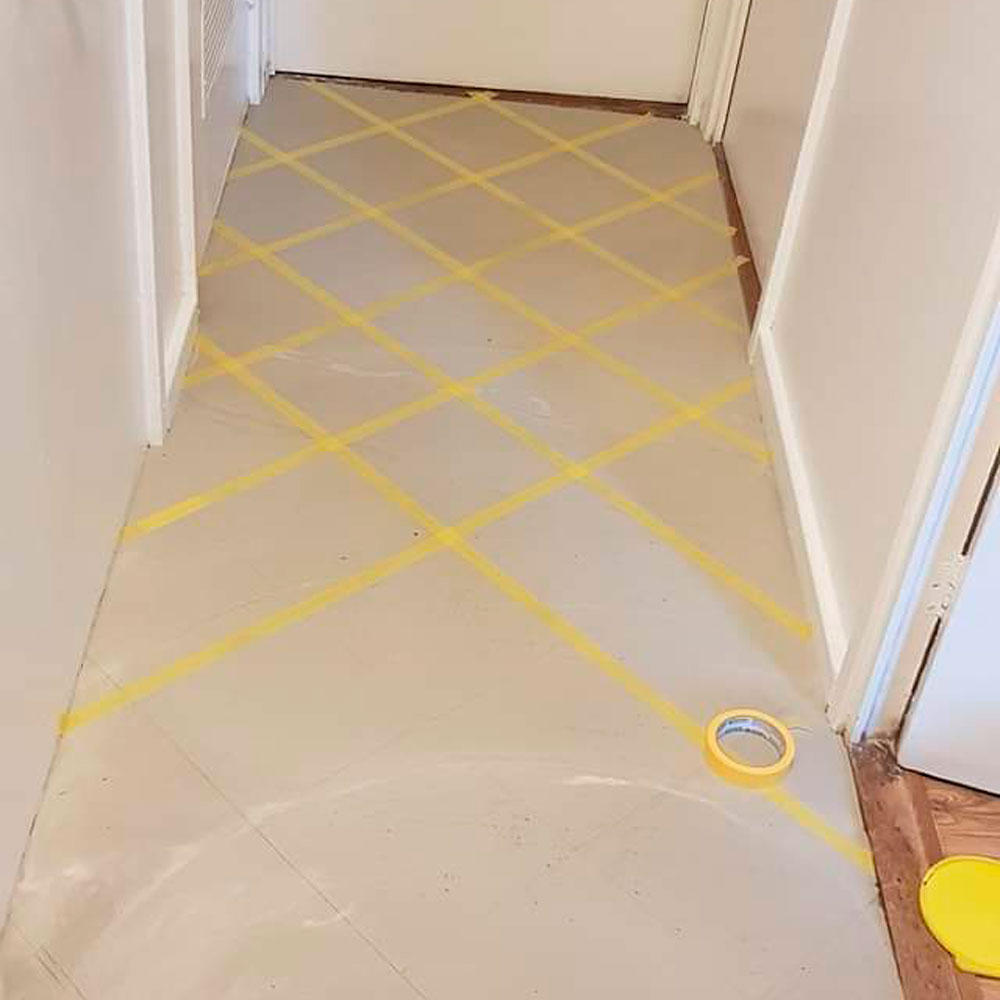
Fake a tiled hallway with paint for just £32 – one savvy homeowner shows us how it’s done

3 Mind-Blowing Ways to Use Paint for an Instant Decor Transformation with DIYer Drew Scott


These Concrete Paints Will Give Your Patio, Driveway, or Pool Deck An Instant Makeover

How to Apply Multi-Color Dyes to Polished Concrete


The 10 Best Concrete Paints That Seal the Deal


Transforming Ordinary to Art with Epoxy Flooring Systems
Can you paint a tile floor? Expert advice for a durable, long lasting finish

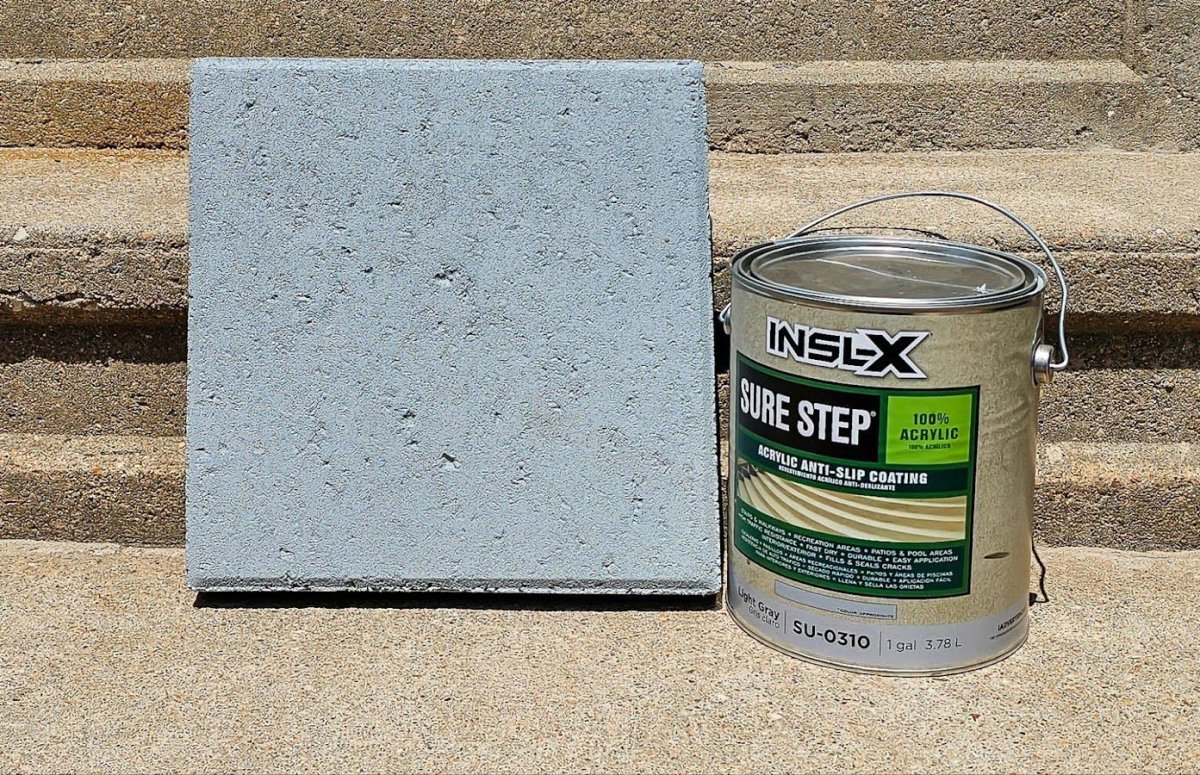
How Good Is INSL-X Paint by Benjamin Moore? A Tested Review

The Best Concrete Staining Techniques for Interior and Exterior Spaces in 2025

Which wall colors work best with concrete floors? Pairings to complement and elevate this industrial finish


Senso designs "world's first seamless flooring" with plant-based resins
A Stencil and Paint Transformed This Homeowner's Plain Concrete Floors
Tiles To Turn Your Floor Into a Work of Art


What's replacing wooden flooring? These are the 5 chic alternatives designers are switching to

Which wall colors work best with concrete floors? Pairings to complement and elevate this industrial finish

3 steps to cover ugly wood floors mid-home reno
This New Tile Collection Holds the Secret to Spicing Up Checkerboard Floors

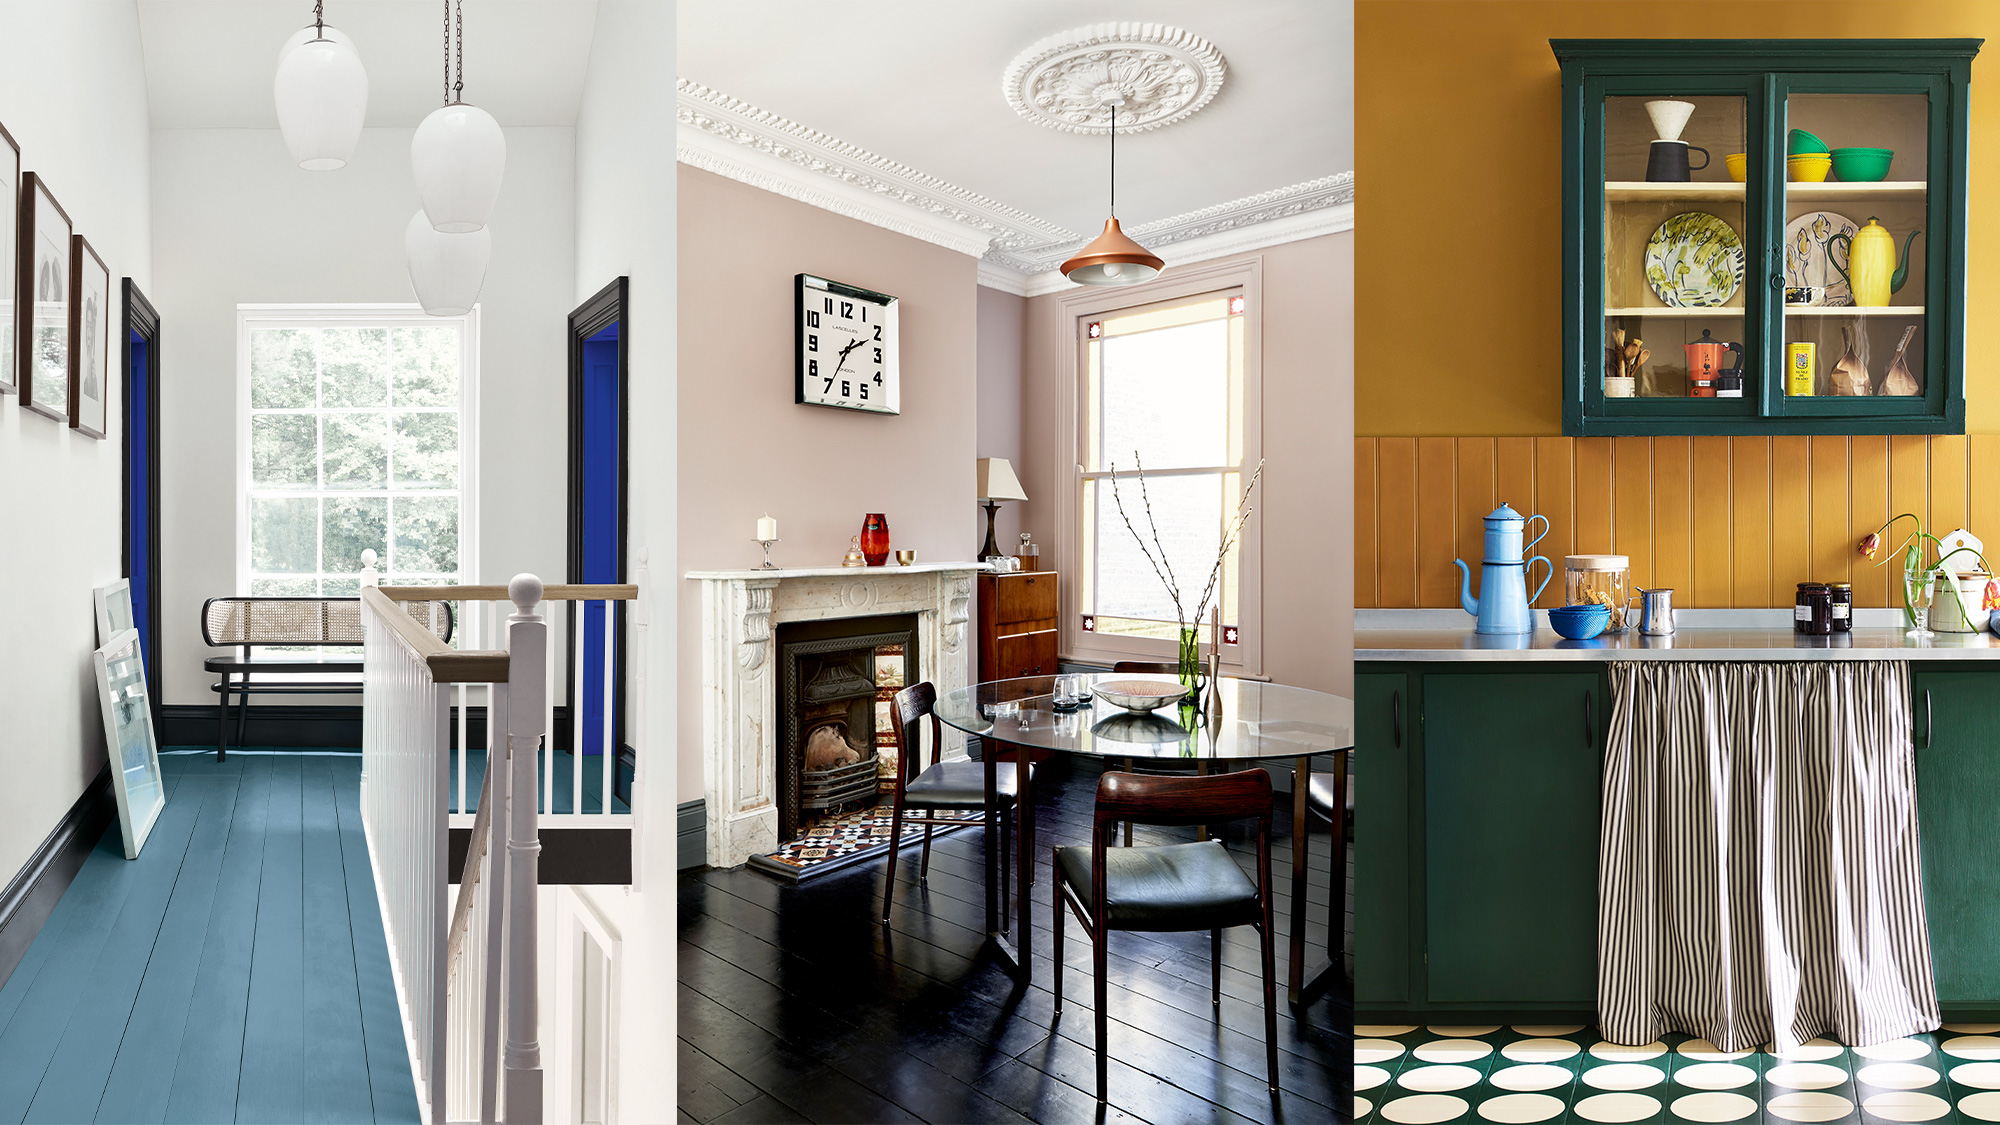
Painted floor ideas – 10 ways to bring personality to your space

Thinking About Painting Tile Floors? Here's Why Experts Warn Against It