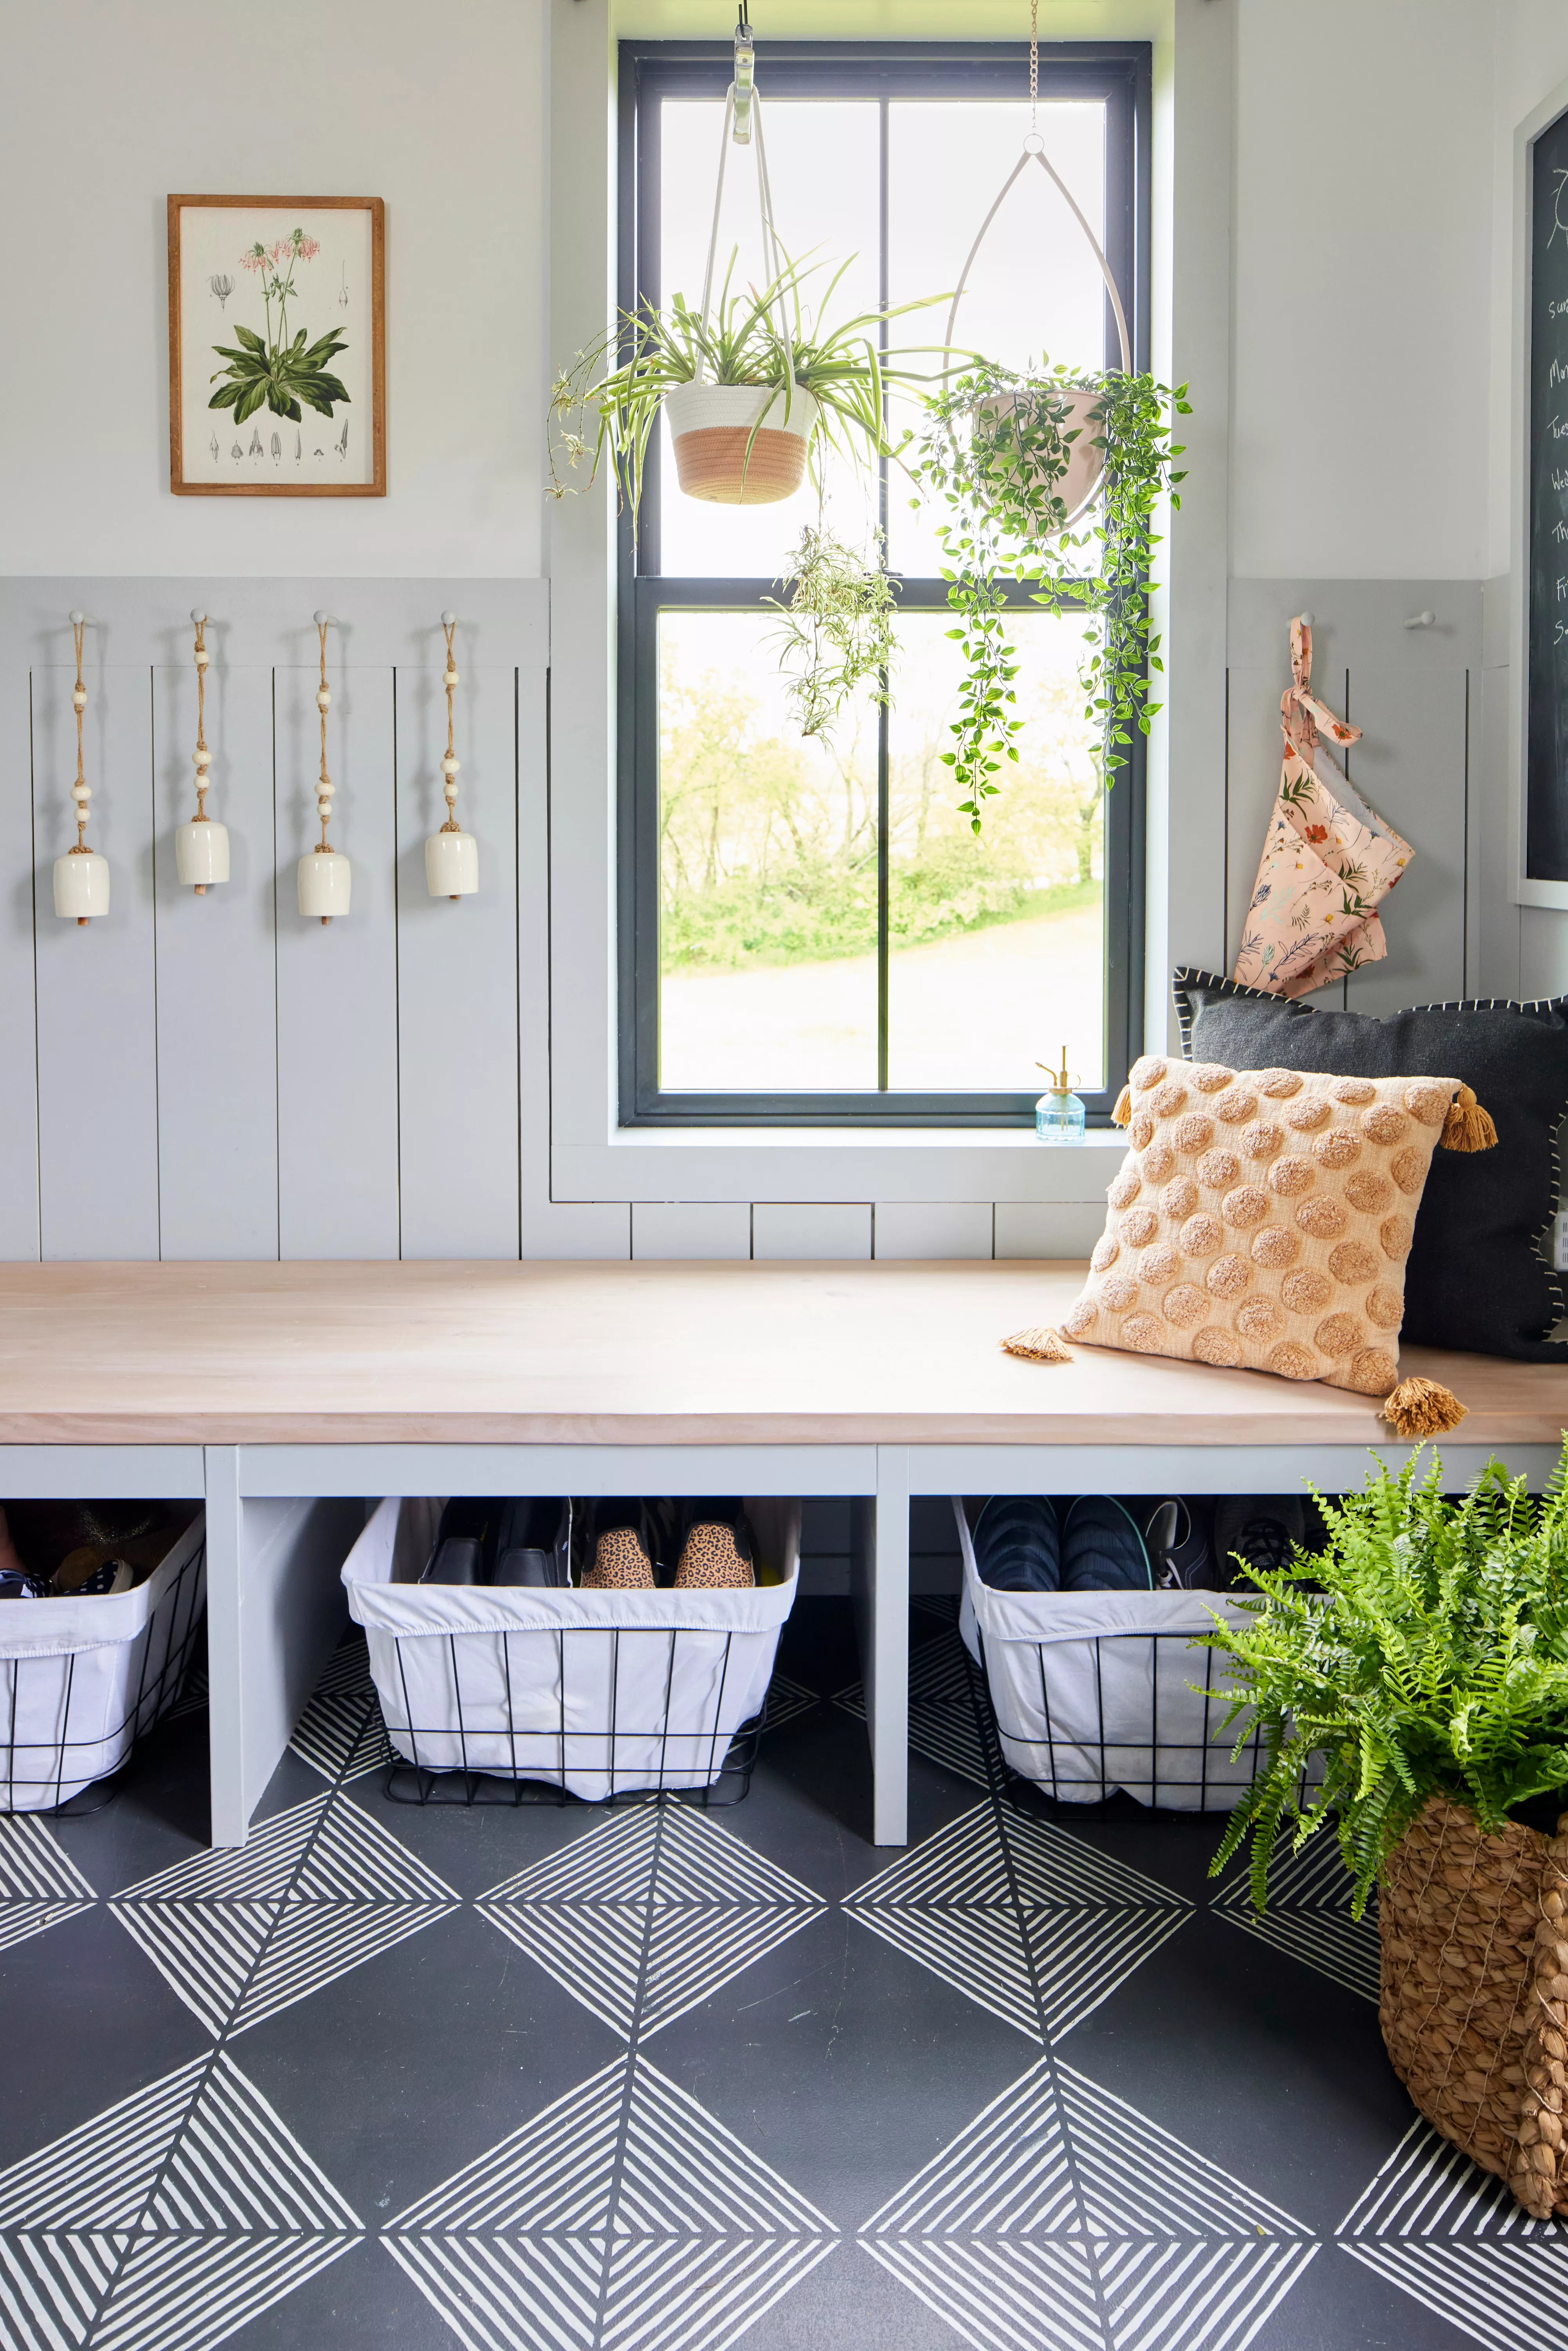
A Stencil and Paint Transformed This Homeowner's Plain Concrete Floors
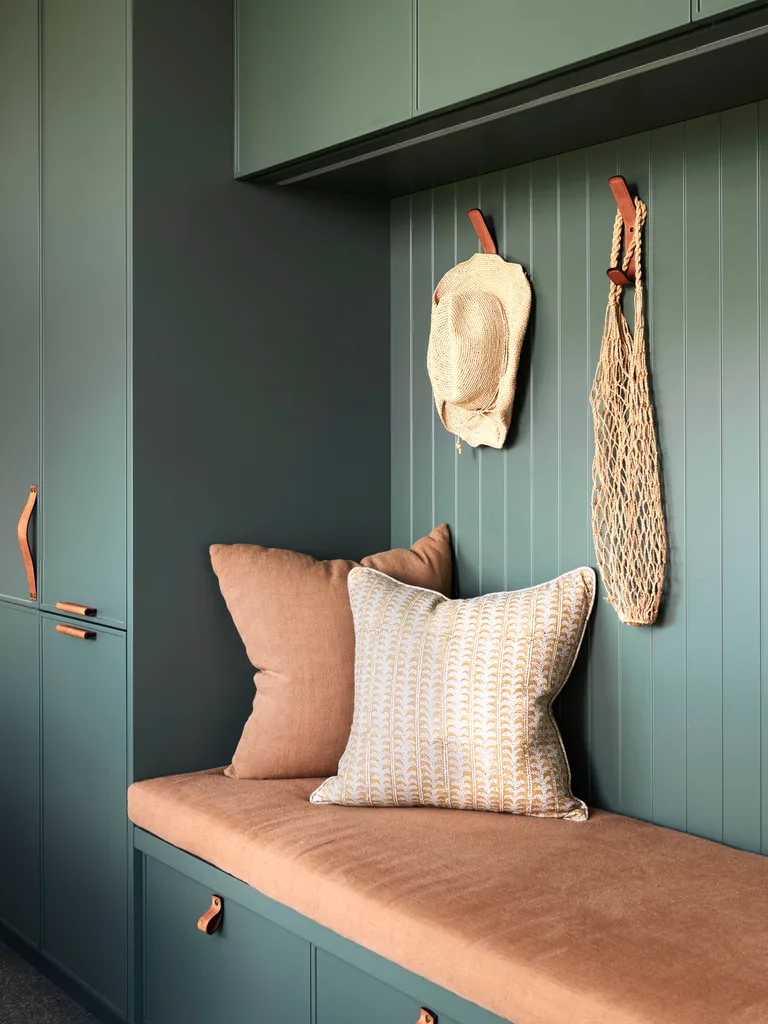
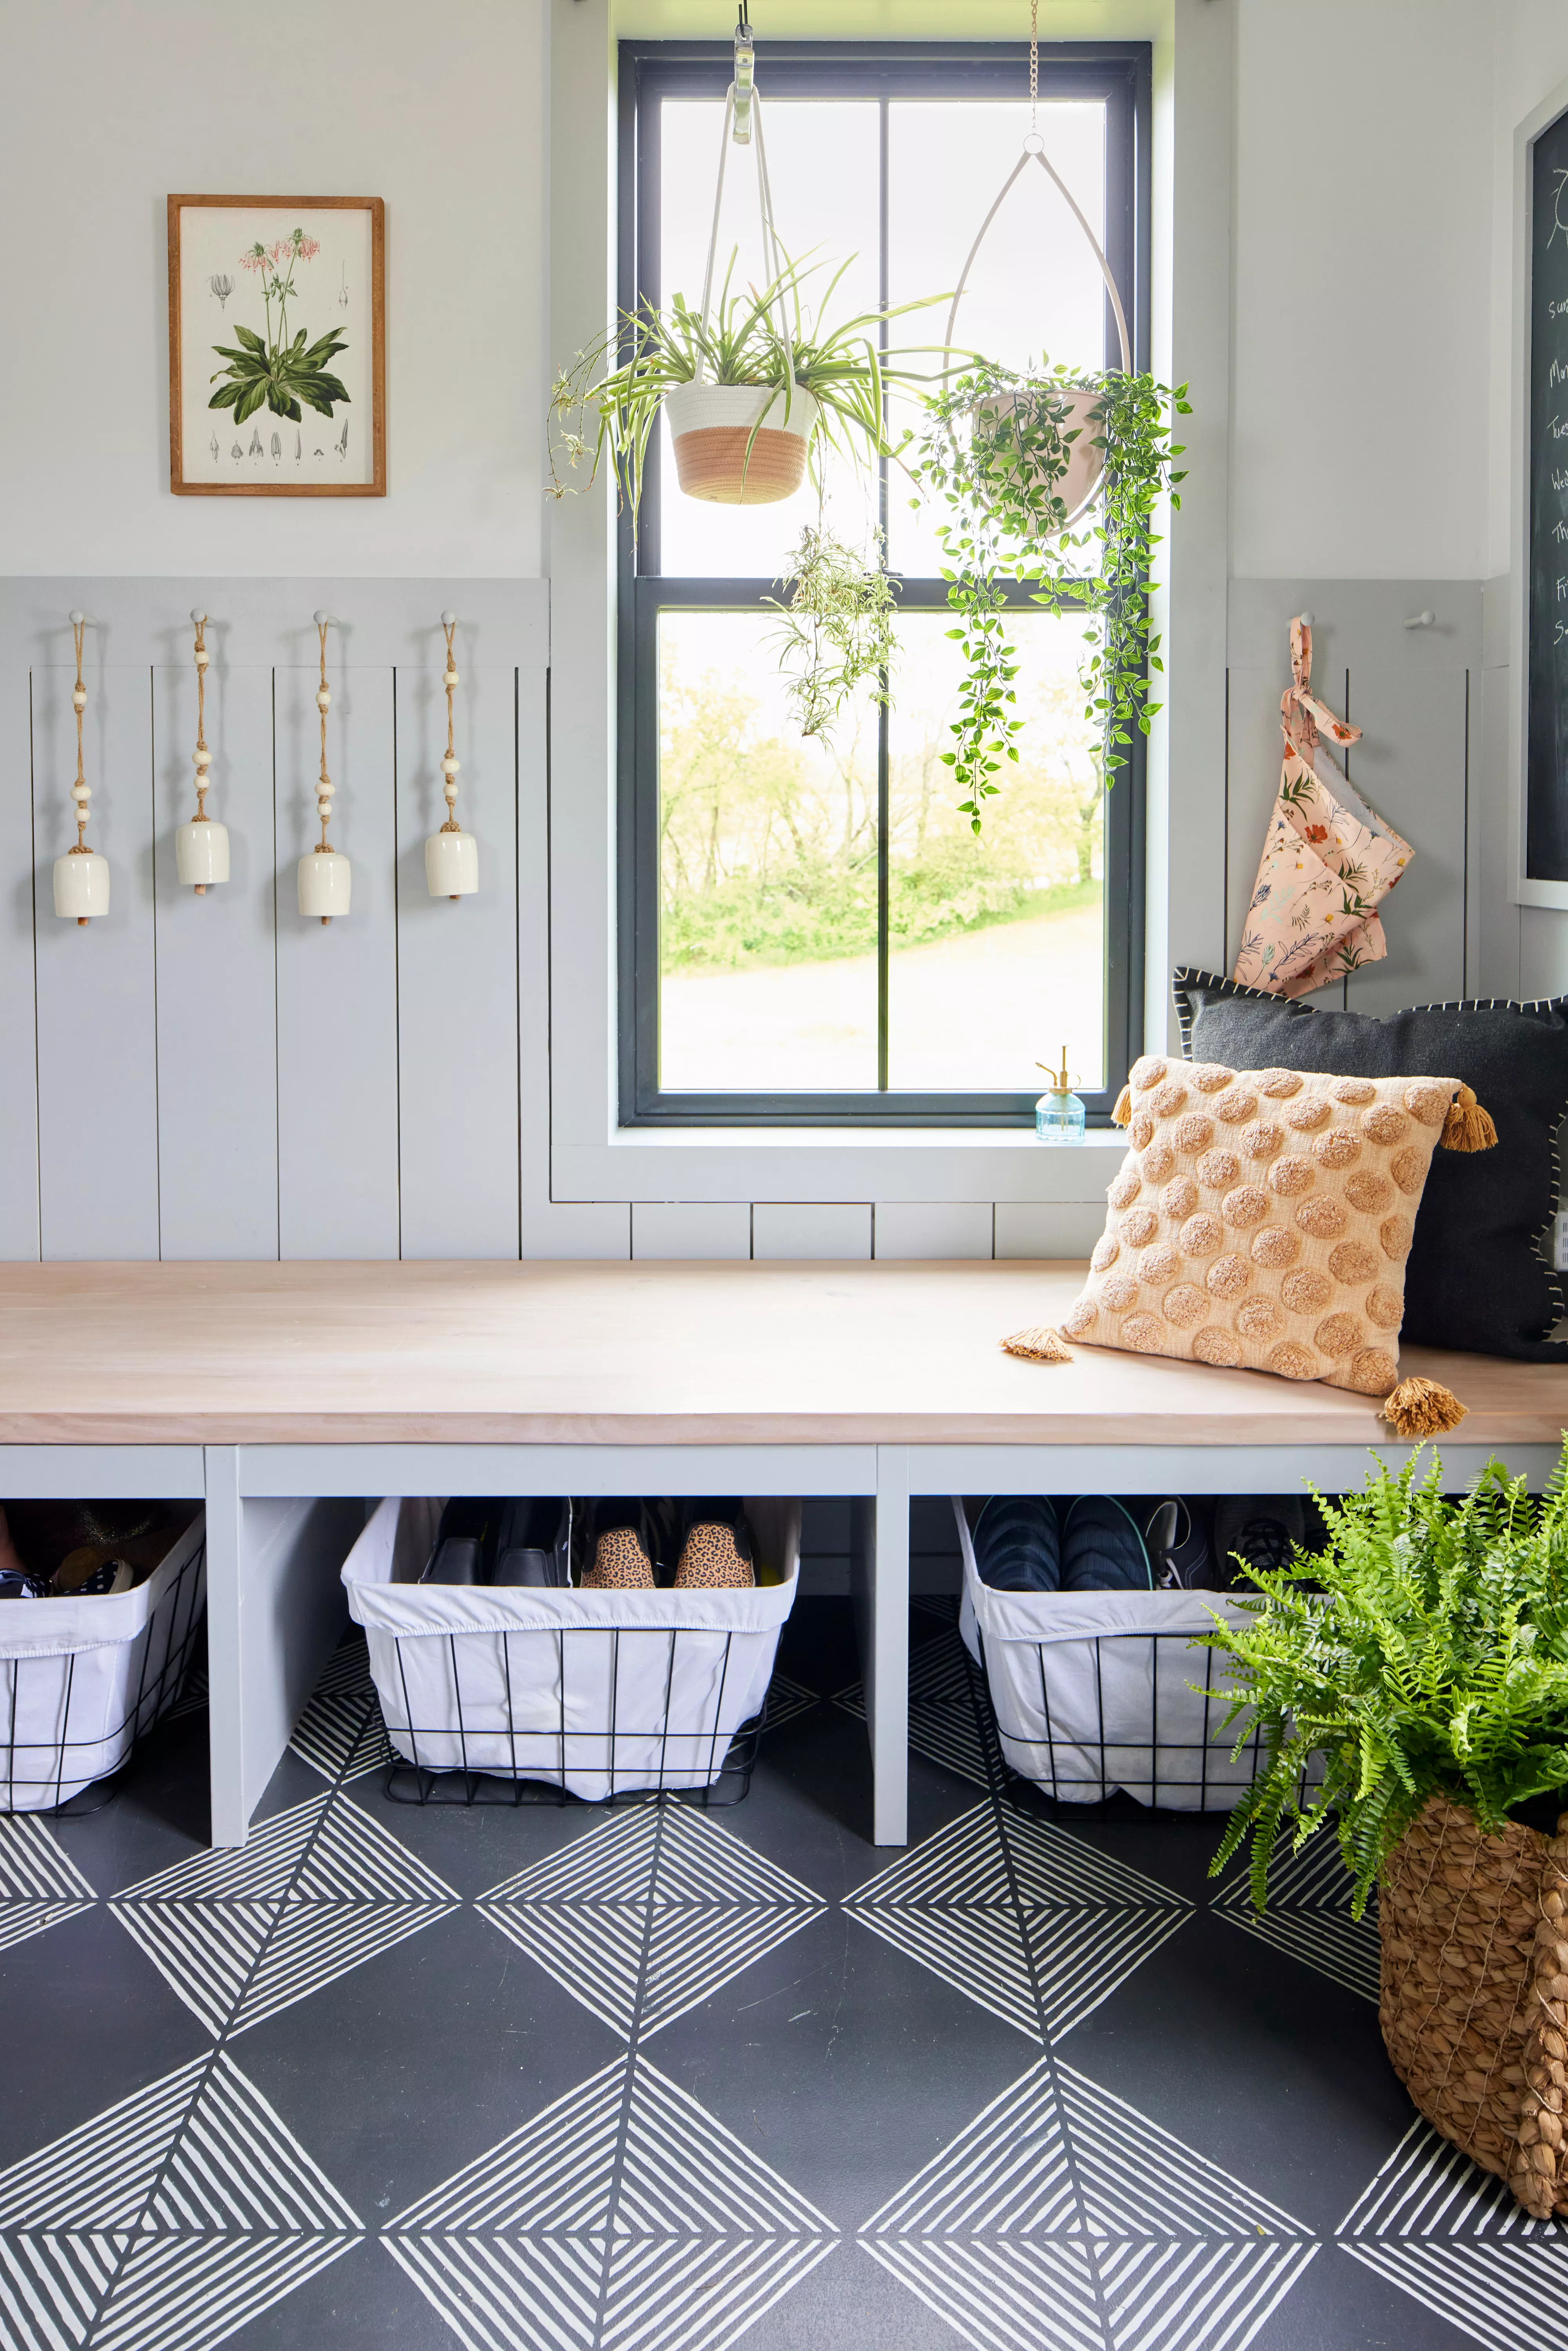
This blog post details a DIY project undertaken by Sasha Thoen and her husband, Fred, to transform the dark concrete floor of their mudroom in their newly built farmhouse near Lawrenceburg, IN. Faced with a tight budget and a desire to personalize their home over time, Sasha opted for a cost-effective and low-commitment solution to address the mudroom's unfinished state and the practical problem of family belongings accumulating on the floor. Rather than investing in expensive cement tiles, she decided to mimic the desired geometric tile look using paint and a stencil, a choice that offered flexibility for future changes.
The project began with the preparation of the mudroom, where Sasha first installed shiplap on the lower walls. For the floor, the primary materials included a $25 stencil, black and white latex paint, primer with sealer, and polyurethane sealant. The process commenced with a thorough cleaning and drying of the concrete floor, followed by the application of a primer and sealer to ensure proper adhesion and durability. Two coats of black latex paint (specifically Sherwin-Williams Iron Ore) were then applied as the base coat, with a paintbrush used for the edges and a roller for the main areas. To add depth and replicate the appearance of natural stone tiles, Sasha used a slightly lighter shade of black/dark gray paint on the roller, applying it subtly after the base coats had dried.
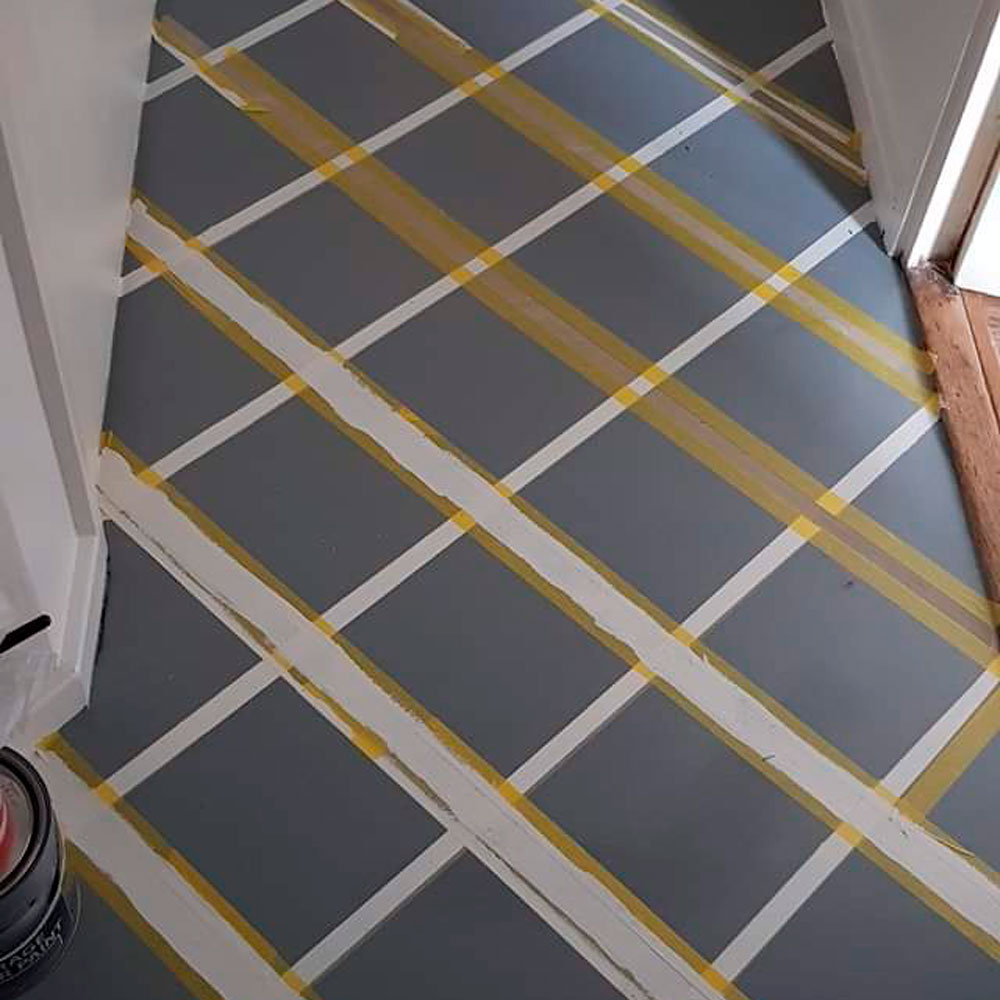
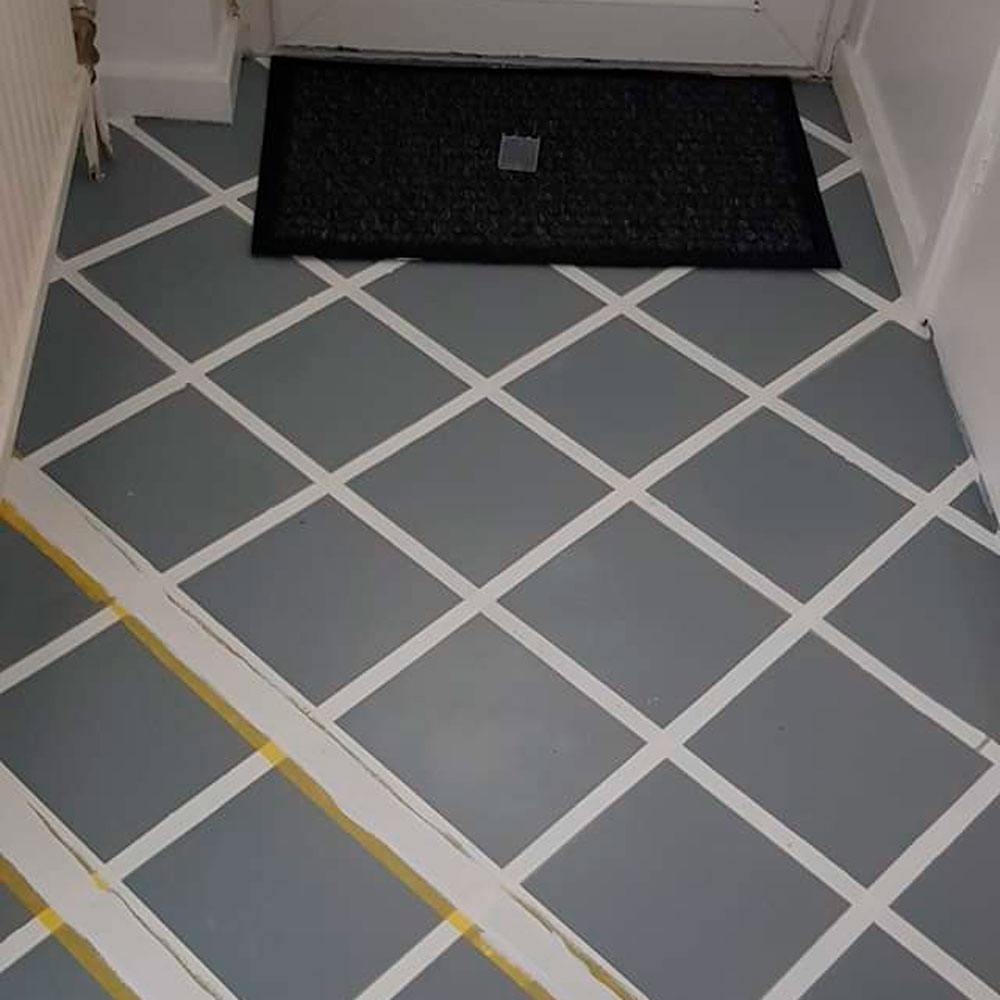
Precise measurement was crucial for the stenciling phase. Sasha measured the room's dimensions, divided them by two, and marked center points on each wall. Chalk lines were snapped to these marks, creating a grid that served as a guide for stencil alignment. Before applying the stencil to the floor, Sasha practiced on scrap cardboard to perfect her technique. For the actual stenciling, the stencil was positioned along a chalk line and secured with painter's tape or repositionable spray adhesive. White latex paint was then applied over the stencil using a paint roller, with special attention to rolling in the angle of the stencil design to minimize paint bleed. After each application, the stencil was removed, and the paint was allowed to dry.
Sasha adopted a strategic approach to stenciling, completing five side-by-side squares before moving to other areas, which helped reduce waiting times for the paint to dry. A protective coat of polyurethane sealant was applied as the final step to ensure the longevity of the painted design. Throughout the process, Sasha maintained the cleanliness of her stencil, scrubbing off any dried paint buildup to ensure flat placement and precise lines. For minor imperfections, wet paint bleeds were corrected with baby wipes, while dry paint touch-ups were handled with an artist's paintbrush, demonstrating attention to detail and a practical approach to DIY home decoration.
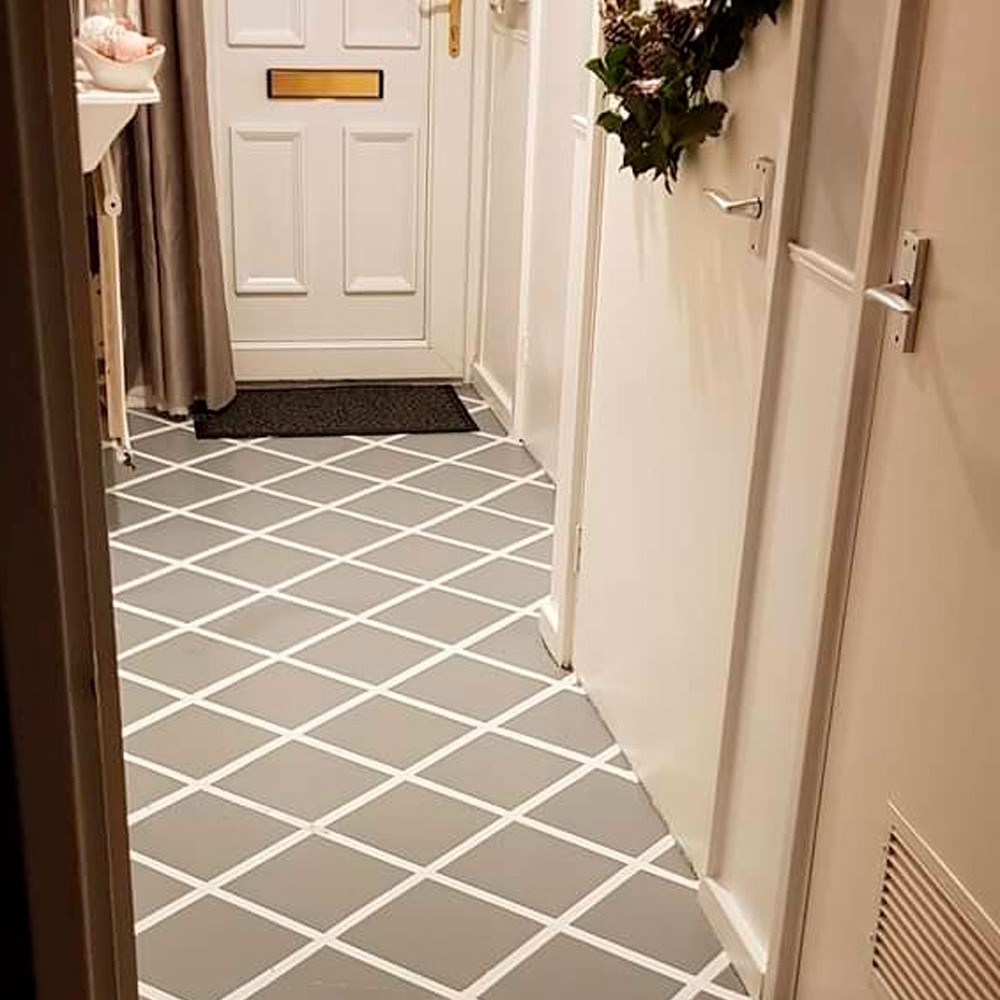
The entire project, including the working time of 5 hours and total time of 8 hours, was estimated to cost around $115, making it a highly budget-friendly renovation. The outcome was a mudroom floor with significant visual impact and a "wow factor," achieved through a combination of thoughtful planning, careful execution, and readily available materials. This DIY method allowed Sasha to achieve a sophisticated, tiled appearance without the high cost or permanent commitment of actual tiles, providing a stylish and functional space for her family.
#DIYHomeDecor #ConcreteFloors #StenciledFloors #MudroomMakeover #BudgetDecorating #HomeImprovement #InteriorPainting #FarmhouseStyle #PaintProjects #DIYHomeDecor #ConcreteFloors #StenciledFloors #MudroomMakeover #BudgetDecorating #HomeImprovement #InteriorPainting #FarmhouseStyle #PaintProjects
0 comment in total
 No comments yet
You may also like

The ancient flooring transforming modern homes

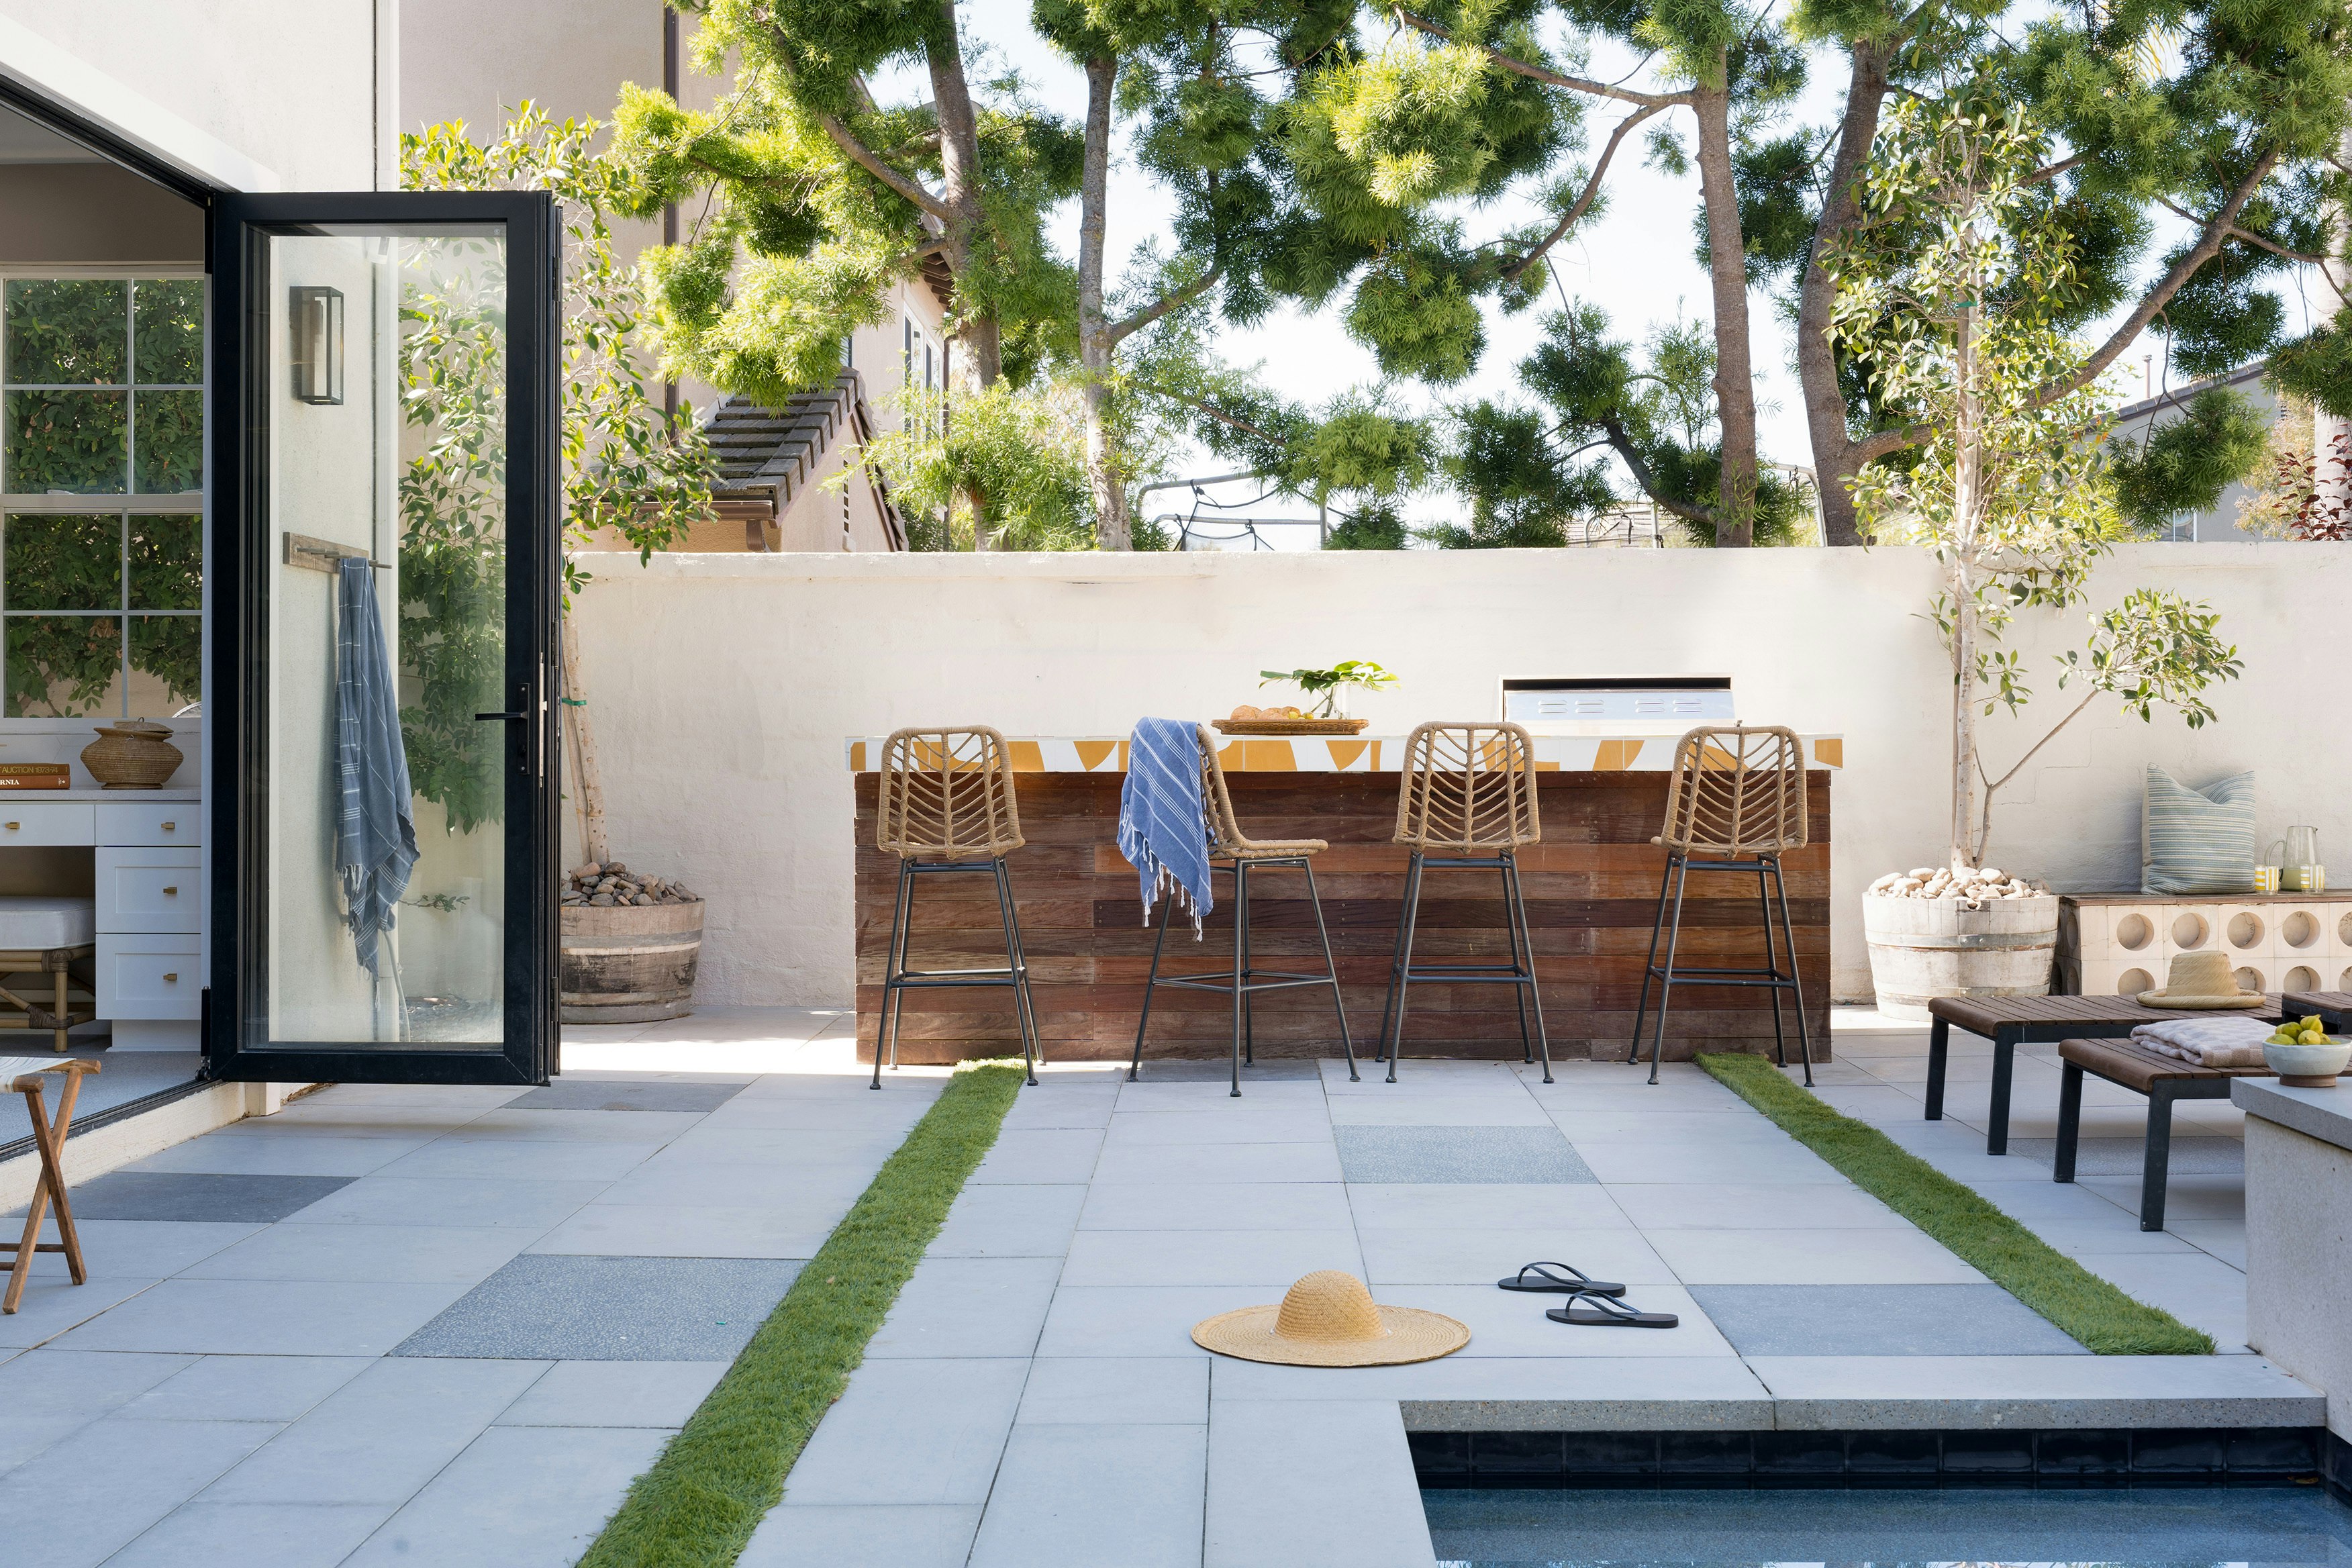
Patterned Concrete and Geometric Tiles Turn This California Renovation Into a Cheerful Oasis

See How Neon Colors Totally Transformed a Traditional Southern Home


A Timeless Transformation: This Former Rental Is Now A Florida Getaway Packed With Personality
3 steps to cover ugly wood floors mid-home reno

Fake a tiled hallway with paint for just £32 – one savvy homeowner shows us how it’s done

Transforming Ordinary to Art with Epoxy Flooring Systems

With Happy Pinks, Greens, and Blues, a Designer Totally Transformed a Quirky Colonial Revival
Before and after: a lick of paint makes a huge difference to this hallway makeover
This Checkered Floor Upgrade Heightens the Style of Every Home

Which wall colors work best with concrete floors? Pairings to complement and elevate this industrial finish

A once "unattractive" 1970s home takes a leap with colour and soaring ceilings
Transform Plain Concrete Floors with Just a Stencil and Paint
Painted floor ideas – 10 ways to bring personality to your space

Which wall colors work best with concrete floors? Pairings to complement and elevate this industrial finish
Bold colors and pale wood cabinetry redefined this home – here the architect talks through the dramatic transformation
6 Painted Floor Ideas That’ll Make Your Walls a Little Jealous

DIY-er turned a concrete path into a dream brick entryway with this smart stencil hack

19th Century Montclair Home Undergoes Stunning Makeover

The Best Concrete Staining Techniques for Interior and Exterior Spaces in 2025