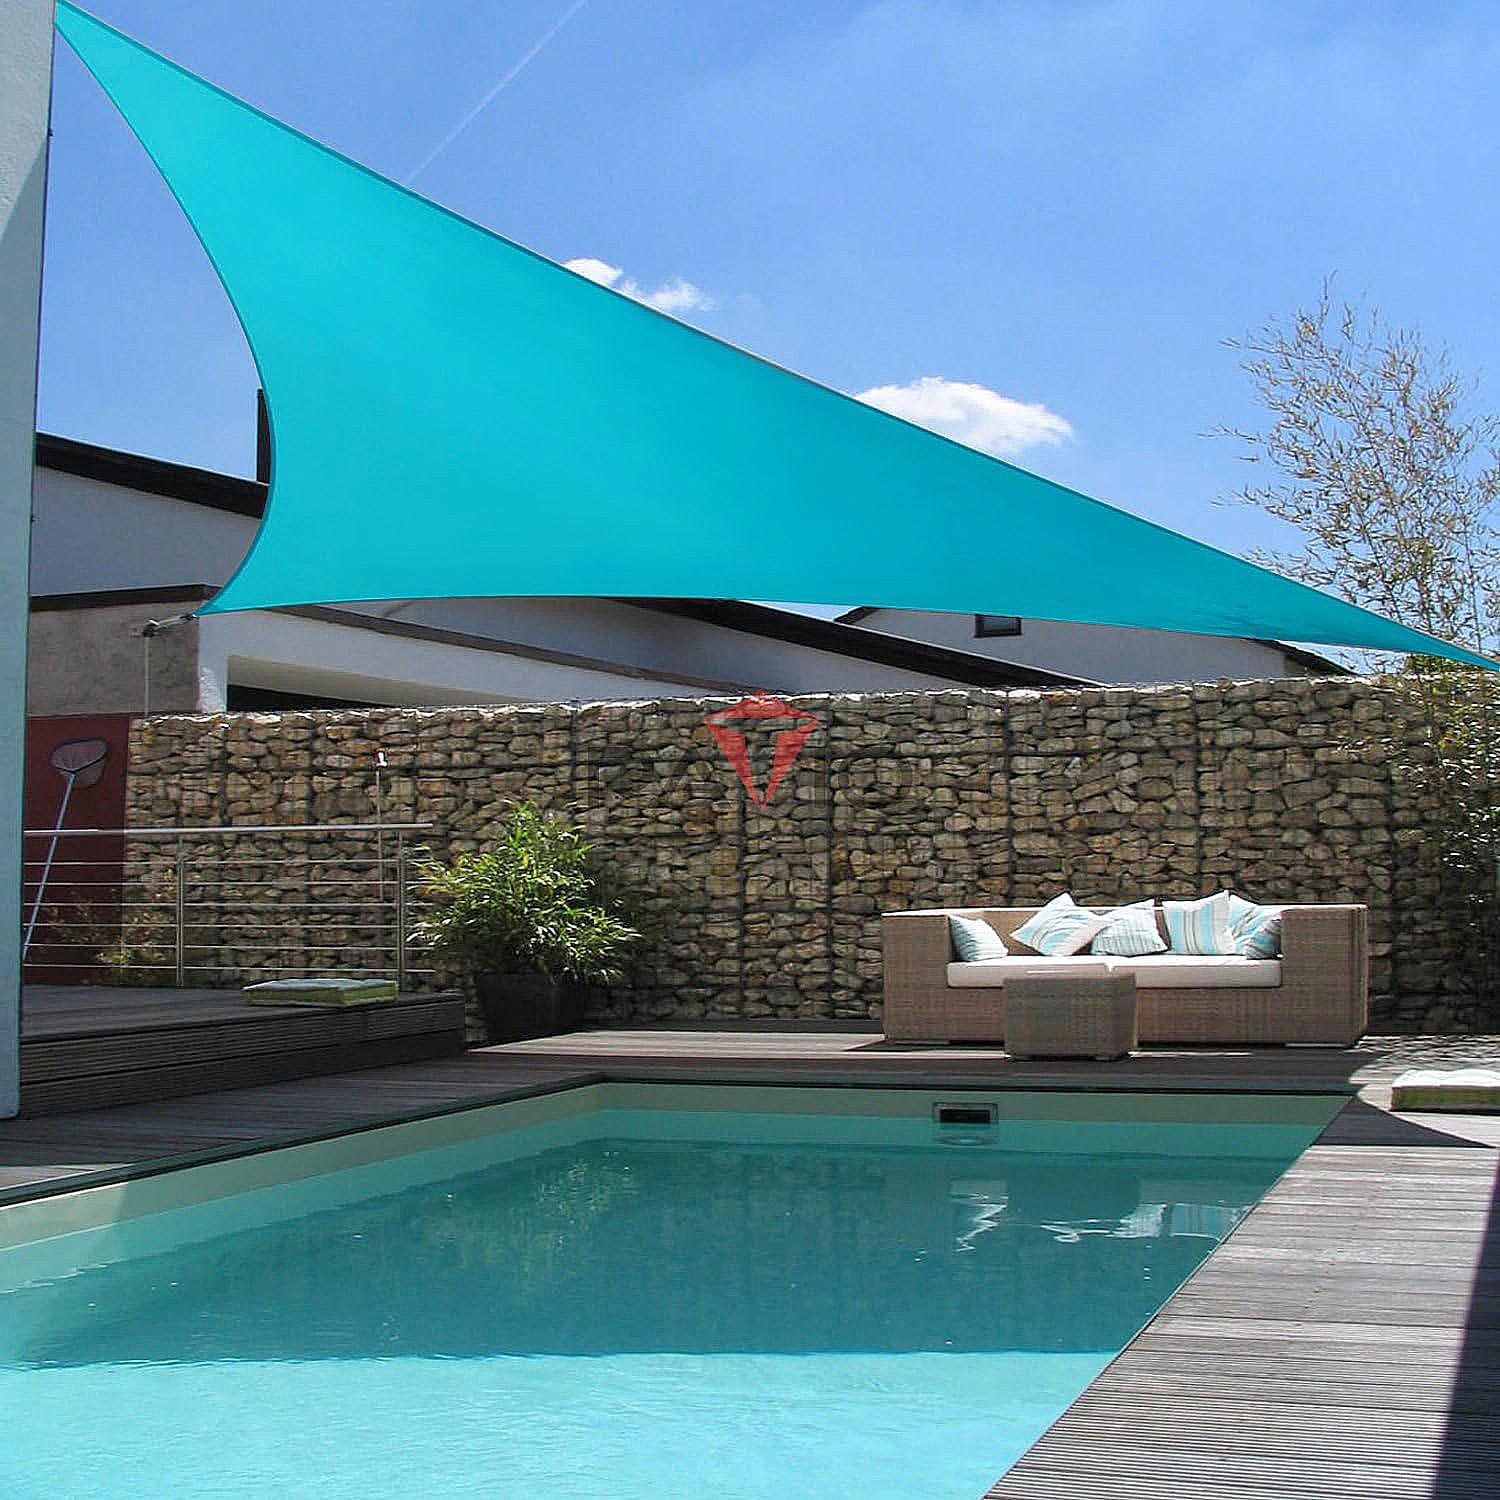
1/2
How To Hang a Shade Sail
The article provides a comprehensive guide on how to install a shade sail, transforming a sun-exposed area into a comfortable outdoor space. Shade sails, typically triangular canopies made from tightly woven weatherproof mesh, offer sun protection and allow water to pass through, while also enhancing the aesthetic of patios and outdoor areas. Despite their simple appearance, proper installation of a shade sail requires careful planning, specific tools, and precise execution, which can be a significant undertaking.
Key benefits of installing a shade sail include crucial UV protection for both individuals and outdoor structures like decks and patios. UV rays can cause damage to wood and discoloration of outdoor furniture, leading to costly repairs. Beyond protection, shade sails contribute to a more comfortable outdoor environment during warm weather by preventing overheating. When selecting a shade sail material, UV resistance is a primary consideration. High-density polyethylene (HDPE) is a highly recommended choice due to its excellent UV resistance, good airflow properties, and durability across various weather conditions. While acrylic and polyester are more affordable alternatives, they are generally less durable, and polyester may require additional treatment for UV protection. Acrylic offers good UV protection and aesthetic appeal, influencing choices based on durability versus appearance.
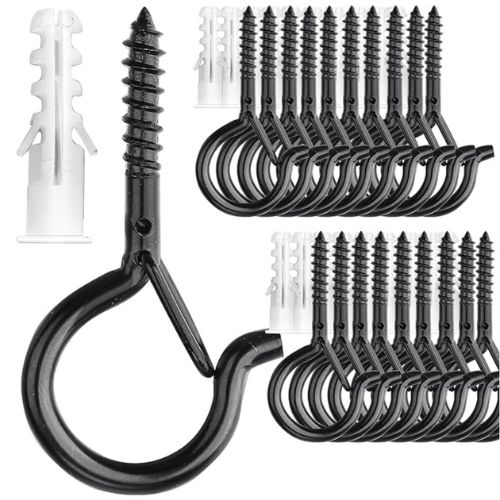
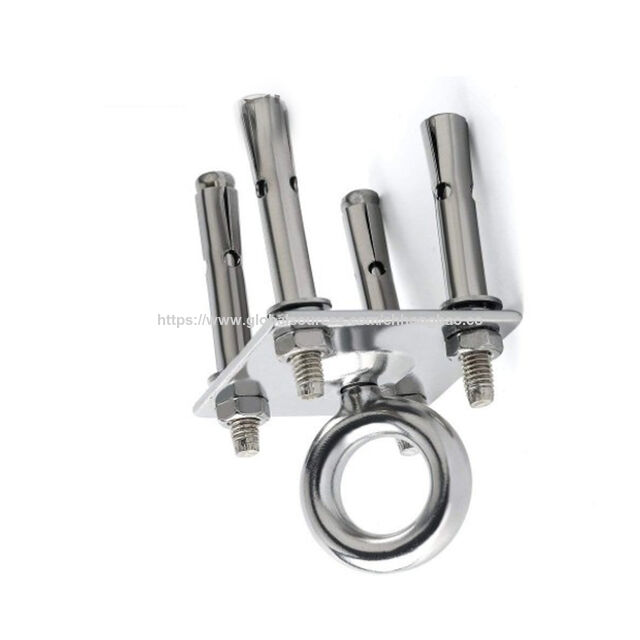
Installing a shade sail correctly involves ensuring sturdy and well-anchored attachment points, typically utilizing standalone poles rather than directly attaching to building walls. Concrete bases are essential for these support poles, necessitating a check of weather forecasts to avoid rain during the concrete pouring process. The installation process is detailed in several steps, beginning with laying out the triangular shade sail on the ground to determine its placement and tension. Hardware, including quick link triangles, turnbuckles, and eye bolts, is then attached to the sail, with turnbuckles opened halfway to allow for tension adjustment. Heavy-duty tent stakes are used to temporarily tension the sail on the ground, marking the precise locations for the support pole holes.
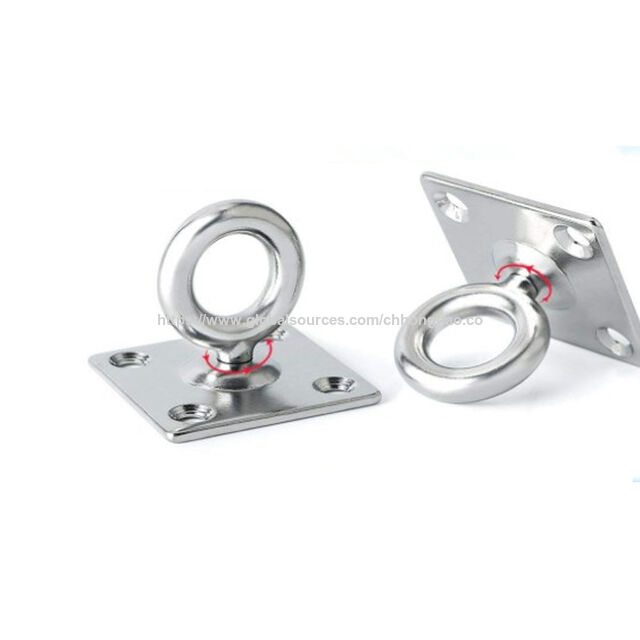
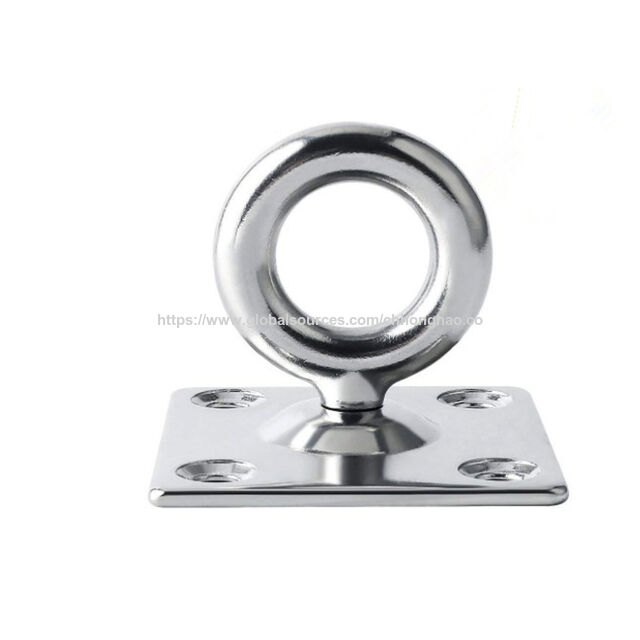
The next phase involves digging holes for the support posts, typically around 30 inches deep, extending beyond the frost line, and widened to about 18 inches in diameter. Support poles, usually 12-foot-long Schedule 40 galvanized steel, are prepared by drilling holes and inserting galvanized steel all-thread pieces at six-inch intervals, rotated 90 degrees to form crosshairs, and secured with nuts. These poles are then set into the concrete mix, ensuring the all-thread cross braces are fully covered. Water is added, and the concrete is agitated before using a level to ensure the poles are plumb. The concrete is left to dry overnight, after which the holes are backfilled and tamped. The final steps include preparing attachment points on the exposed poles by drilling holes at a desired height (eight or nine feet standard) and securing eye bolts. The shade sail is then hung, and turnbuckles are progressively tightened to achieve the proper tension, ensuring a taut and secure installation. The entire process is estimated to take about six hours of active work, plus a 24-hour concrete drying period.
The article also addresses common questions, such as year-round usage and maintenance. Shade sails can be left up year-round in suitable climates to extend outdoor living space, but regular cleaning and proper maintenance are crucial. In the event of a storm, it is advisable to take the sail down to prevent damage to the sail itself or surrounding property. Cleaning a shade sail involves using soapy water and a sponge or soft brush, avoiding aggressive detergents that could harm the fabric or its UV protective properties. When storing a shade sail, it should be clean, folded, and kept in a dark, cool place. The guide emphasizes that this project is best suited for experienced DIYers due to its complexity and need for precision.
#ShadeSailInstallation #DIYHomeImprovement #OutdoorLivingSpace #UvProtection #PatioEnhancement #HomeMaintenance #ConcreteWork #ToolGuide #ShadeSailInstallation #DIYHomeImprovement #OutdoorLivingSpace #UvProtection #PatioEnhancement #HomeMaintenance #ConcreteWork #ToolGuide
0 comment in total
 No comments yet
You may also like
How to hang a curtain pole

How to hang outdoor string lights – 4 safe and secure ways


Seashell Decor Is Everywhere Right Now—Here's How to Decorate With It


The Easiest, Foolproof Way to Hang Curtains, According to Design Pro

How to install a skylight


How To Hang a Garland on a Mantel — 6 Easy, Damage-Free Tricks Interior Designers Use


How to Hang Outdoor String Lights (and Make Them Look Good) | Reviews by Wirecutter

These rules of thumb make hanging light fixtures easy
How to hang outdoor string lights in 6 simple steps

How To Hang Curtains Like A Professional
Revamp Your Exterior with Our How-to Guide to Installing Siding Shingles


The best ways to securely hang Christmas lights – both inside your home and out

How to Hang Drapery (Published 2023)

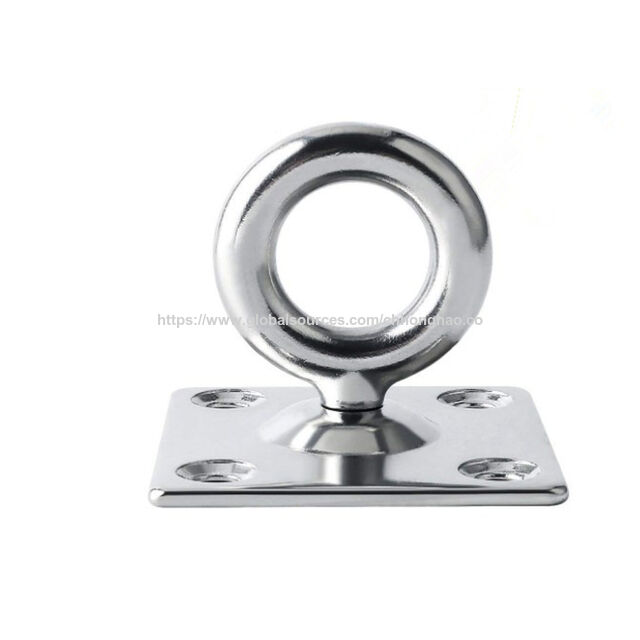
Heavy Duty Eyebolt Hanging Kit Ceiling Hooks Hammock Swing Hook Hanger

15 Genius Pro Tips to Hang Your Garland In Style


How to Hang Wallpaper (the Permanent Kind!)

How to Hang Curtains: A Hassle-Free 5-Step Guide


DIY shiplap walls: How to install shiplap on wall

How to hang plants from the ceiling - expert tips to add greenery overhead safely

A Stylish Floating Shelf You Can Hang in Less Than 60 Seconds, No Tools Required