1/2
How To Conduct the Paint Inspection When You Hire a Pro
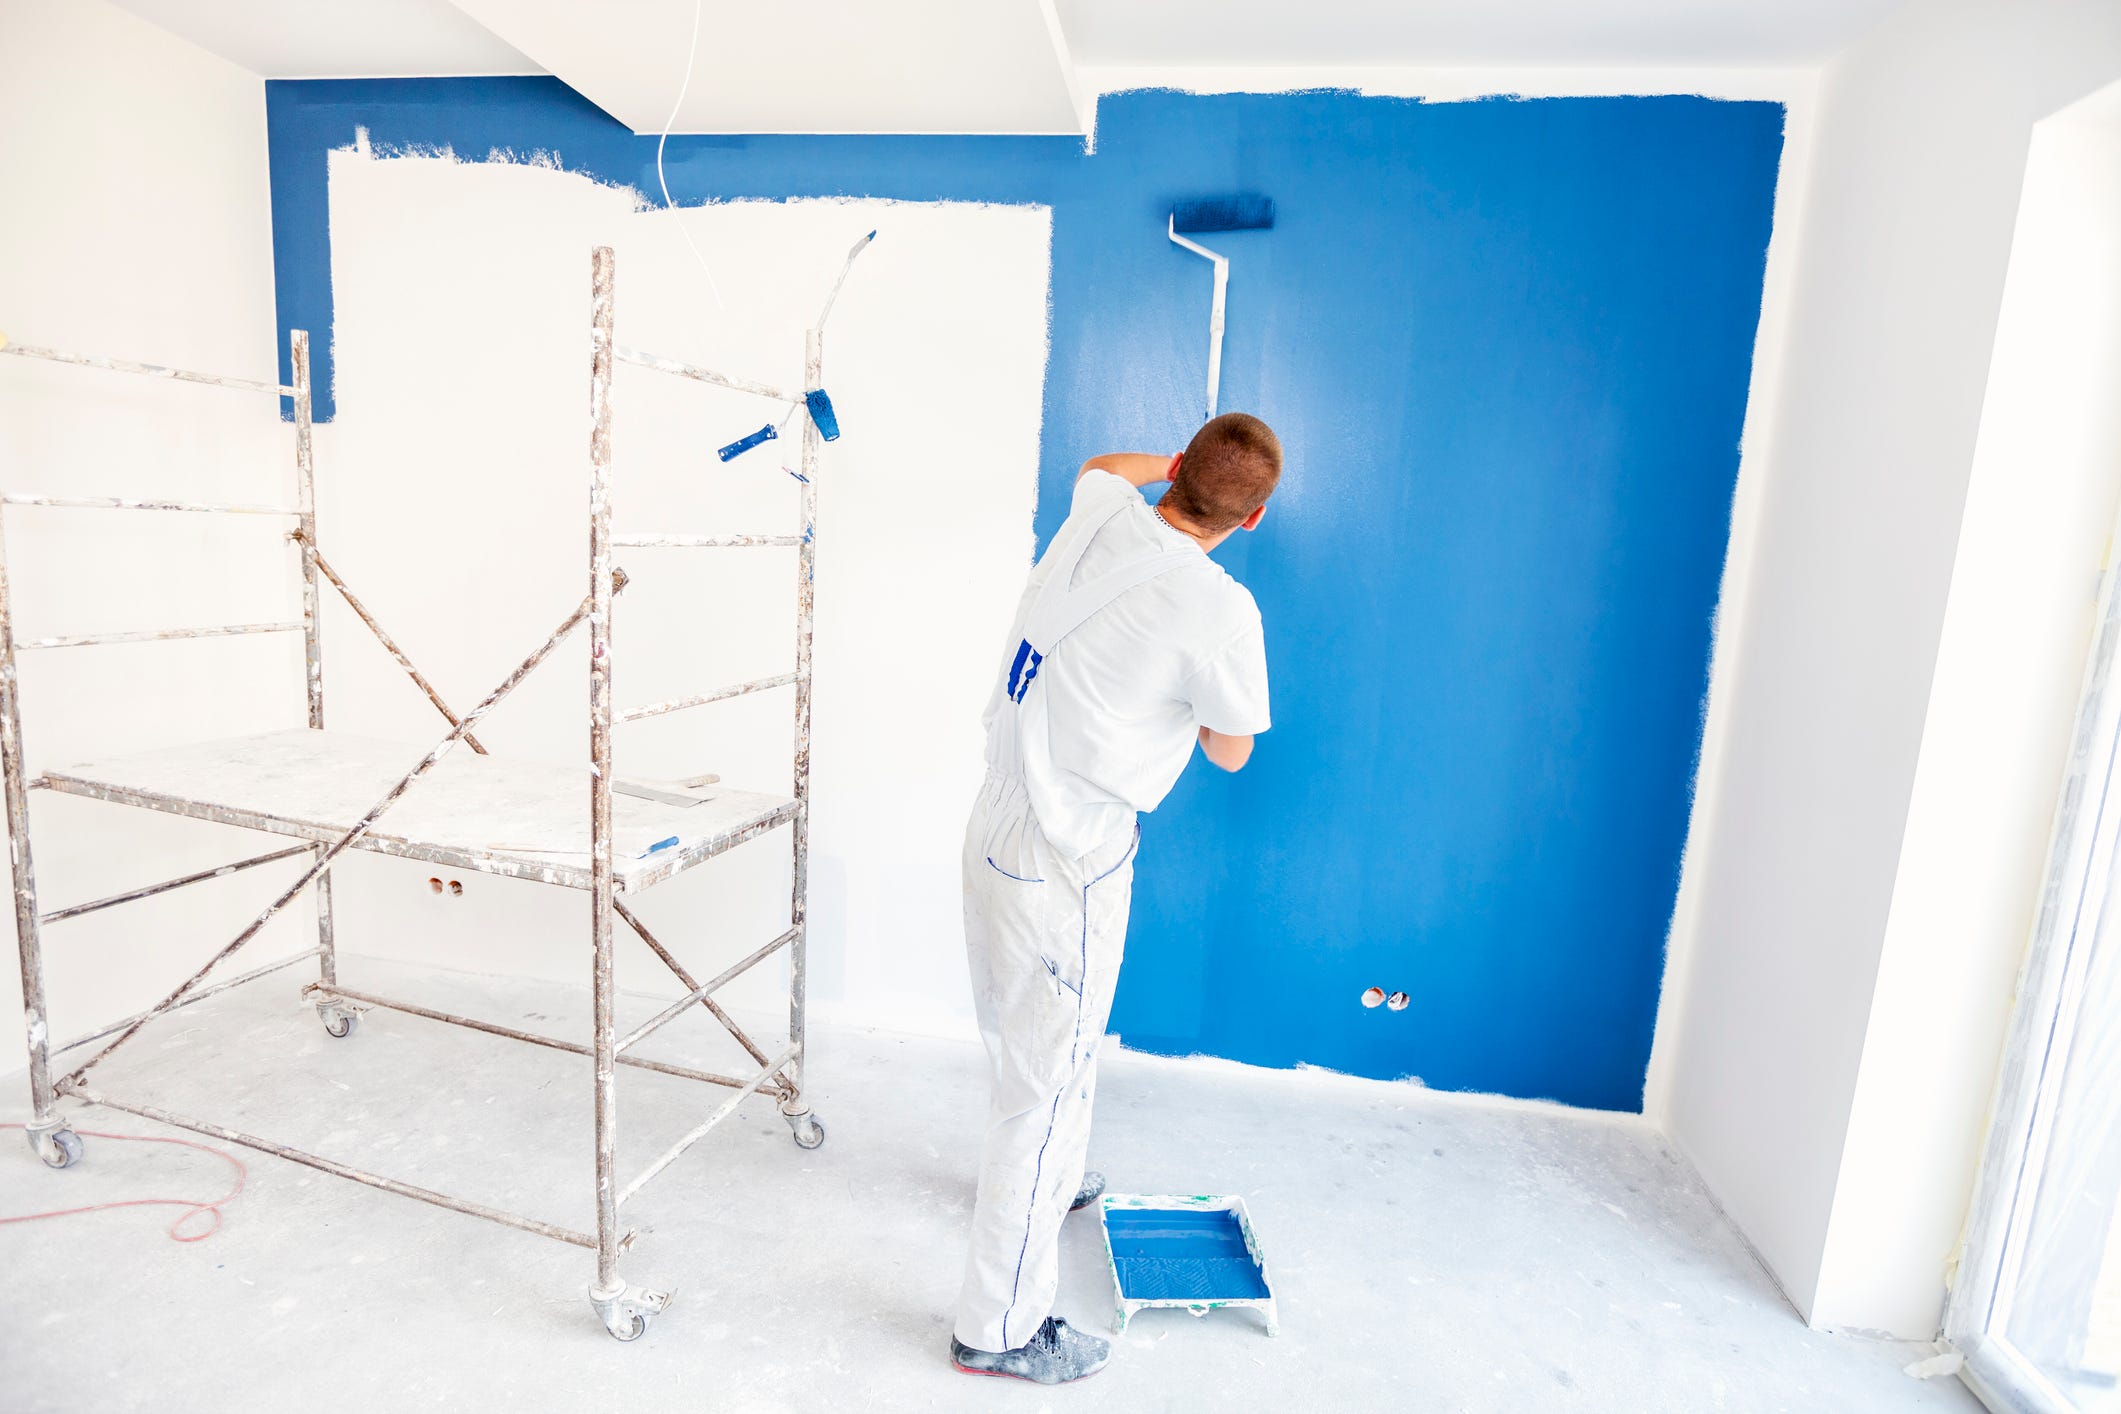
This article provides a comprehensive guide for homeowners on how to effectively inspect a professional paint job, whether interior or exterior. It emphasizes the importance of inspecting the work at each stage of the project rather than waiting for completion, as leverage for addressing issues is greatest before final payment. The author shares personal insights gained from hiring painters, highlighting the significance of considering the professional’s approach and maintaining clear communication, ideally through a detailed contract that outlines expectations from preparation to cleanup. Having a contract helps in confidently addressing discrepancies without resorting to nagging or micromanaging.
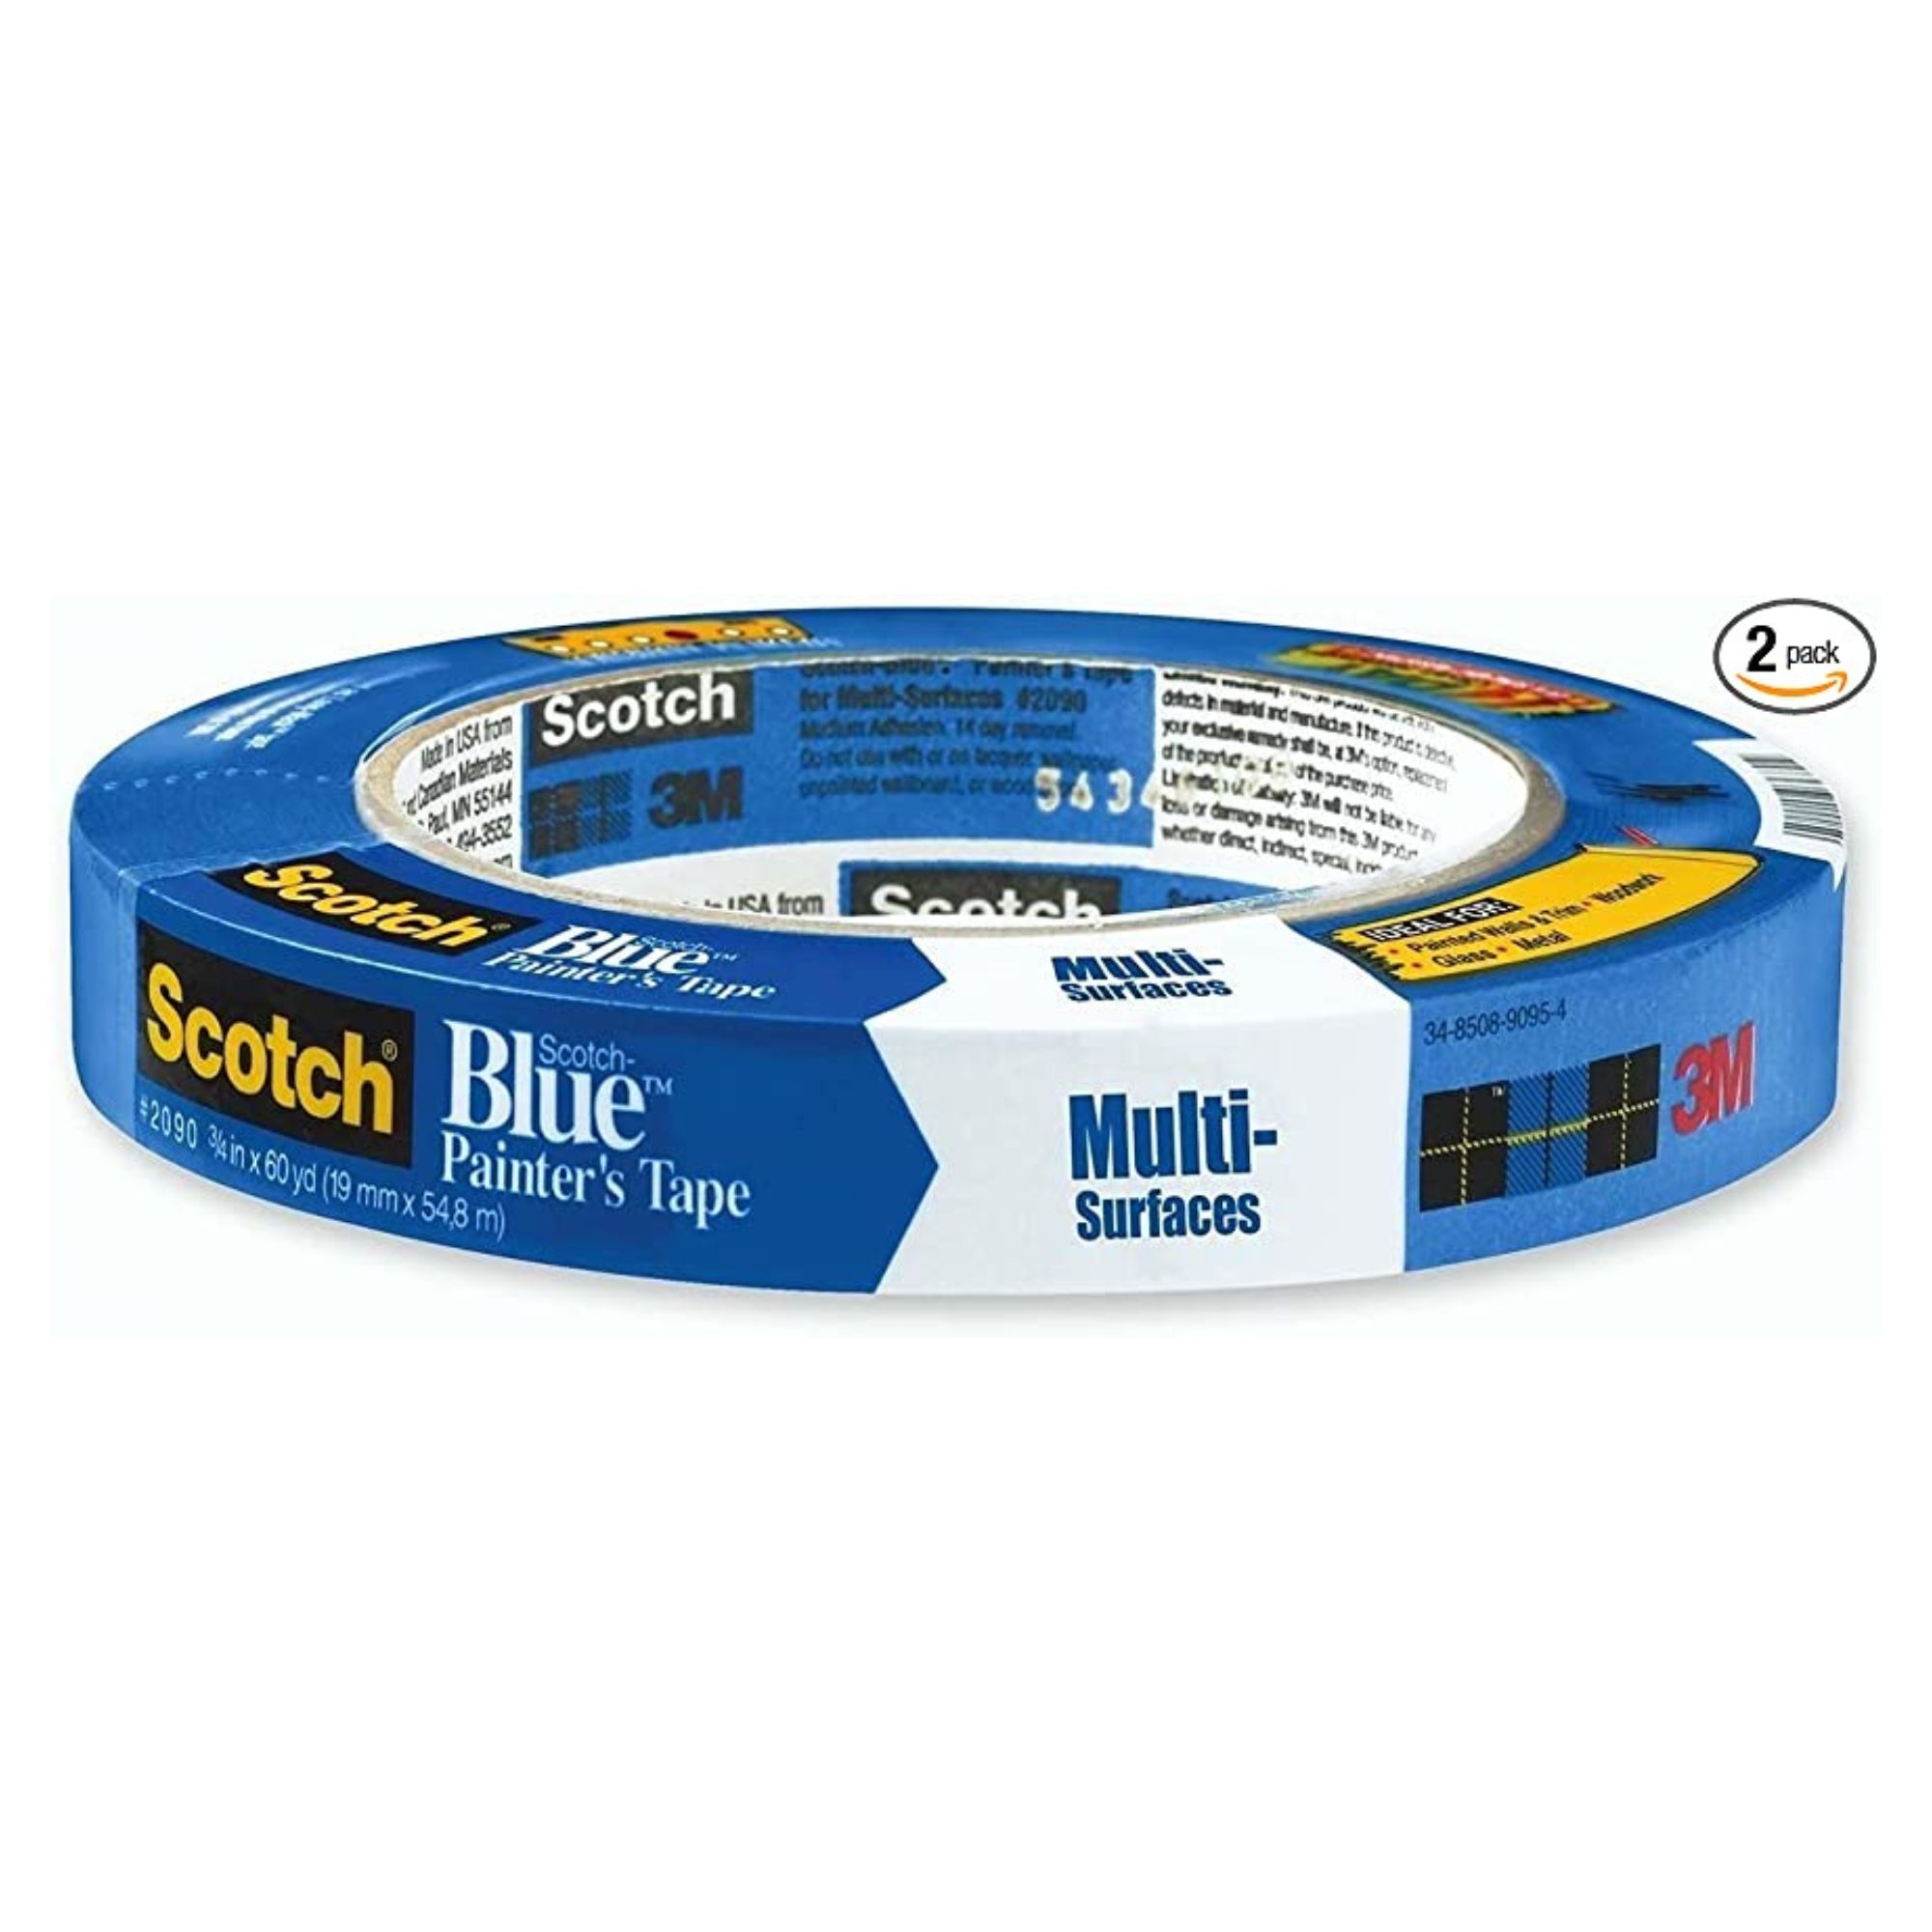
The article suggests several helpful tools for inspection, including a flashlight or battery-powered work light to illuminate details, painter’s tape or sticky notes for marking areas needing attention (with a caution against tape that might damage newly painted surfaces), a cell phone or digital camera for documenting issues, and a step stool, small ladder, or extendable inspection mirror for reaching high or difficult-to-see spots like door tops or shelving.
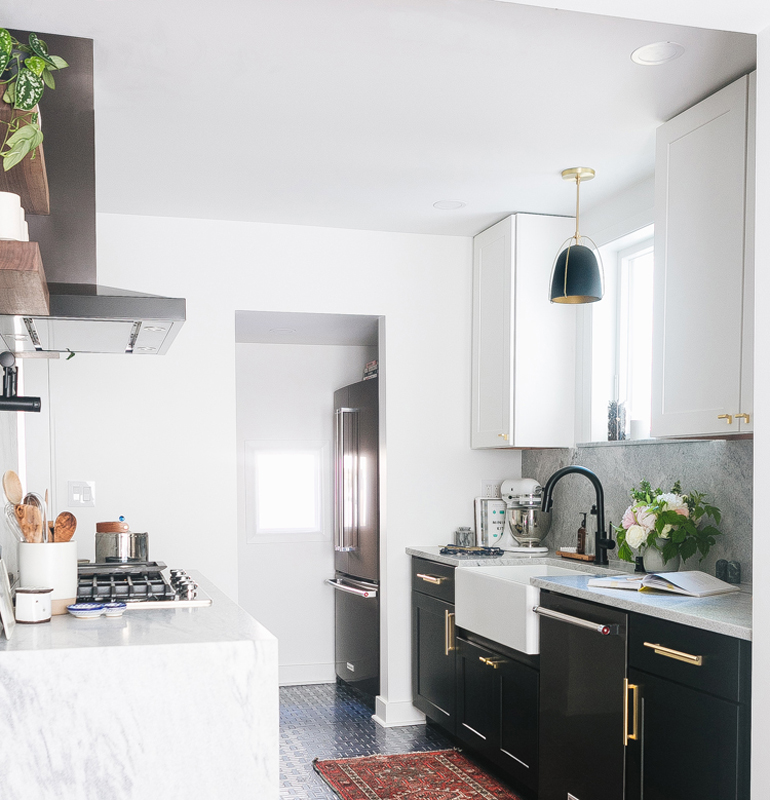
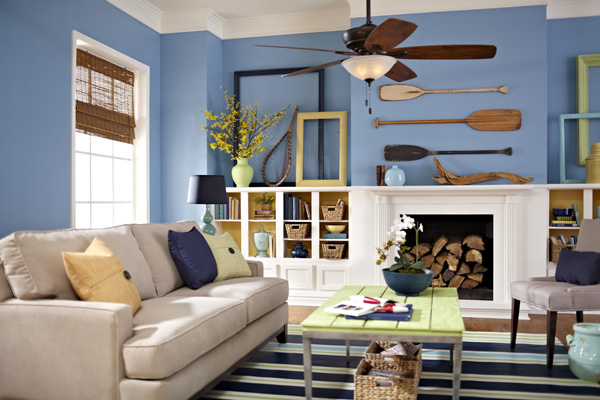
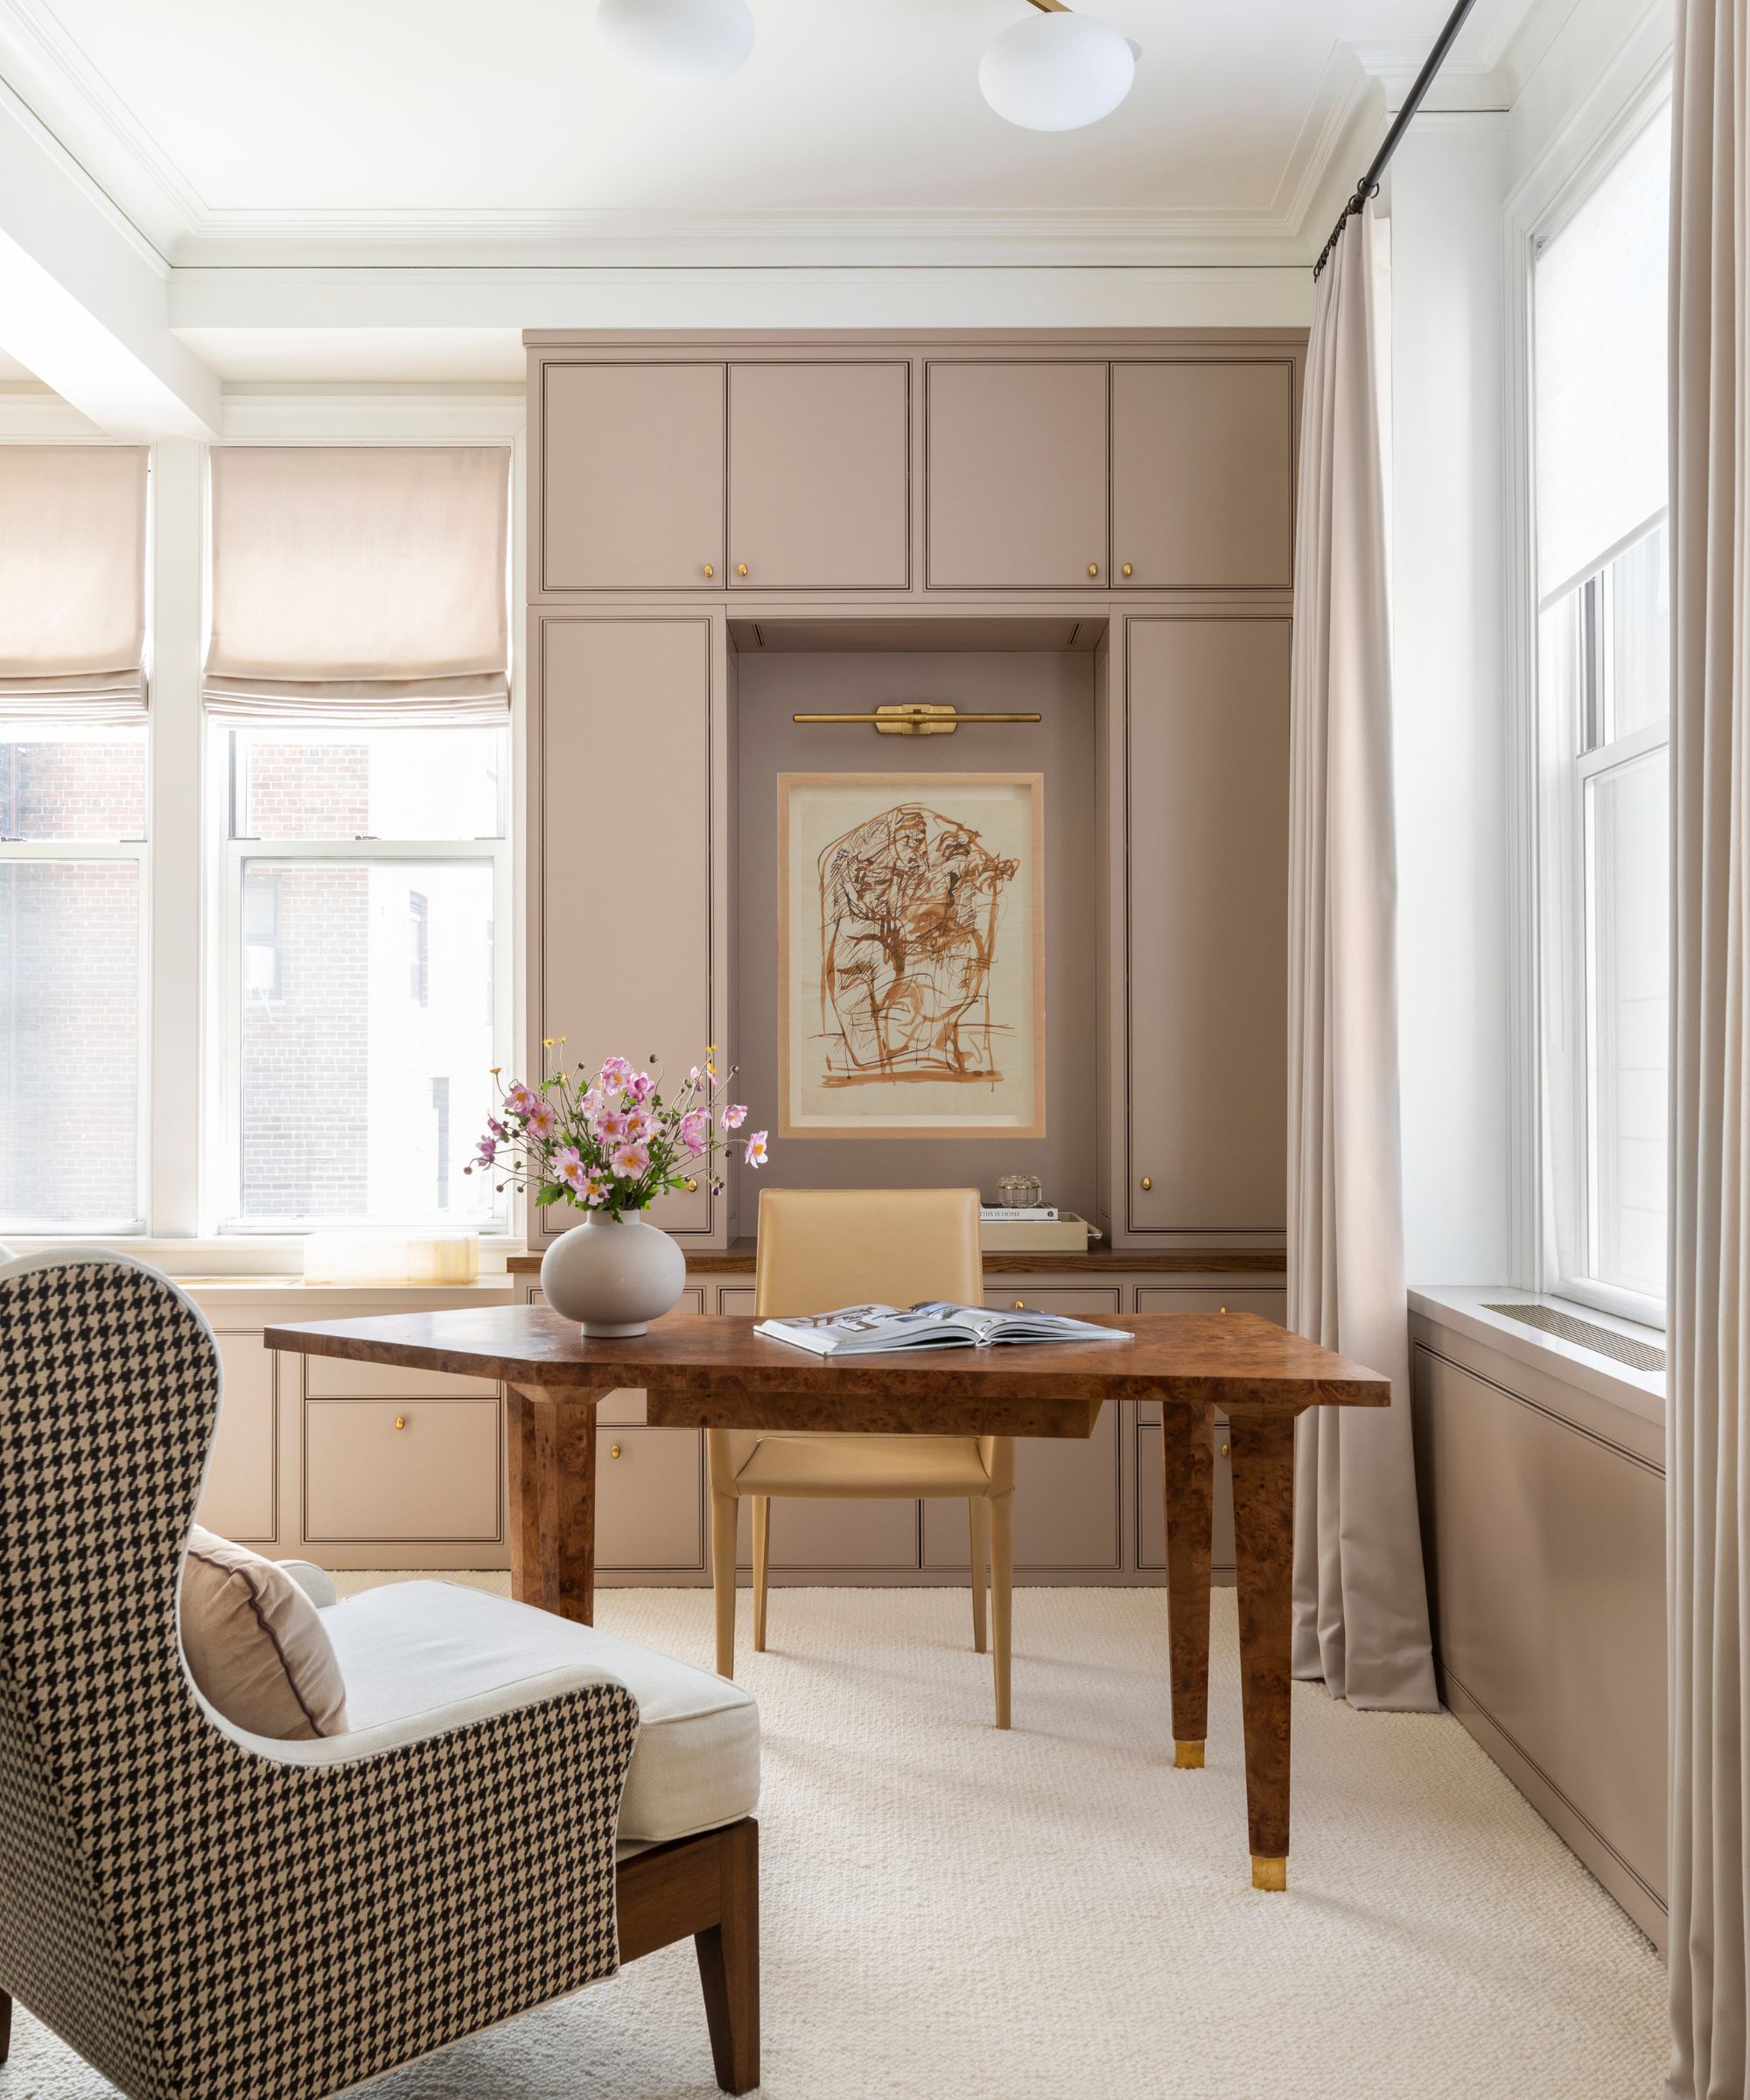
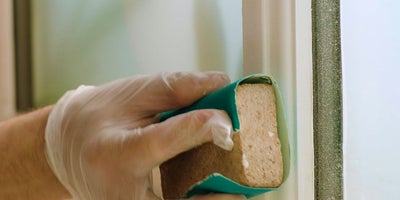
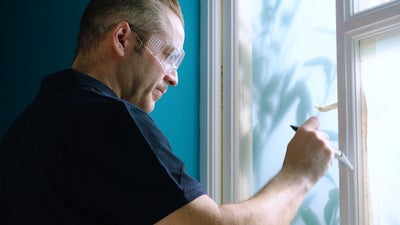
For interior paint jobs, specific inspection points are detailed. These include checking for the absence of drips, runs, dents, holes, or marks on walls, ensuring all cut-in lines around trim and at color changes are straight and crisp, and verifying no paint spots are present on unpainted surfaces such as paneling, light and outlet covers, or heating ducts. The article also stresses that joints where window, door, and baseboard trim meet walls should be properly caulked before painting, and caulk should not be used to mask poor painting. Nail holes in trim should be filled and painted. Homeowners should also inspect window glass for paint splatter, ensuring the painter removes it and cleans windows if specified in the contract. All sides of doors, including closet doors, should be painted to prevent moisture ingress and swelling, and weather stripping around windows and doors should be undamaged and functional. Lastly, closet interiors should receive two coats of paint, and poles, brackets, and shelving should remain paint-free. A practical tip is to have the painter leave touch-up paint with clear labeling of brand, color, and sheen, and to paint the back of a switch plate cover in each room with the corresponding wall color for future reference.
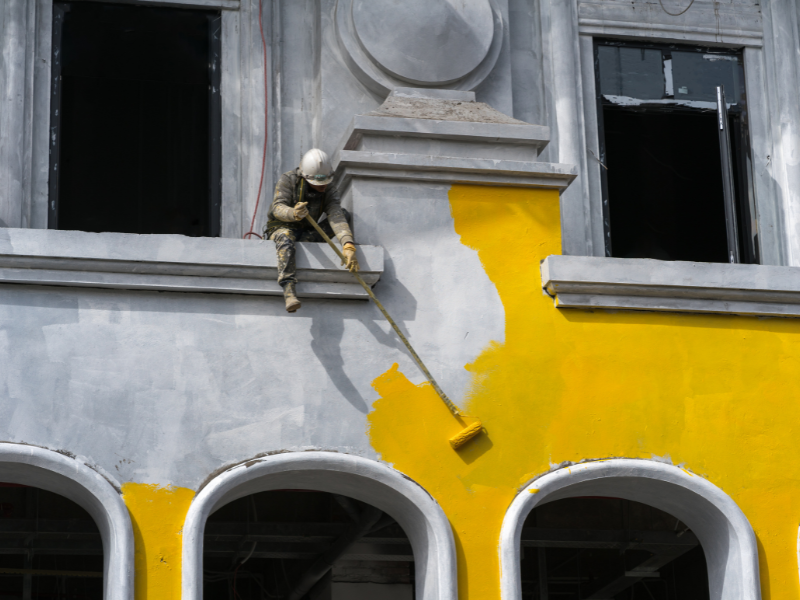
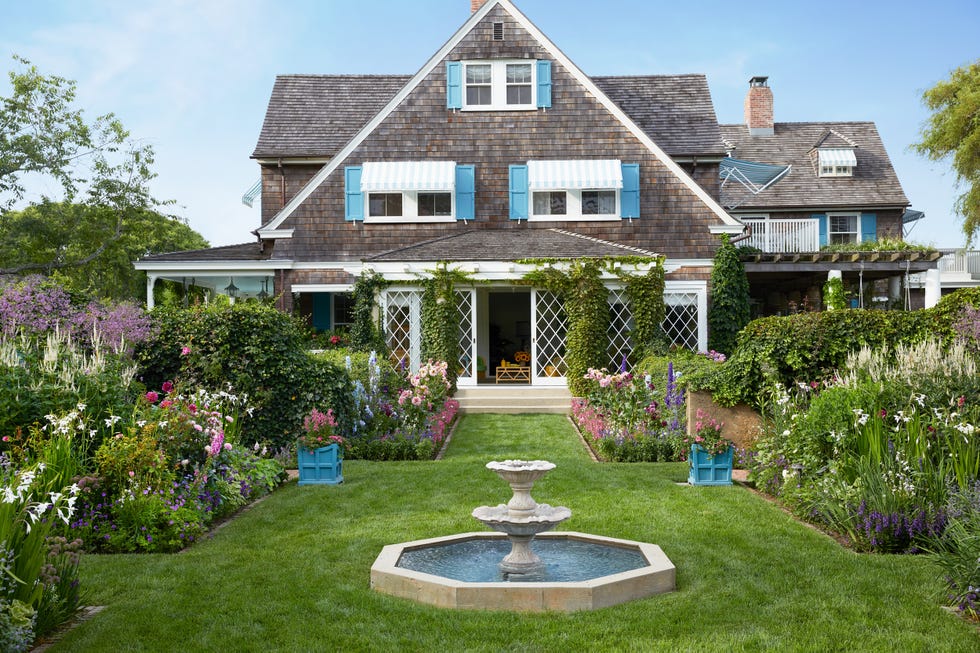
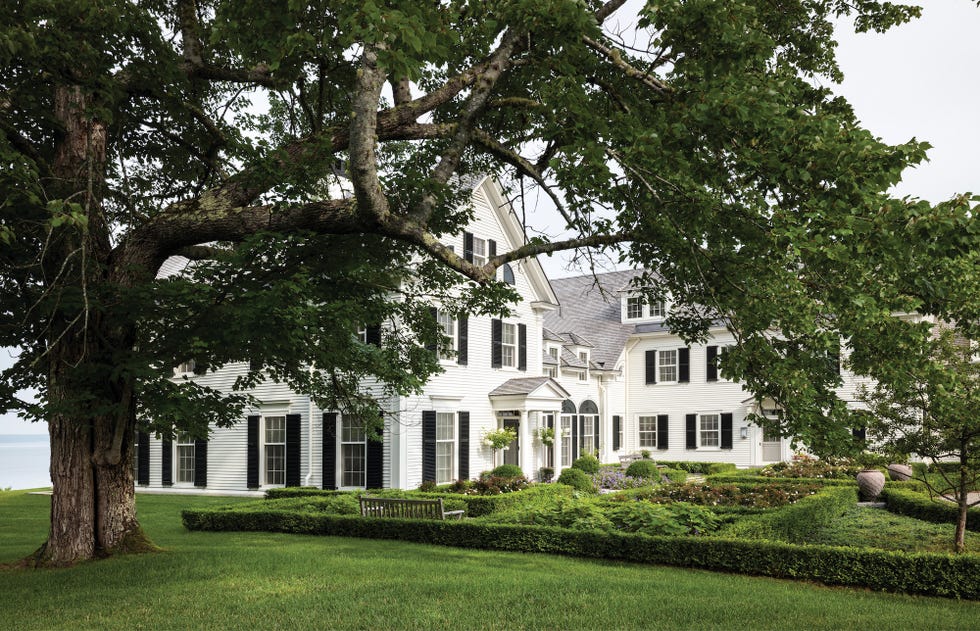
For exterior paint jobs, the inspection criteria largely mirror interior checks, with additional considerations. Homeowners should confirm that landscaping and plantings are adequately covered and protected, and that plants near the foundation are tied back or pruned to facilitate ladder or scaffolding placement. It's also recommended to wet down grass or plants before cleaning solutions are used and rinse them afterwards to prevent burning. Decks, patios, sidewalks, driveways, roofs, and chimneys should be checked for paint spills and drips. For overhead garage doors, all top, bottom, and edge panels must be painted.
Finally, the article addresses what to do if problems arise after the final inspection. It notes that significant issues, such as coating failure, typically stem from improper surface preparation or disregard for weather conditions during application. While painters may be called back for such failures, smaller cracks or drywall screw pops that appear due to new home settling within 12 to 18 months are usually the homeowner's responsibility to repair.
#PaintInspection #ProfessionalPainters #HomeMaintenance #DIYHomeImprovement #InteriorPainting #ExteriorPainting #ContractorManagement #QualityControl #HomeRenovation #PaintInspection #ProfessionalPainters #HomeMaintenance #DIYHomeImprovement #InteriorPainting #ExteriorPainting #ContractorManagement #QualityControl #HomeRenovation
0 تعليق إجمالاً
 لا توجد تعليقات بعد
قد تعجبك أيضًا

BBB Tip: When to call a professional painter
12 top interior painting tips from experts – for a flawless, fabulous finish


The Best Interior Paints, According to Expert Testing

Why You Should Consider Hiring a Pro to Paint Your Walls
How to Start a Painting Business
Understanding paint finishes

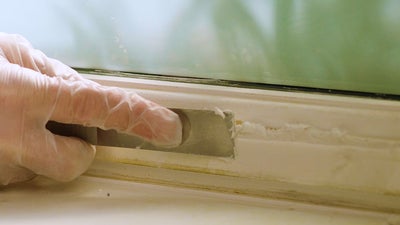
Story from Arizona Painting Company: 6 tips to prepare a home for a professional paint crew
How to paint interior woodwork
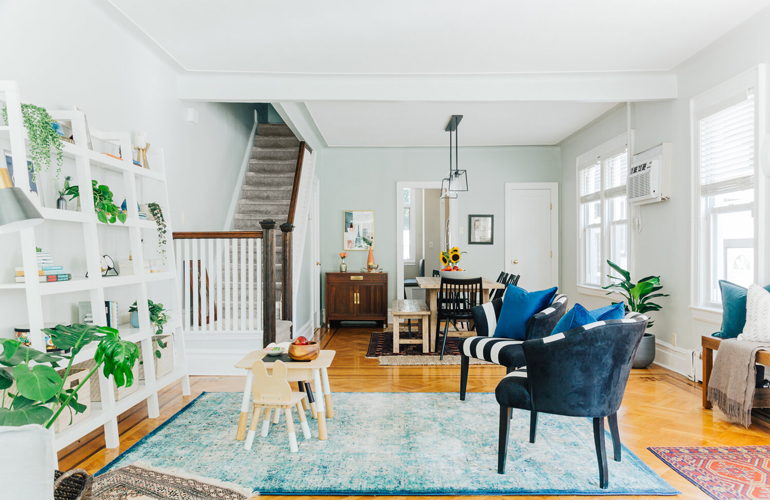
Paintzen Launches ‘Members-Only’ Program for Designers
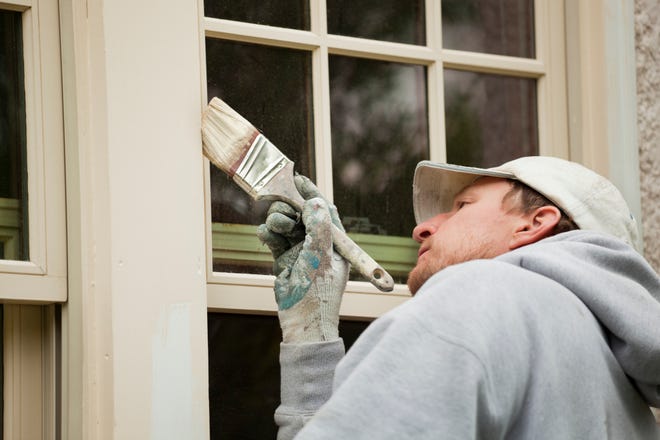
Story from Arizona Painting Company: 5 tips to keep your home’s new paint looking great
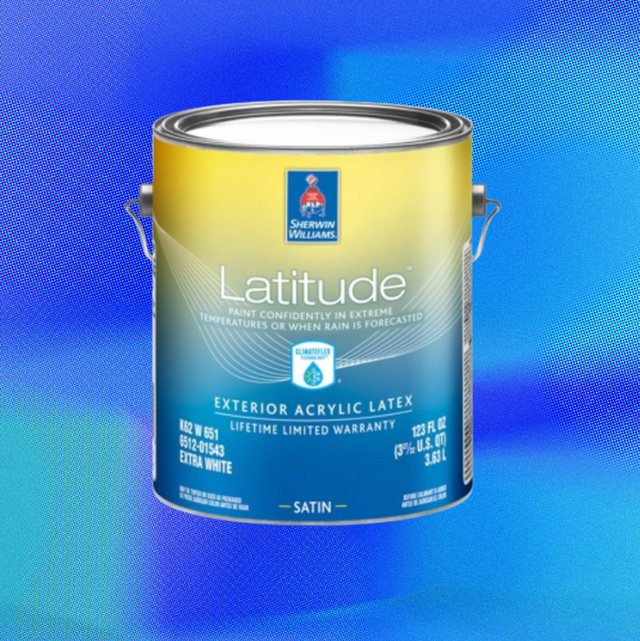
6 Best Exterior Paints for Your Home, According to Experts
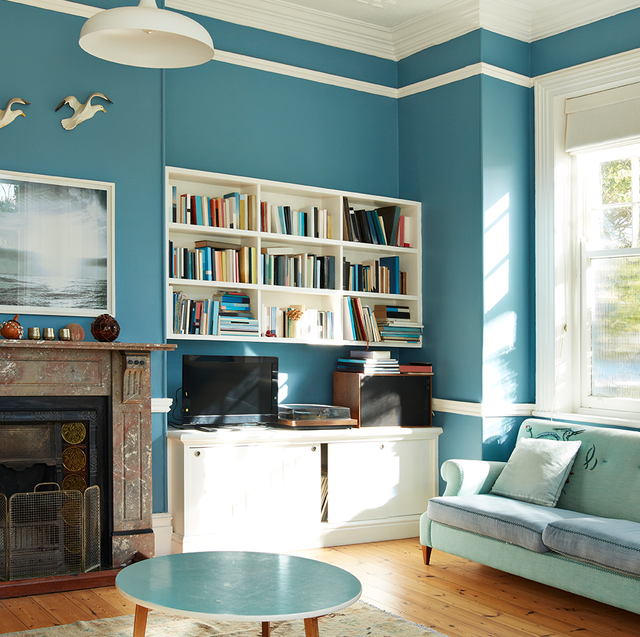
The best paints for streak-free coverage, from Dulux to Farrow & Ball
Paint tips from a pro!

How to Prepare Interior Woodwork For Painting
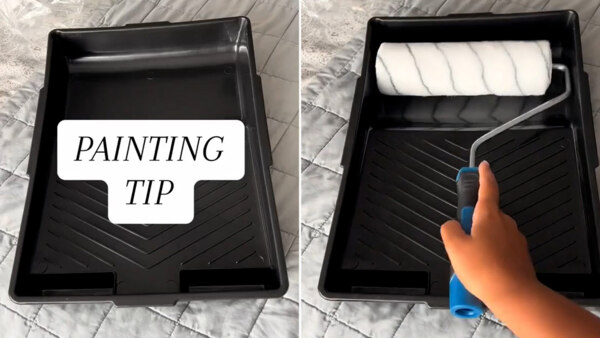
I’m a paint expert - the £1.25 buy pros swear by for a flawless finish on walls


Interior Paint: A Guide to Buying the Best Paints for Your Home


Professional painters reveal the secret to color matching a paint shade from an image alone
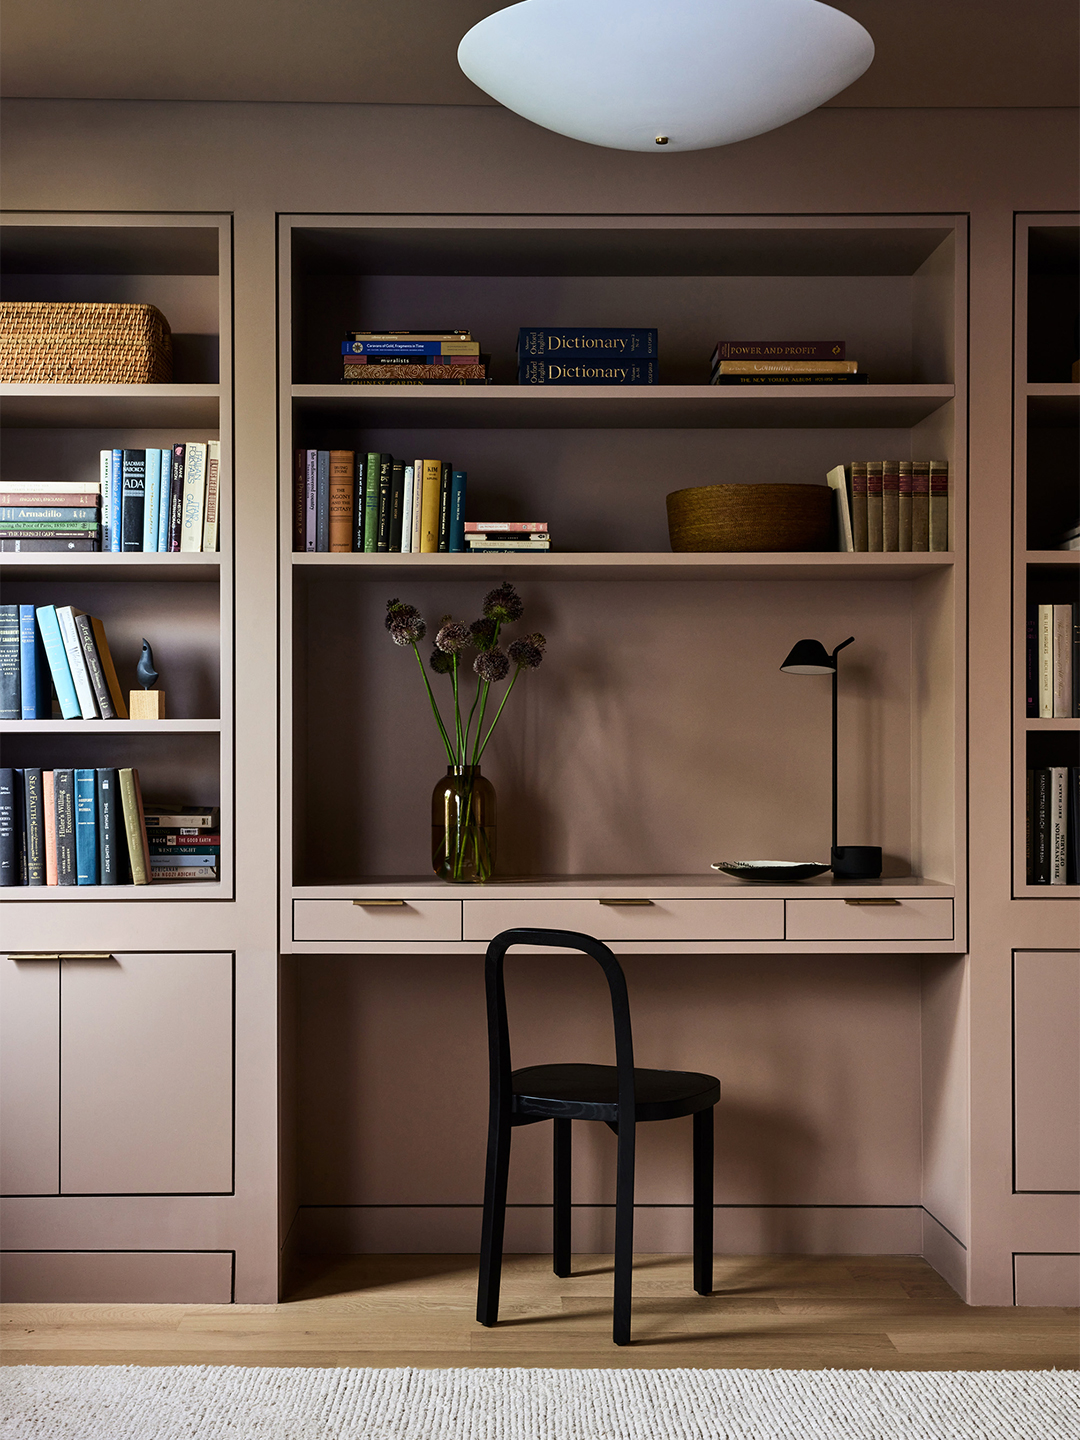
When Your Client Cares About Paint as Much as Furniture, You Go Big With Opposing Colors

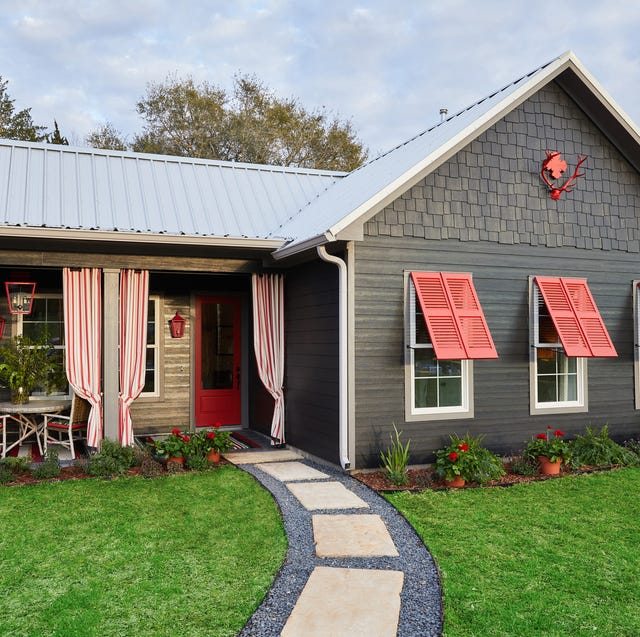
Here's What Colorists Want You to Know About Picking House Paint


We Asked a Pro Painter For His Secret to a Seamless Paint Job Every Time—And We’re Obsessed