1/2
Is There a Way To Paint Something So It Looks Like Wood?
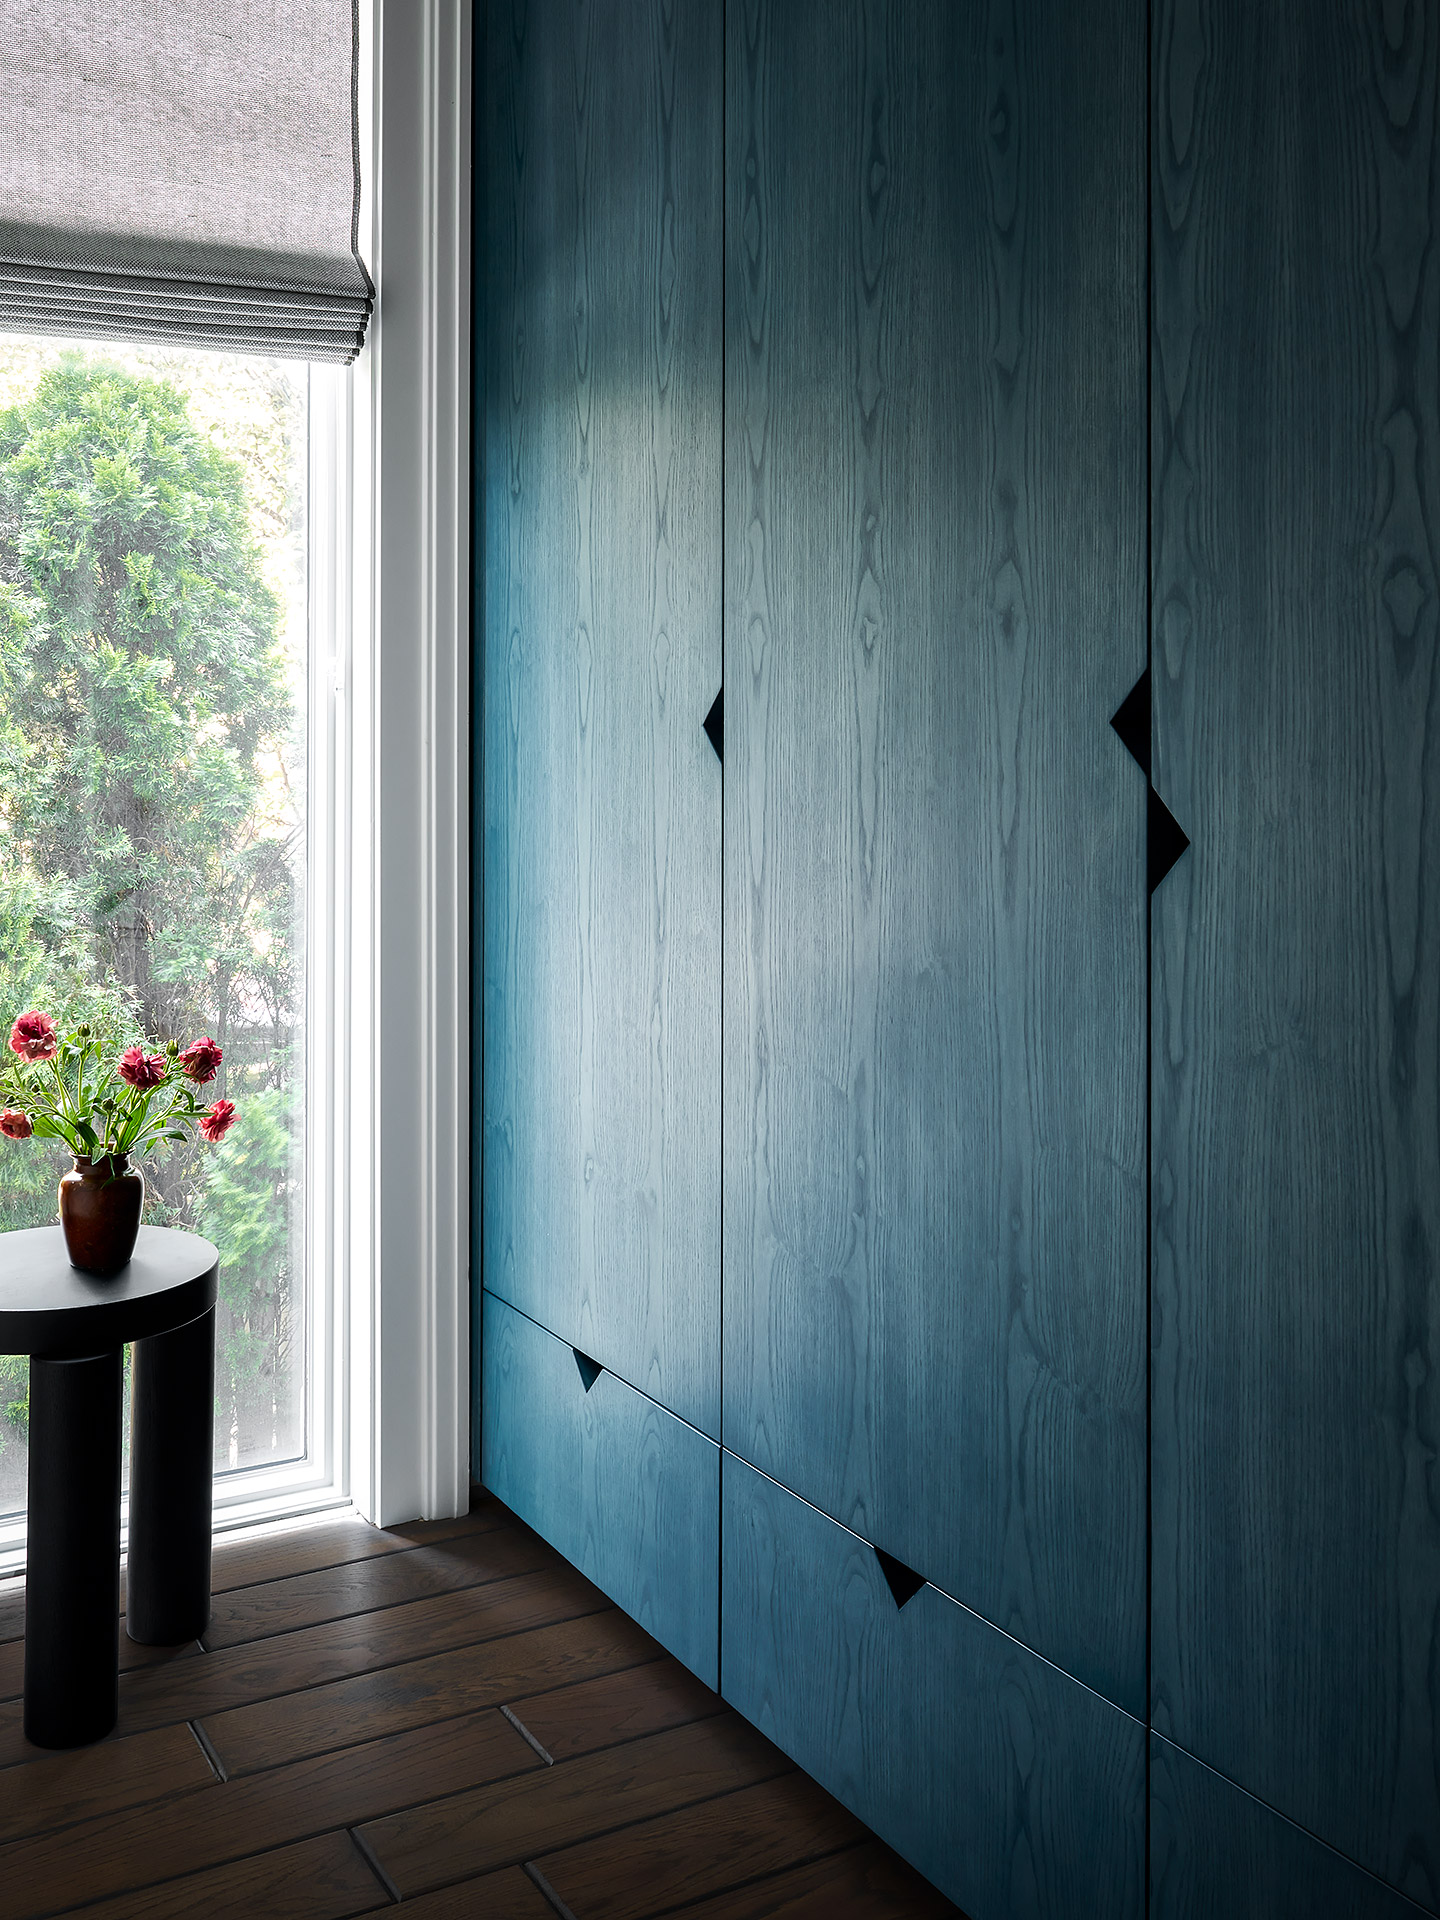
The art of faux finishing allows for the creation of a wood-like appearance on various surfaces using paint. This technique involves multiple layers of paint or glaze and specific tools. Experts Chris Burke, a professional faux finish painter, and Frank Campanelli, owner of a full-service painting company, provide insights and recommendations for DIYers interested in achieving these results.
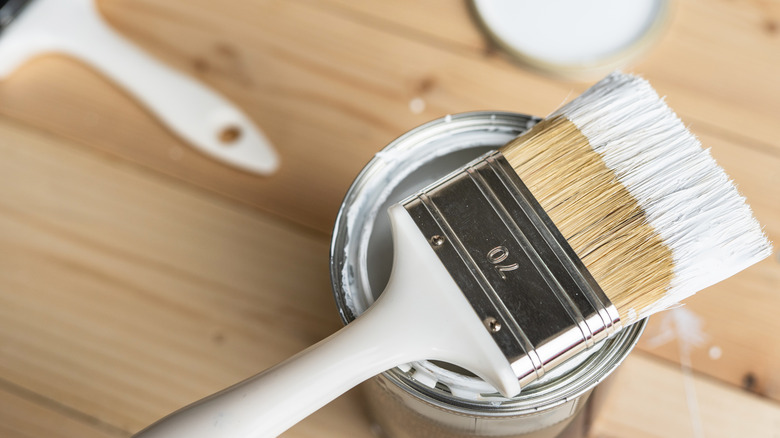
Several surfaces, including drywall, plaster, metal, concrete, medium density fiberboard (MDF), and plastic, can be painted to mimic wood. The necessary surface preparation can vary depending on the material. Water-based acrylic paints are generally favored by both professionals and DIY enthusiasts due to their versatility. Fusion Mineral Paint, an industrial-grade acrylic resin, is particularly popular among DIYers for furniture projects, offering a durable matte finish and a built-in topcoat. Professionals often thin their paints with additives to create a glaze, which extends drying time and allows for more workability while still delivering color. Golden Artist Colors’ Open line is also noted for these qualities.
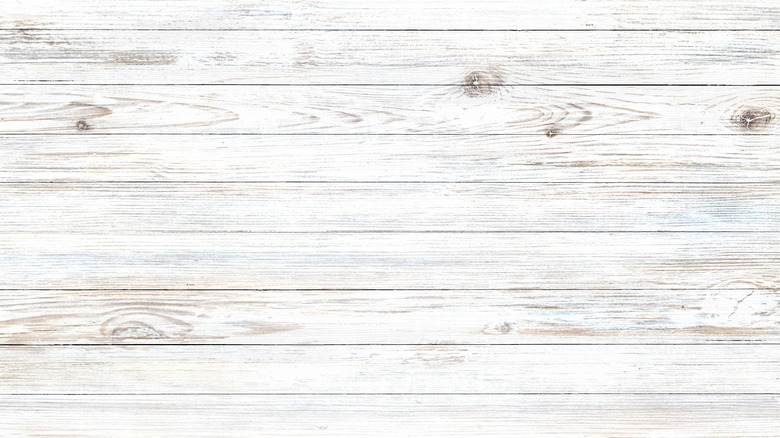
Selecting the appropriate colors is crucial. It is recommended to first identify the specific wood species one wishes to emulate by observing online examples. The lightest tone of the chosen wood will serve as the base coat, with darker tones applied in subsequent layers. Burke suggests using colors such as Van Dyke Brown, Raw Umber, or Burnt Umber mixed into the glaze for the topcoat, applied over a lighter base.
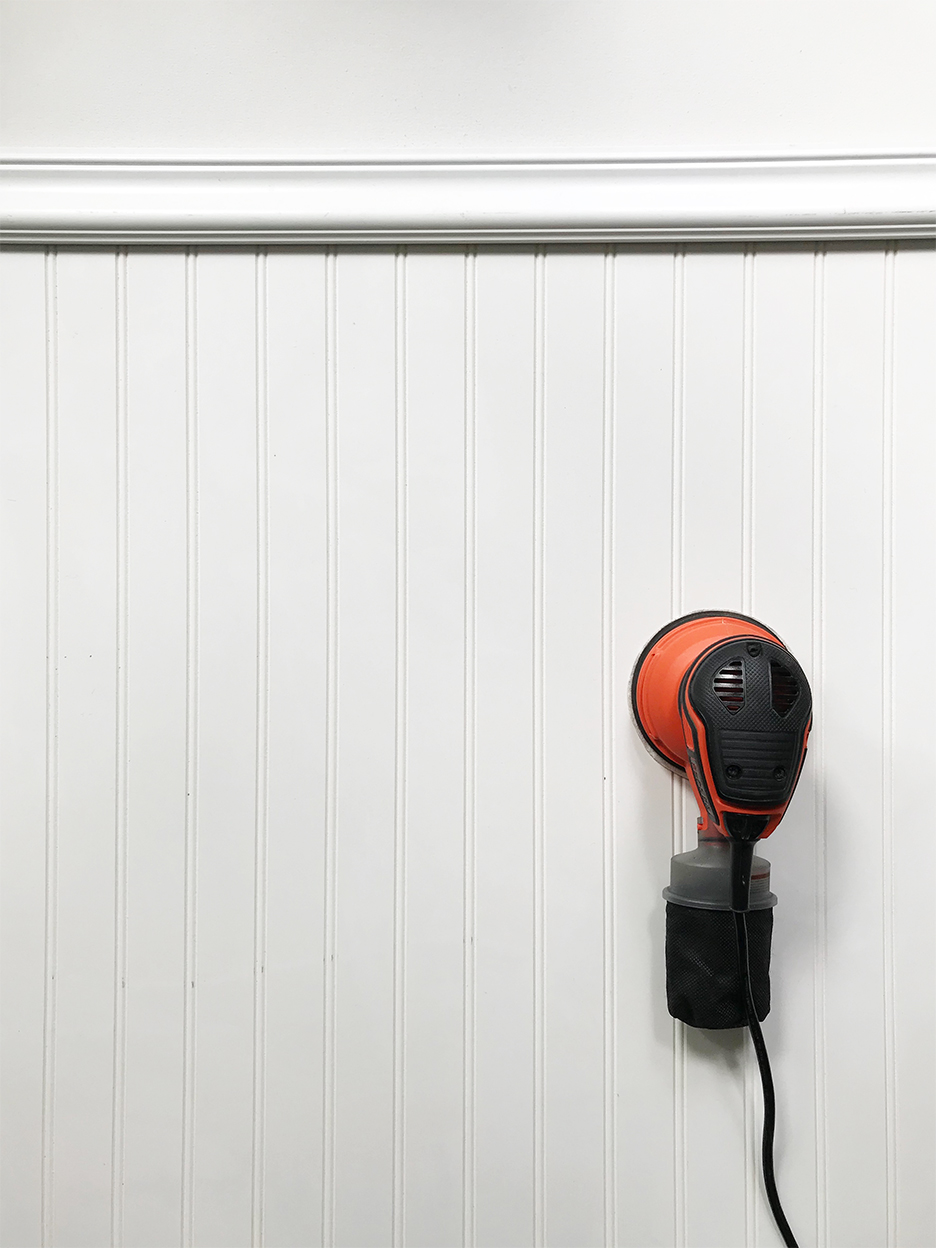
Creating a wood look typically involves a four-layer process, followed by a clear topcoat. Each paint layer must be allowed to dry completely before the next is applied to prevent color mixing. The process begins with proper surface preparation, ensuring the surface is clean, smooth, and primed. The base coat, the lightest paint or glaze color, is then applied with a brush, maintaining a consistent stroke pattern and direction to align with the desired final look. The third step is the flogging coat, a brush technique that generates a speckled texture to mimic wood pores. This involves applying a thin layer of glaze and then lightly tapping it with a brush to create small marks.
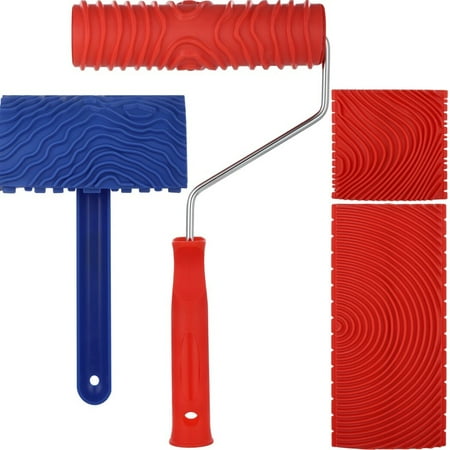
The most intricate step is adding wood grain detail. This stage demands artistic skill and practice. The specific details, such as lines, knots, and speckles, depend on the chosen wood species and are created using darker glazes or paints with small artist brushes. These details can be dry-brushed for a natural, subtle blend and depth. For wood types with pronounced heart grain, like oak, specialized tools such as the Old Masters Wood Graining Tool can be used. This tool is dragged and rocked across wet paint or glaze to imprint a grained texture. Sponges can also be employed for blending or removing paint to enhance realism. The final painting step is the toner layer, a thin, watery coat of pigmented paint applied over the entire surface to add a subtle layer of color depth without concealing the underlying work. The process concludes with a clear topcoat, typically a matte finish water-based polycrylic, applied in thin coats to protect the surface without detracting from the faux finish.
#FauxFinishing #WoodGrain #DIYPainting #HomeImprovement #InteriorDesign #AcrylicPaint #SurfacePreparation #PaintingTechniques #HomeDecor #FauxFinishing #WoodGrain #DIYPainting #HomeImprovement #InteriorDesign #AcrylicPaint #SurfacePreparation #PaintingTechniques #HomeDecor
Toplam 0 yorum
 Henüz yorum yok
Bu da beğenebilirsiniz
This Trick for Faking Wood Grain Using Paint is Next Level Faux Bois


Paint Colors That Go With Natural Wood — 10 Picks That Bring Out the Beauty of This Organic Material
Wood-effect wallpapers – the best designs to suit every style
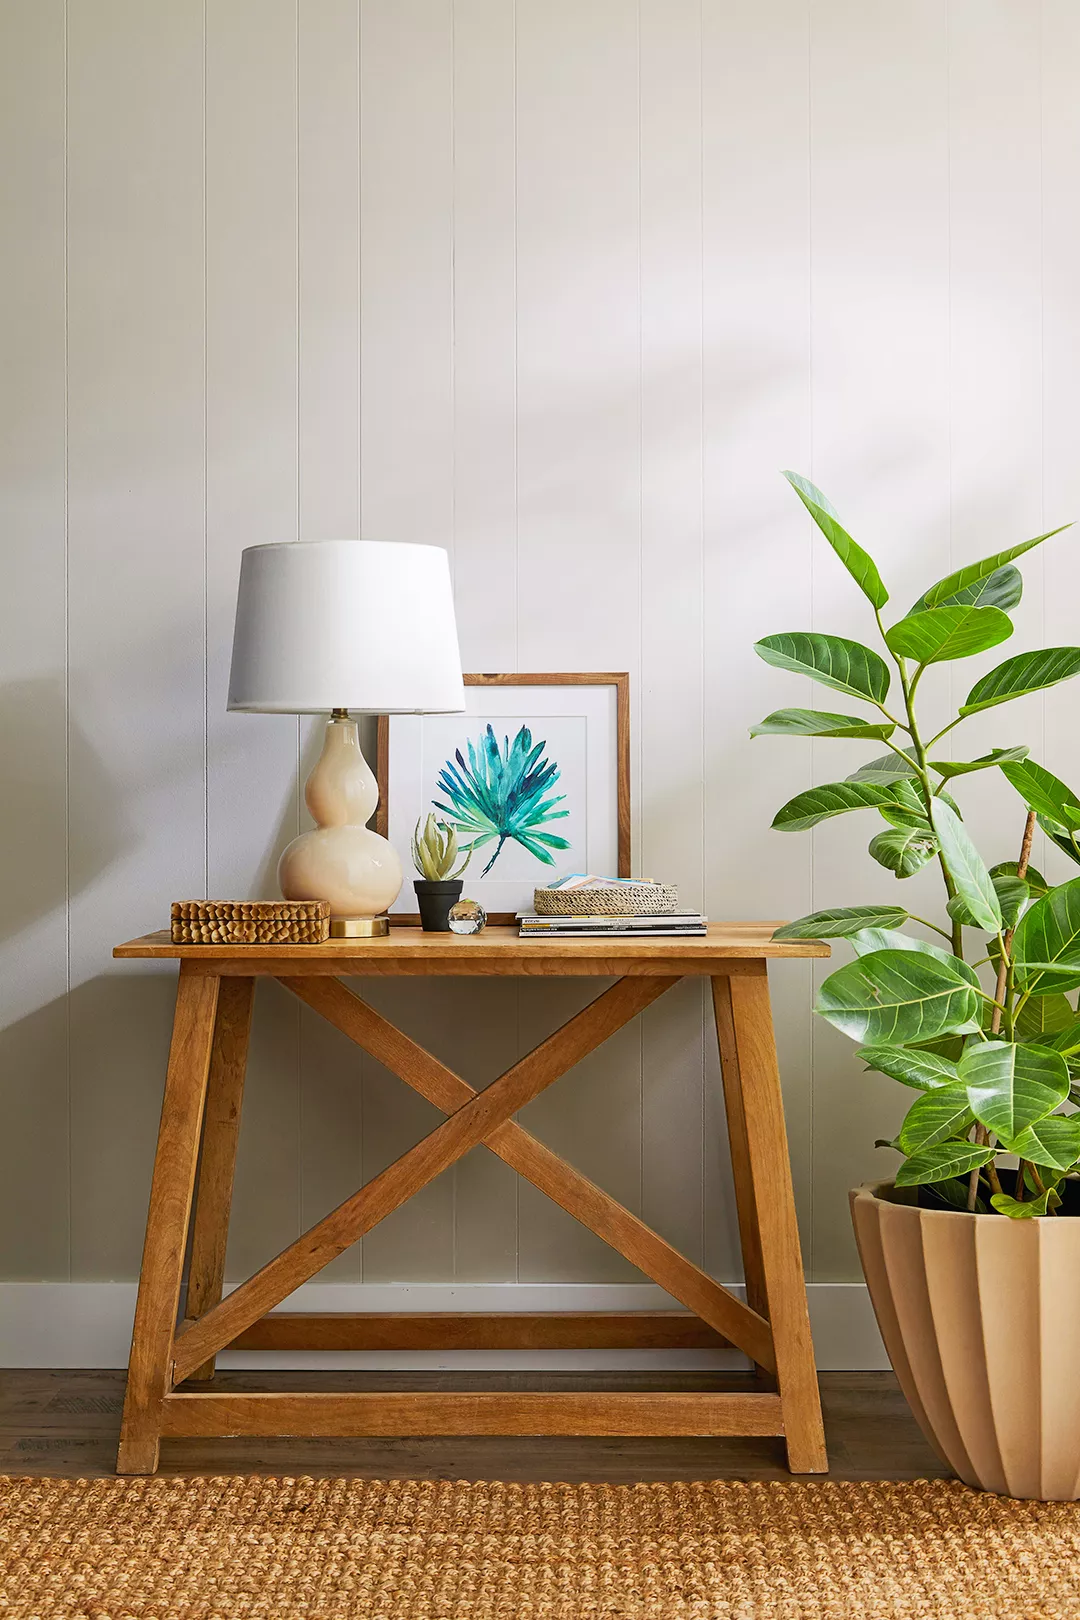
How to Paint Wood Paneling Like a Pro

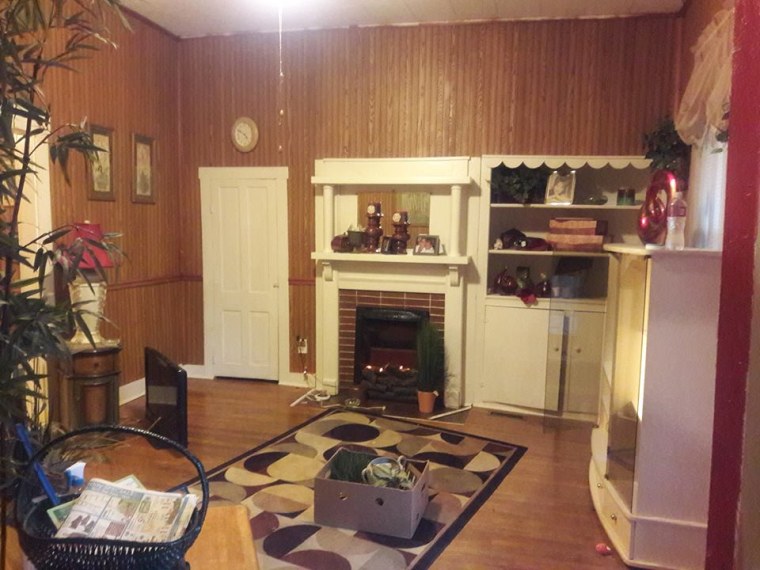
How to Paint Wood-Paneling

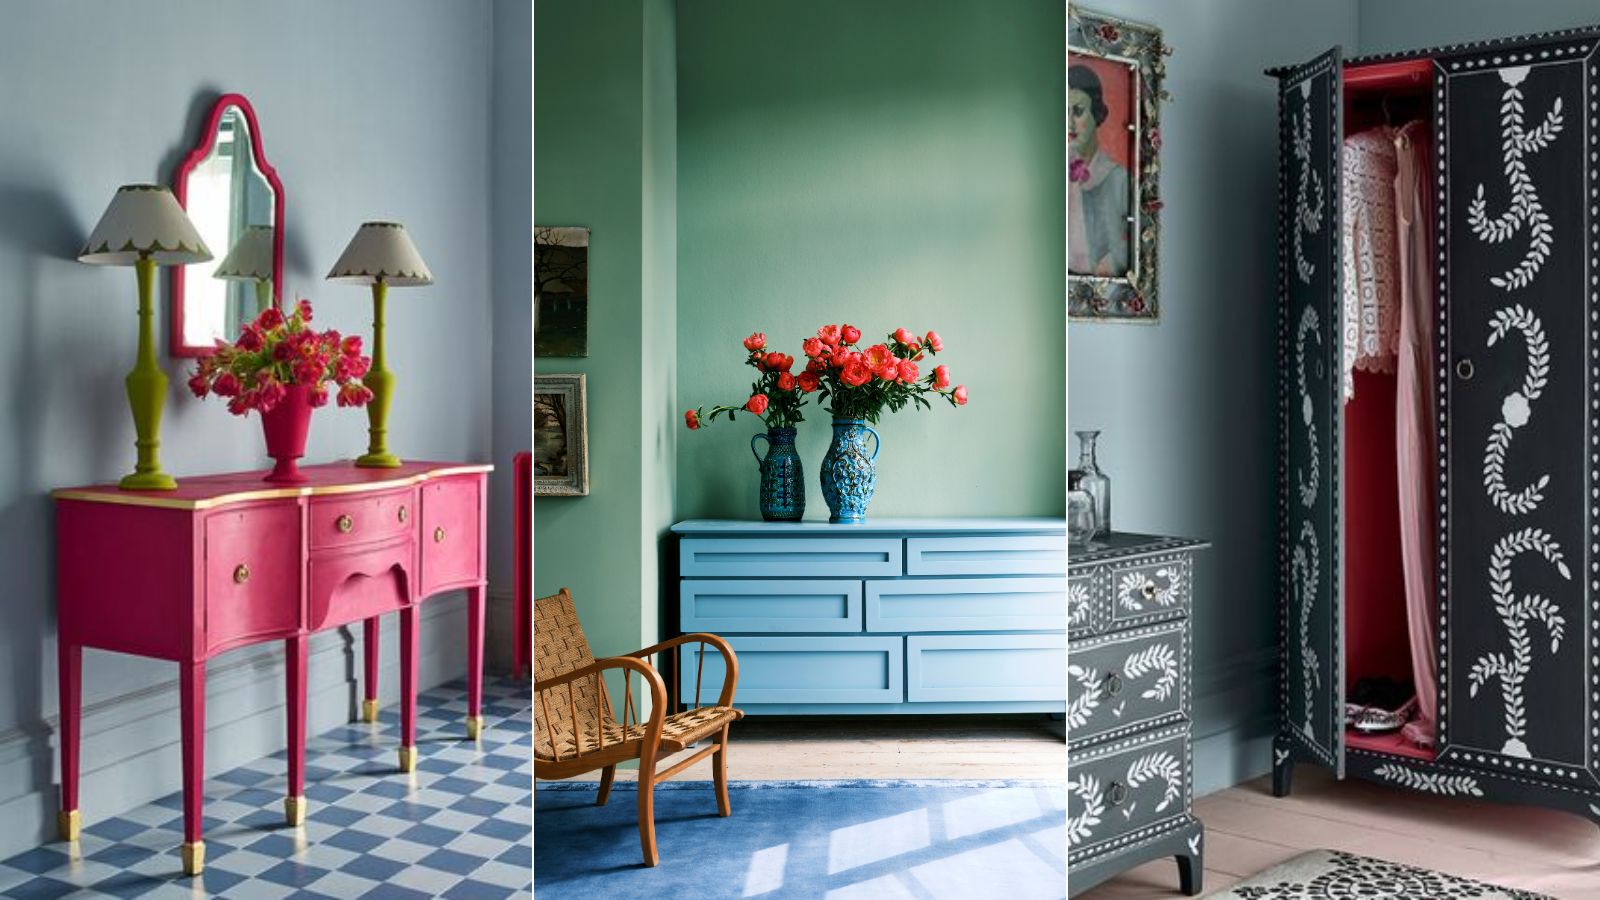
10 mistakes to avoid when painting wooden furniture, according to experts

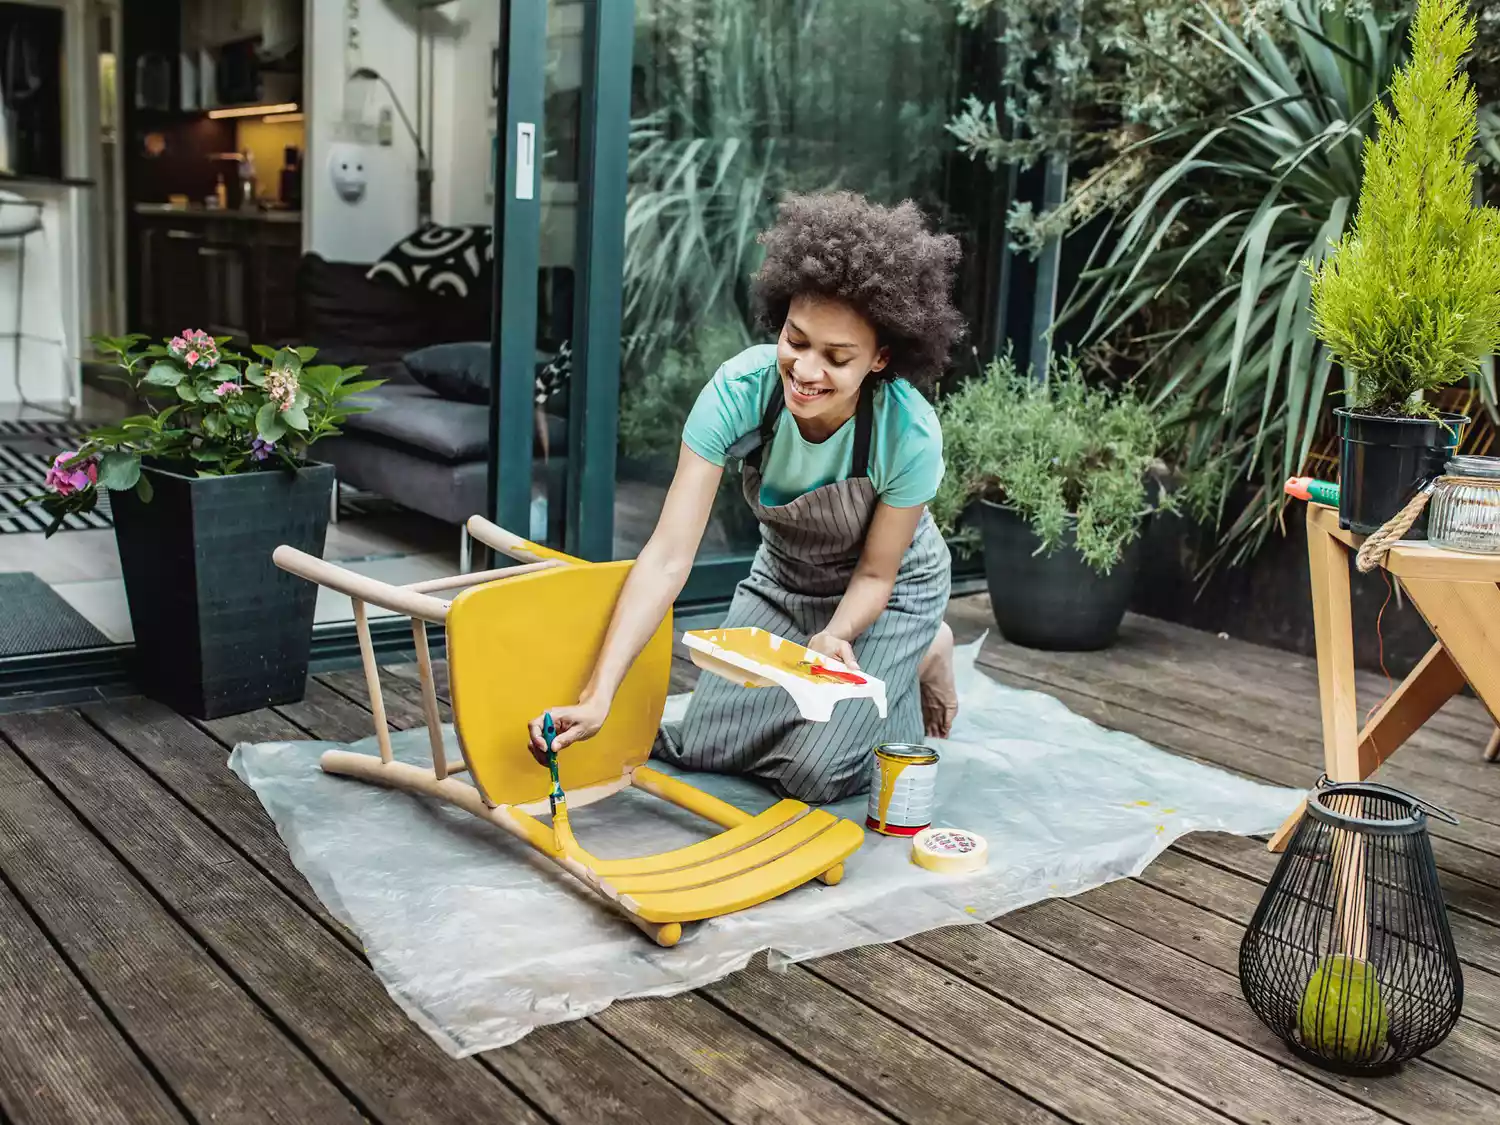
How to Paint Wood Furniture Like a Pro

How to achieve an antique finish with paint– 4 crafting tips to fake a well-loved piece
How to paint interior woodwork

This viral paint effect for creating realistic wood-grain is such an easy way to transform lackluster surfaces
How to Prepare Interior Woodwork For Painting

To Paint or Not to Paint the Original Woodwork? It Depends Who You Ask
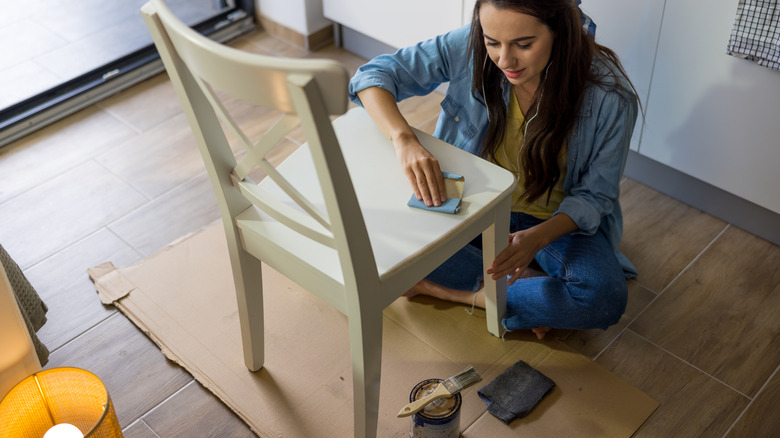
Make IKEA Furniture Look Like Genuine Wood With A Simple Paint Trick

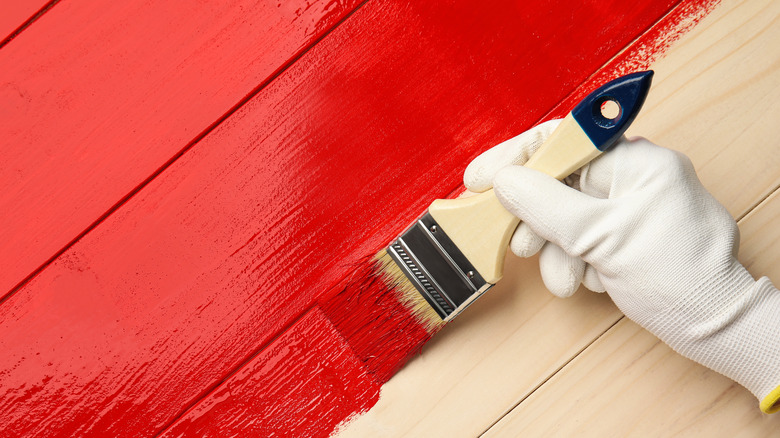
The Best Way To Paint Wood Paneling, According To An Expert
Wood Treatments
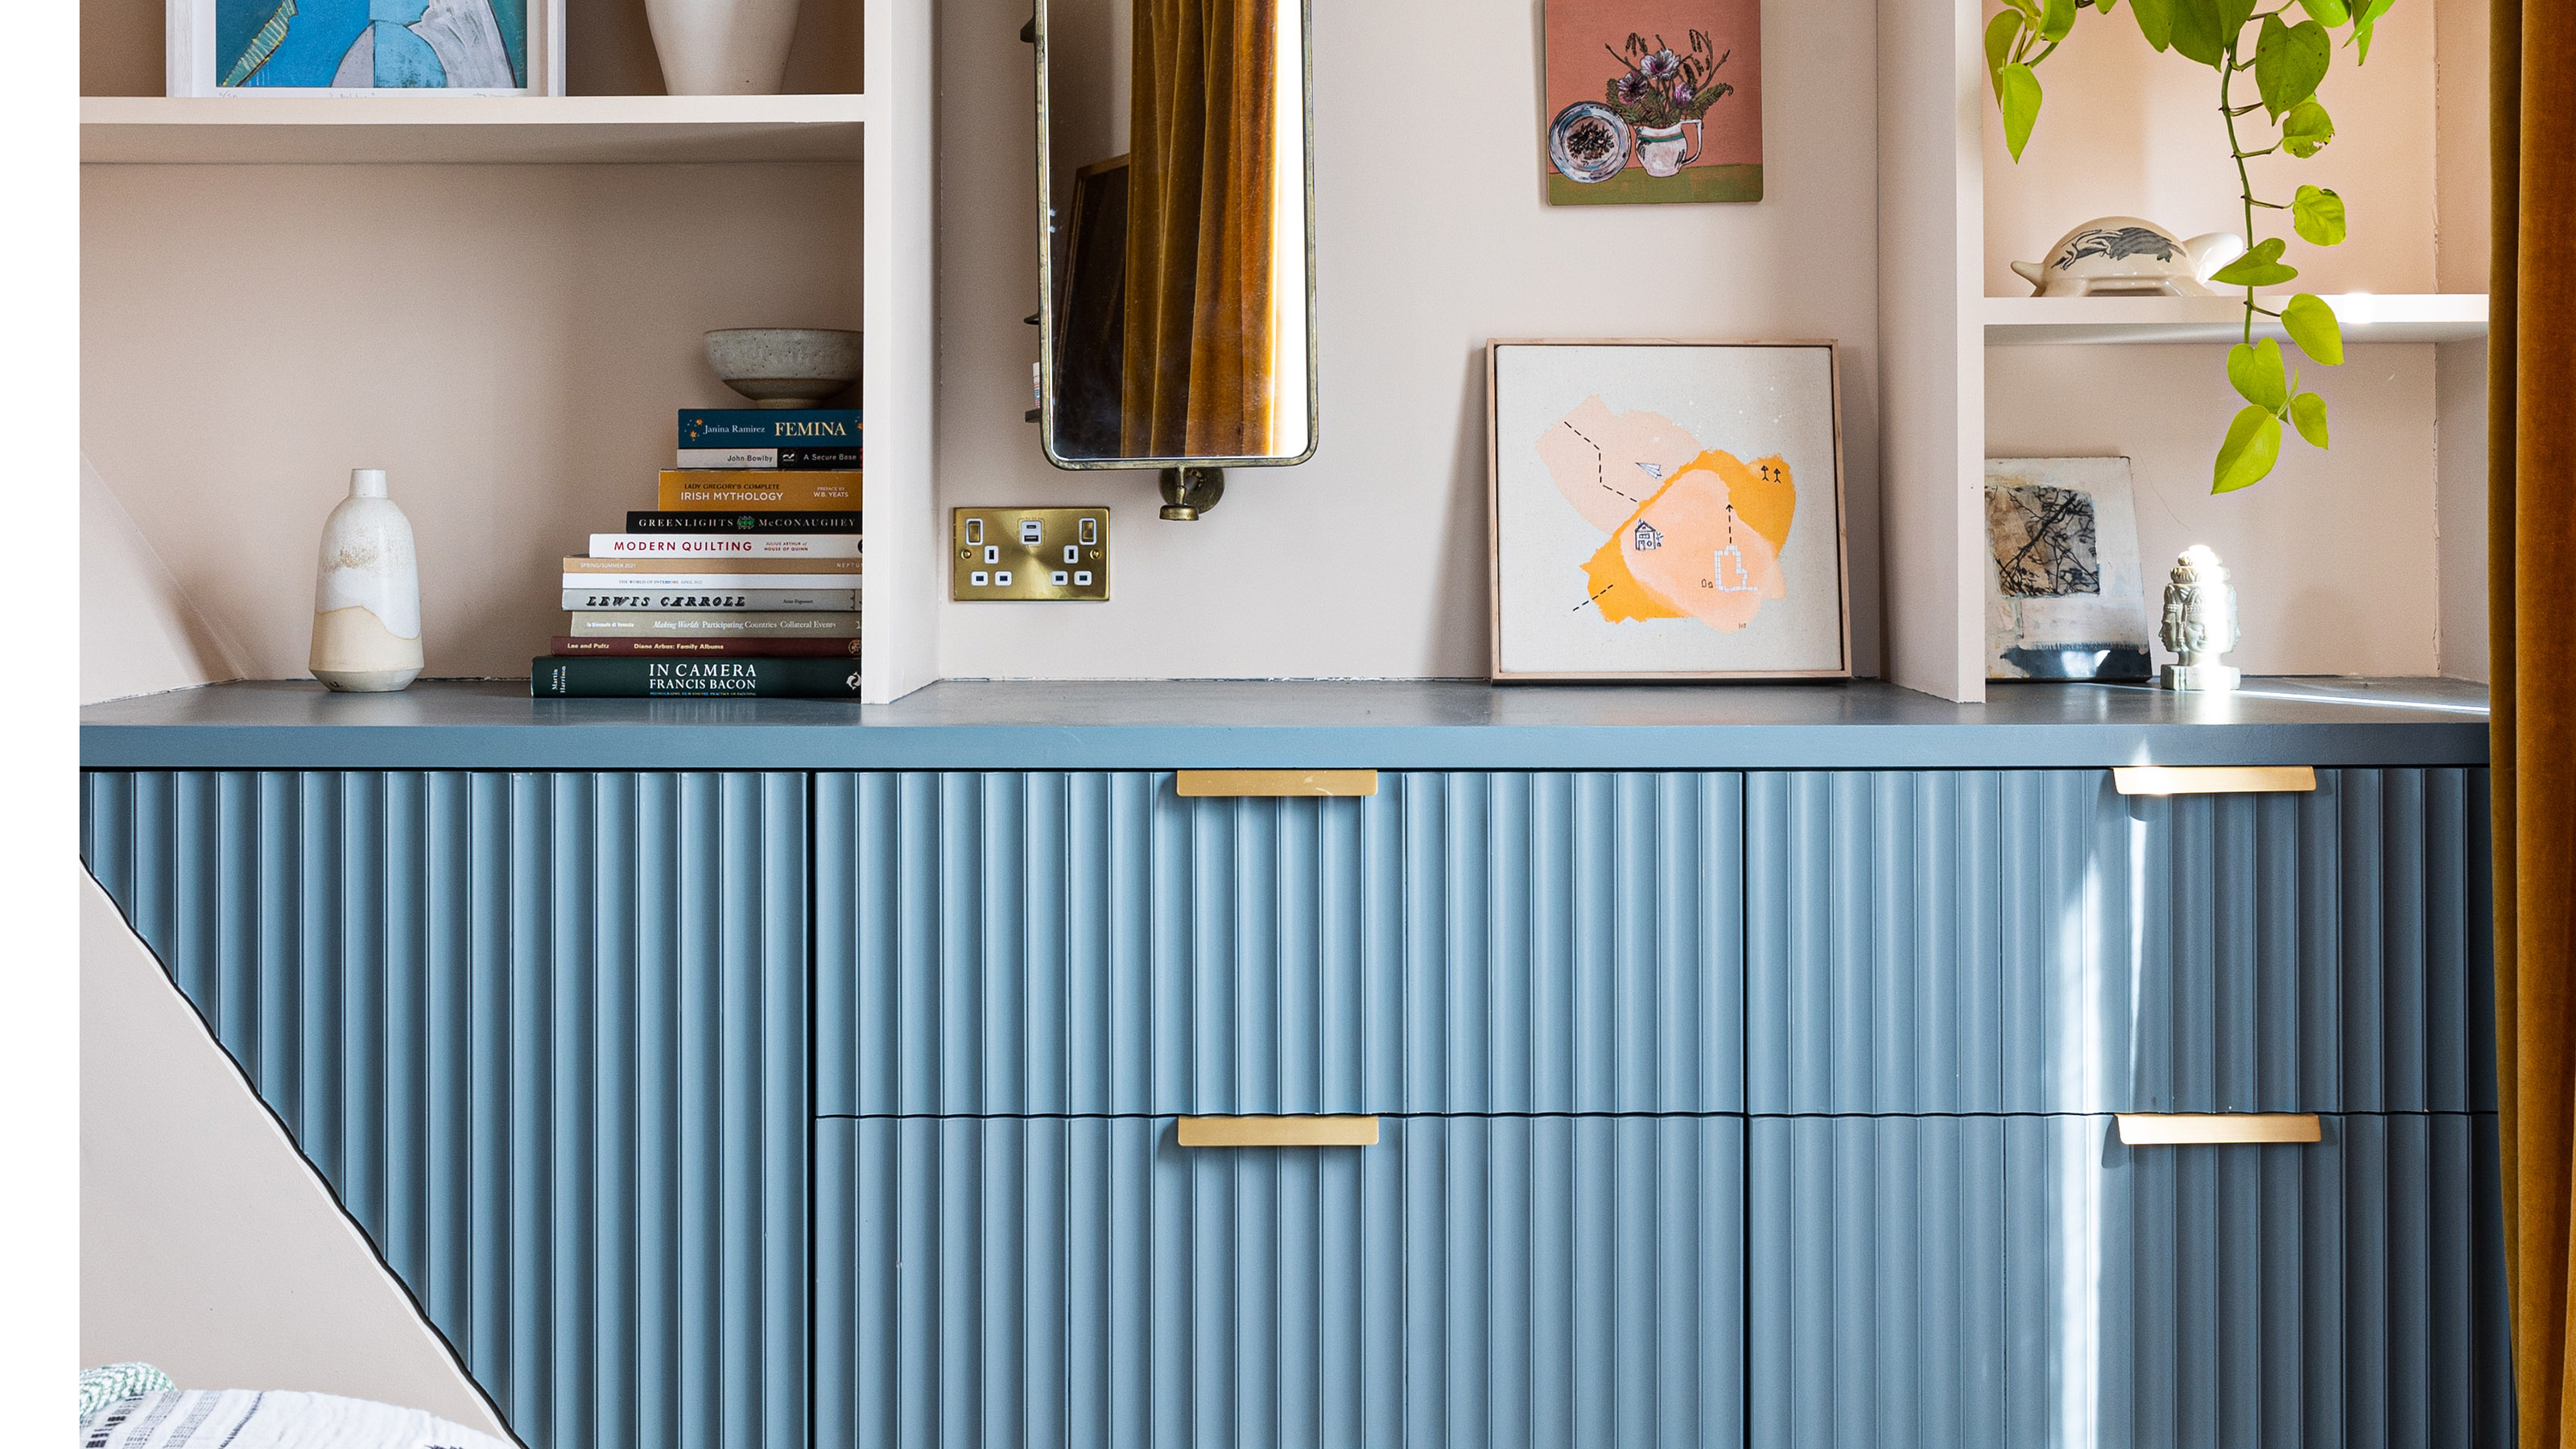
How to paint laminate furniture - the pro tips experts swear by for a perfect finish
Interior Wood Paint
How to Paint Wood Paneling and Its Best Friend, the Trim

What color should you paint woodwork? Expert ways to factor this small yet impactful detail into color schemes
How to Paint Wood Paneling the Right Way