1/4
Your Step-By-Step Guide To Sanding A Hardwood Floor
Sanding hardwood floors is a task that, while not inherently difficult, demands precision and adherence to correct procedures. This guide, drawing on insights from expert carpenter and remodeler Bob Beacham, outlines the essential steps for achieving a professional finish. Before embarking on a DIY floor sanding project, it's crucial to assess personal capabilities and the condition of the floor. Beacham advises that individuals with reduced mobility might find the work challenging and suggests consulting a professional if confidence is lacking. He also notes that reputable contractors often provide free quotes, which can help in deciding whether to DIY or hire a professional. A key part of such a consultation is evaluating whether the floor is suitable for sanding and refinishing.
Once the decision to proceed with DIY sanding is made, thorough preparation of the work area is paramount. This involves completely emptying the room of all furniture and belongings. Anything that cannot be removed should be covered with plastic sheeting, with edges taped down, to protect against the pervasive sanding dust. Windows and doors leading to adjacent rooms should also be covered and taped to prevent dust from spreading. Additionally, moldings should be removed to facilitate access to the room's edges. Before sanding begins, it's essential to meticulously inspect the floor for any protruding nails and drive them below the surface to prevent damage to the sanding equipment and ensure an even finish.
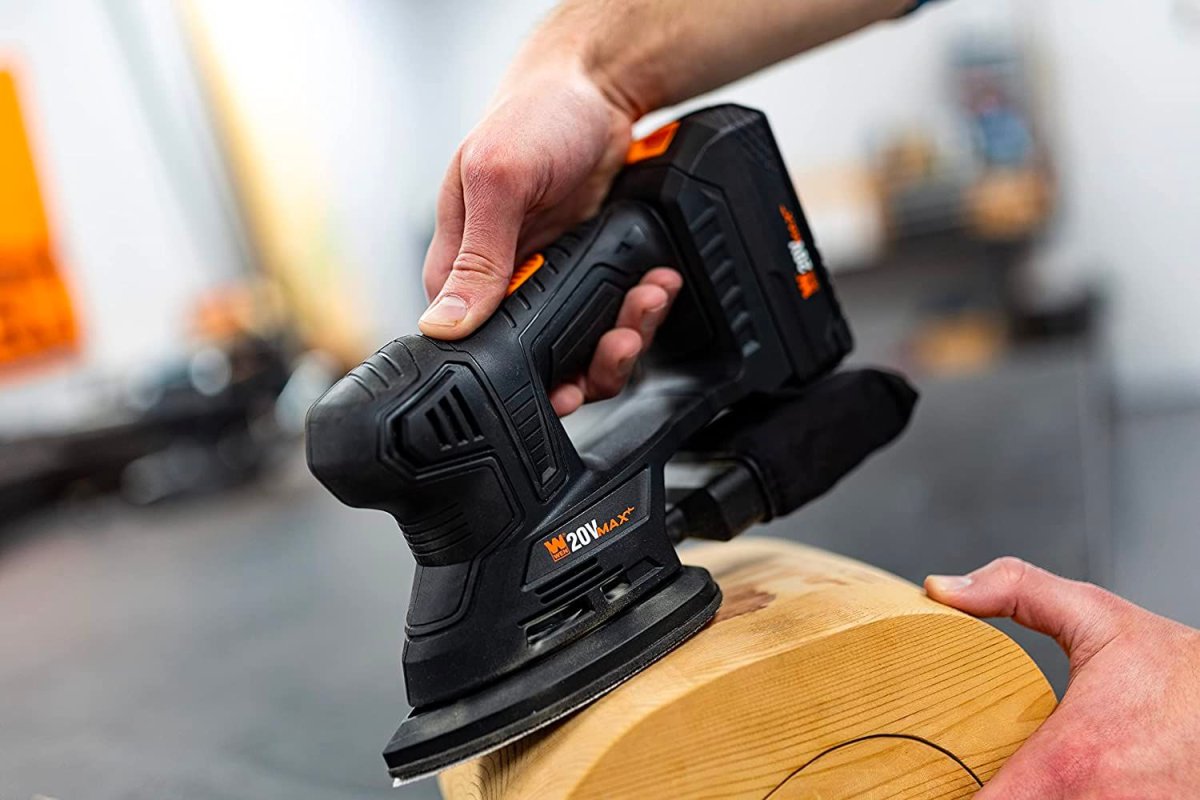
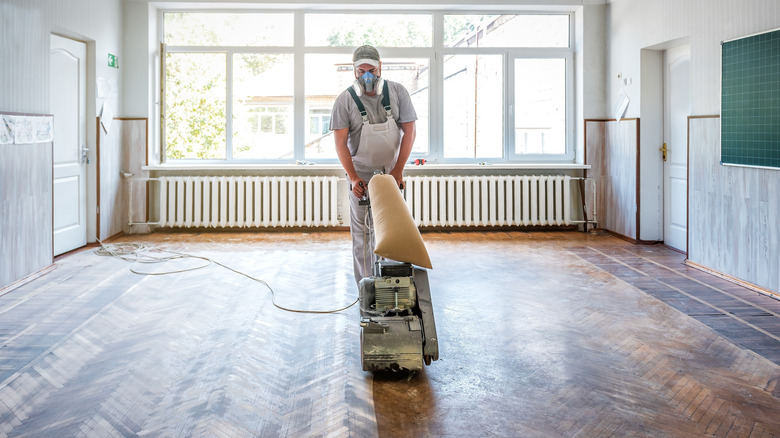
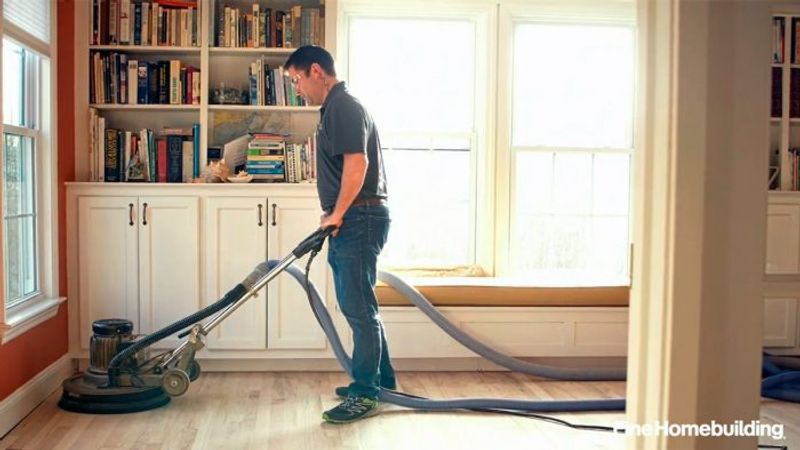
For the sanding process, specific equipment is required. While some items like sandpaper and personal protective equipment (PPE) must be purchased, heavy-duty sanders like belt sanders, random orbital sanders, and edge sanders are typically rented. Beacham strongly recommends using an N95 disposable dust mask or a half-mask respirator, along with goggles and hearing protection, as essential PPE. He cautions against using hand sanders for large areas, emphasizing that they are too small, time-consuming, and prone to creating an uneven surface. Professional-grade equipment is necessary for effective and even sanding. However, a handheld detail sander is useful for tight spaces, corners, and stairs.
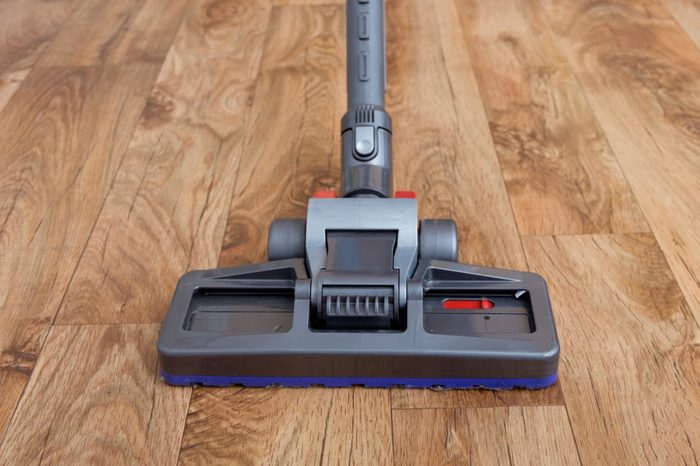
The sanding process begins with a rough sanding phase. Beacham suggests starting with a 50 to 60 grit sandpaper for a small patch to acclimate to the drum sander before moving to the recommended 35 to 40 grit for the main stripping and leveling. The drum sander is used to sand the main floor area in the direction of the wood grain, followed by an edge sander for areas inaccessible to the drum sander. The grit of the edger should match the grit used on the upright sander at each stage. After the coarse sanding, the floor must be thoroughly vacuumed to remove all dust and debris, including grit particles. This process is then repeated with a medium grit (50 to 60) to remove scratches left by the coarser grit, followed by another vacuuming.
The final refinement of the floor surface involves a random orbital sander. For a smooth finish, Beacham recommends using an 80 to 100 grit, or even 120 grit for a high-shine effect. Random orbital sanders are superior to belt sanders for removing fine scratches. This step also requires careful and thorough work, covering the main floor with the orbital sander and then addressing edges and tight spots with the edge and detail sanders. After the final sanding, another thorough vacuuming is crucial. Beacham advises patience, emphasizing the importance of not rushing any step and cleaning thoroughly after each stage. A critical final piece of advice is to allow the floor to settle overnight after the last sanding and vacuuming, then vacuum again before applying any stain or varnish. This extra step removes airborne dust that would otherwise settle into the finish, ensuring a pristine result. Rushing or cutting corners, especially in the sanding process, will magnify imperfections once the finish is applied, making patience and thoroughness indispensable for a successful outcome.
#HardwoodFlooring #FloorSanding #DIYHomeImprovement #HomeRenovation #InteriorRemodel #WoodFloorRefinishing #PowerTools #SafetyPrecautions #HomeMaintenance #HardwoodFlooring #FloorSanding #DIYHomeImprovement #HomeRenovation #InteriorRemodel #WoodFloorRefinishing #PowerTools #SafetyPrecautions #HomeMaintenance
0 ความคิดเห็นรวม
 ยังไม่มีความคิดเห็น
คุณอาจจะชอบอีกด้วย
Guide to Hardwood Floor Finishes


I swear by this incredibly easy 5-step method for cleaning real wood floors

The 12 best hardwood floor cleaners of 2024, per expert testing
Want Shiny Hardwood Floors? Here’s How to Rejuvenate Them


The Best Sanders for Hardwood Floors of 2026

Beauty of hardwood flooring
Why I Build: Brent Kelosky, Wood-Flooring Specialist

A Home Improvement Expert Reveal the Best Hardwood Flooring

How to clean hardwood floors – experts reveal the best techniques

Your Guide to Wood Flooring

Home Flooring Installation and Repair

A Hardwood Floor Where You Can Actually Remove One Piece at a Time

How to clean hardwood floors the right way

10 Top Hardwood Floor Cleaners To Keep Them Looking Like New
How to Clean Every Type of Floor Quickly and Easily


What You Should Know Before Painting Hardwood Floors

How to restore hardwood floors without sanding – a step-by-step guide
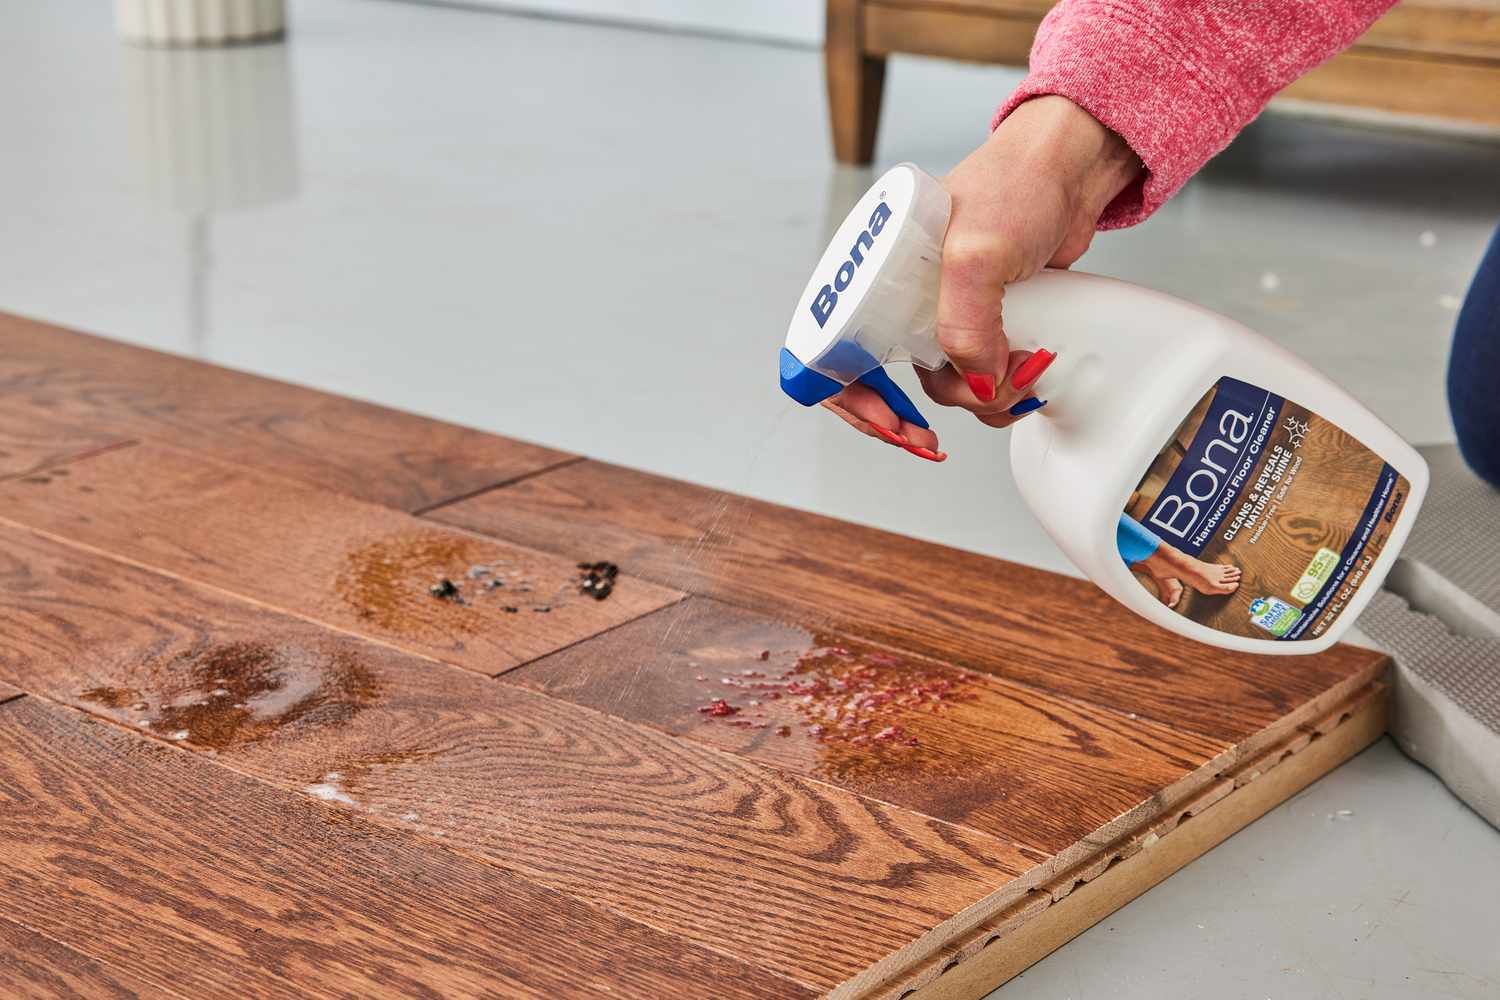
The Secret to Keeping Your Hardwood Floors Pristine? It’s One of Our 6 Best Cleaners

This $20 Product Revived Worn Hardwood Floors in 30 Minutes
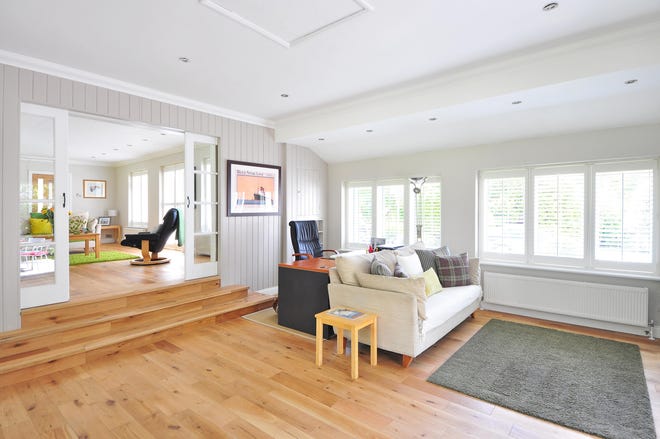
Today’s evolving hardwood floors offer myriad choices