1/11
How to Fit a Kitchen Worktop
A kitchen worktop is a crucial element for any contemporary kitchen, offering durability and hygiene. Whether installing a new worktop or replacing an existing one, various styles, designs, and materials are available to cater to individual requirements. Popular materials for kitchen worktops include laminate, solid wood, compact laminate, quartz, and granite. Each material possesses distinct cutting and fitting specifications. Stone and granite worktops necessitate professional cutting and installation due to their inherent properties. Conversely, other types of worktops can be fitted by individuals with careful planning and preparation.
This guide focuses on the process of pre-cutting laminate worktops, aiming to equip readers with the confidence to complete the task effectively. Prior to commencing any work, it is essential to meticulously plan the required work surface area and the placement of all cuts. Several key planning considerations are highlighted:
To minimize errors, it is recommended to measure all dimensions twice before making any cuts. Optimal utilization of factory-cut edges is advised, as these edges are perfectly square, thereby reducing the need for additional precise cutting. All joints must be adequately supported by the underlying unit frames to ensure stability. Any joints between worktop pieces should be positioned at least 100mm away from sinks or appliance cut-outs. Furthermore, hob cut-outs should be situated at least 50mm from the front edge and 60mm from the rear edge of the worktop.
When cutting laminate, compact laminate, or solid wood worktops, certain fundamental rules must be observed to ensure both safety and precision. The worktop must be securely fastened before any sawing commences. A circular saw equipped with a fine-tooth, thin blade is recommended for cutting. A straight edge should be clamped down to guide the saw for accurate cuts. When operating a hacksaw or power saw, it is imperative to wear safety goggles and a dust mask, and to ensure adequate room ventilation.
Practicing on a small piece of excess or offcut material before cutting the main worktop is advised to become familiar with the cutting method. If the worktop requires trimming to length, a cutting line should be marked on the underside with a pencil. After double-checking measurements, the cut can be made with a power saw. Any rough edges can then be smoothed using a file or sandpaper. Due to their length and weight, worktops typically require assistance for installation.
Before installation, worktops should be allowed to acclimatize for 24 hours by stacking them horizontally on the floor, separated by packers or blocks. After this period, installation should proceed as soon as possible. The protective plastic covering on unit door fronts should remain in place until the worktops are fully installed.
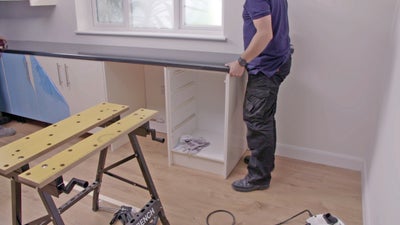
The installation process involves several steps. First, position the pre-cut laminate worktop sections on the base units, ensuring a consistent overhang across all lengths. For standard 600mm deep units, a 10mm front overhang and a 20mm end overhang are typical. Once positioned, verify the fastening locations. To join two worktop pieces, measure the worktop width and cut a joining strip to the same length using a hacksaw. The joining strip is then placed against one of the cut edges and screwed into place using its pre-drilled holes. Silicone sealant is applied to the joining strip before it is pushed against the adjoining worktop, ensuring a clean and even join. The worktop is then clamped onto the base units and fixed from the underside, utilizing any manufacturer-provided brackets or fixing blocks.
To prevent drilling through the worktop, the drill bit length should be set to less than the worktop's depth. Three holes should be drilled into each of the back and front support struts attached to the cabinet, with one hole at each end and one in the middle. The units are then screwed to the worktop using 5mm diameter wood screws, taking care not to overtighten them. To finish a cut end, the supplied end strip is taped to the worktop end, and a pencil is used to trace an accurate template. The template is then carefully cut. A strip of masking tape is placed along the top edge of the worktop to protect it from contact adhesive. Contact adhesive is applied to the end strip and the worktop end, and after 15 minutes, the end strip is fixed in place. Finally, the masking tape is peeled off, and any protruding edges of the end strip are smoothed with a file or sandpaper.
#KitchenWorktops #DIYKitchenInstallation #LaminateWorktops #HomeRenovation #KitchenDesign #PowerTools #HomeImprovement #WorktopInstallation #KitchenRenovation #KitchenWorktops #DIYKitchenInstallation #LaminateWorktops #HomeRenovation #KitchenDesign #PowerTools #HomeImprovement #WorktopInstallation #KitchenRenovation
0 комментариев всего
 Комментариев пока нет
Вам также может понравиться

Experts reveal the kitchen worktop mistakes to avoid - ignore at your peril

How to choose a kitchen layout

How to measure your kitchen

2 Kitchen Countertops Designers Never Choose for Busy Families—Plus the 2 That Can Handle Anything


All Kitchen worktops

7 Kitchen Features That Will Make Your Life Easier
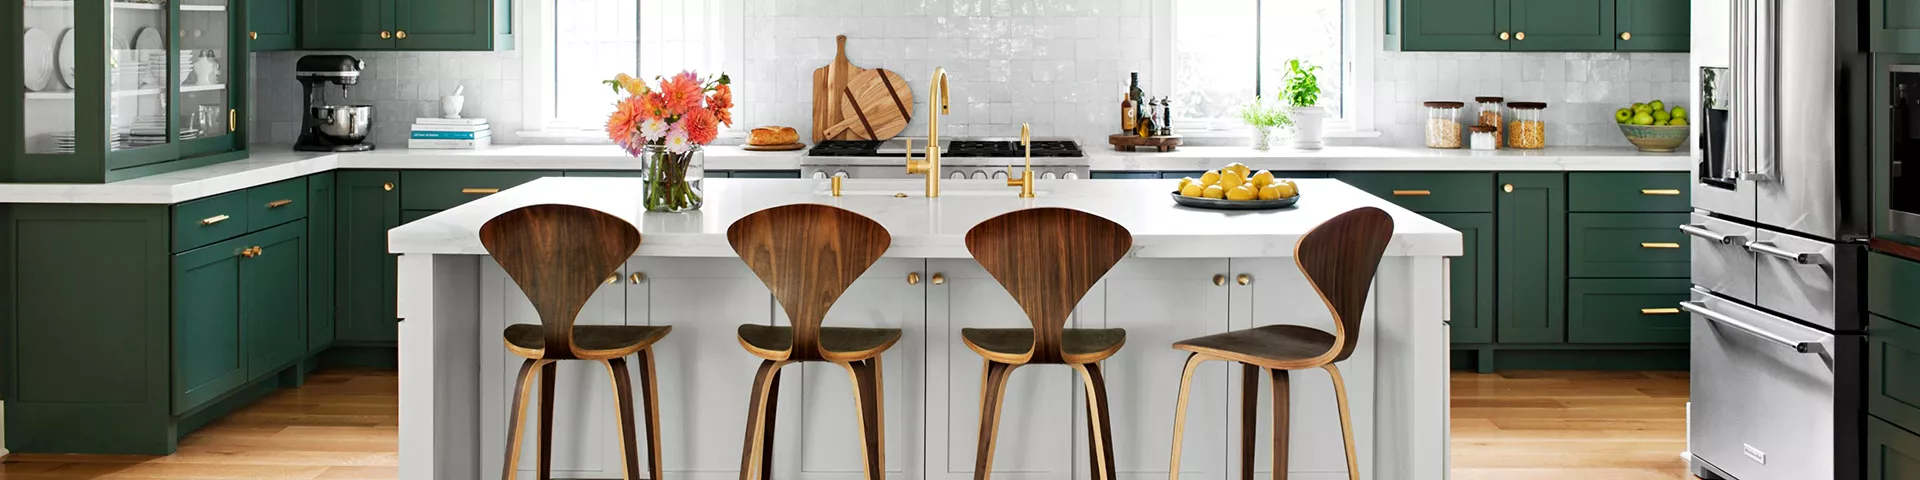
Kitchen Decorating and Design Ideas


Kitchen Upstands
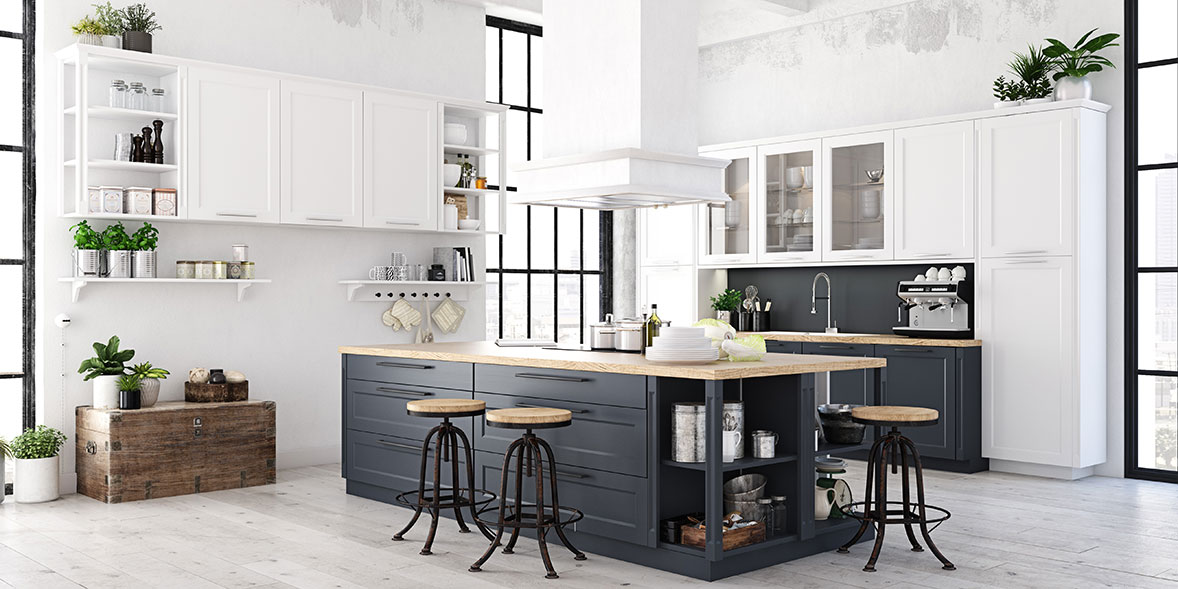
How to choose the best kitchen worktops and cabinets

Thinking About Upgrading Your Kitchen Countertops? Here Are 15 Types to Consider

7 things people regret most about their kitchen design

Kitchen countertop standard height - what is it and why does knowing about it make your home work better?


Measurement 101: Kitchen Countertop Sizing

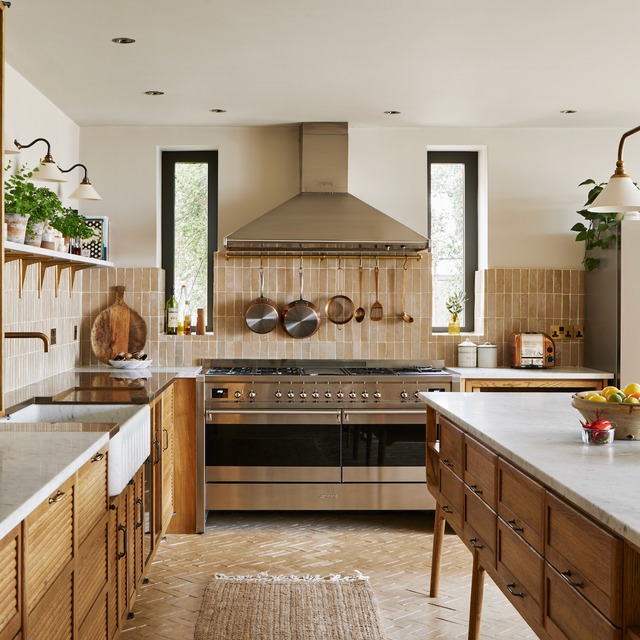
Designers Are Ditching the "Kitchen Work Triangle" for THIS Hyper-Efficient Layout

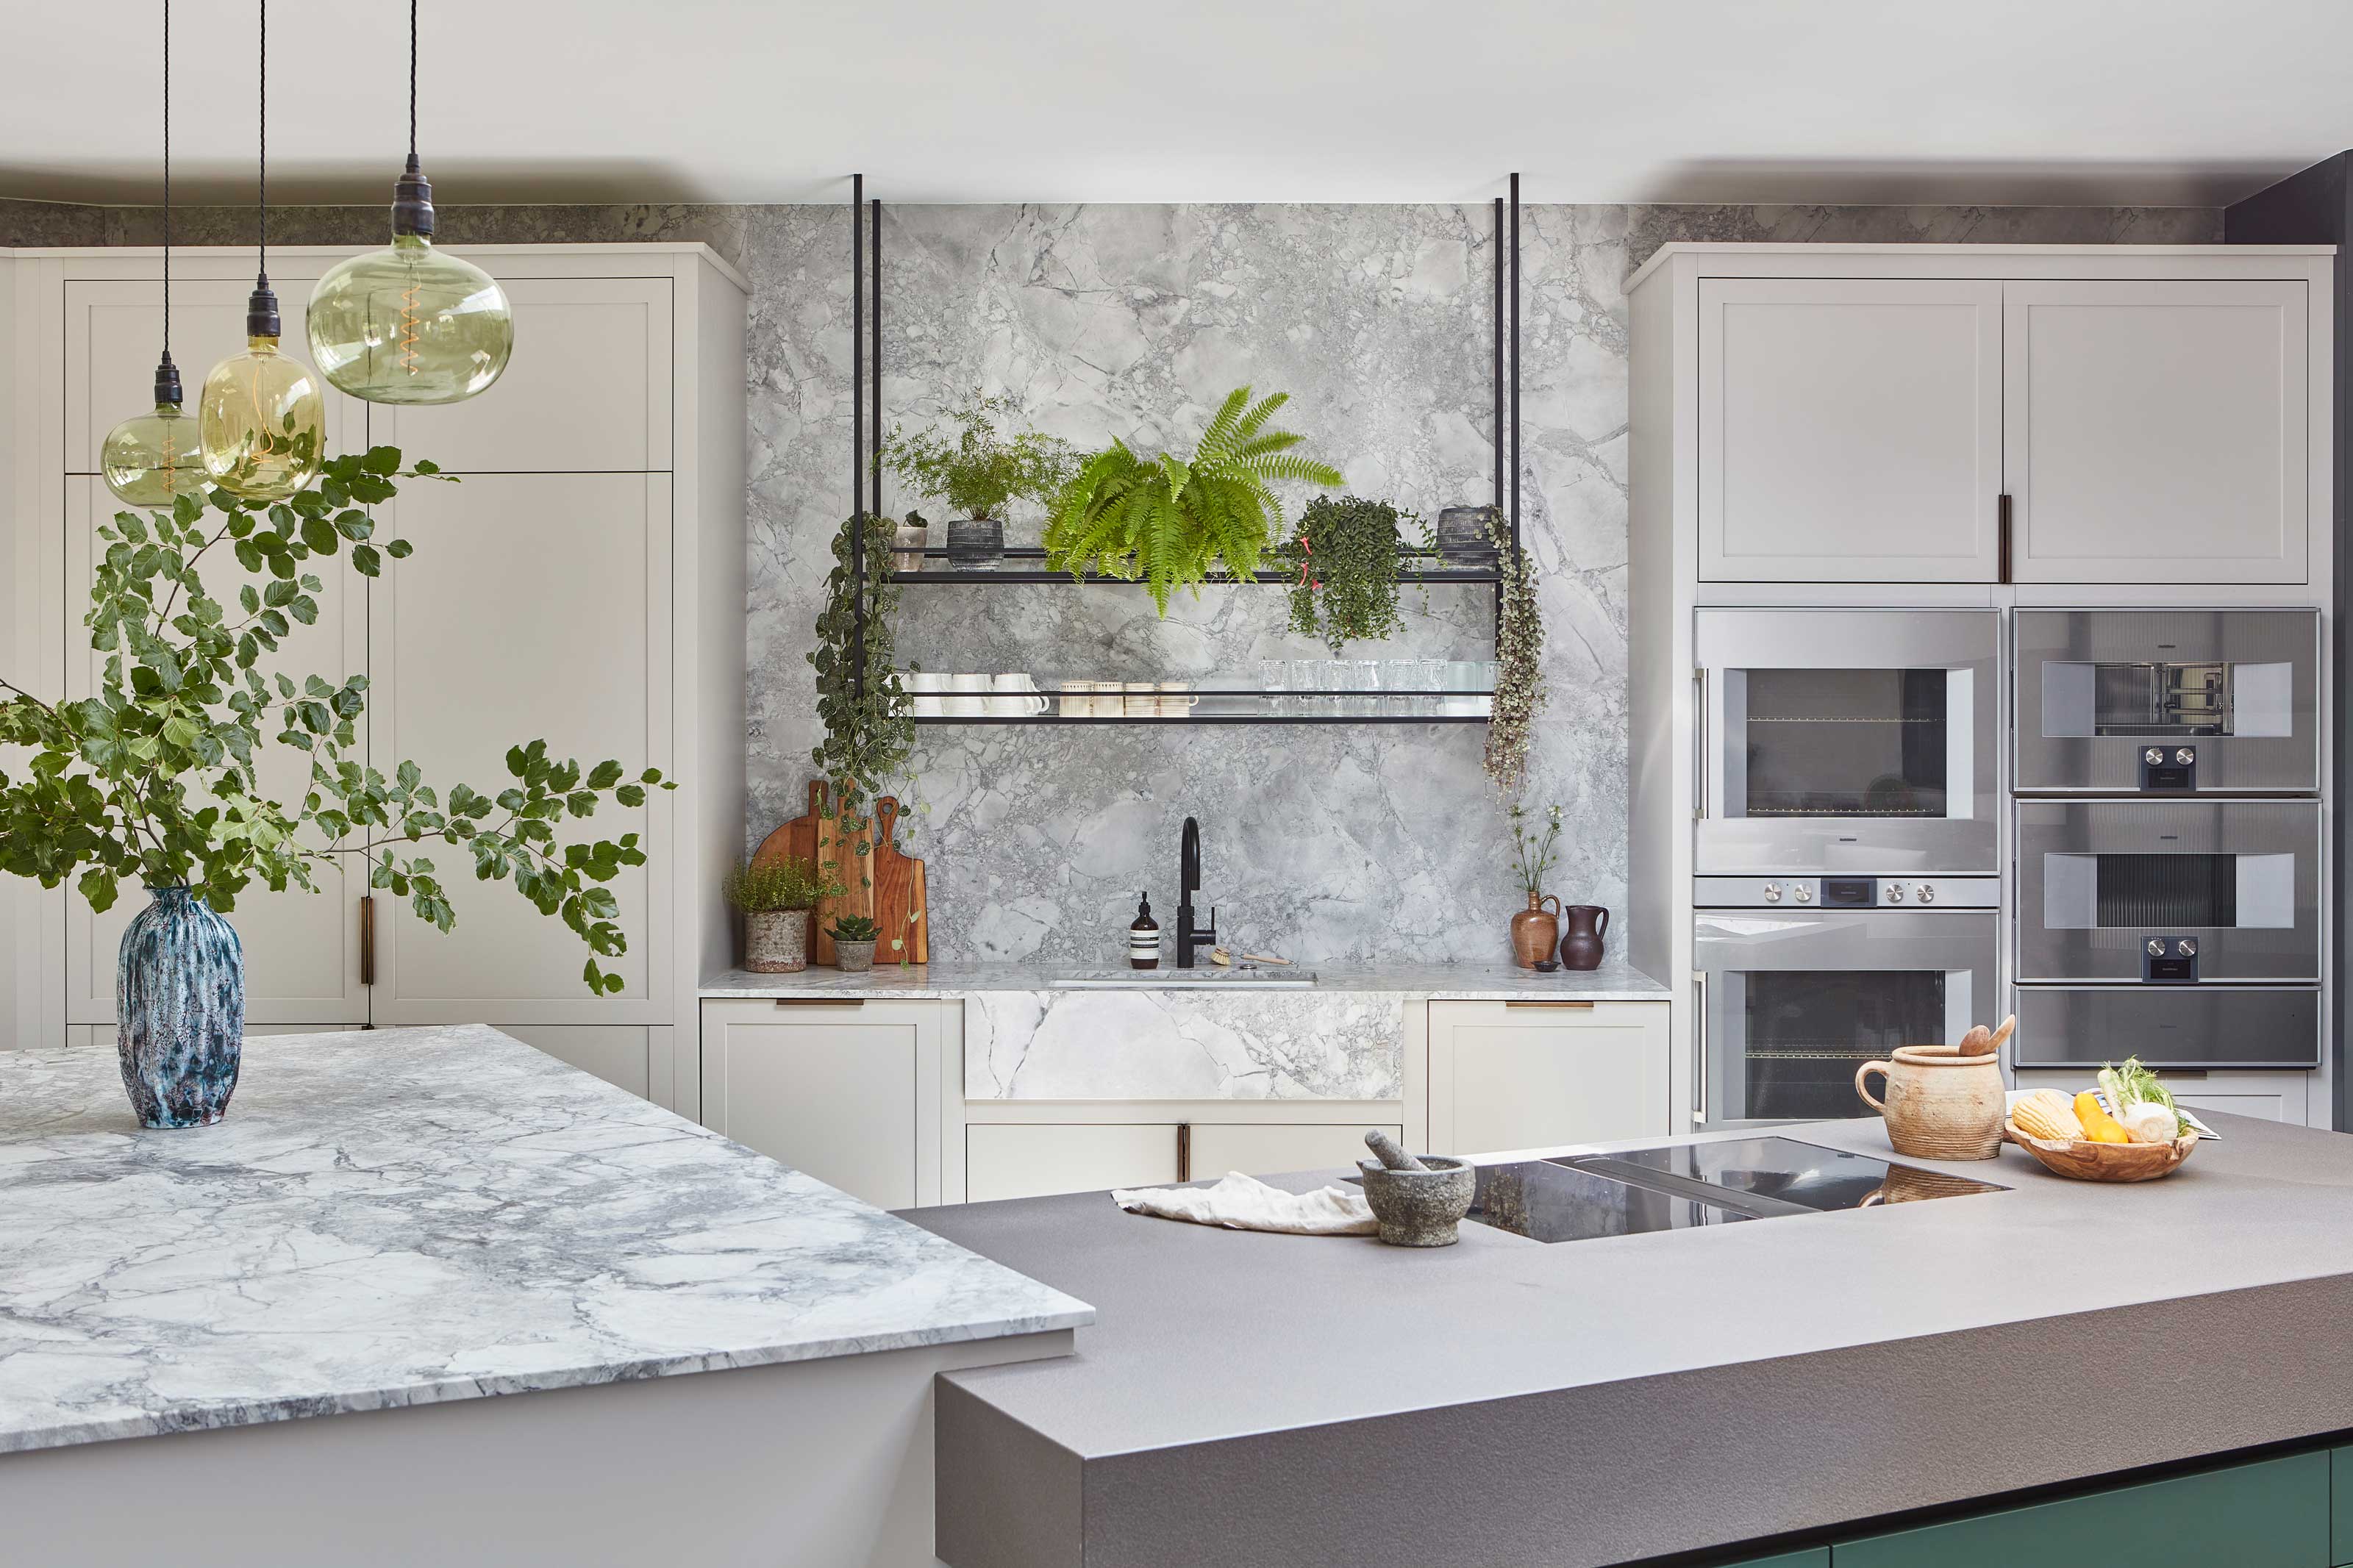
8 hacks the best designers use to make a kitchen more ergonomic – from the right layout to raising your appliances

Solid Wood Worktops

The 7 best kitchen layouts for maximising worktop space - secrets for a practical and tidy kitchen, according to experts

A Crash Course in Choosing Kitchen Countertops
5 kitchen worktop trends that experts think you should be considering for your next project in 2025
7 Top Kitchen Countertop Trends In 2021