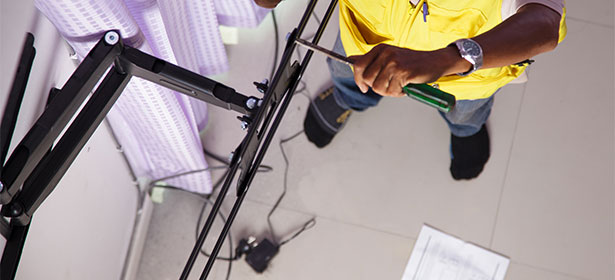
How to wall mount your TV: step-by-step installation guide
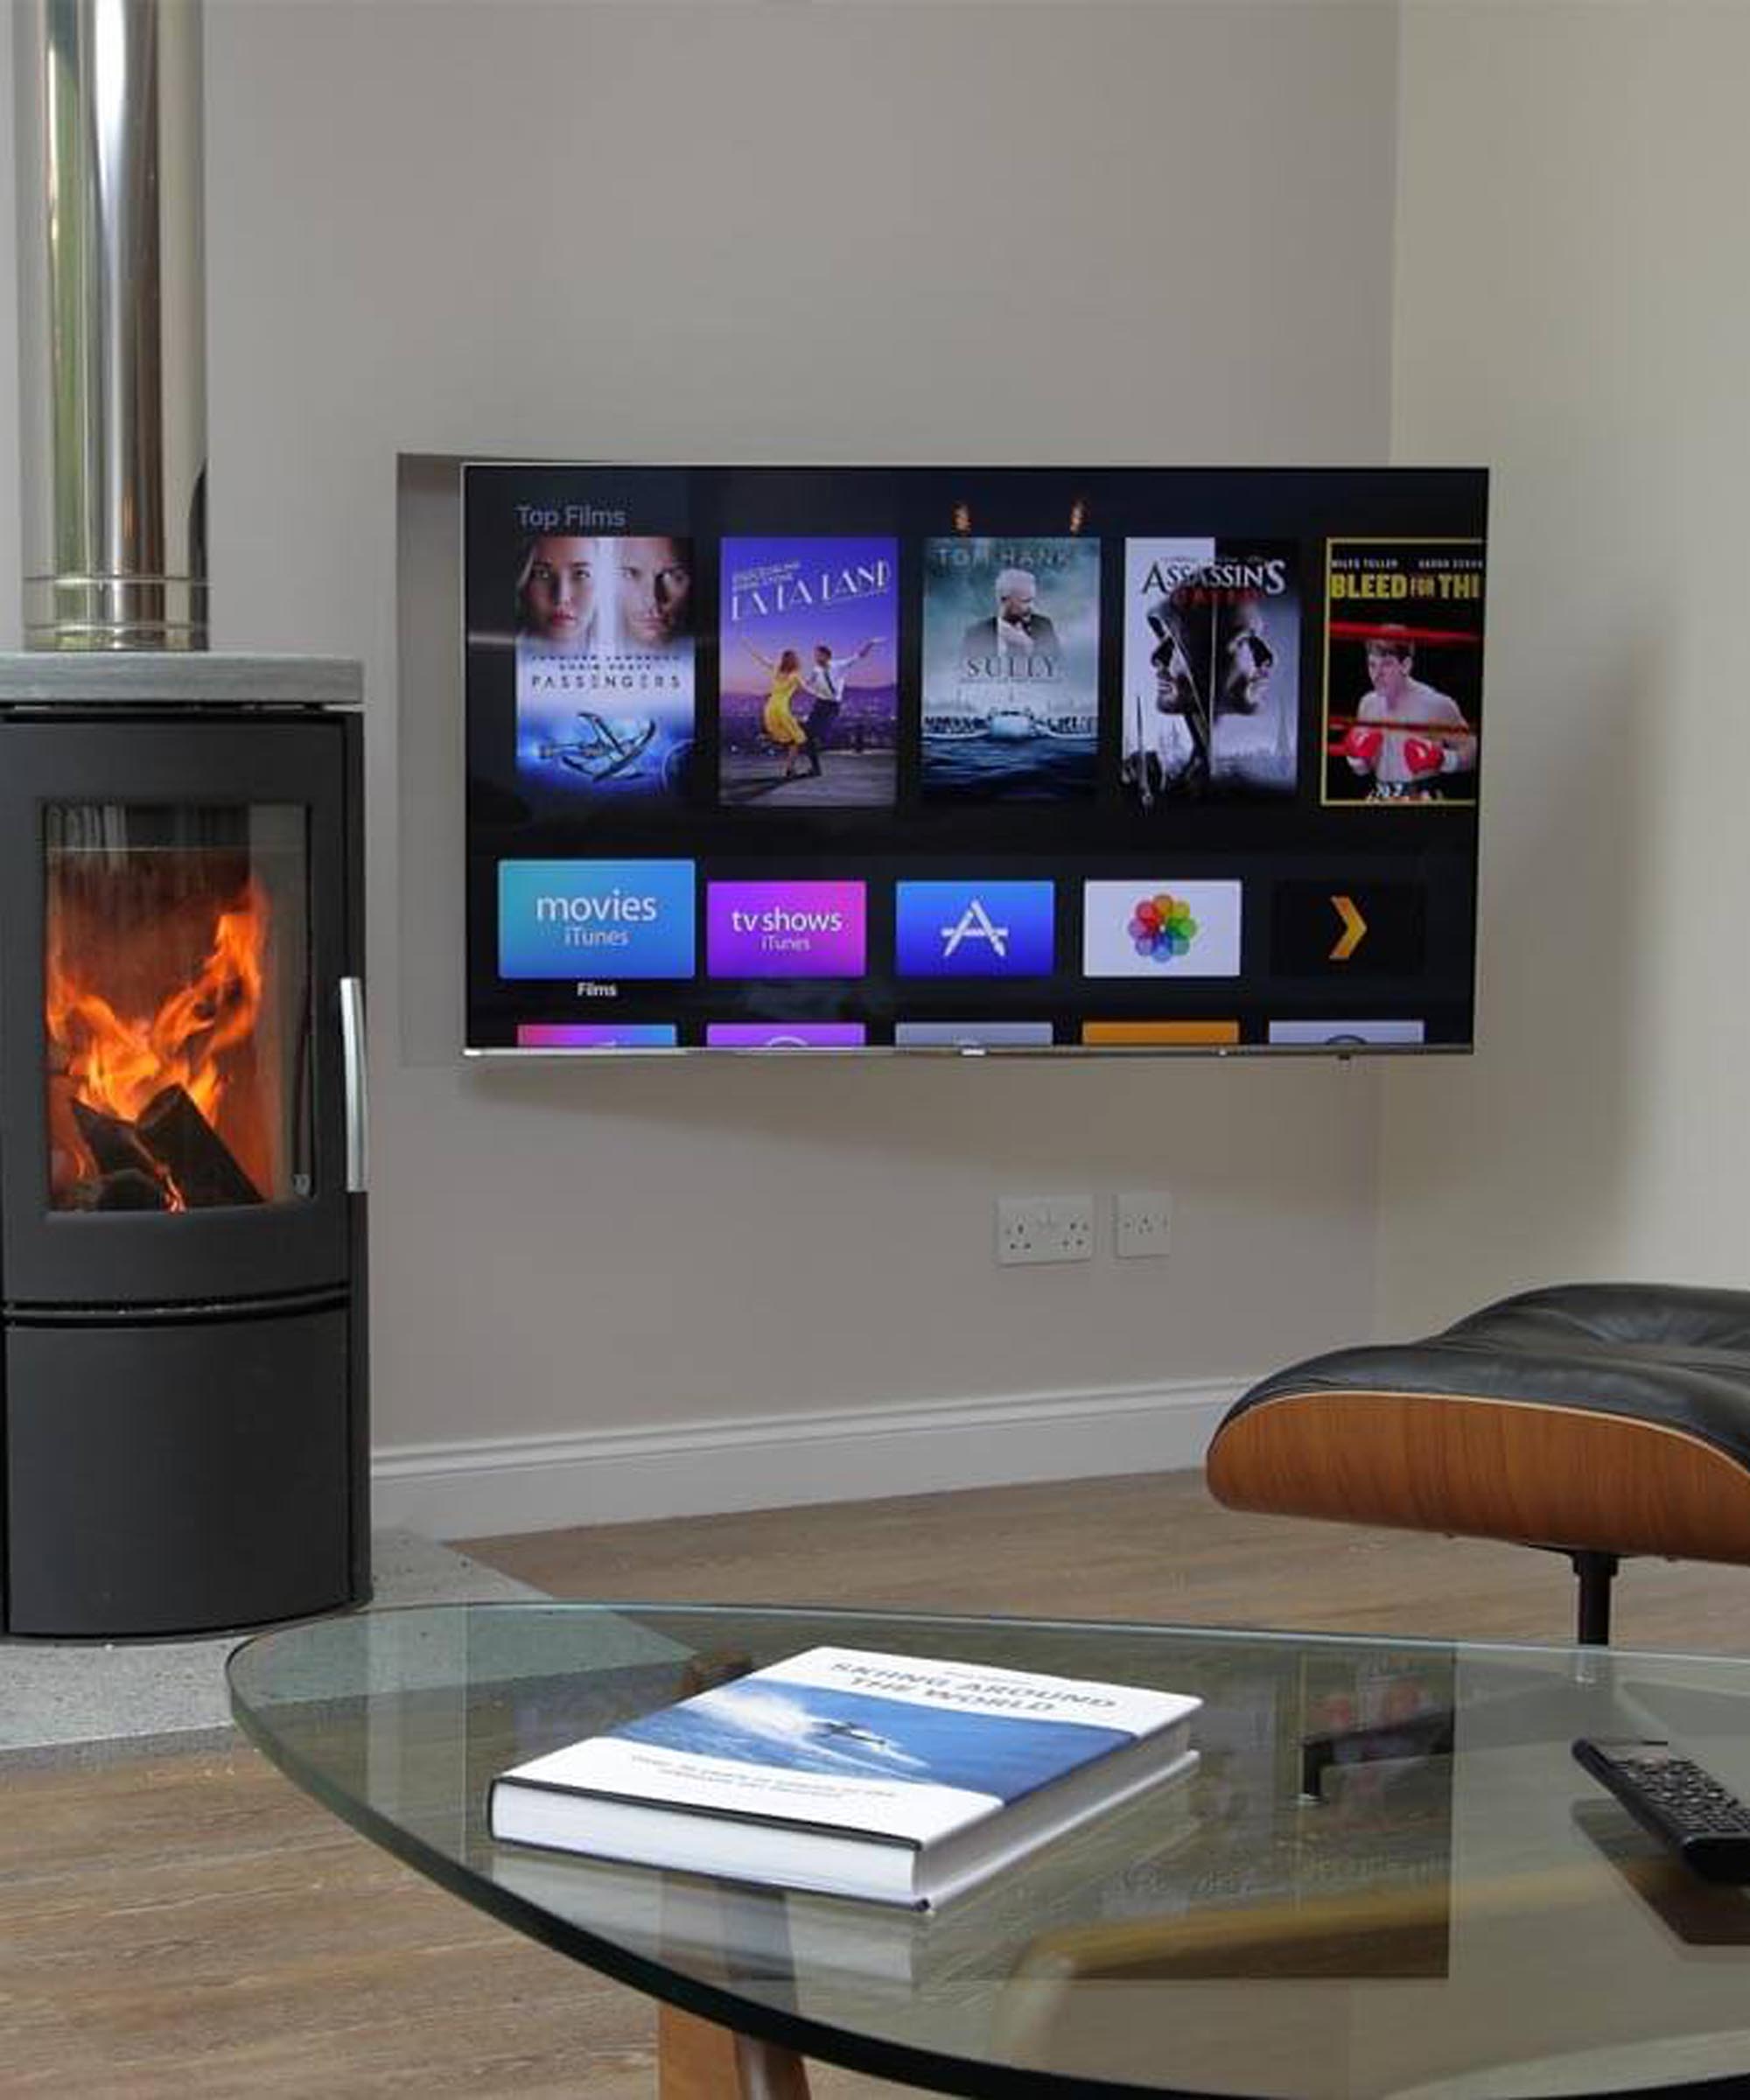
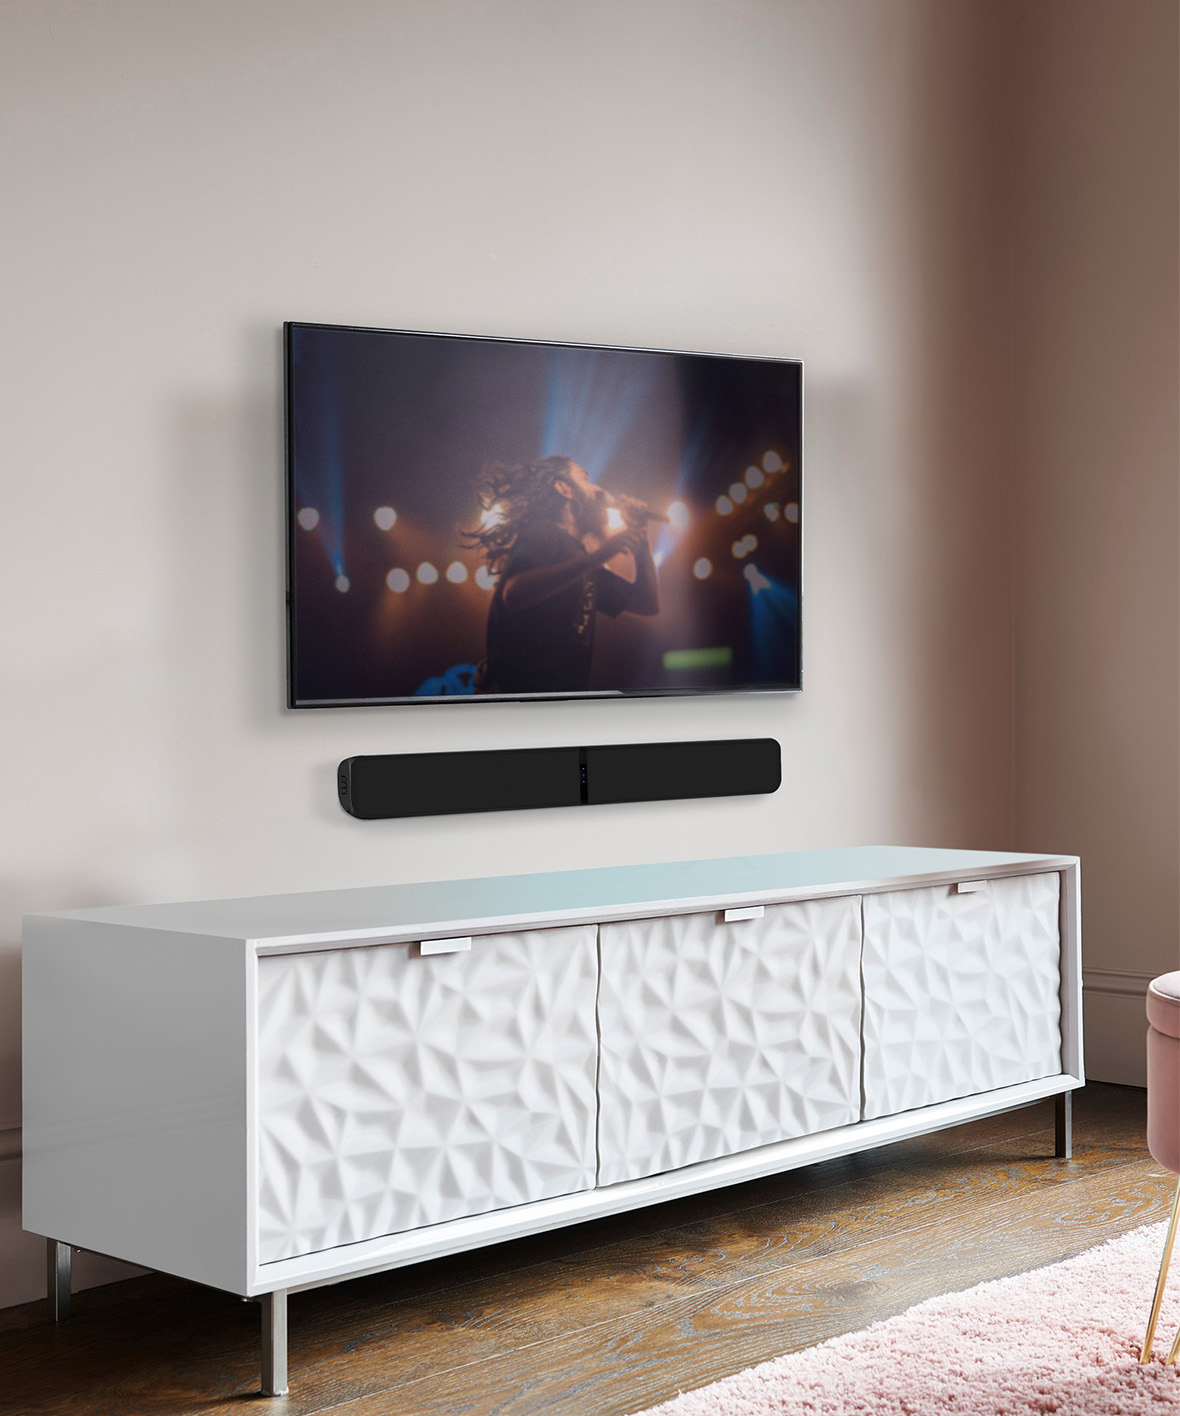
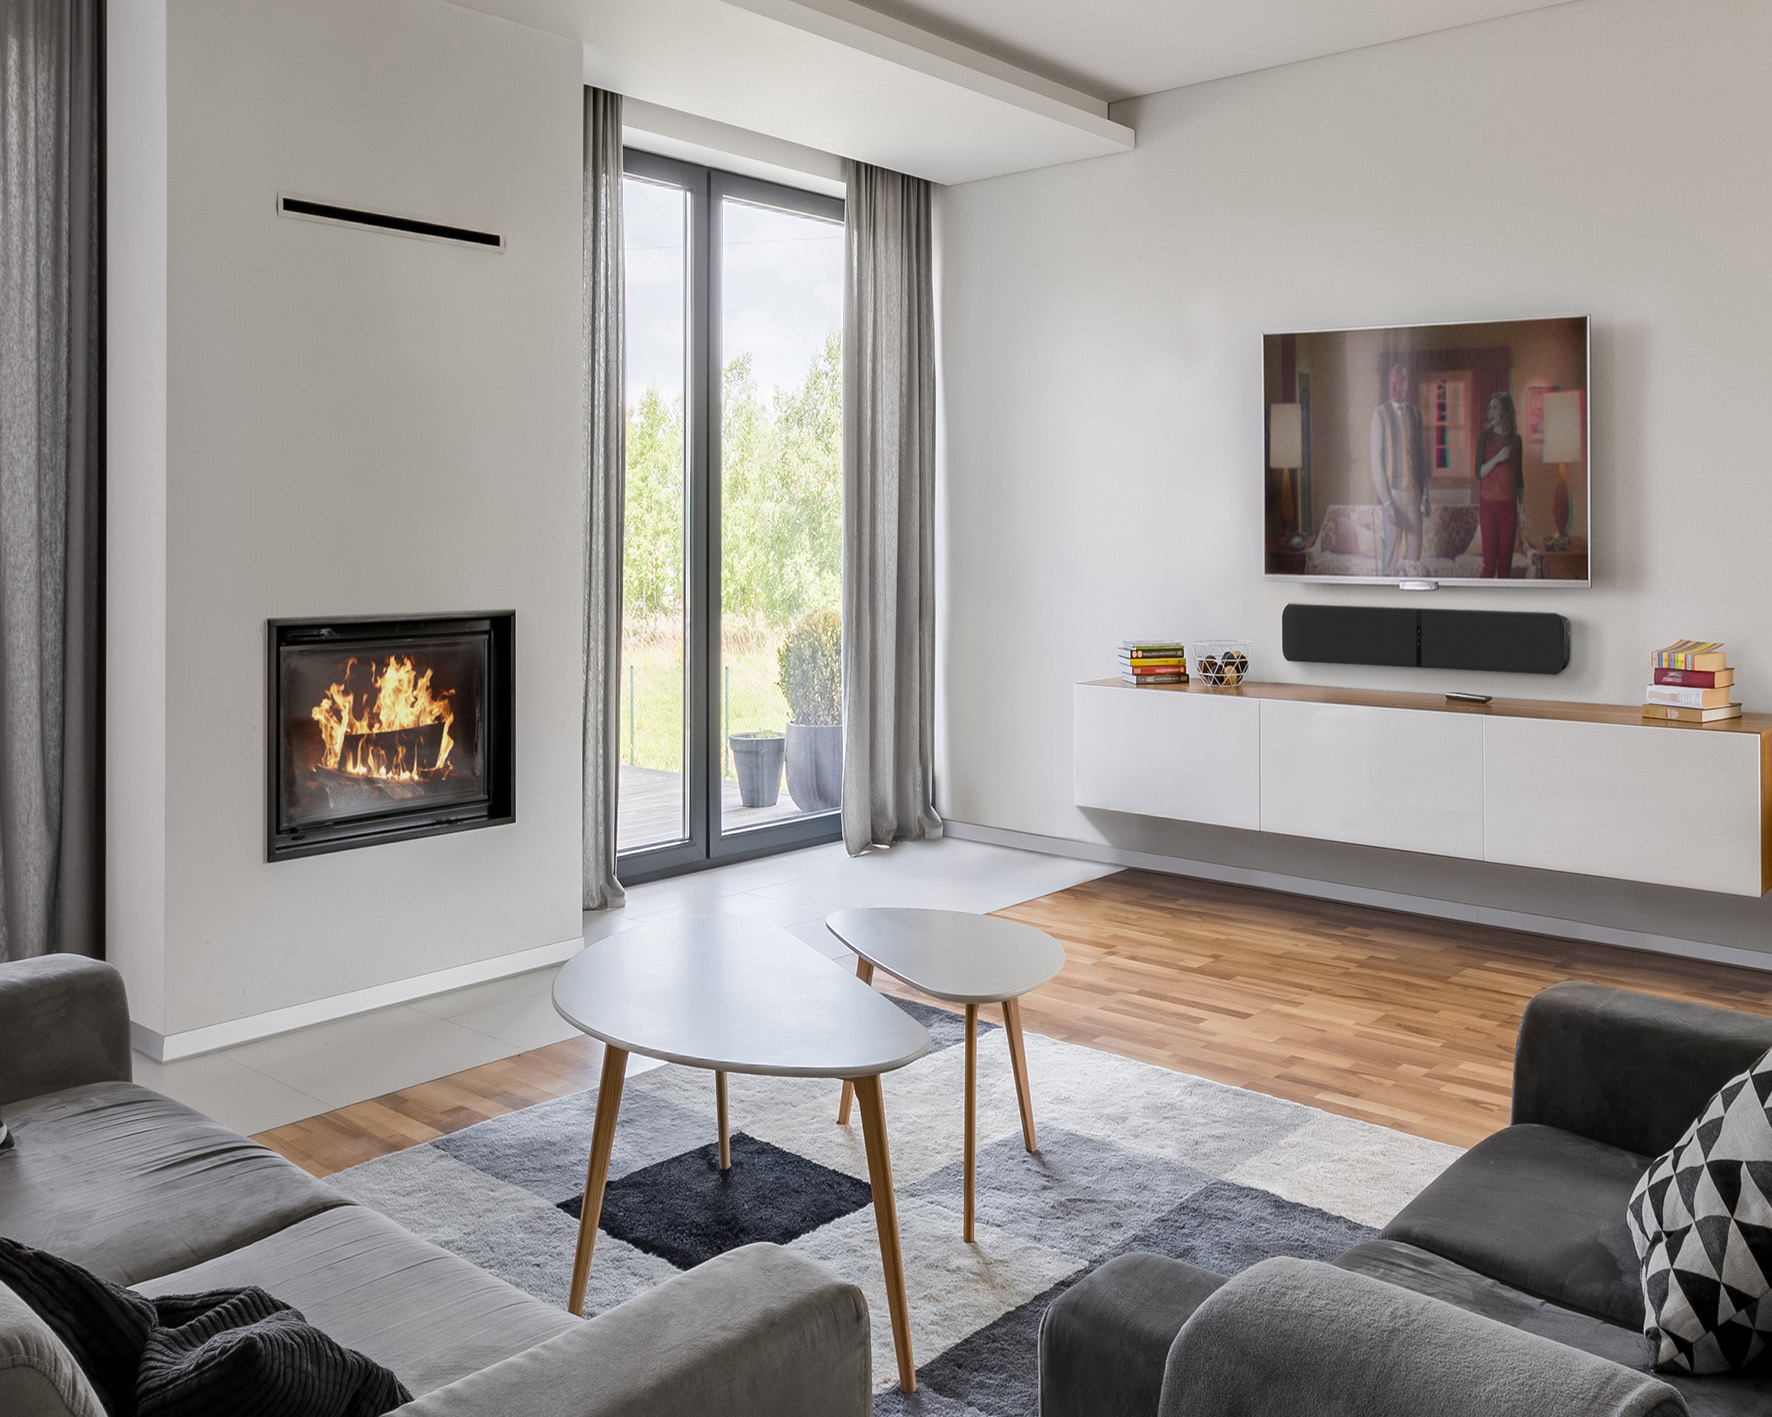
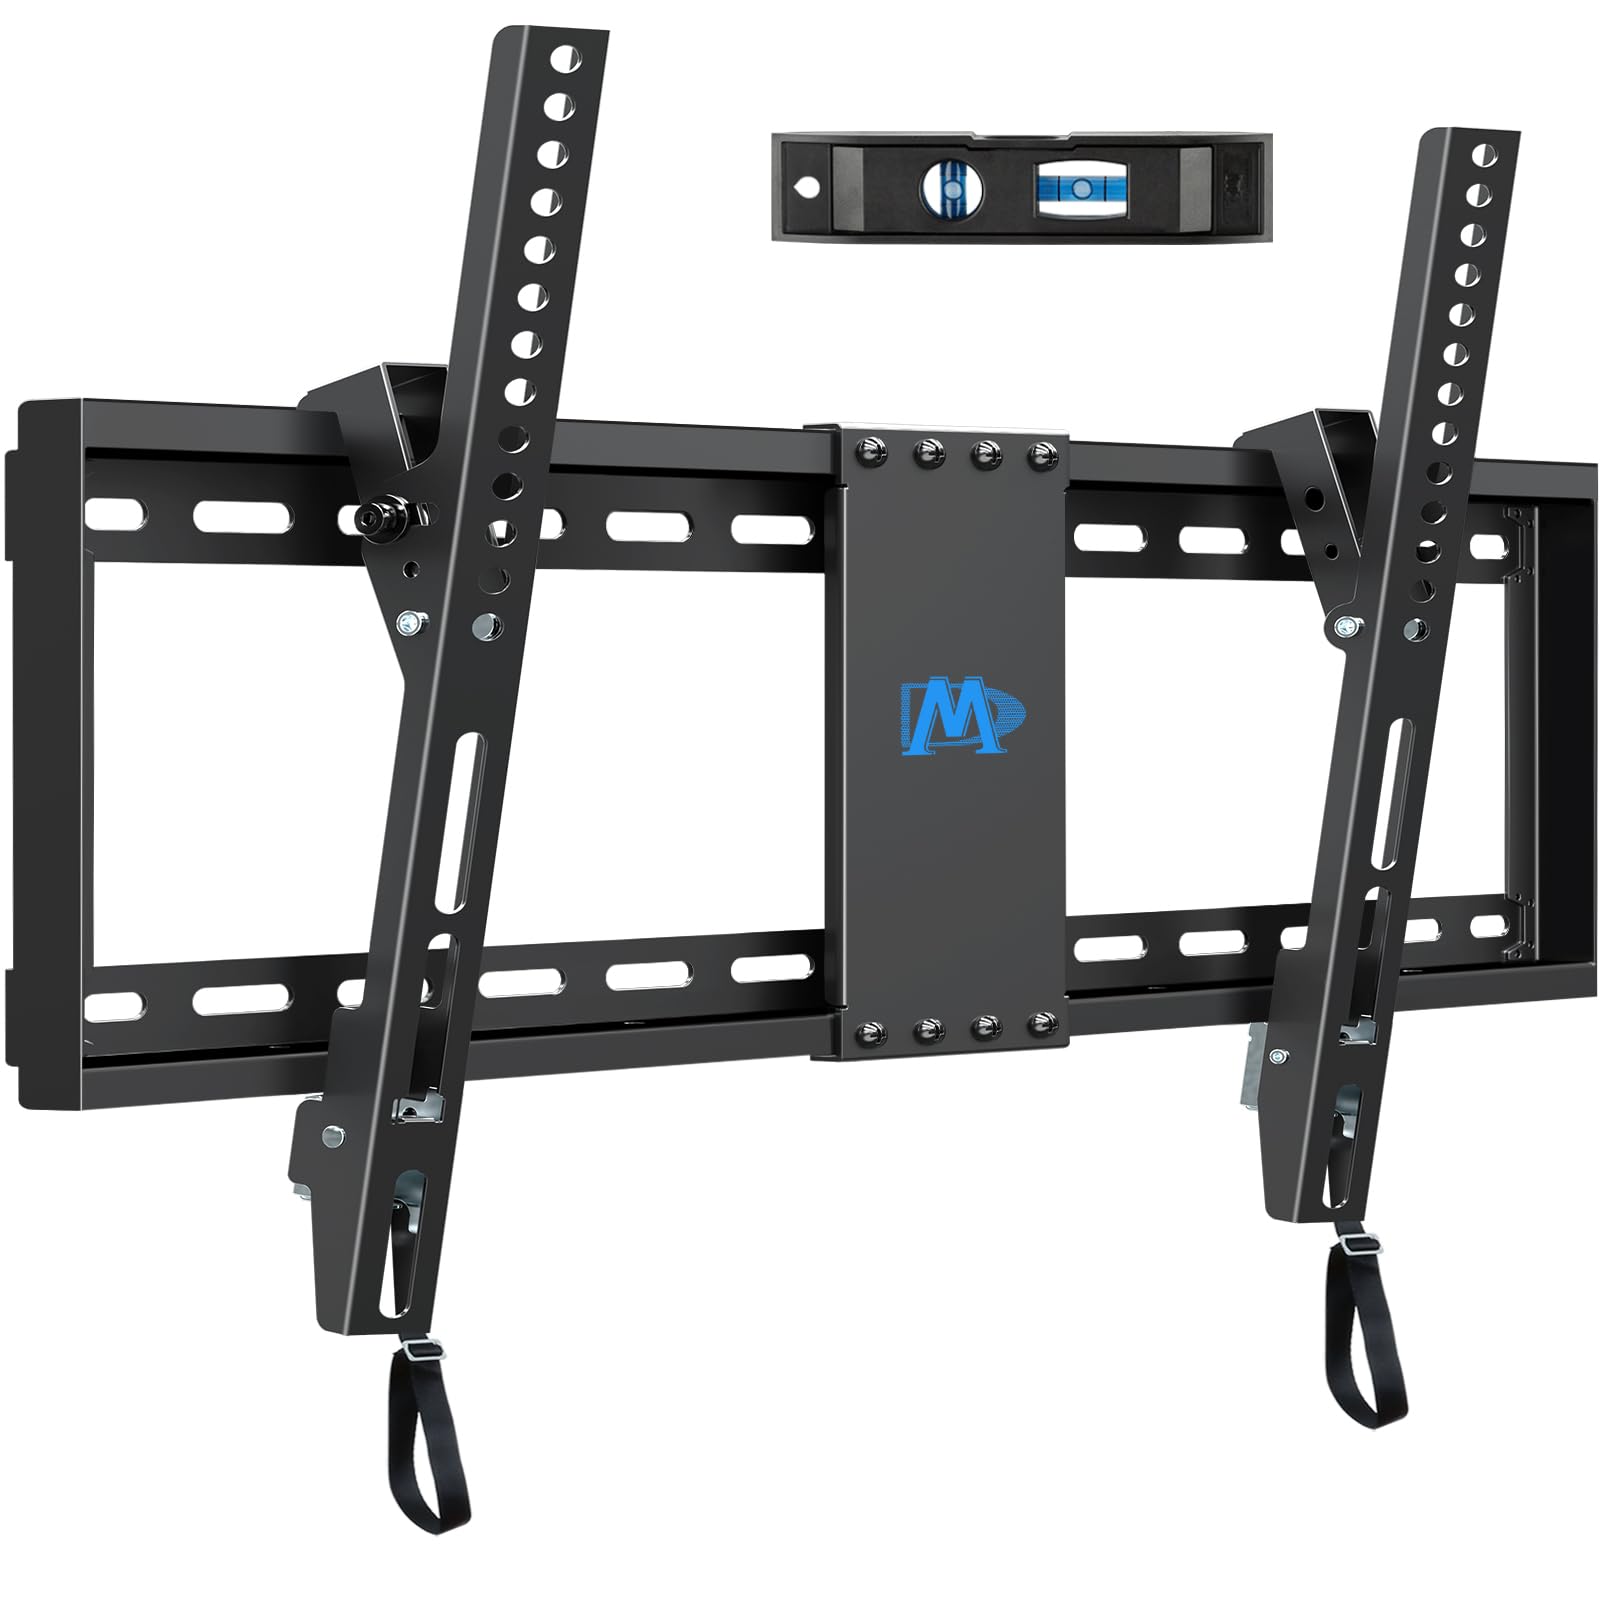
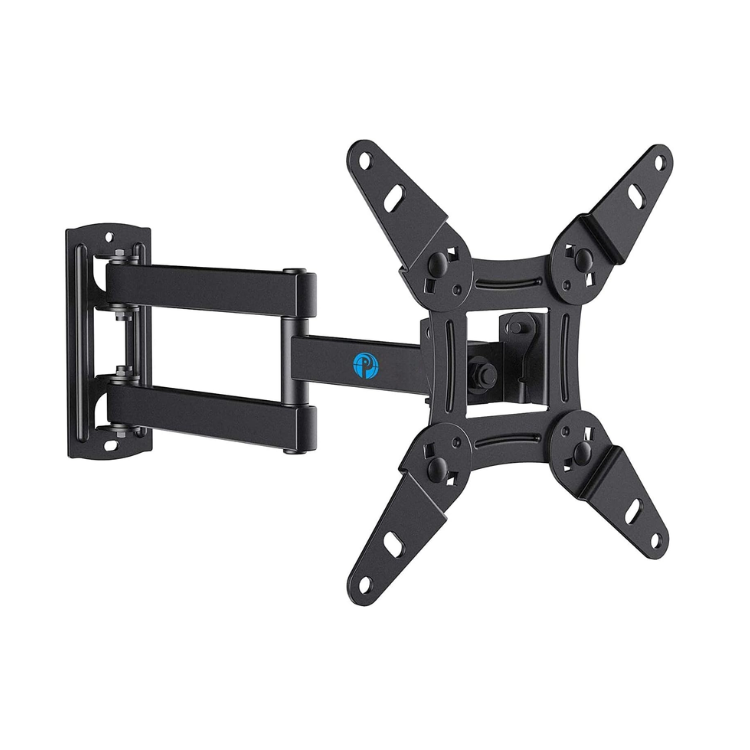
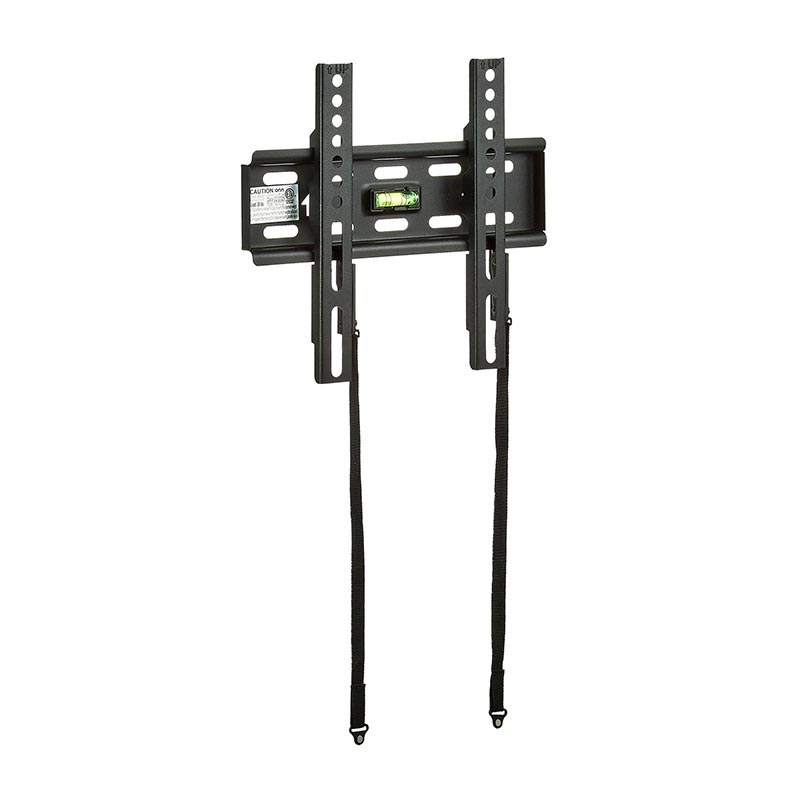
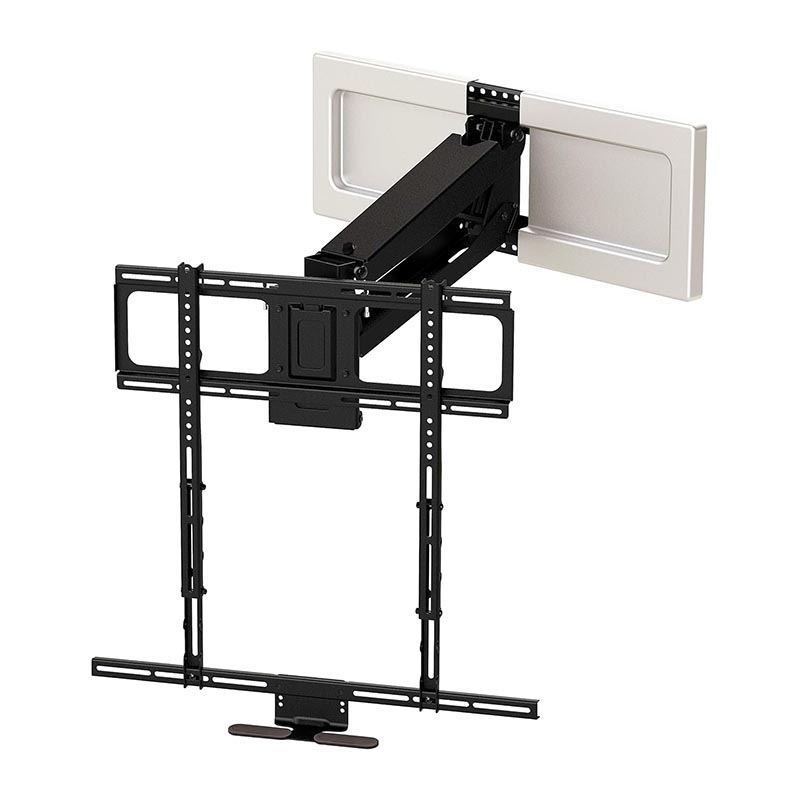
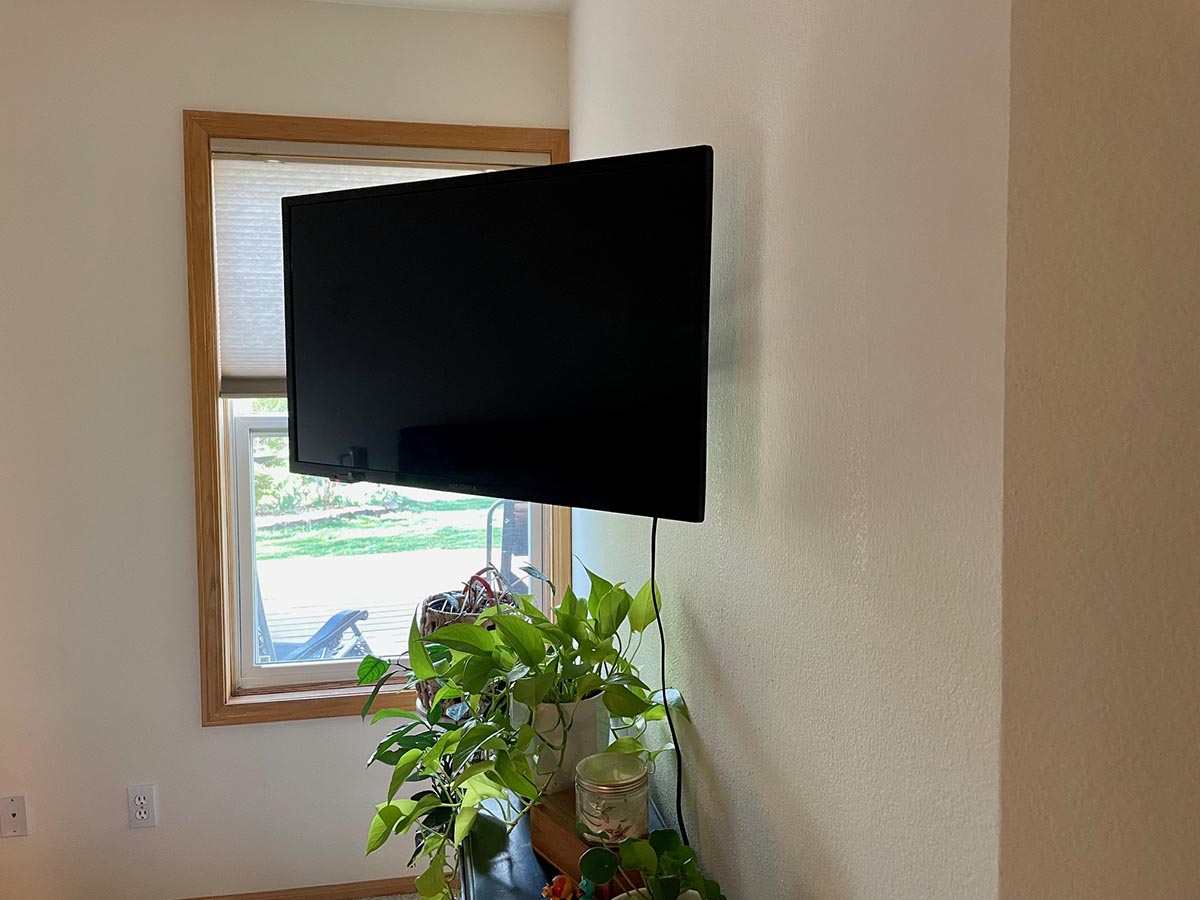
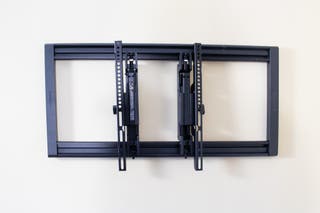
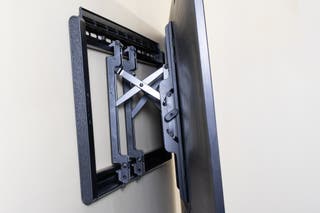
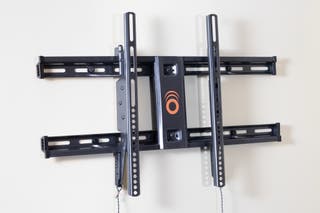
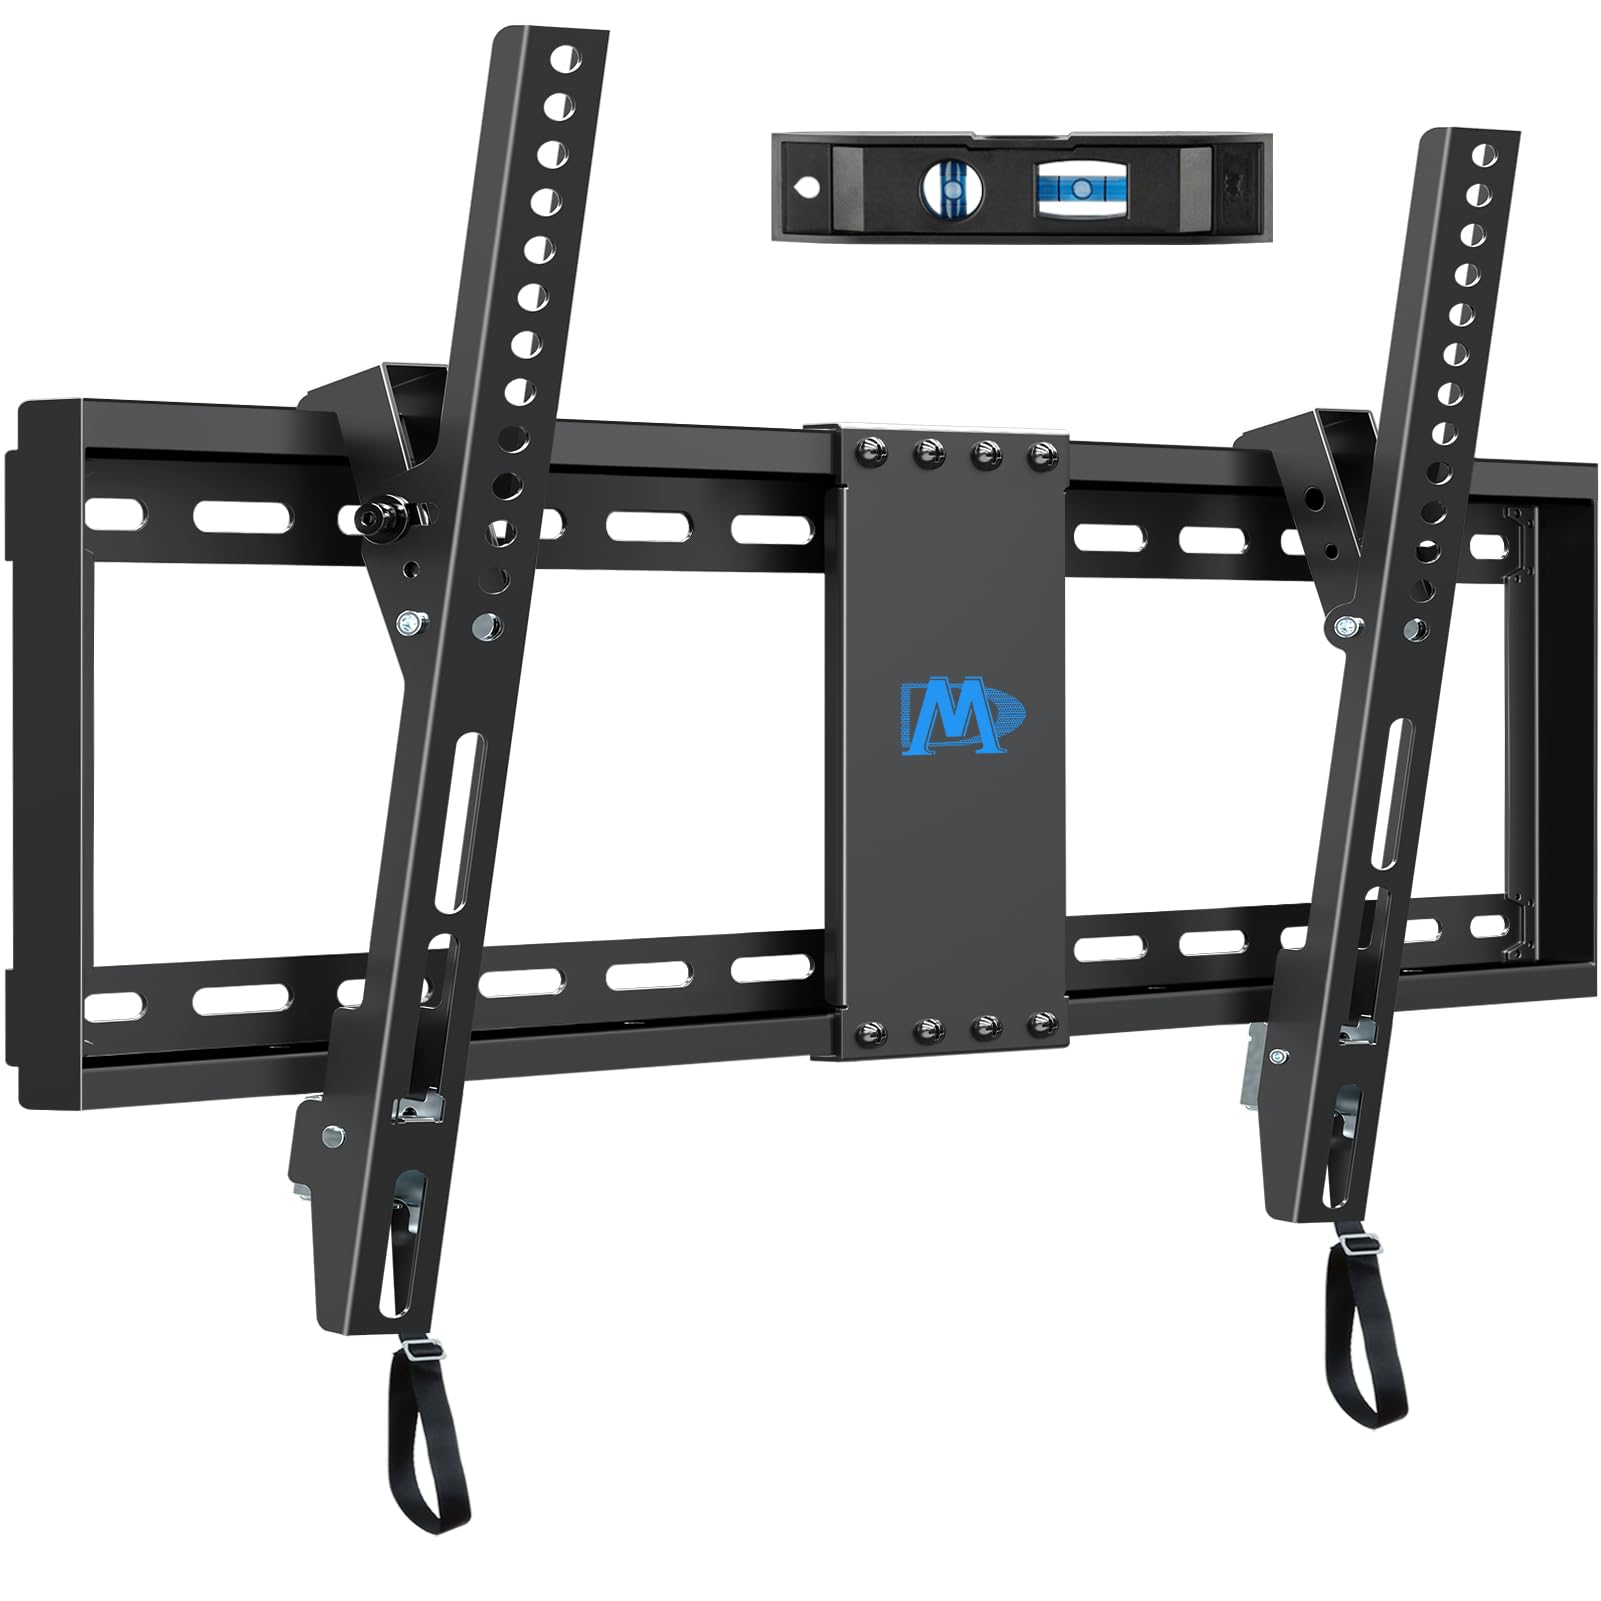
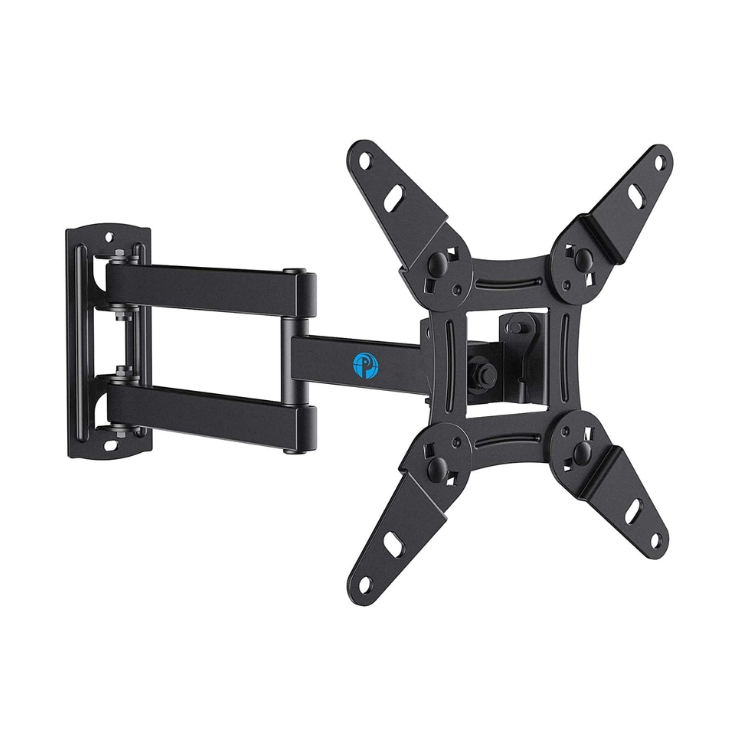
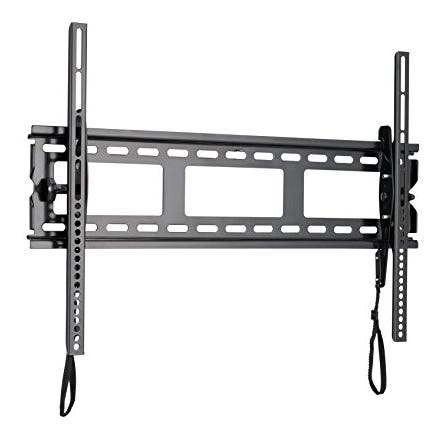
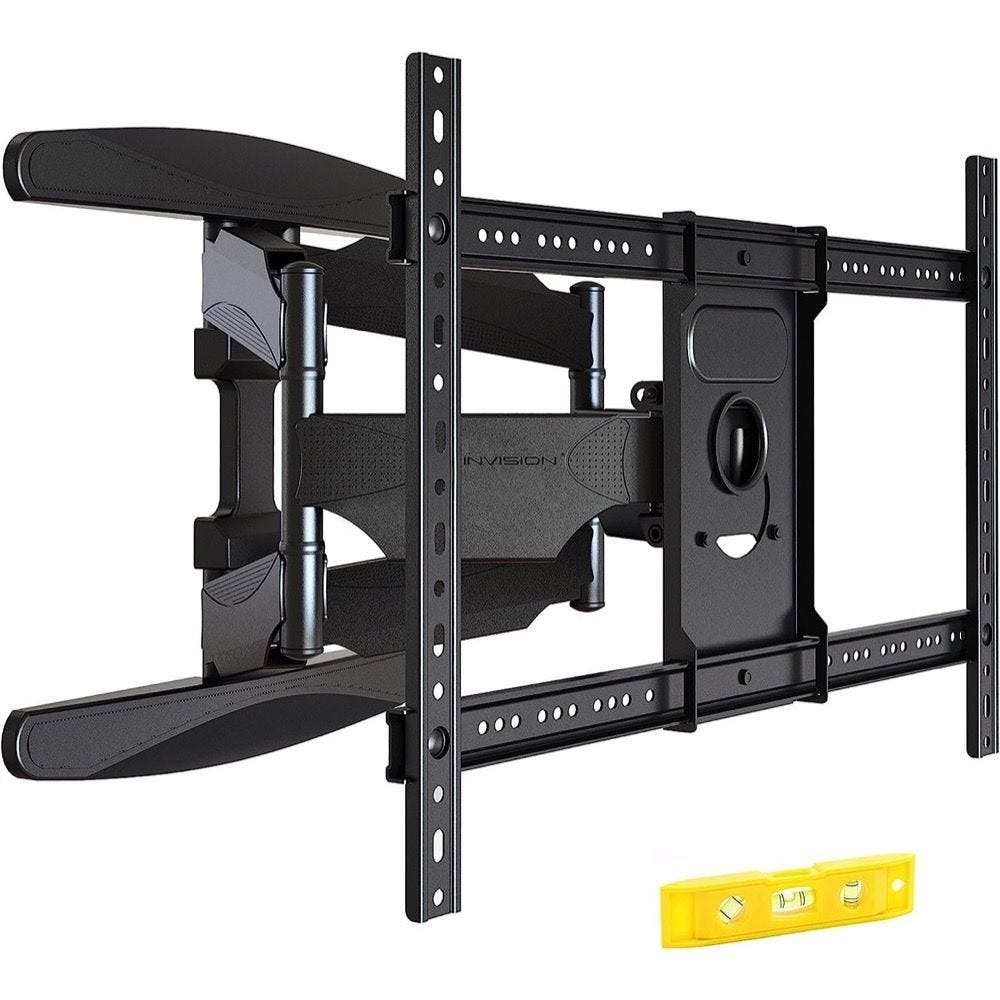
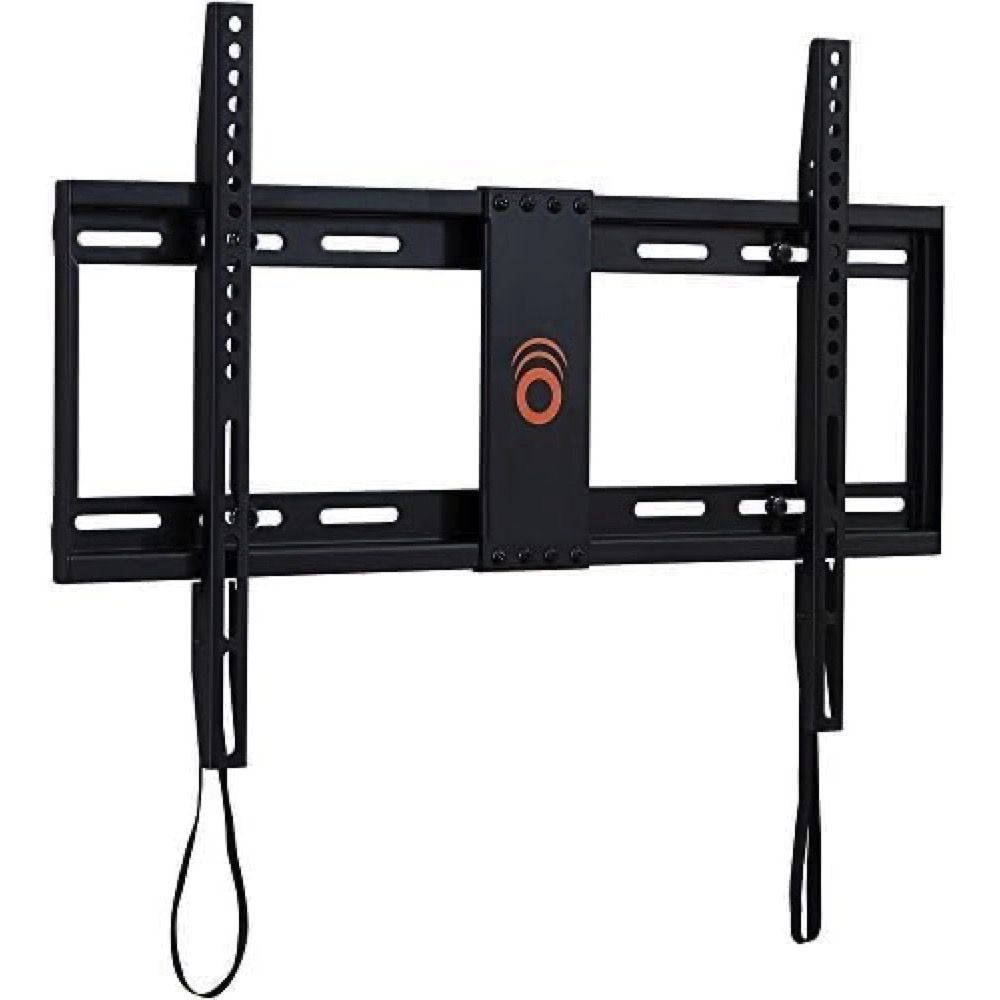
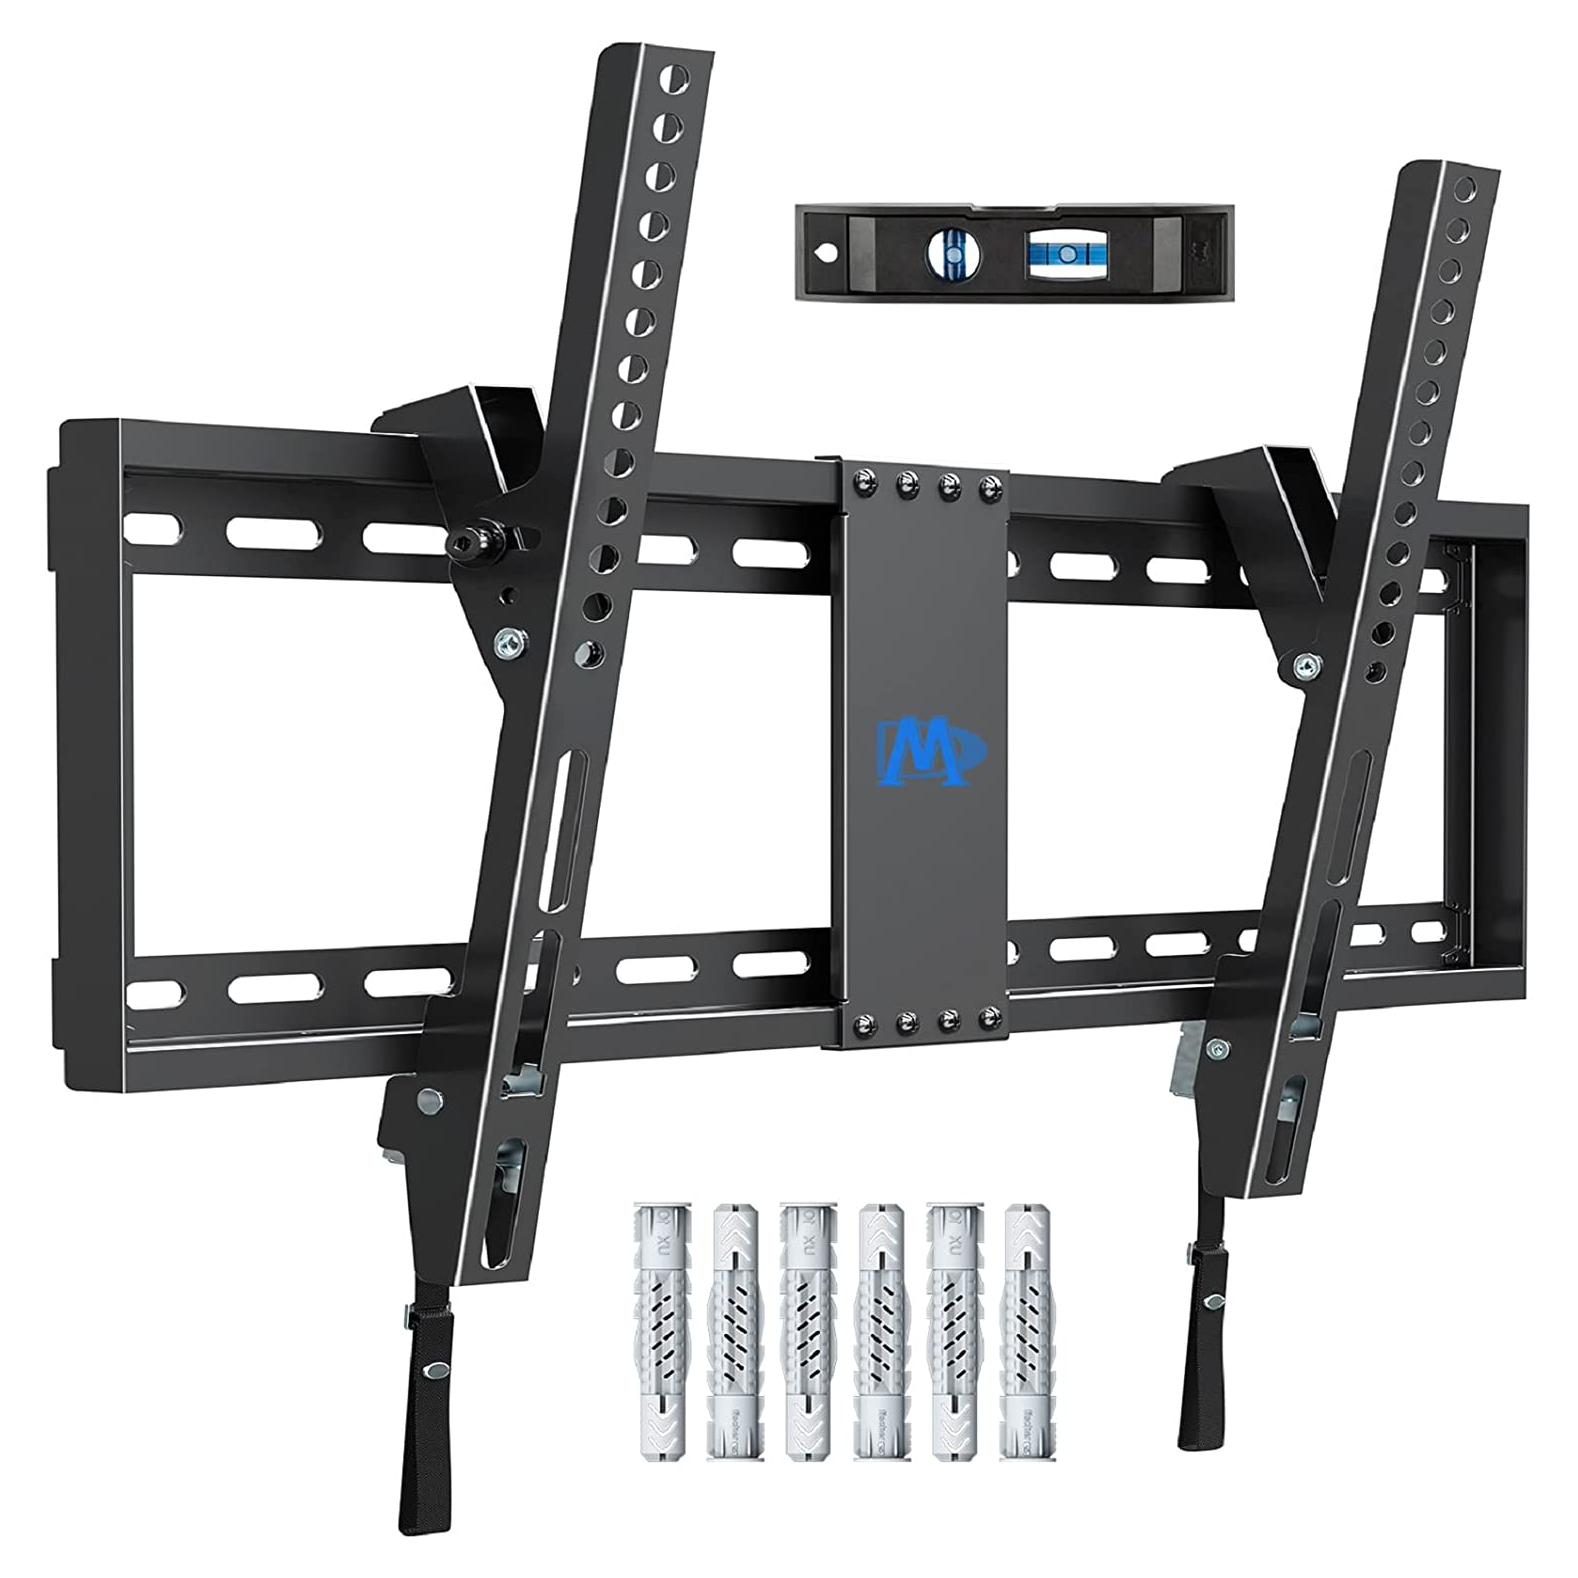
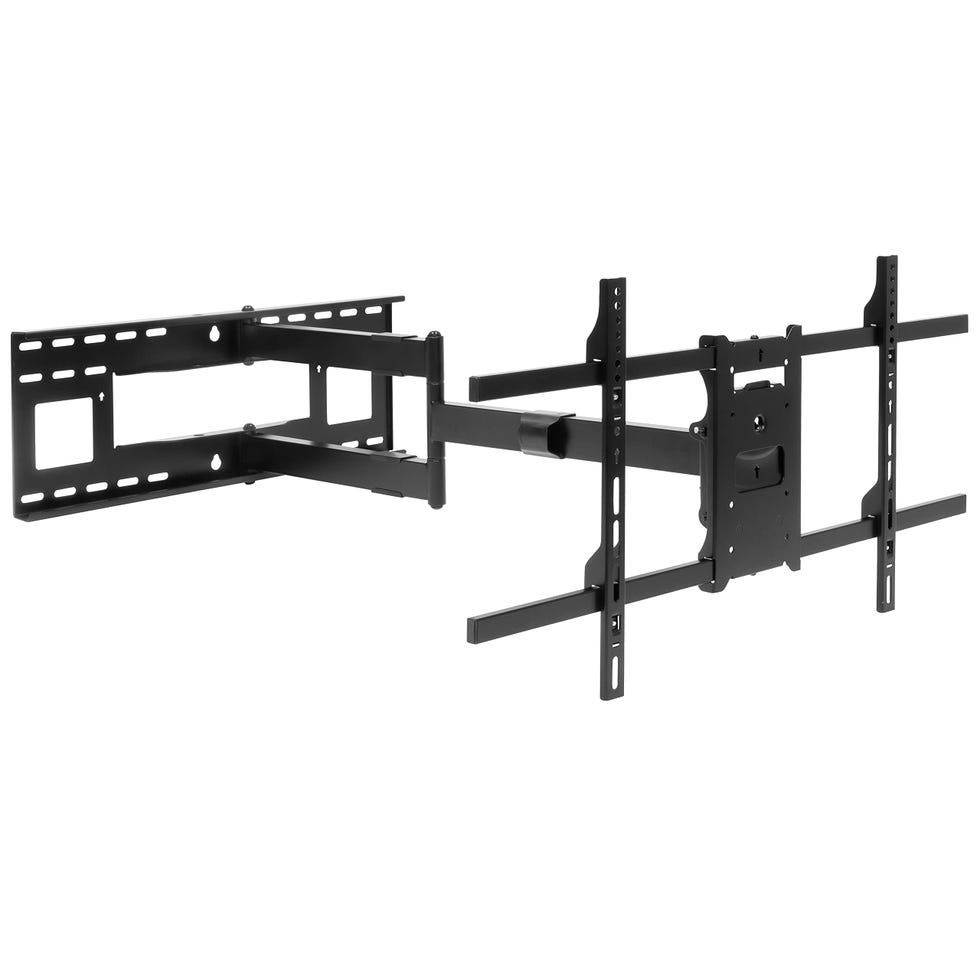
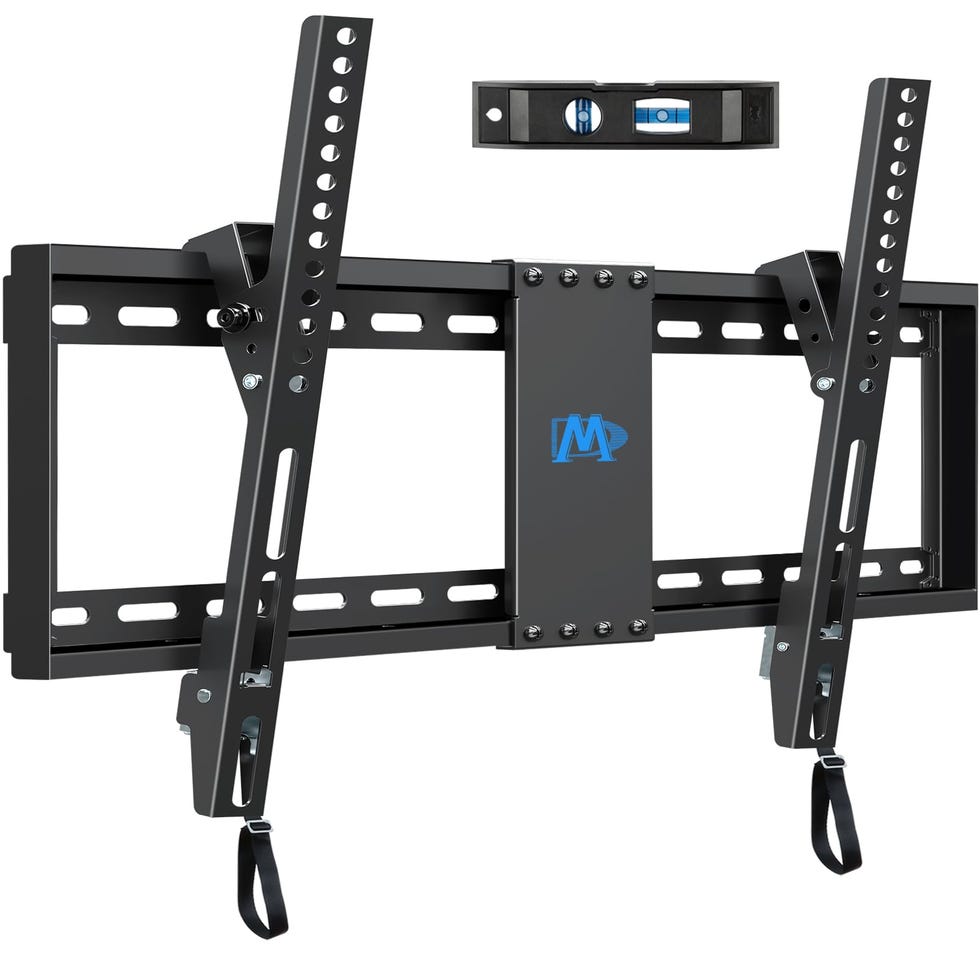
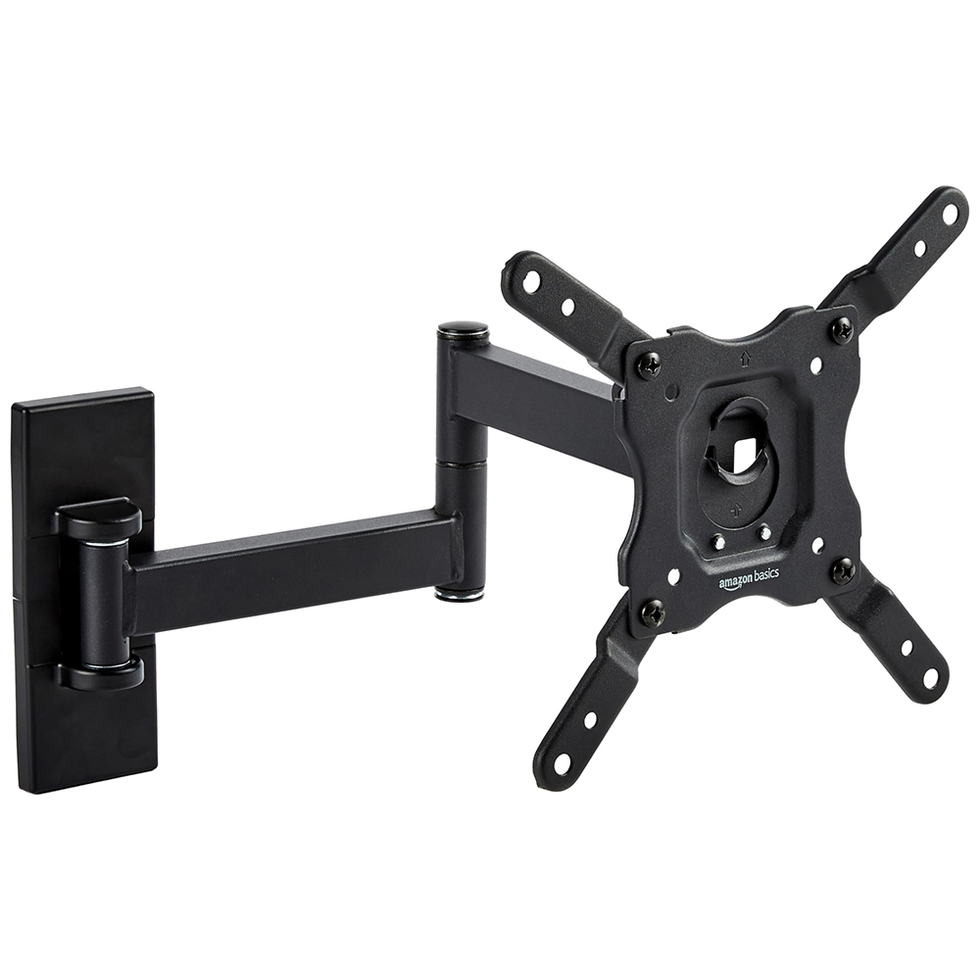
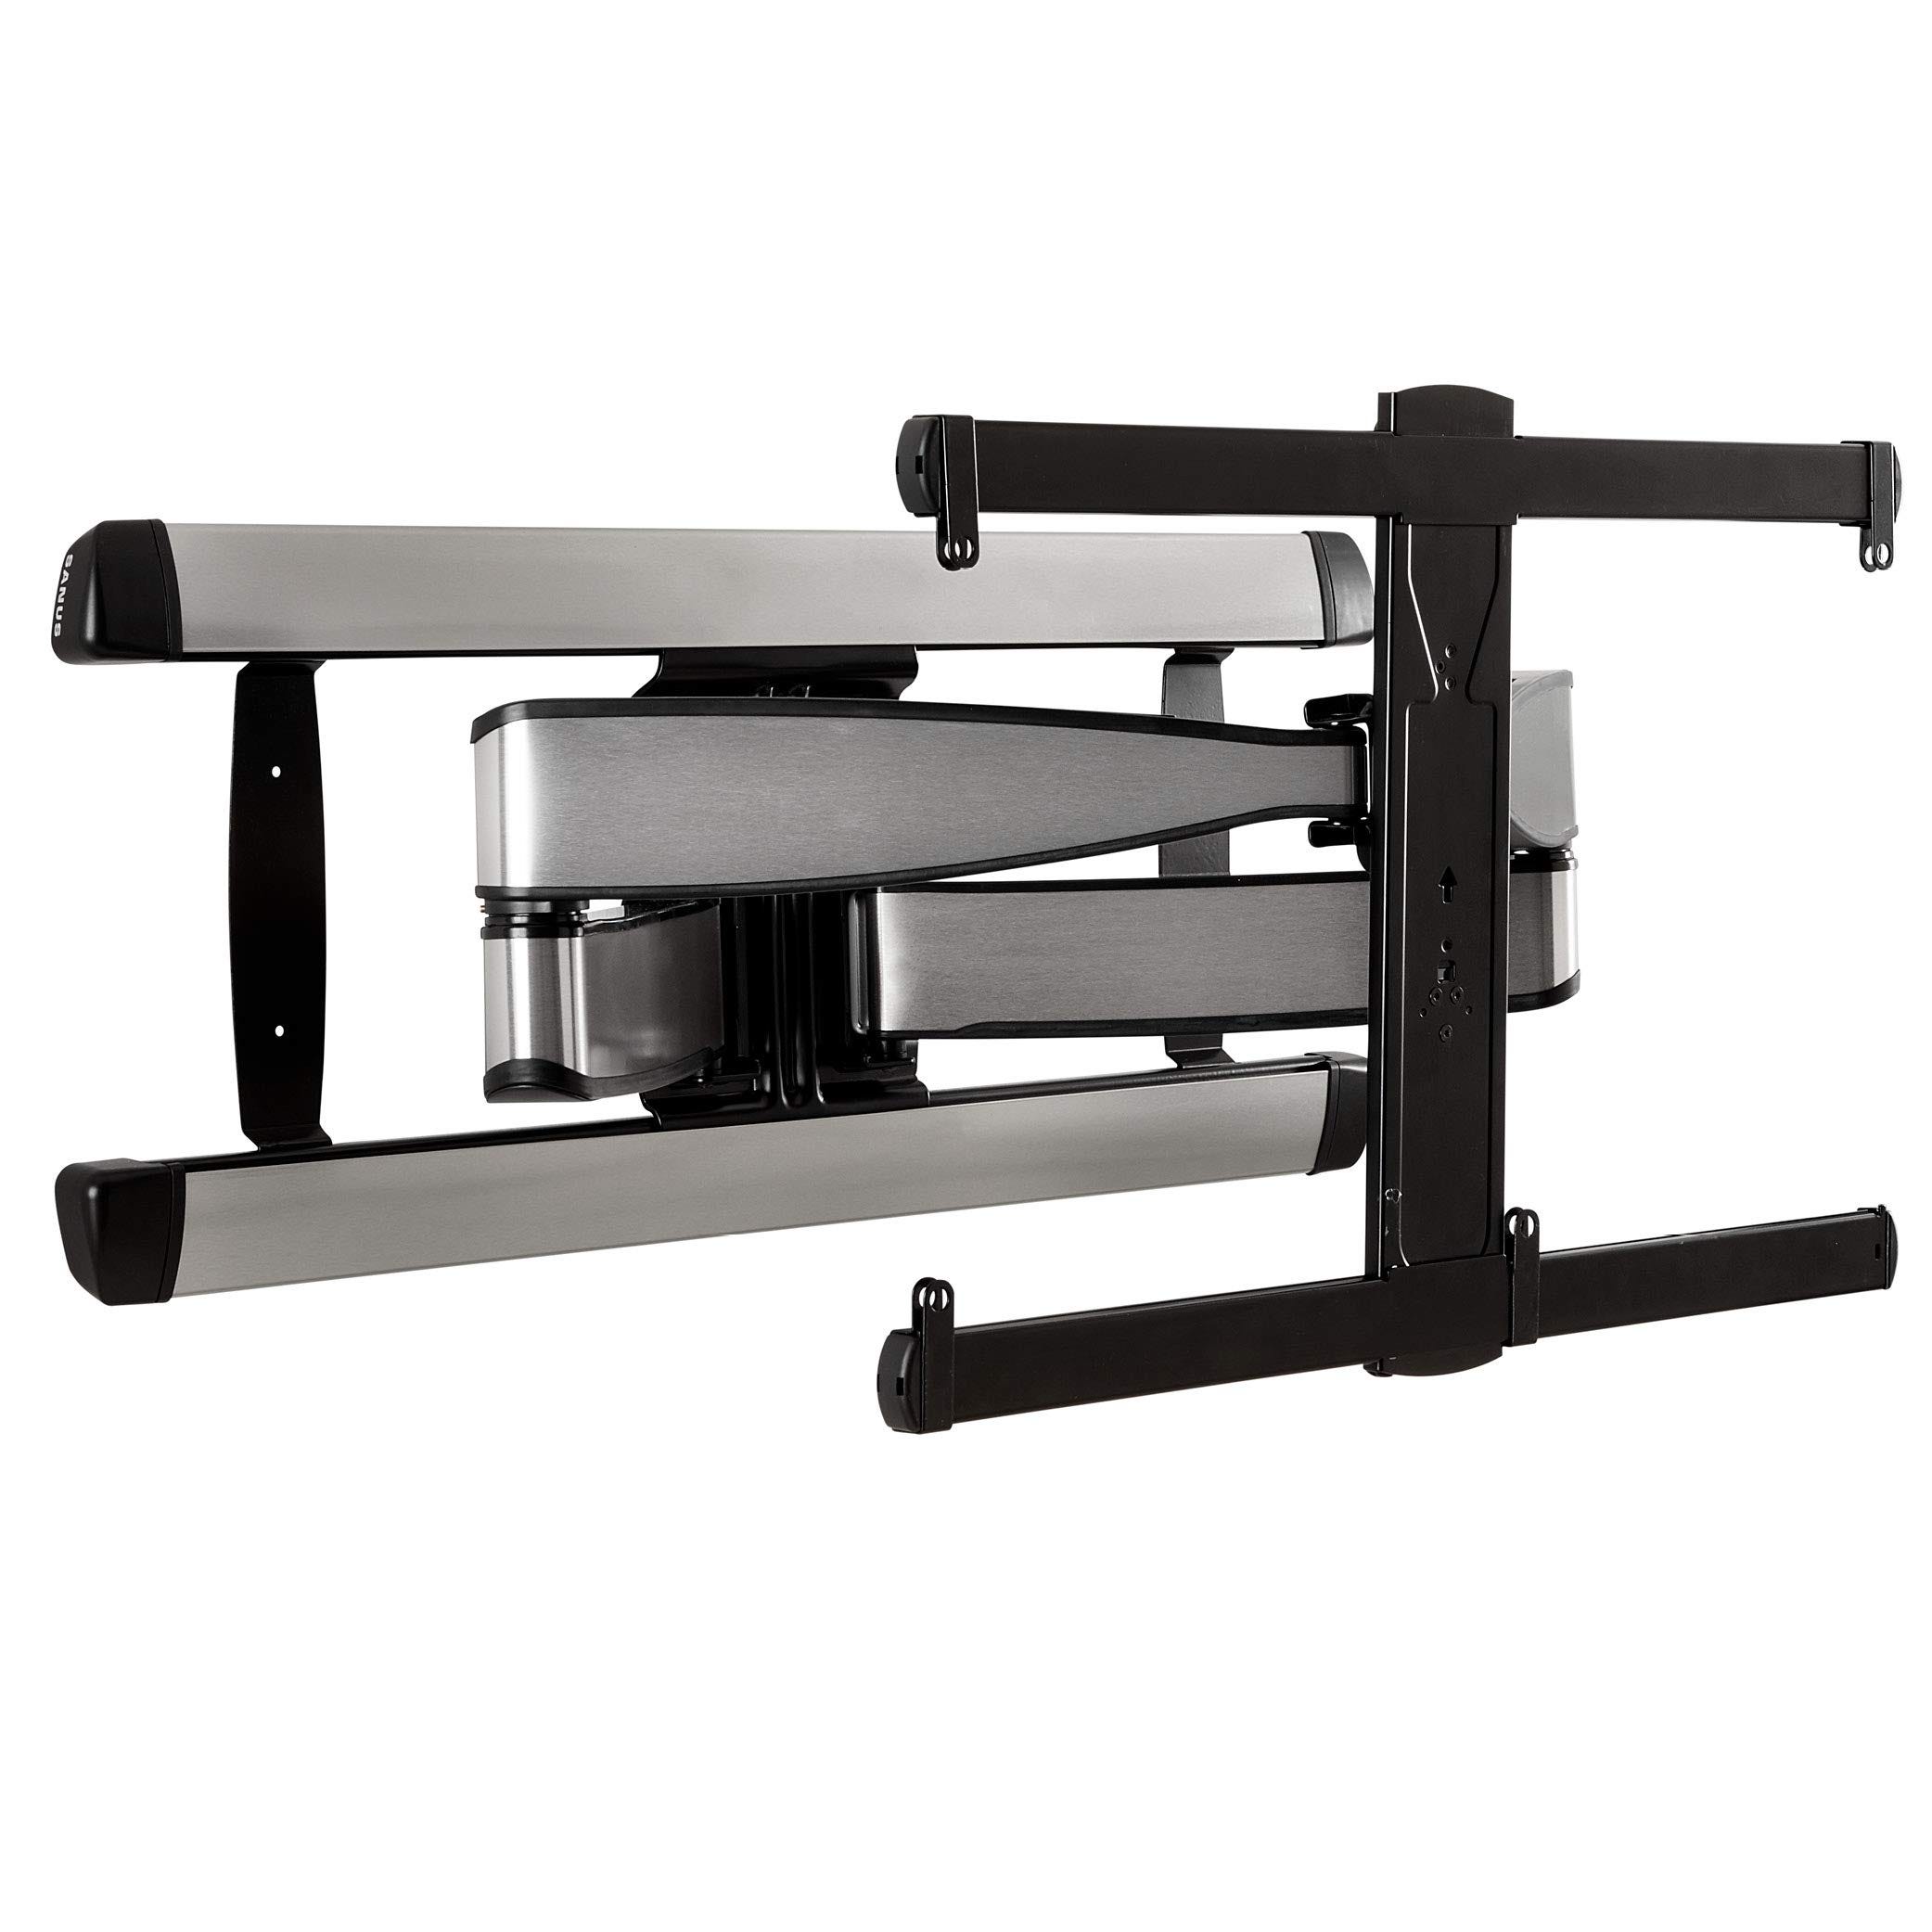
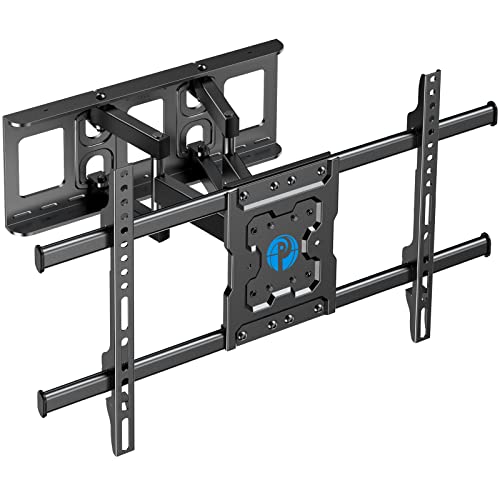
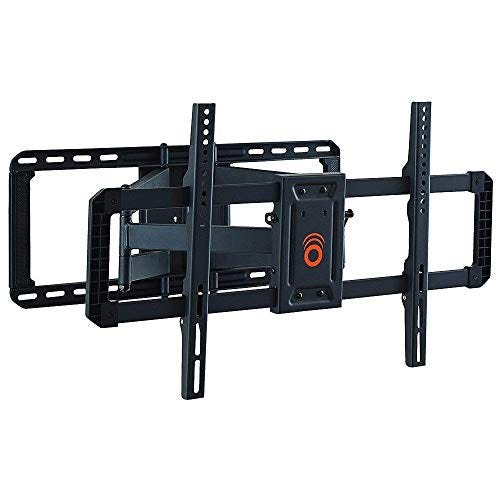
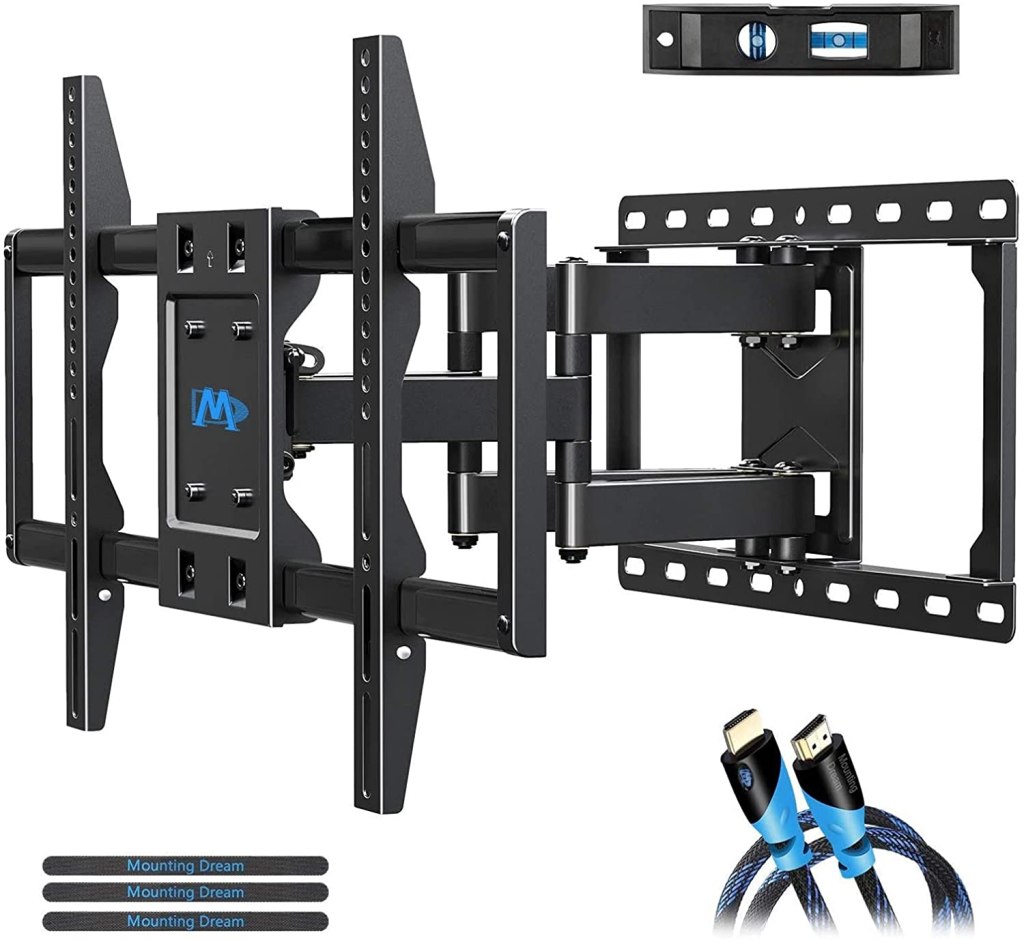
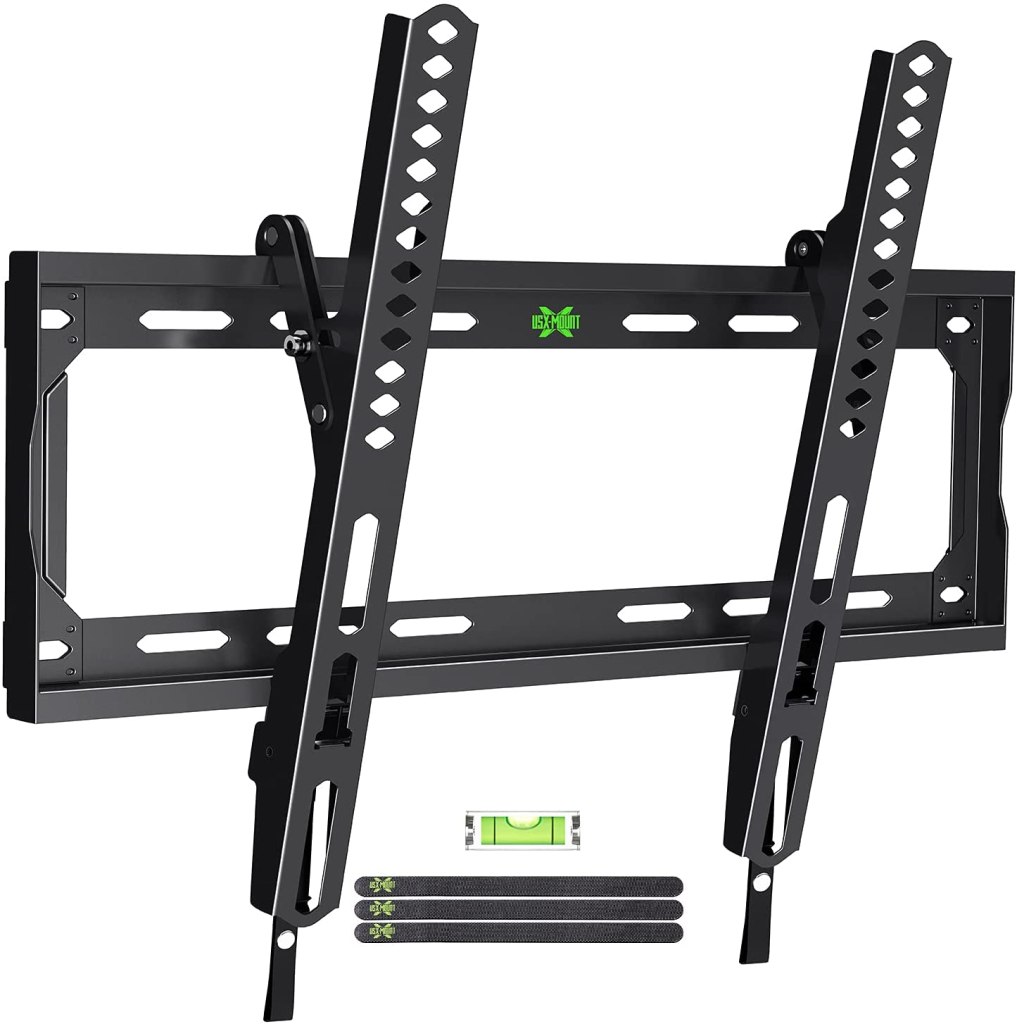
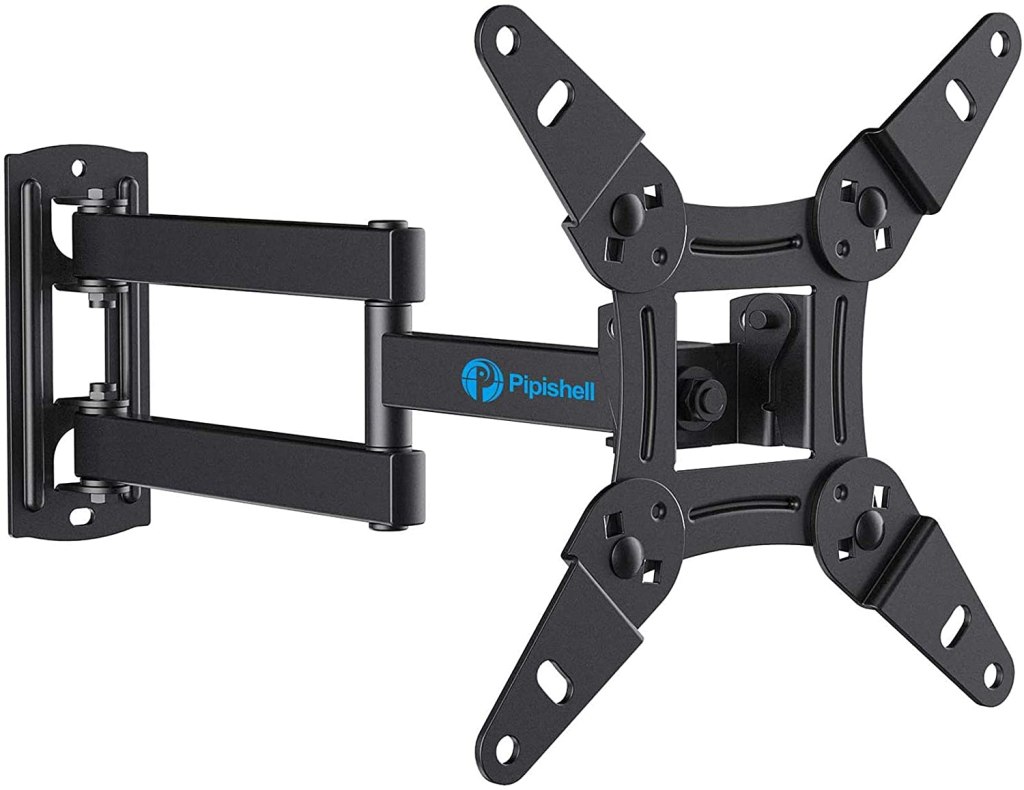
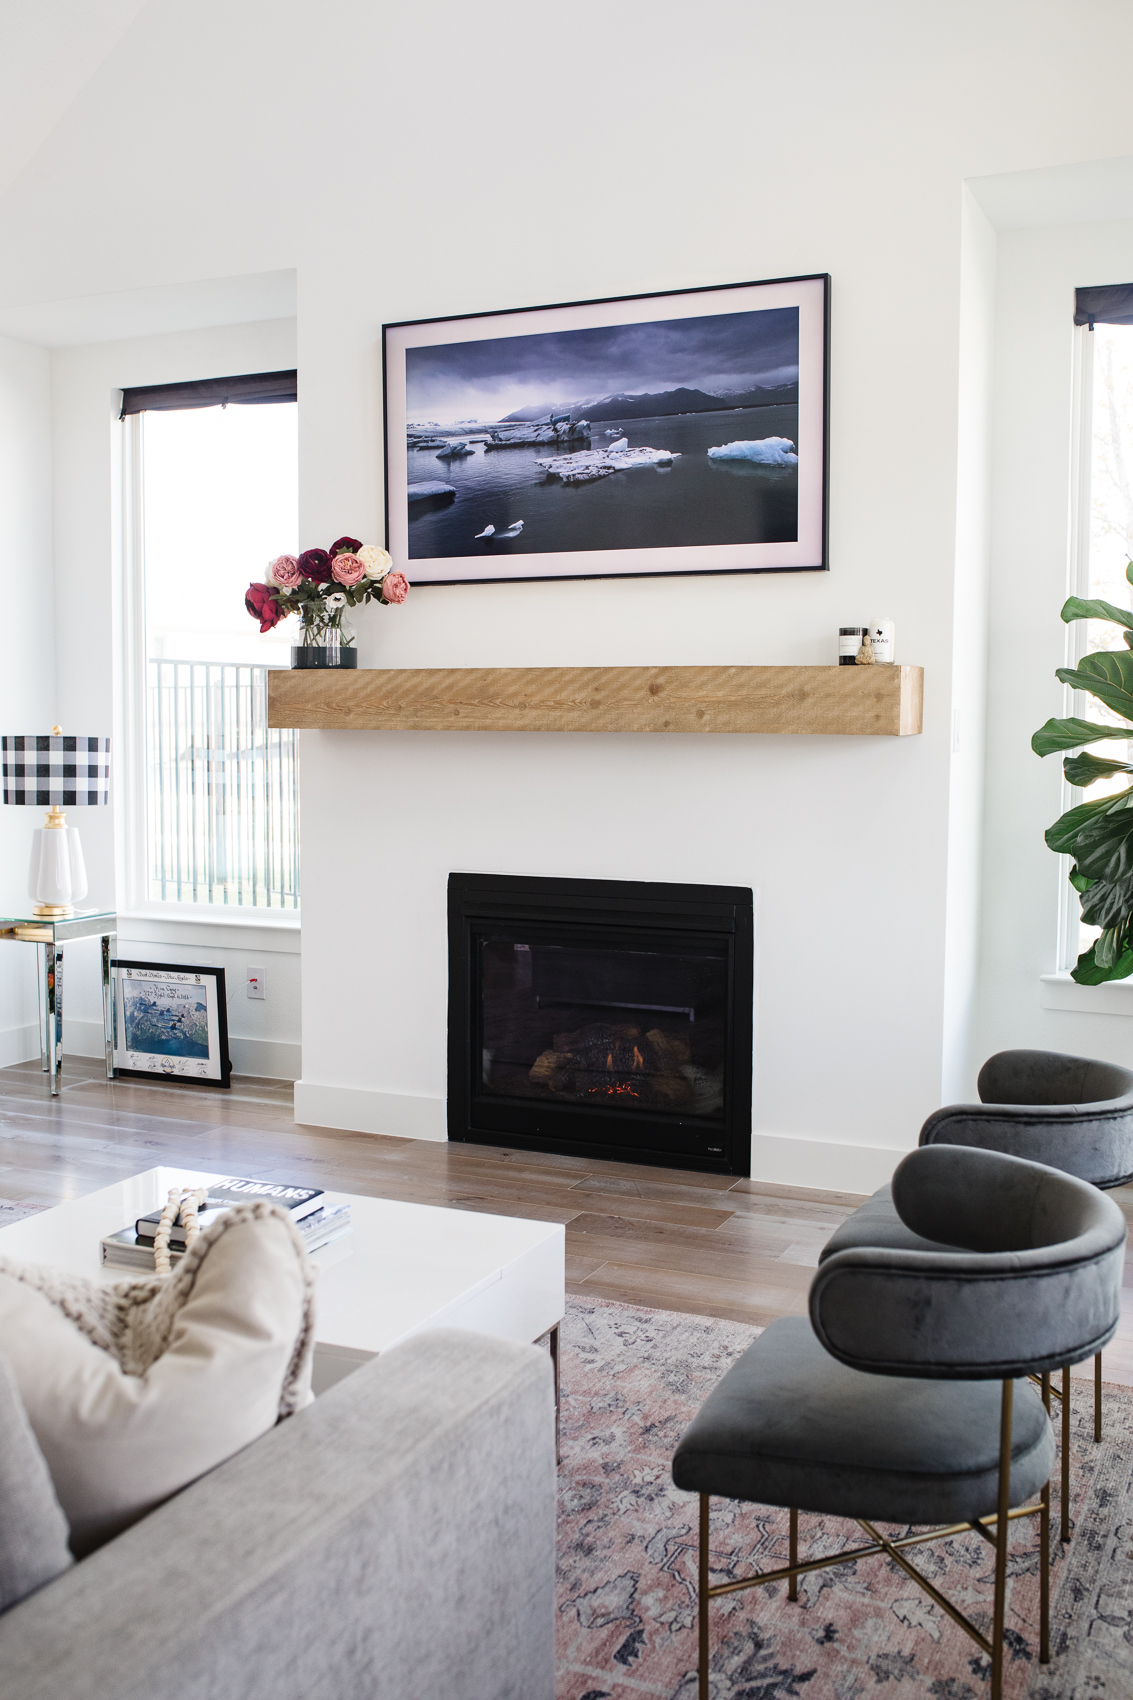
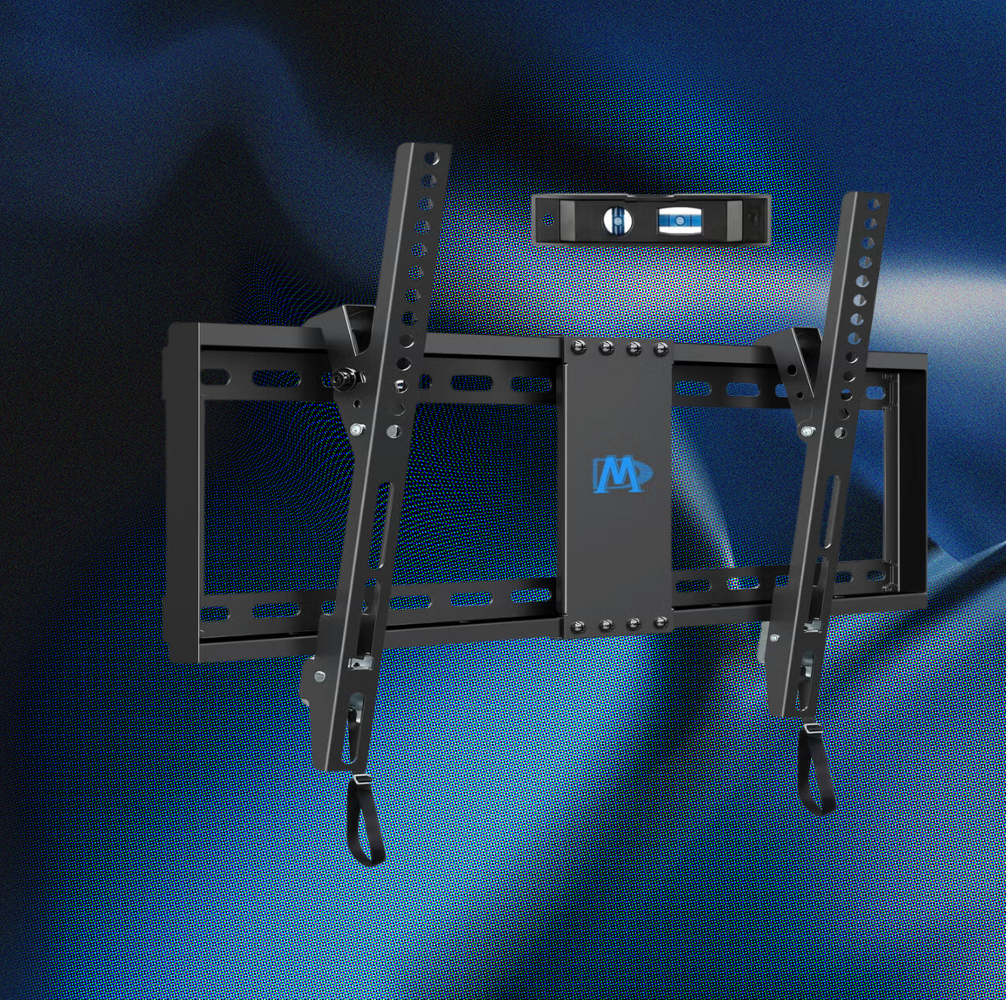
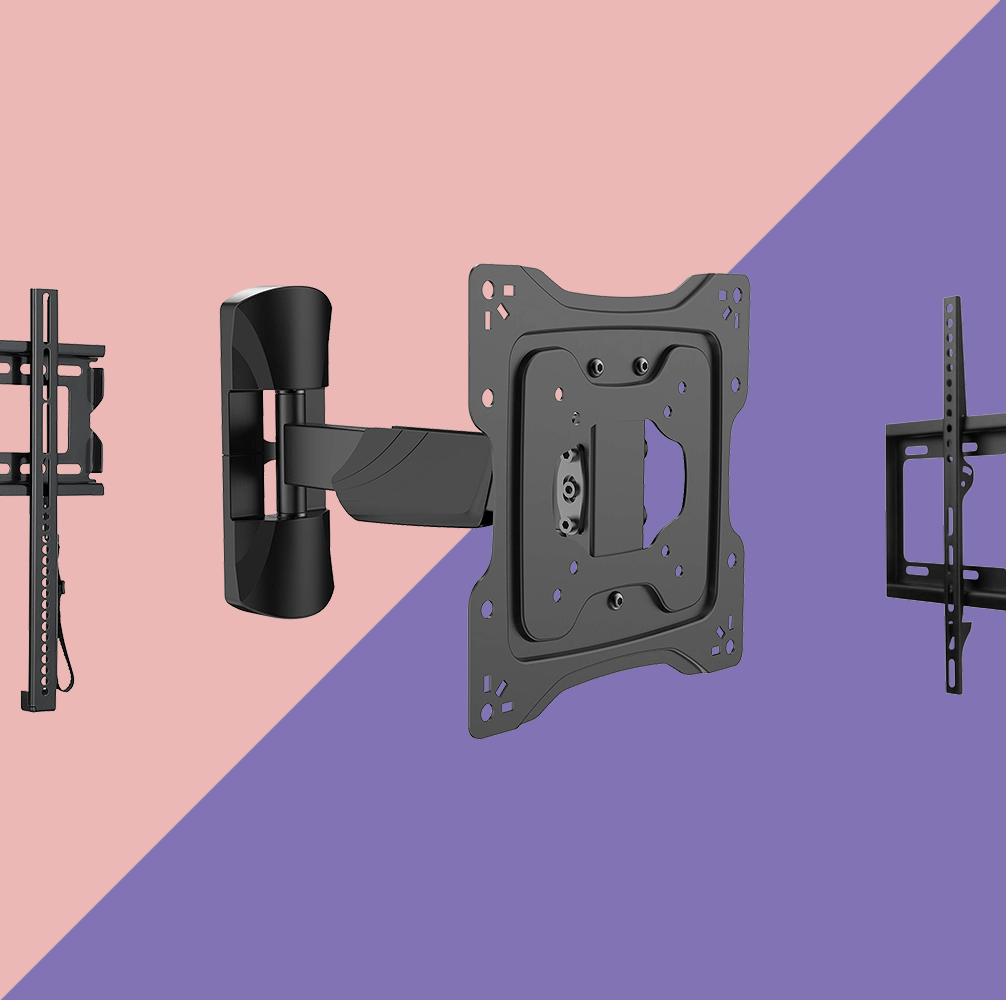
Mounting a TV on the wall offers benefits such as saving space and enhancing aesthetics, especially as modern televisions continue to increase in size while living spaces often remain constrained. This guide details the process of safely and securely wall-mounting a TV, covering various aspects from choosing the right mount to the final installation steps and cable management. Three primary types of wall mounts are available: fixed, tilt, and full-motion. Fixed mounts keep the TV flush against the wall without any adjustability. Tilt mounts allow for slight vertical angling, useful for high-mounted TVs to optimize viewing angles. Full-motion mounts provide the most flexibility, enabling the TV to extend from the wall and pivot, which is ideal for corner installations or dynamic viewing arrangements. The selection of a mount depends on the desired placement and adjustability needs.
Compatibility between a TV and its mount is largely governed by the Video Electronics Standards Association (VESA) standard. Almost all modern TVs include VESA-compliant screw holes on their back panels. VESA specifications, typically found in a TV’s manual or product listing, indicate the distance between these holes in millimeters, ensuring the mount and TV align correctly. Beyond VESA compatibility, it is crucial to verify that the chosen mount can adequately support the TV's weight and size. Newer TVs are generally lighter, but older models may be significantly heavier, necessitating a mount with a higher weight capacity. Wall mount prices vary from around £20 to £160, with full-motion mounts generally costing more. Higher-priced mounts may offer features like a shallower profile against the wall or more articulation points for greater control over positioning. Trying out a mount in a shop is recommended for full-motion options to assess ease of movement, especially when considering a heavy TV.
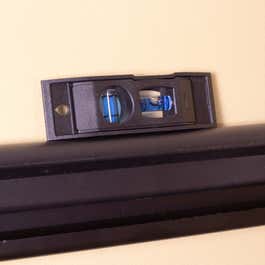
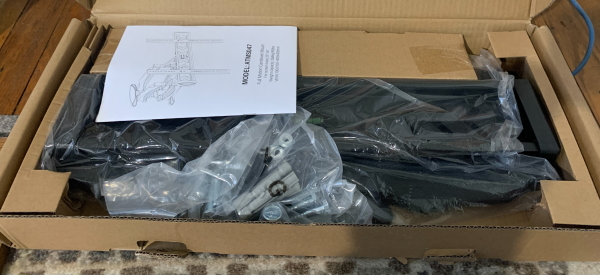
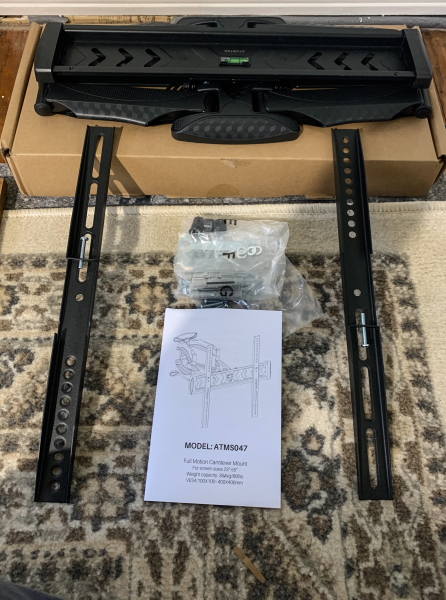
Successful TV wall mounting requires a specific set of tools. A drill is essential, with appropriate bits for different wall materials (masonry bits for brickwork, twist bits for others). A screwdriver is needed to attach the bracket to the TV. A spirit level, either standalone or integrated into the mount, ensures the TV is installed straight. A stud finder is vital for hollow walls to locate wooden support beams, preventing drilling into empty space or damaging hidden pipes and wiring. For brick walls, a stud finder is not necessary. A tape measure helps in accurately positioning the TV and marking drill holes. Depending on the mount, a spanner might be required to secure certain bolts. The importance of a drill is underscored by the weight of TVs; even smaller models are too heavy for adhesive-only solutions, requiring screws deeply anchored into the wall structure.
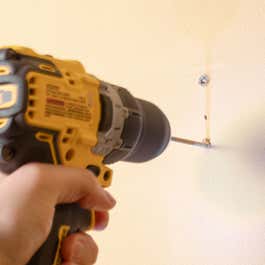
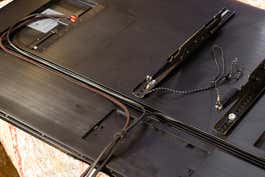
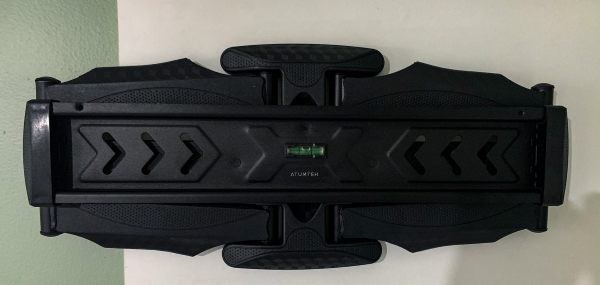
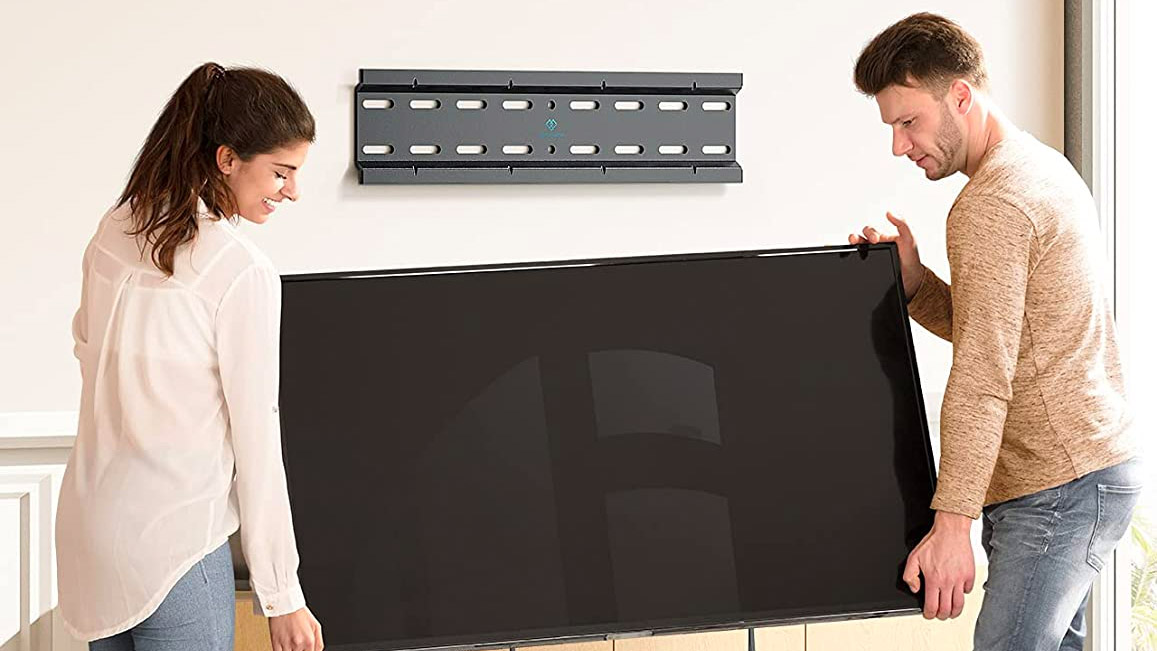
Before beginning the installation, consider how to manage cables. For a clean look, cables can be threaded through the wall, which requires creating holes. The installation process involves several steps: first, determining the TV’s optimal position on the wall, ideally with assistance to visualize the placement accurately. Marking the TV's outline with a pencil or tape after confirming the position is recommended. Second, the wall bracket is positioned, and bolt holes are marked and drilled, ensuring the bracket is level. Pilot holes should be made first, followed by drilling with a bit matching the bolt size. Third, the TV-side part of the mount is attached to the back of the TV using appropriate bolts, selecting from the various sizes typically provided with the mount. Any fastening screws should be loosely fitted at this stage. Finally, the TV is mounted onto the wall bracket. It is advisable to connect all necessary cables to the TV beforehand, as access can be restricted once it's mounted. Two people are recommended for this step to prevent accidental drops. Once the TV is securely attached to the wall bracket, any loose fastening screws are tightened to hold everything in place. For cable management, options include using trunking, which can be painted to match the wall, or threading cables directly through the wall. Threading through the wall provides a cleaner look but requires more DIY effort and longer cables than might initially seem necessary. If the DIY process seems too challenging, professional installation services are available, offered by retailers or independent Which? Trusted Traders, potentially offering more cost-effective solutions tailored to specific needs.
#TVInstallation #WallMount #HomeImprovement #VESAStandard #CableManagement #DIYGuide #HomeEntertainment #TVBrackets #ToolEssentials #TVInstallation #WallMount #HomeImprovement #VESAStandard #CableManagement #DIYGuide #HomeEntertainment #TVBrackets #ToolEssentials
Hay 0 comentarios en total
 Aún no hay comentarios
También te puede gustar
How to mount your TV to a wall in a way that's smart and safe

The Best TV Wall Mounts for Flat Screens

The Best TV Mounts to Level Up Your Space
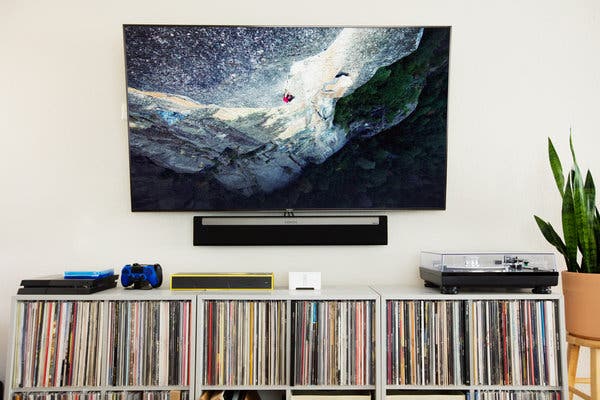
How to Mount a TV Without Making a Mess (Published 2019)

Here’s How to Not Mess Up Mounting Your TV on the Wall | Reviews by Wirecutter
The Best TV Wall Mounts for Every Budget
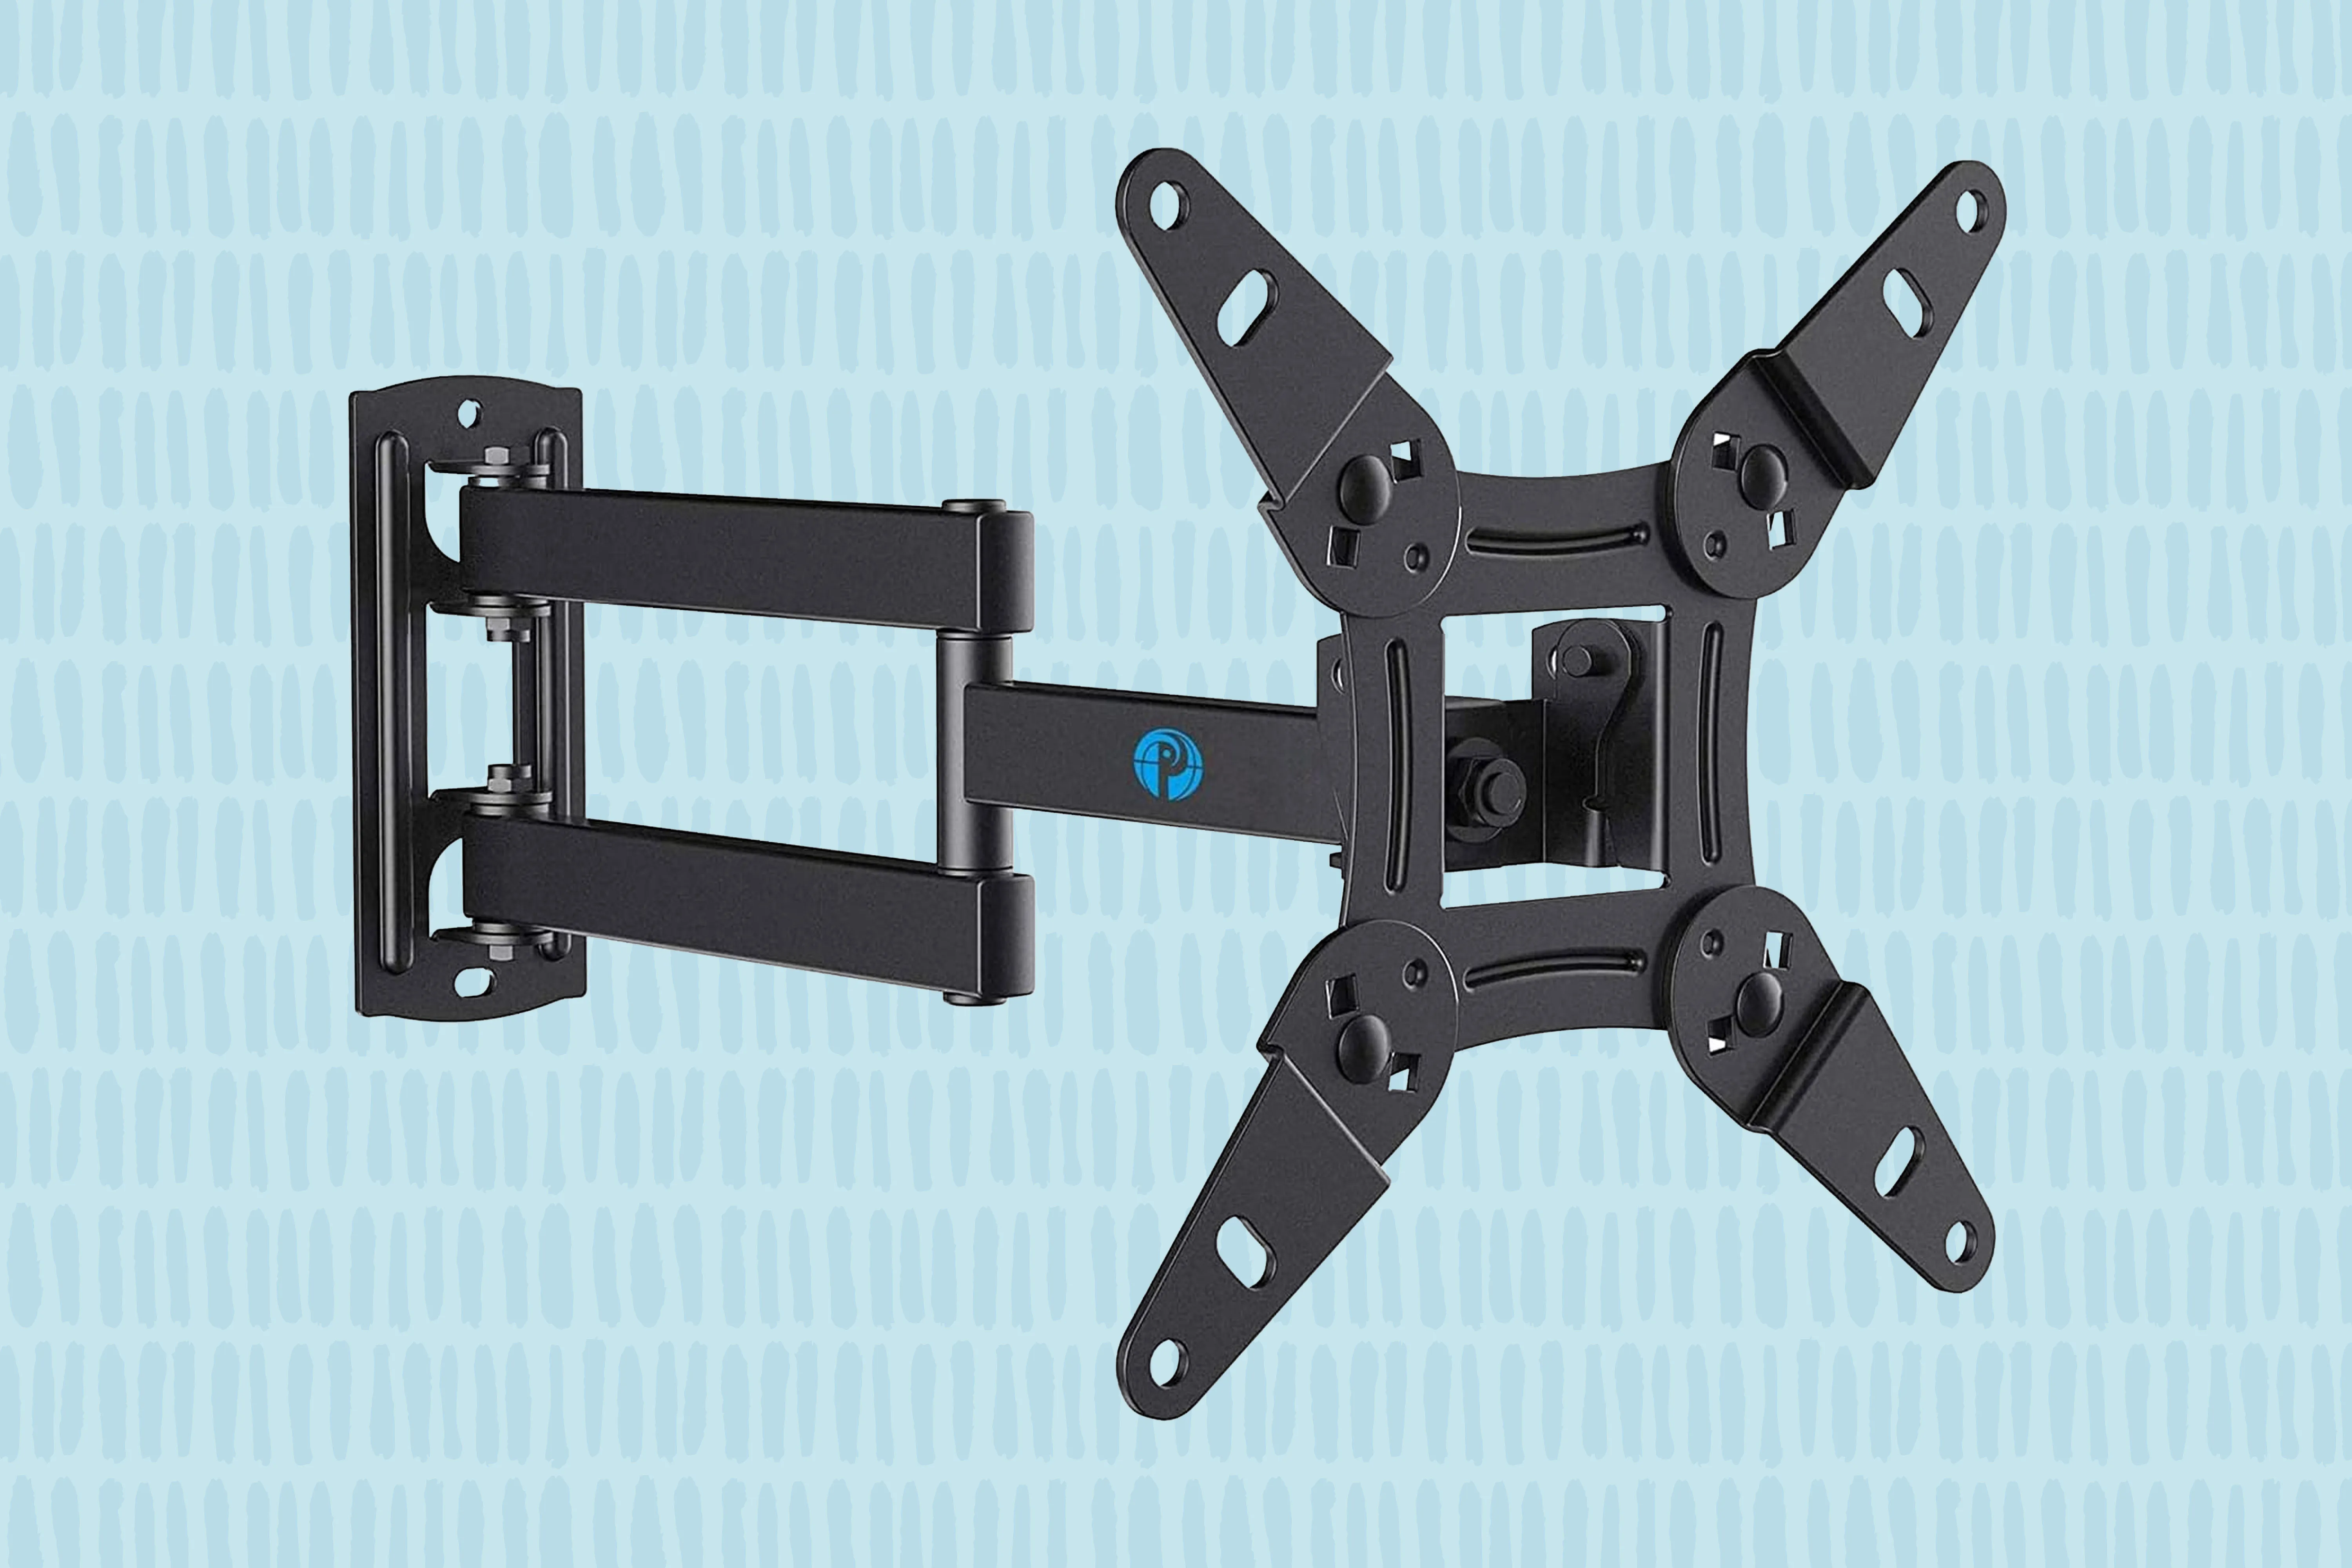
The 6 Best TV Wall Mounts, Reviewed by BHG

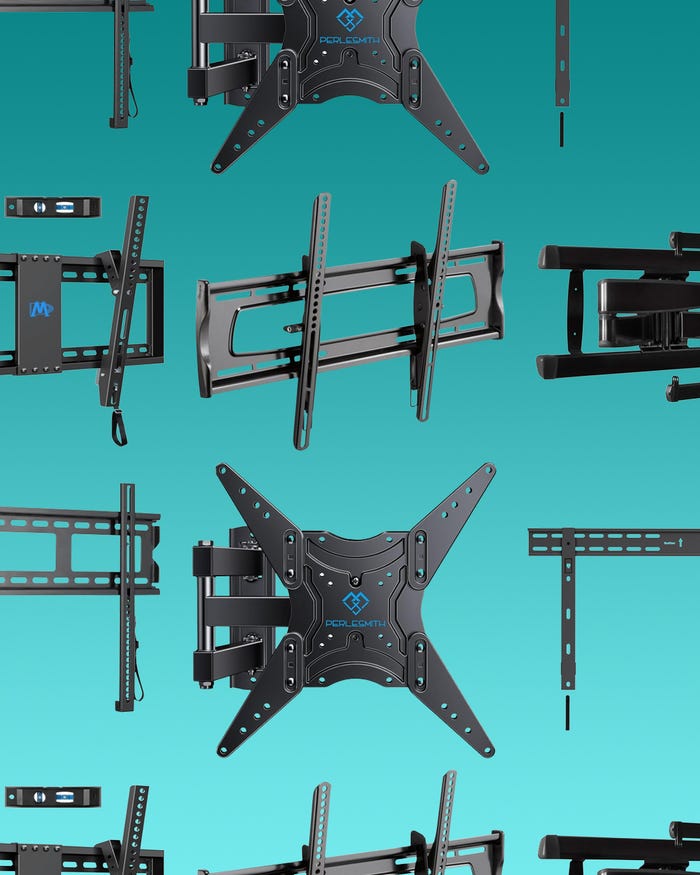
The best TV wall mounts, including full-motion, tilting, and swiveling options for all sizes
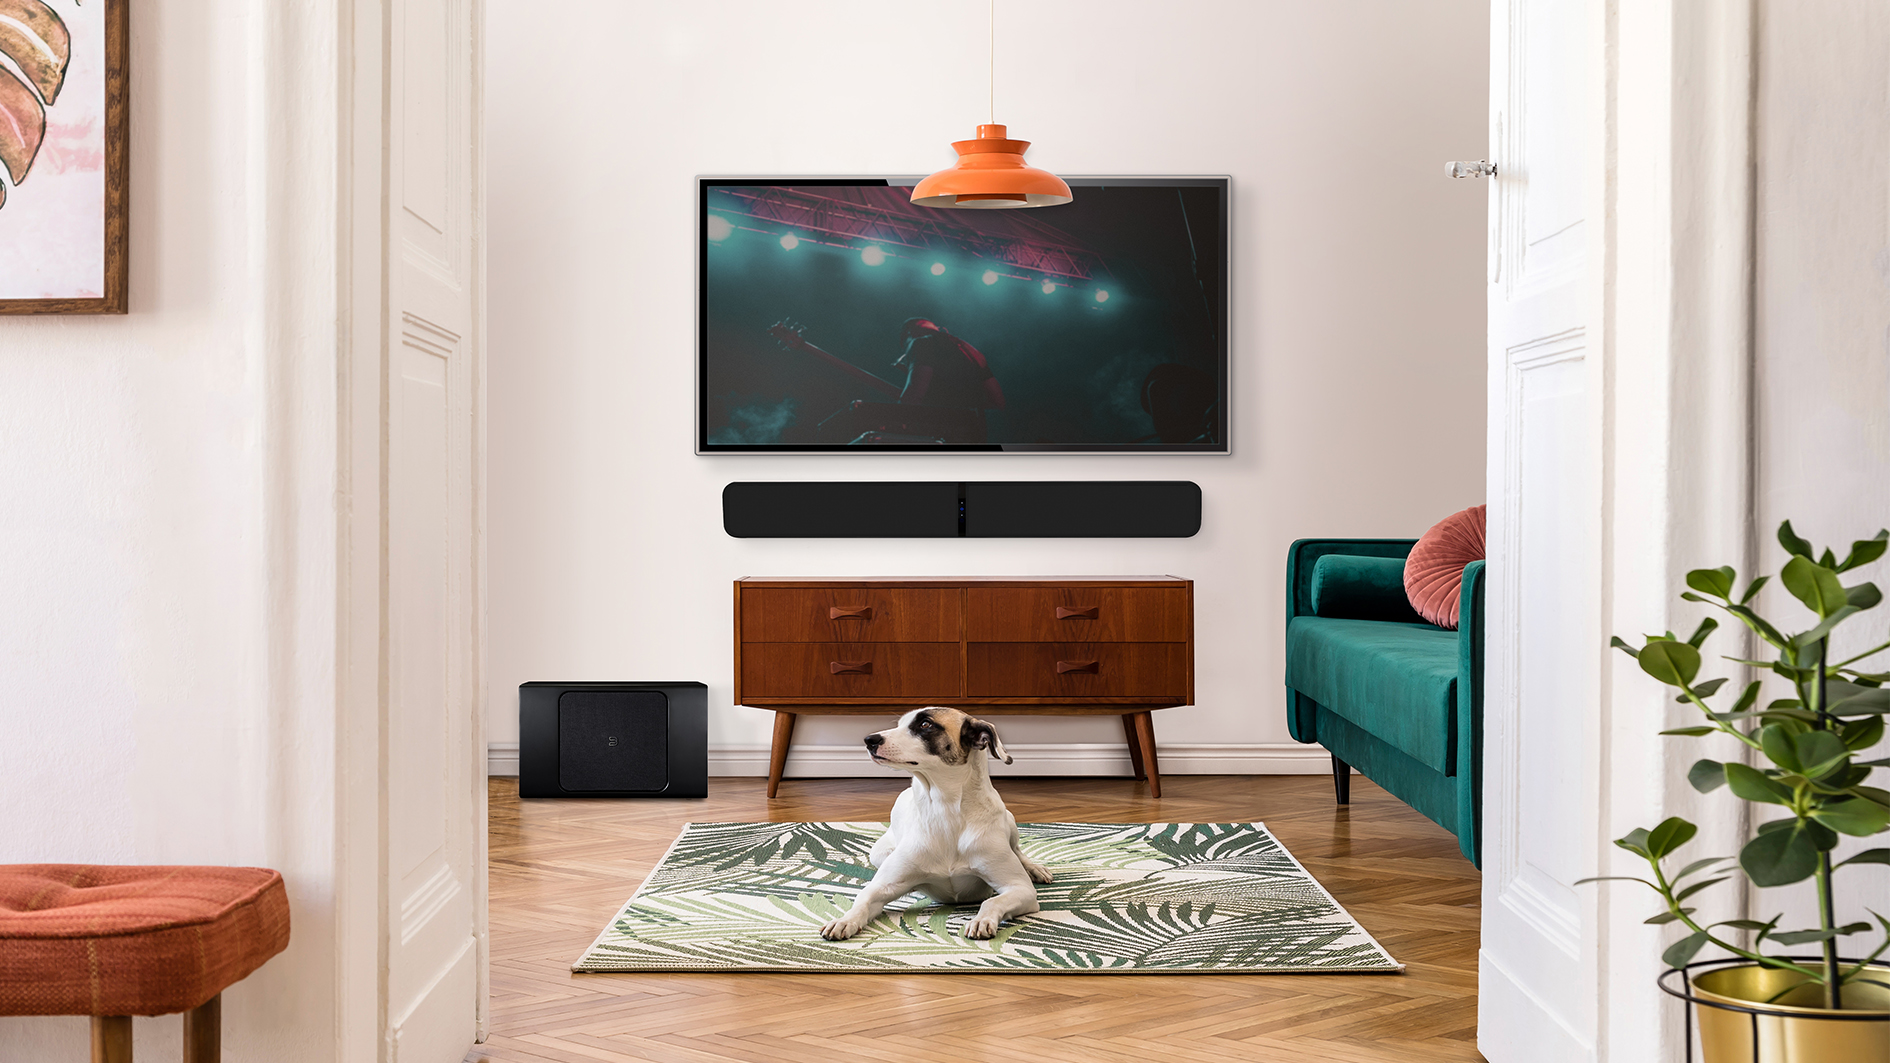
How to mount a soundbar on a wall for a fabulous music and TV experience
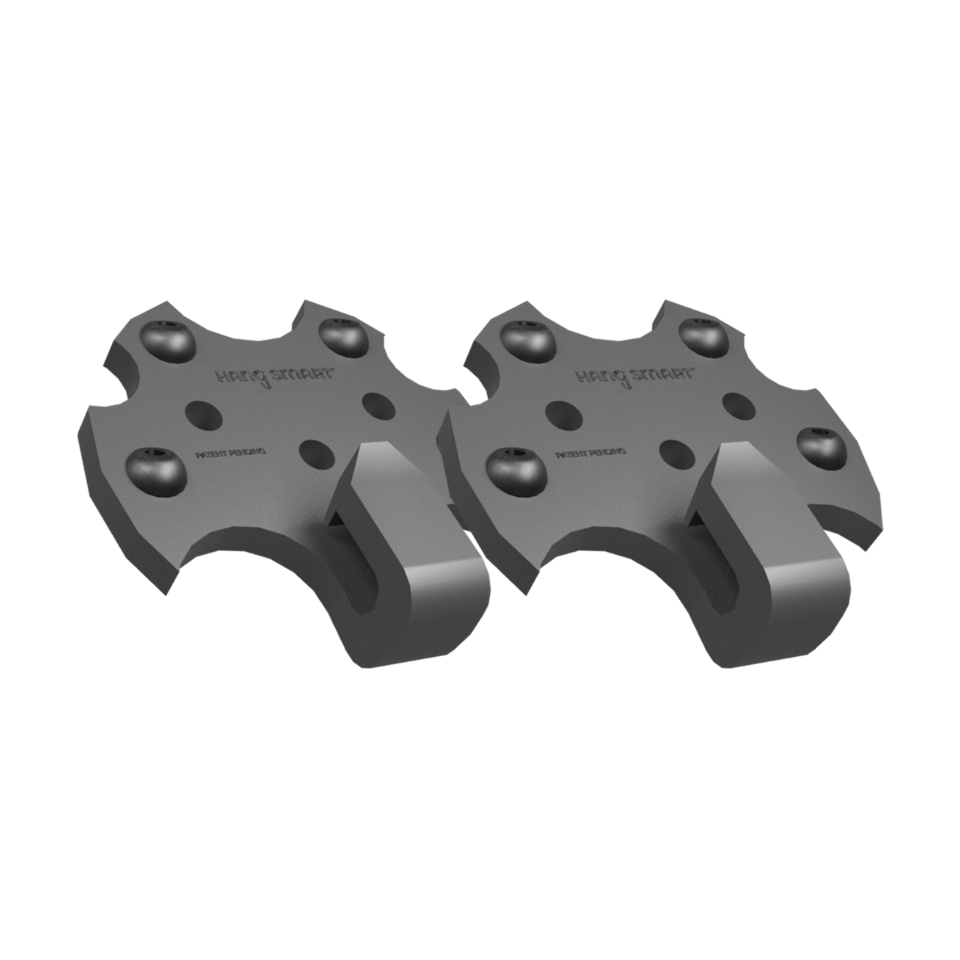
A Clever And Easy Way To Hang Your TV On A Wall — By Yourself

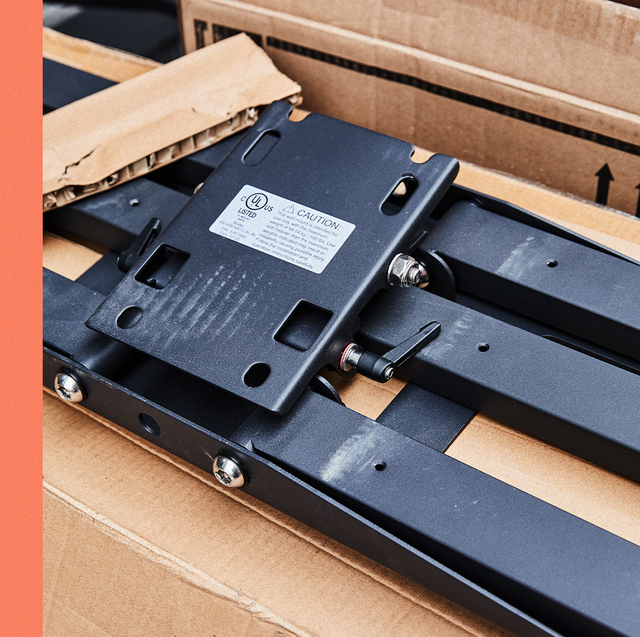
As a Parent of an Energetic Toddler, These Are the TV Wall Mounts That I Trust

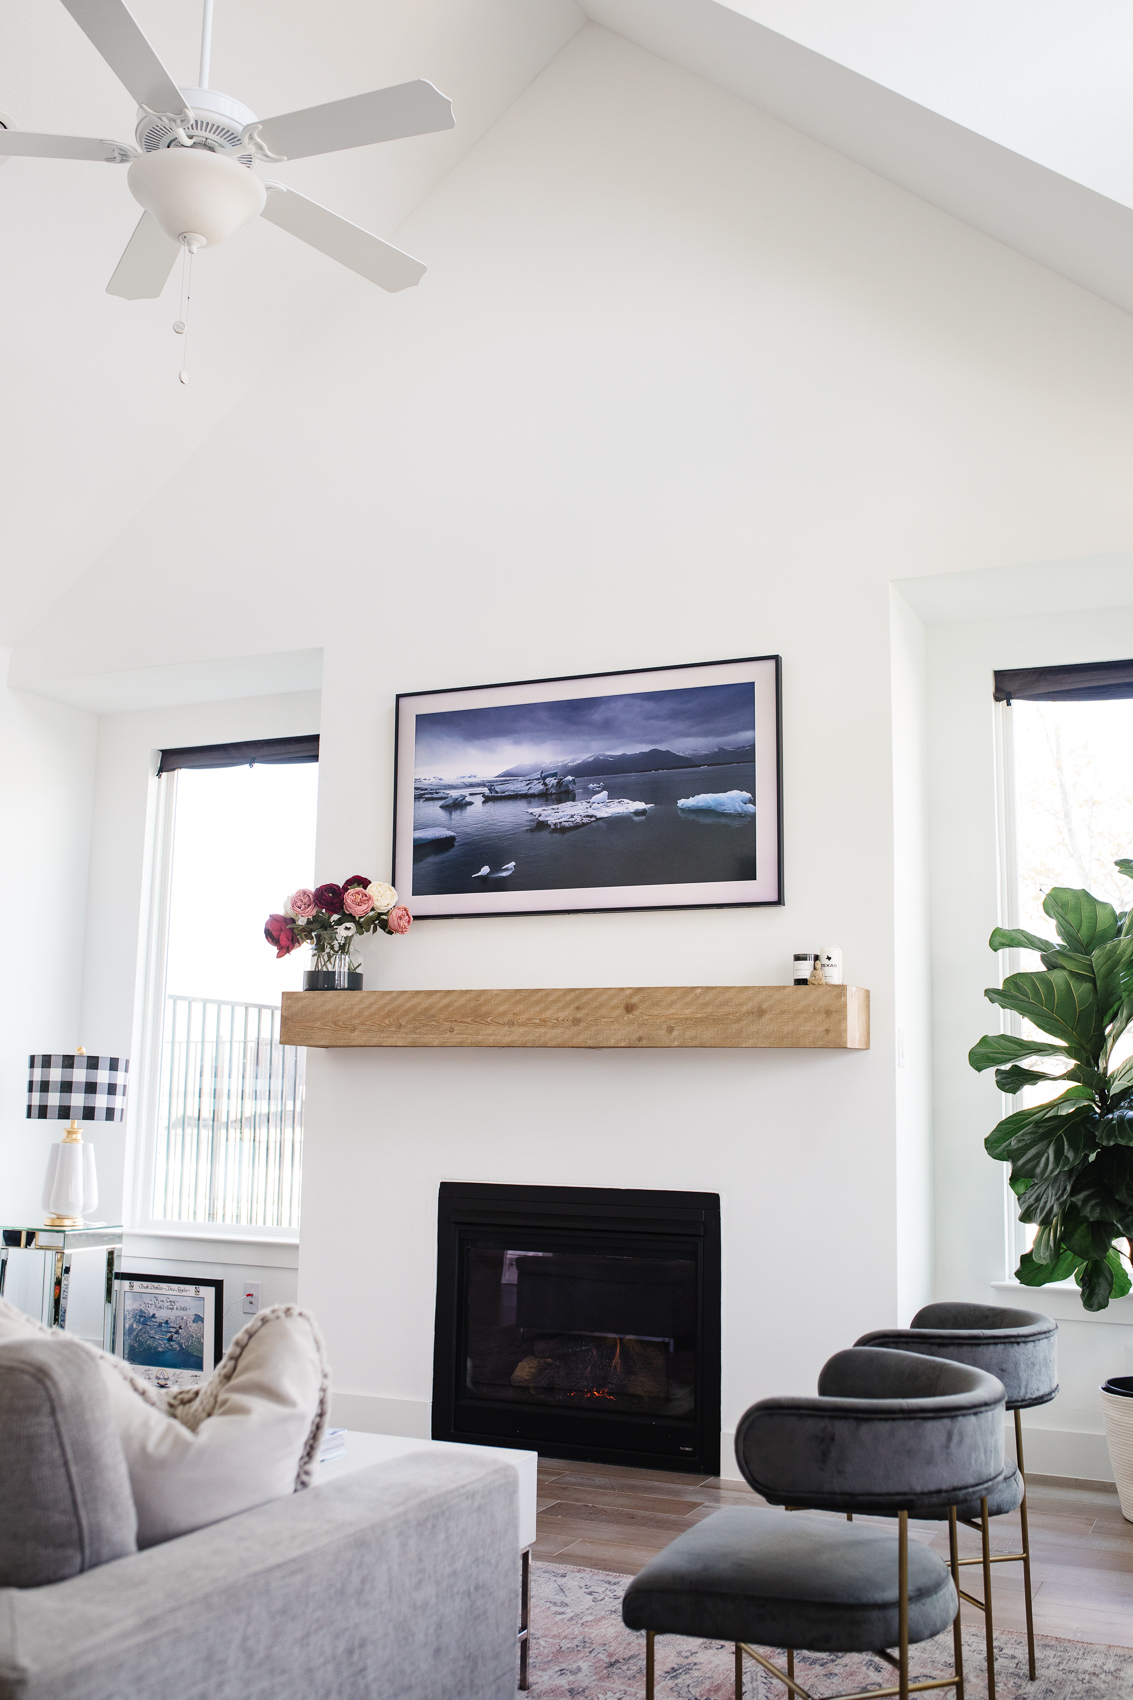
Samsung Frame TV Review & Mounting Guide

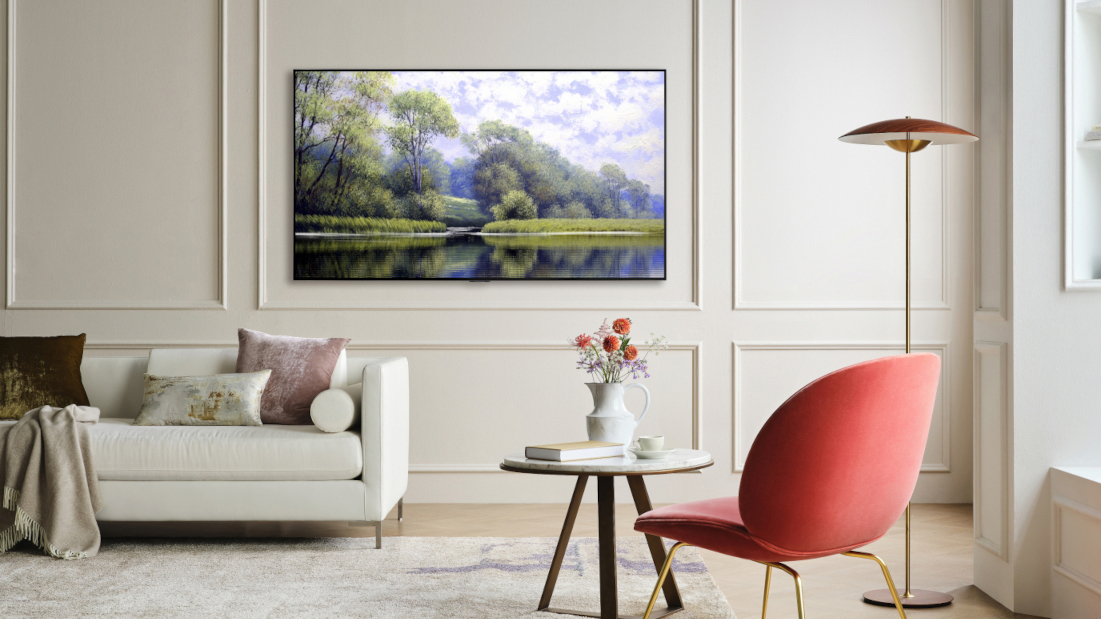
TV wall mounting tips: what you need to know before you get the drill out

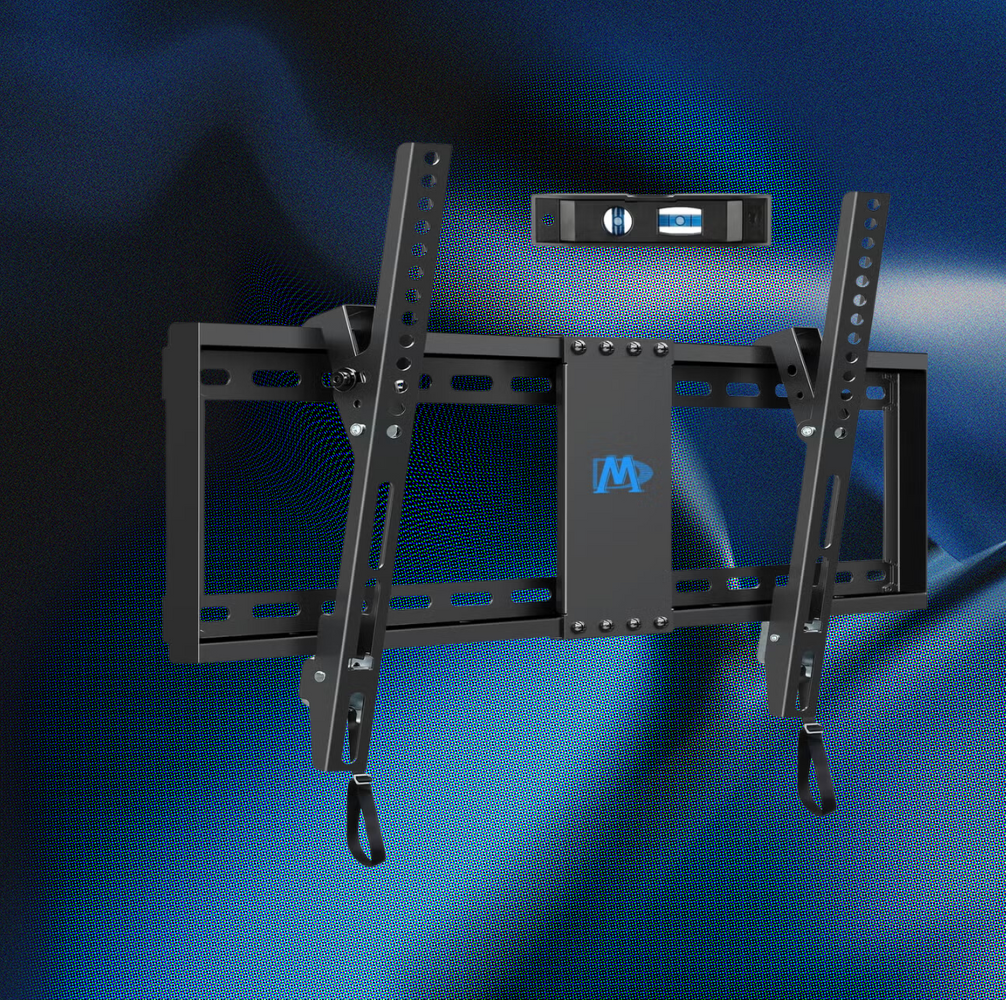
Our Favorite TV Wall Mount is Just $30 on Amazon

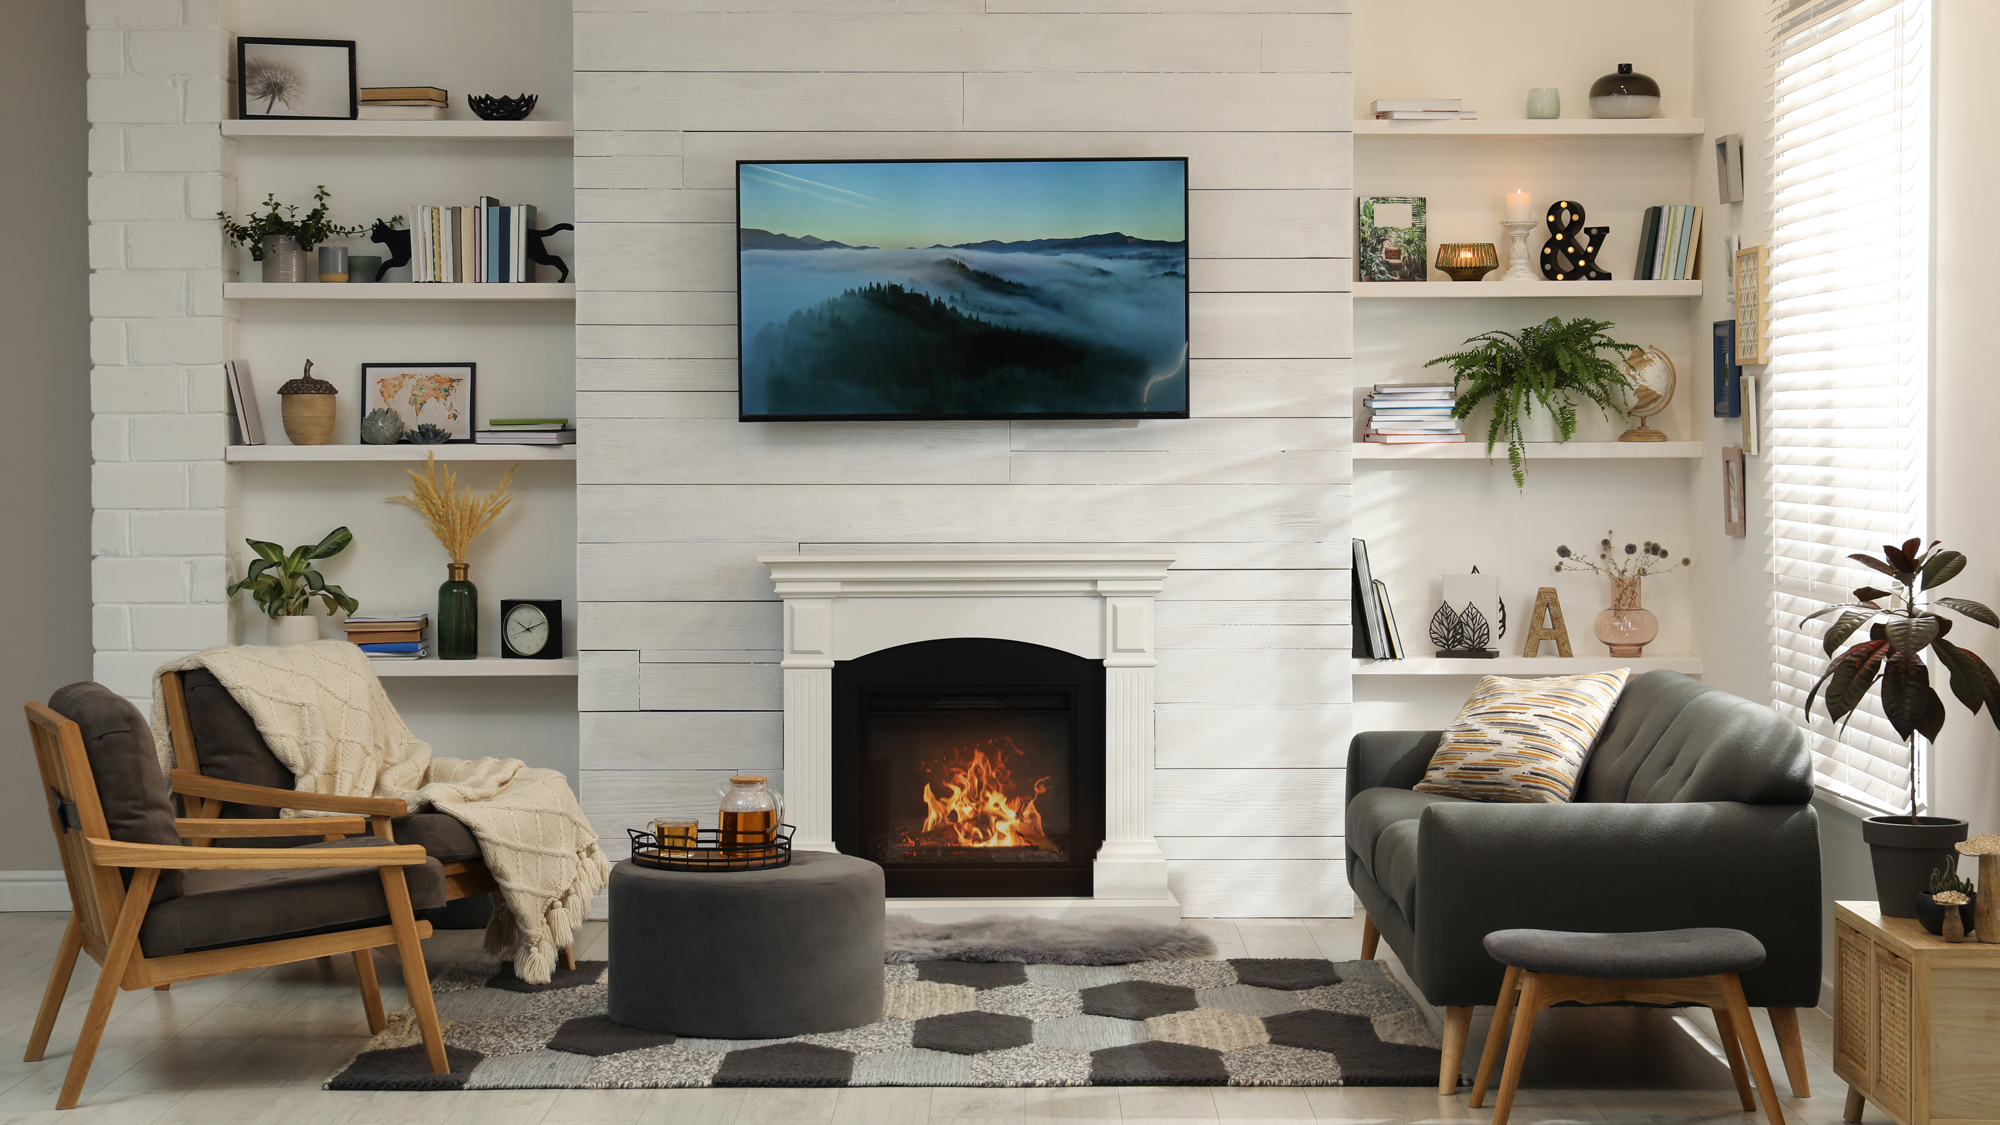
I test TVs for a living, and this is the one spot in my living room I would never put my TV

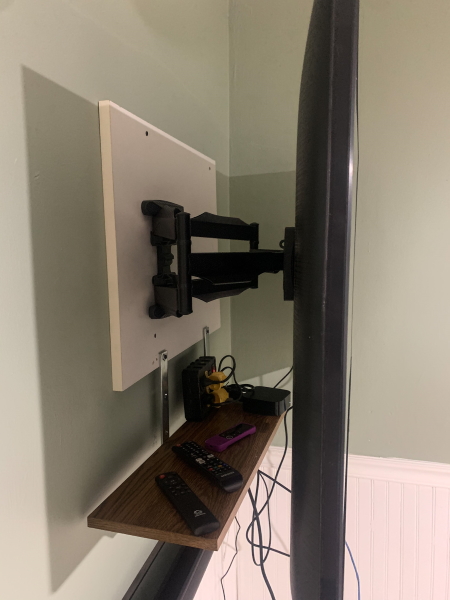
Atumtek TV Wall Mount review – With full motion swivel, tilt, extension and rotation

3 Best TV Wall Mounts of 2025, Tested and Reviewed

The best wall mounts and brackets for your TV
The Best TV Wall Mounts for Every Screen Size and Home Theater Setup

Got $6? Then you can score this 55-inch tilting TV wall mount at a new all-time low