1/14
9 common DIY shelving installation mistakes – and how to avoid them for a slick, professional finish
Installing shelves can seem like a straightforward home improvement task, but there are several common mistakes that can lead to unstable, crooked, or even collapsing shelves. These errors not only compromise the aesthetic appeal of a room but can also result in damaged walls and belongings, or even personal injury. To achieve a professional and durable finish, it's crucial to understand and avoid these pitfalls, starting with proper planning and material selection.
One of the most frequent mistakes is neglecting to locate wall studs, especially when installing shelves on drywall. Drywall alone lacks the structural integrity to support significant weight, making shelves prone to pulling away from the wall. Professionals advise using a stud finder, or even a strong magnet to locate screws, to anchor shelves directly into these wooden or metal supports, ensuring a much stronger and longer-lasting installation. For heavy-duty applications on drywall, toggle bolts or heavy-duty anchors are recommended.
Another critical step often overlooked is using a level. Eyeballing the installation can easily lead to crooked shelves, which are not only visually unappealing but also impractical, as items may slide off. A spirit level, whether short for small spaces or longer for broader shelves, is essential for ensuring a perfectly horizontal installation. Furthermore, accurate measurements are paramount. Double-checking all measurements with a reliable tape measure, preferably one with both metric and standard units for versatility, and even using painter's tape to visualize placement, can prevent costly errors and ensure a snug fit, especially in irregular spaces like alcoves.
Choosing the correct fixings for the wall material is also vital. Different wall types, such as drywall, brick, or concrete, require specific anchors to provide adequate support. Using the wrong fixings can cause shelves to sag or collapse. Adhering to manufacturer weight limits and even exceeding them slightly for safety, along with considering the shelf material and thickness (¾ inch is standard), is crucial to prevent bowing or breakage, particularly for floating shelves that lack visible supports.
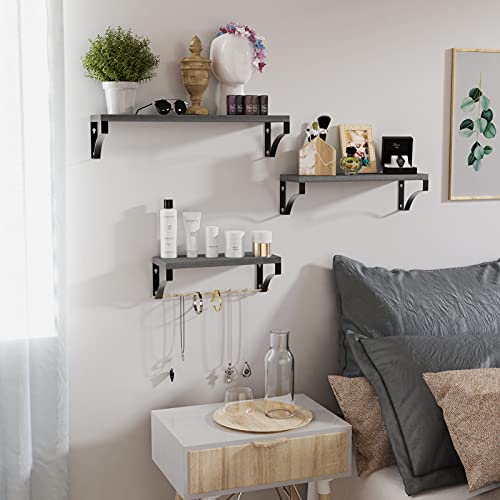
Employing the right tools is another key factor for successful DIY shelving. Using appropriate drill bits for wood, masonry, or specific wall materials, along with an impact driver for long screws or a hammer drill for masonry, significantly improves efficiency and accuracy. For clean cuts, a fine-toothed saw blade, possibly aided by painter's tape to minimize tear-out, is recommended. Finally, adequate support for the shelf length is necessary. Longer shelves, particularly those exceeding 36 inches, require more than two brackets, spaced no more than 32 inches apart, to distribute weight evenly and prevent sagging. Careful planning of shelf placement is also essential to avoid obstructions, ensure accessibility, and maintain a balanced aesthetic, especially when installing multiple shelves in the same area.
#DIYShelving #HomeImprovement #ShelvingInstallation #WallStuds #SpiritLevel #AccurateMeasurements #ShelfFixings #DIYTools #WeightLimit #AlcoveShelves #ShelfBrackets #HomeDecoration #DIYShelving #HomeImprovement #ShelvingInstallation #WallStuds #SpiritLevel #AccurateMeasurements #ShelfFixings #DIYTools #WeightLimit #AlcoveShelves #ShelfBrackets #HomeDecoration
0 Kommentare insgesamt
 Noch keine Kommentare
Das könnte Ihnen auch gefallen

Putting up shelves? Here's what you need to know first
9 Bathroom Storage Mistakes You're Probably Making


5 small entryway storage mistakes designers want you to stop making

8 Closet Organization Mistakes That Annoy Pro Organizers—and Make Your Space Way Less Functional

How to style your shelves

7 kitchen storage mistakes you're making – and how to fix them
The Art Of Shelf Styling

The 9 Best Floating Shelves for Every Room in Your Home

Styling Shelves: Your Expert (Five-Point) Guide
Your Shelf Brackets Don’t Have to Be Resigned to a Supporting Role
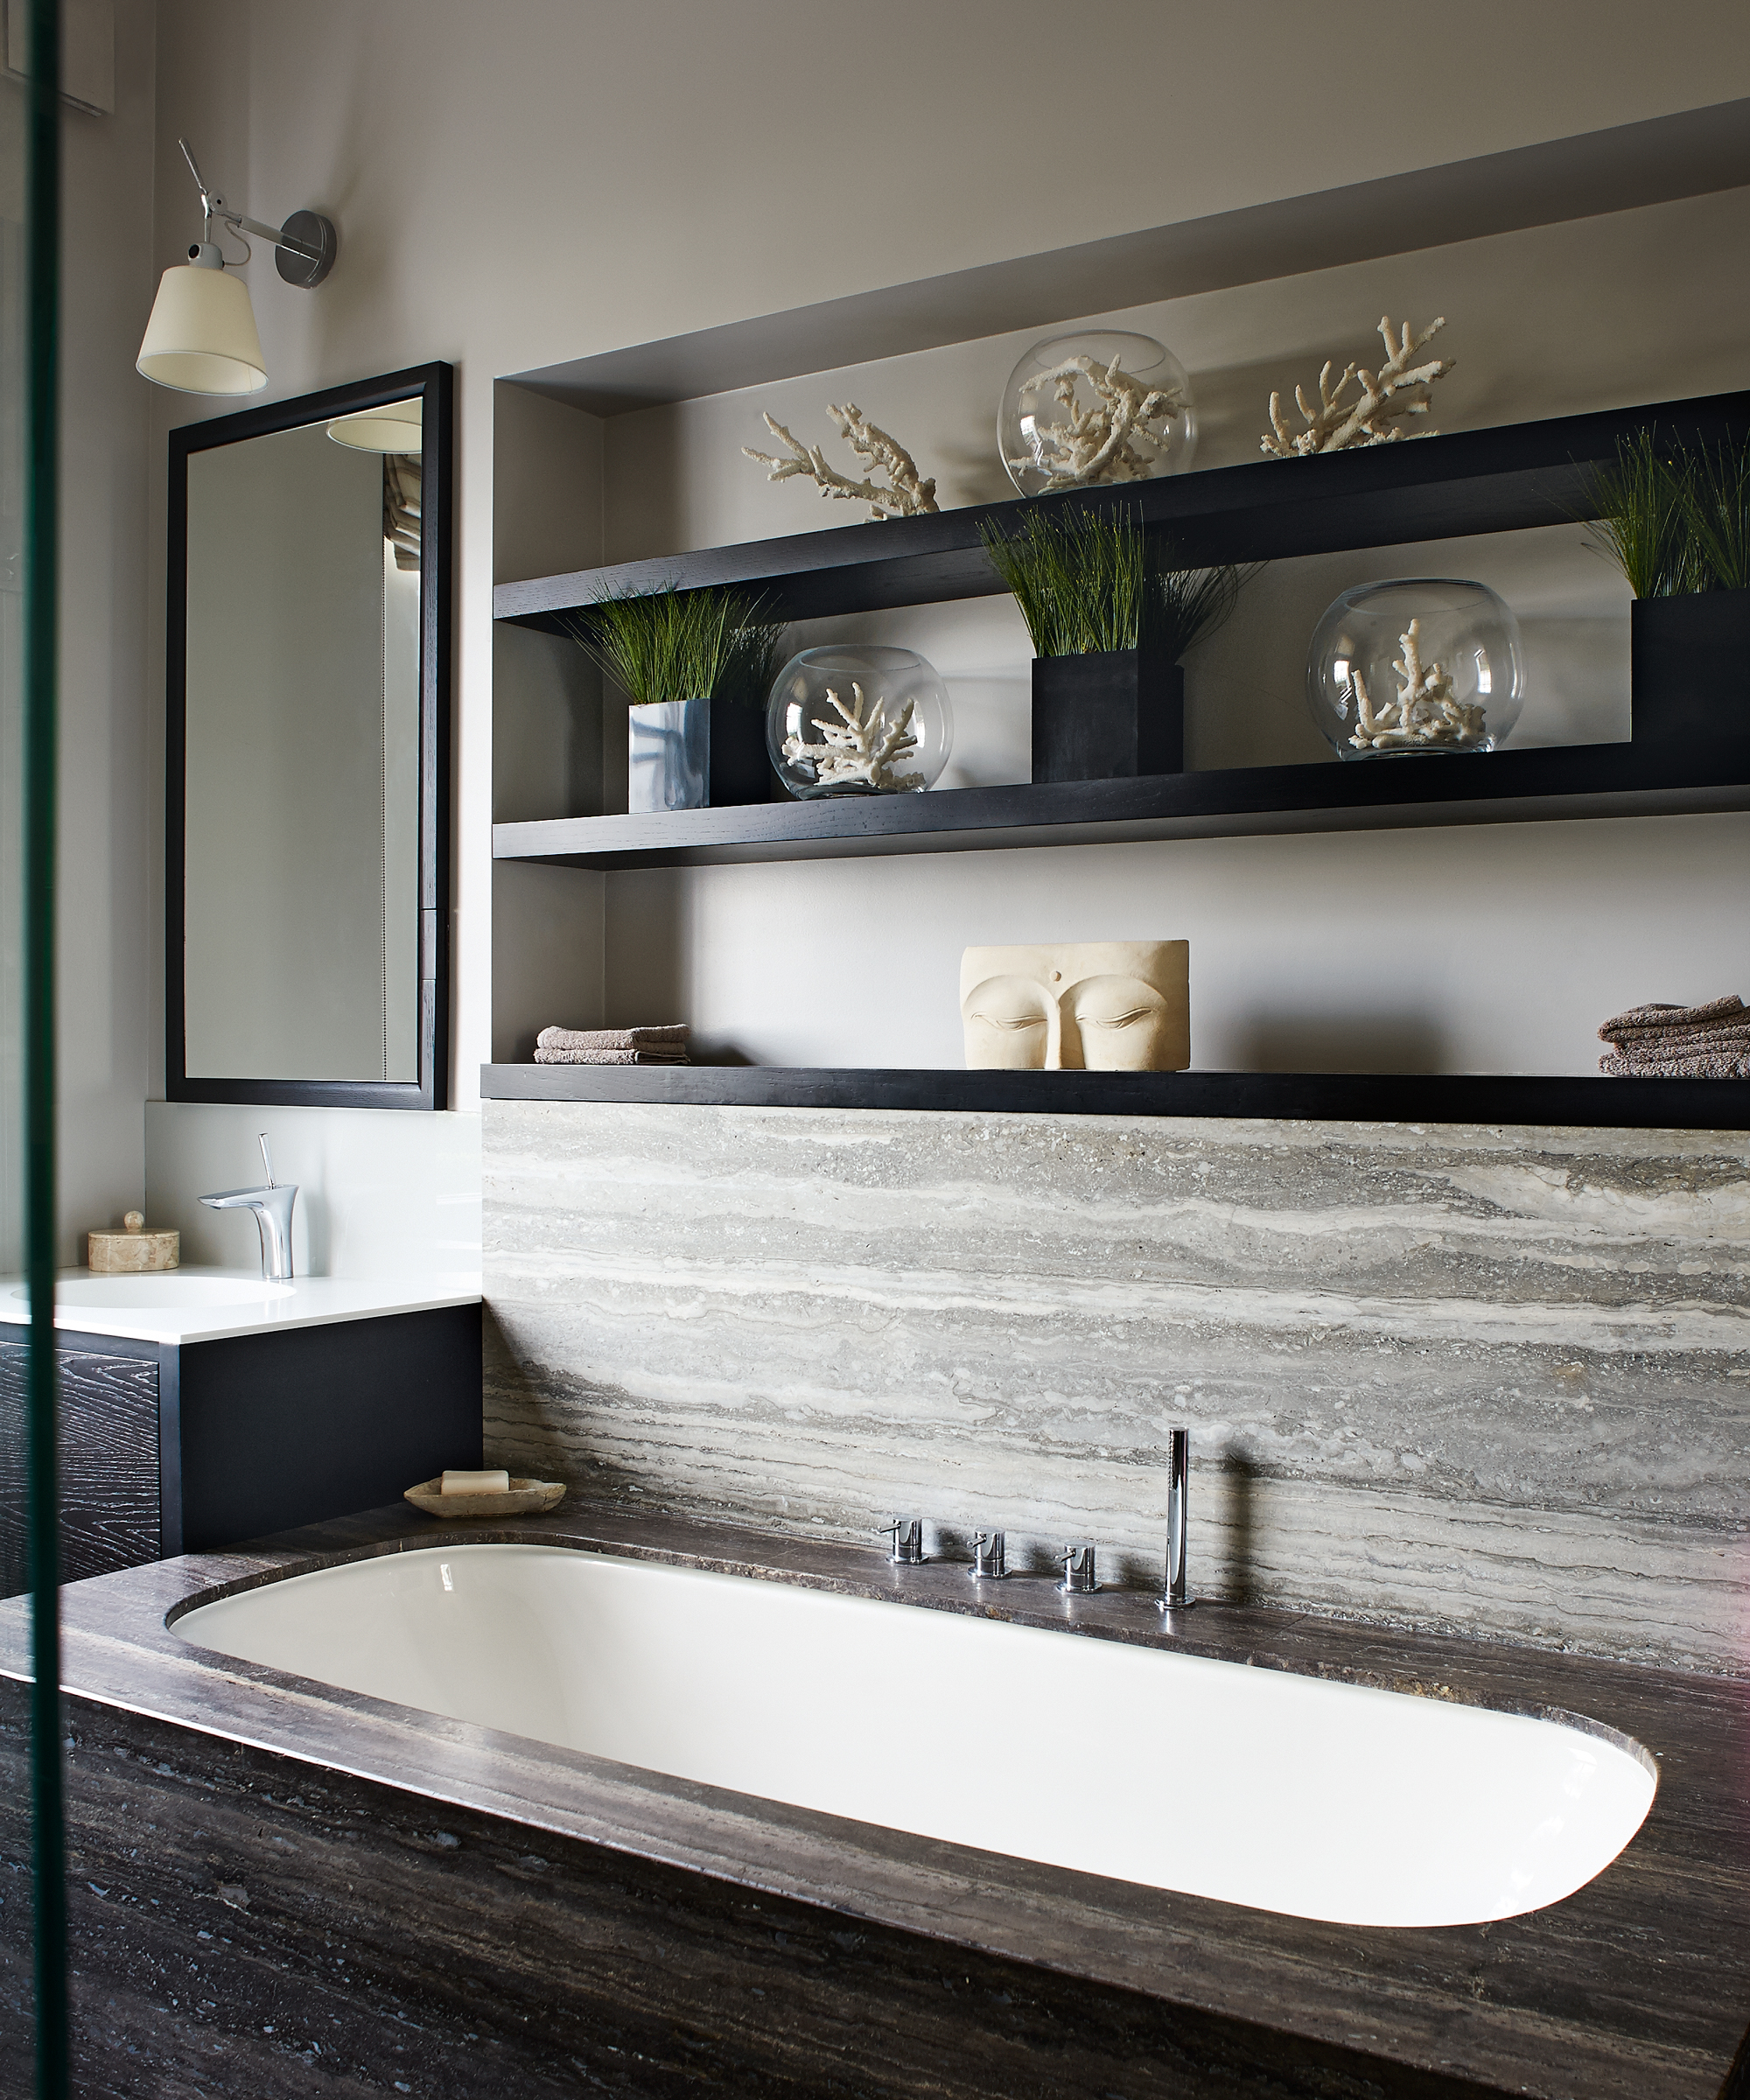
Organizing bathroom shelves – 10 clever editing and arranging strategies

9 common home renovation mistakes to avoid

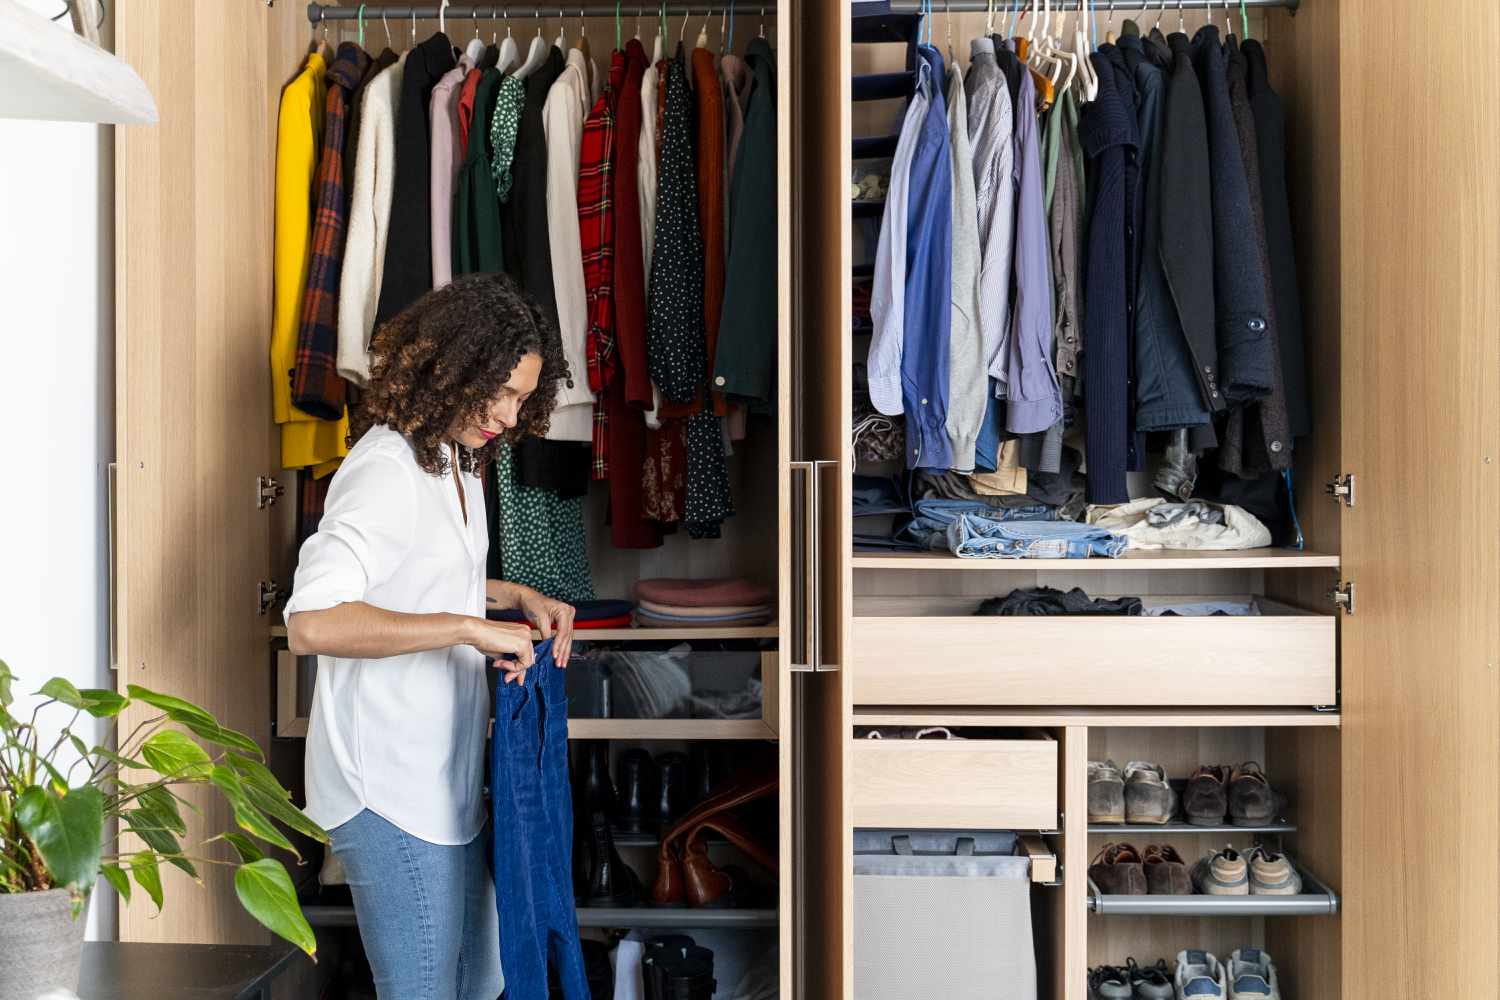
10 Closet Organizing Mistakes You're Probably Making

Shelf Brackets | Floating Shelf Brackets

15 Shed Building Mistakes and How to Avoid Them

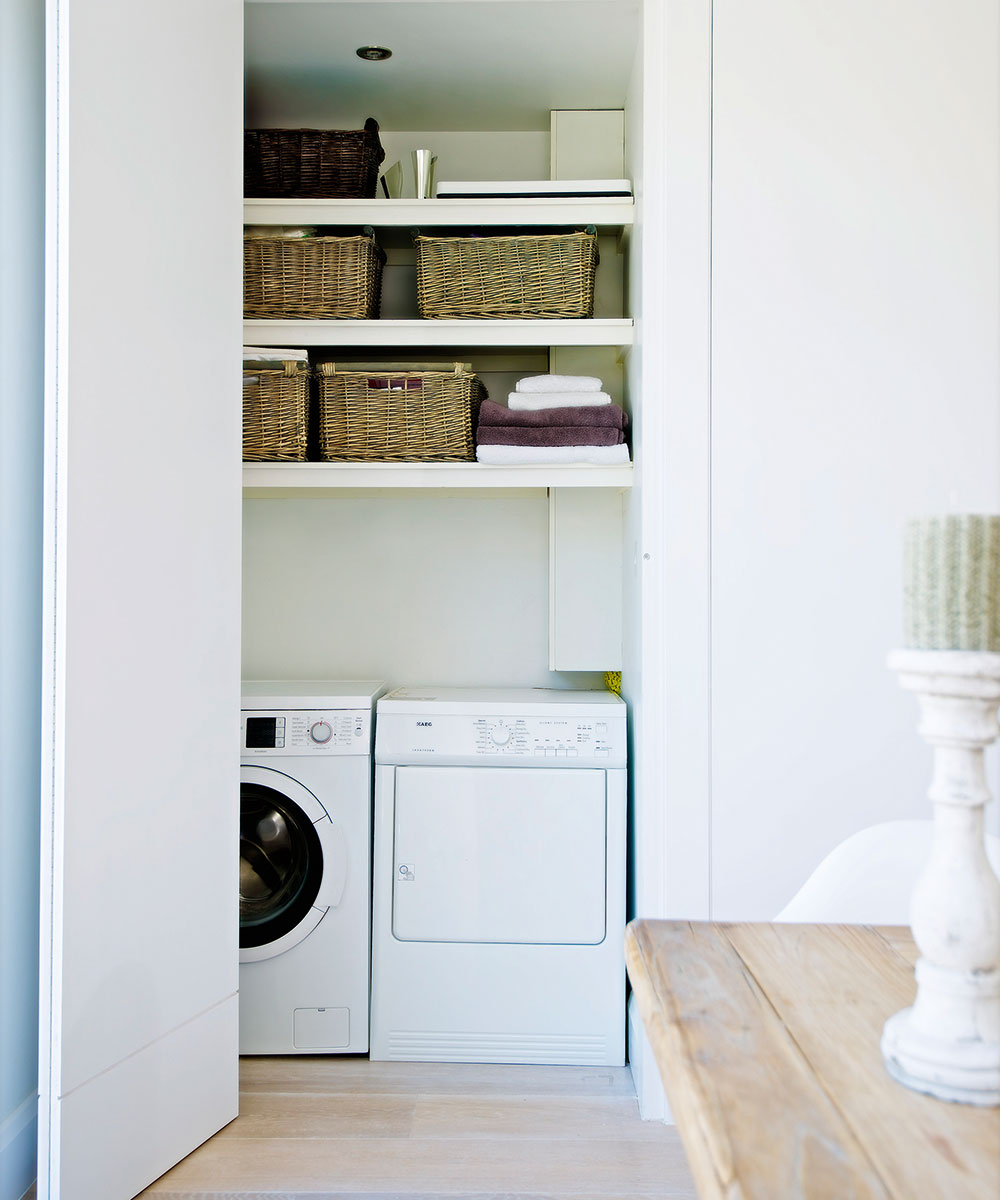
9 Utility room design mistakes and how to avoid them
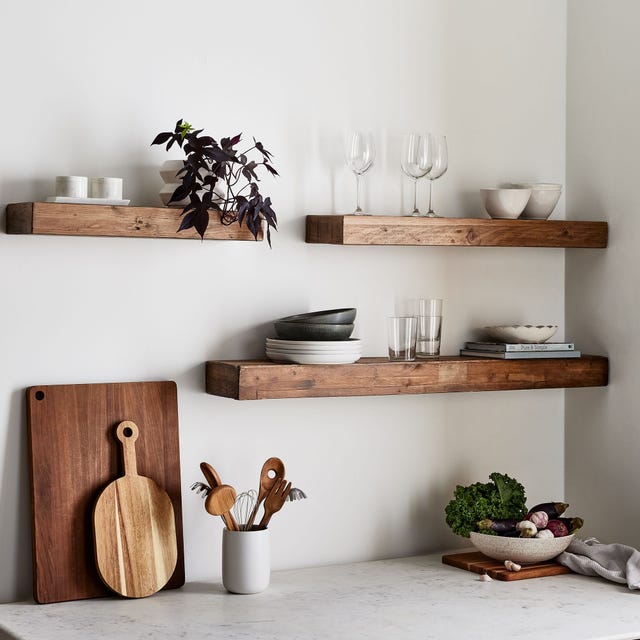
Install Renter-Friendly Shelves Like a Pro—Here's What You Need

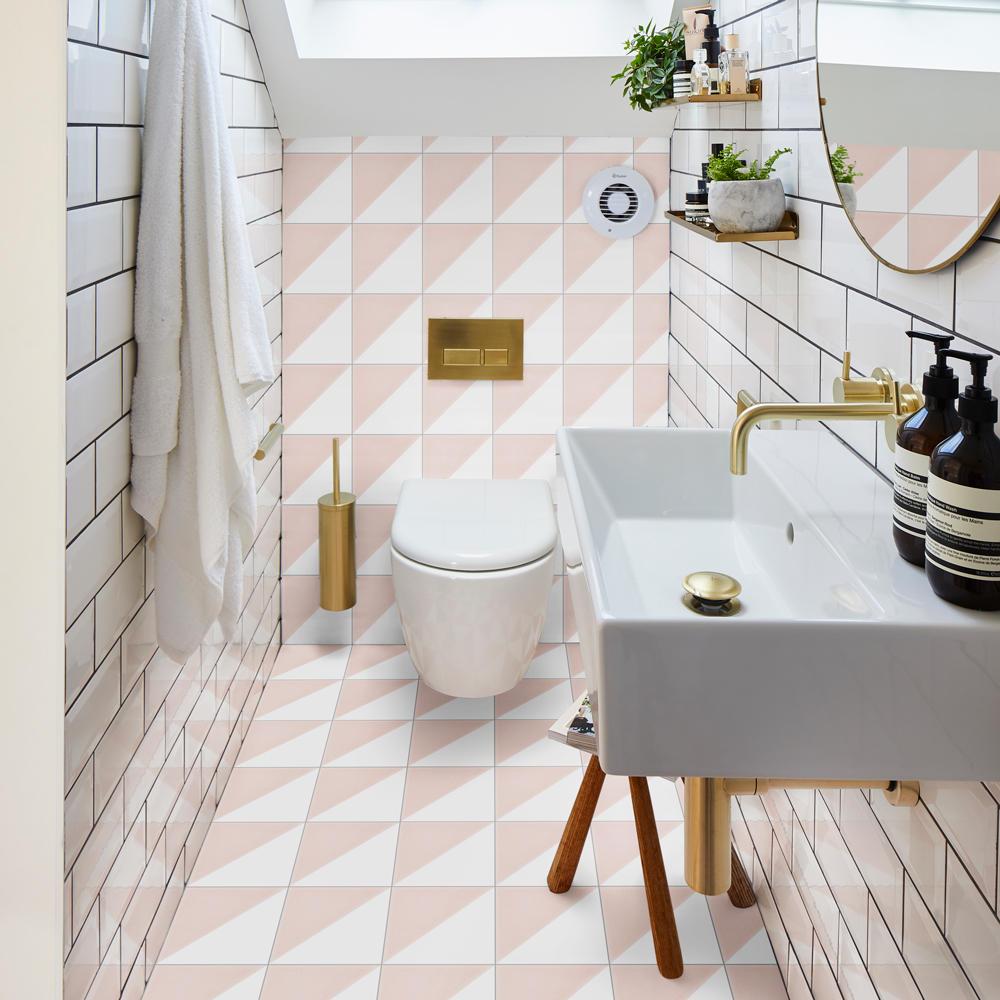
10 common tiling mistakes that can be costly – and how to avoid them
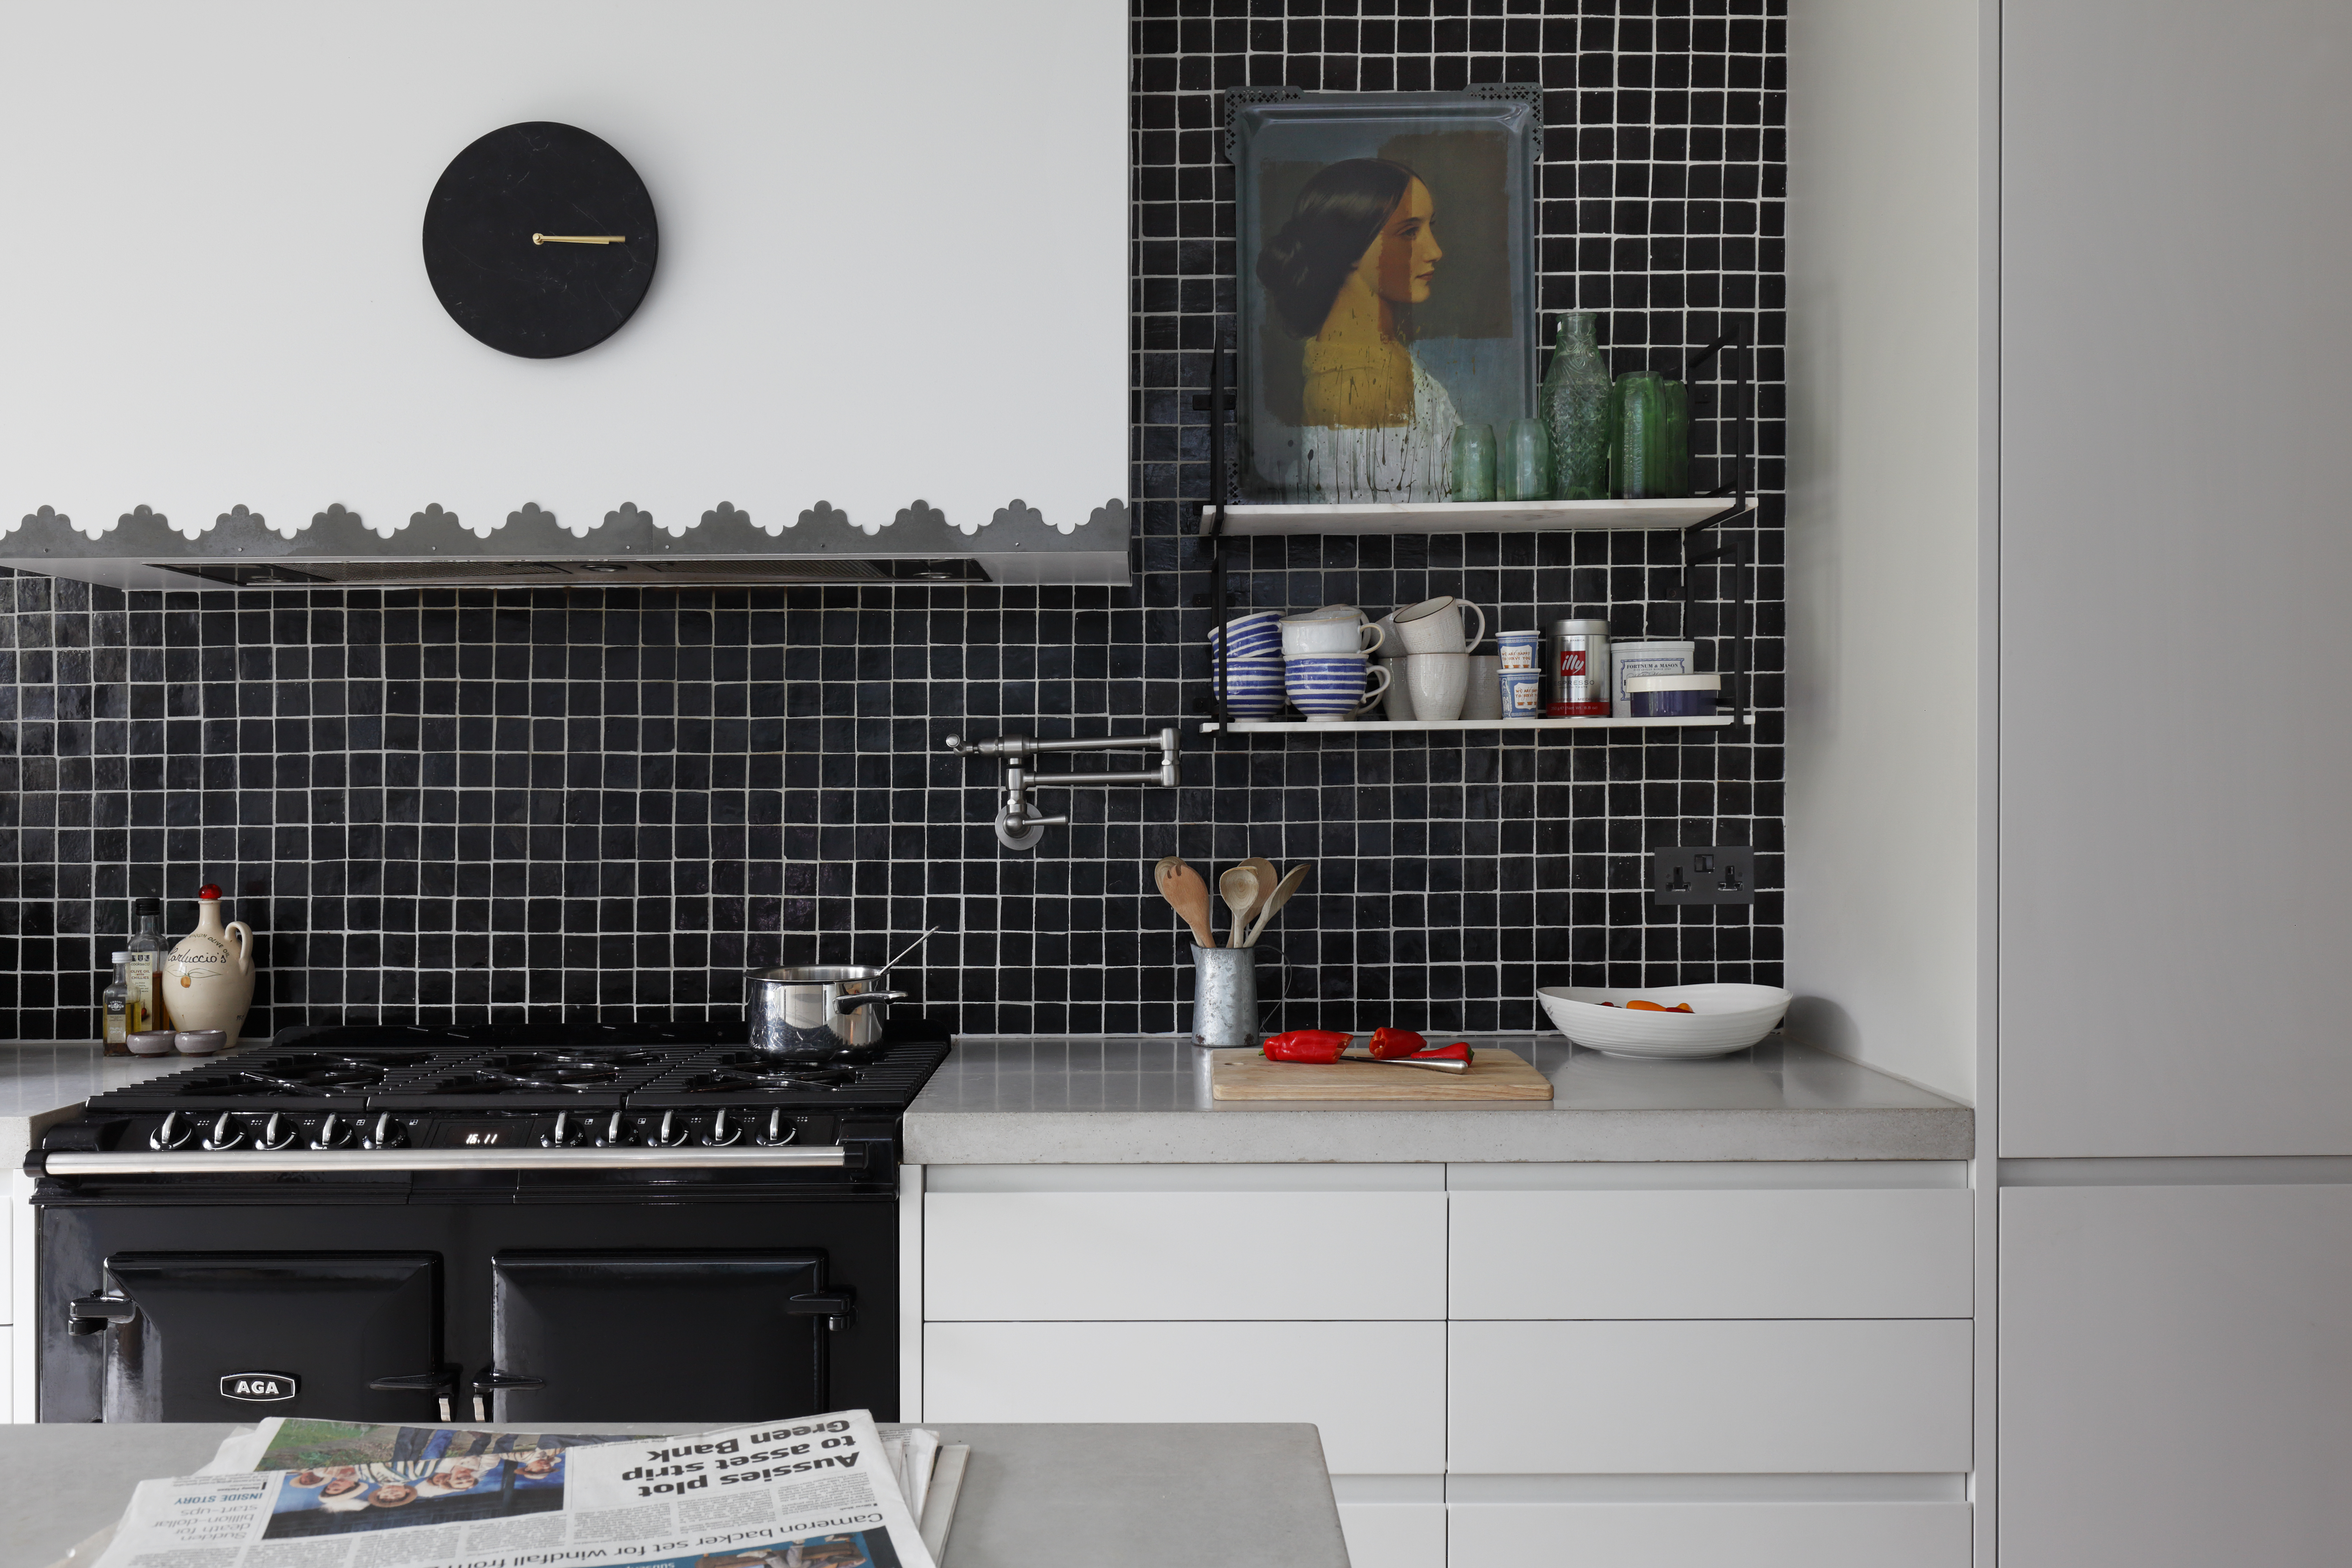
5 storage mistakes people with clutter-free kitchens never make - they'll make you re-think your remodel plans

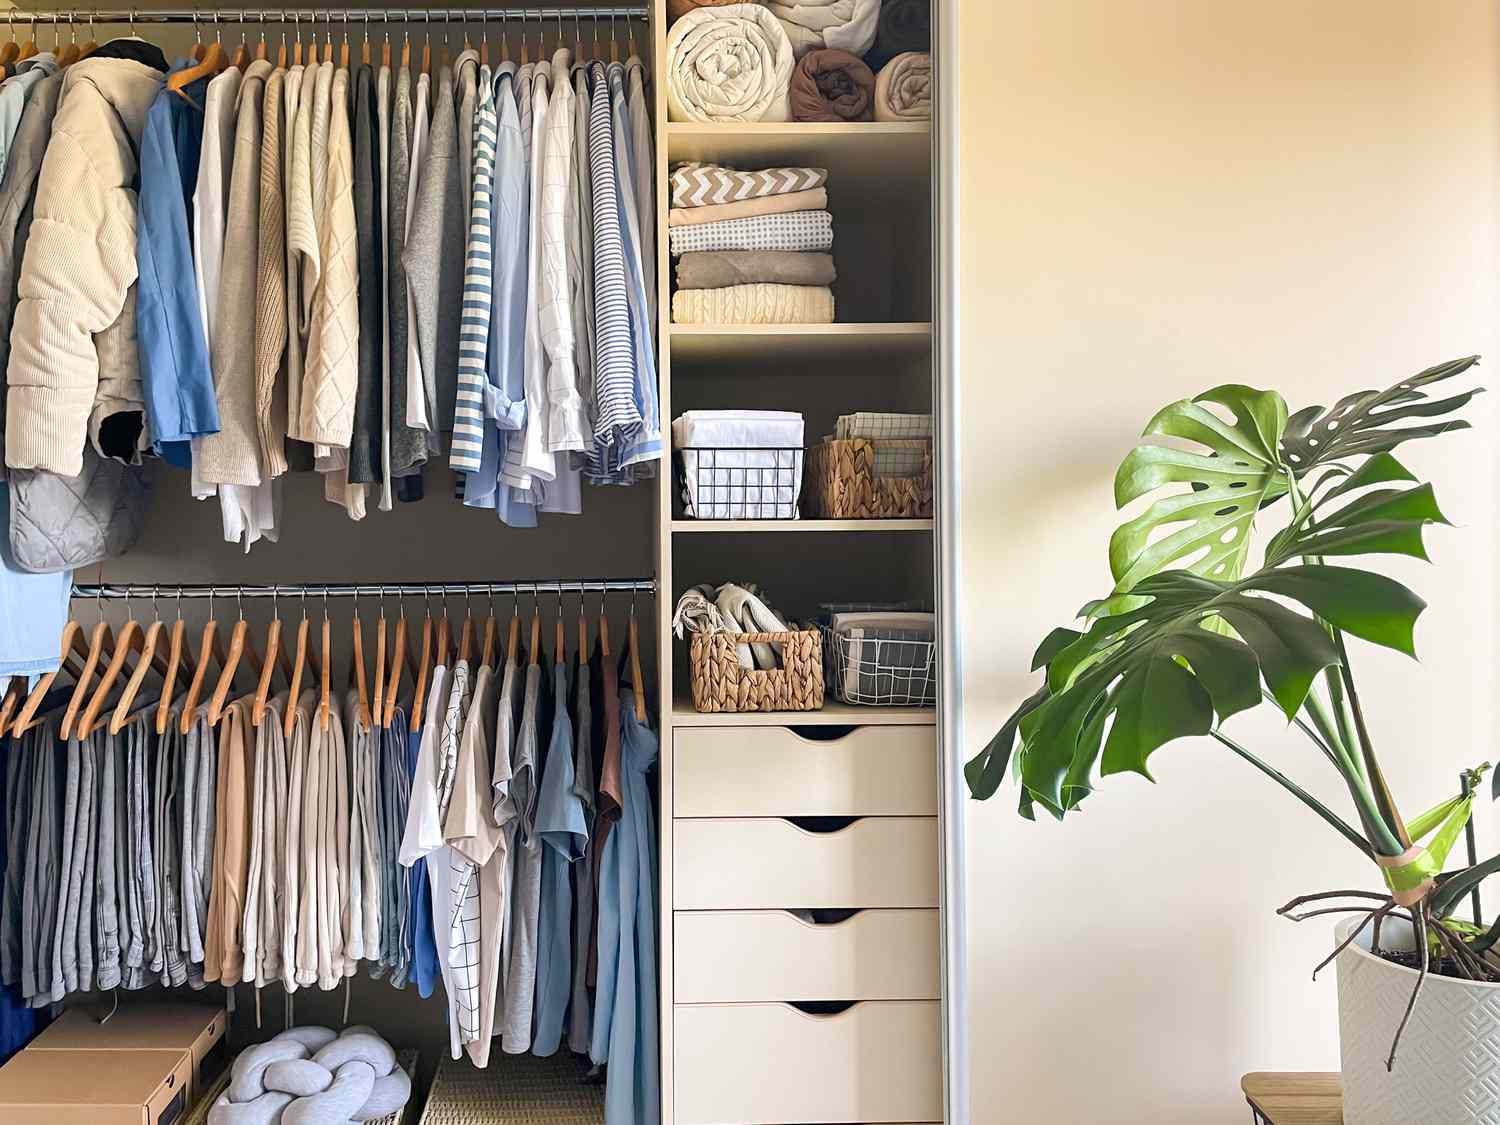
5 Mistakes People Make When Organizing Their Closets—and How to Fix Them