1/2
How to Remove Wax Drips From Wood (Without Damaging the Finish)
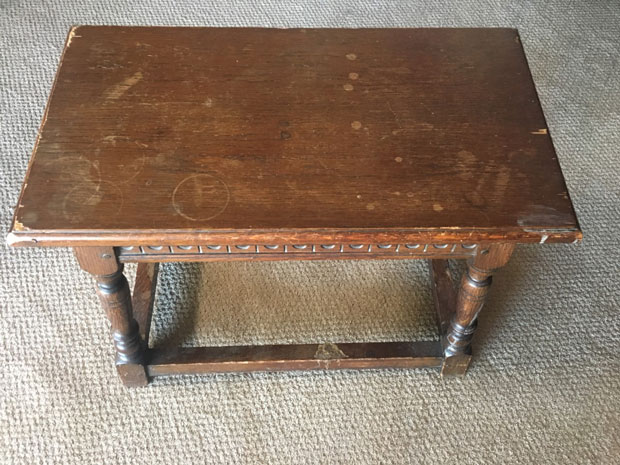
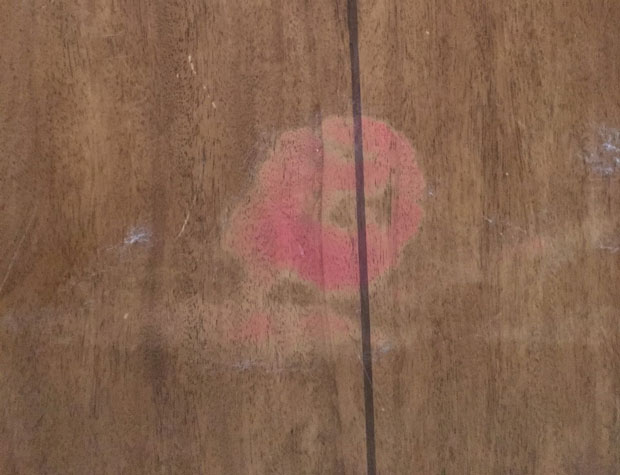
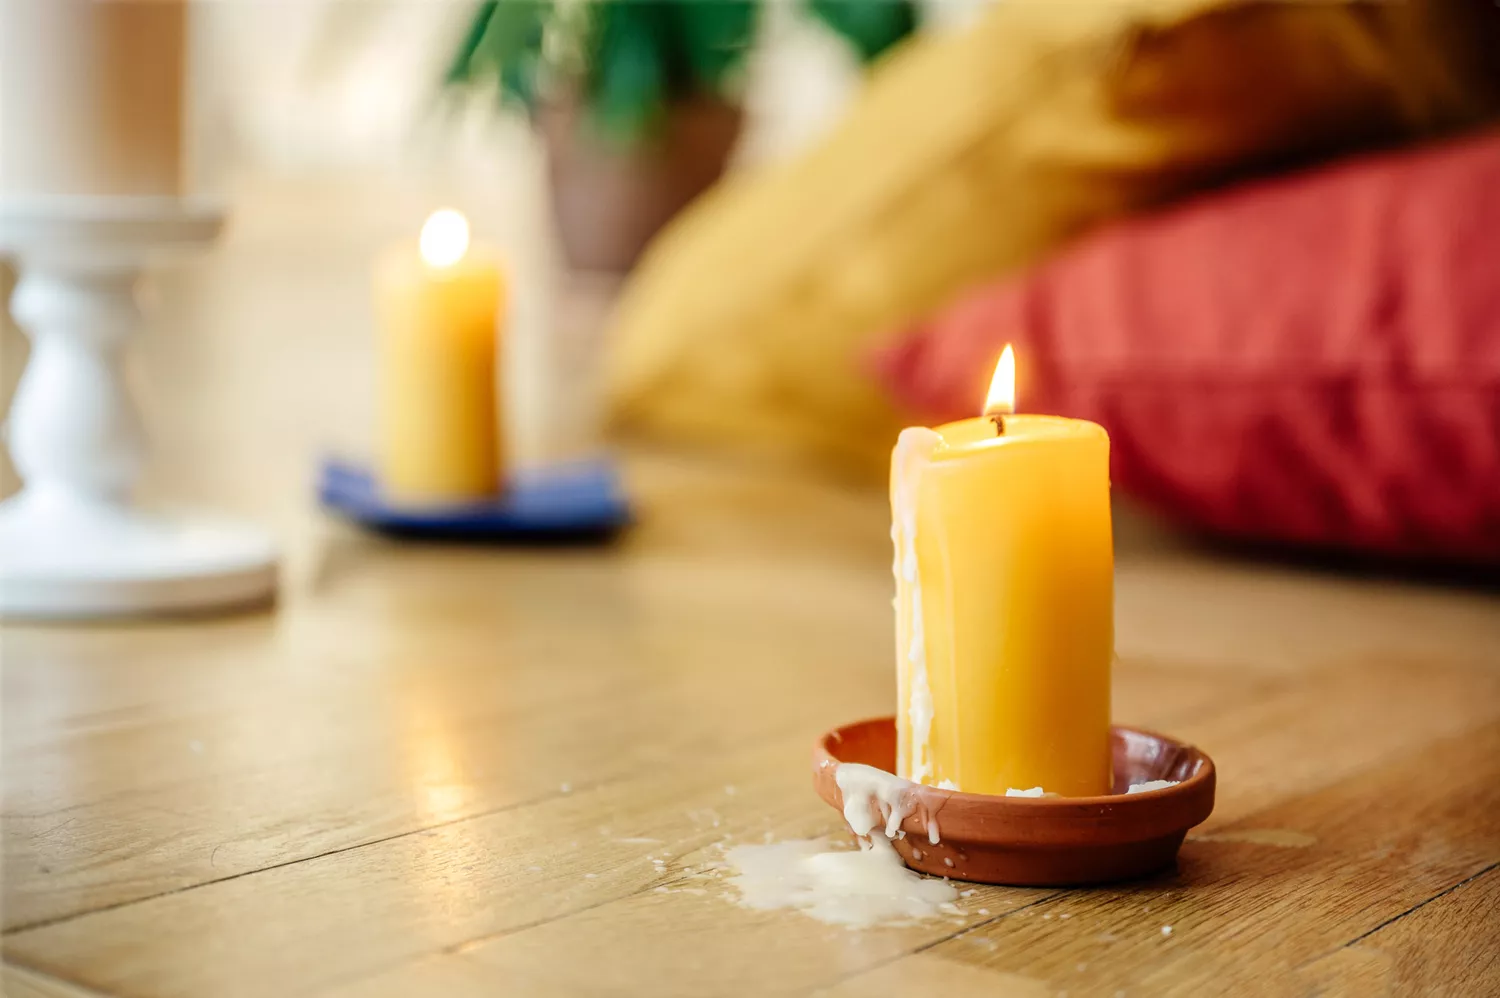
Wax has historically been used to protect and enhance the appearance of wood surfaces. While it imparts a warm glow, accidental wax spills from candles can become problematic, particularly if the wax contains dyes that might stain the wood. The primary objective when removing wax from wood is to prevent further damage to the finish. The appropriate cleaning method depends on the type of wood finish, whether it's polyurethane, painted, or raw wood. It is crucial to begin with the most gentle approach and escalate to more intensive methods only if necessary, exercising patience throughout the process.
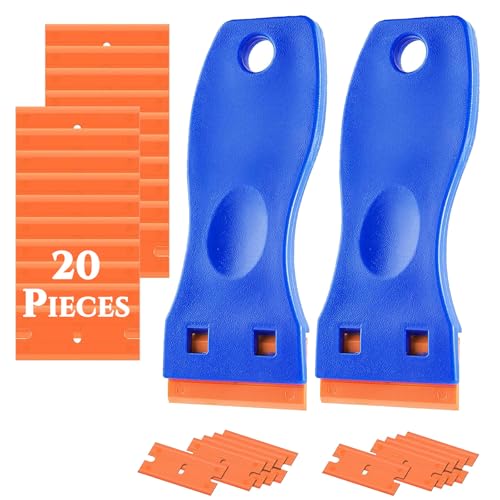
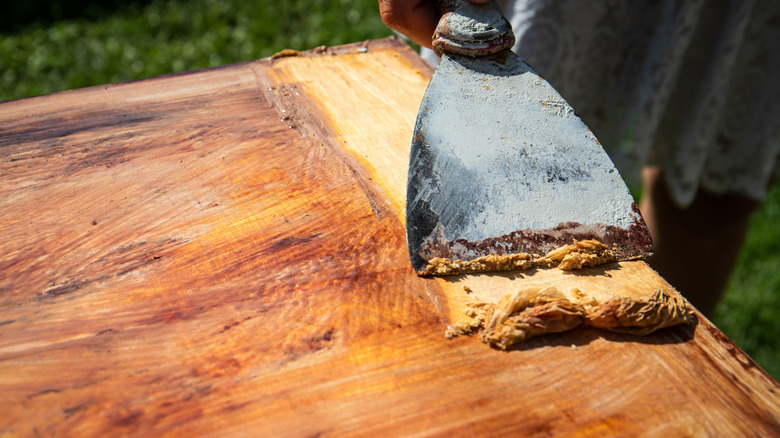
To effectively remove wax, several tools and materials are recommended. Essential equipment includes a plastic scraper, a hairdryer, an iron, old cloths, a handheld vacuum, and a stiff-bristled nylon brush. Necessary materials consist of distilled vinegar, ice, plastic bags, furniture polish, olive oil, and talcum powder. For basic wax removal from any wood surface, the first step is to allow the spilled wax to cool and harden completely. If time is a factor, an ice cube placed in a plastic bag and held on the wax for 10 to 20 seconds can accelerate this process. Once hardened, a plastic scraper or the edge of an old credit card should be used to gently lift the wax. It is vital to avoid metal tools, apply light pressure, and keep the scraper flat against the wood surface to prevent gouging. After scraping, loose wax pieces should be picked up with a soft cloth or fingers.
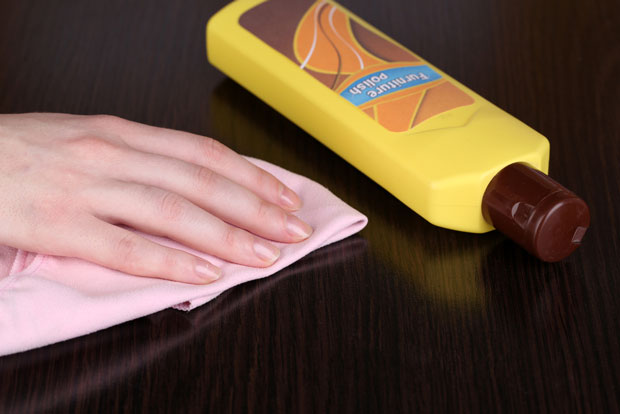
To address any remaining wax traces or stains from colored wax, especially on light wood finishes, a damp soft cloth dipped in a solution of one part distilled white vinegar and two parts water is effective. The cloth should be wrung out thoroughly to ensure it is only damp. The surface should be wiped following the wood grain, moving to a clean section of the cloth as wax transfers. The process concludes by buffing the surface with a soft, dry cloth or applying a light coat of furniture polish. A tip for finished wood surfaces is to use a few drops of olive oil on a soft cloth as a natural furniture polish.
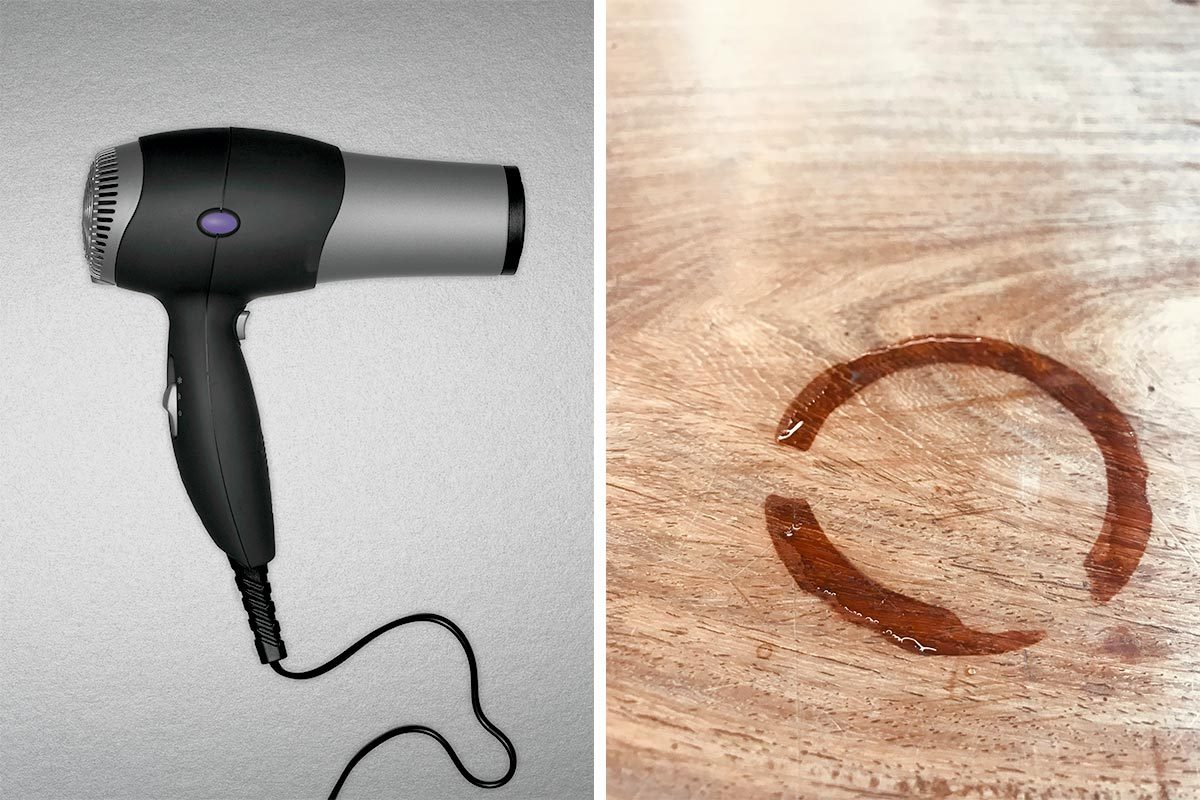
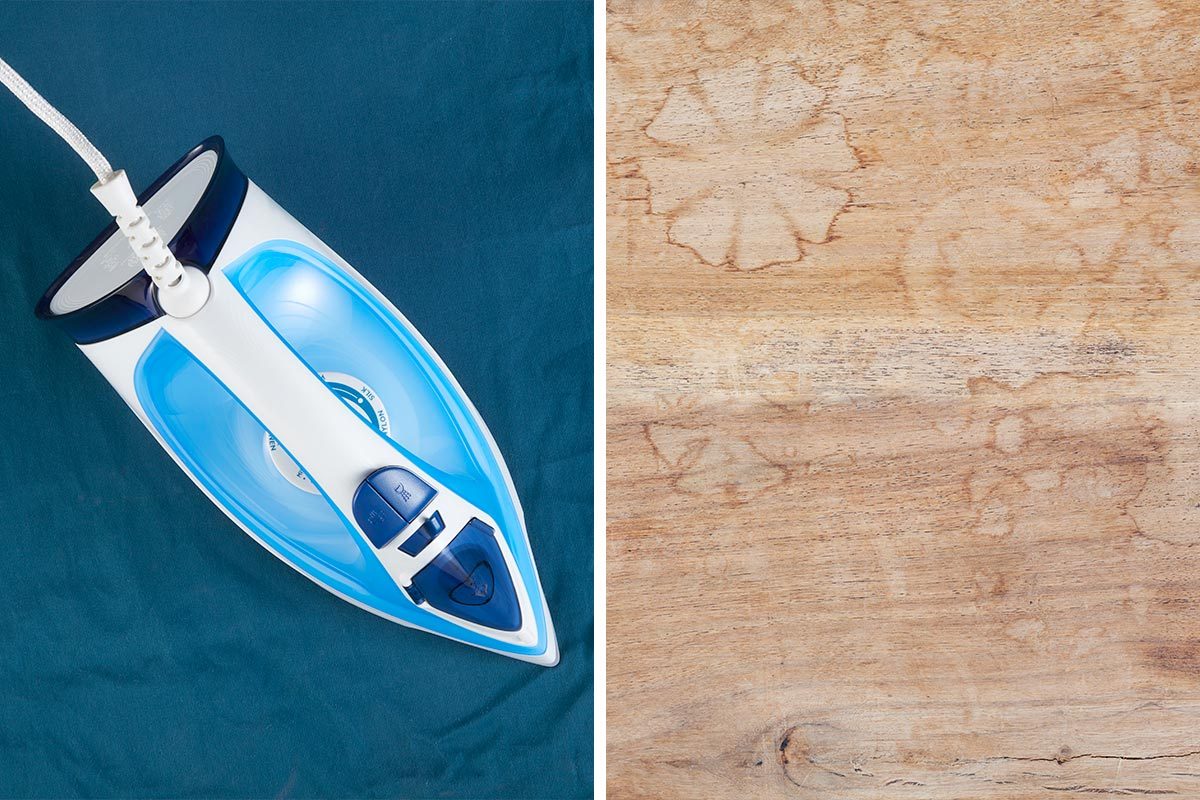
For more stubborn wax stains, heat can be employed. An iron set to the lowest temperature without steam, or a handheld hairdryer on medium heat, can be used. The wax stain should be covered with an old cloth, larger than the stain, to protect surrounding wood from heat. The iron is placed flat on the cloth directly over the stain for 15 to 20 seconds, allowing the heated wax to absorb into the towel. If no oily spot appears on the towel, the heating process can be repeated for another 15 seconds, continuously moving to a clean section of the towel until all wax is absorbed. If a hairdryer is used, the hot air is directed onto the cloth over the stain. Finally, the wood surface is polished and buffed with a clean cloth, using furniture polish if required.
Removing wax from rough, unfinished wood, which often has grooves or a porous surface, presents a unique challenge. The process begins by hardening the wax with ice cubes in a plastic bag for about 30 to 60 seconds. A plastic scraper or credit card edge is then used to remove as much surface wax as possible, keeping the edge flat against the wood. To extract wax from grooves, talcum powder is sprinkled over the area to aid absorption. Heat is then applied using an iron or hairdryer, following the same procedure as for finished wood, with a cloth placed over the talcum-powdered area to absorb the wax and protect the wood. After the wood cools completely, any talcum powder residue is removed with a stiff-bristled nylon brush or a handheld vacuum. If an oil stain from the wax persists, a cloth or brush dipped in a solution of one part distilled white vinegar and two parts water can be used to wipe the stain along the wood grain. The area is then allowed to air-dry, with repetitions as needed.
#WaxRemoval #WoodCleaning #FurnitureCare #HomeMaintenance #CleaningTips #DIYCleaning #WoodFinish #WaxRemoval #WoodCleaning #FurnitureCare #HomeMaintenance #CleaningTips #DIYCleaning #WoodFinish
0 Kommentare insgesamt
 Noch keine Kommentare
Das könnte Ihnen auch gefallen

Wood Dyes & Waxes | Wax for Unfinished Wood

I Asked My Furniture-Maker Dad How to Remove Water Stains From Wood — These Are His 3 "Tried and Tested" Tricks

The Brownstone Boys Reveal Their “Secret Sauce” for Stripping Away Sad Paint and Varnish

How to remove water stains from wood and keep your furniture looking great
How to clean candle wax off upholstery and carpet - 3 easy steps to deal with festive tablescape disasters

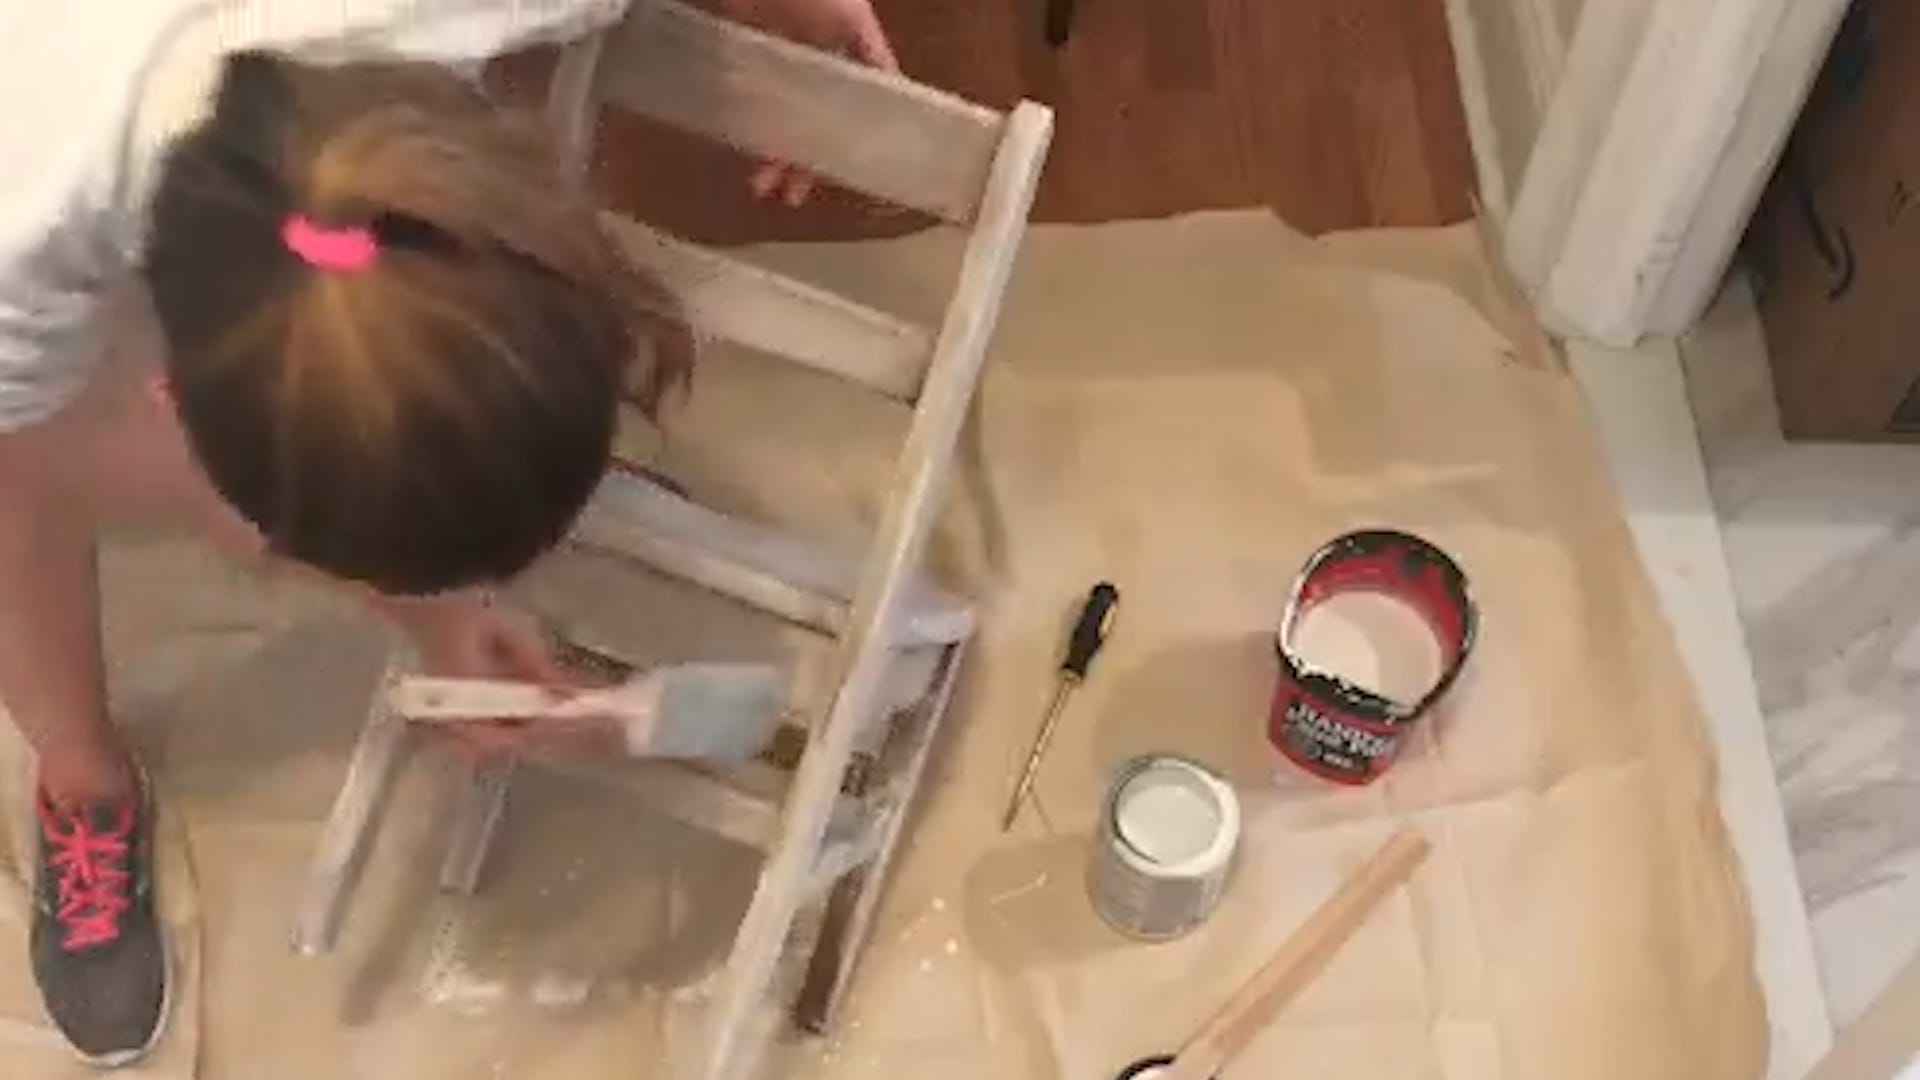
The Right Way To Whitewash Wood Furniture
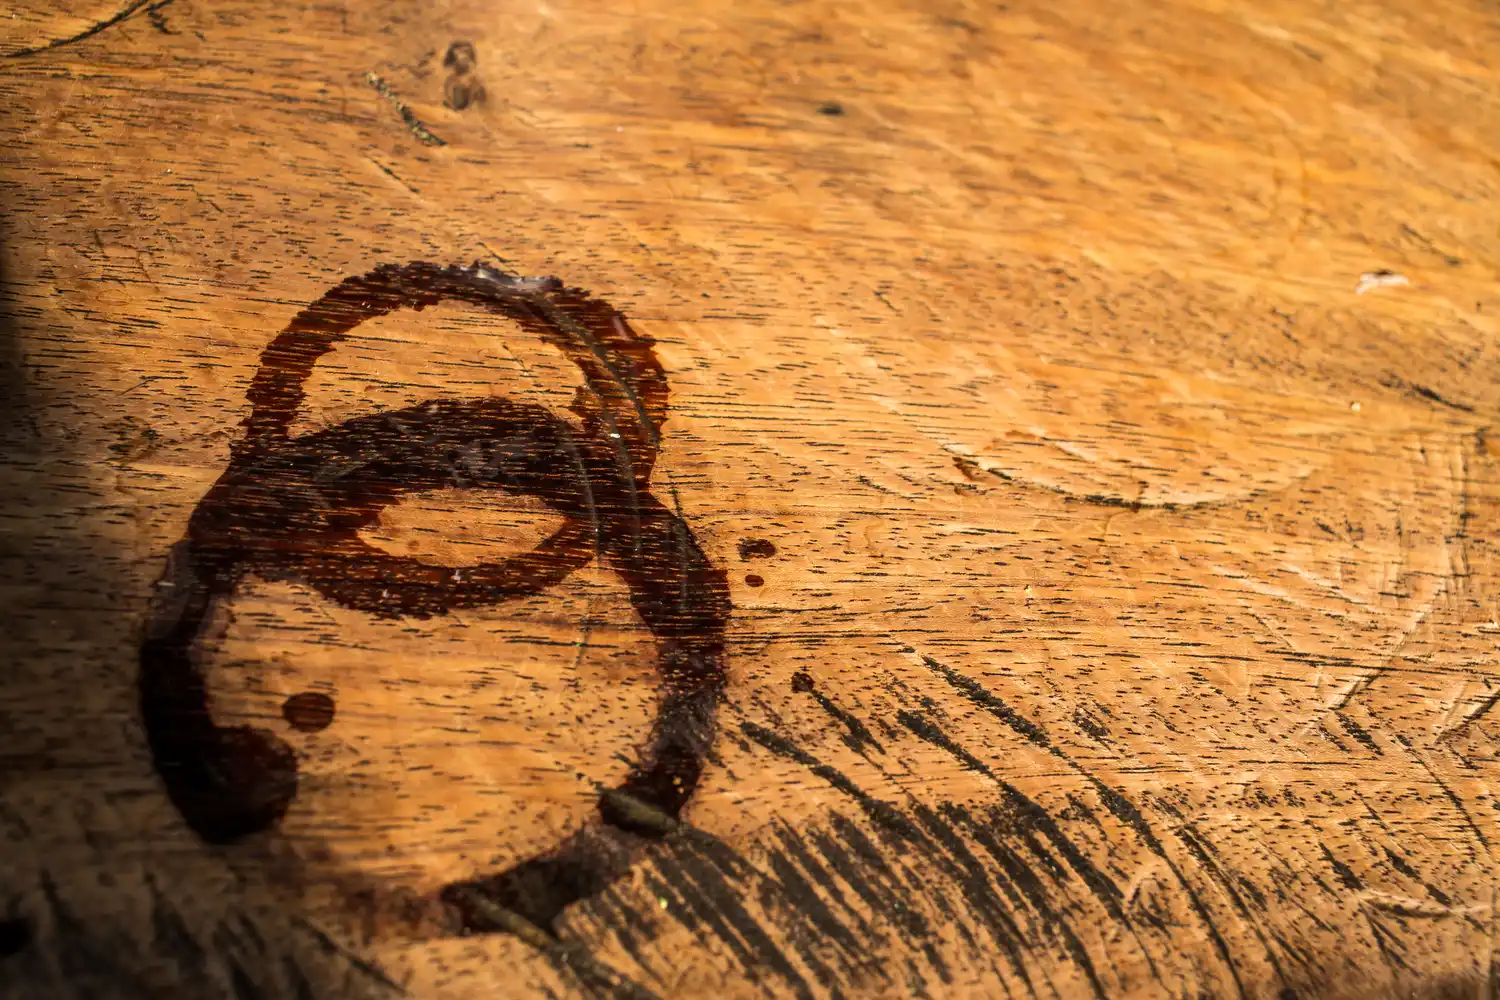
This Common Pantry Snack Works Like a Charm to Get Water Stains Off Wood
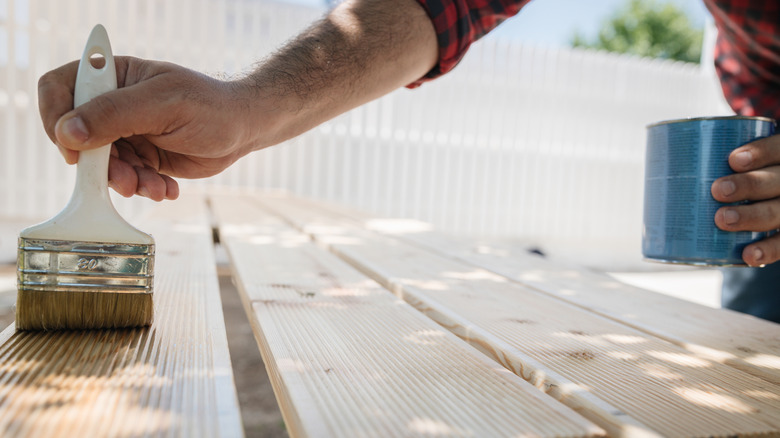
How To Remove Stain From Wood To Start Fresh (And Common Mistakes To Avoid)

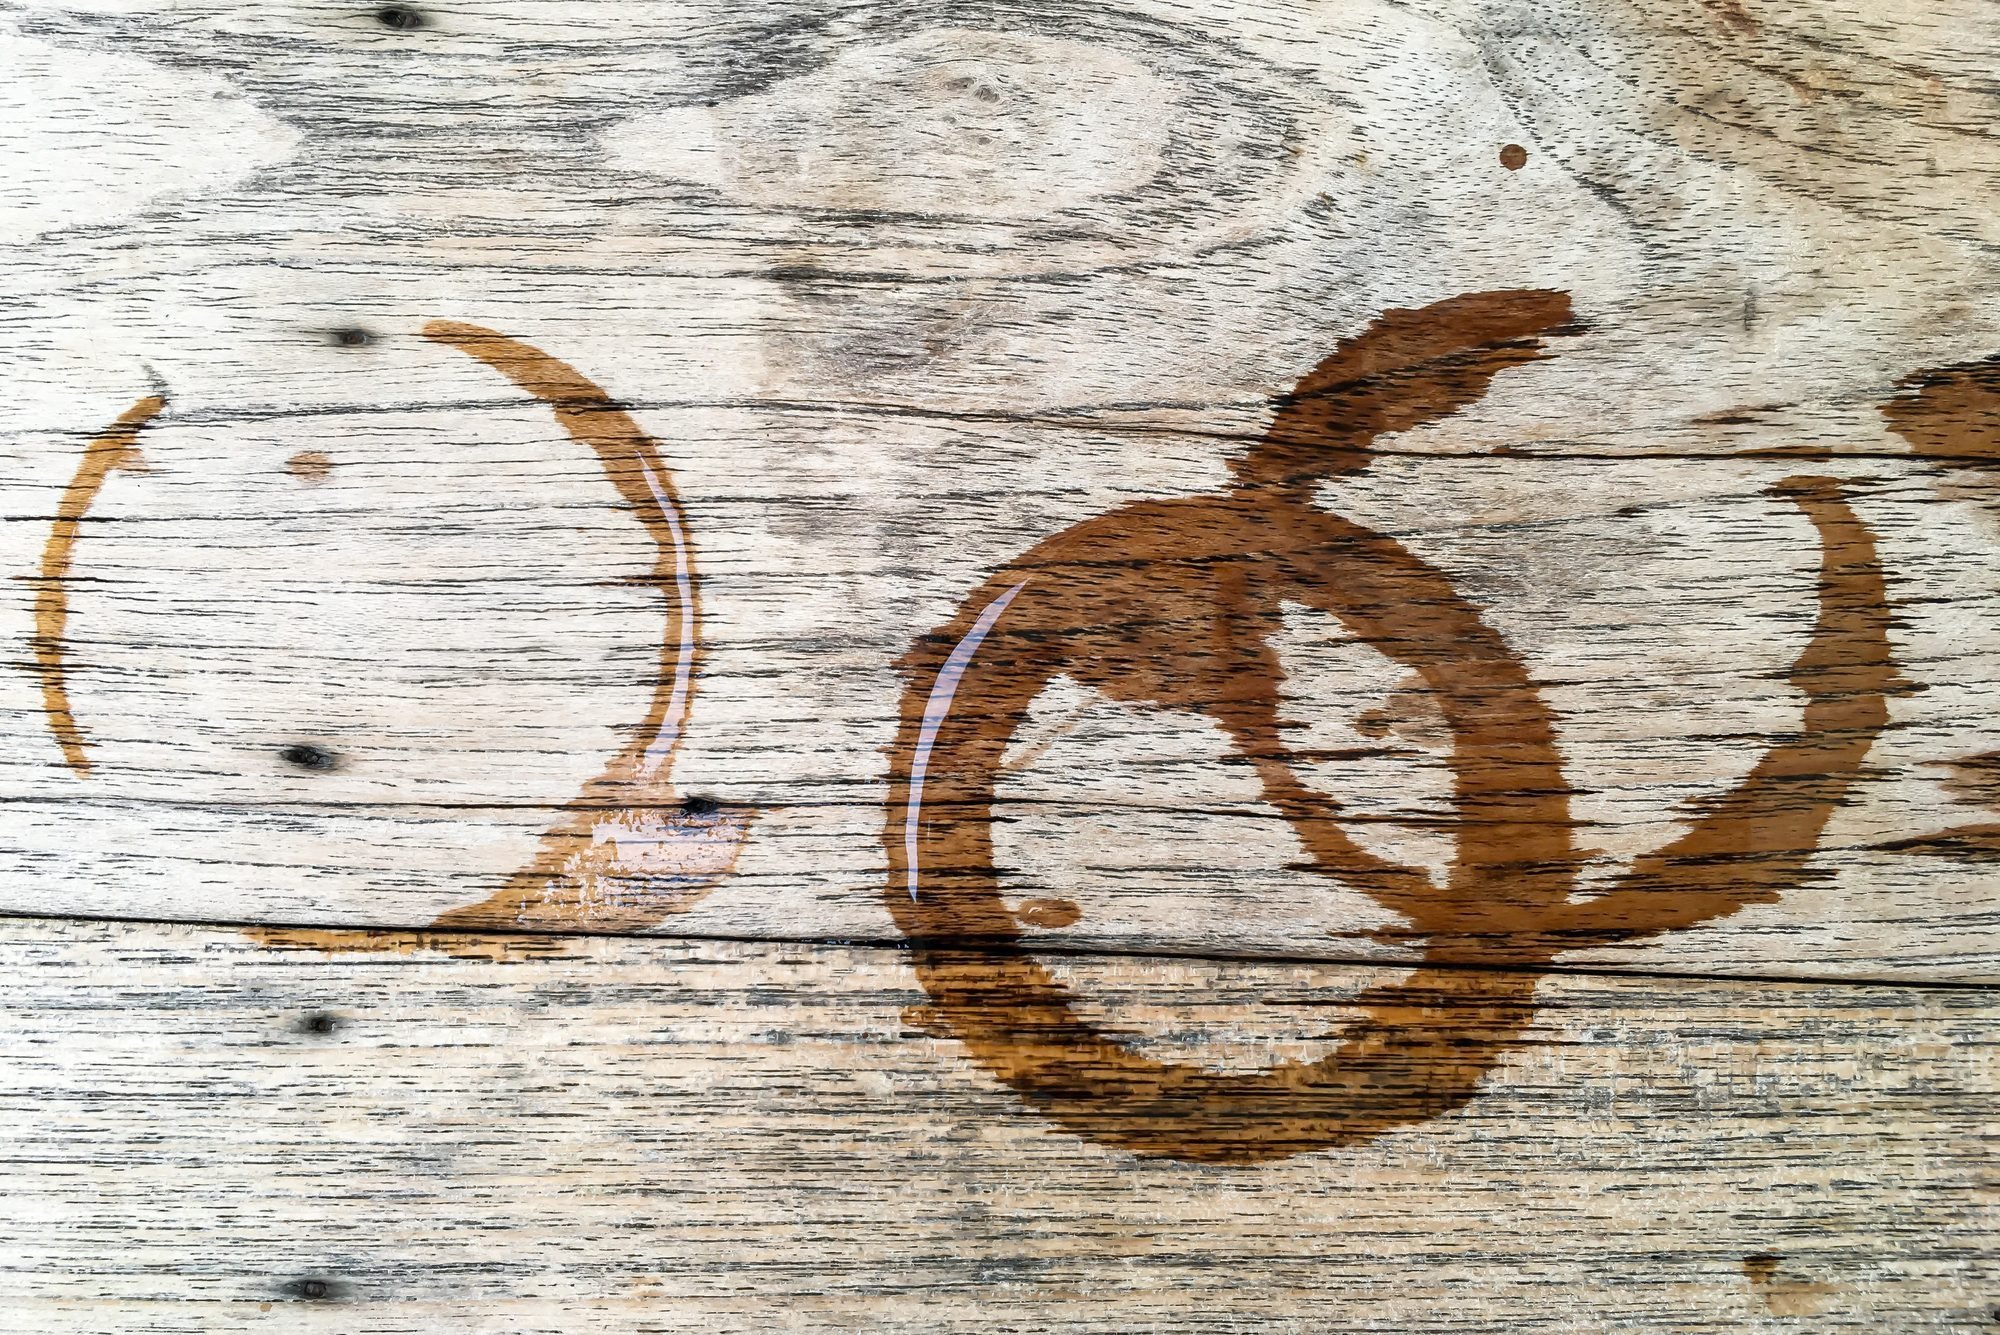
How to Remove Water Stains from Wood with Common Household Products

How to strip paint from wood safely

5 ways to treat exterior wood
How to Remove Paint From Wood, According to a Serial Furniture Flipper

Furniture Care Part 3: How to Wax
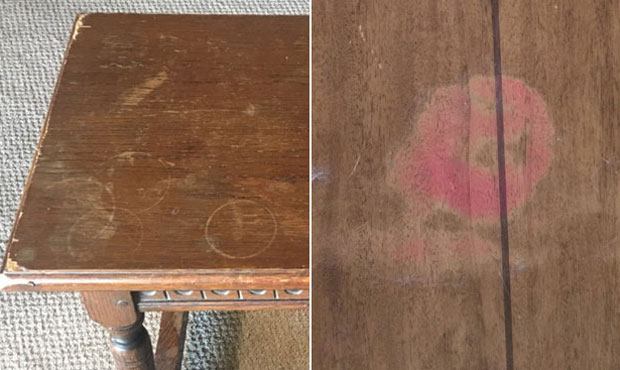
How to restore life of damaged wood furniture yourself

Wood Treatments
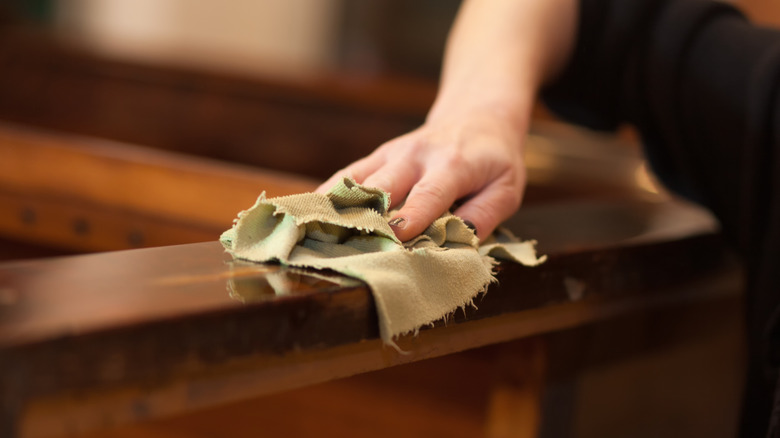
How To Waterproof Wood With An All-Natural Ingredient
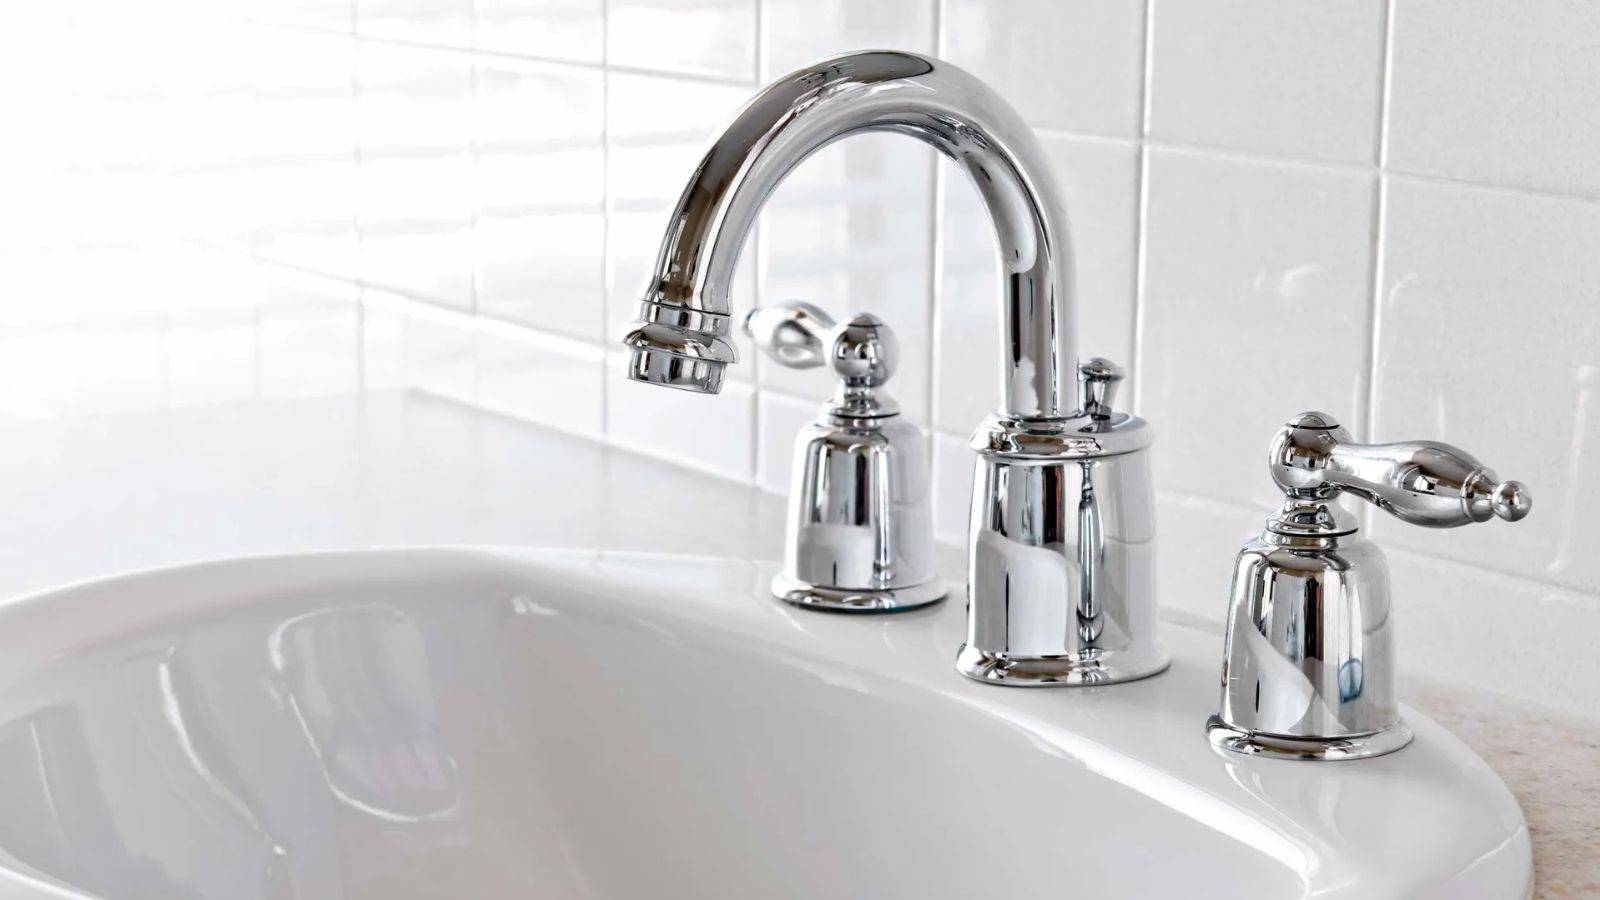
I tried buffing candle wax onto my faucets to prevent watermarks – it worked brilliantly, but here's what to avoid

The 6 Best Wipe-On Wood Finishes

How to remove wallpaper - expert-approved steps to prevent damage and ensure a smooth finish
4 Ways to Remove Water Stains From Wood, According to Cleaning Experts