1/3
How to Remove Paint From Wood, According to a Serial Furniture Flipper
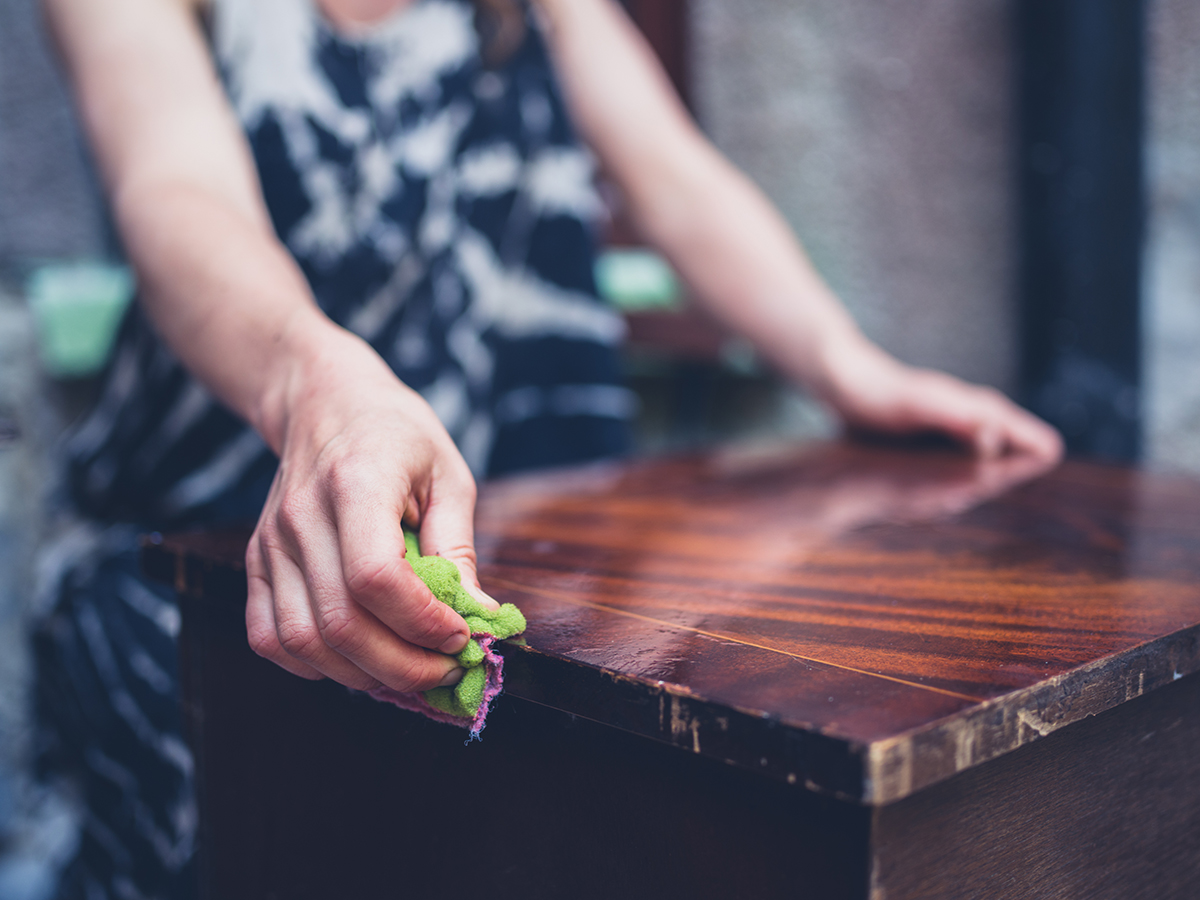
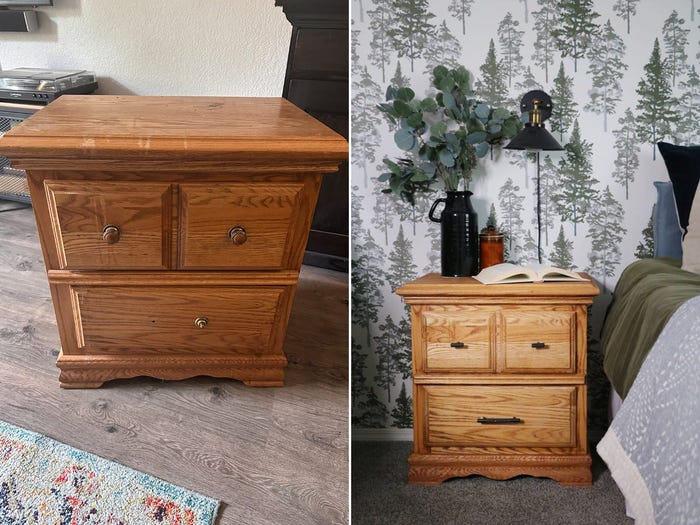
Upcycling furniture by stripping off old paint can be a highly satisfying and environmentally conscious DIY project, as well as a cost-effective way to revitalize pieces. Charlotte Smith, founder of At Charlotte's House and an experienced furniture flipper, provides a detailed guide on how to safely and effectively remove paint from wood without damaging the item. She emphasizes that while the job might not be massive, intricate pieces demand significant patience due to their numerous nooks and crannies.
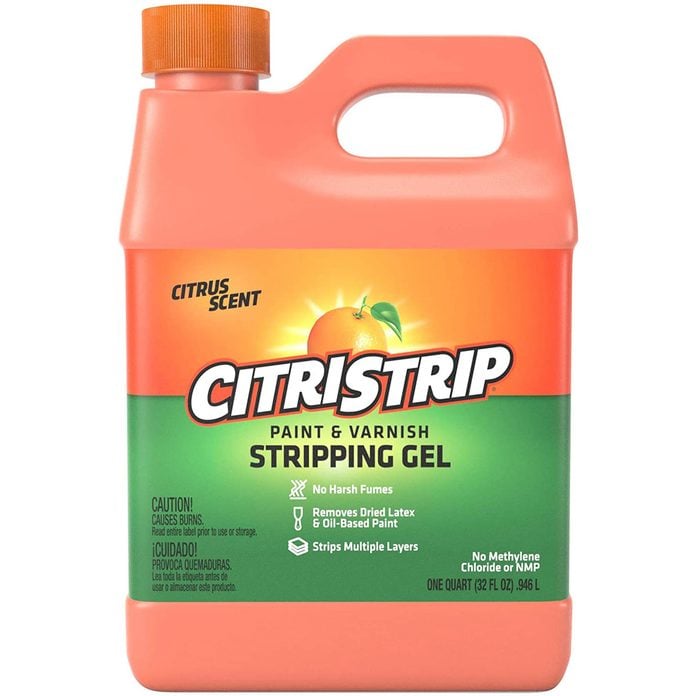
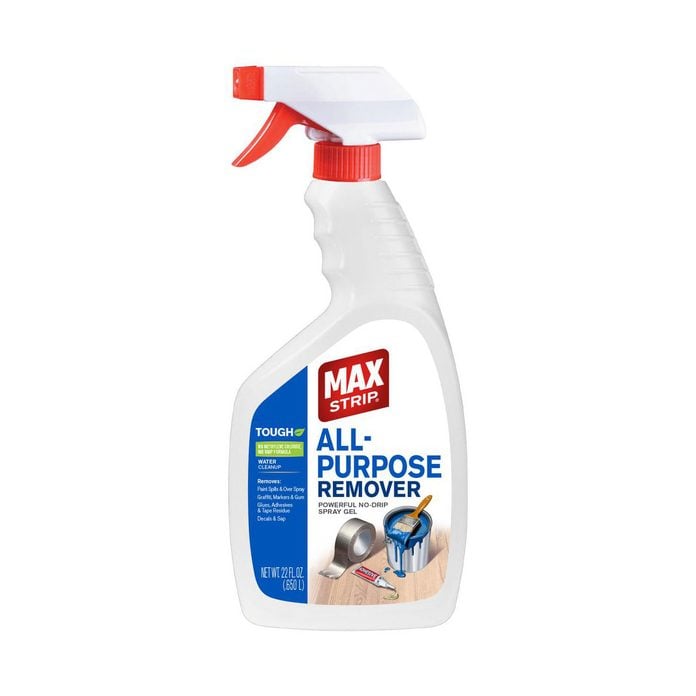
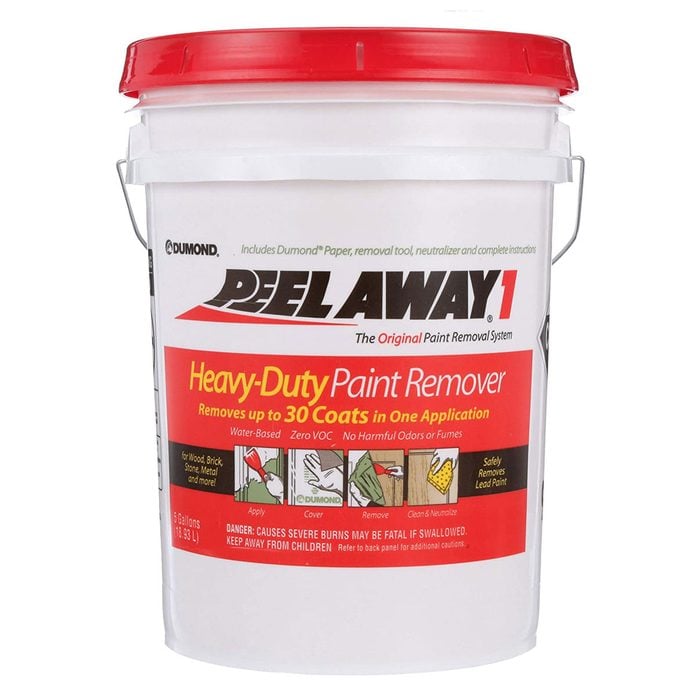
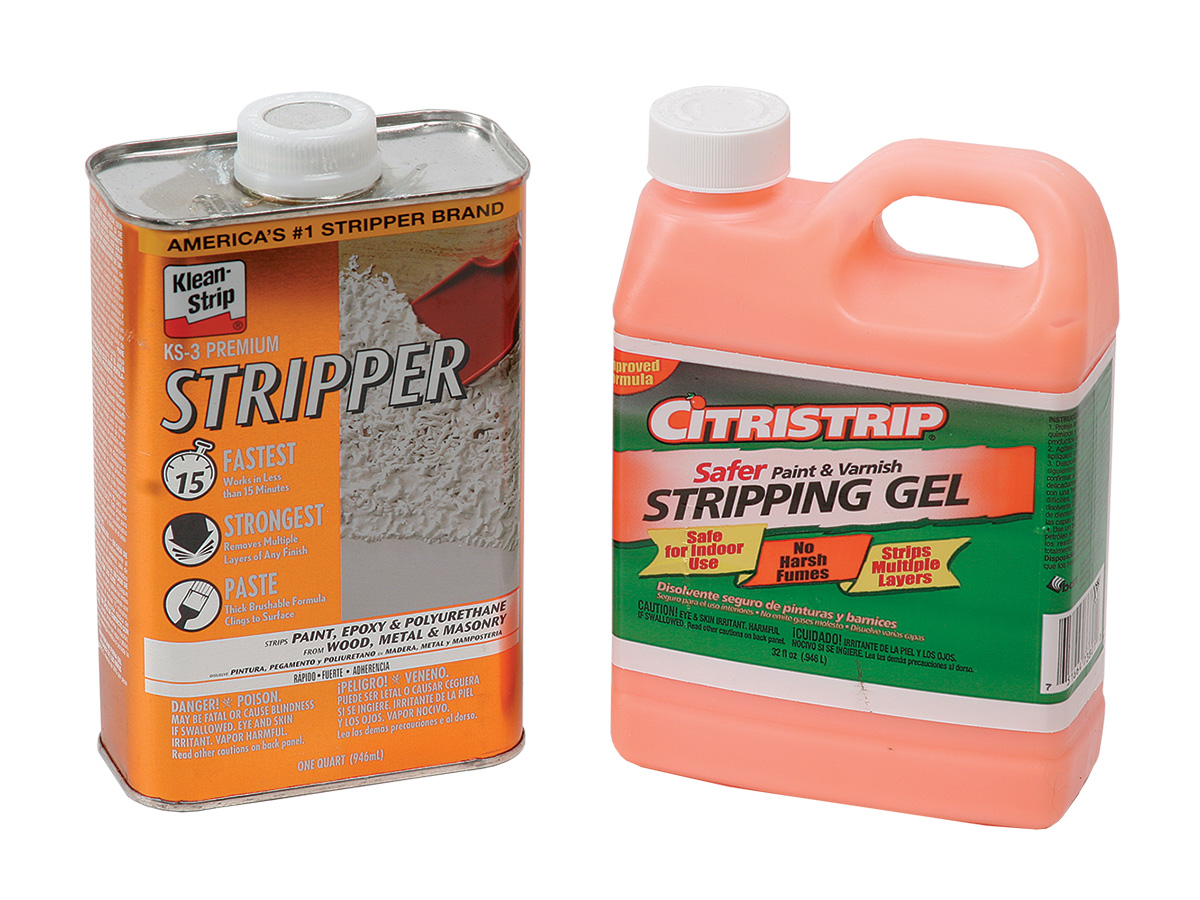
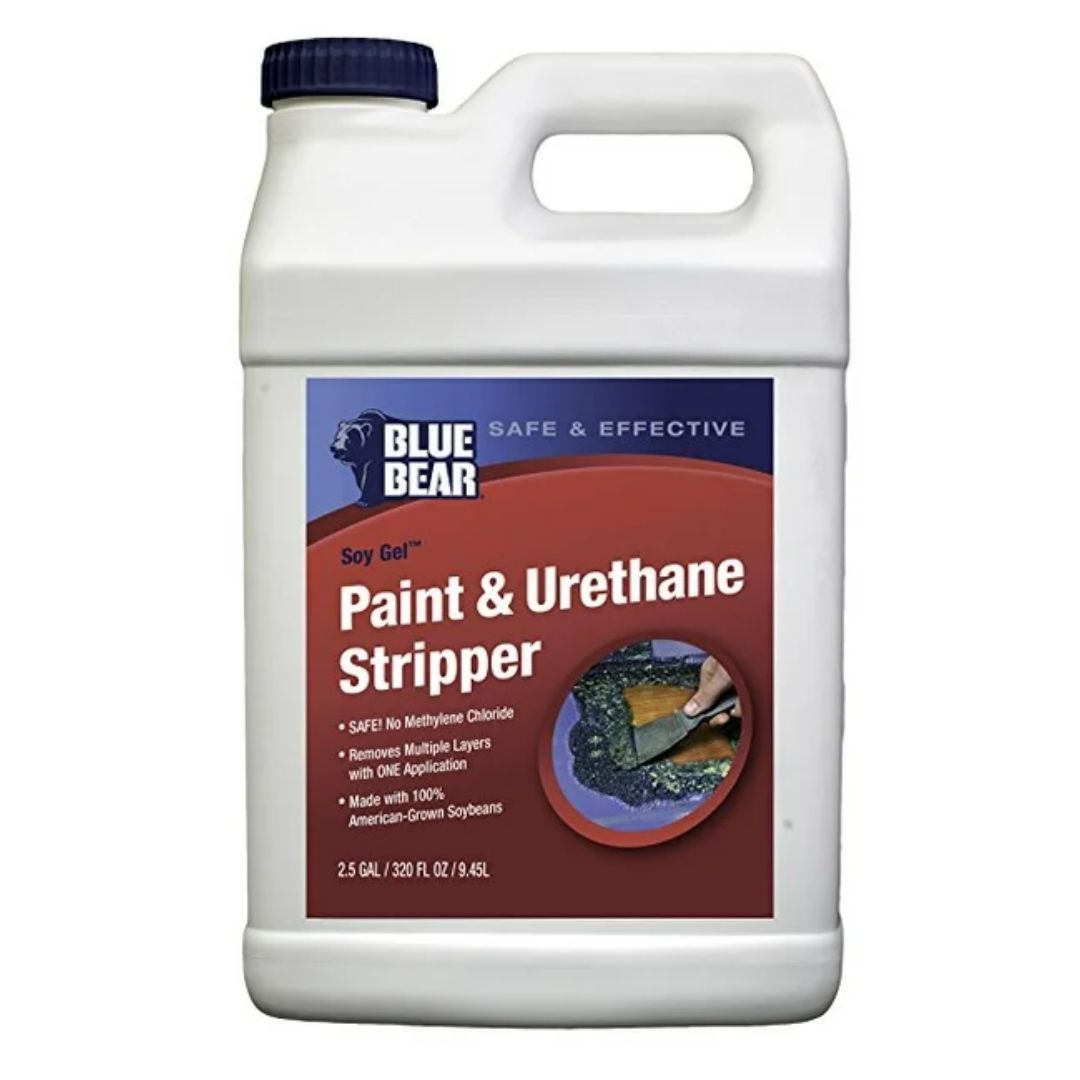
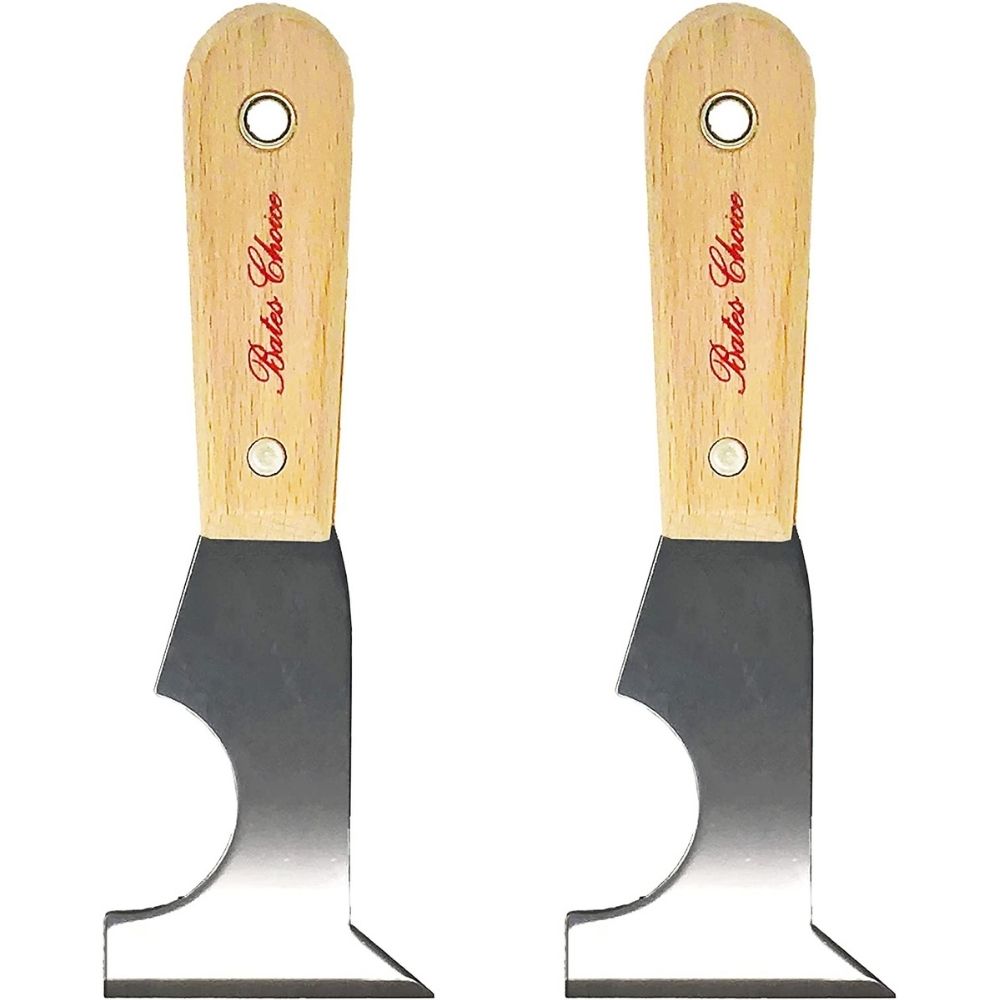
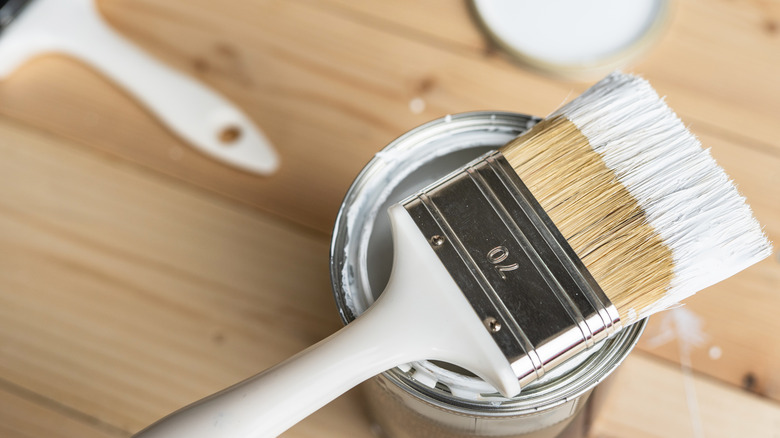
Before embarking on the paint removal process, Smith highlights several common mistakes to avoid. Firstly, not all paint strippers are equally effective; their performance varies depending on the type of paint. It is crucial to test the chosen product, such as Citristrip, in an inconspicuous area to assess its efficacy before full application. Secondly, the choice of tools is important. Unlike standard paintbrushes, chip brushes are solvent-resistant and prevent bristles from being left behind. When scraping, metal tools can scratch wood, so a multipurpose tool designed for various tasks is recommended. Lastly, it is essential to always work with the wood grain, whether stripping or sanding, to minimize the risk of scratches and damage.
Safety is a paramount concern when dealing with paint removers and potentially old lead-based paint. It is advisable to wear safety gloves and masks and, if possible, perform the stripping outdoors to ensure proper ventilation and protect the respiratory system, eyes, and skin from chemical fumes and dust. Adhering to the manufacturer's safety instructions for any product used is also critical.
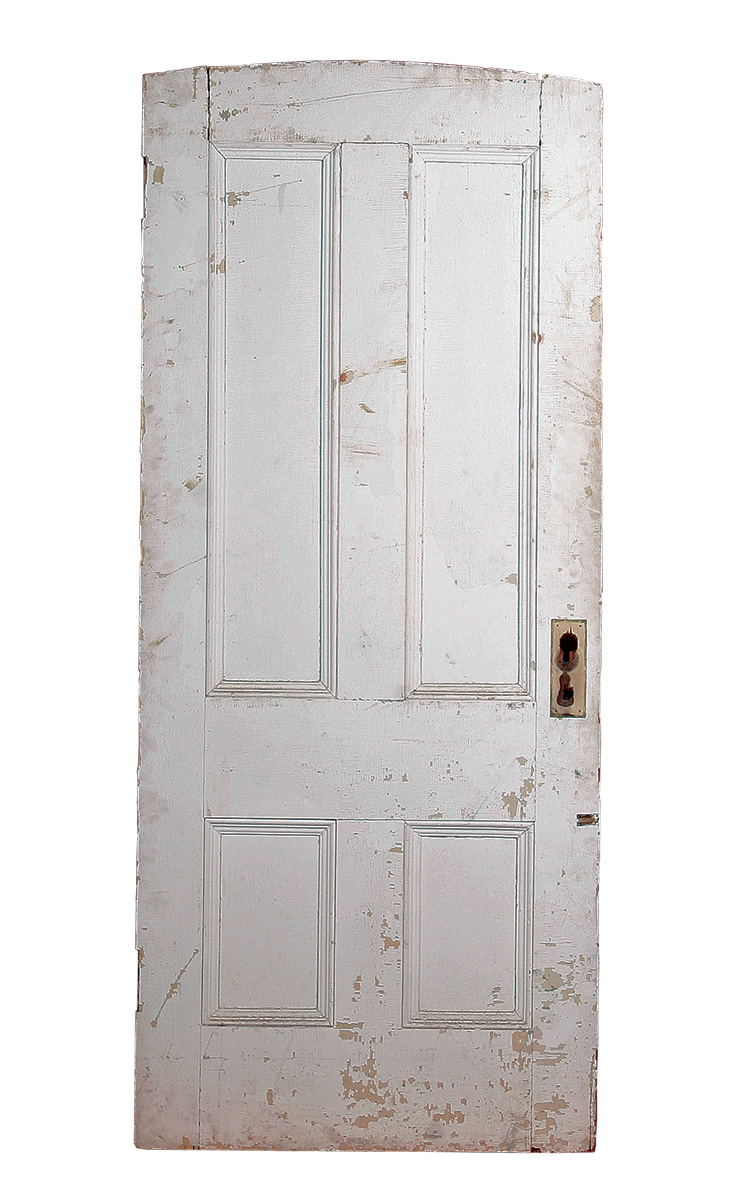
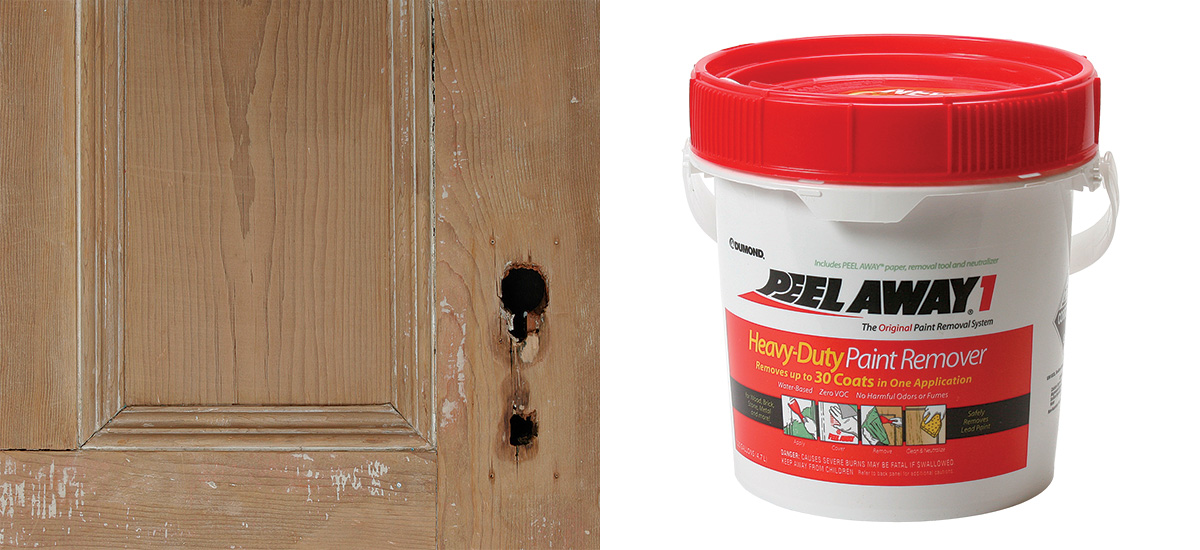
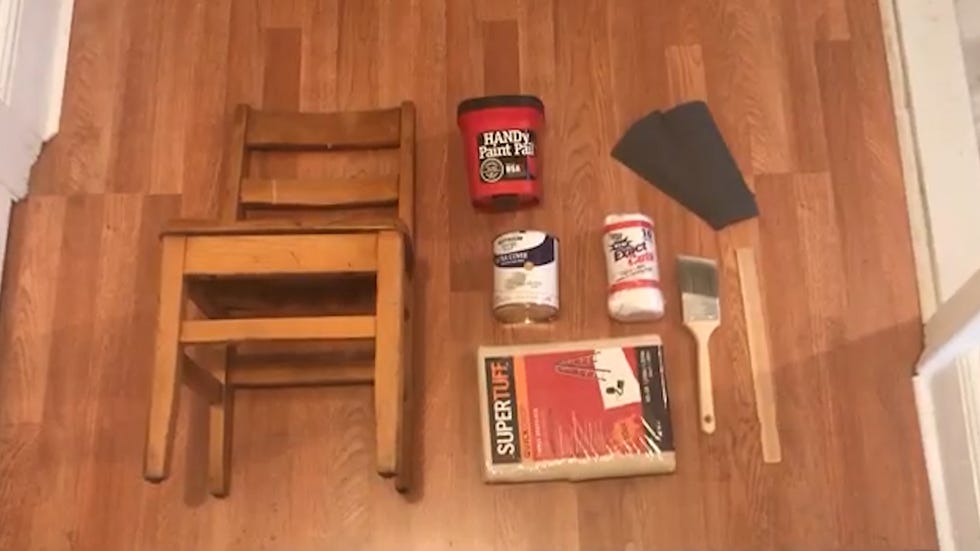
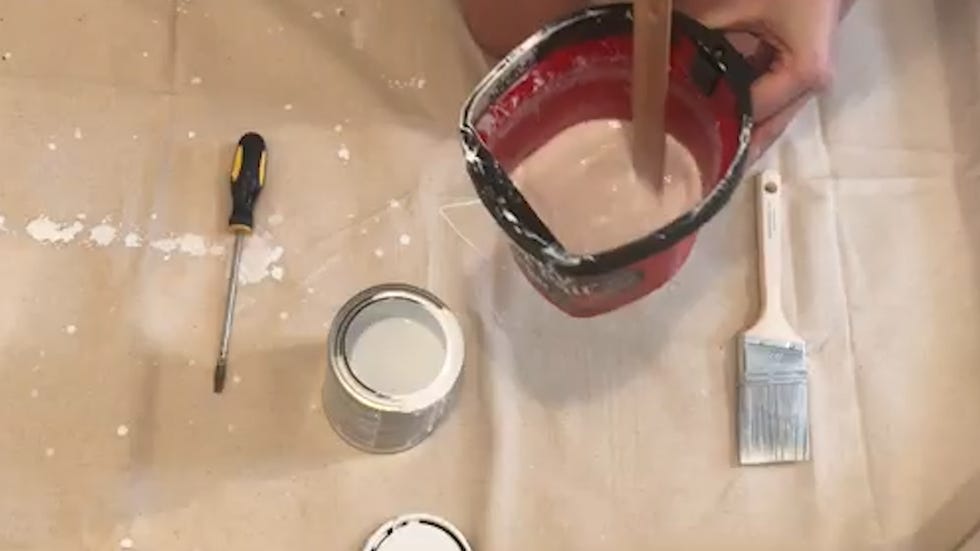
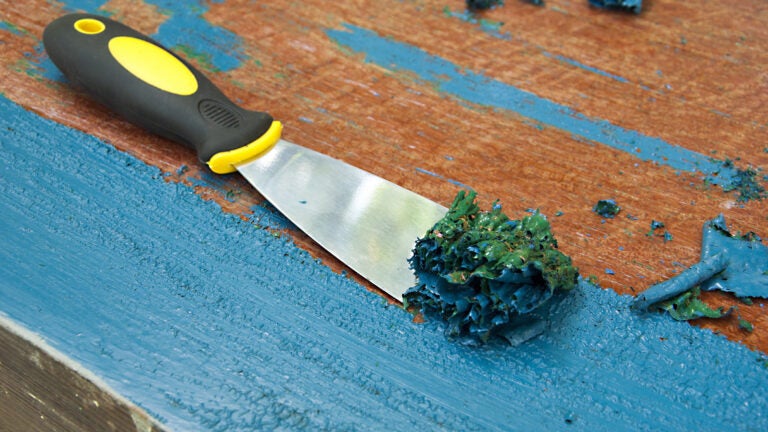
The paint removal process itself involves six key steps. Step one, preparation, is vital for minimizing mess. This includes laying down drop cloths or kraft paper to protect the work area and removing hardware like knobs, hinges, doors, and drawers from the furniture. Step two involves liberally applying paint stripper with a chip brush, working from top to bottom, and allowing it to sit for several hours until the paint begins to bubble, indicating that the stripper is active. Step three focuses on carefully scraping off the softened paint with a scraper, being gentle to avoid nicking the wood. Excess gunk on the scraper should be wiped off with rags, and the paint scraps disposed of in a suitable container.
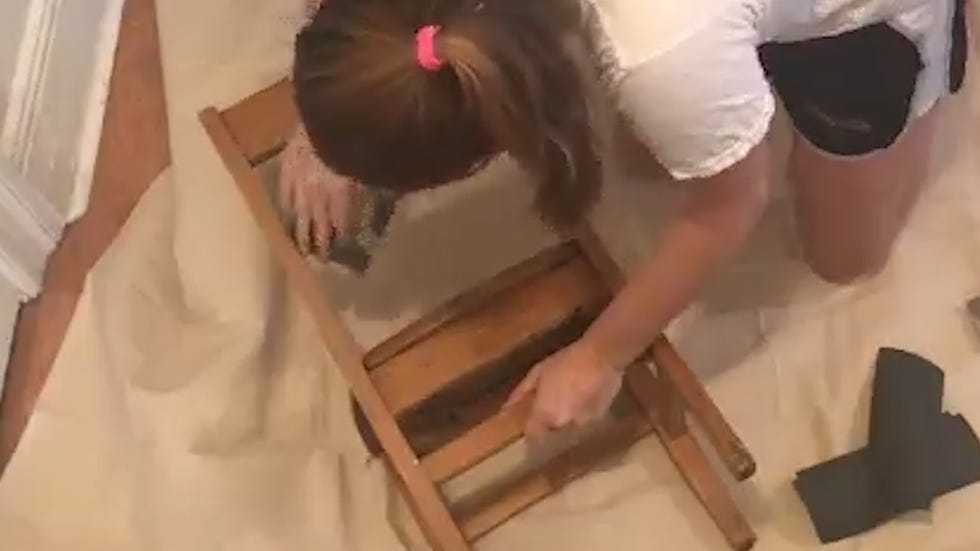
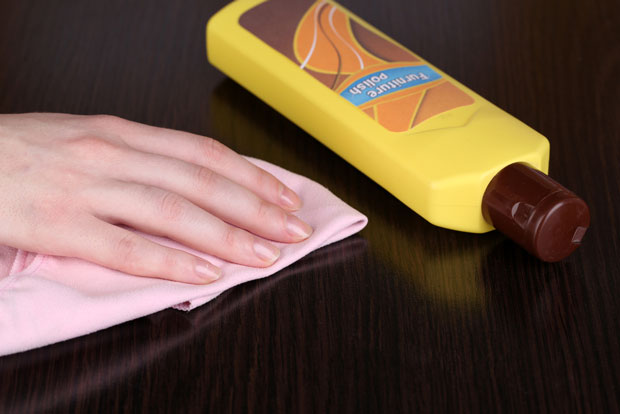
Step four requires wiping down the surface with a wood cleaning spray and a clean rag. After the piece is clean of dirt, wax, and dust, it should be inspected for any missed spots, which can then be re-treated by repeating steps two through four. Step five involves smoothing the wood using high-grit sandpaper to remove any remaining traces of paint. For tougher areas, scrubbing with nylon brushes or abrasive pads can be effective. Finally, step six is to polish the wood. Smith recommends applying a wood oil, such as Walrus Oil, to enhance the grain of the newly revealed wood, following the product's drying instructions. After the oil has dried, the surface can be wiped down, and hardware reattached, completing the furniture upcycling project.
#furnitureFlipping #paintRemoval #DIYHomeImprovement #woodRestoration #upcycling #homeRenovation #furnitureRefinishing #safetyTips #furnitureFlipping #paintRemoval #DIYHomeImprovement #woodRestoration #upcycling #homeRenovation #furnitureRefinishing #safetyTips
0 comment in total
 No comments yet
You may also like
The Brownstone Boys Reveal Their “Secret Sauce” for Stripping Away Sad Paint and Varnish

The Right Way To Whitewash Wood Furniture

How to Clean Secondhand Furniture, According to Professional Upcyclers
Woman shares simple trick to remove scratches from wooden furniture: 'It's like magic'

The 7 Best Paint Strippers and Removers of 2025

I Asked My Furniture-Maker Dad How to Remove Water Stains From Wood — These Are His 3 "Tried and Tested" Tricks

I tested 4 popular wood strippers to find the best paint and varnish removers for DIY furniture projects
10 mistakes to avoid when painting wooden furniture, according to experts

Torture Test: Paint Strippers

How to Remove Wax Drips From Wood (Without Damaging the Finish)

How to Remove Water Stains from Wood with Common Household Products

How to restore life of damaged wood furniture yourself

How to strip paint from wood safely

How to Flip Furniture — And Sell It for Profit, According to a 'Professional Thrifter'


Furniture Paint & Cupboard Paint

The Best Way To Paint Wood Paneling, According To An Expert
"I Restored My Scratched Wooden Kitchen Cabinets In 20 Minutes In Time for Hosting Thanksgiving — Thanks to This $13 Wonder Product"

DIY Paint Stripper — 9 Eco-friendly Methods to Remove Paint Naturally
The Best Wallpaper Removers of 2025 for Updating Your Home’s Interior

How to Clean Water and Surface Stains on Antique Furniture