How to Convert a Flat Ceiling to Vaulted
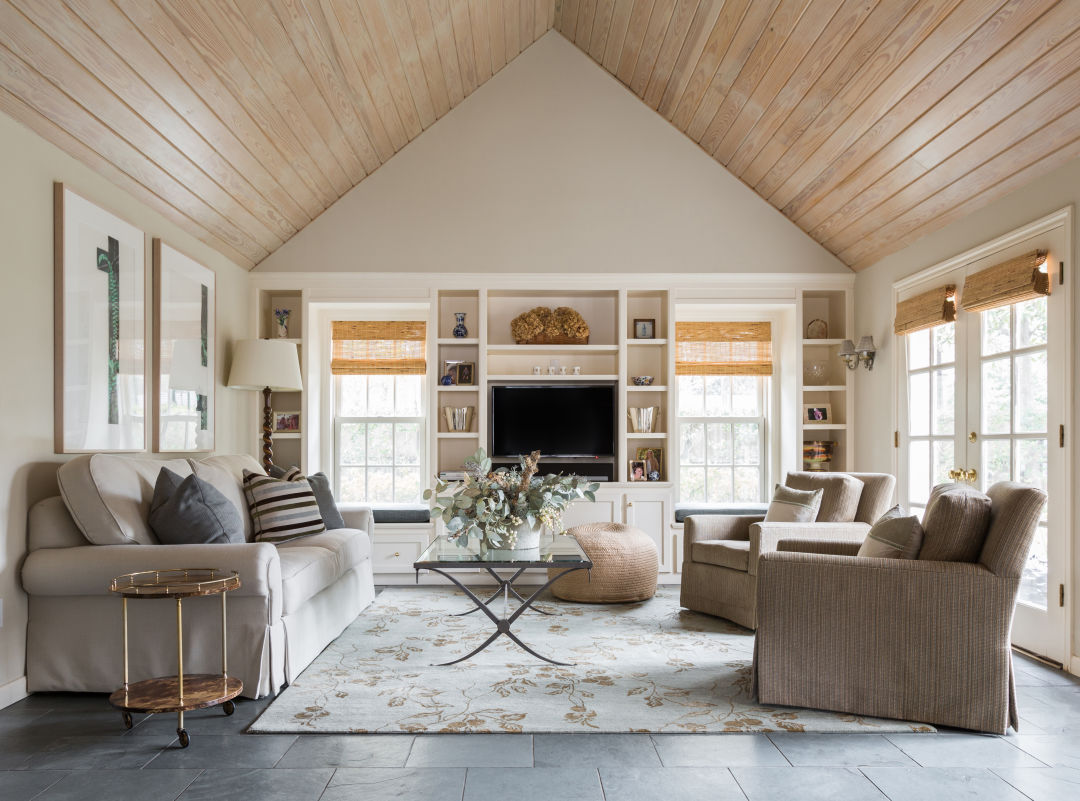
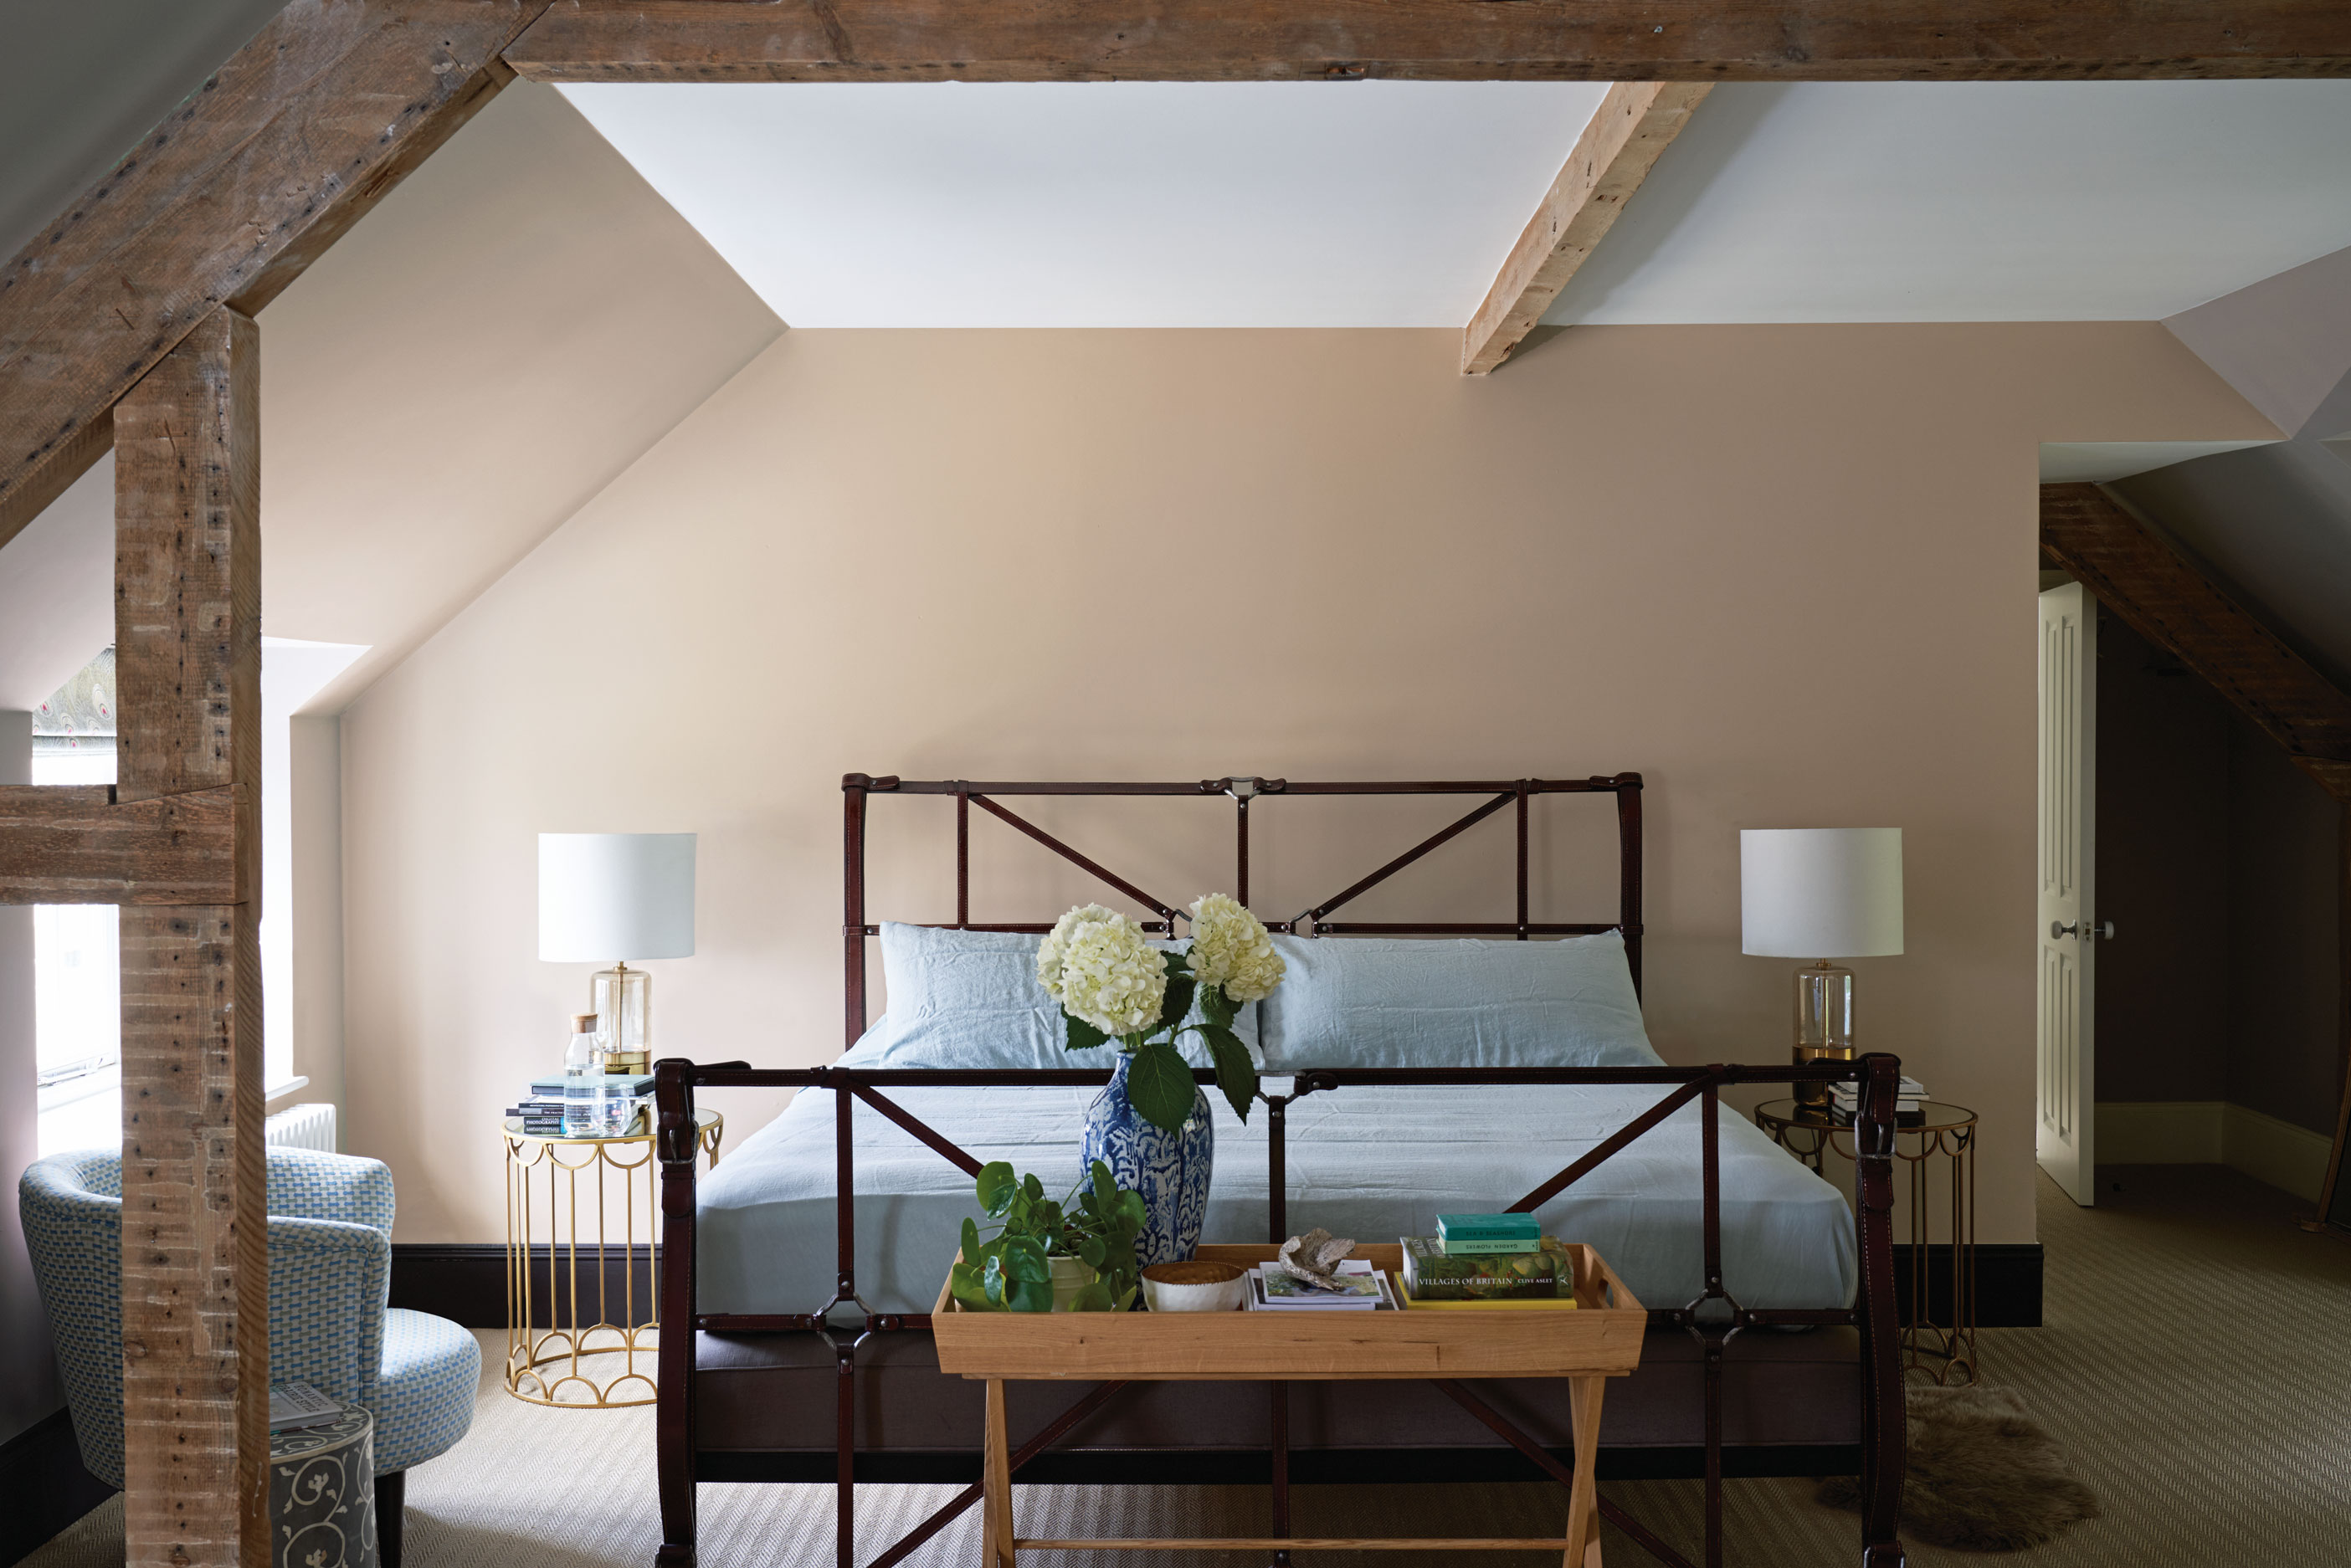
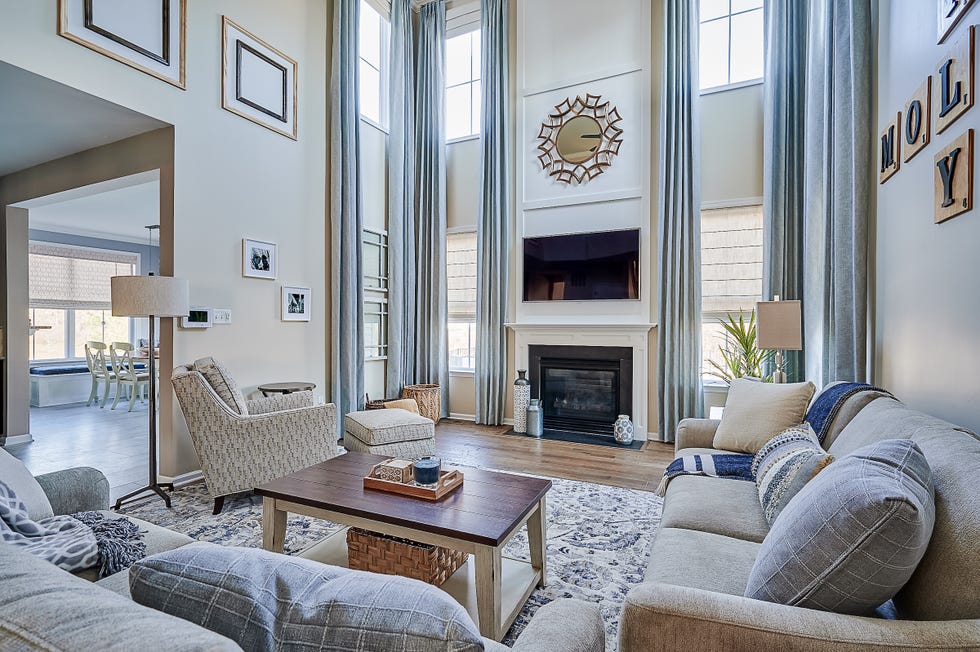
This article outlines the process and considerations for converting a flat ceiling into a vaulted one, a home improvement project that enhances the sense of space and introduces more natural light. While often a contractor-led endeavor, experienced DIYers can undertake it with proper planning and skills. The estimated cost for such a conversion typically ranges from $15,000 to $30,000, with potential for increased home resale value.
The structural integrity of the roof is a primary concern. Flat ceilings usually rely on conventional truss systems. To vault a ceiling, parts of the existing roof trusses, particularly the ceiling joists, must be removed. This necessitates replacing their structural function to maintain the roof's stability. One common method involves 'sistering' the rafters, where existing rafters are reinforced with two-by-ten boards nailed alongside them. This technique not only strengthens the rafters but also creates space for insulation and lighting. Additionally, collar ties (or collar beams) are installed higher up, closer to the roof ridge, to serve the load-bearing function of the removed joists.
Beyond structural changes, several other aspects require attention. Proper roof ventilation is crucial to prevent heat buildup. This is achieved by installing soffit vents in each rafter bay and gable vents at the peak, ensuring continuous airflow. The relocation of HVAC ducts and electrical wiring is also necessary, and these tasks are best handled by certified professionals to ensure safety and compliance with building codes. A larger HVAC system might be required to efficiently heat and cool the expanded volume of a vaulted space. Existing chimneys generally do not pose significant issues, but any unfinished sections within the attic area will need to be completed.
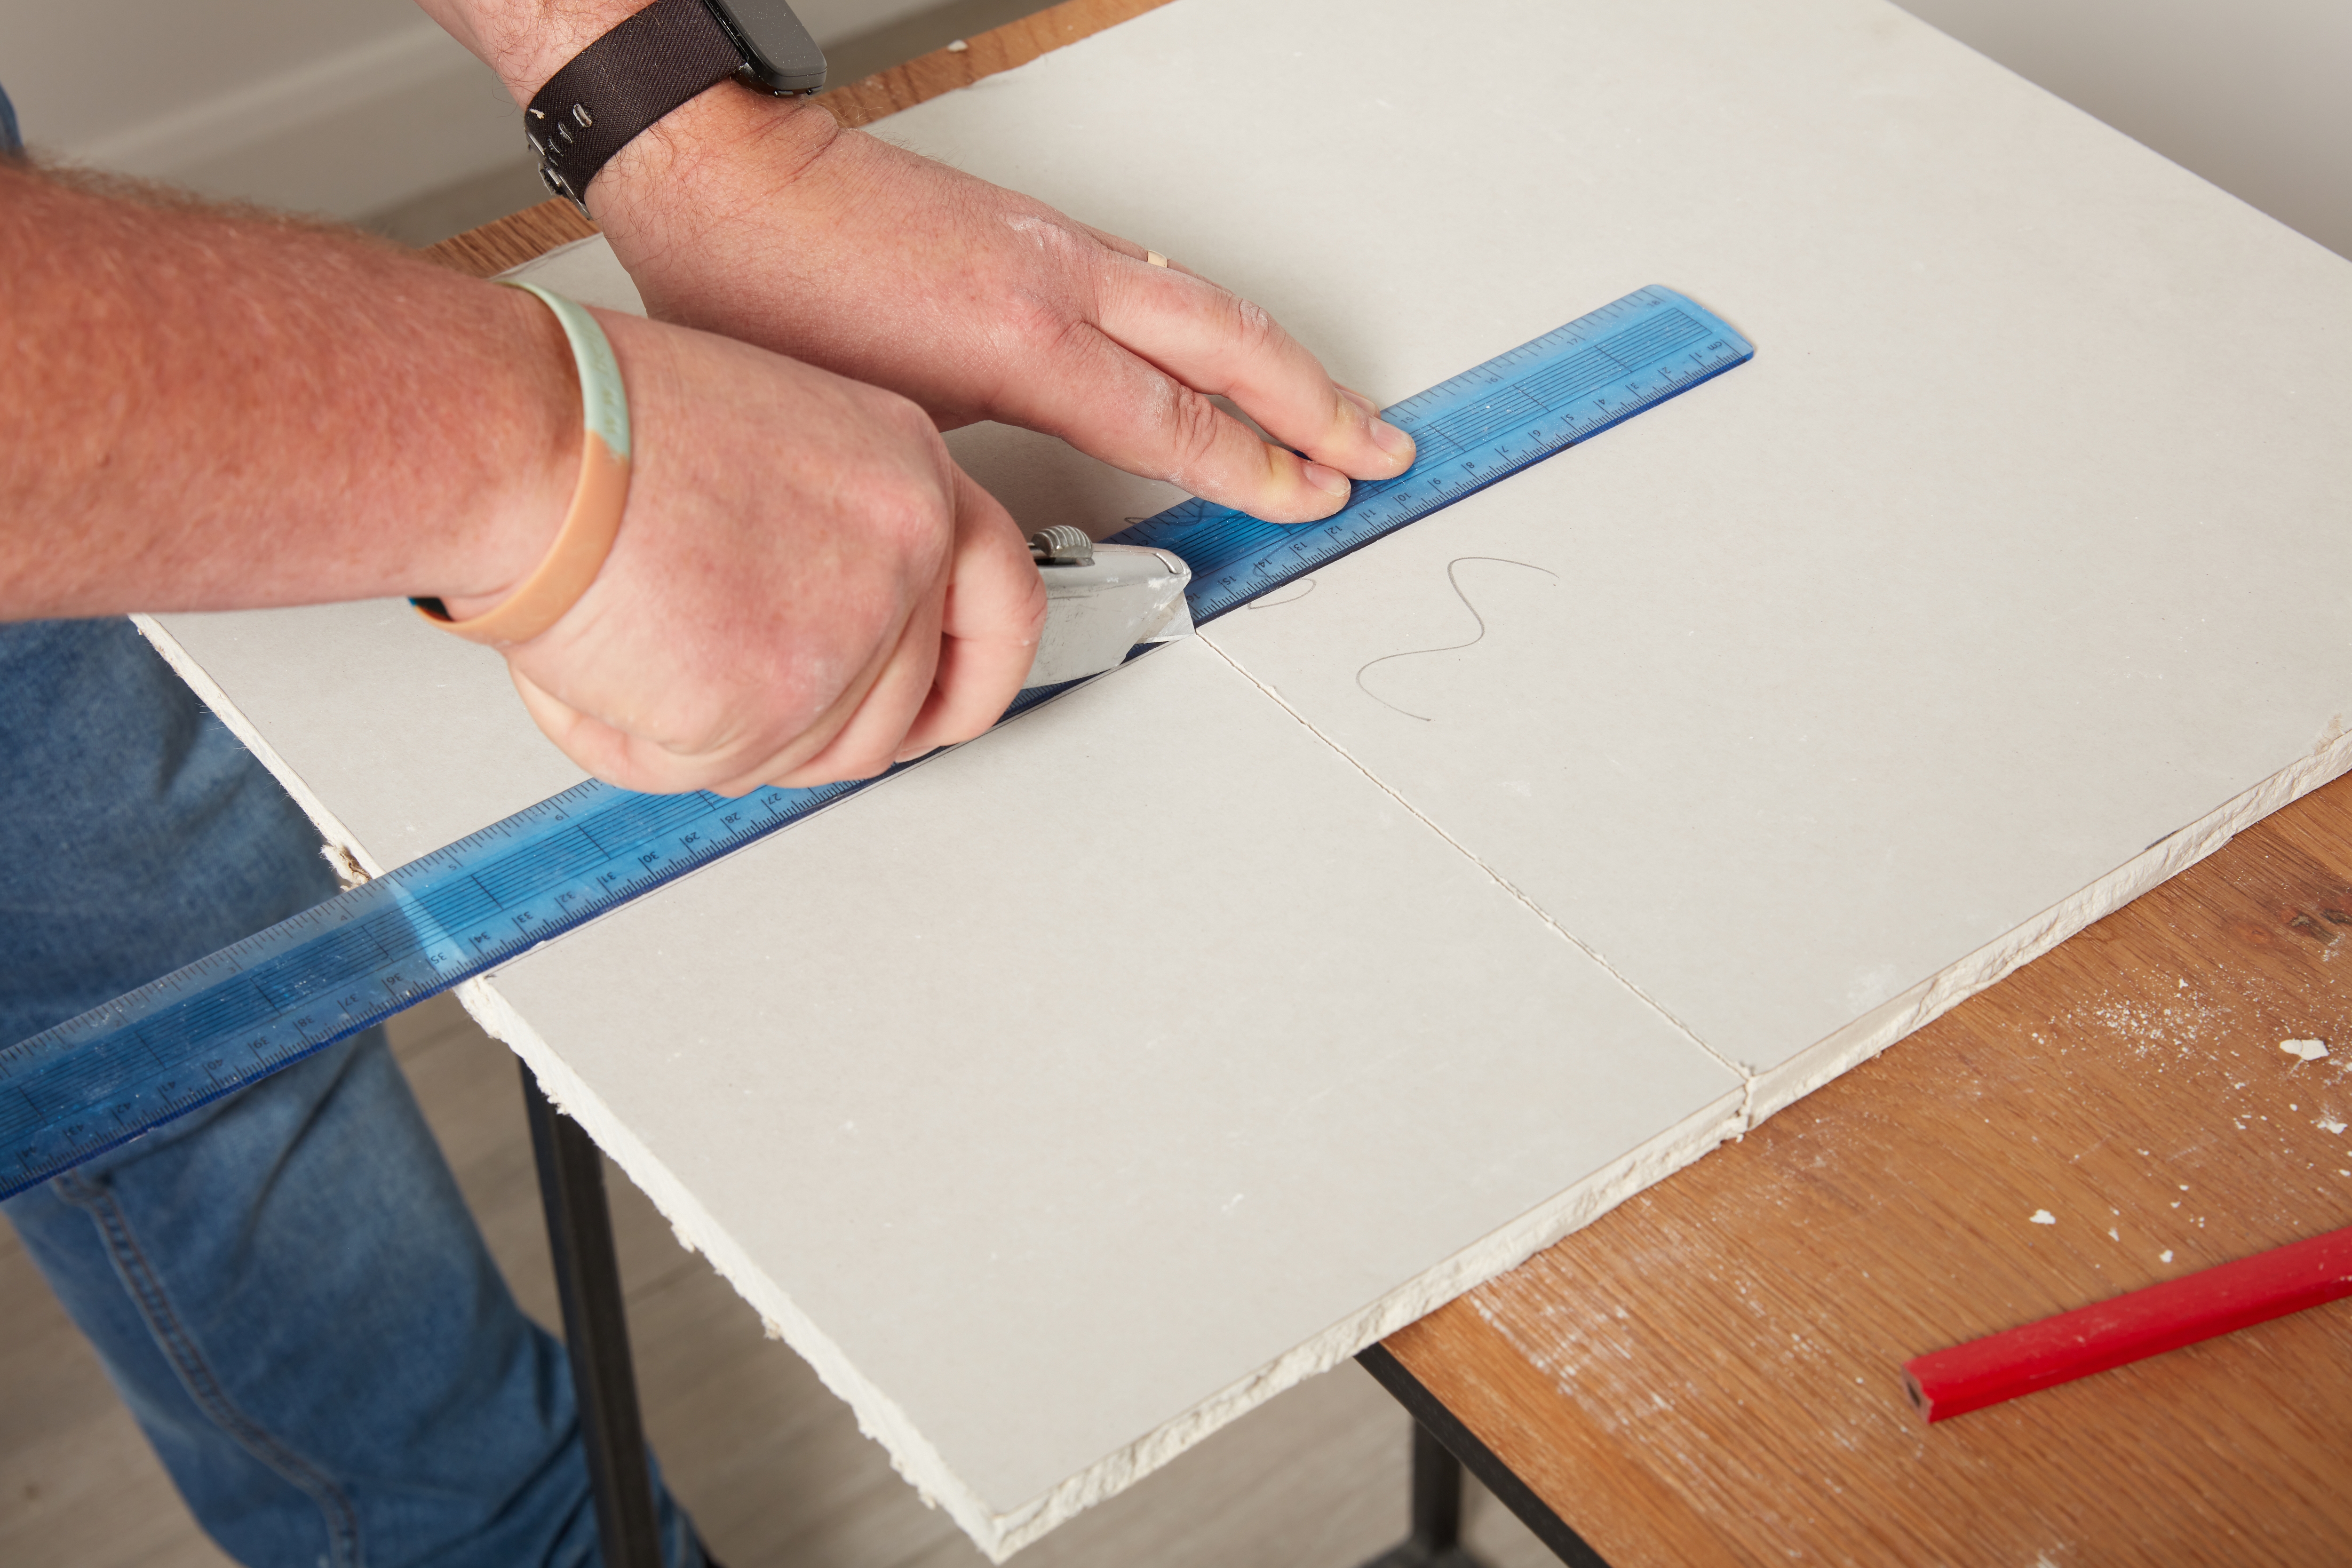
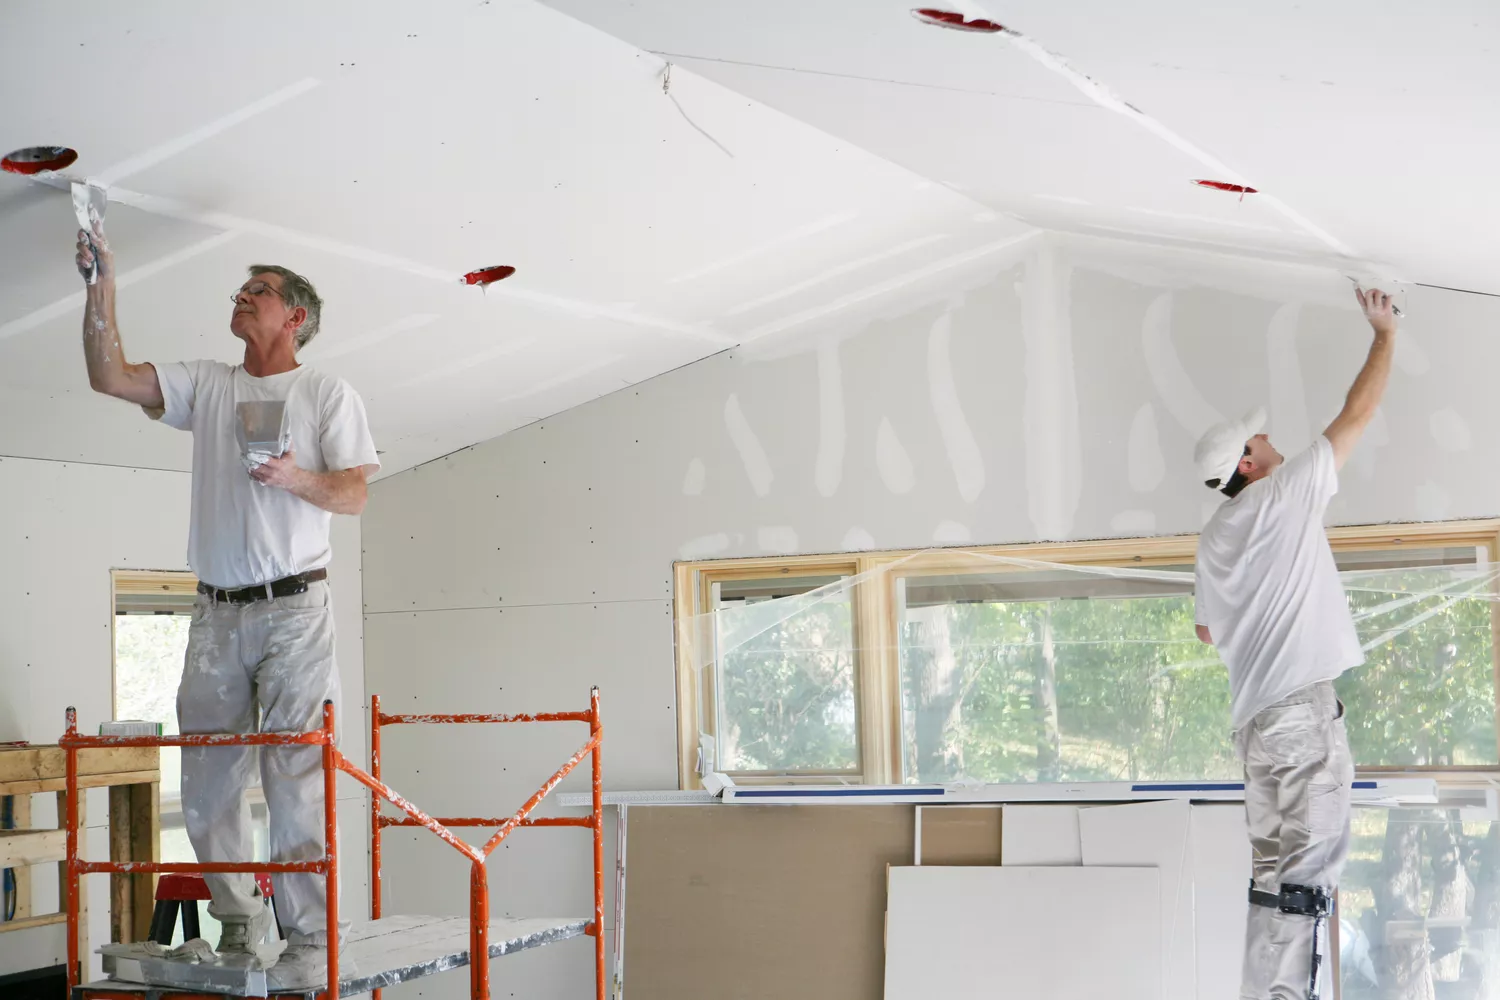
The project typically spans one to two weeks of working time and three to four weeks total. The general process involves clearing the attic of insulation, vents, and lighting, followed by the demolition of the existing ceiling drywall. Temporary vertical support systems are then erected to bear the roof's weight while joists and webs are removed. After sistering the rafters and installing collar ties, a perimeter ceiling is built to integrate the vaulted design with the walls. Electrical wiring for new lighting is then run, and insulation (rigid foam, sprayed foam, or fiberglass) is added between the rafters, adhering to local building codes. The final steps include installing and finishing drywall, followed by painting the new vaulted ceiling.
While an advanced DIY project, hiring a general contractor is often recommended due to the complexity, structural implications, and coordination required with architects, structural engineers, and various tradespeople. Contractors can also navigate the permitting process and ensure compliance with local building codes. Vaulted ceilings, while aesthetically pleasing and increasing natural light, do tend to raise electric bills due to the increased volume requiring heating and cooling. Different types of vaulted ceilings exist, such as barrel-vaulted or half-vaulted, with varying complexities and costs. Ultimately, vaulted ceilings are a more expensive option than flat ceilings, with costs increasing with custom designs.
#VaultedCeiling #HomeImprovement #CeilingRenovation #StructuralEngineering #DIYHomeProjects #InteriorDesign #RoofTruss #BuildingCodes #VaultedCeiling #HomeImprovement #CeilingRenovation #StructuralEngineering #DIYHomeProjects #InteriorDesign #RoofTruss #BuildingCodes
0 comment in total
 No comments yet
You may also like

7 Glamorous Hacks to Transform a Boring White Ceiling


How Decorating Your Ceiling Can Transform Your Entire Room


How They Pulled It Off: A Twisty, Floating Staircase for a 14-Foot Ceiling

Handyman Hints: Creating the coffered ceiling

Can't Stand Your Generic Basement Ceiling? This DIY Project Will Make It Stunning

Loft conversions: The ultimate guide

30 Vaulted Ceiling Ideas That Will Add Drama to Any Room

Trend Alert: Here’s How To Perfect The Painted Ceiling Look


10 Ways to Cover a Hideous Ceiling That Anyone Can Do

Why Are Vaulted Ceilings So Controversial? Experts Weigh In

How to repair a wall or ceiling


Ceiling Carrier System - Combi-Line from Hunter Douglas Architectural (Europe)


The vaulted ceiling - 2 Feb 2023 - Homebuilding & Renovating Magazine

How to make your ceiling more attractive – 7 ways to turn the neglected fifth wall into a beautiful feature

11 Pro Tricks to Make It Look Like You Have High Ceilings

Designer-Approved Tips to Make the Most of High Ceilings

"Barrel Vault Ceilings" Might Be the Architectural Detail of the Moment — These Projects Will Show You Why


Awkward Rooflines Are No Match for These Clever Solutions


7 tricks design experts use to make a bedroom ceiling seem higher


22 Vaulted Ceiling Ideas For A Striking Space