1/2
The best way to stain wood – 4 time-saving tips from the experts
Staining wood offers numerous benefits, enhancing its appearance and providing protection for the natural material. However, achieving a flawless, even finish without drips can be challenging. Whether the project involves staining kitchen cabinets, a fence, or a deck, the application method significantly impacts the final outcome. Improper staining can lead to a patchy finish and necessitate extensive sanding, which can damage the wood over time, emphasizing the importance of getting it right the first time.
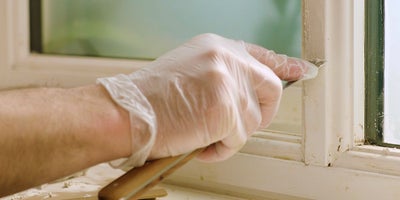
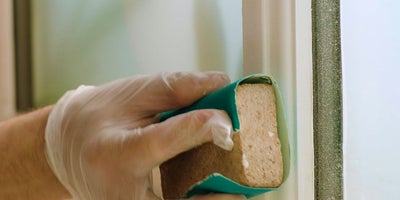
The process begins with thorough cleaning and preparation of the wood surface. Any existing coatings, such as old stains or paint, must be removed by sanding with 80-120-grit sandpaper. After sanding, the area should be meticulously cleaned with a microfiber cloth to ensure it is smooth and free of any dust or debris, preparing it for subsequent steps.
The next crucial step is applying a wood conditioner. Similar to using a primer before painting wood furniture, a wood conditioner ensures that the stain absorbs uniformly, preventing blotchiness. This step is particularly vital for softer woods like white wood or pine. A pre-stain conditioner allows the wood to absorb the stain evenly, resulting in a consistent color and a durable finish.
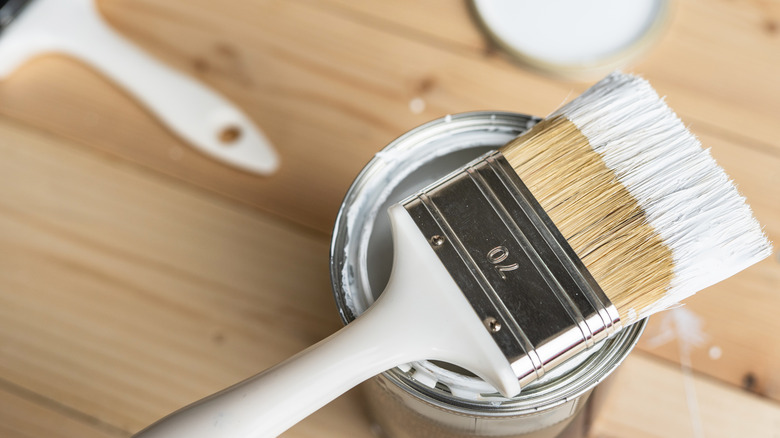
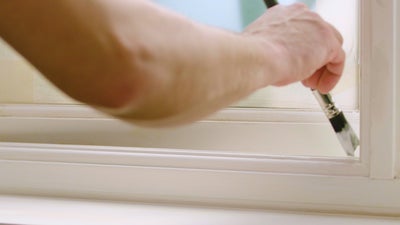
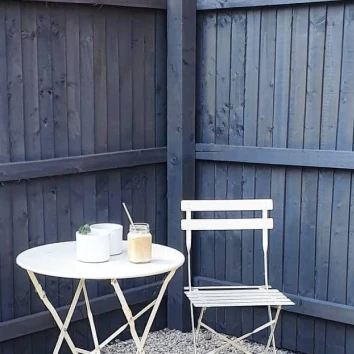
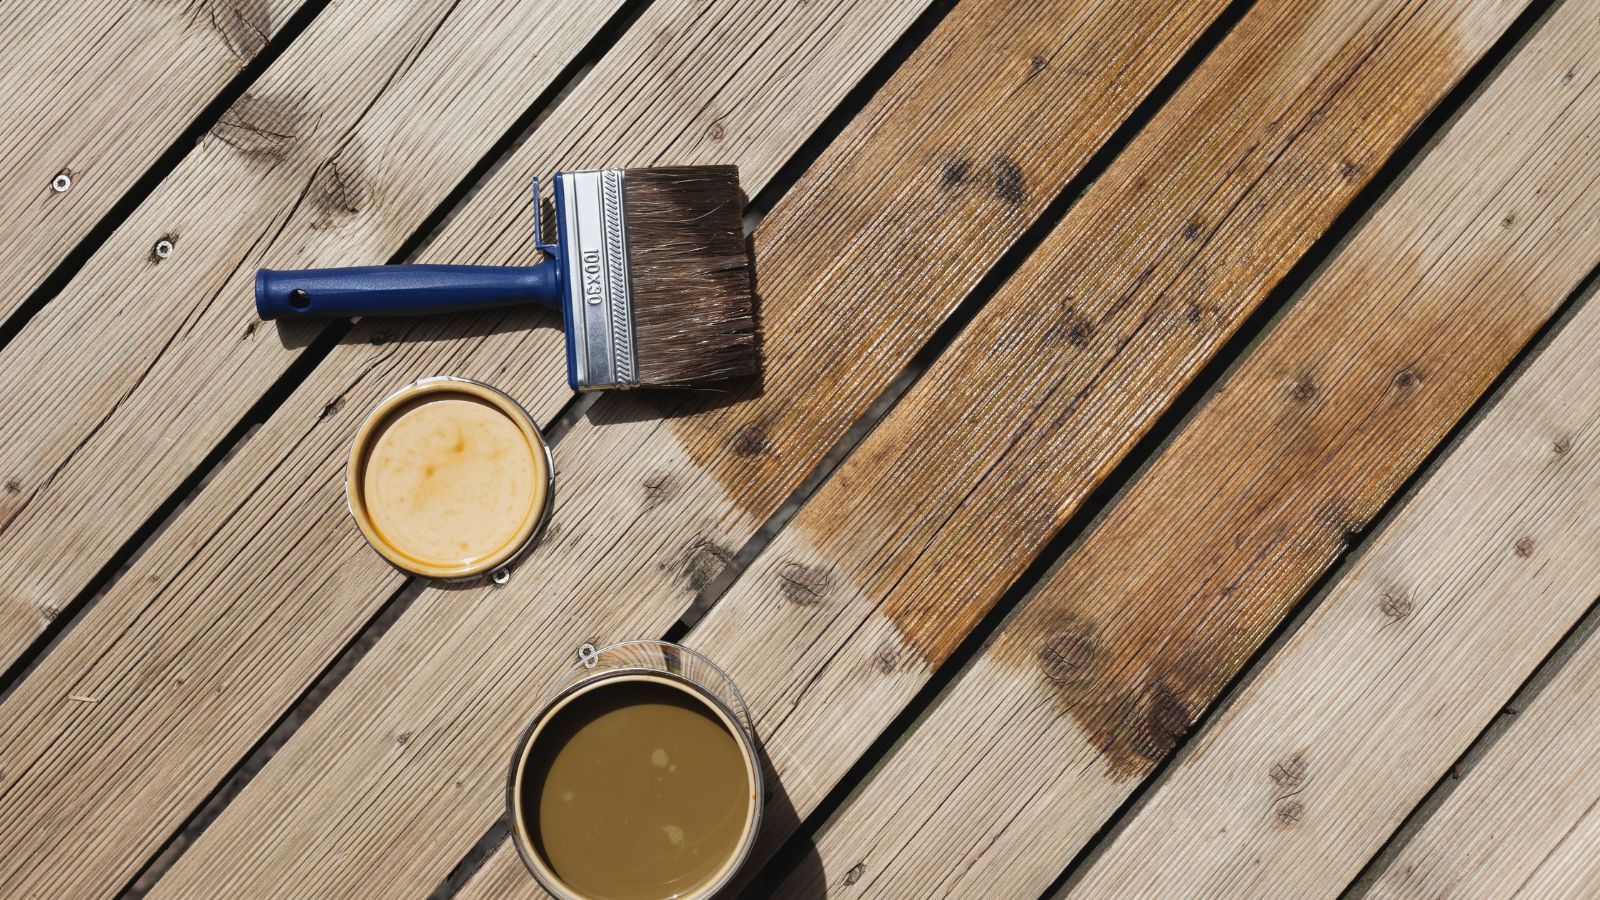
Once the wood conditioner has dried, the stain can be applied. For optimal results, apply the stain in the direction of the wood grain to ensure even coverage. Professional painters suggest using a lint-free cloth rather than a brush or roller to apply the stain. This method helps control the amount of stain applied and its spread, minimizing the risk of drips and brush marks. The cloth can be dipped directly into the stain or a small amount can be poured onto the wood as work progresses. Using a cloth also makes it easier to wipe away any drips as they occur. To further prevent drips, especially on vertical surfaces, it is advisable to work on a flat surface. Apply the stain to one side, allow it to dry, then flip the piece to stain the next side, although this method is more time-consuming.
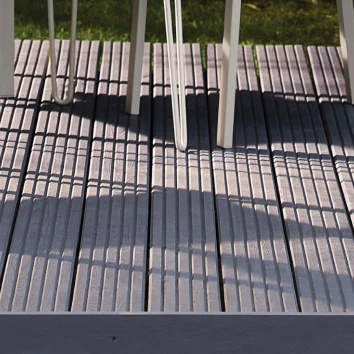
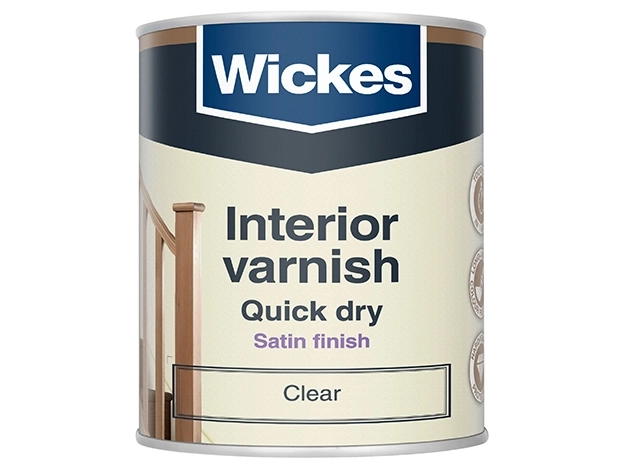
Finally, depending on the wood's intended location, a protective top coat may be necessary. For indoor items like cabinets and furniture, a topcoat is recommended to shield against grease, water splashes, and general wear. Outdoor elements such as fence panels might not require an additional topcoat if the chosen fence stain already includes waterproofing protection. When applying a top coat, such as polyurethane, it should be stirred and then applied with a natural bristle or foam brush, following the wood grain. After the first coat dries for three to four hours, lightly sand with 220-grit sandpaper, clean, and then apply a second or third coat.
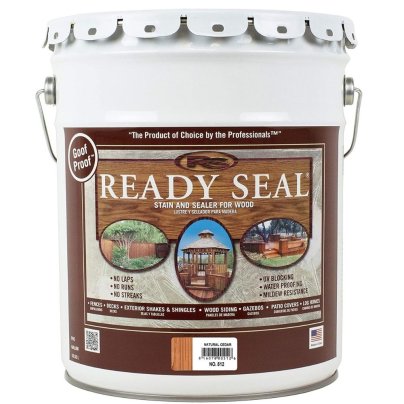
If drip marks appear, they can be fixed. Allow the drips to harden completely. Once dry, gently scrape them off using a razor blade or 400-grit sandpaper. Care must be taken not to damage the surrounding stained surface. If sandpaper is used, alternate between going with and against the grain, then smooth the area with a fine scouring pad. Any residual stain can be removed by dabbing the area with water or mineral spirits and wiping clean with a cloth. If the removal process also lifts some of the stain, reapply a small amount of the exact same stain using a cotton swab or small brush to ensure a match. It is also important to wipe off excess stain approximately five to ten minutes after the initial application, once the wood has absorbed what it can but before the stain becomes tacky. Multiple coats of stain will deepen the color, typically achieving the advertised shade on the product. Choosing the correct type of stain (oil-based for outdoor use and water-based with a top coat for indoor use) is crucial to the longevity and appearance of the stained wood, as using an inappropriate stain can compromise the durability of the finish.
#WoodStaining #DIYWoodProjects #HomeImprovement #InteriorDesign #WoodFinishing #StainApplication #WoodCare #ProtectiveCoating #WoodPreparation #WoodStaining #DIYWoodProjects #HomeImprovement #InteriorDesign #WoodFinishing #StainApplication #WoodCare #ProtectiveCoating #WoodPreparation
0 comment in total
 No comments yet
You may also like
Best Wood Stain Colors For Interior And Exterior Surfaces

How to paint interior woodwork

Wood Treatments
How to stain kitchen cabinets – an expert guide

Wood Stain | Exterior Wood Stain & Paints
The Best Deck Stains of 2026

How to Stain a Wood Deck: Instructions and Materials List


Paint Colors That Go With Natural Wood — 10 Picks That Bring Out the Beauty of This Organic Material

The Best Way To Paint Wood Paneling, According To An Expert
Our Favorite Wood Stains Will Make Your Furniture Look Like a Million Bucks

Make Cedar Shine: Our Favorite Wood Stains
The Best Deck Stains of 2025
How to Stain Wood Like a Pro—and Get It Right the First Time

Garden Furniture Paint & Stain


Wood Dyes & Waxes | Wax for Unfinished Wood
Best decking paint and decking stain
We Put the Best Exterior Wood Stains Through 40 Hours of Testing to Find the Top Picks
How to Prepare Interior Woodwork For Painting
What color should you paint woodwork? Expert ways to factor this small yet impactful detail into color schemes
Successful Staining