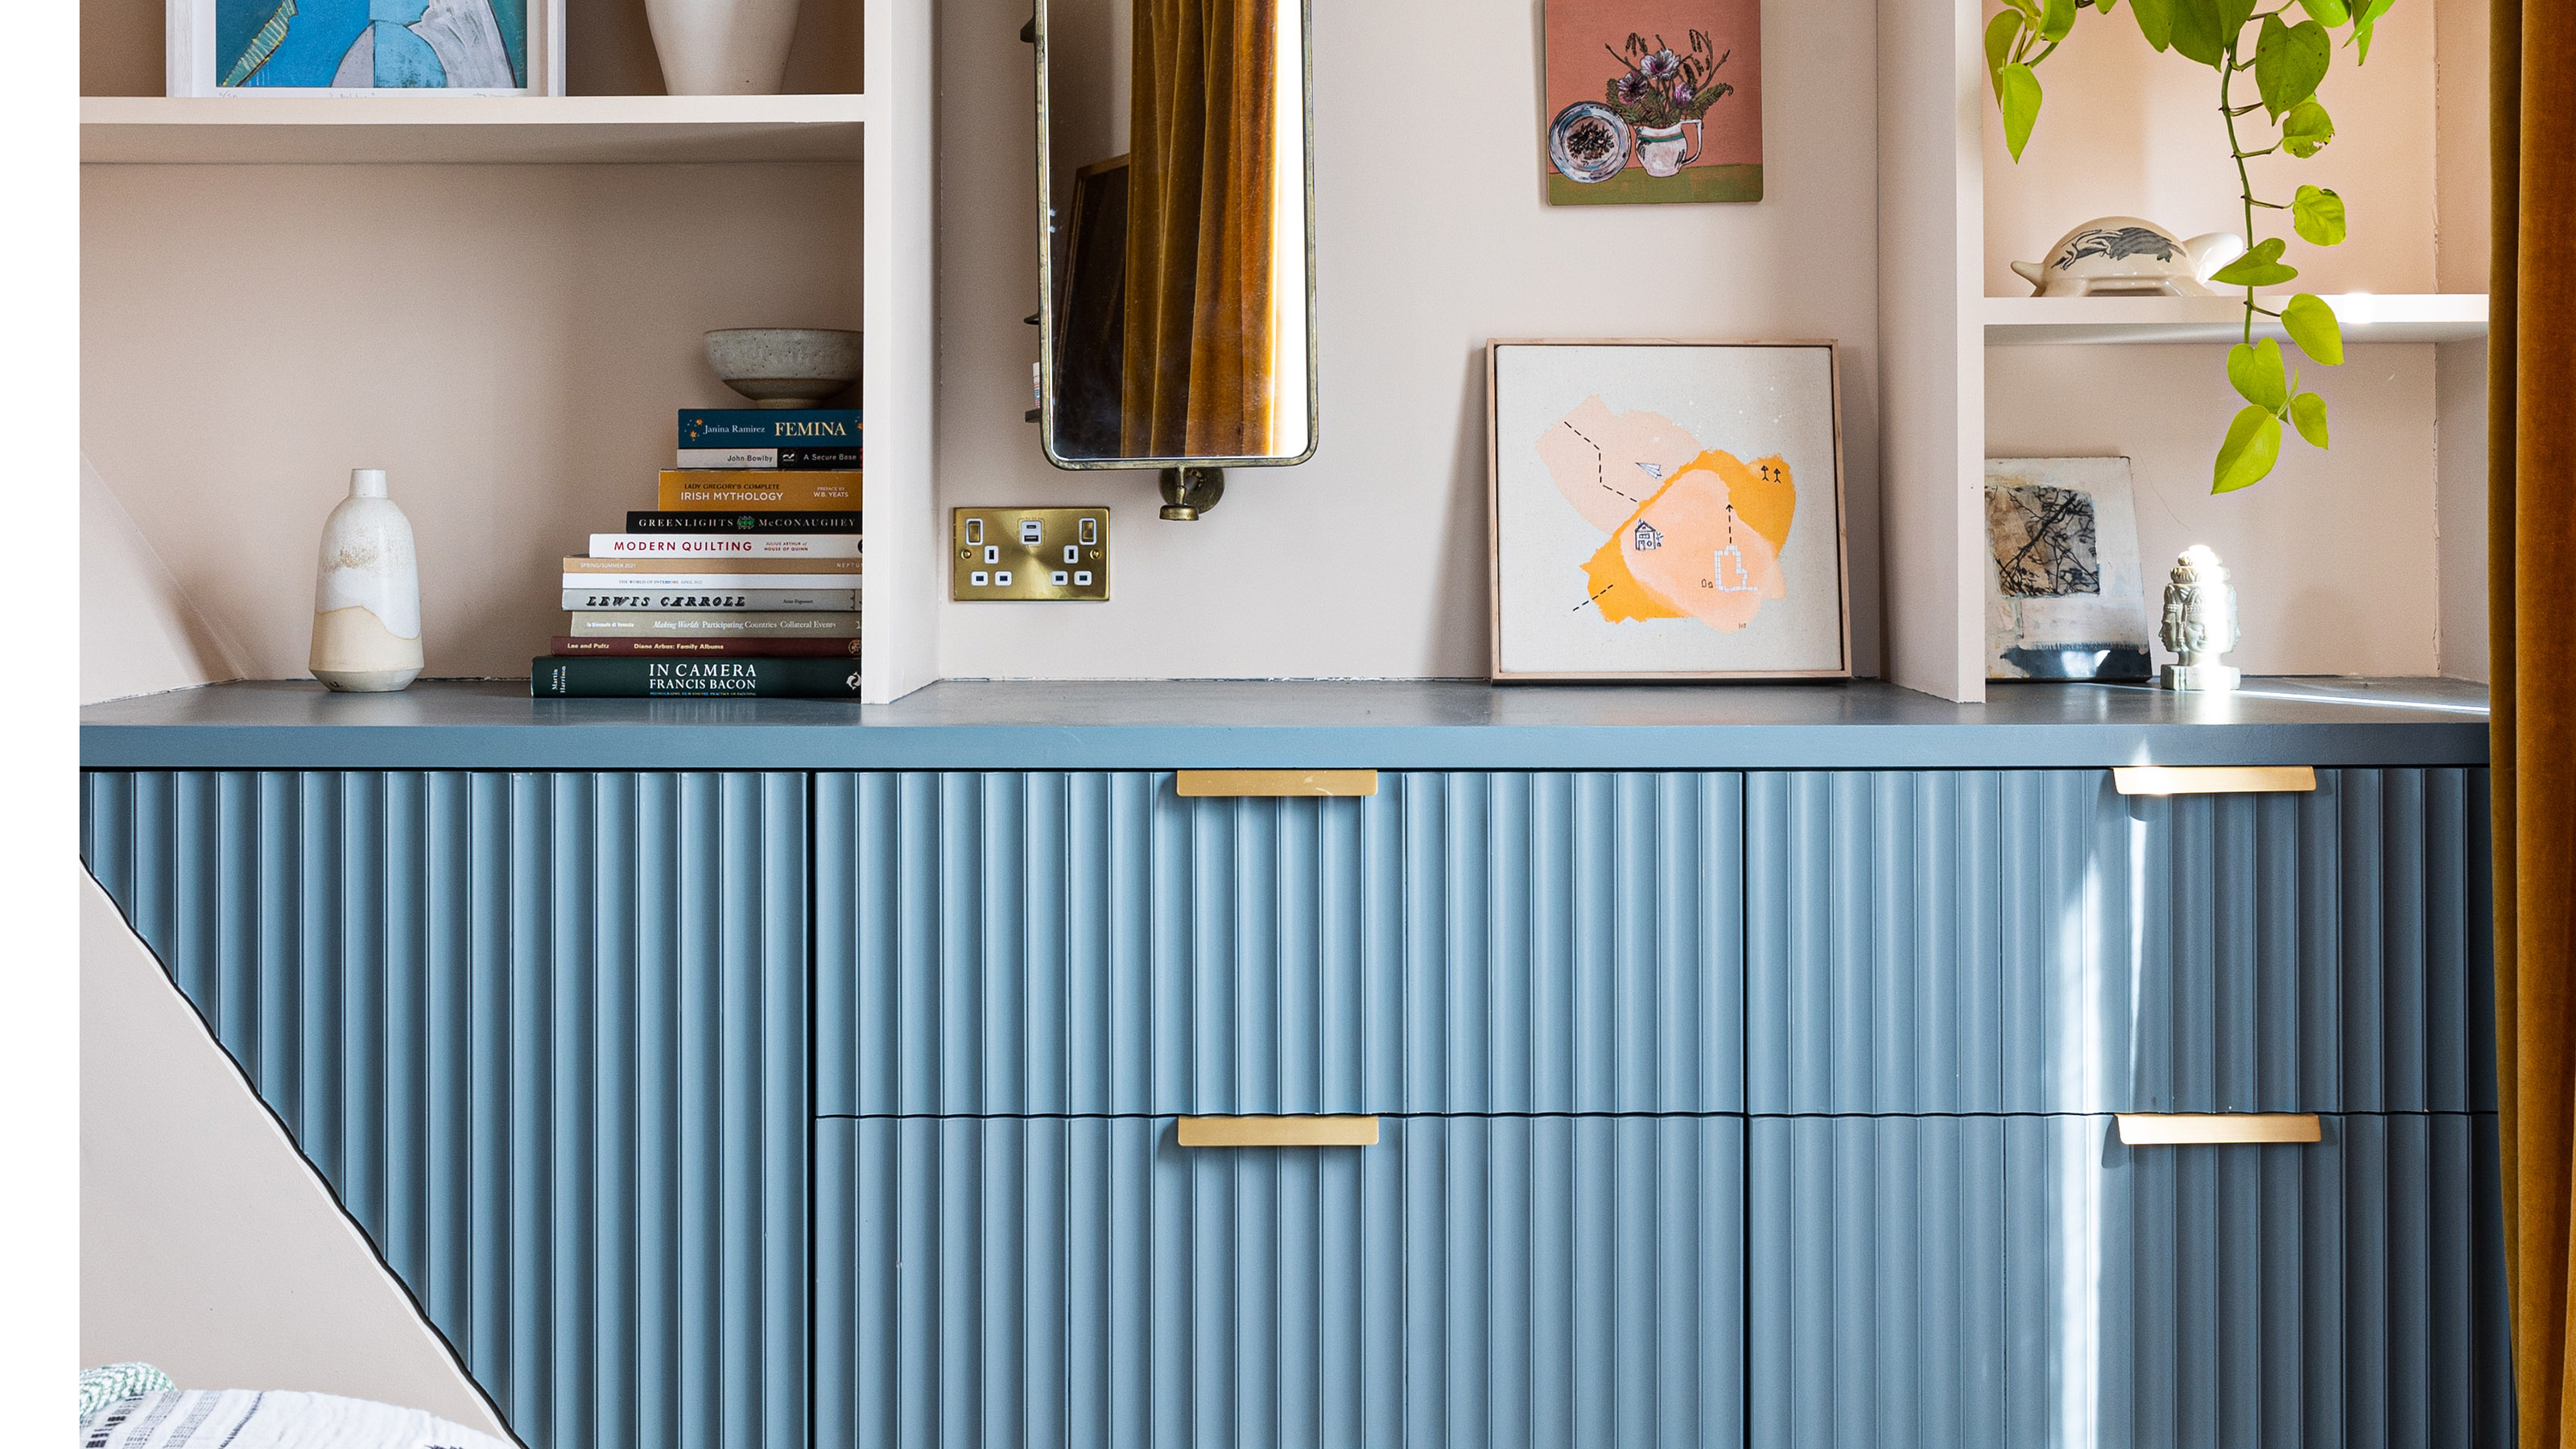
1/7
How to paint laminate furniture - the pro tips experts swear by for a perfect finish
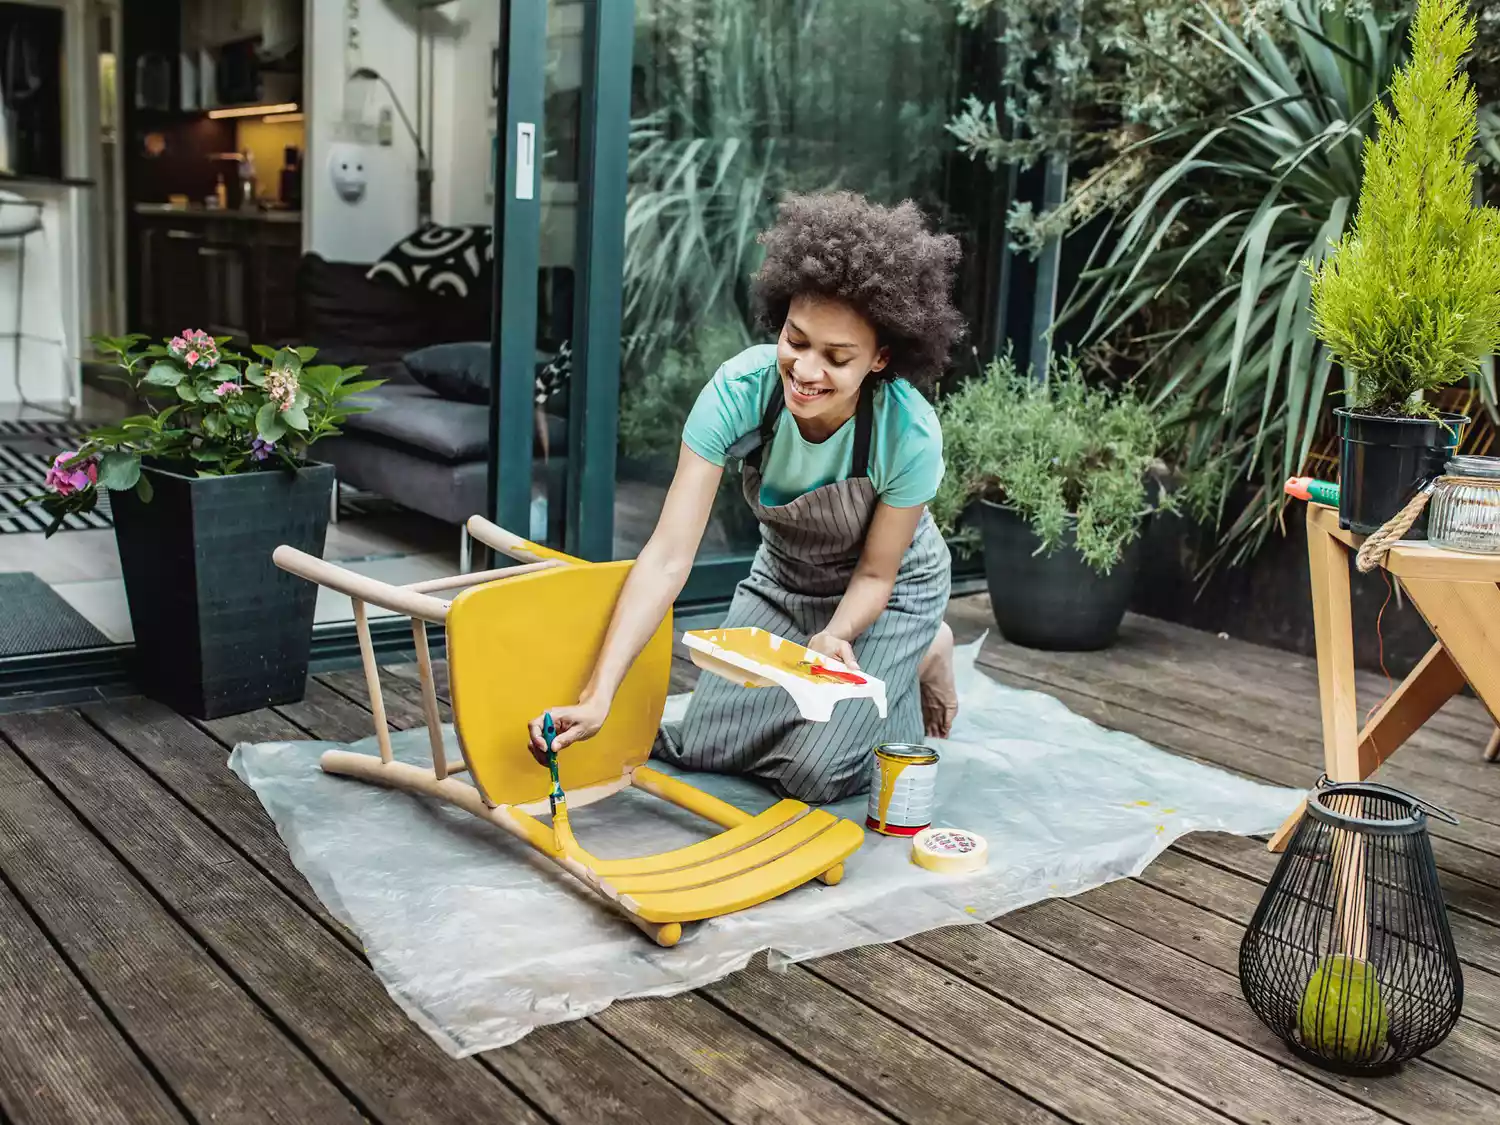
Upcycling furniture is gaining popularity as people prioritize making use of existing items and shopping secondhand. Many pieces of furniture, especially more affordable ones, feature a laminate layer that mimics natural wood. While aesthetically pleasing and cost-effective, this laminate surface requires a specific approach when painting. Painting laminate furniture is a relatively straightforward DIY project that can be completed over a weekend, but it requires adherence to proper steps and the use of appropriate paints to avoid damage and ensure a lasting finish.
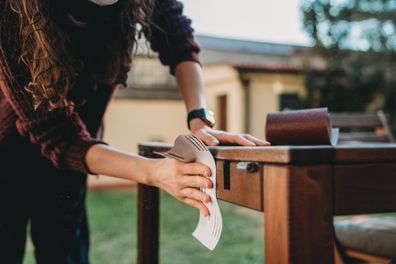
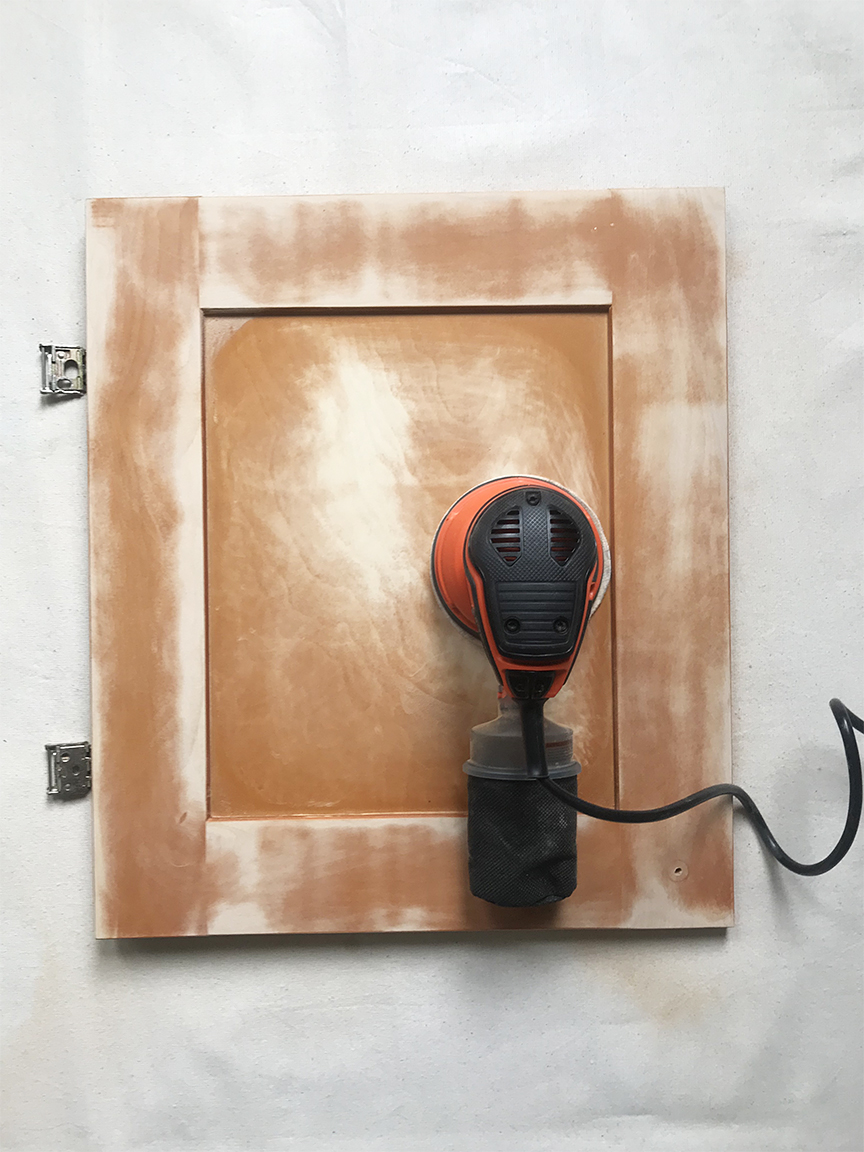
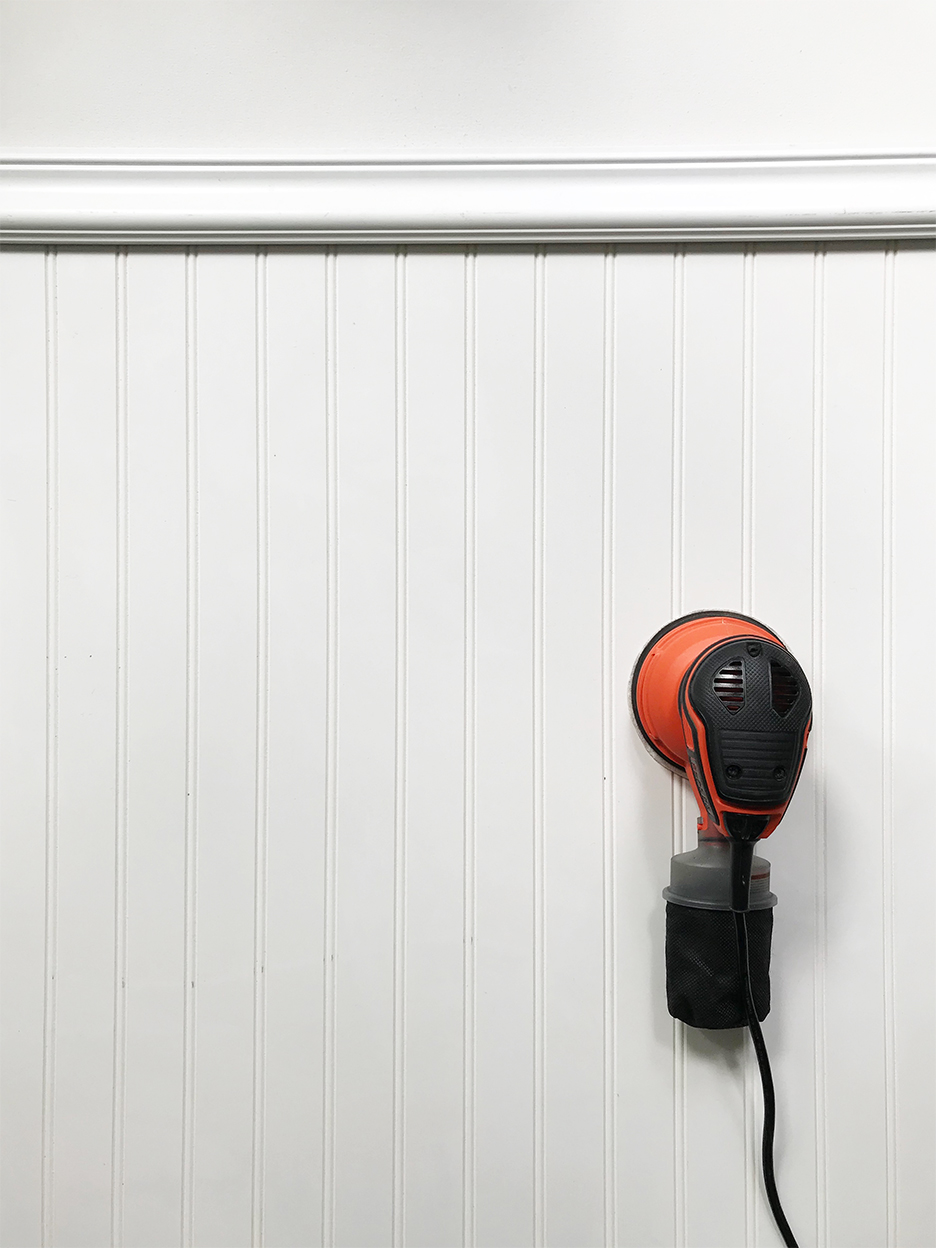
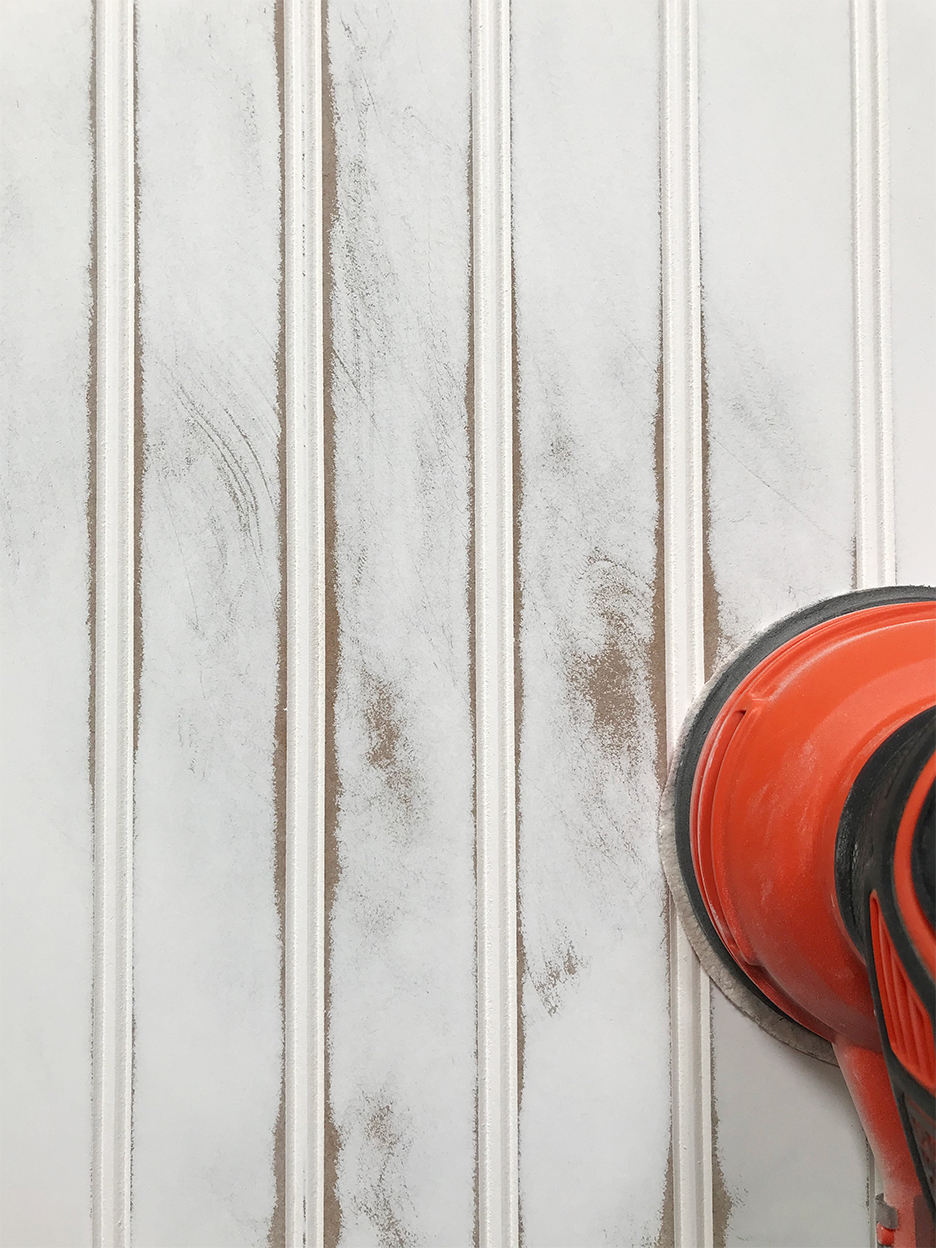
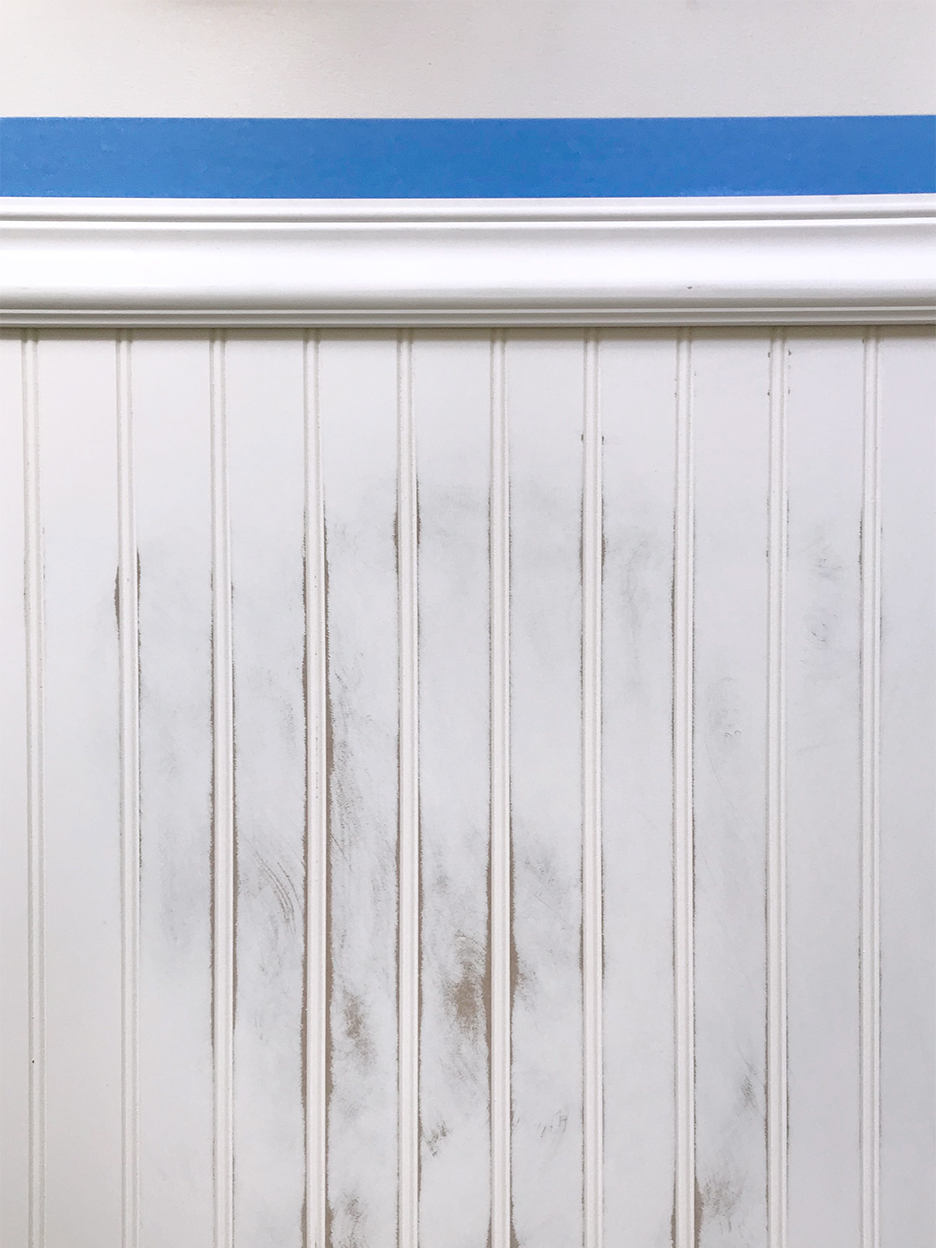
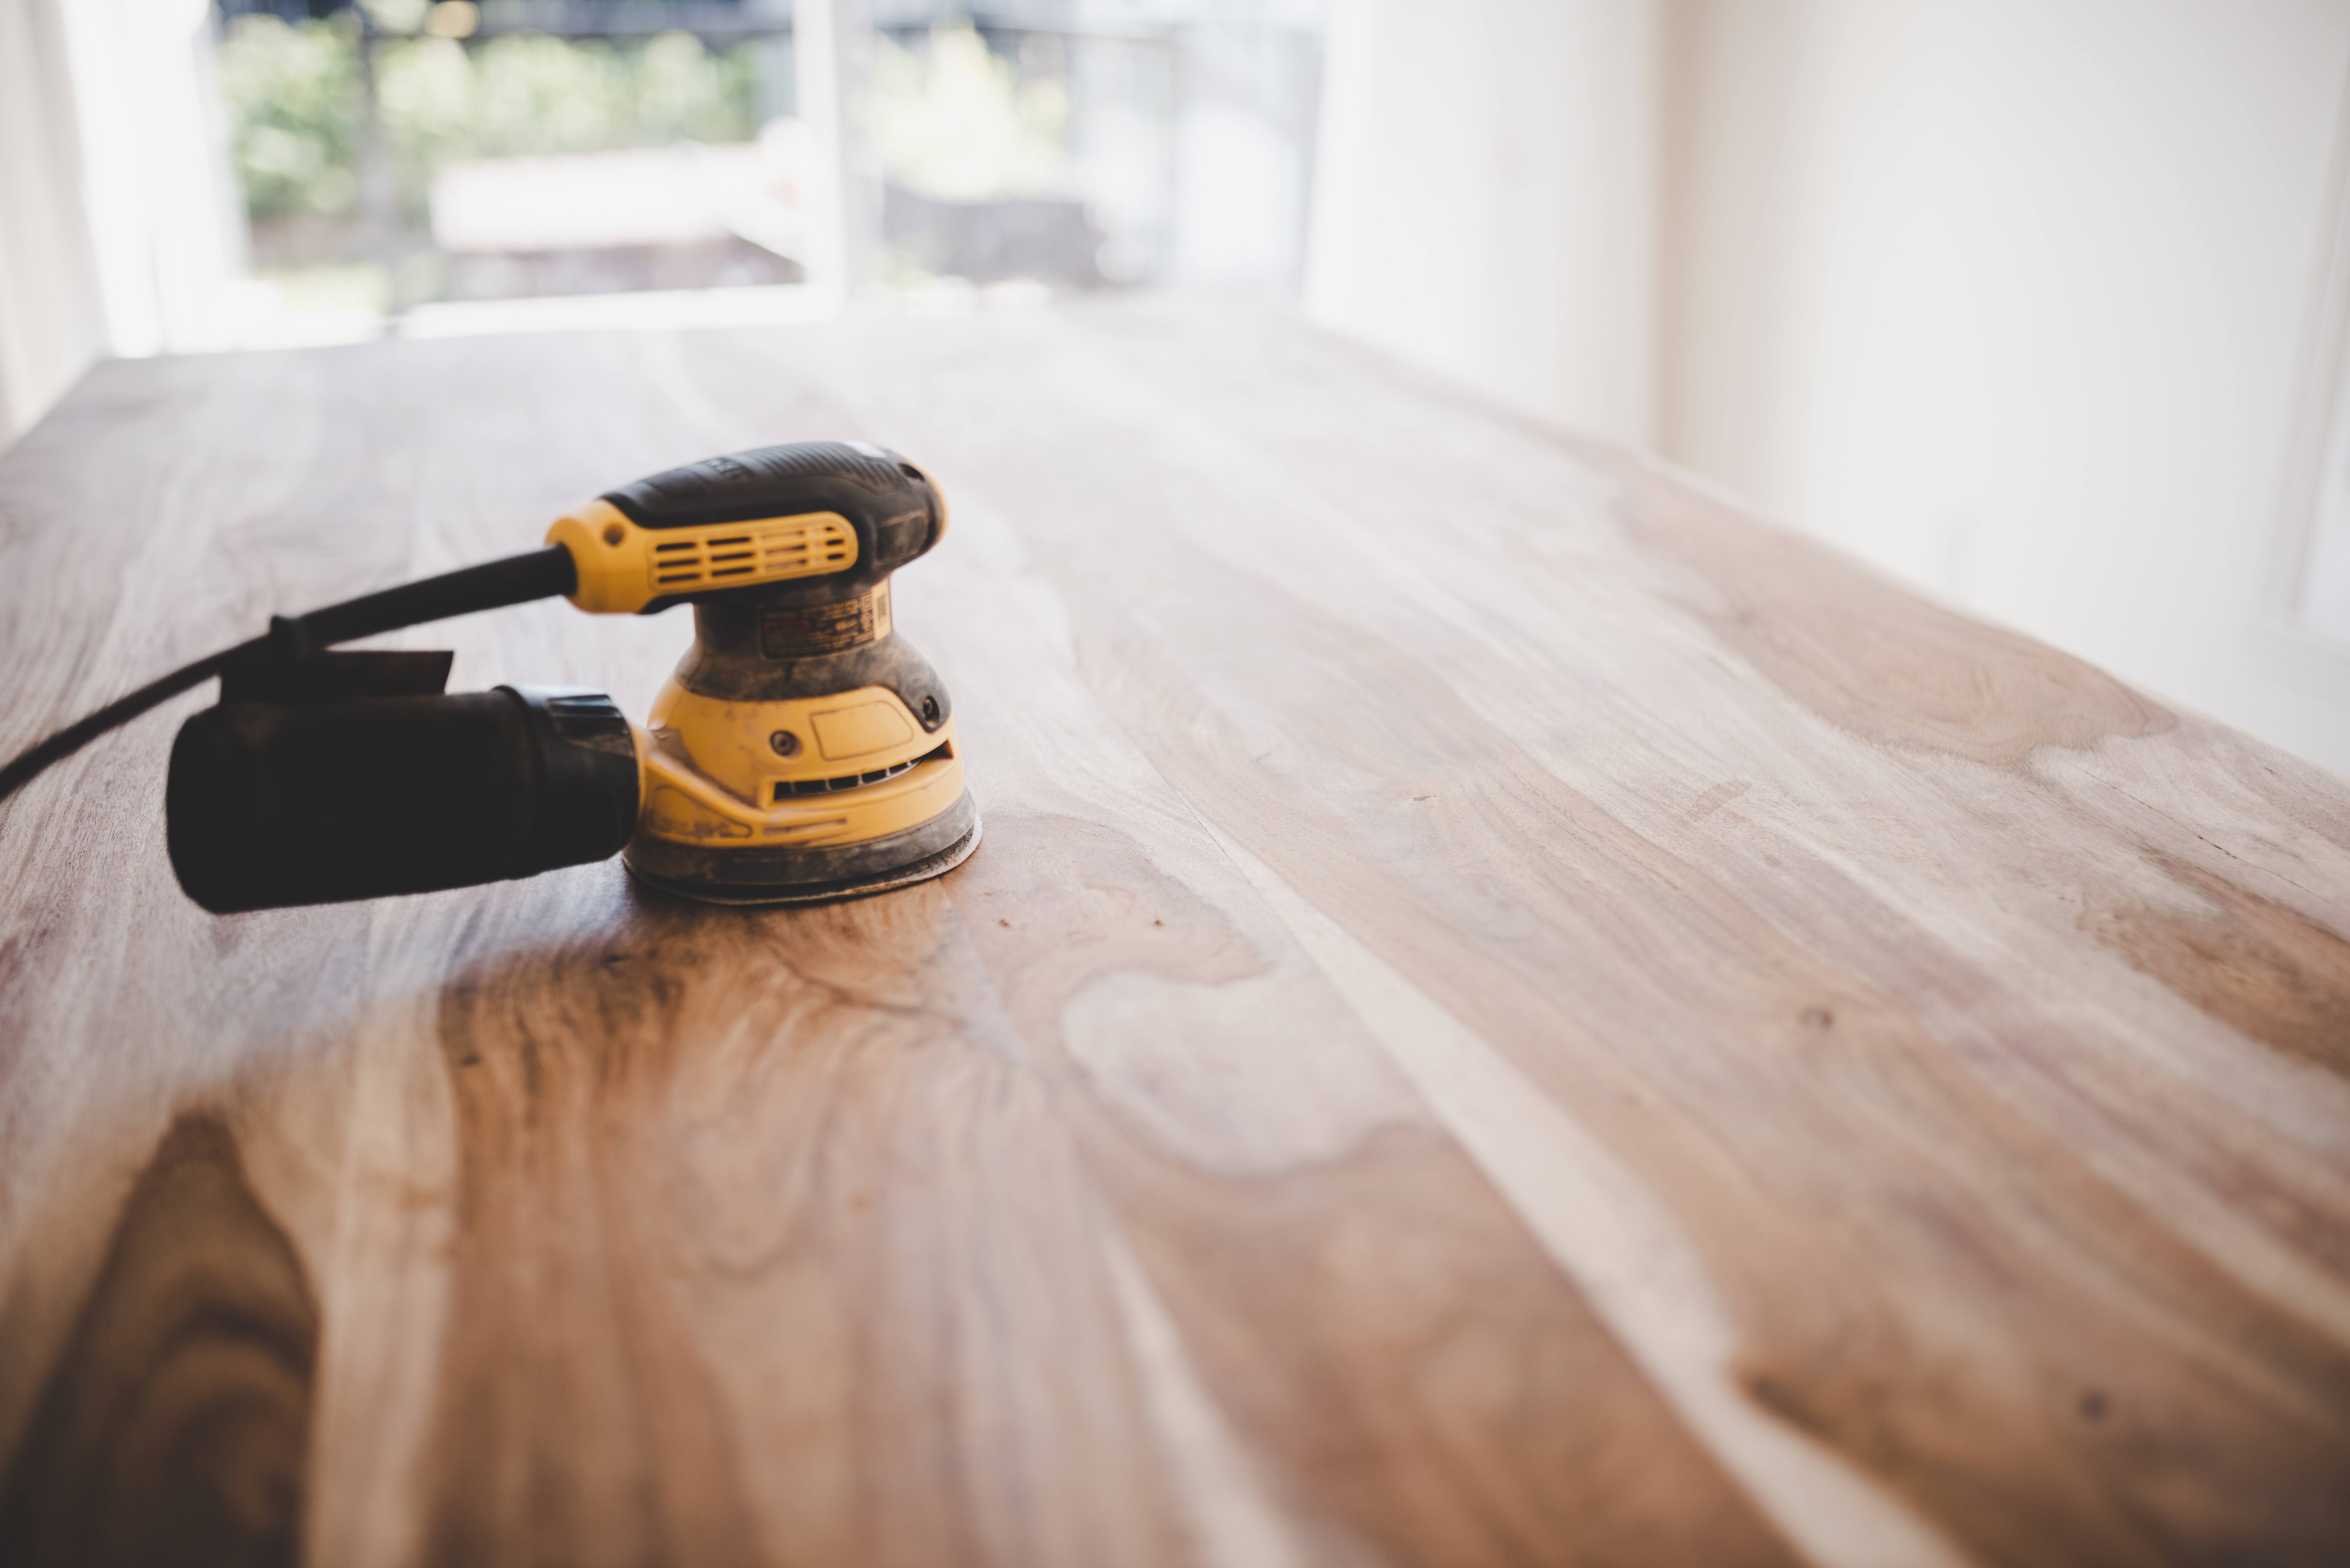
To successfully paint laminate furniture, preparation is key. The process begins with cleaning the surface to remove dirt and grease, which ensures a smooth finish and proper paint adhesion. A damp cloth or sugar soap can be used for cleaning, followed by thorough drying. The next crucial step is sanding. Laminate's smooth texture makes it difficult for paint to adhere, so light sanding with 120-grit sandpaper creates a rougher surface for better grip. After sanding, any excess dust should be brushed away.
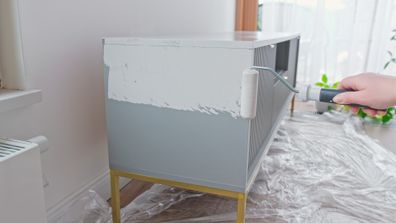
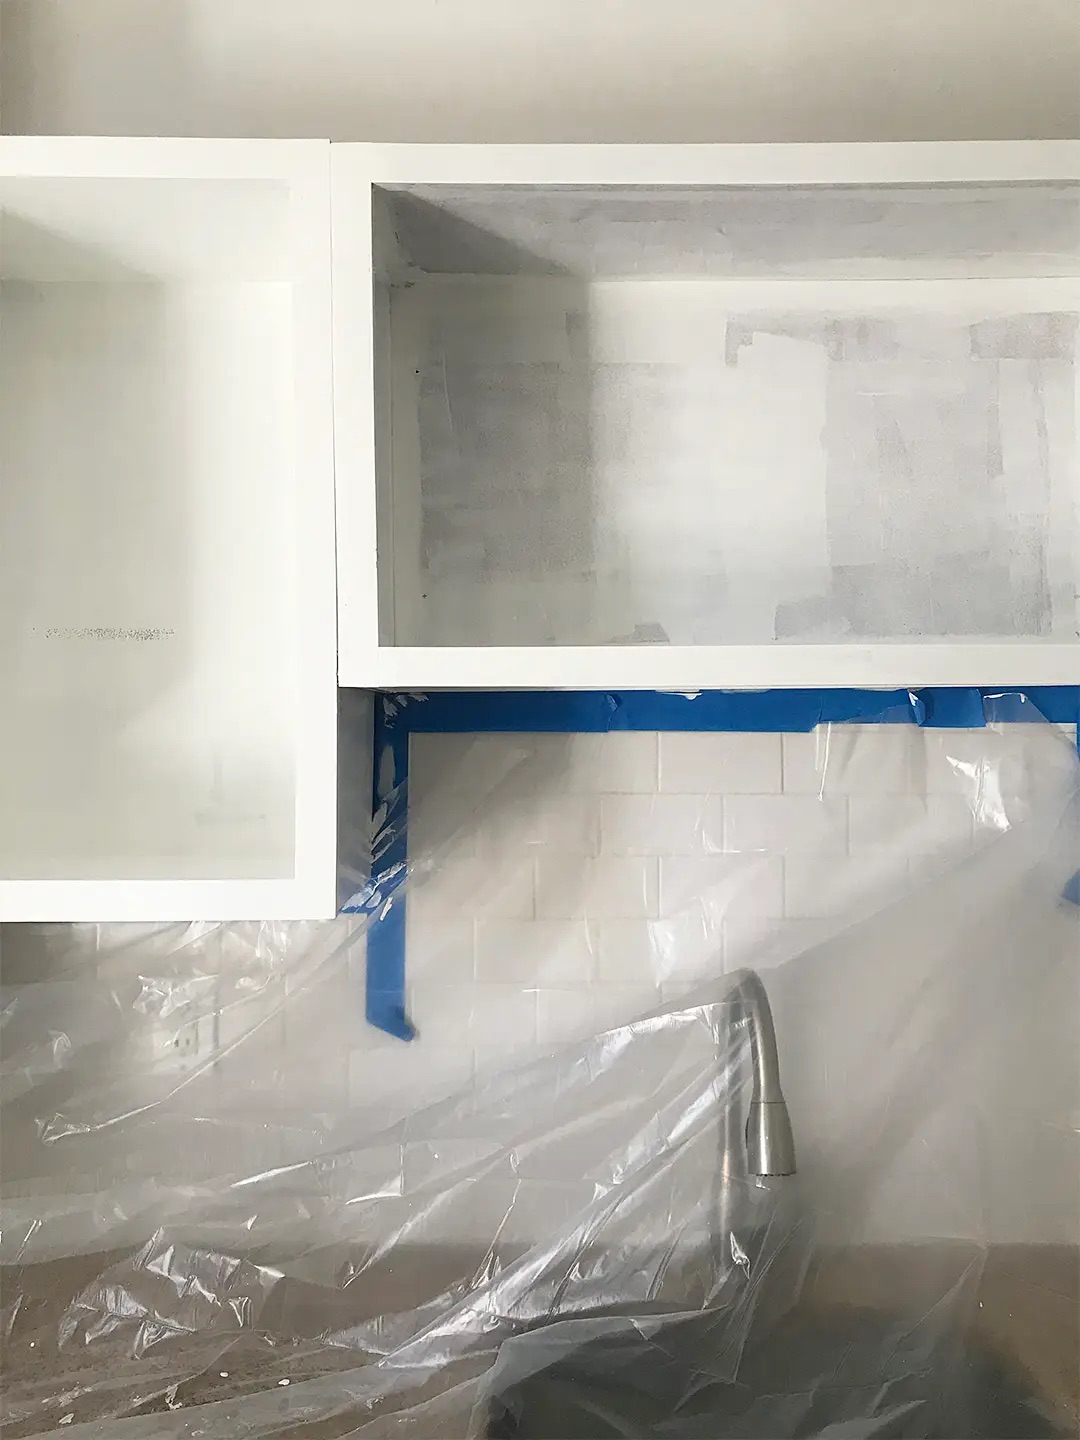
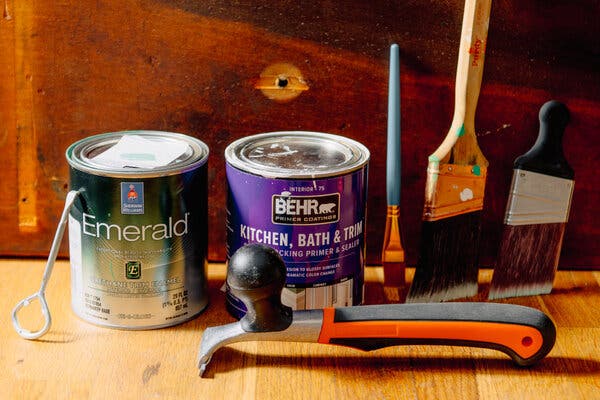
Priming is considered one of the most vital steps for painting laminate furniture. It creates a tacky surface that allows the paint to cling effectively. A small amount of primer is applied with a foam roller, with two coats recommended if painting a dark piece a lighter color. Each coat needs to dry completely, and light sanding between coats is advised. Specialized primers for laminate and melamine surfaces are ideal, though wood primers like Zinsser BIN can also be effective. Applying primer with a foam roller or sprayer and allowing it to dry properly is essential.
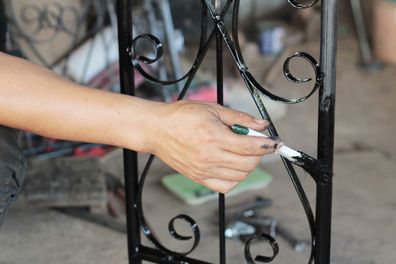
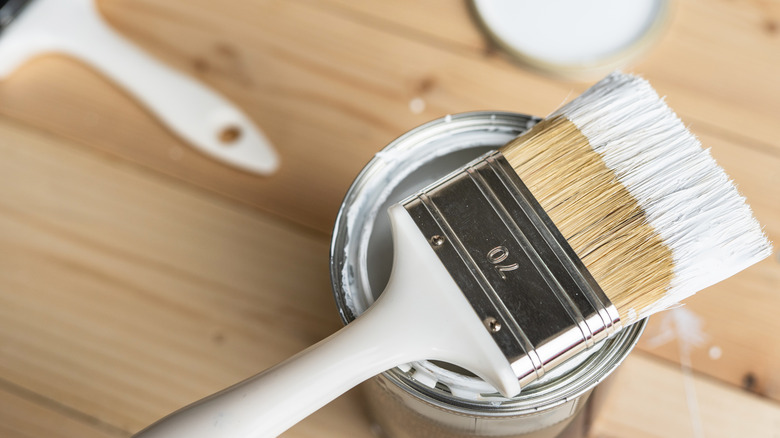
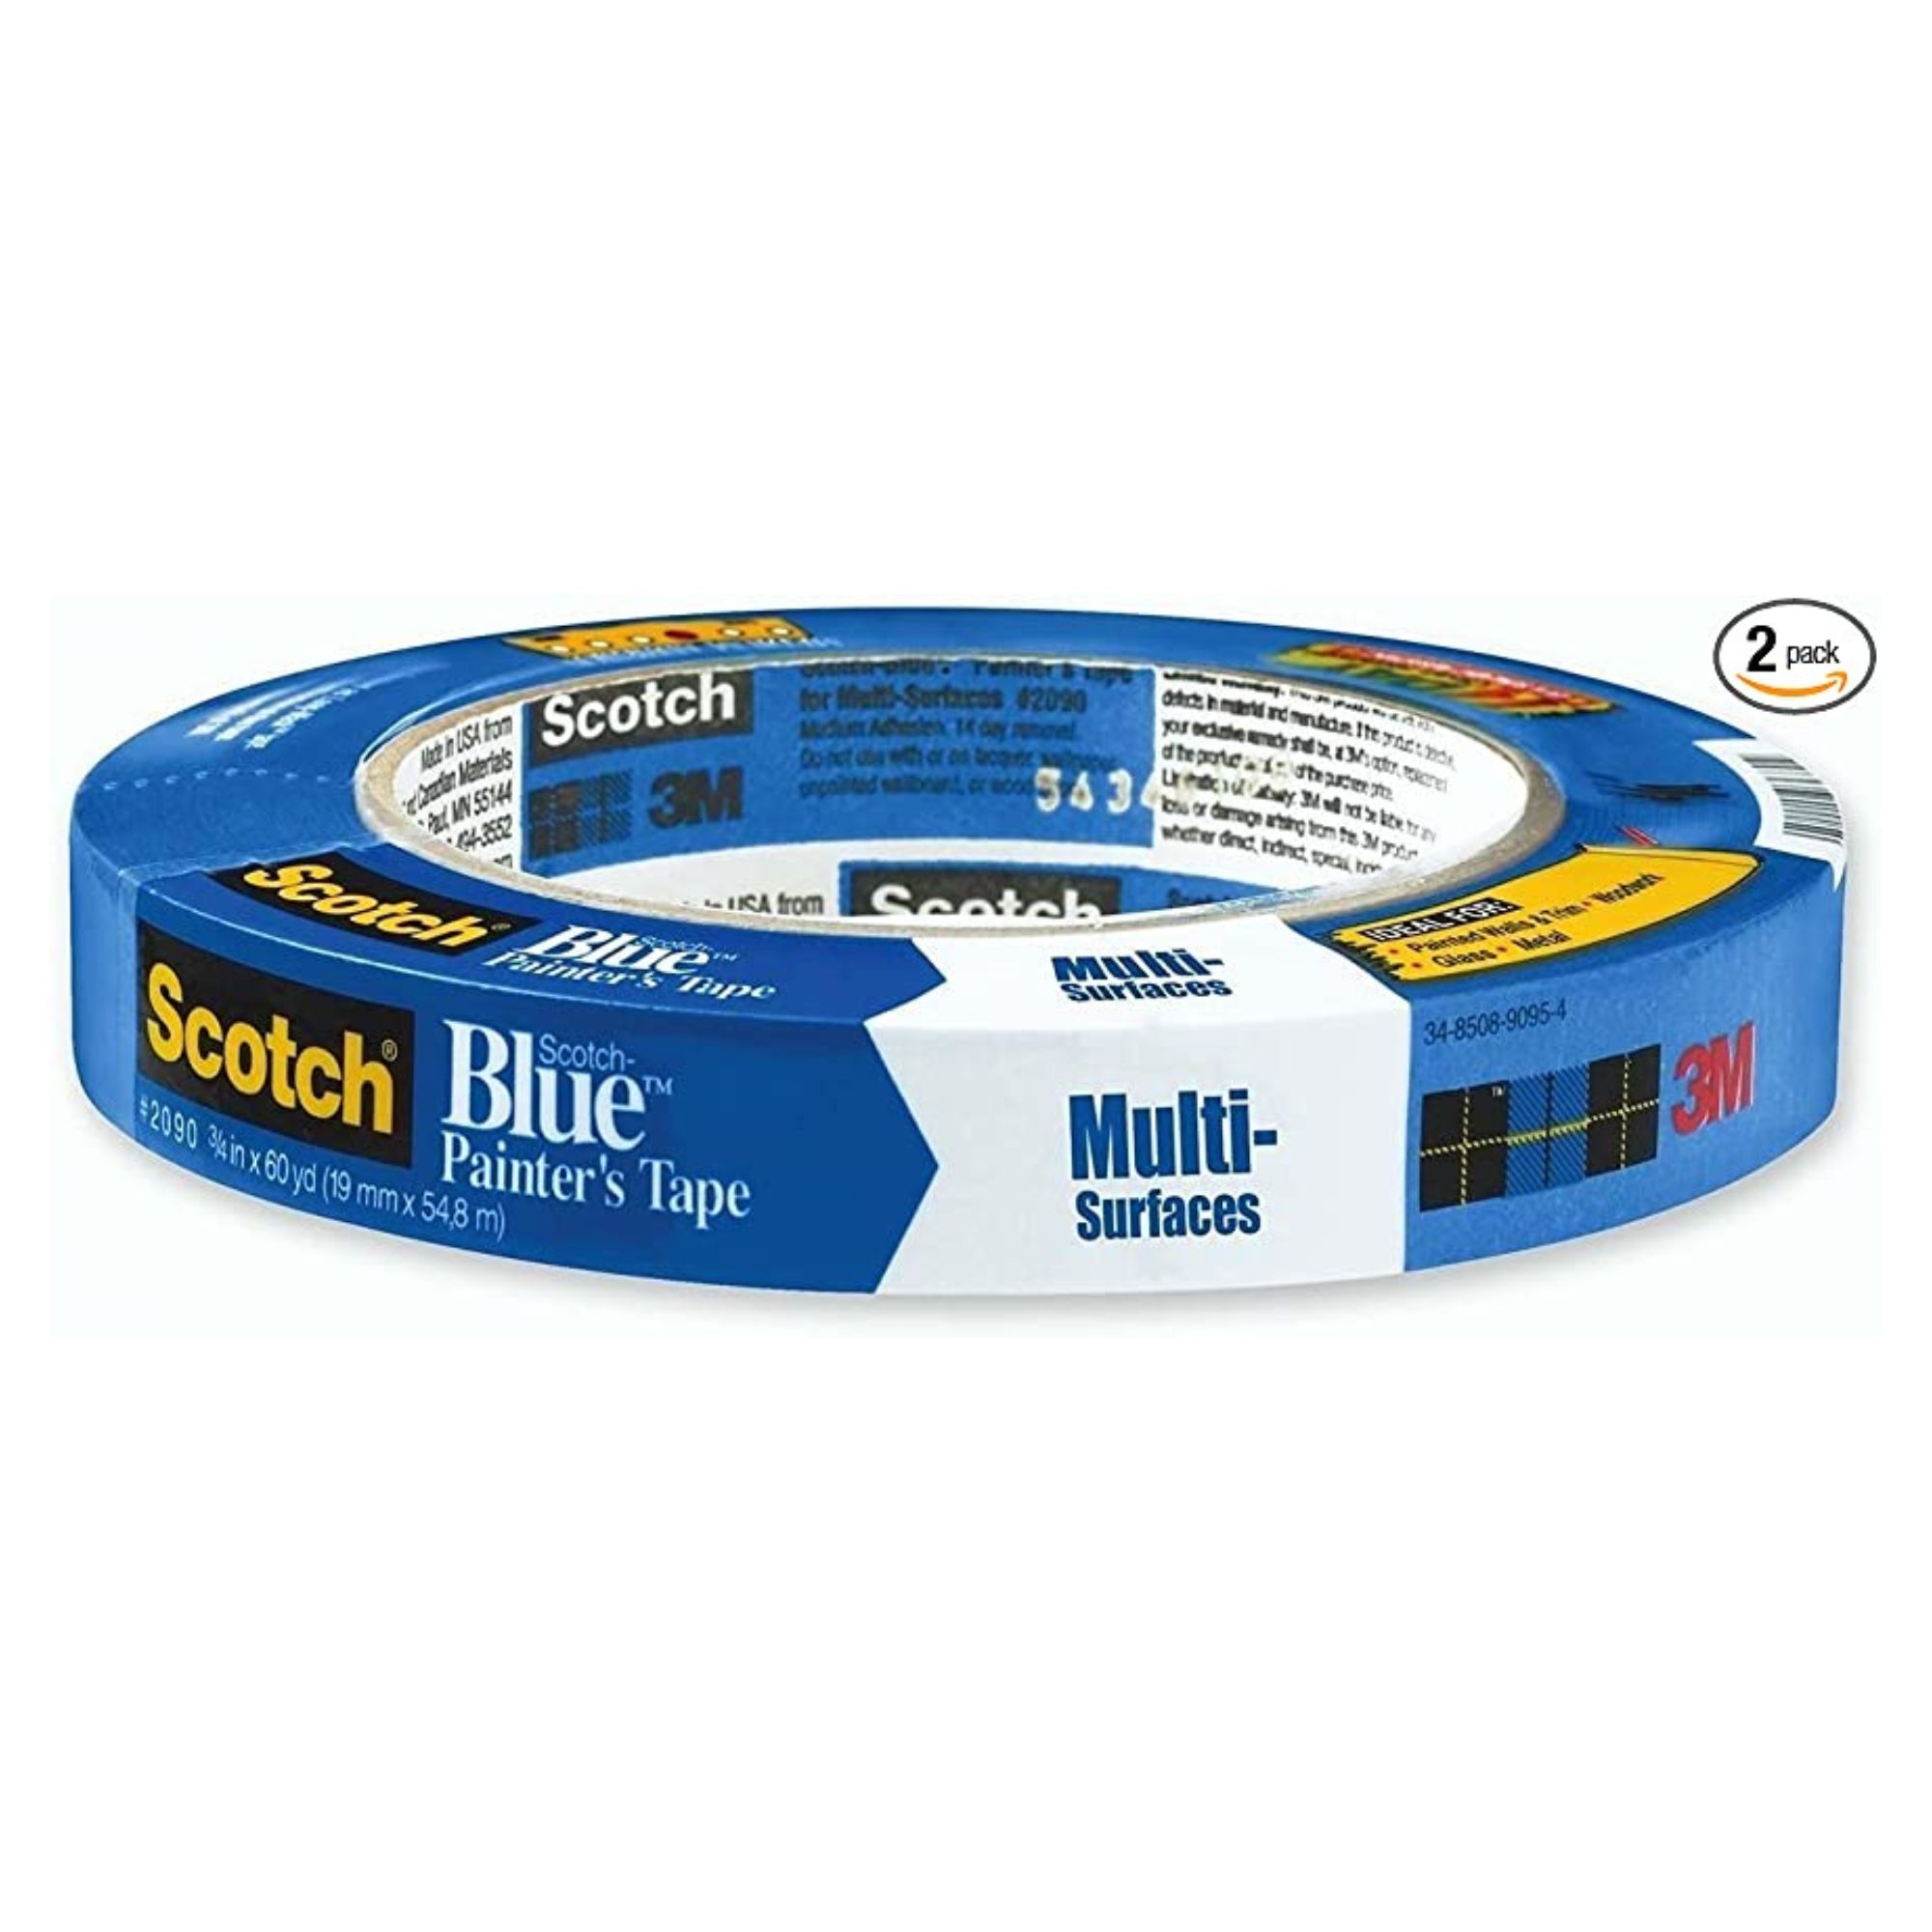
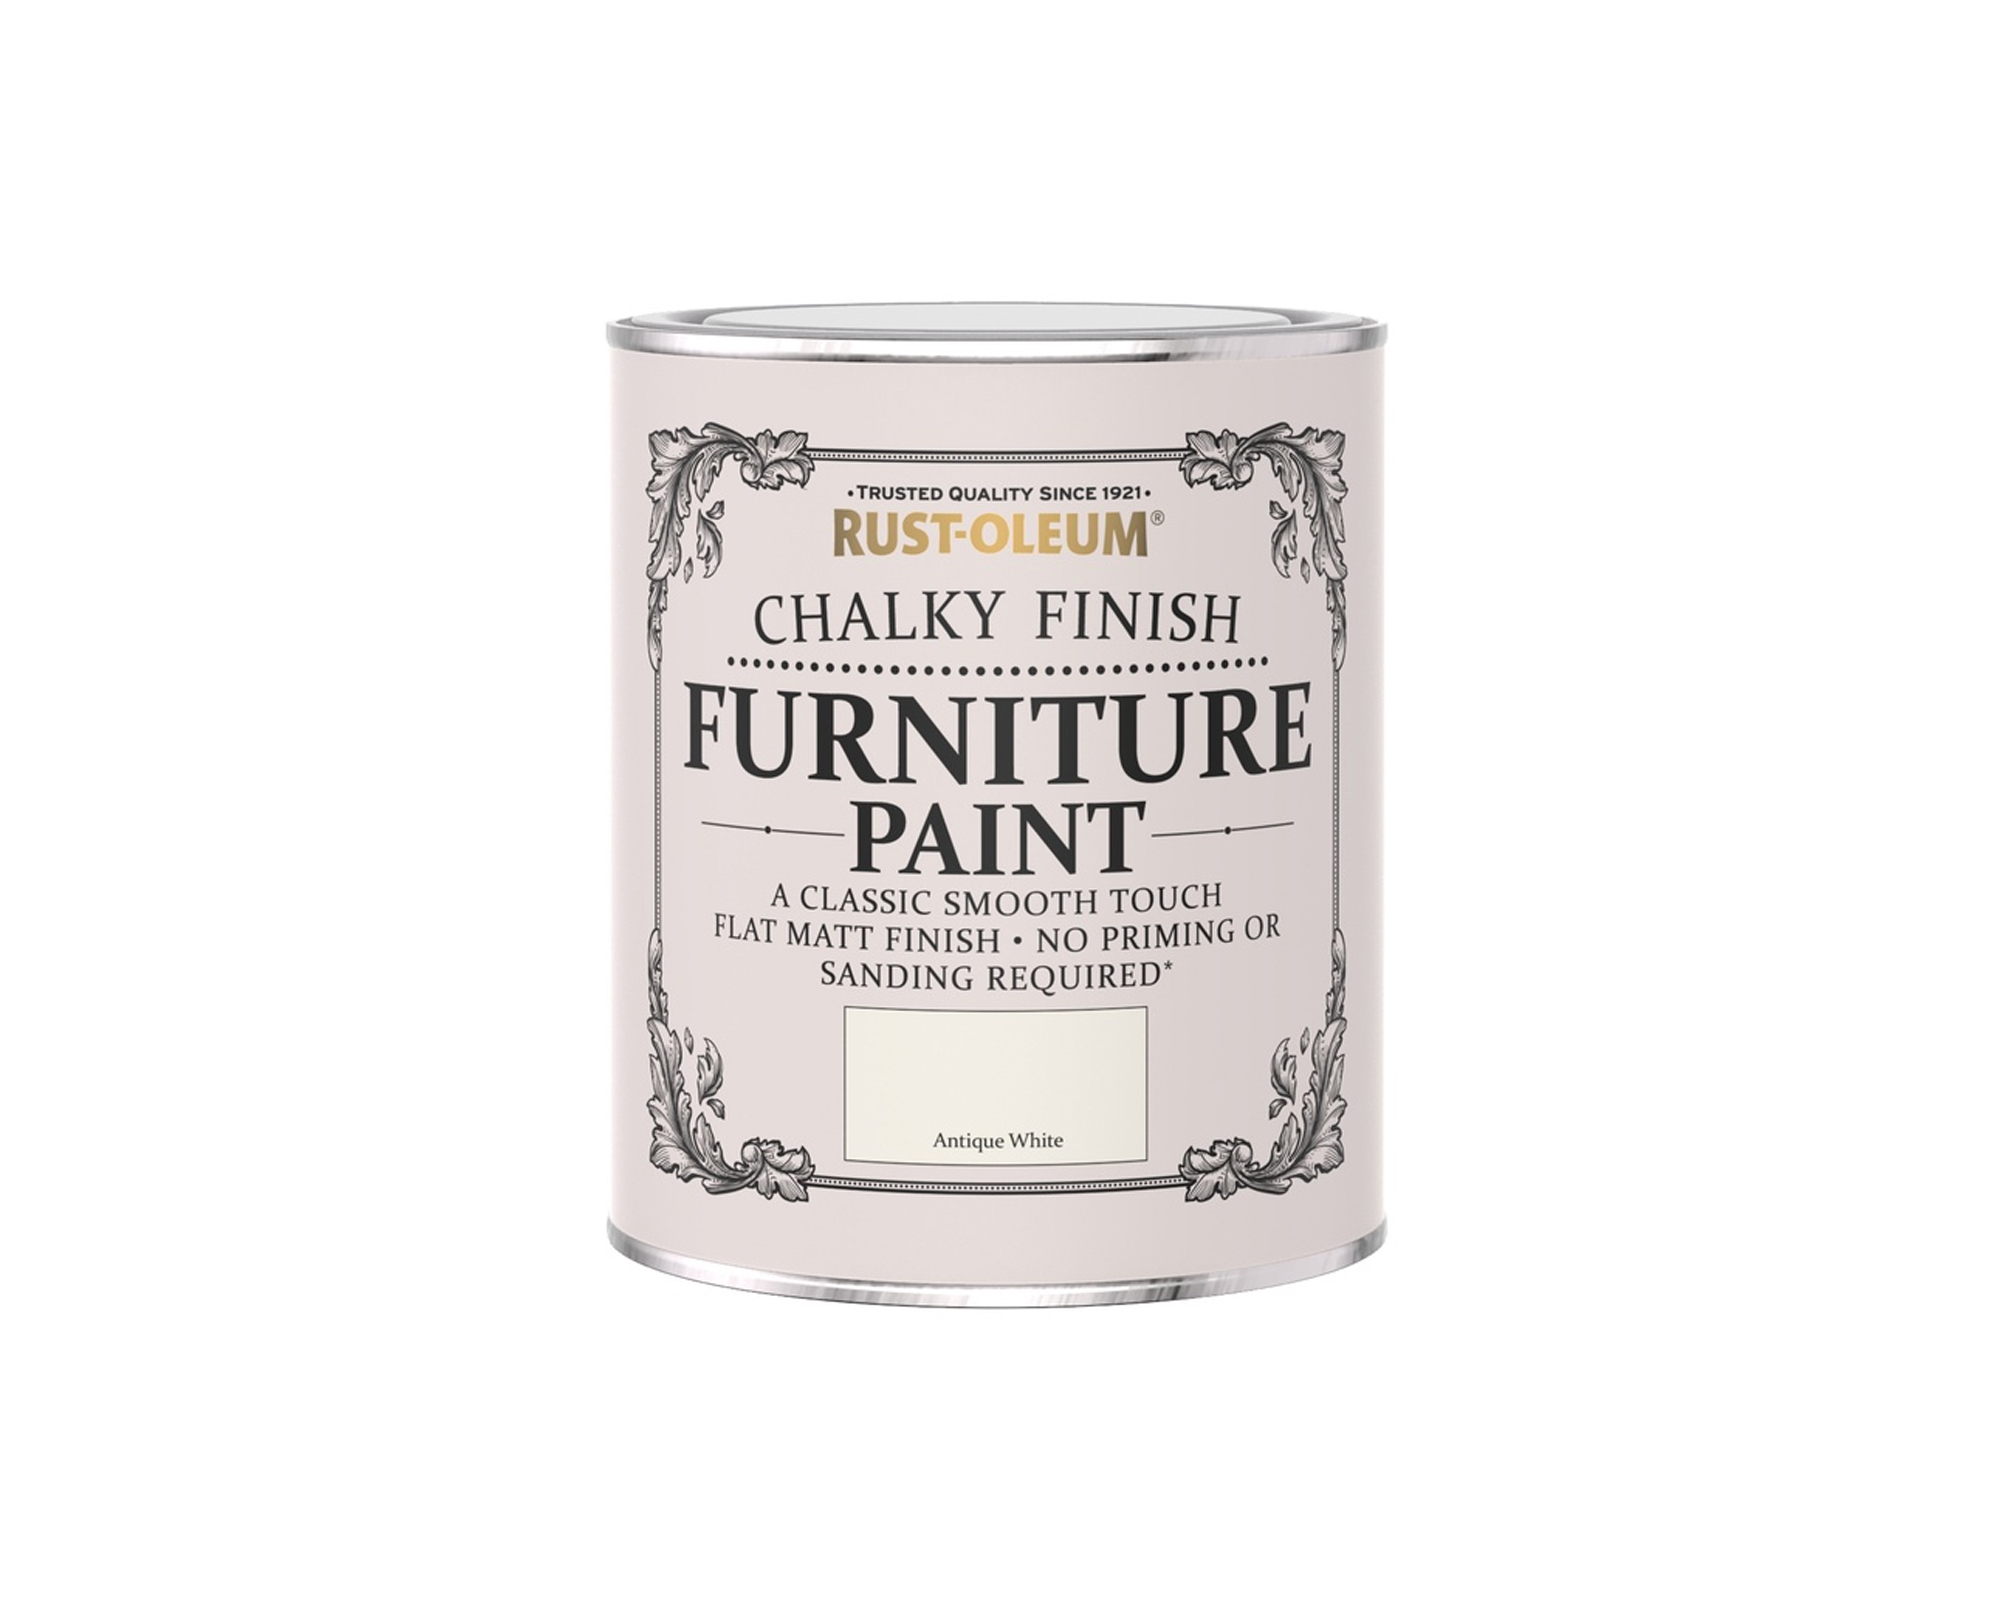
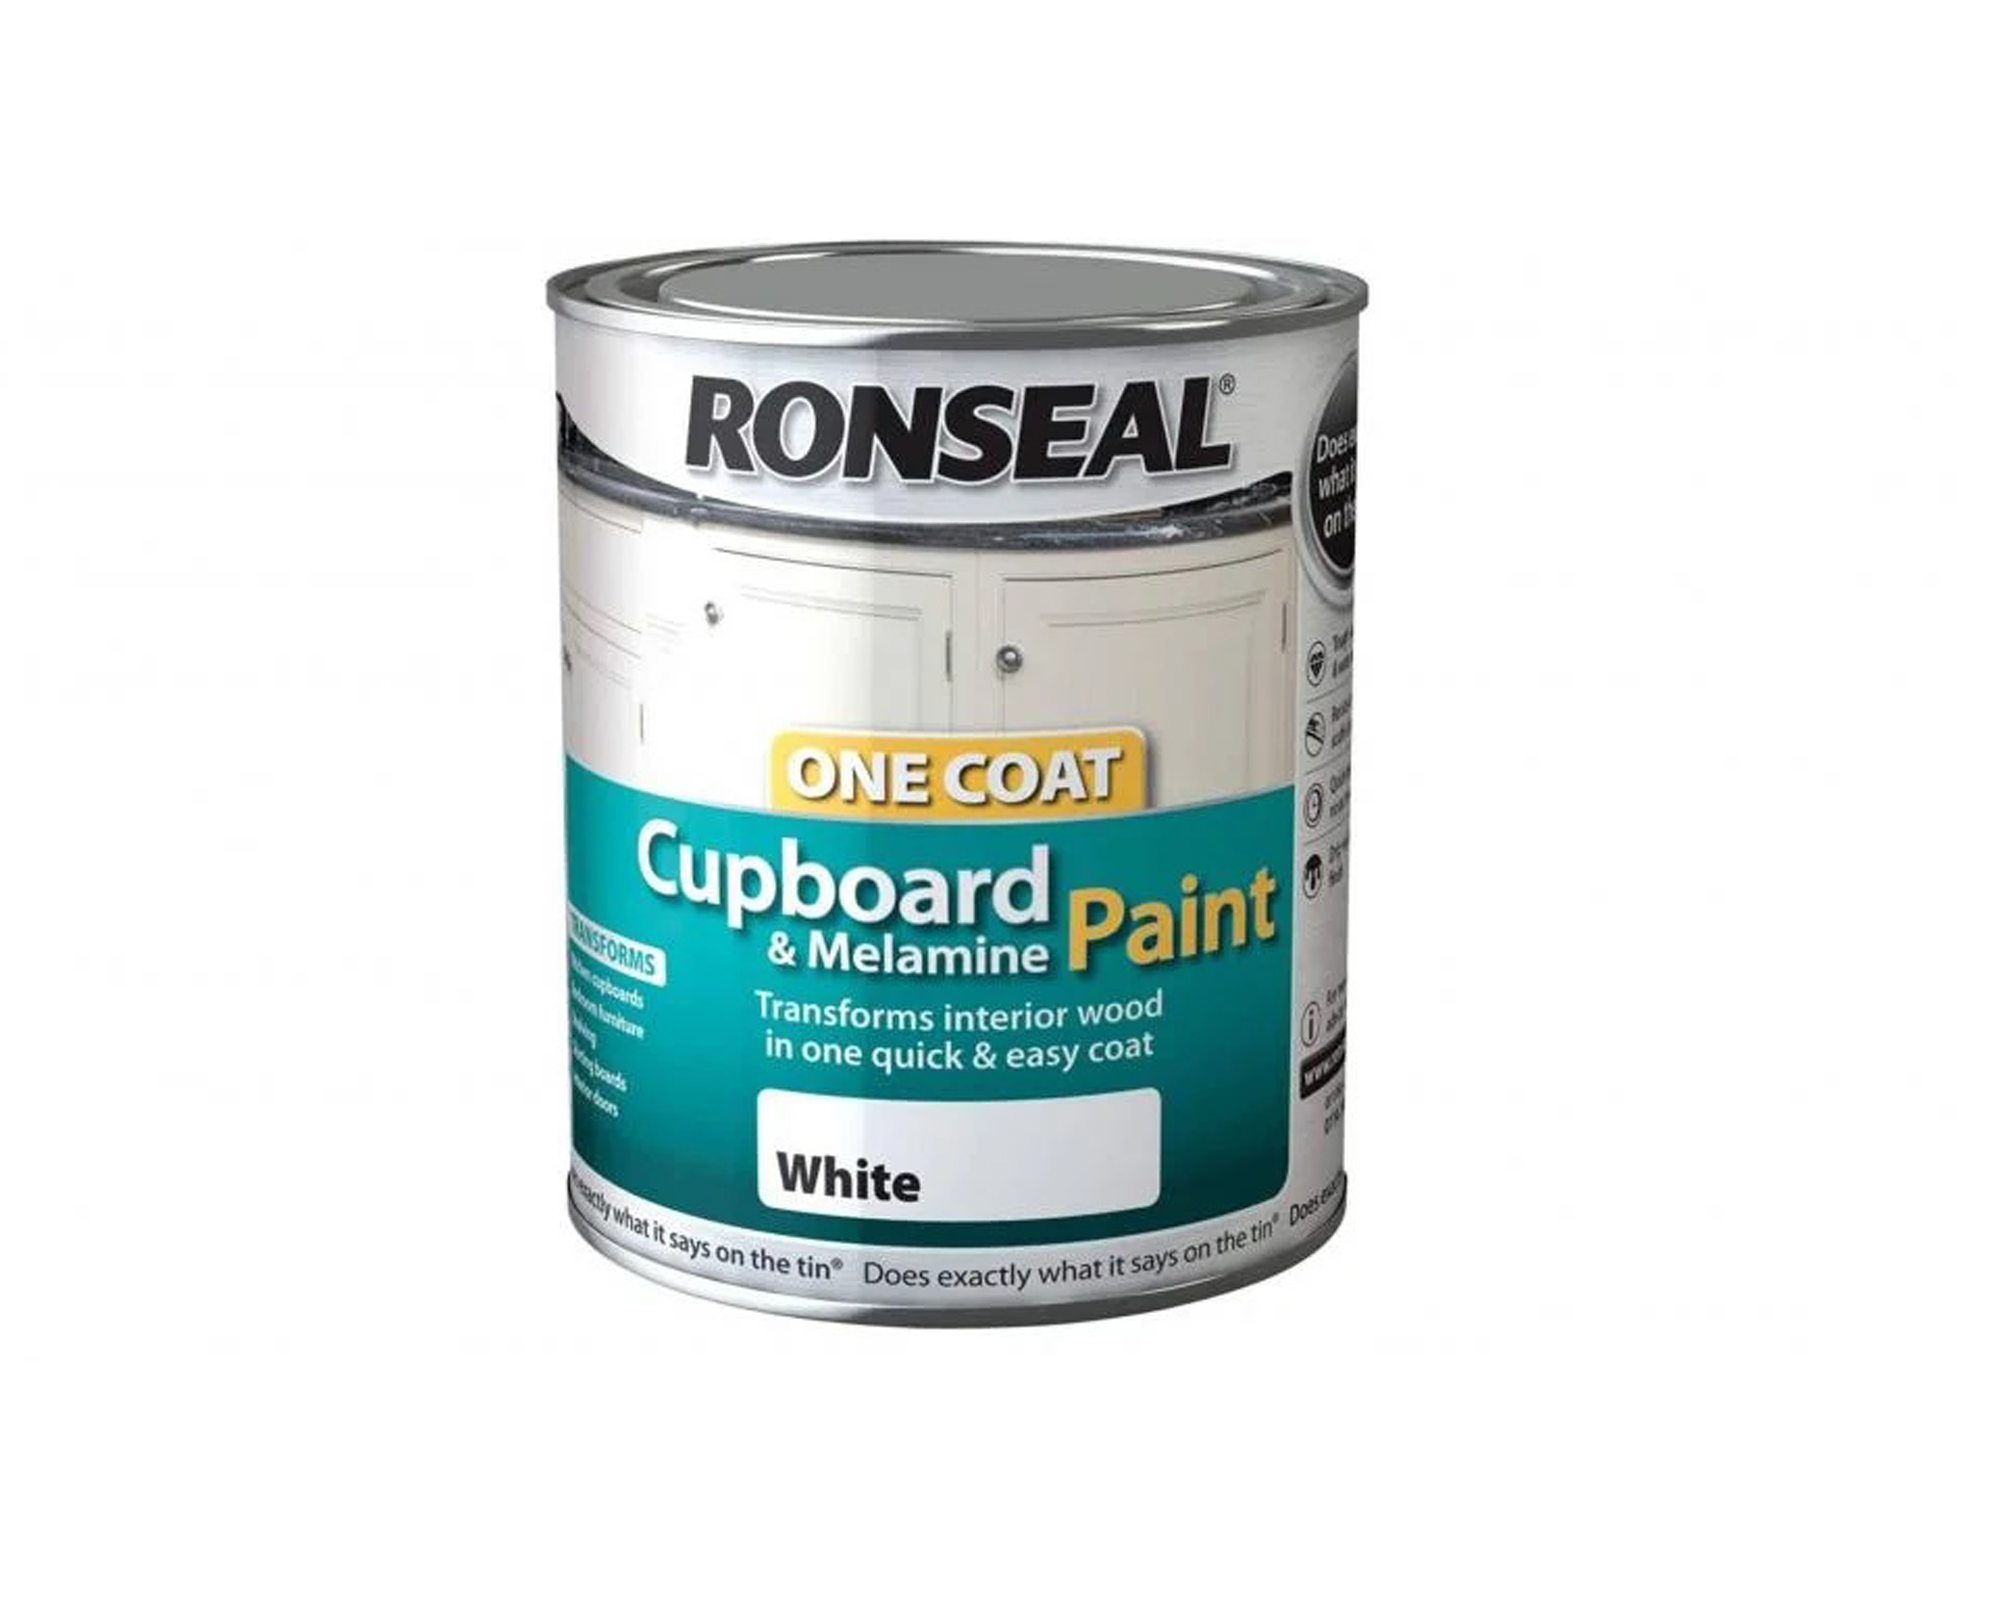
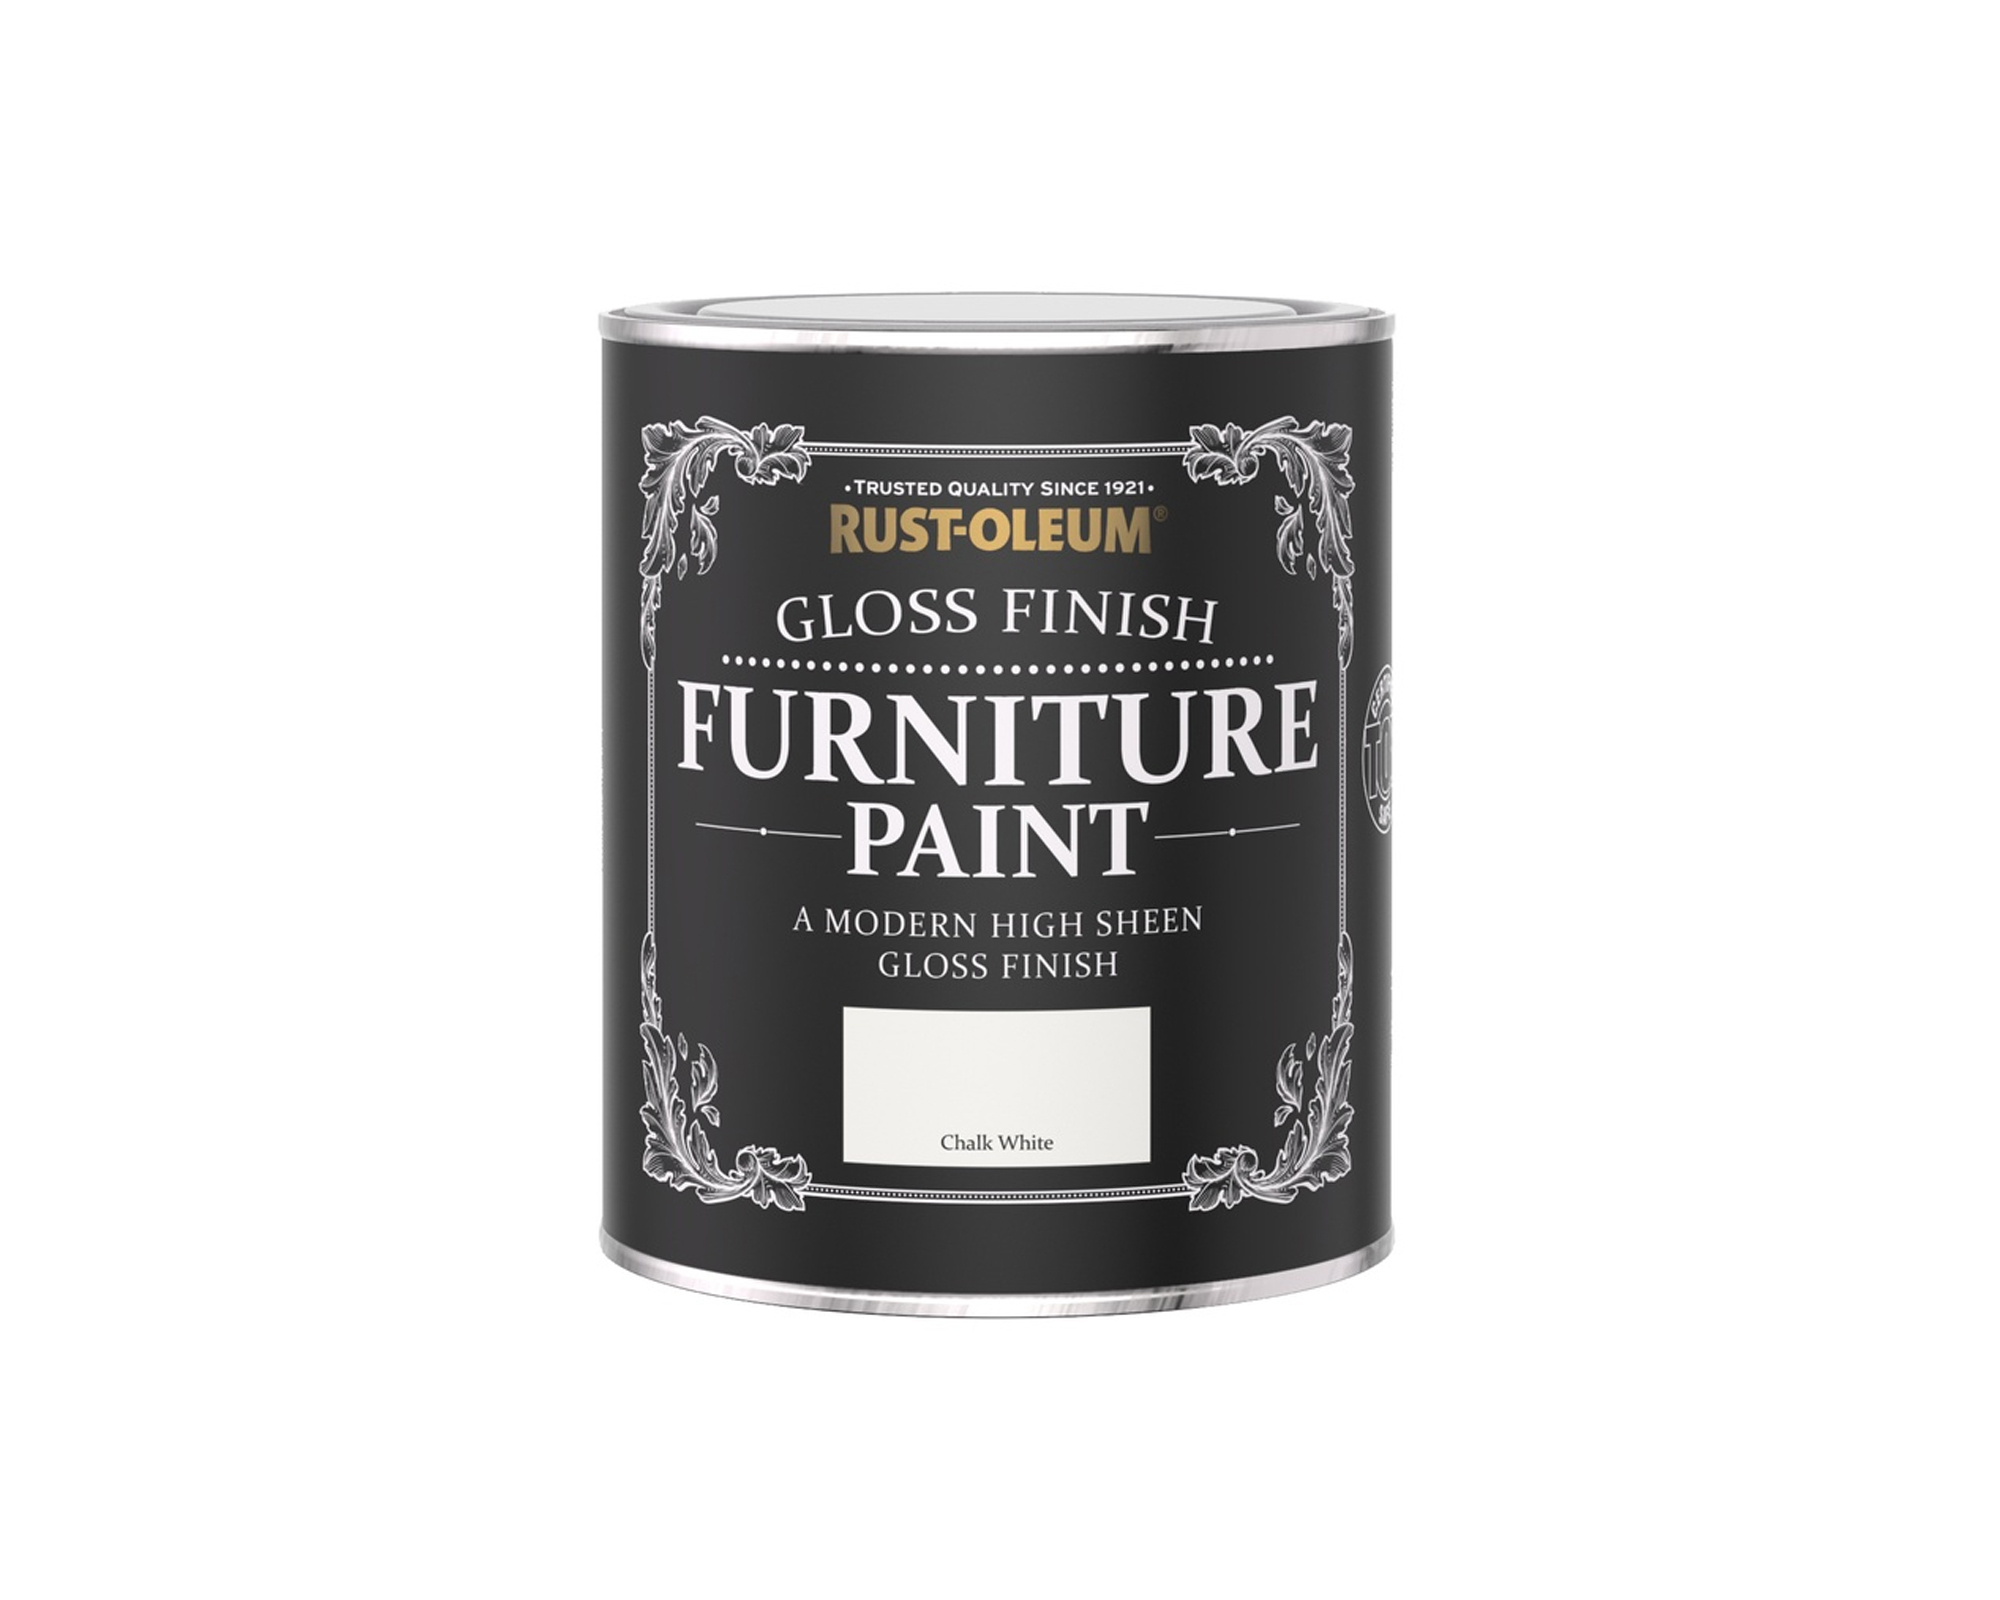
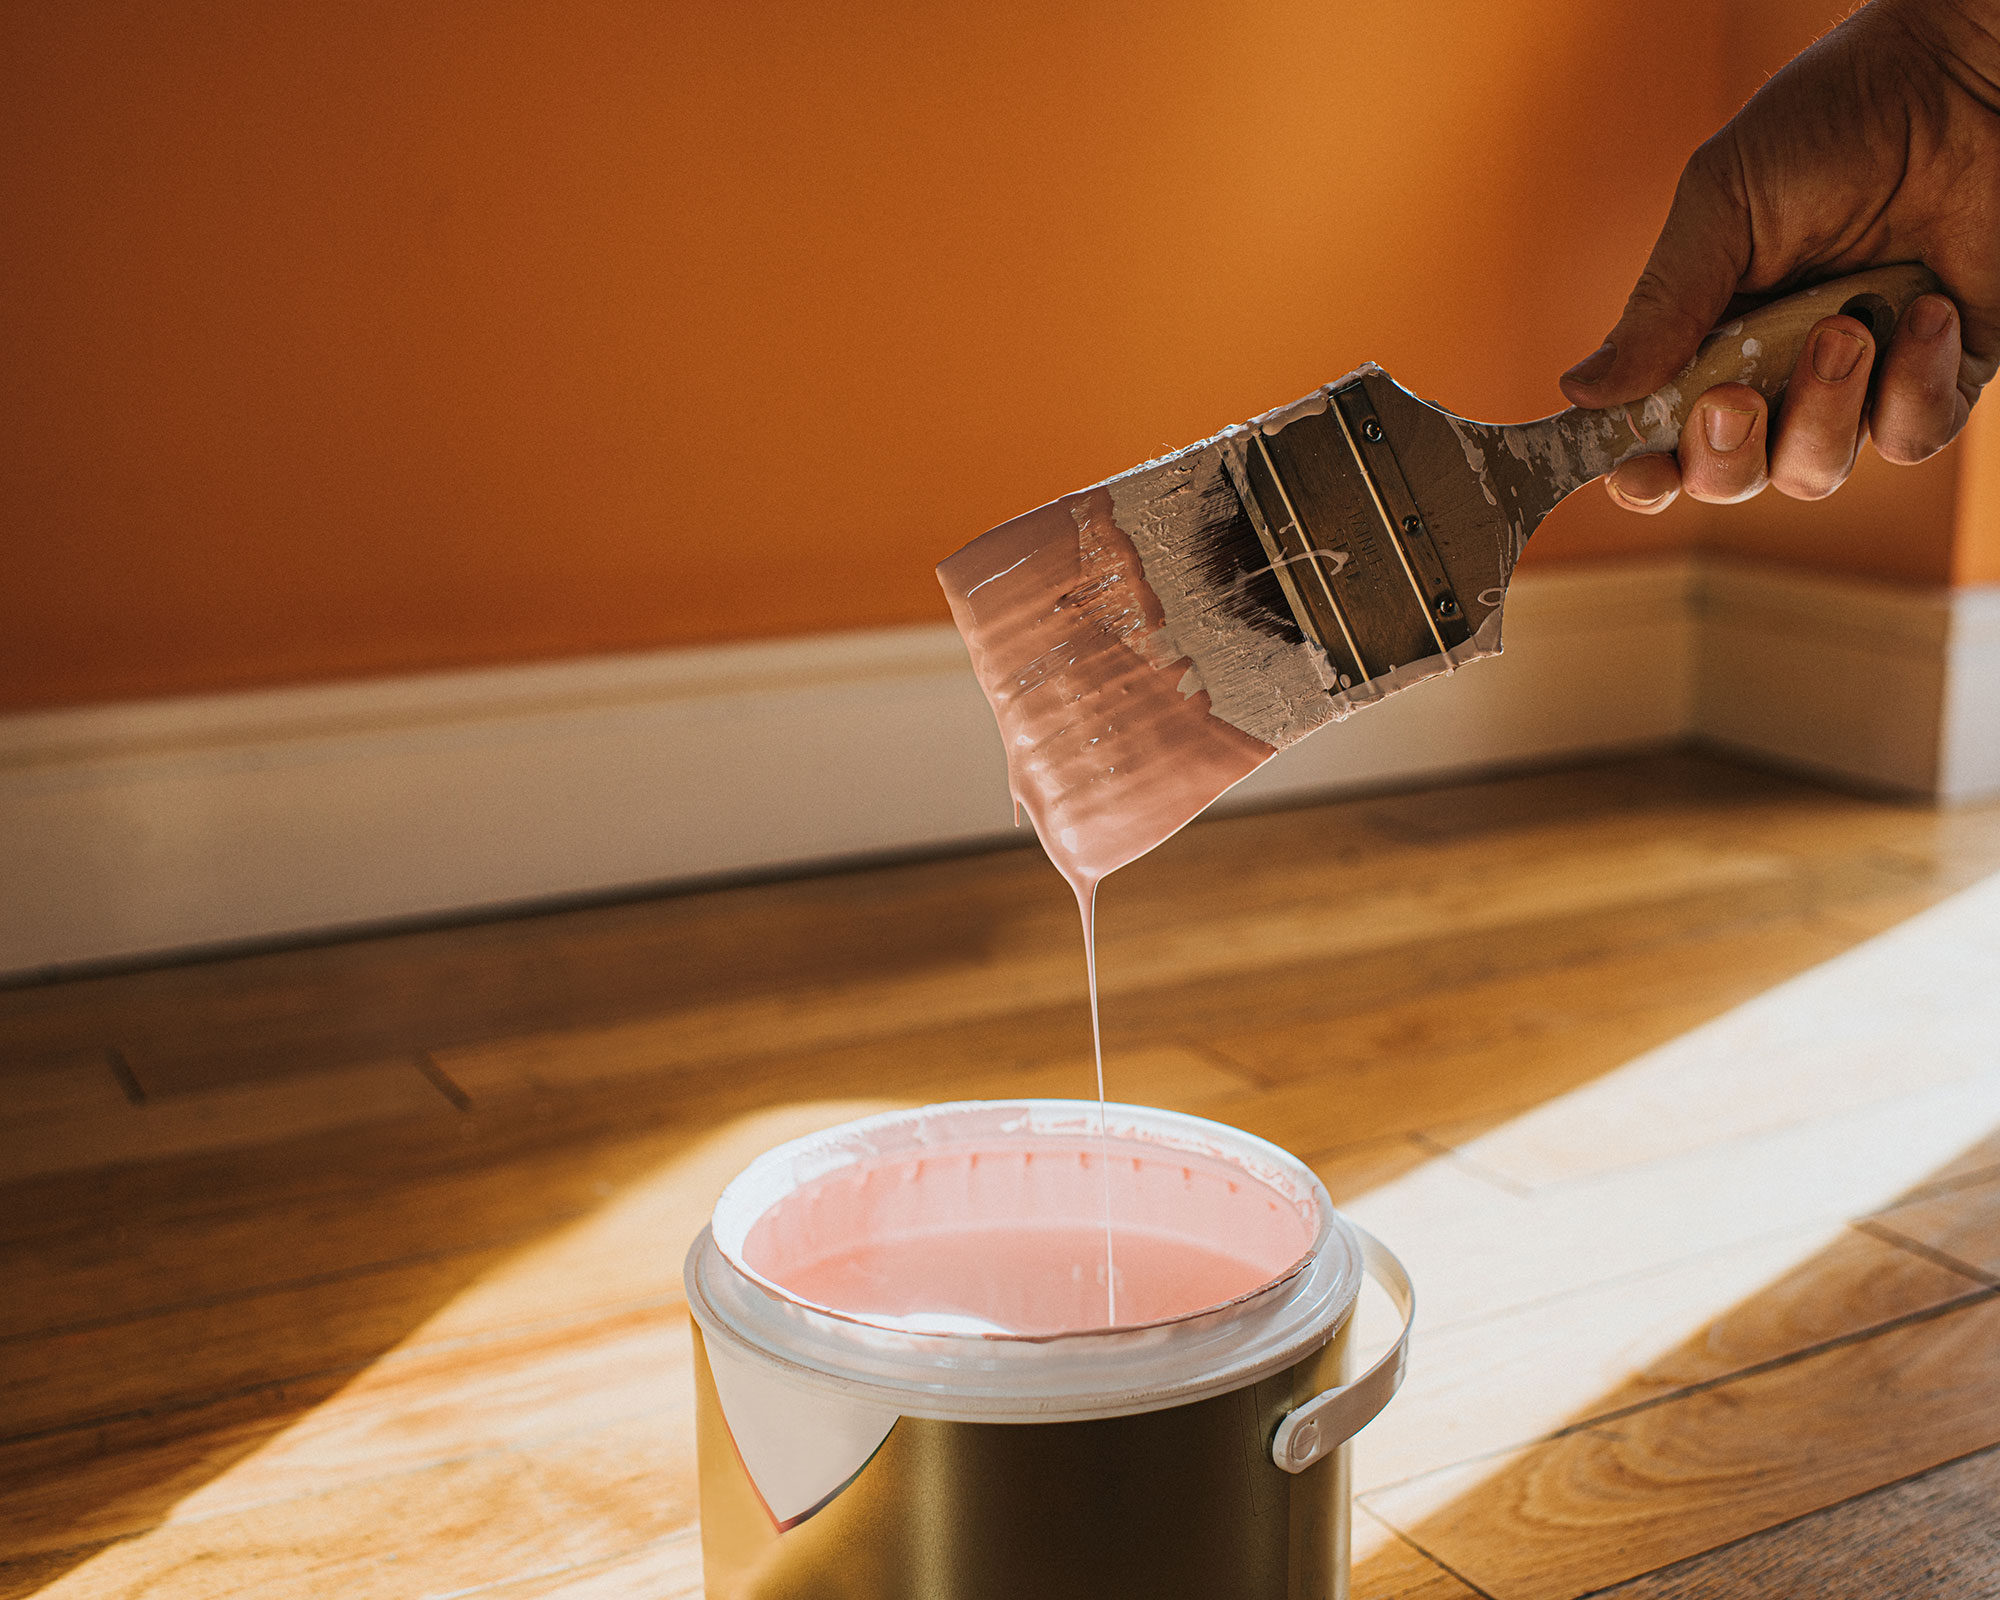
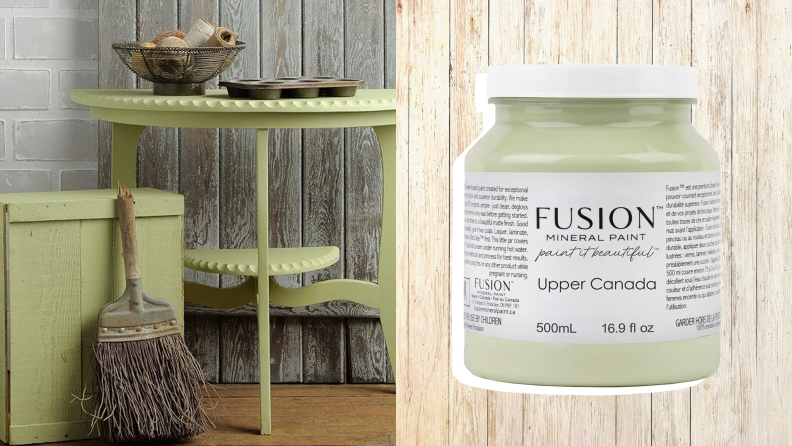
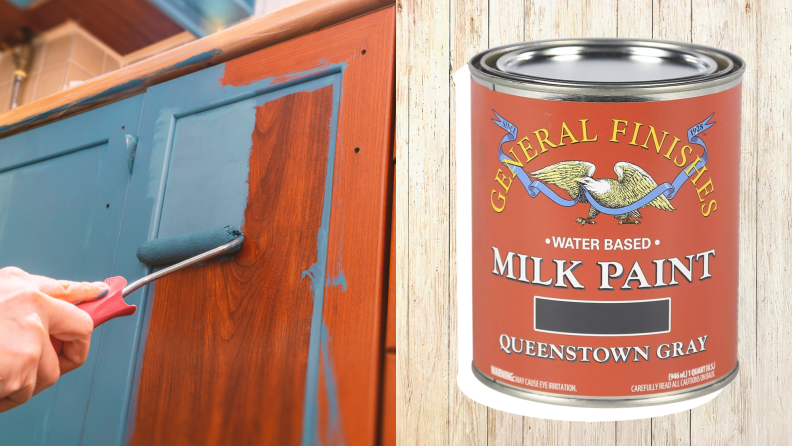
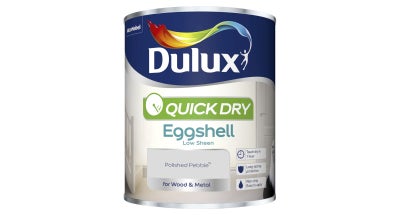
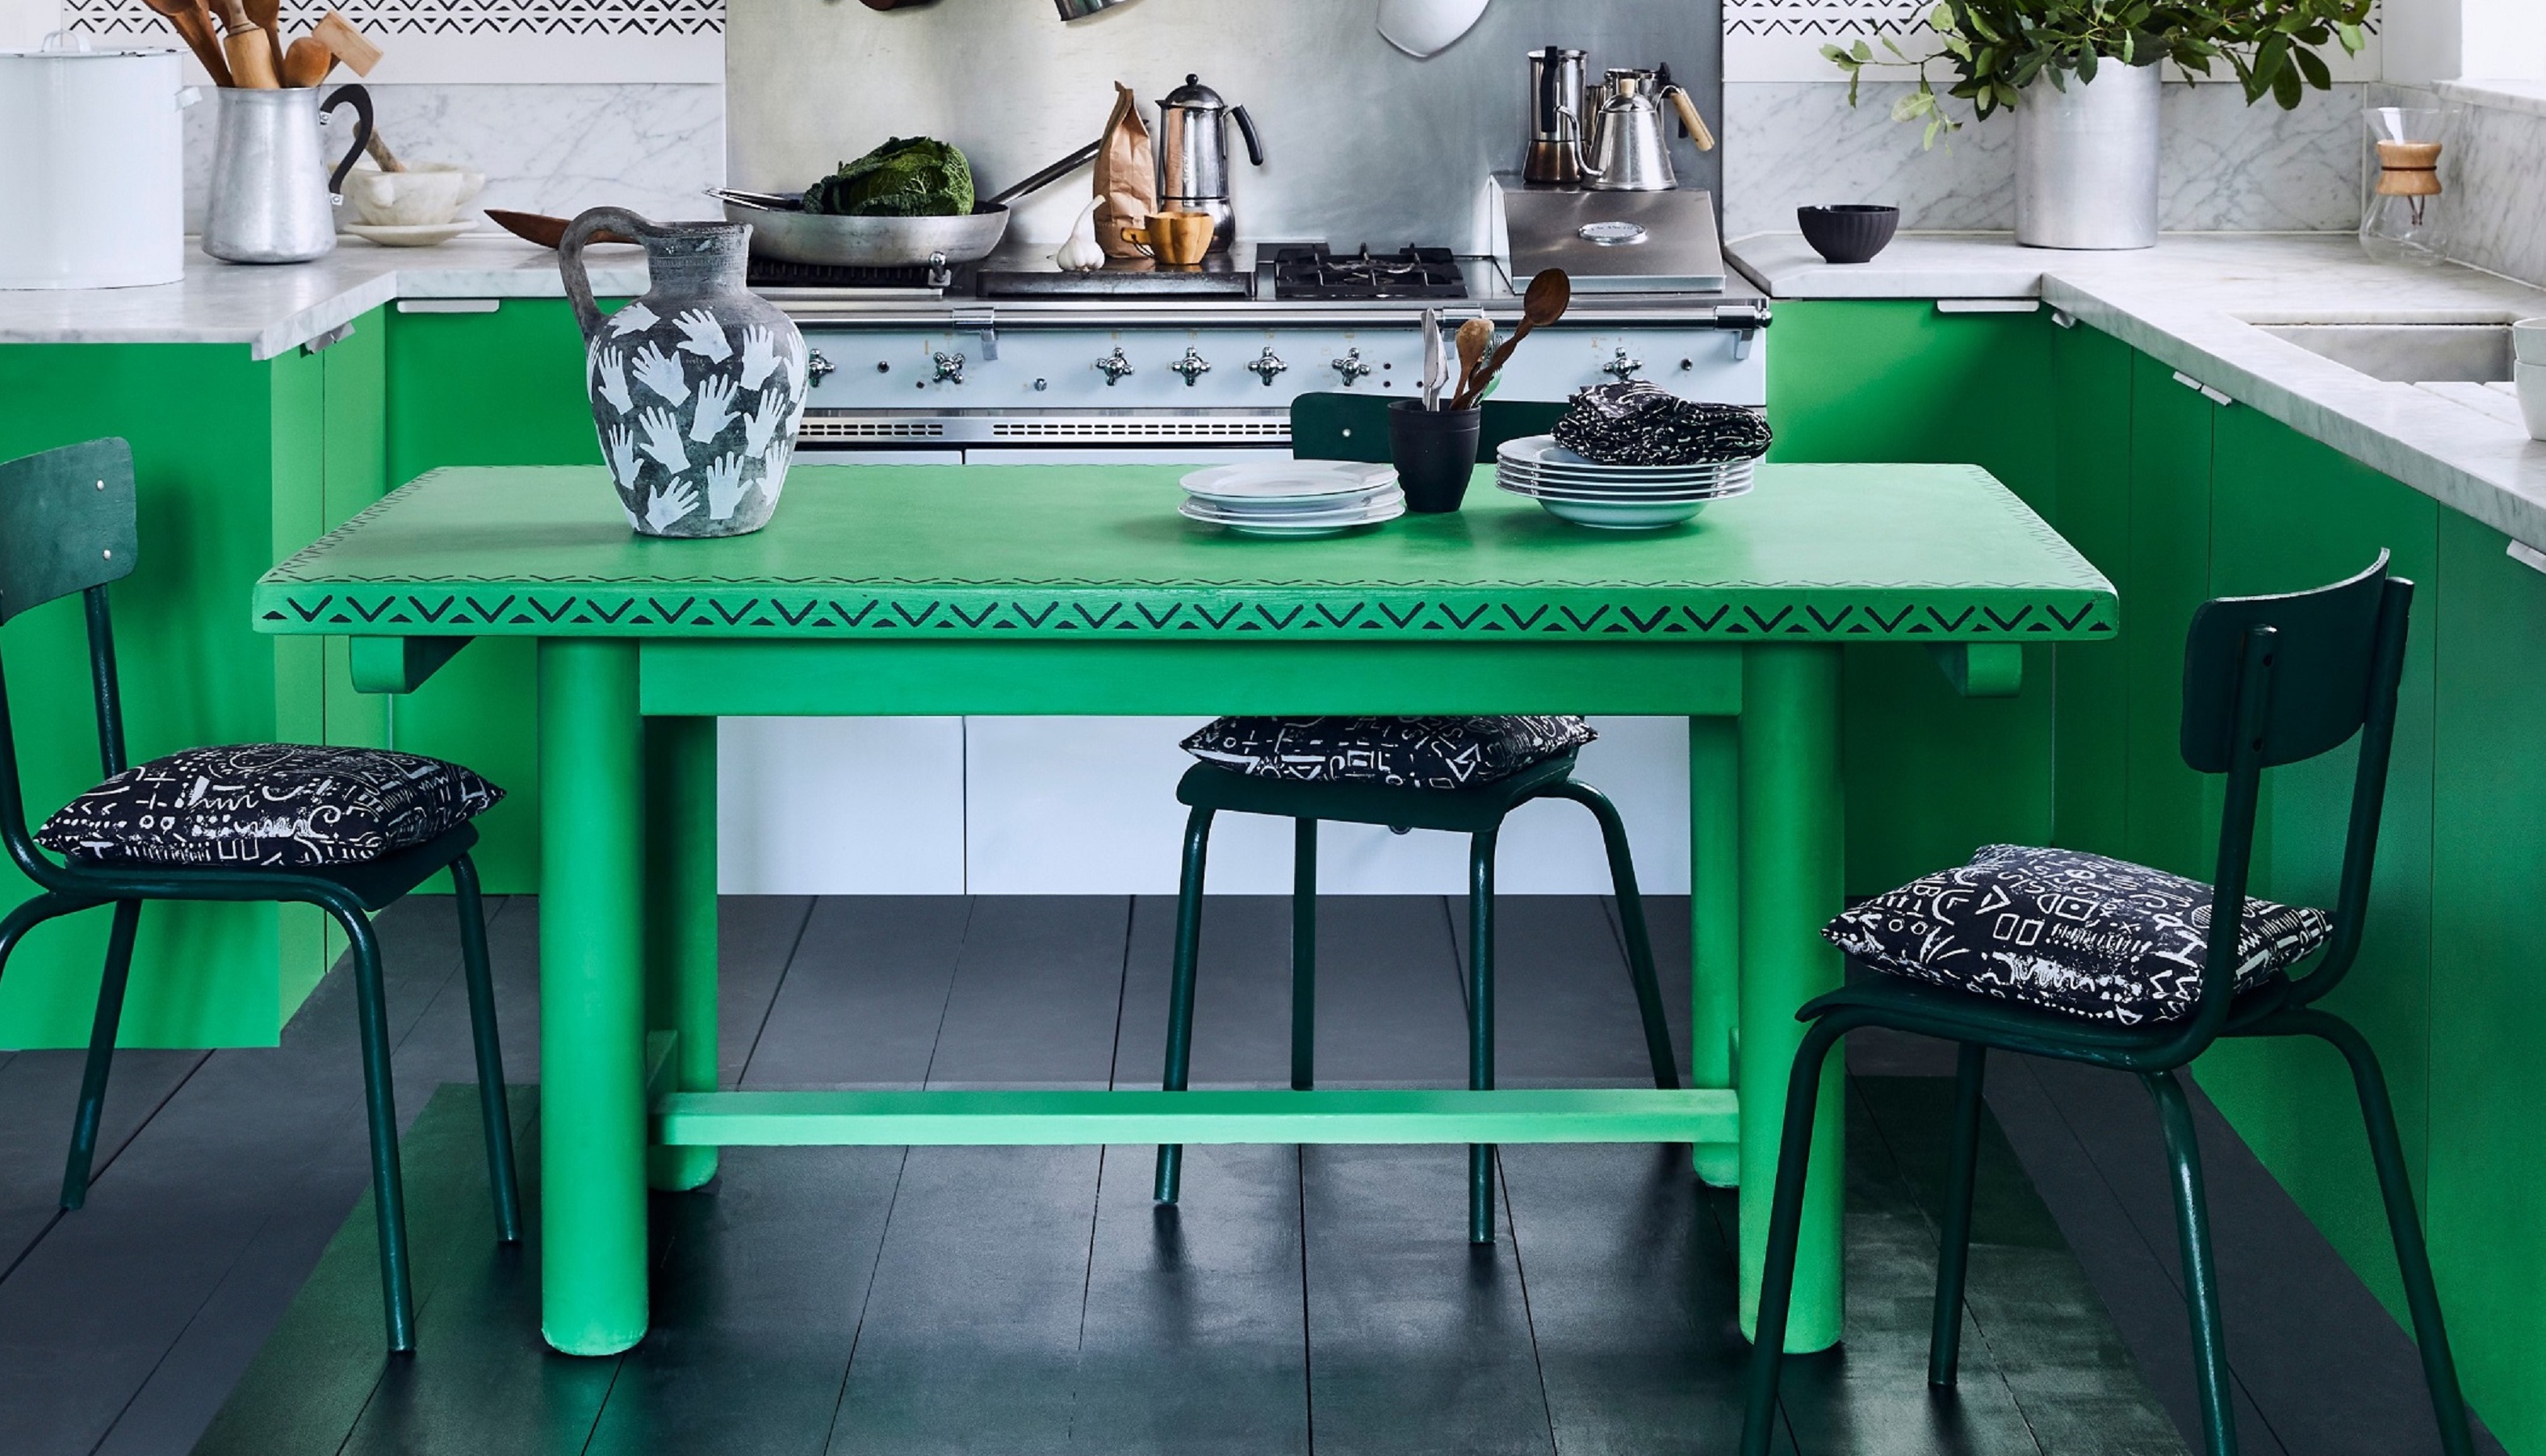
Once the furniture is prepped and primed, painting can begin. For quick upcycling, furniture paints with built-in primers and sealers, such as Frenchic’s Lazy Range, are suitable. Otherwise, a wide range of furniture paints offering different finishes (gloss, matt, eco-friendly) can be used. When painting intricate details or paneling, it's recommended to start from the outside and work inward, following a logical order. Multiple thin layers are better than thick ones, especially when covering a darker original color. Between each coat, the paint instructions should be followed, including sanding if specified. The tape should be removed while the paint is still wet to prevent peeling.
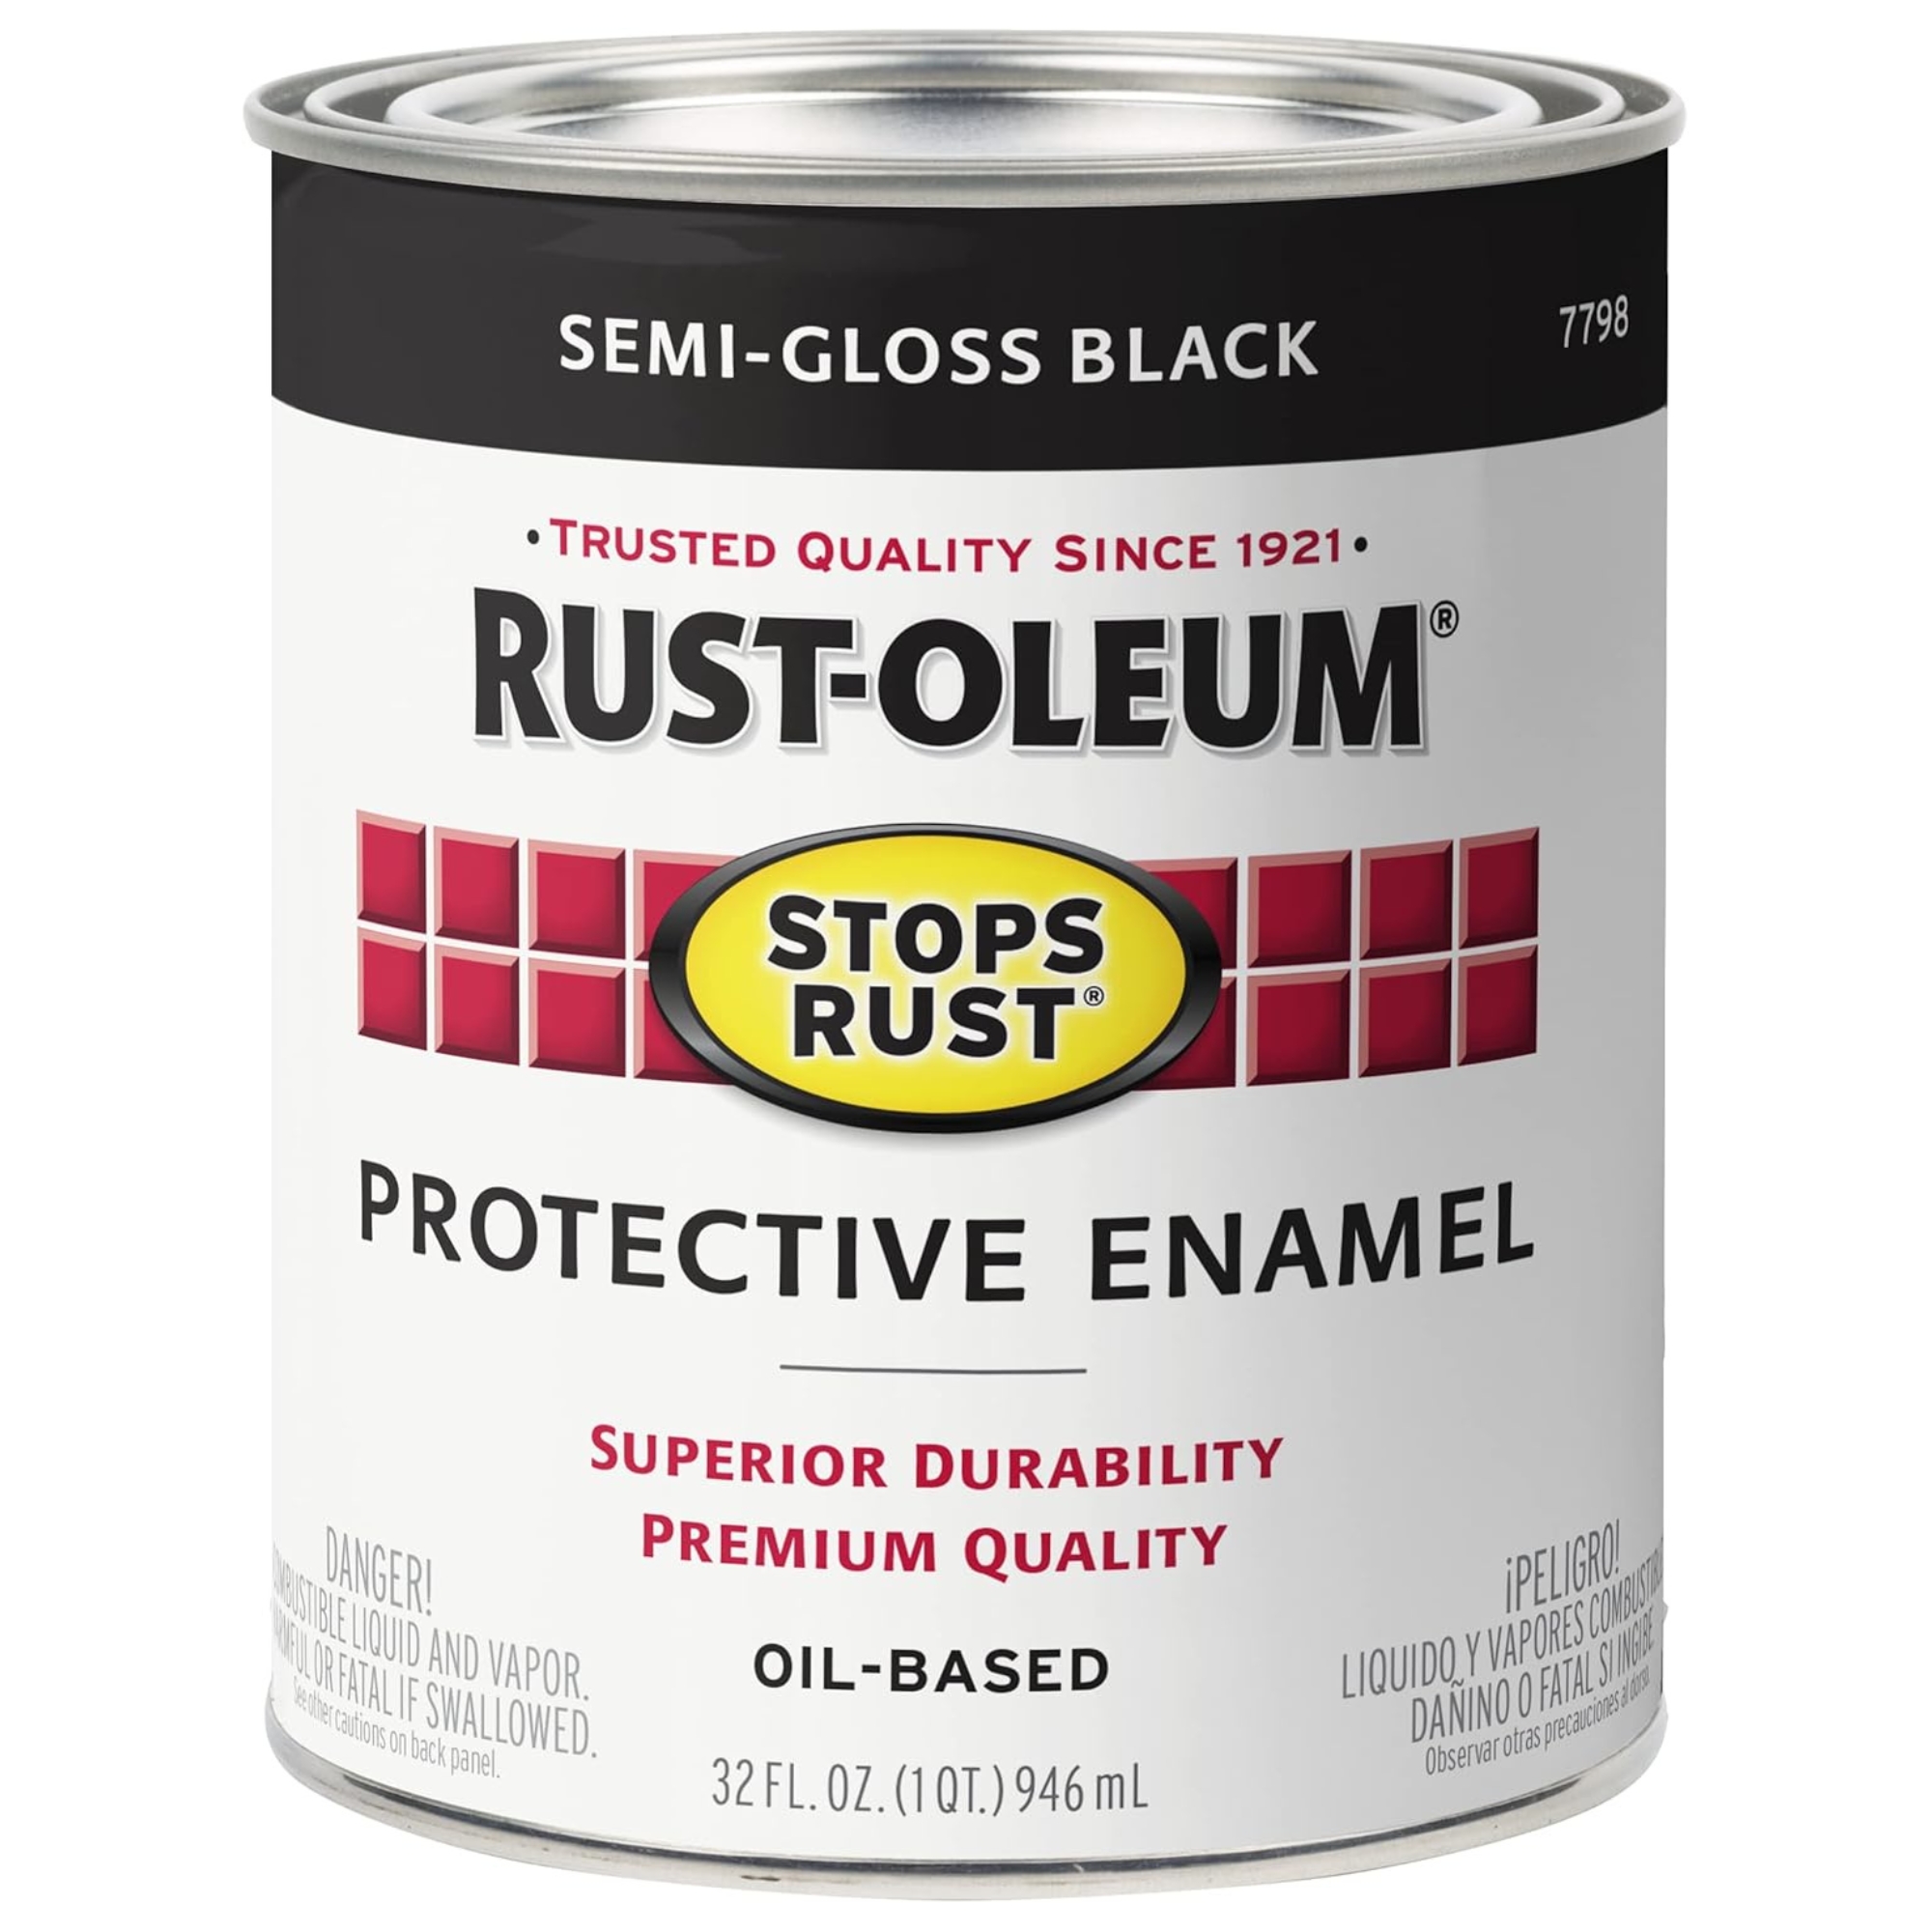
For high-use items like coffee tables, bedside tables, or desks, adding a sealant is crucial to protect the paint from spills, scuffs, and chips, ensuring the longevity of the upcycling effort. Products like Rustoleum’s Crystal Clear lacquer are recommended for this purpose. Finally, patience during the drying process is paramount. After painting, the furniture should be left to dry completely according to the paint's instructions, which can be 24-48 hours for lacquers to fully cure, preventing damage to the fresh paintwork. While sanding is generally recommended for a professional and durable finish, liquid sandpaper offers an alternative to create a chemical reaction that helps paint adhere without manual abrasion. Another option for avoiding sanding is to use a strong primer to create a robust barrier between the laminate and the paint.
#LaminateFurniture #FurniturePainting #DIYHomeDecor #UpcyclingFurniture #HomeImprovement #PaintingTips #FurnitureMakeover #PrimerApplication #SurfacePreparation #LaminateFurniture #FurniturePainting #DIYHomeDecor #UpcyclingFurniture #HomeImprovement #PaintingTips #FurnitureMakeover #PrimerApplication #SurfacePreparation
0 comment in total
 No comments yet
You may also like
How to paint furniture: The one detail you need to get right for best results
10 mistakes to avoid when painting wooden furniture, according to experts

Paint finishes explained – an expert guide to choosing the perfect type of paint for your projects

The Best Paint for Furniture Makeovers, According to Expert DIYers
Paint finishes – a guide for every room
Best paint for furniture: 8 best furniture paints


How to Paint Wood Furniture—From Sanding to Sealing

Living room paint ideas – 30 stylish ways with paint, and expert color tips
The Best Way To Paint Wood Paneling, According To An Expert
Best paint finishes for living rooms explained – how to get an expert finish
How to paint wood floors – get a lasting shine in 5 easy steps
How to Paint Wood Paneling and Its Best Friend, the Trim

How to Paint Wood Furniture Like a Pro

How to paint interior woodwork

How to Paint Kitchen Cabinets, From Unfinished Wood to Tricky IKEA Laminate

Painting a Dining Table — 6 Steps to Follow for a Durable Finish
12 top interior painting tips from experts – for a flawless, fabulous finish
The Best Furniture Paint of 2026

Understanding paint finishes
Let’s Learn How to Paint Furniture