1/6
Leak-Free Skylights
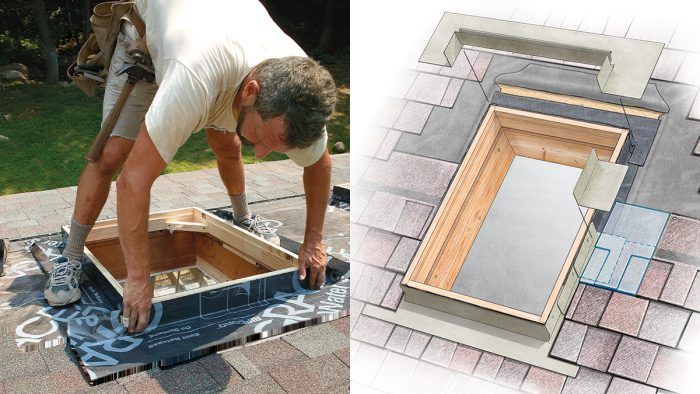
Installing skylights traditionally presents concerns regarding potential water leakage, which can lead to issues such as mold, rot, and structural damage. This article outlines a comprehensive method for skylight installation that virtually eliminates the risk of leaks through the strategic use of a peel-and-stick membrane underneath the flashing. This technique has been consistently successful over 15 years of installations, effectively directing water back to the roof's surface.
The peel-and-stick membrane, also known as self-adhesive membrane, is crucial to this leak-prevention strategy. It typically consists of polyethylene sheets with a rubberized asphalt-based adhesive or a mineral-surfaced fiber reinforced with an asphalt-based adhesive. The plastic-sheet type is preferred for skylight flashing due to its flexibility, elasticity, and strong adhesive tack. A key characteristic of these membranes is their ability to self-heal around fastener penetrations, providing an additional layer of protection against water intrusion.
The installation process begins with the precise framing of the skylight opening. This involves preparing the roof structure, which might necessitate modifications like sistering existing rafters or cutting out sections of the center rafter to accommodate the skylight's dimensions. For skylights sized to fit between standard 16-in. or 24-in. on-center rafters, only a header might be required. However, for roof trusses, consulting an engineer is essential before making any cuts to avoid compromising structural integrity. Once the rough opening is framed, the exact location on the roof is marked by driving screws from the inside through the sheathing and shingles, allowing for chalk lines to be snapped on the exterior.
After marking the location, the roof shingles are carefully stripped back, starting three courses above the top of the skylight. This process involves pulling nails and breaking the self-adhesive strip of the shingles, with a preference for cooler weather to ease separation. Shingles are removed in full sections to the nearest joint, rather than being cut in the middle, and are saved for reuse around the skylight. With the shingles removed, the roof sheathing is cut using a circular saw. Before installing the skylight frame, the glass portion is typically separated to reduce weight, minimize scratching, and facilitate the application of the peel-and-stick membrane to the top of the frame.
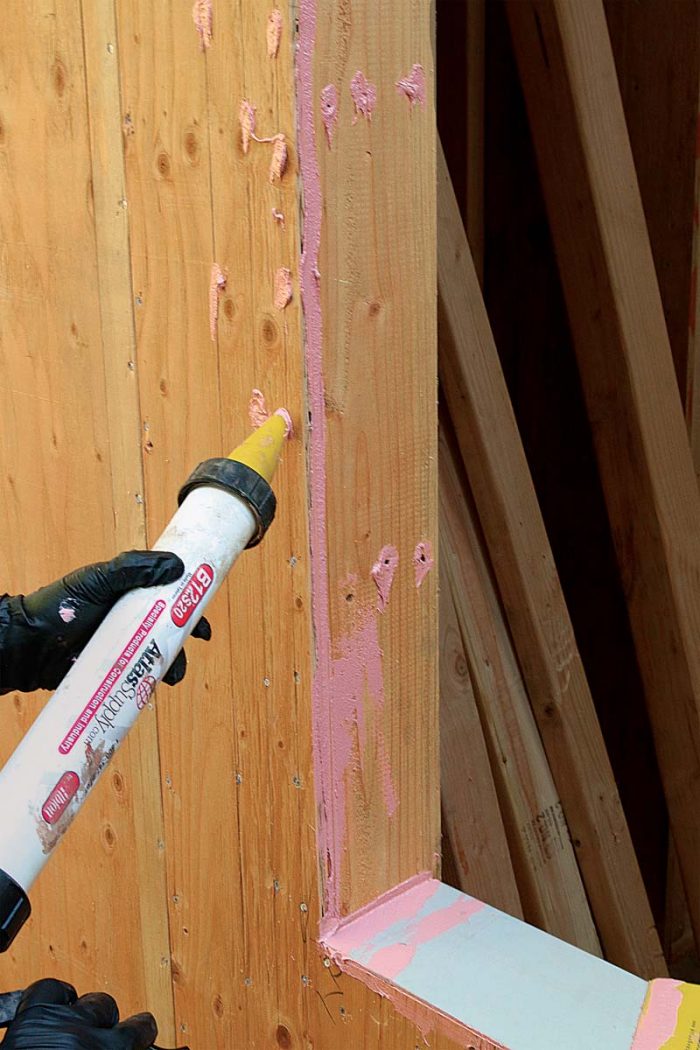
The self-adhesive membrane is then applied, forming a watertight seal between the skylight frame and the roof. Strips of membrane, typically 9 to 12 inches wide and about 12 inches longer than the skylight edge, are cut and dry-fitted. An important installation tip is to score the release sheet along the fold line, allowing the membrane to be adhered to one surface before the other half is applied. This membrane serves as the final defense against leaks, directing any water that bypasses the metal flashing onto the shingle surface below the skylight. It is critical to lap the peel-and-stick membrane over the top edge of the shingle course at the bottom of the skylight to prevent water from traveling underneath the shingles.
Finally, the metal flashing is integrated with the roof. The base flashing piece is installed first, followed by alternating step flashing and shingles up along the sides of the frame. For fixed-frame skylights, the counterflashing is often built into the window frame. For operable skylights, the gasket is separate, and the top edge of the flashing is tucked beneath it before being secured with nails or screws. The bottom edge of each step flashing must be positioned above the self-adhesive strip of the shingle below. Once the shingle courses are brought back to the bottom of the frame, the base flashing is secured. The head flashing then caps the top, with its edge slipped under the skylight gasket. During reshingling, nails should not be driven through the step flashing to maintain its rigidity. The final step involves renailing the shingle courses above the skylight, ensuring all components are properly secured for a leak-free installation.
#SkylightInstallation #Roofing #Waterproofing #PeelAndStickMembrane #FlashingTechnique #HomeImprovement #ConstructionGuide #BuildingCodes #RoofRepair #SkylightInstallation #Roofing #Waterproofing #PeelAndStickMembrane #FlashingTechnique #HomeImprovement #ConstructionGuide #BuildingCodes #RoofRepair
0 comment in total
 No comments yet
You may also like
How to install a skylight


12 skylight designs to brighten up any style of home

Ten residential interiors illuminated by statement skylights

There Are No Knotted Strings to Battle Against With the Best Blinds and Shades

Waterproof Your Windows with Liquid Flashing

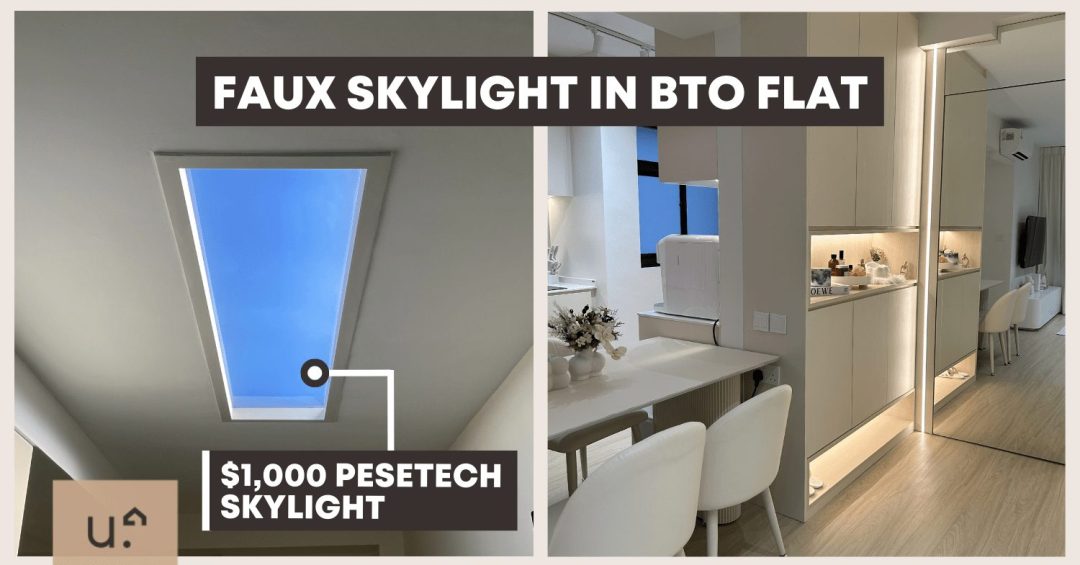
This Homeowner Created A Faux Skylight In Her HDB BTO & It Looks All Sorts Of Amazing

Why Are People Leaving Their Windows Exposed—And Is It a Bright Idea?


Roof & Gutter Sealants

Insulated Sliding Doors - Sky-Frame Classic from Sky-Frame

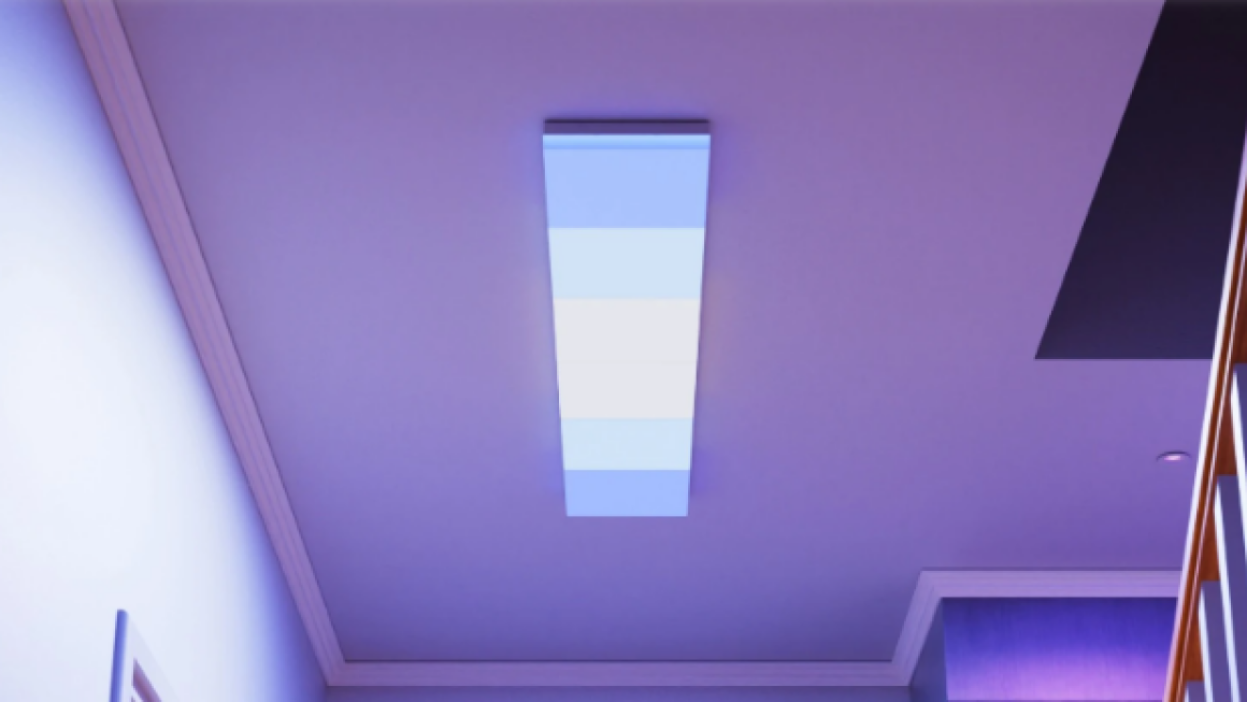
The Nanoleaf Smart Ceiling Light Mimics a Skylight

Phoenix Stretch Ceilings celebrates 10 years of stunning ceilings, lighting

10 bathroom window dressing ideas to add style and privacy to a wash space
Skylights Are Back and More Popular Than Ever—Here’s Why

Buy One, Get One Free: Increase Your Home’s Energy Efficiency With This Simple Upgrade


15 living room window treatments – stylish curtains, blinds and shutters to update your space

LIFX SuperColor Ceiling review: Smart lighting, overhead


In the frame: windows and skylights with a different perspective

The Ins and Outs of Working with Liquid Flashing


How They Pulled It Off: A Ceiling That Conceals Recessed Lighting

The Best Window Blinds of 2025