1/13
The Ins and Outs of Working with Liquid Flashing
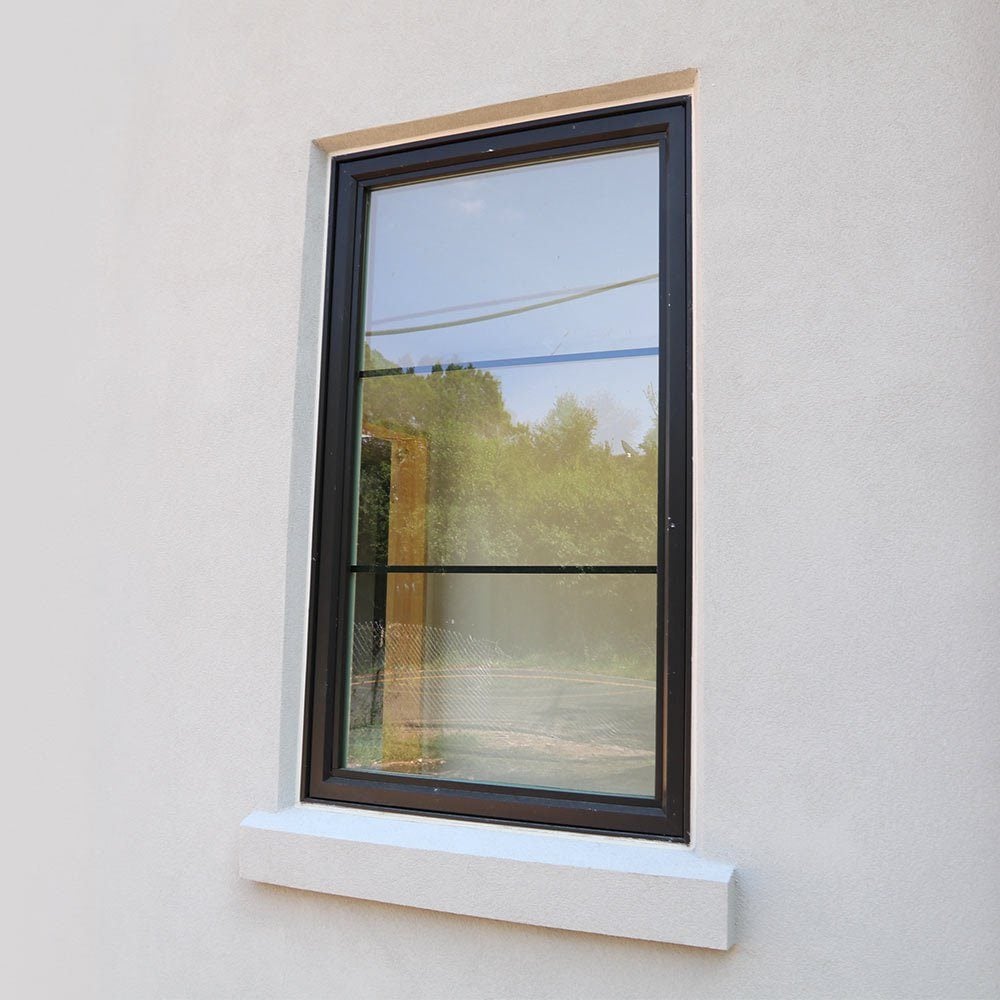
This article details the process and benefits of using liquid flashing for sealing windows, particularly recessed windows, which are gaining popularity for their architectural appeal but require meticulous flashing to prevent water infiltration. Traditional flashing methods can be prone to errors, leading to leaks and costly damage. Liquid flashing, also known as Fluid Applied Weather Barriers (FAWB), offers a more reliable and often foolproof solution for achieving a watertight seal around window and door openings.
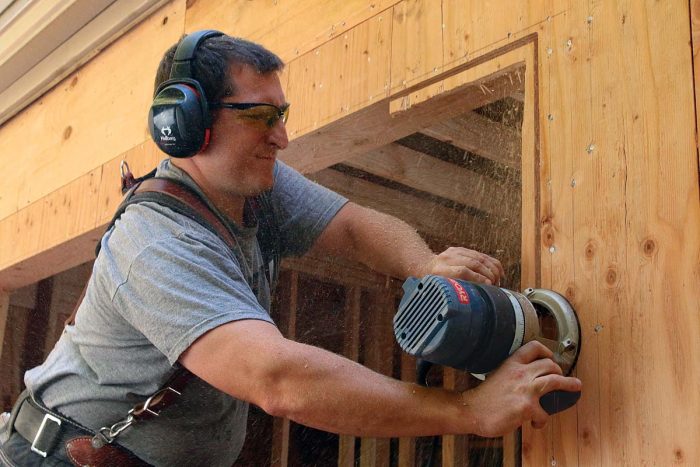
The installation process begins with preparing the window sill, ideally sloping it at about 5% to ensure proper drainage before any flashing application. This can be achieved by cutting jack studs with a reciprocating saw and shimming the sill. For recessed windows, liquid flashing is highly recommended. Products like Huber Engineered Woods' "Liquid Flash," a fiber-reinforced caulking-like material, can cover gaps up to 1/2 inch and typically cost around $25 per tube, with one tube usually sufficient per window. Its application involves gunning the material onto the sheathing and the rough opening's bare wood, then tooling it smooth with a plastic trowel. It dries quickly, often within 30 minutes, allowing for window installation in under an hour.
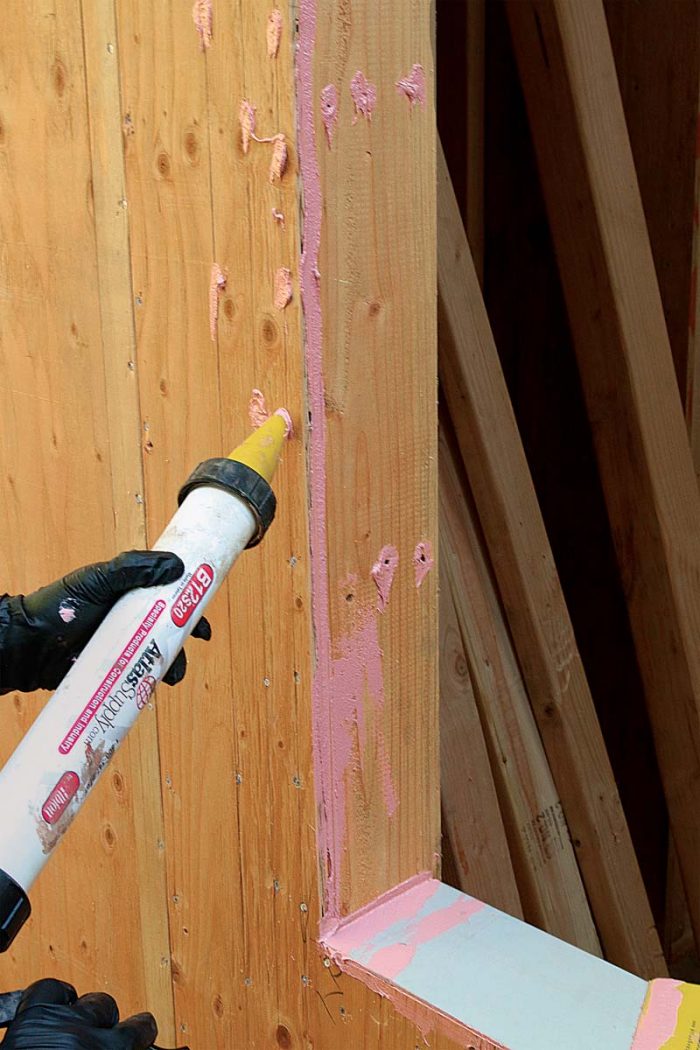
Another FAWB product, PolyWall’s Blue Barrier system, is also discussed. This less viscous fluid can seal rough openings and can also serve as a complete weather-resistant barrier when rolled over an entire house. When using PolyWall, larger gaps need to be filled first with their Joint Filler 2200, a denser, fiber-reinforced caulk applied with a special gun. After filling gaps, a thick coat of Blue Barrier 2400 Flash n Wrap is applied with a brush and roller, typically requiring only one coat until the substrate is no longer visible. This moisture-curing product doesn't require priming and can be applied in damp conditions. The application extends six inches onto the sheathing's edge to ensure a continuous waterproof seal.
After the window is installed, the inside top and side nailing flanges are covered with joint filler. A traditional head flashing or drip cap is also installed and sealed. Crucially, the nailing flange at the sill is left unsealed to provide an escape path for any water that might leak into the window, preventing it from backing up into the house. Adhering strictly to the window manufacturer's installation instructions is emphasized to avoid voiding warranties. Finally, sealing the window from the inside with low-expansion spray foam and caulking the frame to the rough framing creates an airtight seal and an additional barrier against water intrusion. Following these steps ensures a leak-free window installation, offering long-term protection against water damage.
#LiquidFlashing #WindowInstallation #RecessedWindows #Waterproofing #HomeImprovement #DIY #ConstructionTechniques #FluidAppliedWeatherBarrier #LiquidFlashing #WindowInstallation #RecessedWindows #Waterproofing #HomeImprovement #DIY #ConstructionTechniques #FluidAppliedWeatherBarrier
 No comments yet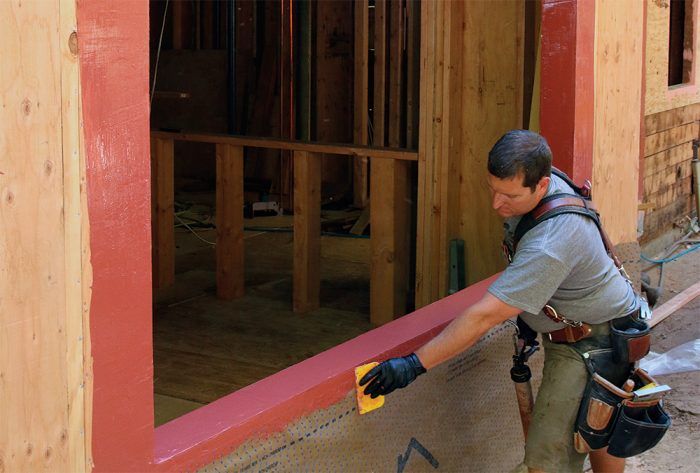
Waterproof Your Windows with Liquid Flashing