How To Use an Old Honeywell Thermostat
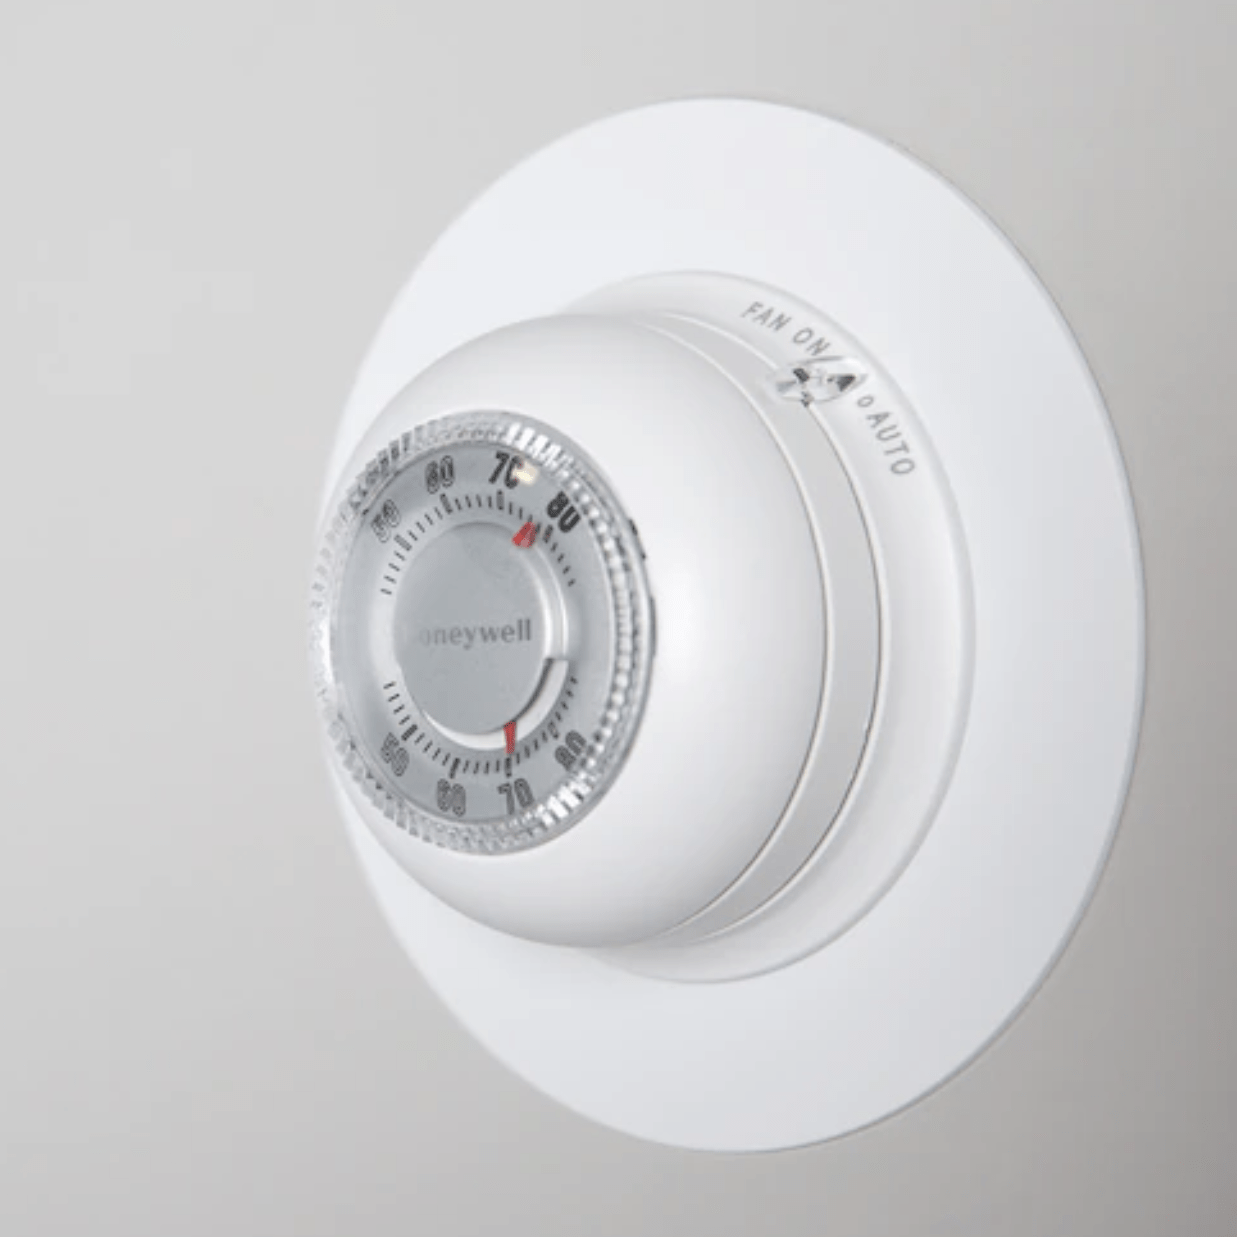
Honeywell has a long history of thermostat manufacturing, dating back to “The Jewell” in 1906, which was remarkably programmable. The iconic “The Round” model was introduced in 1953 and is still in production alongside other mechanical, square, and rectangular models. However, the majority of Honeywell's current thermostat offerings are digital. This guide focuses on understanding and operating older Honeywell thermostats, particularly digital programmable ones, which are commonly found in many homes.
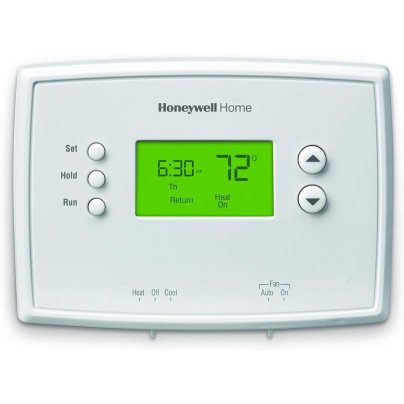
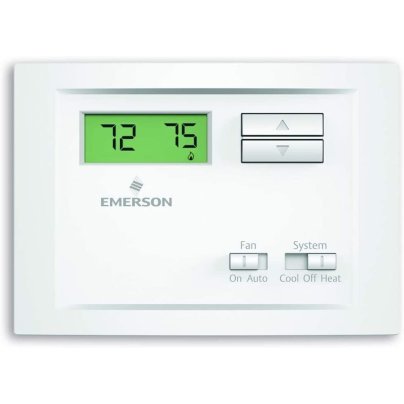
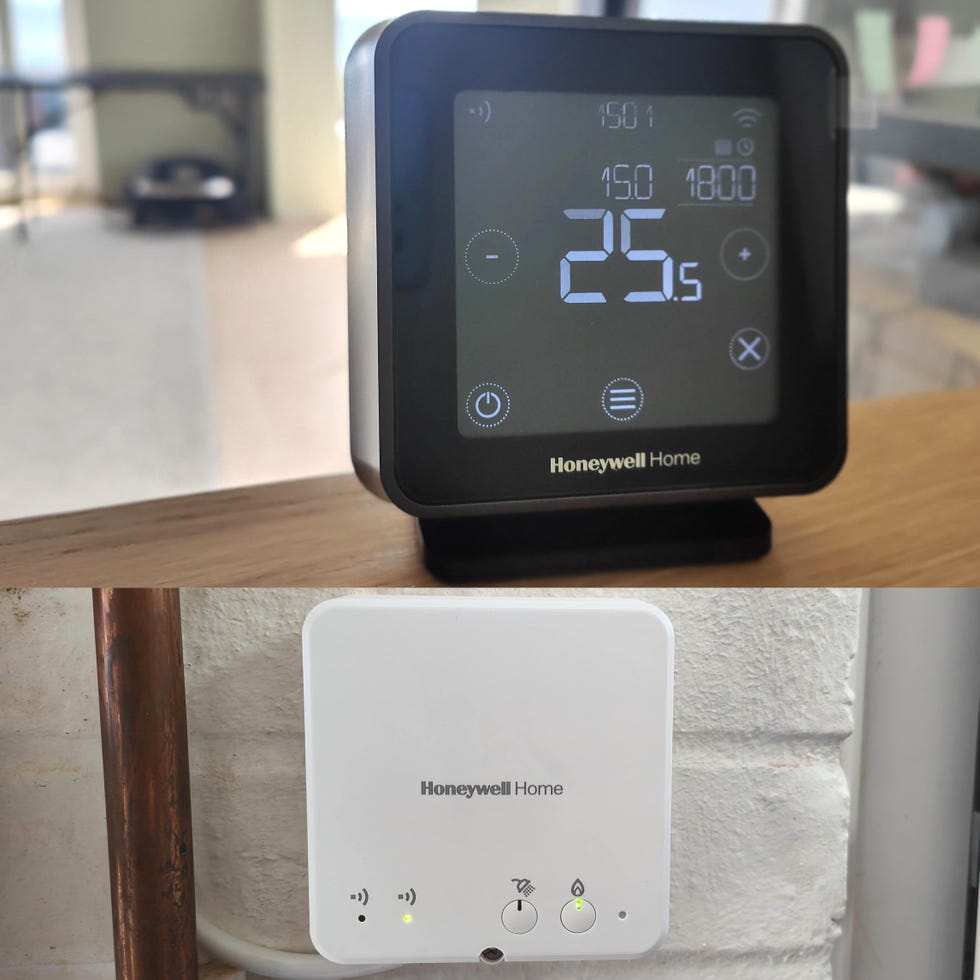
Older Honeywell thermostats can be broadly categorized into three types: mechanical, digital non-programmable, and digital programmable. Mechanical thermostats, like some versions of “The Round” (e.g., CT87N1001/U1 for heating/cooling systems), are straightforward. Users set the desired temperature using a dial or lever, and the thermostat manages the system. These models often include toggles for switching between heating and cooling modes and controlling the fan (On or Auto). Digital non-programmable thermostats, such as the RTH111B, function similarly to mechanical ones but use up/down buttons for temperature adjustment, retaining the fan and mode toggles. Digital programmable thermostats, exemplified by the RTH221B, incorporate the features of non-programmable models with added “Set,” “Hold,” and “Run” buttons for scheduling.
Using a Honeywell thermostat, regardless of its type, generally involves a few basic steps. To set the temperature, one would either turn a dial, move a lever, or press the up/down buttons. The fan can be set to “Auto” to operate with the heating or cooling system, or “On” for continuous operation. The mode should be set to “Heat” or “Cool” depending on the season. For programmable models, setting the current time is a prerequisite before engaging in scheduling. The “Set,” “Prog,” or “Menu” button is then used to navigate through programming options, allowing users to define specific temperatures for different times of the day.
For instance, to program a schedule on an RTH221B model, the mode toggle is set to “Heat” or “Cool.” The “Set” button is pressed twice, and “Set Schedule” appears, indicating the start of the first period. Up/down buttons adjust the start or wake time, followed by pressing “Set” again to adjust the temperature for that period. This process is repeated for subsequent periods, and “Run” is pressed to save the settings. Resetting an old Honeywell thermostat, especially programmable ones, typically involves a procedure detailed in the product manual. However, a common method for battery-powered models is to remove the batteries, reverse their polarity for 10 seconds, and then reinsert them correctly, which often restores factory settings.
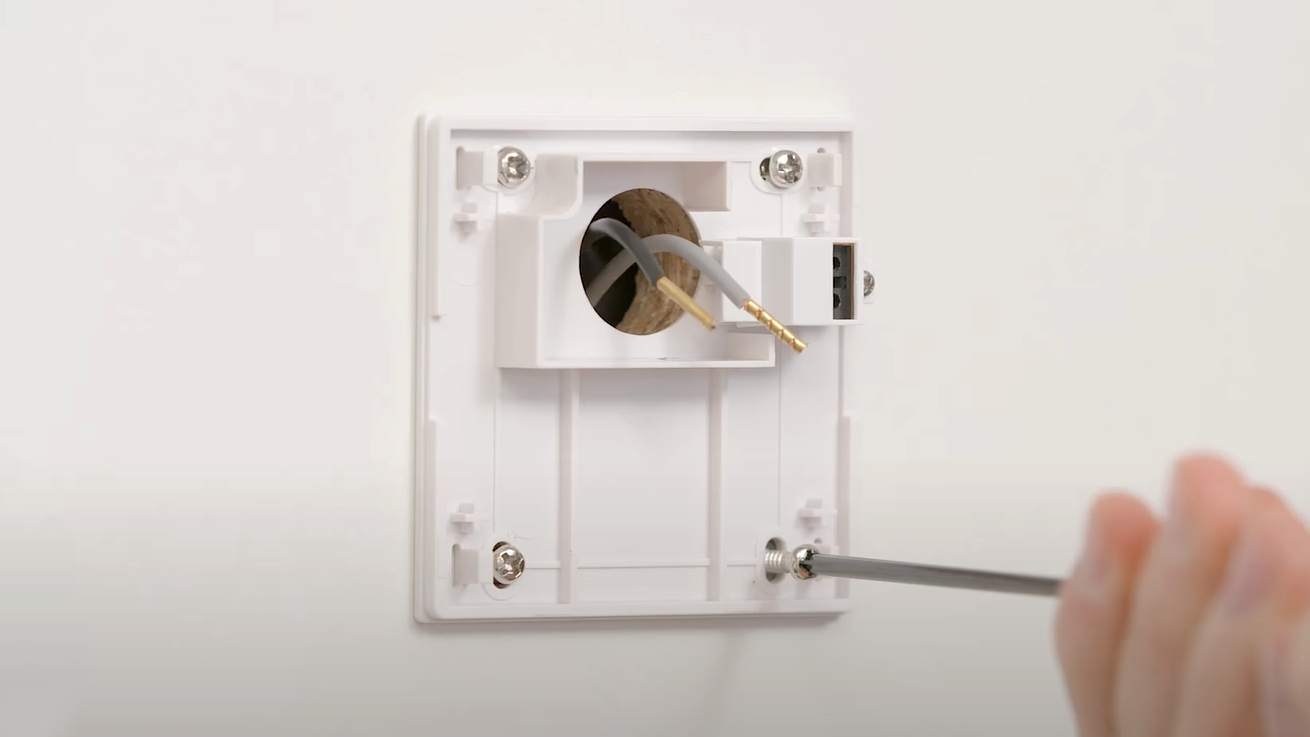
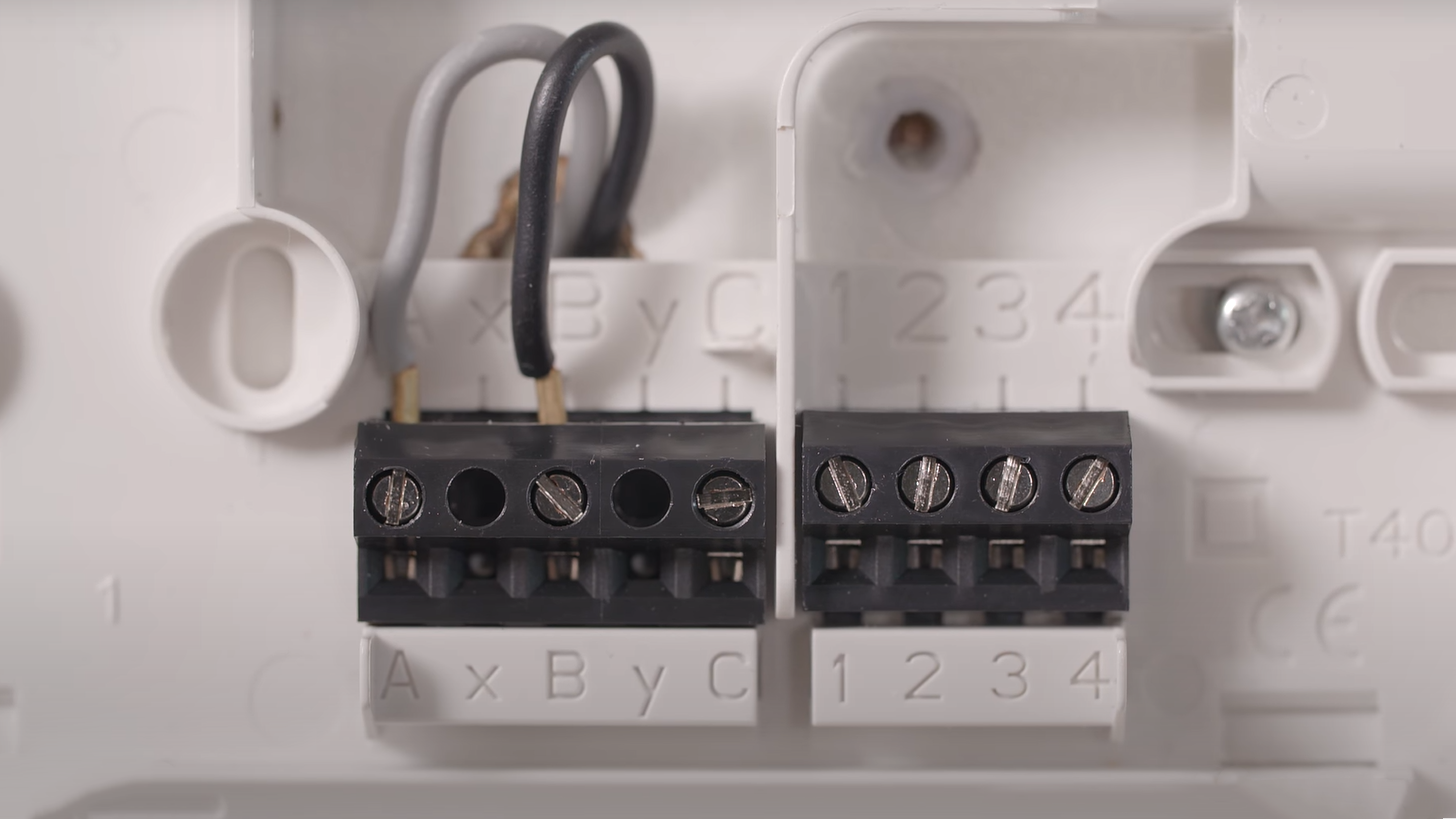
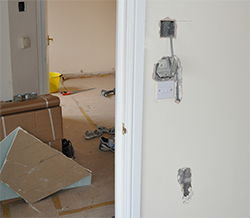
Replacing an old thermostat with a modern one is generally feasible, with one key consideration: the common wire (C-wire). Older mechanical or battery-powered thermostats did not require a C-wire for power. If a new smart thermostat requires a C-wire, professional HVAC assistance might be needed for installation, unless a battery-powered replacement is chosen. The replacement process involves shutting off the circuit breaker, taking a photo of the existing wiring for reference, disconnecting wires, removing the old baseplate, installing the new baseplate, connecting wires according to the reference photo, installing batteries if applicable, attaching the cover plate, and finally, restoring power to the system.
#HoneywellThermostat #HomeHeatingCooling #ThermostatInstallation #SmartHome #DIYHomeImprovement #HVACMaintenance #ProgrammableThermostat #MechanicalThermostat #HoneywellThermostat #HomeHeatingCooling #ThermostatInstallation #SmartHome #DIYHomeImprovement #HVACMaintenance #ProgrammableThermostat #MechanicalThermostat
0 comment in total
 No comments yet
You may also like
The Best Home Thermostats for Efficient Heating and Cooling, Tested


Smart Heating

Best smart radiator valves 2026

How to Save Money and Energy Heating Your Apartment (Published 2018)
Best smart thermostat 2025: stay warm and save money with these smart heating systems
Netatmo Smart Thermostat review: smart heating control for your home
We Asked HVAC Pros When We Should Turn On Our ACs, and It’s Sooner Than We Thought


The next generation Nest thermostat
The 6 best smart thermostats to control your heating from anywhere

When a Smart Thermostat Isn’t the Smart Choice | Wirecutter

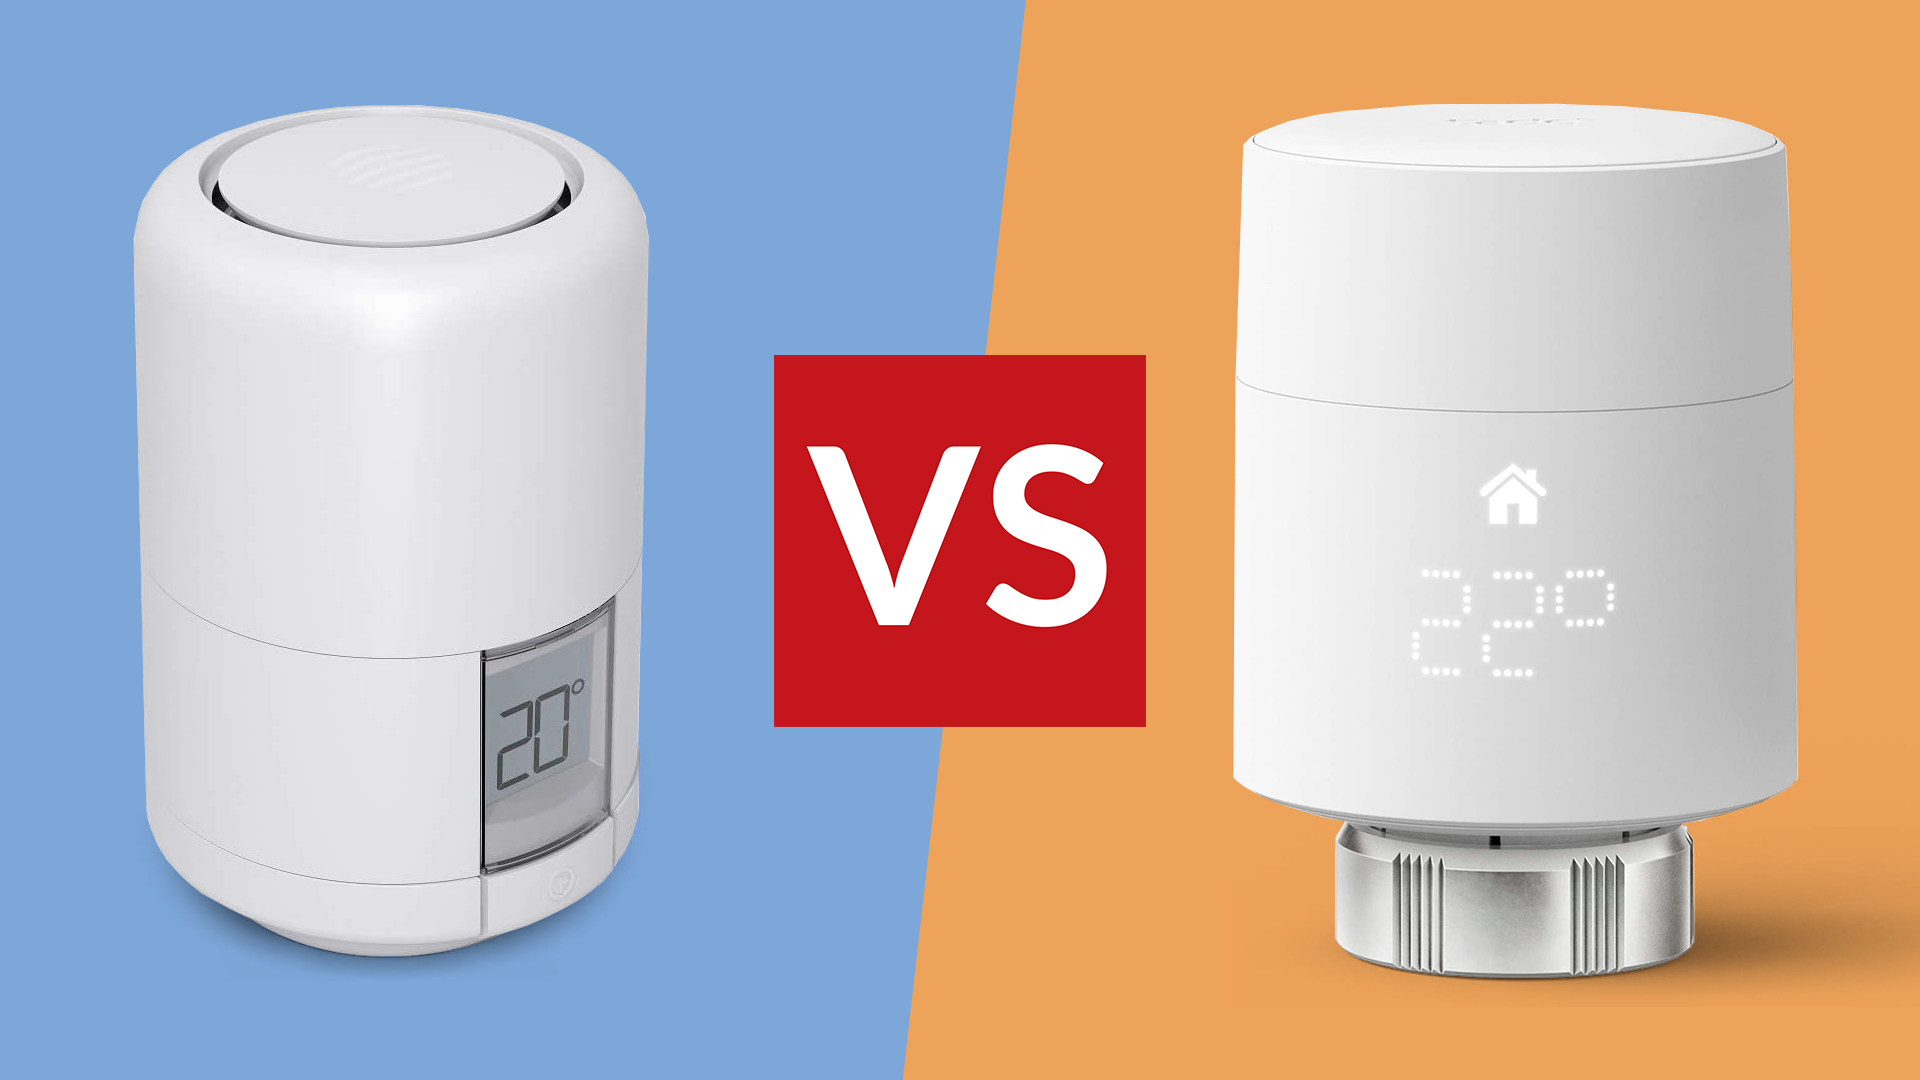
Hive Smart Radiator Valve vs Tado Smart Radiator Thermostat

How to keep your house warm in winter — 29 budget-friendly and easy ways to stay cosy

Should You Turn Your Heat Down When You're Not Home?

The 4 Best Smart Thermostats of 2026 | Reviews by Wirecutter

I Thought I'd Found a $99 Fix for My Balky Air Conditioning. I Was Wrong. | Reviews by Wirecutter

What is a zoned heating HVAC system? We get the lowdown from the pros

I’m Perpetually Cold, and the Nest Thermostat Has Finally Made My Home the *Perfect* Temp
Review: Heatmiser Neo Smart Thermostat
Are smart heating systems worth it? The pros and cons of upgrading your thermostat this winter

I Was Sick of Cold Front Door Drafts Making My Living Room Feel Arctic and Driving Up Energy Costs – A $4 Easy Amazon Fix Has Been A Game-Changer