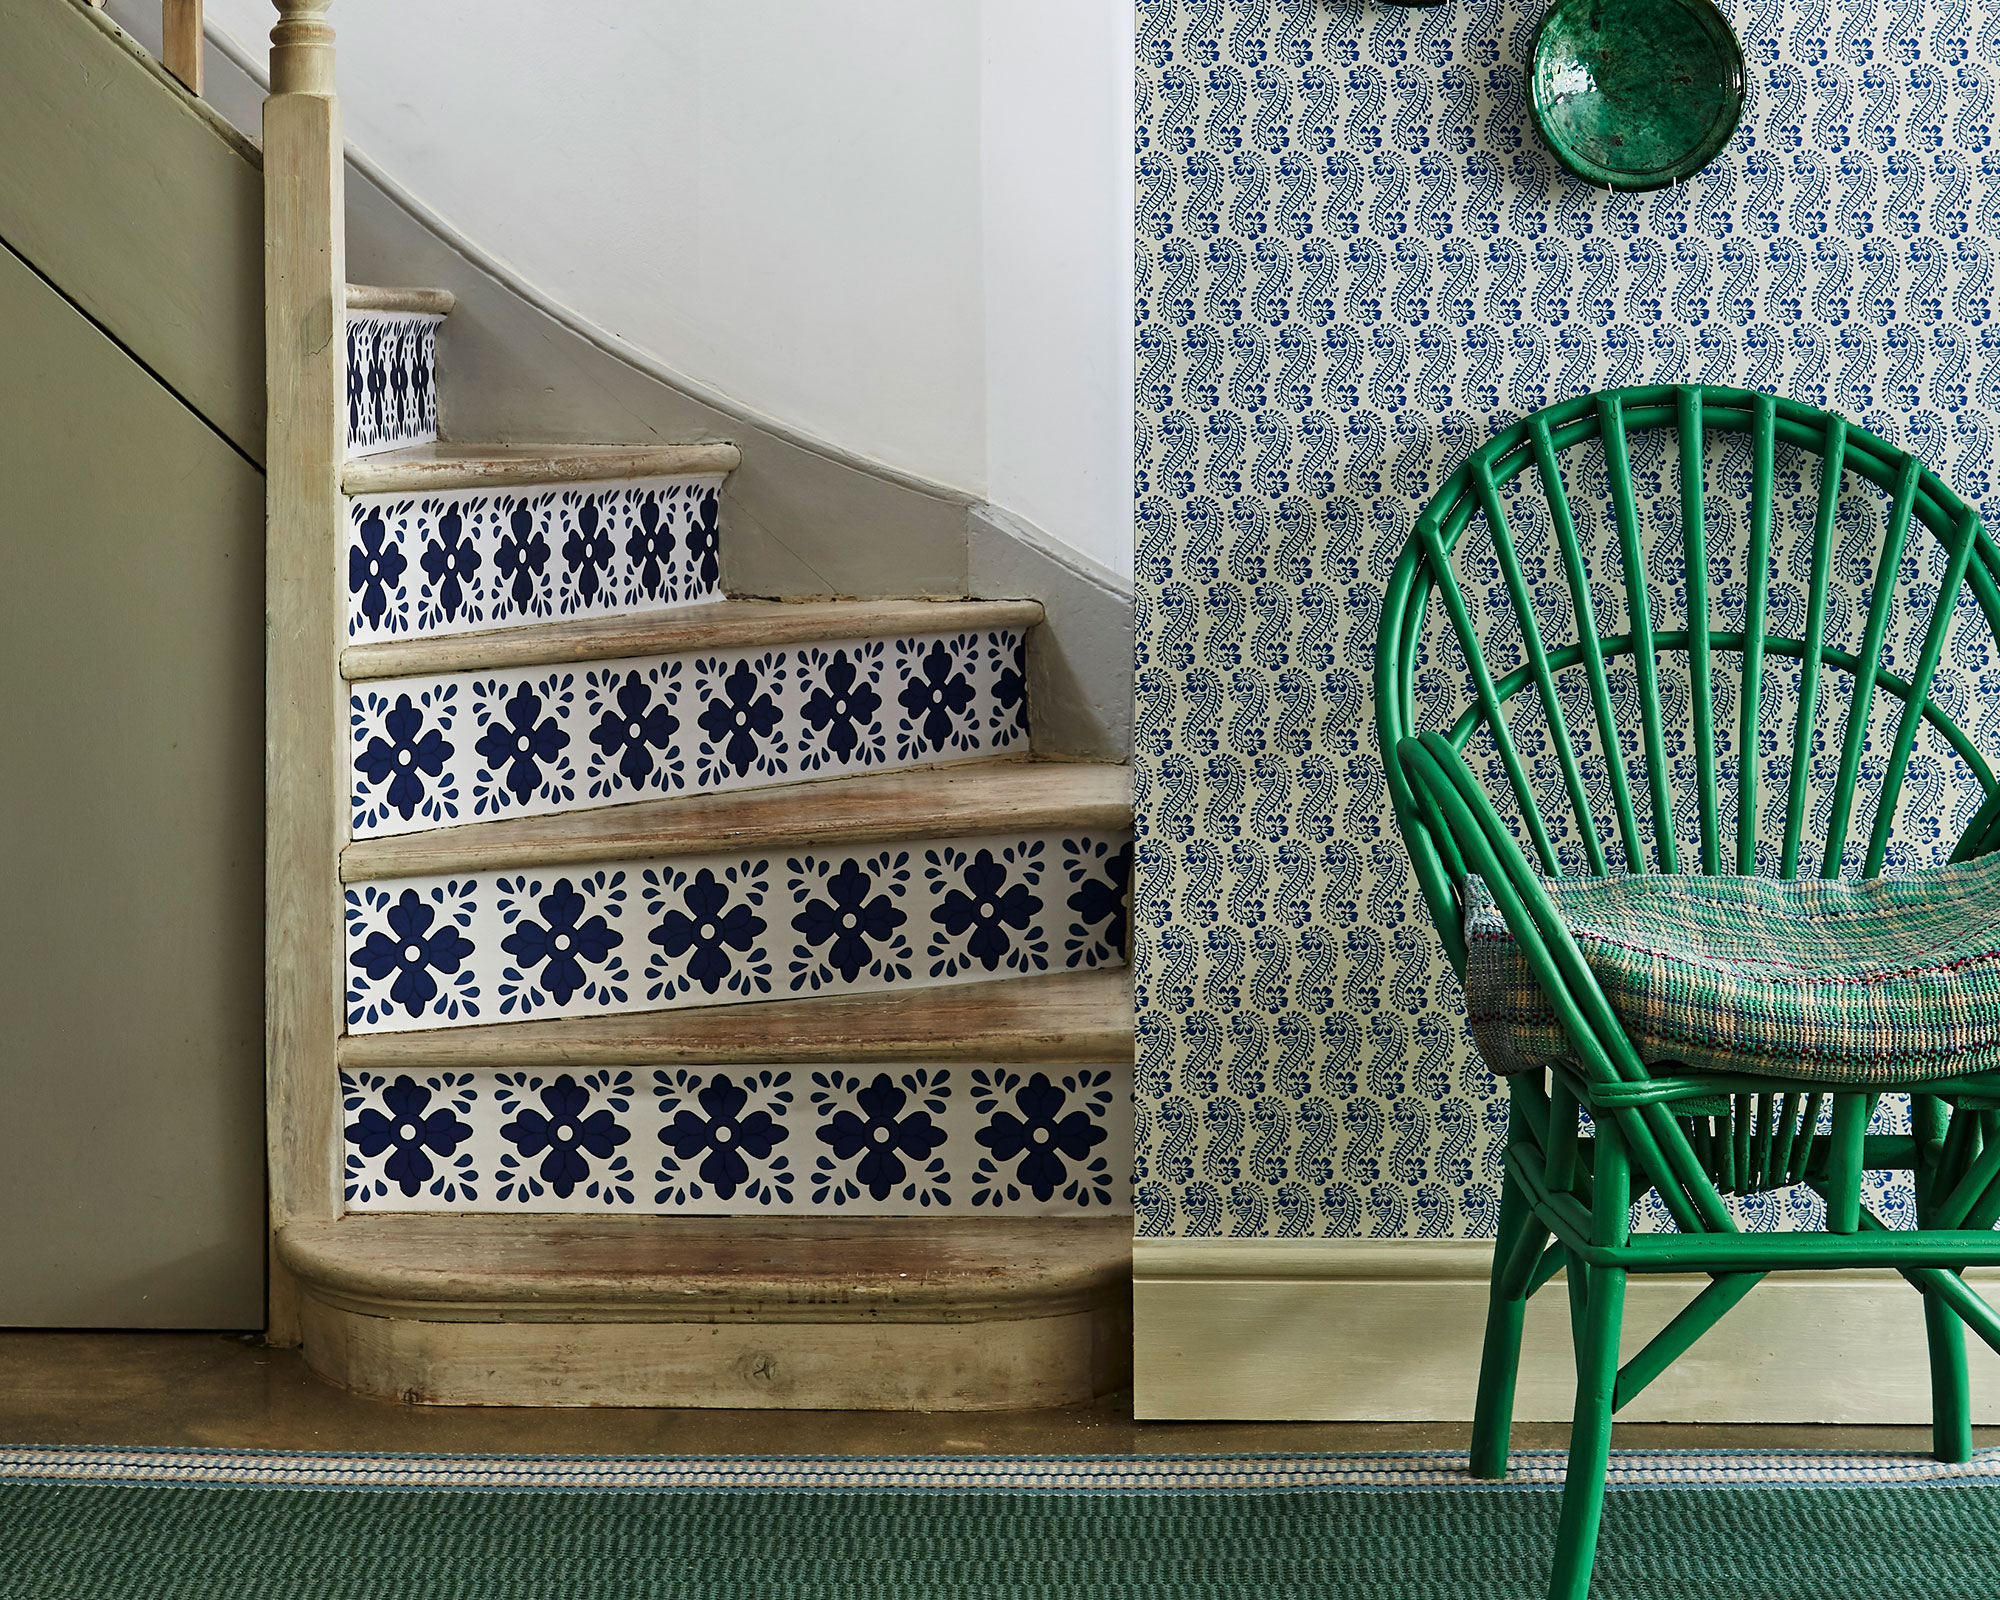
How to tile stairs – expert advice for tackling this tricky project
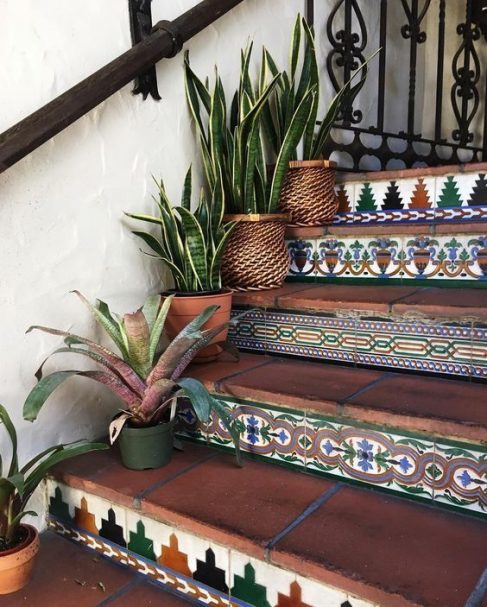
This guide details how to tile stairs, offering a practical DIY project that can transform a hallway over a weekend. It emphasizes that while stairs are often overlooked in home decoration, tiling them can significantly impact the interior's aesthetic. The article begins by advising readers to work from bottom to top when tiling and to select tiles with texture for better tread. It also suggests using specific edge tiles for stairs to simplify the process.
The initial step involves gathering all necessary tools and materials, such as tiles, water, a spirit level, thin-set mortar, tile cutter, bucket, grout float, rubber hammer, notched trowel, safety gloves, and eye protection. It is recommended to undertake this project when no one needs to use the stairs, ideally starting early in the day. Following this, precise measurement of the stairs is crucial, including both the length and width of the treads and vertical risers. The total area in square meters is calculated by multiplying the total length by the total width. For irregularly shaped stairs, dividing the areas for separate measurements and then combining them is advised. A crucial tip is to add an extra 10% to the final tile measurement to account for potential mistakes or breakages during installation.
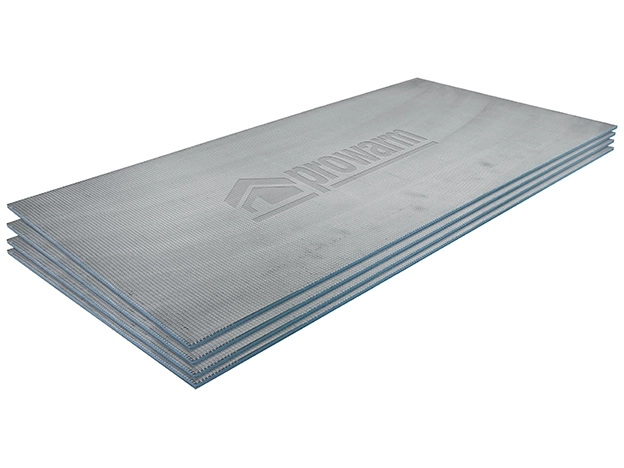
Preparation of the stairs is the next critical phase, ensuring the surface is level, dry, and clean to prevent future tile cracks. It is highlighted that the floor must be completely secure without movement. Depending on the weight of the chosen tiles, reinforcing the stairs might be necessary, and professional help is recommended for this task. A spirit level should be used to identify uneven areas, which can then be smoothed out with mortar and a trowel. For wooden staircases, adding backer boards to each step is suggested to prevent grout cracking due to wood expansion over time, with joints taped before tiling.
Applying adhesive is the subsequent step. A few drops of water can be added to the tile adhesive with a wet sponge to enhance bonding. Using the flat edge of a notched trowel, a layer of adhesive is applied to the stair surface, creating a semi-circle for even distribution. The adhesive layer should extend about two inches wider than the tile to allow for adjustments. The comb side of the trowel is then used to ensure evenness and better tile bonding. Tiles, including any pre-cut pieces, should be readily available to avoid interruptions during application, preventing the adhesive from drying out.
When laying tiles, a spirit level is essential to ensure they are straight and even. A rubber hammer can be gently used to adjust uneven tiles. For risers, marking a middle point and working outwards is advised, applying adhesive to the tile back and aligning its upper edge flush with the stair tread. Tread tiles are then applied, flush with the riser tile's edge, pressed into the adhesive, and slid into place. Tile spacers are used for even spacing.
The final step is grouting after the adhesive has dried. A grout float is used to spread and firmly press grout into the gaps between tiles. Excess grout is wiped off with a damp cloth once it has set. The entire staircase should be left for 24 hours to fully set, followed by a final wipe-down with a damp cloth.
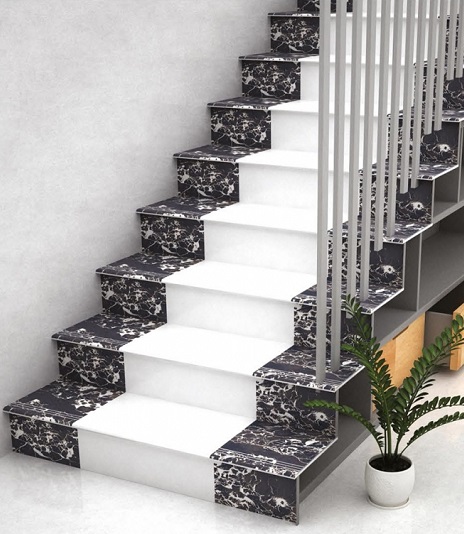
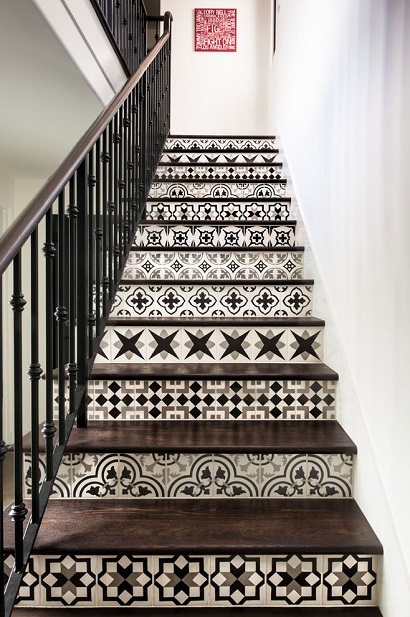
Regarding tile selection, porcelain is highly recommended for stairs due to its strength, durability, and longevity. It comes in various decorative patterns, including timber and stone lookalikes, allowing for a cohesive design with other flooring. For bullnose staircases, specific bullnose tiles are required for the outer edges, along with regular tiles for treads and risers. The tiling sequence involves first applying the bullnose tiles, then the tiles between the bullnose and riser, and finally the riser pieces, using tile spacers for accuracy.
#TilingStairs #HomeImprovement #DIYProject #InteriorDesign #HallwayUpdate #TileSelection #HomeRenovation #StaircaseTiling #PorcelainTiles #TilingStairs #HomeImprovement #DIYProject #InteriorDesign #HallwayUpdate #TileSelection #HomeRenovation #StaircaseTiling #PorcelainTiles
0 comment in total
 No comments yet
You may also like
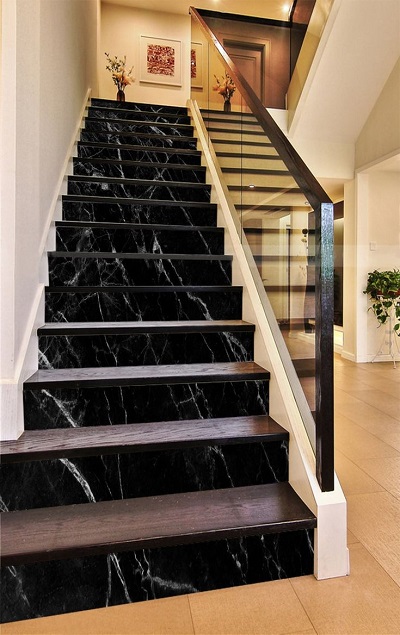
15 Modern Stairs Tiles Design Ideas For Home 2024

Bathroom Tiles

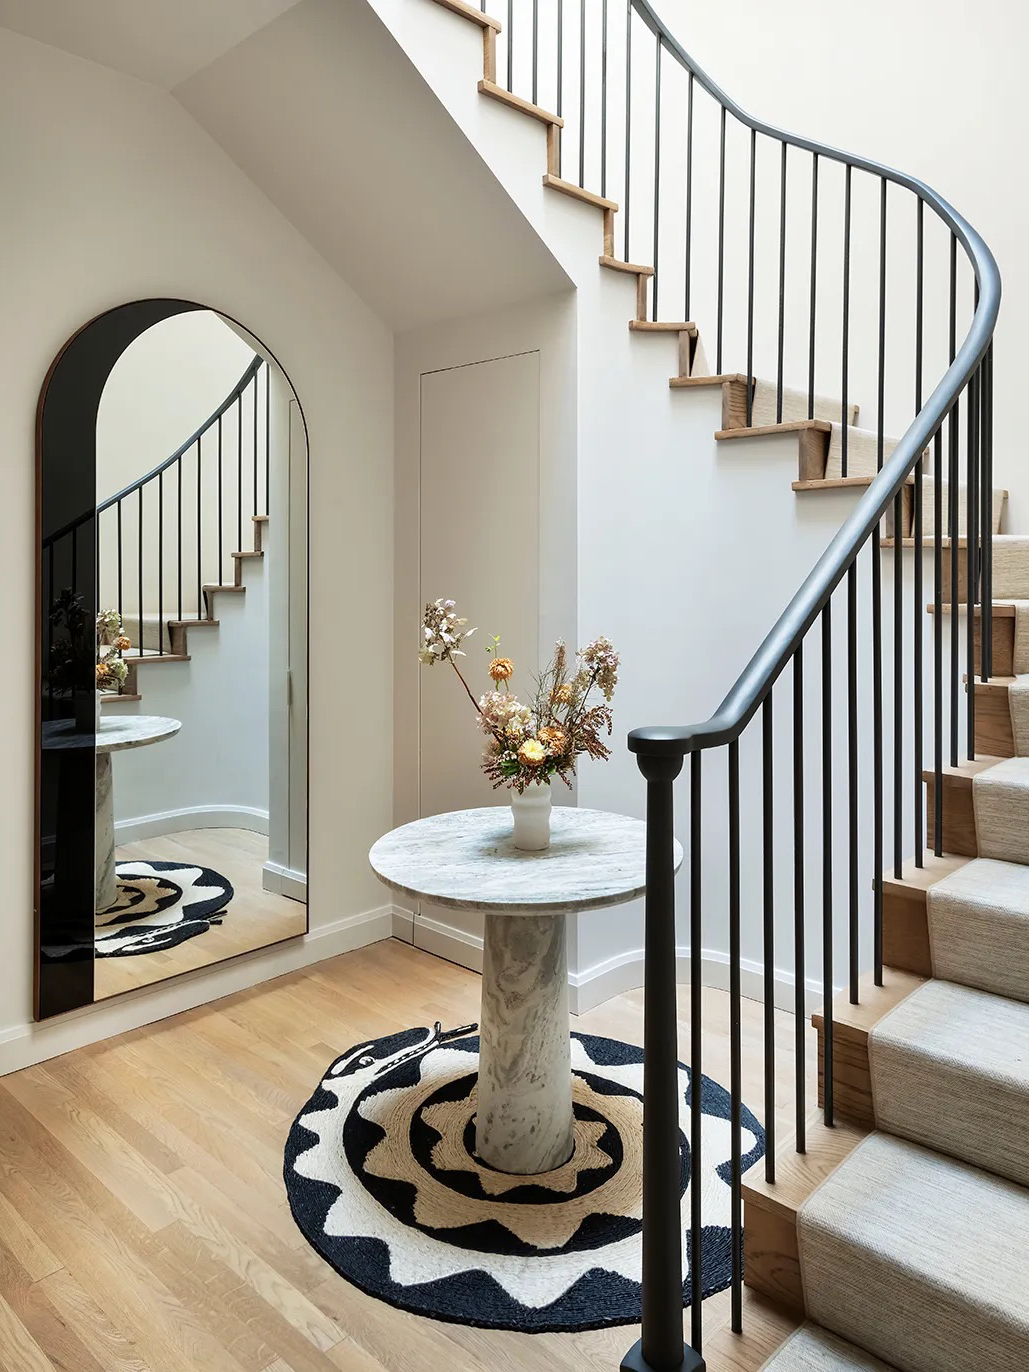
An Oft-Overlooked Staircase Project Is Gaining Traction With Remodelers

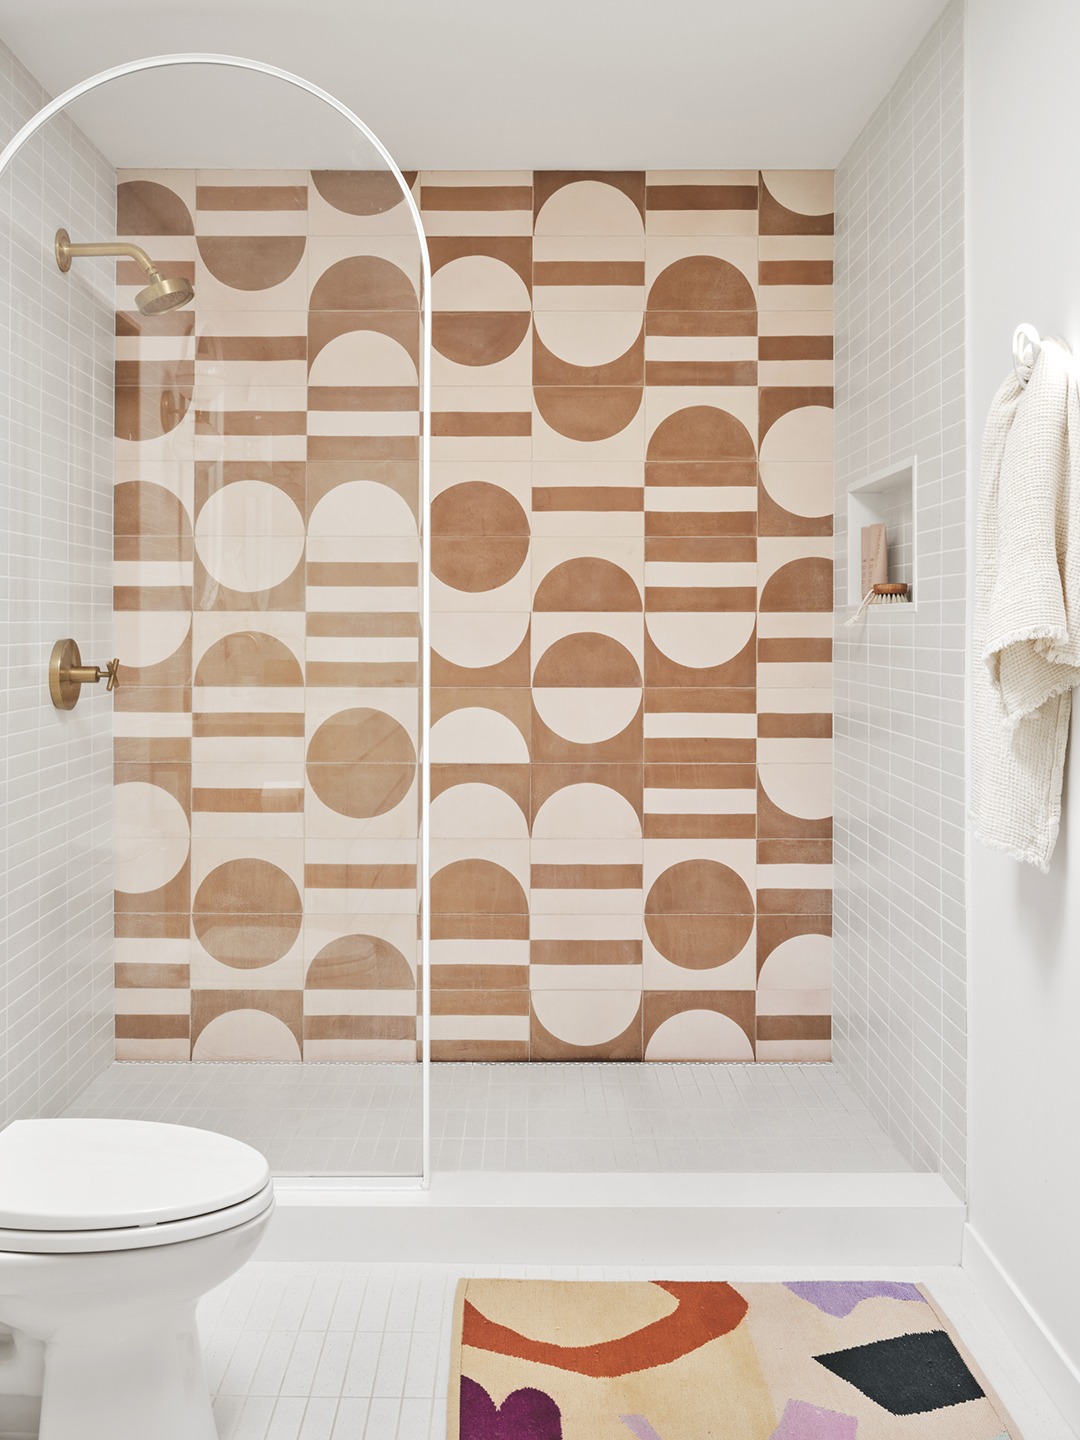
The Tile Trim Mistake Designers Always Notice—And How to Avoid It


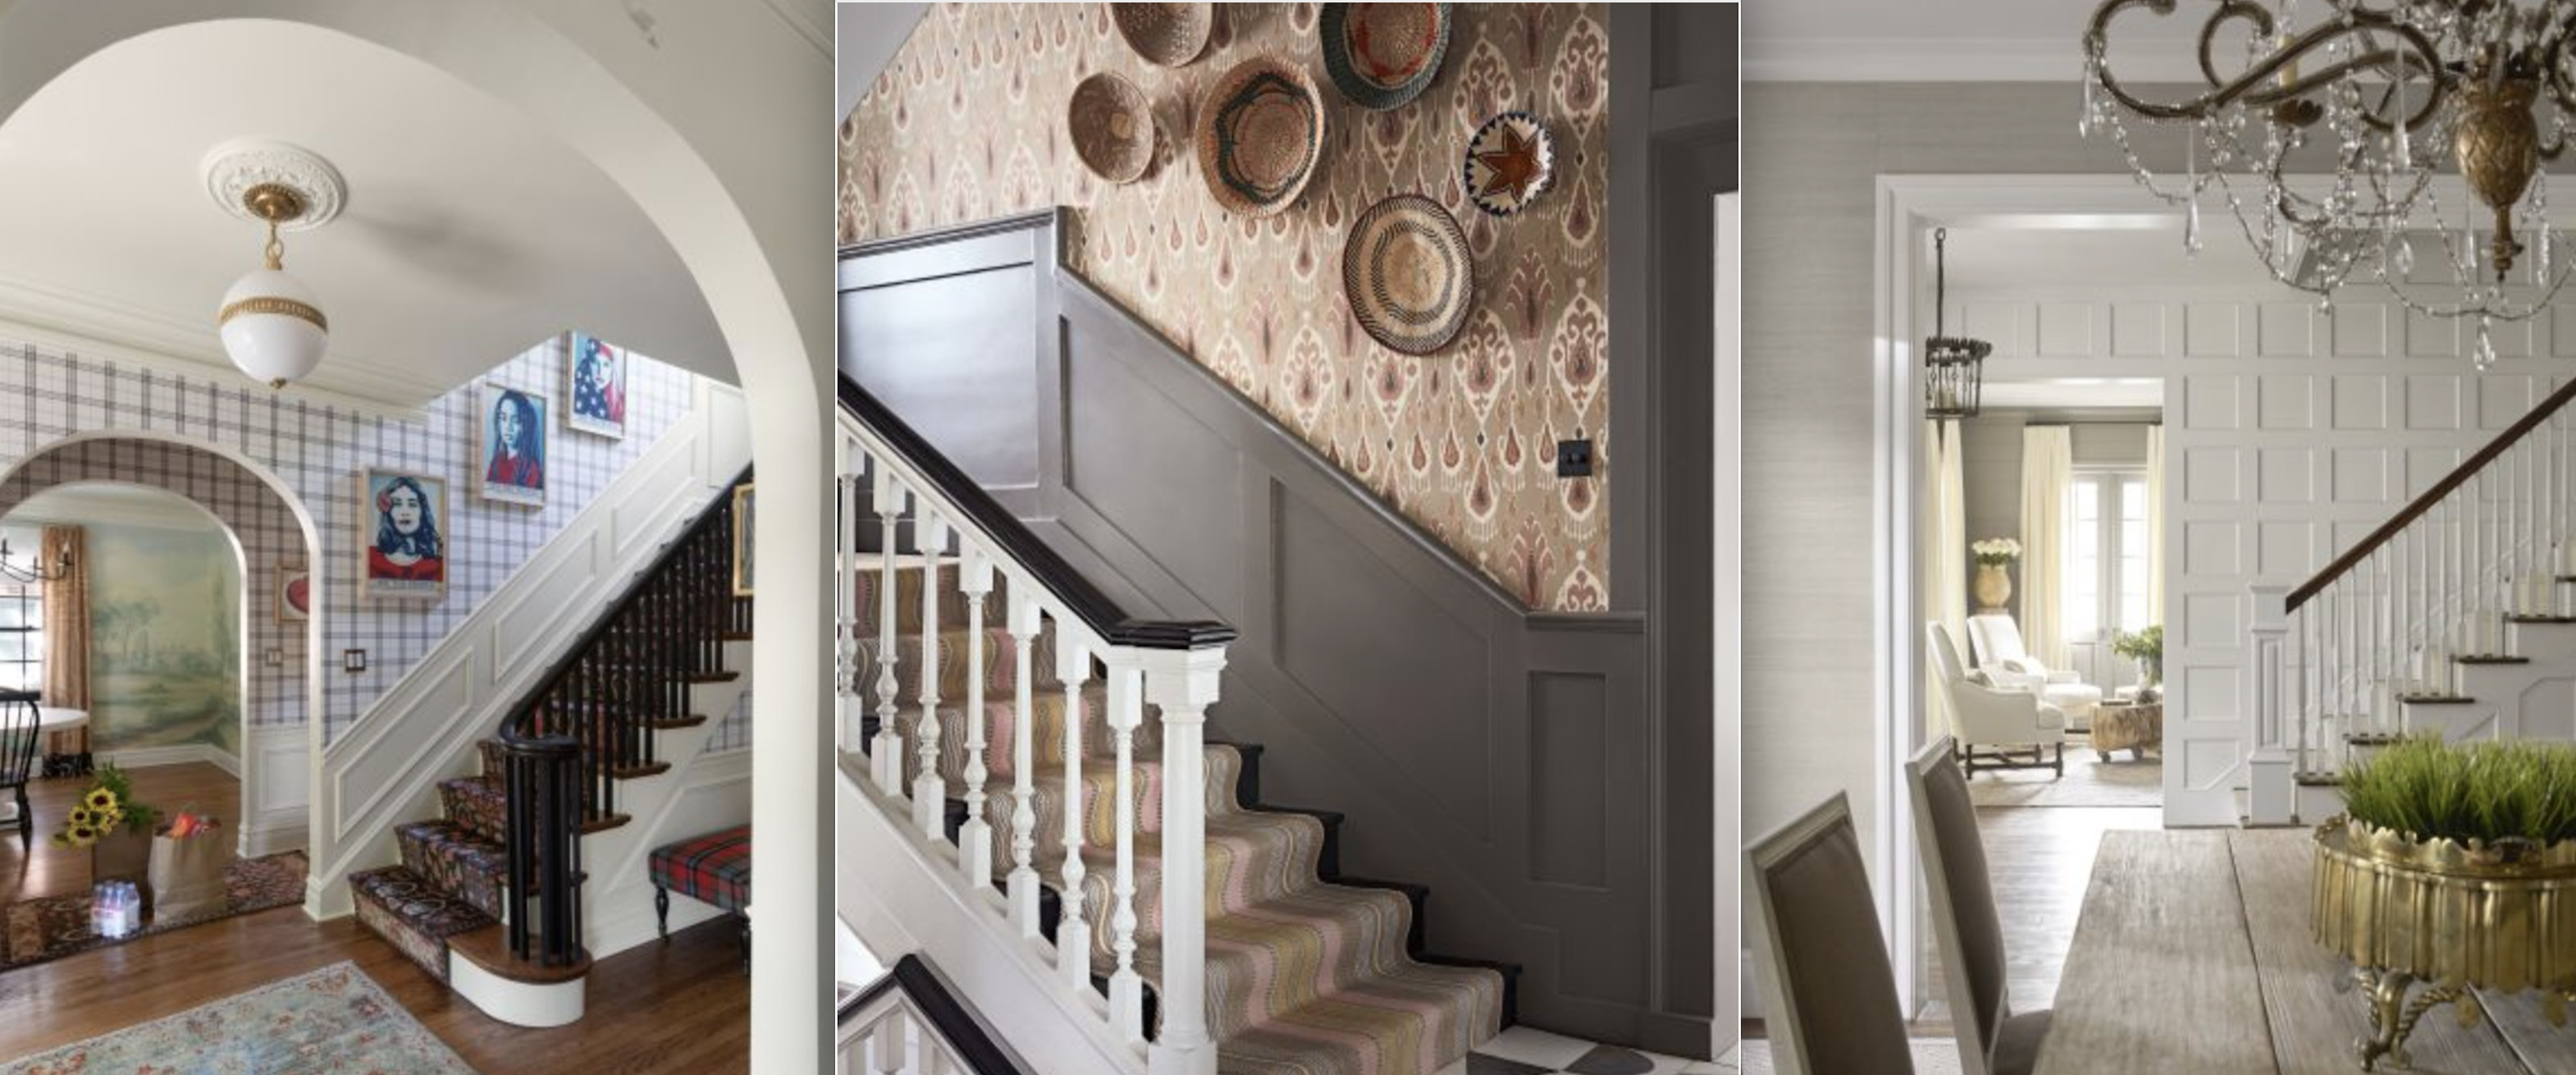
Staircase wall ideas – 10 ways to dress stair walls beautifully

Stair Base Rails

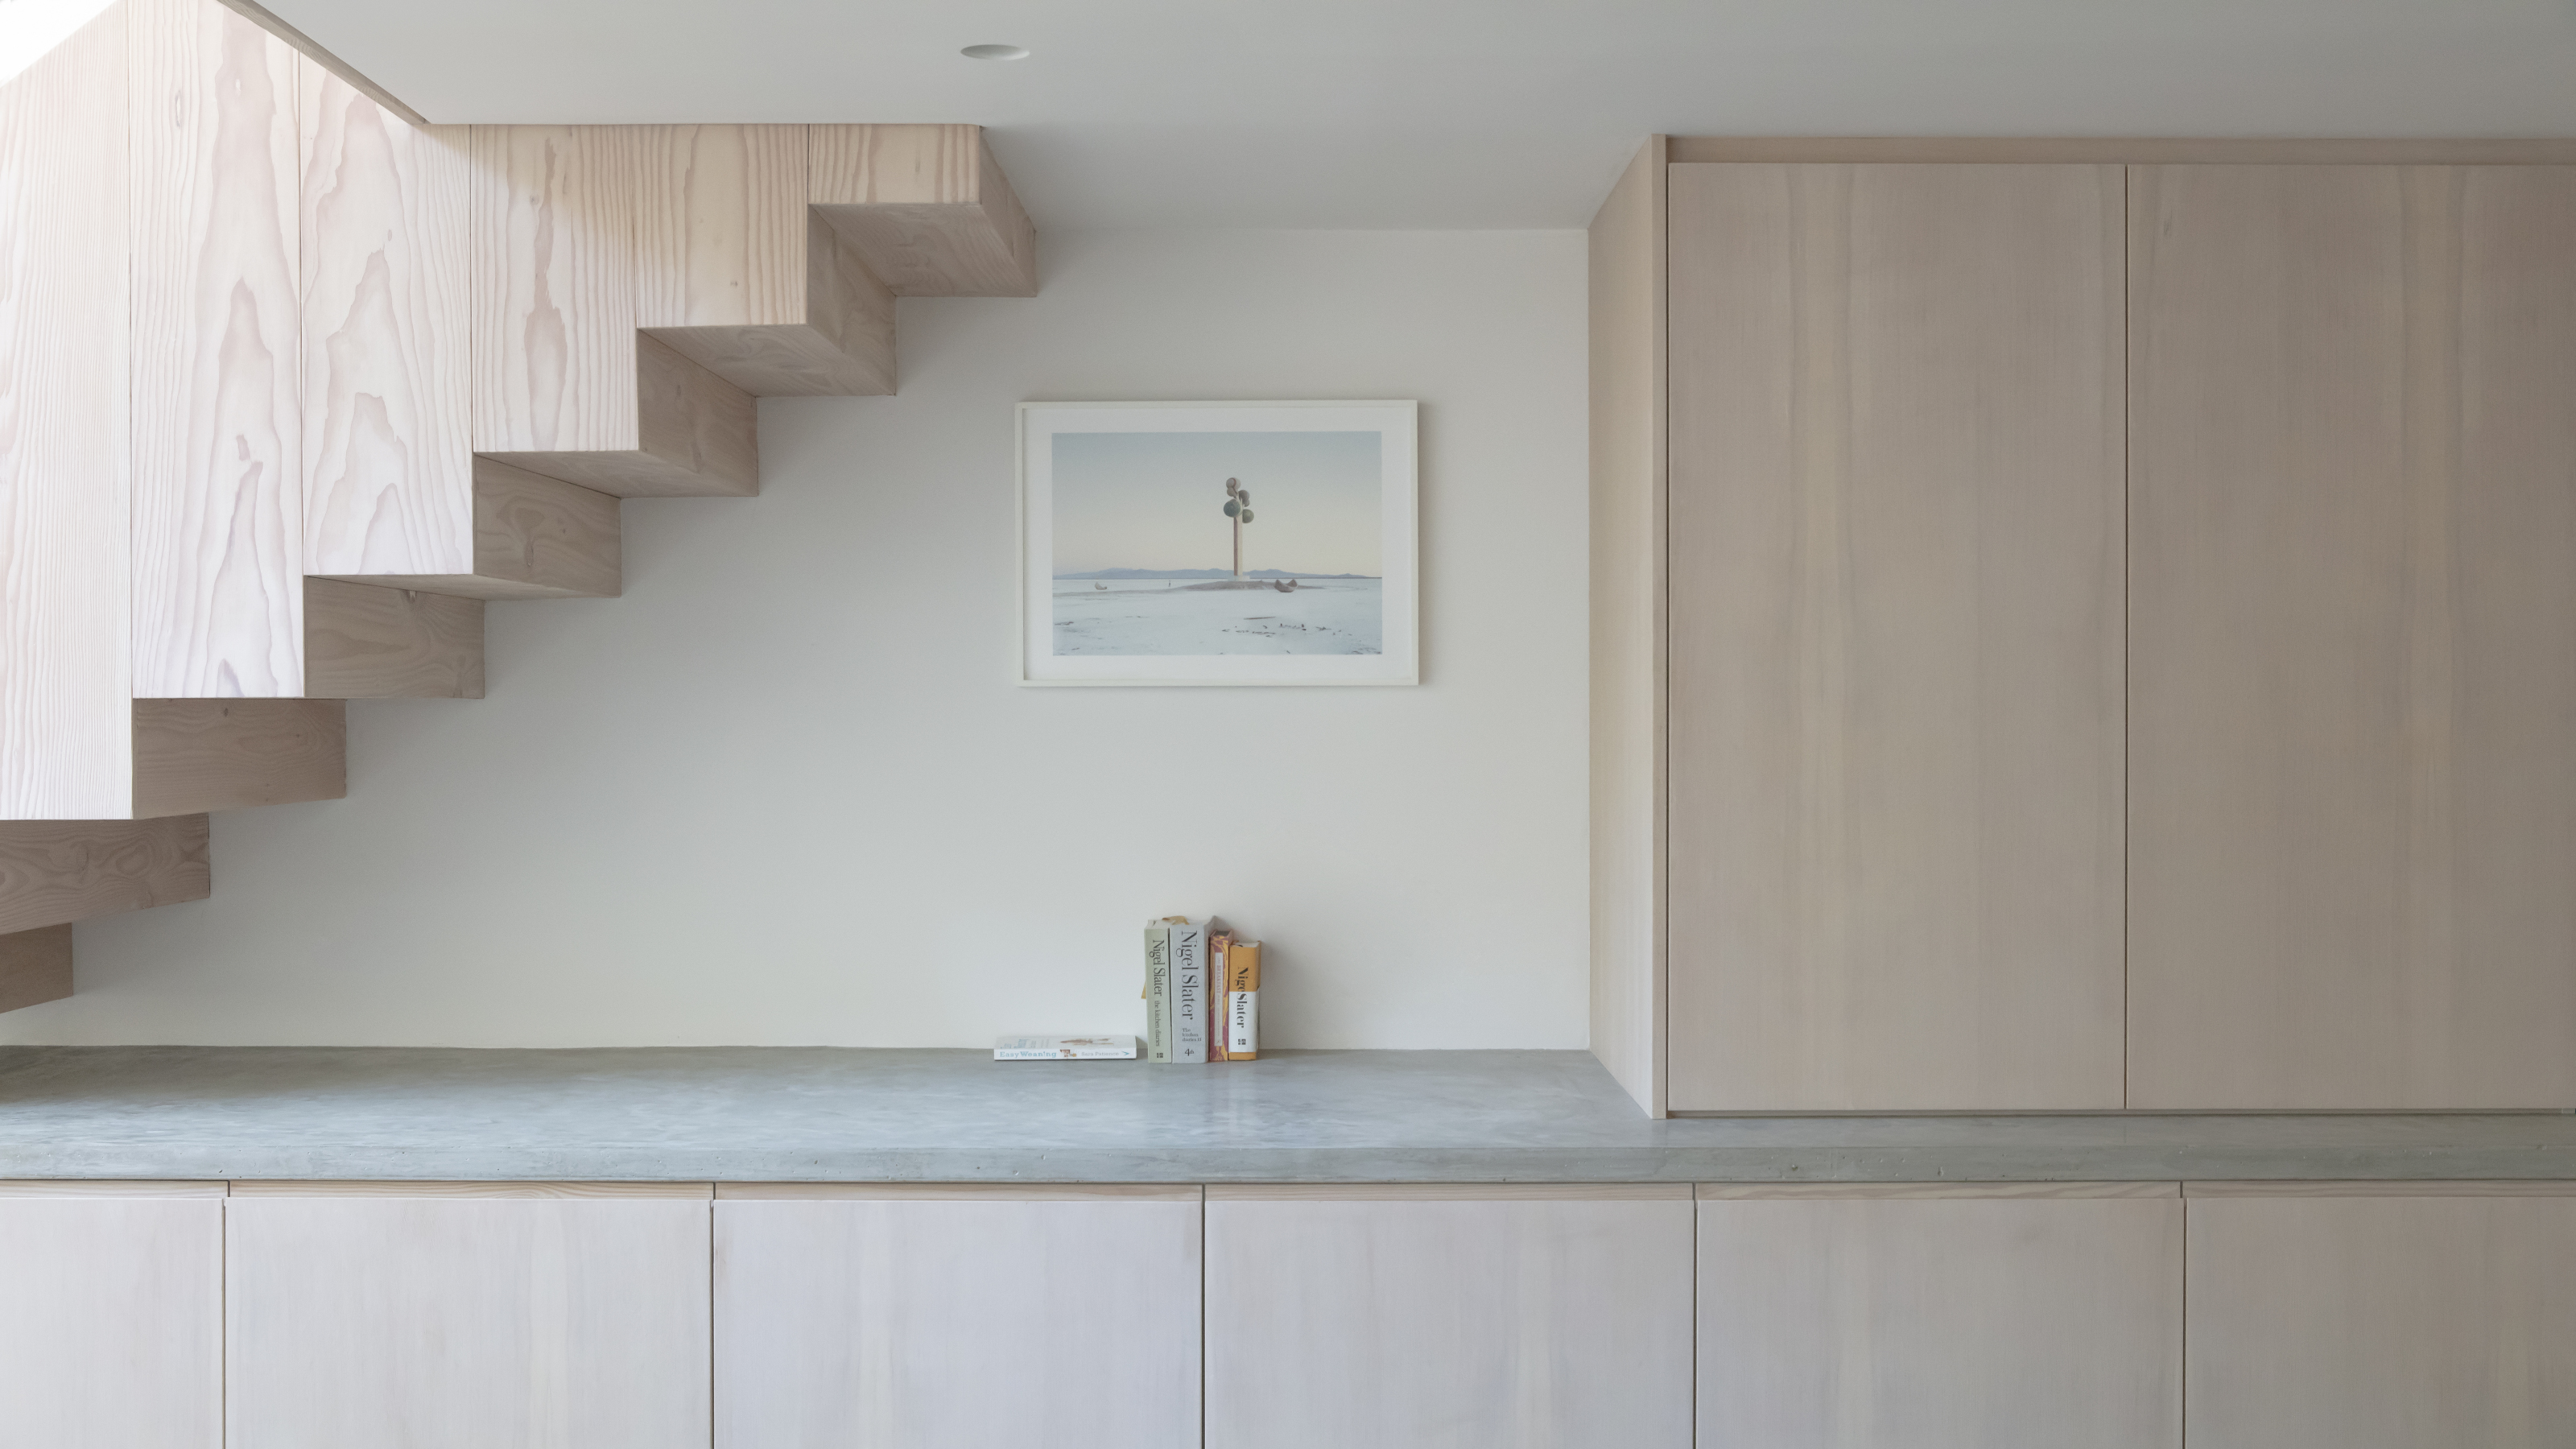
Designing a staircase – how to create something unique at the center of your home |

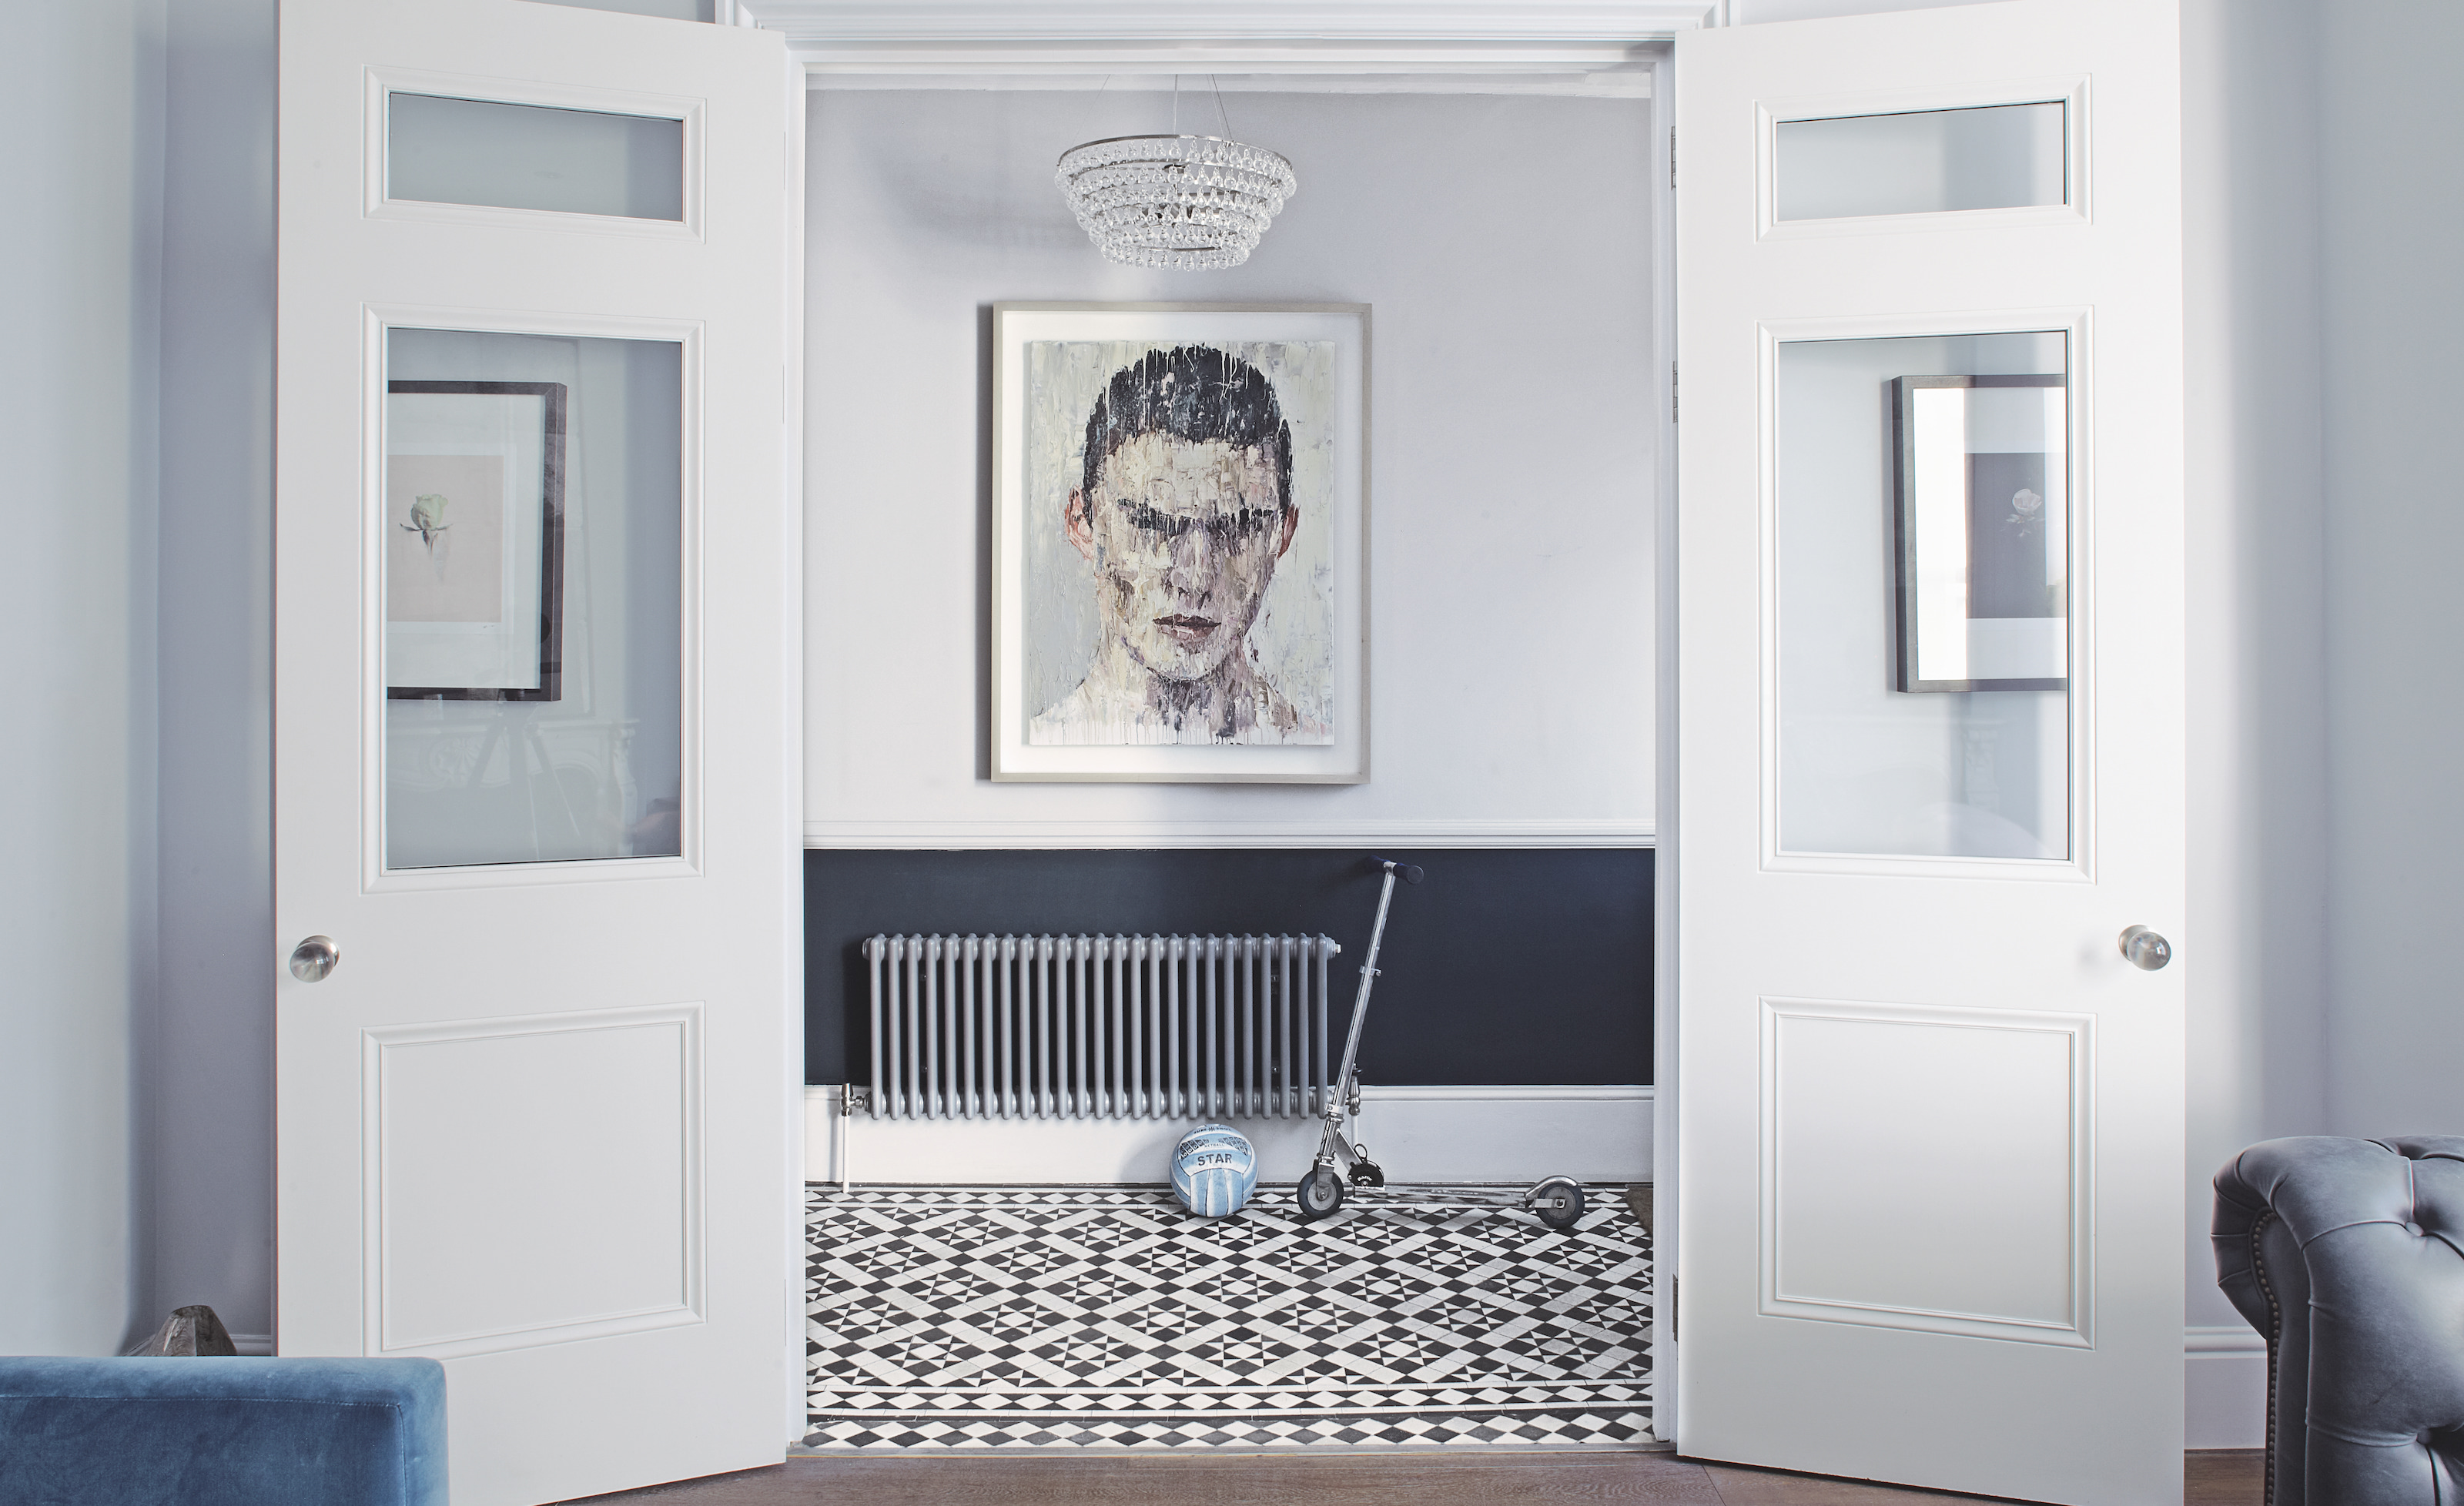
6 expert tips for buying tiles online - designers on how to avoid expensive mistakes
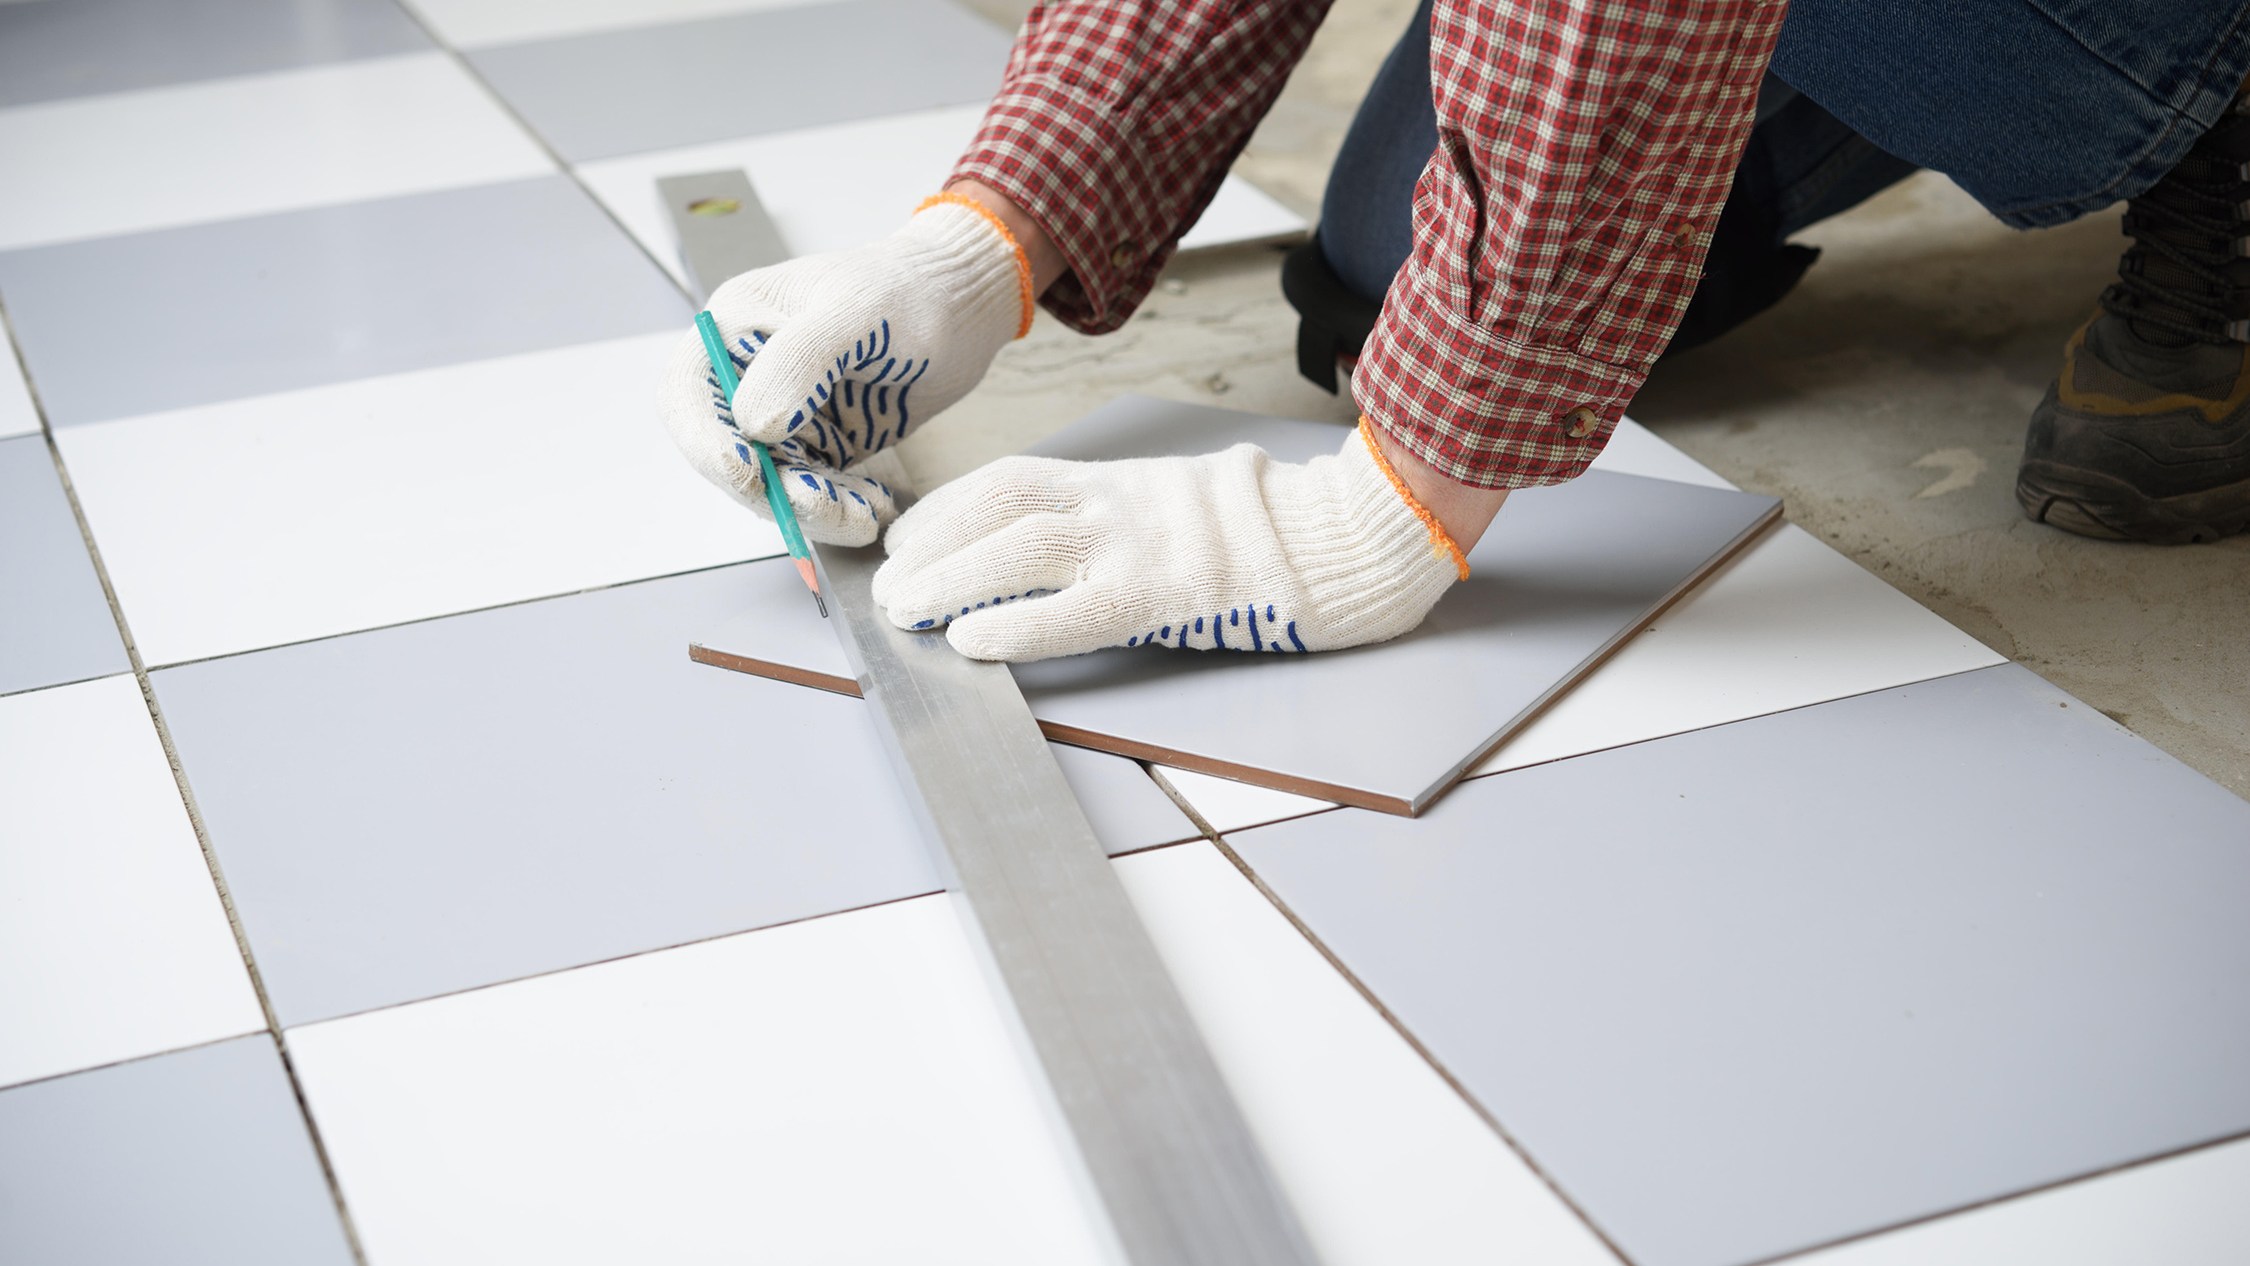
From preparation to cutting, here's how to lay floor tiles
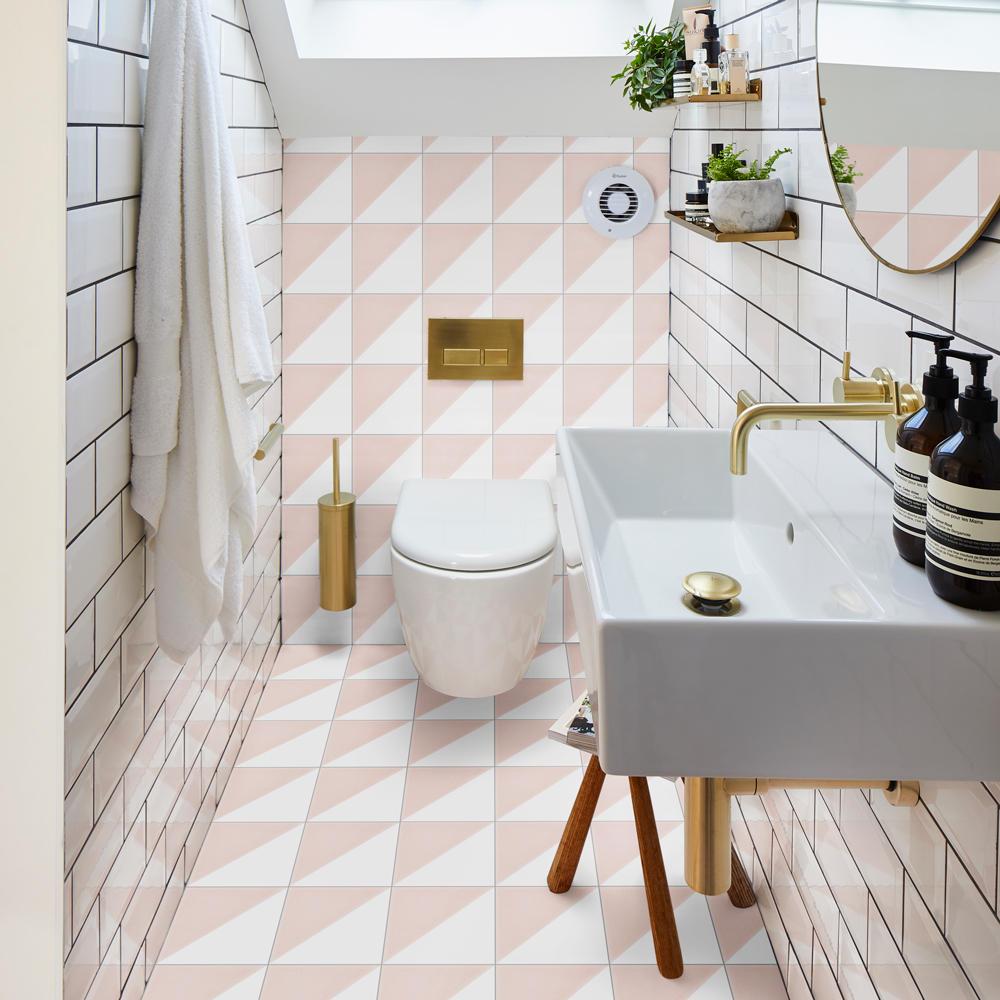
10 common tiling mistakes that can be costly – and how to avoid them
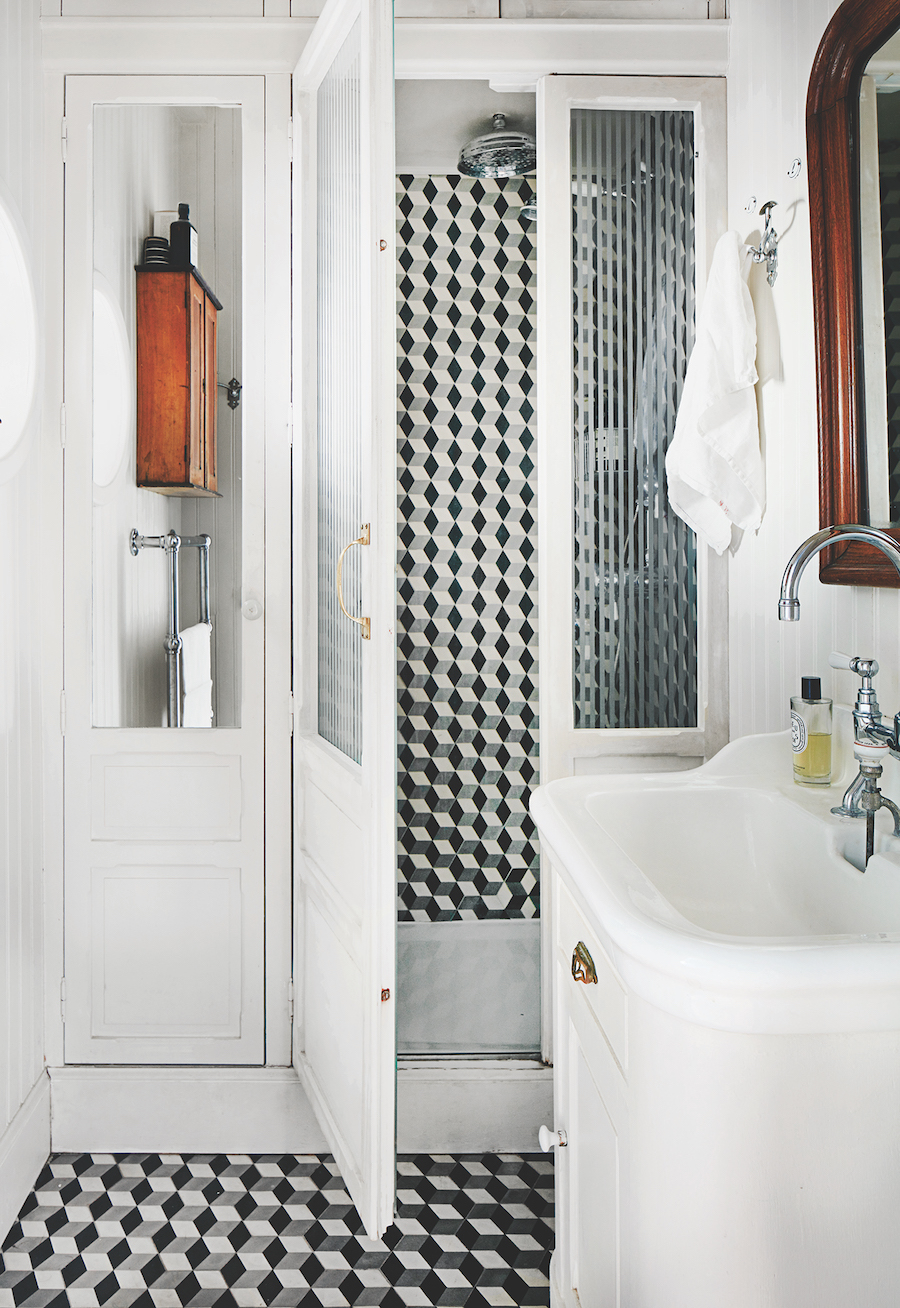
How to Tile a Bathroom Floor Yourself
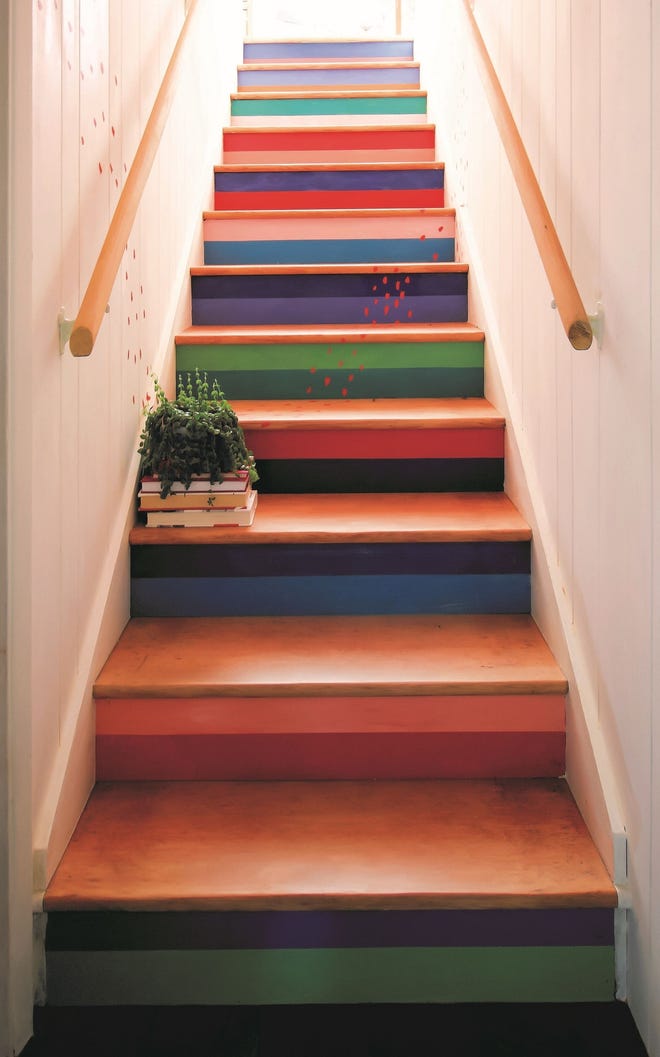
Stairs well done
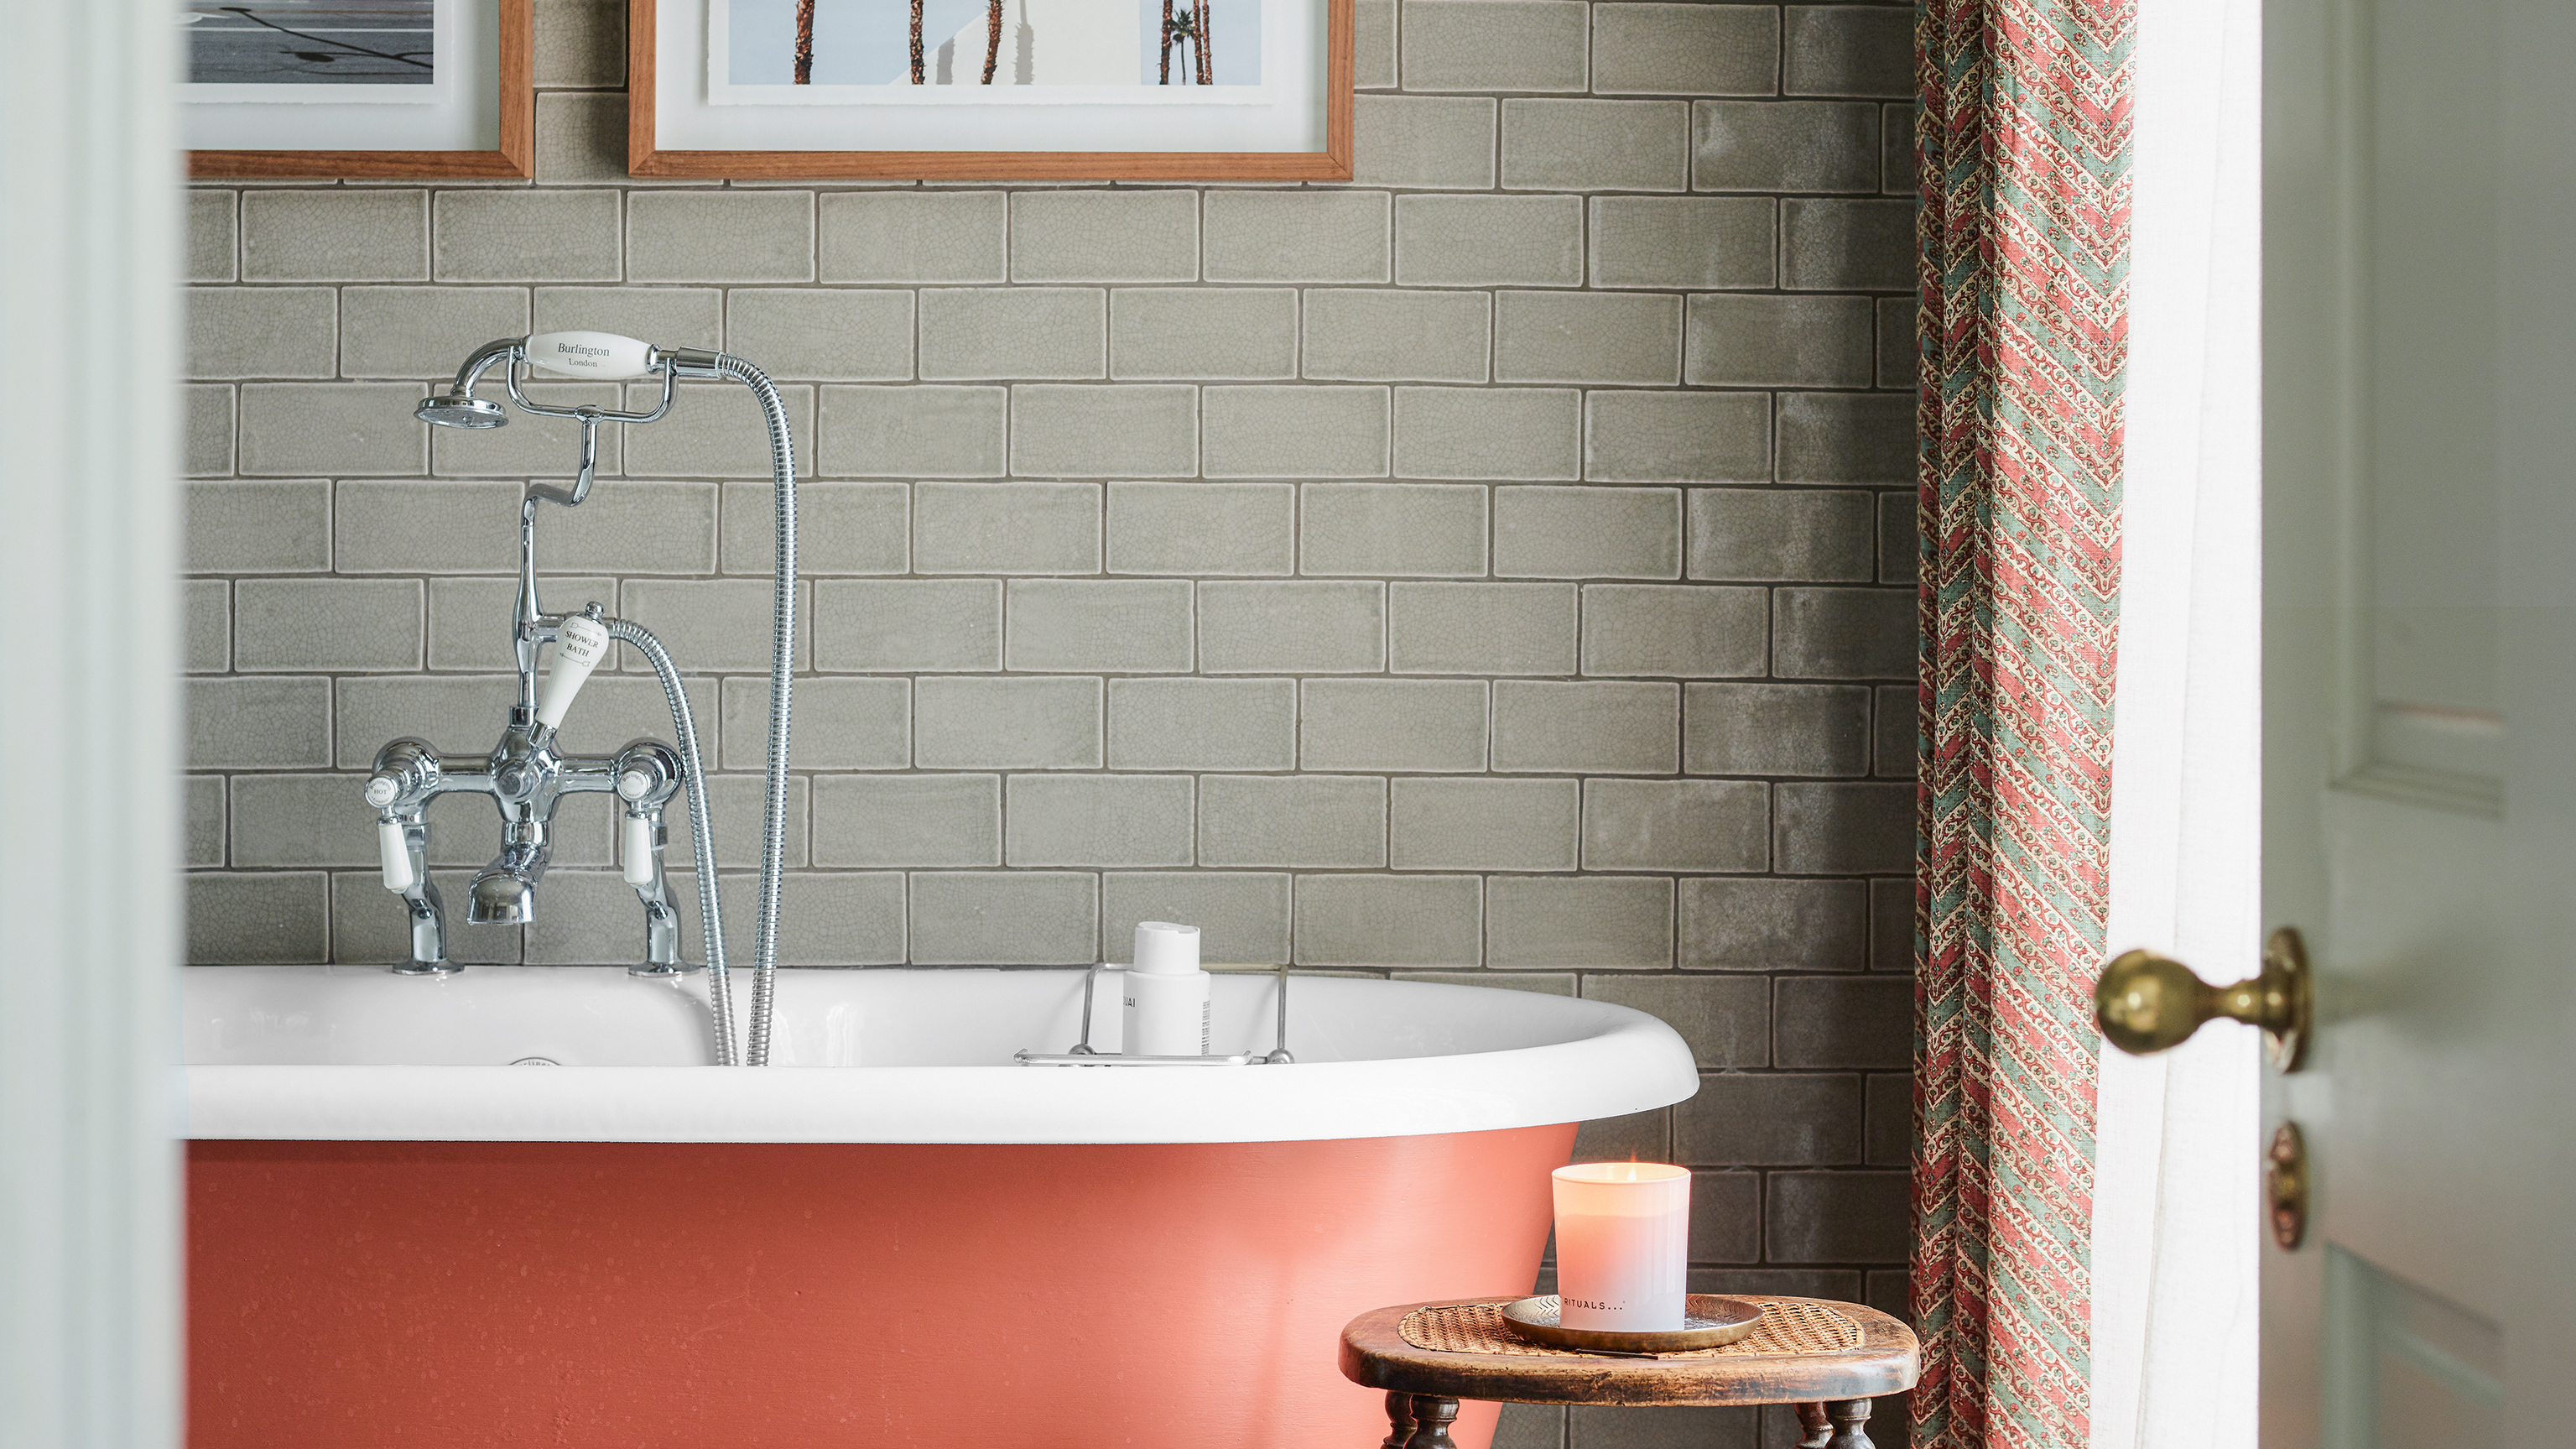
How to tile a bathroom wall – 10 steps to give your space a DIY refresh
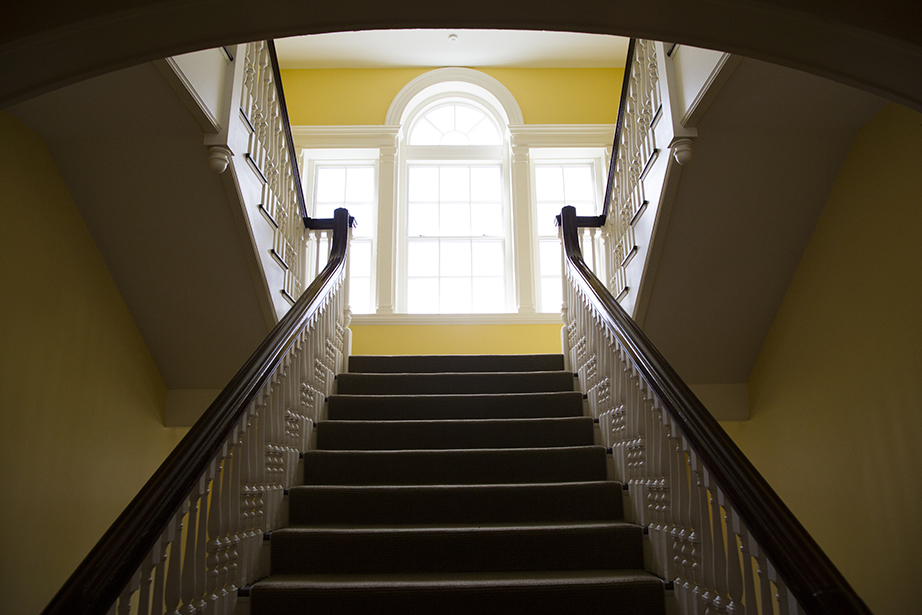
Taking the stairs

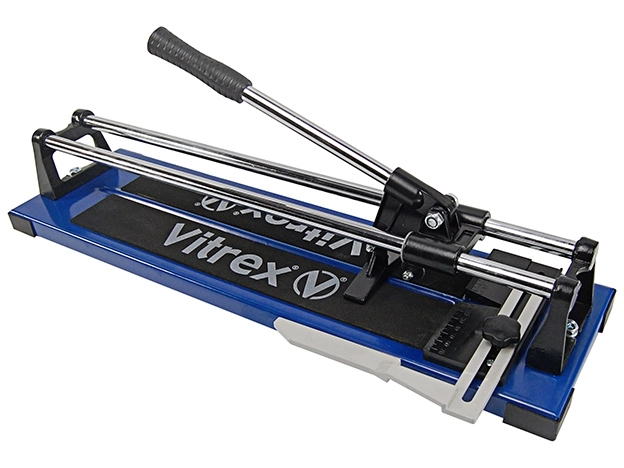
Tile Tools & Accessories
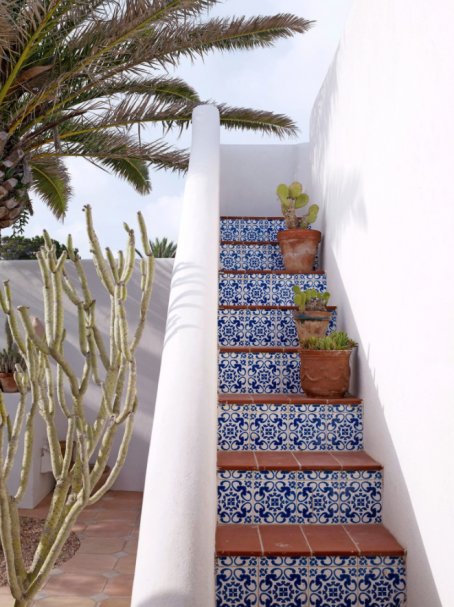
5 new ways to use tiles as decor rather than flooring

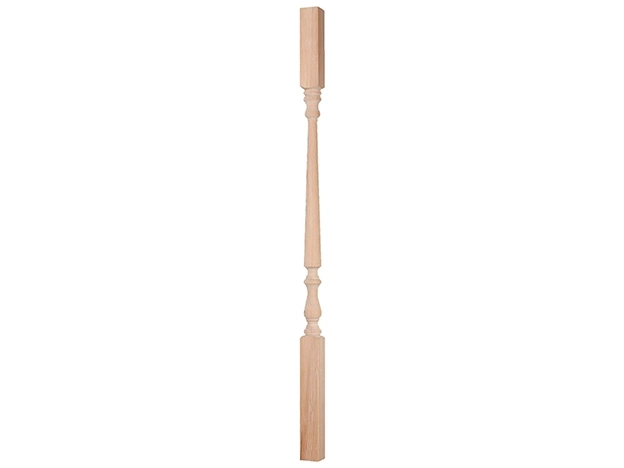
Staircase Parts
Stair panelling ideas – 12 ways to step up your staircase decorating game
Tile Style