1/8
A Staple Gun Is Your BFF If You Want to Re-create This Upholstered Bunk Bed
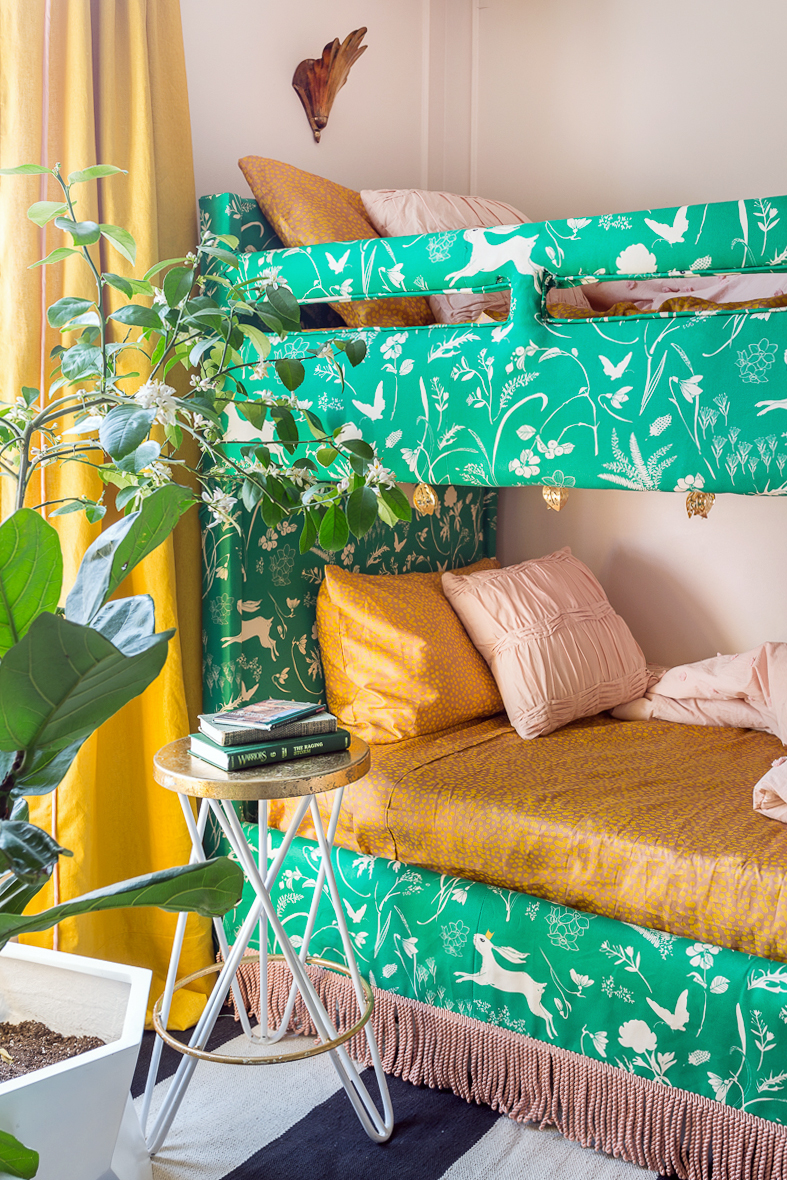
When designer Jewel Marlowe and her family of five moved from Rhode Island to Virginia in 2019, her two young daughters, aged 10 and 7, expressed dissatisfaction with their previous shared bedroom. This prompted Marlowe to seize the opportunity to design a new space that truly resonated with them. The girls were actively involved in the design process, beginning with the revamp of their bunk bed. The overall design inspiration for the room was a preppy interpretation of a French apartment, incorporating elements of Art Deco and 1950s glamour. Marlowe decided to upholster the simple white wood bunk bed to enhance its visual appeal and align with the room's aesthetic.
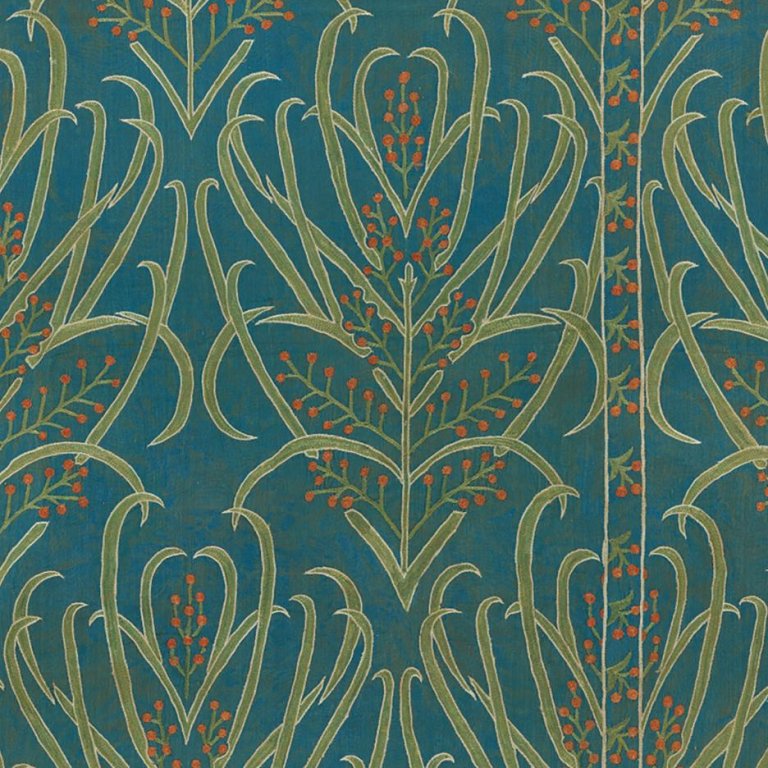
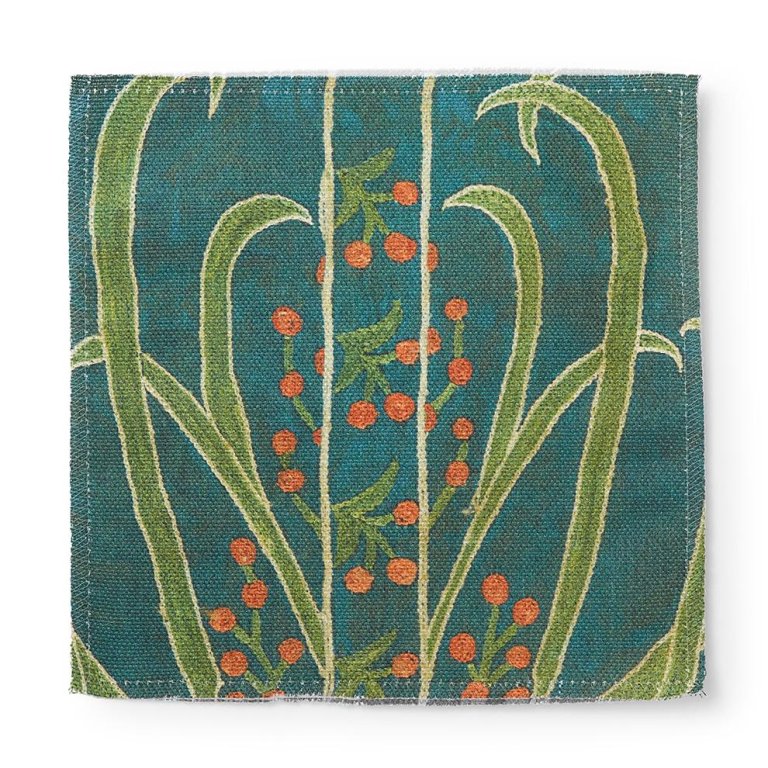
For the upholstery fabric, Marlowe presented her daughters with an edited selection of two dozen textile options from Spoonflower, treating them as clients in the decision-making process. The chosen fabric was the "Enchanted Bunny Prince" by designer Esther Fallon Lau, a pattern that was customized by enlarging its scale. Marlowe acquired 11 yards of this fabric to commence the DIY project. She then detailed the steps involved in upholstering the bunk bed, emphasizing that advanced sewing skills are not a prerequisite.
The first step involved closing the gaps at the head and foot of the bunk bed to create more surface area for upholstery. Marlowe opted for an unconventional yet effective solution: leftover cardboard boxes, which she cut into rectangles and stapled into place. Next, to achieve a plush appearance, one layer of batting was wrapped around the head, footboard, and the upper bunk's rail. Marlowe noted that she initially covered all three boards but later made small slits between the top two for a more tailored finish that complemented the room's scale.
Due to the patterned fabric, which required the bunnies to sit upright, Marlowe had to create two seams on each upholstered section. She explained a technique involving stick-on adhesive tape between seams, ironed to fuse the pieces, and then reinforced with a sewing machine. Once the fabric pieces were sewn, they were draped over the railings and stapled at the bottom, top, and sides, with adjustments made using a staple remover if necessary. The fabric was folded under the bottom side of the top bunk and secured. This stage also offered the opportunity to cut slips directly into the corners of the rail boards for a pristine result.
For those opting to add a coordinating bed skirt, the same upholstery directions apply. Marlowe suggested wrapping two layers of batting around the base section and aligning the skirt to skim the floor before stapling it along the back. To achieve a professional finish, double-welt piping was used to conceal the staples. Marlowe created a special welt for the gaps around the top rail boards, leaving an inch of empty space between the cords. She highlighted the availability of YouTube tutorials for this technique and mentioned reinforcing loose parts with glue. The upholstered bunk bed has remained durable over three years, with only the piping near the ladder requiring occasional restapling. Despite the DIY being a permanent fixture that would be left behind if the family moved again, Marlowe concluded that the risk was worthwhile, as everyone was ultimately happy with the personalized space.
#DIYProject #BunkBedUpholstery #KidsRoomDesign #HomeRenovation #InteriorDesign #TextileSelection #StapleGunCrafts #PatternedFabric #CreativeSolutions #DIYProject #BunkBedUpholstery #KidsRoomDesign #HomeRenovation #InteriorDesign #TextileSelection #StapleGunCrafts #PatternedFabric #CreativeSolutions
0 comment in total
 No comments yet
You may also like
Kmart mum’s upholstered bedhead hack cost $14

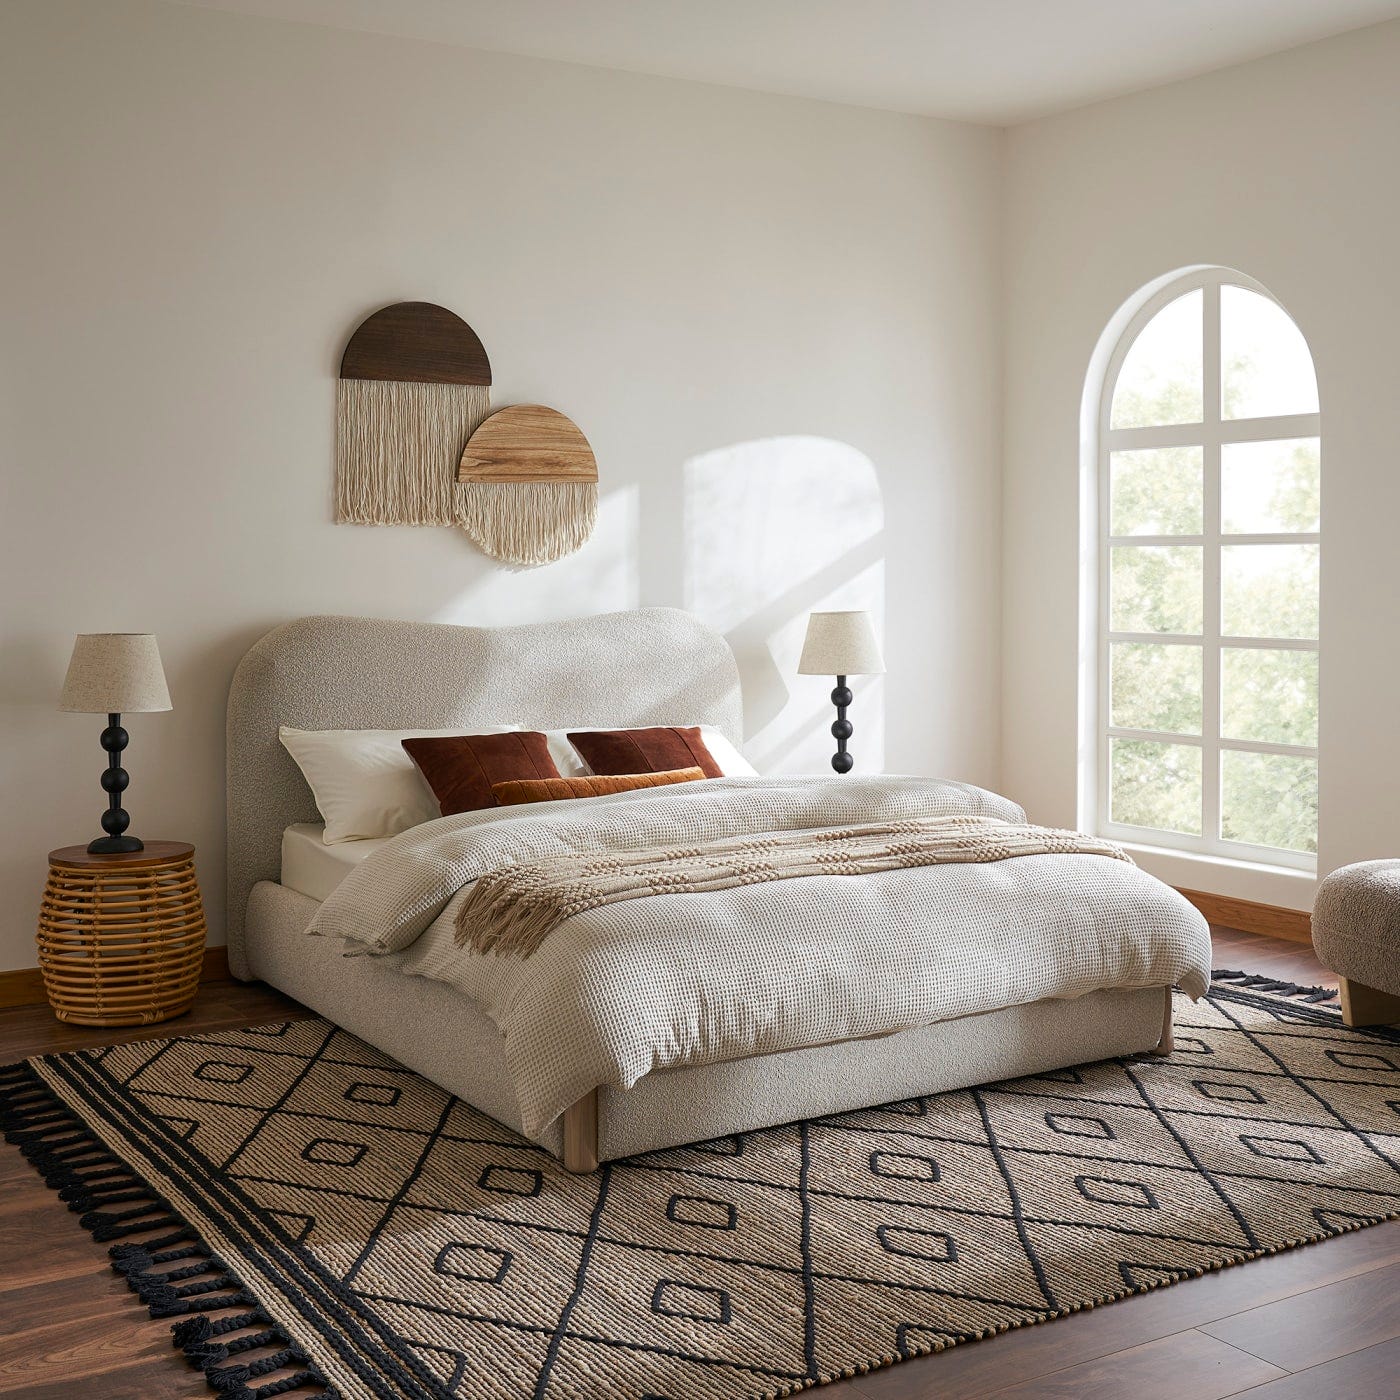
These Bouclé Bed Frames Are Nancy Meyers-Approved

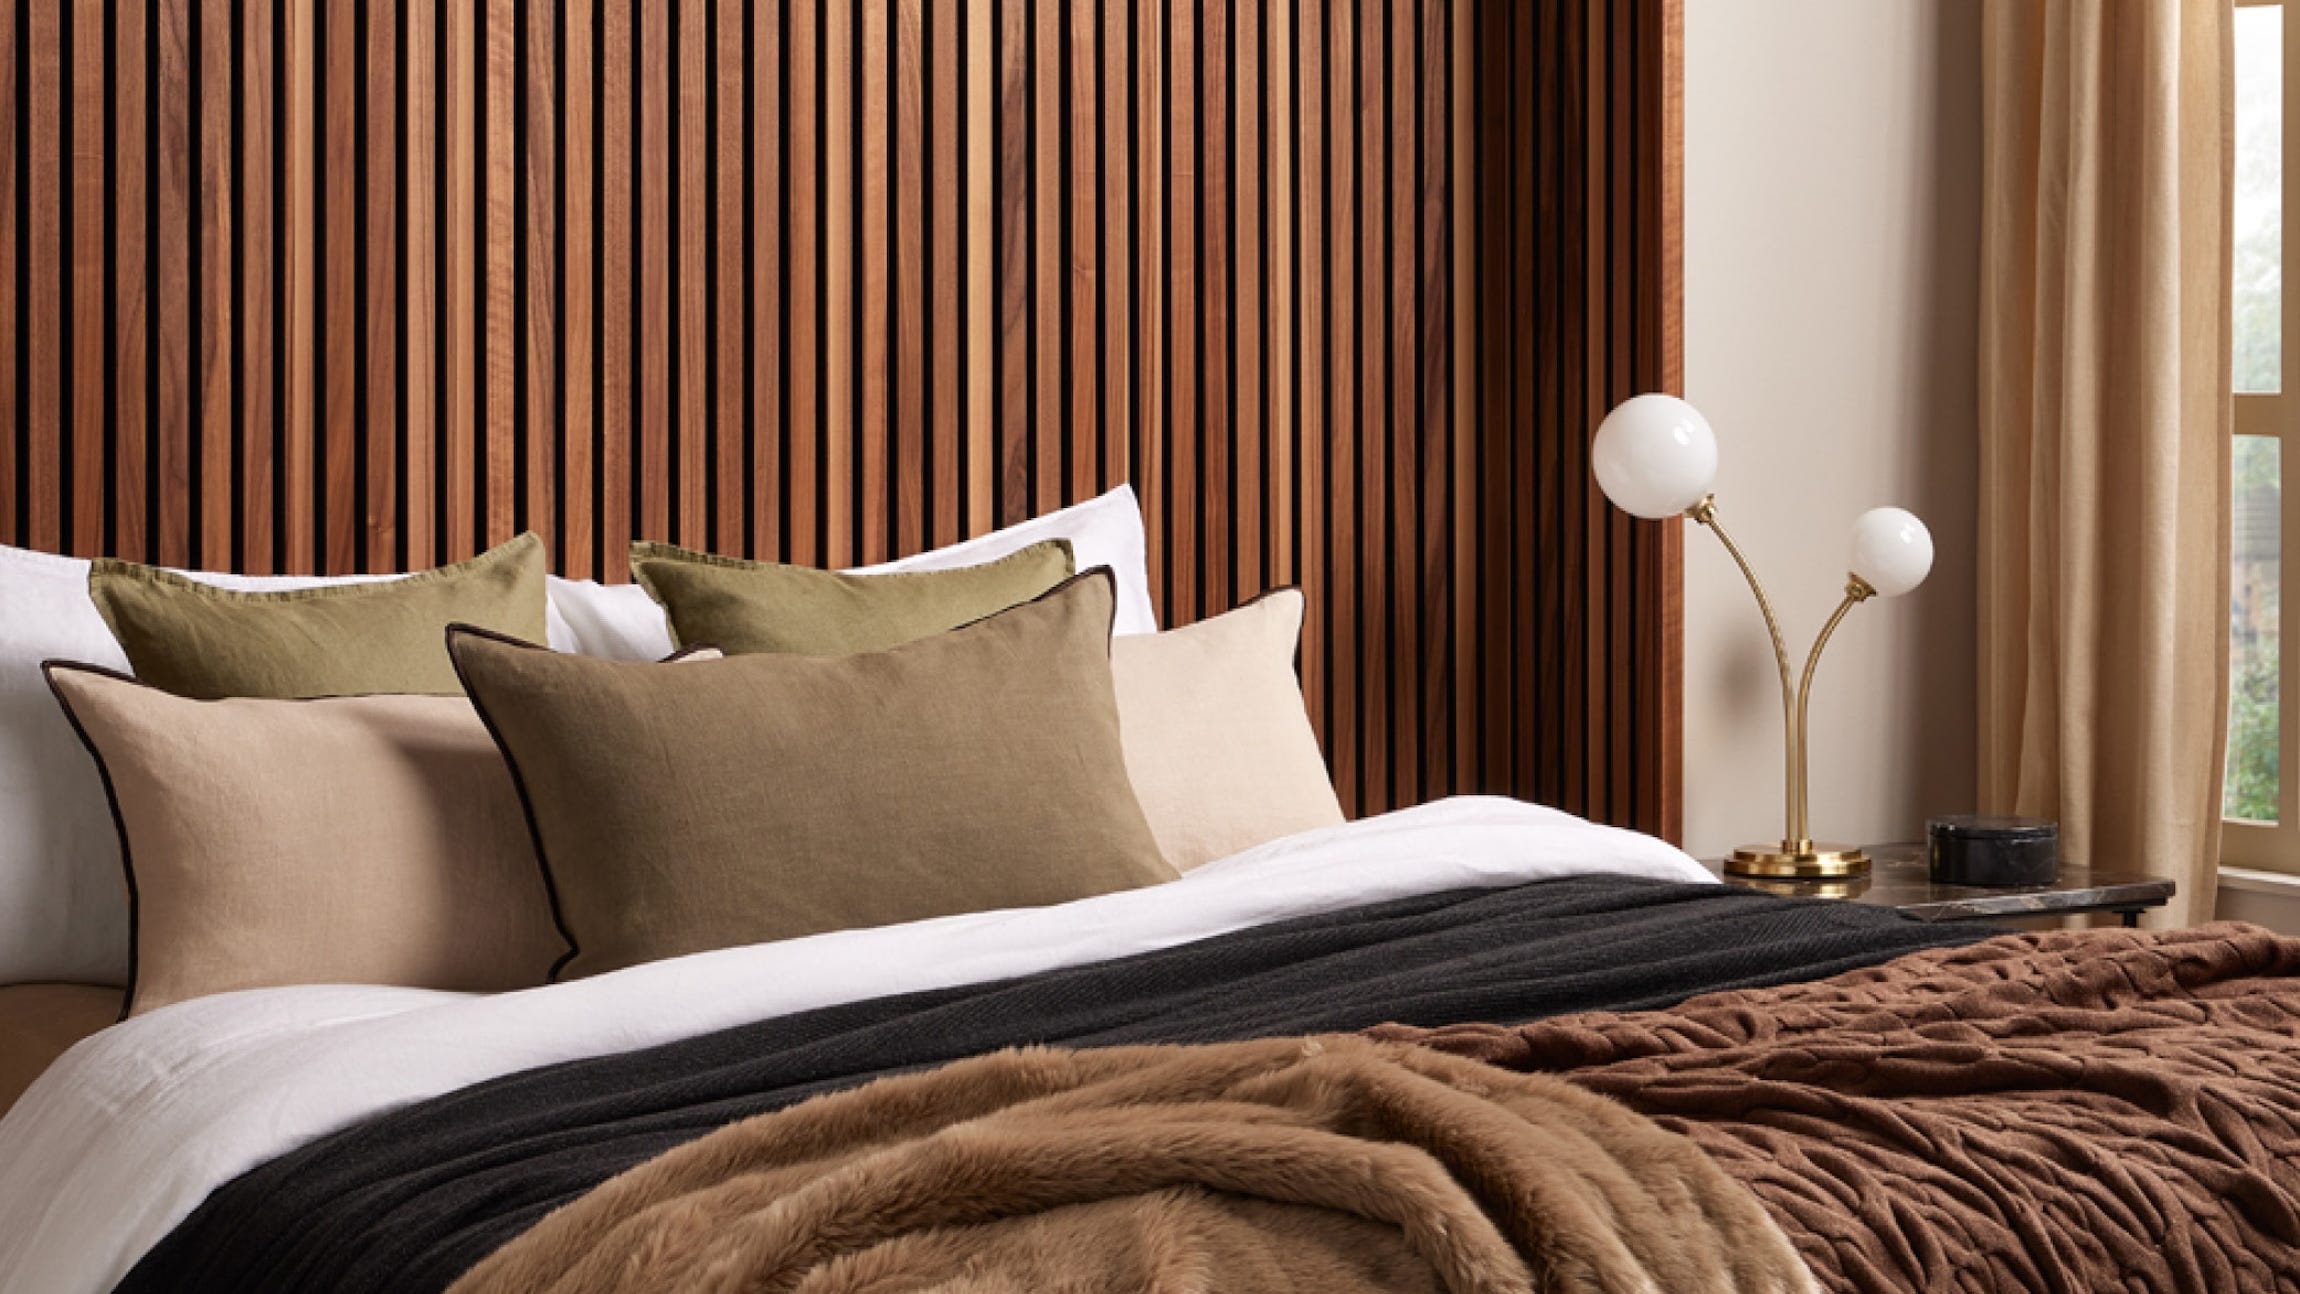
This Clever Headboard Hack Makes Your Bedroom Look Instantly Expensive

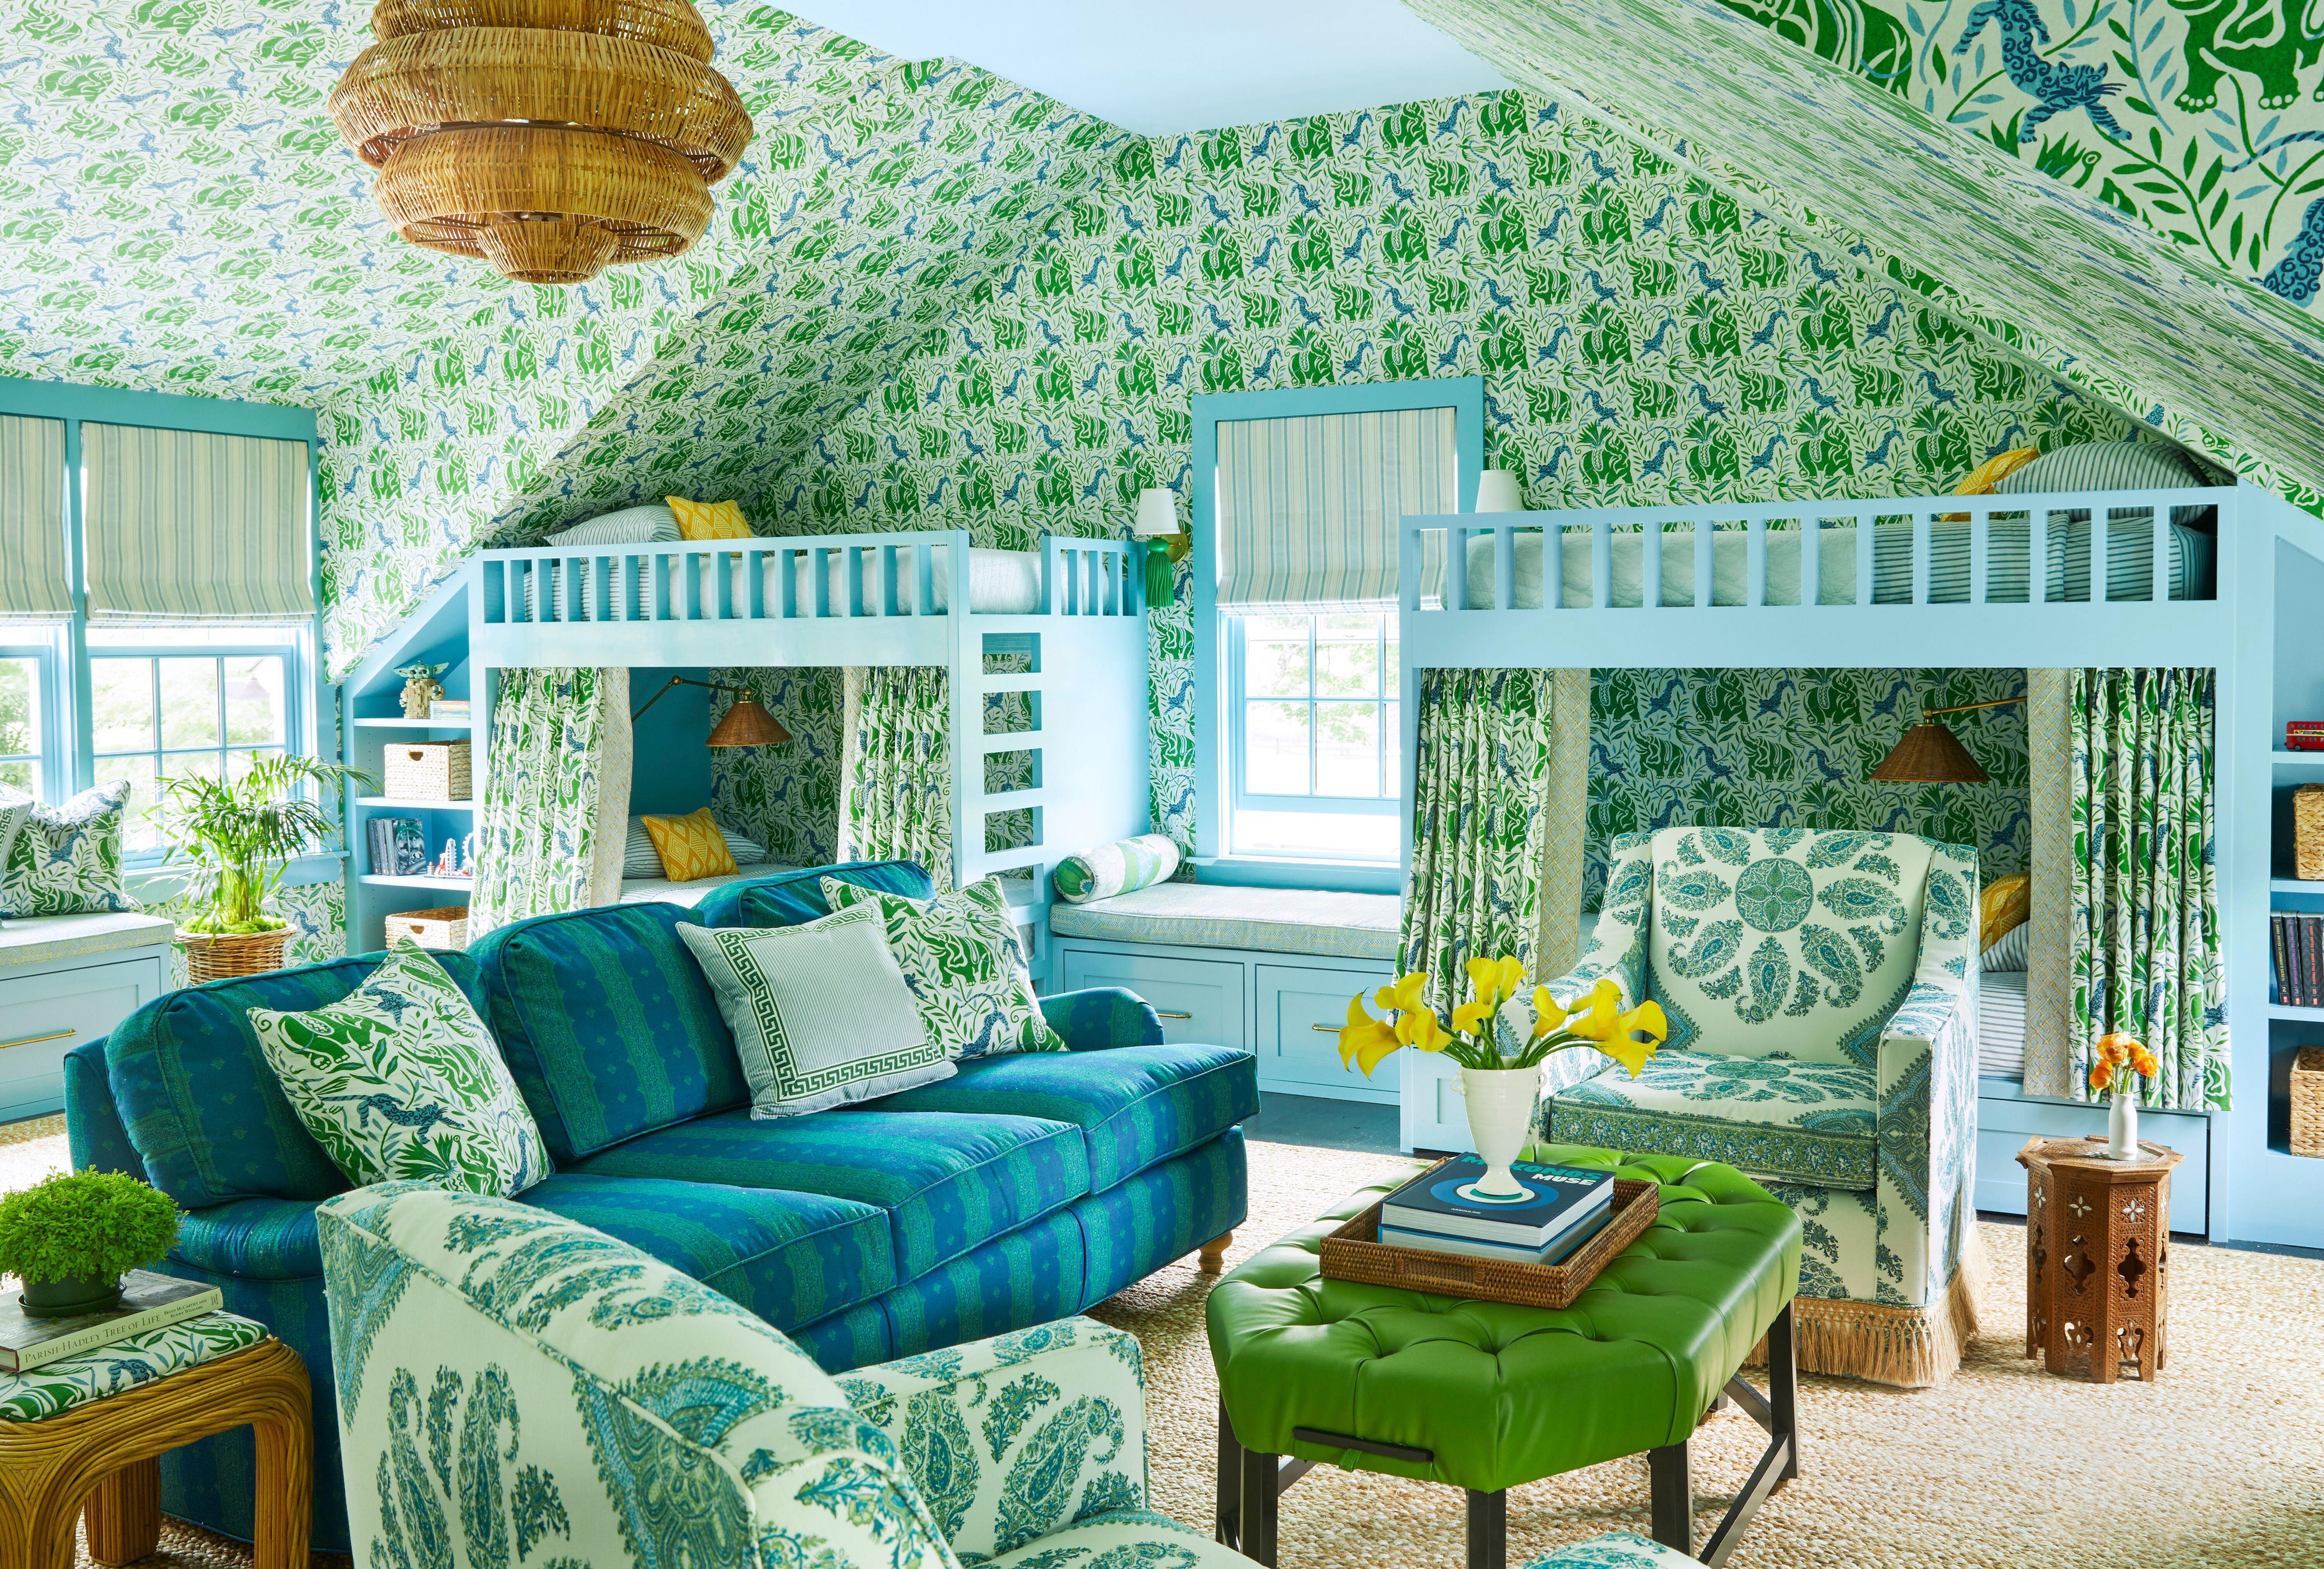
Bunk Rooms Are the Ultimate Bedroom Upgrade—Here's How to Design One in Your Home

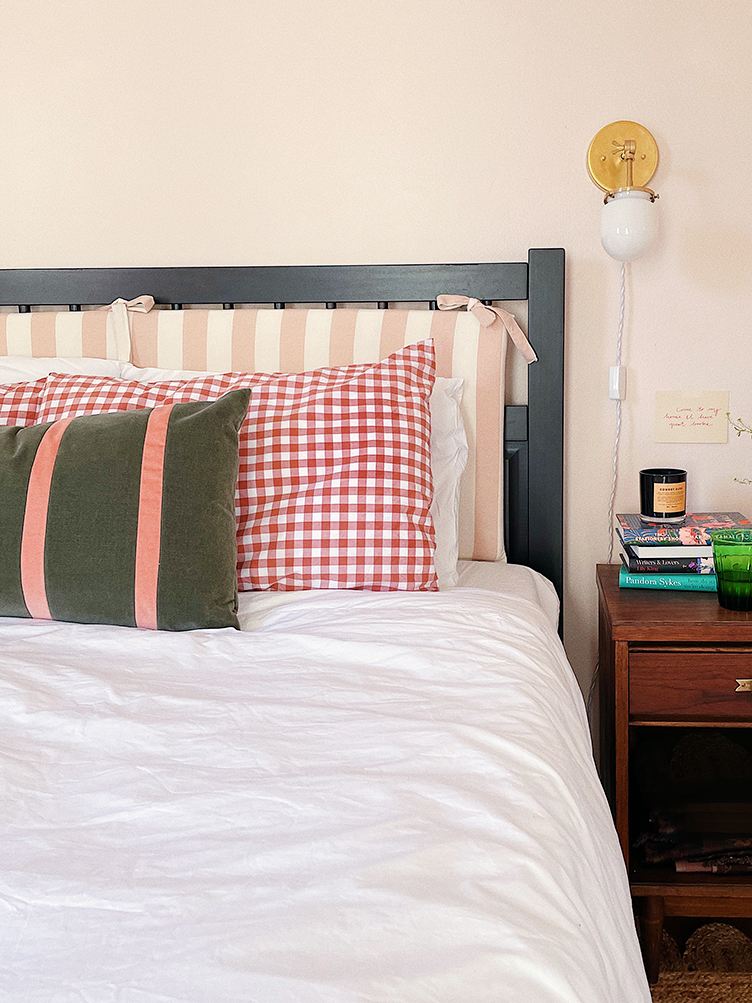
Adultify Your College-Era IKEA Bed Frame With This Headboard Hack

Bed Stuy Brownstone Gets "Wabi-Sabi" With Reclaimed Wood
Apparently Fence Boards Can Be Turned Into a No-Sew Headboard

I Love This $35 IKEA Headboard Hack That Transforms a Basic Bed Frame
Genius Idea: Match Your Bed Frame to Your Wallpaper
DIY Upholstery Is Easier Than You Think

How to Decorate for Your Bed Style
Is This the Year of the Bunk Bed? Some Designers Think So. (Published 2023)
These Bouclé Bed Frames Are Nancy Meyers-Approved
These 9 Bouclé Bed Frames Will Take Your Room to New Levels
This Old-School Bed Is Having a Major Revival
These Chic Upholstered Bed Frames Will Give Your Bedroom That Luxe Hotel Vibe
How to make your bed a decorative feature in its own right
In This Bedroom Makeover, the DIY Headboard Doubles as an Art Installation
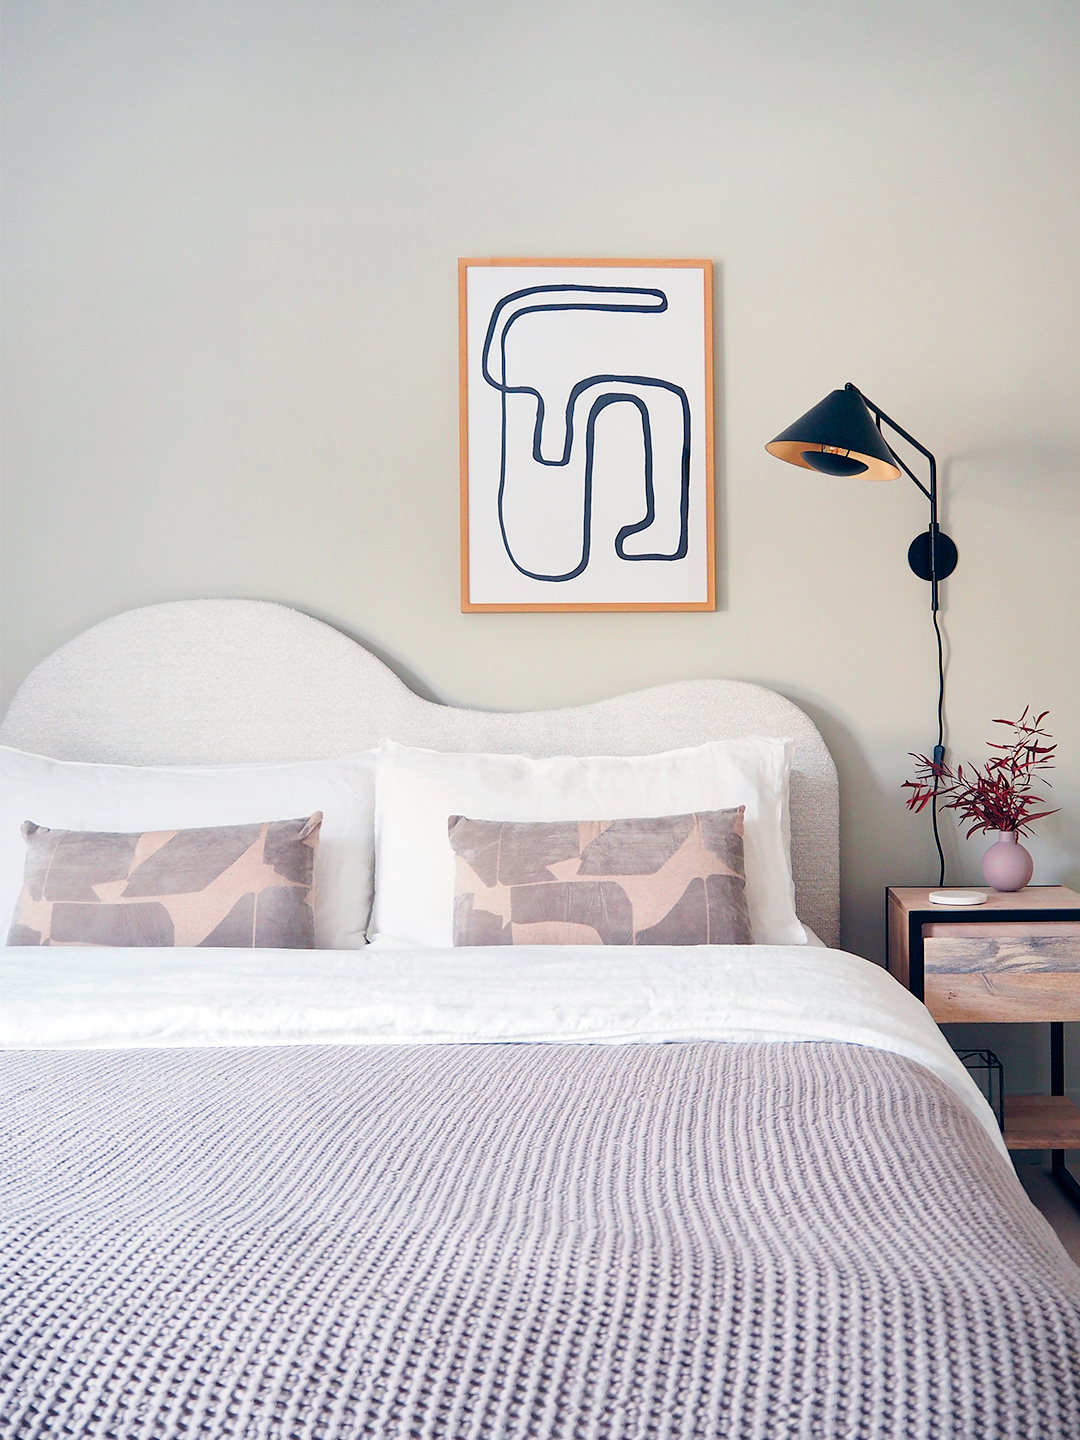
Get In on the Wavy Headboard Trend With This $275 DIY
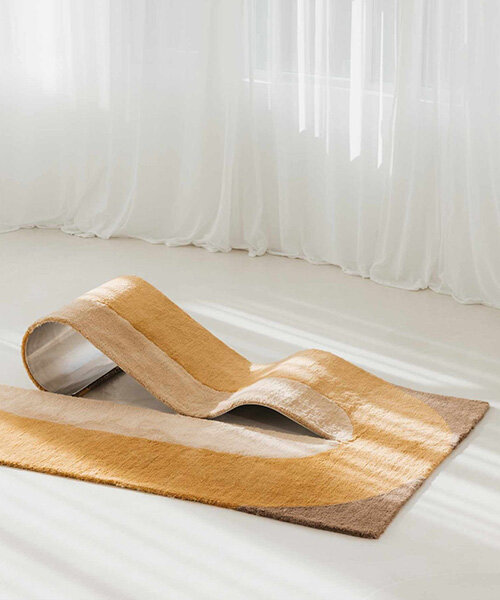
sculptural daybed emerges from gun-tufted wool rug by BUDDE and nando studio