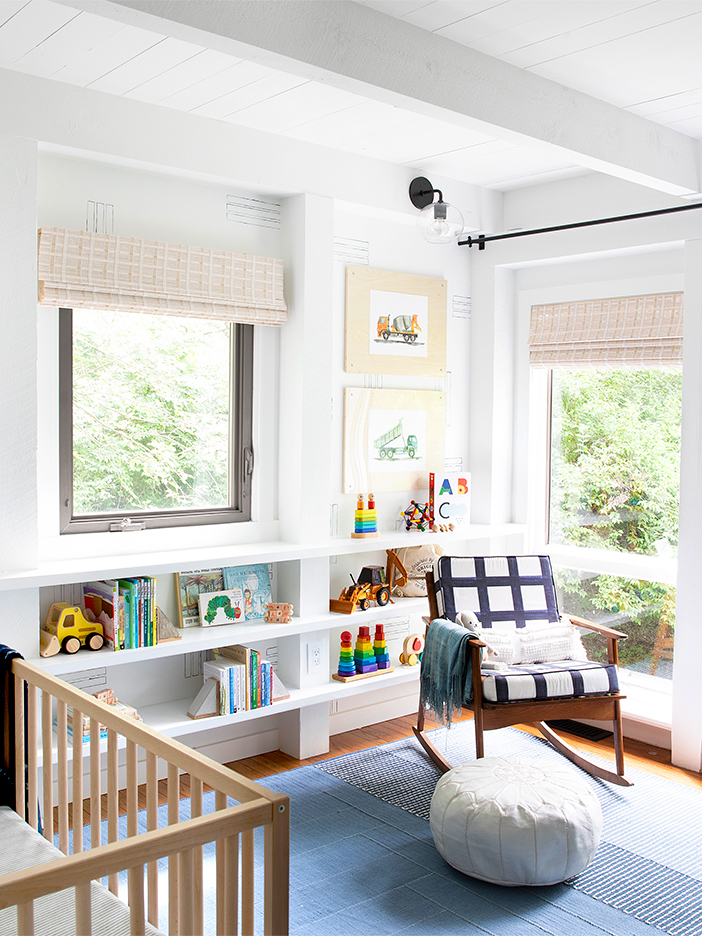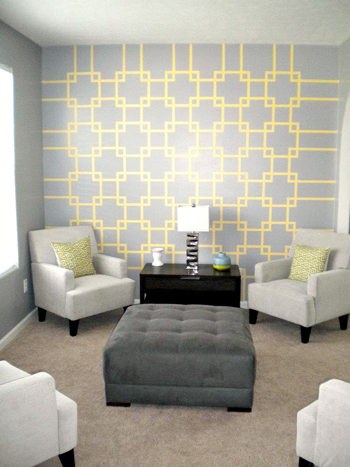
Ditch the Wallpaper and Paint Your Pattern, Instead—How to Complete This Easy DIY
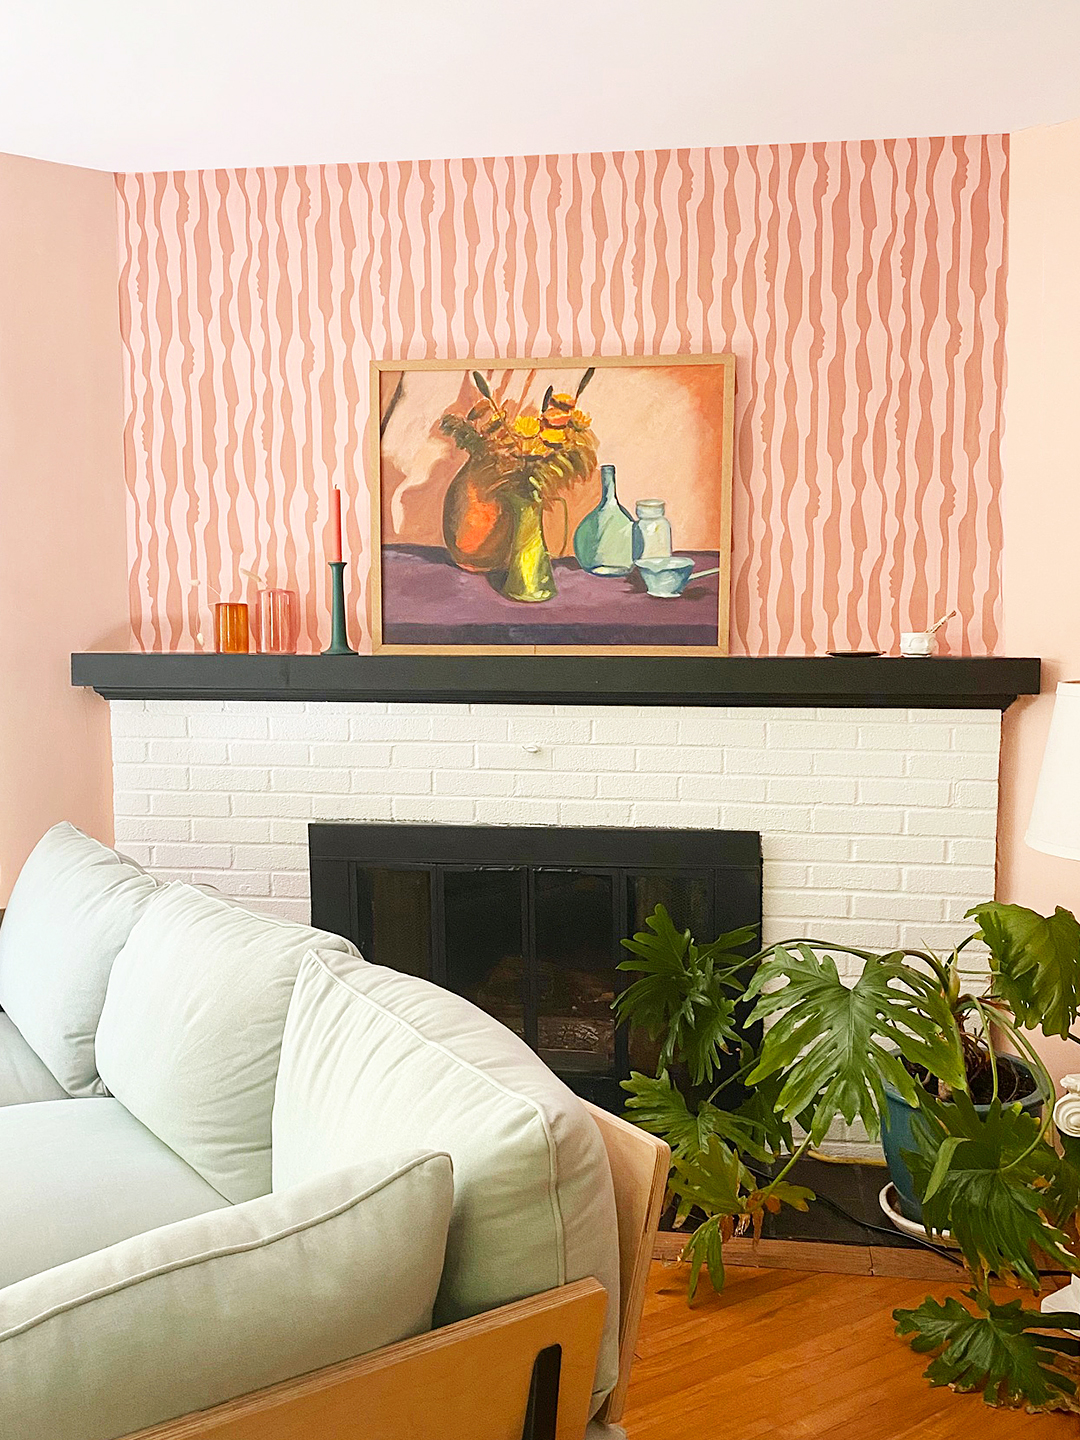
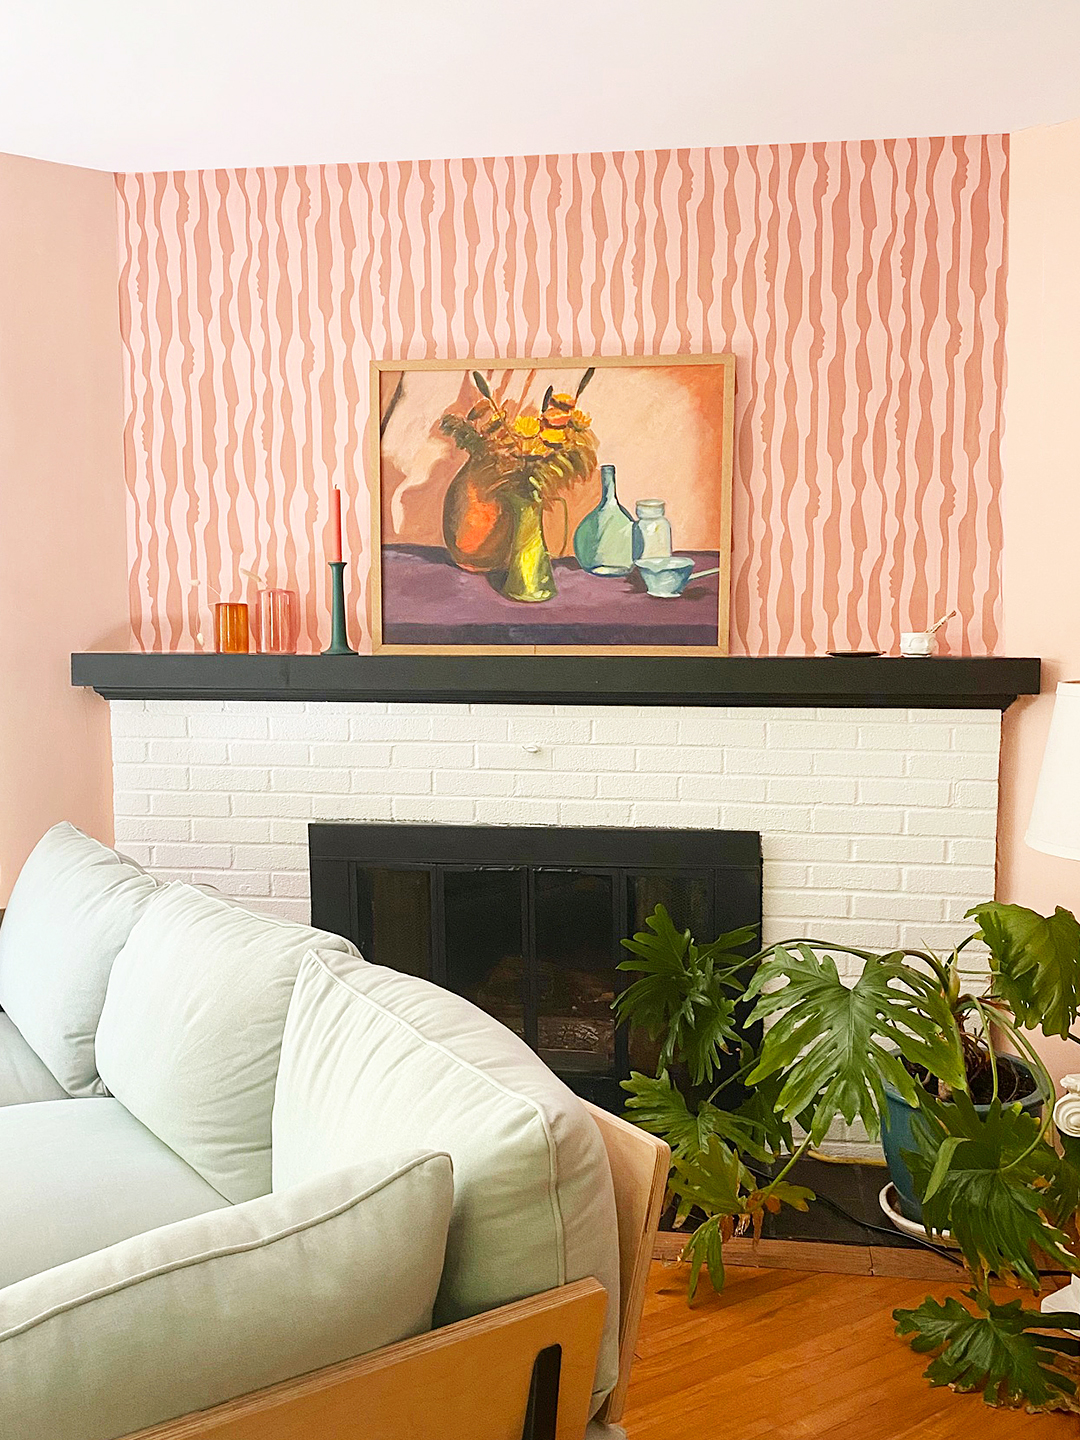
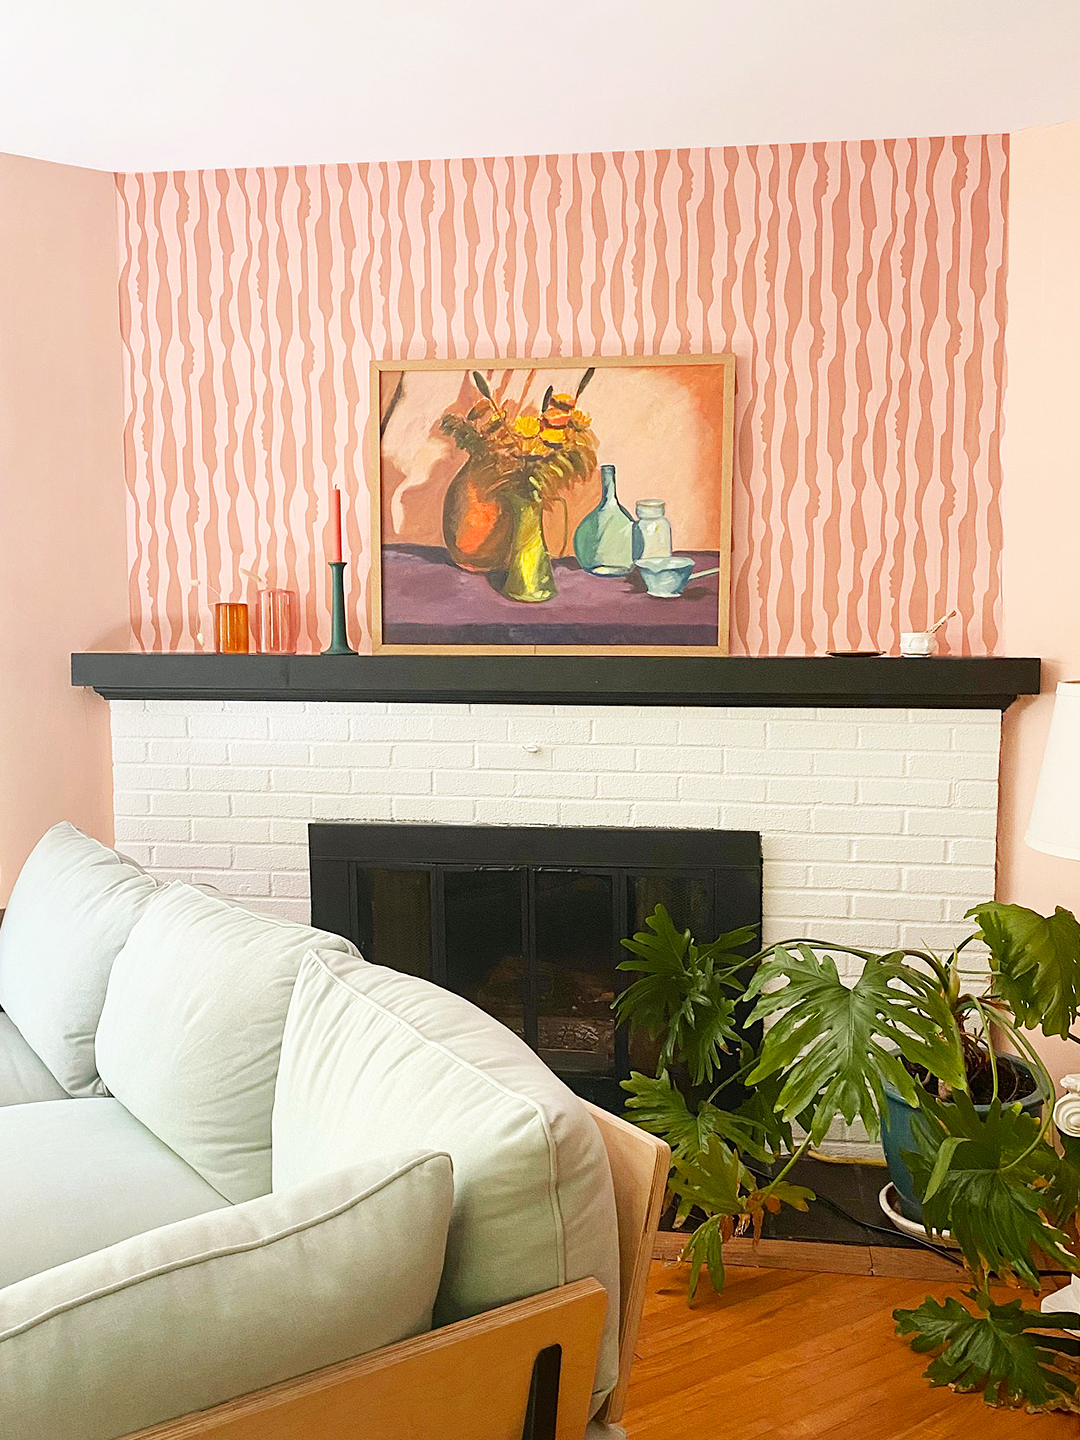
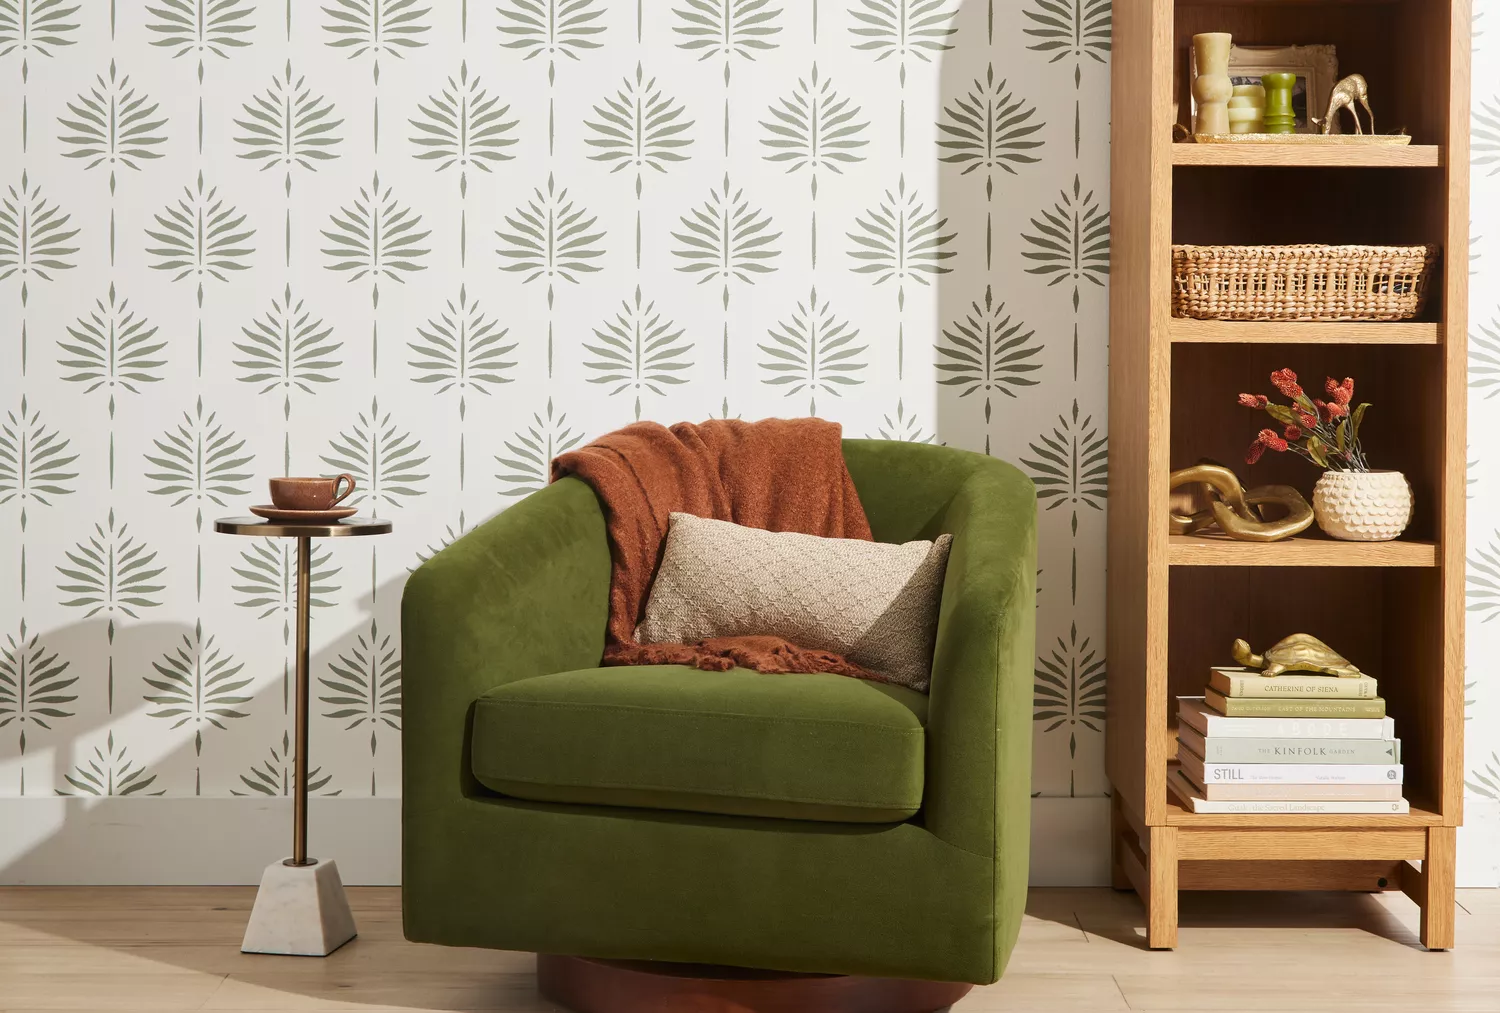
This article details a step-by-step guide on how to stencil a wall to achieve a wallpaper-like appearance, offering a cost-effective and less permanent alternative to traditional wallpaper. The project involves using paint, a stencil, and some basic tools to transform a wall, saving both money and the effort associated with wallpaper removal during future renovations. Kathleen Martin, a DIY content creator, provides insights and tips from her own experience with this project.
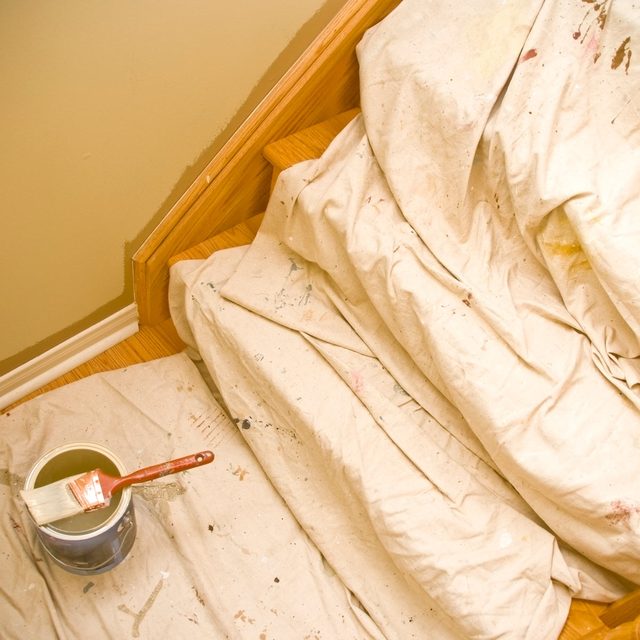
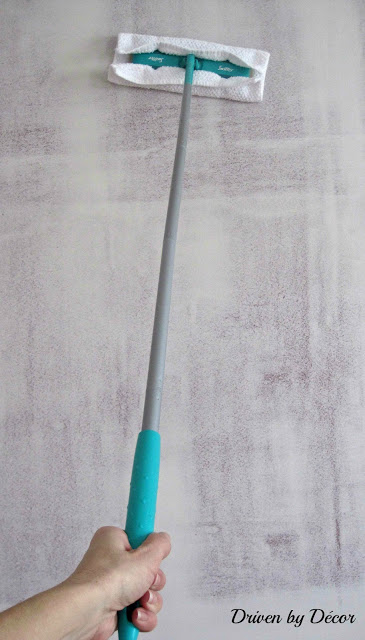
Before beginning the stenciling process, several preparatory steps are necessary. The wall must be cleaned thoroughly, and painter's tape applied where needed to protect adjacent surfaces. A drop cloth should be laid down to cover the floor and any nearby furniture or fixtures. If a new base color for the wall is desired, it should be applied several days in advance to allow for proper drying. The essential equipment and materials for this project include a stencil, a foam roller, a stippling brush, a small paintbrush, a paint tray, cardboard, wet paper towels or wipes, a drop cloth, painter's tape, and mildew-resistant paint.
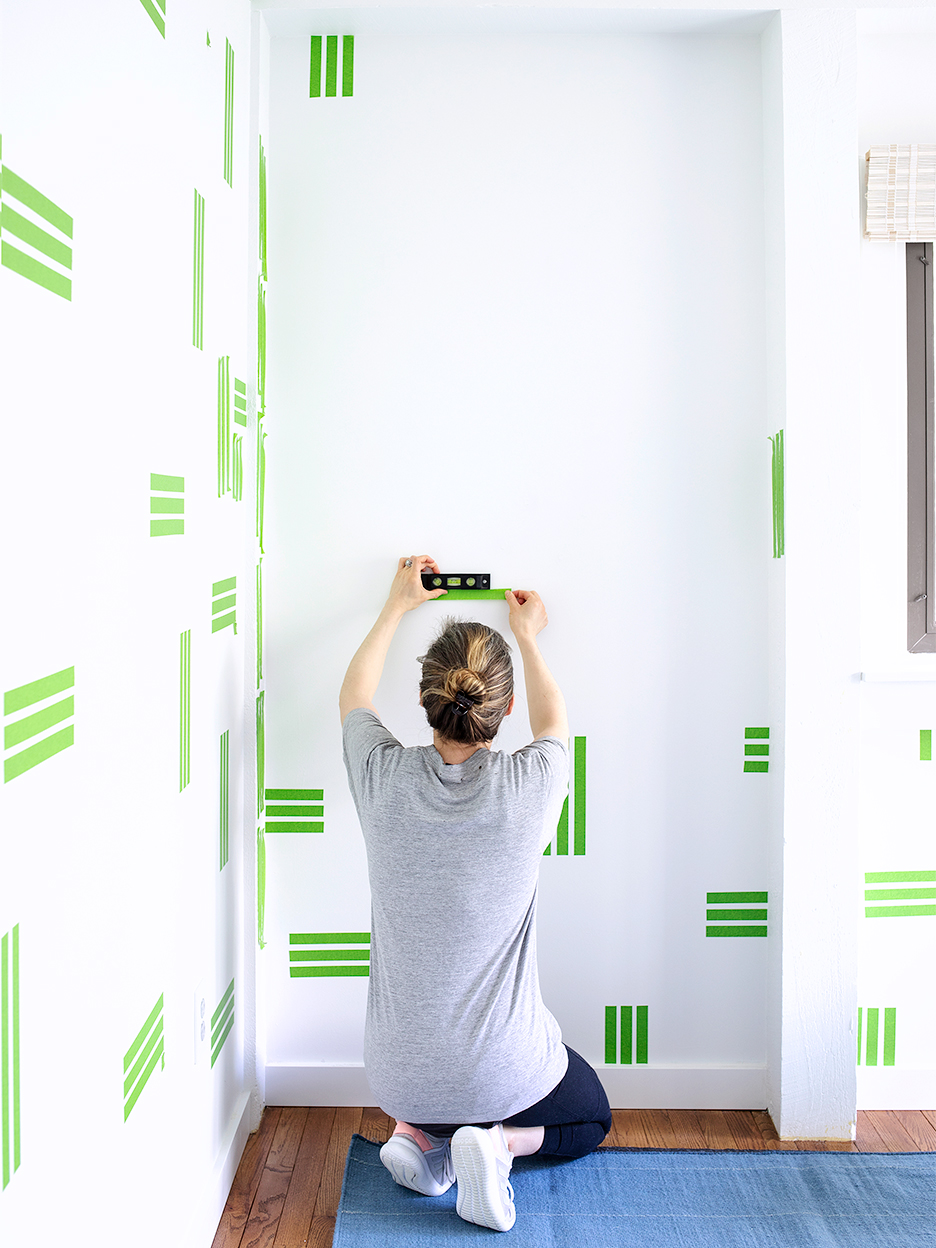
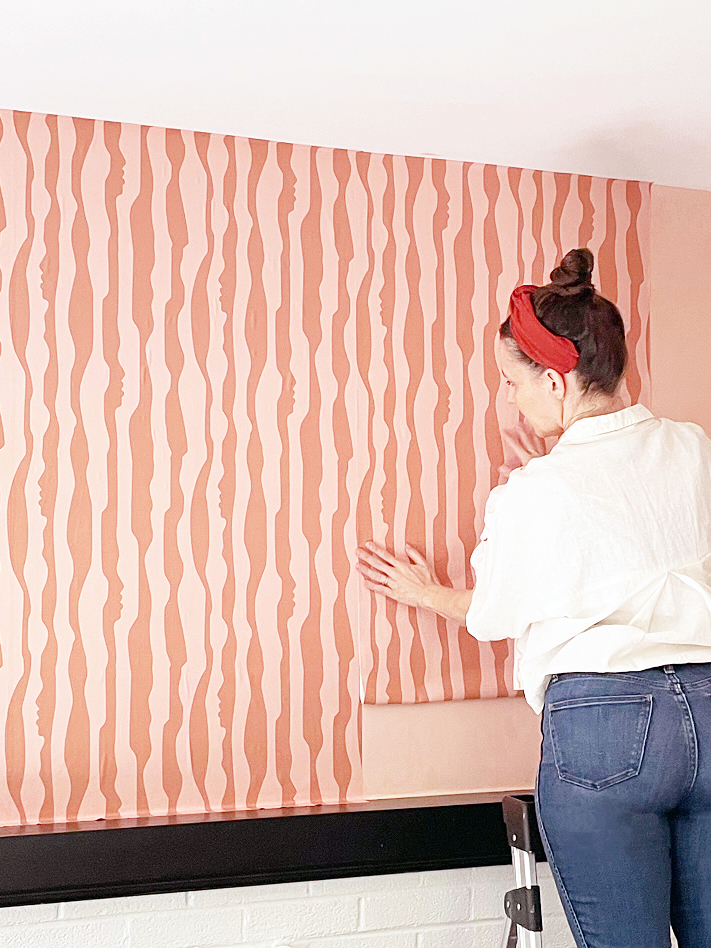
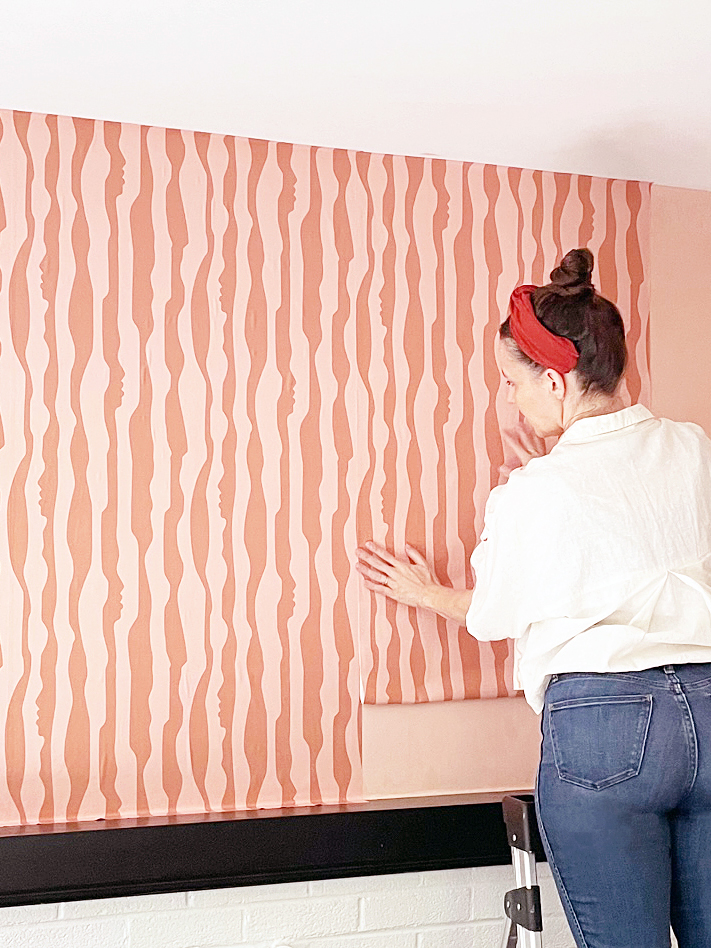
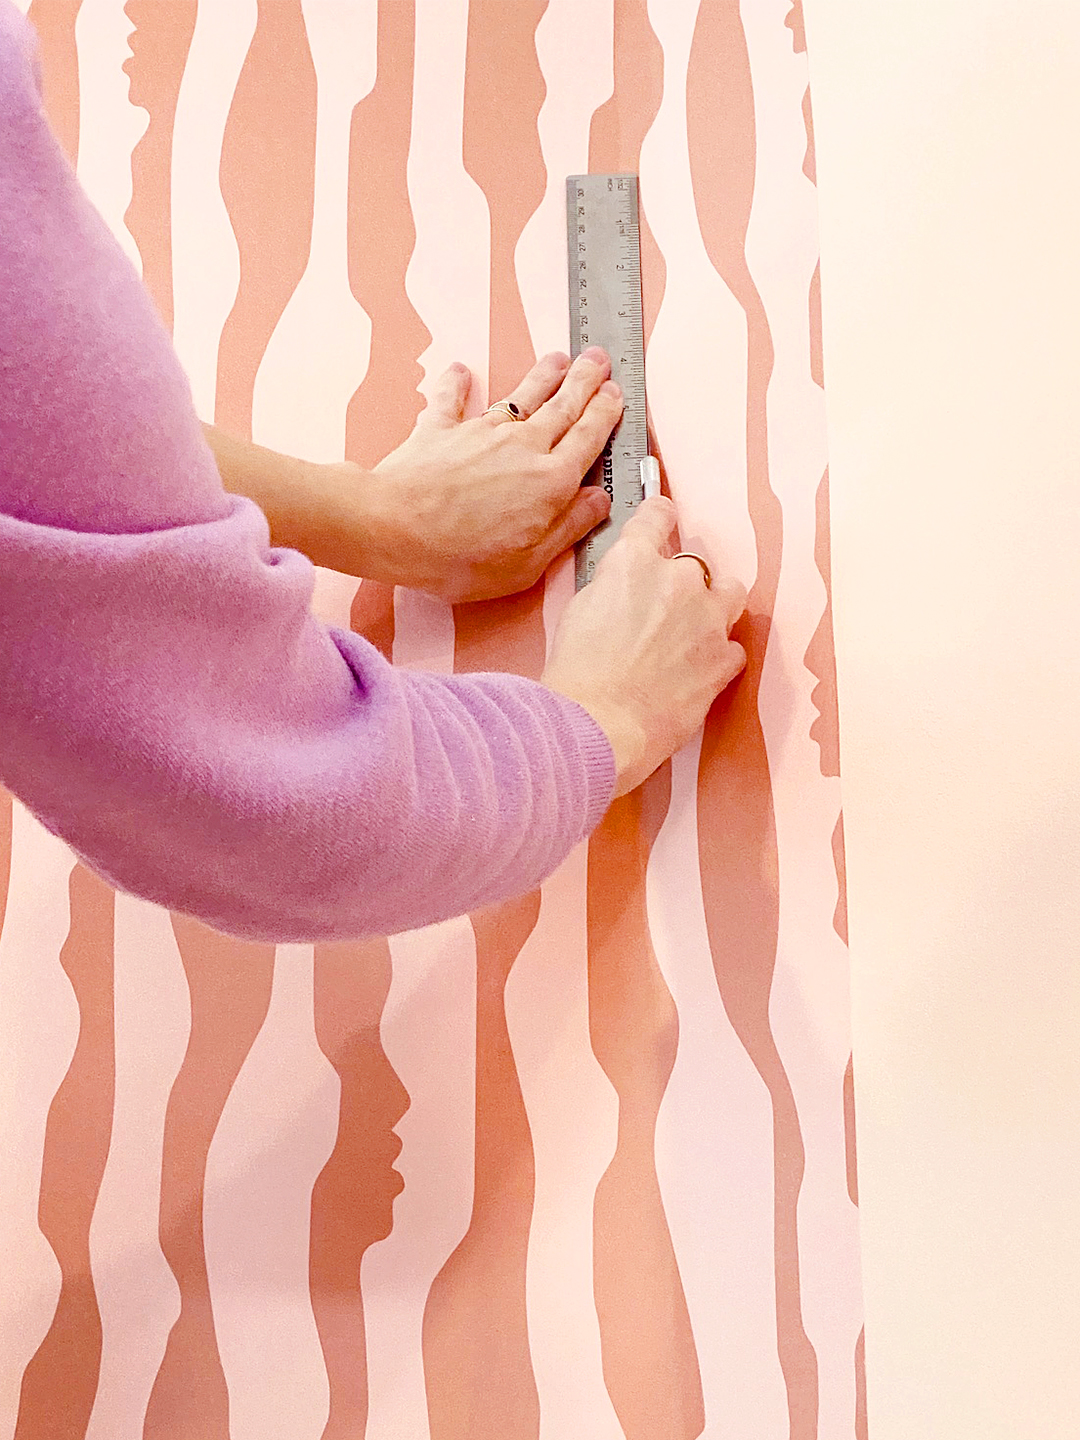
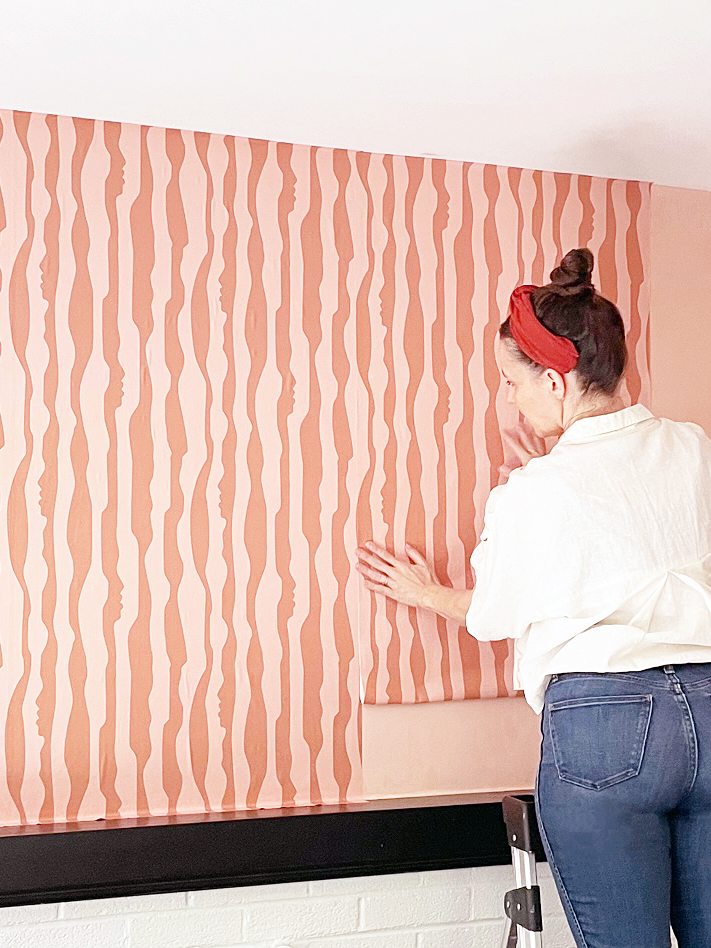
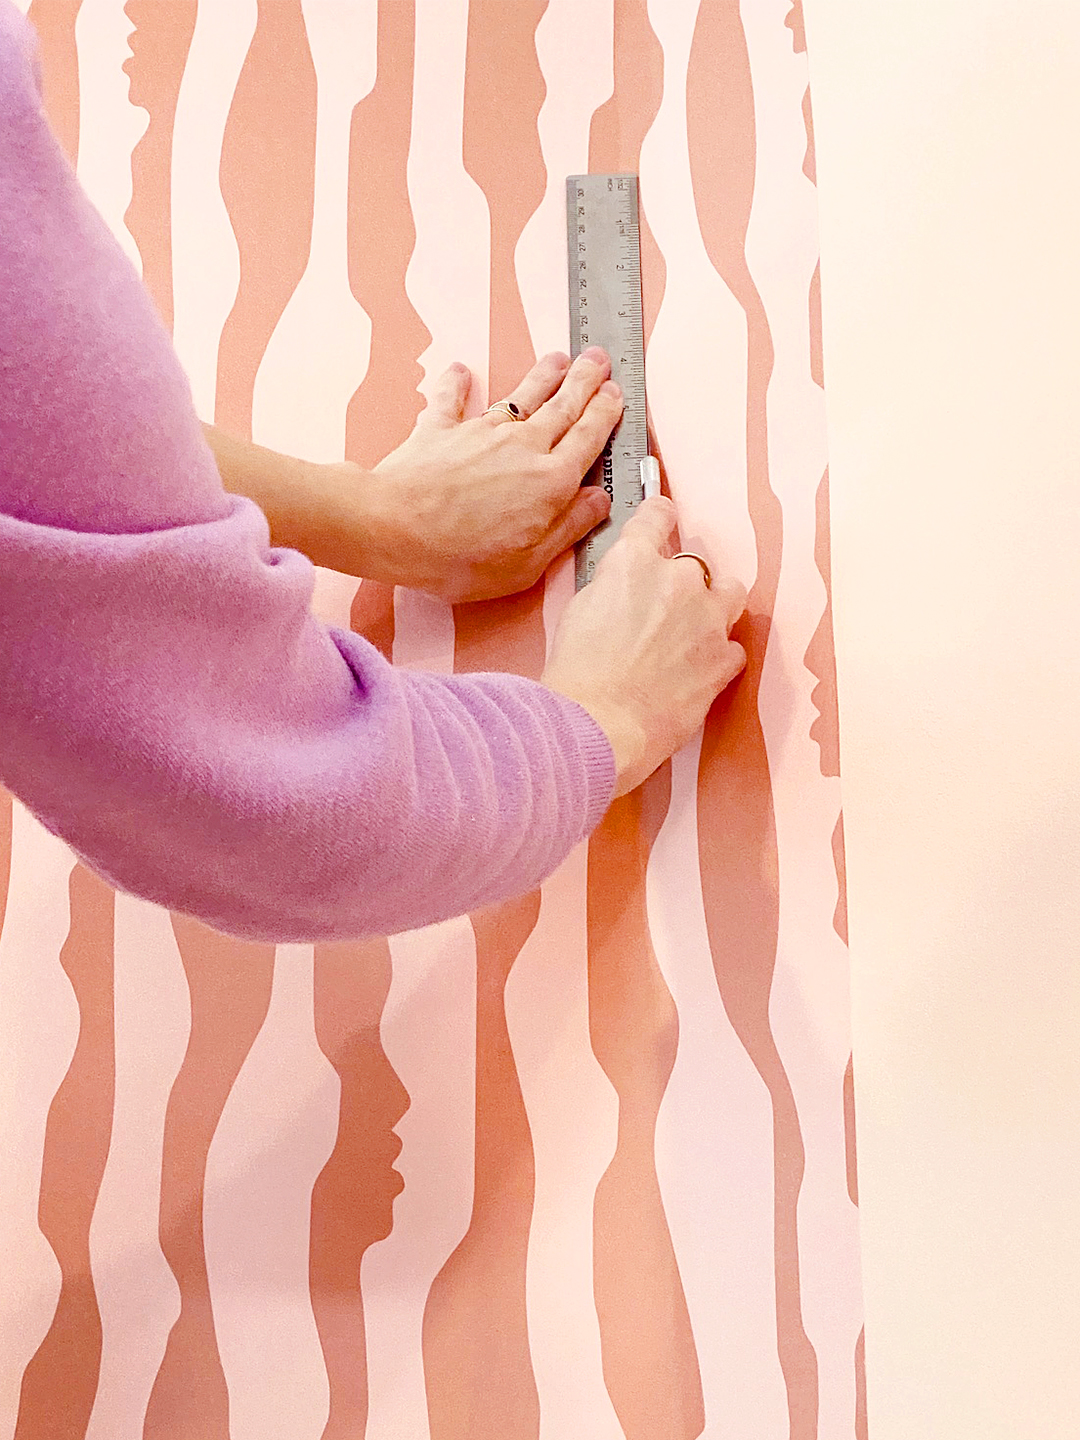
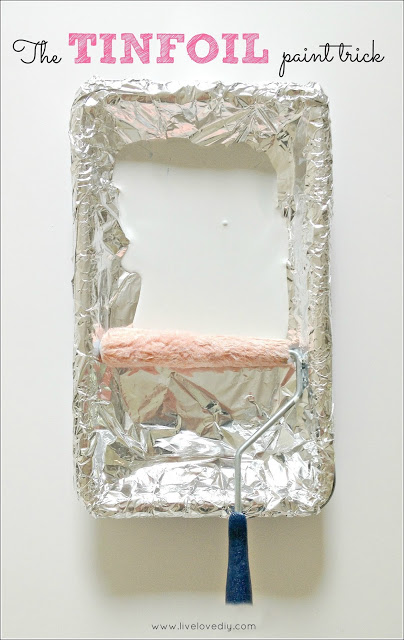
The stenciling process begins by positioning the stencil in the top center of the wall, ensuring it is flush with the top edge. If the stencil has a dedicated top edge piece, it should be utilized; otherwise, any empty white spaces on the edges can be filled in later. The stencil is then secured to the wall with painter's tape, with careful attention paid to ensure it is straight. Next, a small amount of paint is poured into the paint tray and evenly distributed onto the foam roller. Crucially, excess paint must be removed by rolling the roller across a piece of flat cardboard. This 'offloading' step is vital for achieving crisp lines and preventing paint bleed. The paint is then applied to the wall over the stencil using an up-and-down rolling motion, ensuring the paint stays within the stencil's boundaries.
After completing the first stenciled section, the stencil is carefully removed and immediately repositioned directly adjacent to the painted area. Most stencils incorporate alignment markings to assist in accurate placement. If the roller requires more paint, steps for adding and offloading paint are repeated. The process of applying paint, removing, and re-applying the stencil is continued from the center outwards and from top to bottom until the entire wall, or desired section, is covered. Corners can present a challenge as they often require bending the stencil, which might create gaps. These gaps can be filled in using a stippling or small detail brush. Bending the stencil is recommended over cutting it, as cutting is an irreversible alteration.
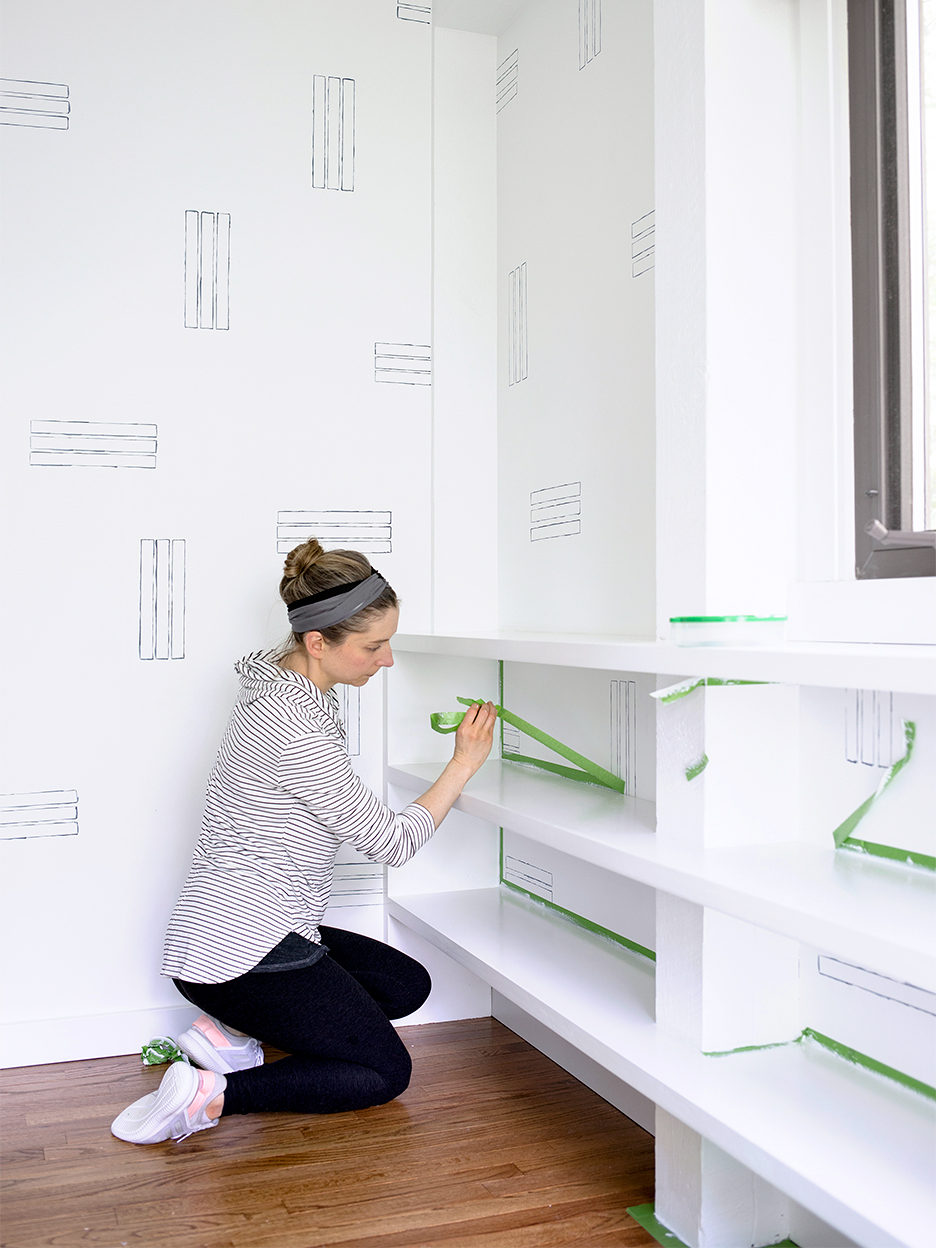
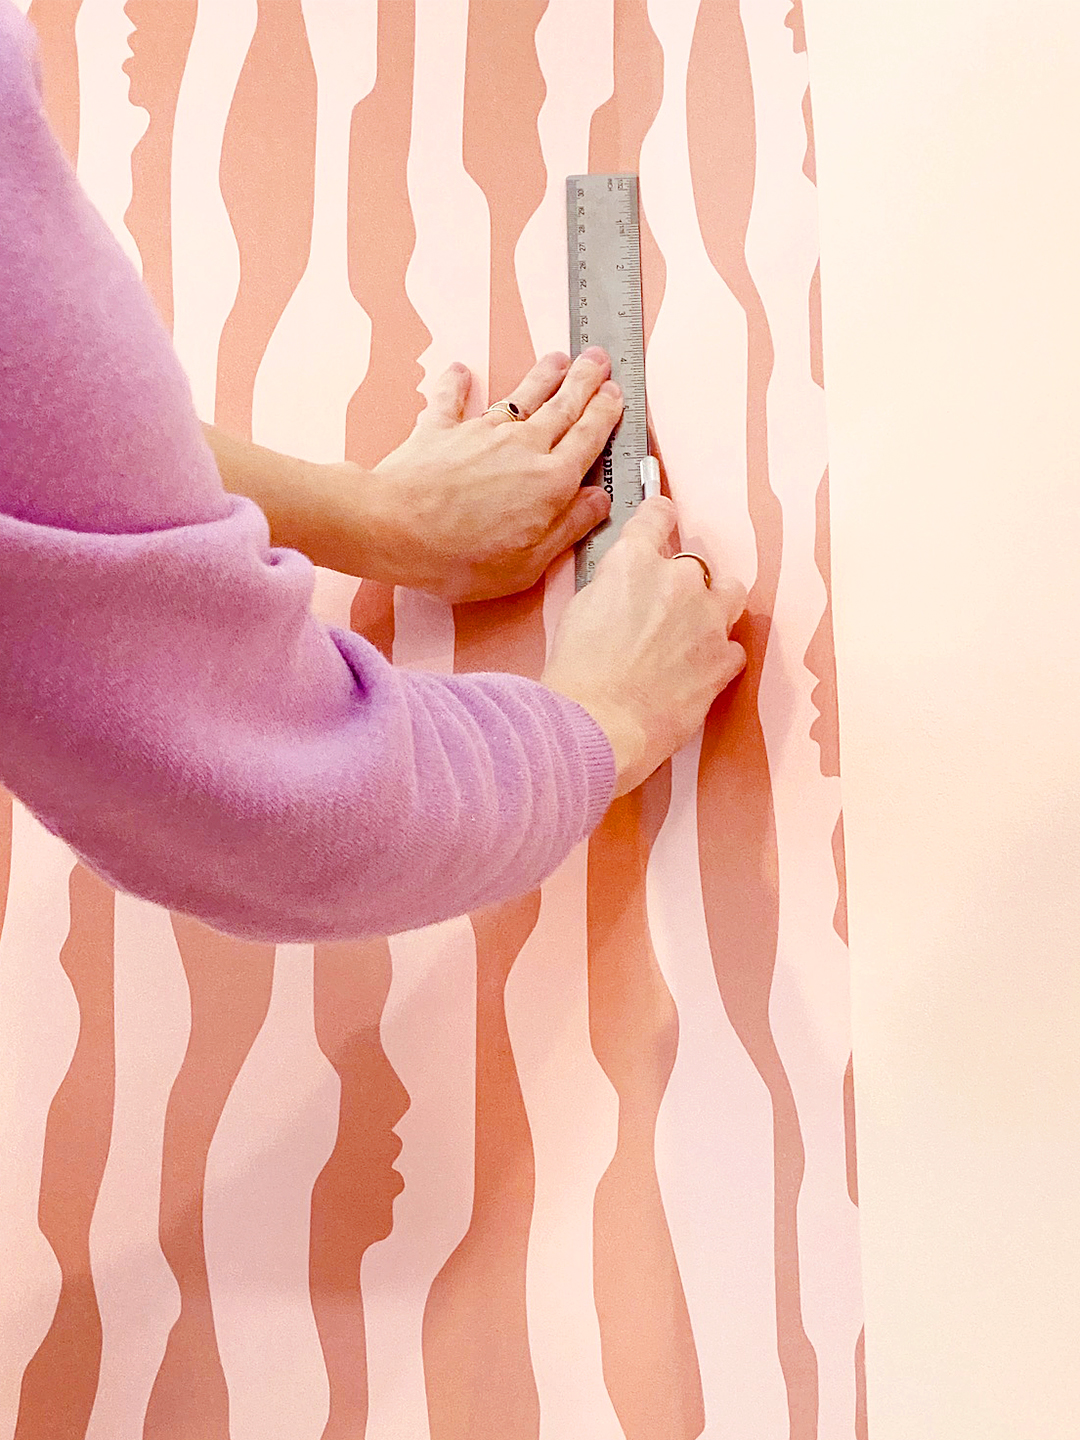
Upon completion of the stenciling, any stray dried paint should be touched up by painting over it with the wall's base layer. If any paint has bled beyond the stencil's edges, creating fuzzy lines, a small paintbrush can be used with the base layer paint to clean up these imperfections. The stencil itself should be washed between project days and before storage. An important application tip is to wipe off any stray wet paint immediately with a wet paper towel before it dries, to maintain cleanliness. Additional advice includes never applying too much paint to the stencil, always ensuring the stencil is level, particularly for the initial application, and opting for painter's tape over spray adhesive for securing the stencil due to the latter's potential for mess and build-up. For larger projects, splitting the work over several days is suggested to maintain quality.
#WallStenciling #DIYHomeDecor #PaintProject #WallpaperAlternative #InteriorDesign #HomeImprovement #CreativeDecor #BudgetDecor #WallStenciling #DIYHomeDecor #PaintProject #WallpaperAlternative #InteriorDesign #HomeImprovement #CreativeDecor #BudgetDecor
0 comment in total
 No comments yet
You may also like
Skip Wallpaper in Favor of an (Almost) Free Painter’s Tape DIY
Can you paint over wallpaper? Experts explain how to make this time-saving hack work
Understanding paint finishes

These Easy DIYs Prove That Paint Can Transform Any Room Without Breaking the Bank

DIY Removable Wallpaper

How to remove wallpaper - expert-approved steps to prevent damage and ensure a smooth finish
Transform your room with peel and stick wallpaper

Everything You Need to Know About Mural Wall Painting


Update your home with these paint tips!

Can You Paint Over Wallpaper Without Removing It? Experts Weigh In

This Décor Hack is So Easy, It's Barely Even a DIY — But The Results Look *So* Bespoke (No Skills Required)

These hacks are all you'll need for your next home painting project


This Wall-Decor Hack Is Even Easier Than Peel-and-Stick Wallpaper
DIY fan shares easy way she paints high ceiling corners WITHOUT using a ladder

How to Hang Wallpaper (the Permanent Kind!)

This Removable Wallpaper Lets You Update Your Home Without Commitment

How to Hang Wallpaper (the Permanent Kind!)

How to Hang Wallpaper (the Permanent Kind!) | domino

10 ways to transform your home with just half a pot of paint


7 Simple Steps for Hanging Wallpaper Yourself