1/8
11 Pro Tips for How To Paint Trim
Walls often command attention in home painting projects, but the trim plays an equally vital role in a home's overall appearance. Trim acts as a crucial framework, similar to a picture frame, enhancing the aesthetic appeal and making the entire space look cleaner. Given its exposure to daily wear and tear, trim can quickly show signs of damage, making its proper maintenance and painting essential for preserving a home's look. Painting trim is a manageable DIY task for most homeowners, provided they follow instructions diligently and dedicate sufficient time to the process. However, those uncertain about their capabilities or patience should consider hiring a professional.
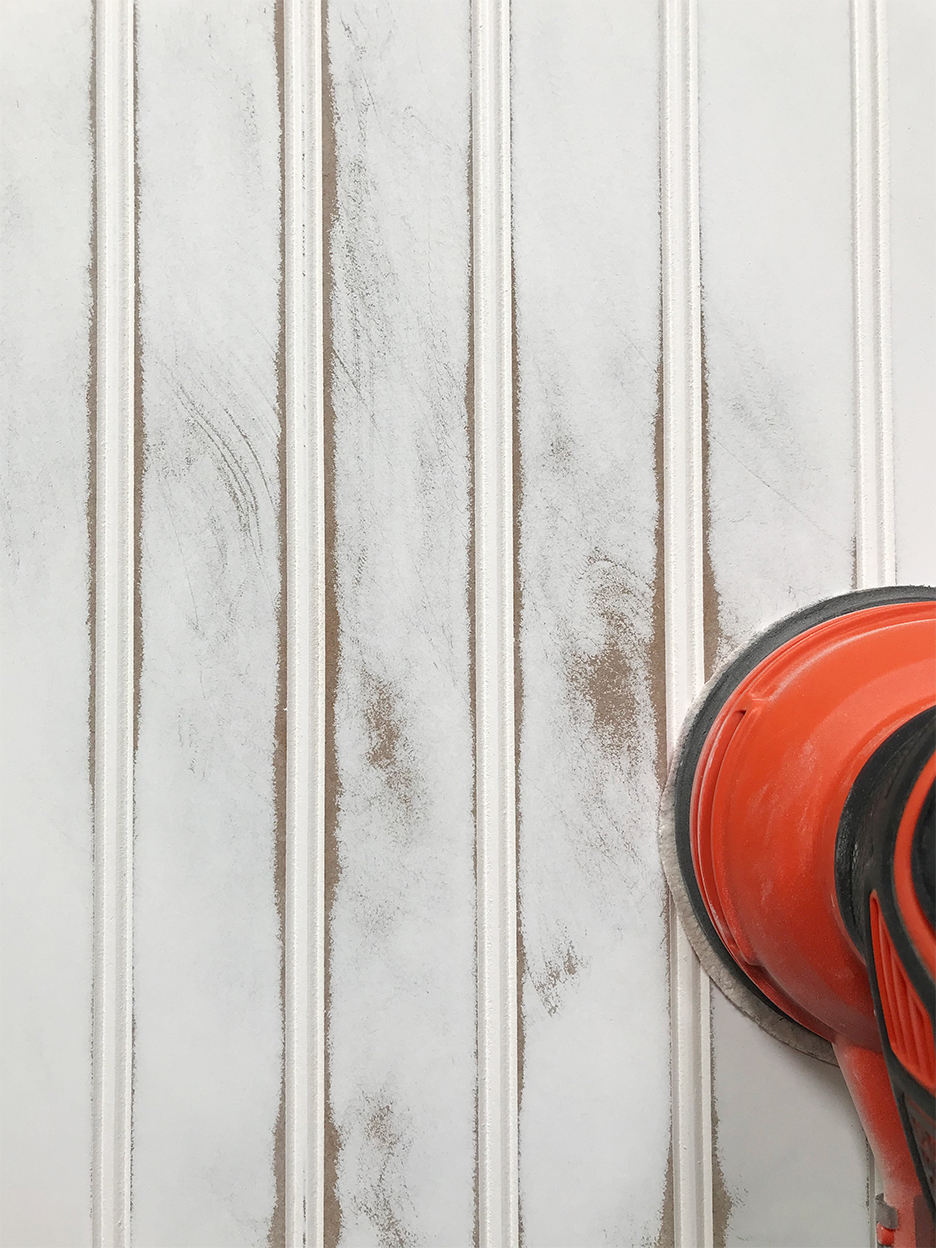
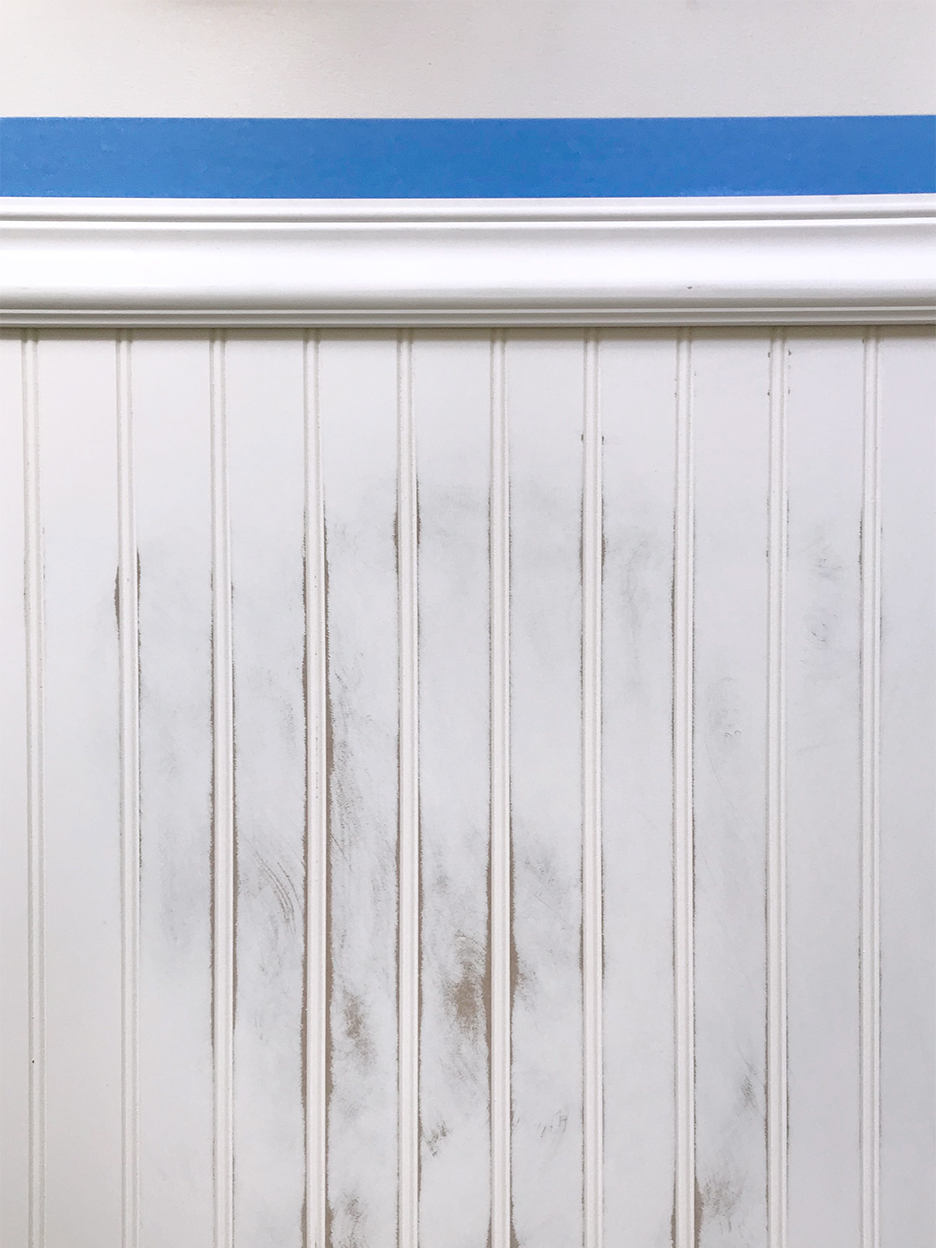
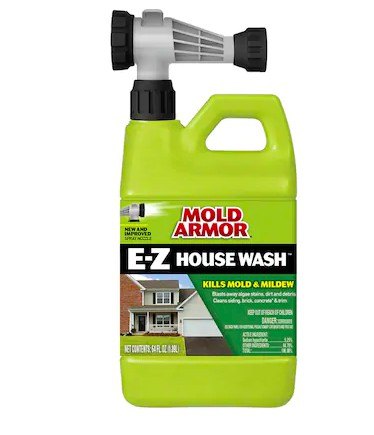
Before starting a DIY trim painting project, several professional tips can ensure a flawless finish. Safety is paramount, especially in homes built before 1978, where lead paint might be present. In such cases, testing for lead and adhering to EPA safety guidelines is crucial. Once safety is addressed, the preparation phase begins with thoroughly washing the trim. This step is critical to remove grease and grime, which can otherwise clog sandpaper and hinder a smooth finish. Following washing, sanding the trim is necessary. While 220-grit sandpaper is suitable for most cases, severely damaged trim may require starting with coarser grits like 80-grit, progressively moving to finer grits for smoothing and blending.
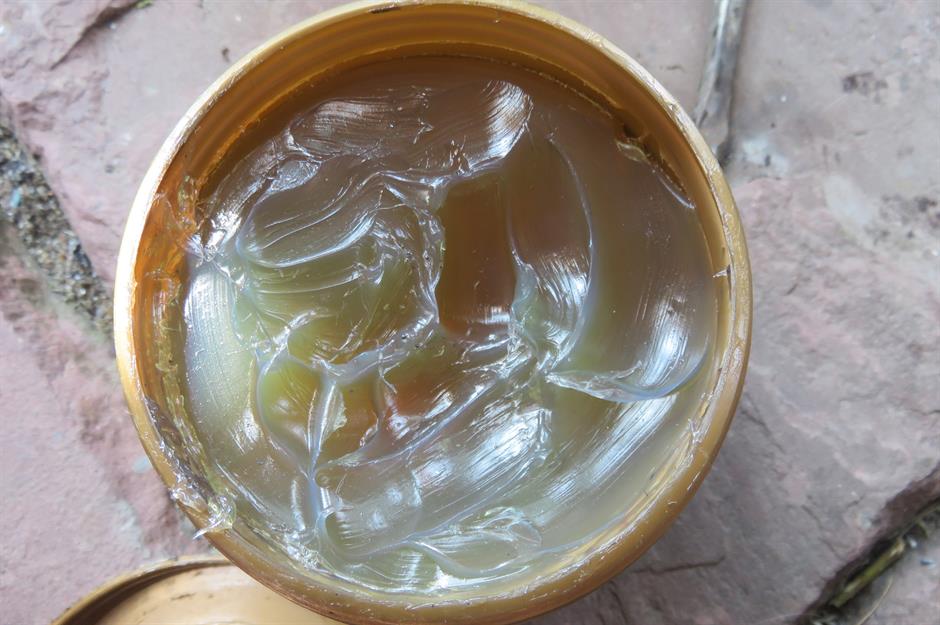
Priming is the next essential step, particularly for raw wood surfaces or areas that will be caulked or patched. Oil-based primers are often recommended for their superior adhesion, which is crucial for the paint's longevity. After priming, any holes and dents in the trim should be filled. Large imperfections are best addressed with a hardening two-part wood filler, while smaller ones can be filled with spackling compound, often requiring multiple coats due to shrinkage. After filling, careful sanding is needed to achieve a smooth surface.
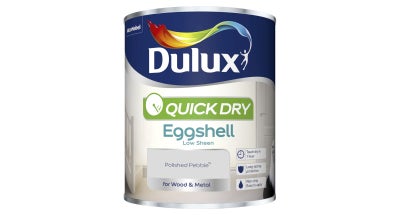
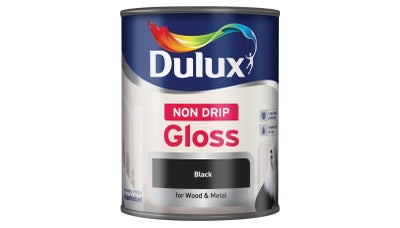
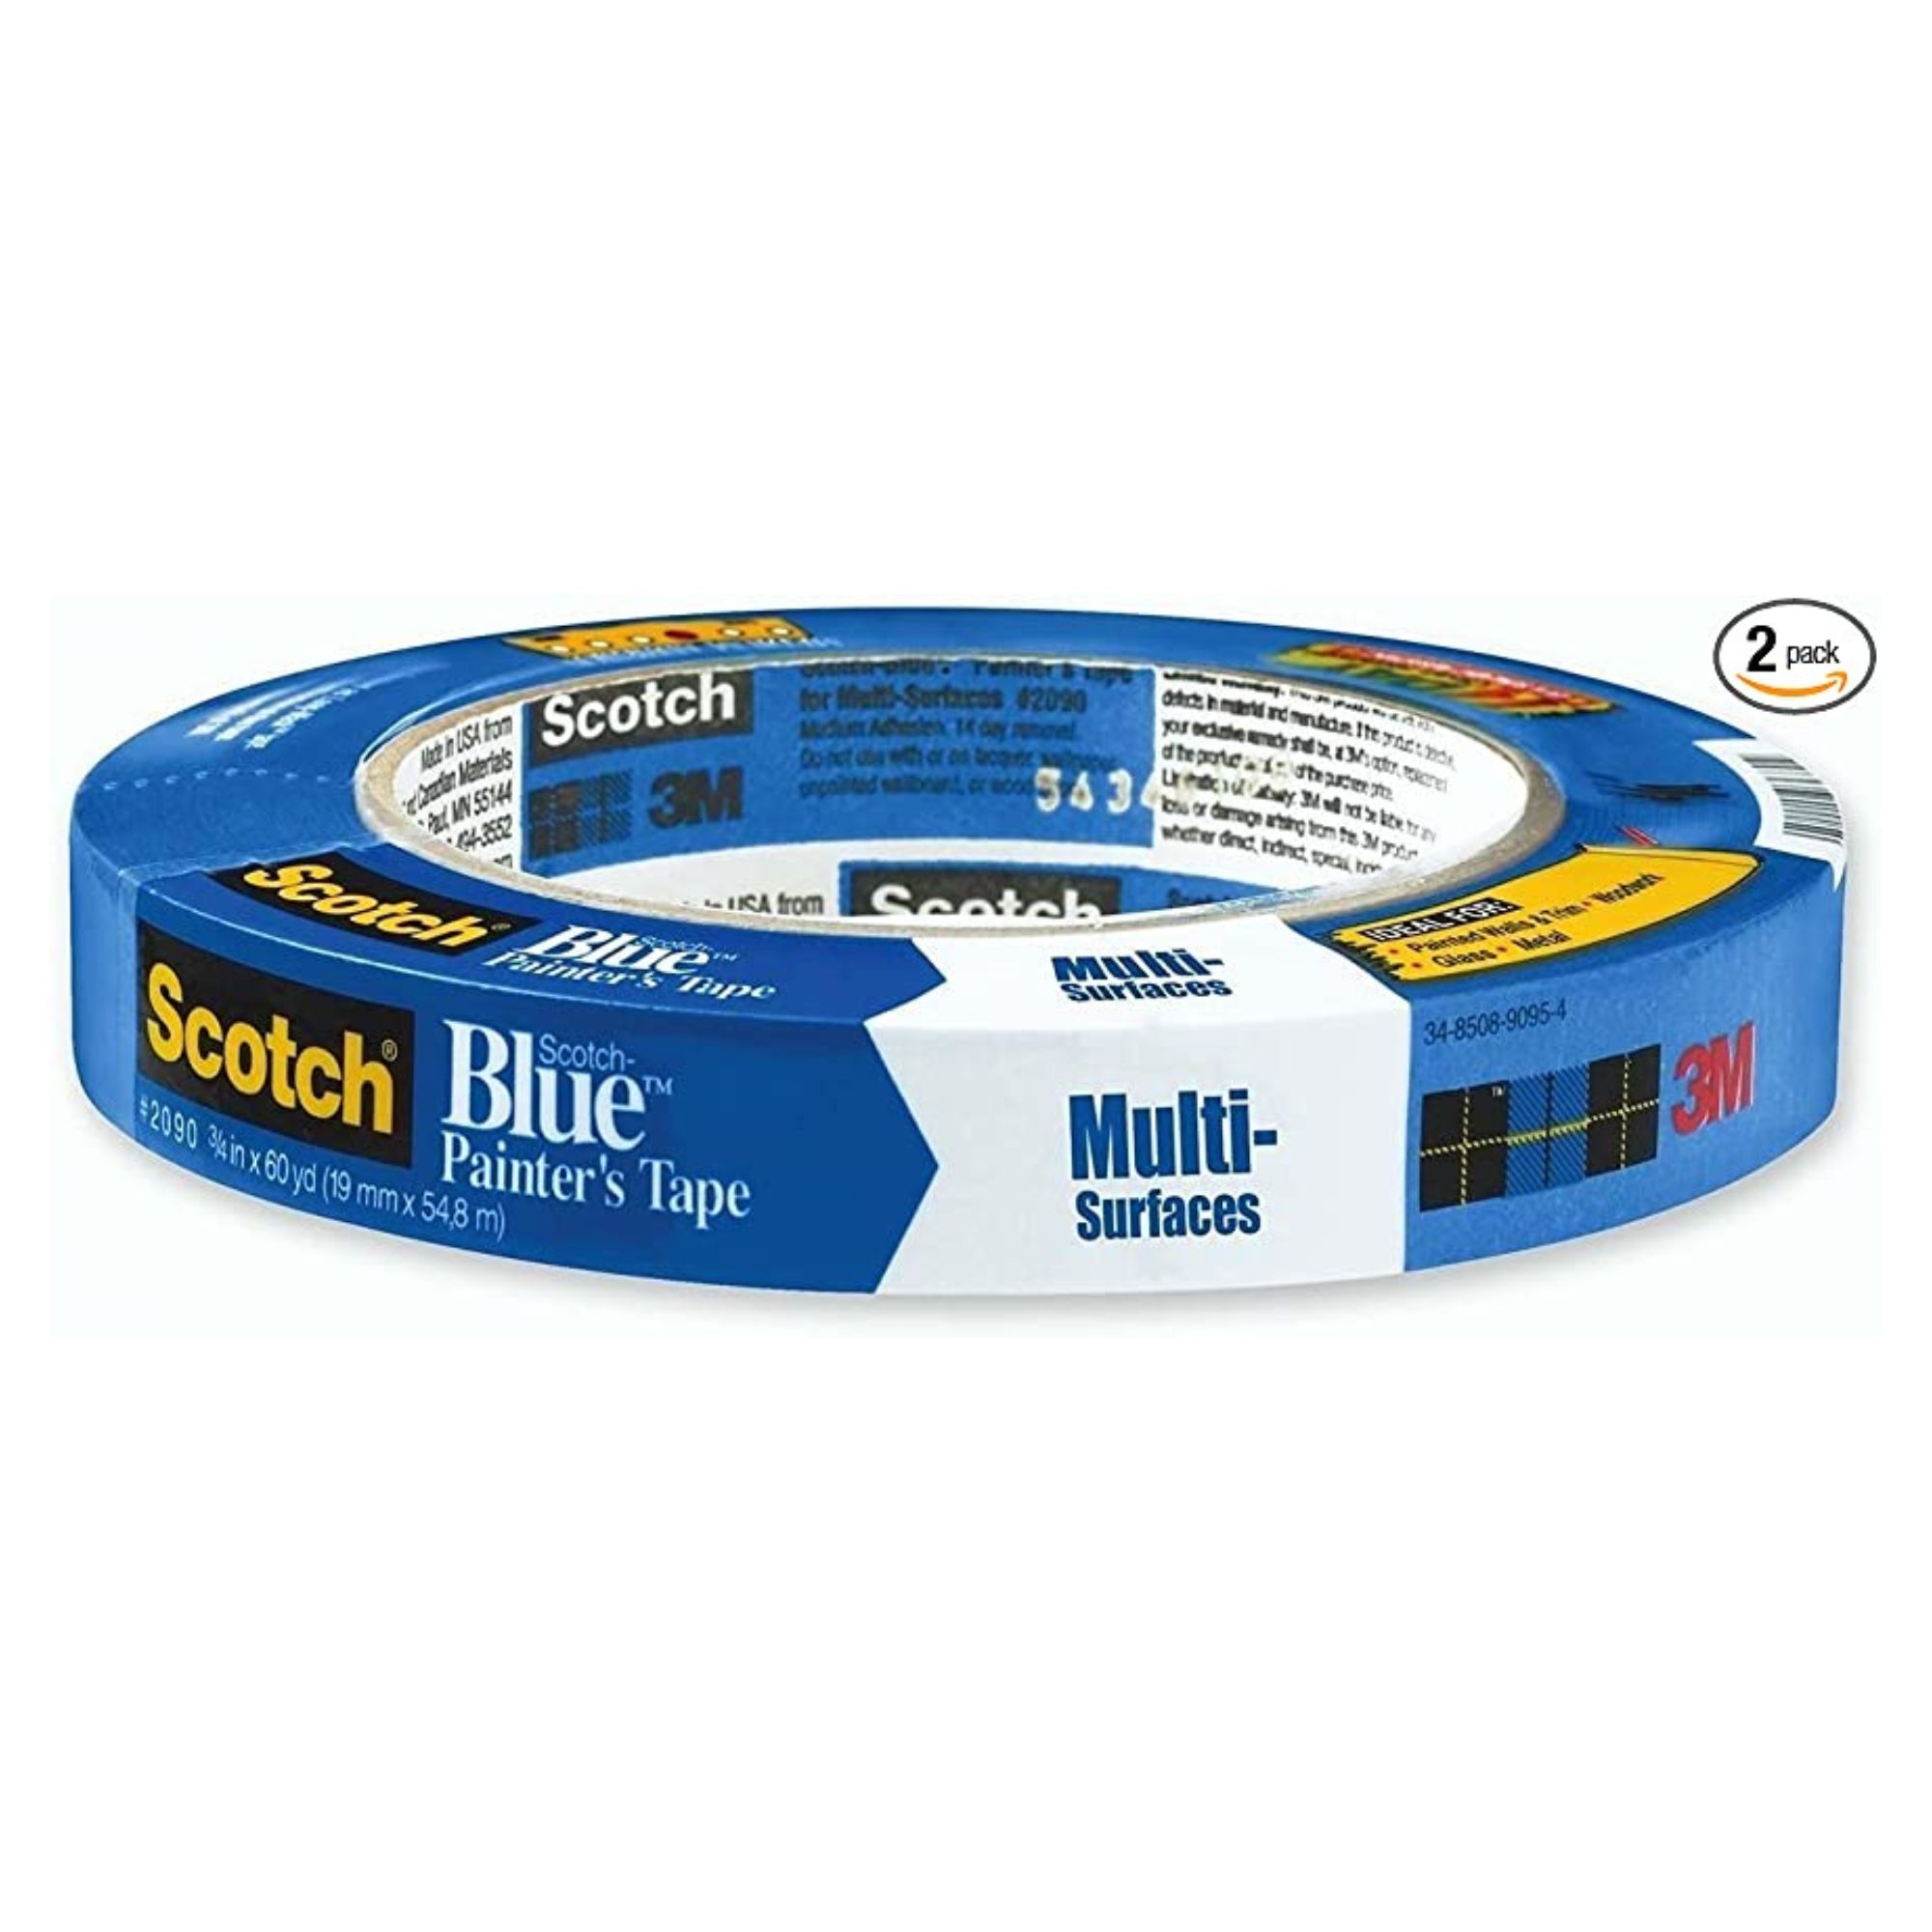
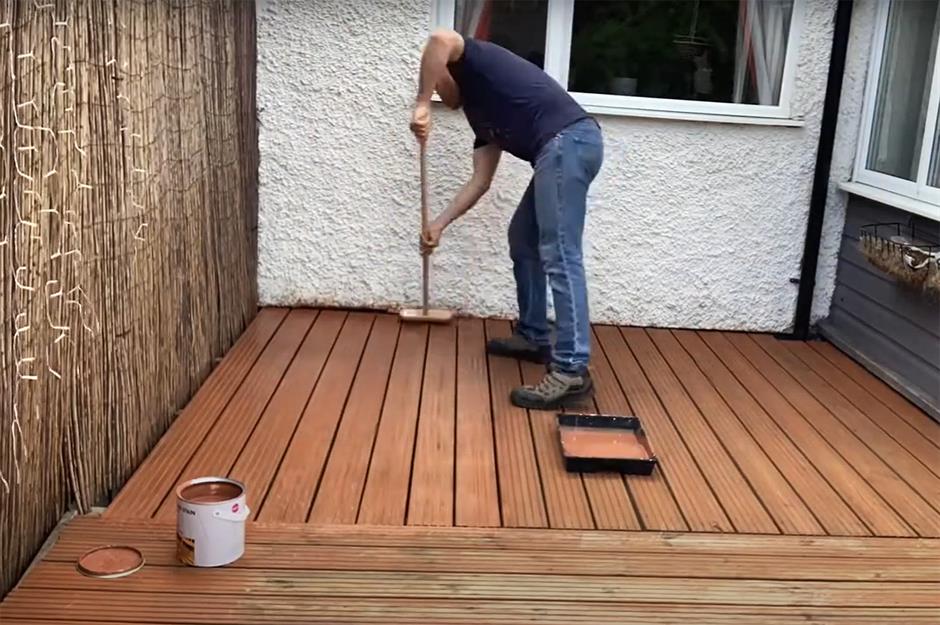
Caulking is vital for sealing gaps and cracks, protecting the trim from water damage and extending the paint job's lifespan. Using latex (acrylic) caulk or a paintable latex/silicone blend, homeowners should carefully cut the tube tip and apply caulk swiftly, smoothing any excess with a fingertip or flexible putty knife. Choosing the right paint is also crucial. While oil-based paints offer better leveling and longer working time, water-based paints are often preferred by DIYers due to their environmental friendliness, lower odor, and easier cleanup. A gloss finish is popular for trim due to its ease of cleaning, with satin enamel or semi-gloss finishes from reputable brands also being recommended.
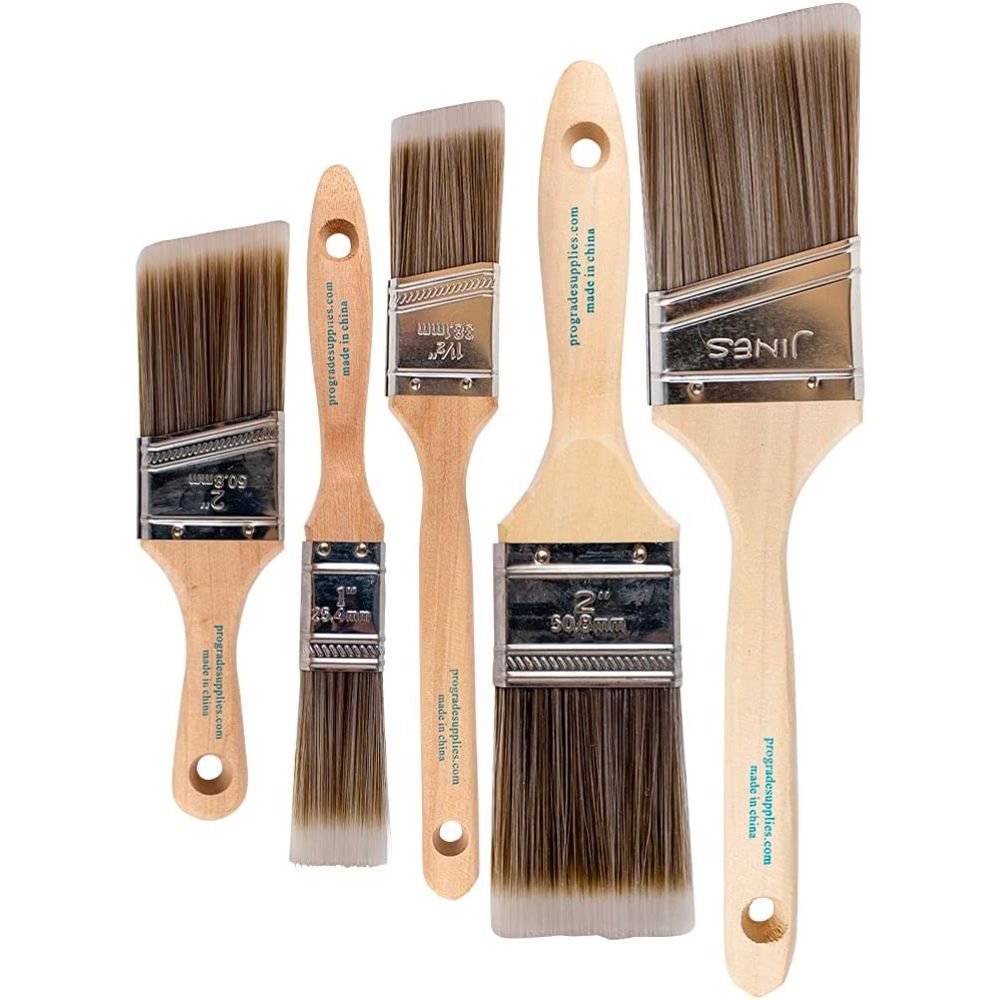
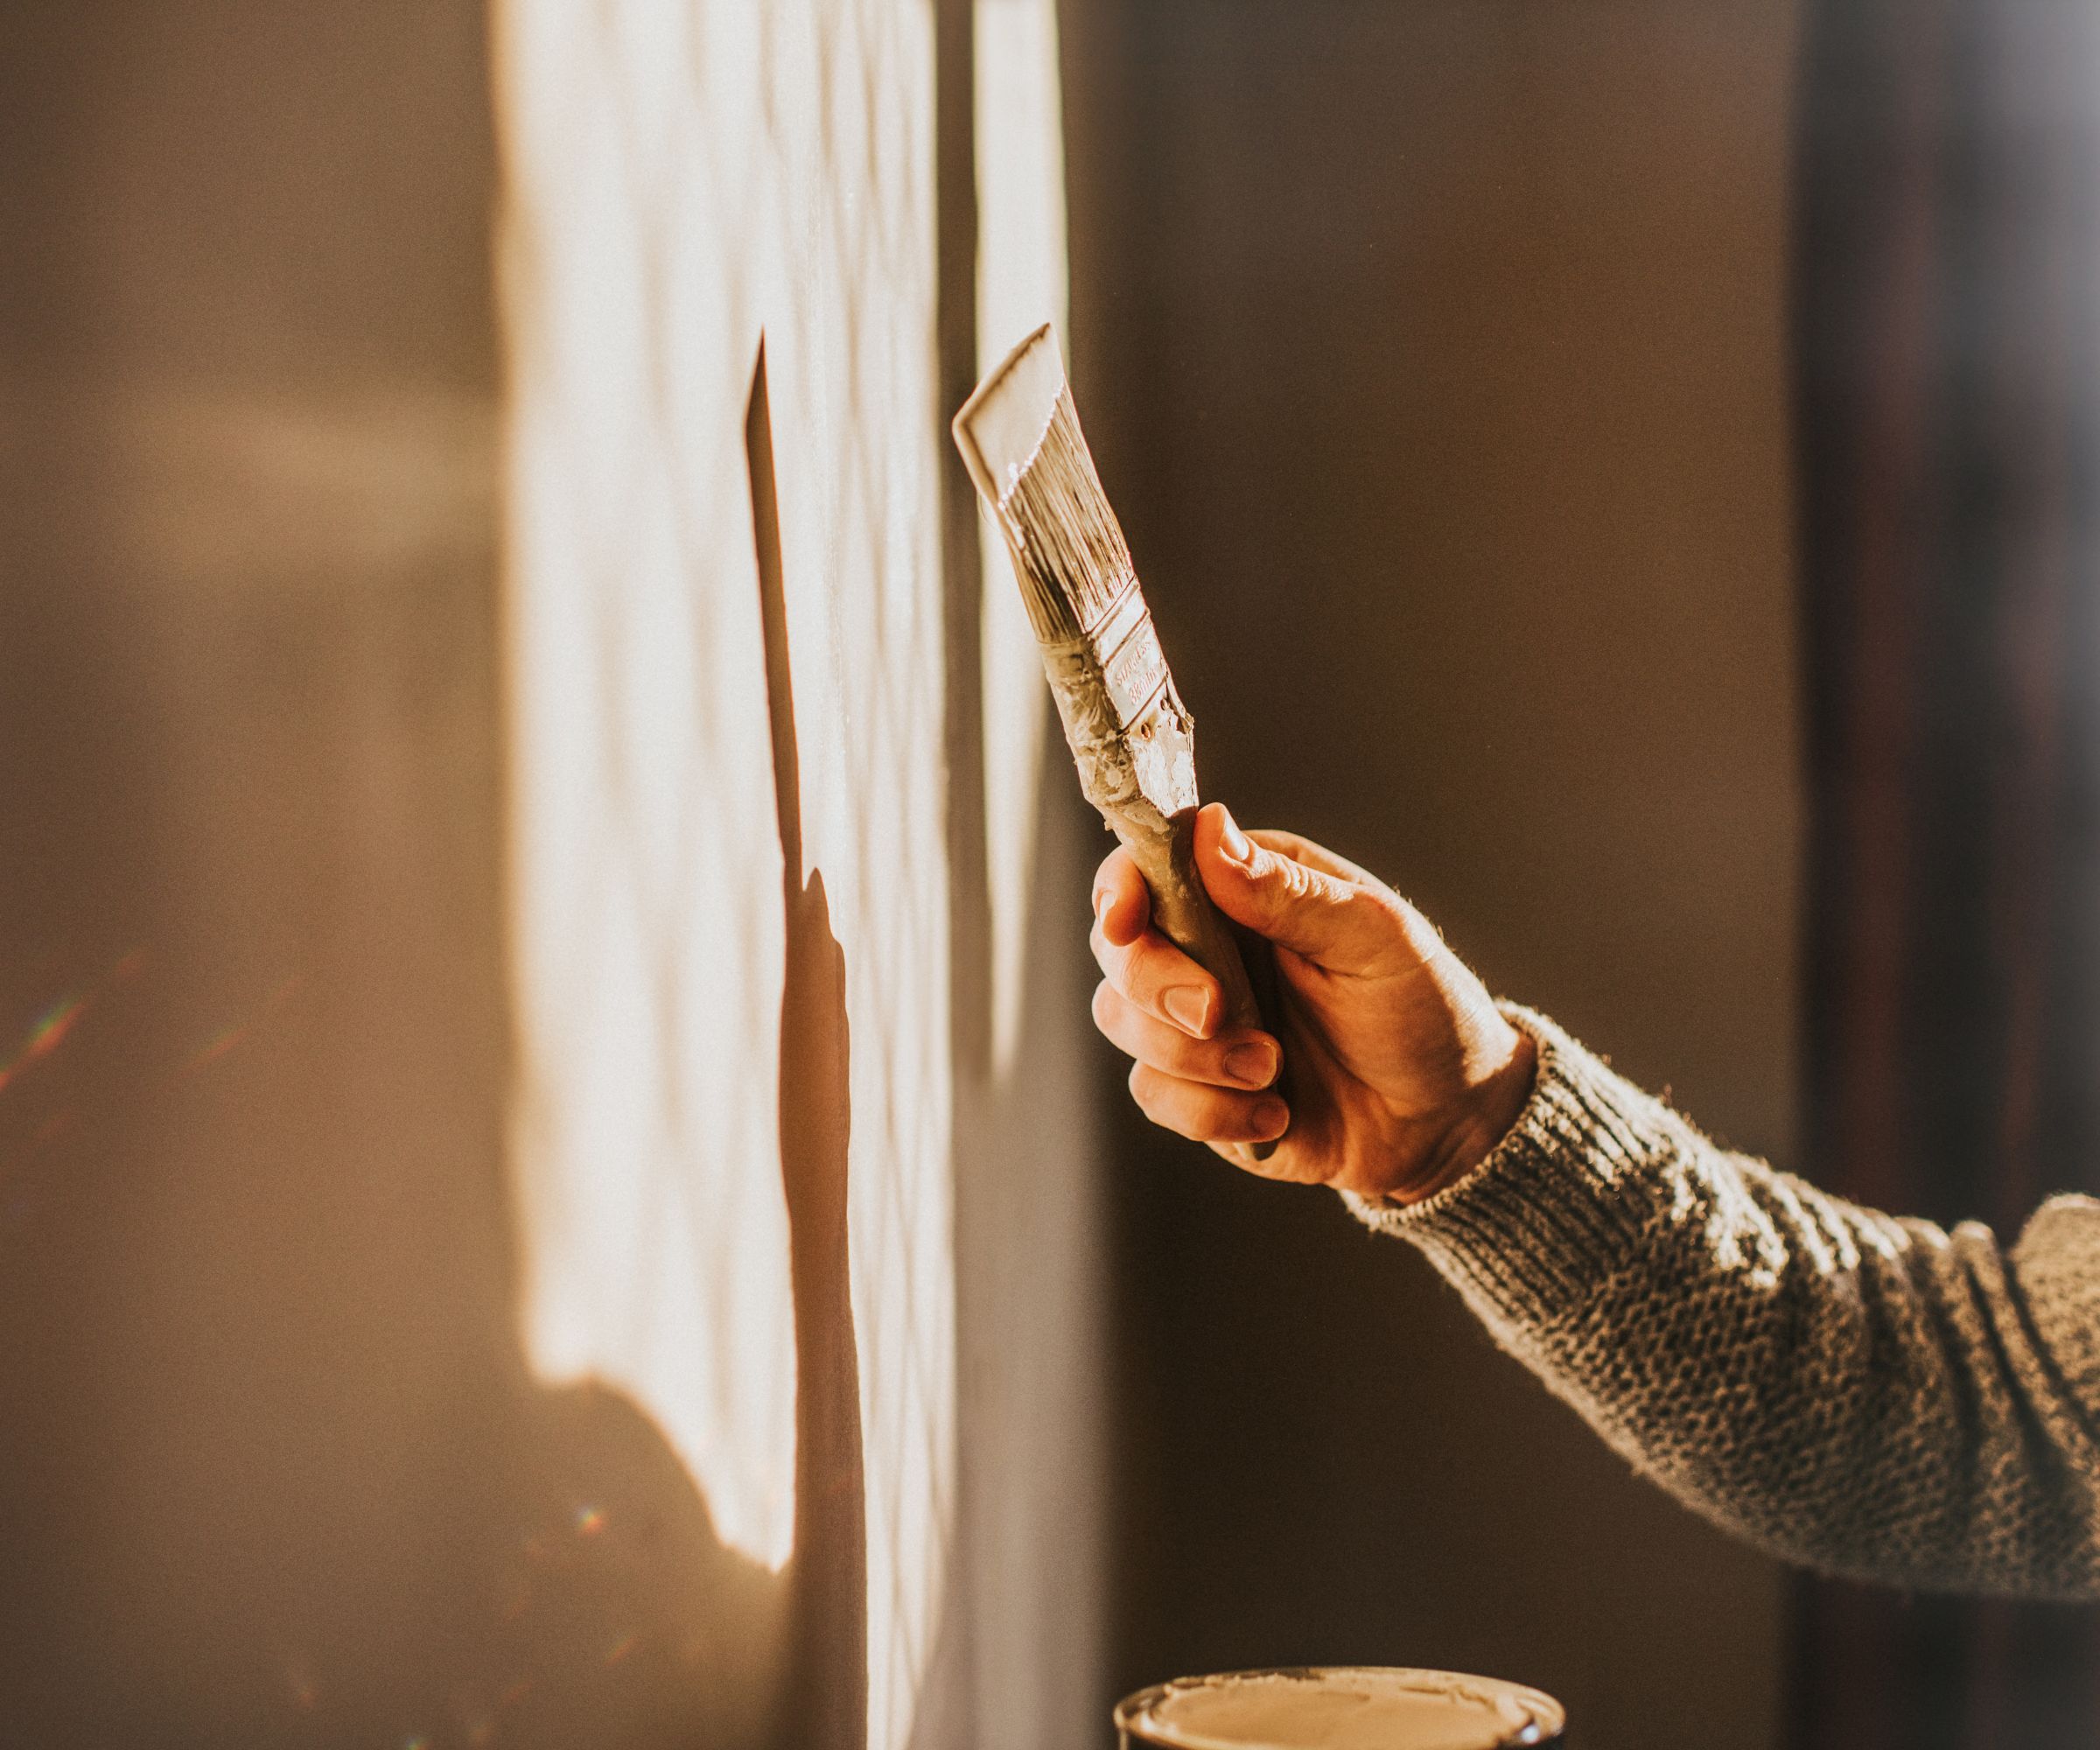
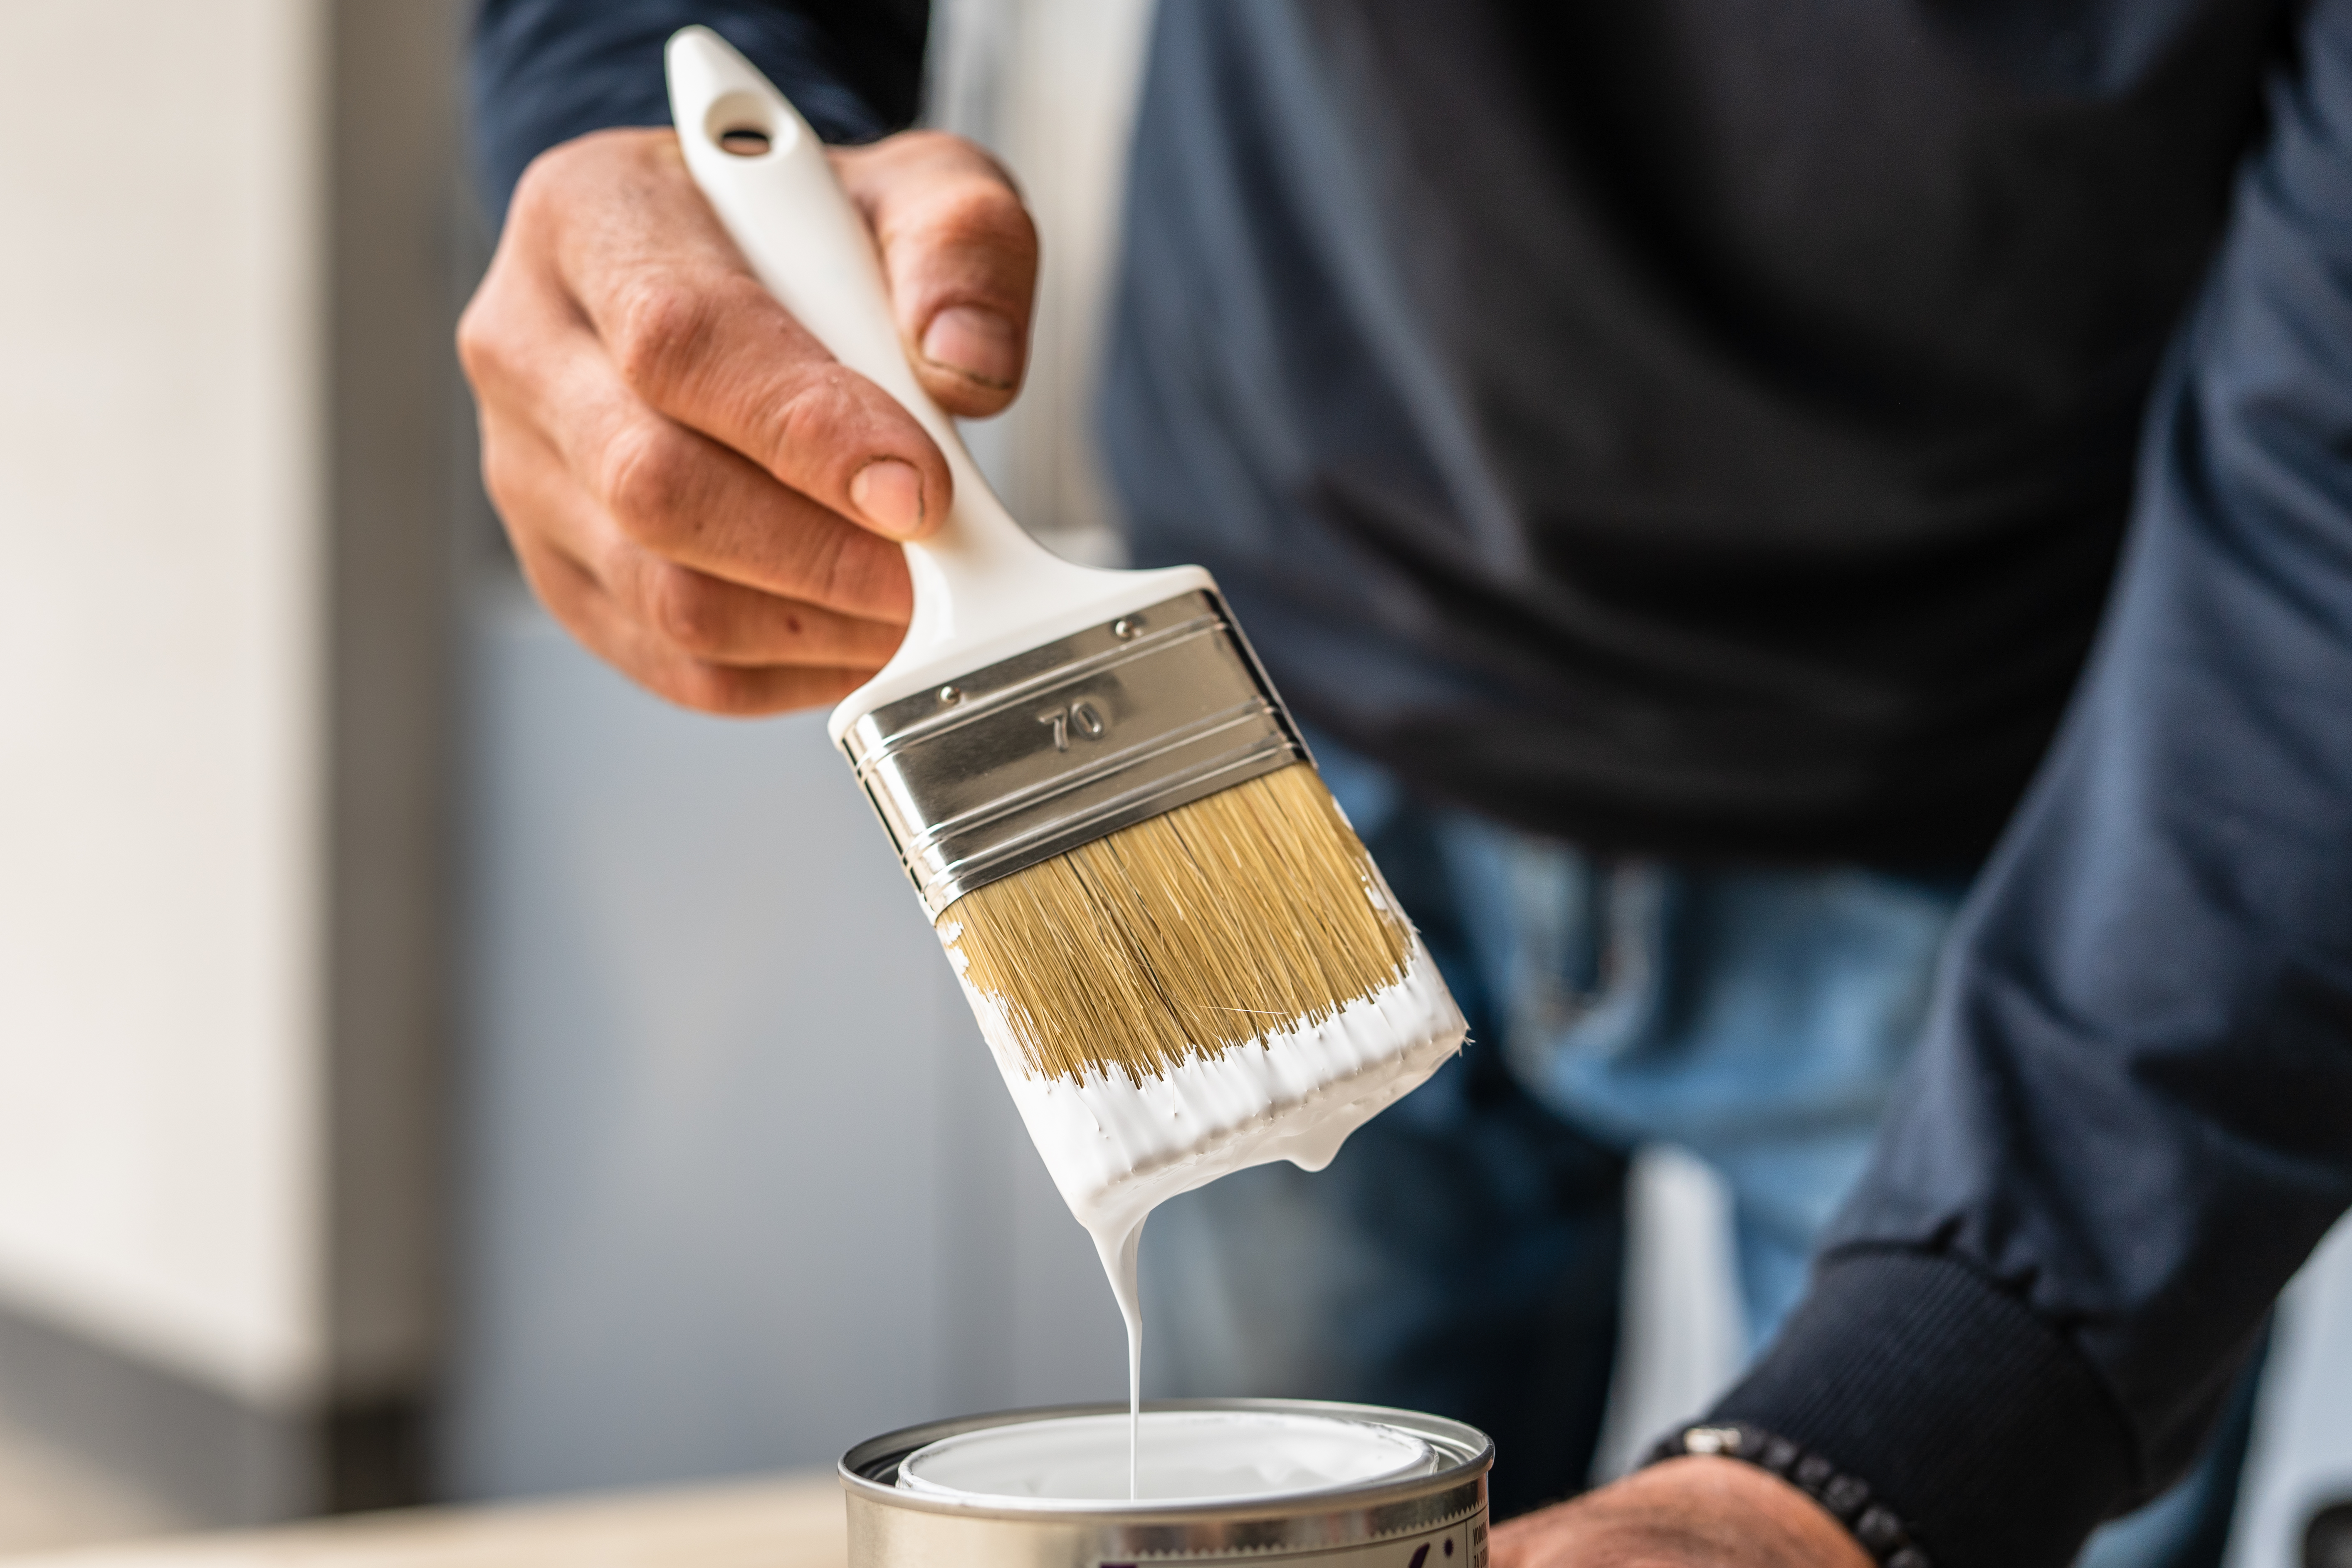
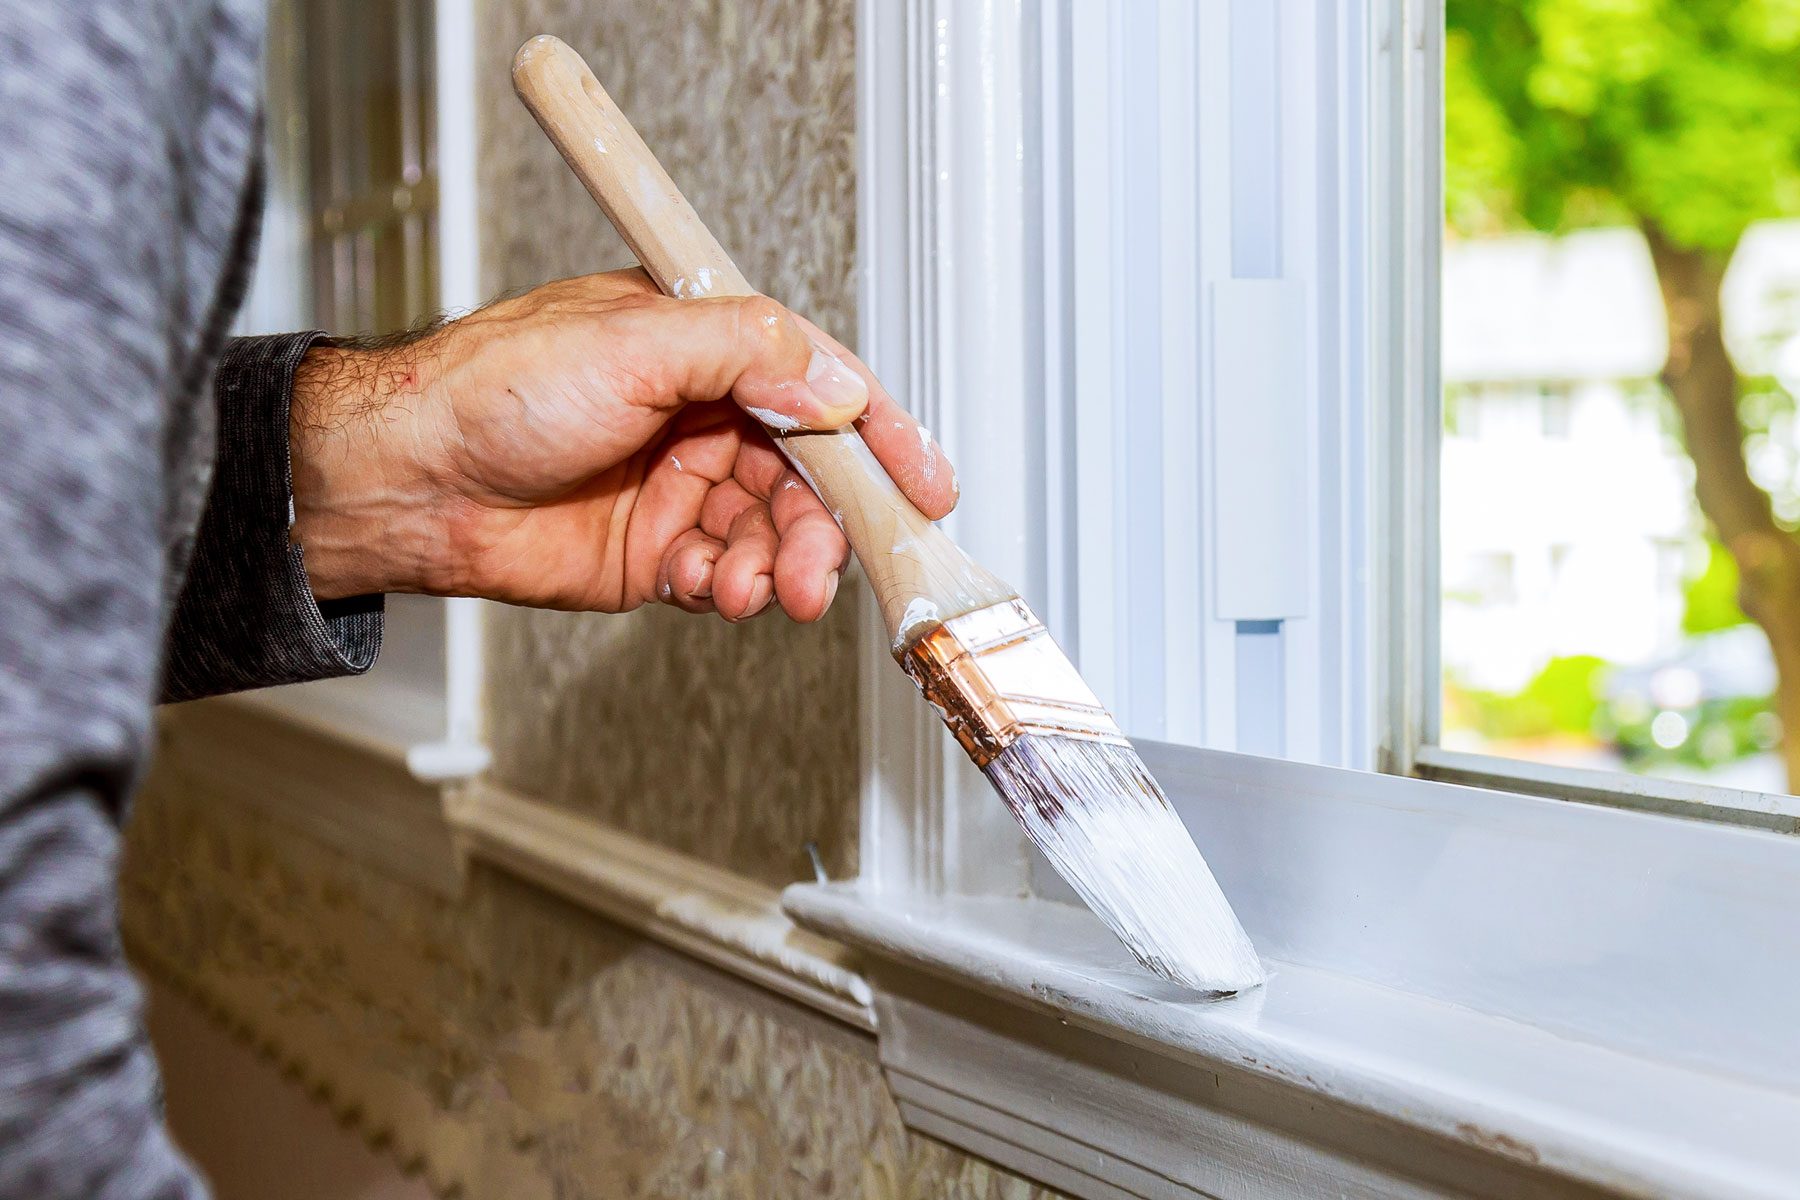
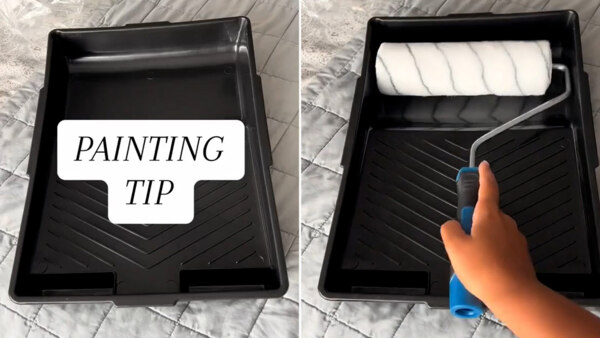
When applying paint, it's advised to pour a small amount into a separate bucket or pail, allowing for easier brush loading and excess paint removal. This practice ensures better control, especially when painting intricate trim areas. Precision is key during application. Homeowners should apply an even coat, avoiding overloading the brush to prevent drips and runs. If necessary, a second coat should be applied instead of trying to achieve full coverage in one thick layer. The article details specific brushstroke techniques, including "cutting-in" for edges and the "lay-on, lay-off" method for an even, brushstroke-free finish. It emphasizes brushing towards edges rather than across them to prevent paint buildup. Finally, proper ventilation is necessary both during and after painting to dissipate paint odors and ensure a healthy environment.
#PaintTrim #DIYHomeImprovement #HomePainting #PaintPreparation #InteriorDesign #WoodworkPainting #HomeMaintenance #PaintingTips #HomeRenovation #PaintTrim #DIYHomeImprovement #HomePainting #PaintPreparation #InteriorDesign #WoodworkPainting #HomeMaintenance #PaintingTips #HomeRenovation
0 comment in total
 No comments yet
You may also like
9 Best Paint Edging Tools for Painting Trim

5 Classic Wall and Trim Color Combinations—and 5 for Rule-Breakers Only

Understanding paint finishes

5 Painting Mistakes That Are Actually Ruining Your Projects, According to Reno Pros


Paint tricks – 10 painting tips and techniques loved by the experts

Why the Correct Trim Color Can Totally Transform Your Home

Brush Up Your Trim Game With These Top Paint Brushes
12 top interior painting tips from experts – for a flawless, fabulous finish
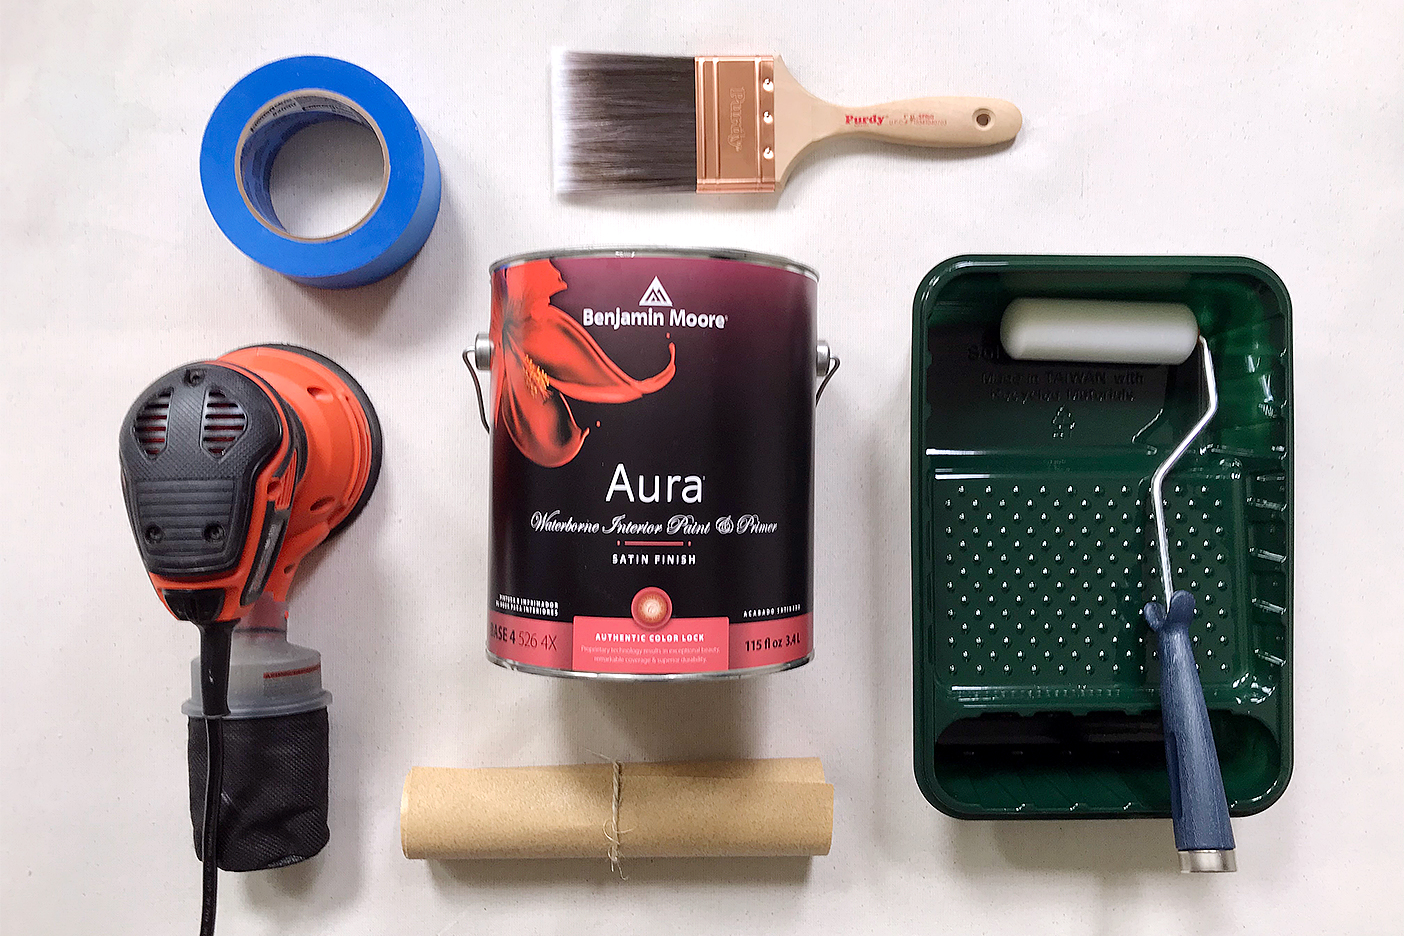
How to Paint Wood Paneling and Its Best Friend, the Trim


Paint Maintenance and Touch-Up Tips
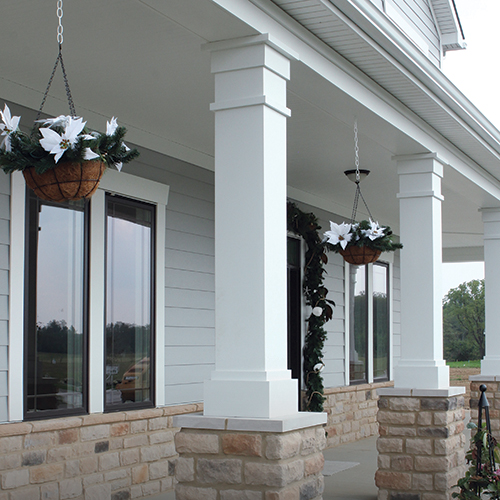
In Depth: Trim & Moulding

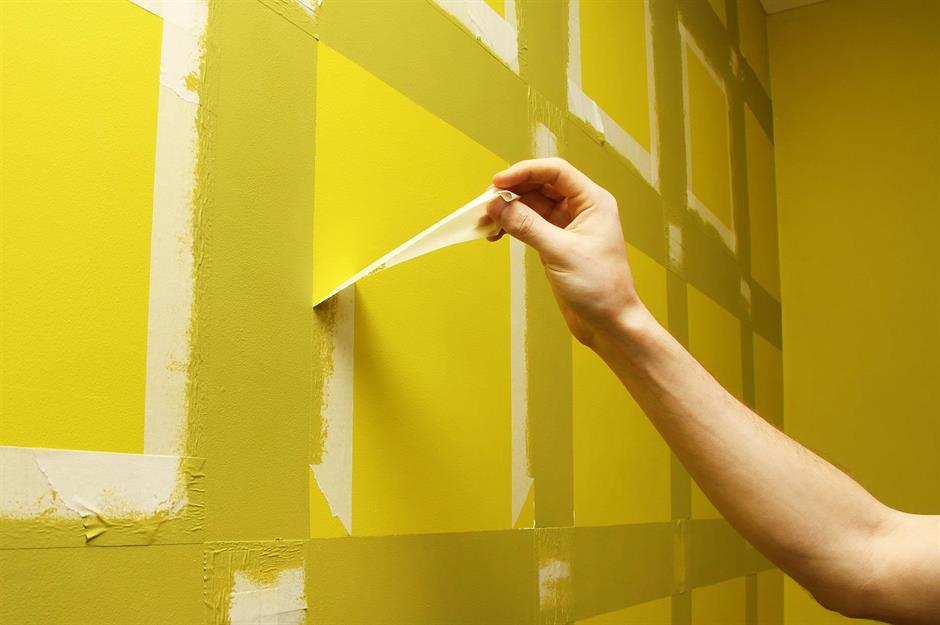
The ultimate DIY hacks | loveproperty.com

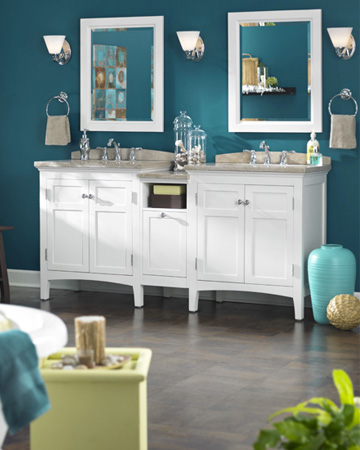
Paint tips from a pro!


Update your home with these paint tips!

Paint finishes explained – an expert guide to choosing the perfect type of paint for your projects

I’m a paint expert - the £1.25 buy pros swear by for a flawless finish on walls

The Best Paint Brushes for Trim, Tested for Crisp, Clean Lines

These Master Tips Will Help You Avoid Choosing The Wrong Type Of Paint

Hand-Painted Borders and Trims Are the Antidote to Dated Accent Walls — Here's How to Make it Look Good

We Asked a Pro Painter For His Secret to a Seamless Paint Job Every Time—And We’re Obsessed