How To Make Dirty Grout White Again: 3 Methods
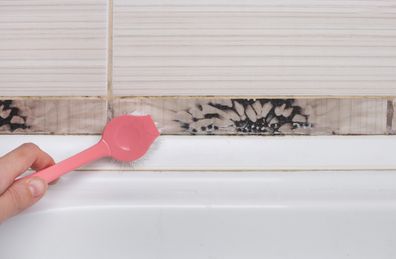
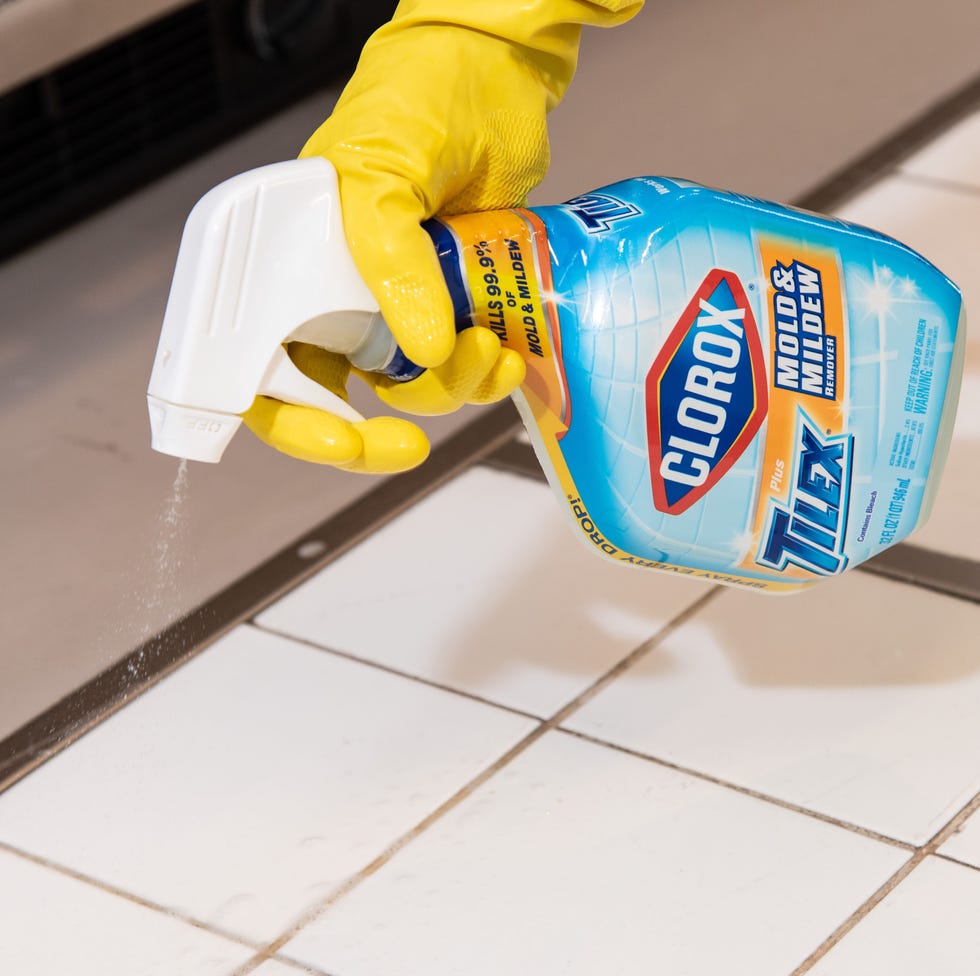
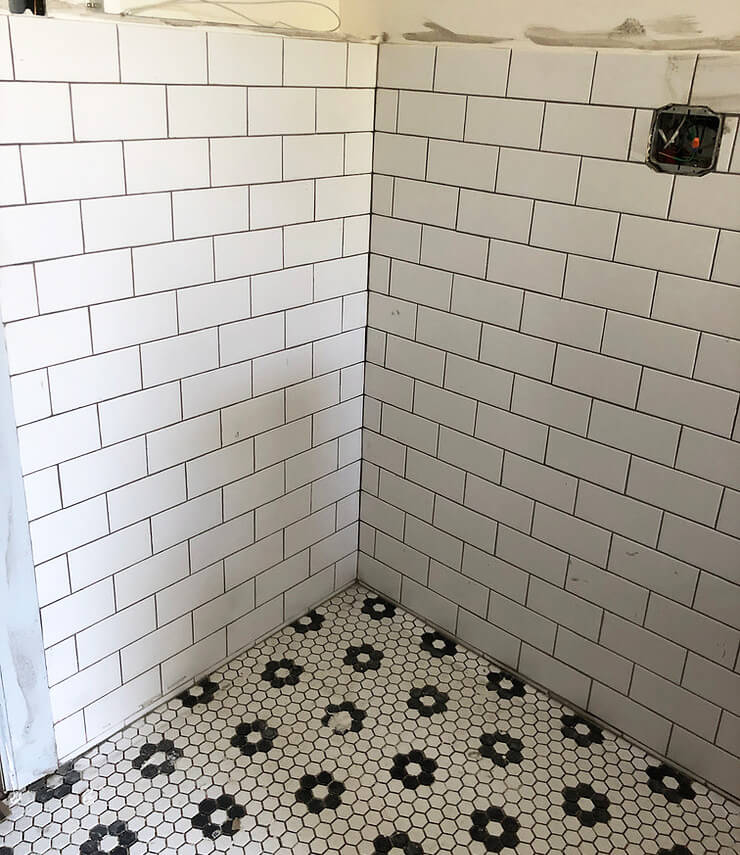
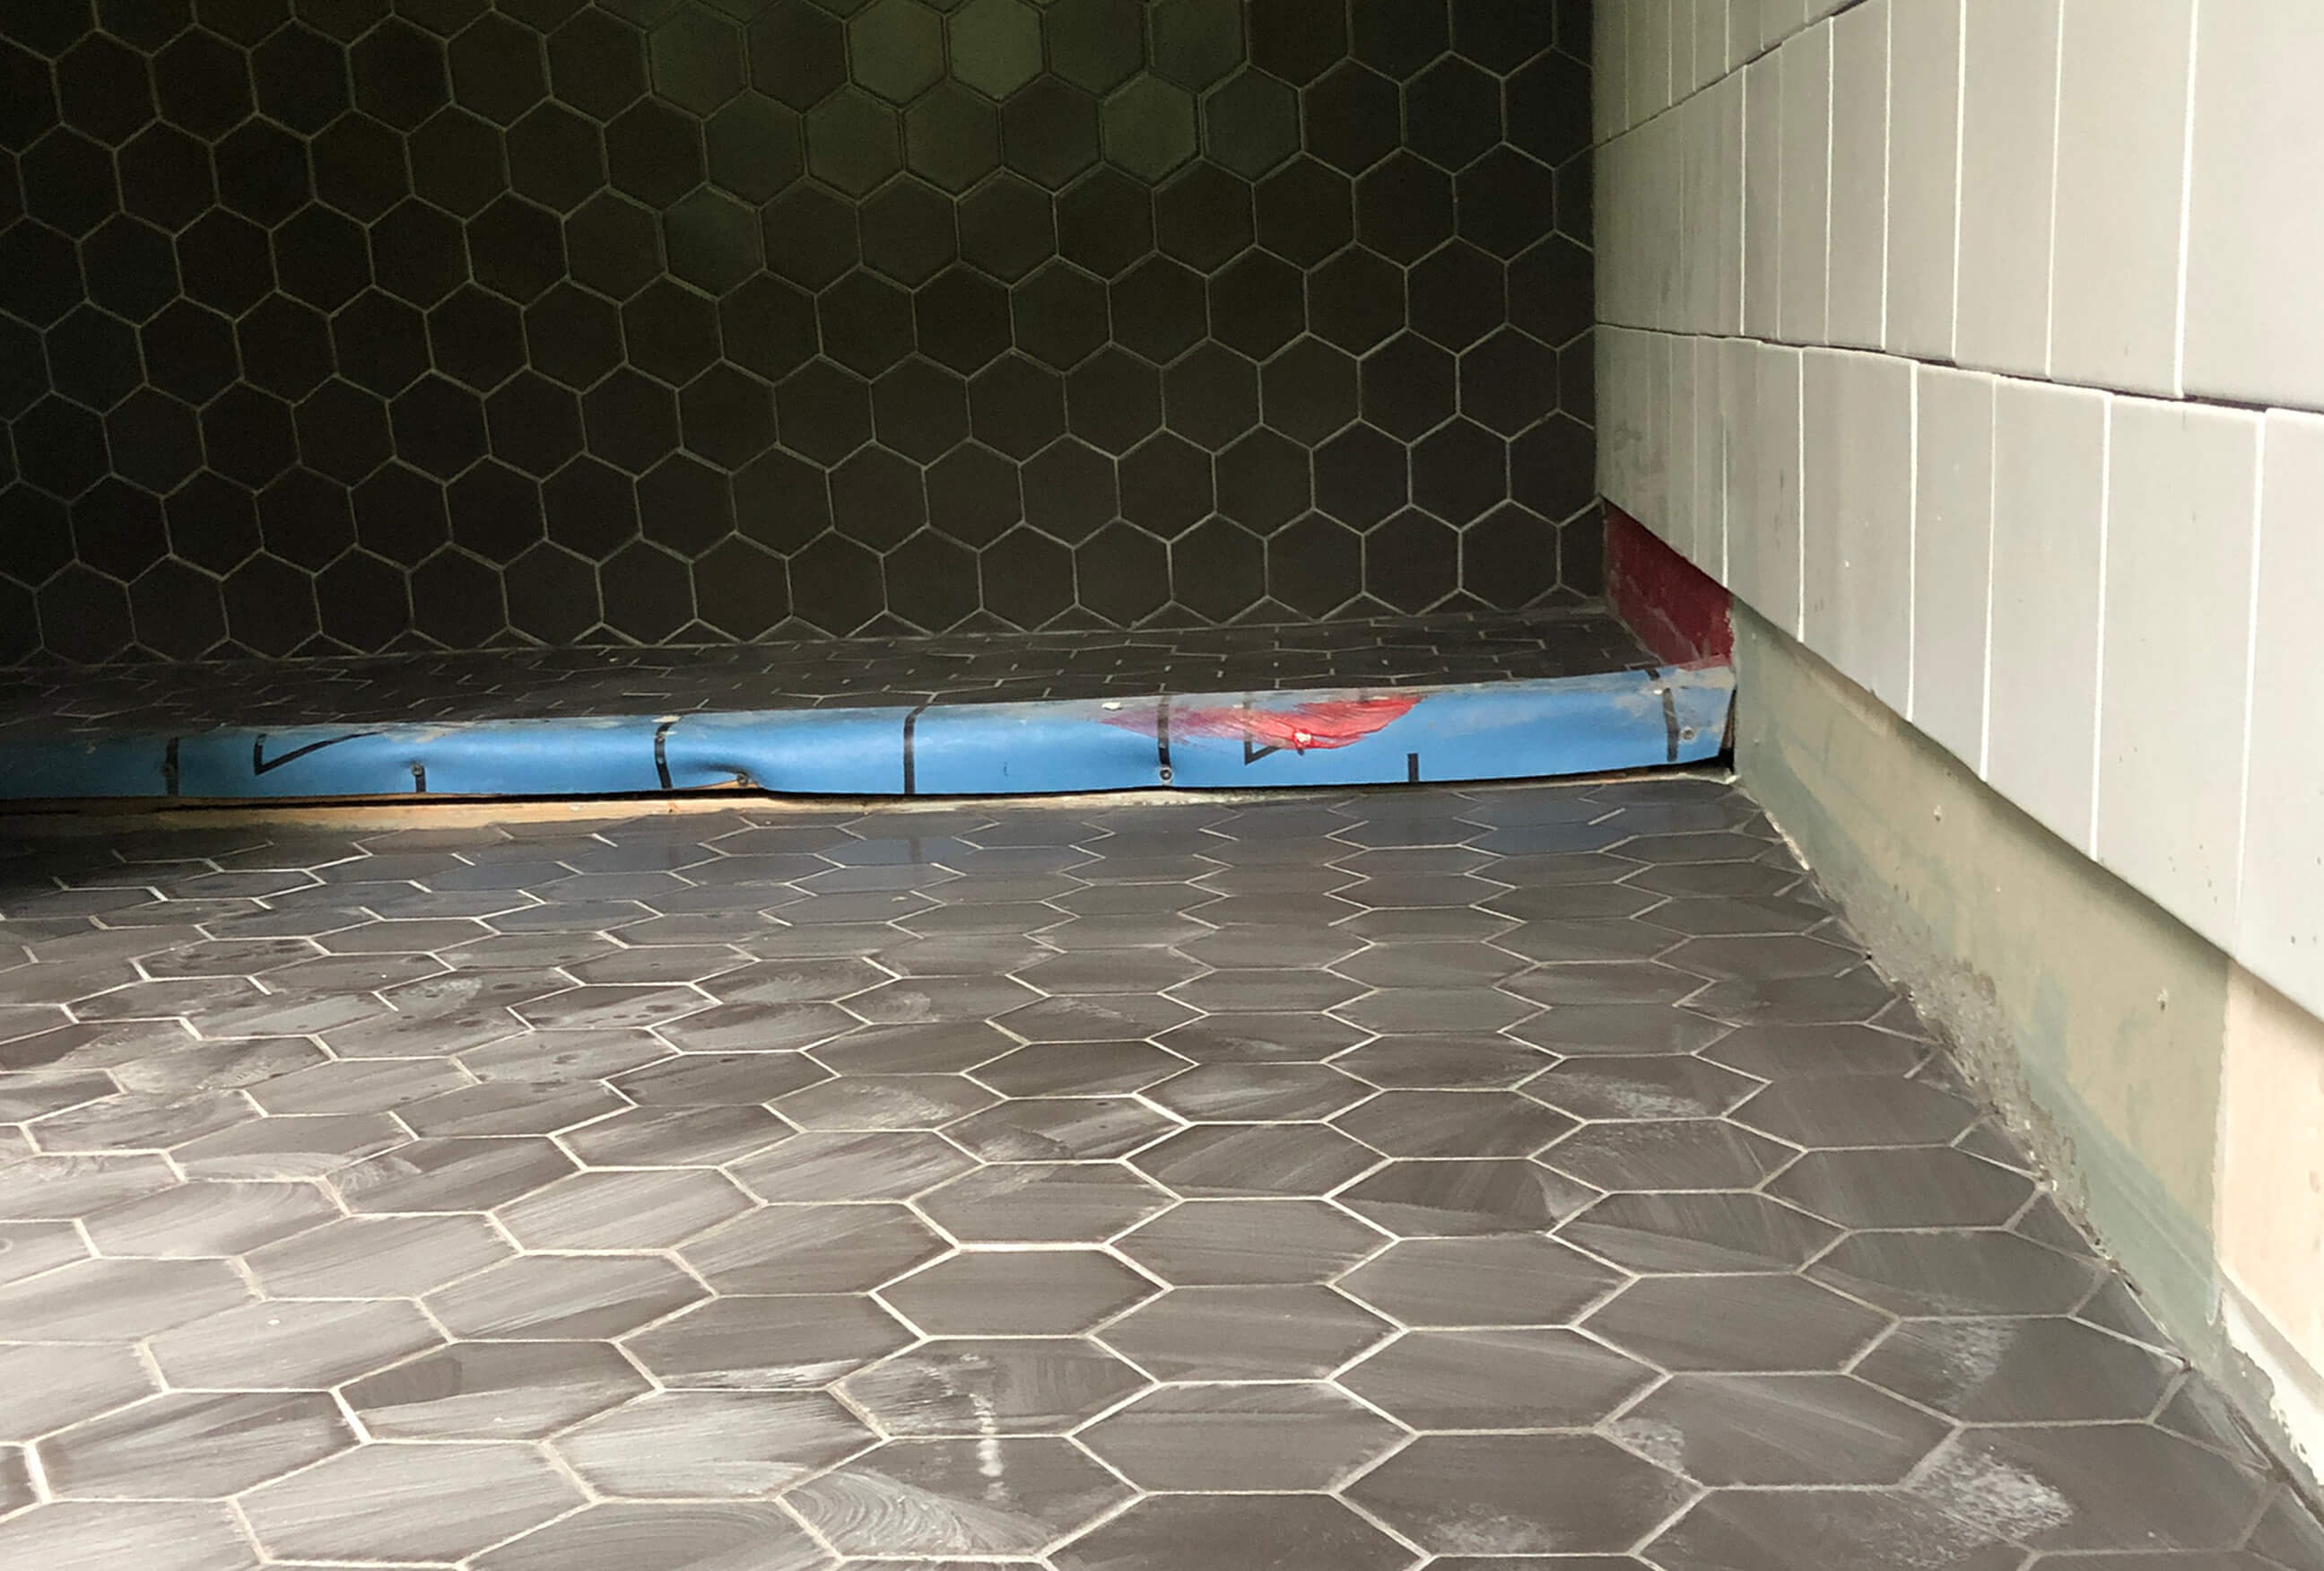
Grout, being a porous material, is prone to absorbing dirt, grease, mildew, soap scum, and hard water stains, often leading to discoloration before the surrounding tiles show any signs of wear. Restoring the original whiteness of grout typically requires a combination of effective cleaning solutions, proper technique, and considerable effort. Before commencing any cleaning process, it is essential to prepare the surface by sweeping or vacuuming to remove loose dirt, dust, and pet hair. This preliminary step prevents grime from spreading during cleaning and enhances the overall effectiveness of the grout cleaning. To maintain grout's appearance and minimize the need for intensive cleaning, it is recommended to clean it every other month.
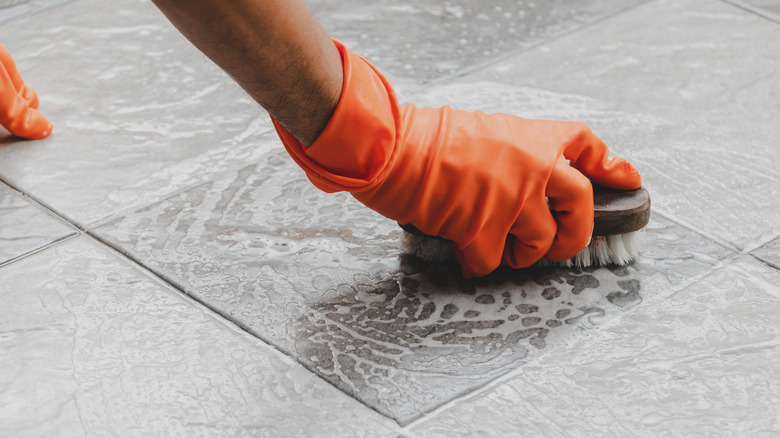
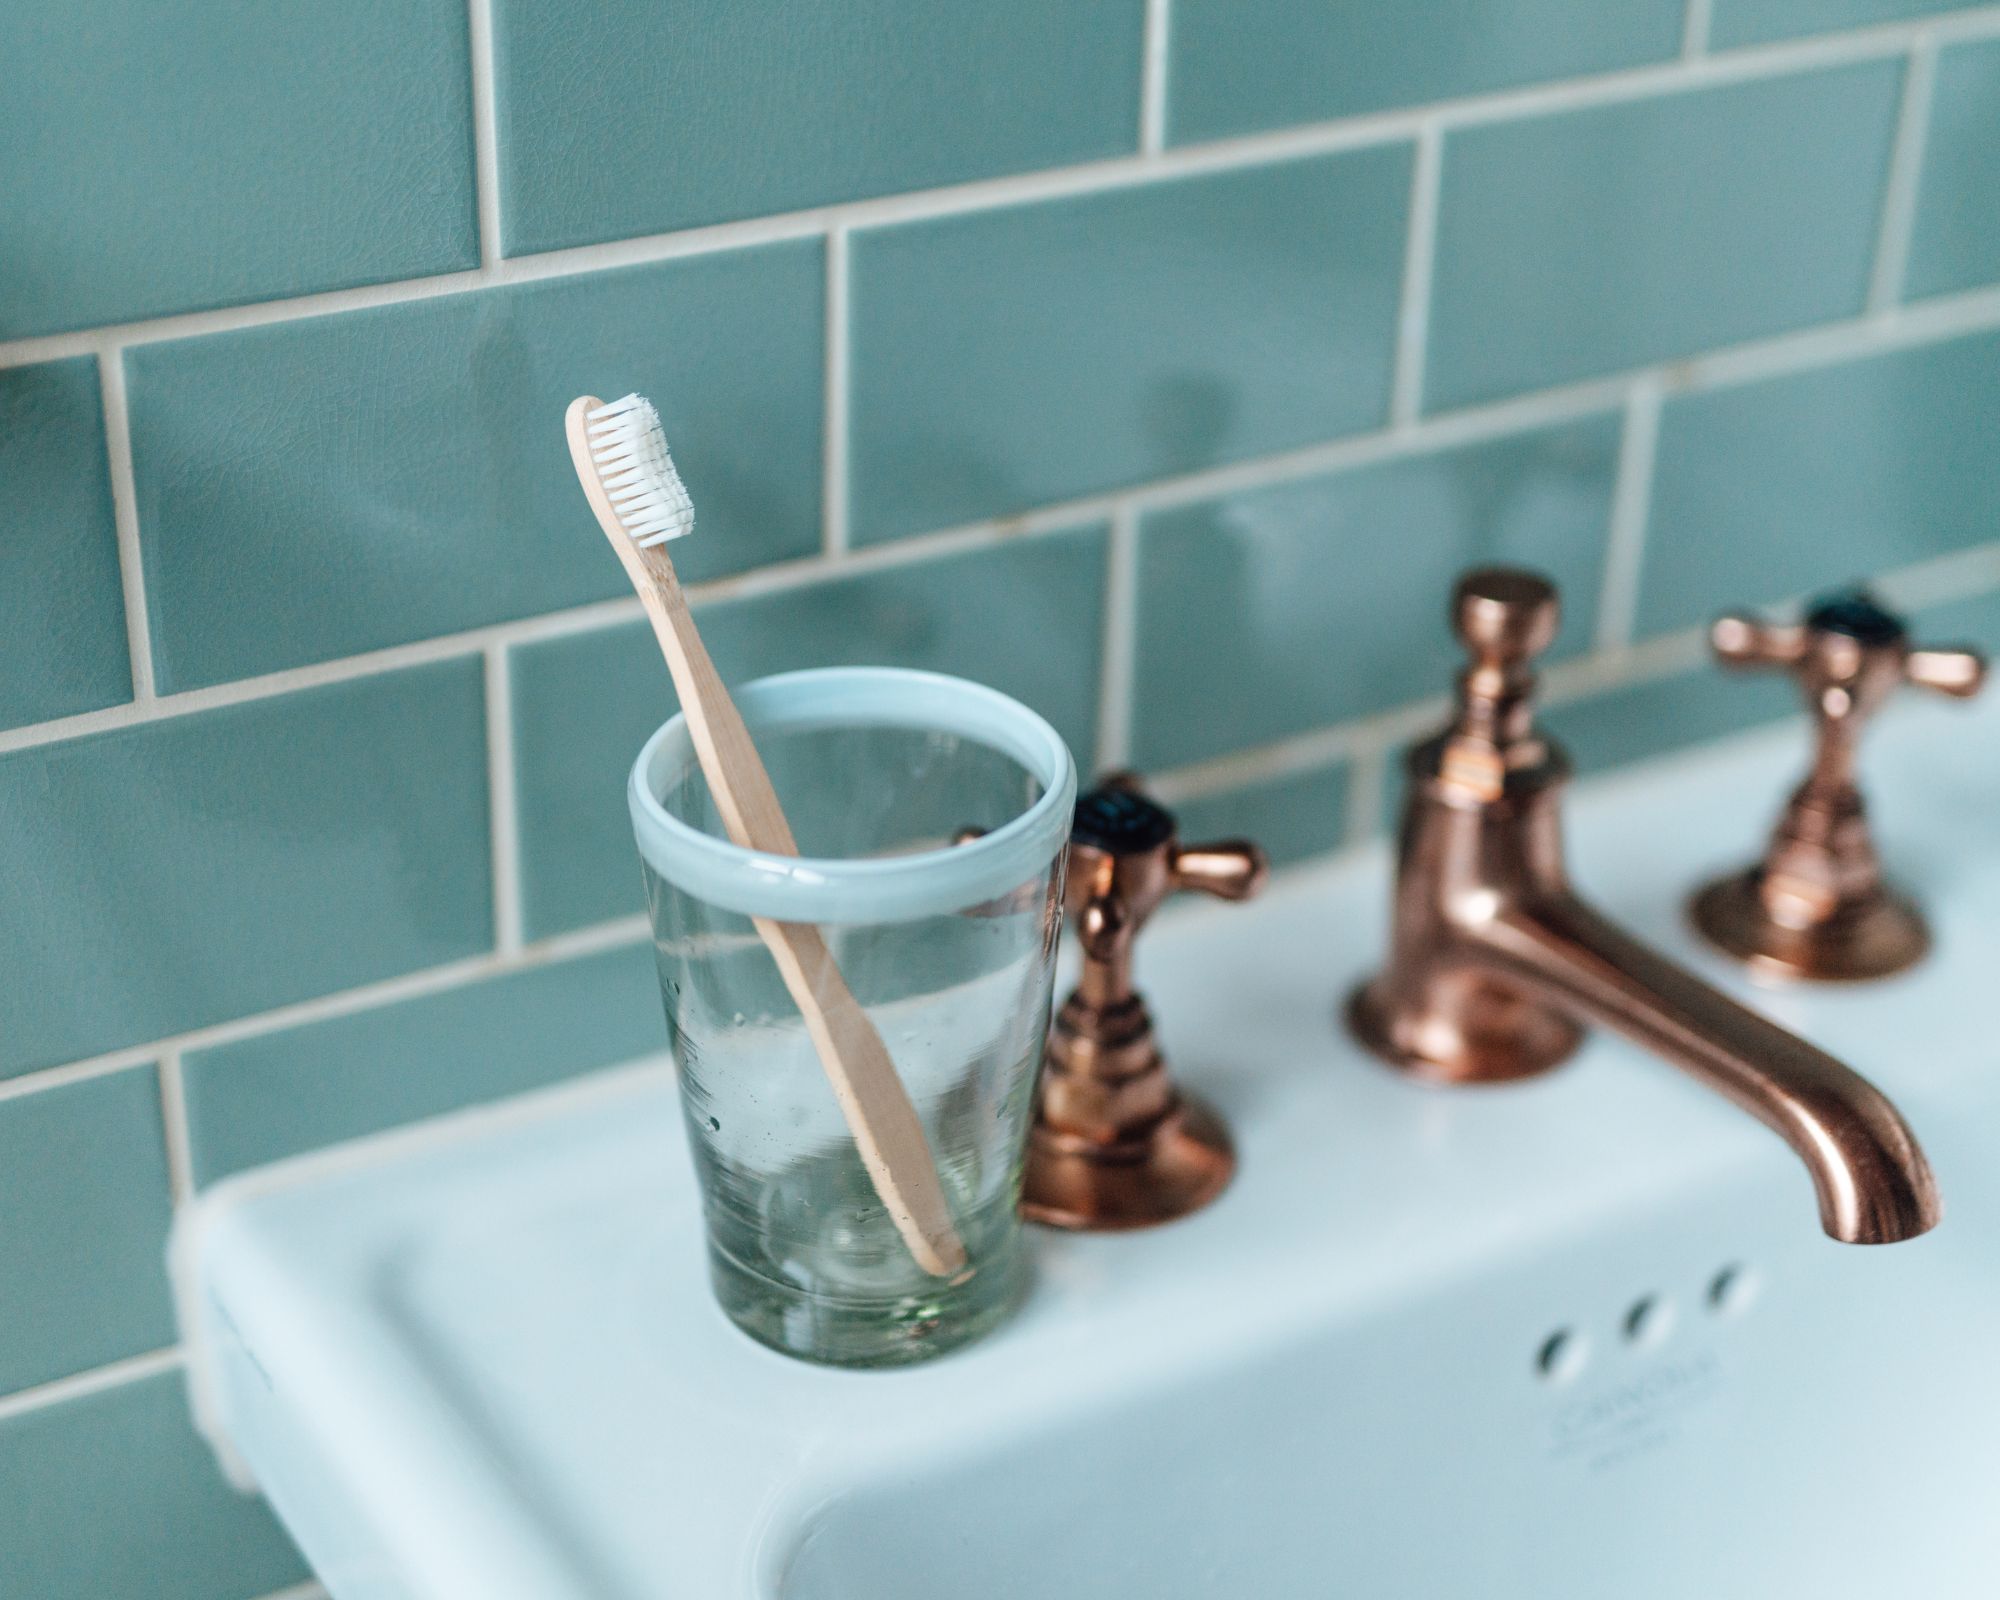
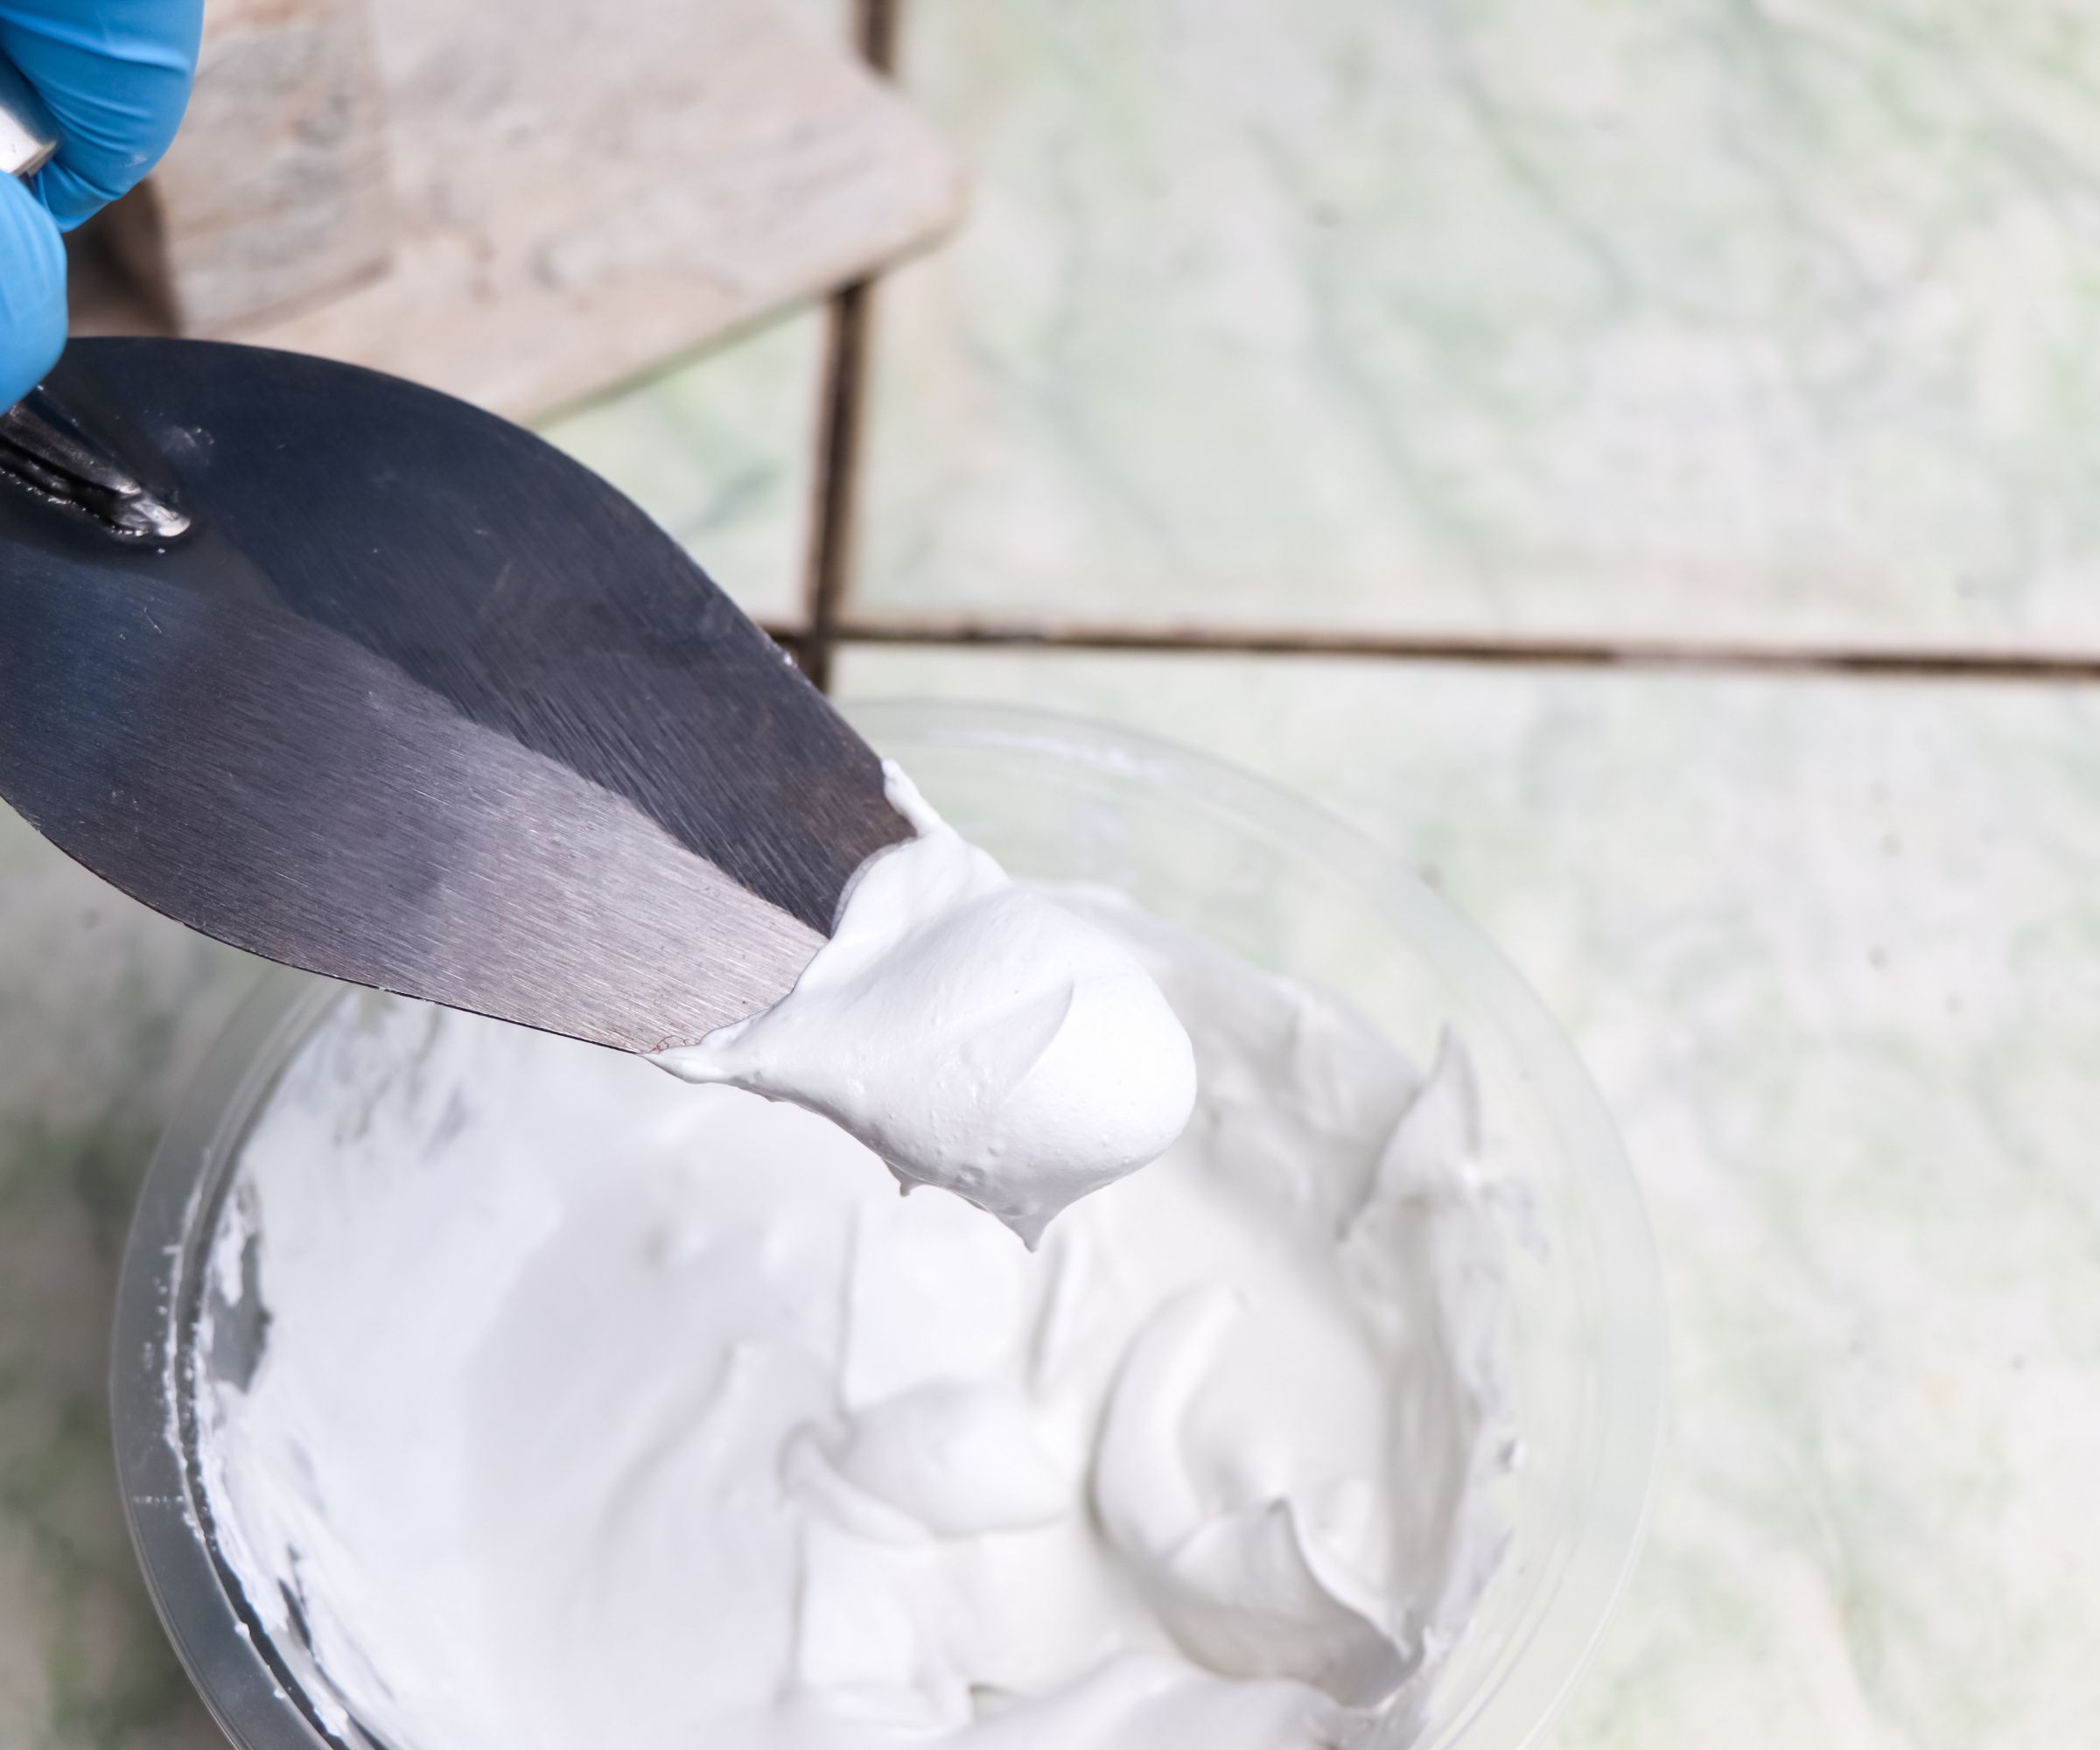
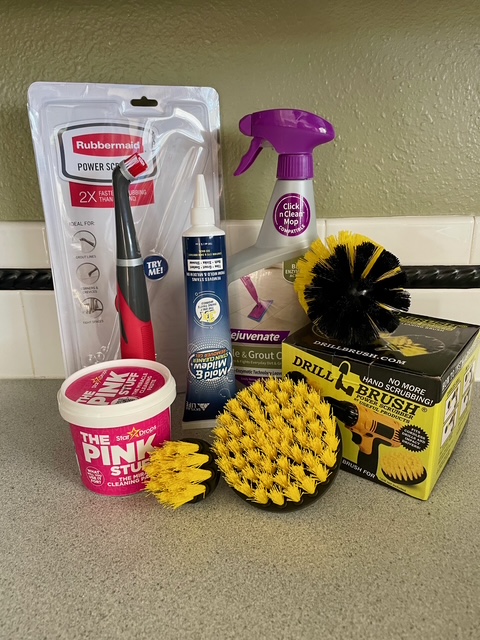
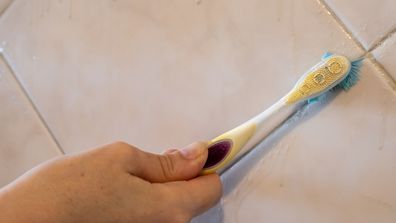
One effective method for cleaning grout involves creating a paste from baking soda and hydrogen peroxide. This mixture is particularly suitable for tackling everyday grime and surface stains. The paste is prepared by combining one part hydrogen peroxide with two parts baking soda. This paste is then applied to the grout lines using a grout brush or an old toothbrush. After application, it should be allowed to sit for approximately ten minutes. Following this, the grout should be scrubbed in circular motions using a brush with stiff, non-wire bristles to dislodge the loosened dirt and stains.
For more stubborn stains, particularly those caused by mold or in high-moisture areas like kitchens and bathrooms, an oxygen-based bleach proves more effective. When using oxygen bleach, adequate ventilation of the area is crucial. For lighter stains, a solution can be made by mixing two tablespoons of oxygen bleach with two cups of warm water. For tougher stains, a thicker paste can be formed by adding just enough water to the oxygen bleach to make it spreadable. Before widespread application, it is advisable to test the solution or paste on a small, inconspicuous patch of grout to ensure compatibility and prevent discoloration. The liquid solution can be sprayed directly onto the grout, or the paste can be applied with a grout brush or an old toothbrush. It should be left to sit for 15 minutes, followed by scrubbing in circular motions with a stiff-bristled brush.
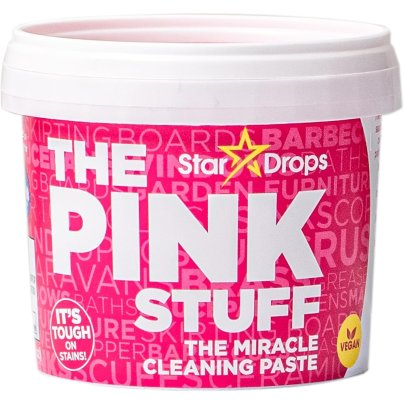
An alternative cleaning method utilizes a bleach alternative product, which achieves cleaning and brightening results without the use of traditional chlorine-free bleach. This process begins by dampening the grout lines with warm water, which helps to loosen grime and prepare the surface for deeper cleaning. One to two scoops of a bleach alternative product are then spread evenly over the wet grout lines, ensuring complete coverage. This is left to sit for 20 minutes. After the waiting period, a grout brush or toothbrush is used to scrub the grout lines with firm, back-and-forth motions to remove the stains.
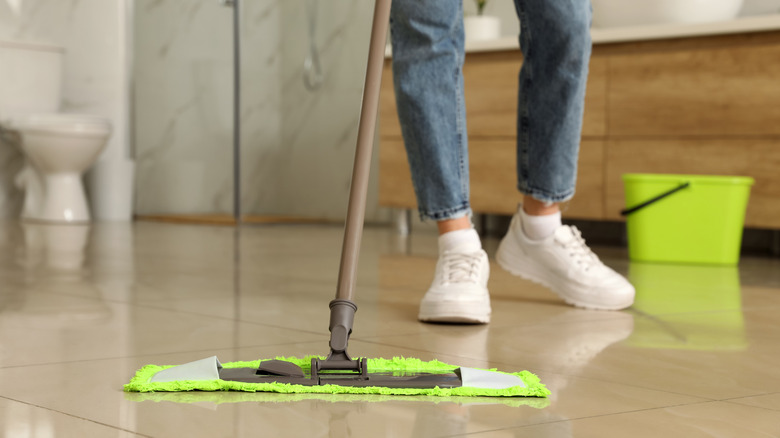
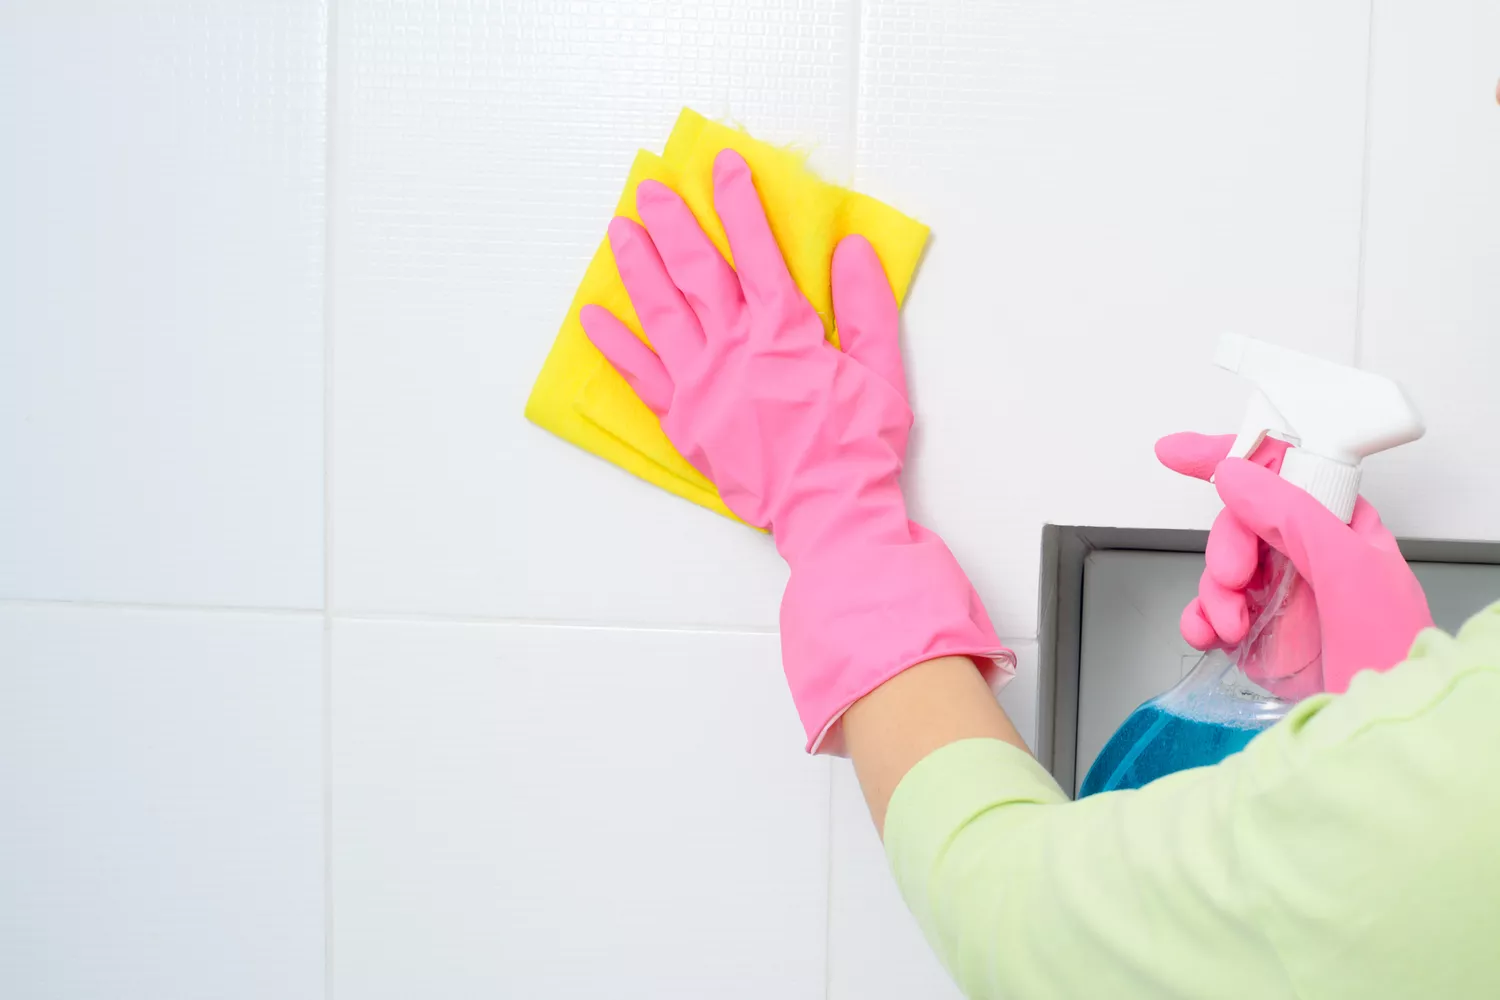
Regardless of the cleaning method chosen, a crucial final step is to remove any leftover residue. For walls, this involves wiping with a damp cloth and rinsing with clean water, while floors should be thoroughly mopped. After the grout has completely dried, applying a grout sealer is highly recommended. A sealer creates a protective barrier that repels future stains and moisture, thereby preserving the cleanliness and extending the life of the grout, reducing the frequency and intensity of future cleaning efforts.
#GroutCleaning #HomeMaintenance #DeepCleaning #BakingSoda #HydrogenPeroxide #OxygenBleach #HomeImprovement #CleaningTips #GroutSealing #GroutCleaning #HomeMaintenance #DeepCleaning #BakingSoda #HydrogenPeroxide #OxygenBleach #HomeImprovement #CleaningTips #GroutSealing
0 comment in total
 No comments yet
You may also like
The Best Grout Cleaners for Pristine Tiles in Every Room
6 Best Grout Cleaners of 2026, Tested and Approved by Cleaning Experts

We Tested 14 of the Best Grout Cleaners—See Which 7 We Recommend

The Right Way to Clean Tile and Grout for Sparkling Results

6 Best Grout Cleaners for a Brilliant Bathroom

How to change grout color - the easiest little touch to make your home feel fresh again

How to clean grout on tile, according to experts - TODAY

We Tested 14 of 2025’s Best Grout Cleaners—See Which 7 We Recommend
Five cheap and easy ways to clean grout using things you already own
The $2.15 Woolworths product that transformed dirty, mouldy grout back to bright white

Getting the Grout Right

Professional cleaners never waste their time with standard mops on tile floors – this is the $13 essential they always recommend instead

Pros Reveal the Best Way to Clean Tile Floors + Easy Secret to Get Grout White Again

3 unexpected grout colors that prove you don’t have to decorate with just white
7 Best Grout Cleaners for a Brilliant Bathroom

The 7 Best Grout Cleaners of 2025

If Your Grout Has Seen Better Days, You Need One Of These Best-Of-The-Best Grout Cleaners

An Expert Tells Us How To Keep Your Tile Grout Stain-Free
How to regrout between tiles to keep them from looking tired in 6 simple steps

This Gel You Likely Already Own Works Surprisingly Well at Cleaning Dirty Grout | Reviews by Wirecutter