1/3
The Vinyl Flooring Trimming Trick Works Around Toilets, But There's A Better Way
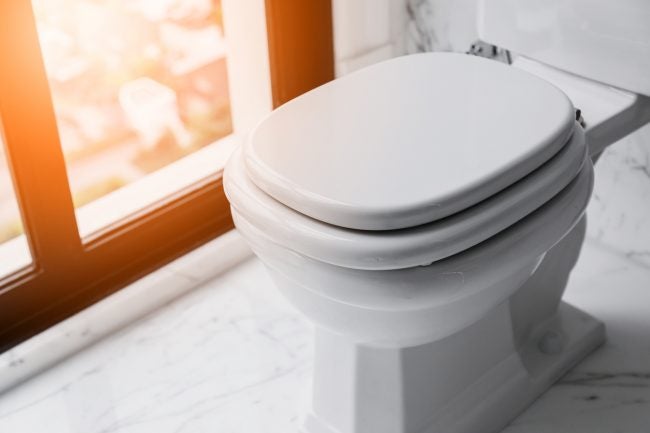
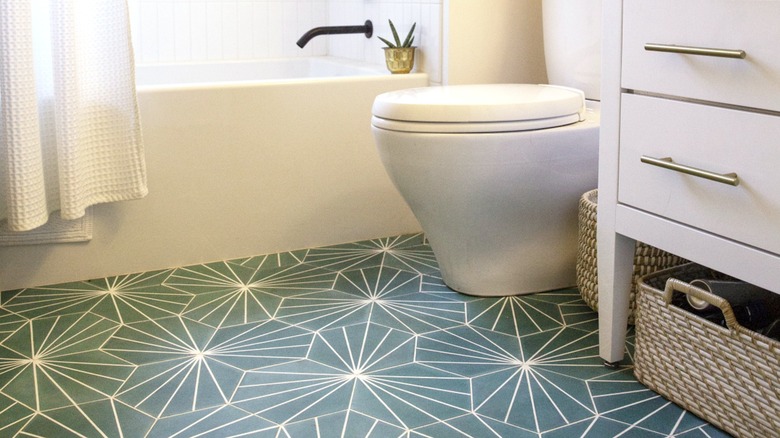
Installing vinyl flooring in a bathroom, especially around fixtures like toilets, can be a challenging task for homeowners. While some experienced professionals may make the process appear seamless, often using a utility knife to trim flooring around the toilet base, this method is not always the most advisable or DIY-friendly approach. According to Skylar Bartlett, owner of Kreer Construction, opting for a seemingly quicker trimming hack can lead to more complications than simply doing the job correctly from the outset.
Bartlett emphasizes that achieving a perfect, tight cut around a toilet base requires significant trial and error, often consuming more time than if the toilet were removed. More importantly, vinyl flooring needs to lie flat and accommodate slight expansion and contraction due to temperature changes. Forcing it to bend or conform to irregular shapes around fixtures can cause shifting, lifting, or even an uneven toilet placement, which can compromise the toilet’s seal and result in leaks. Therefore, while trimming might seem efficient, it can jeopardize the longevity and functionality of the flooring and the toilet.
Bartlett advocates for the removal of the toilet and other obstructions, such as baseboards, before installing vinyl flooring. This method not only yields a superior aesthetic but also prevents future issues like water damage, gapping, or buckling. By working on a clear subfloor, installers can lay vinyl sheets from end to end without the need for intricate cuts or matching seams around obstacles, thereby reducing the chances of visible imperfections. The process involves turning off the water supply, disconnecting and draining the toilet, unscrewing bolts, and lifting the toilet. The drain should then be plugged with a rag to prevent sewer gas. Following this, baseboards or shoe molding should be gently pried off to allow the flooring to tuck underneath.
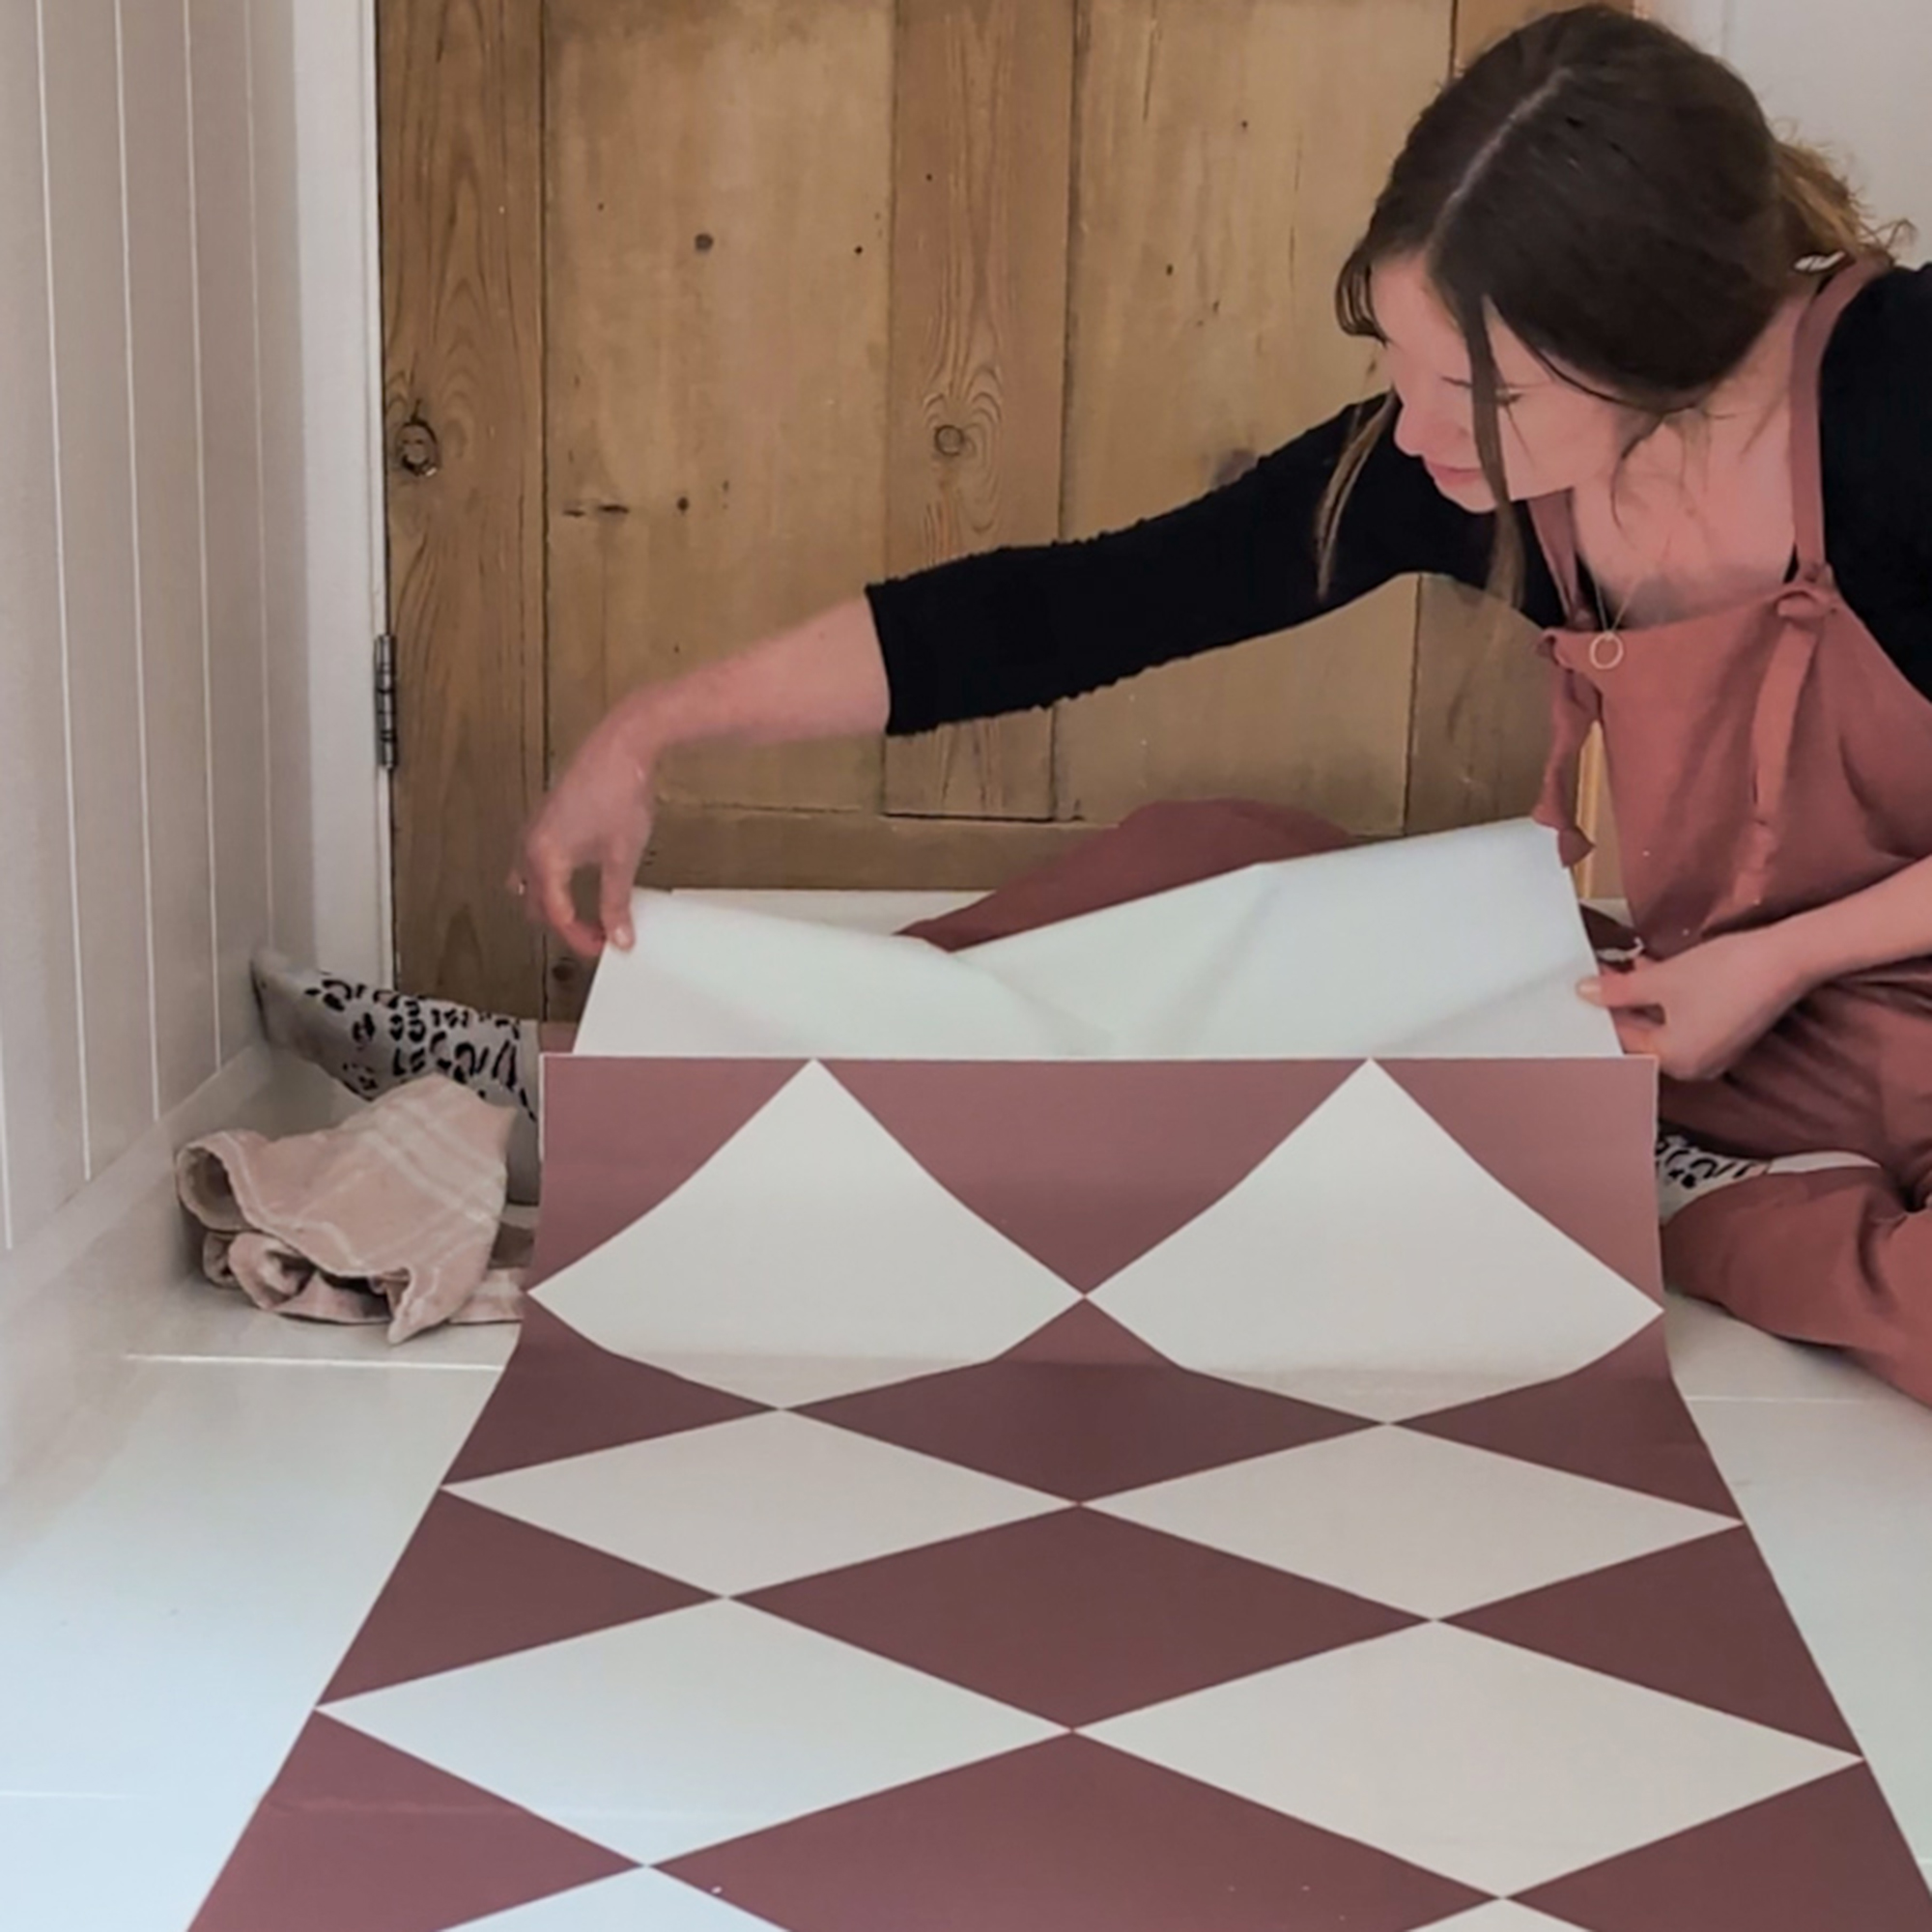
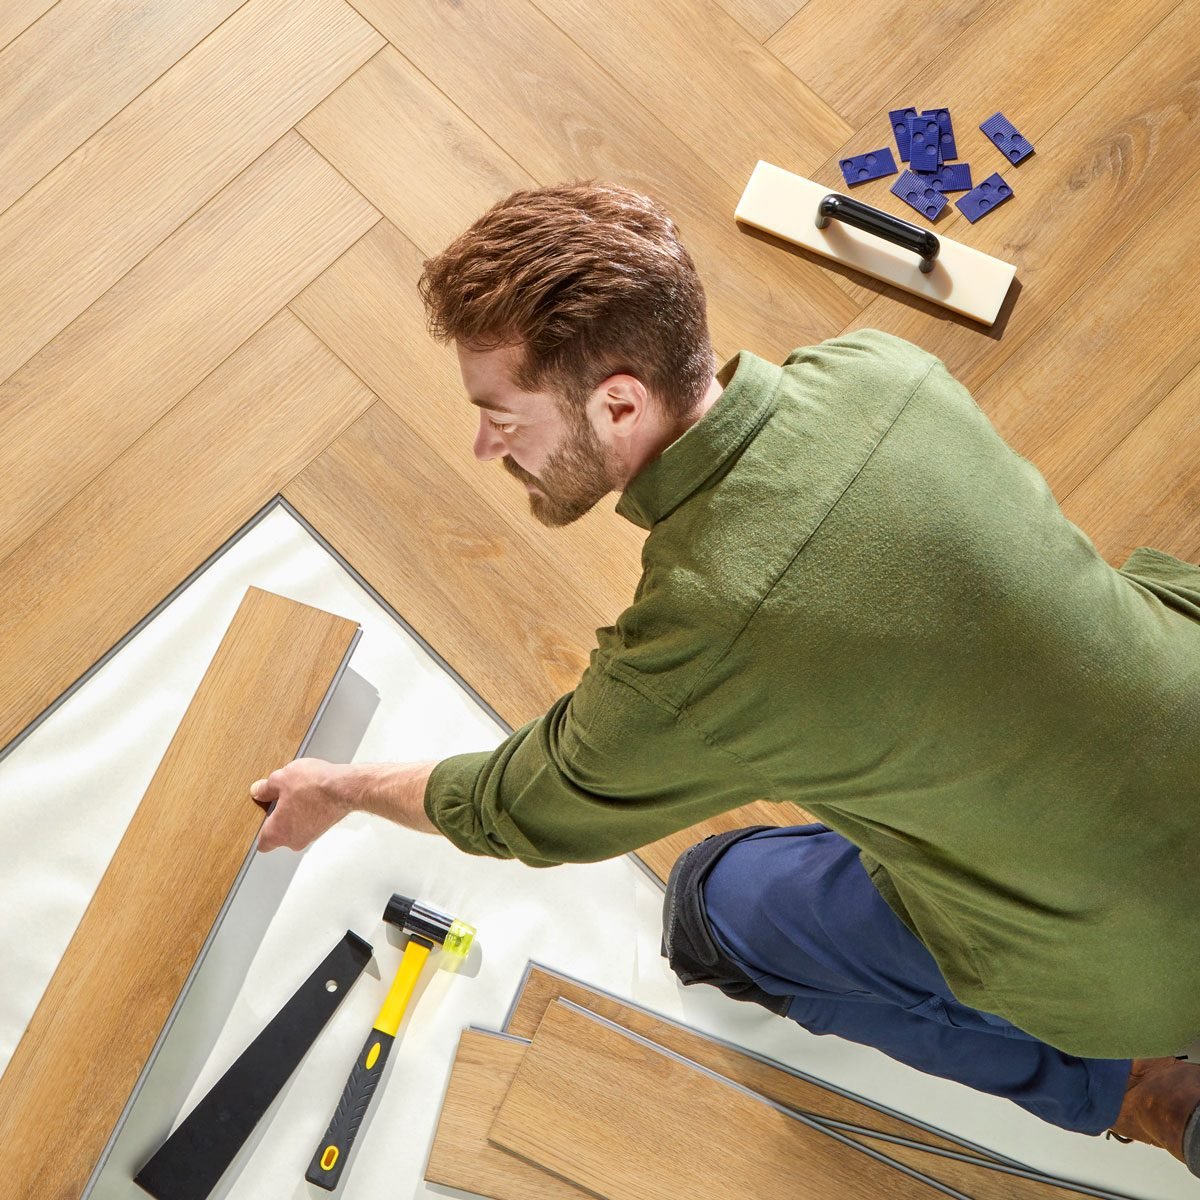
Preparation of the subfloor is a critical step, requiring thorough cleaning, repair of any uneven spots, and ensuring it is dry and level. The vinyl flooring is then laid according to manufacturer instructions, trimmed precisely to fit up to the flange and walls. After the flooring is in place, the trim is reinstalled to conceal expansion gaps and provide a polished look. Finally, a new wax ring is installed, the toilet is set back in place, bolts are tightened, the water is reconnected, and a bead of caulk is applied around the base for a clean, sealed finish. This comprehensive approach ensures a durable and professional outcome.
While Bartlett strongly recommends removing the toilet, she acknowledges that some individuals may still prefer to keep it in place. In such cases, she advises carefully scribing and cutting the vinyl to fit snugly. This involves laying the vinyl as close as possible to the toilet and using a compass or scribing tool to trace the toilet's shape directly onto the flooring for a more accurate outline. The outline is then cut with a sharp utility knife, proceeding slowly to ensure a tight but not overly snug fit. It is crucial to test the cut before applying adhesive or locking the flooring. After installation, a bead of waterproof silicone caulk should be applied around the toilet base to seal any small gaps and prevent moisture intrusion.
Regardless of the installation method, several critical considerations must be observed. Overcutting the vinyl around the toilet can lead to unsightly gaps and moisture problems; therefore, it is always better to undercut slightly. Maintaining tight seals is paramount, so a high-quality waterproof caulk should always be used around the toilet base. If the toilet is removed, replacing the wax ring is a non-negotiable step, as this inexpensive component prevents sewer gas leaks and water damage. Adhering to these expert tips helps ensure the durability and integrity of the vinyl flooring installation, preventing the need for costly reworks in the future.
#VinylFlooringInstallation #BathroomRenovation #DIYHomeImprovement #ToiletRemoval #FlooringTips #HomeMaintenance #ConstructionAdvice #VinylFlooringInstallation #BathroomRenovation #DIYHomeImprovement #ToiletRemoval #FlooringTips #HomeMaintenance #ConstructionAdvice
0 comment in total
 No comments yet
You may also like
This stunning bathroom makeover cost only $550 using self-stick vinyl floor tiles

Thrifty homeowner transforms her bathroom using vinyl flooring from B&M and stickers from eBay
The Easy (and Cheap!) Bathroom Update that Makes a Big Difference
The Right Way to Clean Vinyl Plank Flooring
You're cleaning your bathroom floor wrong, experts warn – here's how to get it right

14 Bathroom flooring ideas to create a stylish and sensible space in 2025
A Guide to Gorgeous Floors


Parador's Neel Bradham on the best flooring for kitchens and bathrooms
Bathroom Floor Tile Stickers Are a Renter’s Best Friend
5 Things You Should Never Use to Clean Vinyl Plank Flooring, Cleaning Pros Say

The Easy Upgrade That Can Change Your Bathroom Experience


How to design a bathroom: decor ideas and tips
Flooring Forecast 2021: Here’s What’s Trending in Bathroom Floors
Vinyl bathroom flooring ideas – 10 ways to use the new flooring trend about to take over tiles


The Floor Decluttering Method is so easy and works
Best ways to clean vinyl flooring - the dos and don’ts to consider if you have vinyl in your home
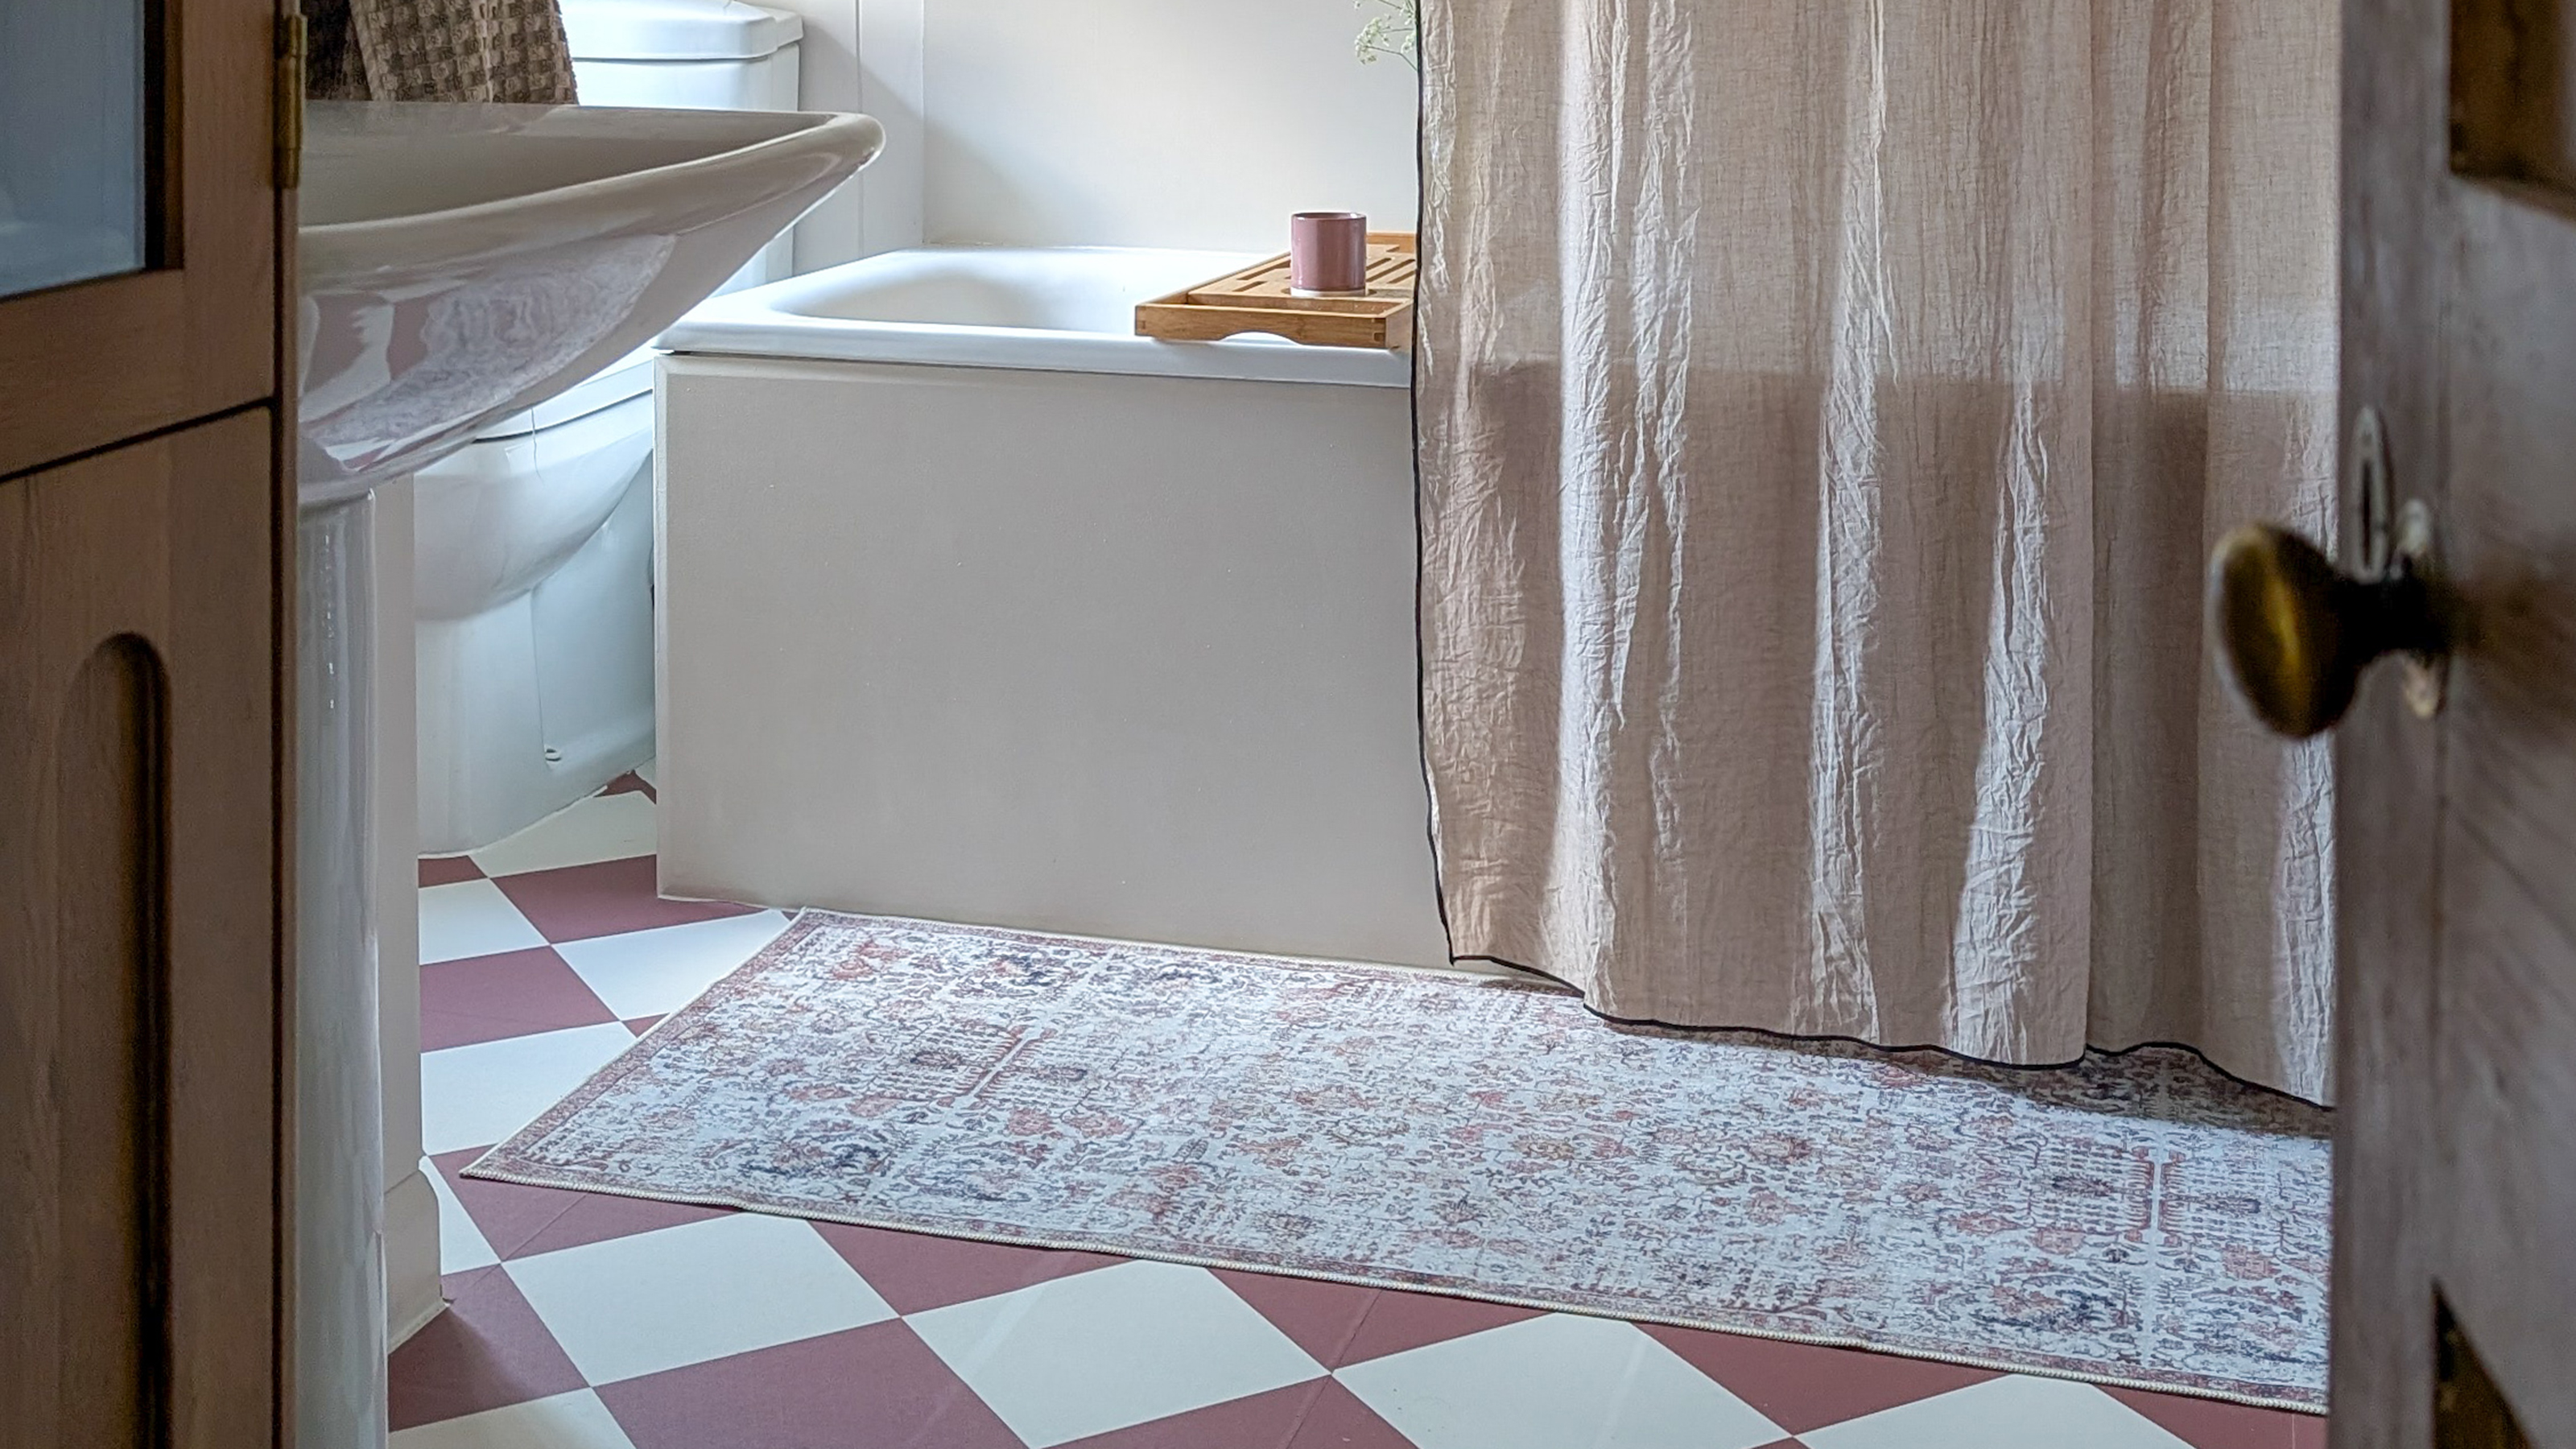
Will vinyl floor panels look good? I've tried them instead of tiling my bathroom and have a very strong opinion
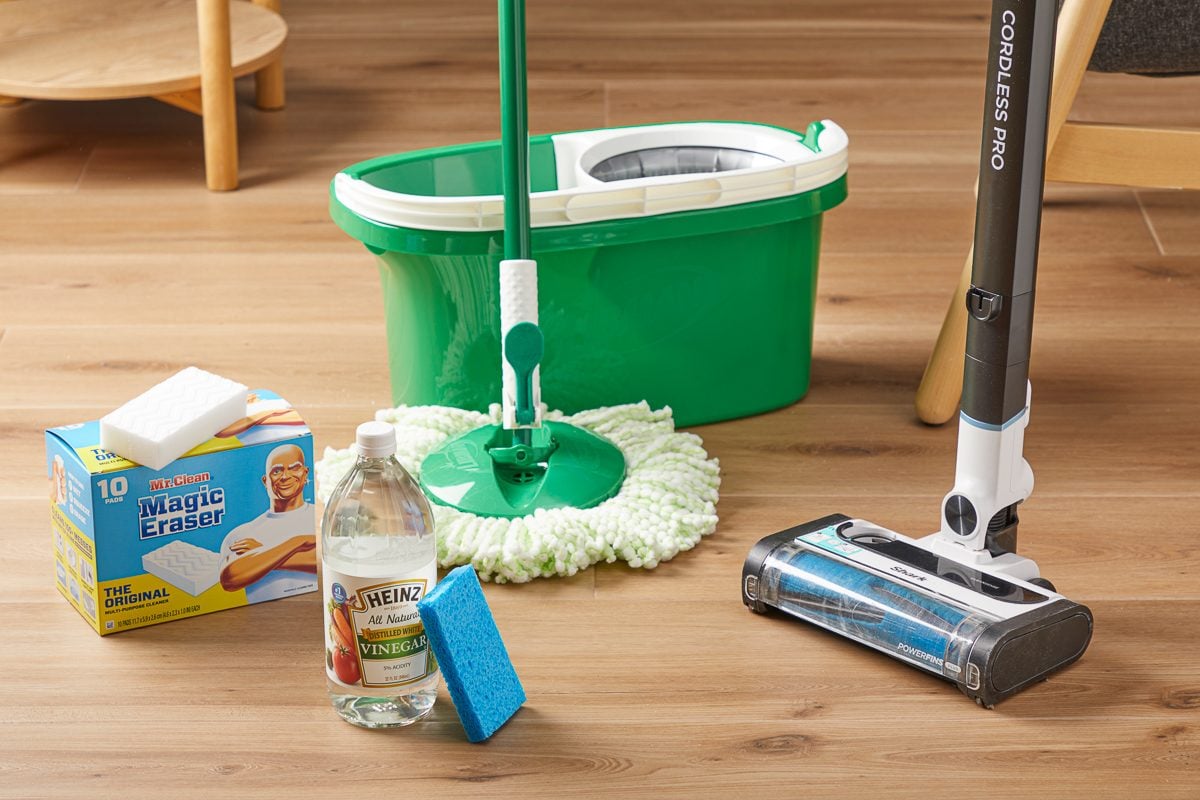
How To Clean Vinyl Plank Flooring Like a Pro
5 Best Types of Flooring for Your Basement in 2022

Ask Wirecutter: Why Can’t Anyone in My Family Manage to Change the Dang Toilet Paper Roll?