1/10
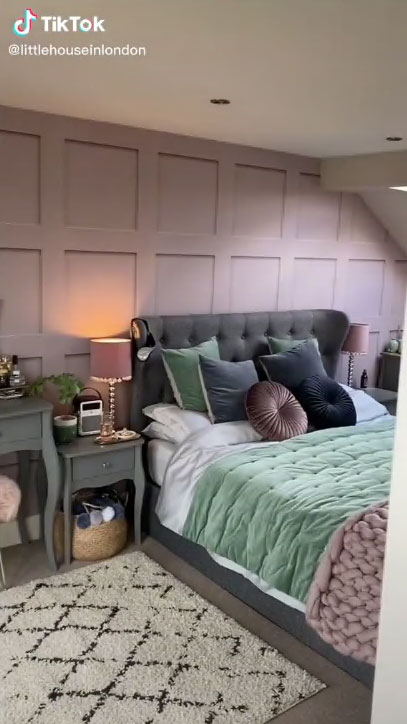
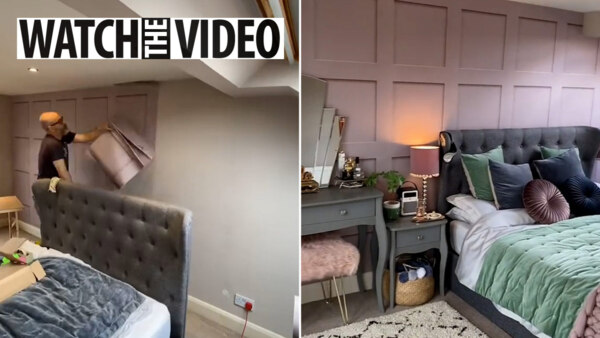
How to panel a wall – DIY this trending look in your home this weekend
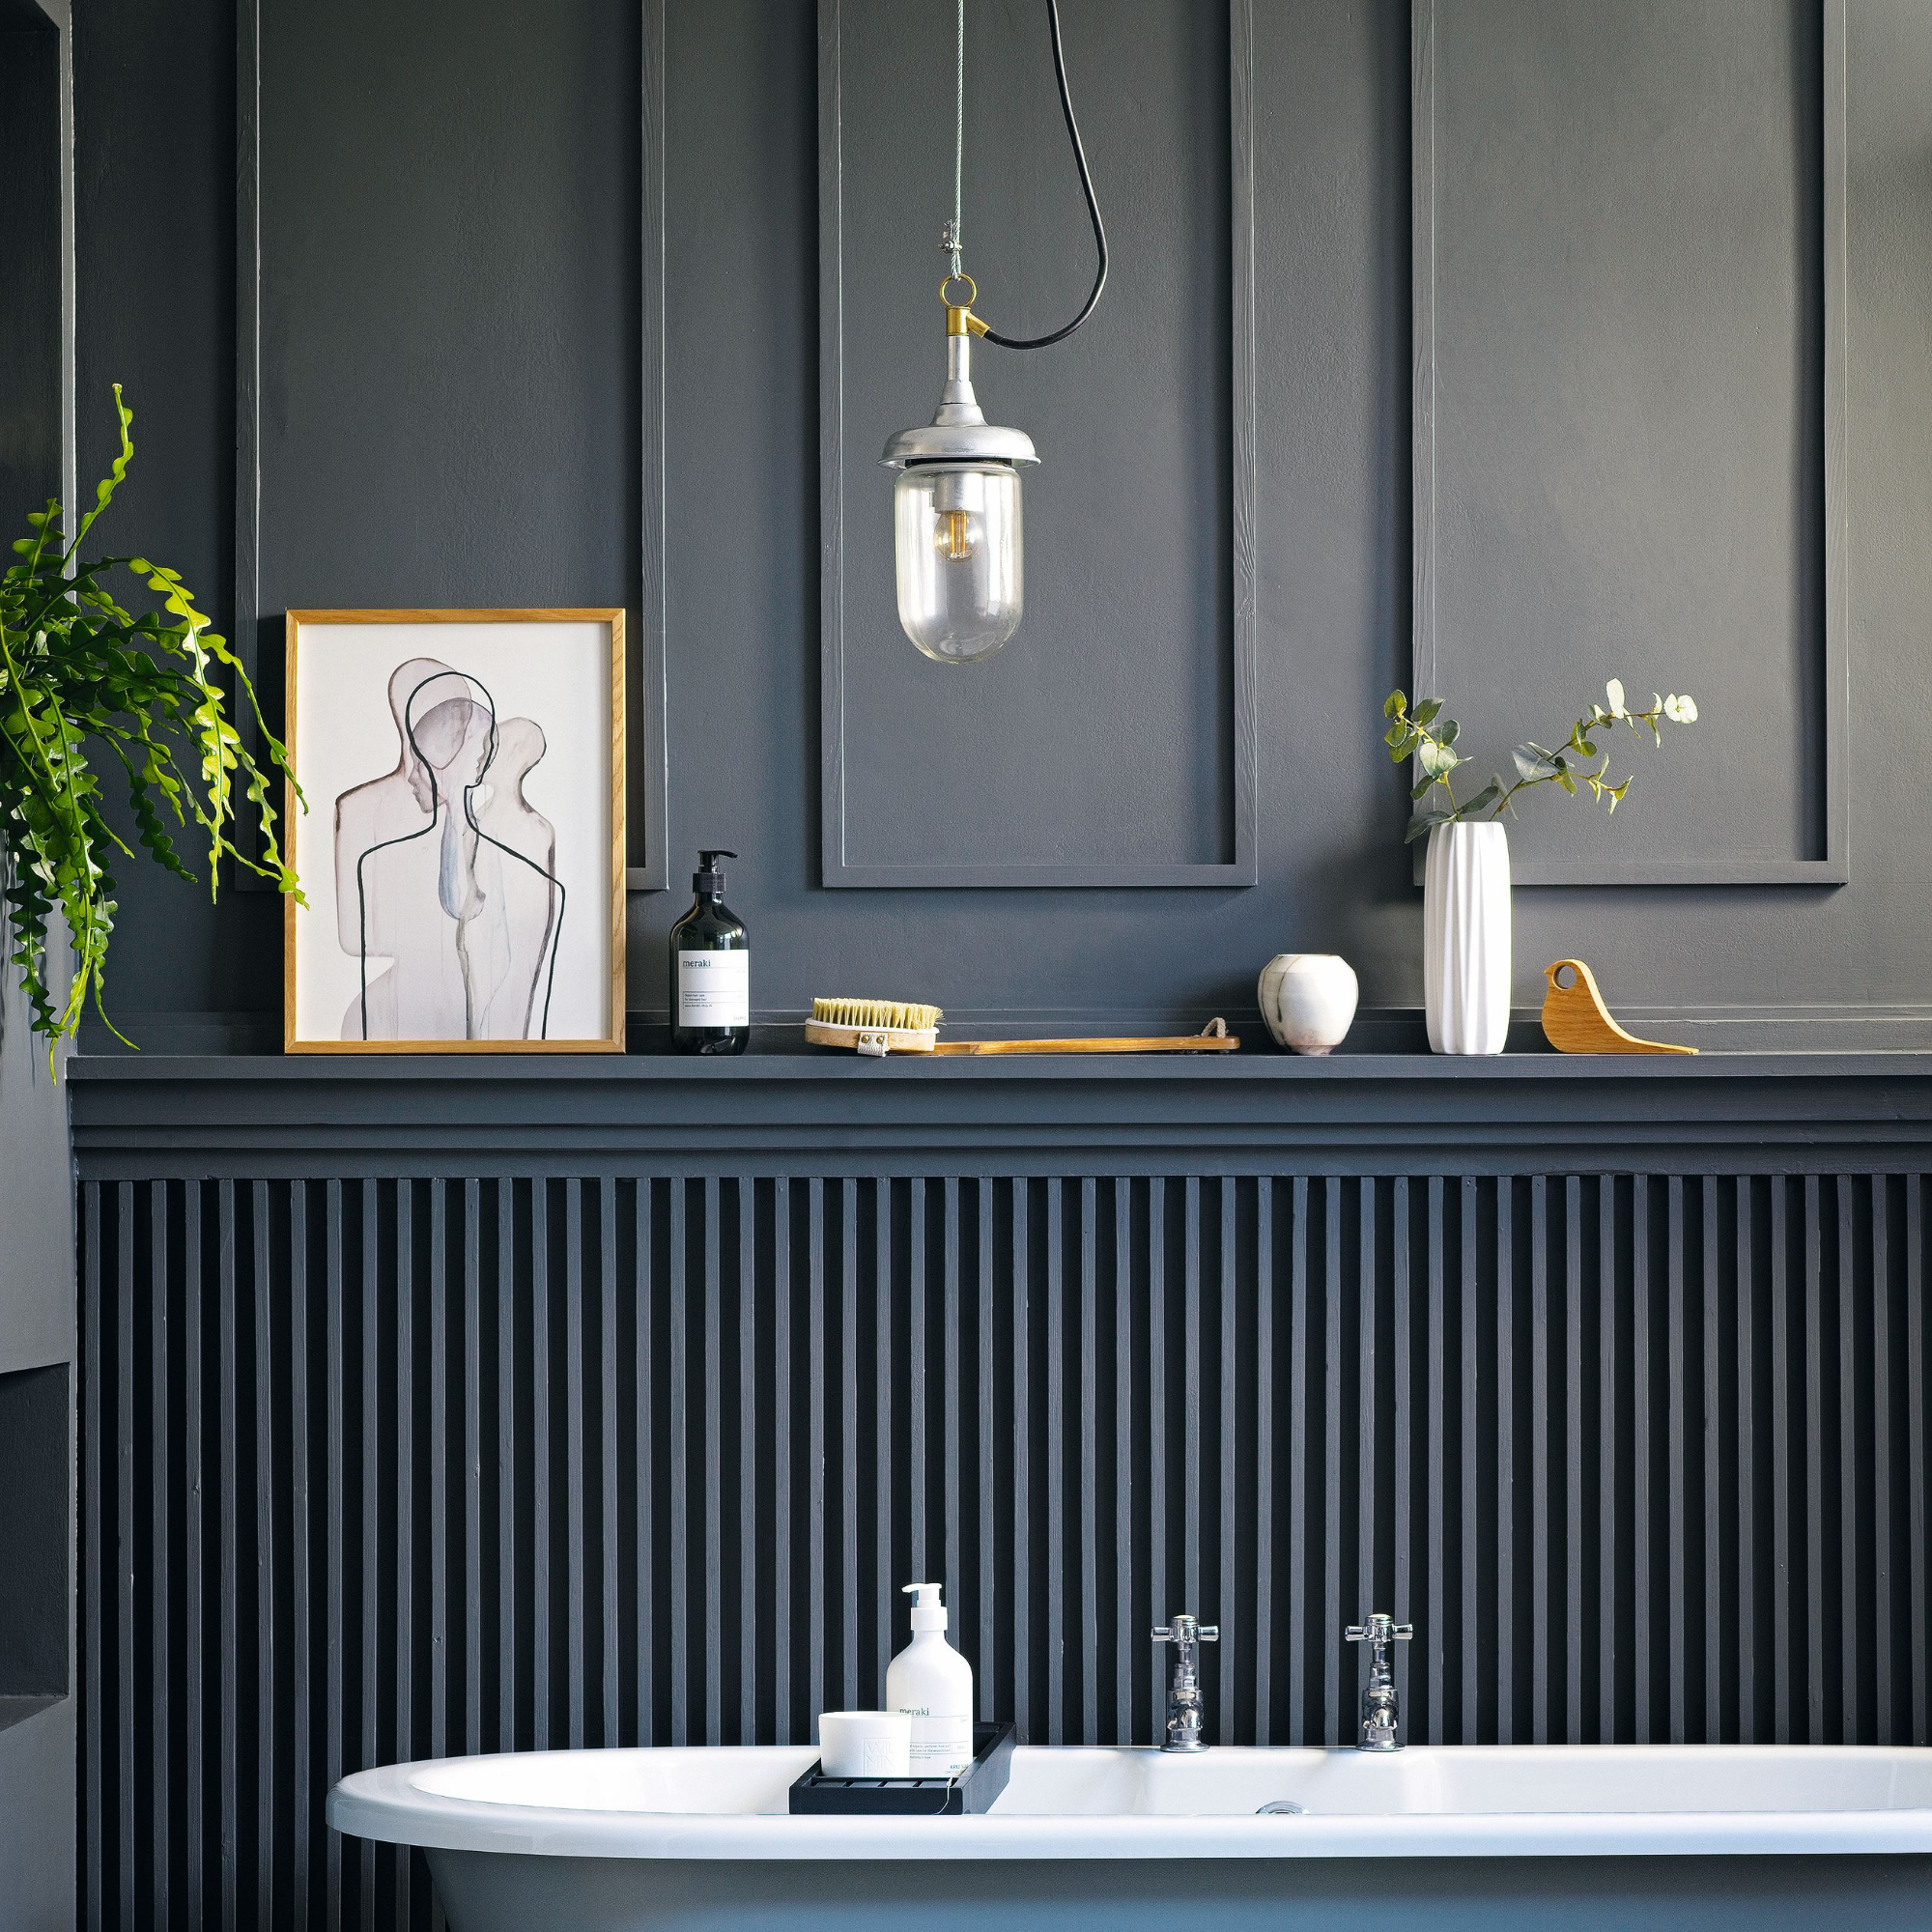
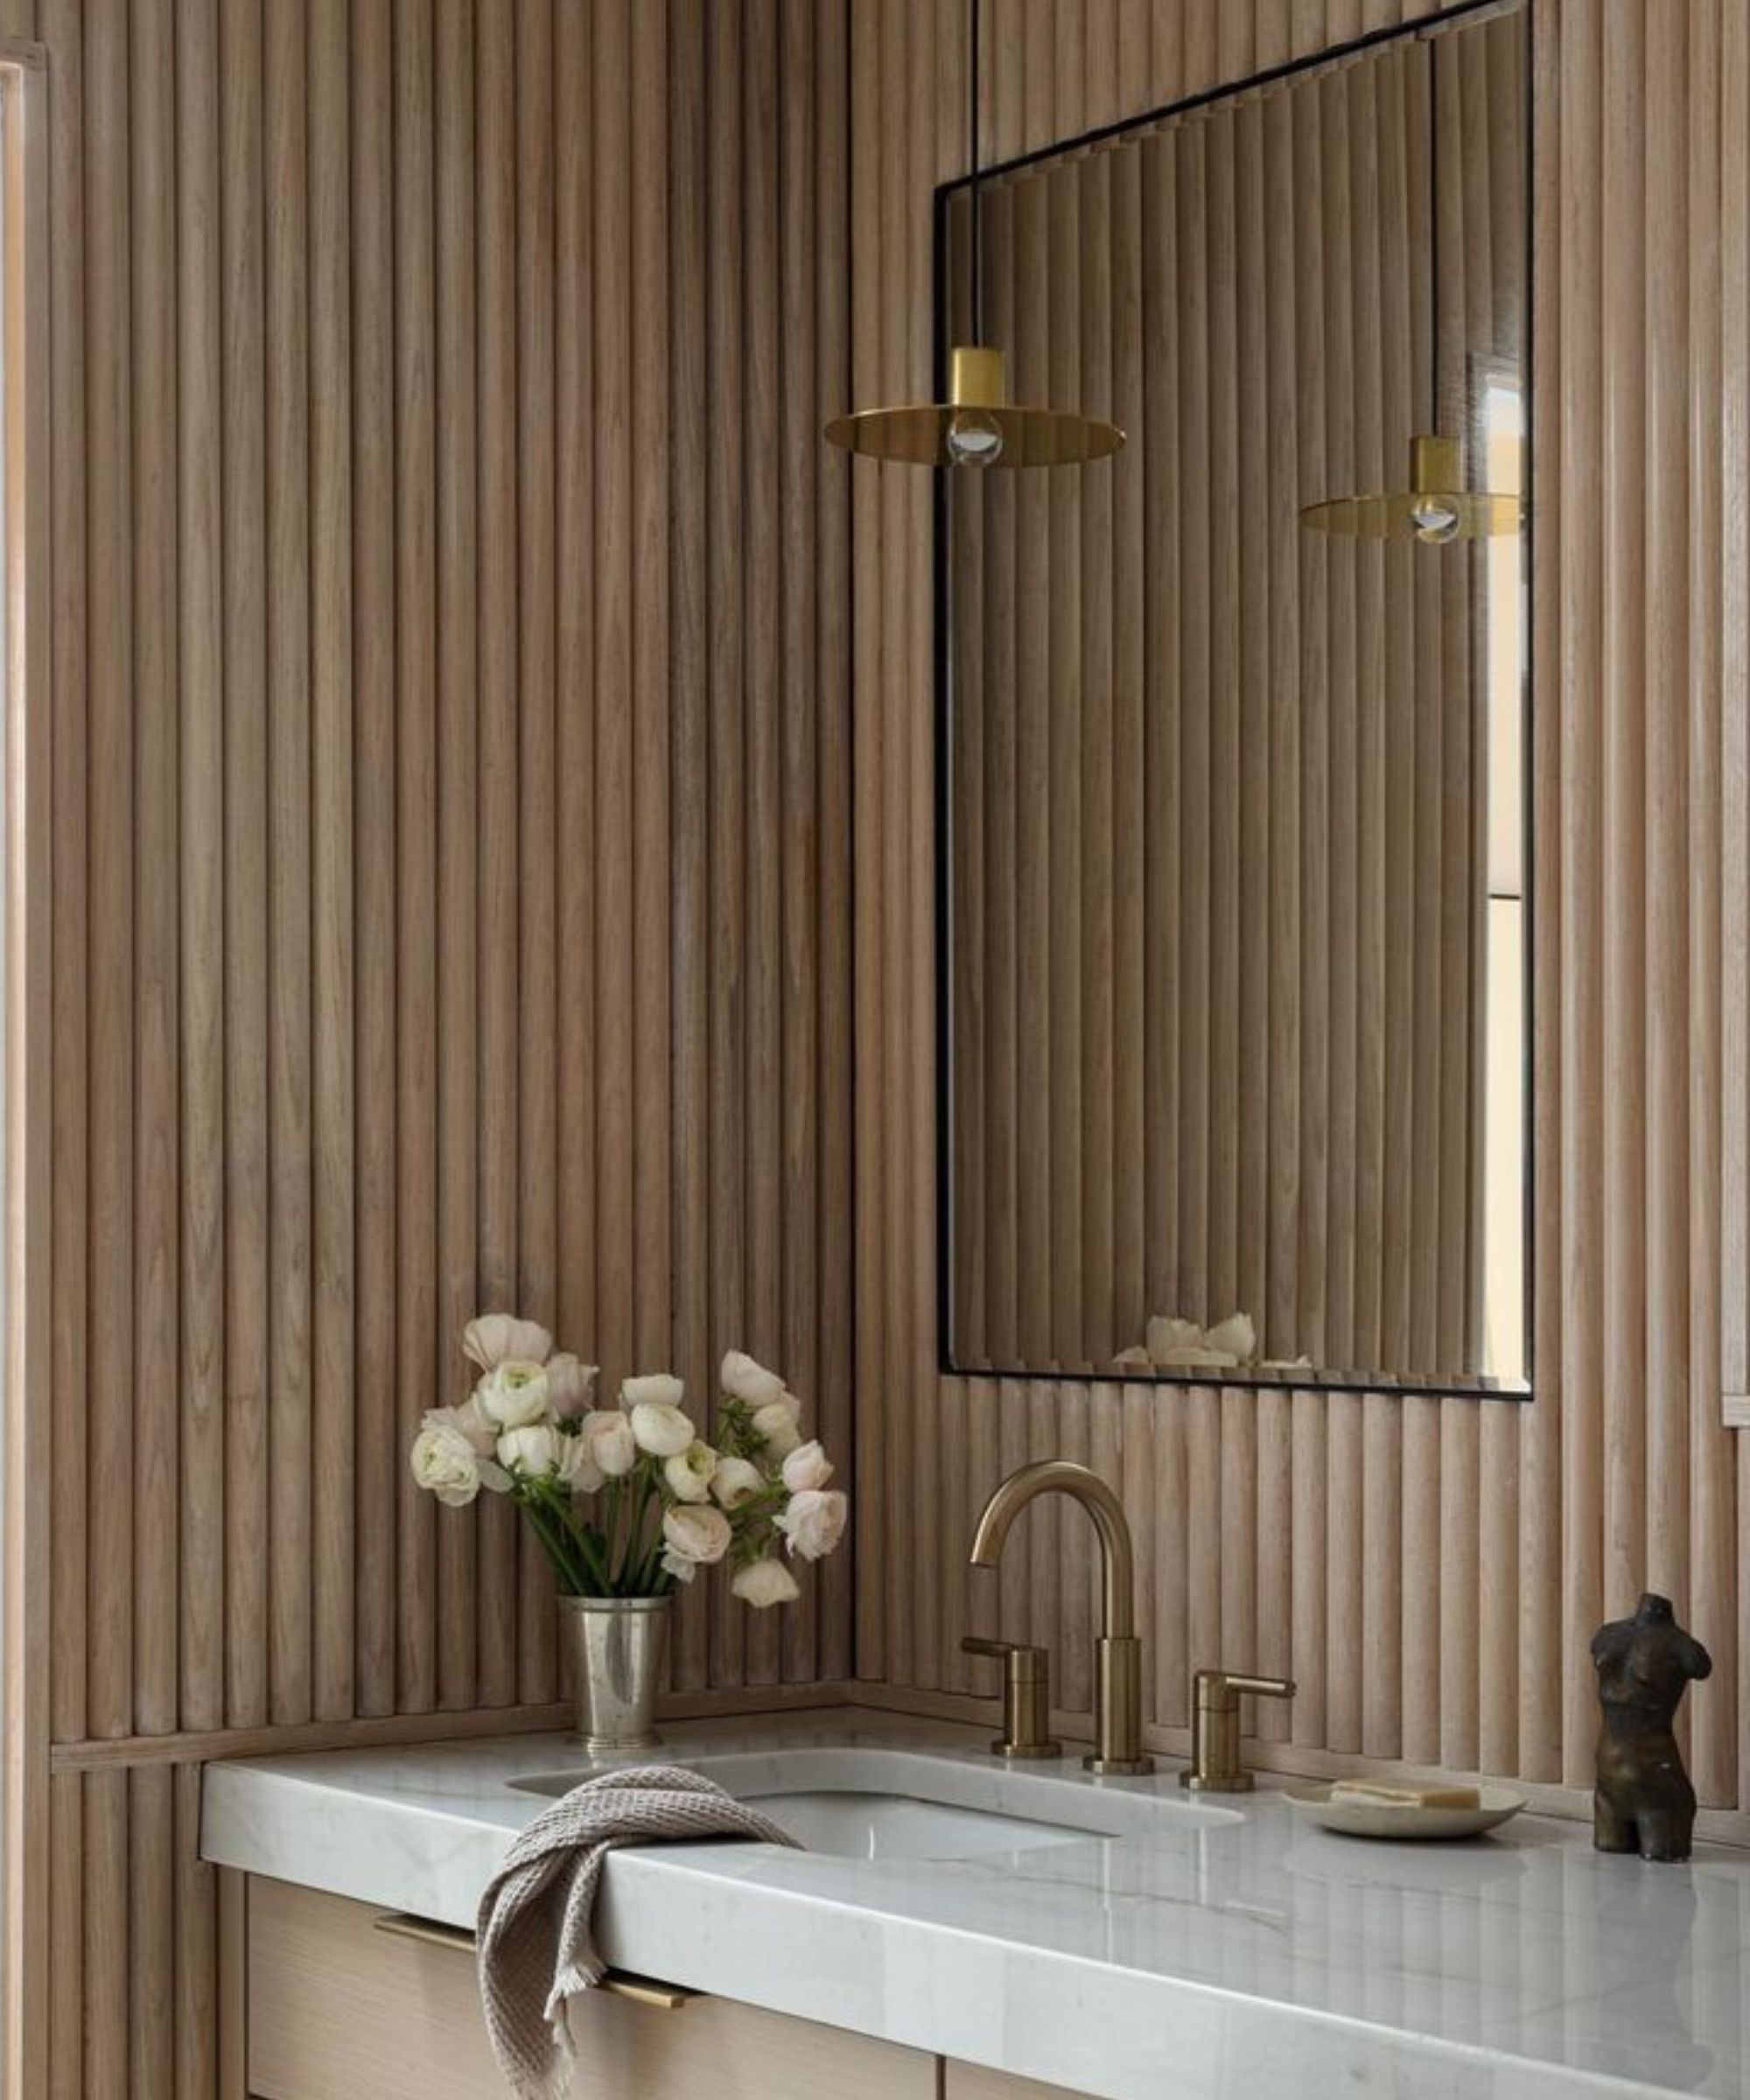
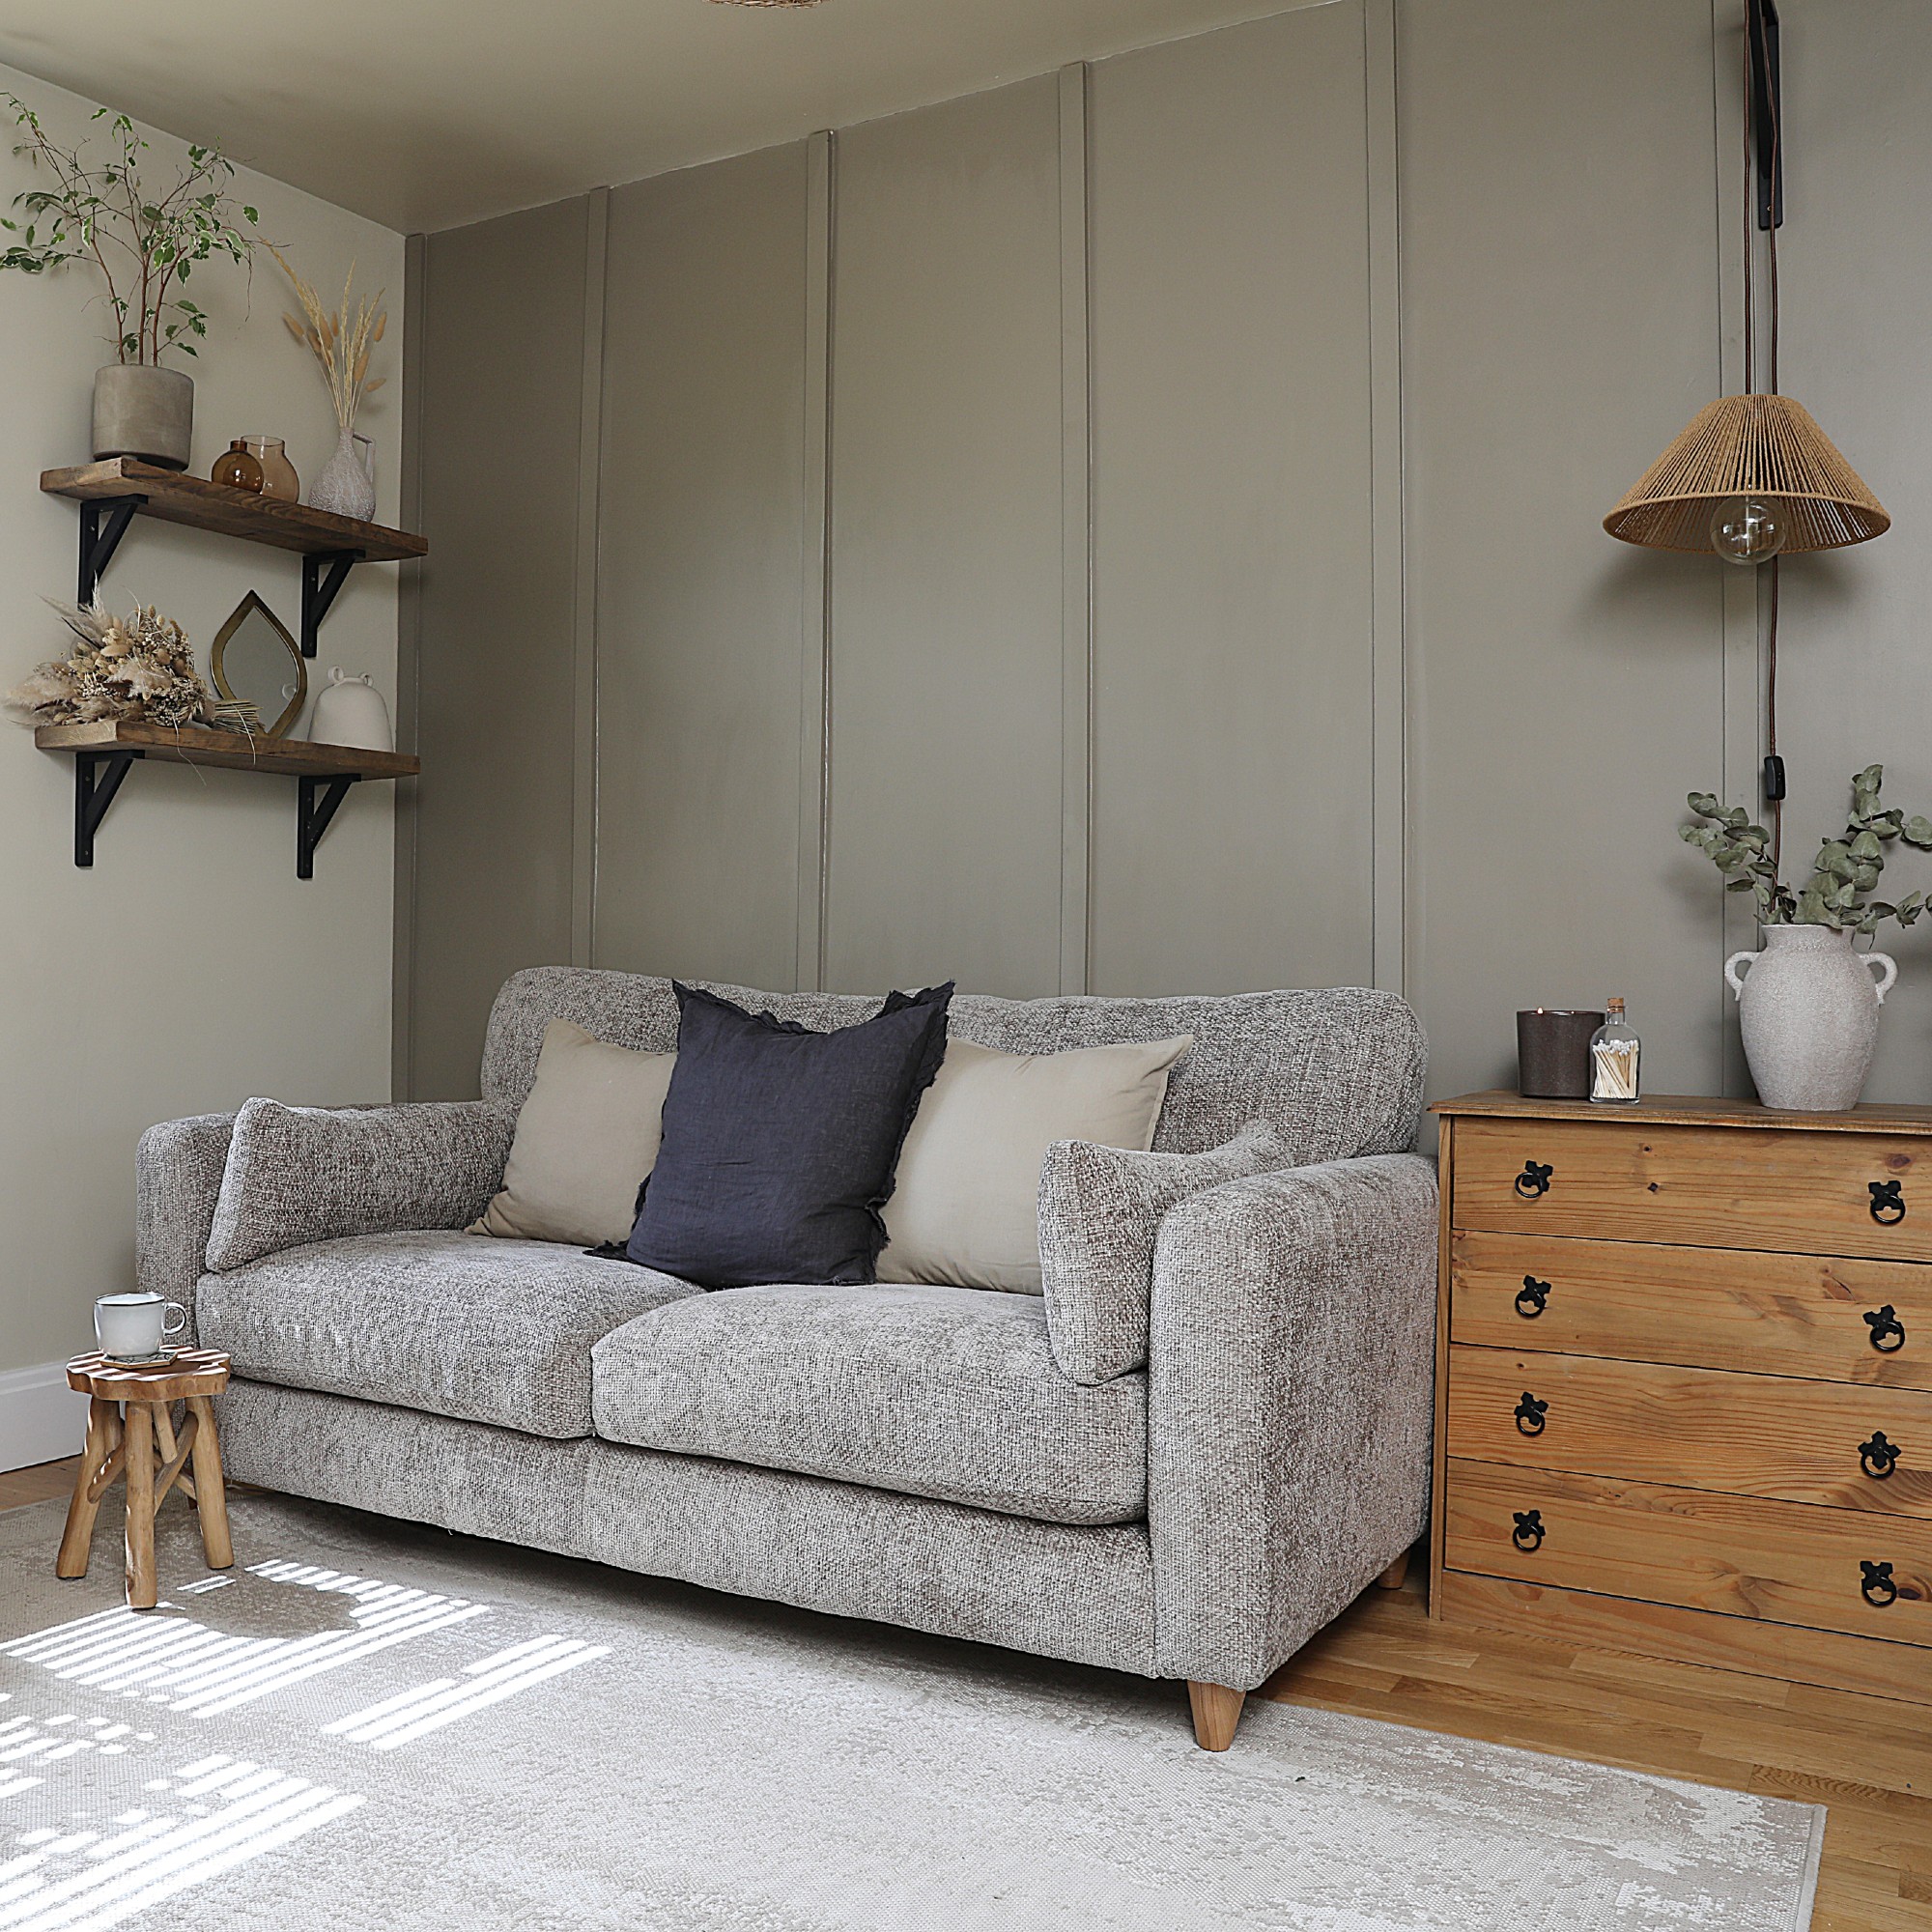
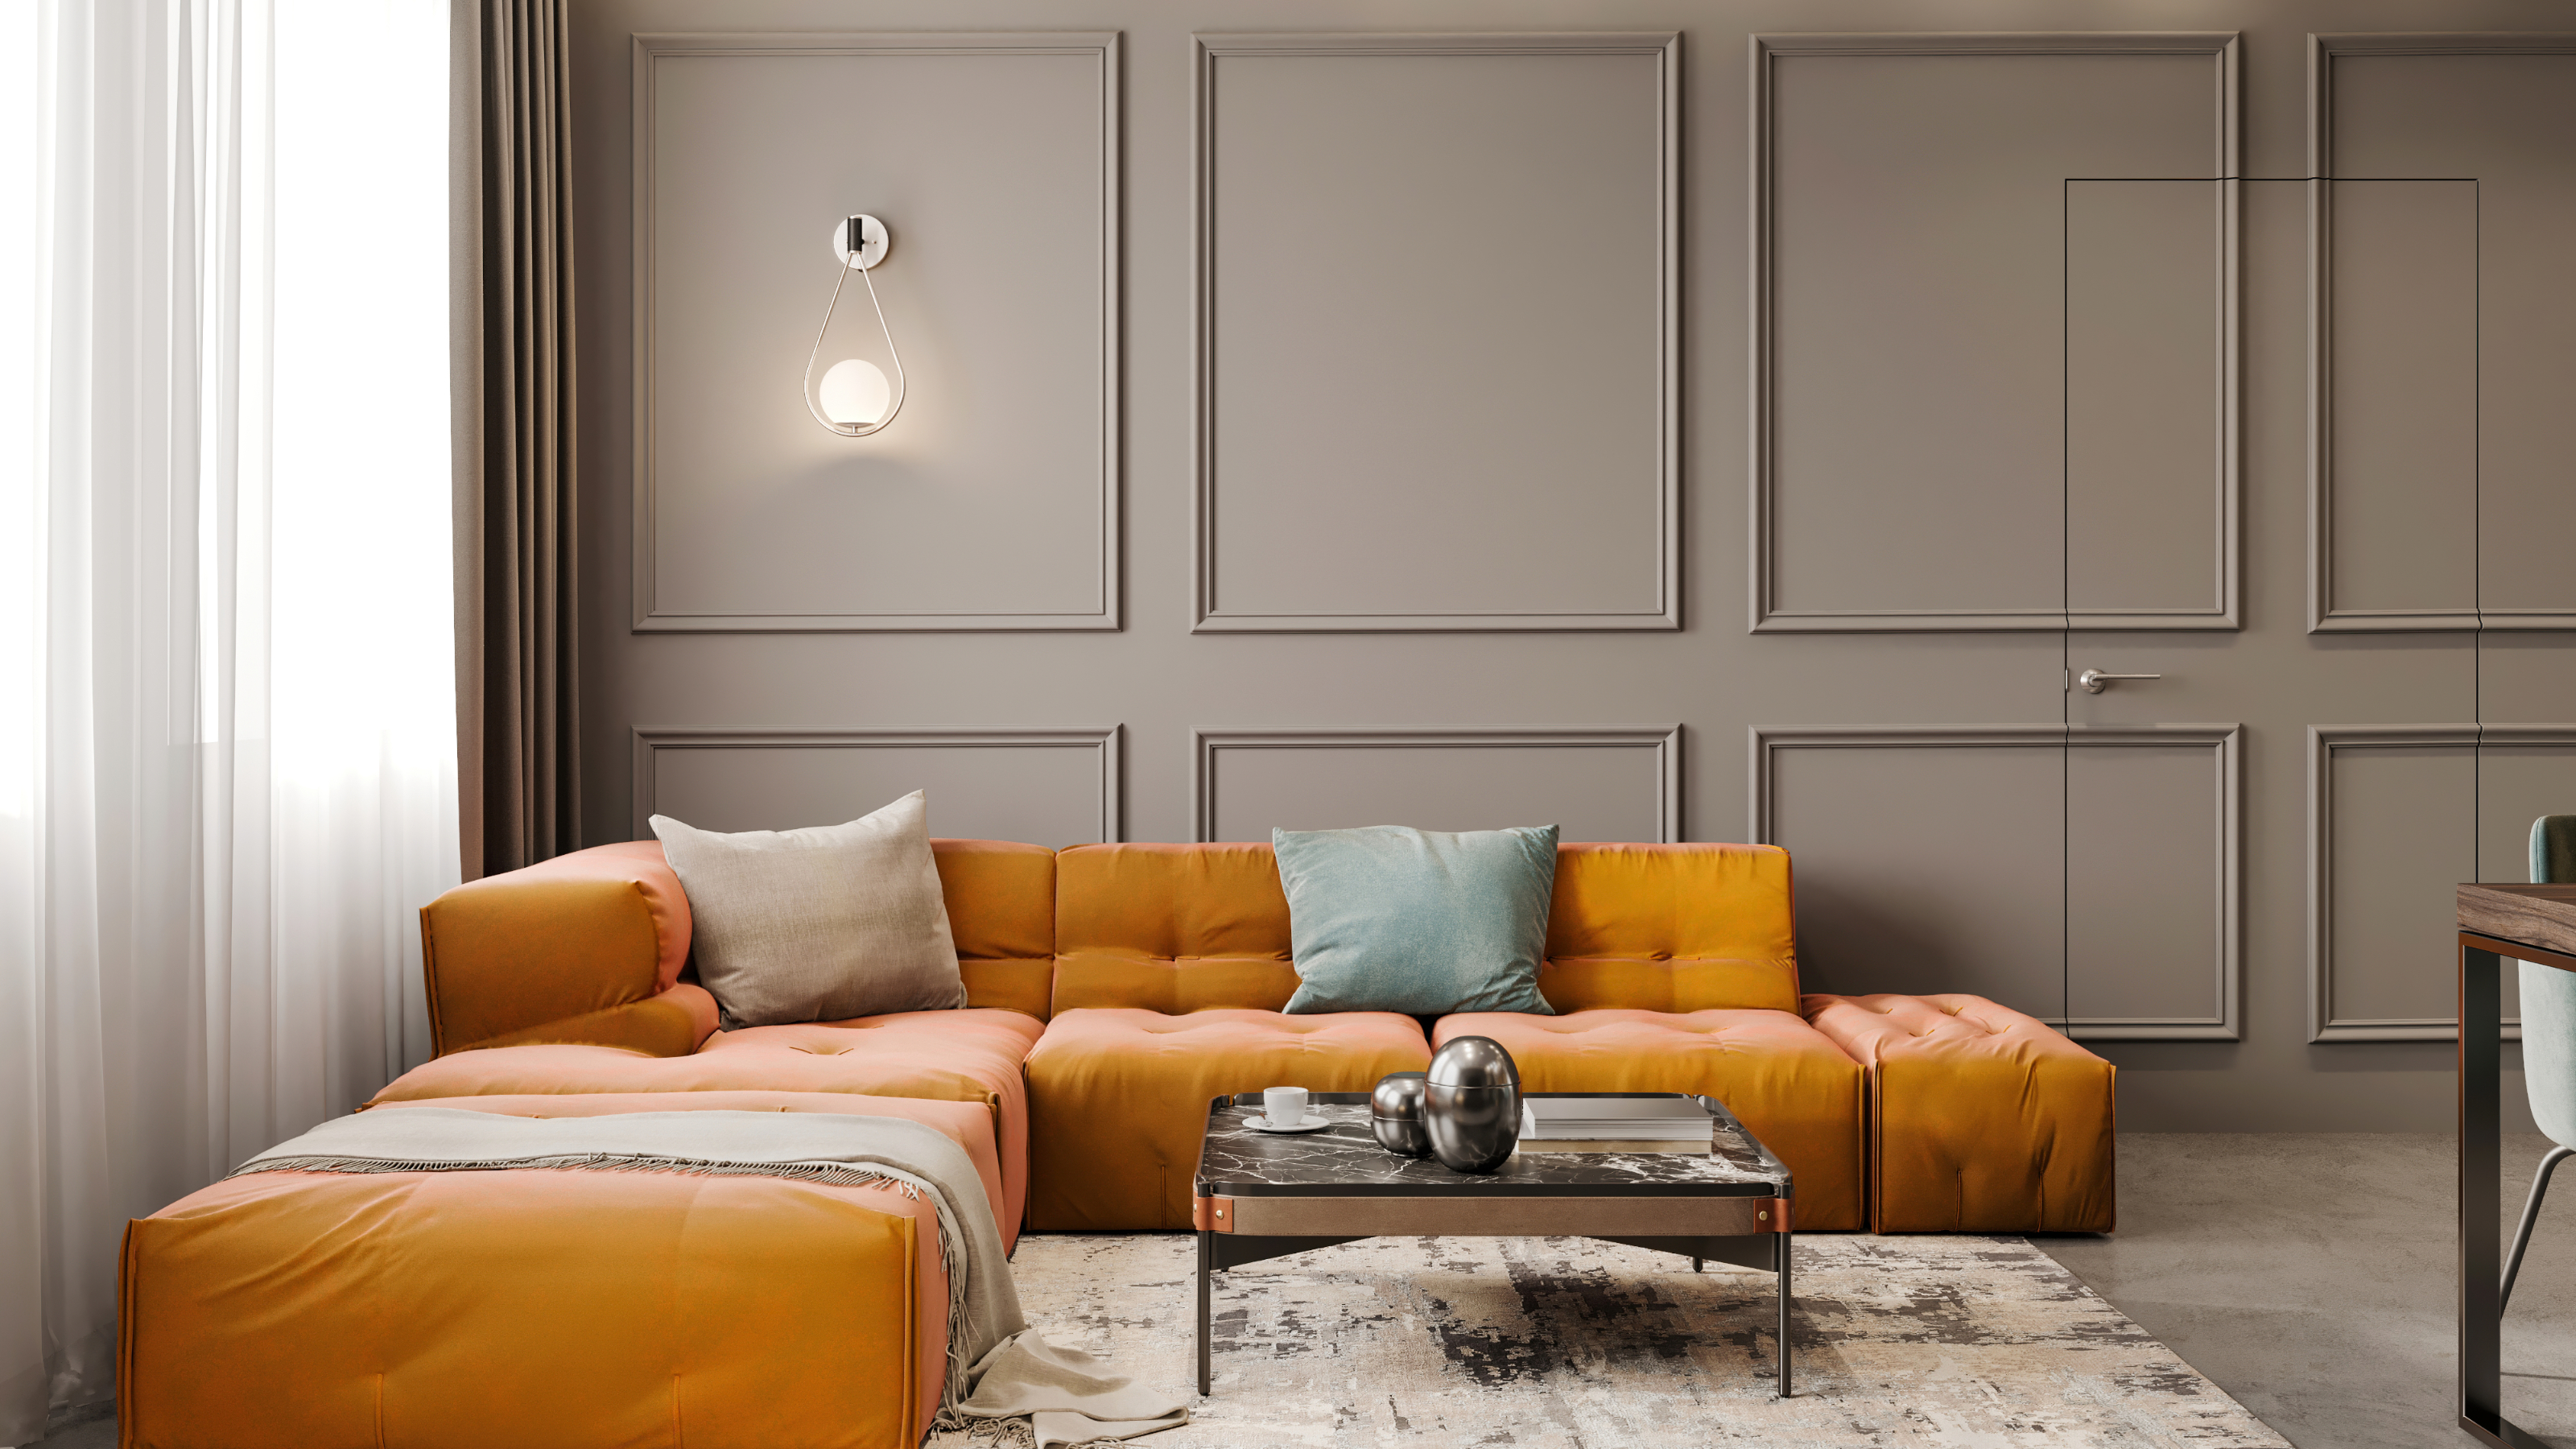
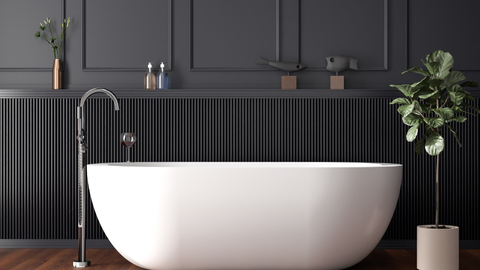
Wall panelling is a design feature that has gained significant popularity and is now considered a classic element in modern homes. Installing wall panelling has become simpler than in the past, making it an accessible DIY project. This technique is suitable for adding character to new builds or reinstating traditional features in older properties. Before starting the installation, it is crucial to ensure that the plaster is not damaged or damp, as this could compromise the panelling's integrity. If dampness is present, its cause must be identified and treated first. Once these conditions are met, wood panelling can be used in any room, with proper waterproofing for areas like bathrooms.
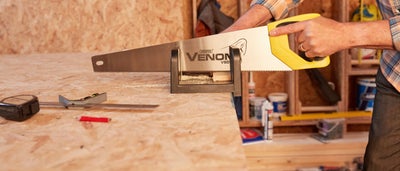
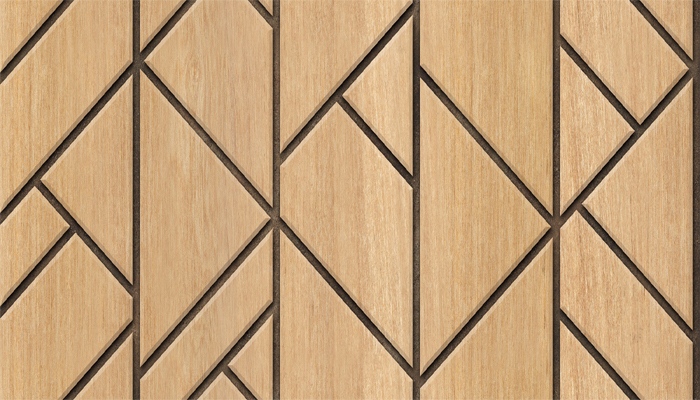
Tony Kersey from Homebase suggests experimenting with various shapes and colors for panelling, highlighting trends such as honeycomb or grid patterns that can create vibrant feature walls. The process of panelling a wall is presented as simple yet sophisticated, capable of adding character and seamlessly integrating with diverse interior decors. A step-by-step guide outlines the necessary materials and procedures for installing wood panelling. Essential tools and supplies include MDF cut to size, adhesive like No More Nails, a sander, a spirit level, paint, a hammer, panel pins, a tape measure, and a pencil.
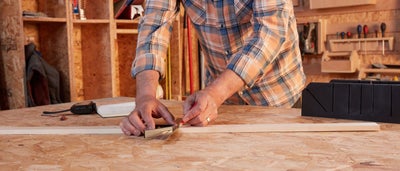
The first step involves sketching the desired panelling design to guide the project and determine the number of panels needed. Accurate wall measurements are critical for even panel sizes. This includes measuring the wall's full width and height, deciding on the number of panels, and determining the width of horizontal rails and vertical stiles, as well as the base rail. These measurements are then used to create a precise cutting list. The cutting list calculates the dimensions for horizontal rails by subtracting the total width of all horizontal pieces from the wall's total width and dividing by the number of panels. For vertical stiles, the depths of the base and top rails are combined and subtracted from the wall's total height.
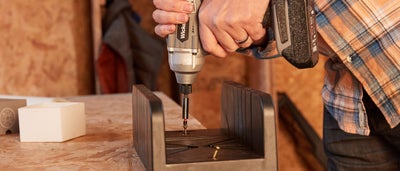
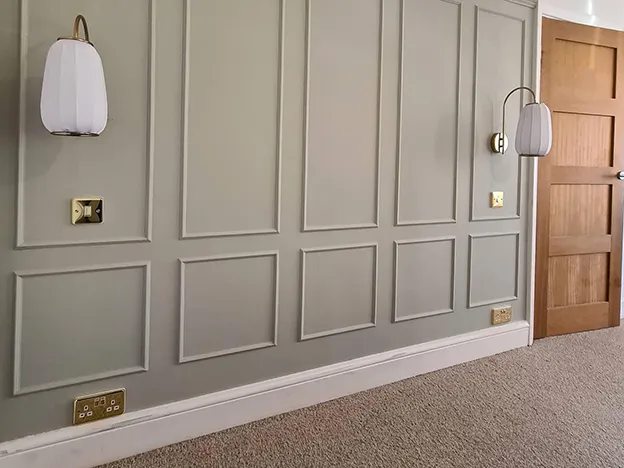
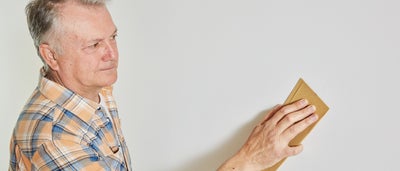
Before attaching any boards, the wall must be thoroughly sanded to ensure an even surface and better adhesion. The installation begins by adhering the base rail to the wall using No More Nails, applying firm pressure, and allowing it to dry. The article recommends using adhesive over nails to prevent wall damage. This process is repeated for the top rail, followed by the pre-cut side stiles, which are fitted between the top and bottom rails and checked for straightness with a spirit level. Panel pins can be used to hold the top rail in place while the adhesive sets. Next, the remaining stiles are fixed to the wall, creating neatly divided columns. Horizontal rails are then added between the stiles, using adhesive and pins as needed. The design options for rails include evenly spaced squares or larger central blocks with smaller spaces. Finally, any gaps between the boards are filled with Polyfilla, sanded smooth, and the entire panelled surface is painted.
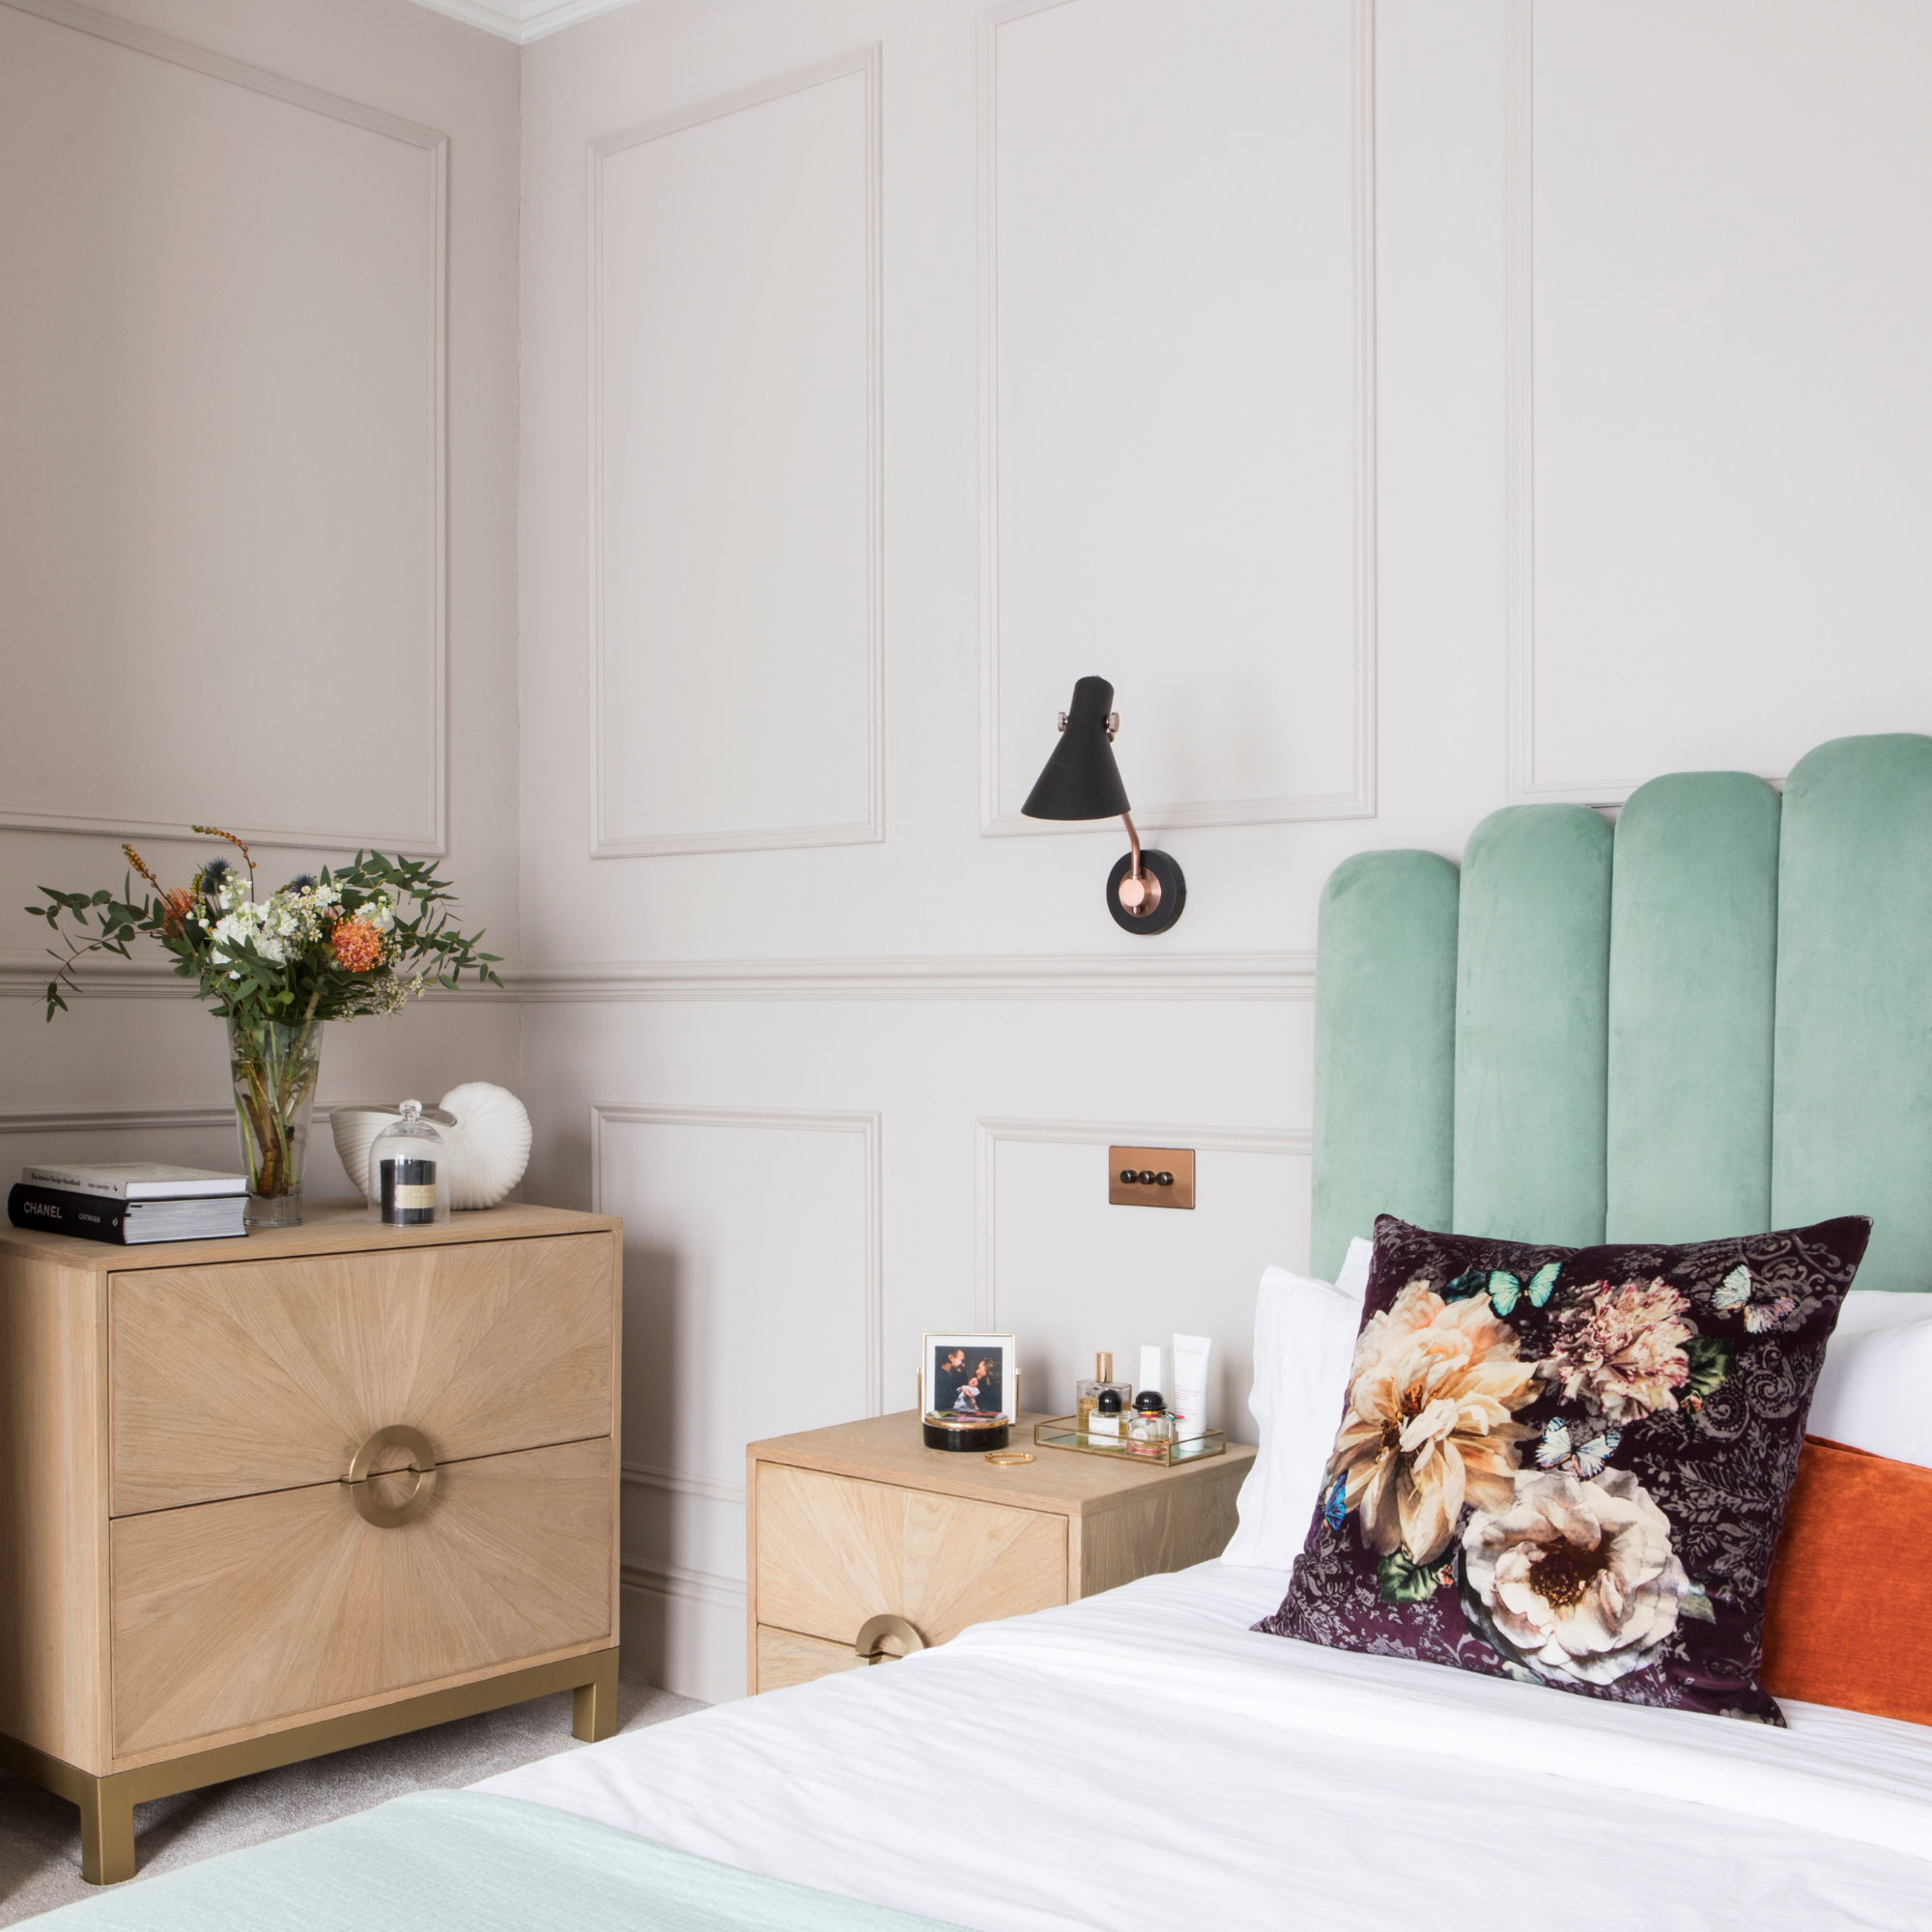
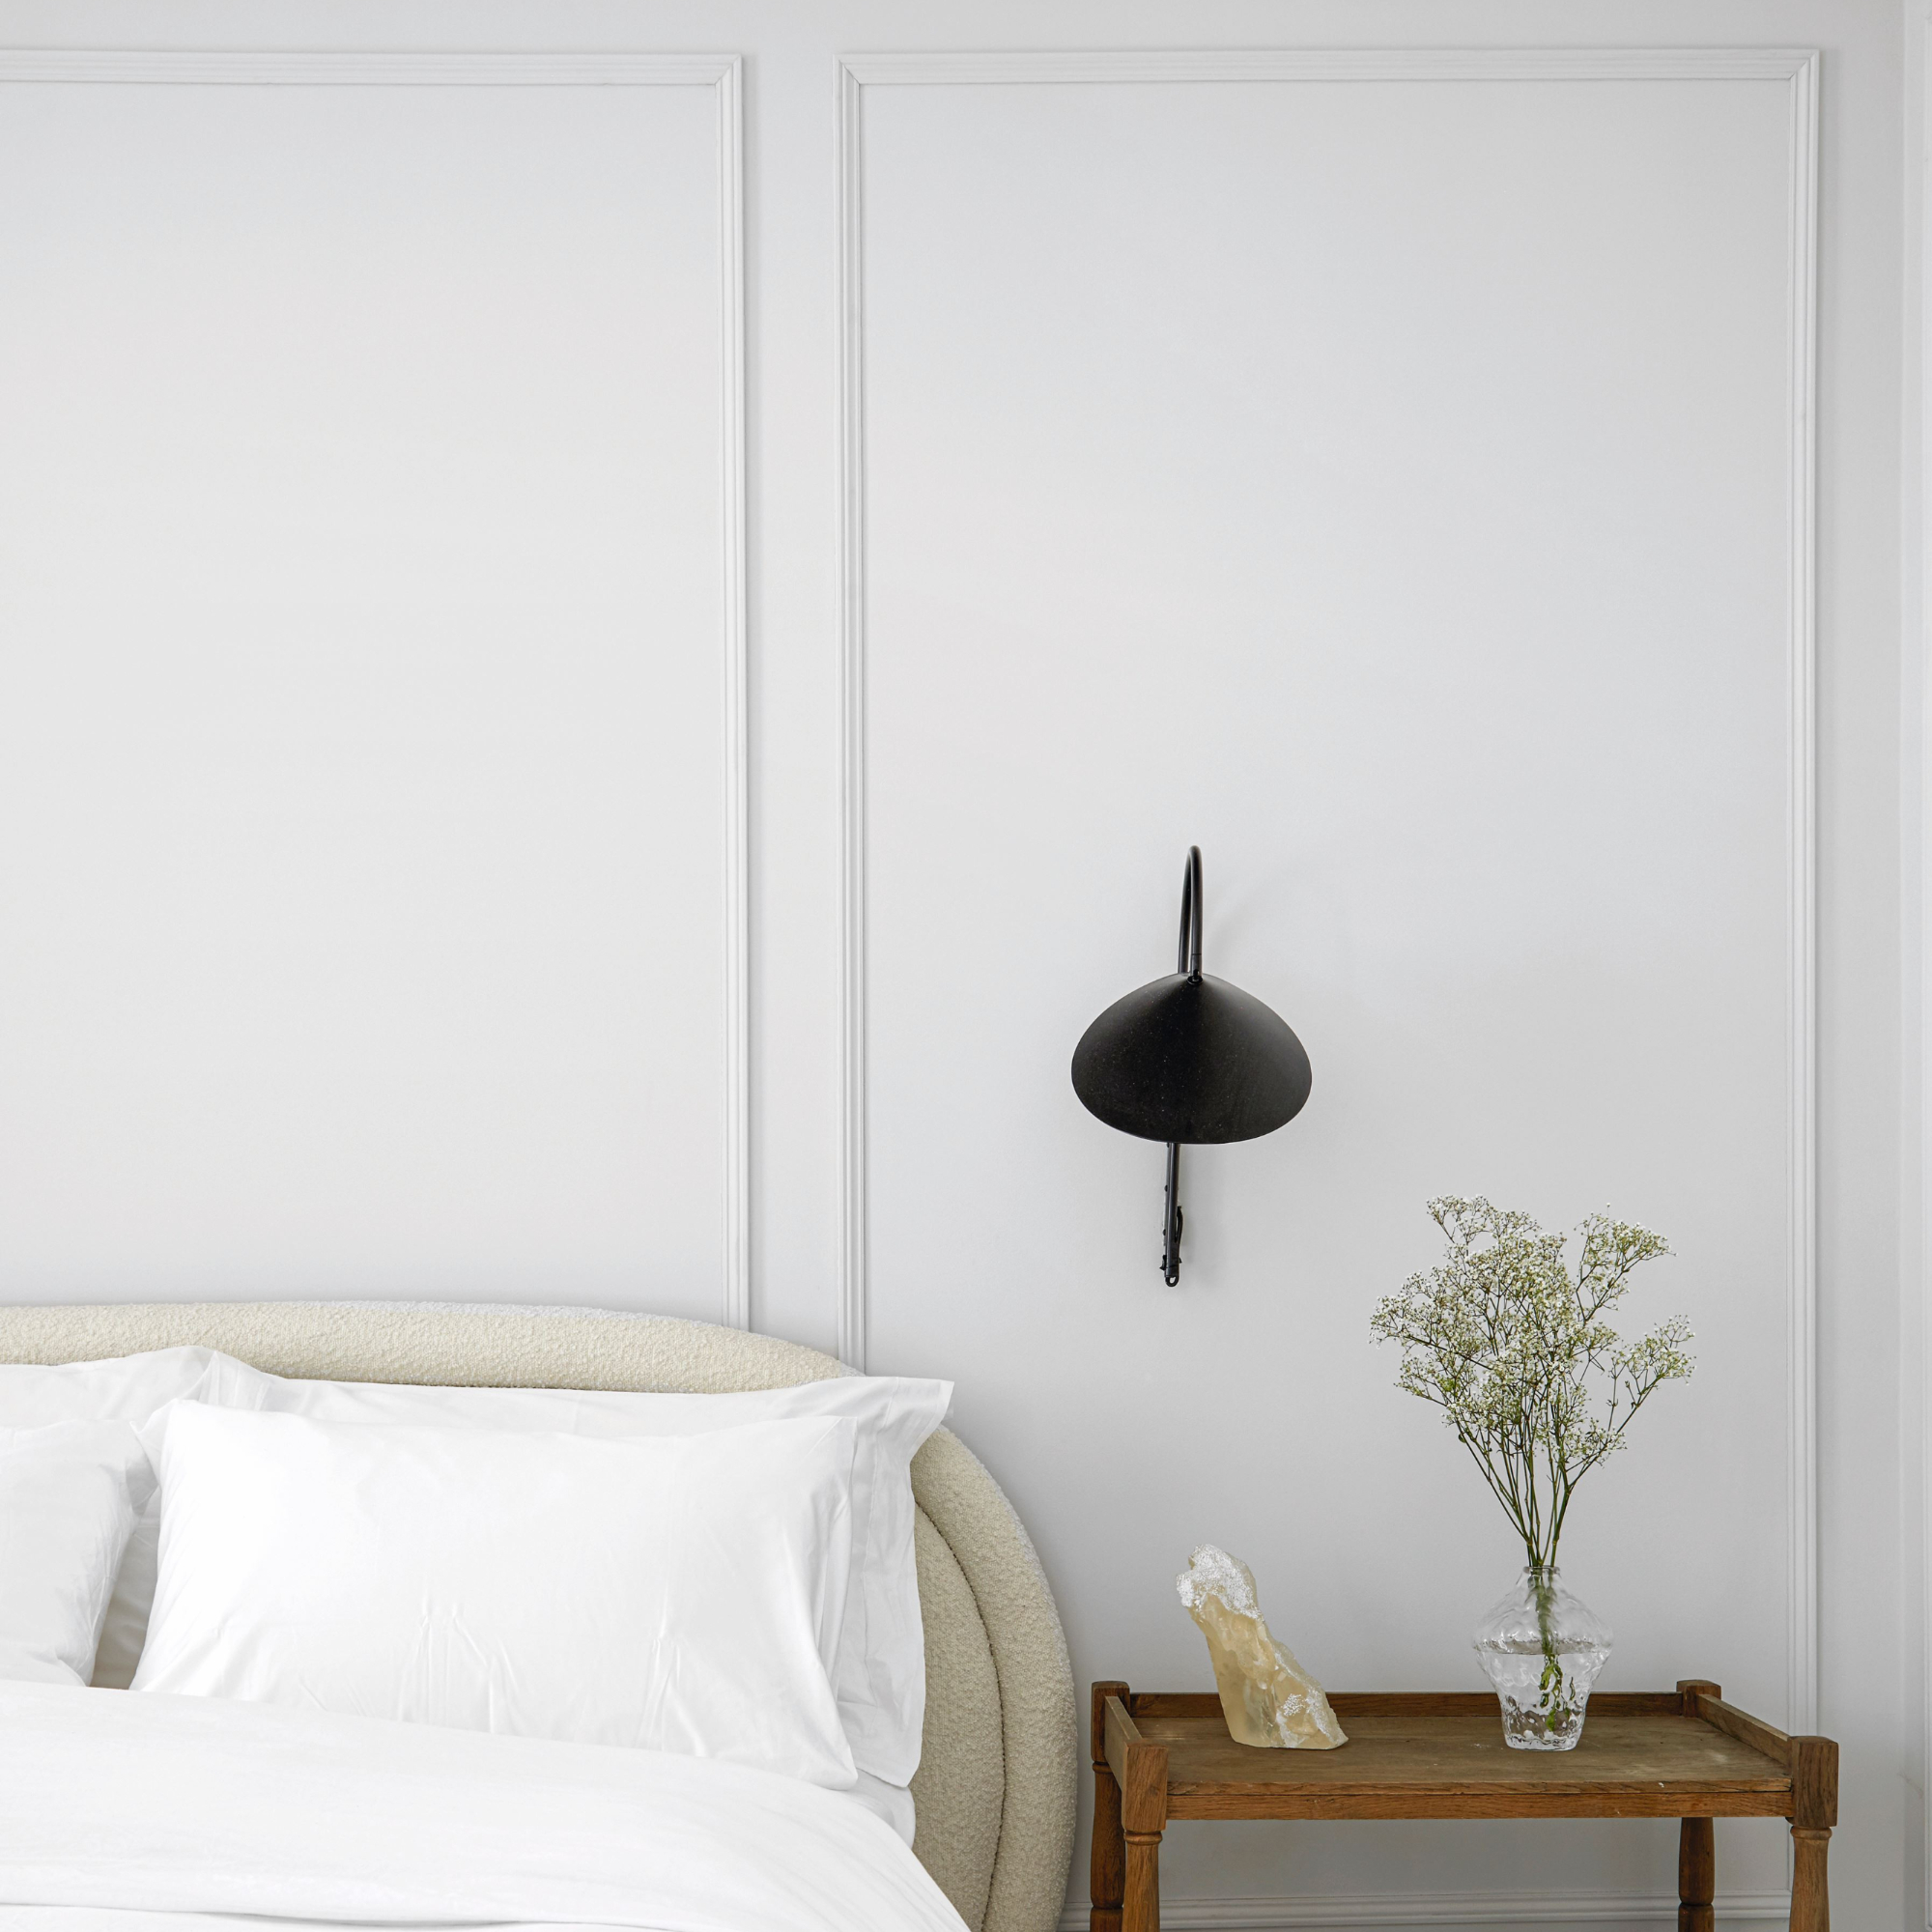
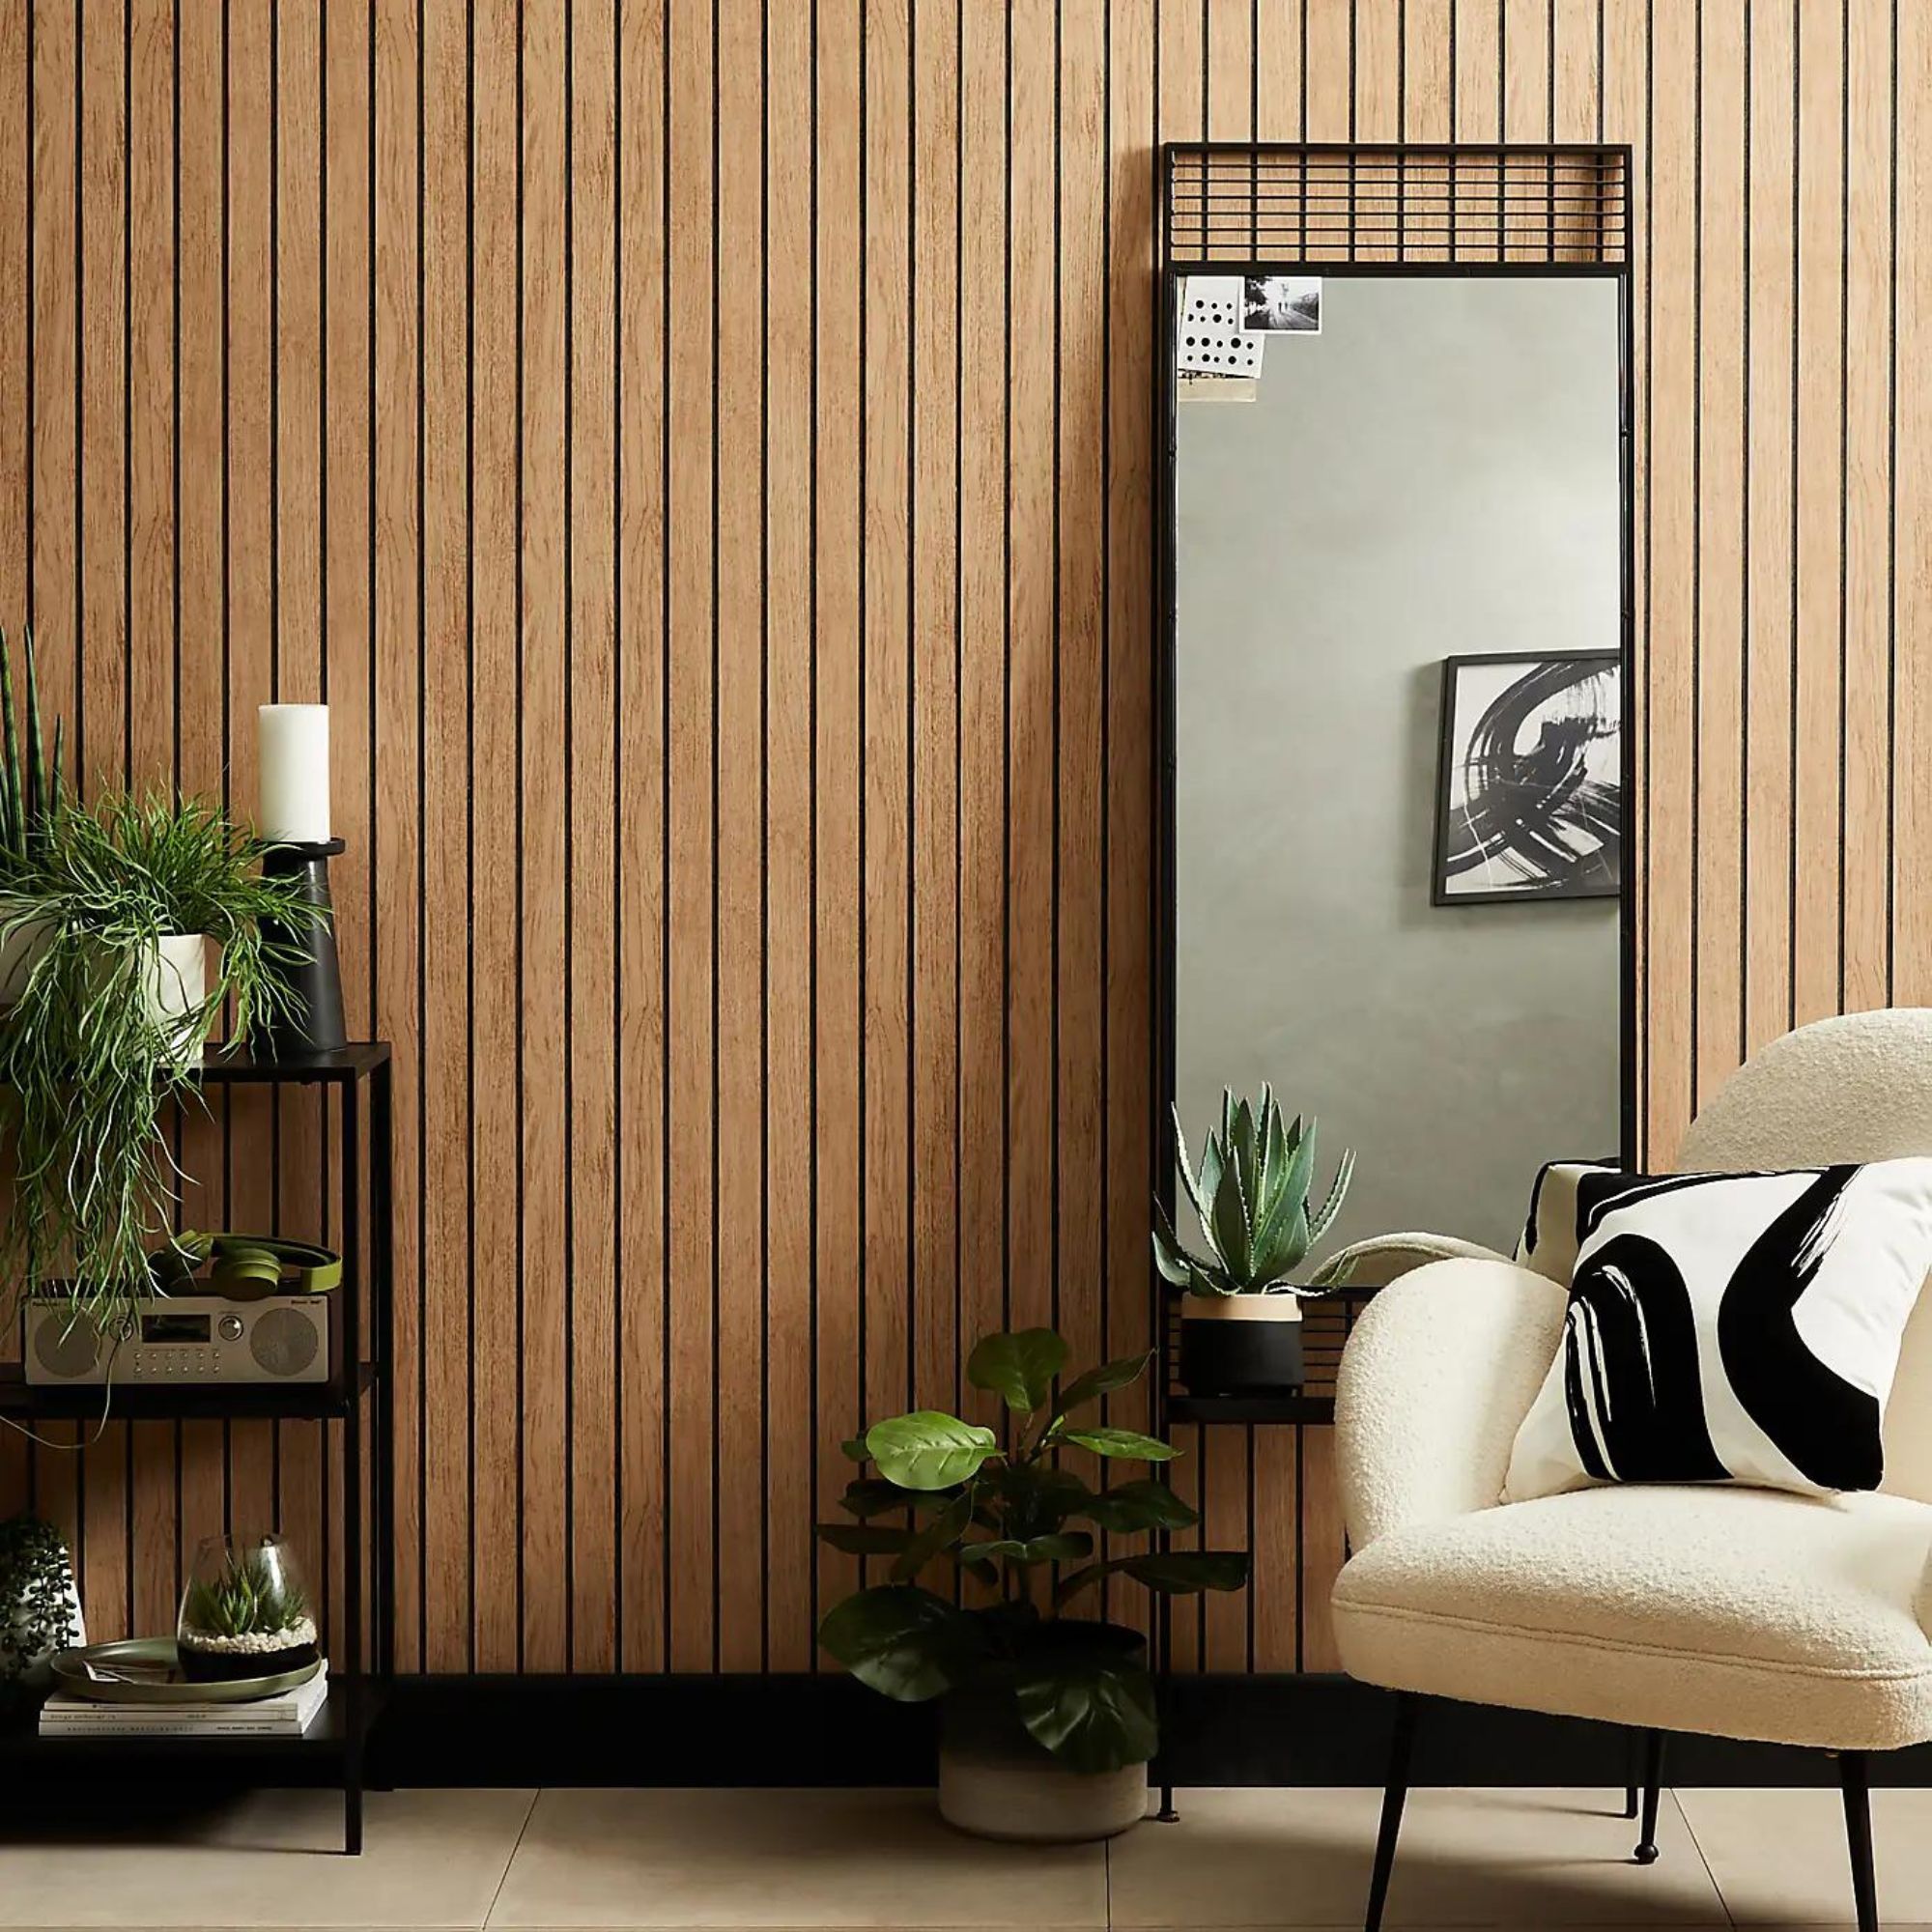
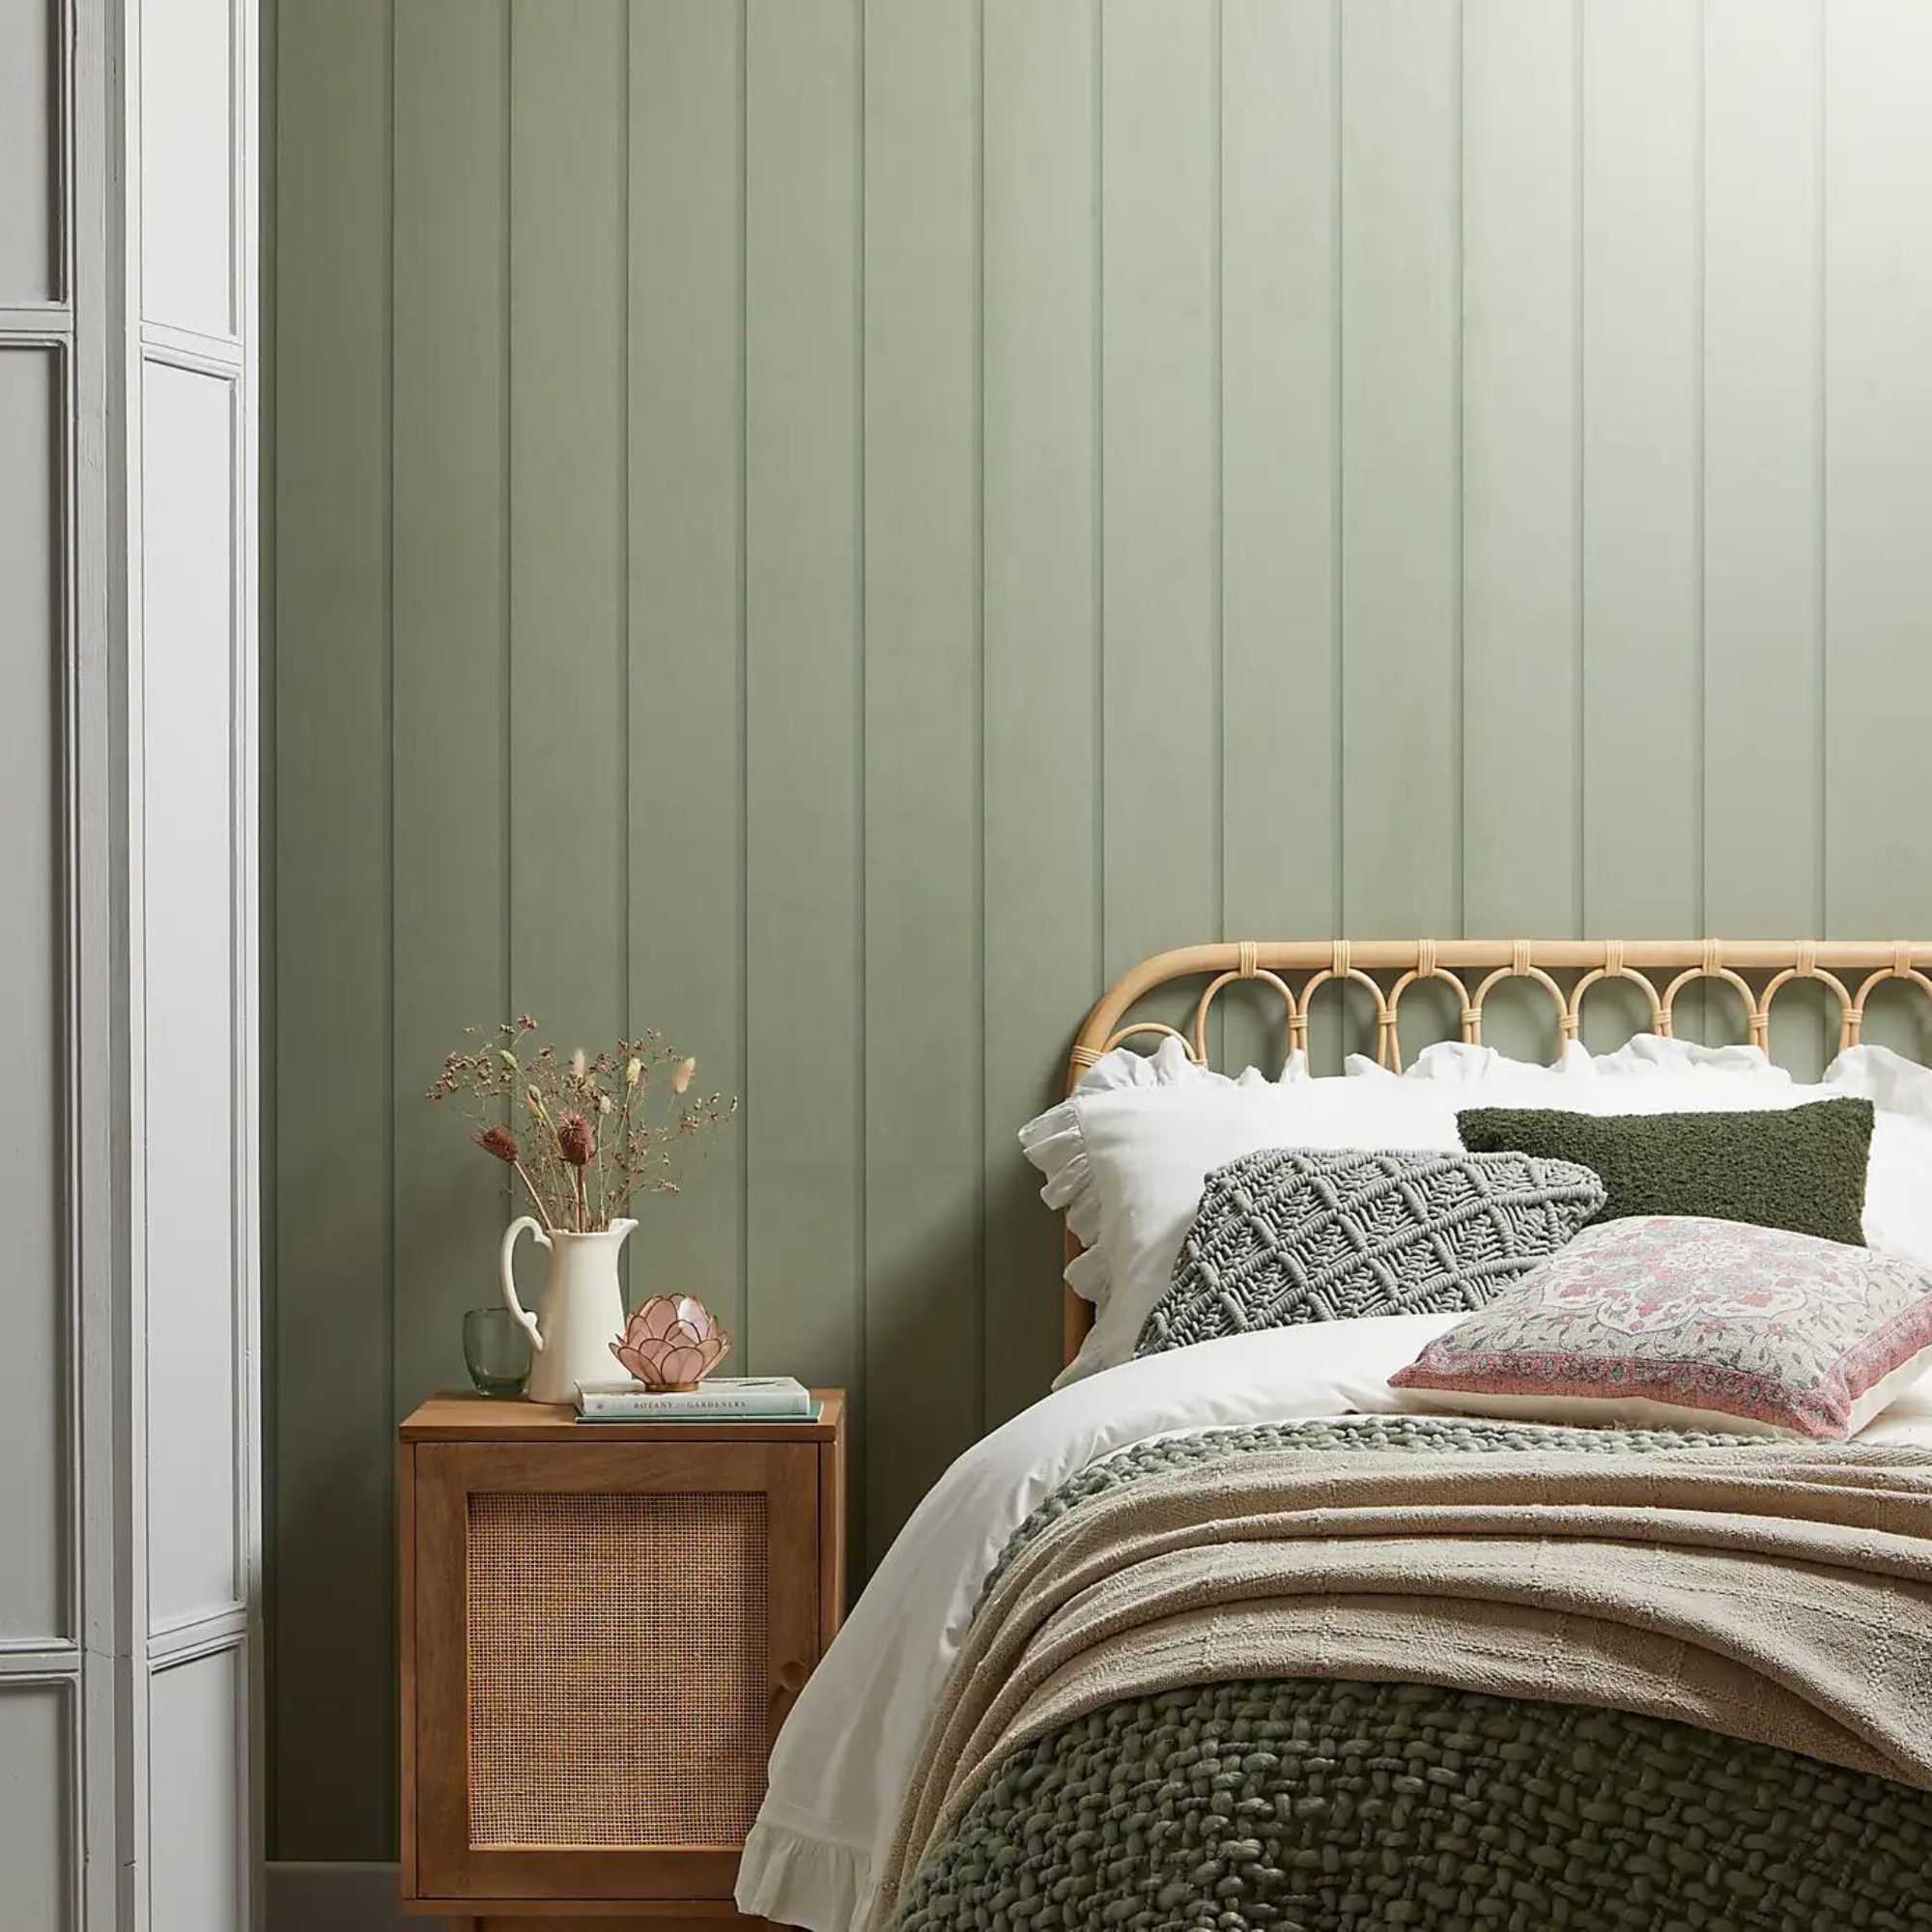
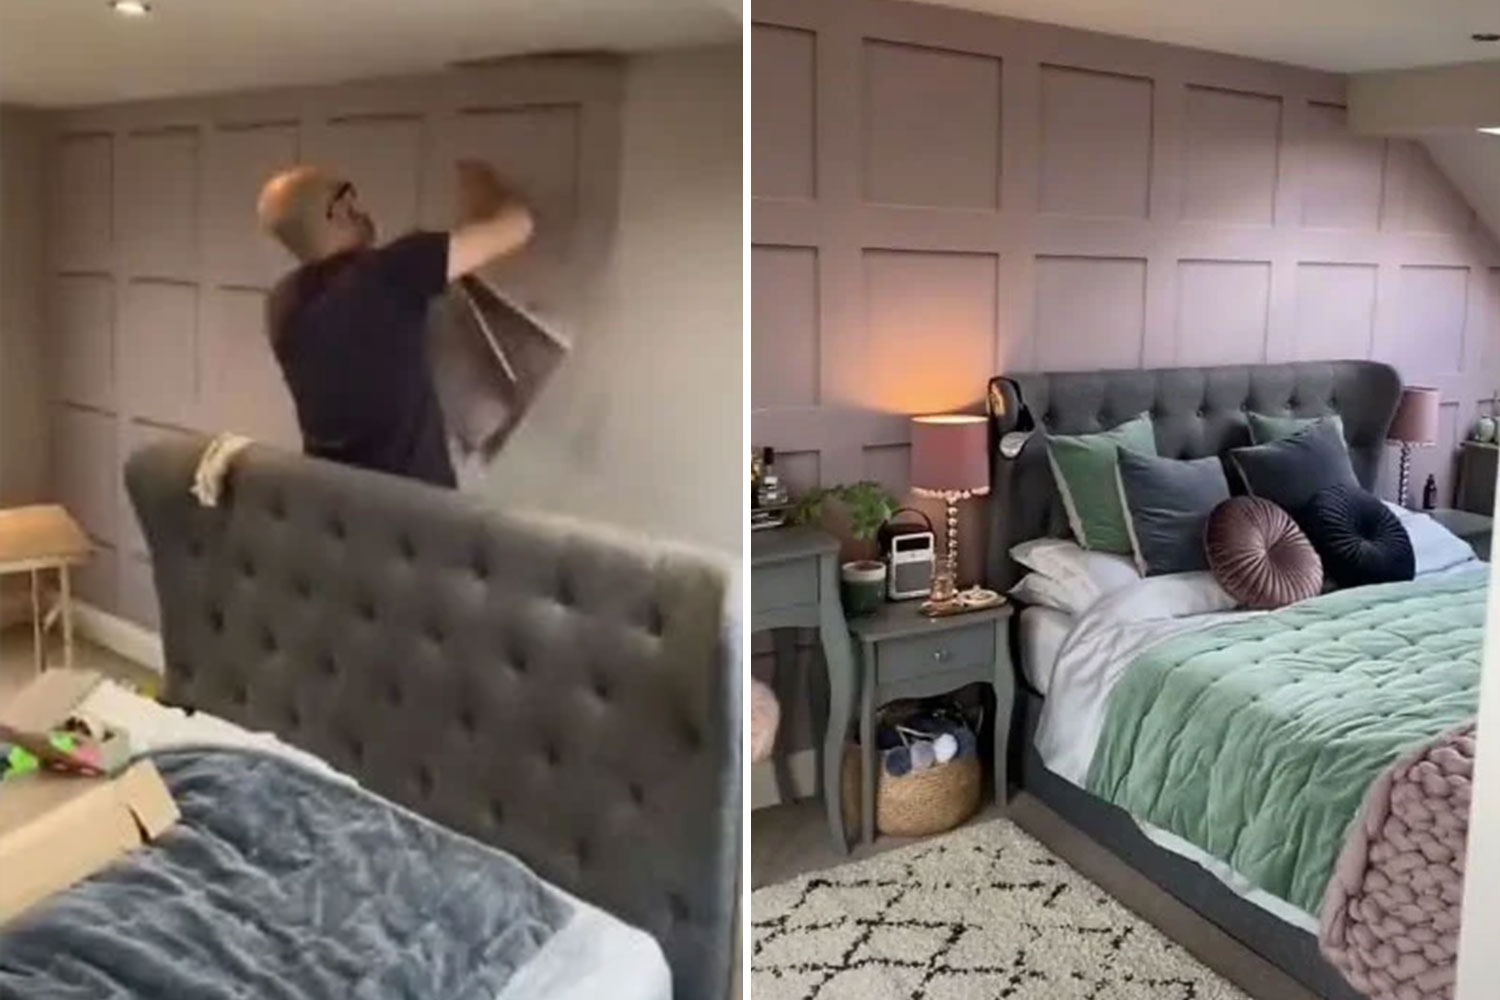
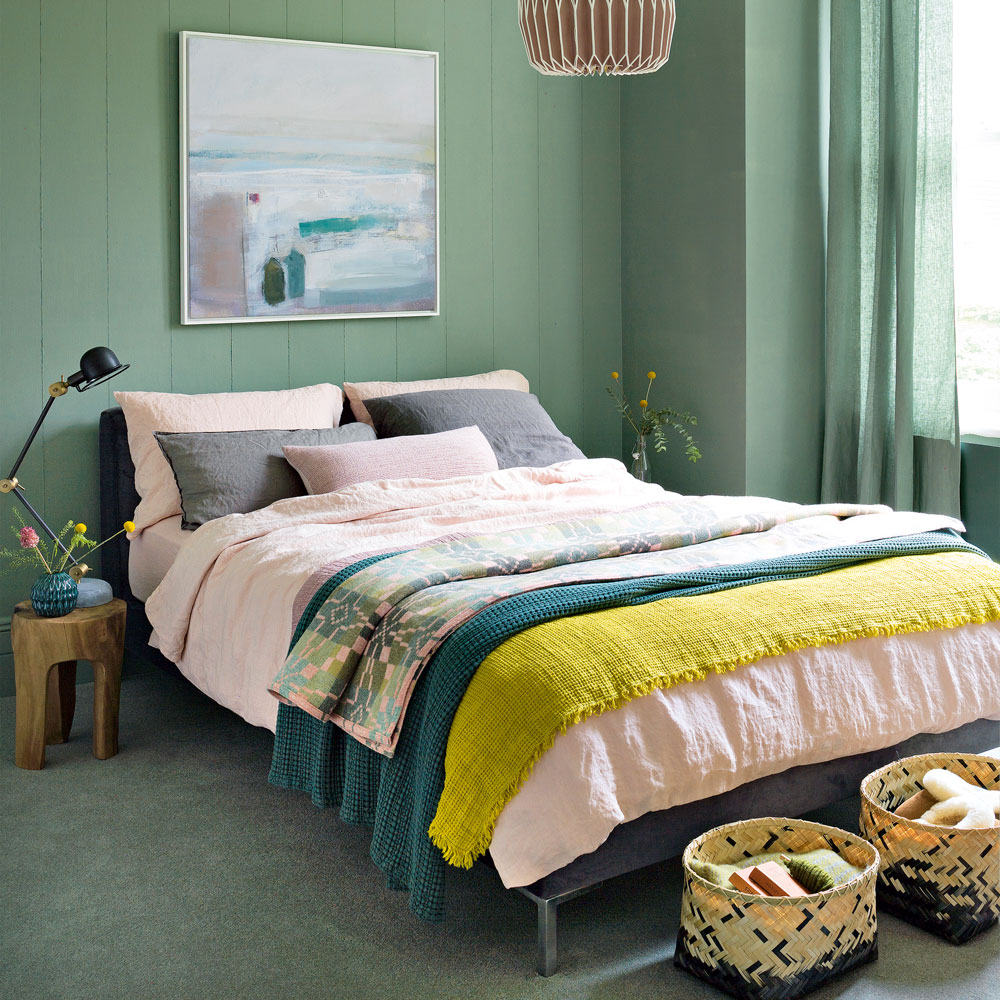
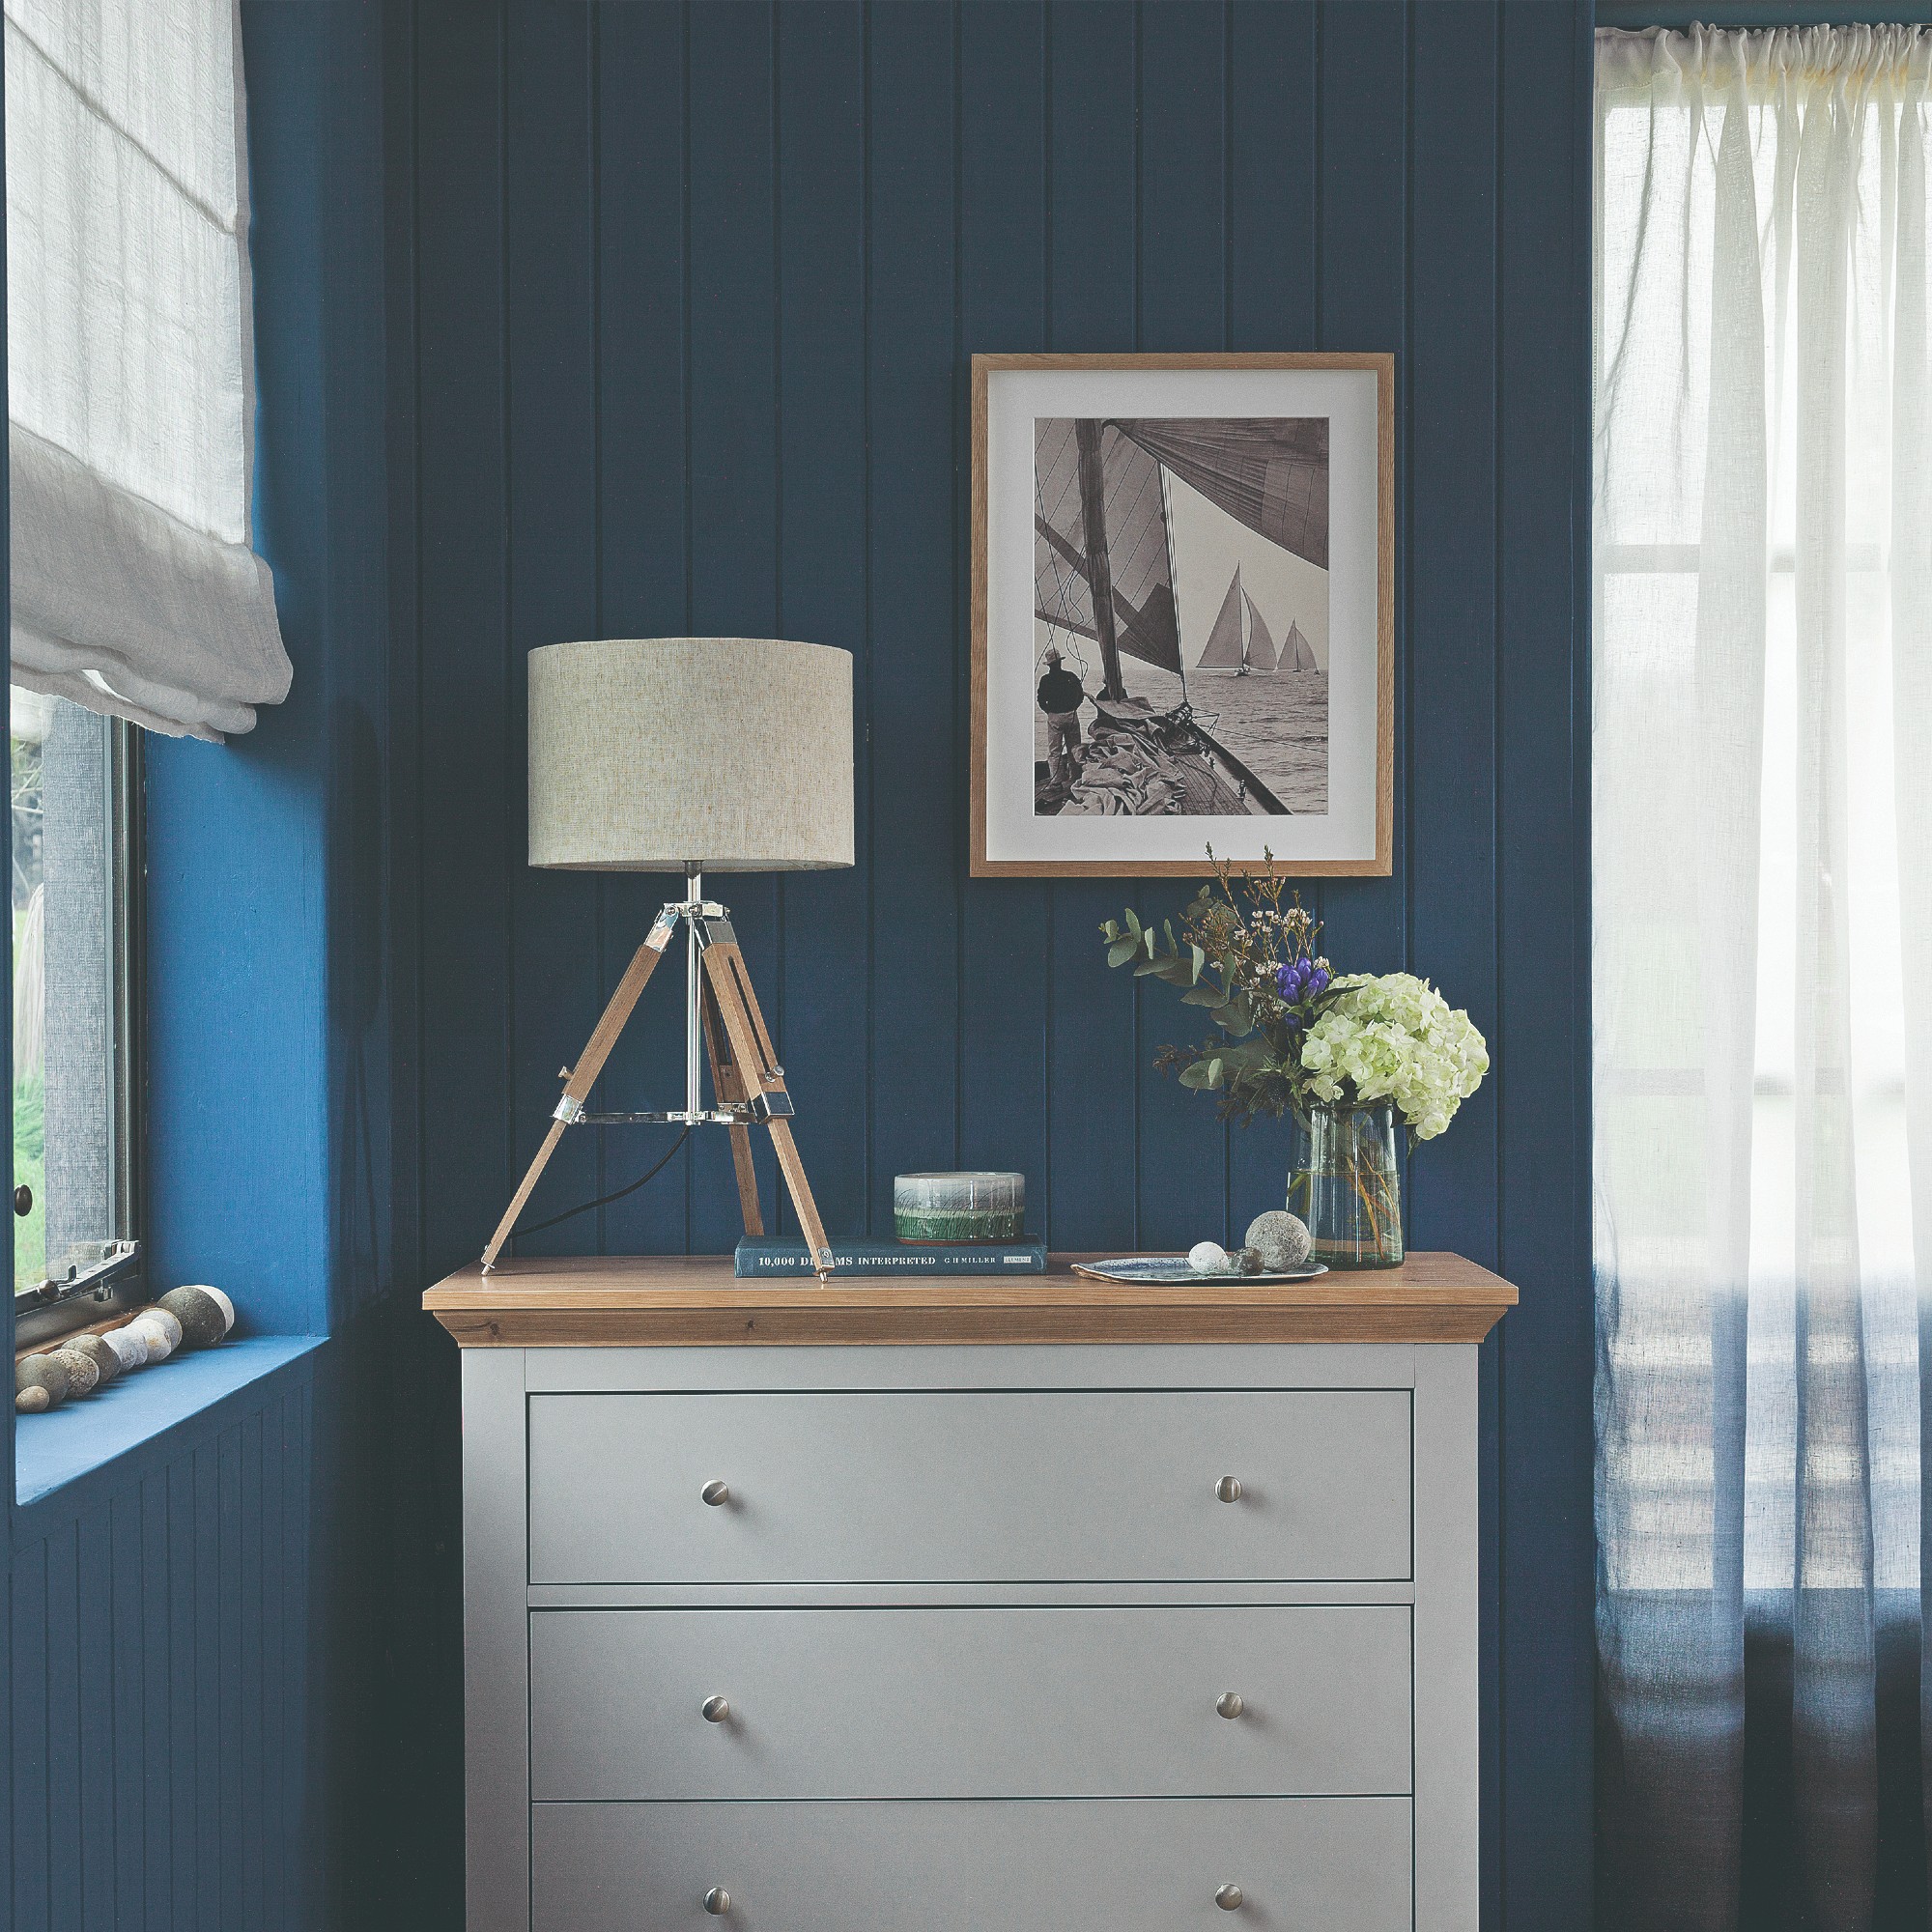
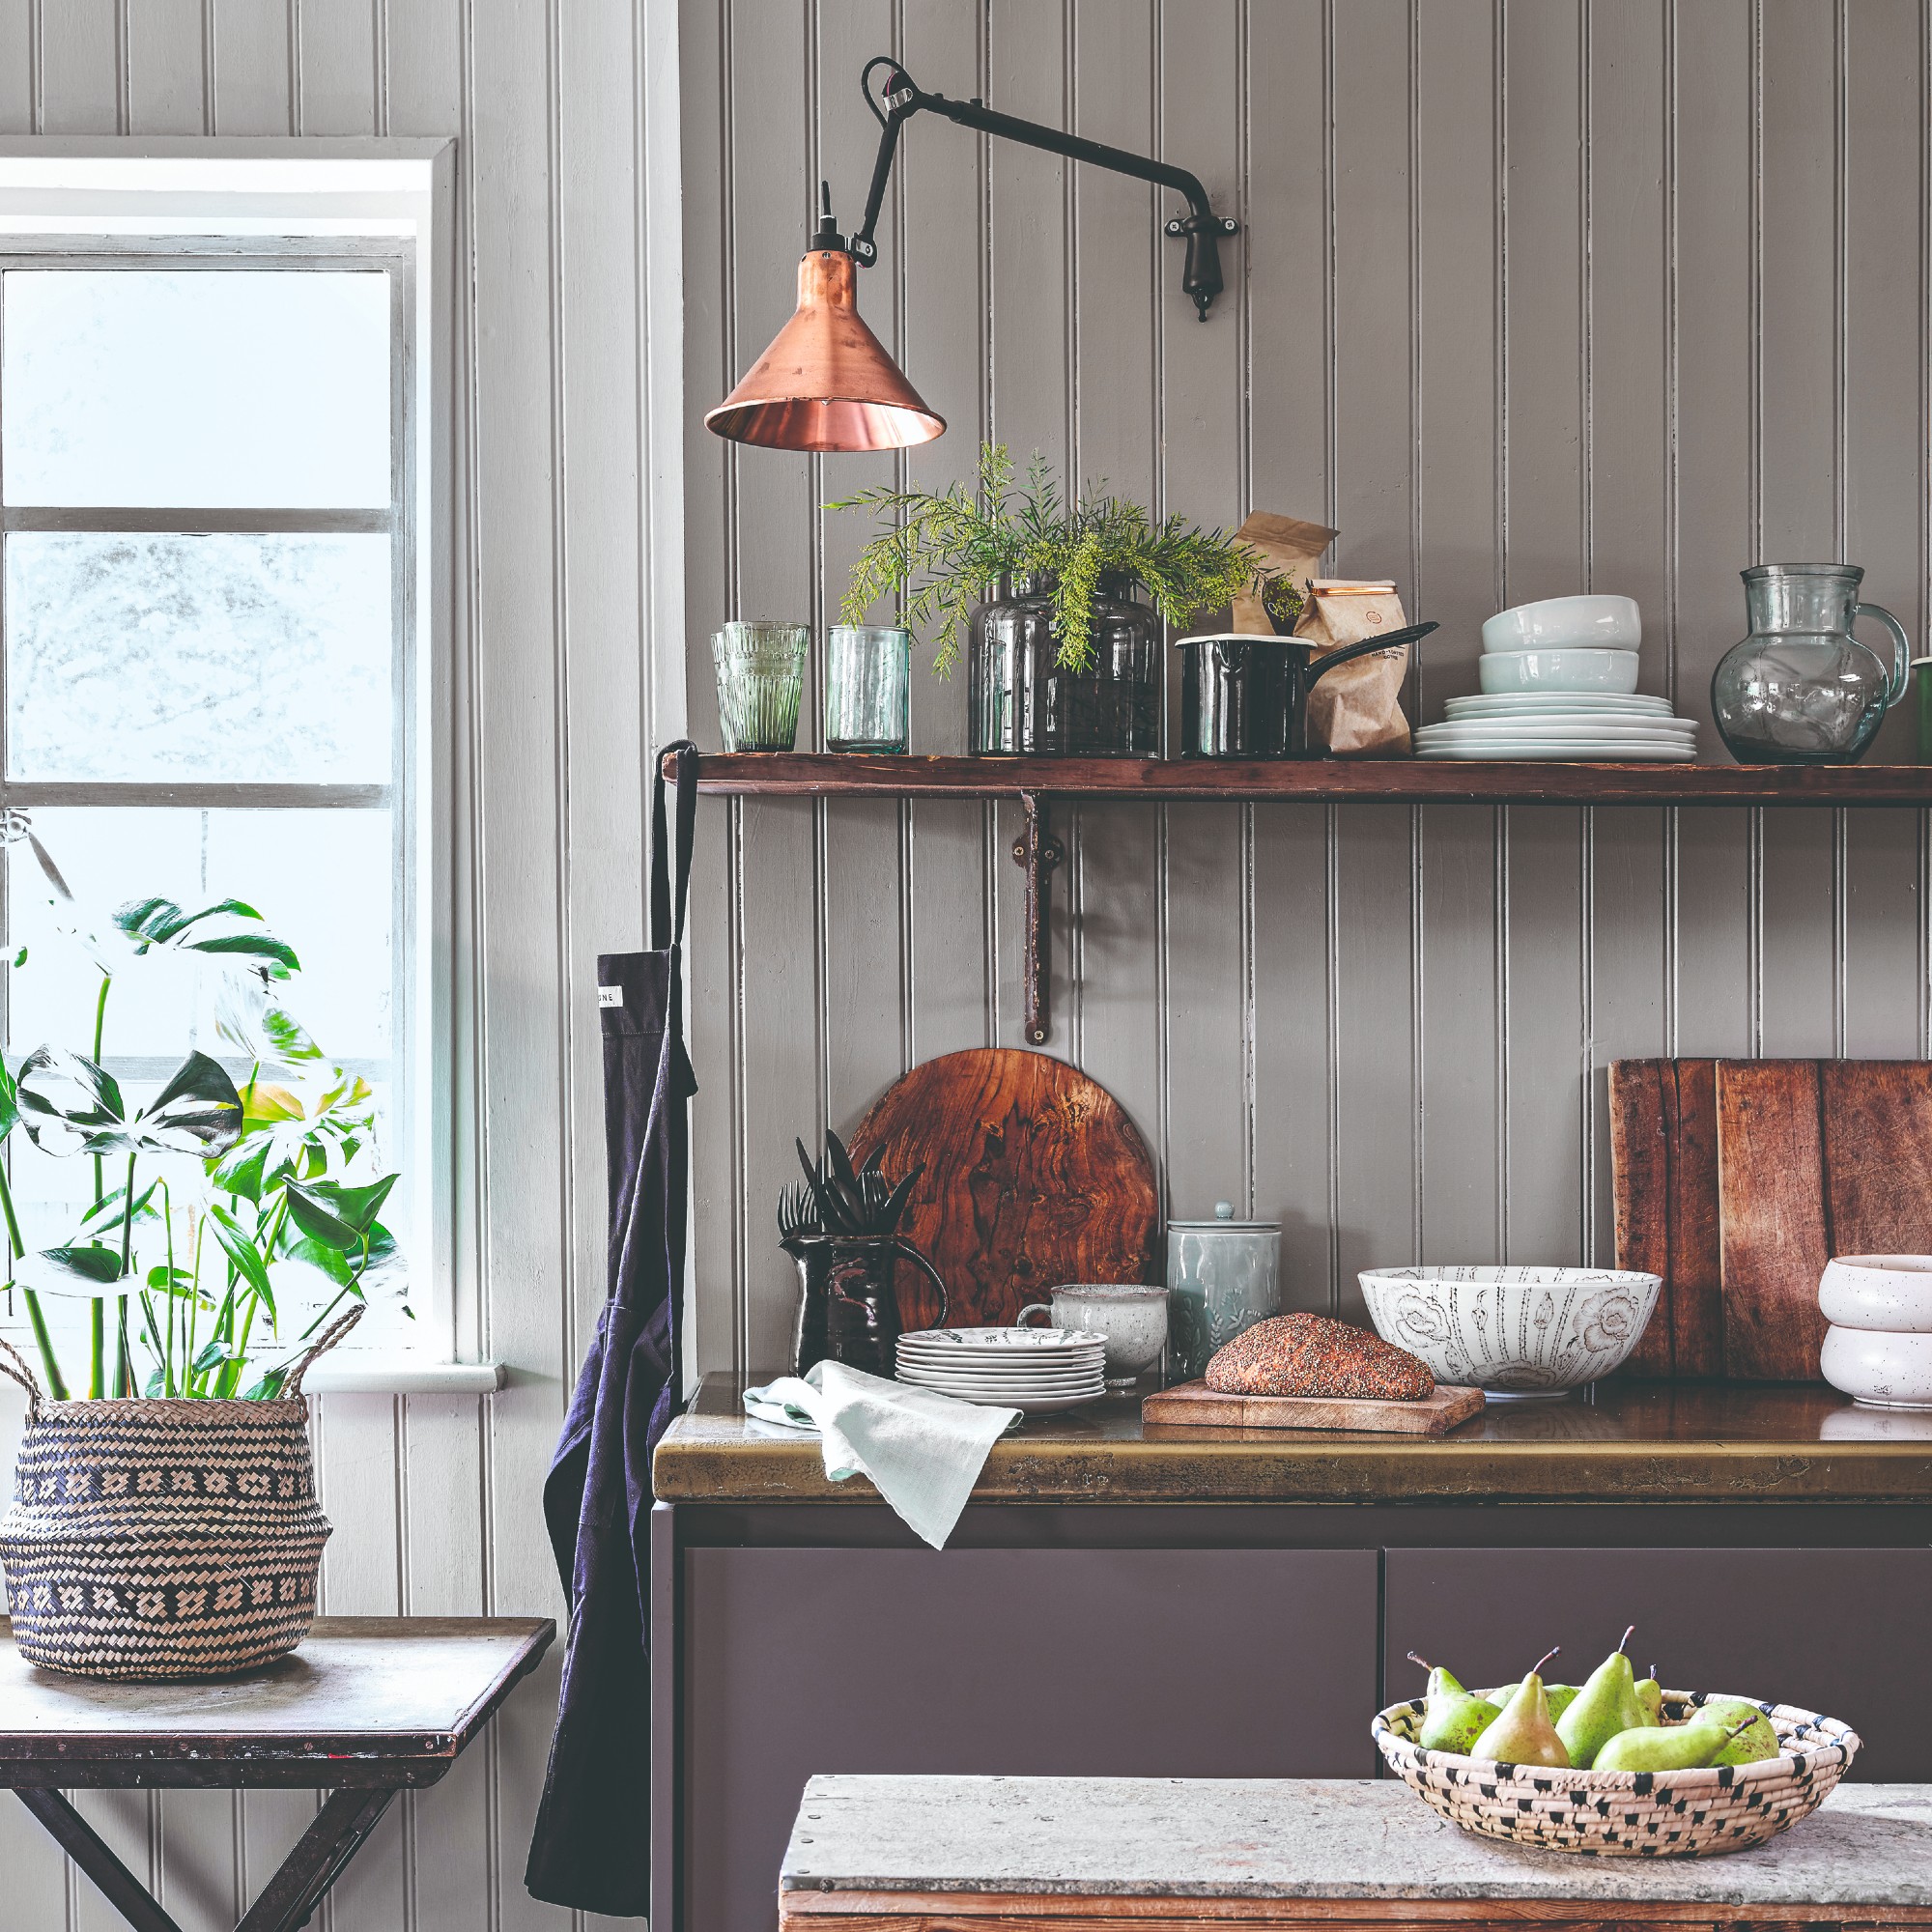
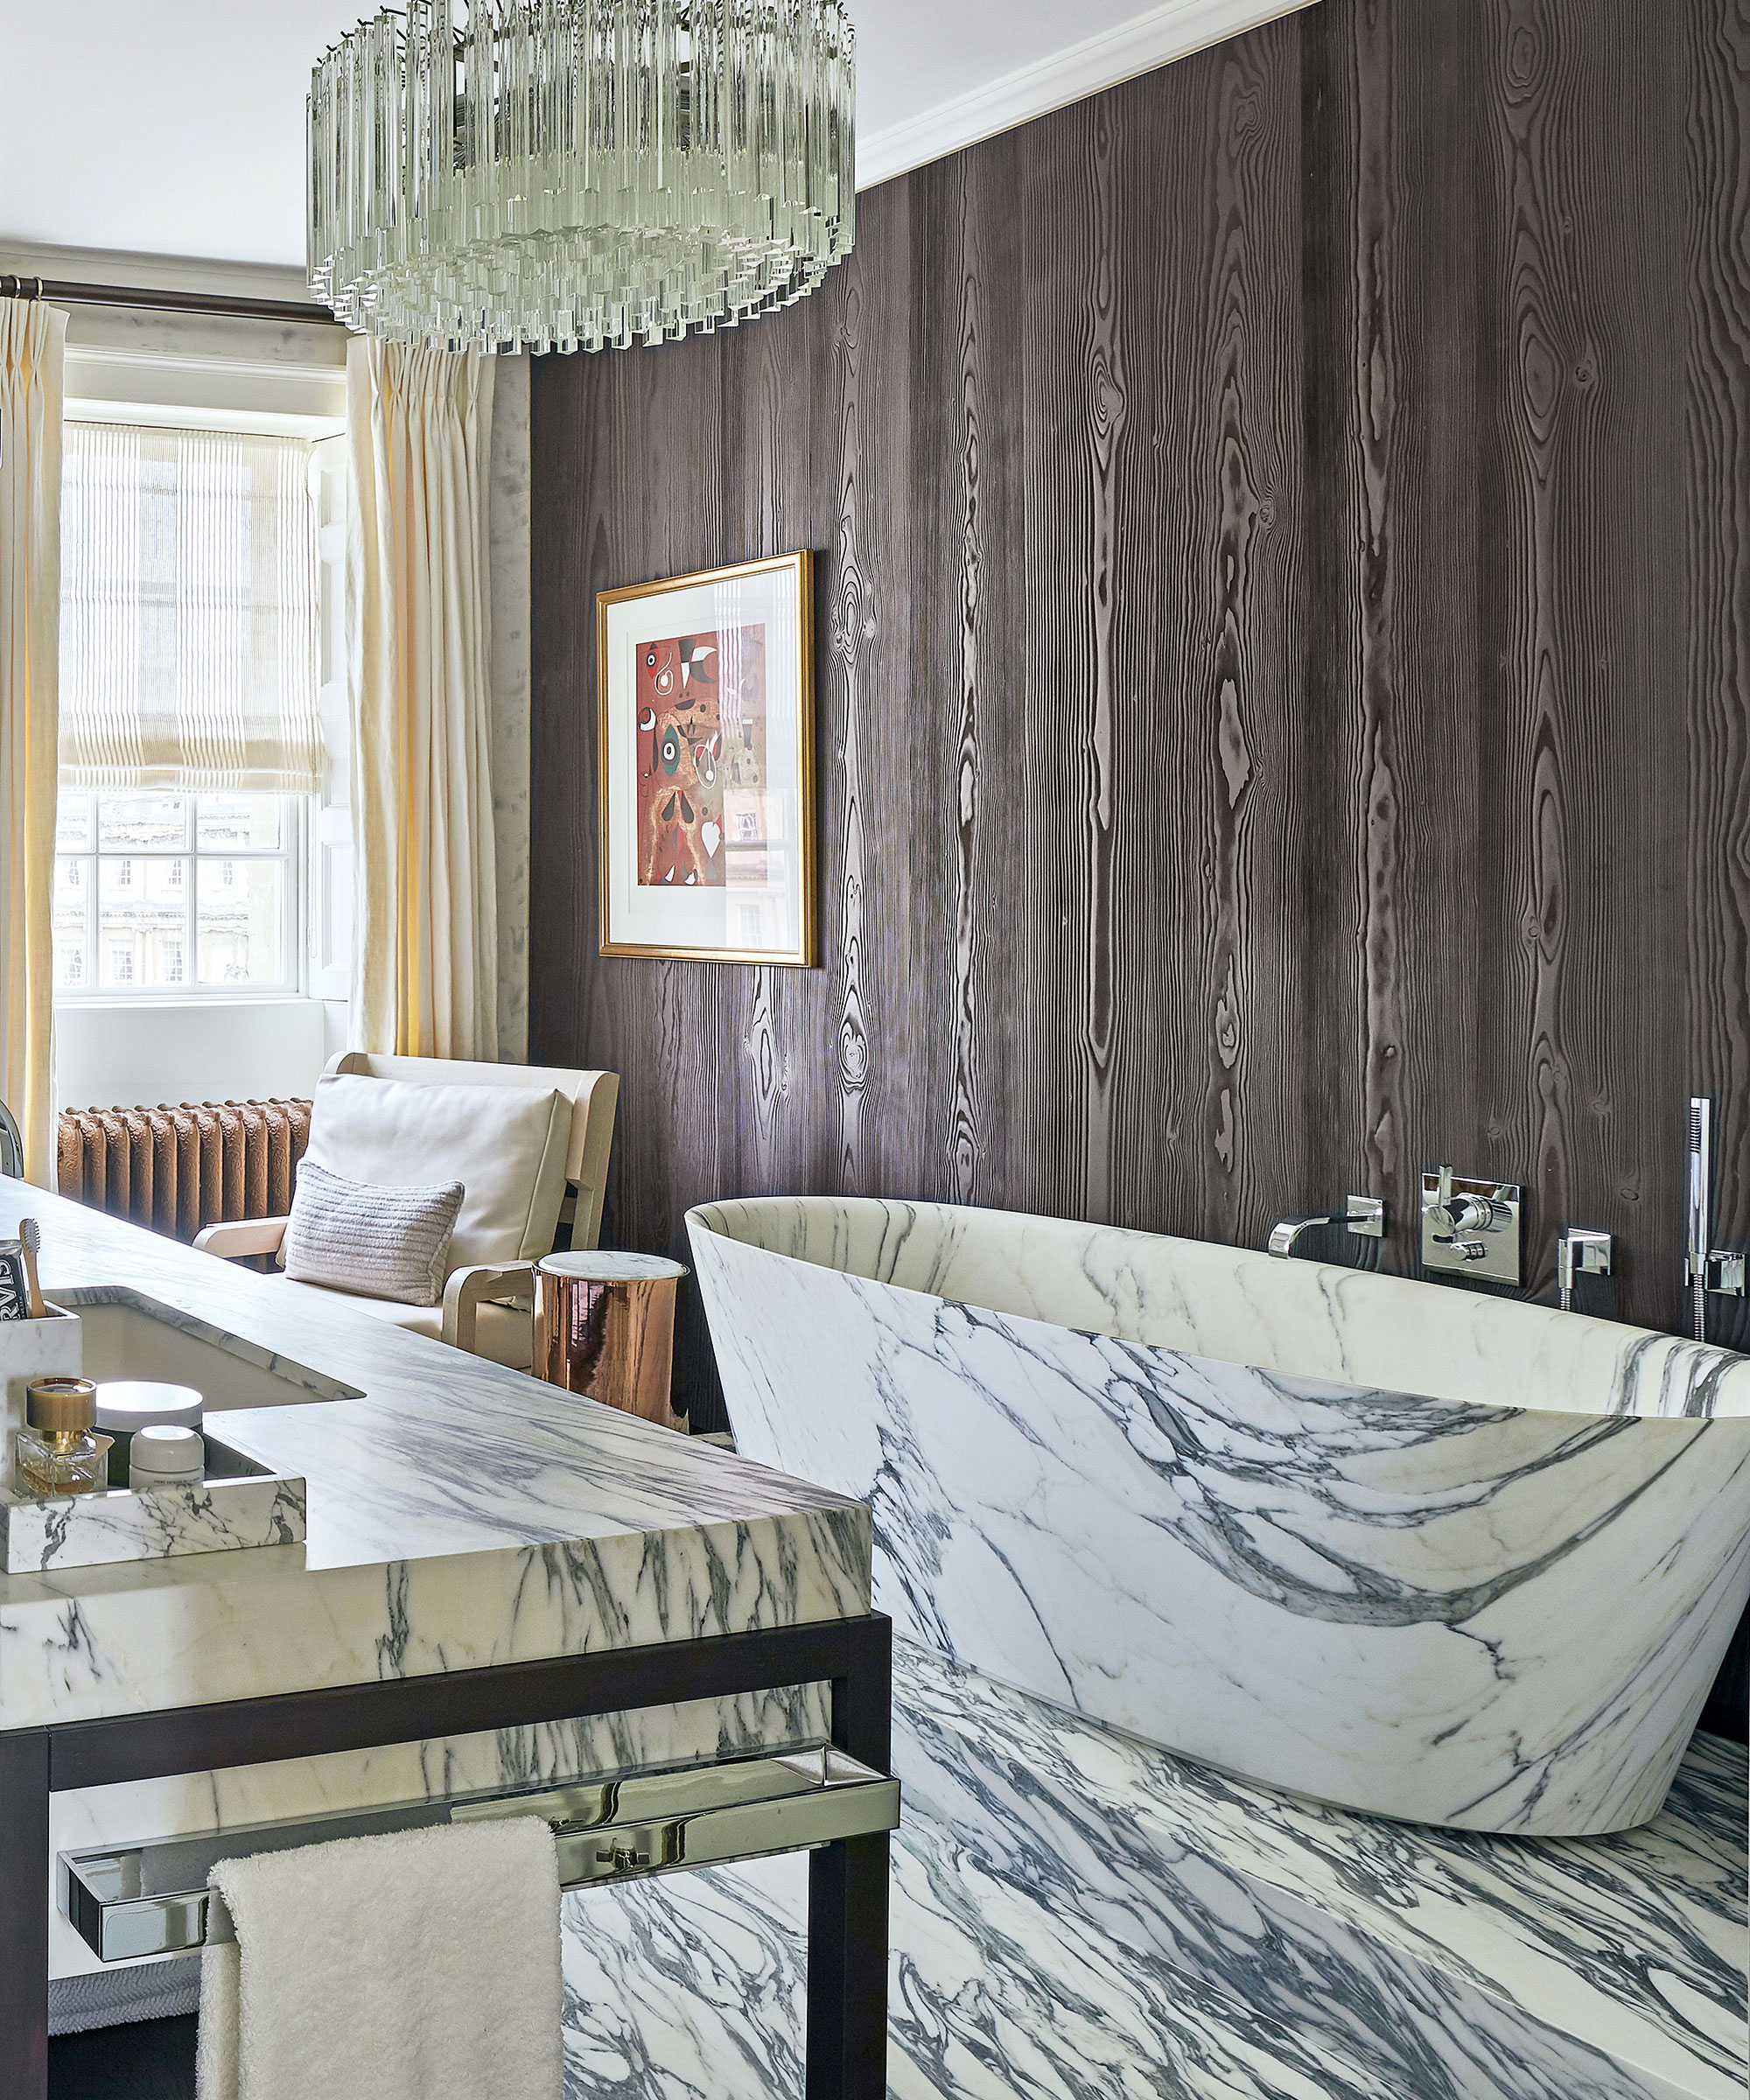
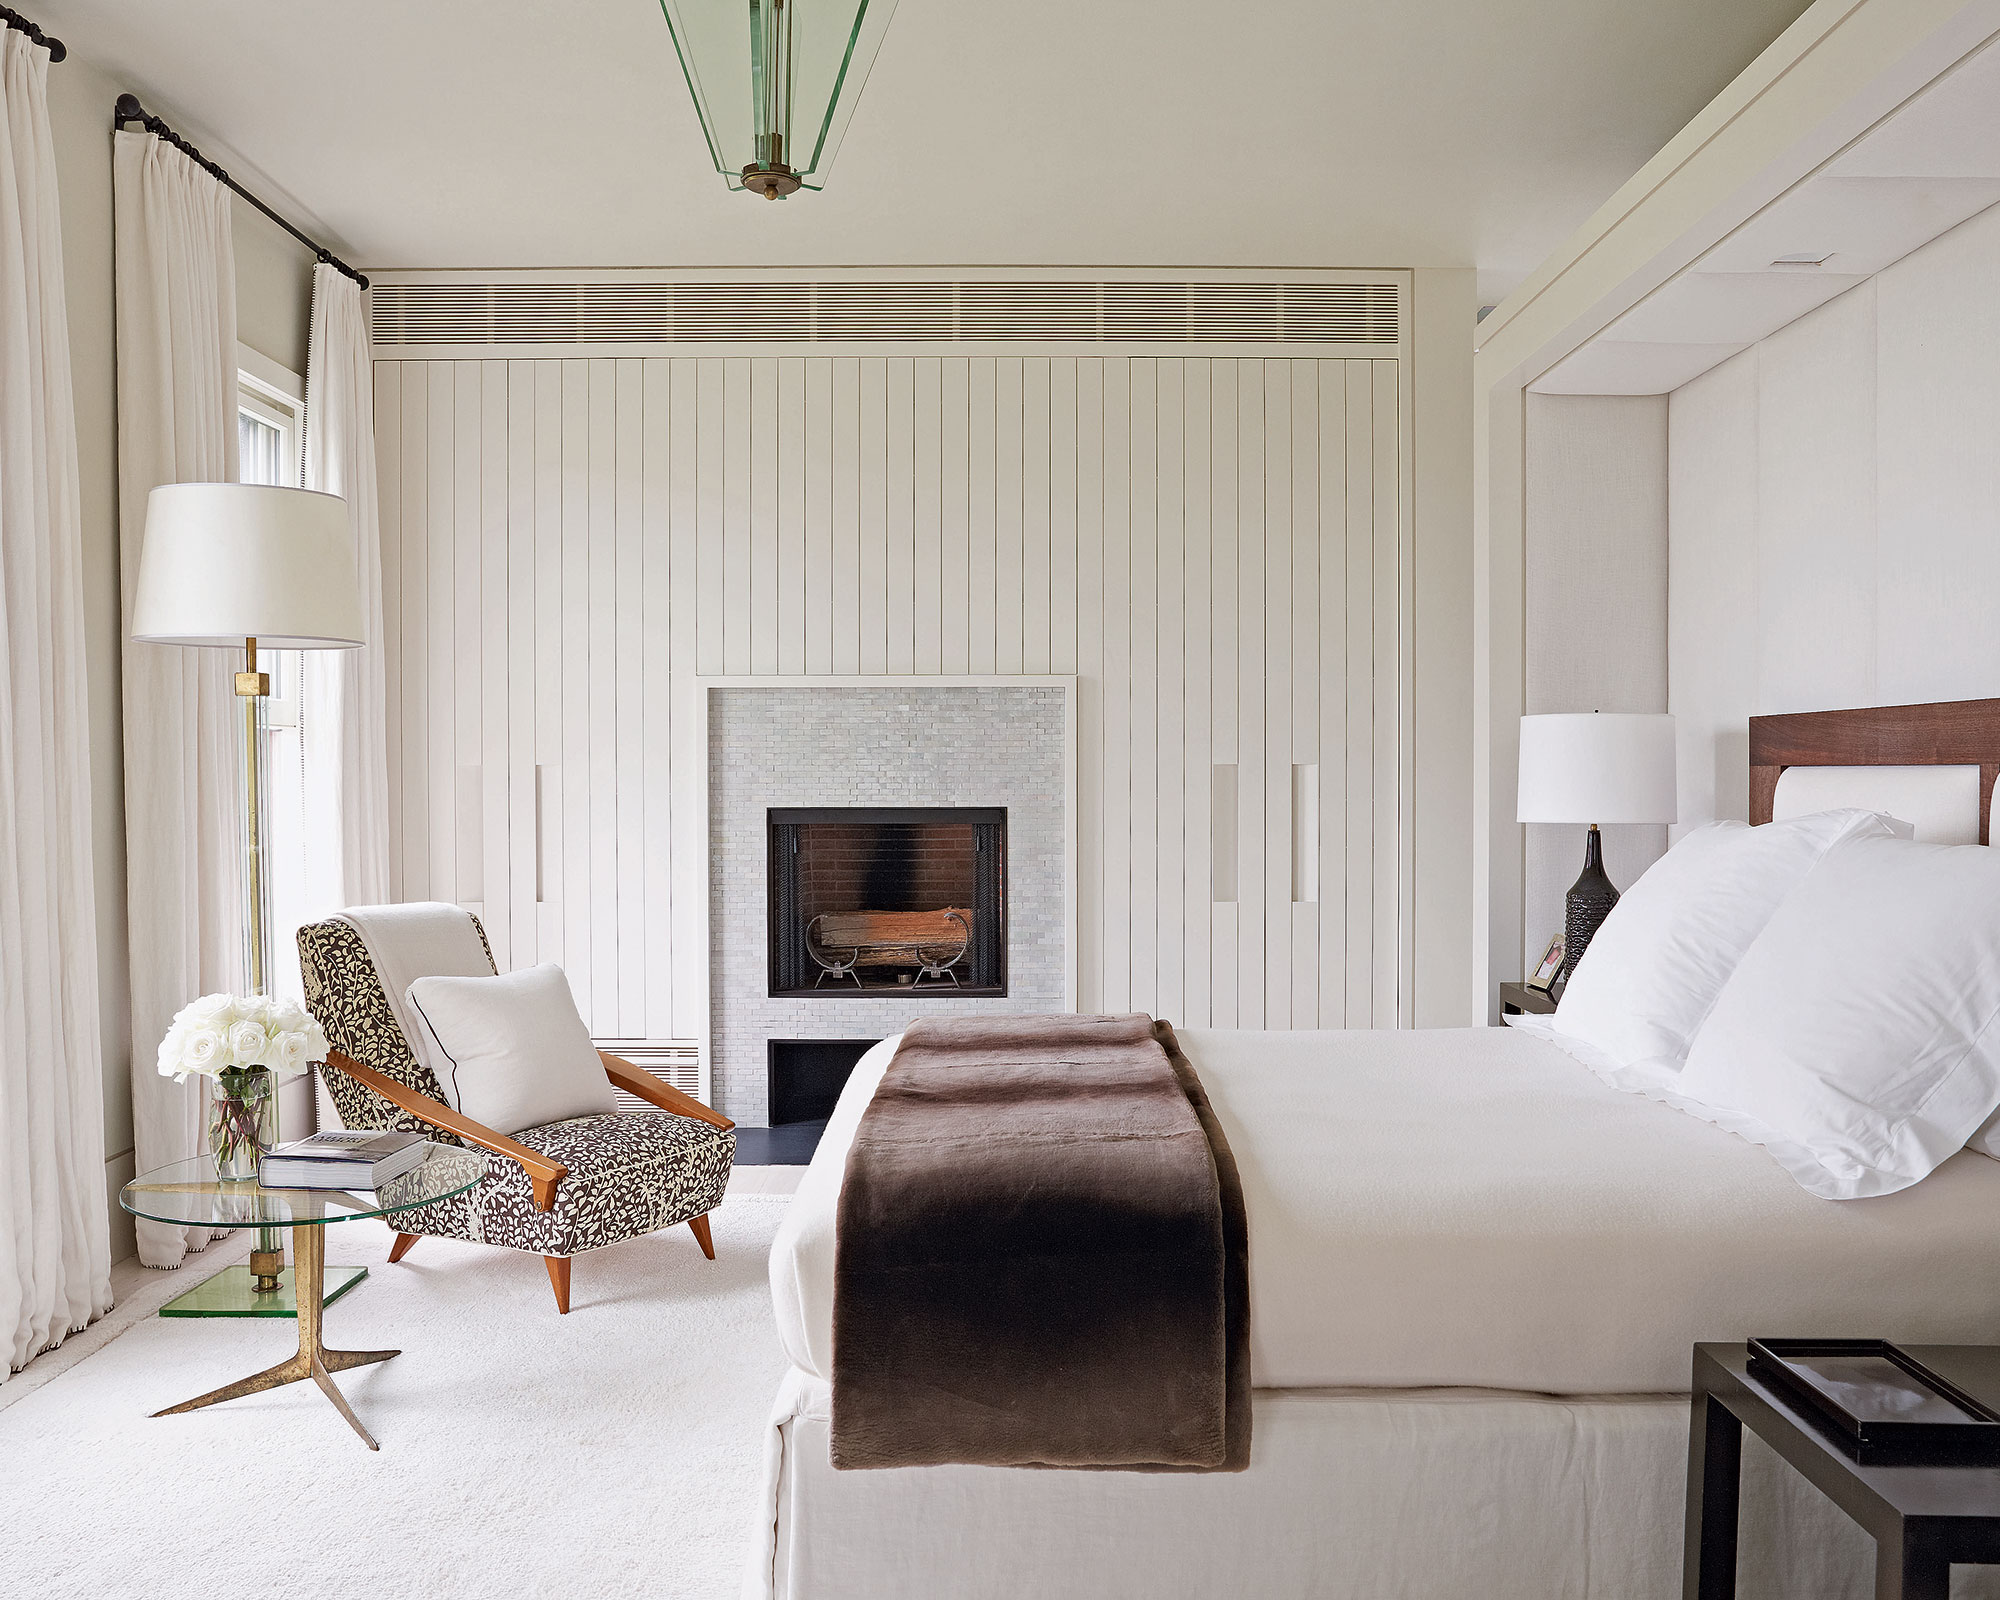
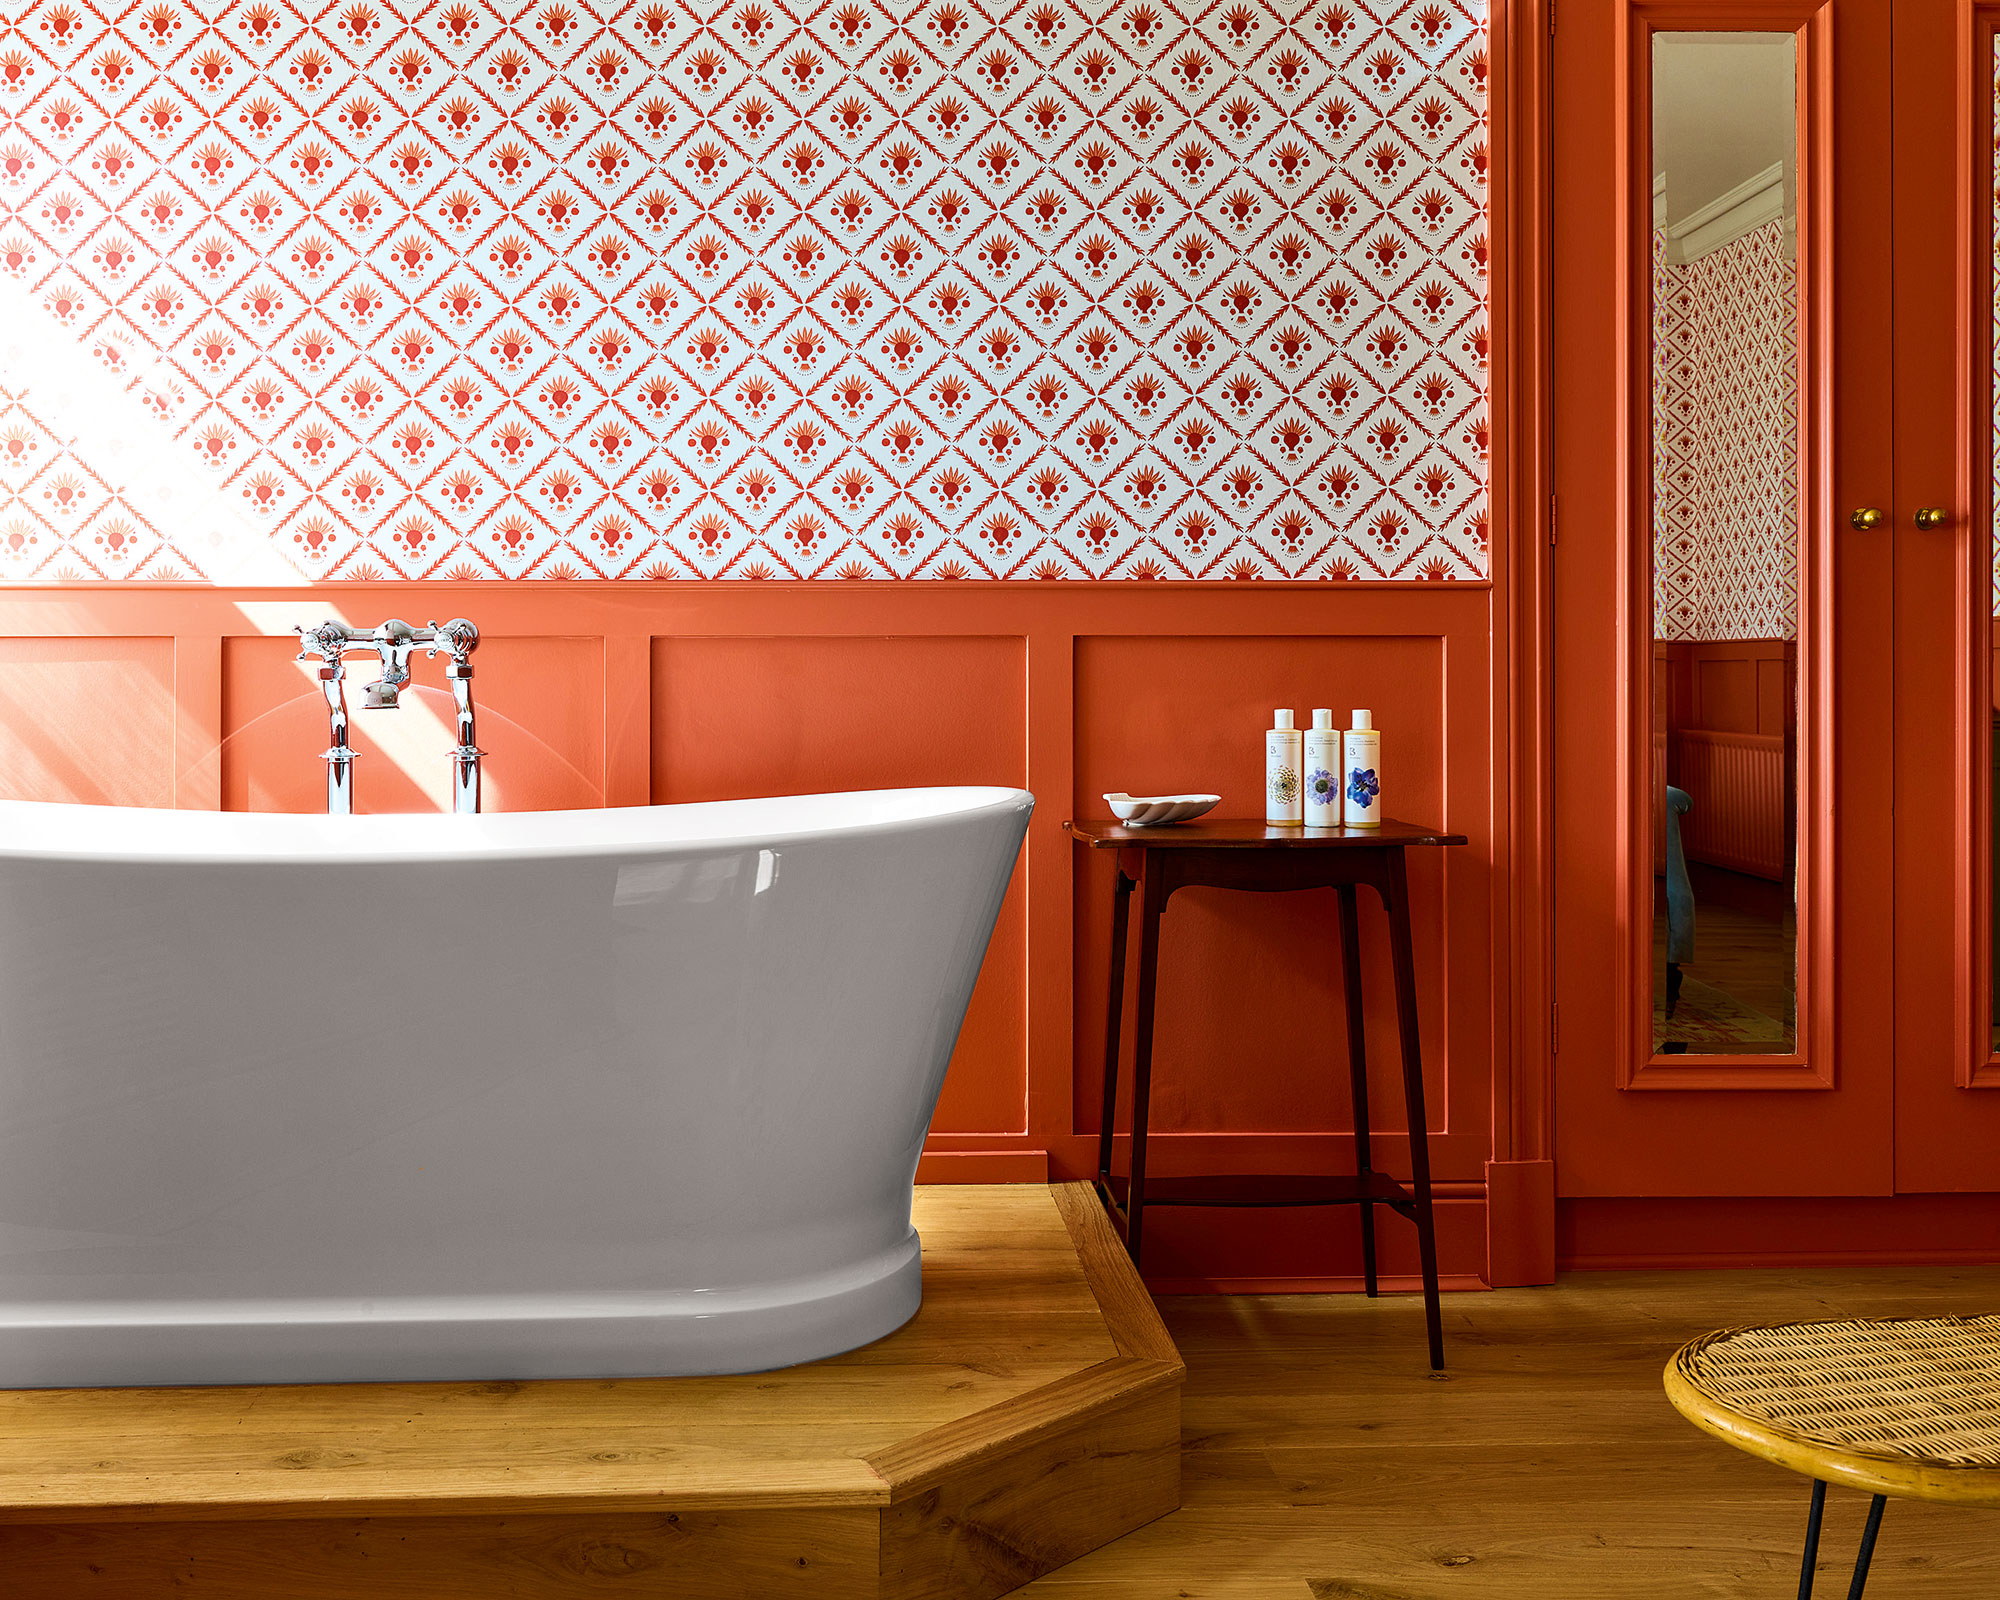
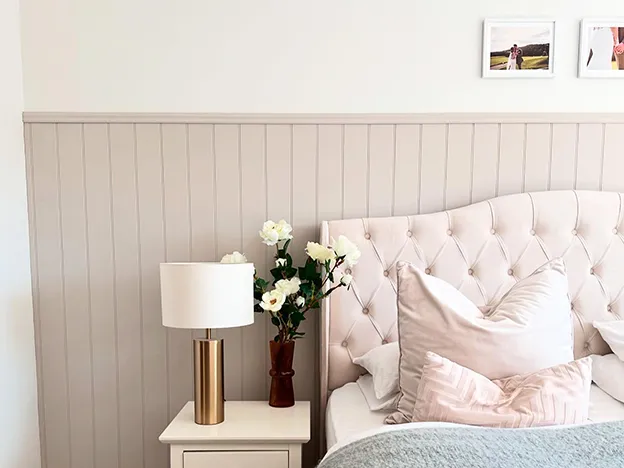
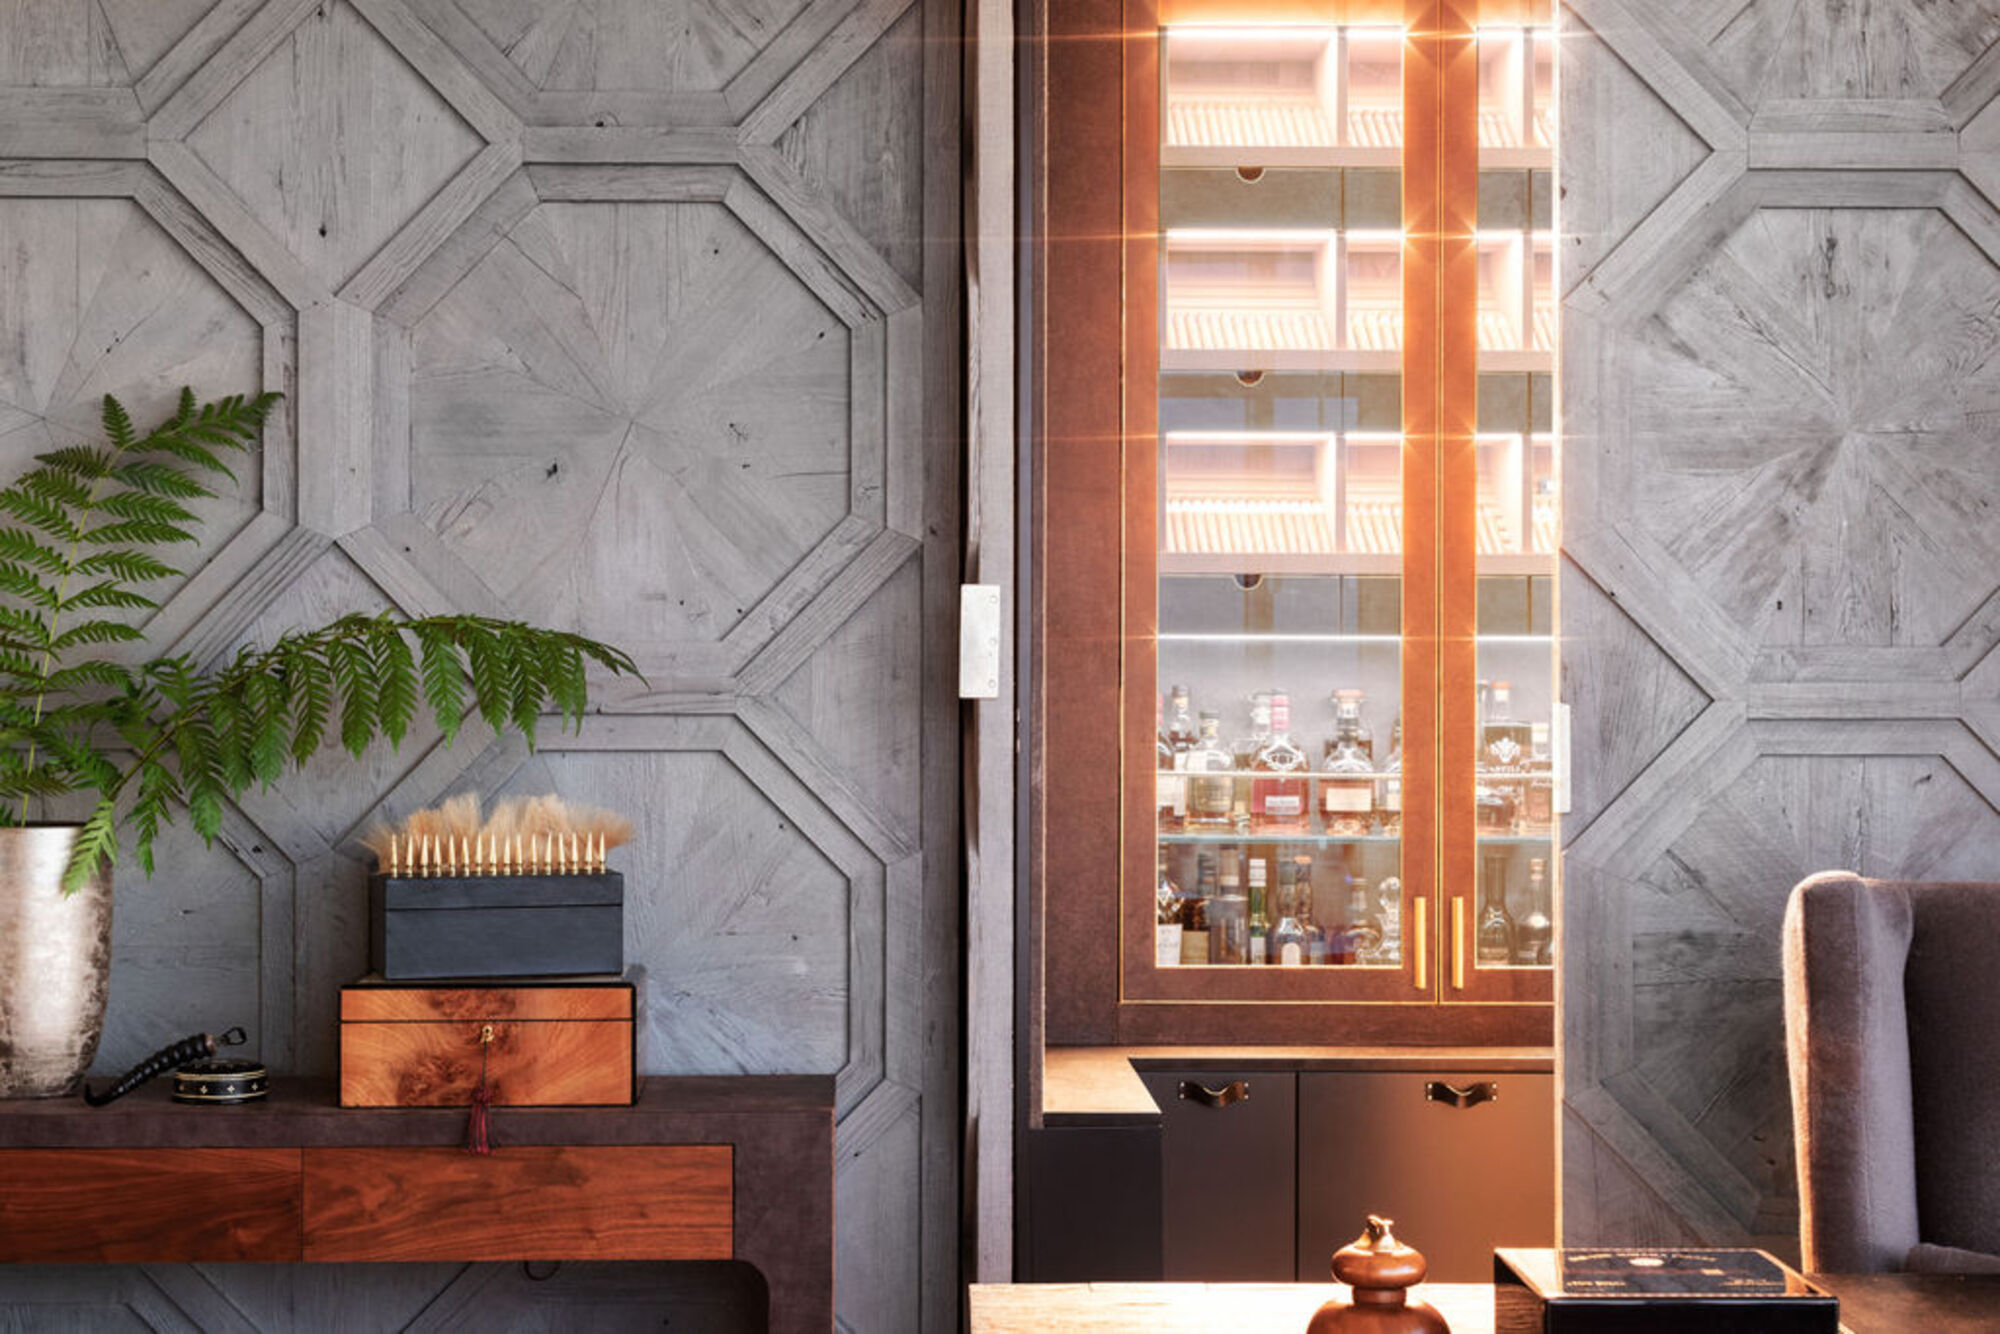
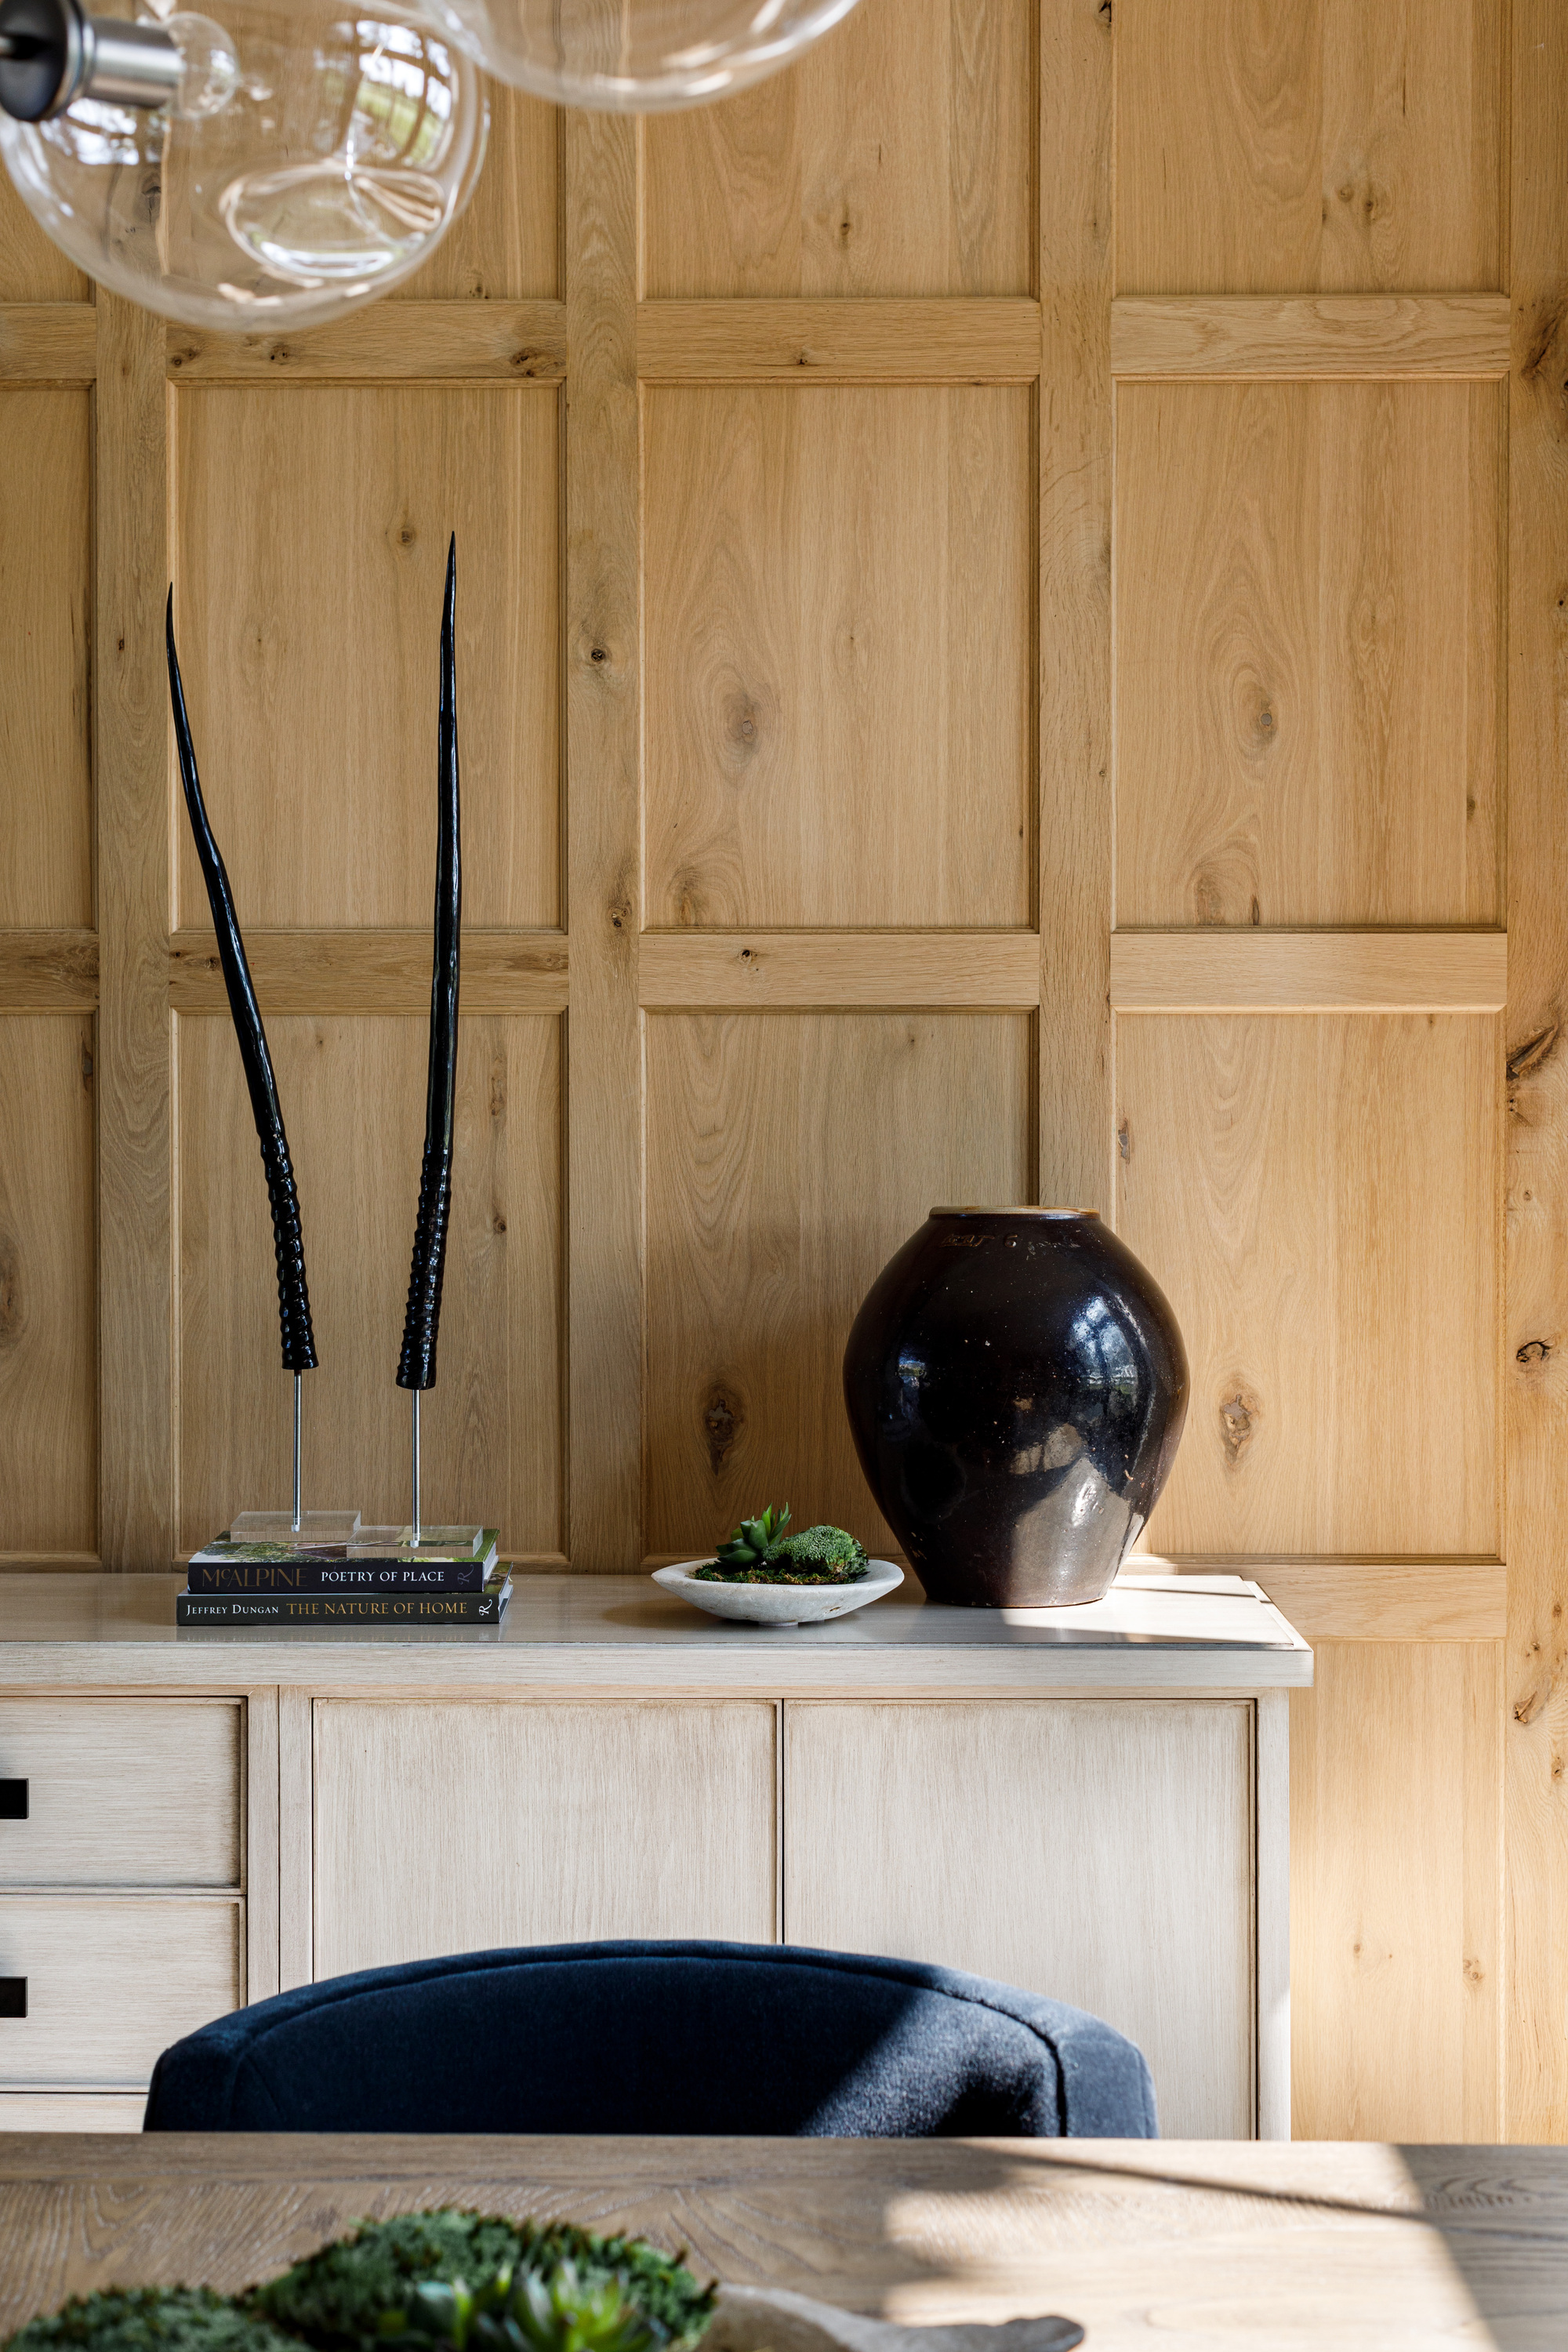
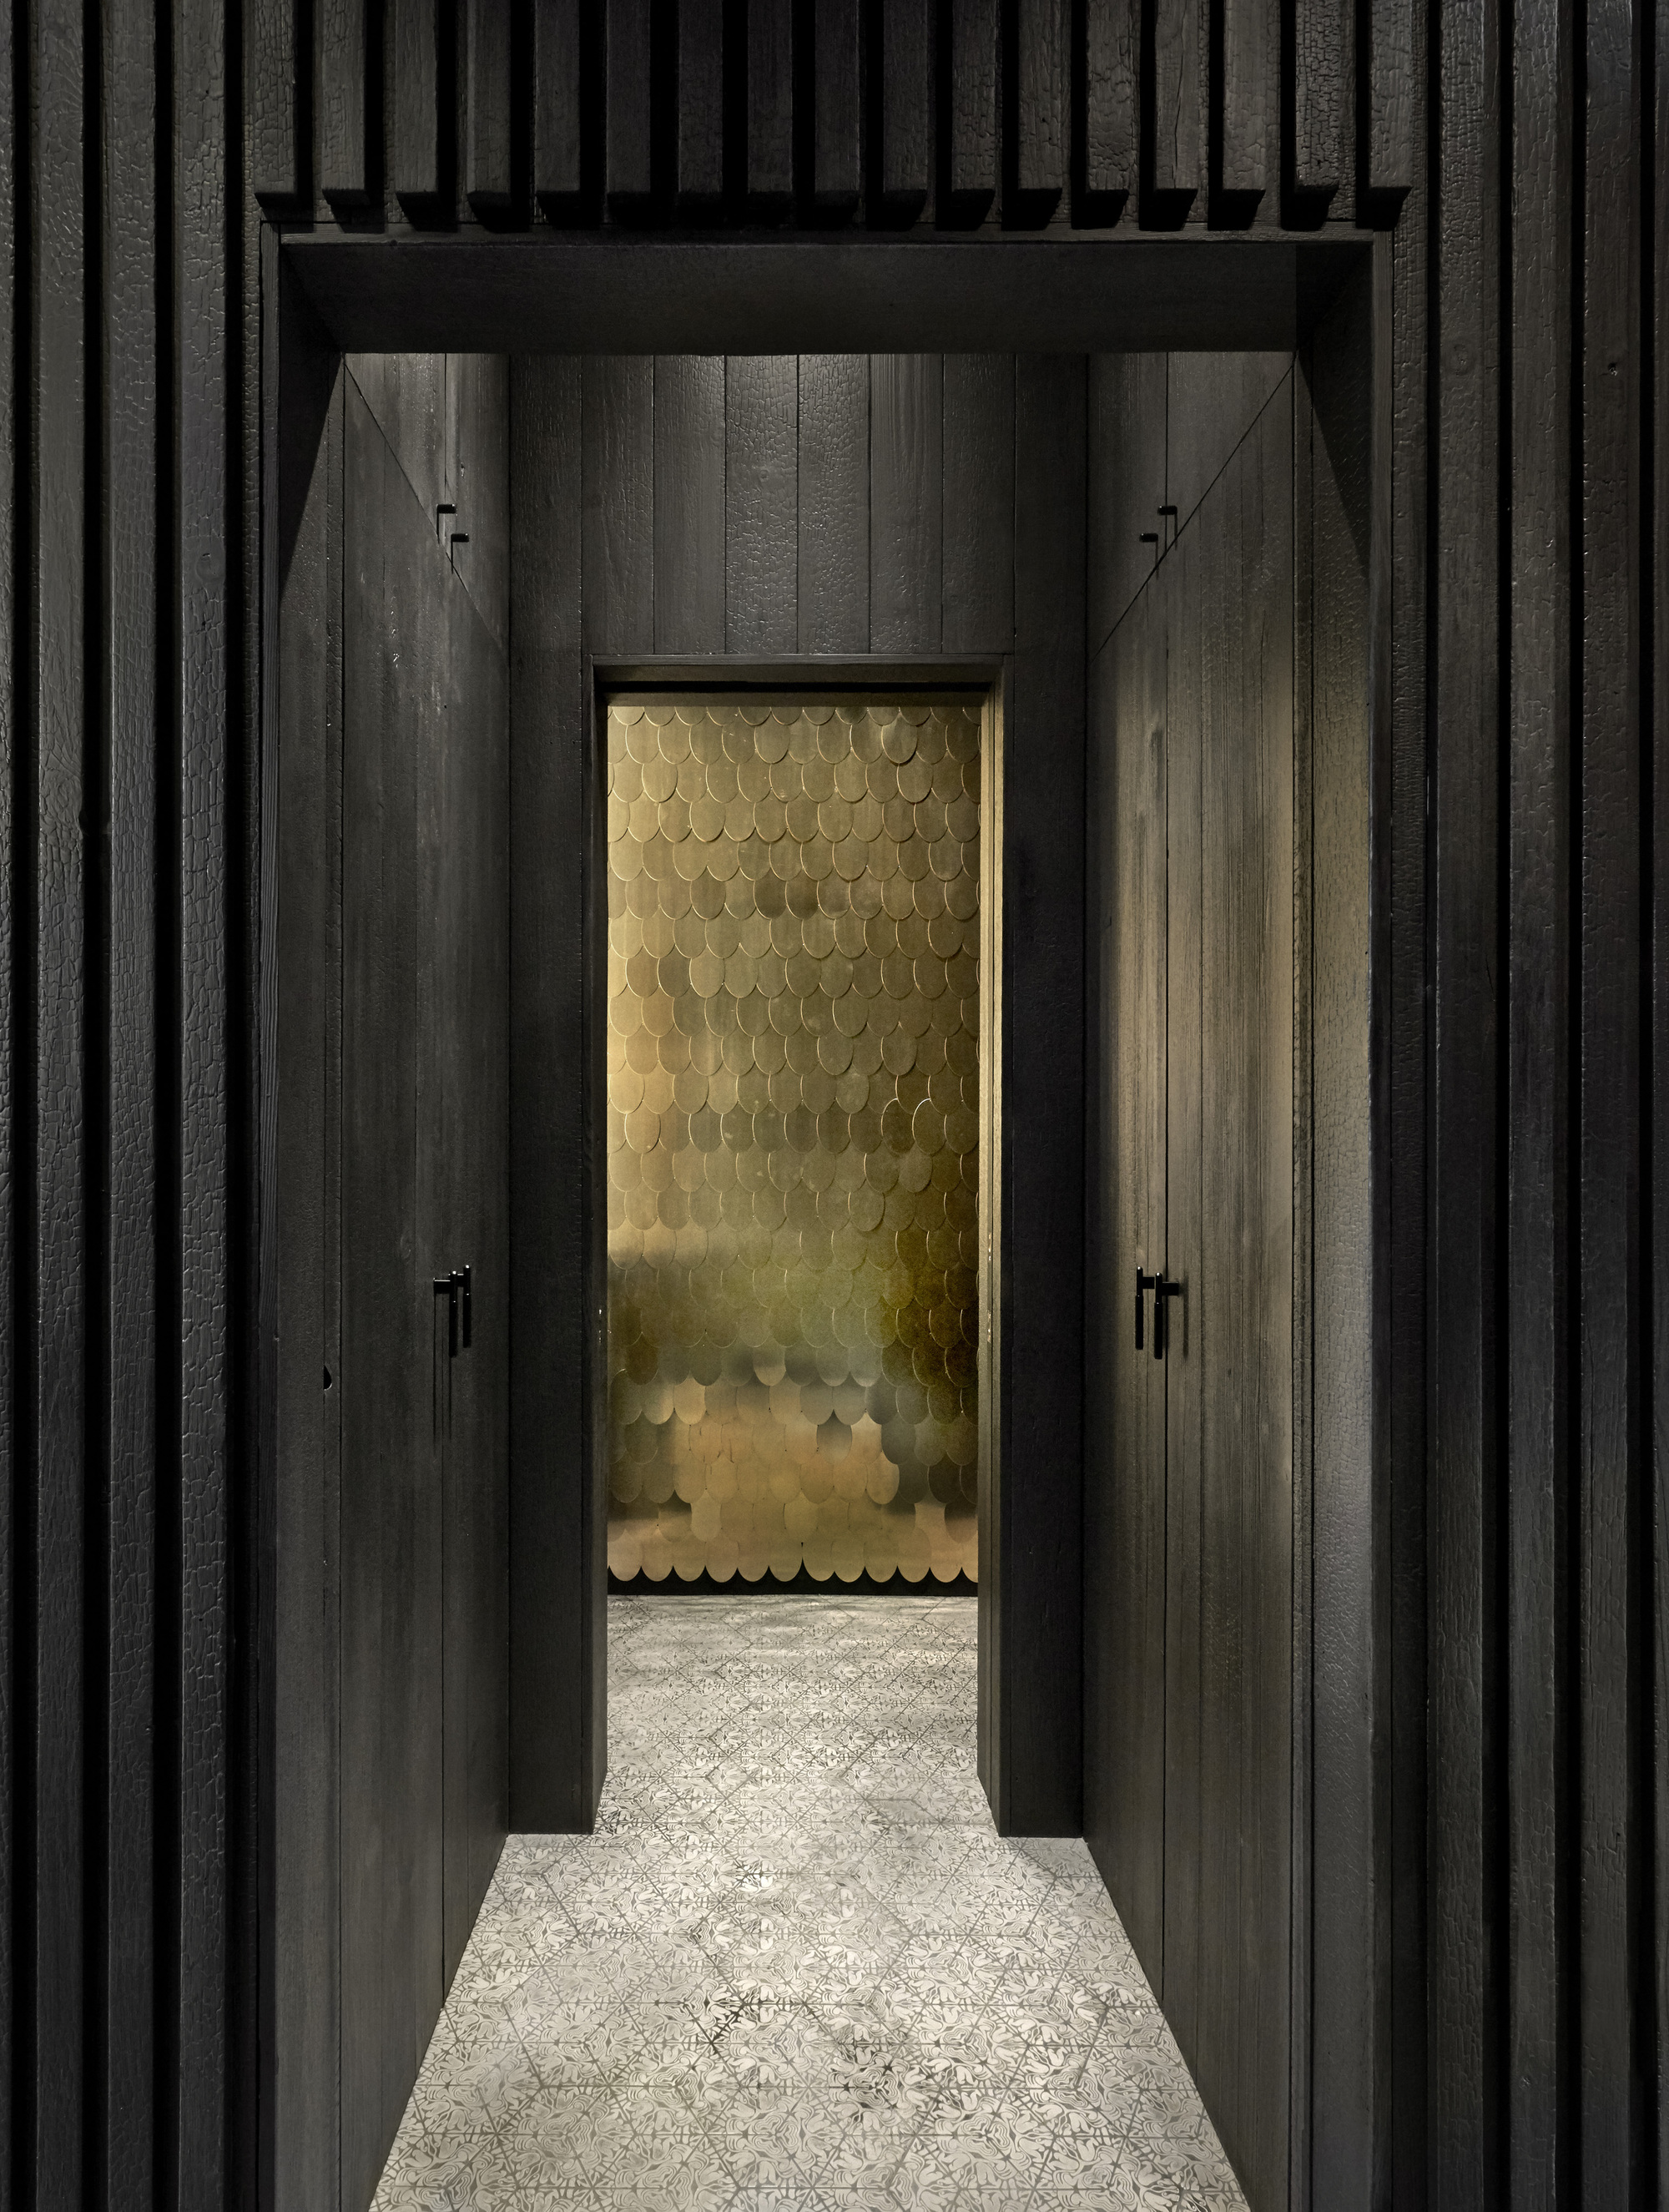
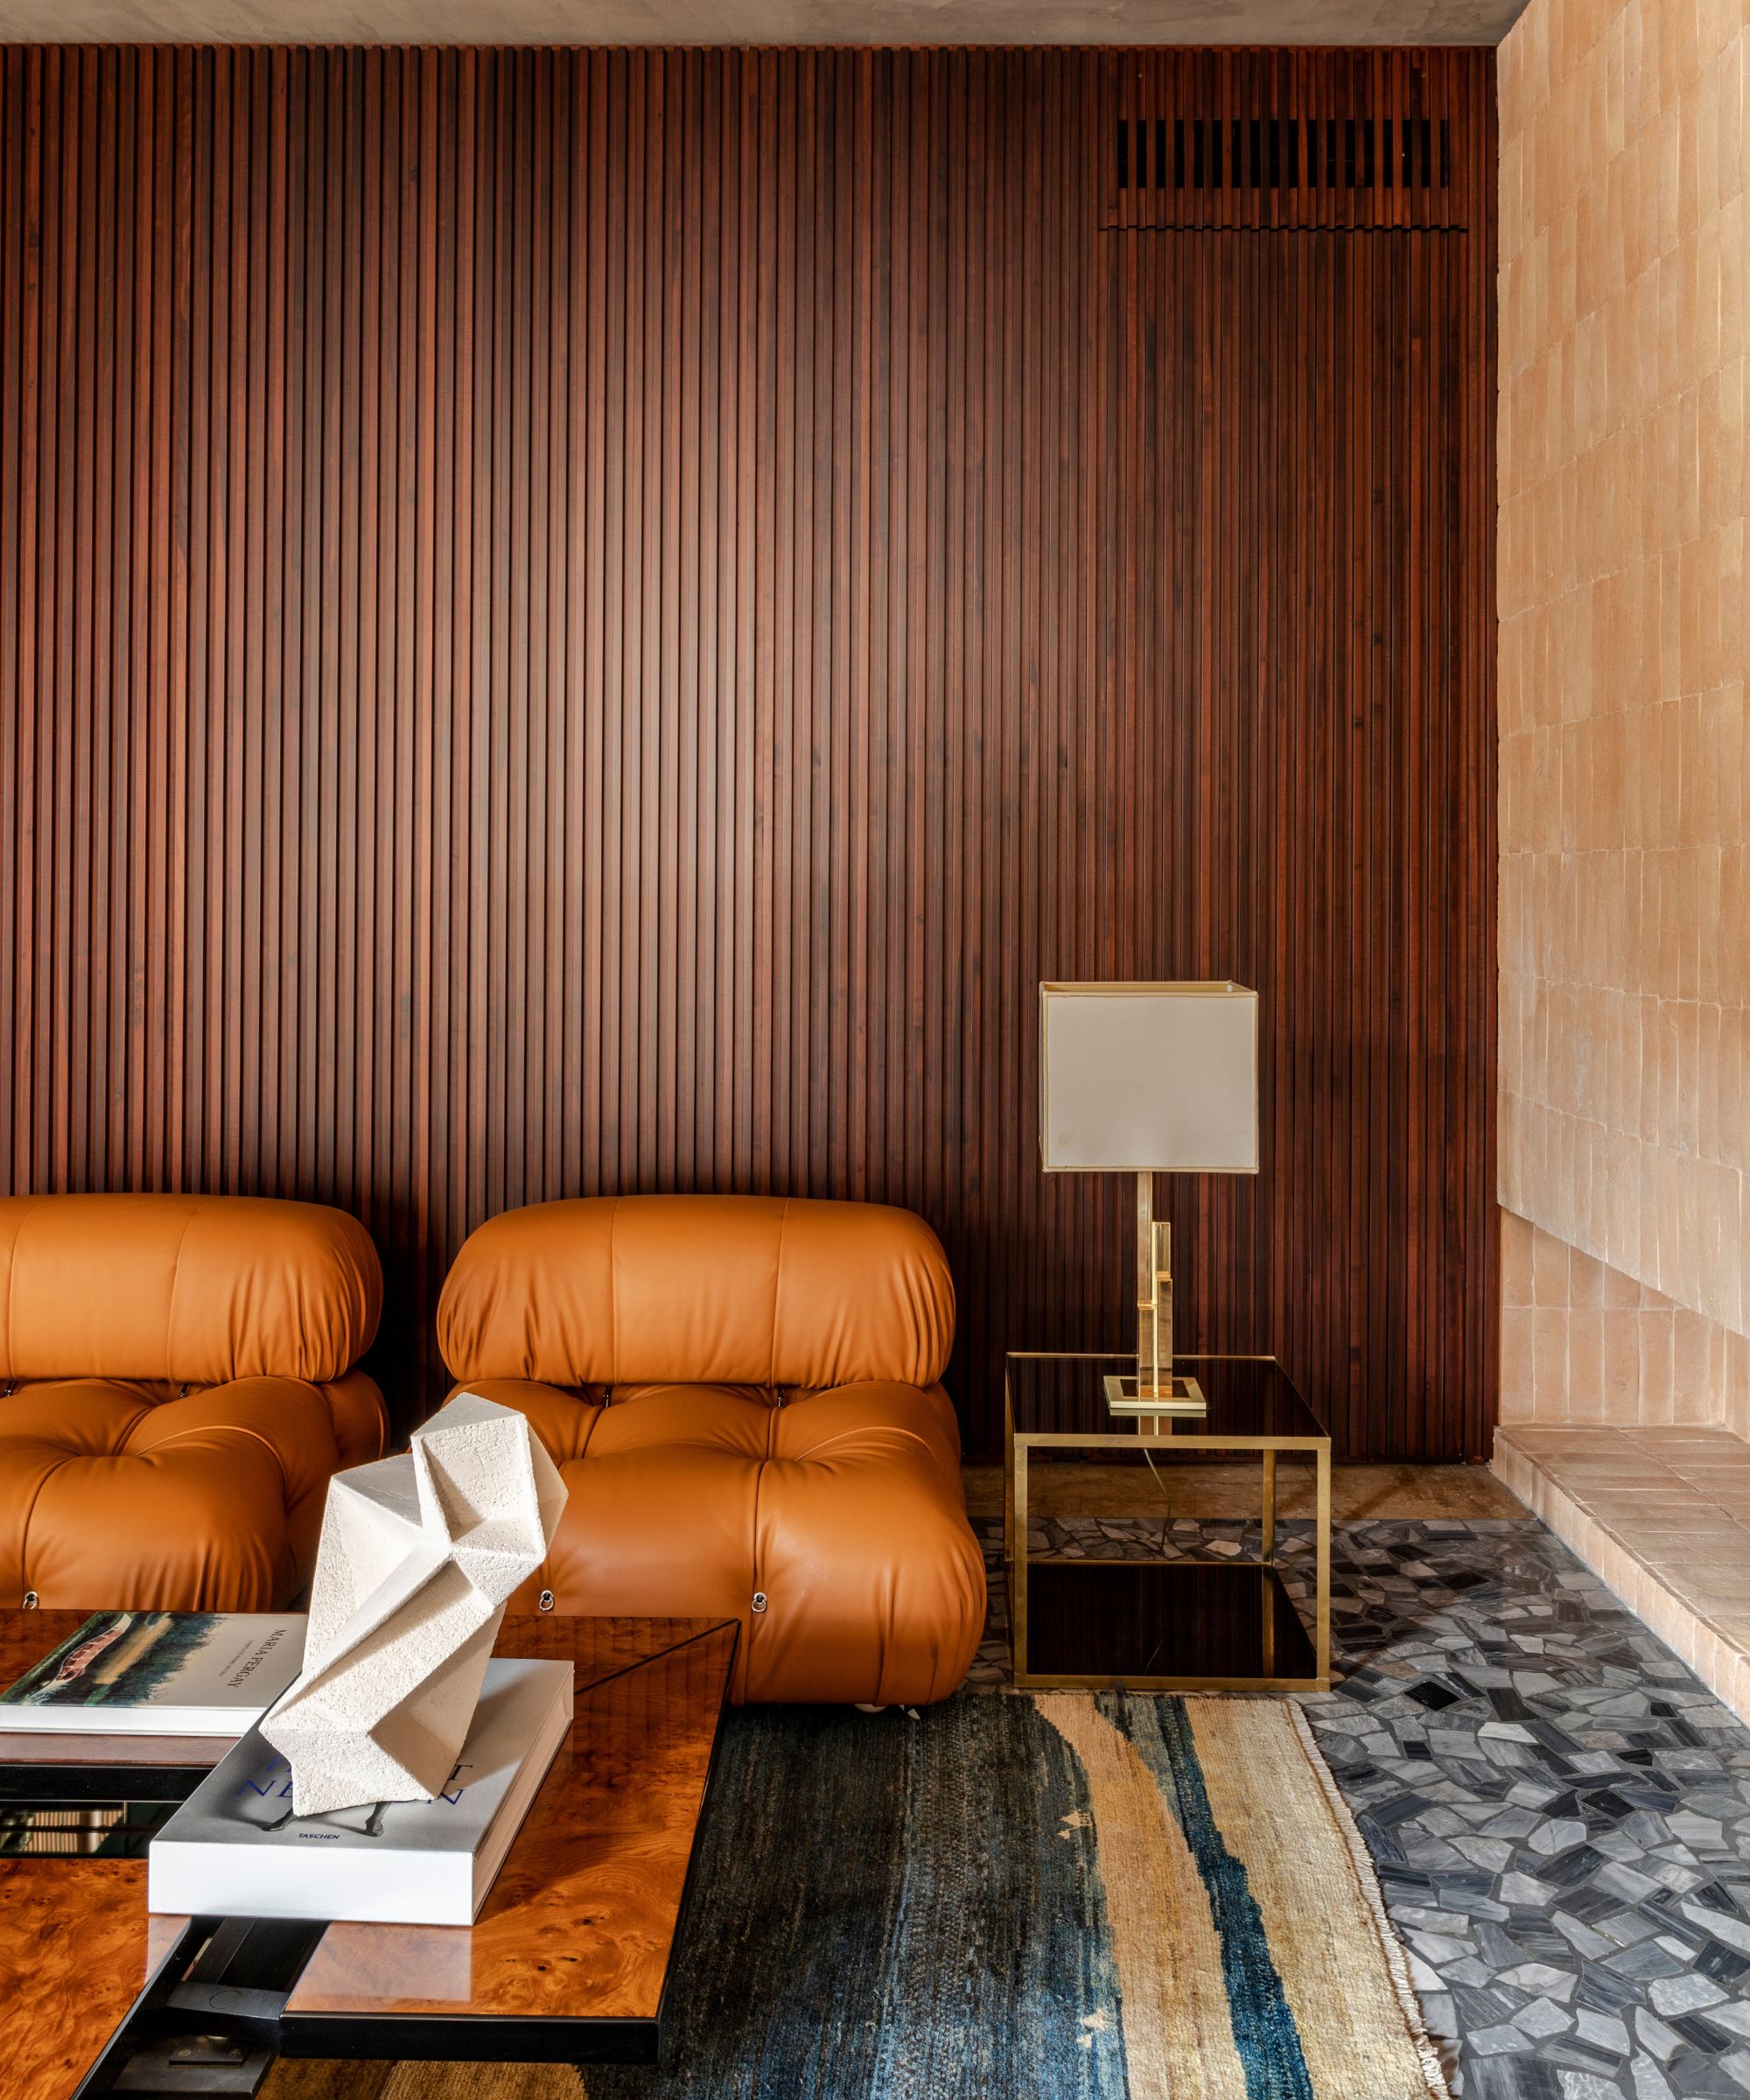
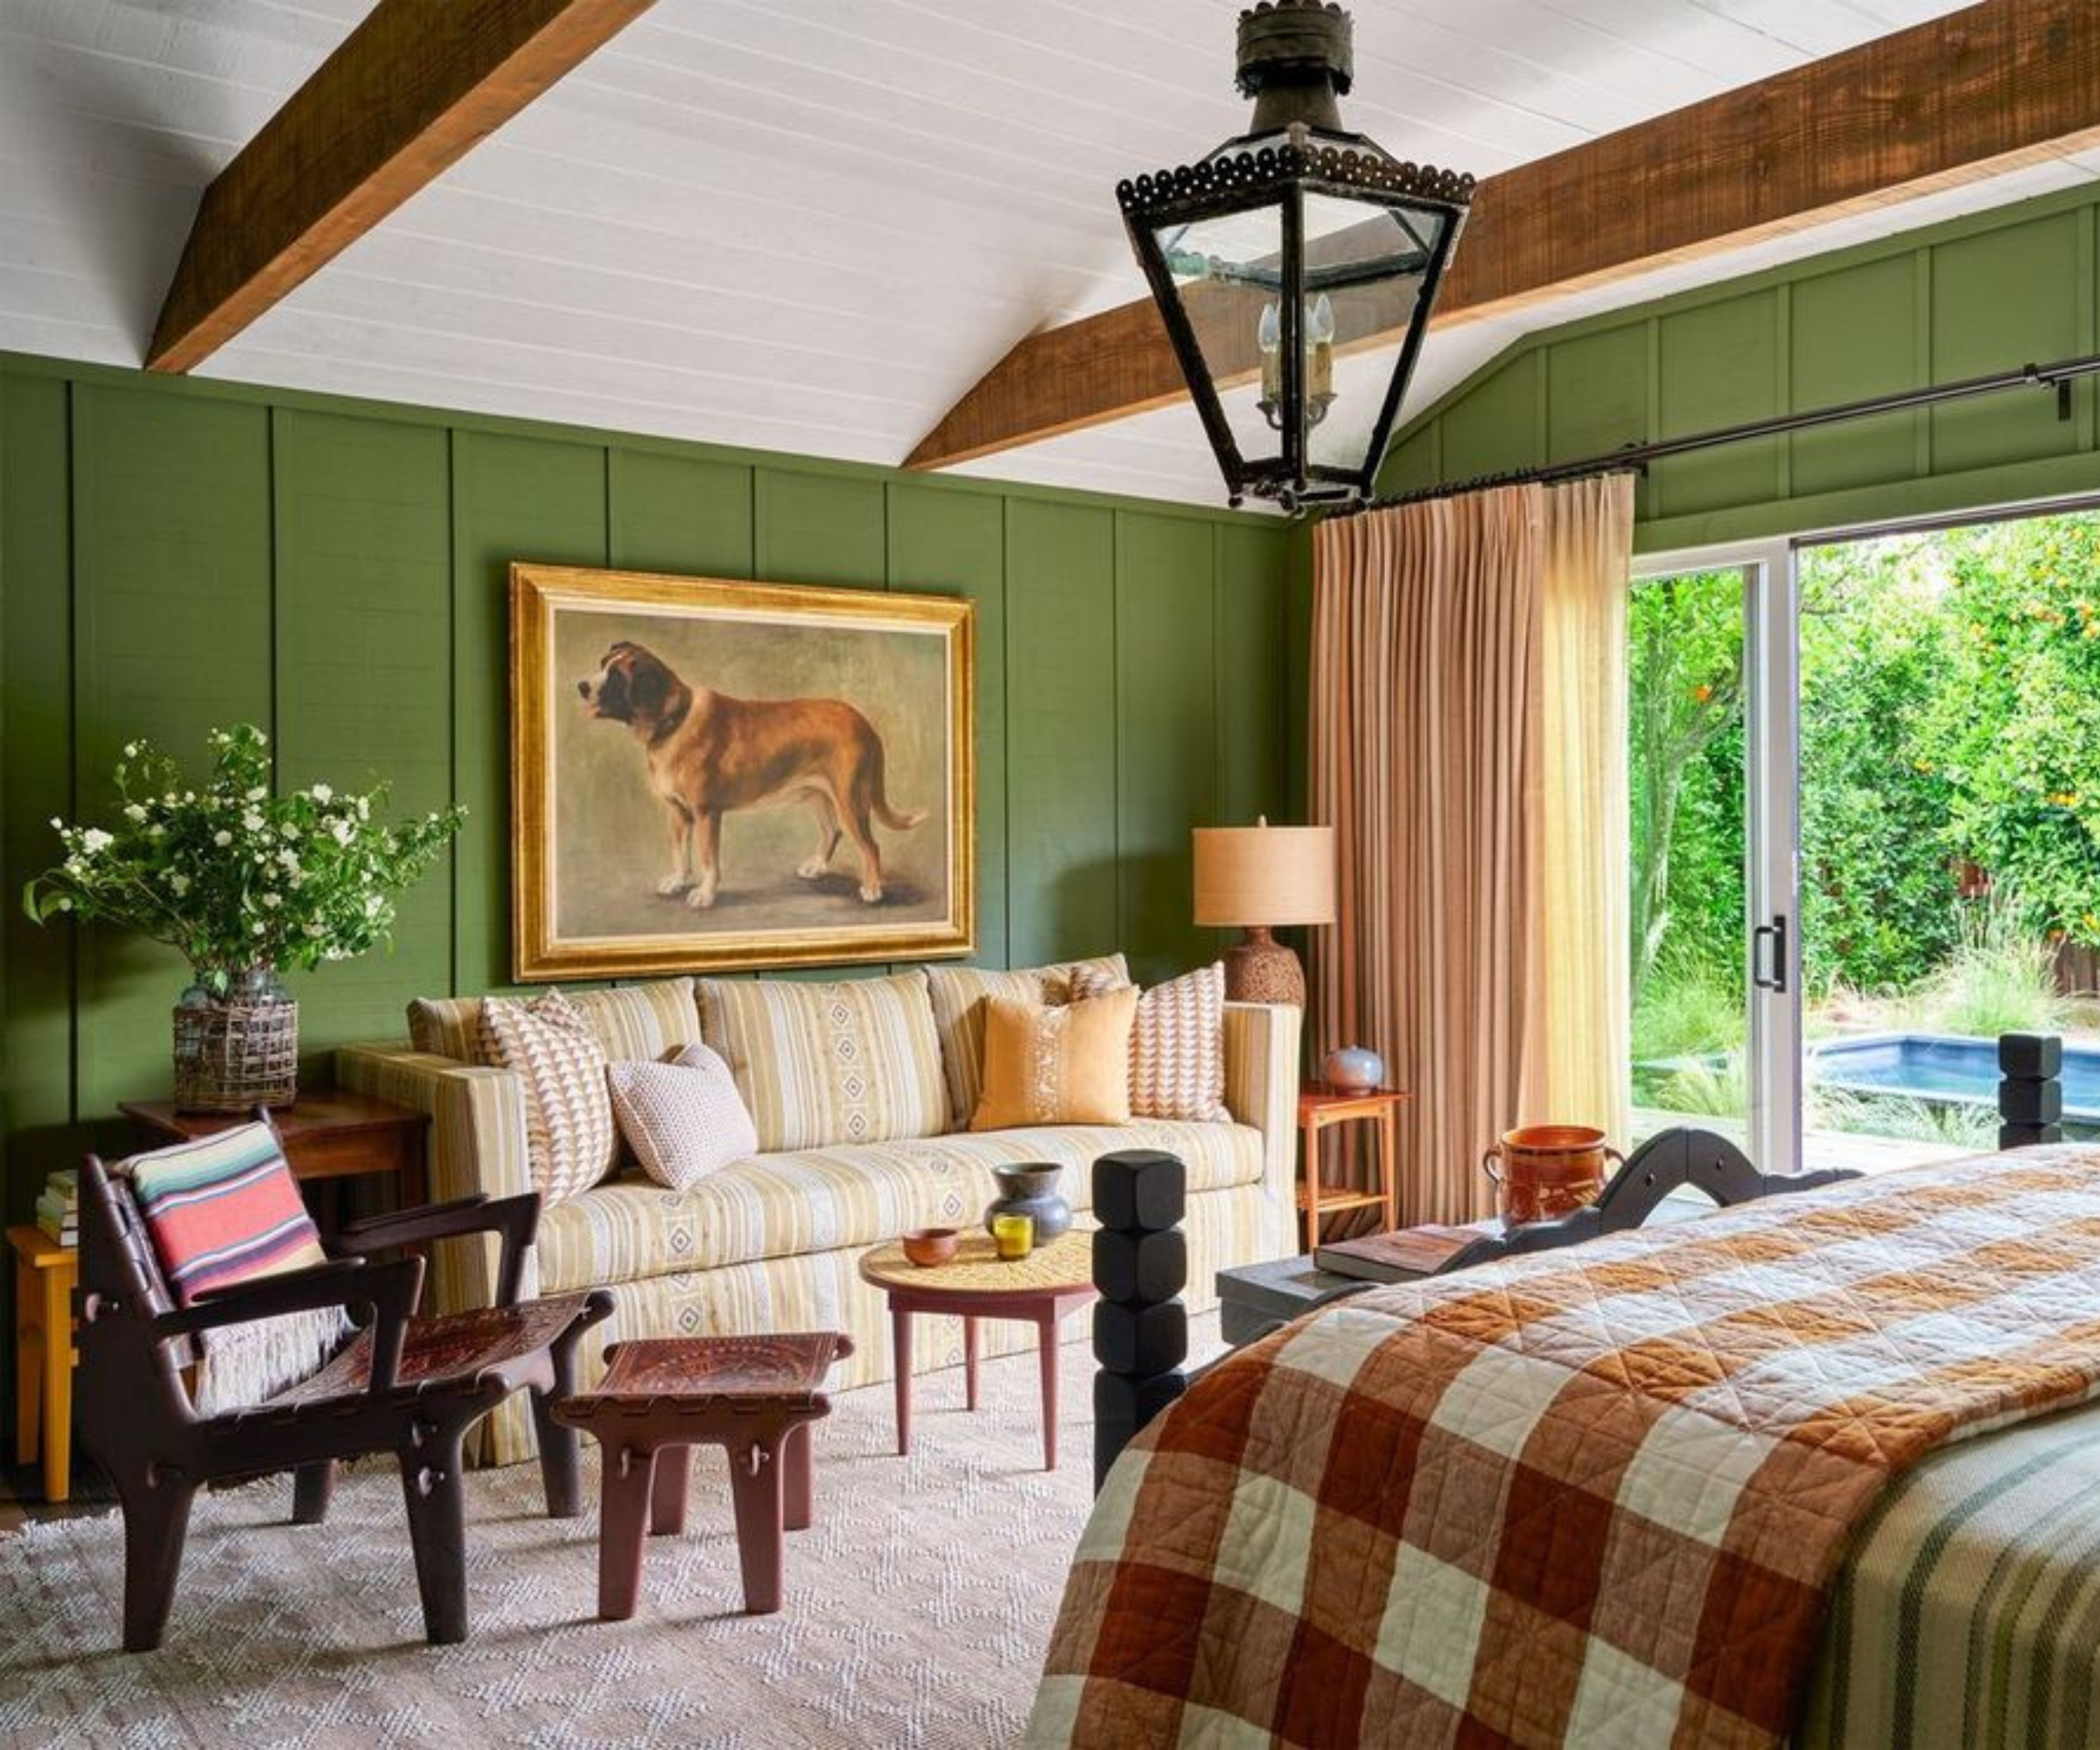
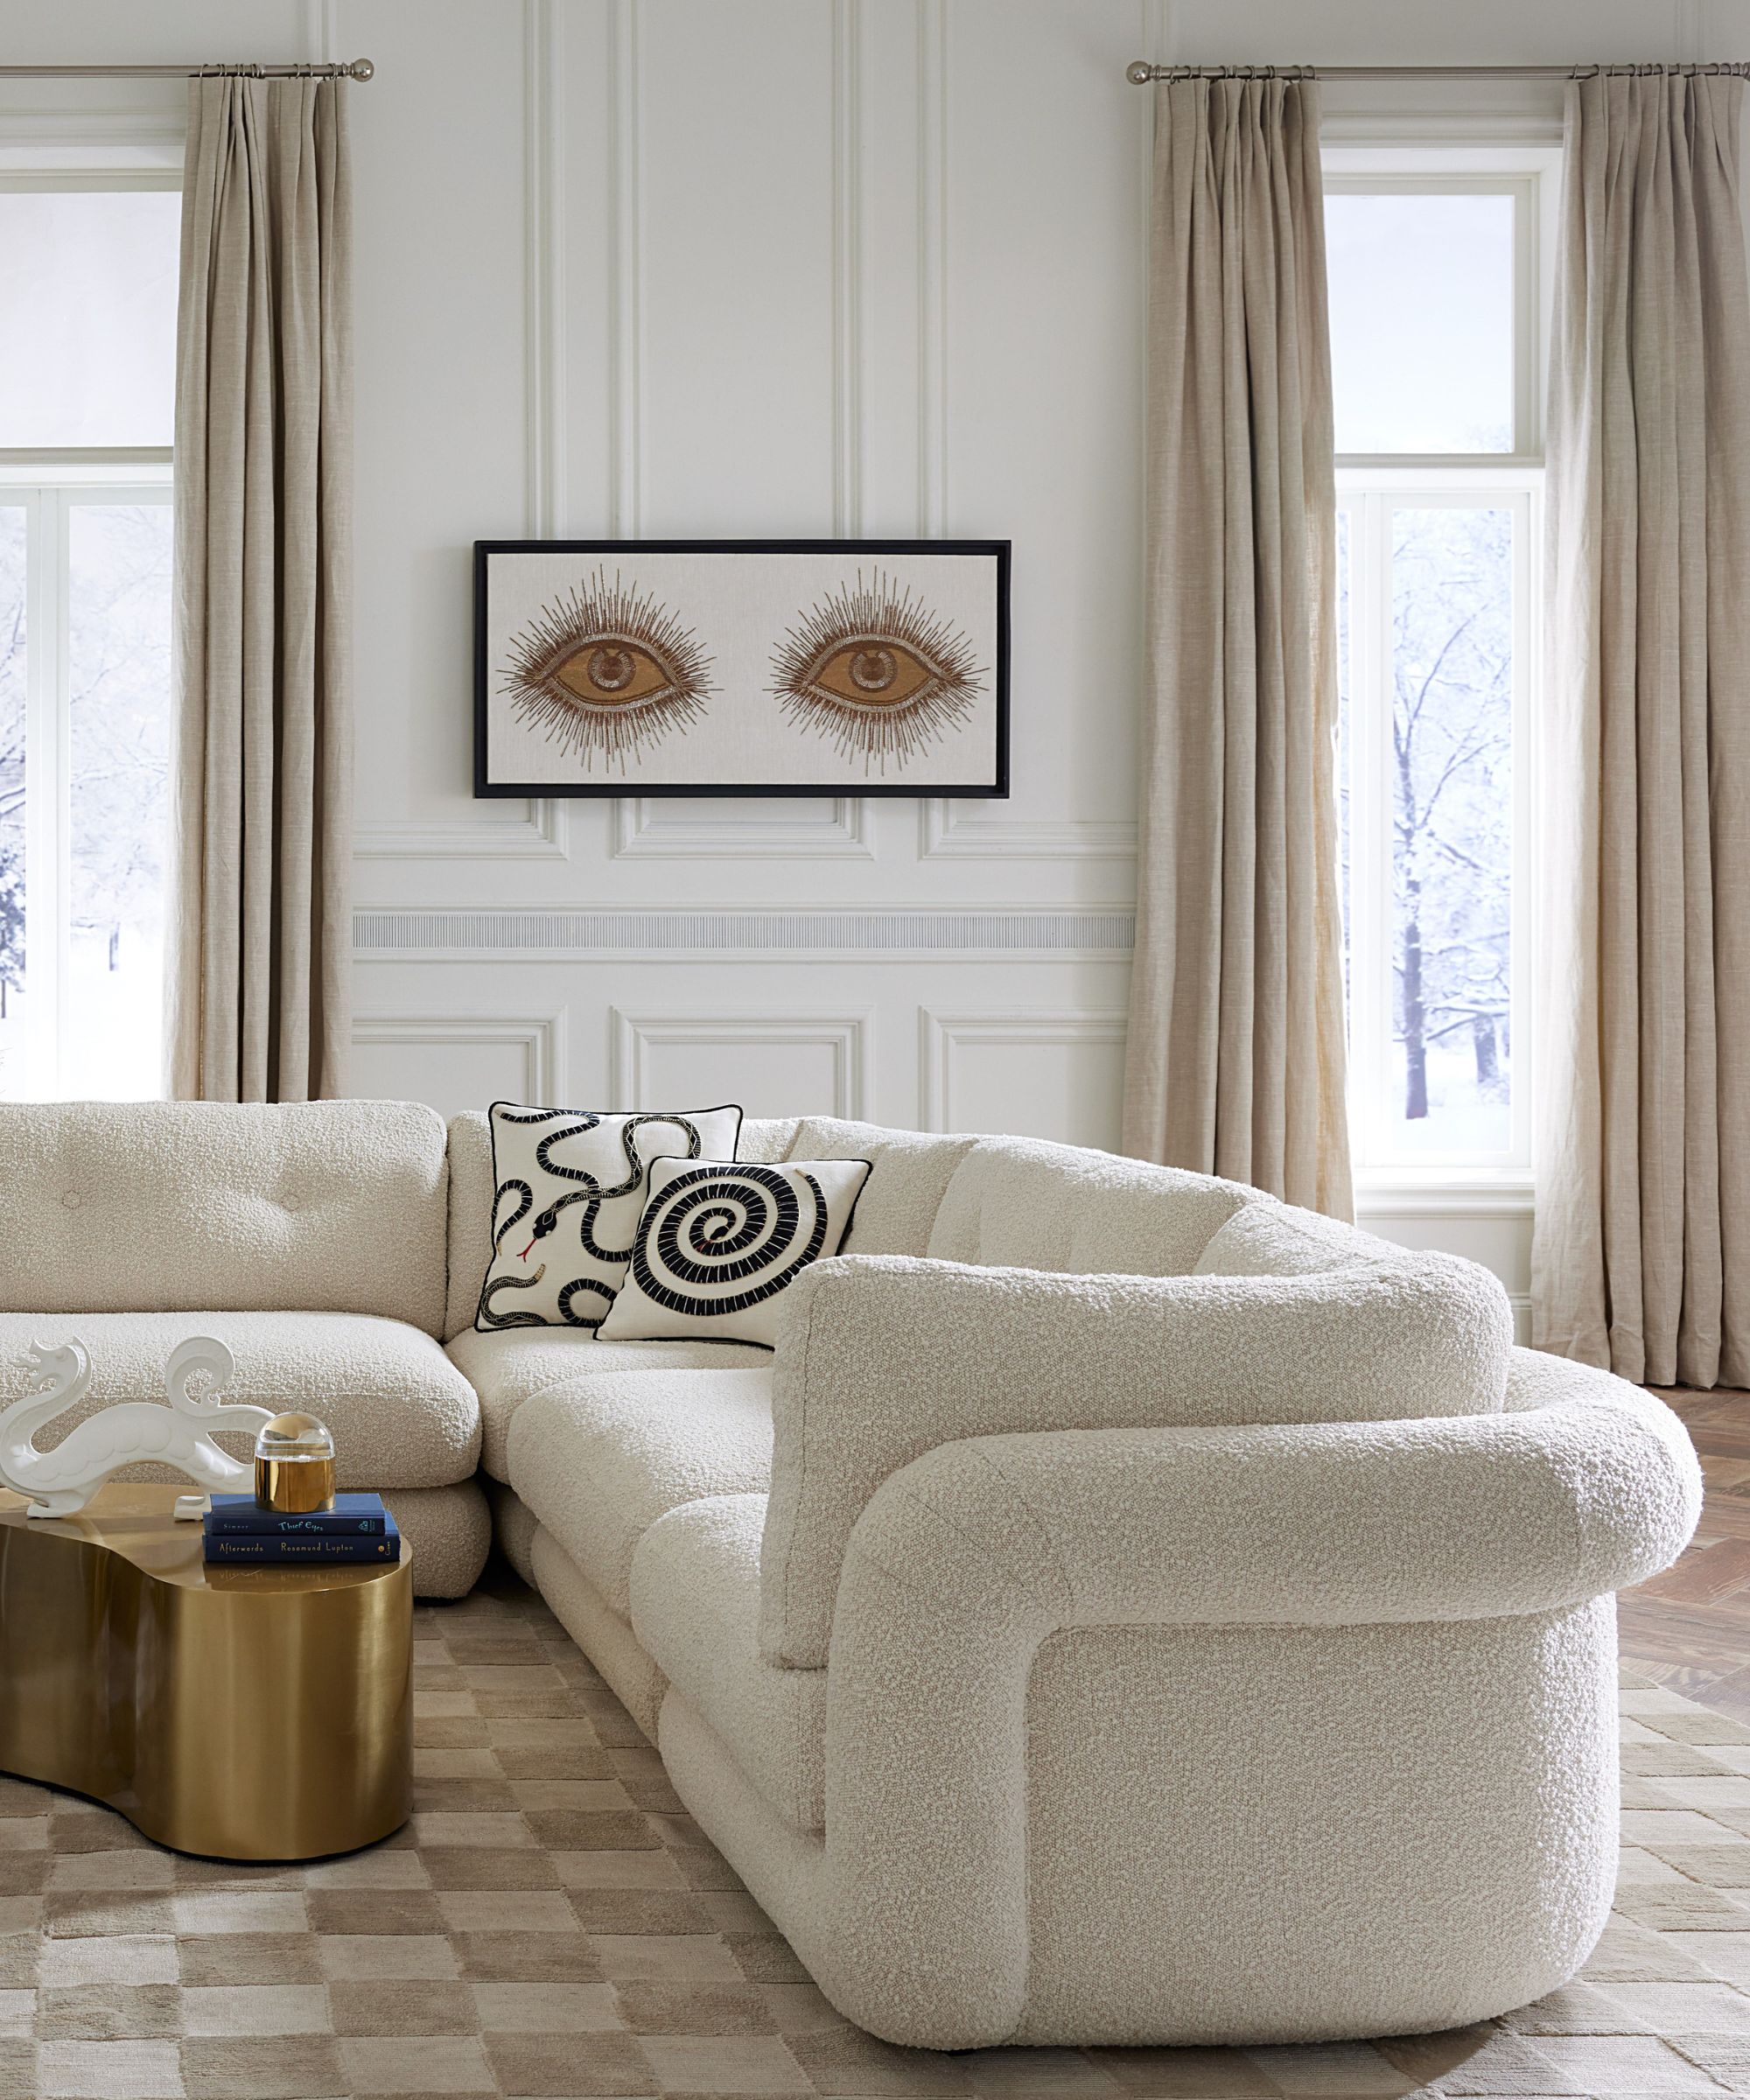
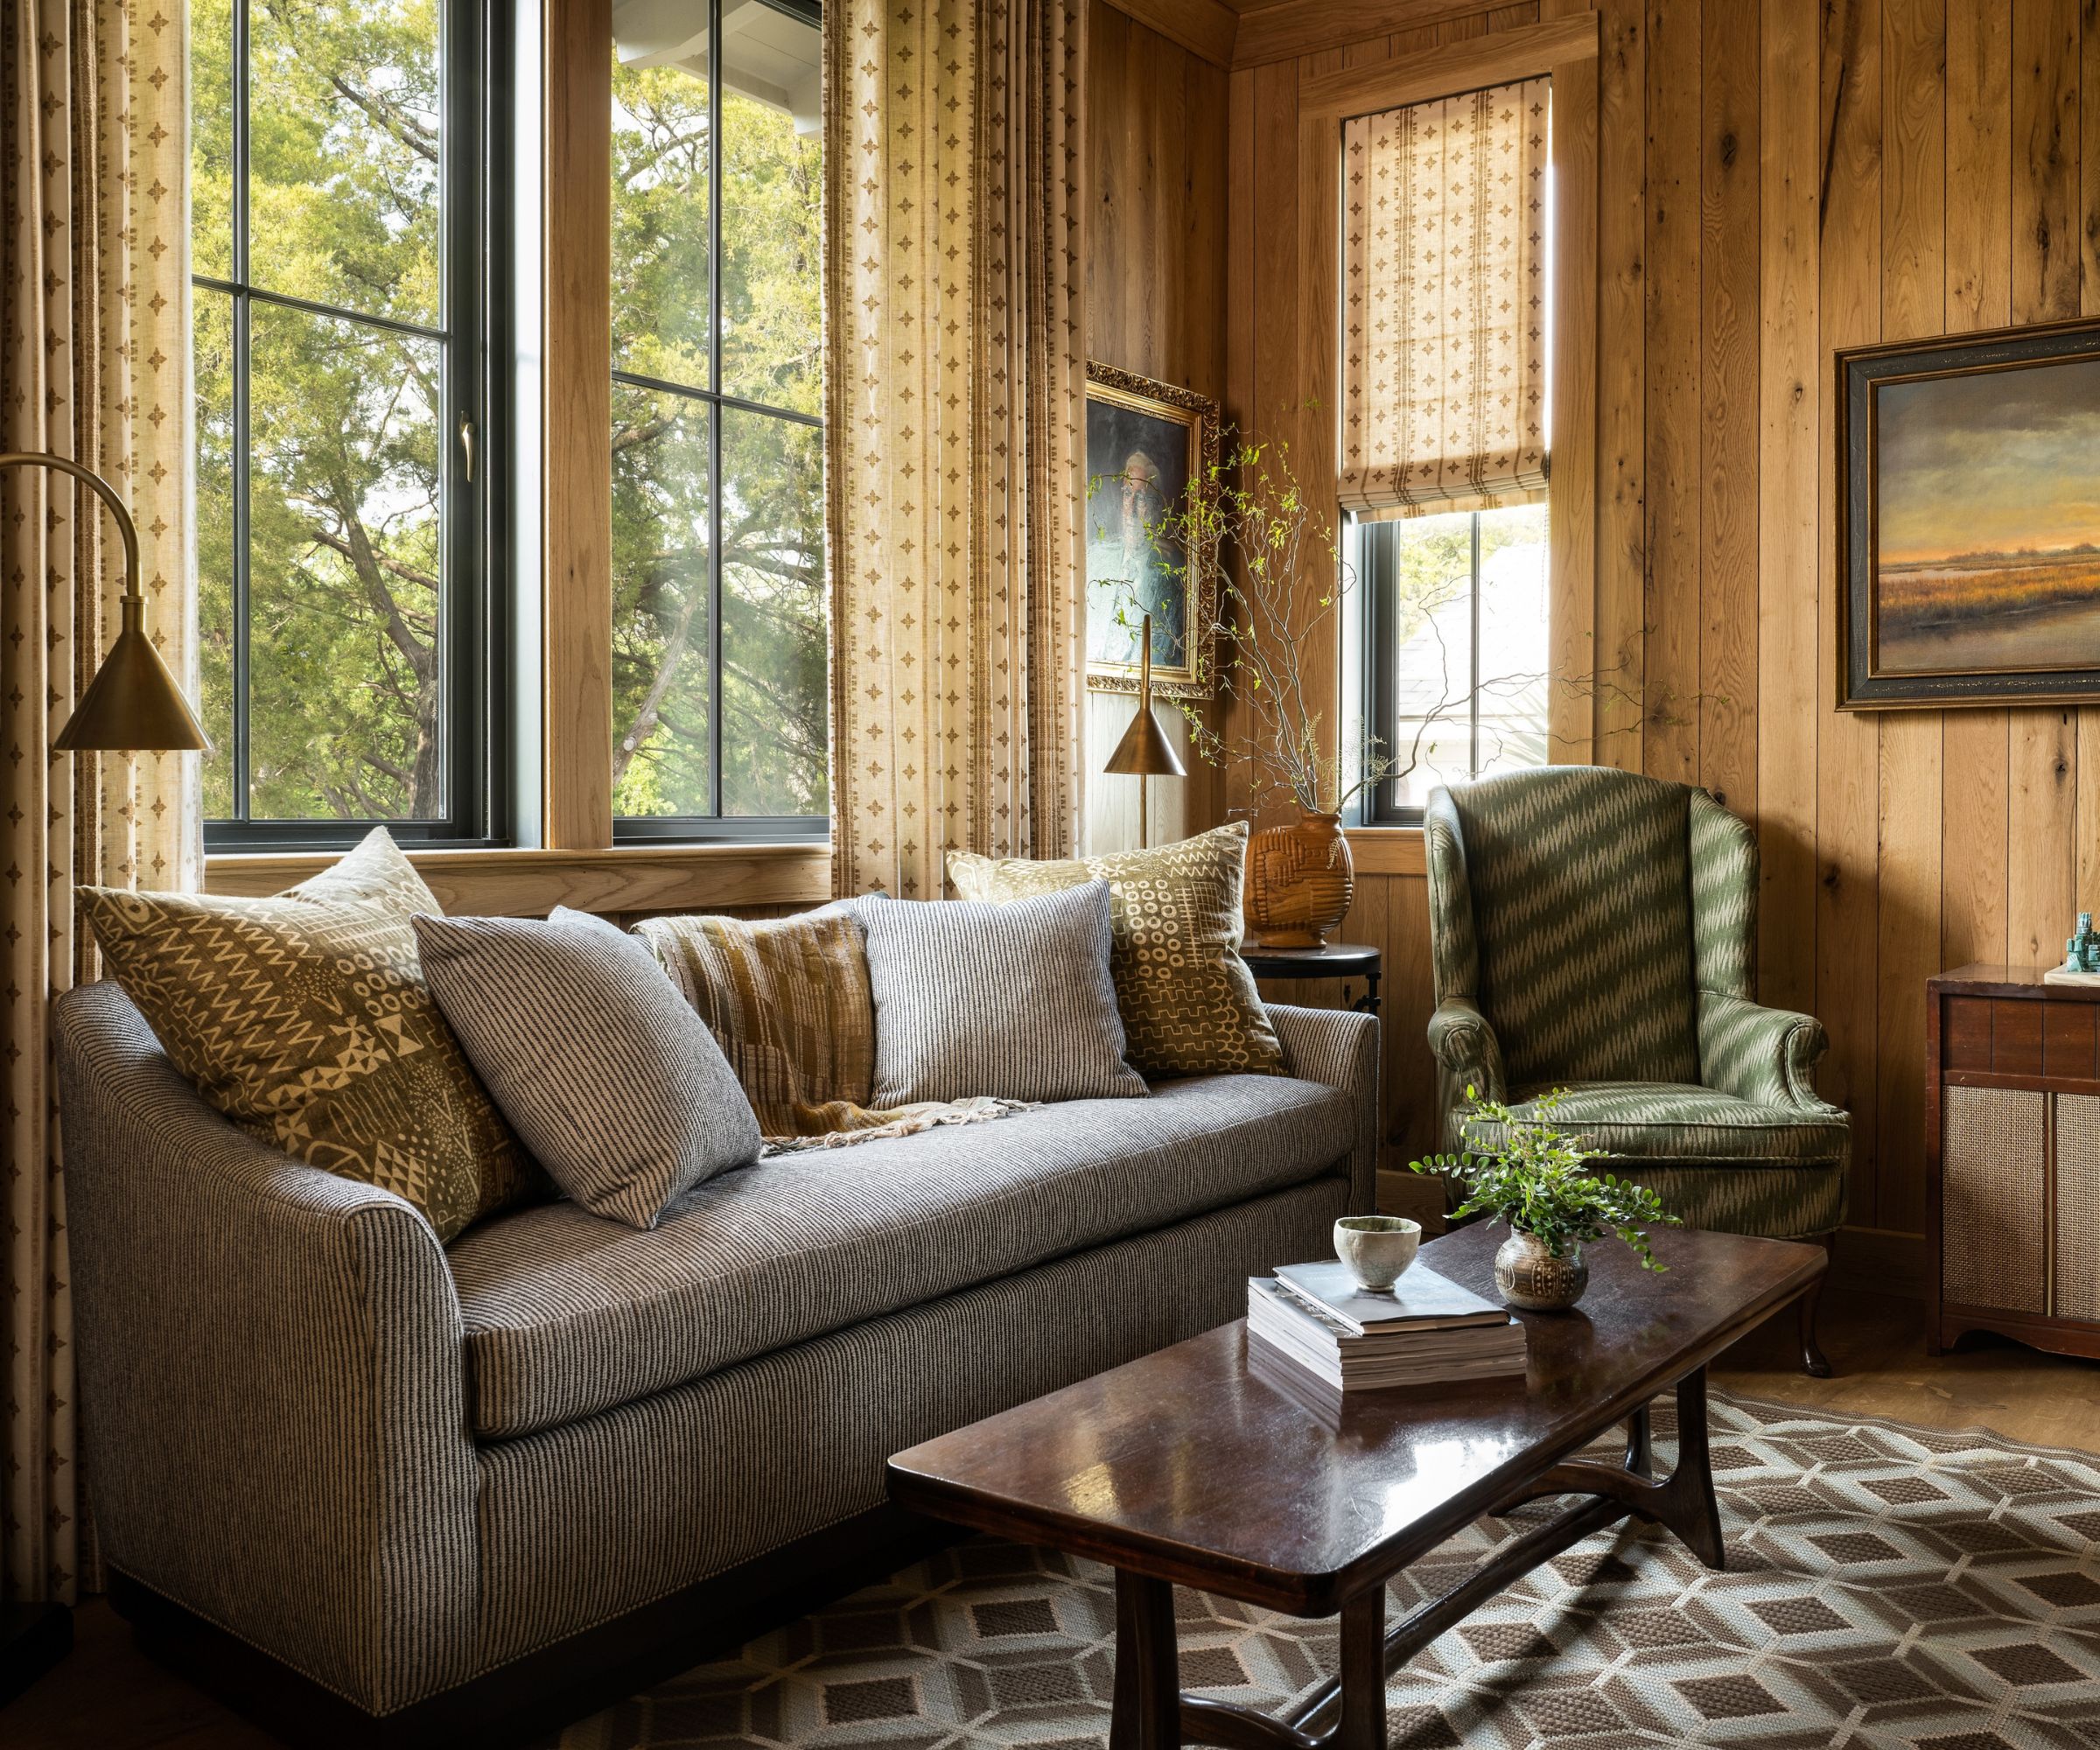
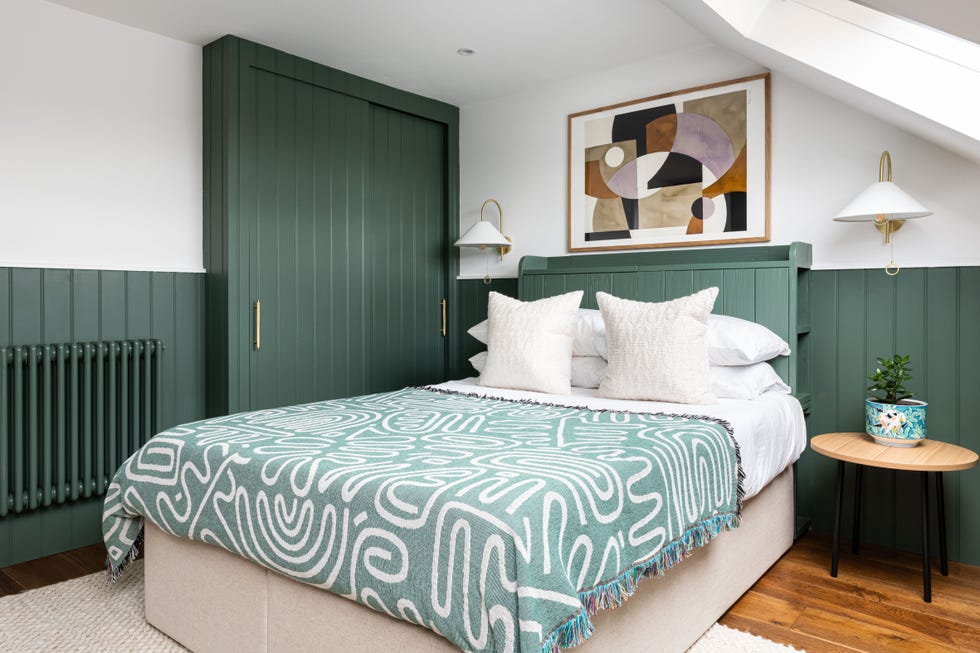
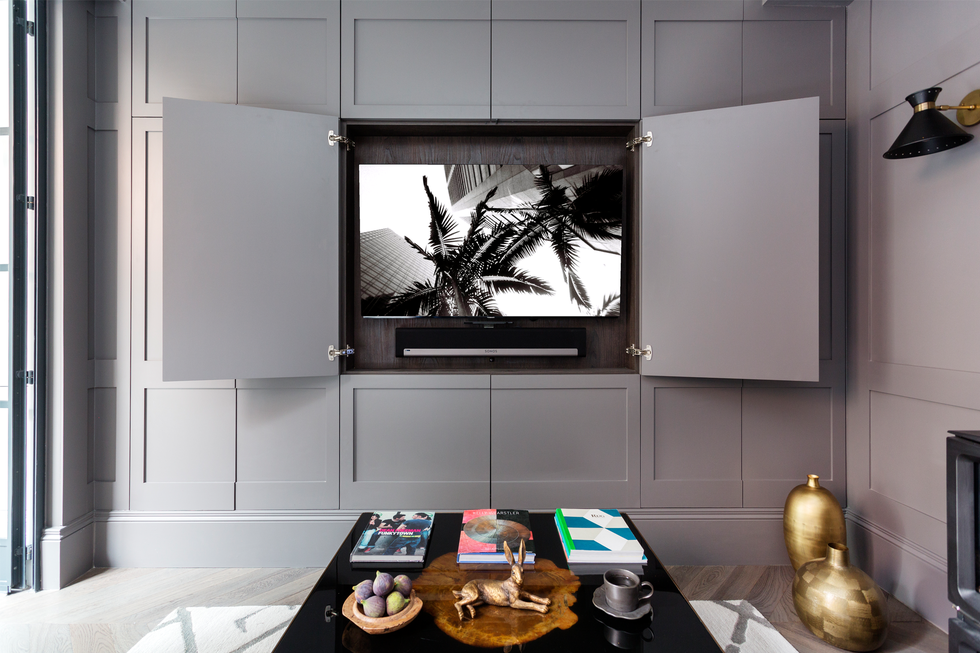
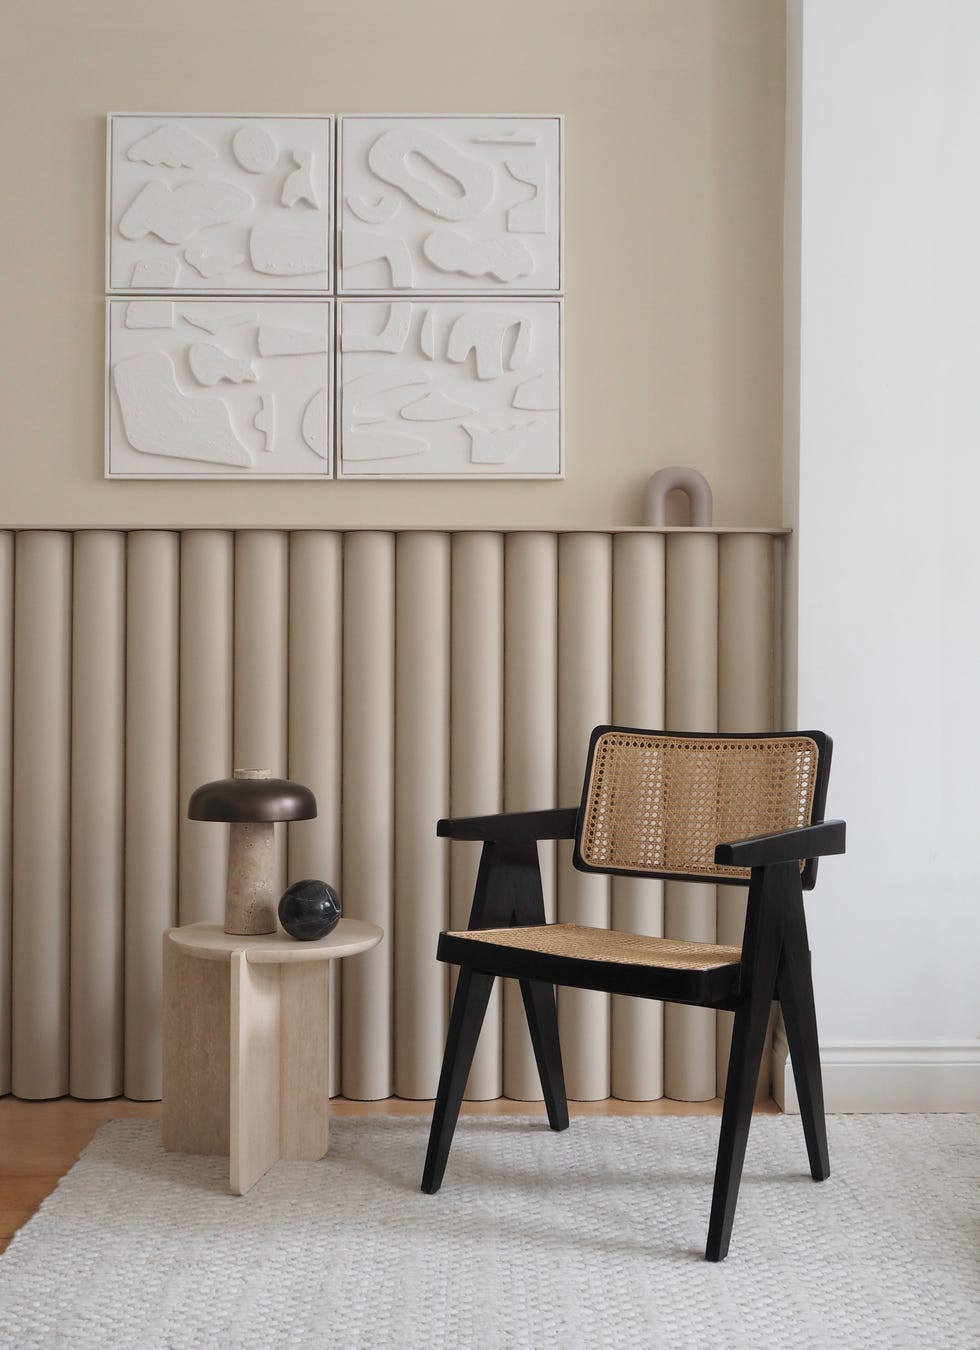
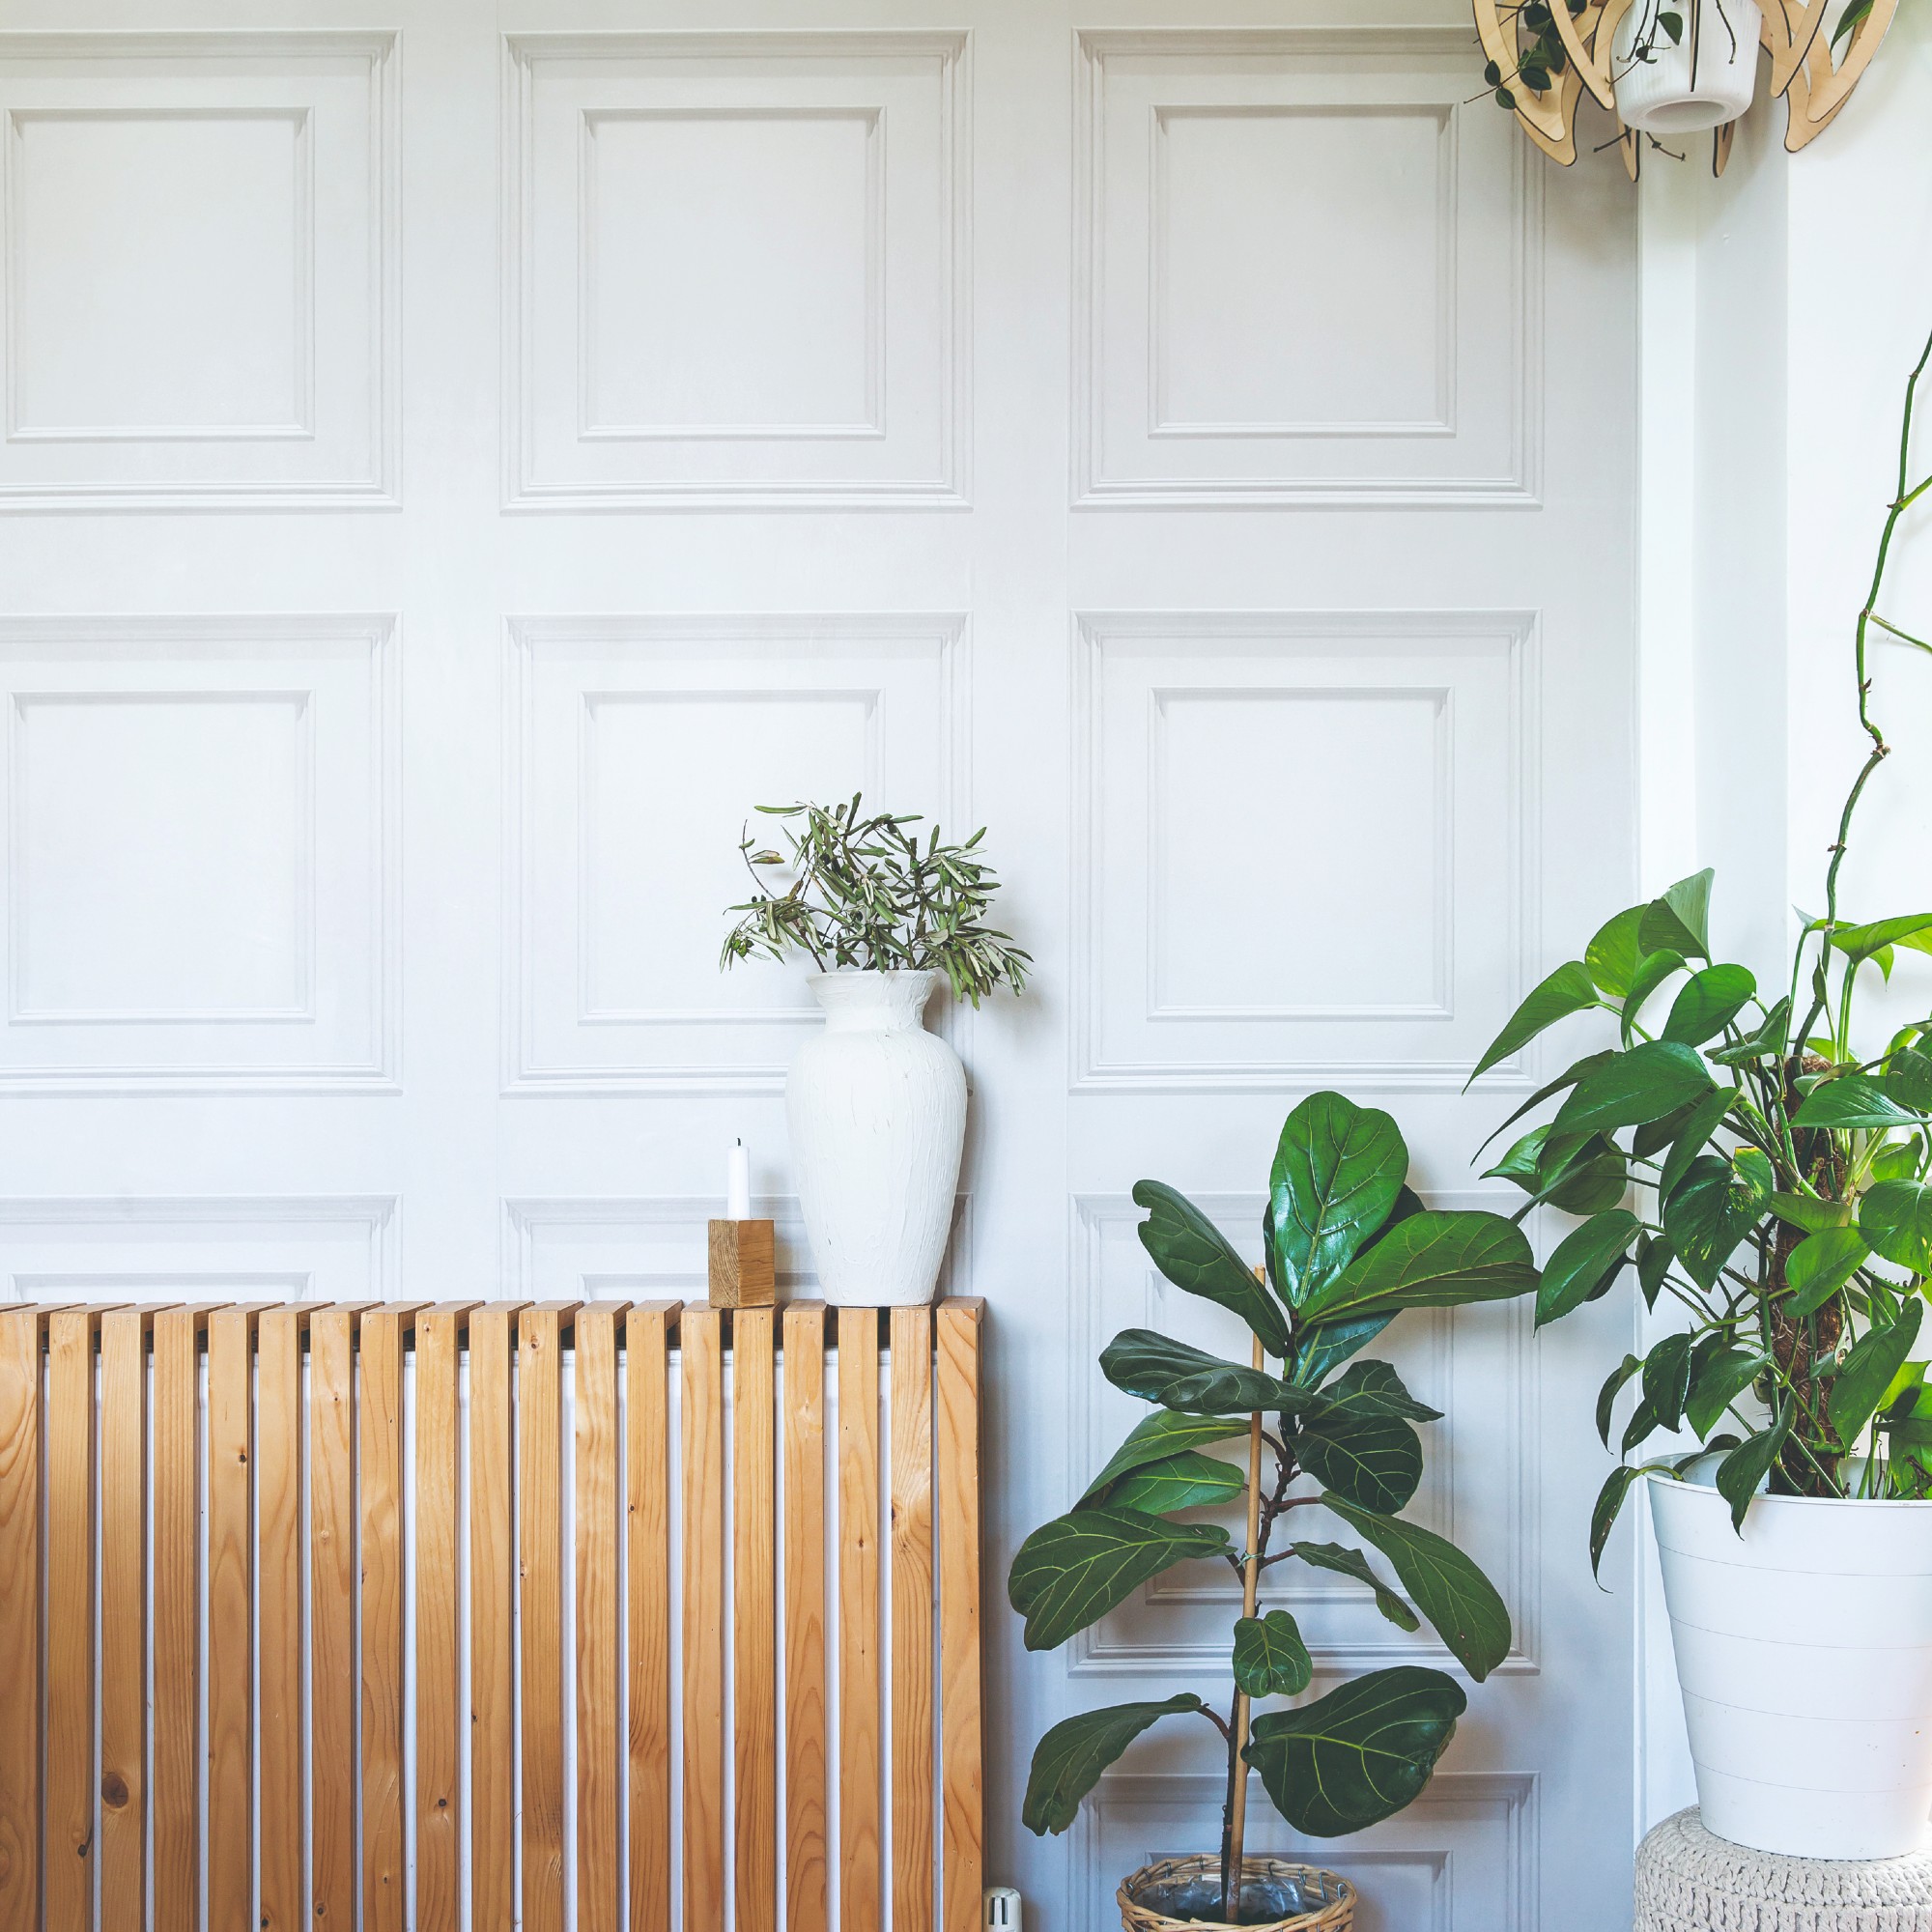
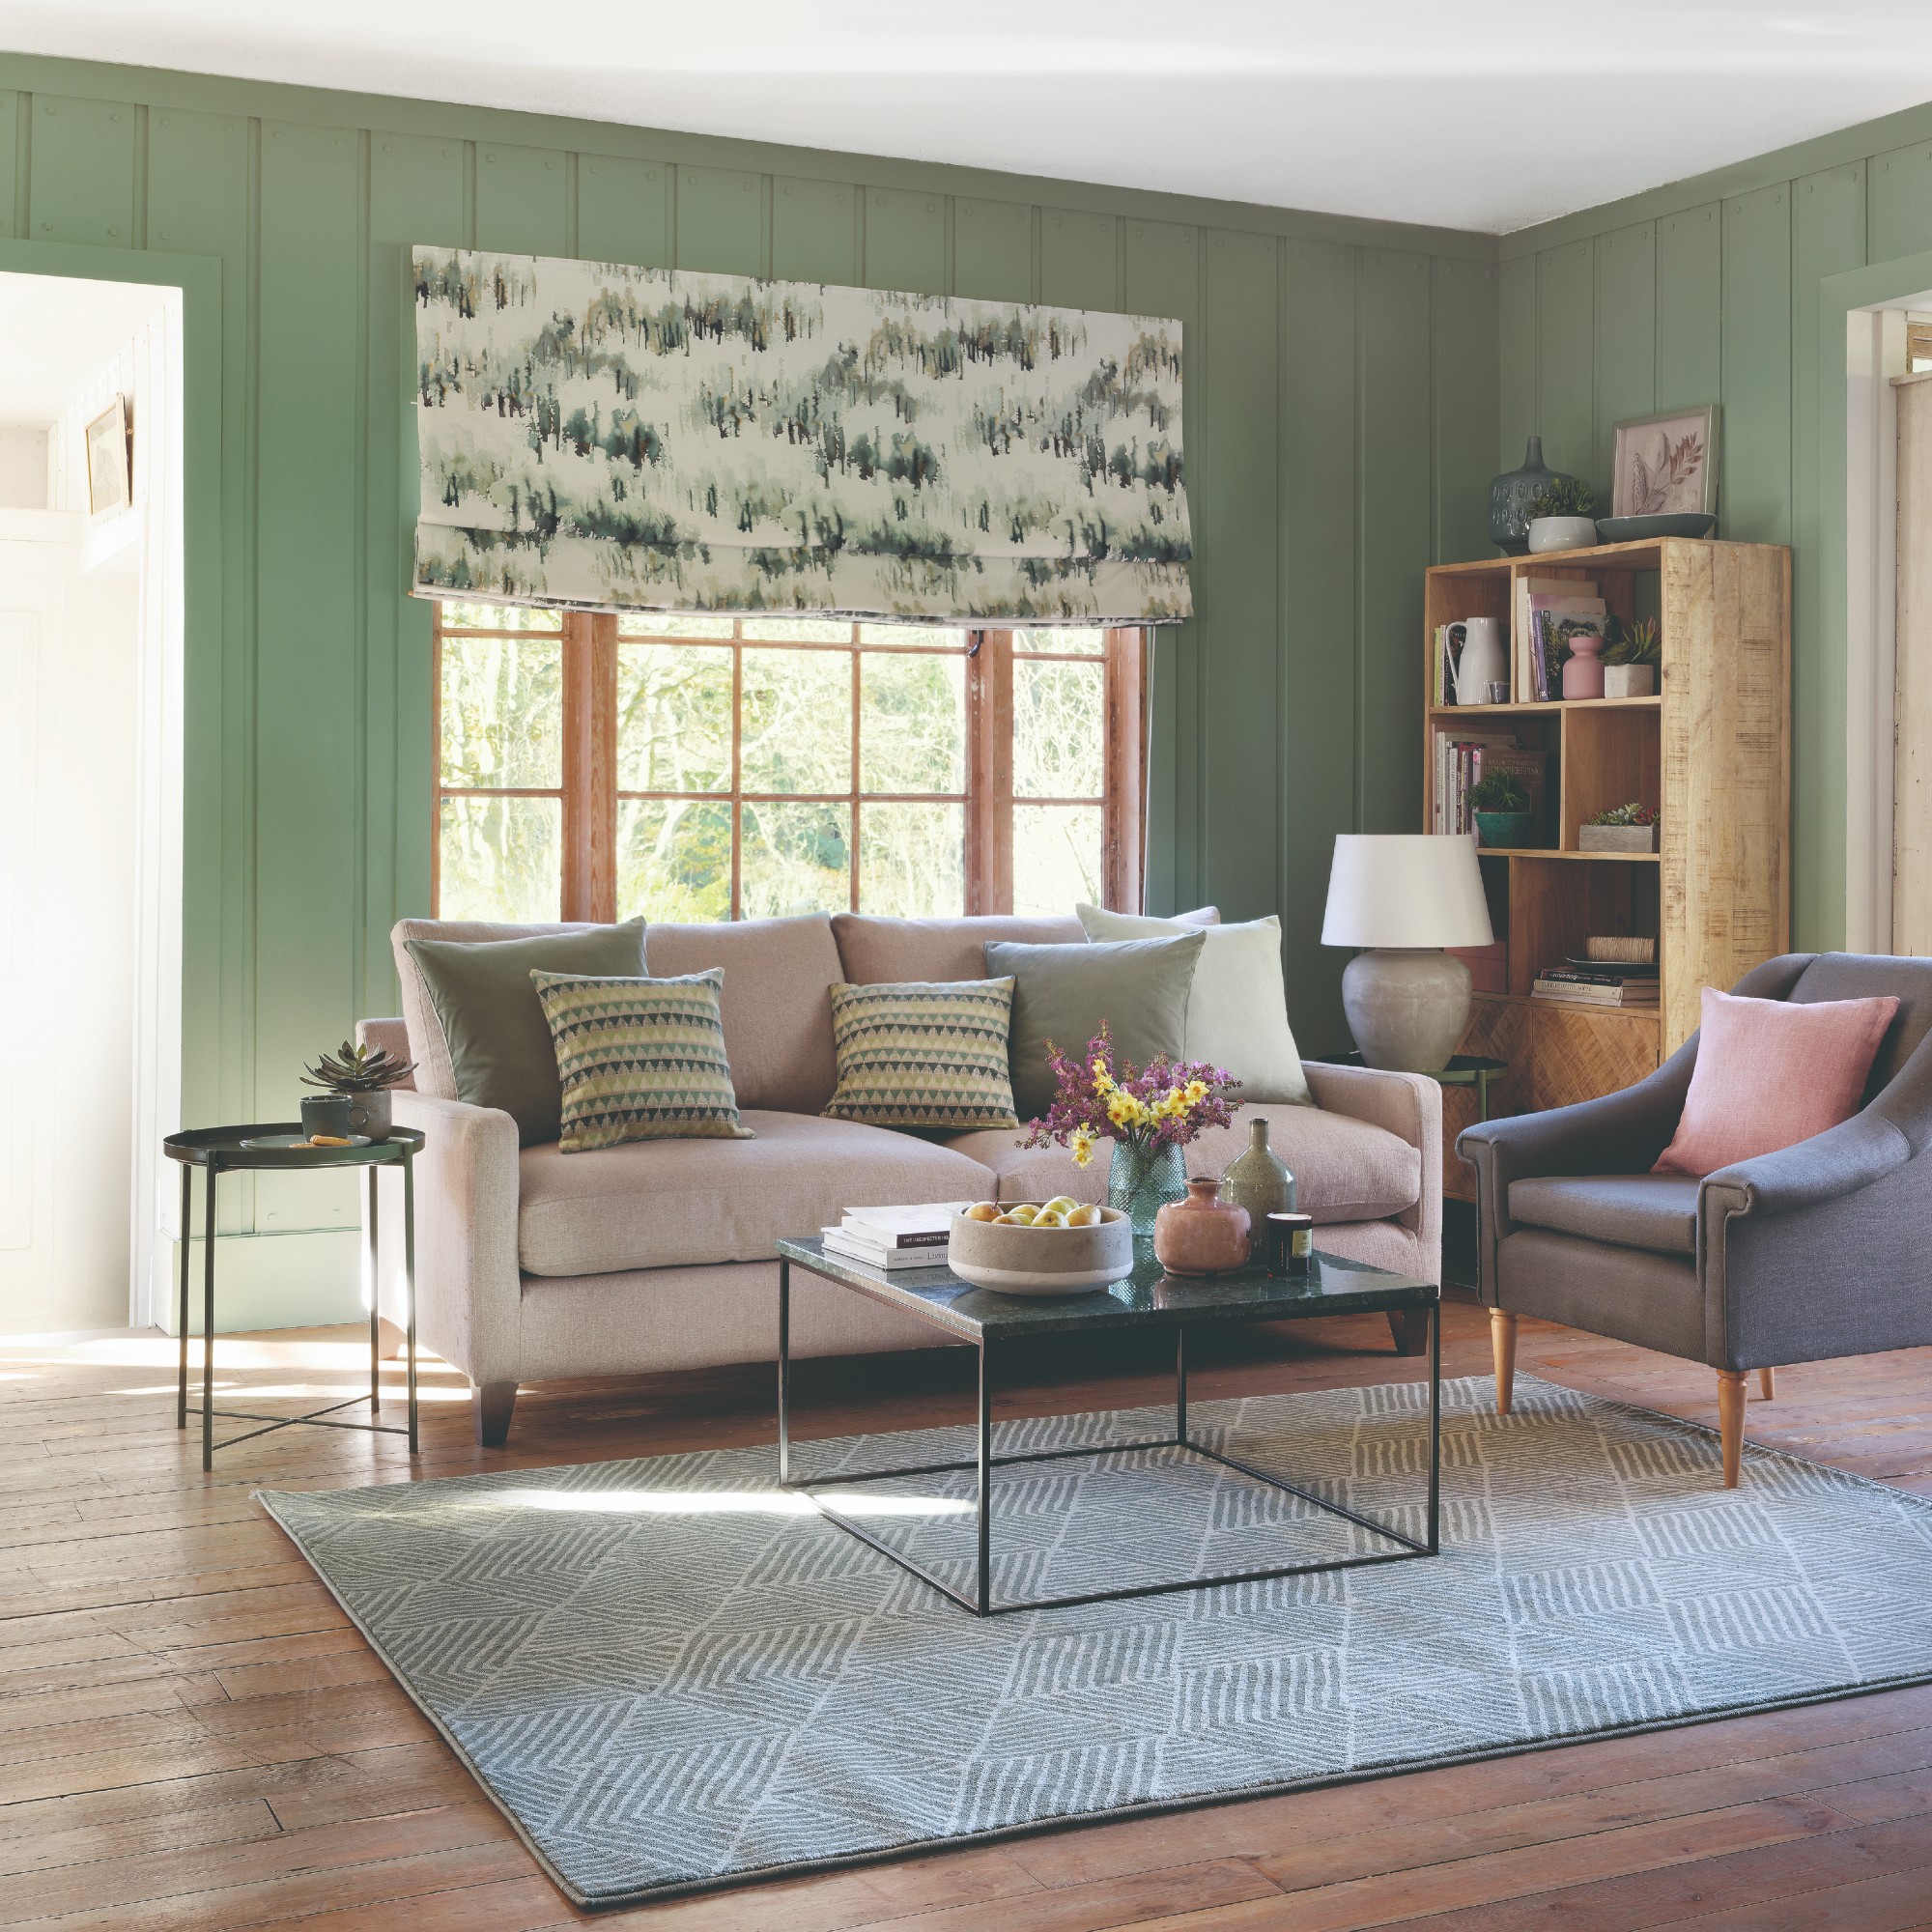
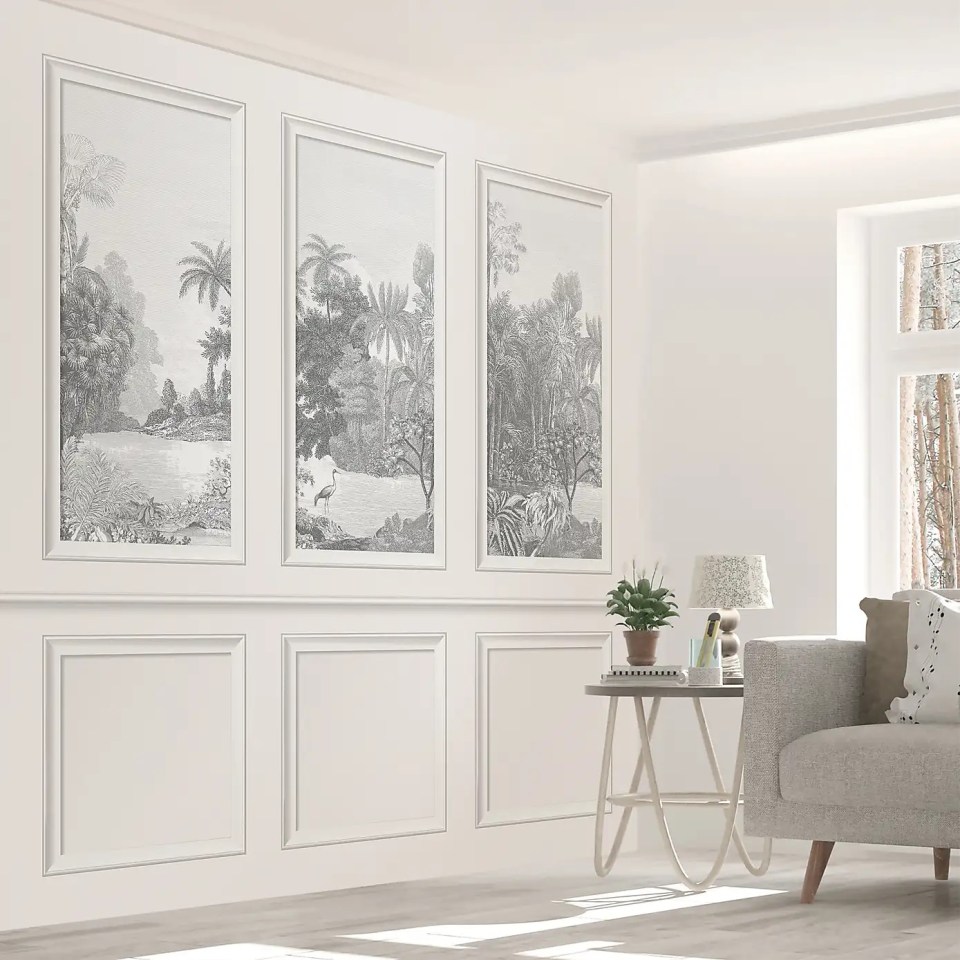
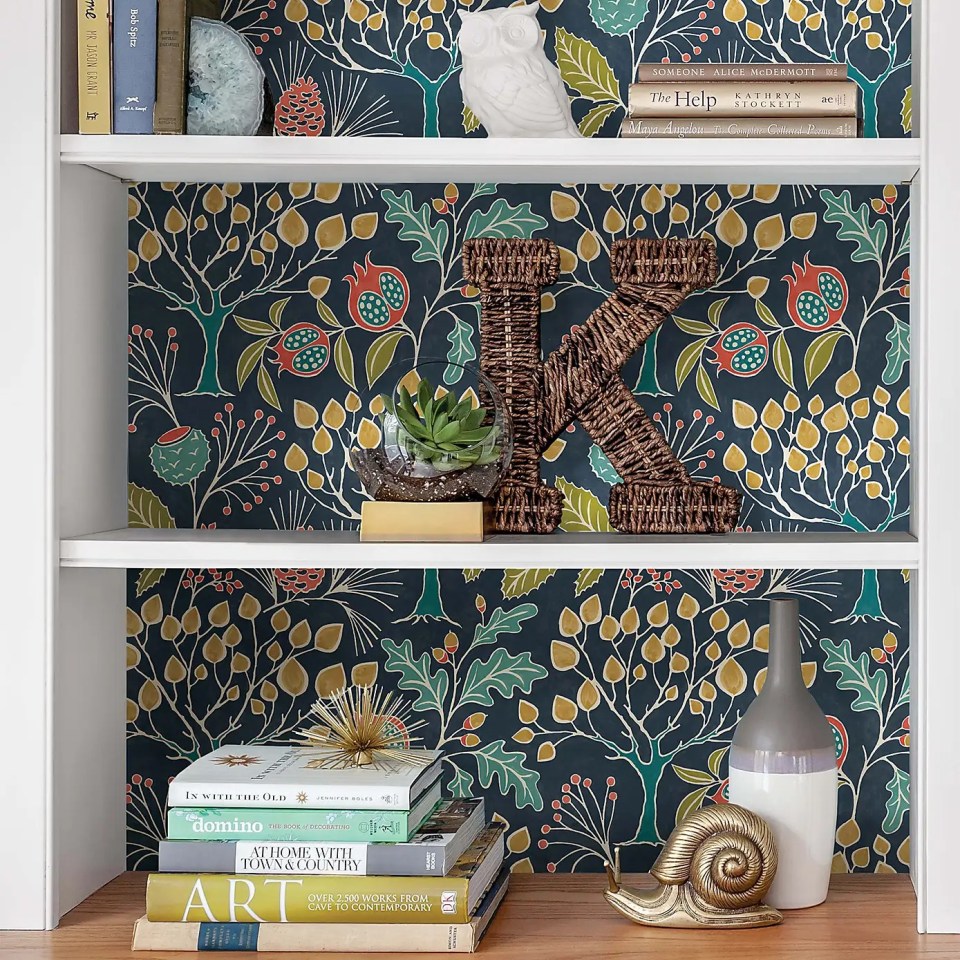
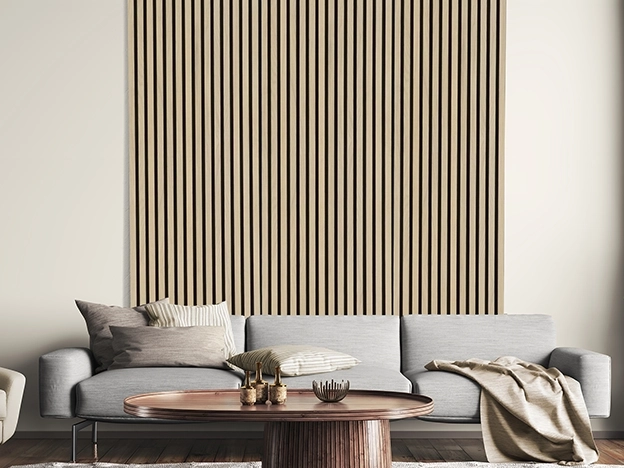
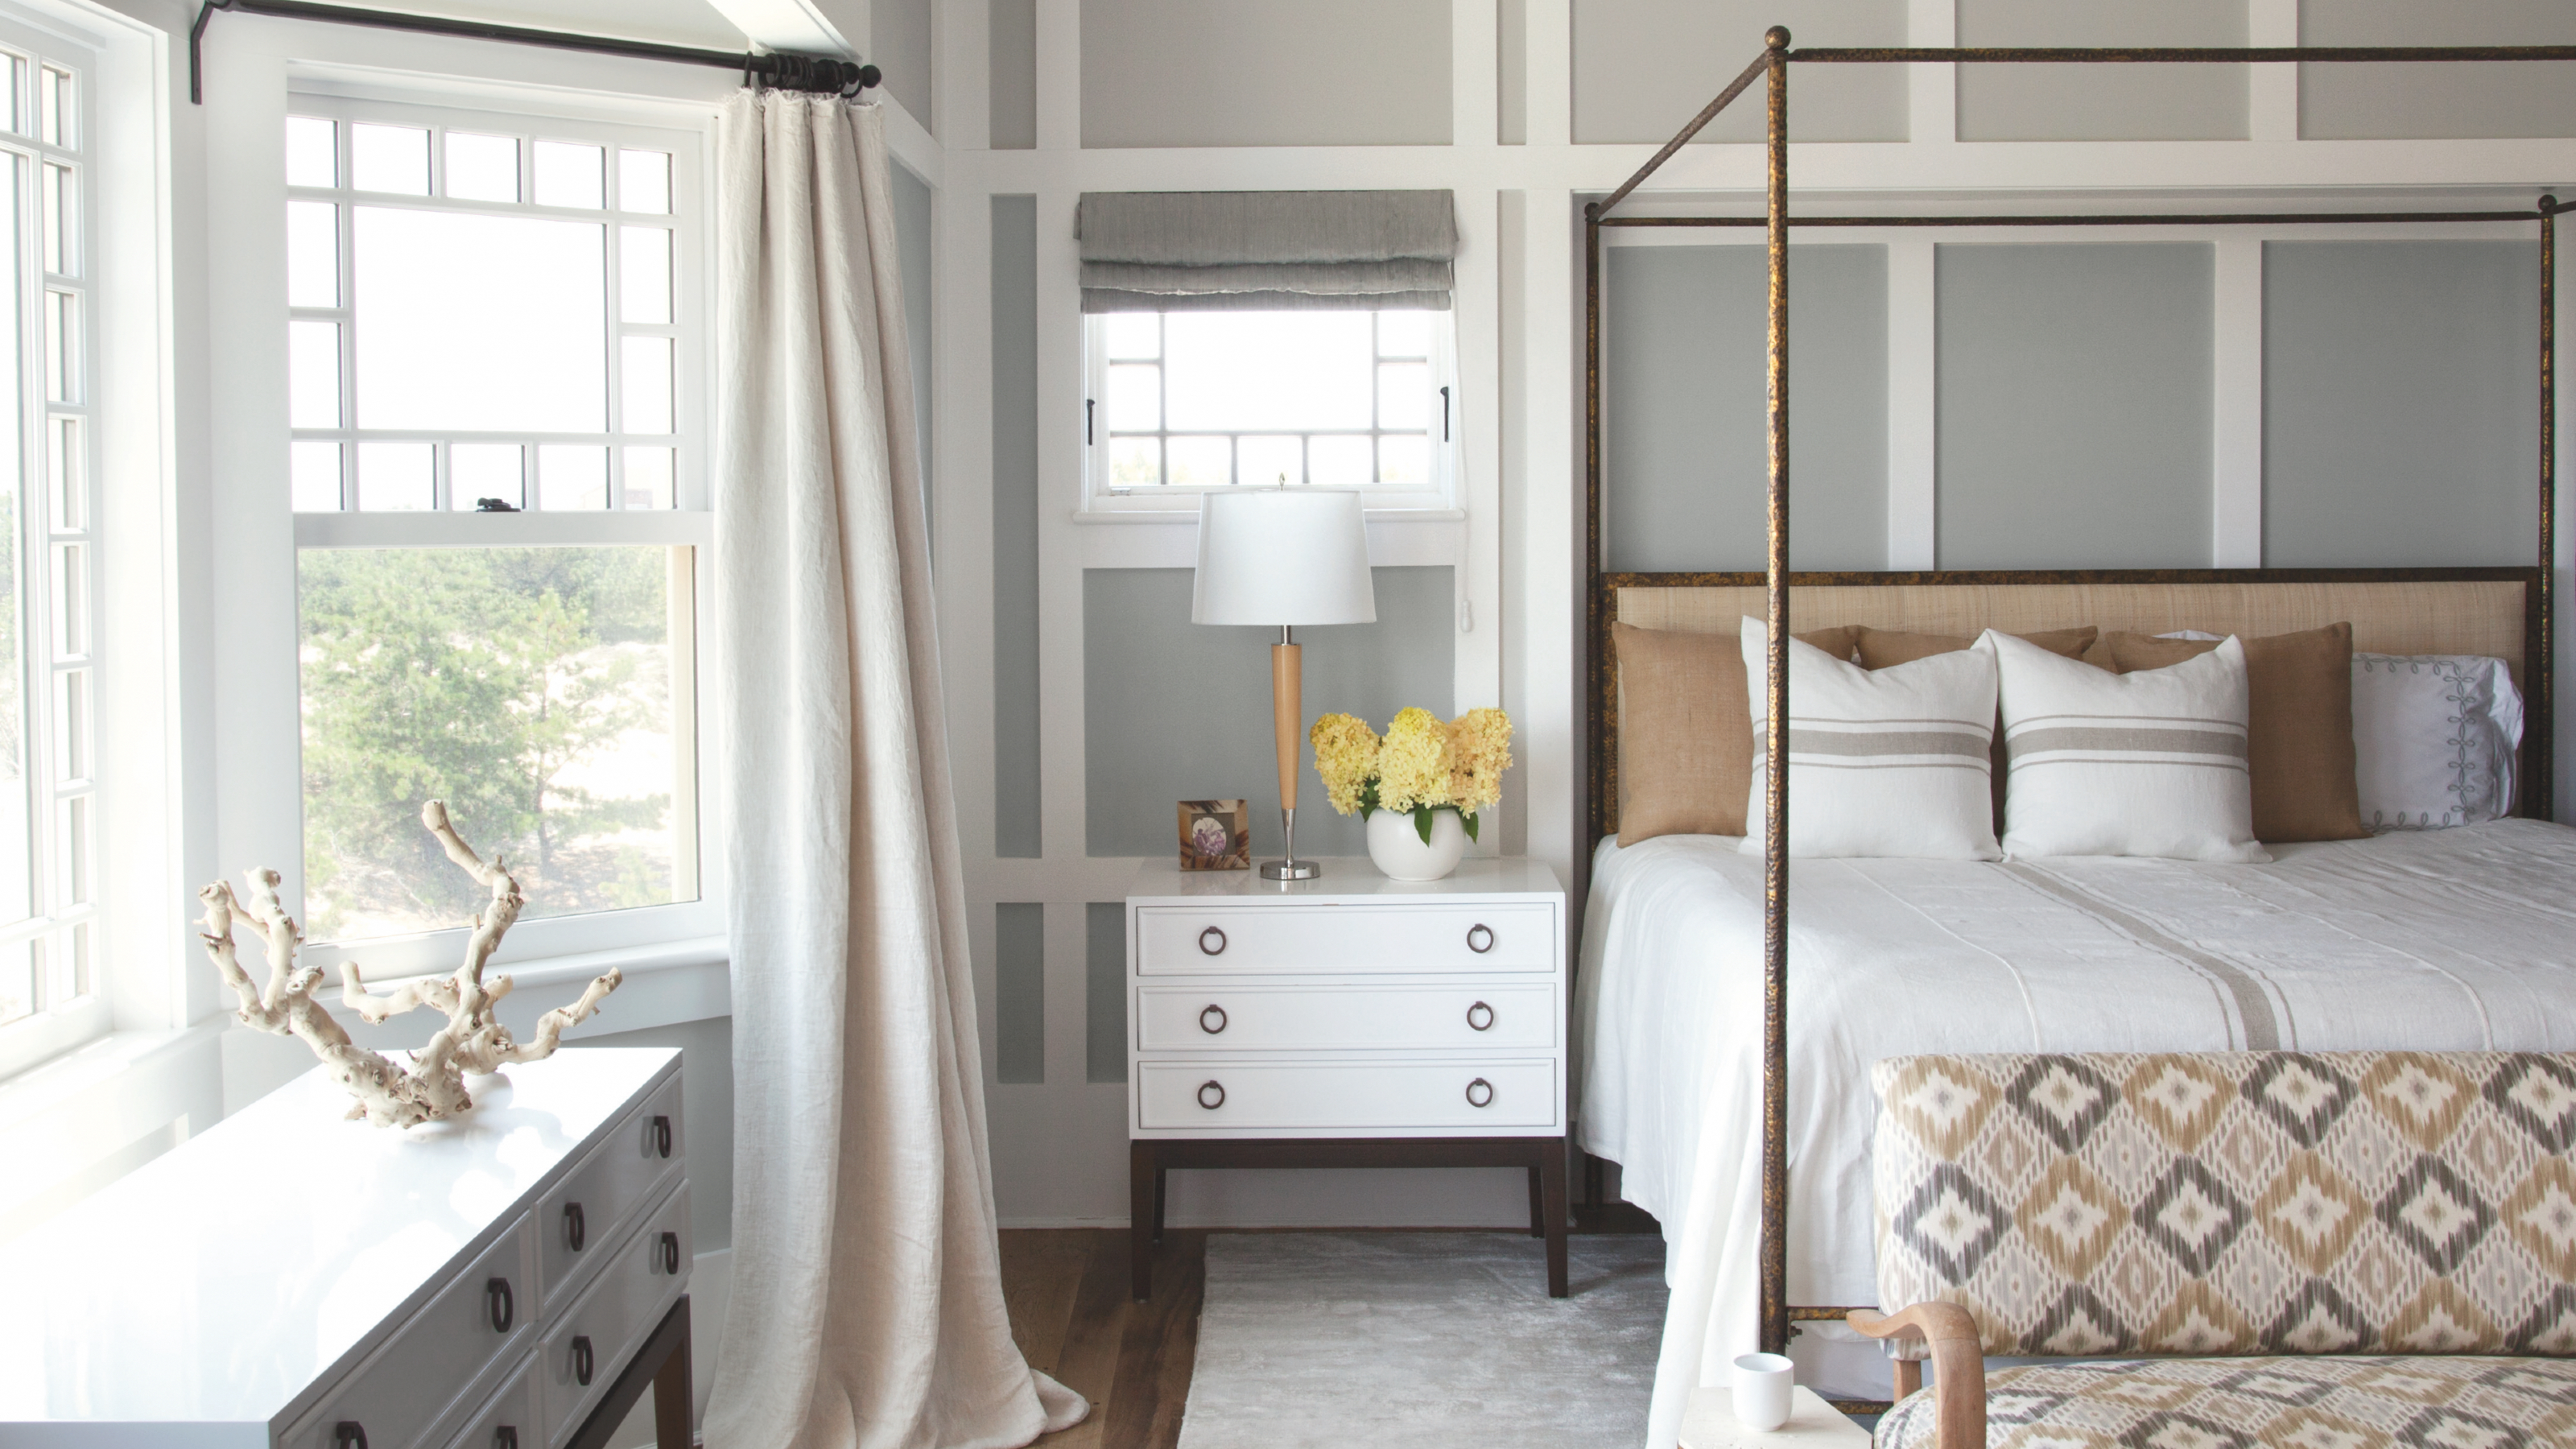
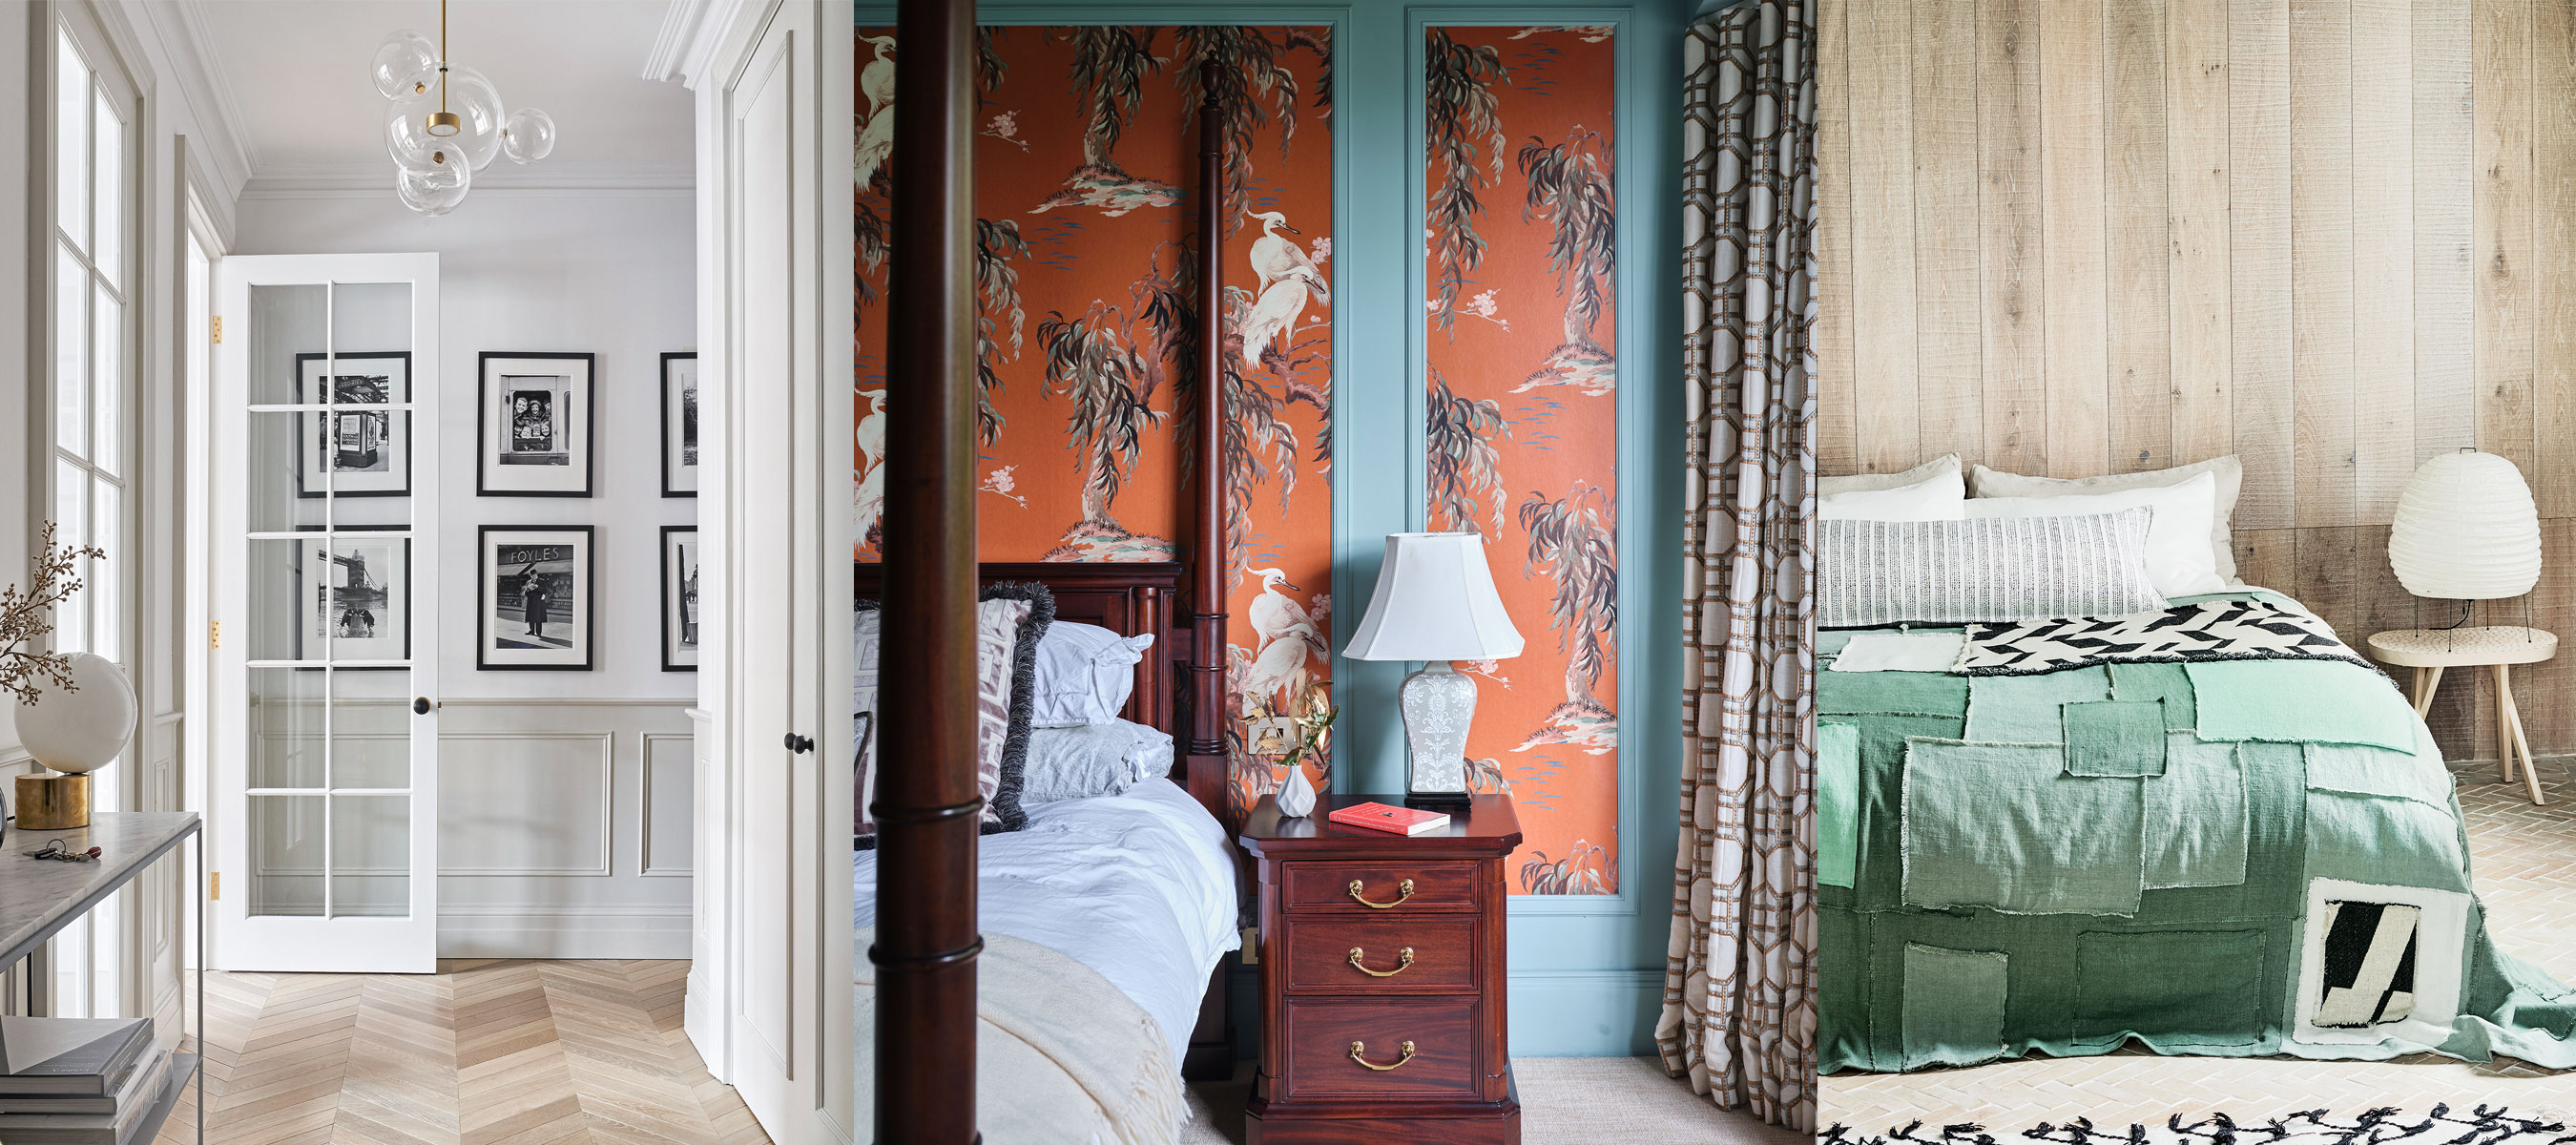
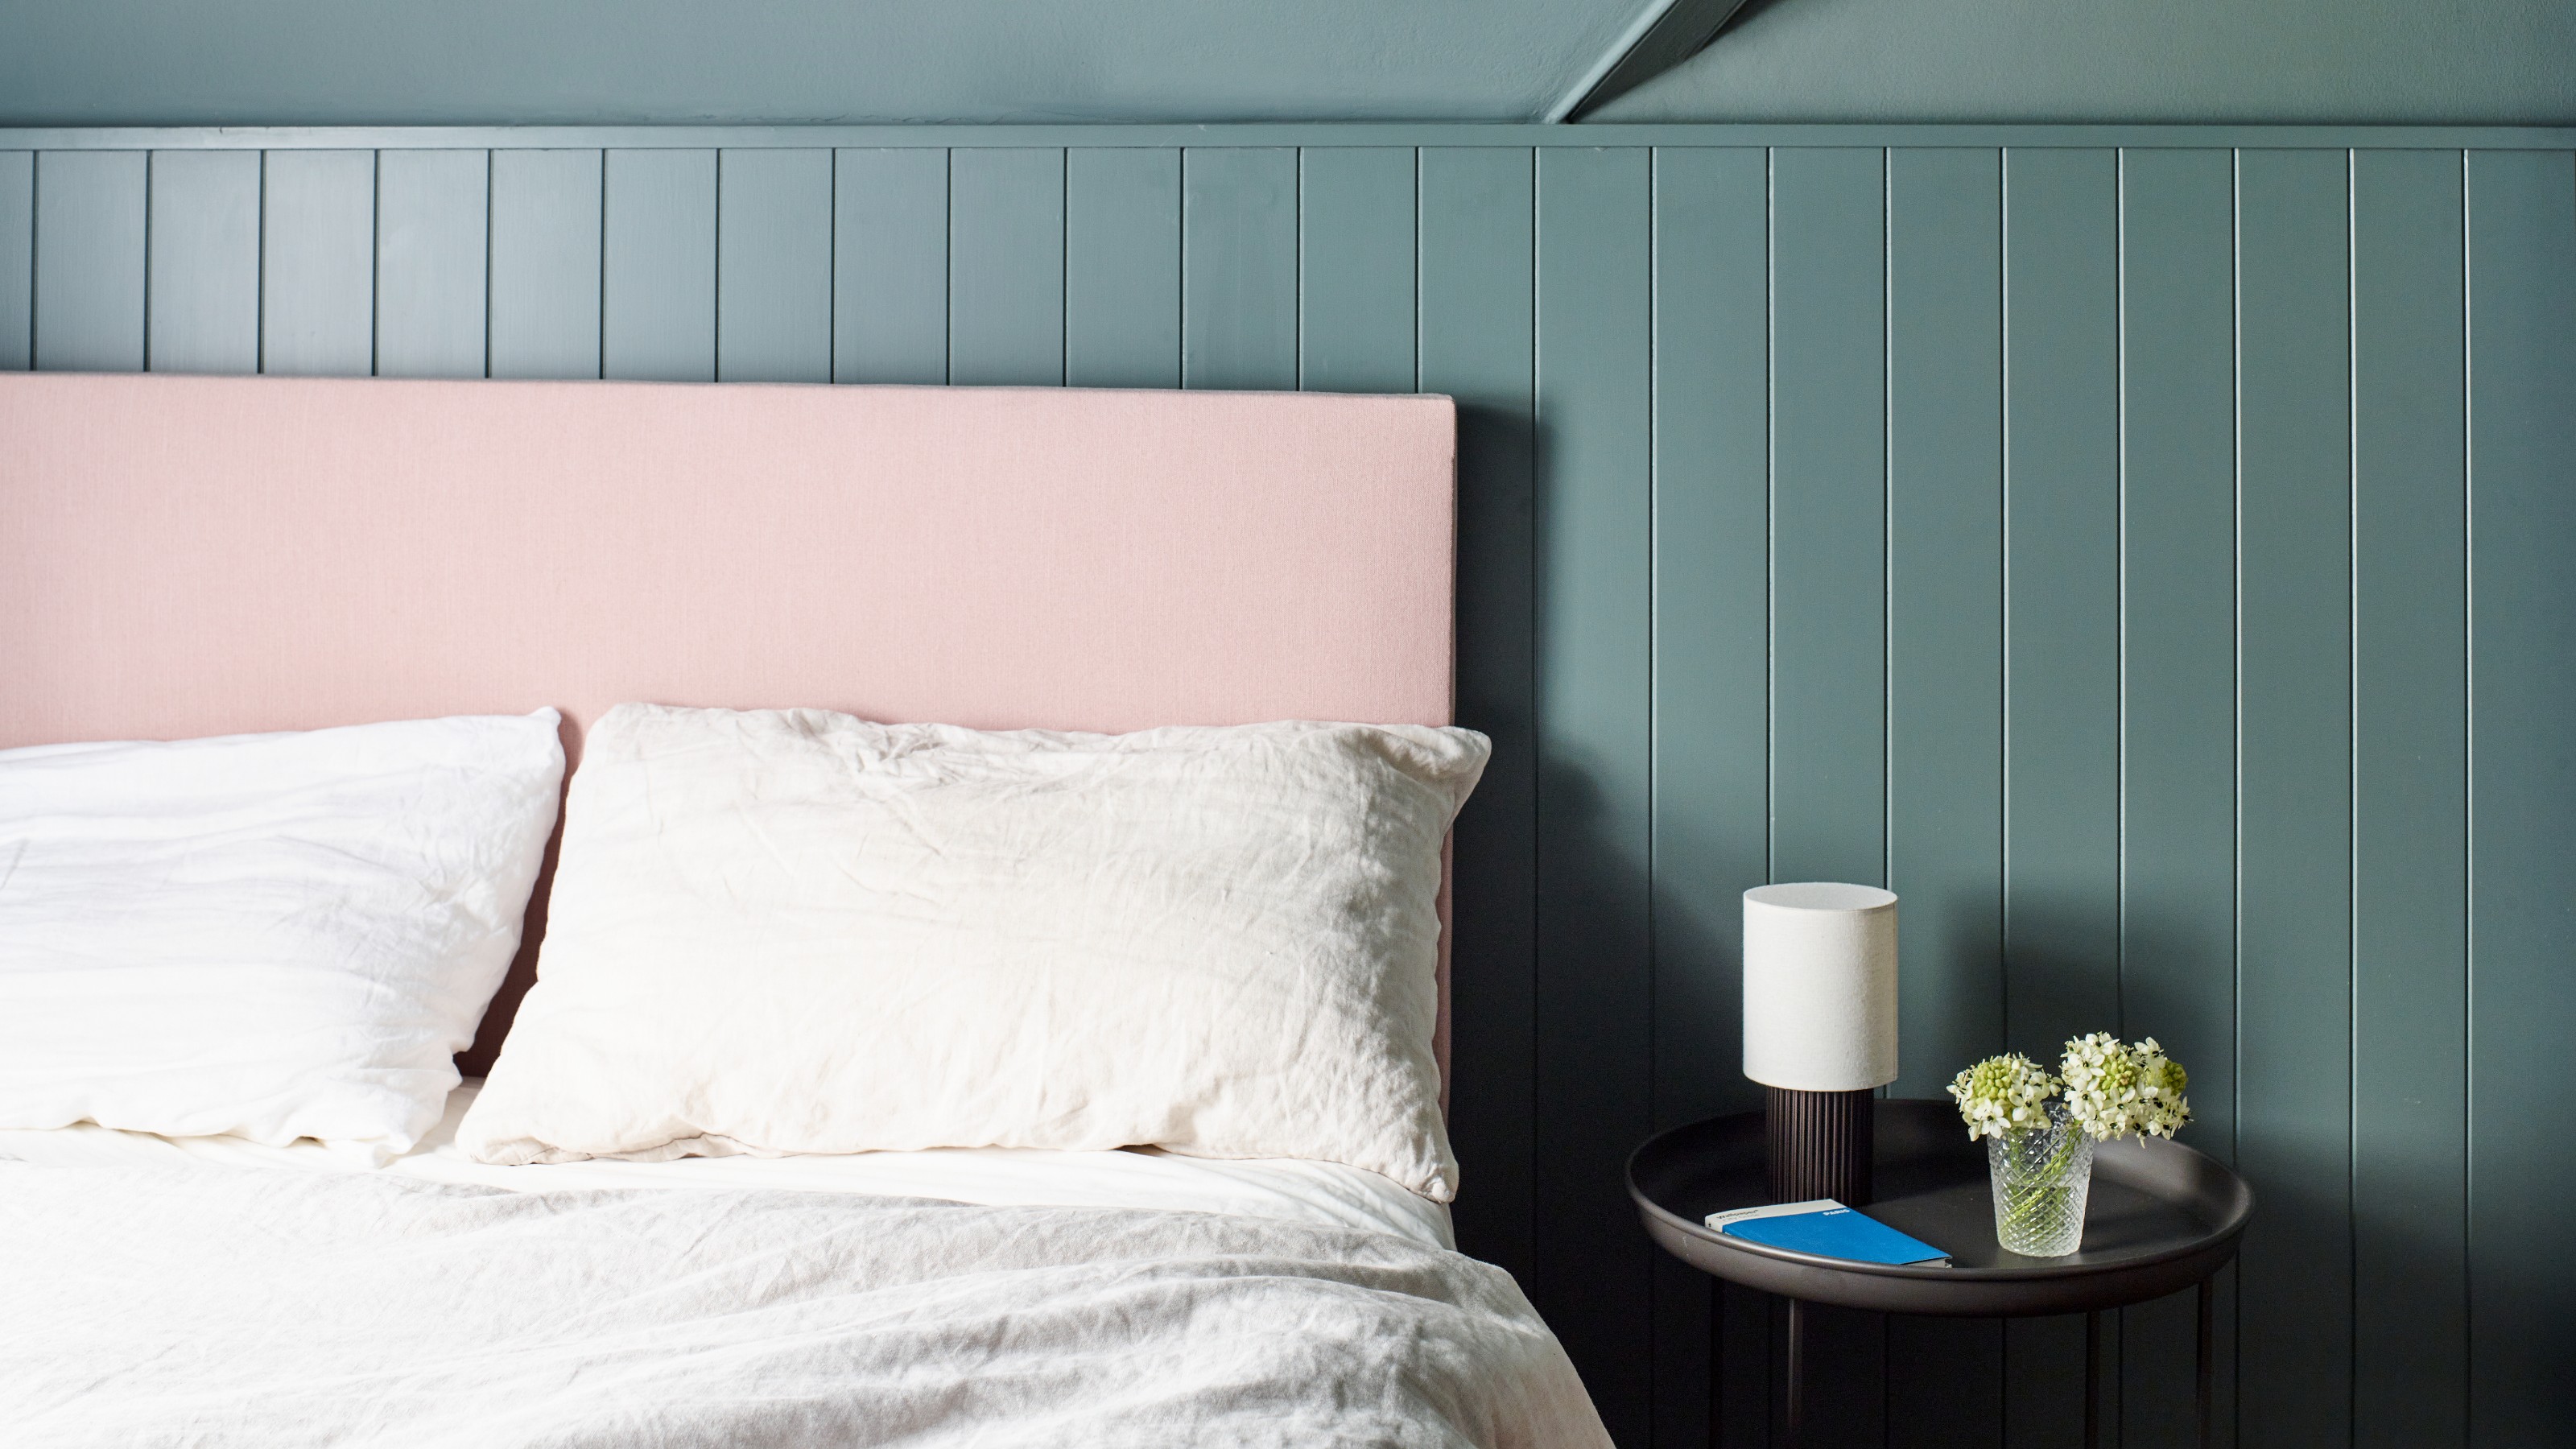
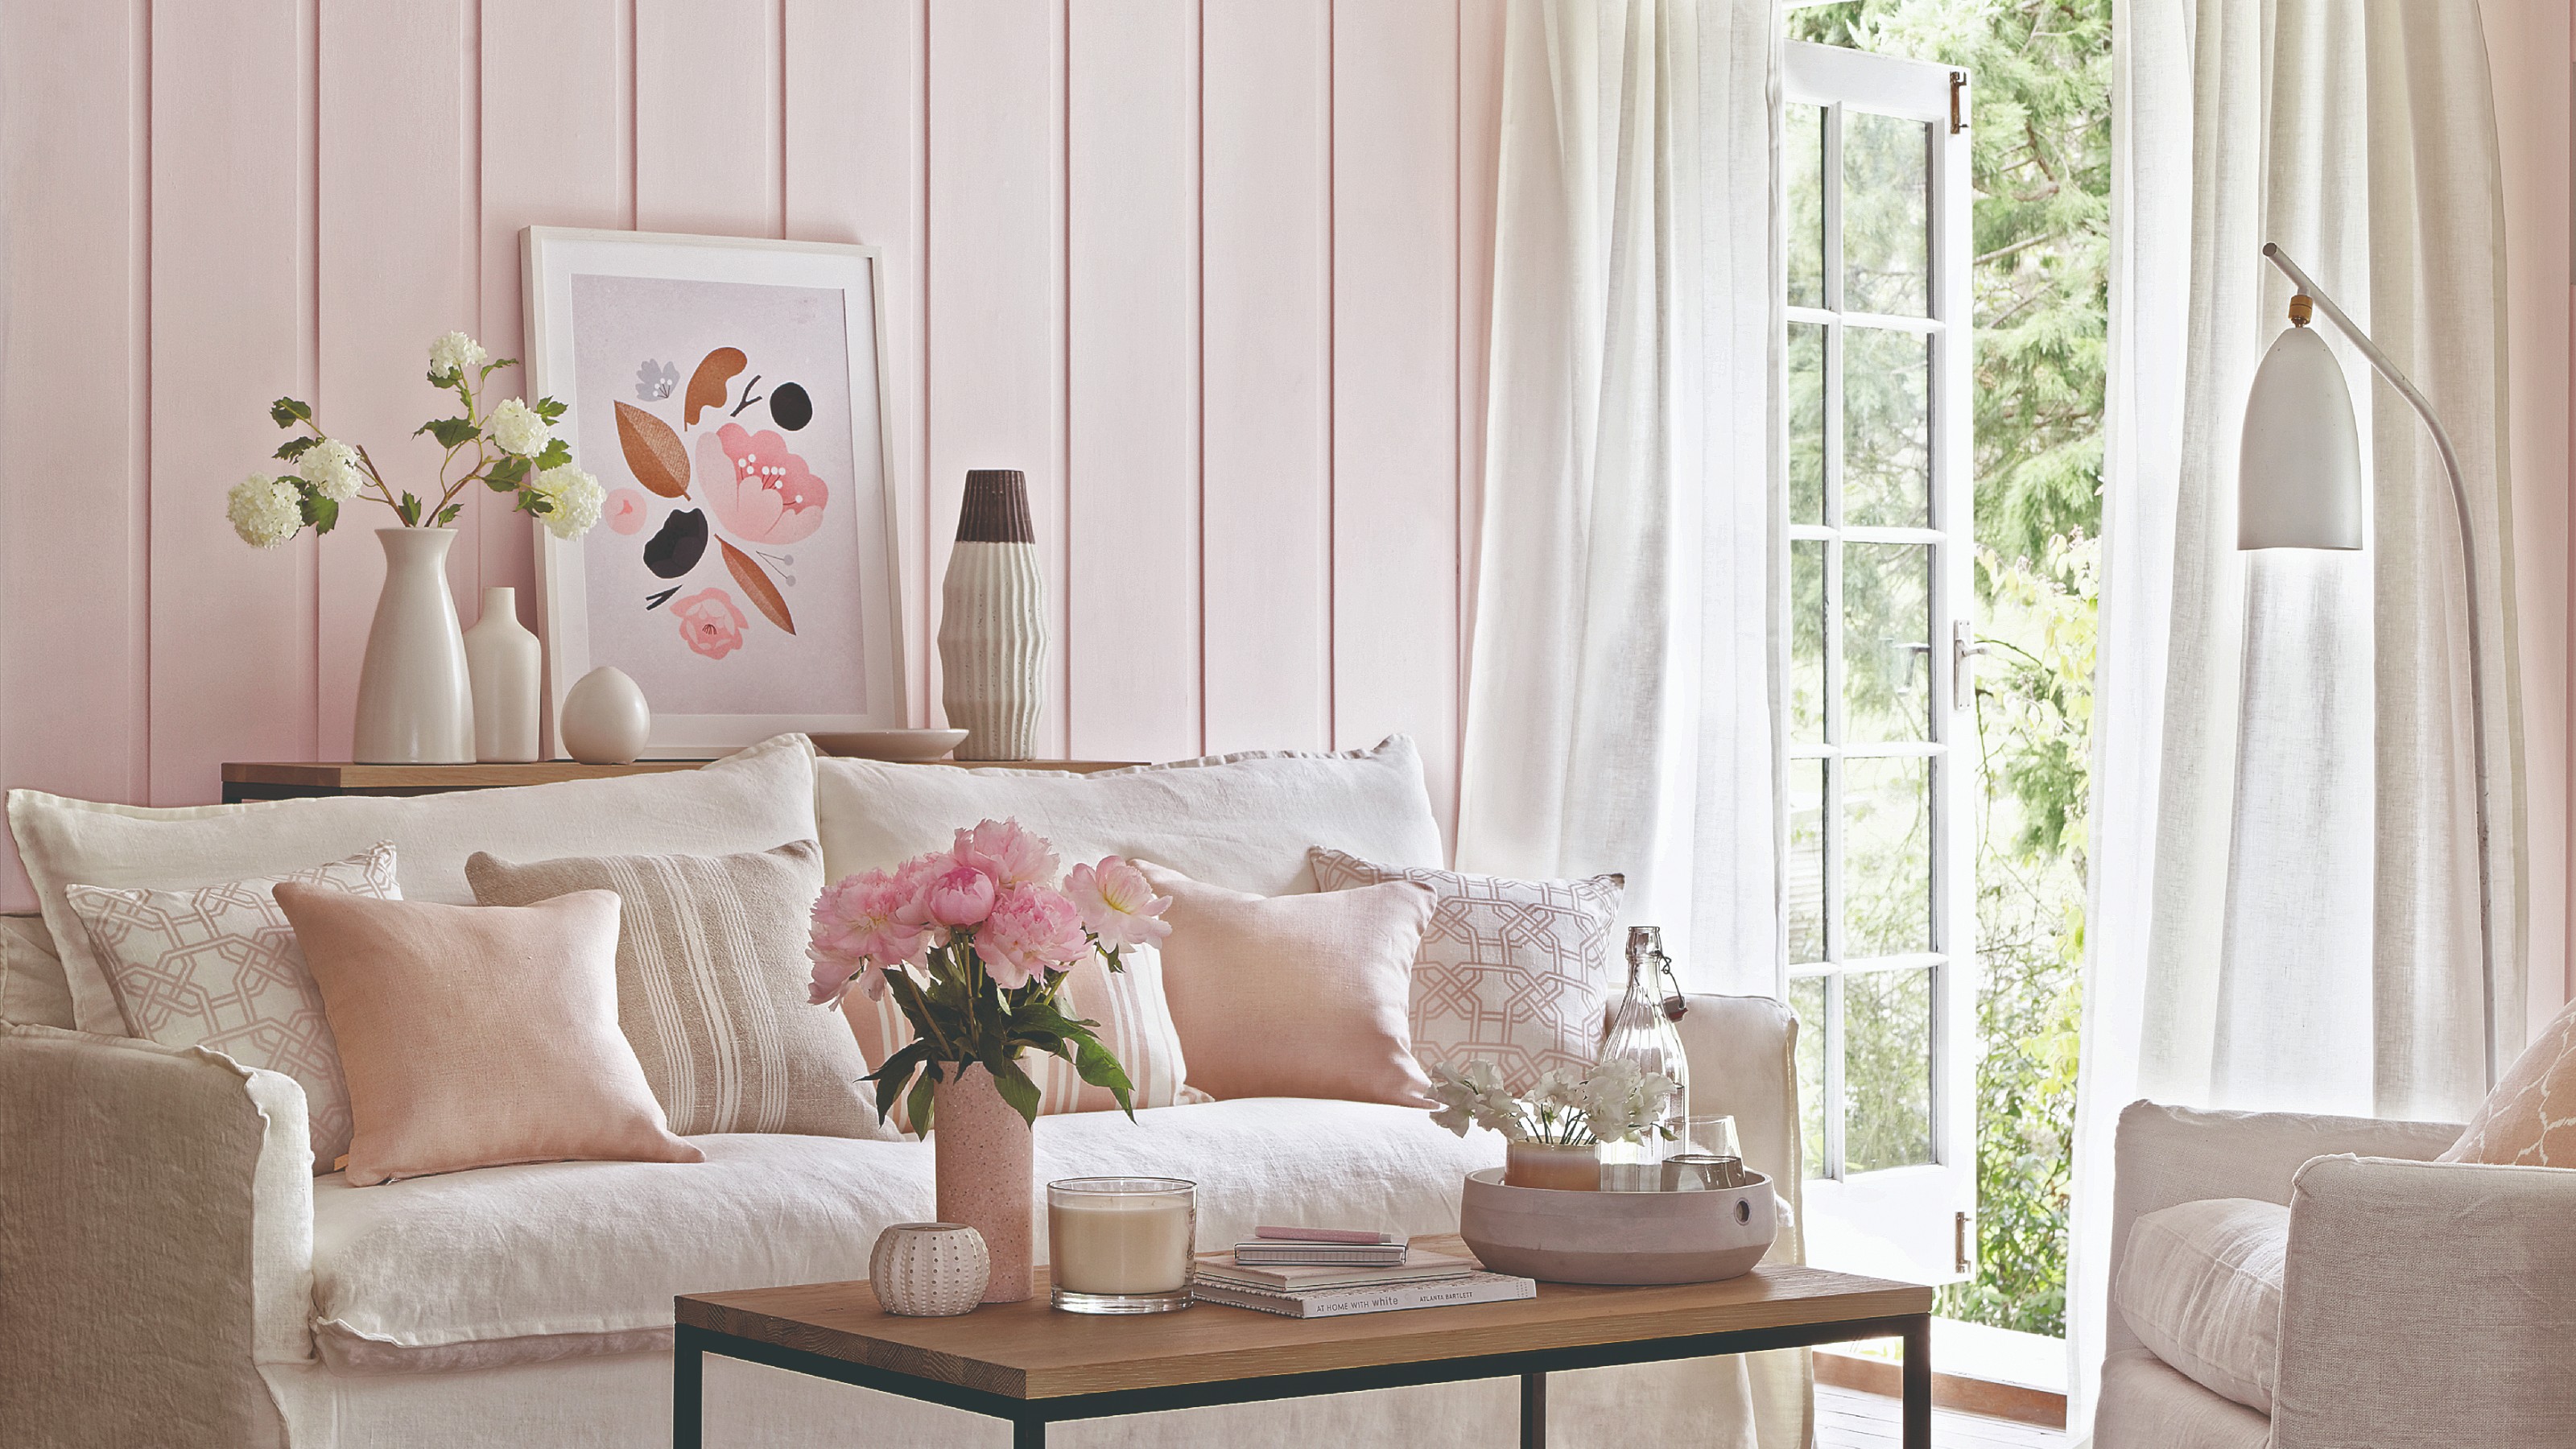
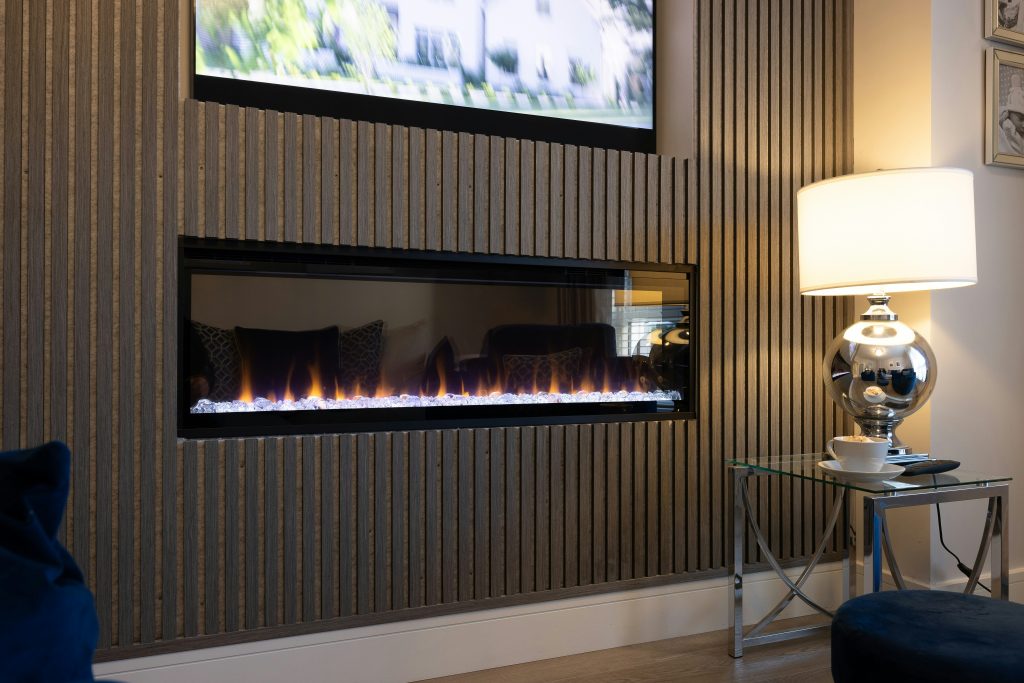
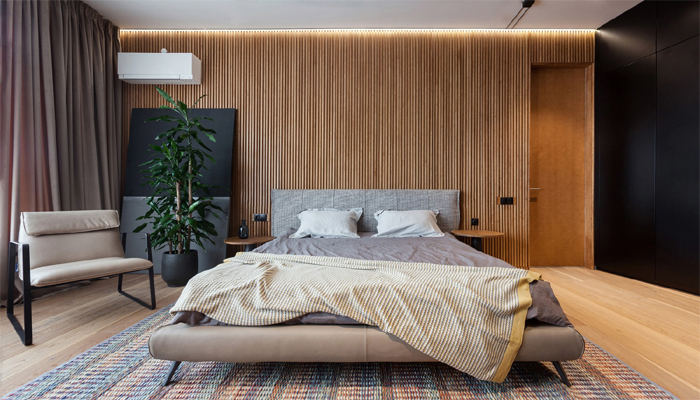
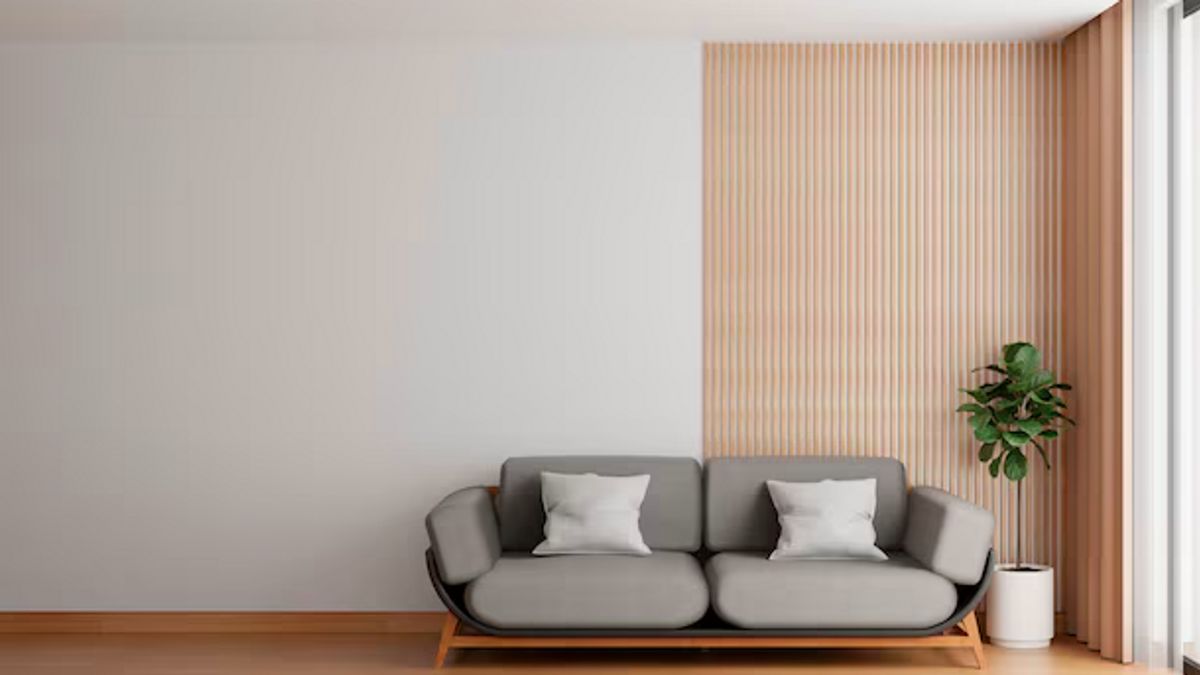
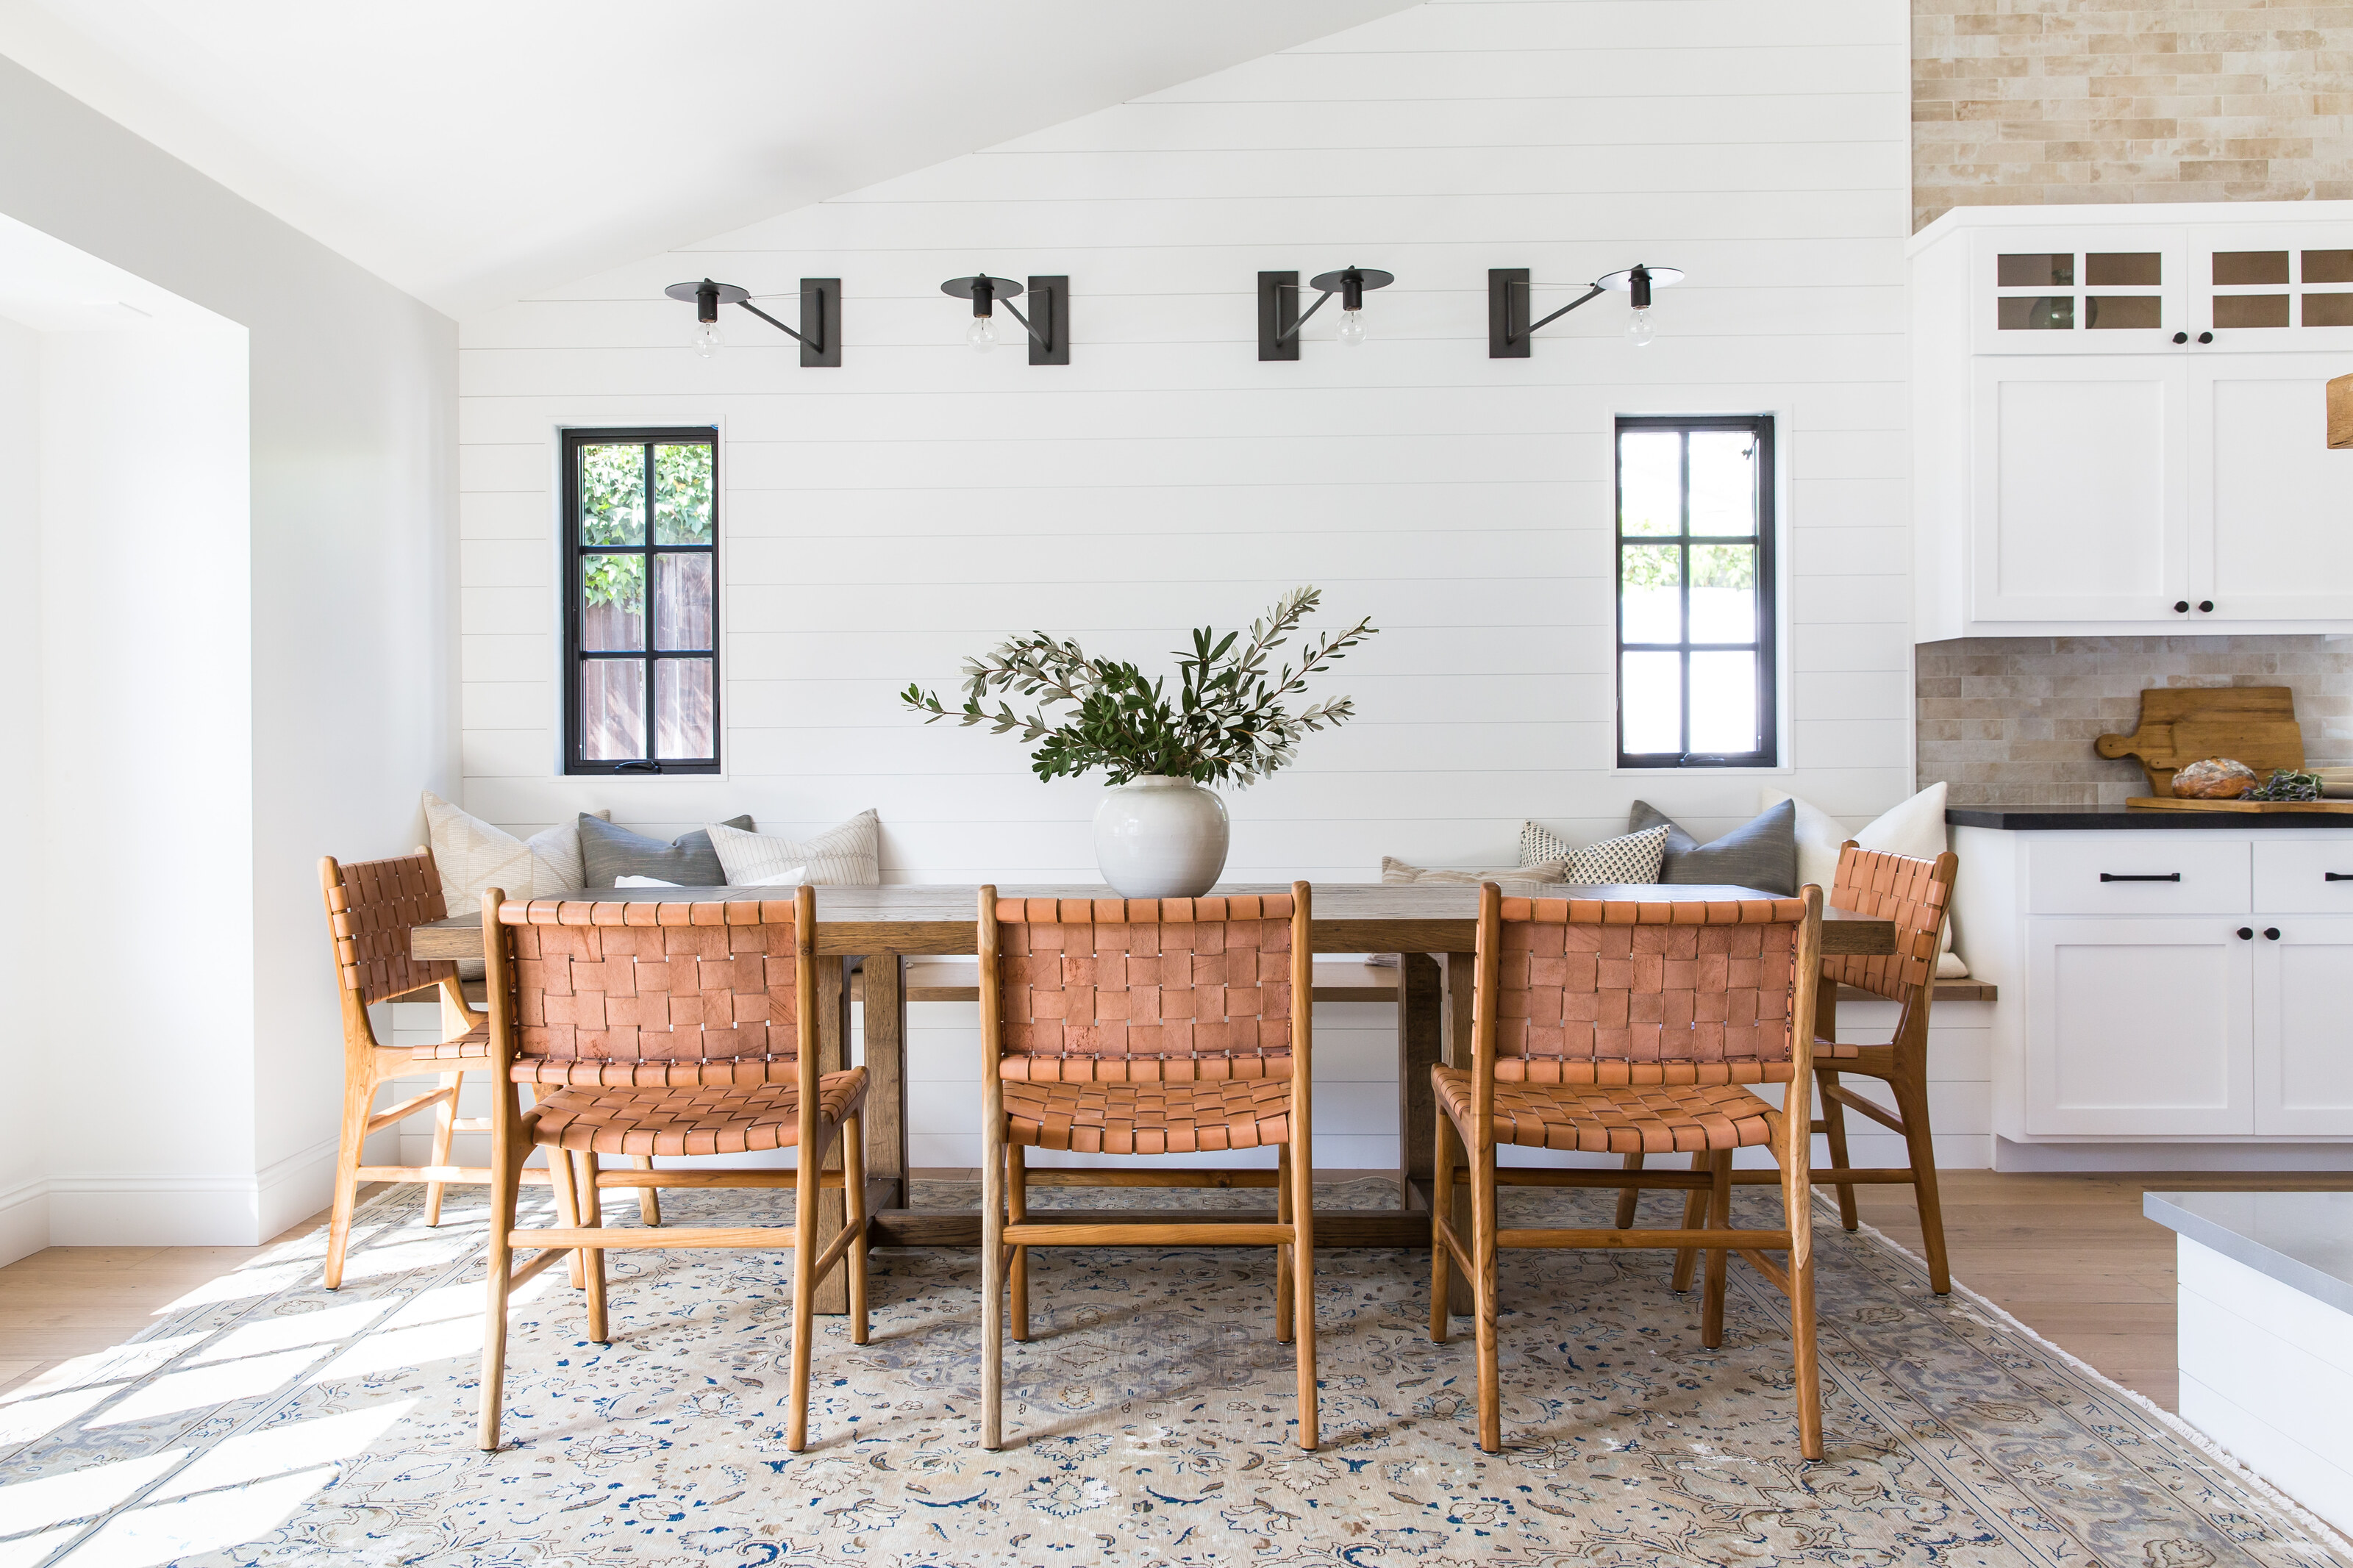
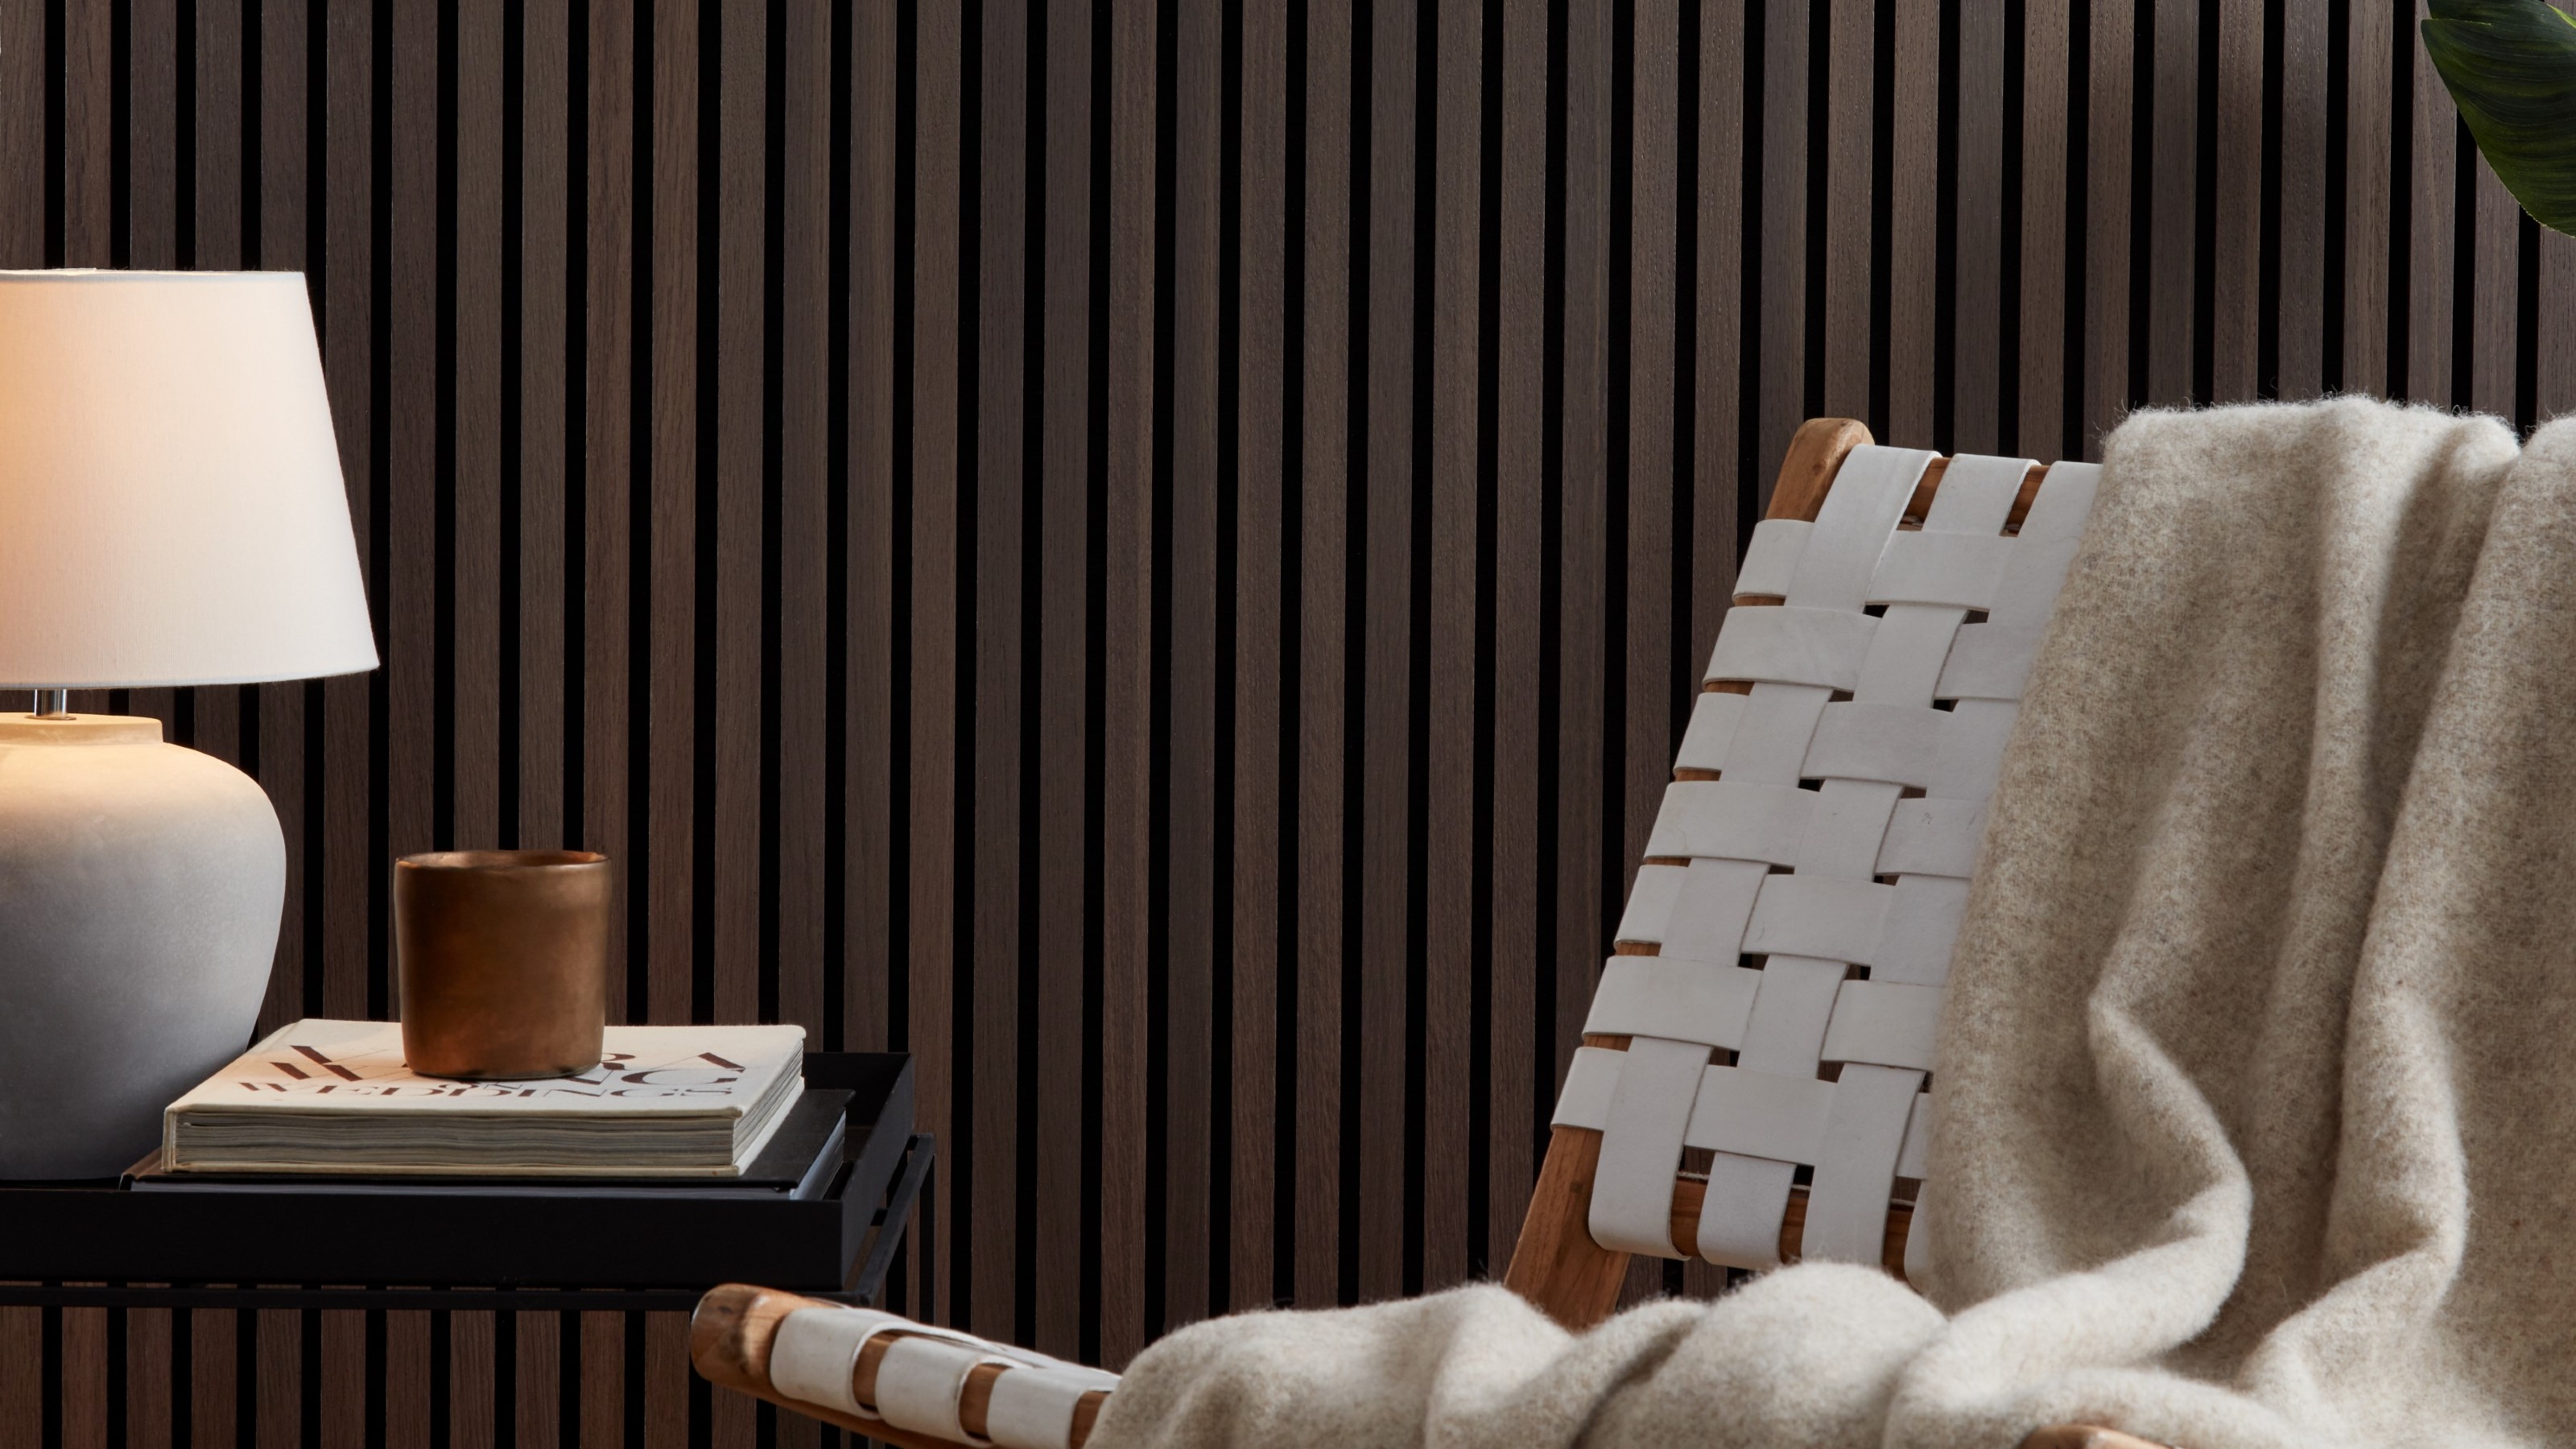
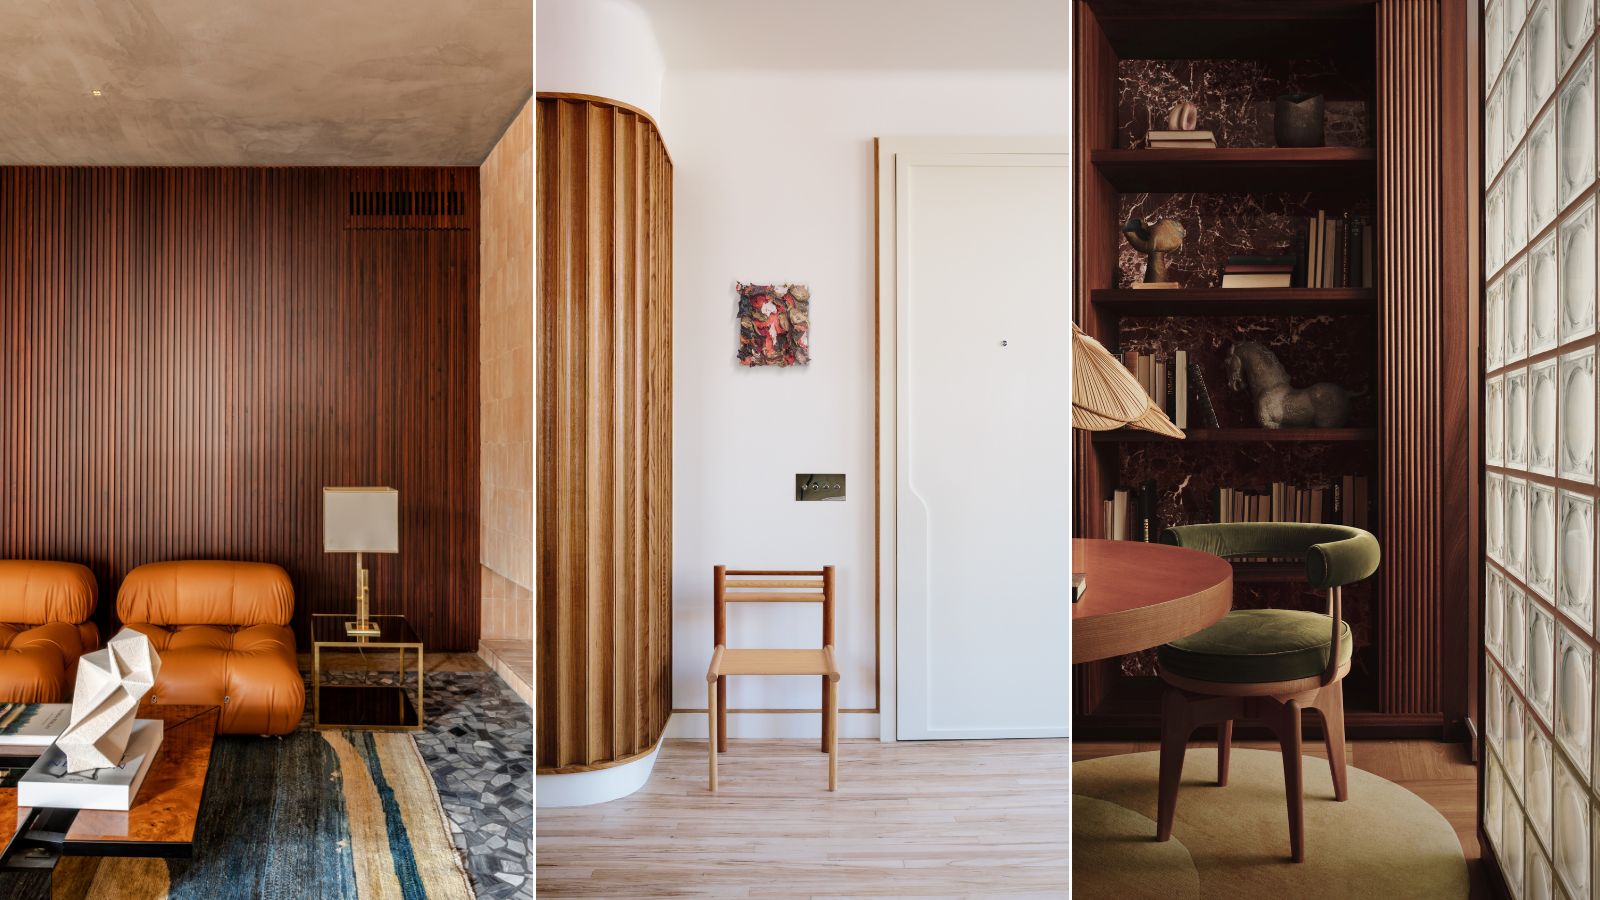
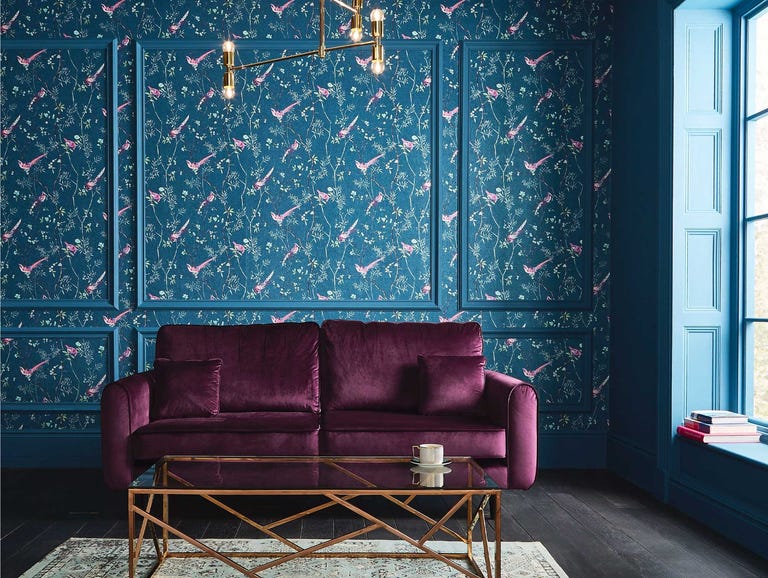
Different types of panelling, such as relief panelling from the Jacobean period, ornate Georgian styles, modern shaker styles with larger squares, tongue and groove for elongating spaces, and geometric panelling for a playful and architectural look, are discussed. The choice of color is emphasized, with suggestions for tonal schemes using matching wall and panelling colors, or bold shades to highlight design details. The flexibility of panelling allows it to be applied to a single wall or behind furniture to create a focal point. For adherence, adhesive glue is recommended for dry, level, and clean walls, while pins can be used for a more traditional finish or when panelling over existing panels or wallpaper where adhesive might be less effective.
#WallPanelling #HomeDIY #InteriorDesign #HomeRenovation #DecorativeWalls #DIYProjects #MDFPanelling #WallDecor #Homebase #WallPanelling #HomeDIY #InteriorDesign #HomeRenovation #DecorativeWalls #DIYProjects #MDFPanelling #WallDecor #Homebase
0 comment in total
You may also like
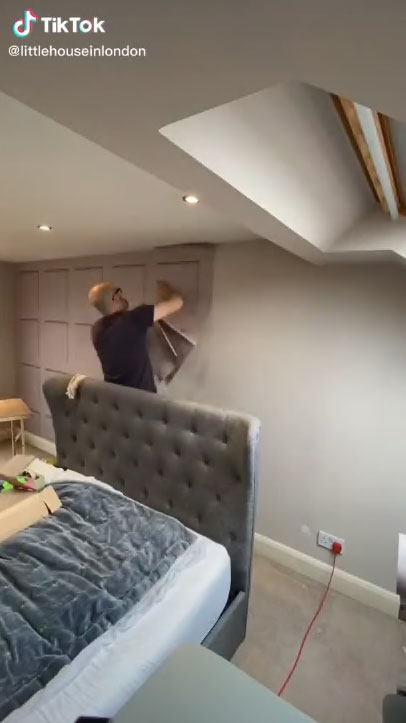
This wall panelling method is going viral on TikTok – how to get the look, according to DIY experts

Wall paneling ideas – 18 ways to add decorative cladding and moulding

How to install wooden panelling
Three ways wall panelling can add the wow factor

6 ways to fake wall panelling and create the sought-after look on a budget

Wall Panels
How to Figure Out What Kind of Walls You Have Behind Your Wall Paneling

12 panelling ideas to add instant character to living room walls, from modern new-builds to elegant townhouses
We created a posh wall panel in seconds using a sneaky stick-on hack - everyone is convinced it’s real wood
Wall Panelling – the 2024 Home Improvement Trend
20 Modern Wall Panelling Design Ideas for Your Dream Home

Feature walls are out - the 4 new homeware trends including genius ceiling hack that will save you money

Rapi Wall And Lasting Long, Check Out 5 Tips For Choosing Wall Panels For Modern Housing

Wall paneling ideas – experts offer 9 simple tricks to wake up your walls


Are paneled walls still on trend? Interior designers on whether this feature is set to endure

MDF Wall Panels | Decorative Wall Panelling
28 wall panelling ideas to add depth and character to any room in your home
This paneling trend is a simple trick for making your walls look more expensive
The best wall panelling ideas and trends, according to the experts

DIY updates for your home: Faux panels to painting wallpaper add appeal but won't break the bank