1/9
This wall panelling method is going viral on TikTok – how to get the look, according to DIY experts
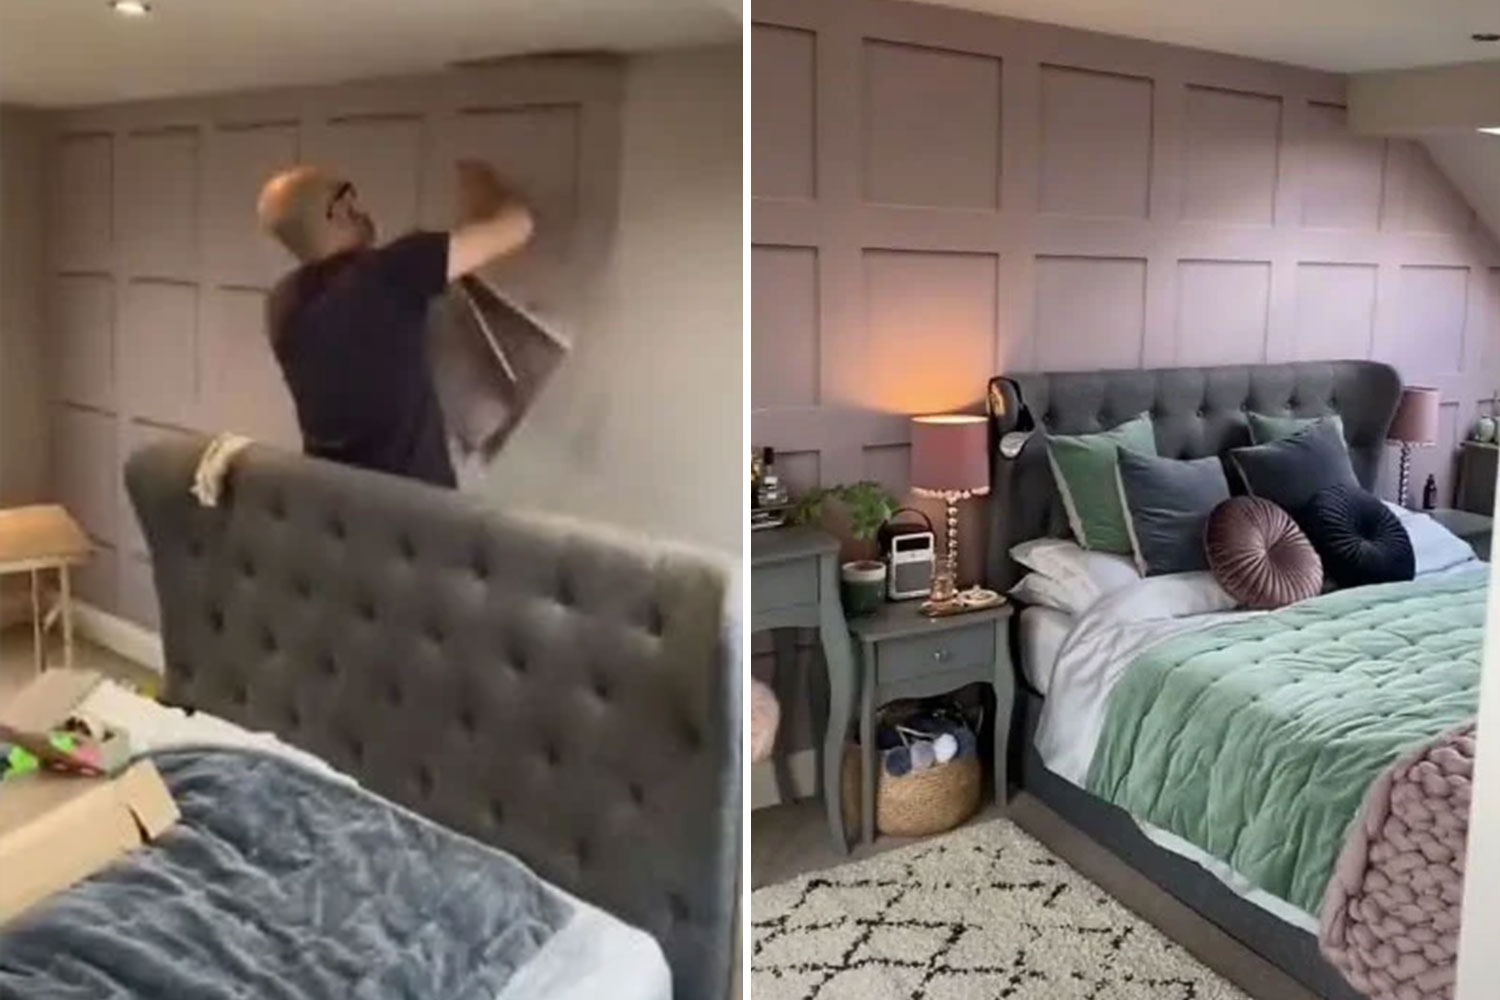
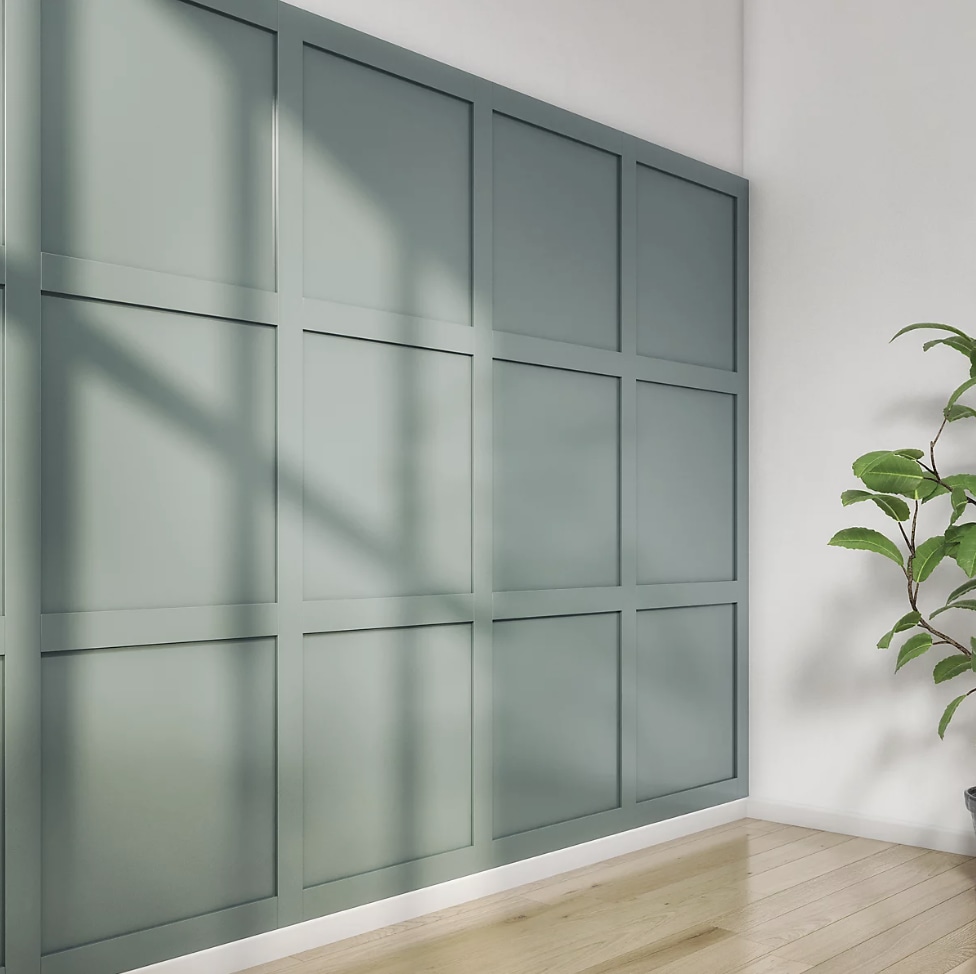
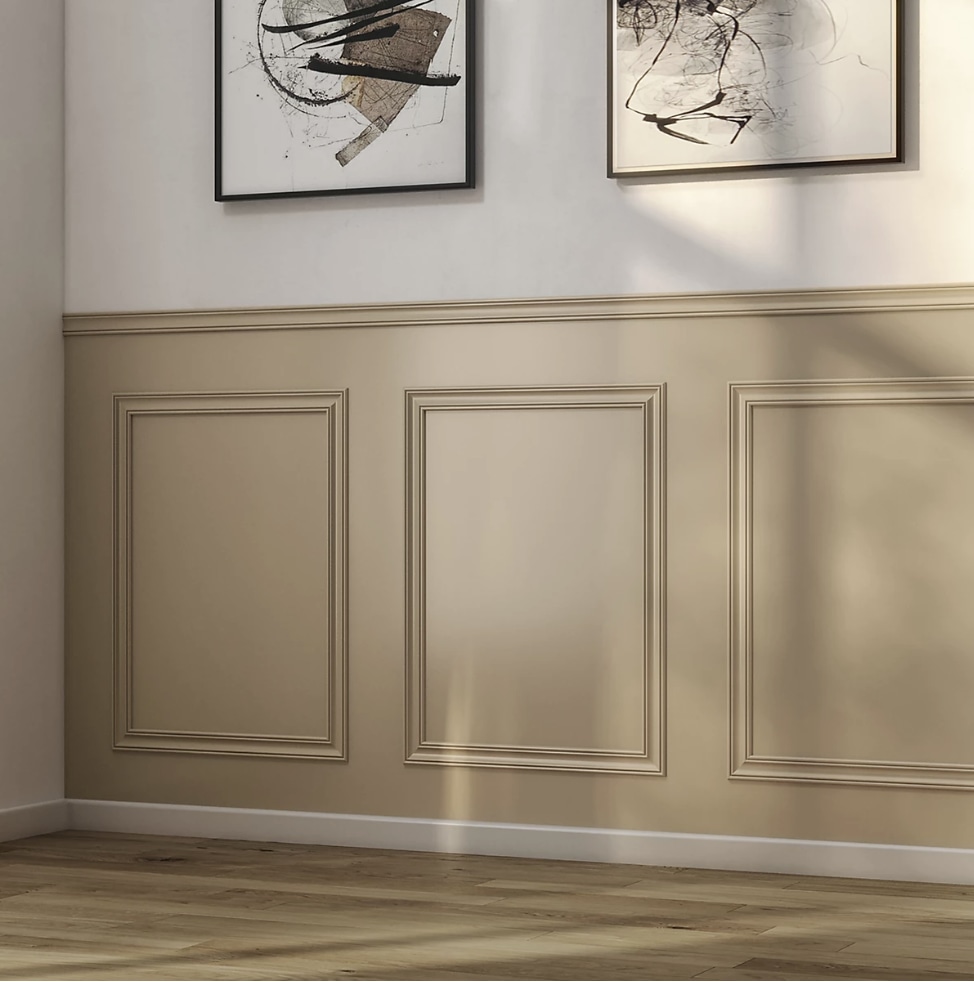
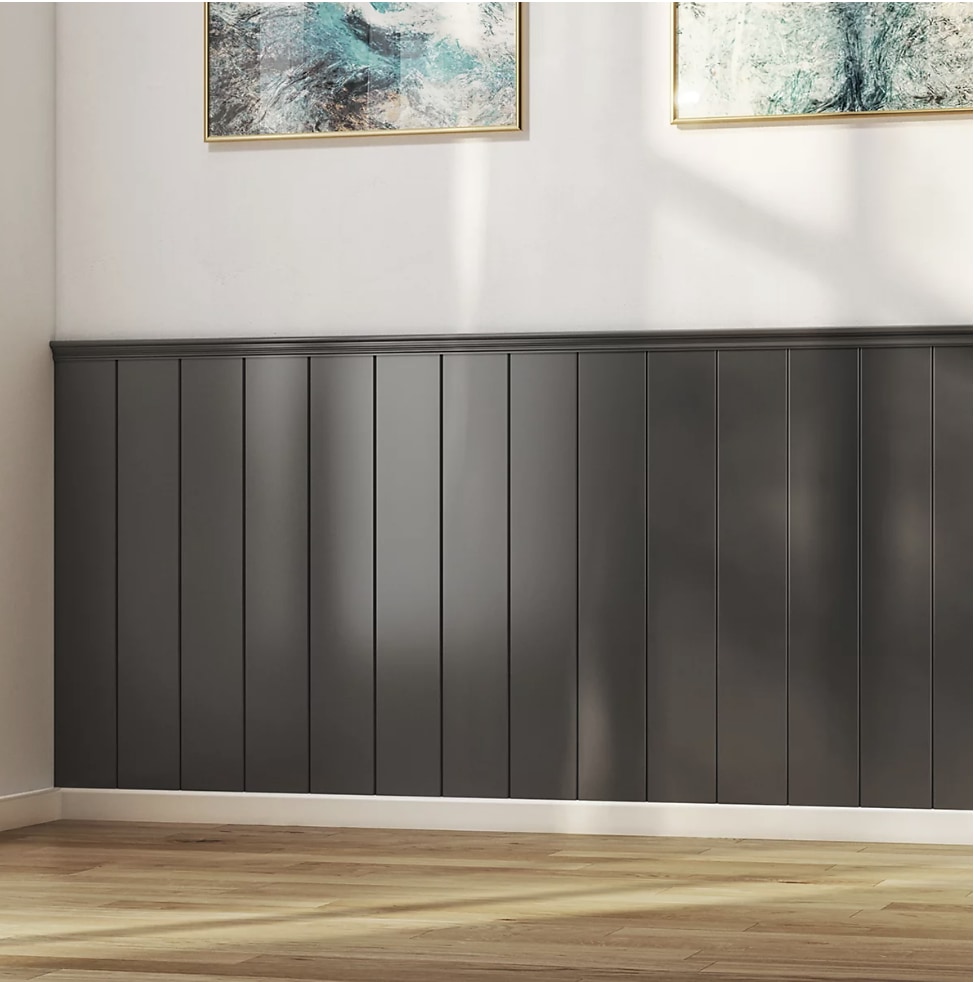
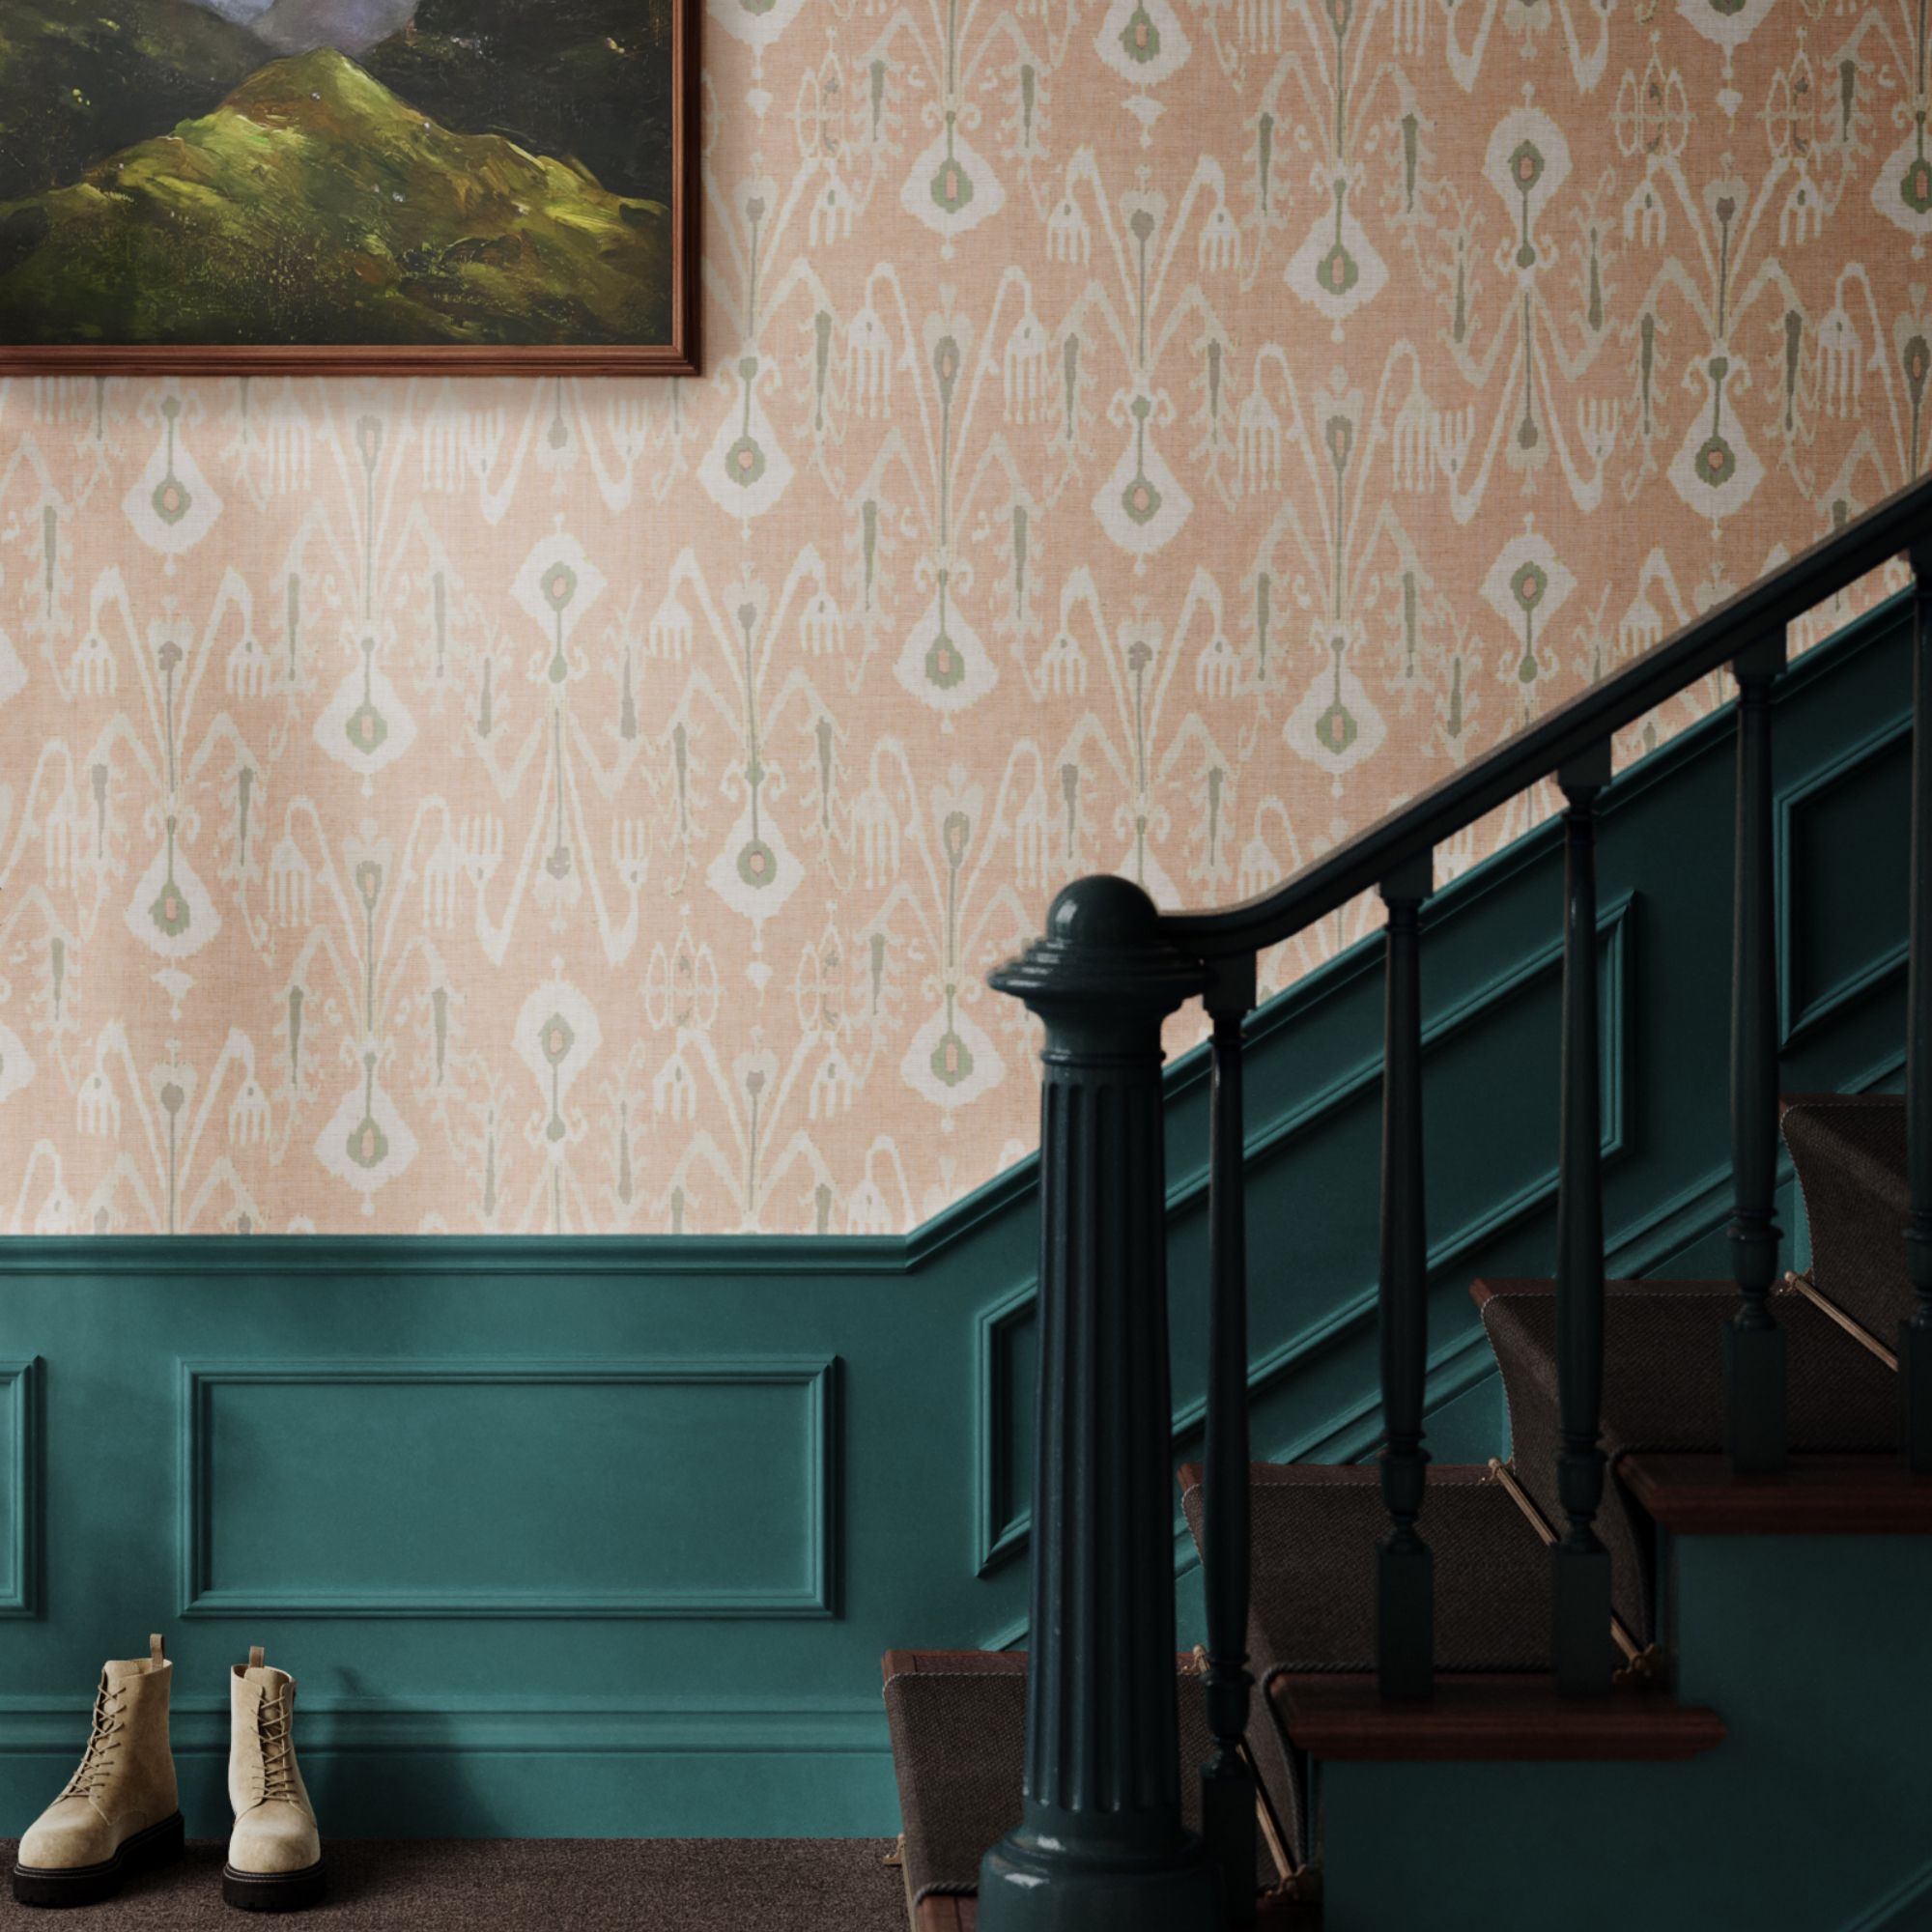
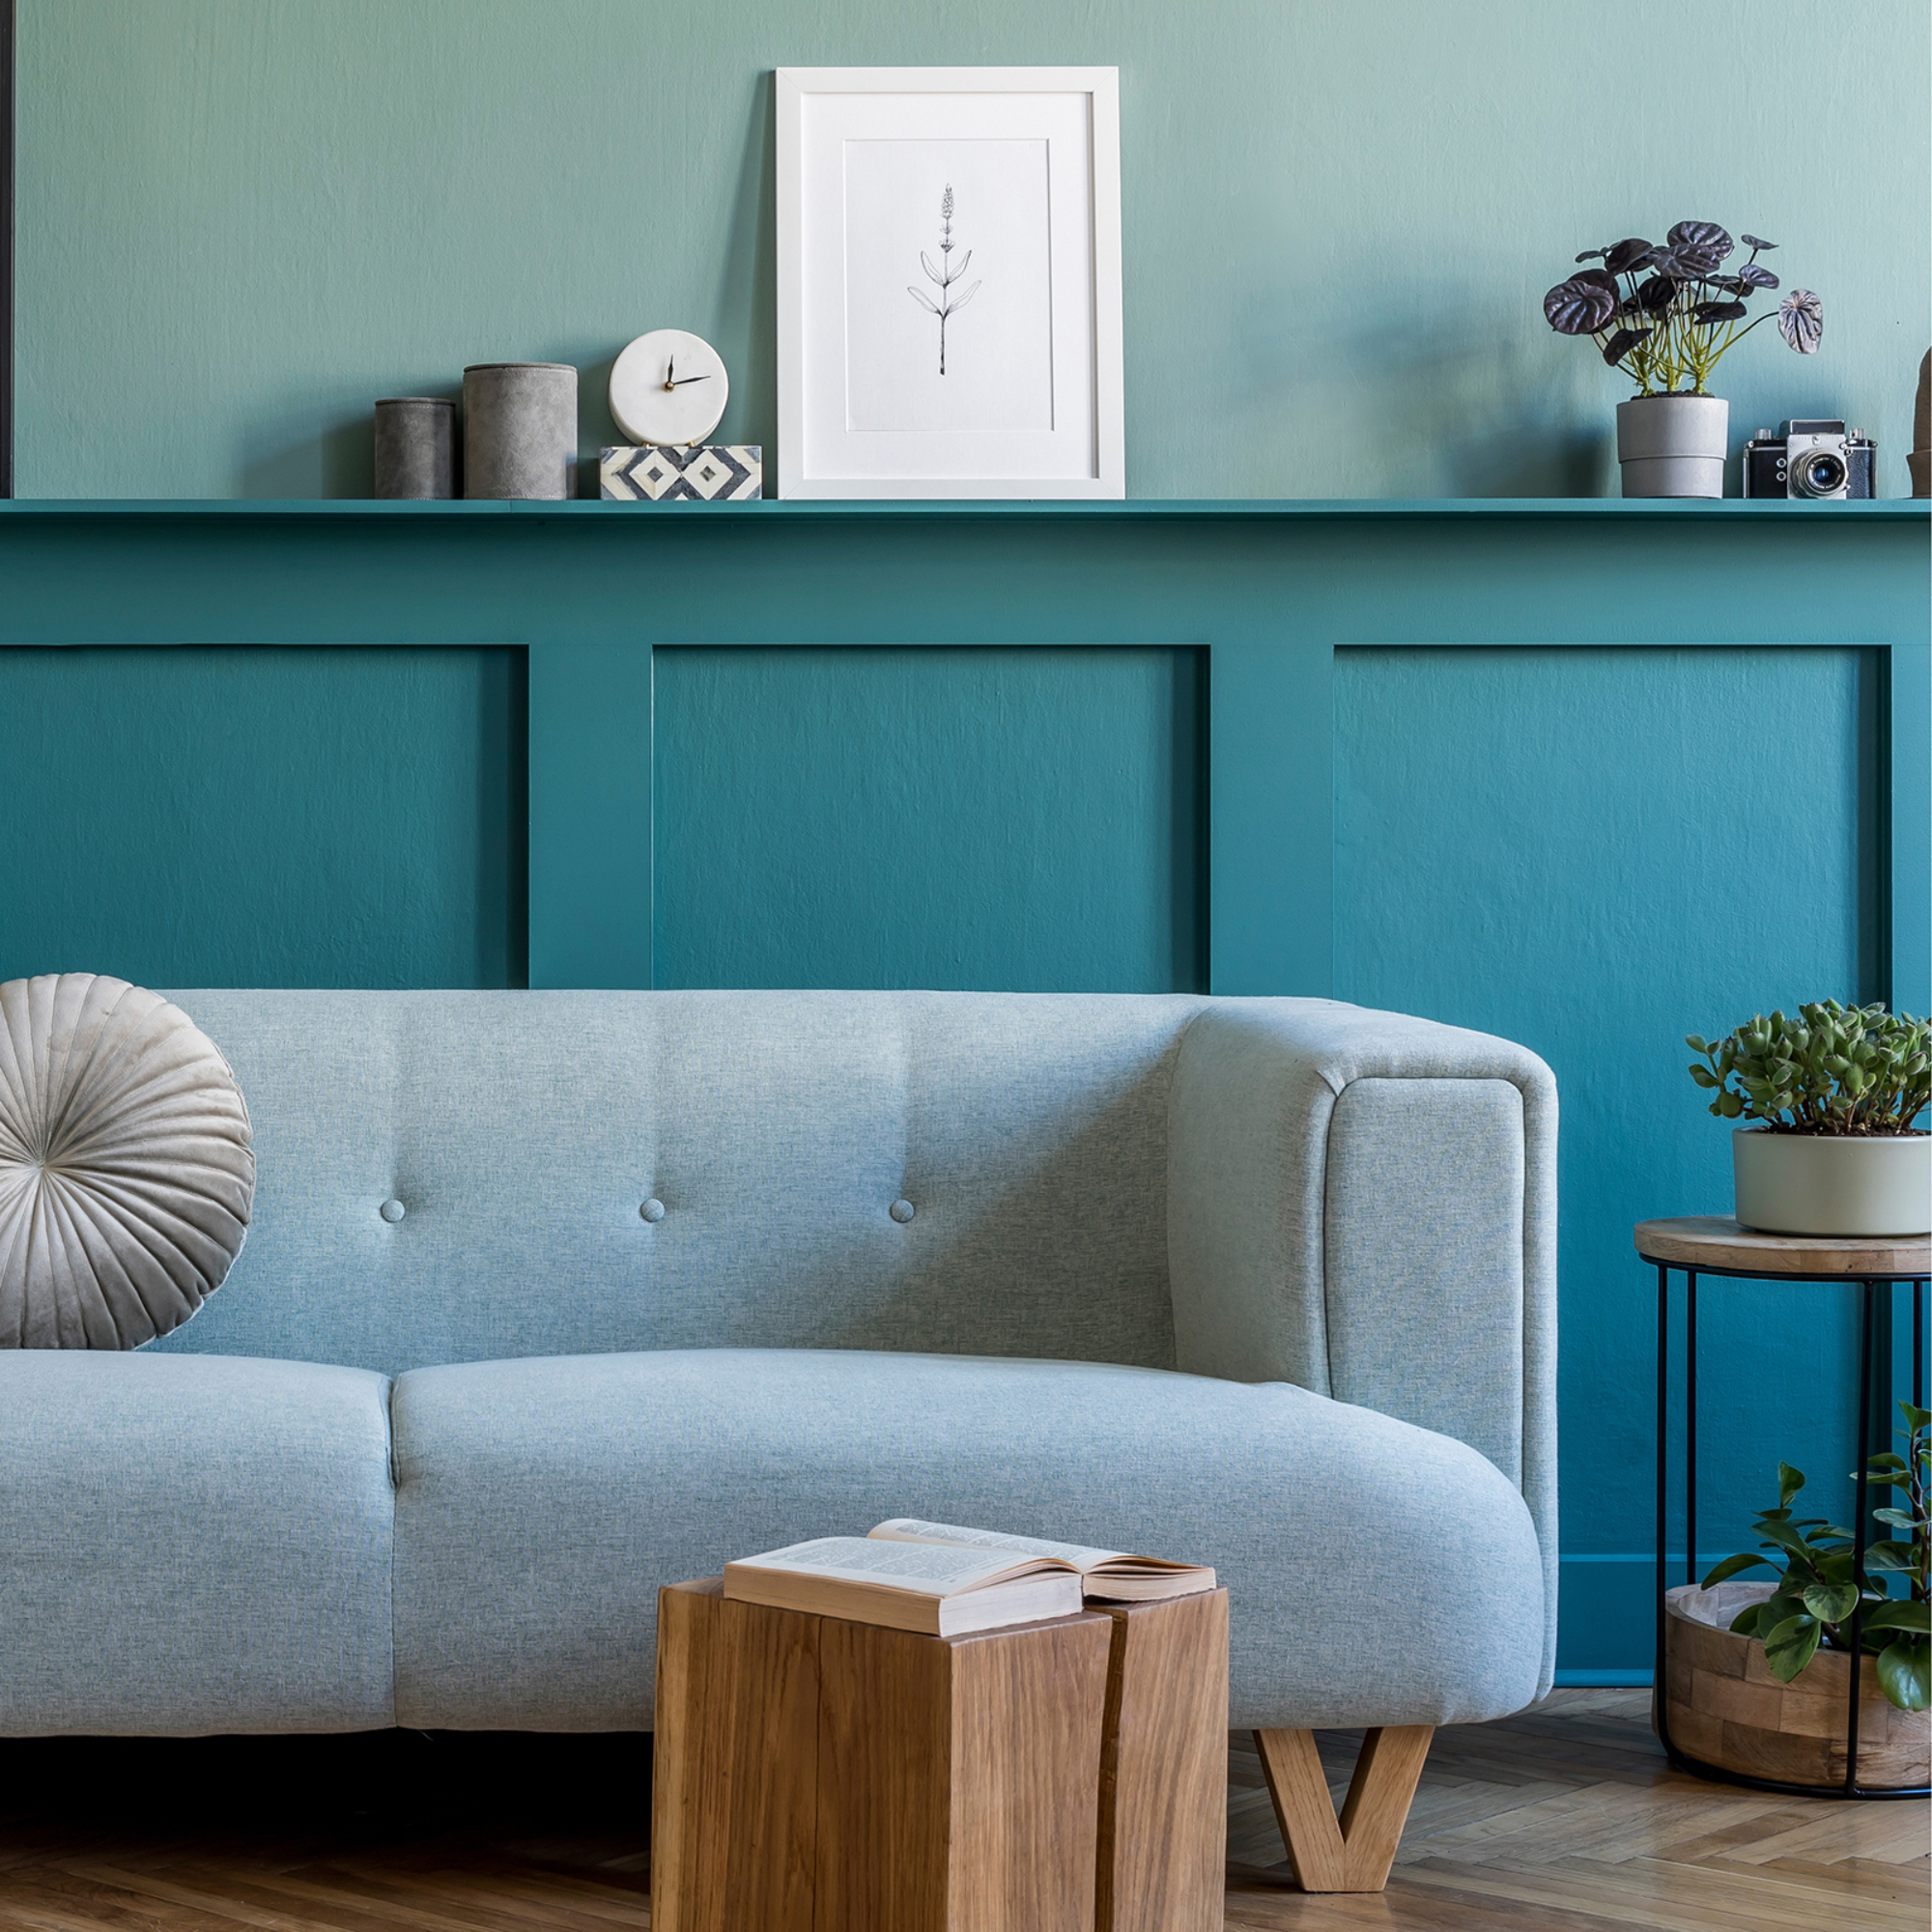
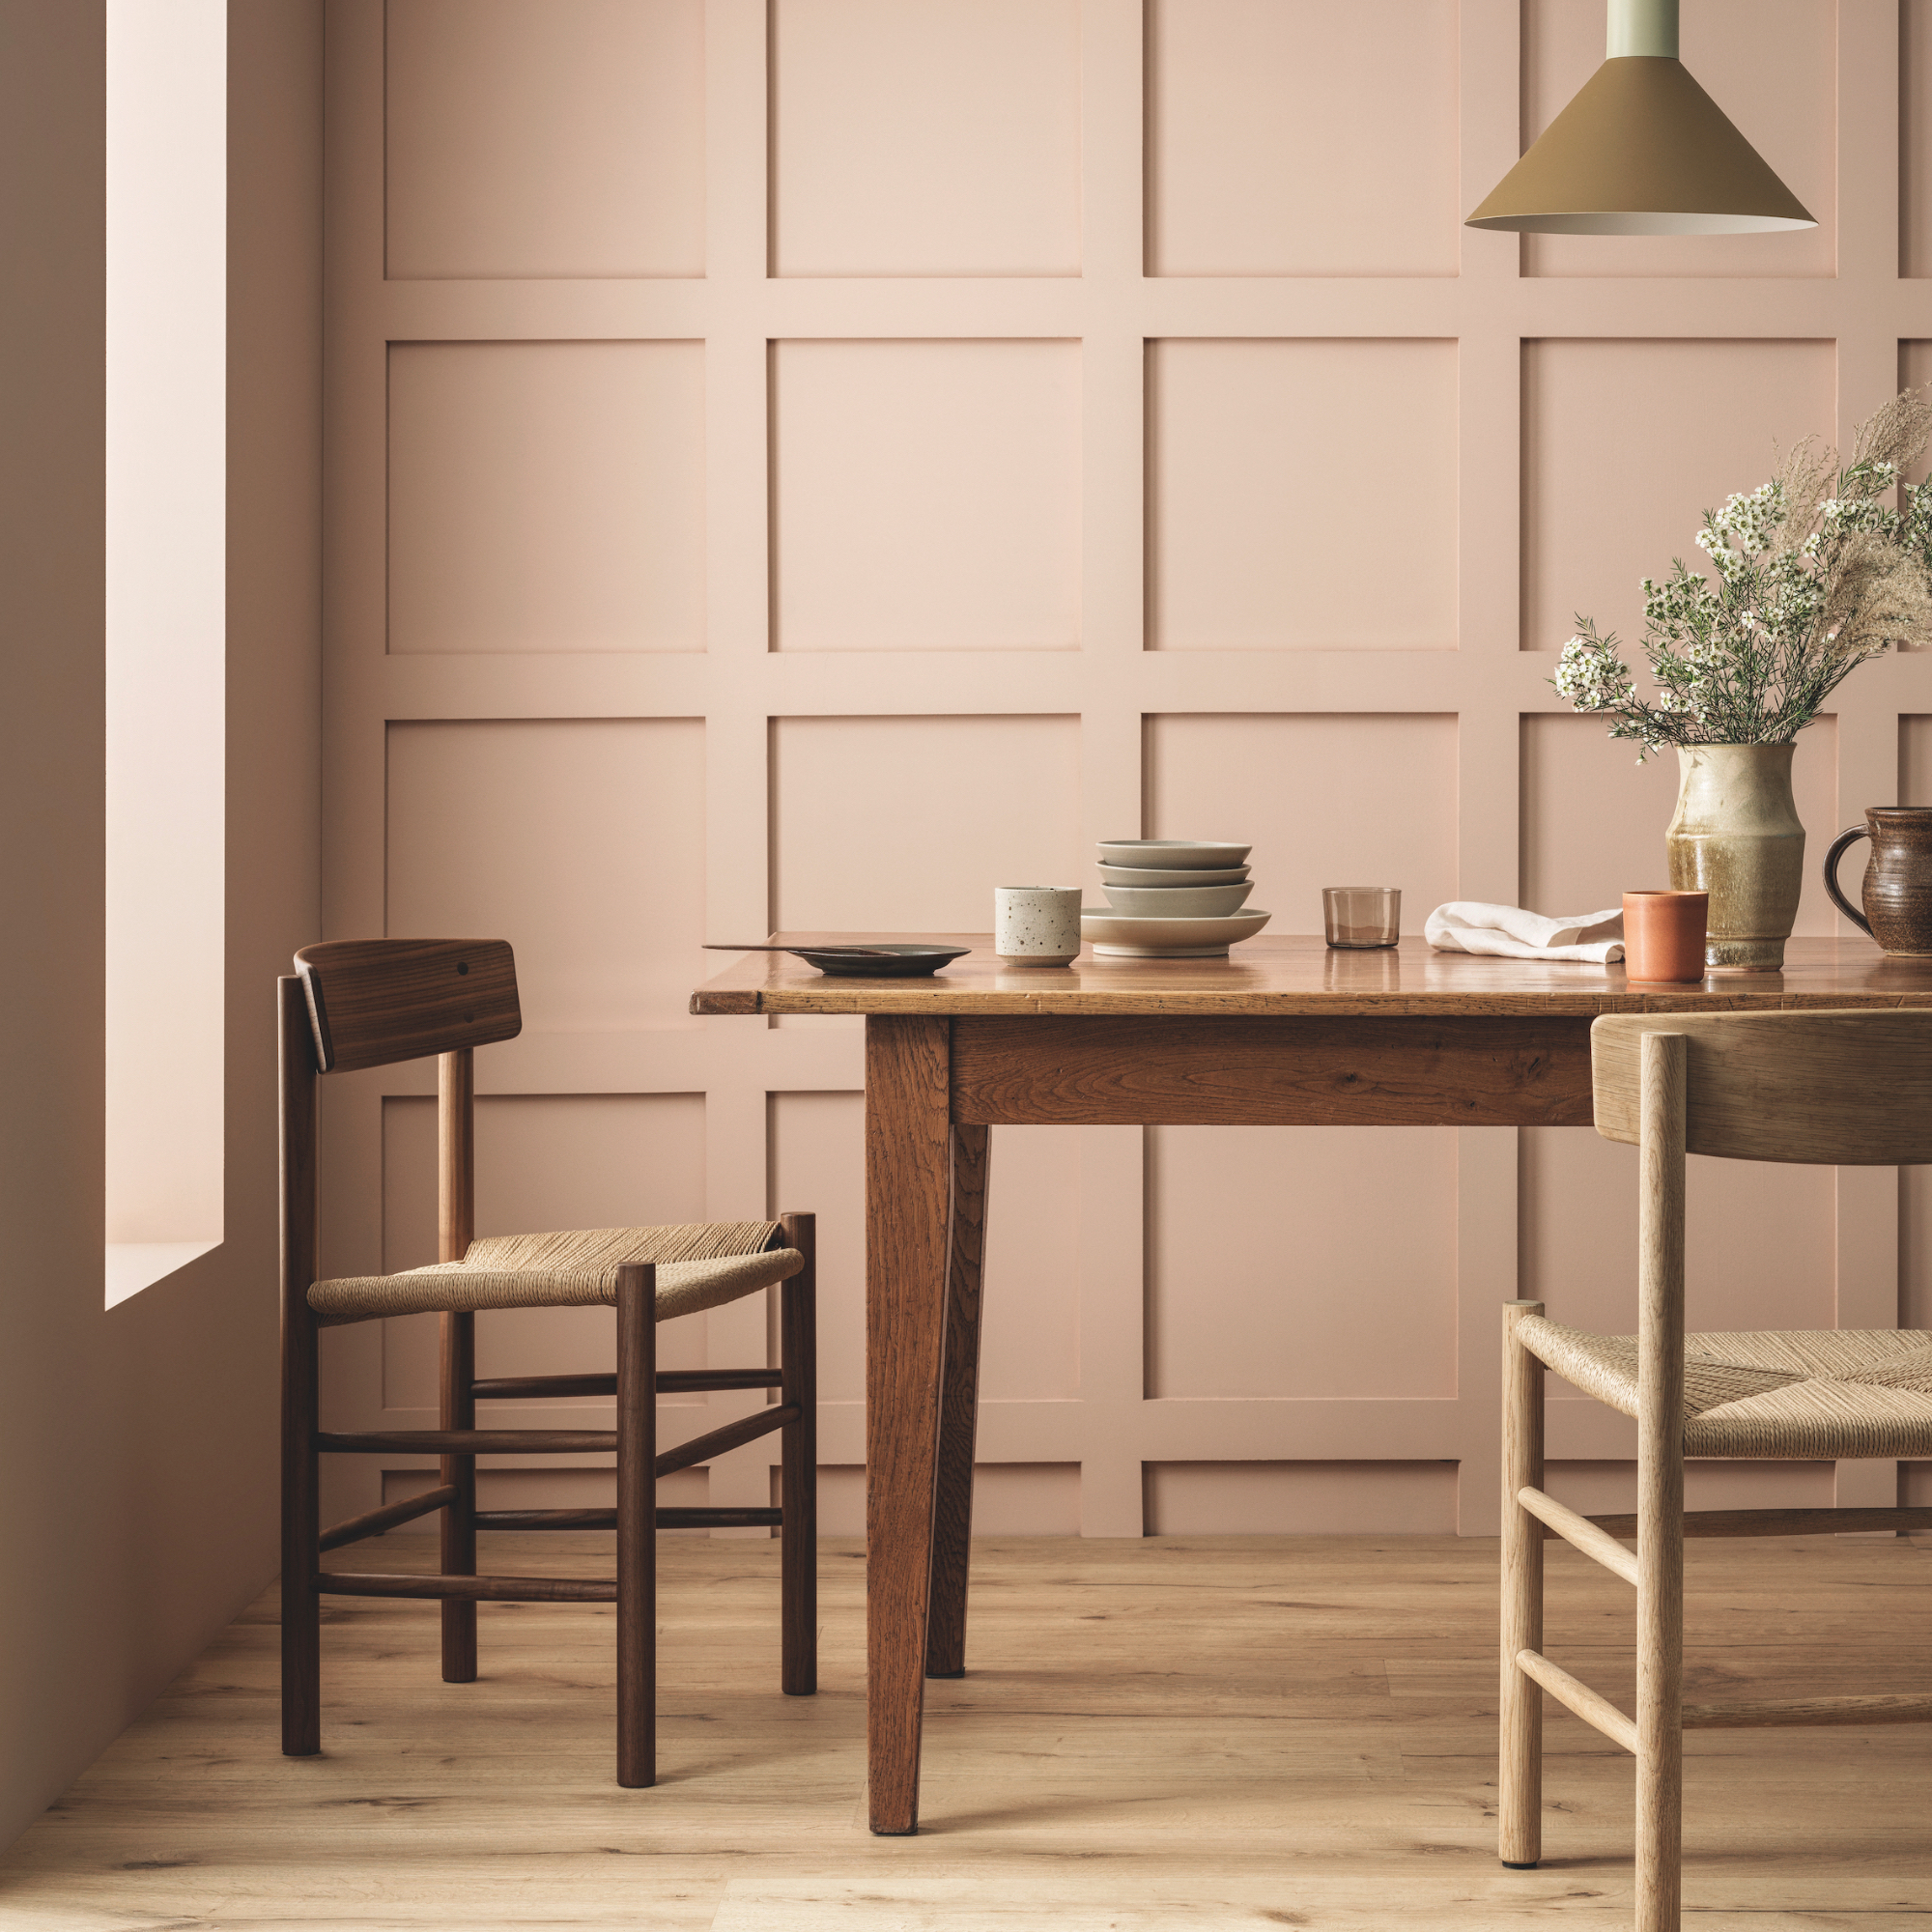
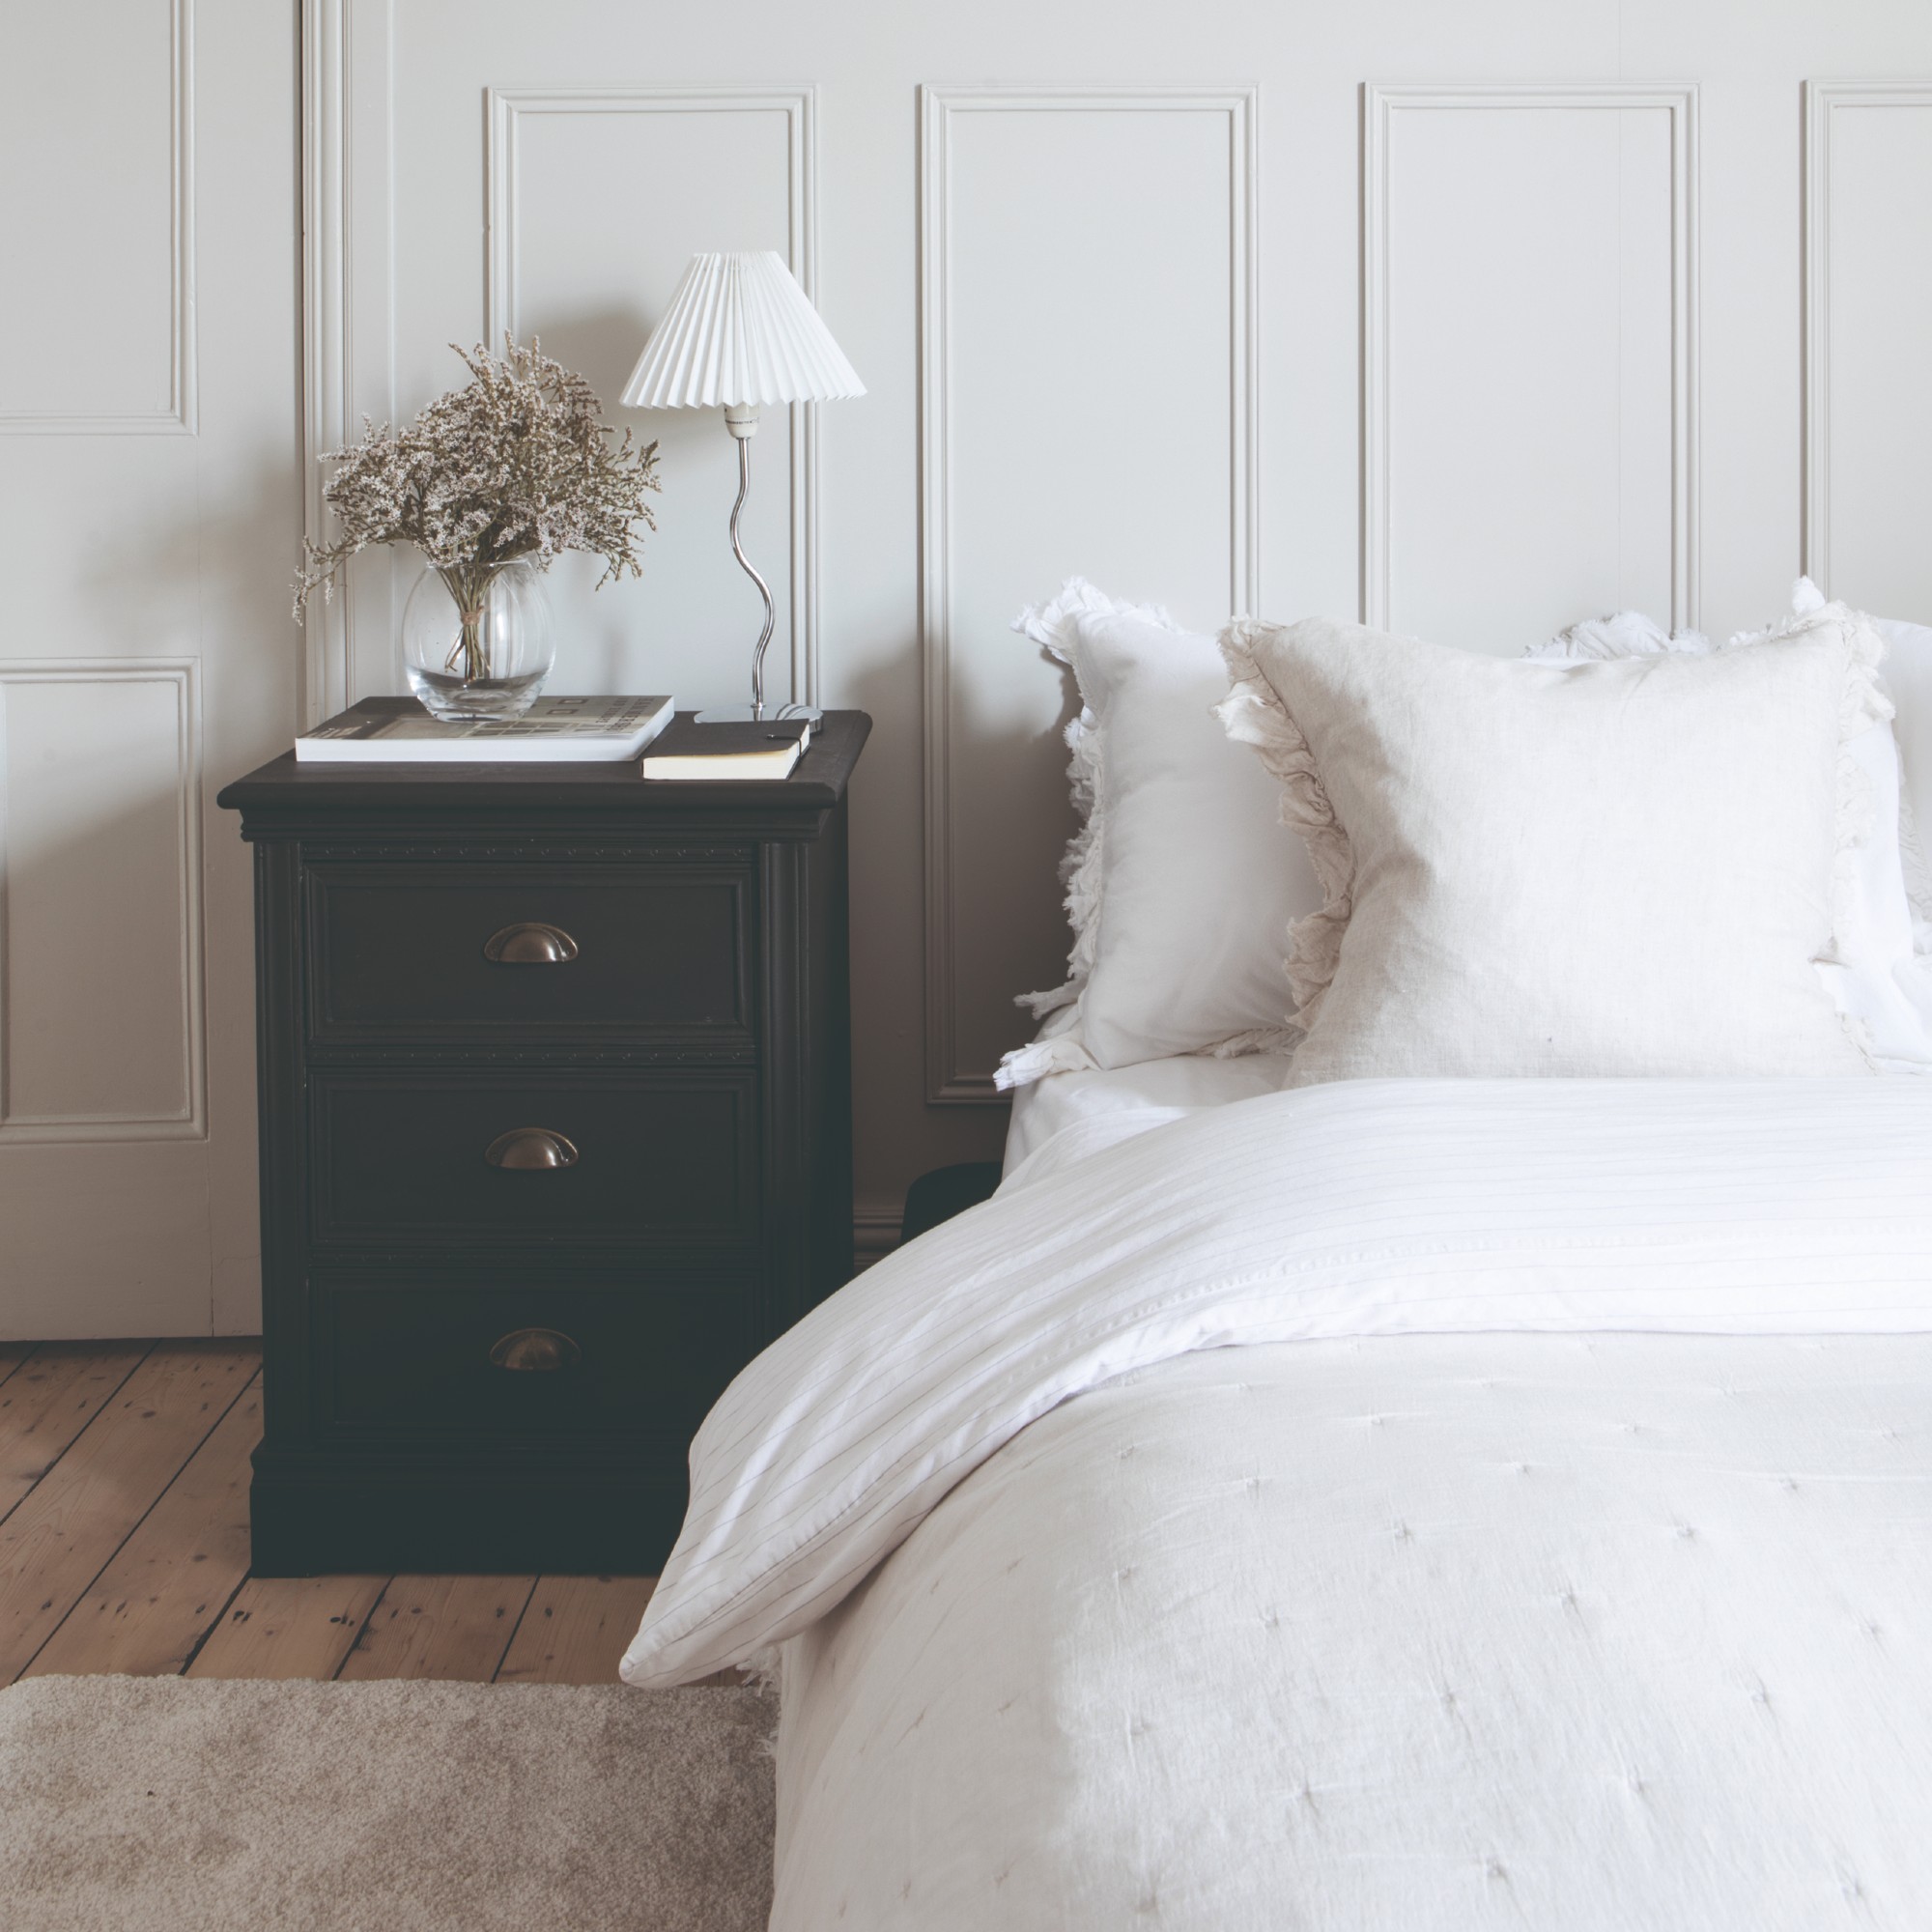
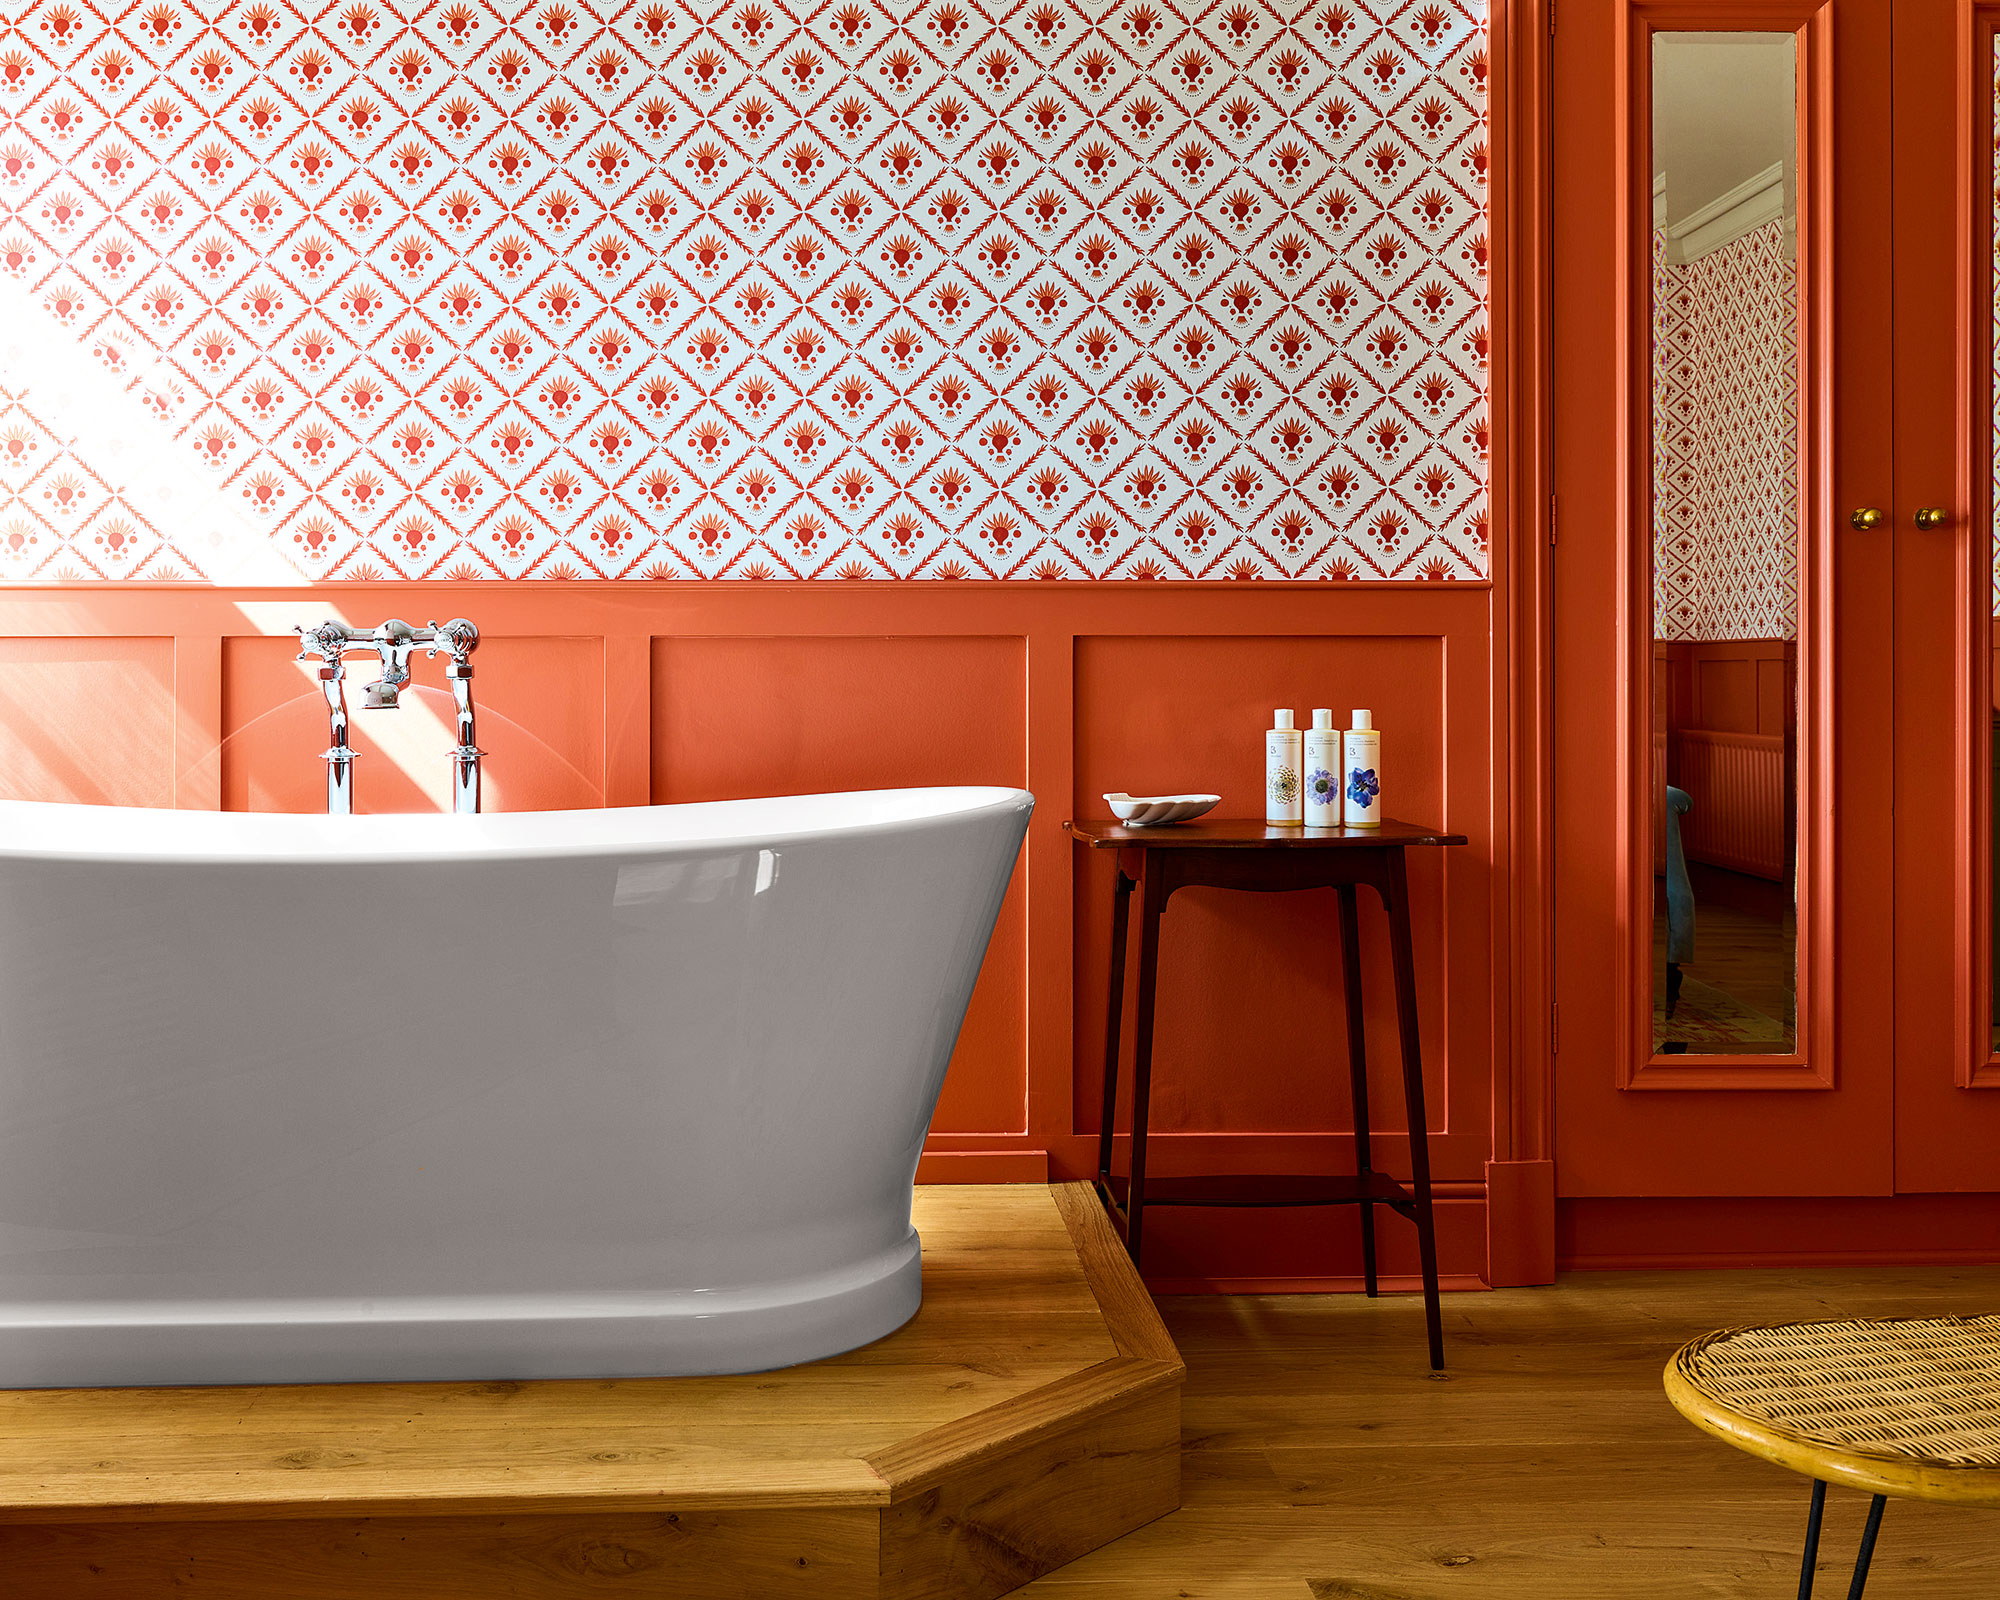
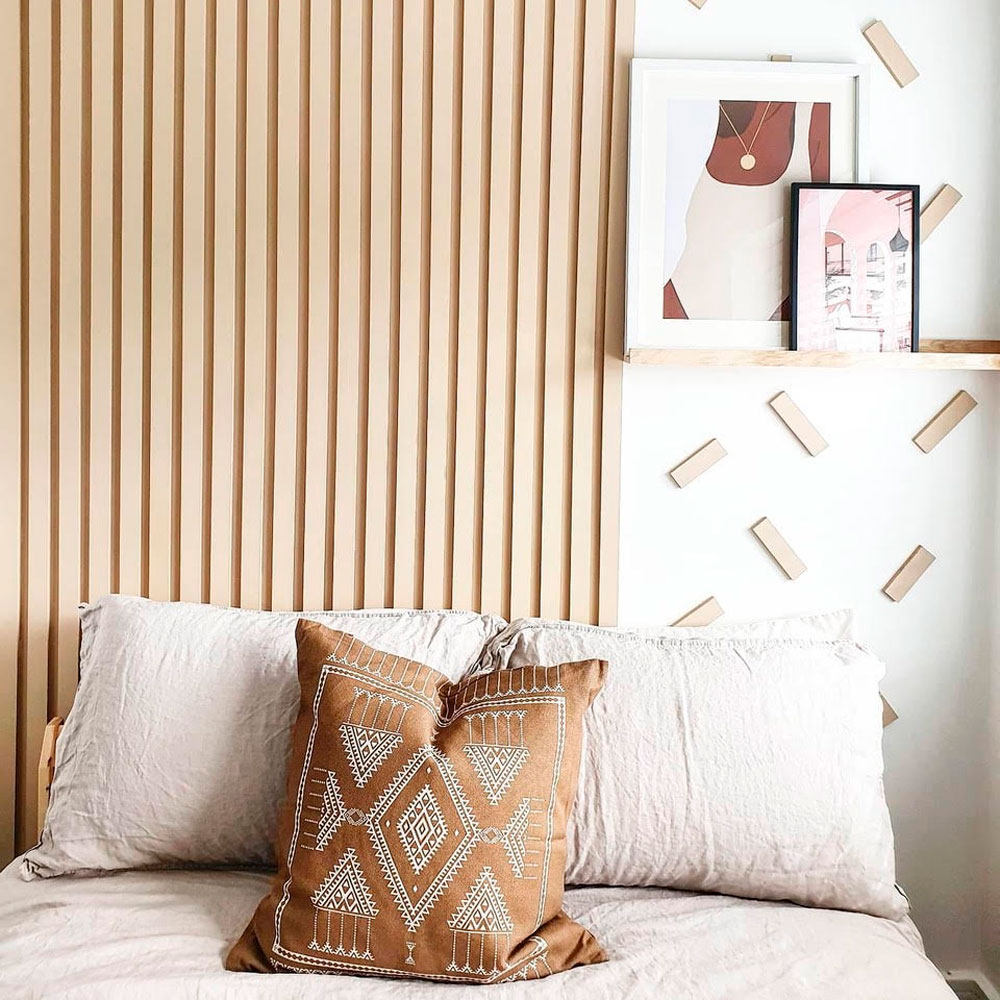
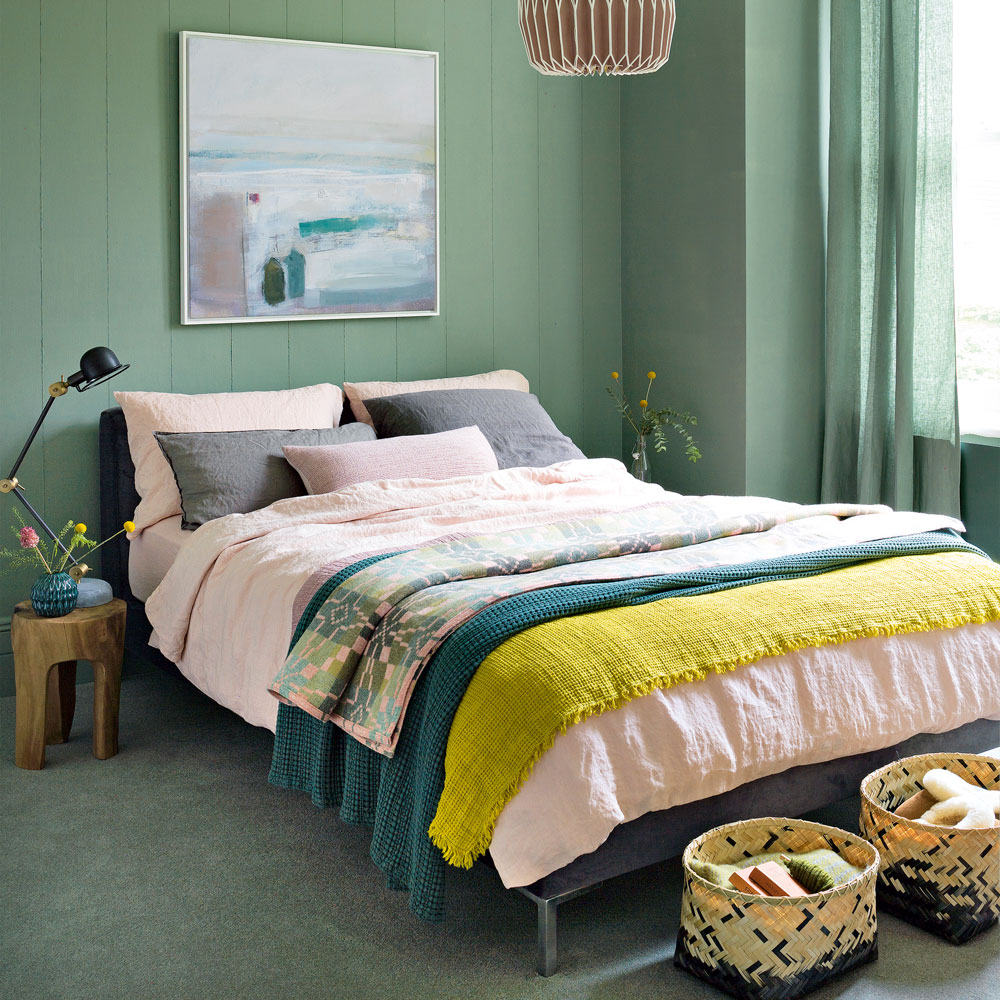
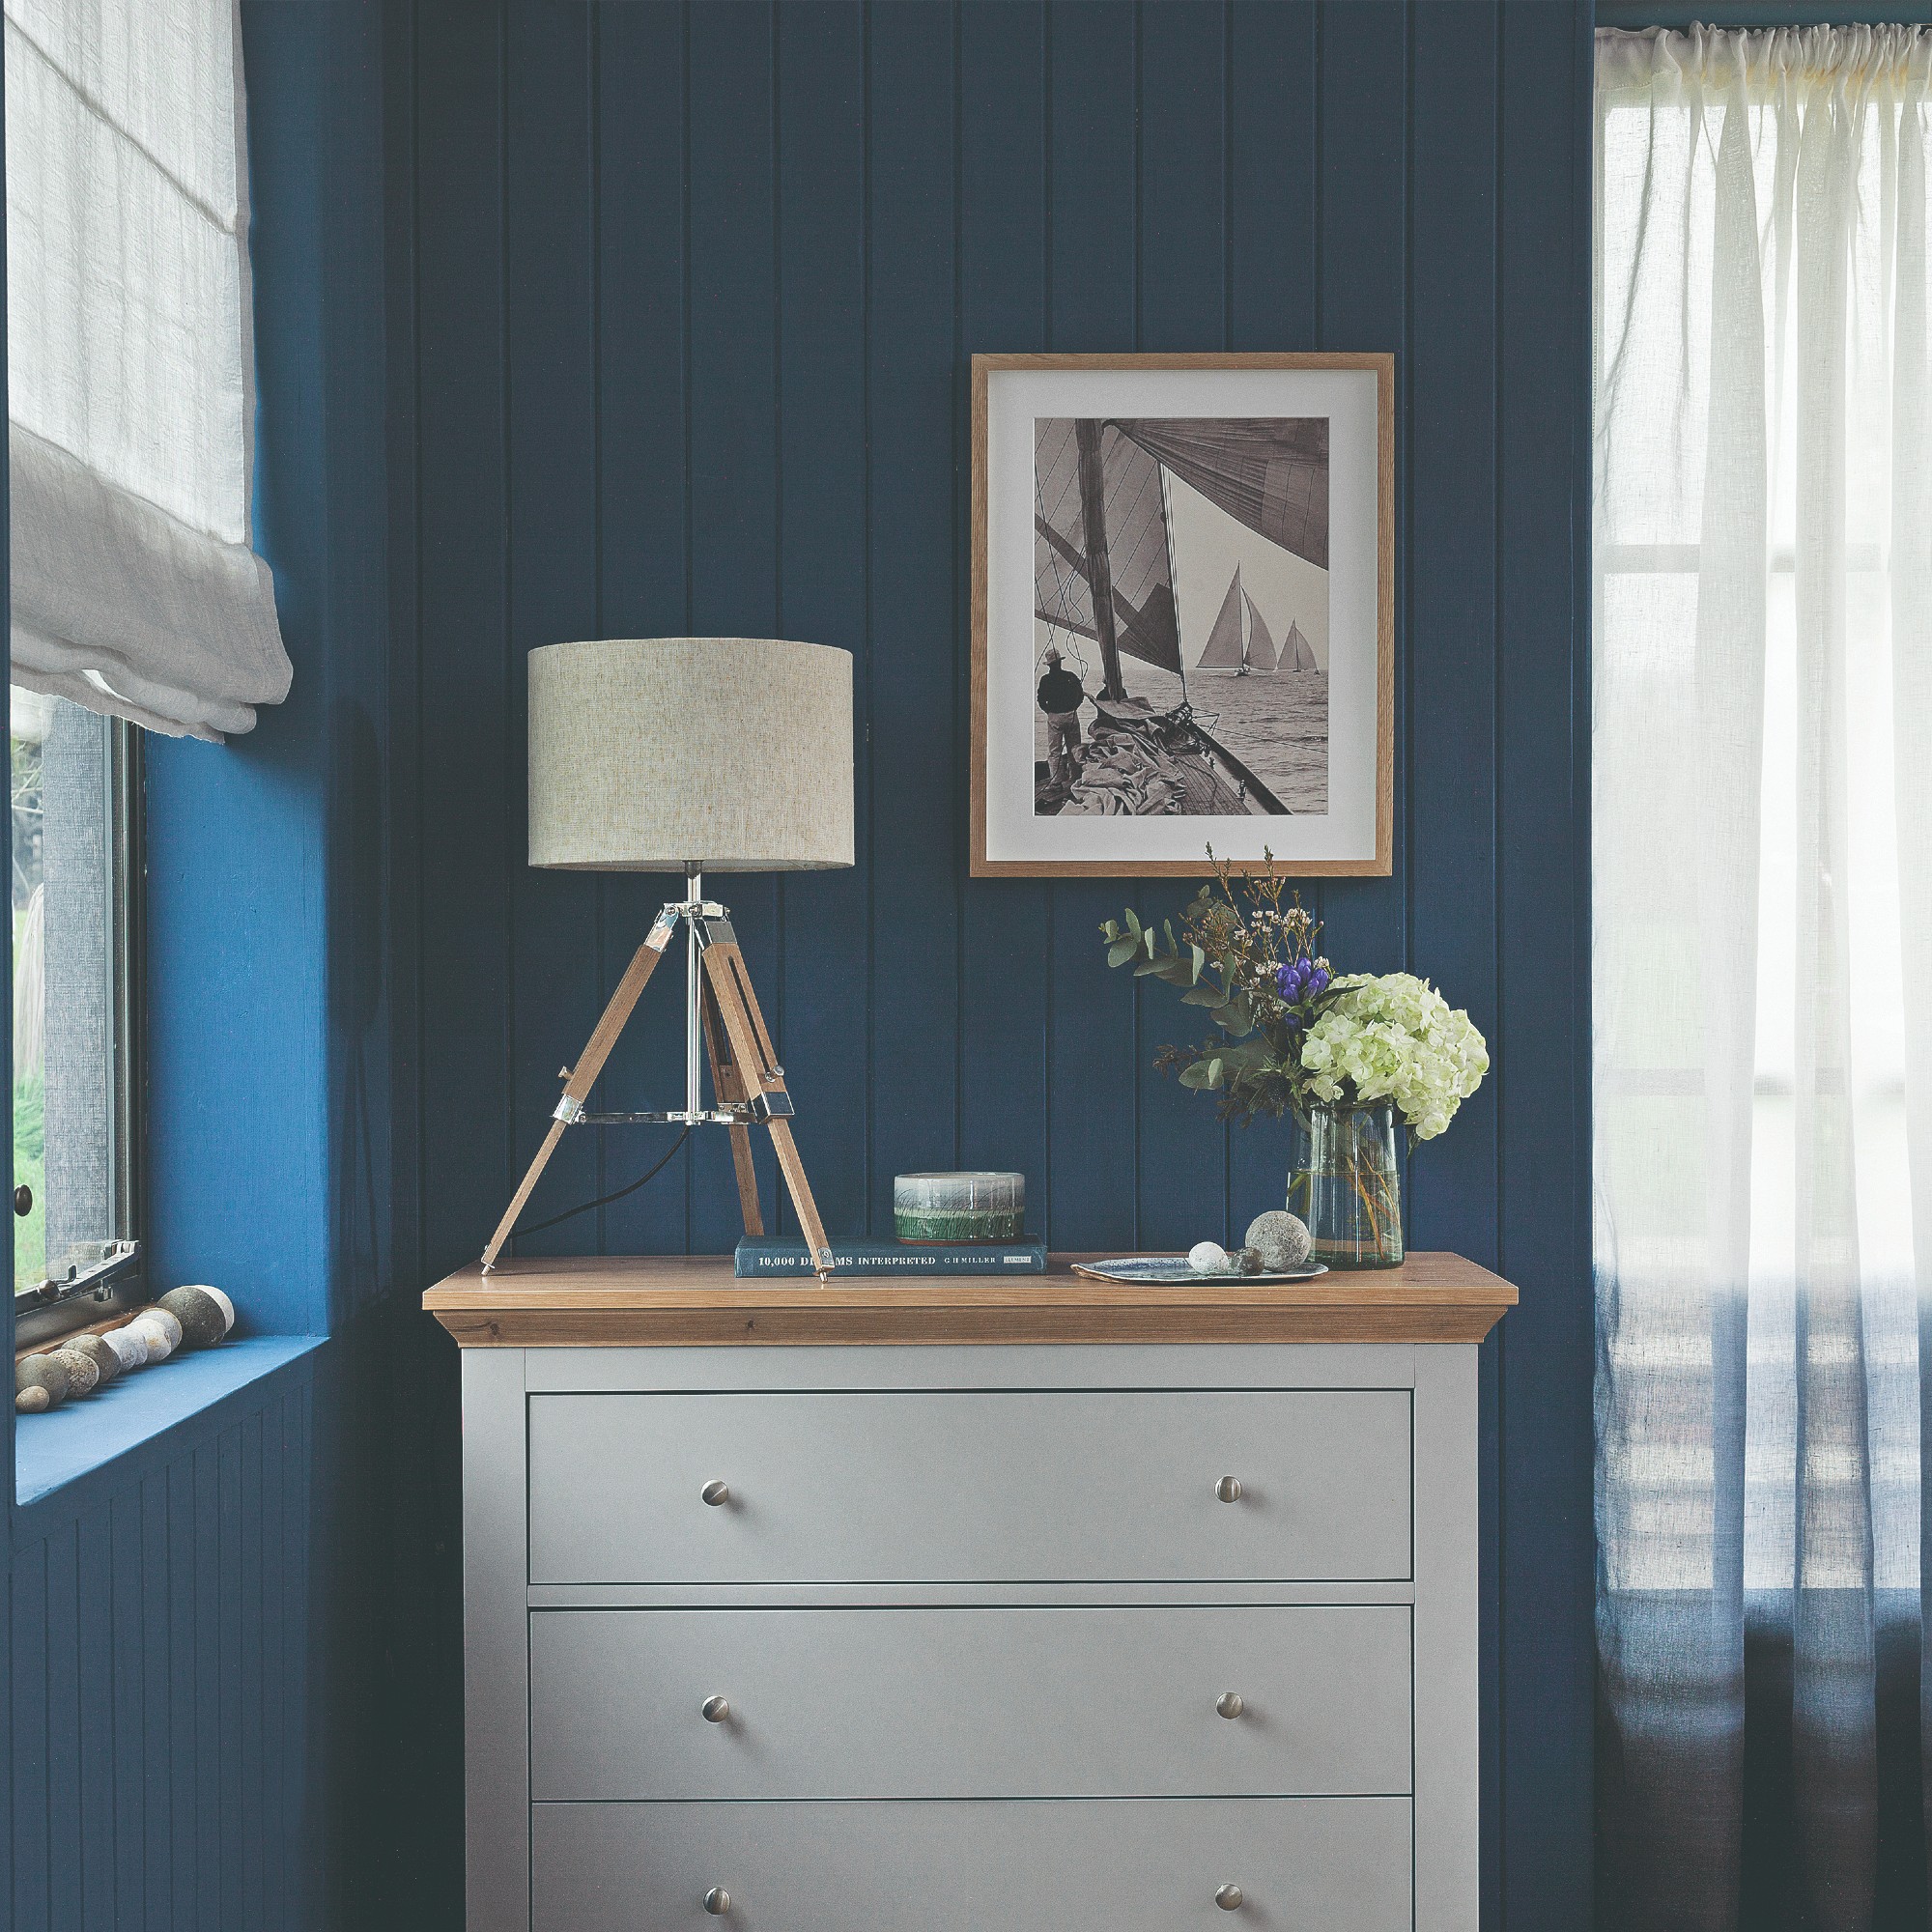
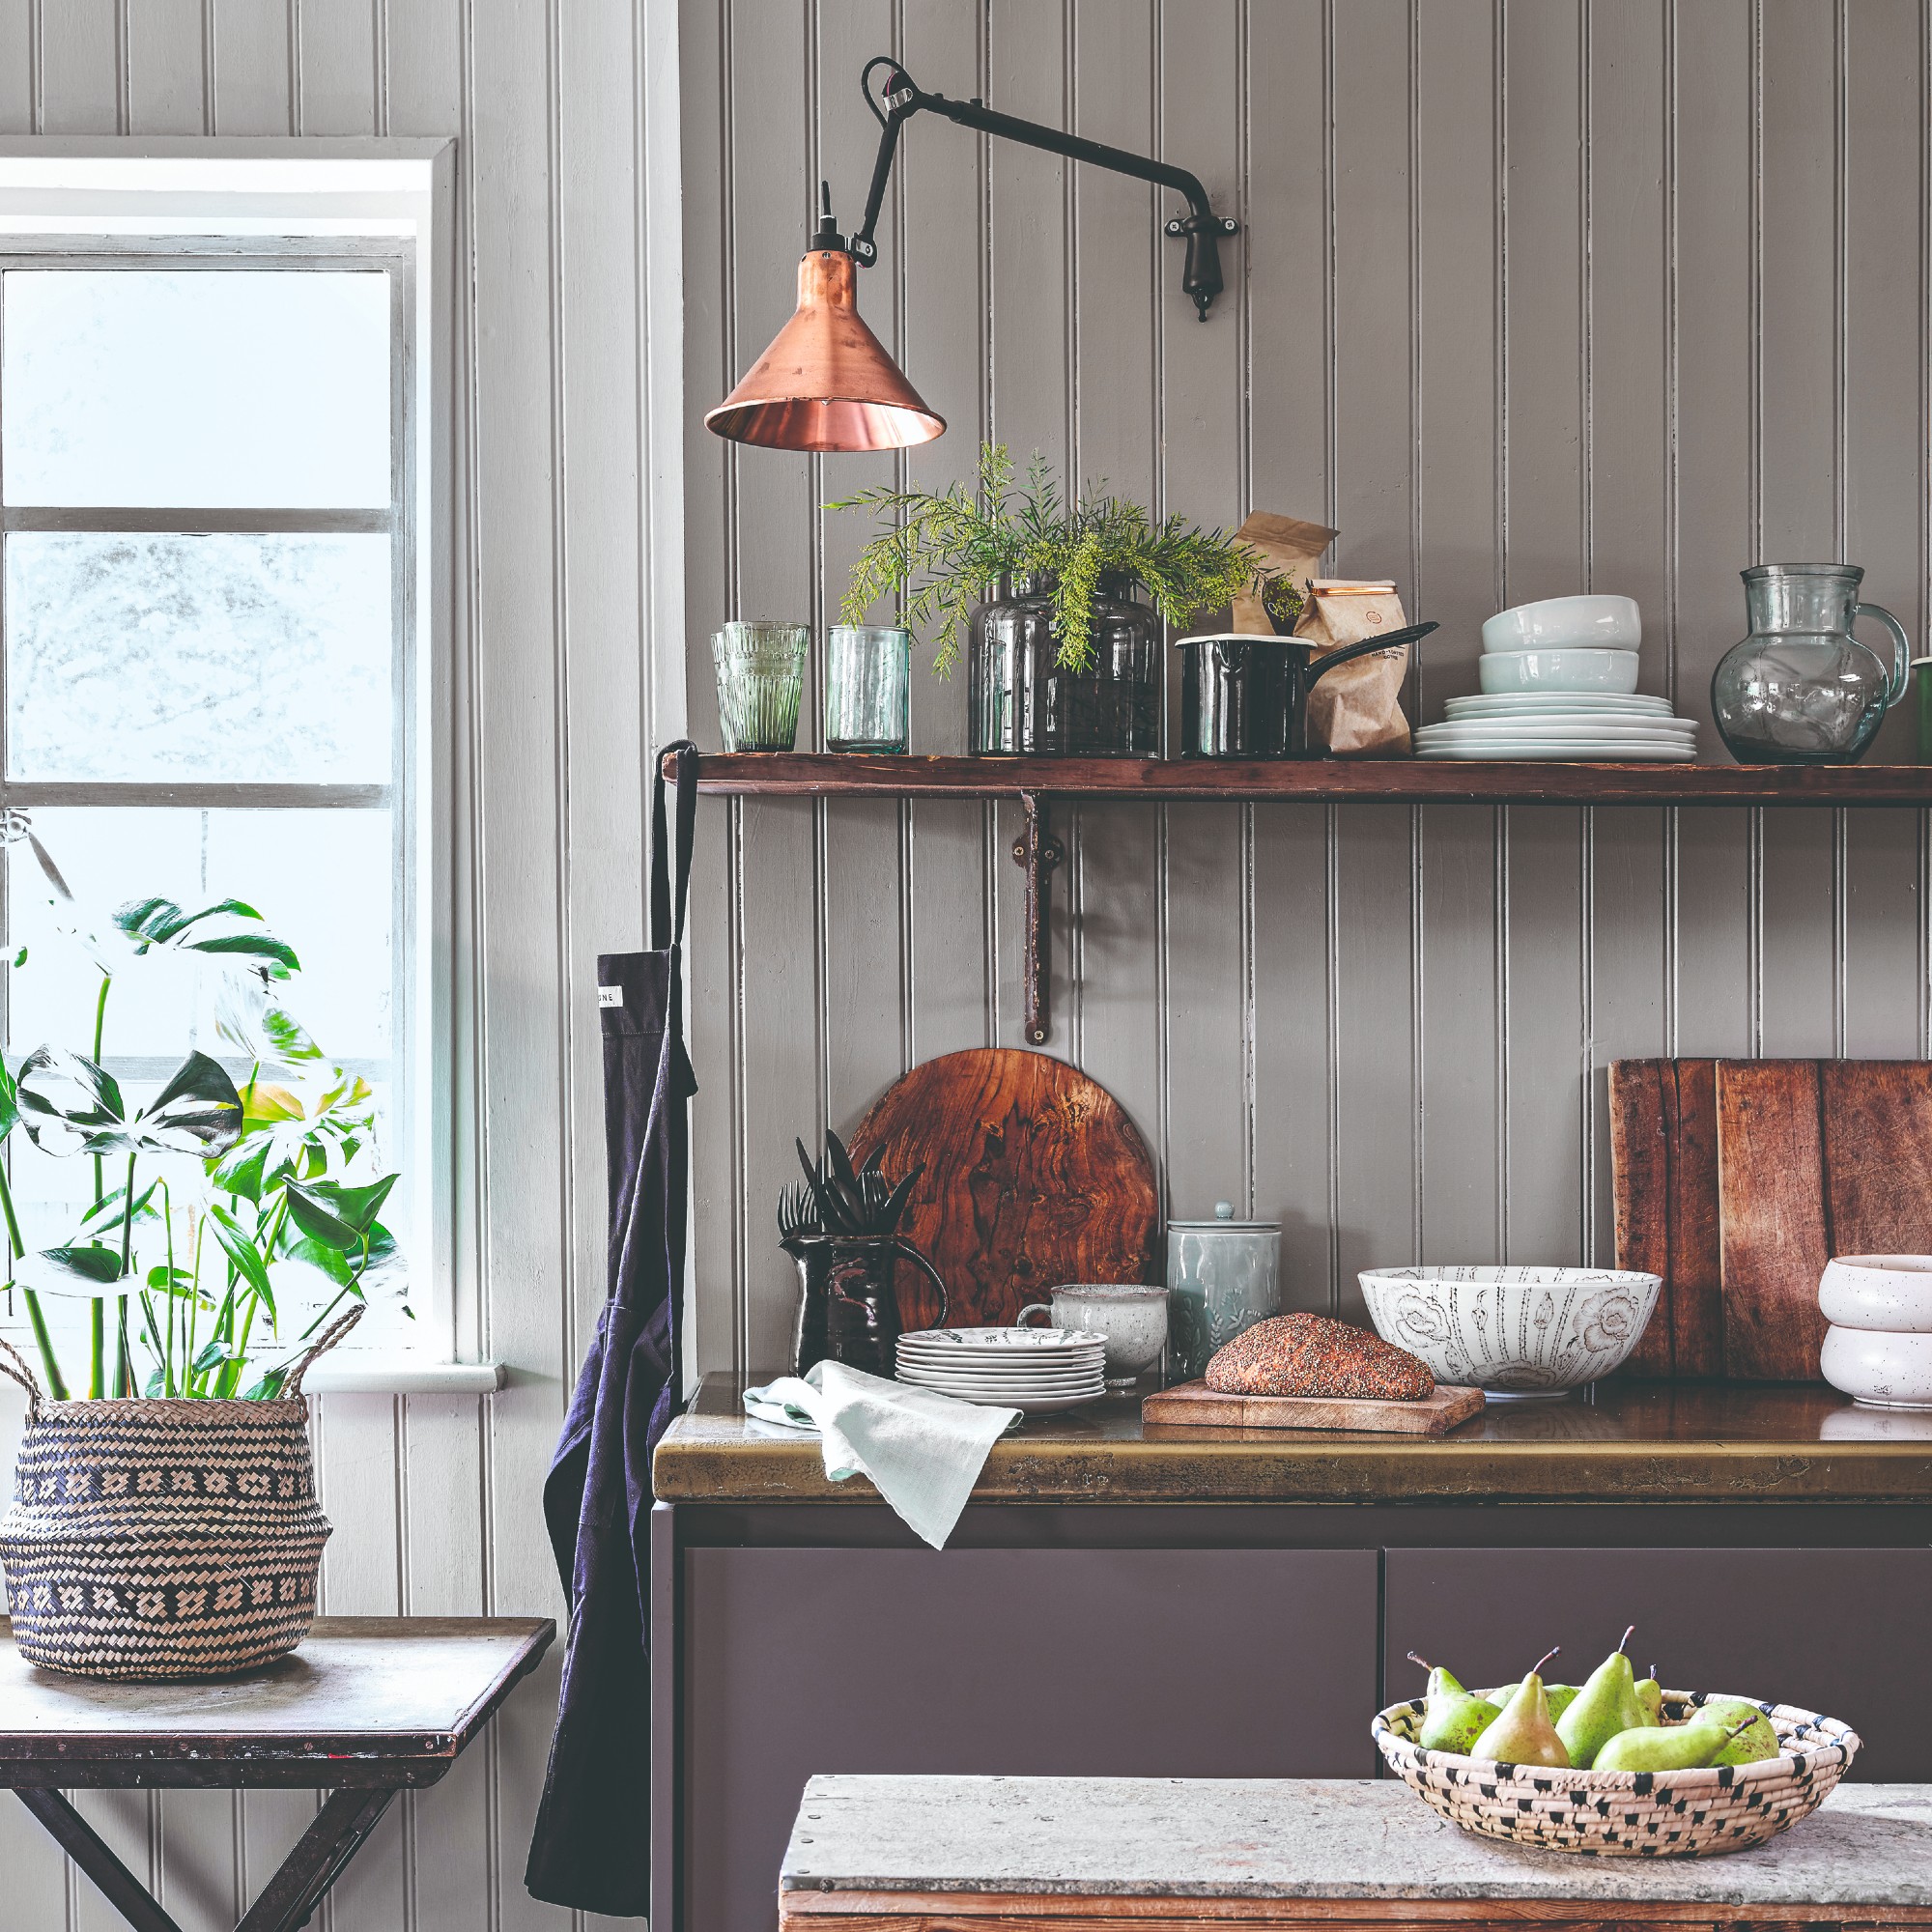
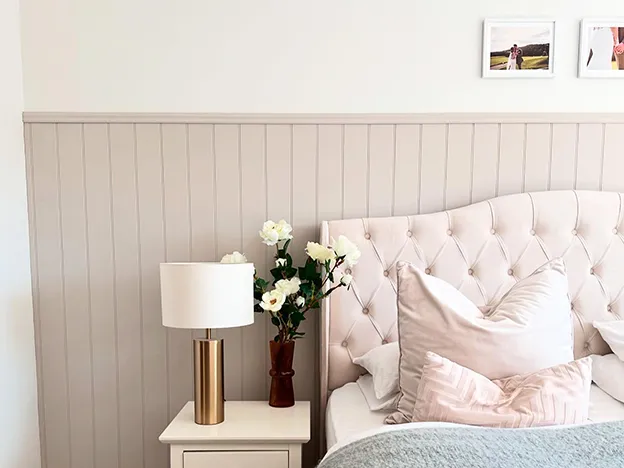
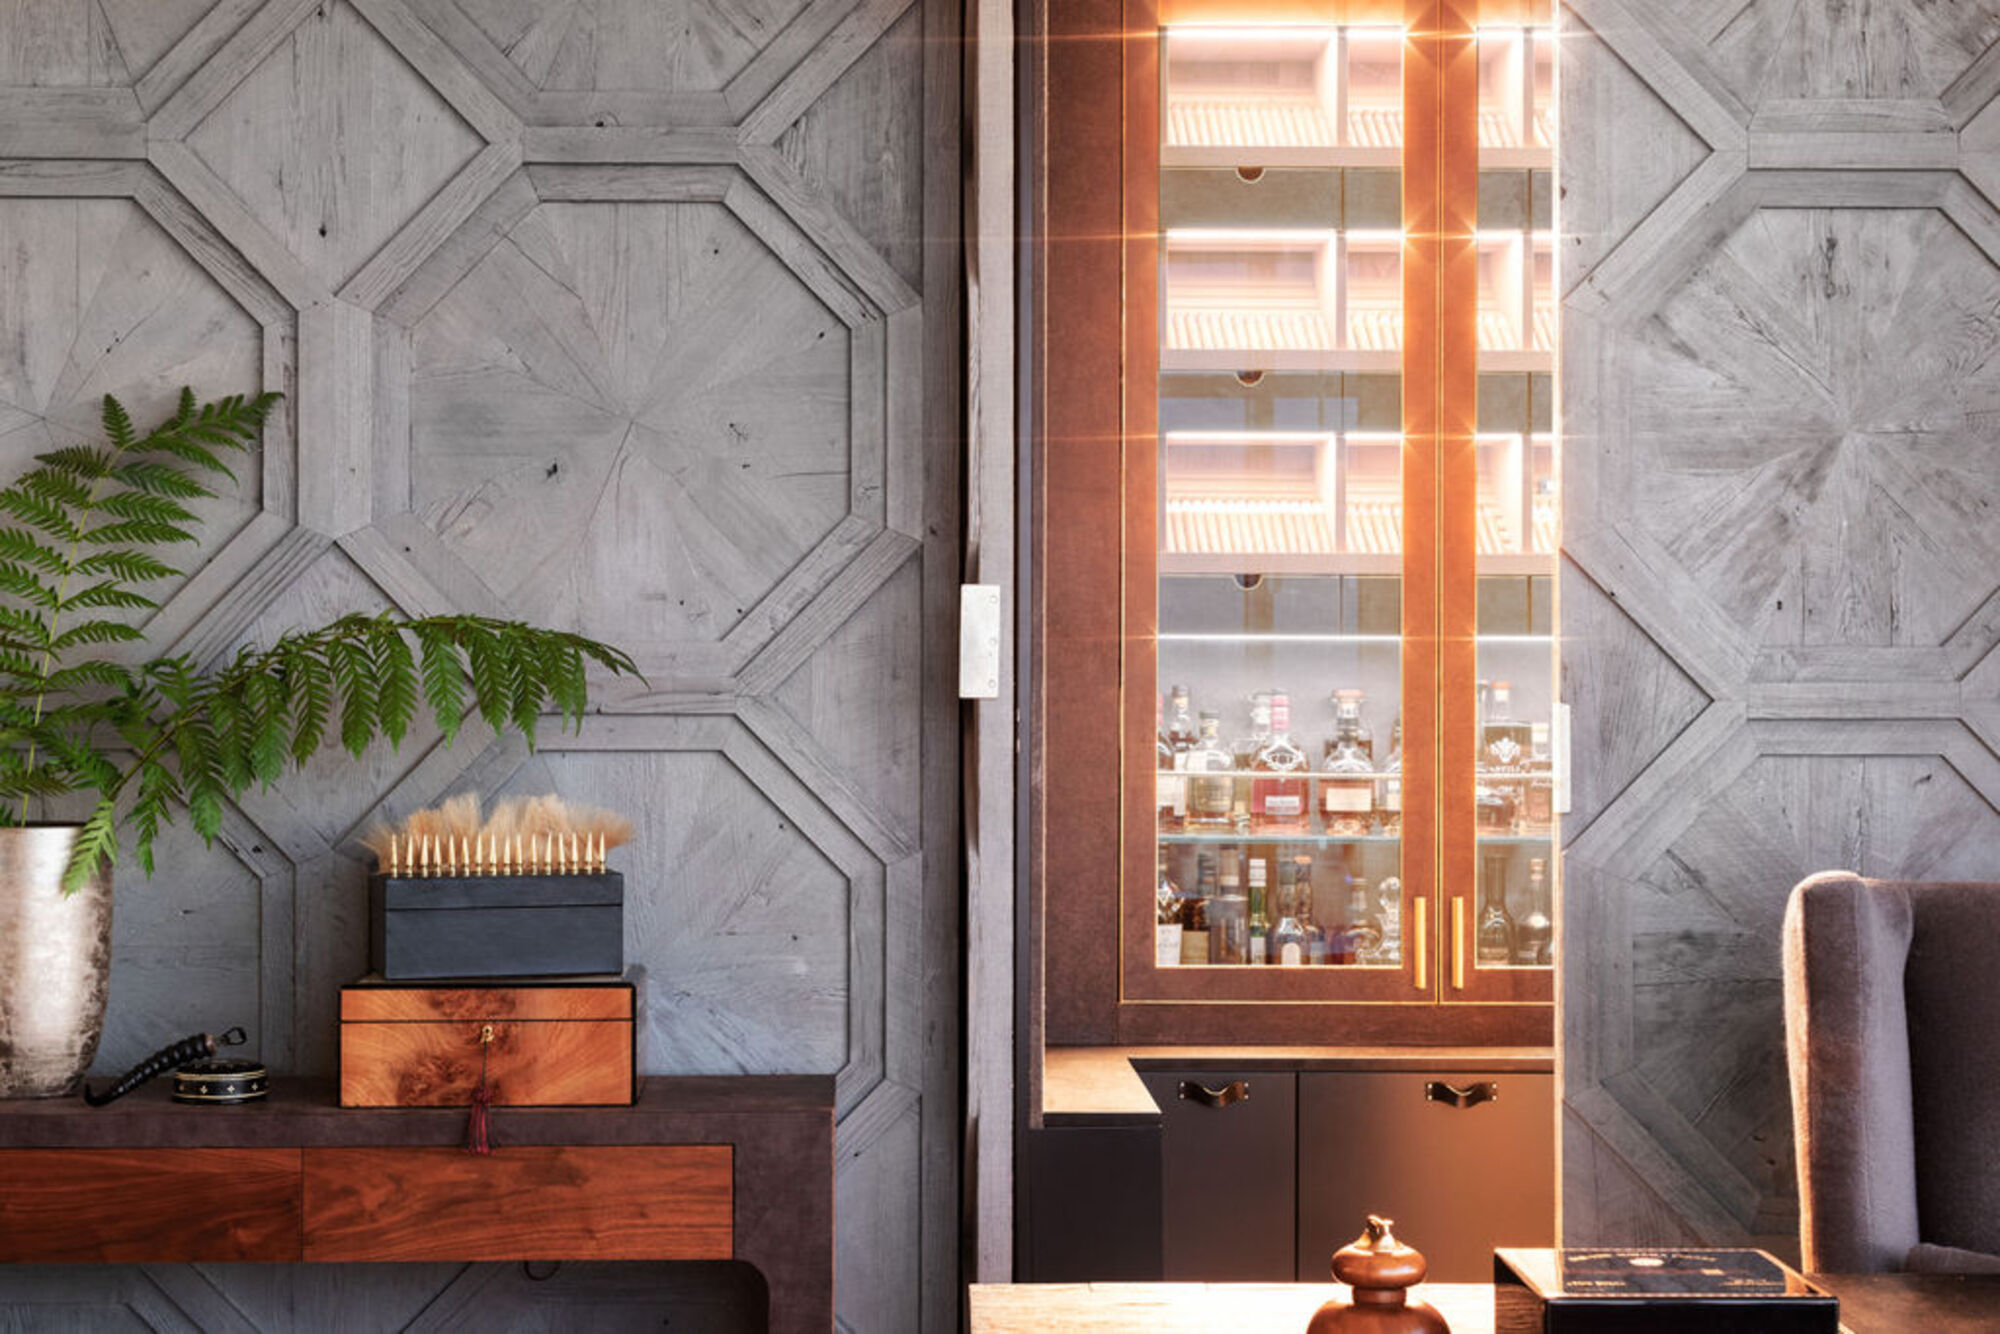
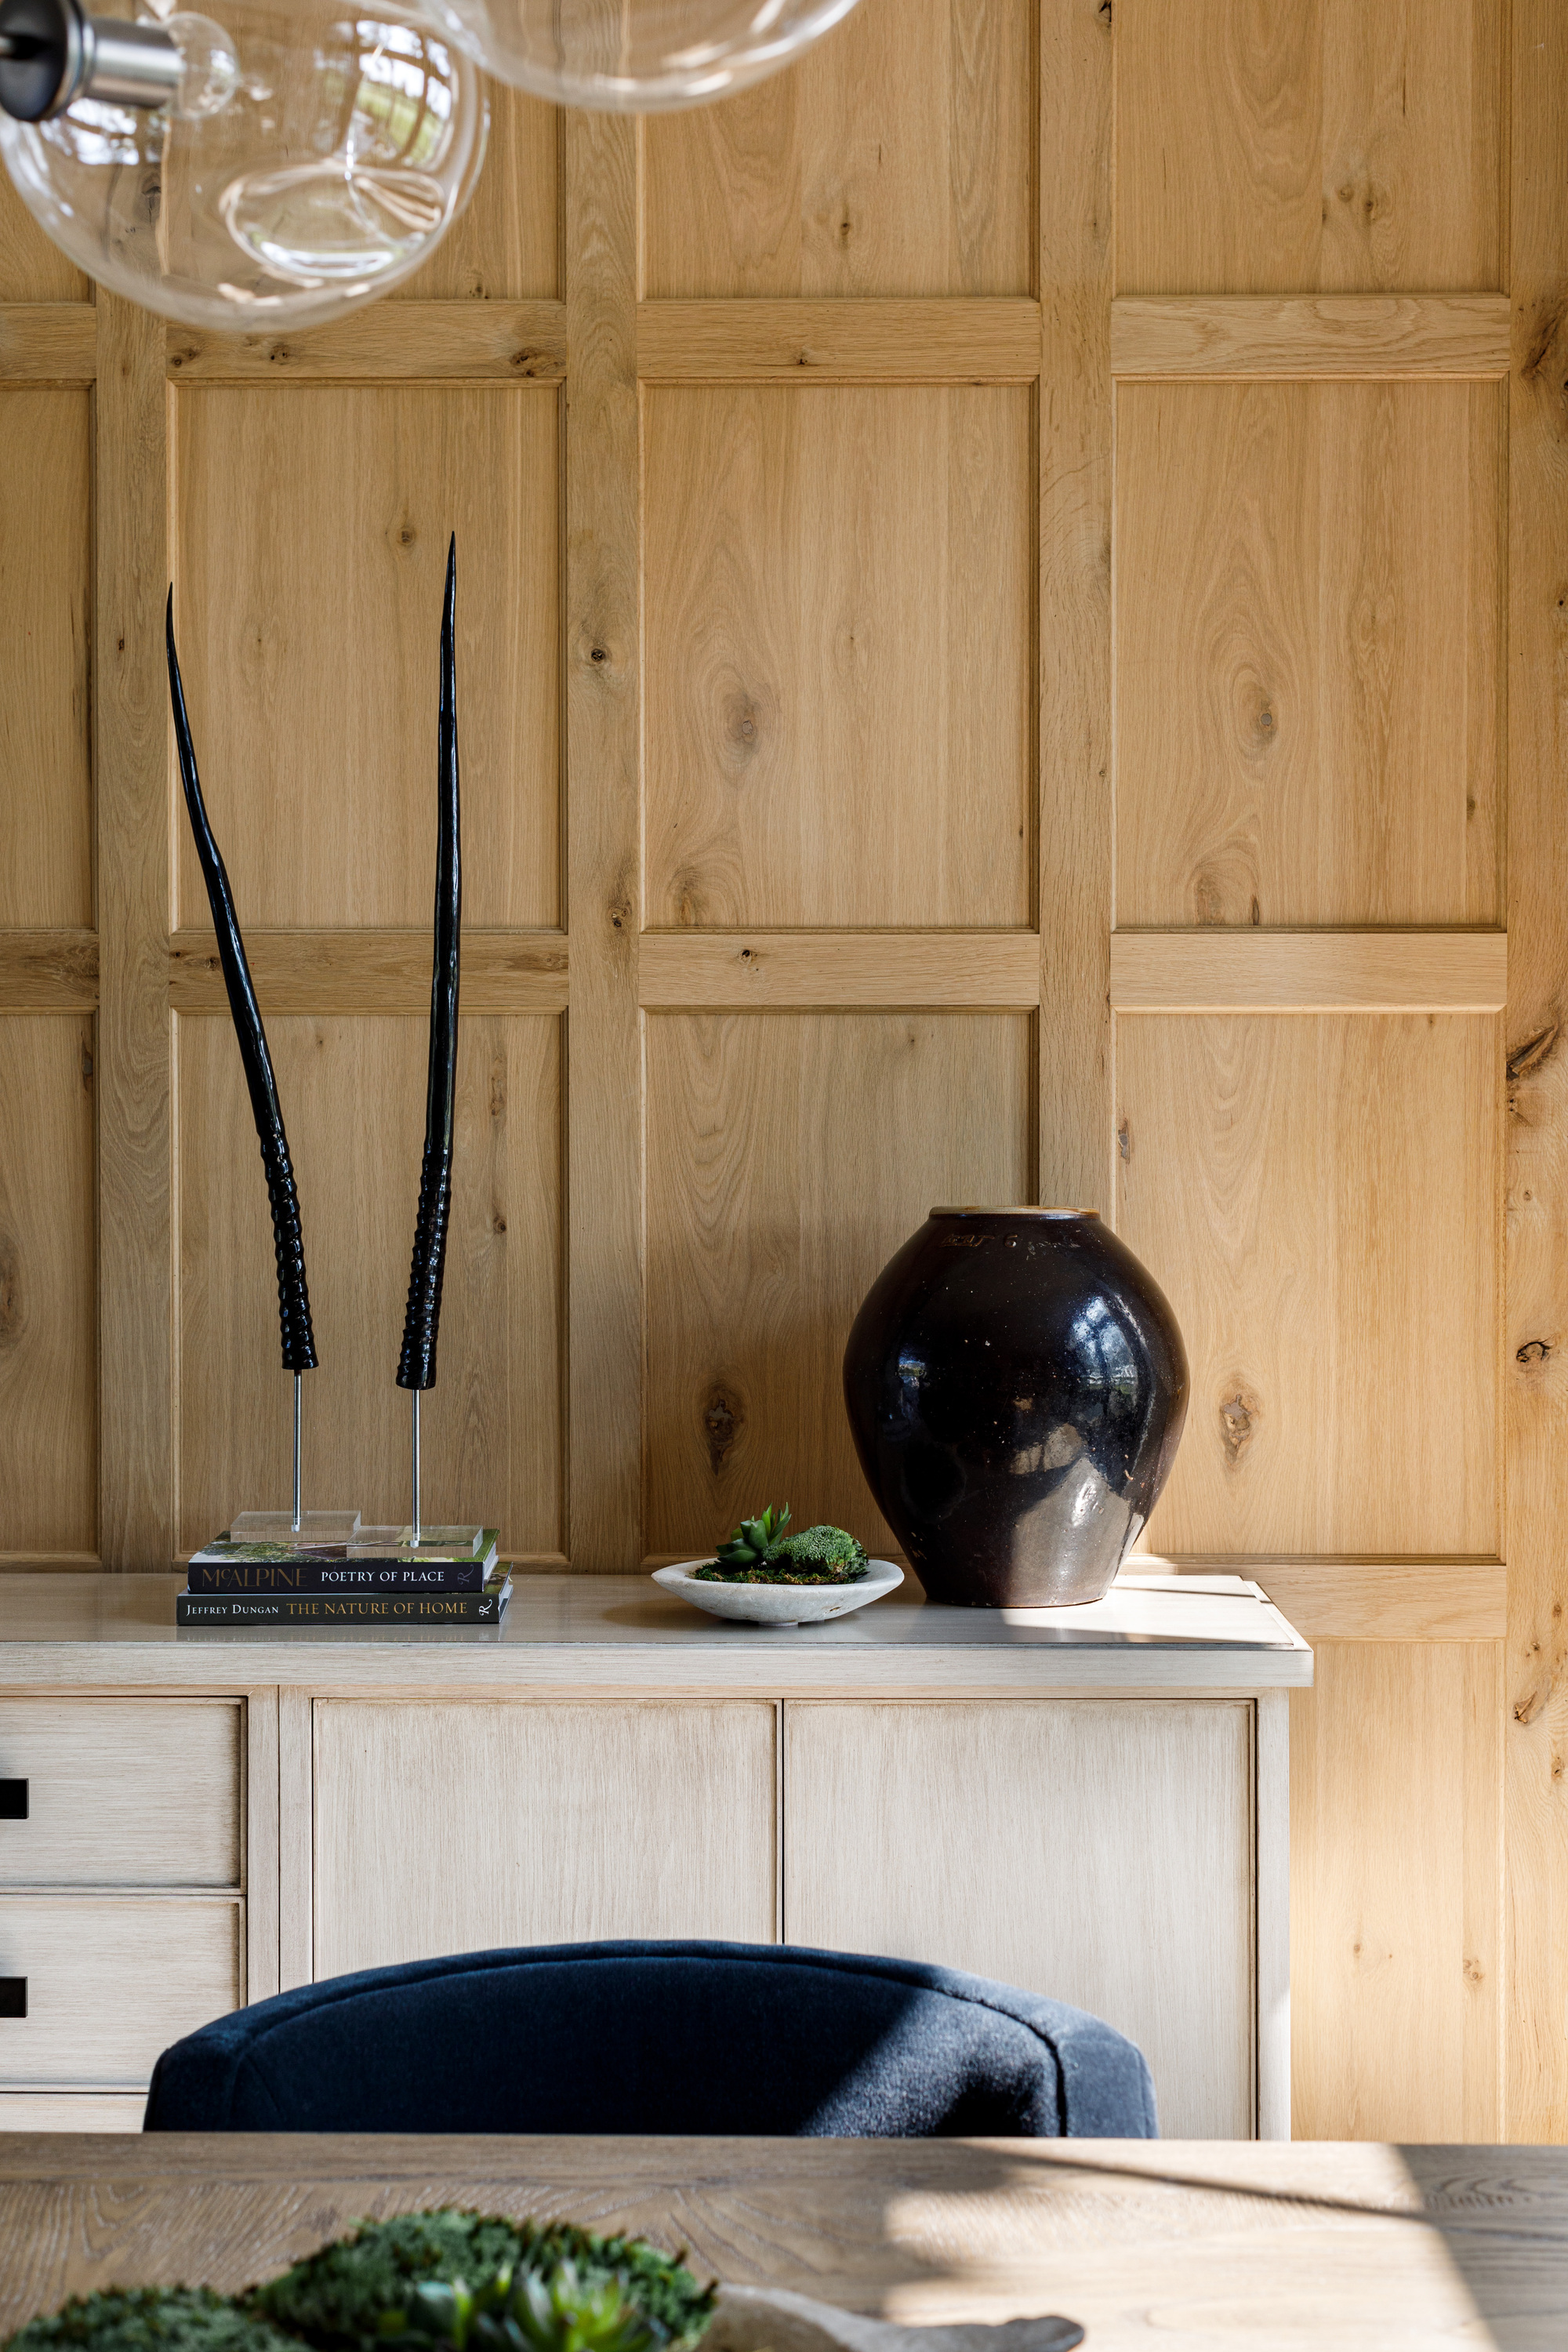
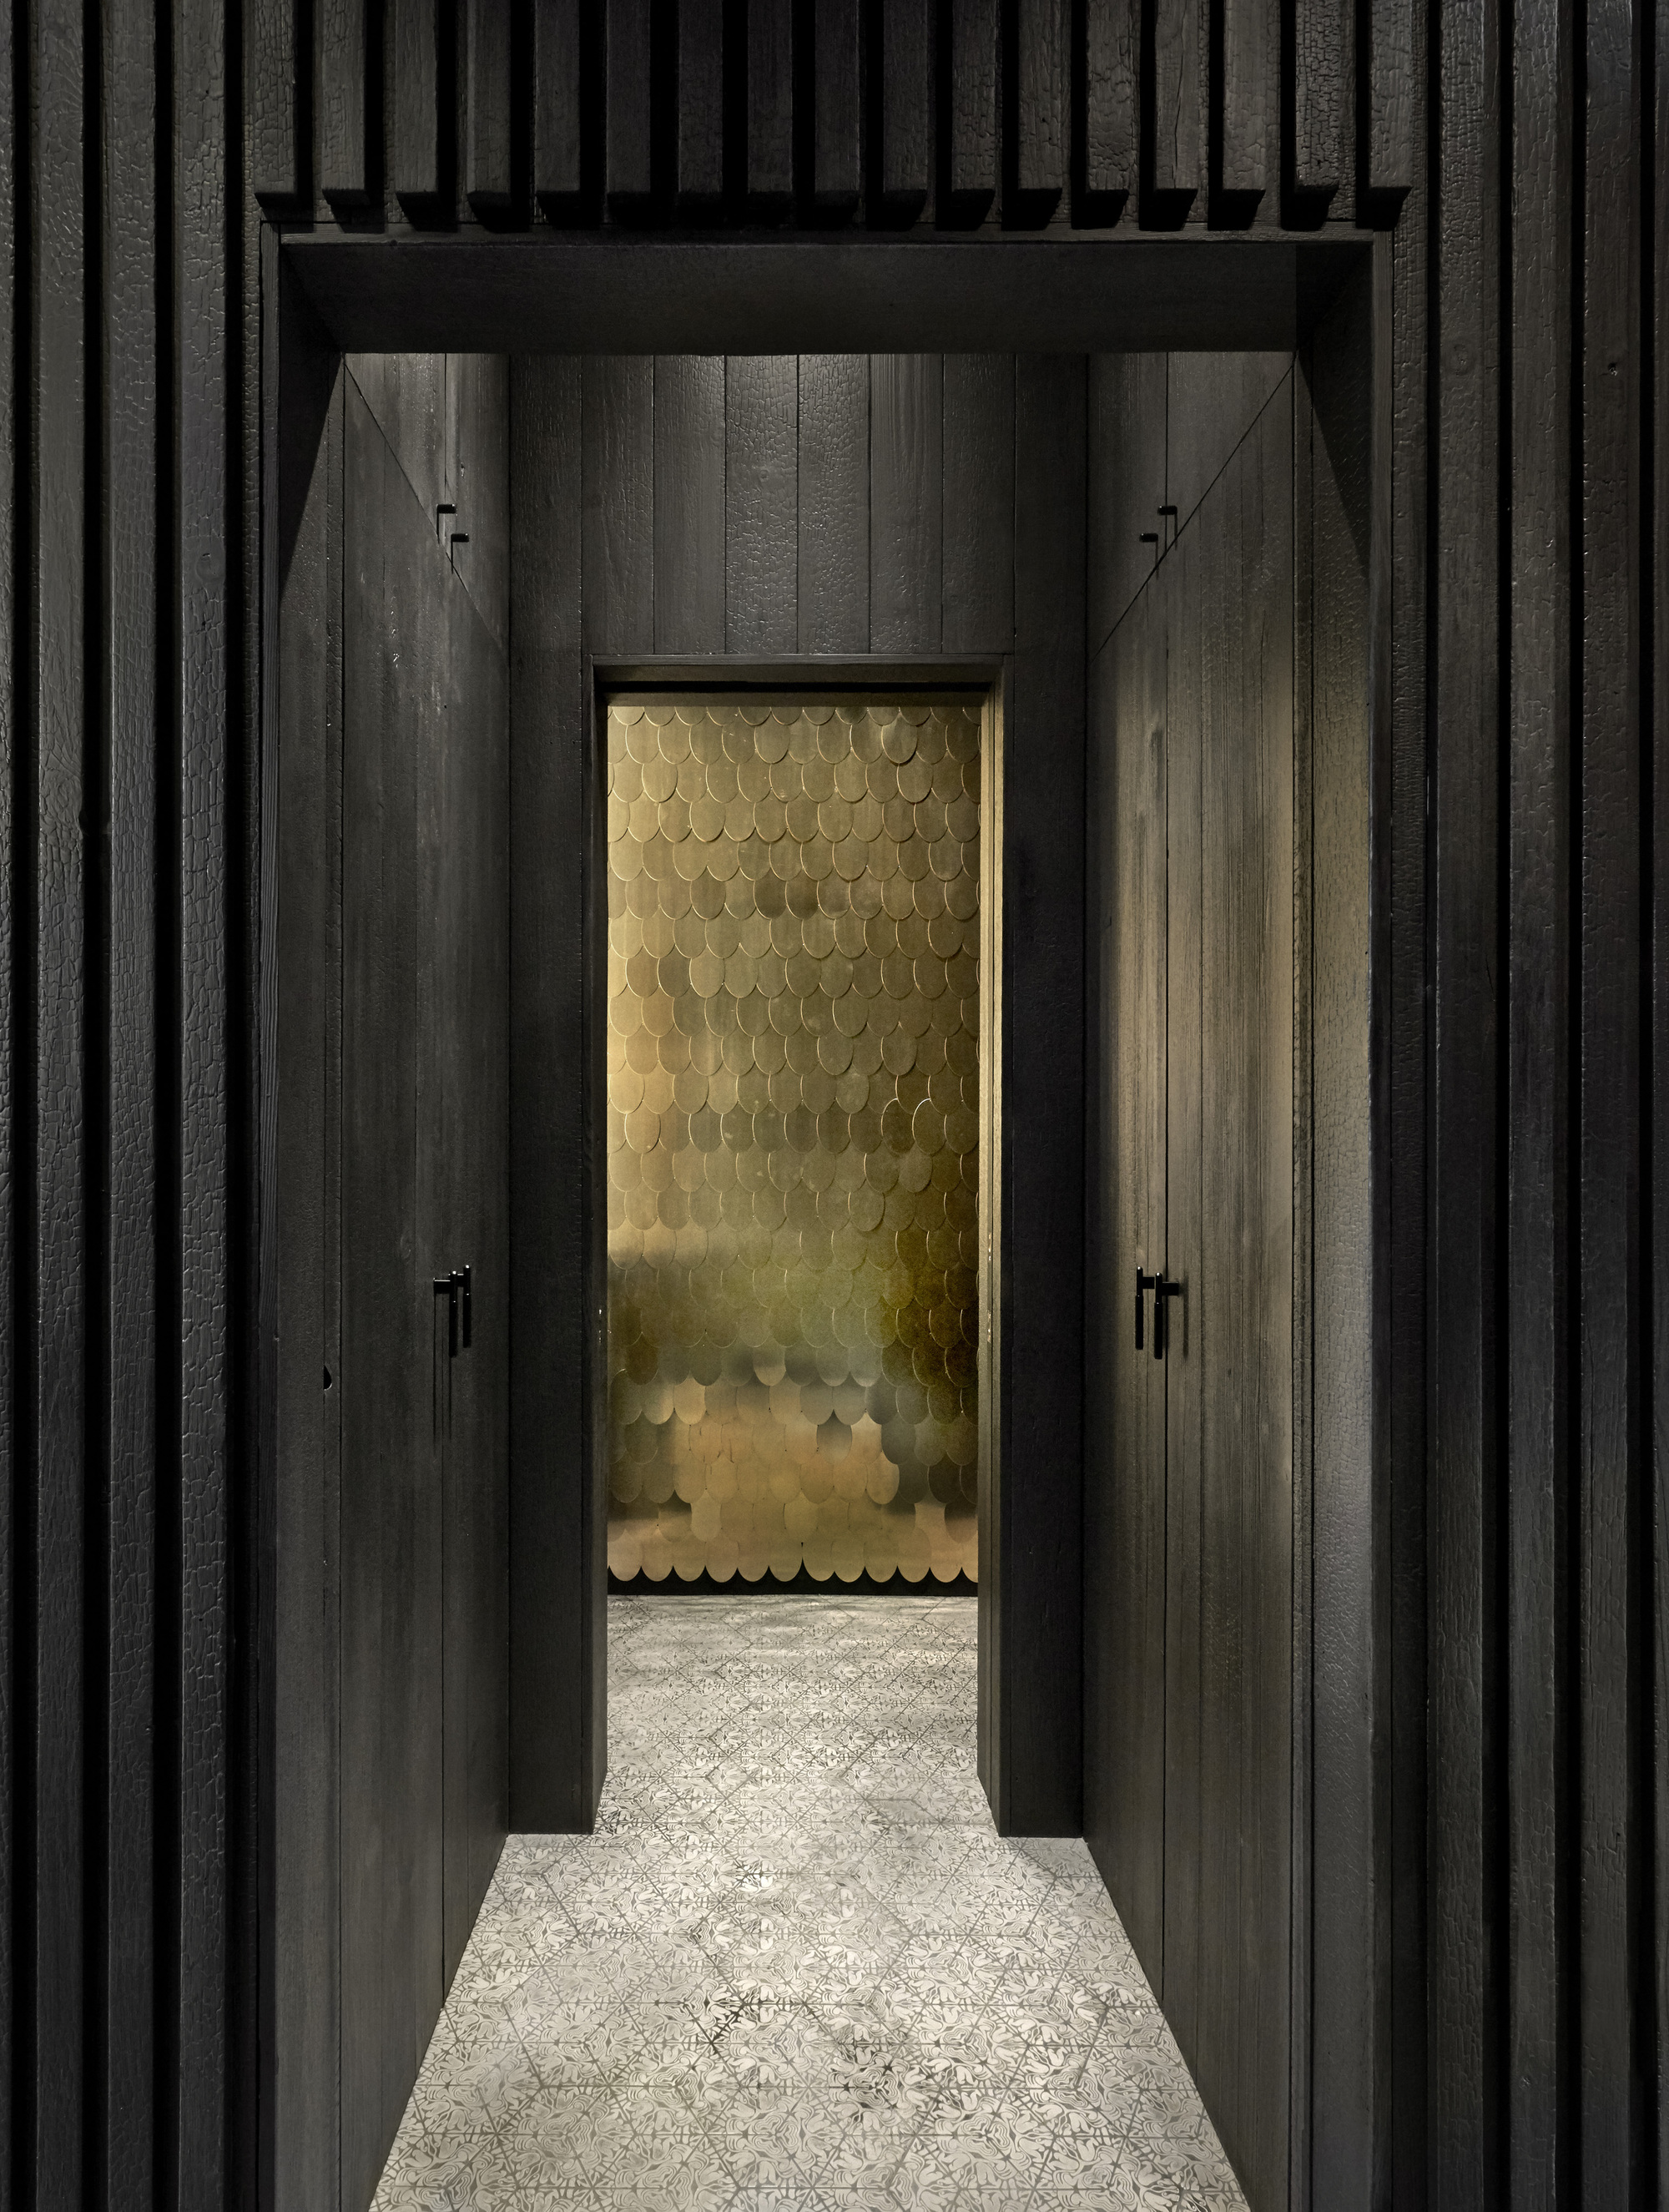
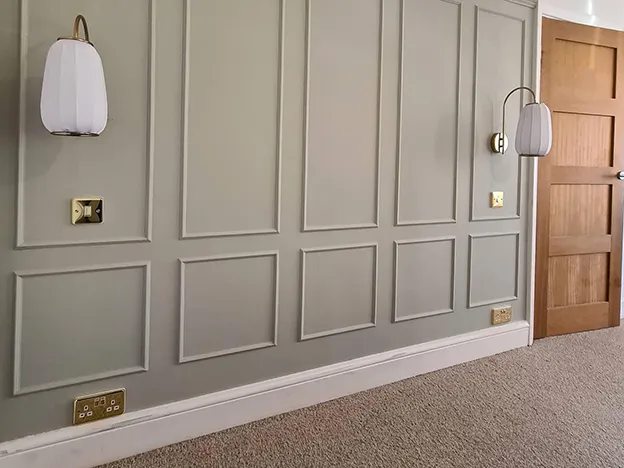
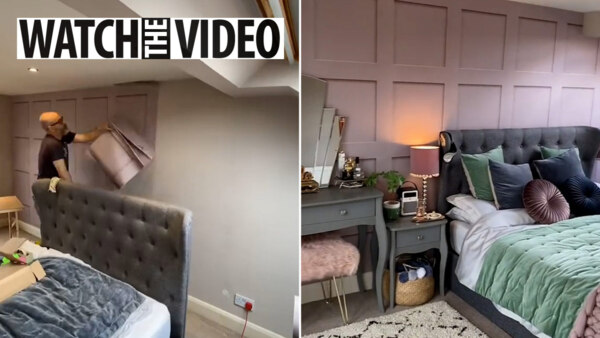
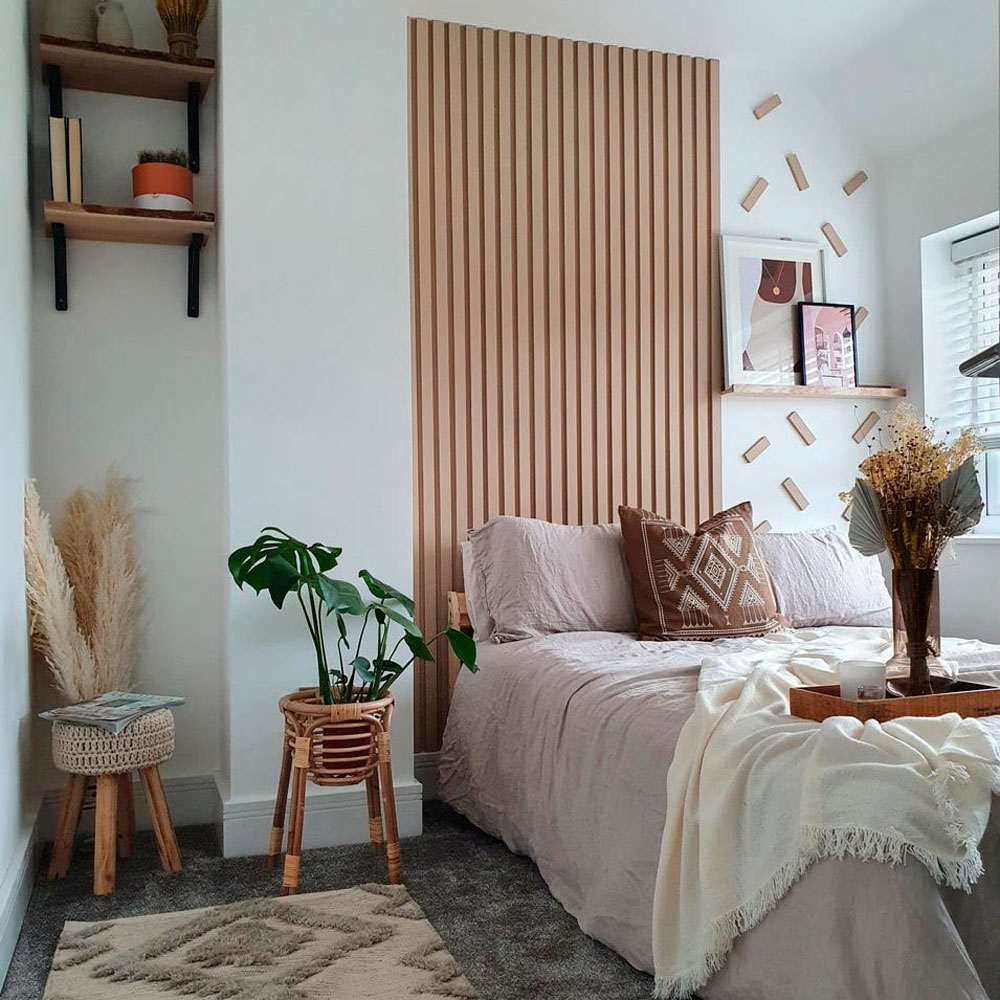
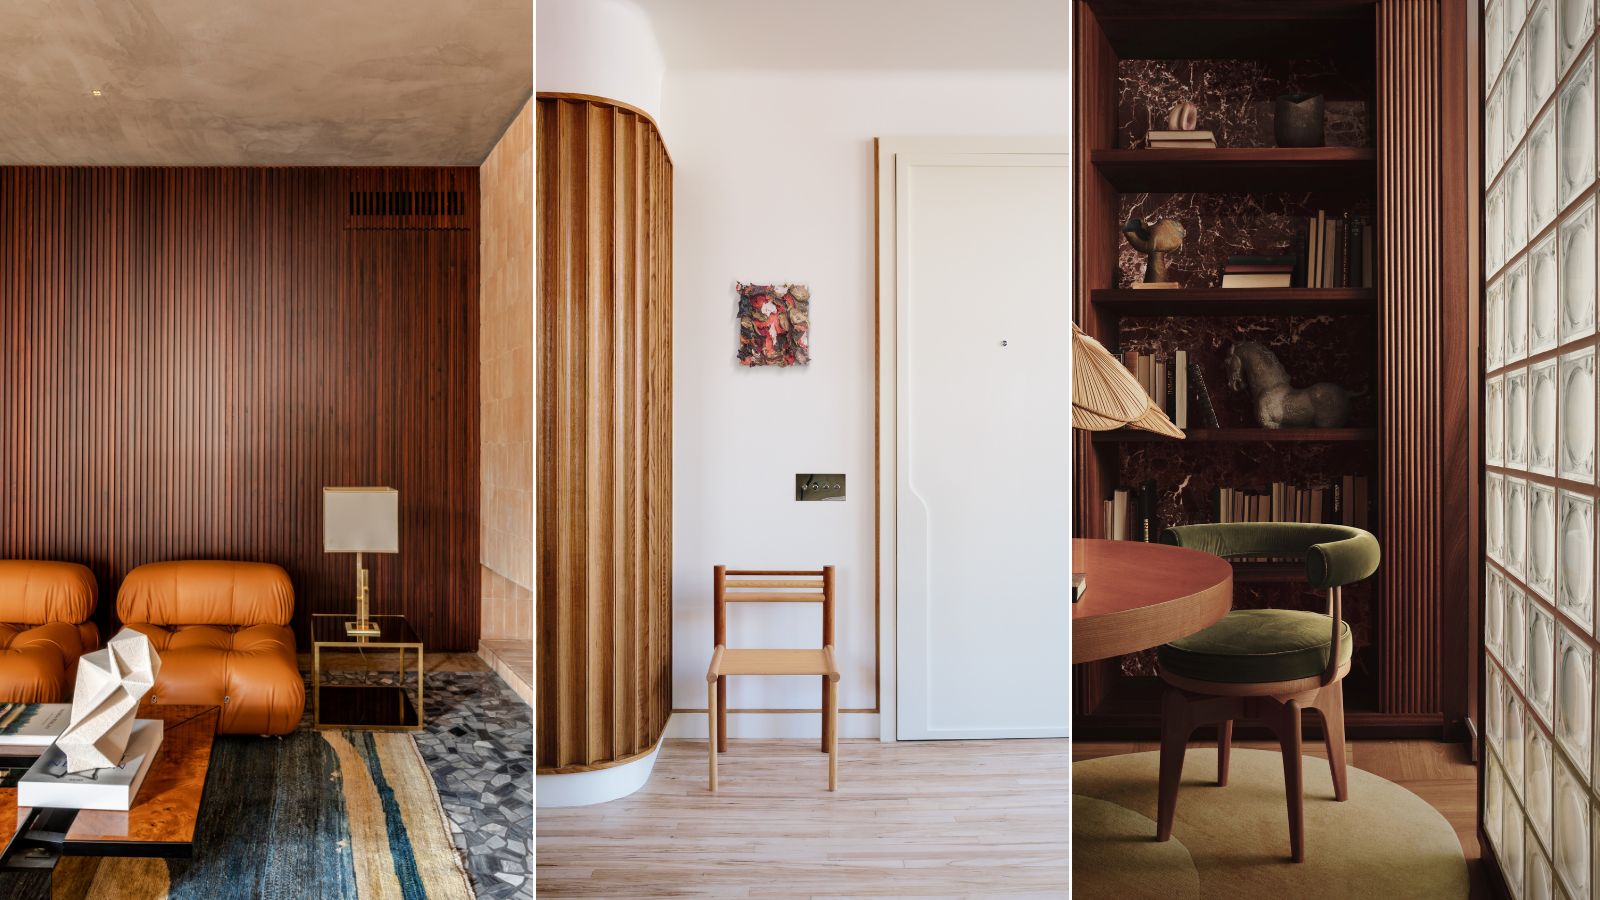
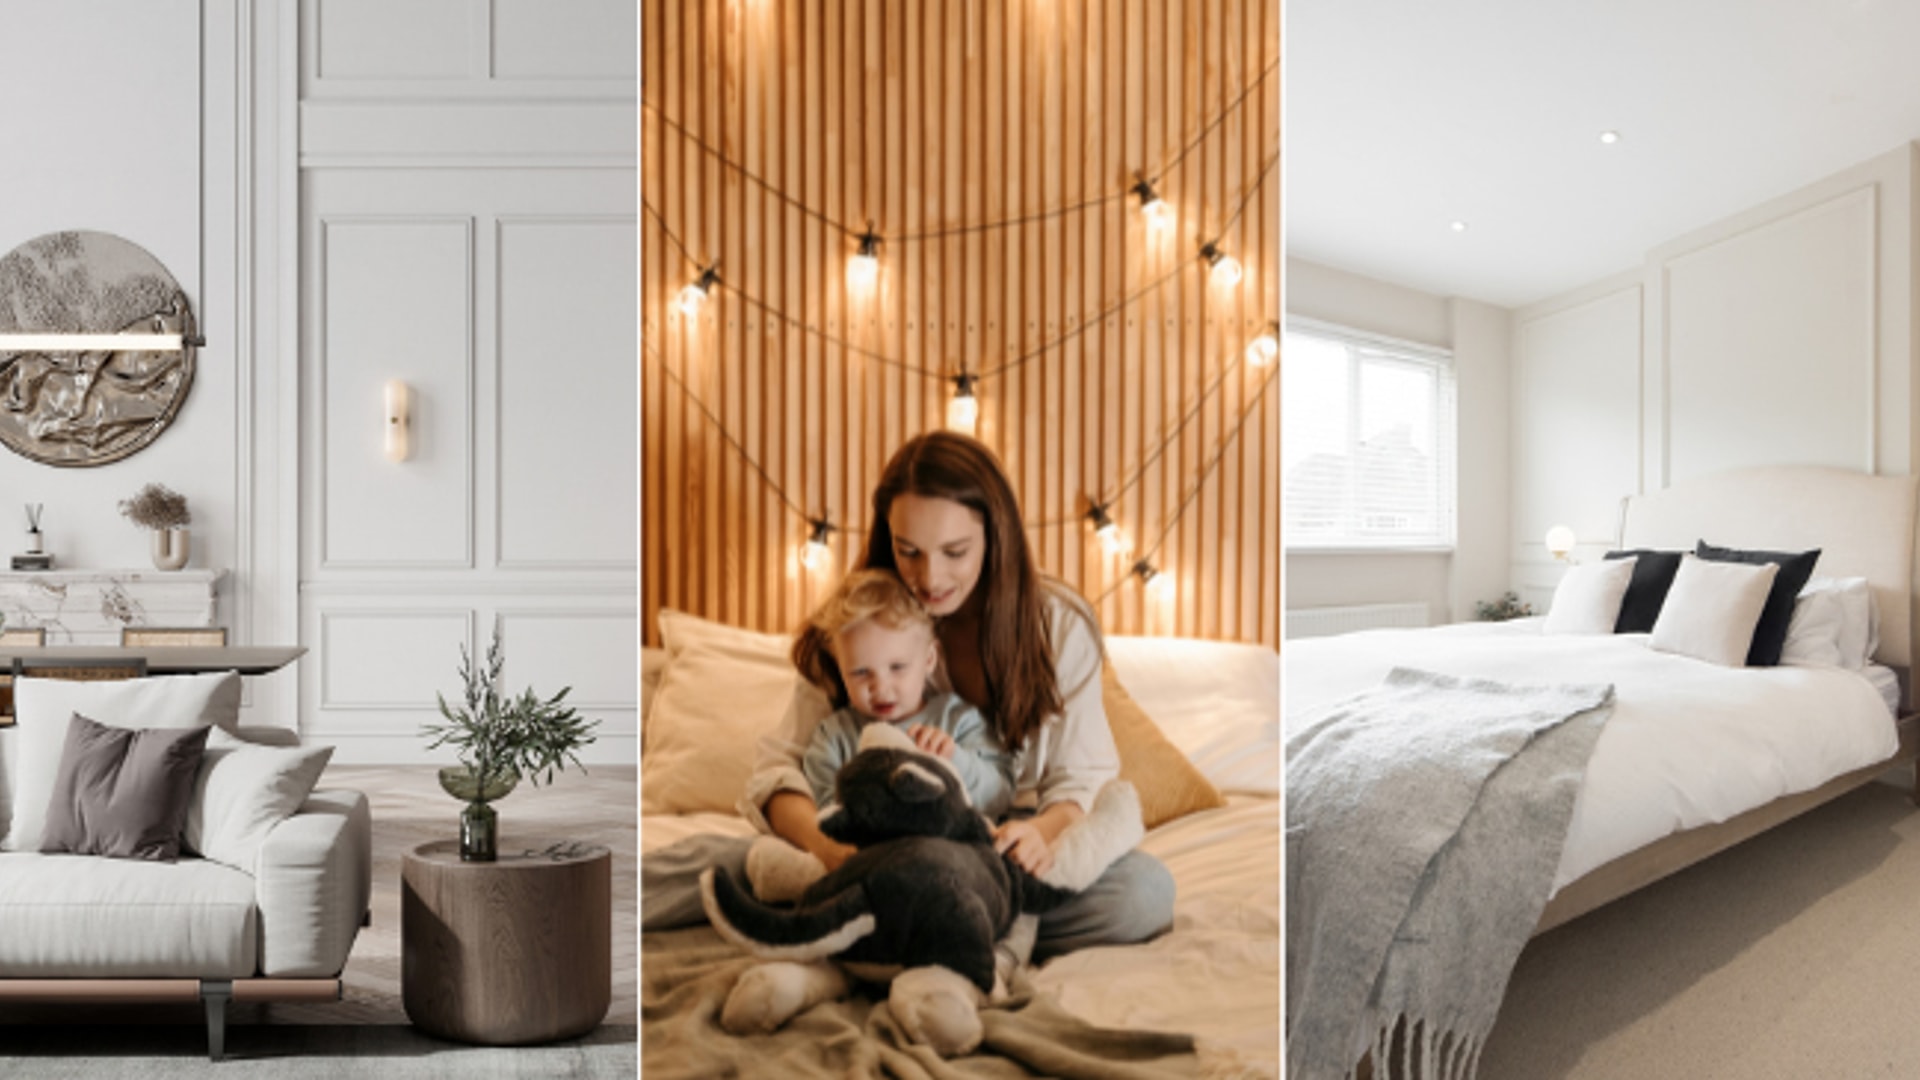
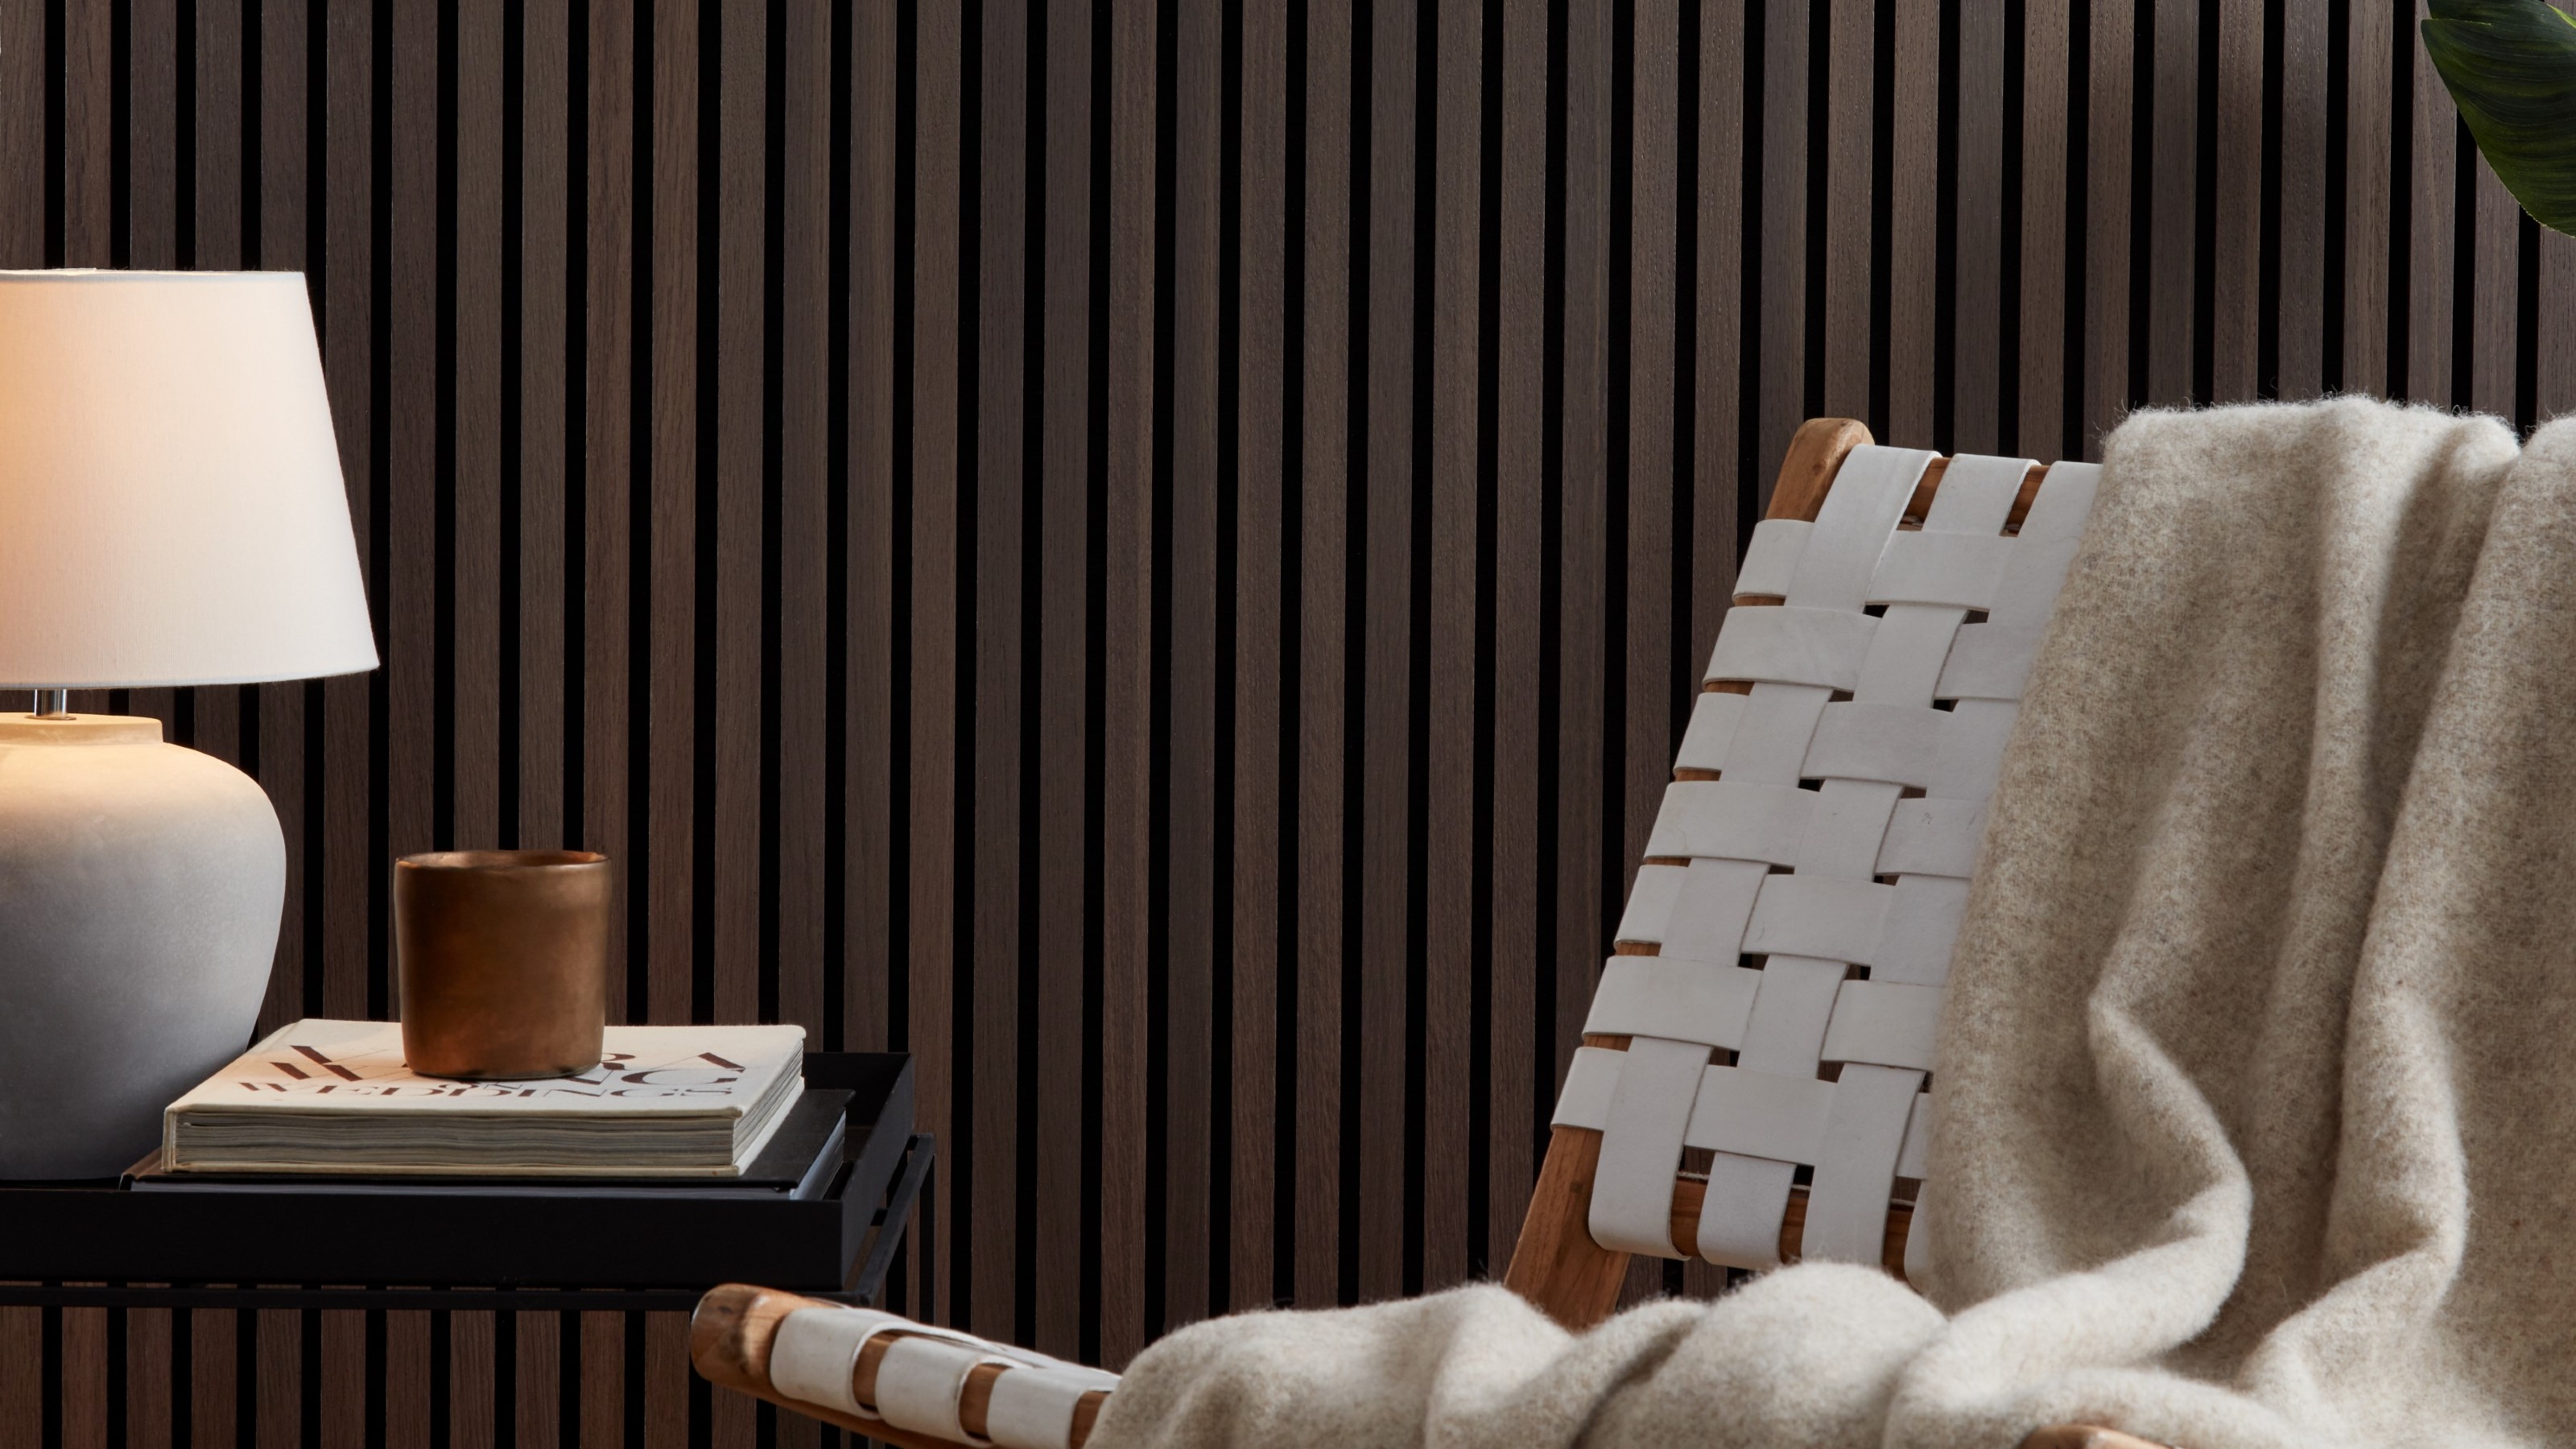
Wall panelling, particularly a method dubbed 'box trim' in the US or 'panel moulding' in the UK, has gained significant traction on TikTok as an accessible and cost-effective way to enhance home interiors. This architectural feature, traditionally found in more classic homes, adds an elegant touch to walls and ceilings, transforming mundane spaces into visually engaging areas.
DIY experts emphasize that this trend is not only aesthetically pleasing but also a relatively straightforward project for those with some DIY experience. The popularity of this method is exemplified by TikTok user Claire Edwards (@theclairenecessities), whose video demonstrating the installation process garnered over three million views, inspiring many to adopt this renovation technique. This surge in interest reflects a broader trend of DIY becoming a creative outlet for homeowners looking to personalize their living spaces.
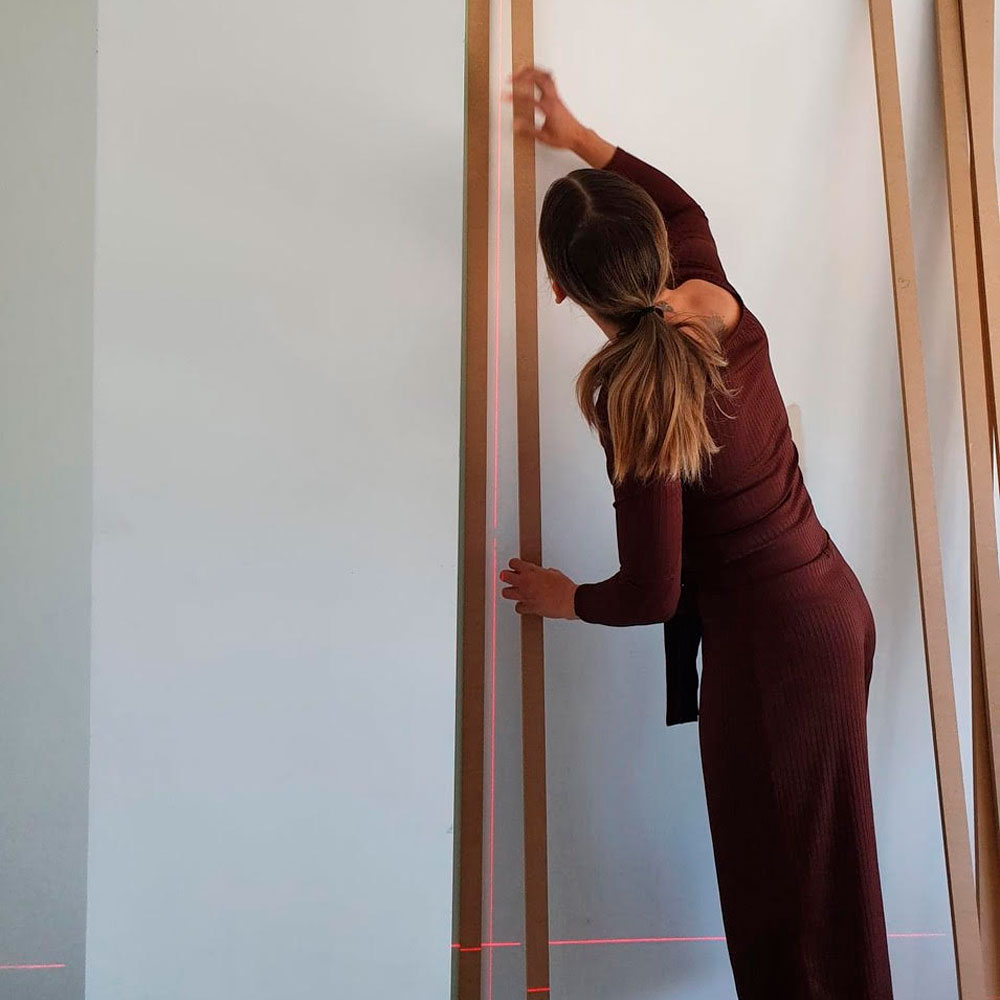
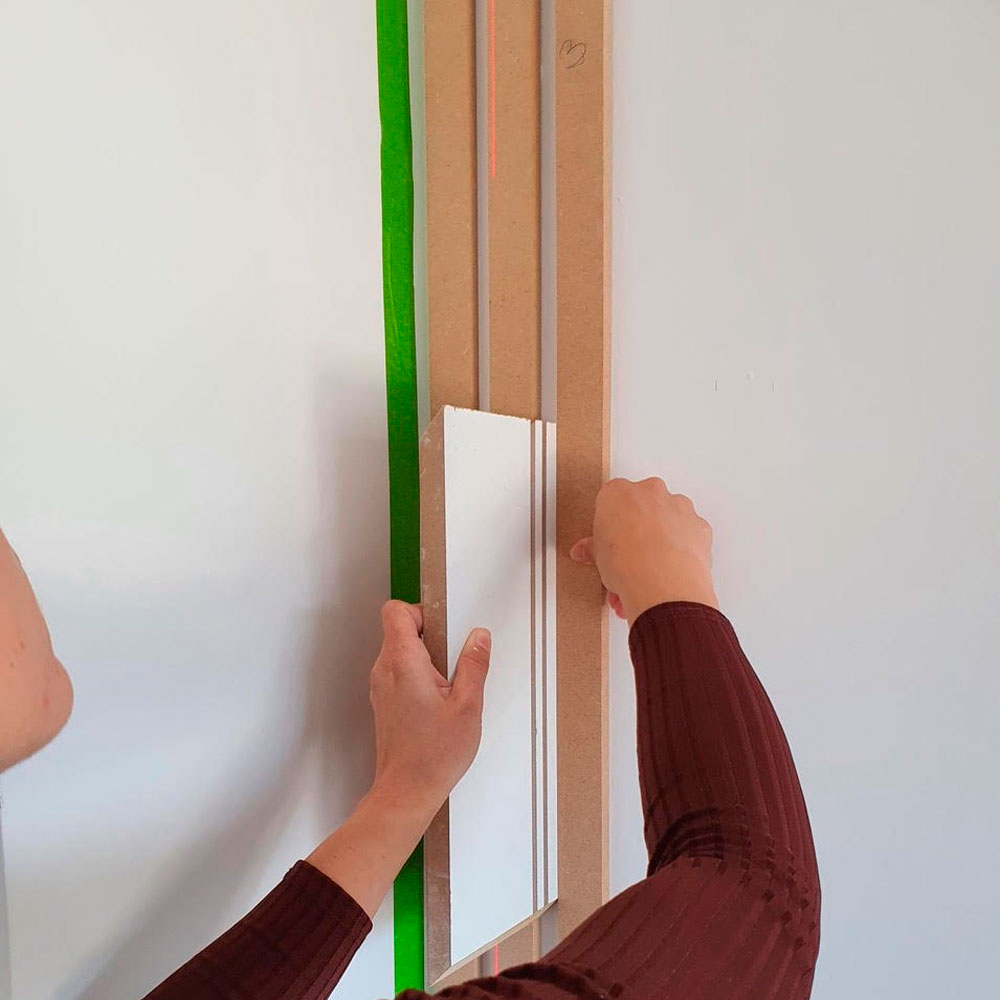
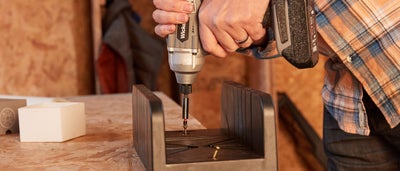
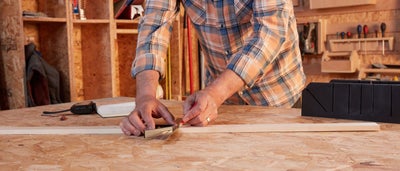
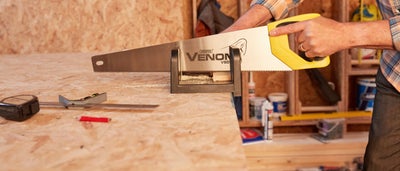
To successfully recreate the panel moulding effect, several tools and materials are essential. These include mitre shears for precise angle cuts, quality panel moulding (available in solid wood, MDF, or polyurethane), a tape measure, painter's or masking tape, a spirit level or spacing block, a nail gun, filler, and a sanding block. These tools facilitate a clean and professional finish, minimizing common DIY errors.
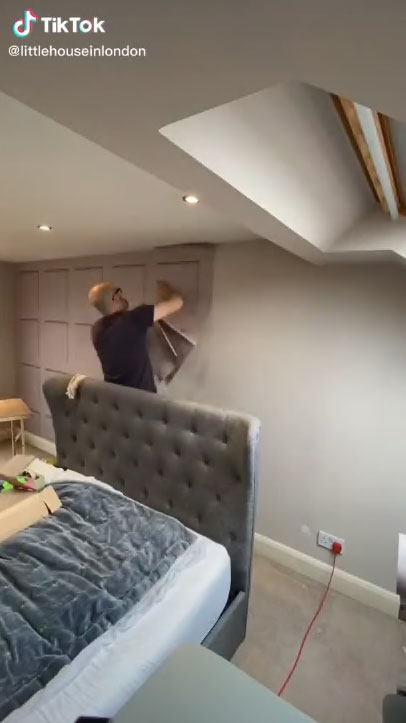
The installation process begins with careful planning and preparation. Homeowners are advised to use tape on the wall to visualize the panel layout before committing to permanent placement. This allows for adjustments to the design without the hassle of repositioning physical materials. Once the desired layout is determined, the horizontal pieces of trim are attached using a spirit level to ensure perfect alignment. Maintaining accuracy at this stage is crucial, as any misalignment can compromise the overall aesthetic and professional appearance of the finished panelling.
Securing the trim involves using a nail gun, with nails inserted at regular intervals along the length of each piece. For the vertical sections, wood glue should be applied to the corners where they meet the horizontal trims, followed by nailing. Clamping the pieces together ensures a tight and neat fit, and any excess glue should be wiped away before it dries to avoid a messy finish. Although some viral methods might suggest filling gaps after all trim is attached, experts recommend a more meticulous approach to achieve a smoother outcome. After the trim is securely in place, nail holes are patched with filler and sanded down to create an even surface. For a highly refined finish, caulk can be applied along the edges of the trim to blend it seamlessly with the wall.
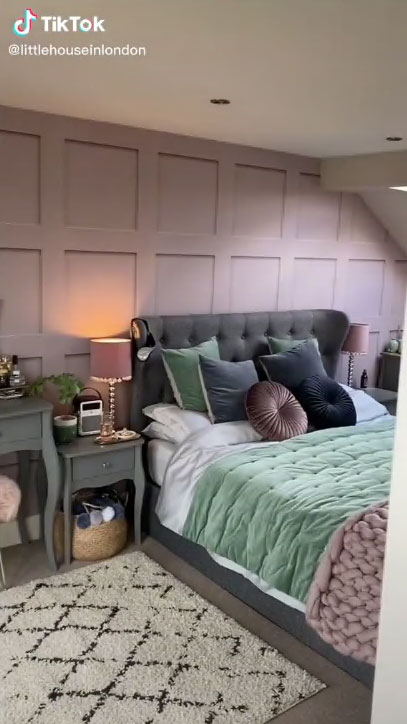
The final step involves painting. It is generally recommended to paint after all the trim is installed and prepped. This allows for a uniform application of paint over both the trim and the wall, especially if a monochrome look is desired. If contrasting colors are preferred, masking tape should be used to protect adjacent areas from paint splatters. Experts suggest that a monochrome finish often best achieves the elegant effect of this panelling style. This DIY method offers a cost-effective way to add grandeur and a sense of spaciousness to a room, making it an ideal project for modern bedrooms or any space in need of an architectural upgrade.
#WallPanelling #DIYHomeDecor #TikTokTrends #InteriorDesign #PanelMoulding #HomeRenovation #BedroomIdeas #CostEffectiveDecor #DIYExpertTips #WallPanelling #DIYHomeDecor #TikTokTrends #InteriorDesign #PanelMoulding #HomeRenovation #BedroomIdeas #CostEffectiveDecor #DIYExpertTips
0 comment in total
You may also like
We created a posh wall panel in seconds using a sneaky stick-on hack - everyone is convinced it’s real wood

Homeowner wows with DIY version of latest feature wall trend – and the results are stunning!
This paneling trend is a simple trick for making your walls look more expensive

The TikTok Trend Dominating Gallery Walls In 2025: How To Get The Look

TikTok's 2025 panelling trends and how to ace them

28 wall panelling ideas to add depth and character to any room in your home
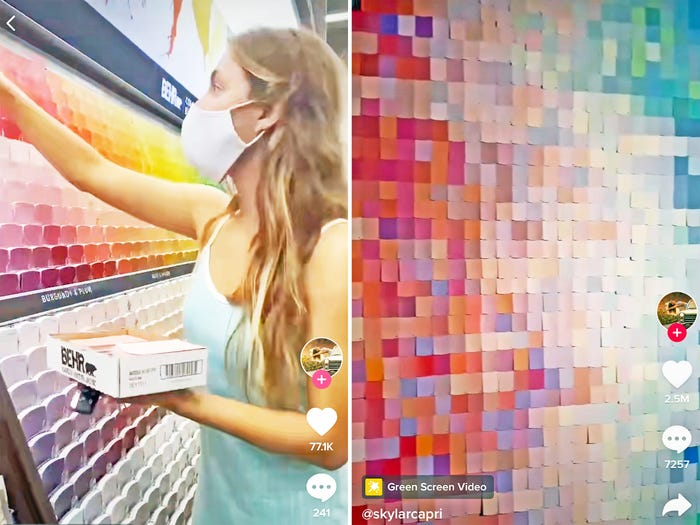
A TikToker made a wall of color with 1,000 free paint-chip samples from Home Depot, and people are loving it
5 TikTok home decor trends that interior design experts can't stand – are you guilty of any?
How to panel a wall – DIY this trending look in your home this weekend
Interior hack: Expert shares how to create ‘popular’ scalloped wall trend

Wall Panels

MDF Wall Panels | Decorative Wall Panelling
Foam wall panelling is the latest DIY hack going viral on TikTok - the results are impressive, but is it a good idea?
6 ways to fake wall panelling and create the sought-after look on a budget

How to install wooden panelling
This New DIY Will Make Your Windows and Wall Treatments Look Way More Luxe and Fun
Wall paneling ideas – 18 ways to add decorative cladding and moulding
The best wall panelling ideas and trends, according to the experts

Wall paneling ideas – experts offer 9 simple tricks to wake up your walls

Rapi Wall And Lasting Long, Check Out 5 Tips For Choosing Wall Panels For Modern Housing