1/8
How To Install An Electric Water Heater
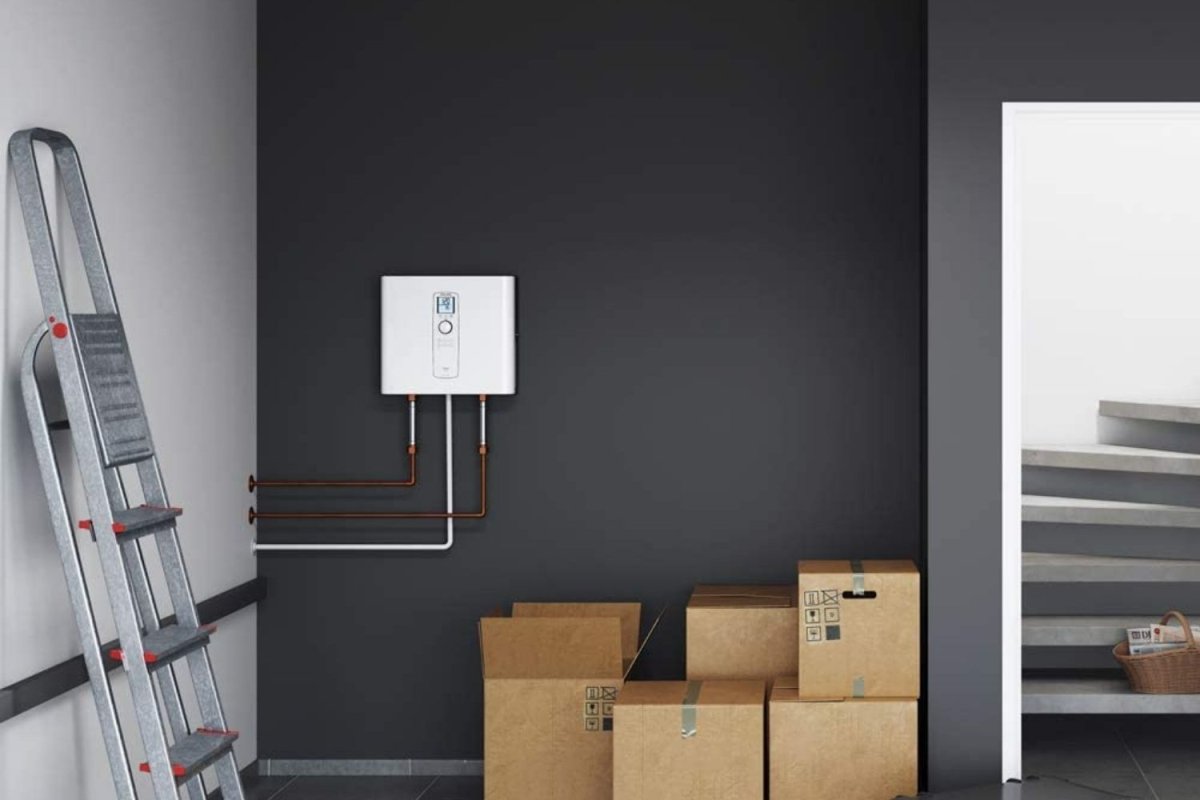
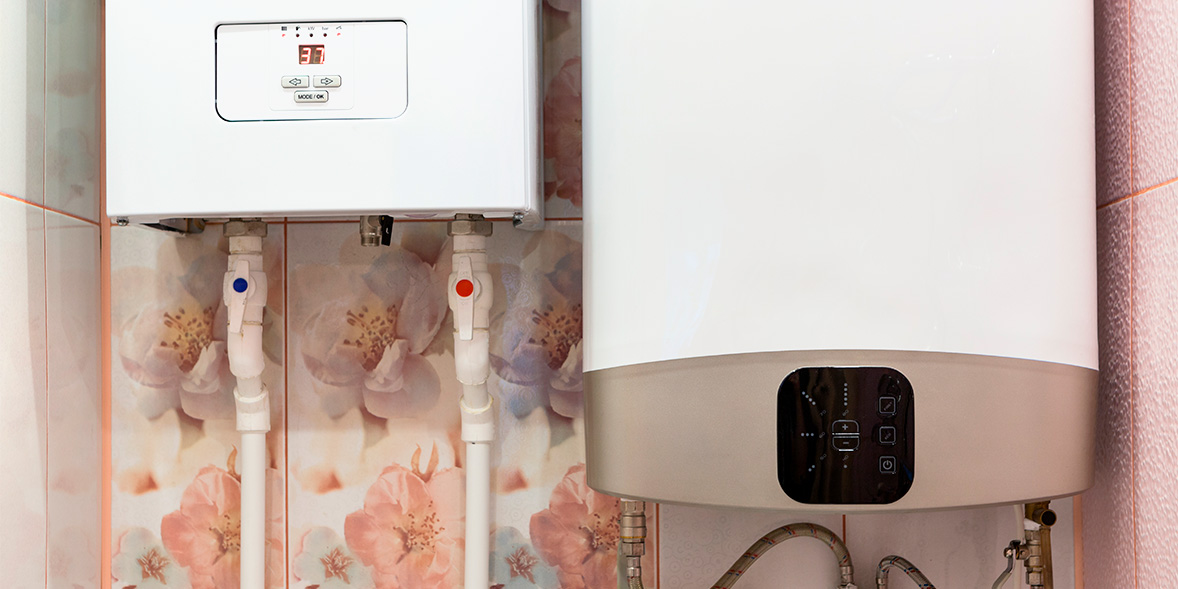
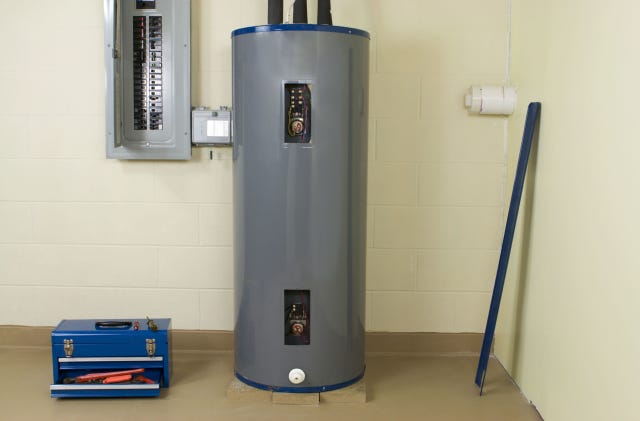
This article provides a detailed guide on installing an electric water heater, emphasizing that while the appliance itself is simple, its installation requires careful attention to building codes, safety, and proper plumbing and electrical connections. It outlines the steps for a handy person comfortable with basic plumbing and electrical work, but also notes that the guide can inform customers working with a professional plumber. The installation process begins with planning, which includes reviewing the product literature and local building codes. Crucial safety measures, such as turning off the circuit breaker and verifying electrical wiring is de-energized with a non-contact voltage test pen or multi-meter, are highlighted as paramount before any work begins.
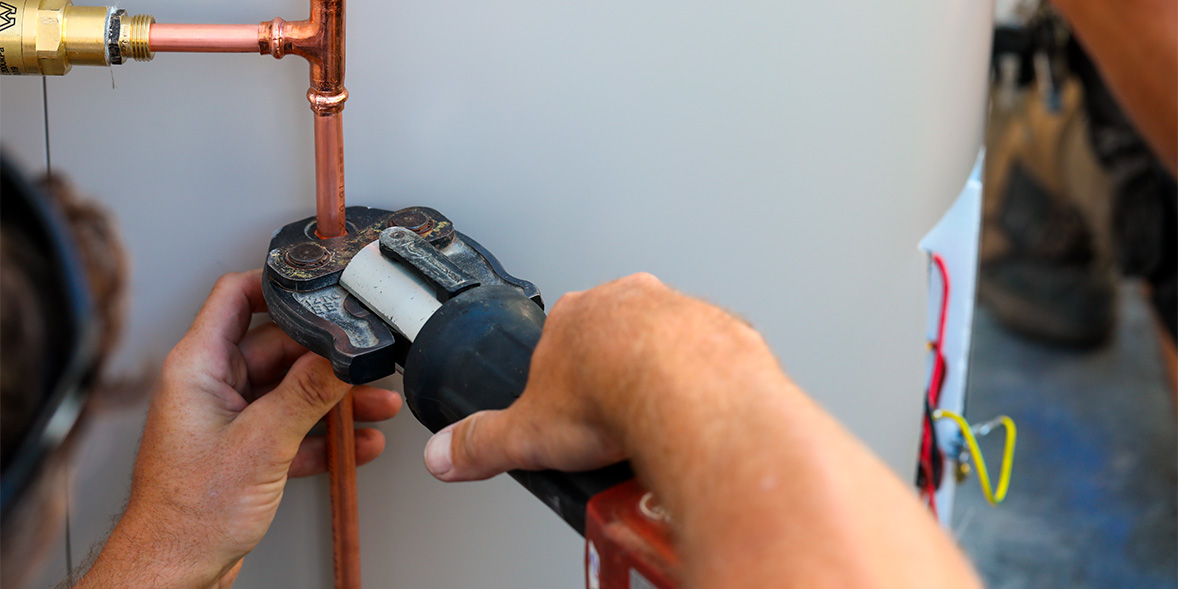
The guide details the necessary preparatory steps, including removing an existing heater, draining it, and disconnecting its plumbing and electrical connections. It then addresses positioning the new water heater, recommending a water heater stand to facilitate drainage and servicing, and noting the importance of securing the appliance with straps, particularly in areas requiring seismic protection like California. The article explores options for connecting the water heater to the home's plumbing, suggesting copper tubing, corrugated flexible metal connectors, or PEX. While acknowledging PEX as a modern material, it advises that soldering copper tubing might be more straightforward for those new to PEX, detailing the tools and a simple soldering procedure.
Key plumbing installations covered include installing a ball valve for the cold-water supply line and the temperature and pressure (T&P) relief valve. The T&P valve is identified as the most critical safety component, designed to prevent dangerous pressure buildup by discharging water. The article references the International Residential Code (IRC) for specific requirements regarding T&P valve discharge piping, emphasizing that the discharge point must be visible. It also provides instructions for correctly dry-fitting components before soldering and using pipe thread tape for secure connections.
For electrical connections, the guide specifies the need for a separate 240-volt, 30-amp circuit with 10/2 with ground circuit cable for electric water heaters, advising professional help if there's any doubt about correct sizing. It describes connecting like-colored wires and the ground wire, with particular attention to upgrading older plastic-sheathed wiring to metal conduit or flexible connectors if necessary. The article concludes with the critical instruction to fill the water heater with water *before* restoring power to prevent damage to heating elements, followed by bleeding air from the hot water lines and adjusting the water temperature settings, typically set at 120 degrees F.
#ElectricWaterHeater #WaterHeaterInstallation #DIYPlumbing #HomeImprovement #ElectricalSafety #BuildingCodes #Soldering #TPValve #ElectricWaterHeater #WaterHeaterInstallation #DIYPlumbing #HomeImprovement #ElectricalSafety #BuildingCodes #Soldering #TPValve
0 comment in total
 No comments yet
You may also like
How Much Should You Spend On A New Electric Water Heater?

Electric Central Heating
Electric boilers: what you need to know
Hydronic Baseboard Heater Buyers Guide: How to Choose, Costs and Installation, Safety Considerations

We Vetted The 8 Best Electric Tankless Water Heaters to Save Space and Cut Costs

Why an Electric Towel Warmer Is the Winter Upgrade Your Bathroom Needs

Handyman: Make sure water heater is ready for cold days
The Best Tankless Gas Water Heaters for Your Home
The 9 Best Water Heaters for Efficiency and Performance
Installing The Rheem® Hybrid Water Heater
The Best Electric Wall Heaters for Added Warmth
The 6 Best Propane Tankless Water Heaters for Low-Waste On-Demand Warmth

Installing The New Ruud® Hybrid Water Heater
The Most Reliable Water Heaters You Can Buy, According to Testing

Today's Water Heaters Aren't Built Like They Once Were—They're Better

Hydronic radiant wall heating, still the greatest trade secret in the U.S.

How to install an outdoor hot water tap for cleaning your patio, washing the dog, or filling the paddling pool
What Do a National Lab, a Home Builder, and an Elephant Have in Common?

‘Worst water heater I ever installed as a plumber for 32 years.’ – A Home Repair Expert Sounded Off Against Rheem Brand Of Water Heaters

Top 8 electric geysers to buy before winter for quick heat, safe tanks, and right sizes for every bathroom and kitchen