1/15
How To Install A Kitchen Sink Like A Total Pro
Installing a new kitchen sink can be a challenging but rewarding DIY project, offering savings on labor costs and the satisfaction of a completed home improvement. However, several common pitfalls can lead to costly mistakes if not addressed proactively. Experts emphasize the importance of thorough preparation and careful execution to avoid issues such as incompatible components, leaks, and durability problems.
The first critical step is accurate measurement. It is crucial to measure not only the new sink but also the existing cabinet interiors and countertop openings, as specifications can vary. This ensures proper fit and prevents the need for extensive, difficult, and expensive modifications to the countertop or cabinetry. Verifying space for clips, drains, and faucets is also essential, and double-checking all measurements before making any cuts to the countertop is highly recommended.
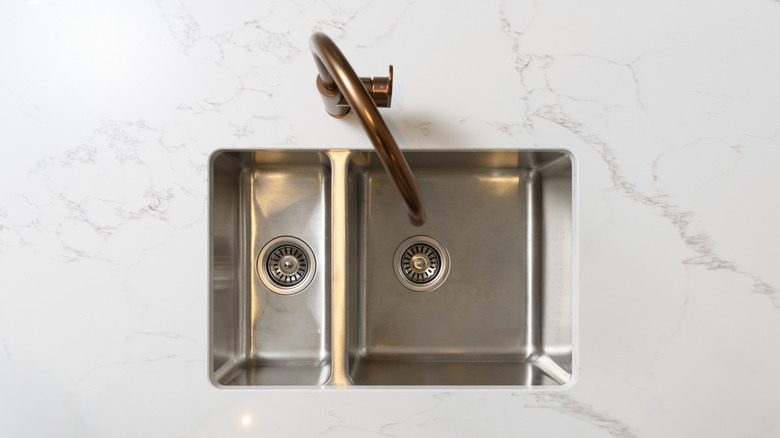
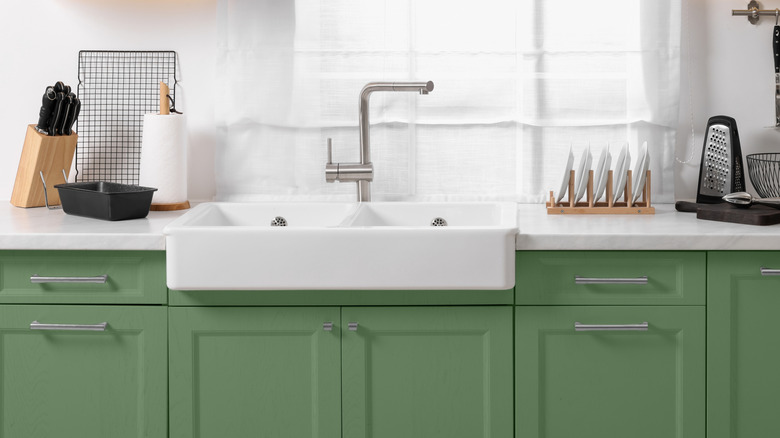
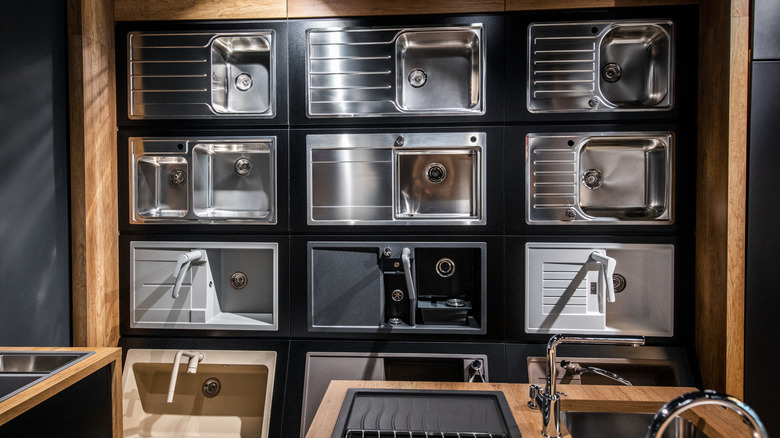
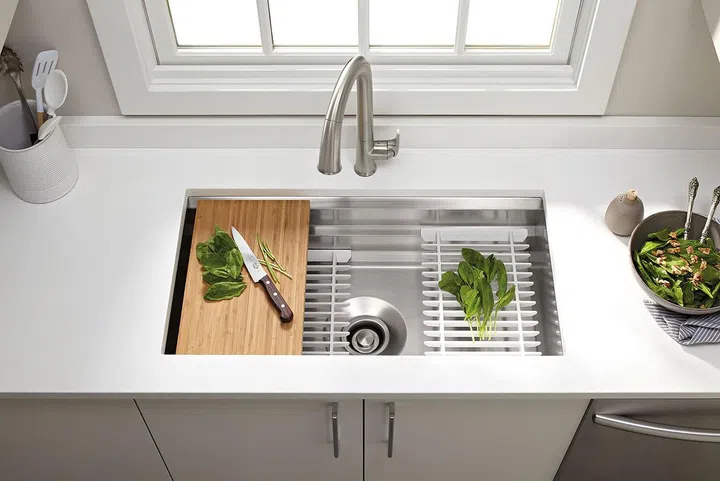
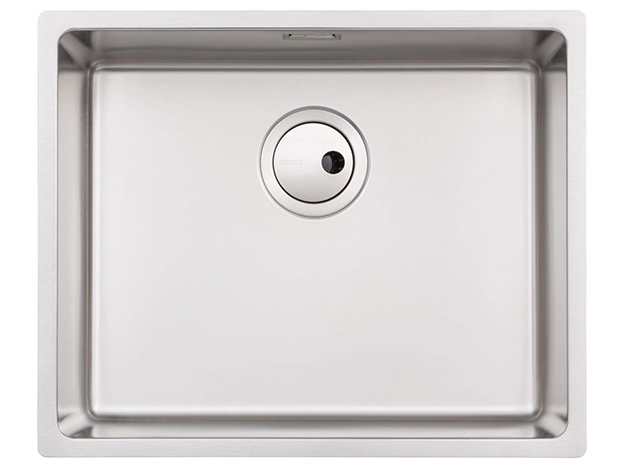
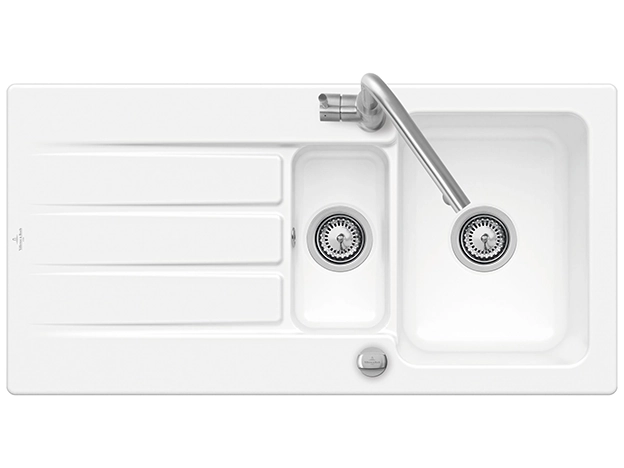
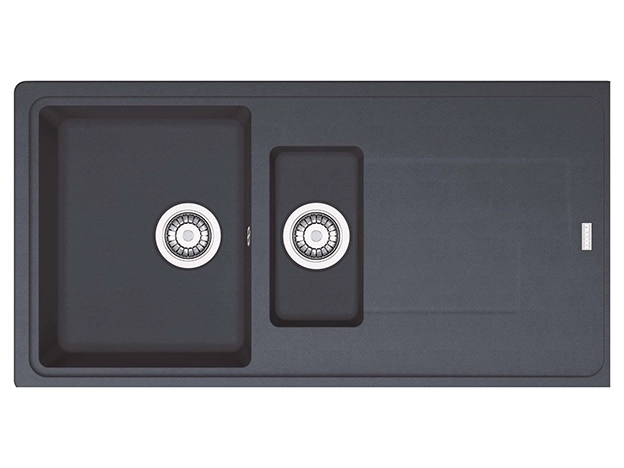
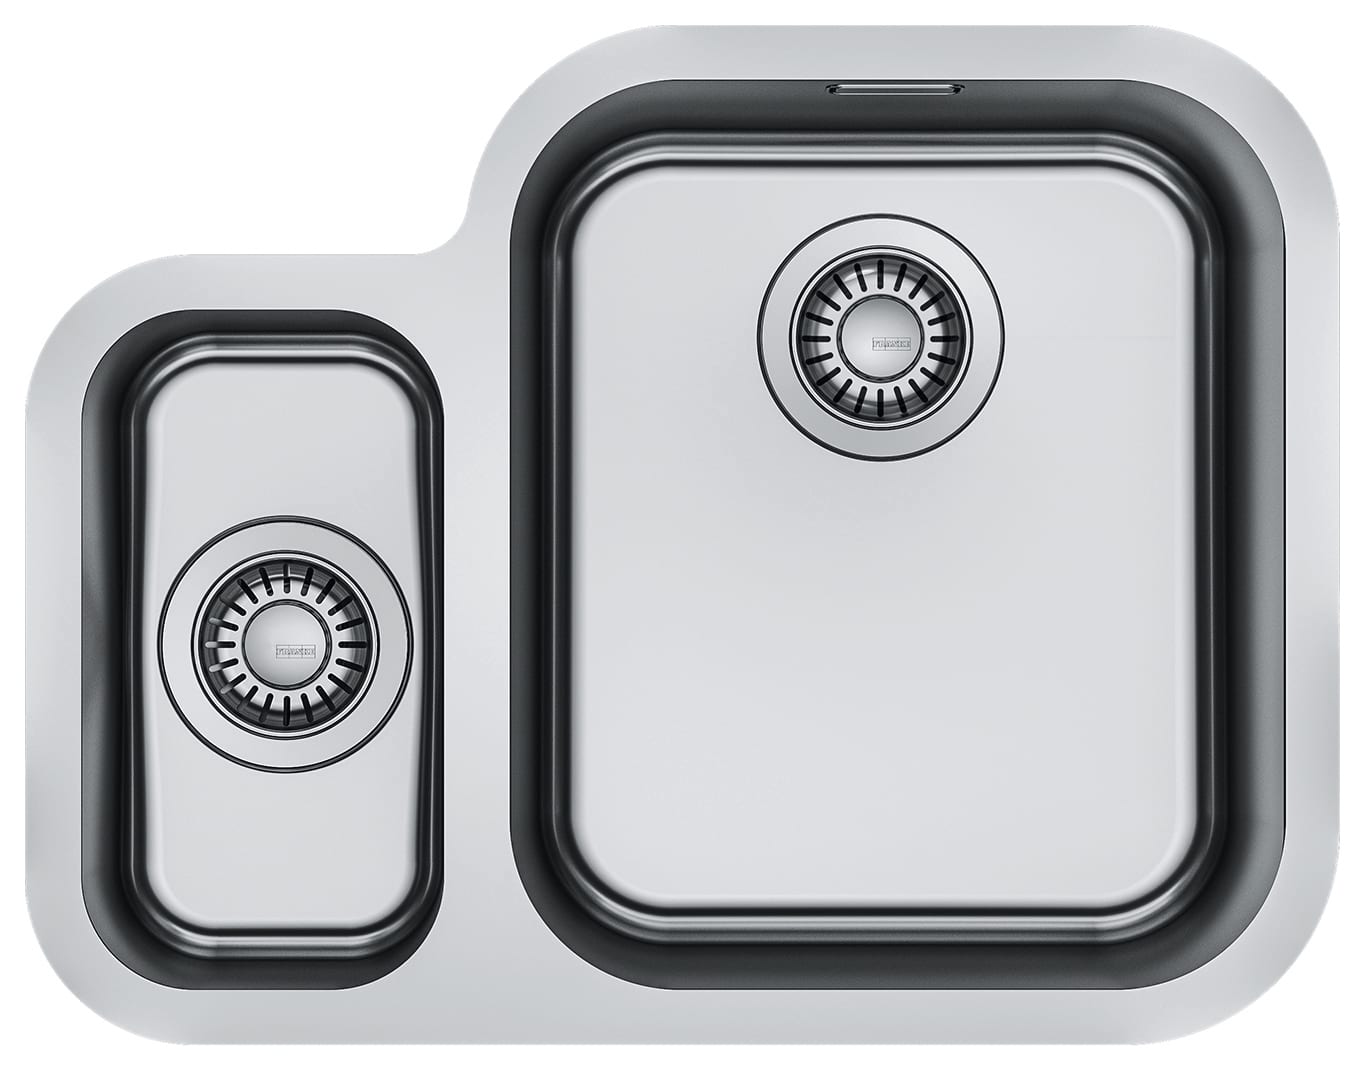
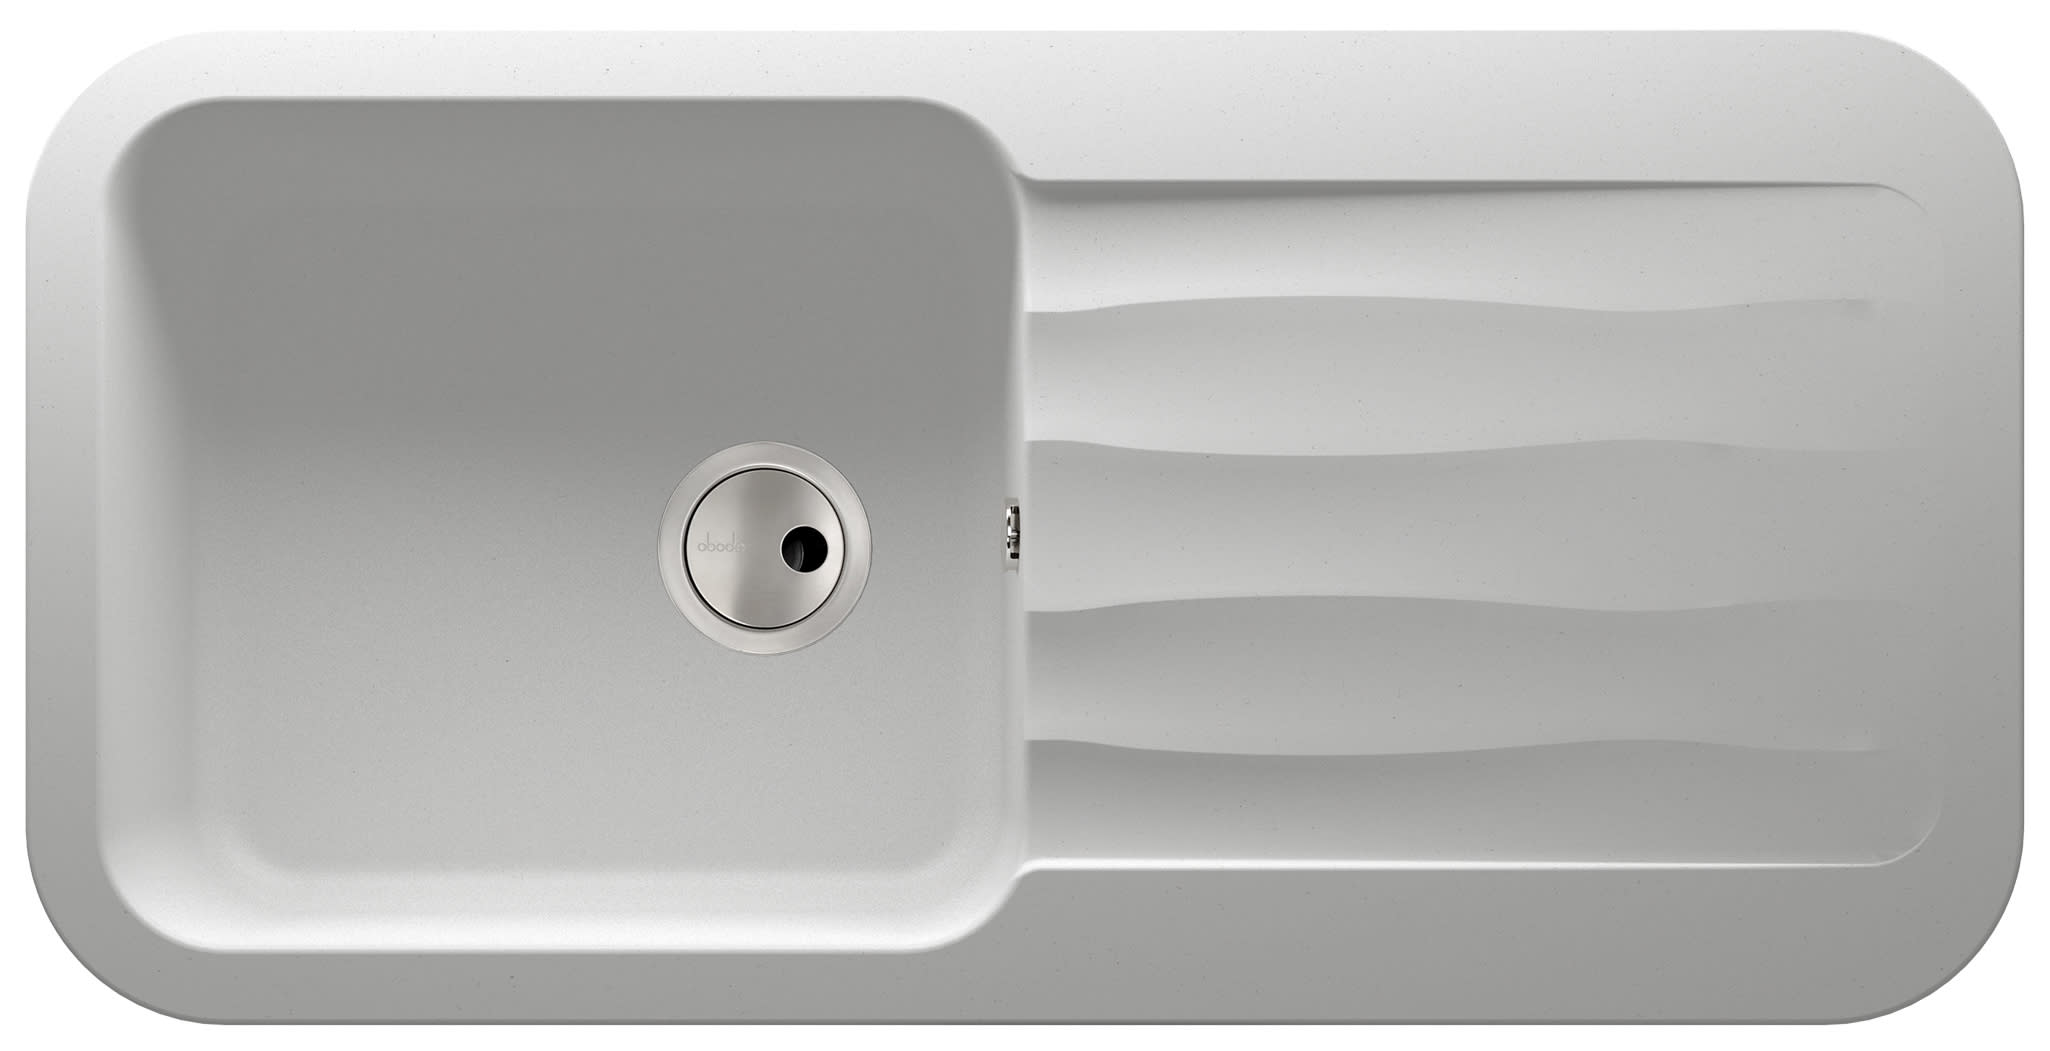
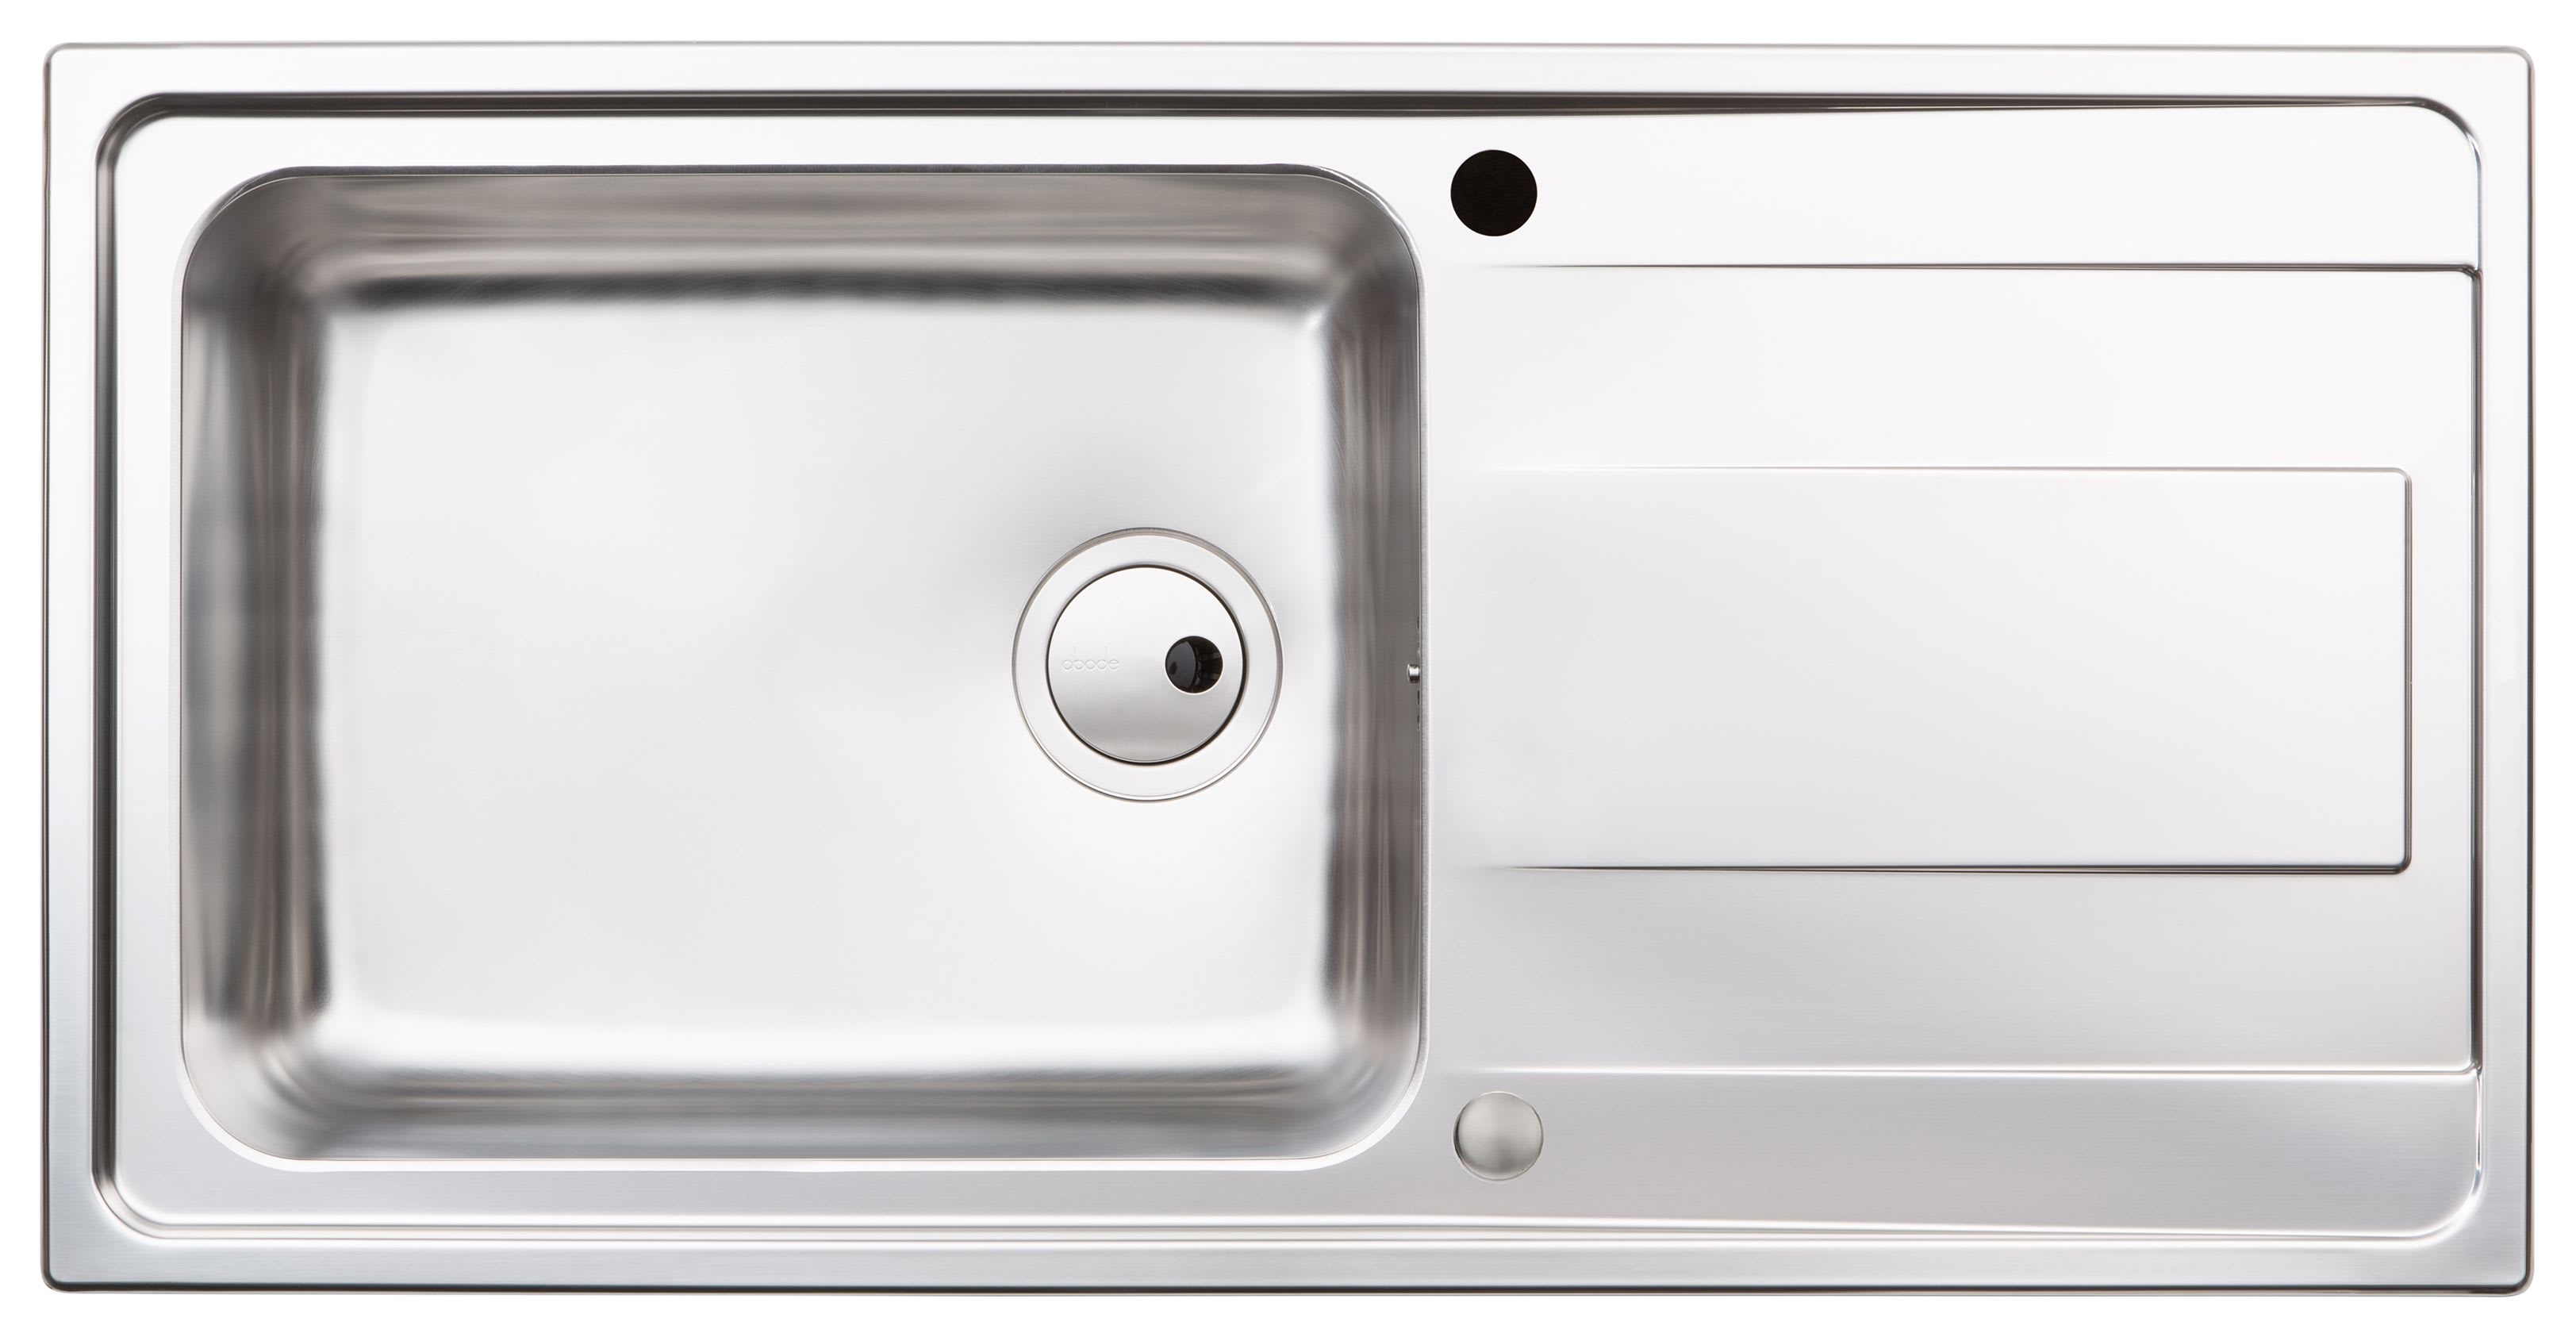
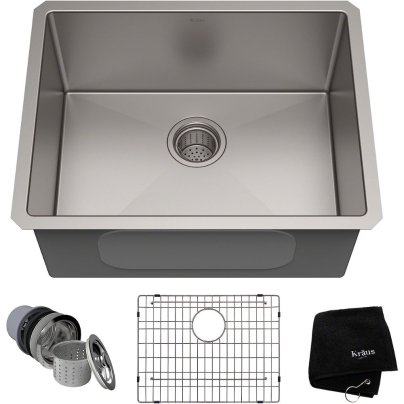
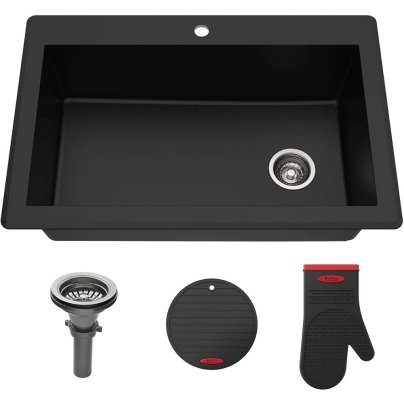
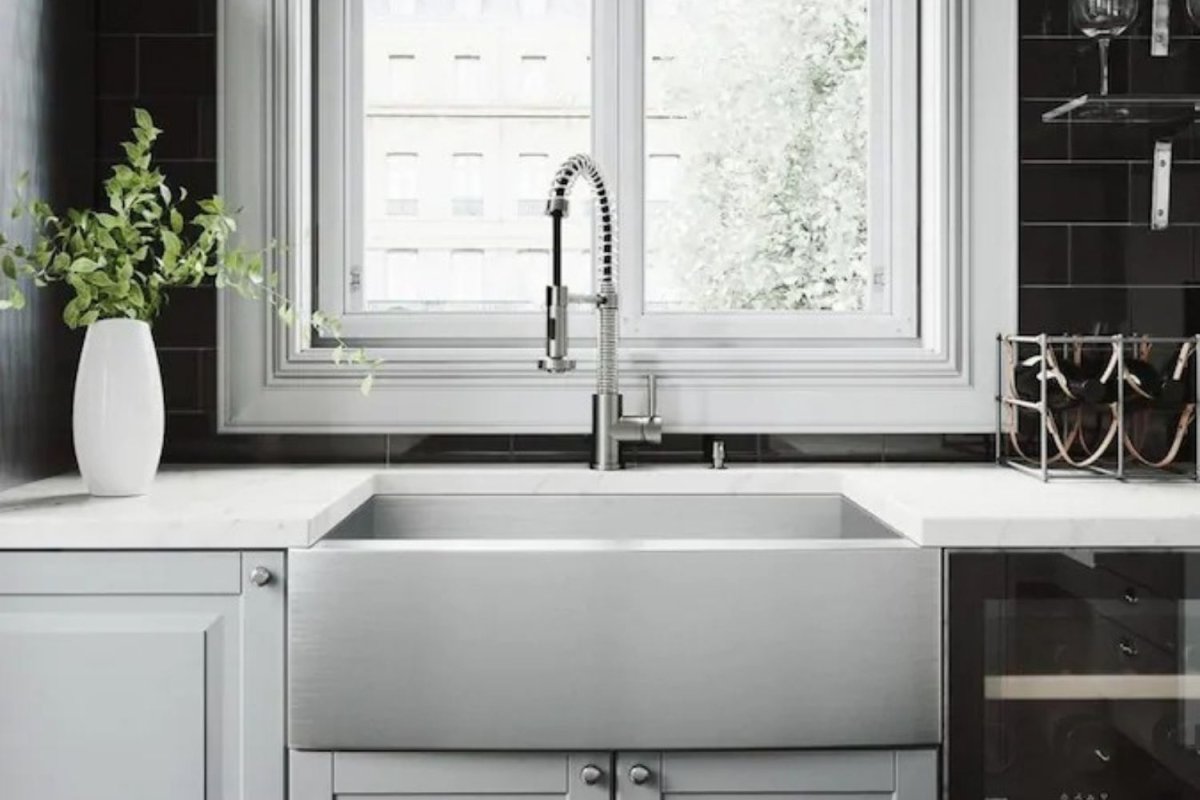
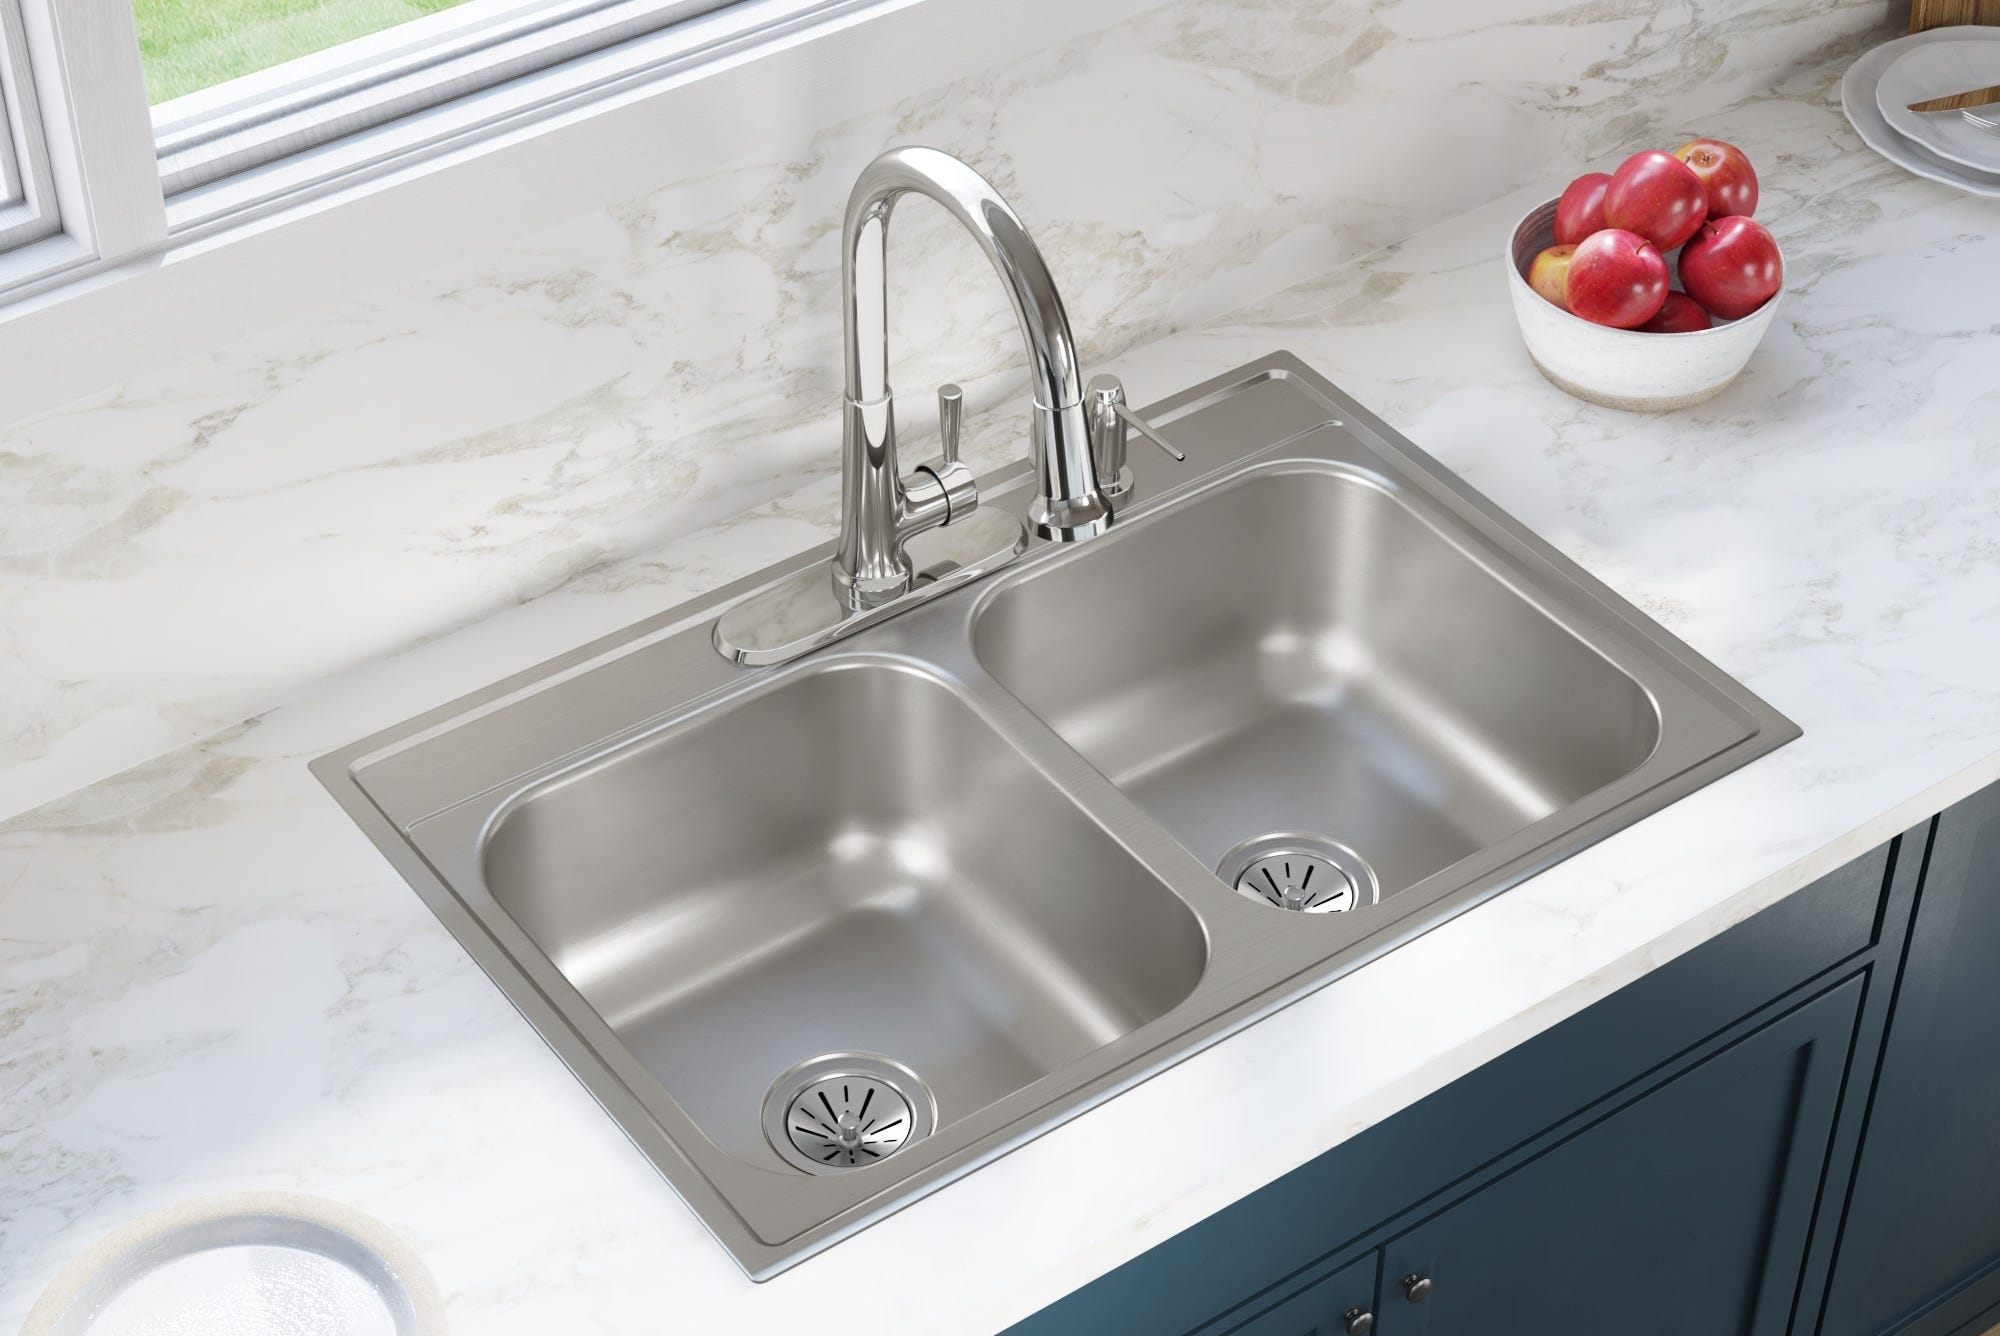
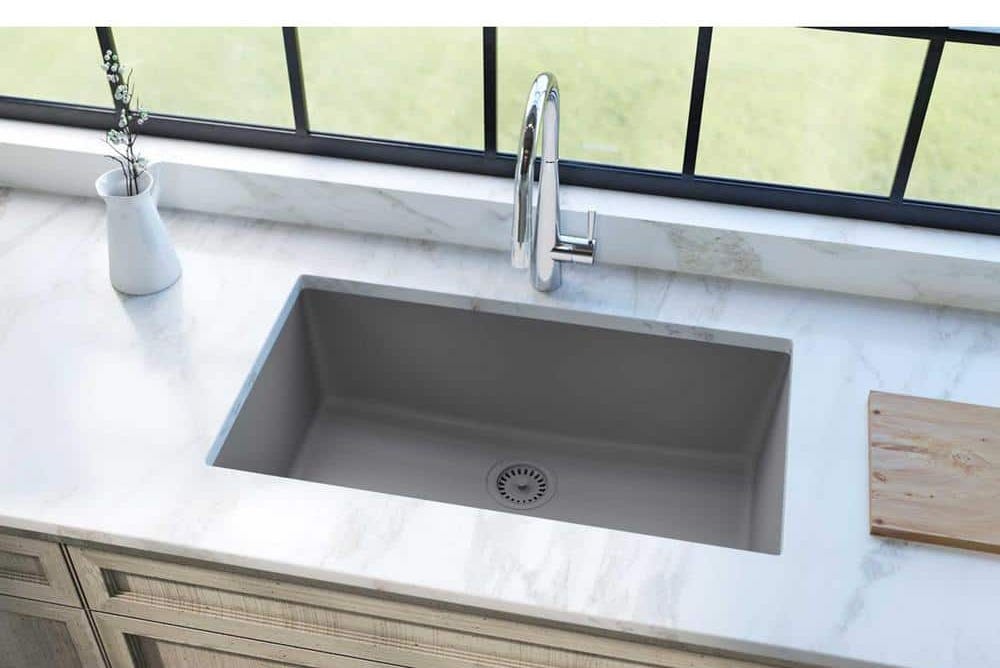
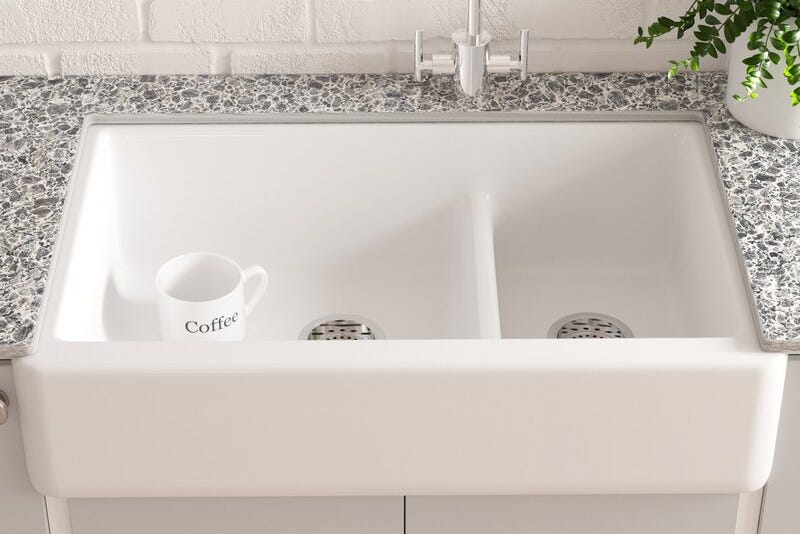
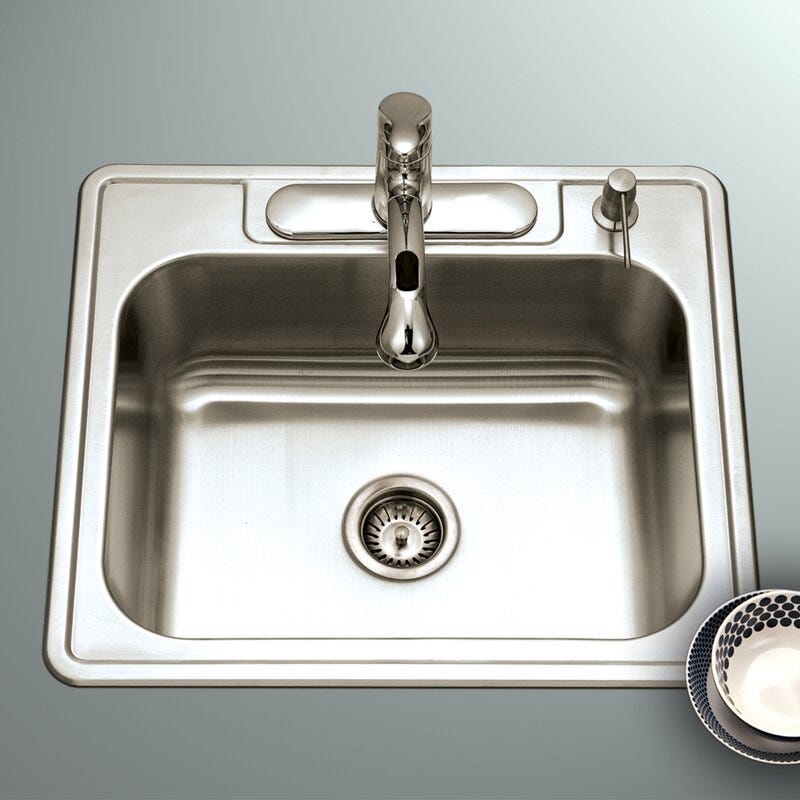
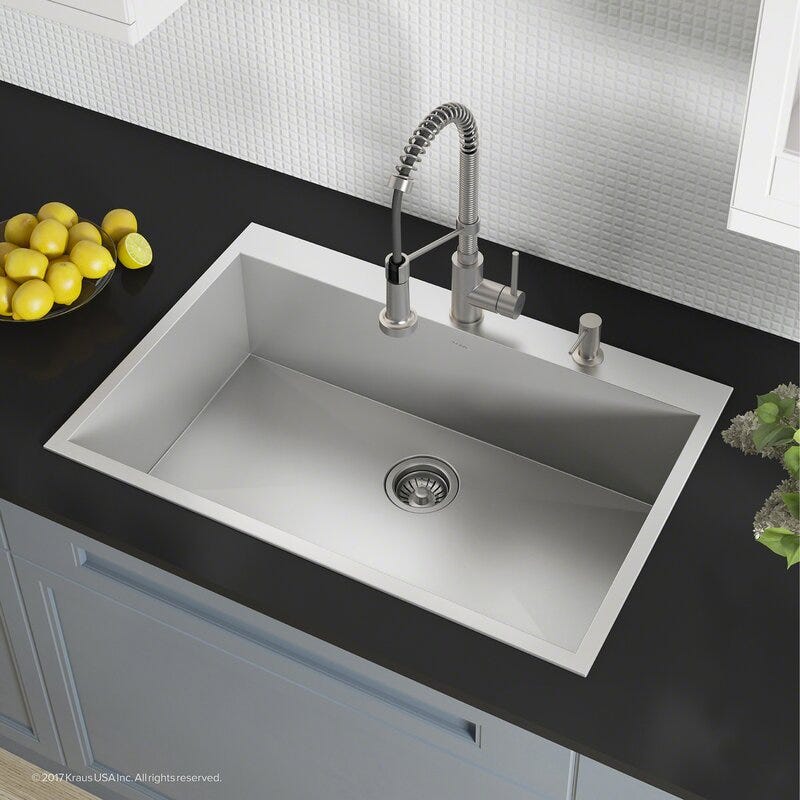
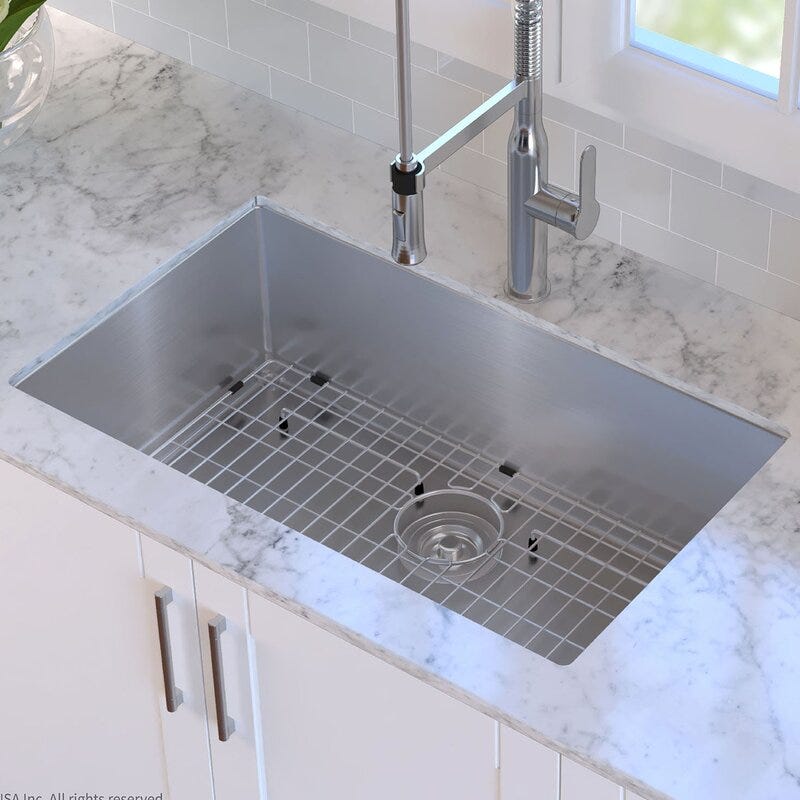
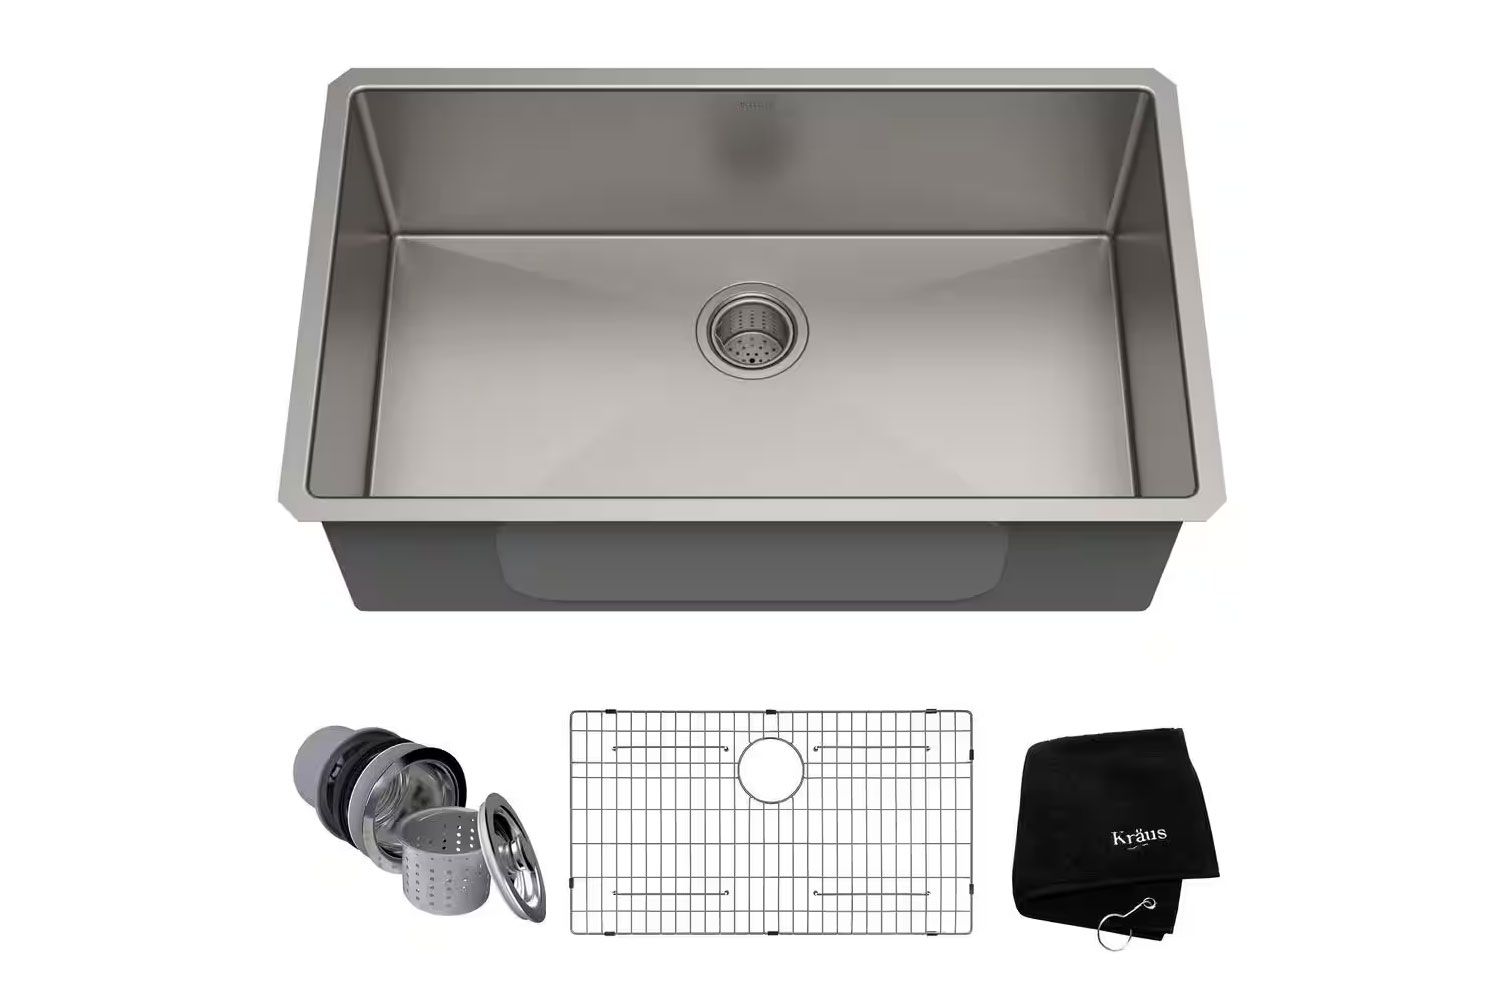
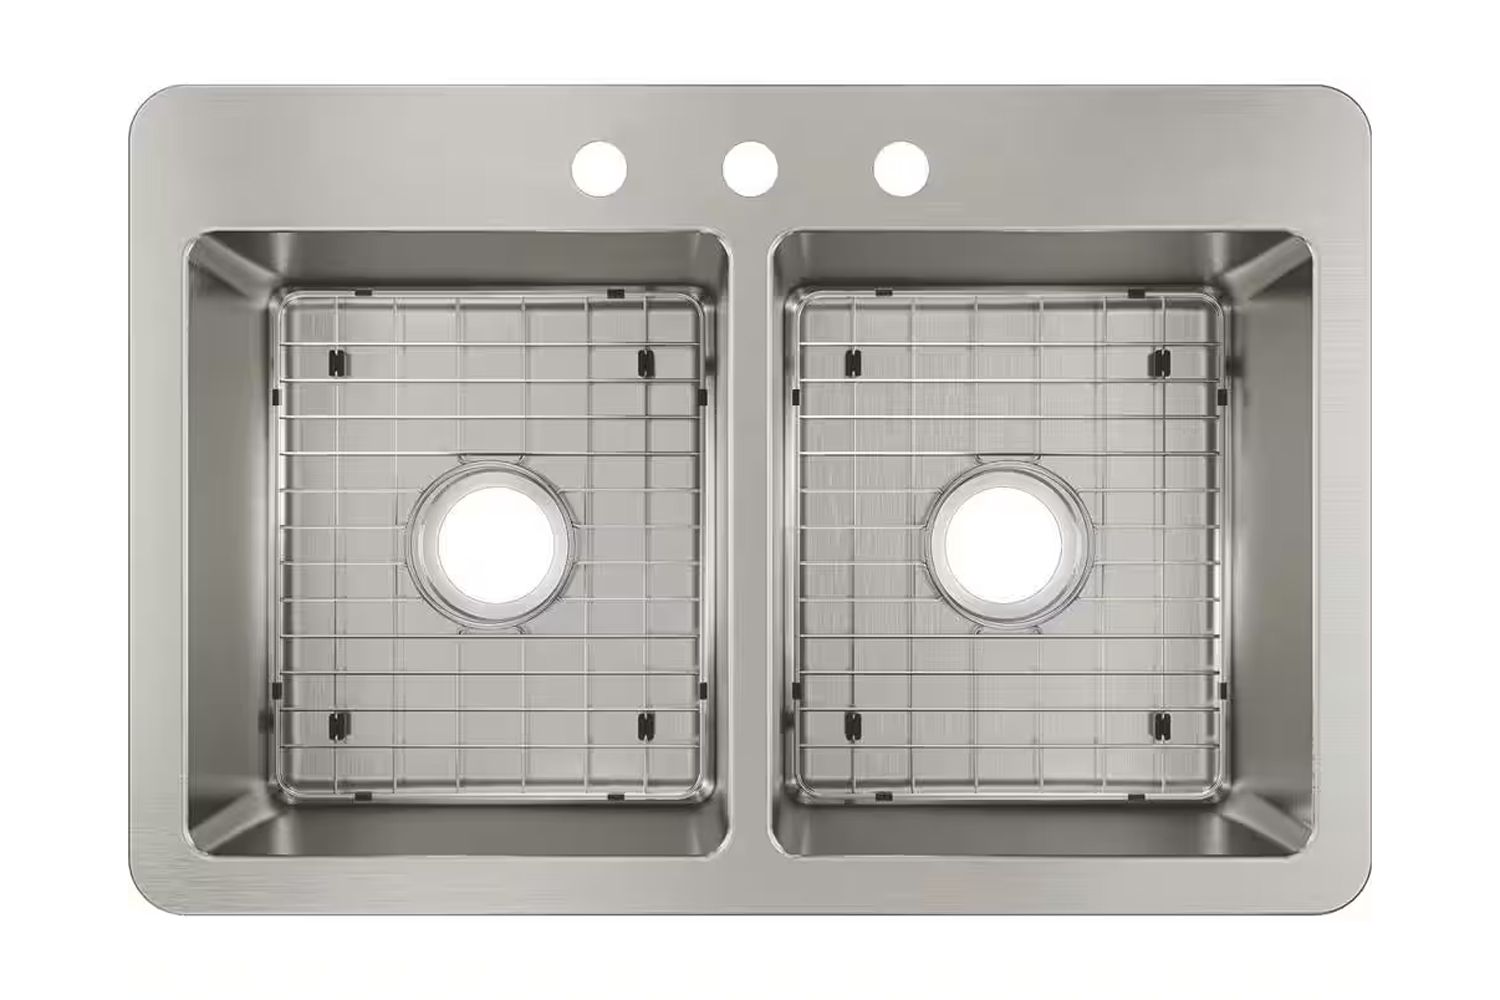
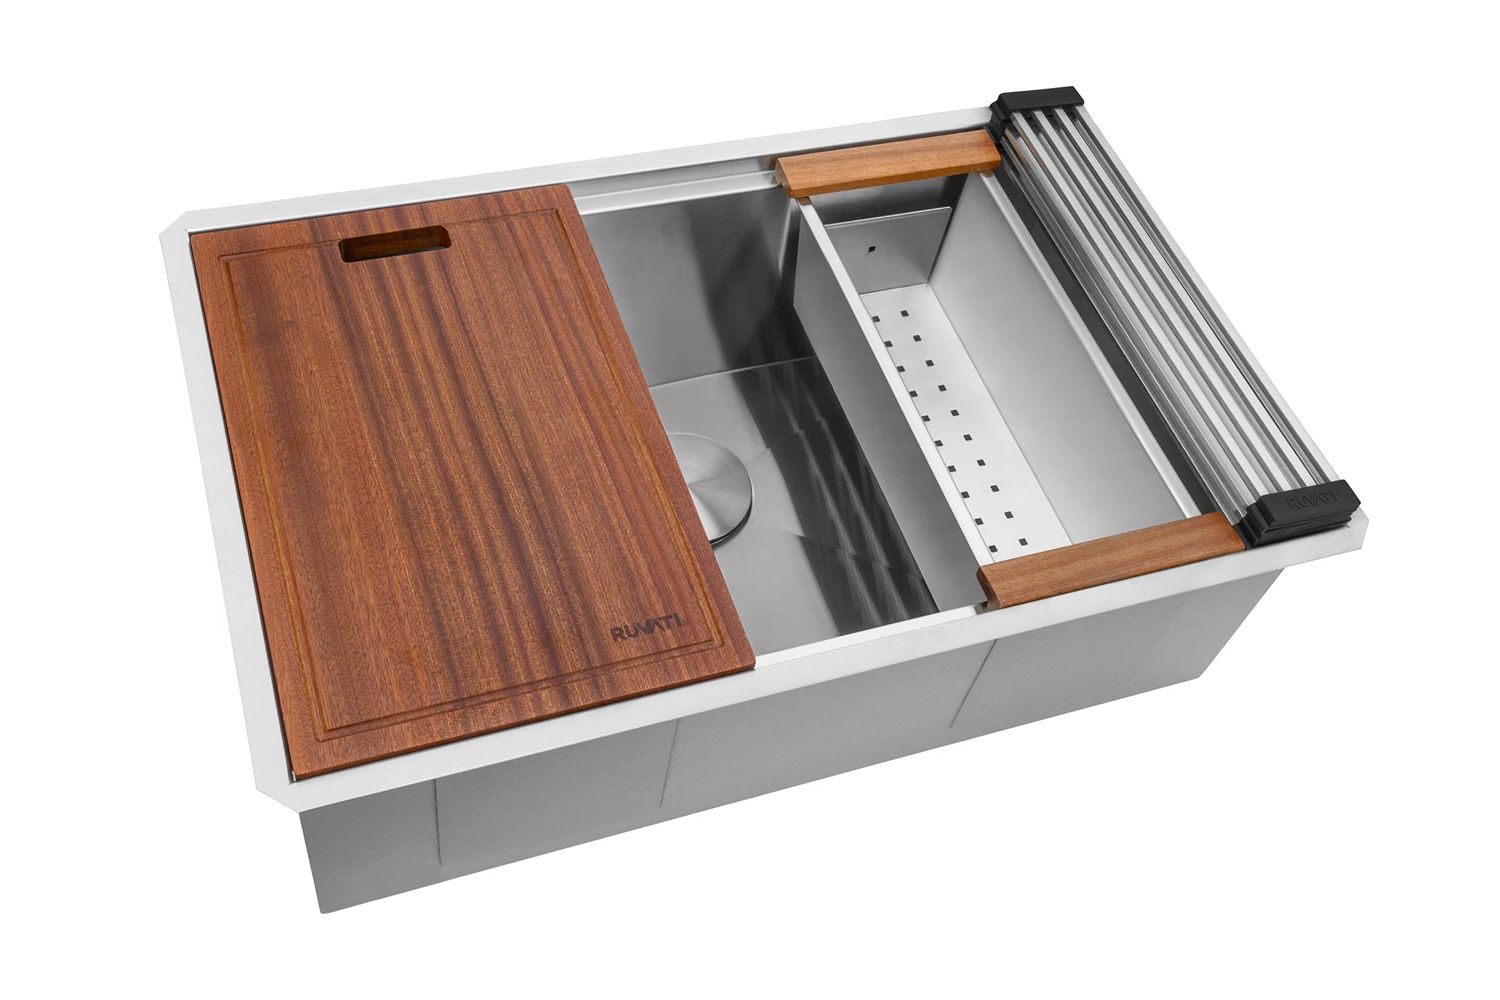
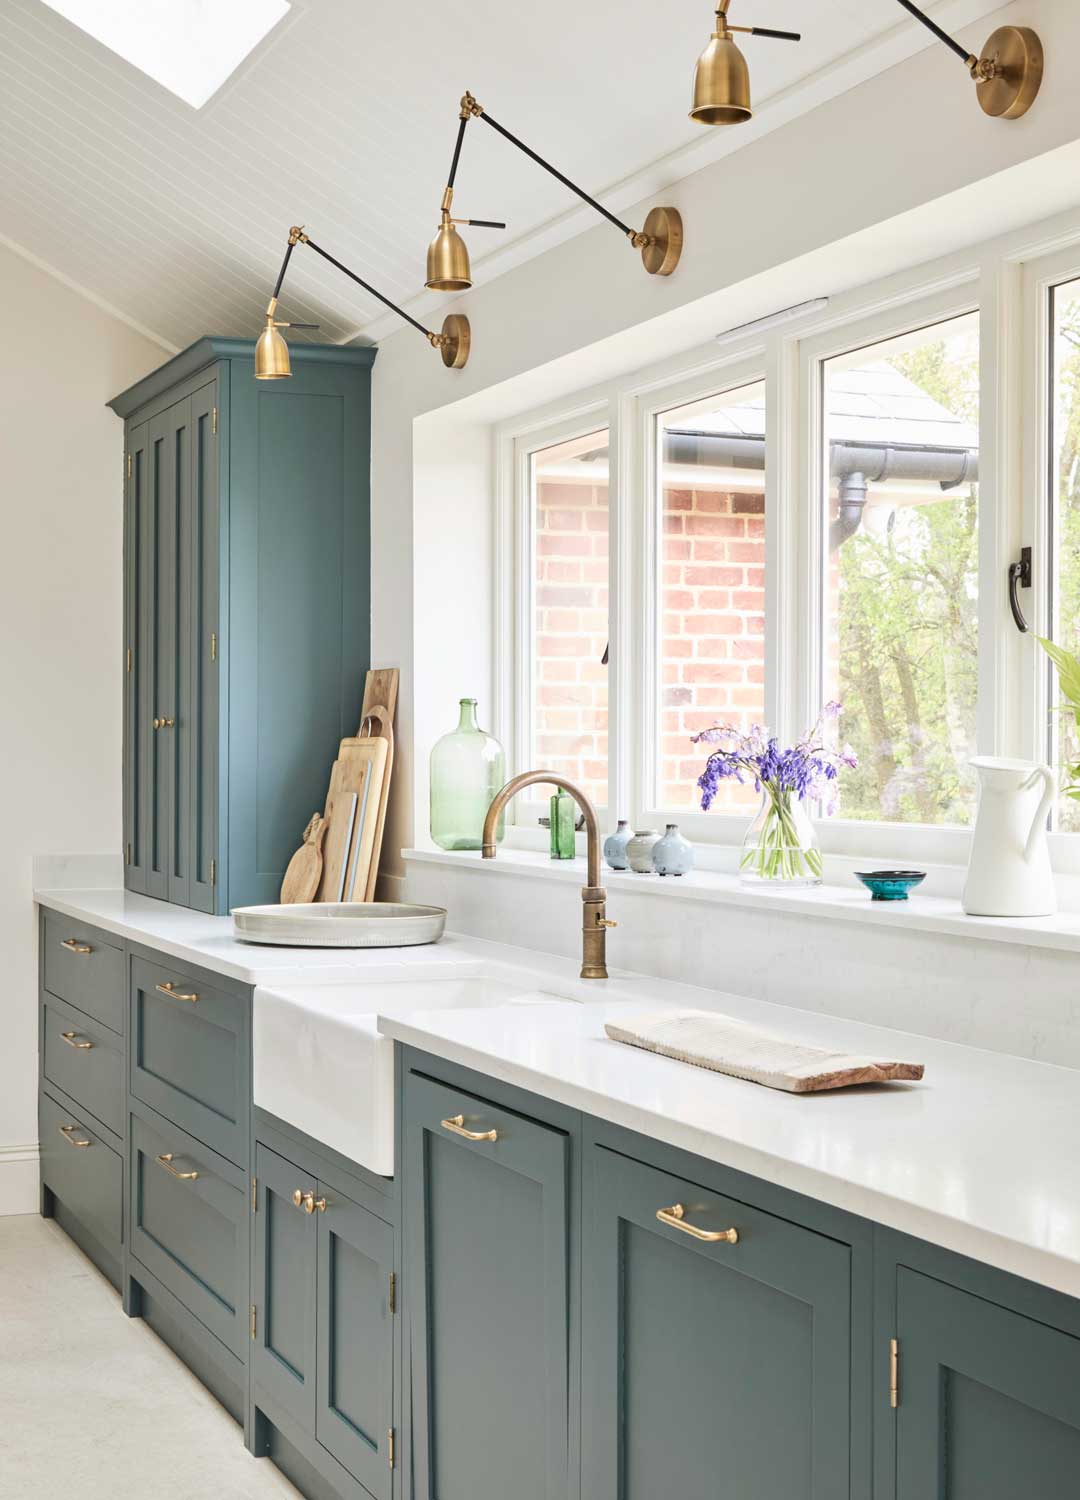
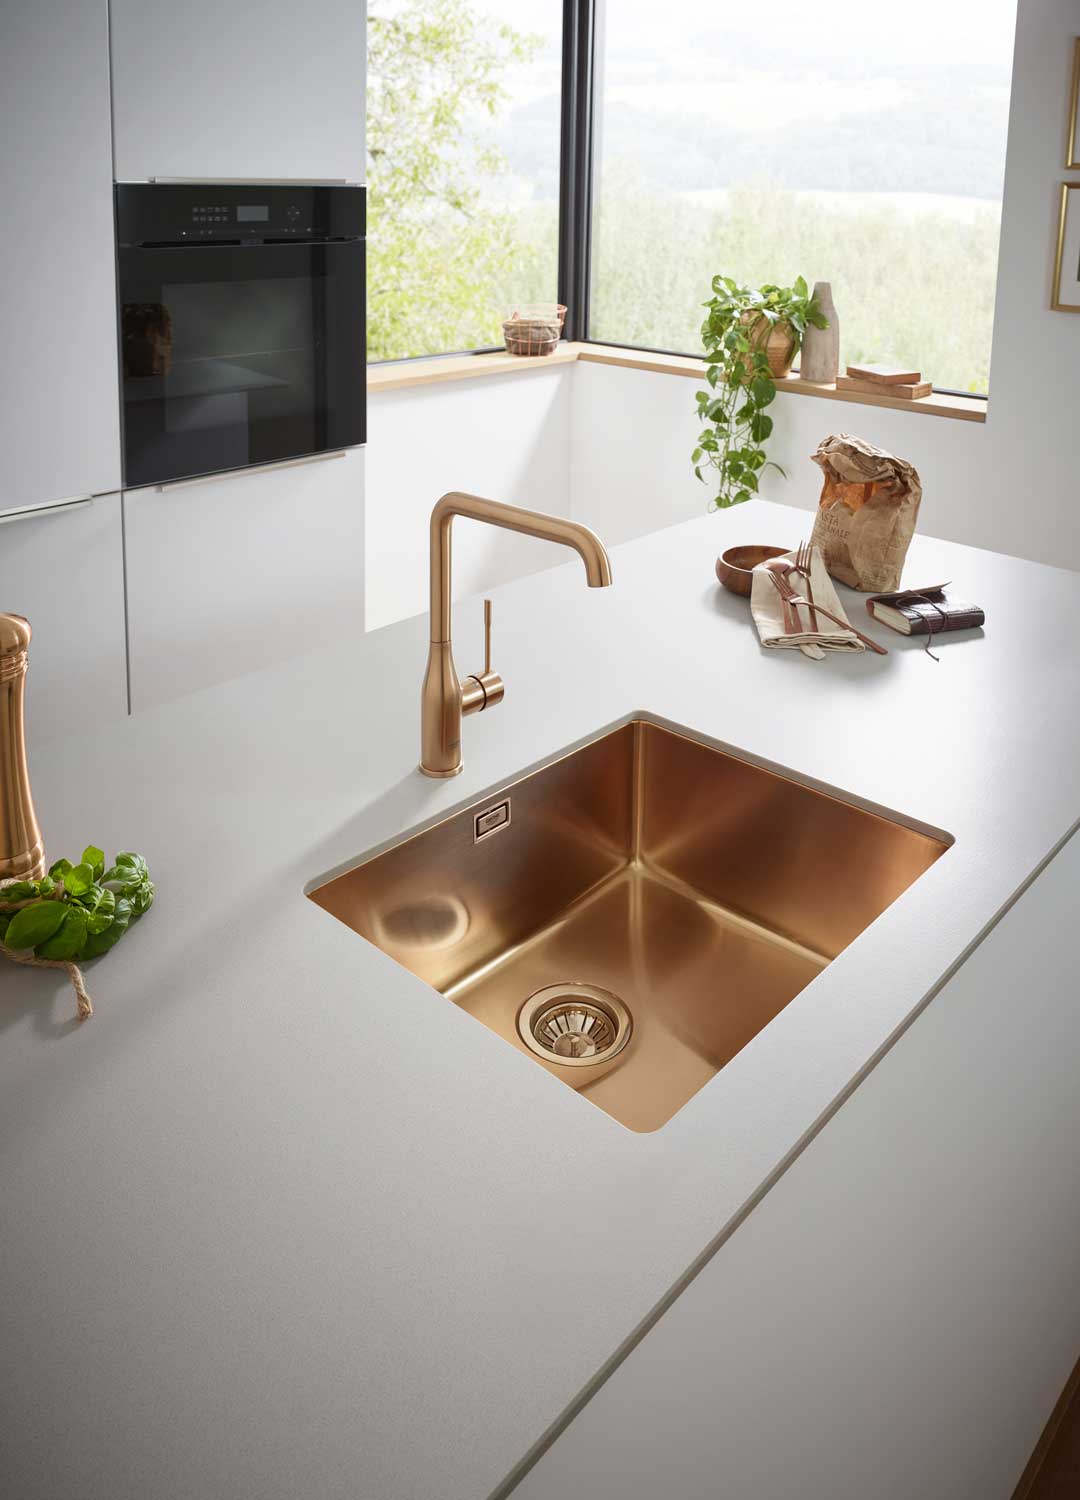
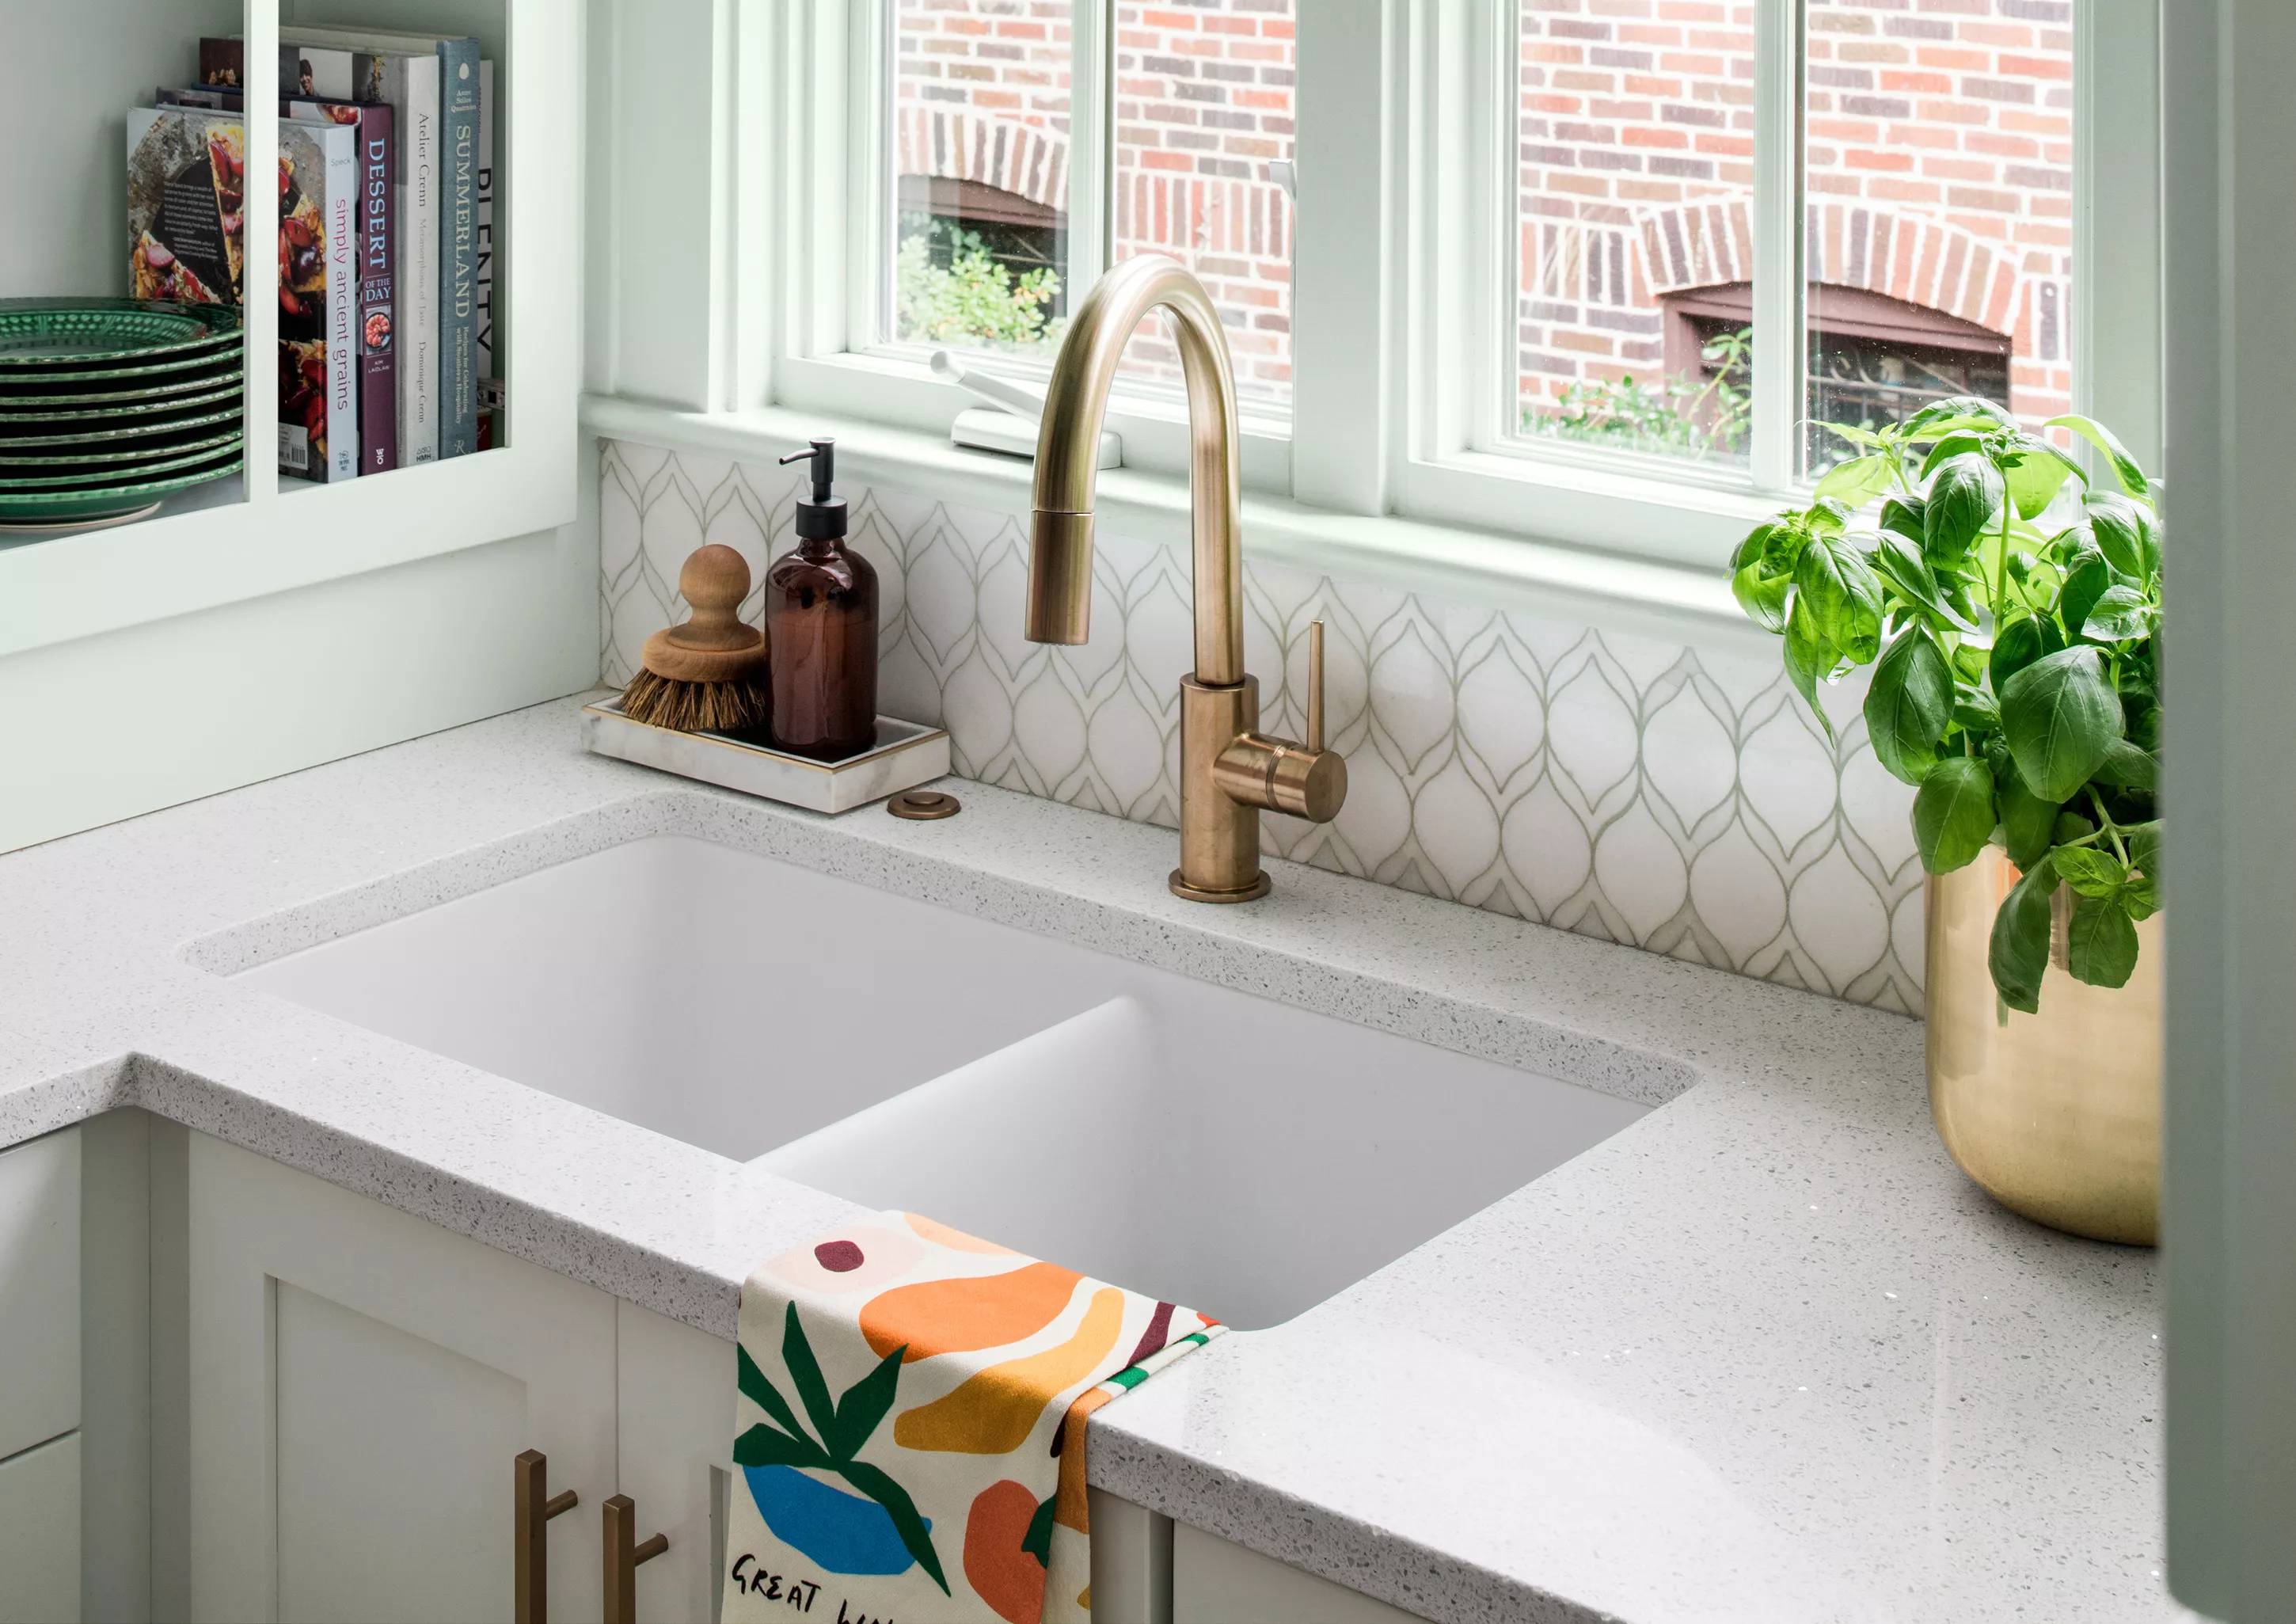
Selecting the right sink type and material is another key consideration. Factors like basin configuration (single vs. double), integrated features, and depth should align with cooking habits and personal preferences. Beyond aesthetics, the sink type must be compatible with the existing counter situation, considering mounting styles such as top-mount, undermount, or farmhouse. Each style has distinct installation requirements and maintenance implications. Material choice also impacts durability and upkeep; stainless steel is forgiving, while porcelain and copper have specific care needs. Granite composite offers a durable, scratch-resistant alternative, and researching reviews for online purchases is advised.
Before beginning the physical installation, gathering all necessary tools and materials, such as wrenches, plumber's putty, silicone caulk, screwdrivers, and potentially a jigsaw, is paramount to prevent delays. A critical safety measure is to turn off the water supply, first at the shut-off valves under the sink, and if necessary, at the main line. Releasing any residual pressure by briefly turning on the faucet is also a good practice. Additionally, disconnecting garbage disposal and dishwasher lines carefully, keeping a bucket for residual water, and labeling connections can simplify the process.
Removing the old sink requires caution to prevent damage to countertops. Cutting through old caulk with a utility knife and gently prying the sink out, possibly with assistance for heavier models, is important. If the new sink requires a larger opening, carefully marking the new cutout with a template and painter's tape and using a jigsaw with a fine-toothed blade for precise, slow cuts is necessary to avoid chipping the counter. This is also an opportune time to address countertop edge updates for moisture resistance and a cohesive look.
New faucet and accessory holes may be needed, and precision in cutting these is crucial to prevent leaks and ensure optimal water pressure. The placement of the faucet should consider ergonomic comfort and functional reach. Using a hole saw for clean cuts and immediately cleaning up debris is advised. For undermount sinks, installing new, manufacturer-recommended sink clips is essential for secure mounting, as old hardware may not be compatible. Dry-fitting the sink and leveling it with shims if needed ensures proper drainage and prevents water pooling.
Attaching the faucet and accessories to the sink before it is set into the countertop simplifies the process. A test fit verifies alignment and clearance with the backsplash. Once everything fits, applying a consistent bead of high-quality silicone caulk, either under the rim for drop-ins or between the countertop and sink for undermounts, is critical for a watertight seal. Allowing the caulk to cure for a full 24 hours is recommended to prevent leaks. Finally, reconnecting all water supply and drain lines, hand-tightening fittings before a final gentle snug with a wrench, and using Teflon tape on threaded connections helps ensure a secure, leak-free system. The last step involves slowly turning the water back on and meticulously checking all connection points for leaks, testing both hot and cold water, and letting water run to confirm proper drainage, ensuring the installation is sound and long-lasting.
#KitchenSinkInstallation #DIYHomeImprovement #PlumbingTips #KitchenRenovation #CountertopModification #FaucetInstallation #HomeMaintenance #KitchenDesign #KitchenSinkInstallation #DIYHomeImprovement #PlumbingTips #KitchenRenovation #CountertopModification #FaucetInstallation #HomeMaintenance #KitchenDesign
0 تعليق إجمالاً
 لا توجد تعليقات بعد
قد تعجبك أيضًا
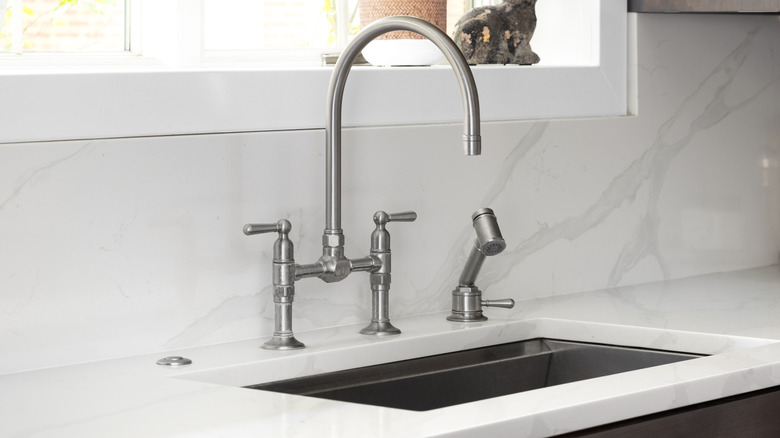
The Ultimate Guide To Choosing A Sink For Your Kitchen

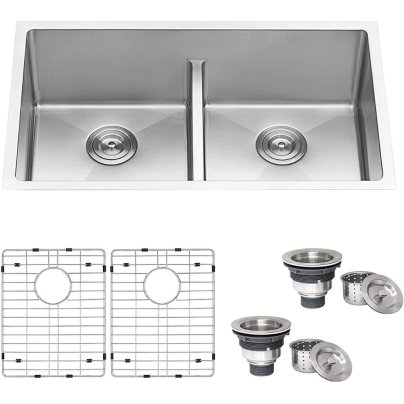
Our Favorite Kitchen Sinks Are As Functional As They Are Beautiful

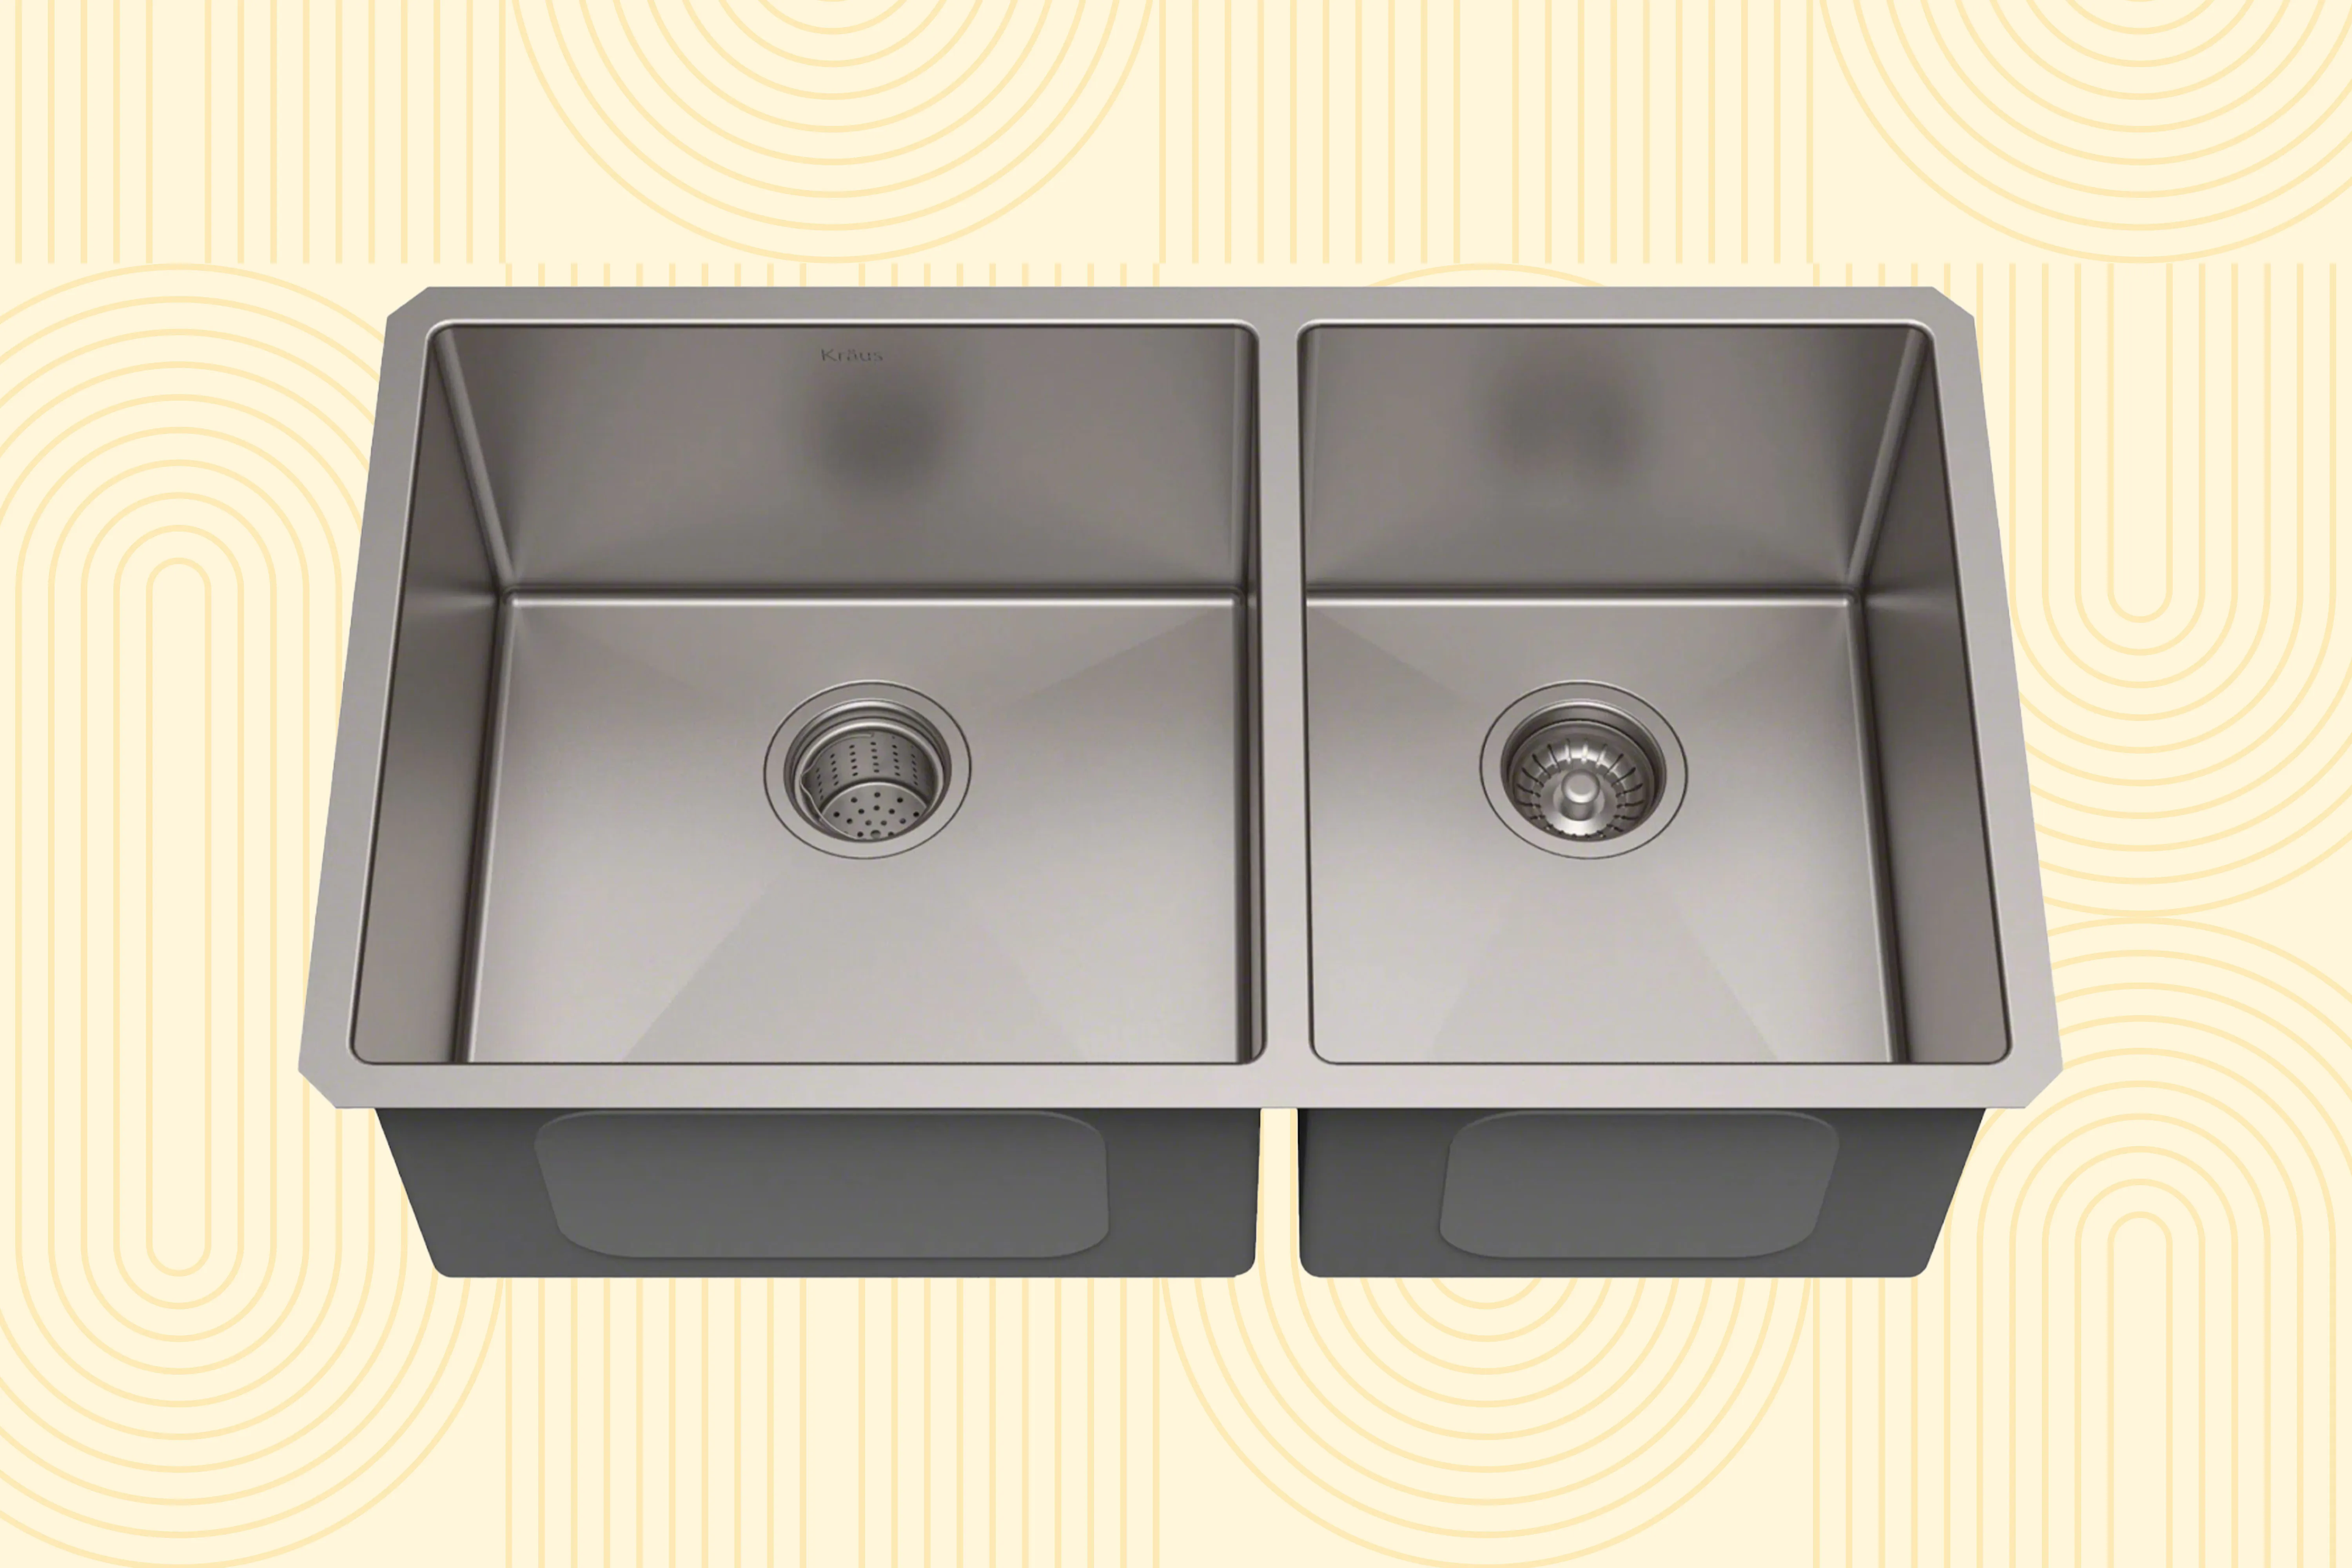
The Best Kitchen Sinks for Your Home, Based on Sink Style


At Home Living: Find the kitchen sink you will never throw out
10 Best Kitchen Sinks in Singapore: Hansgrohe, IKEA, Franke, Zuhne

How to clean a bathroom sink – expert tips for a well-scrubbed sink

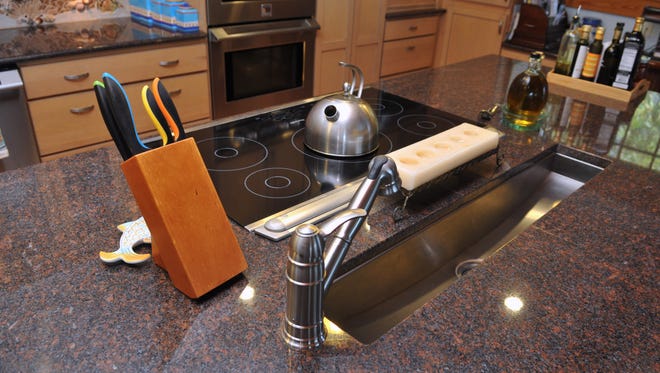
Home design for everything plus the kitchen sink

How kitchen cabinets are installed, with Wilkes Cabinets and More | VIDEO

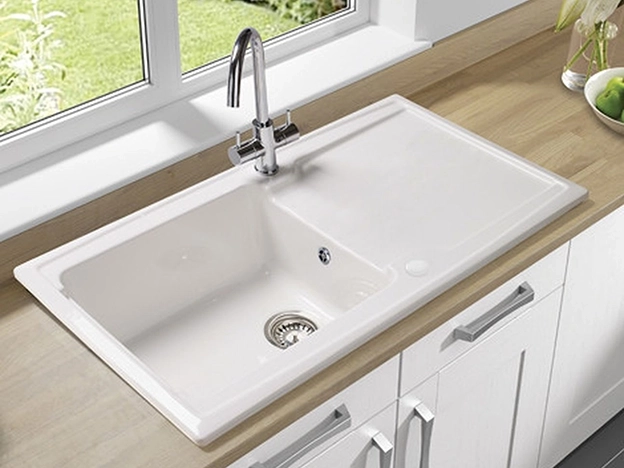
Kitchen Sinks

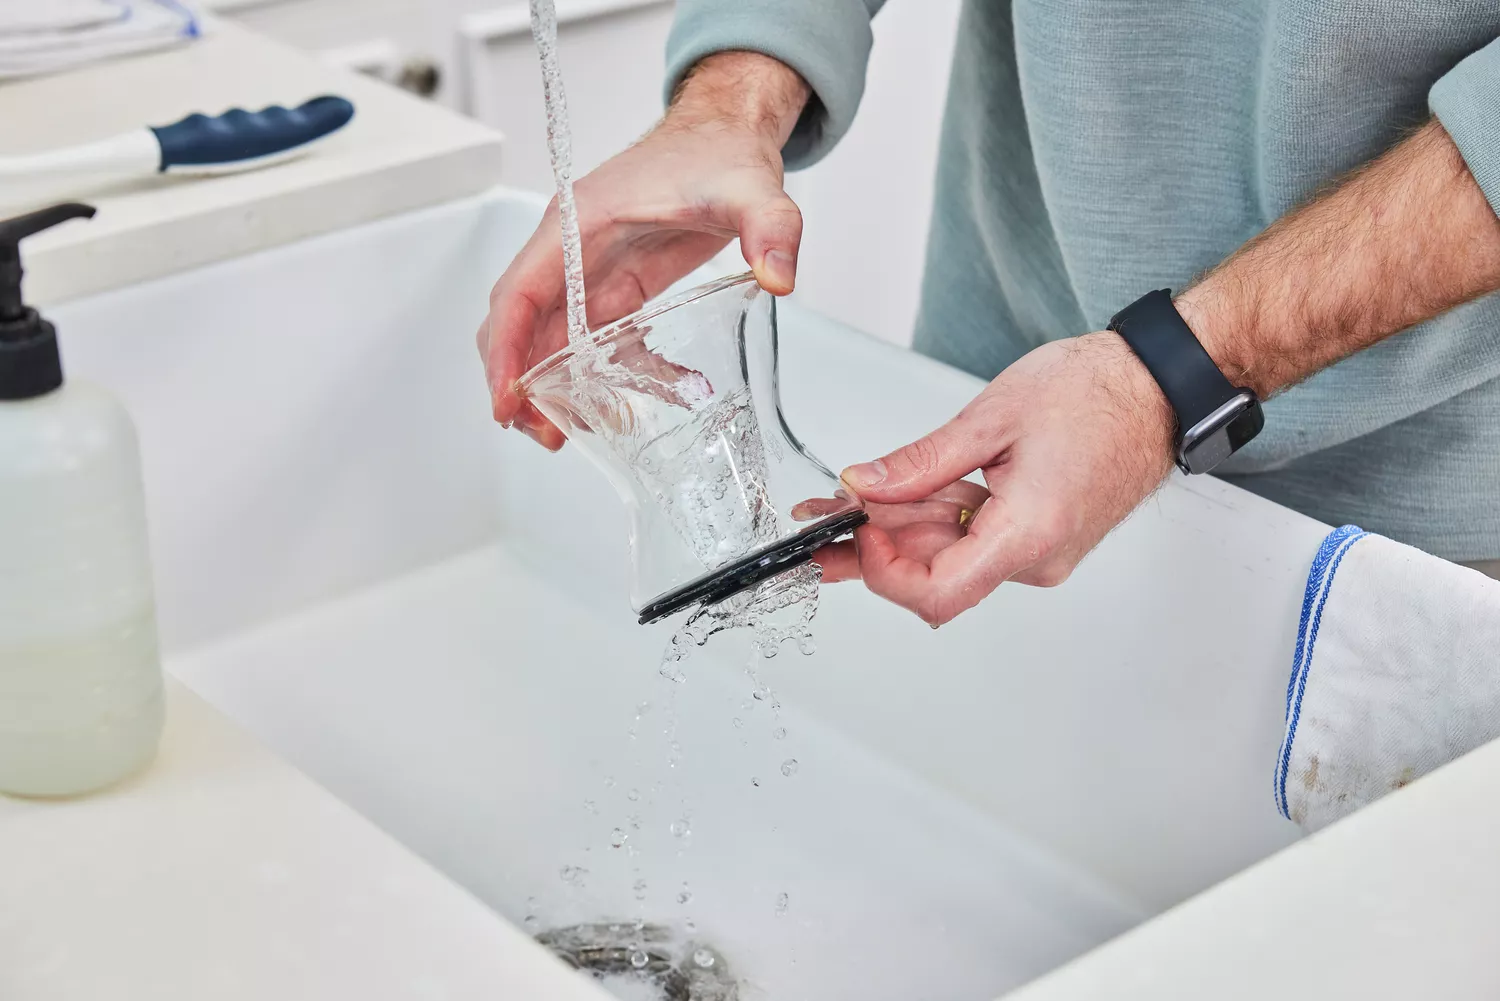
Our Favorite Kitchen Sinks Keep Your Workspace Efficient Without Sacrificing Style

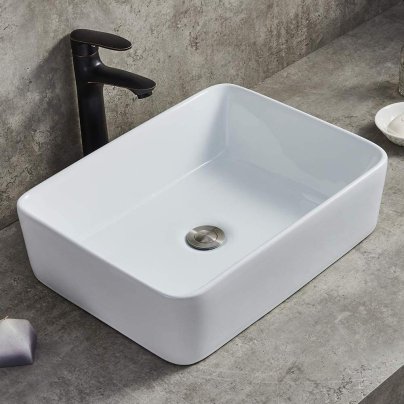
The Best Bathroom Sinks

Best Kitchen Sinks: Top 5 Models Most Recommended By Design Experts

Replacing a Kitchen Sink – Part 2: Installation, Caulking, and Plumbing

These Top-Rated Sinks Will Instantly Upgrade Your Kitchen

Where should a sink be in a kitchen? Designers share advice on placement for maximum efficiency


Don't buy a bathroom sink without reading this first - the expert guide to picking the perfect one


All Kitchen Sinks

The Most Popular Kitchen Sink Styles to Transform Your Space

Kitchen Sink Taps
Our Complete Guide to Types of Sinks (And When to Choose Each One)