1/3
How One Renter Made Her Own Peel-and-Stick Wallpaper
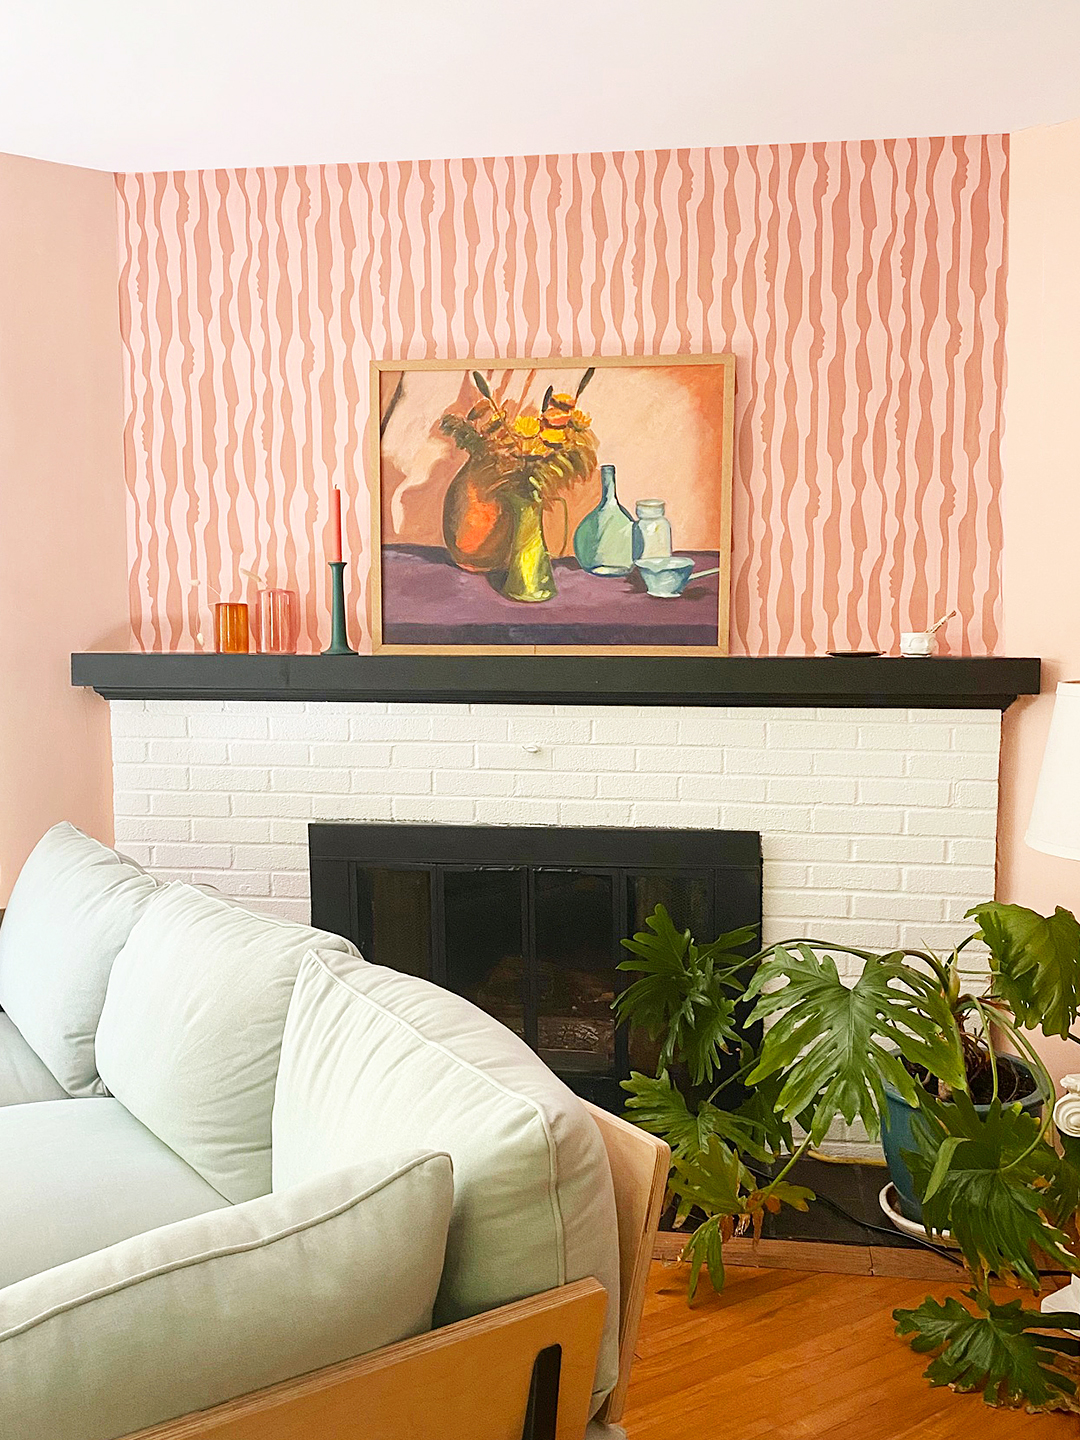
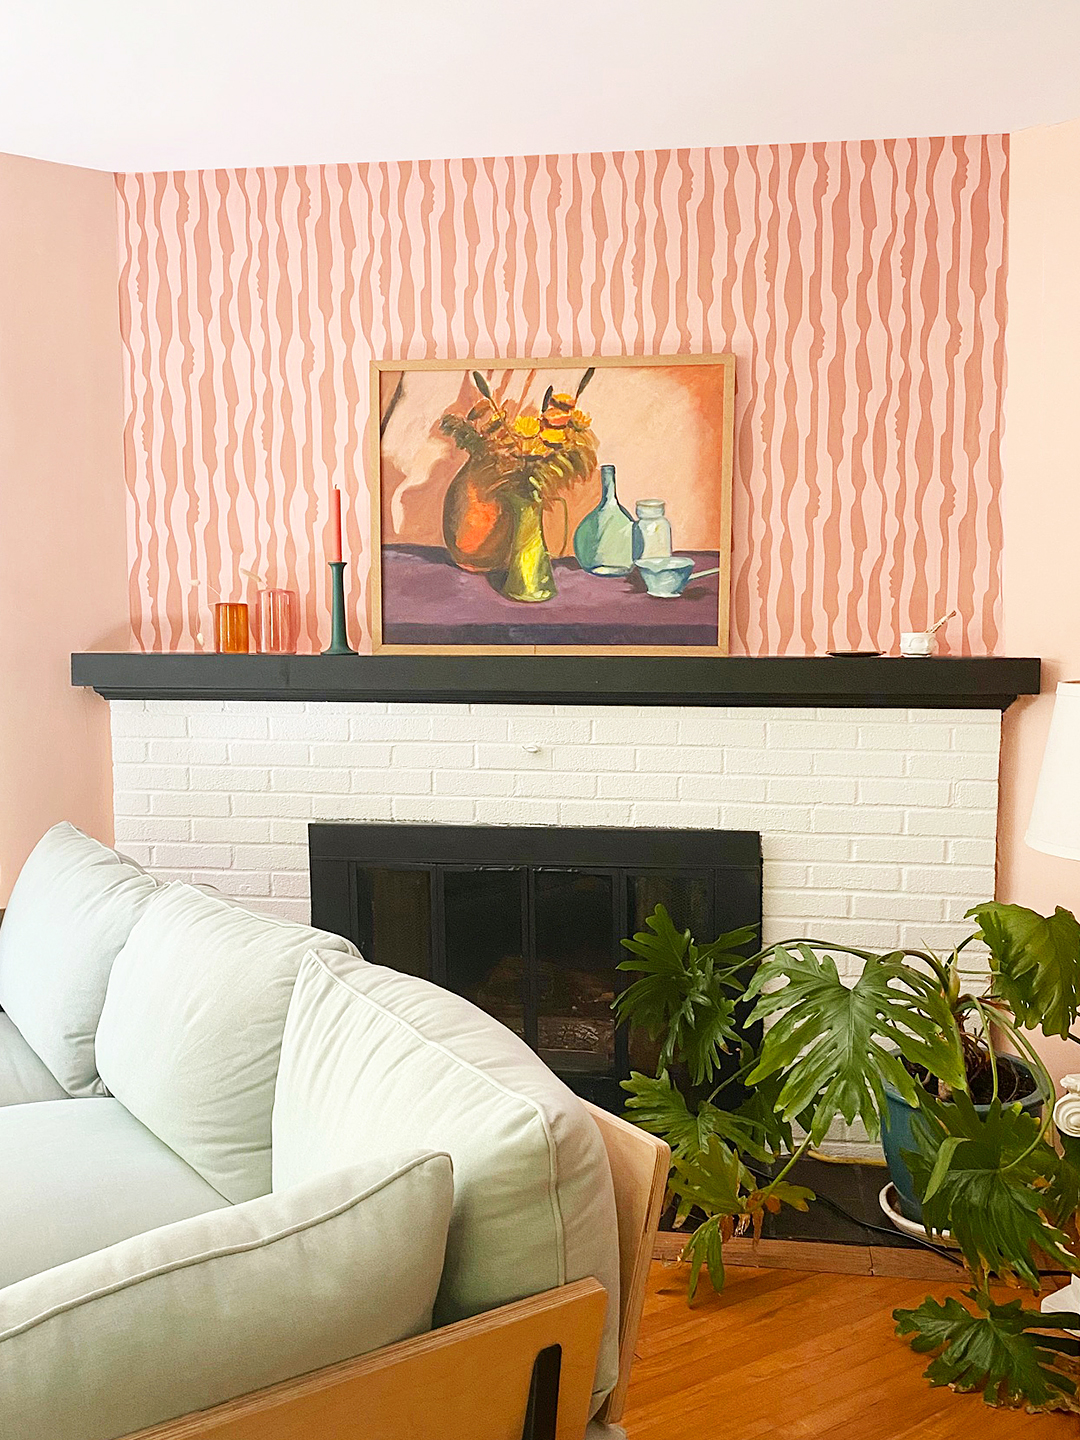
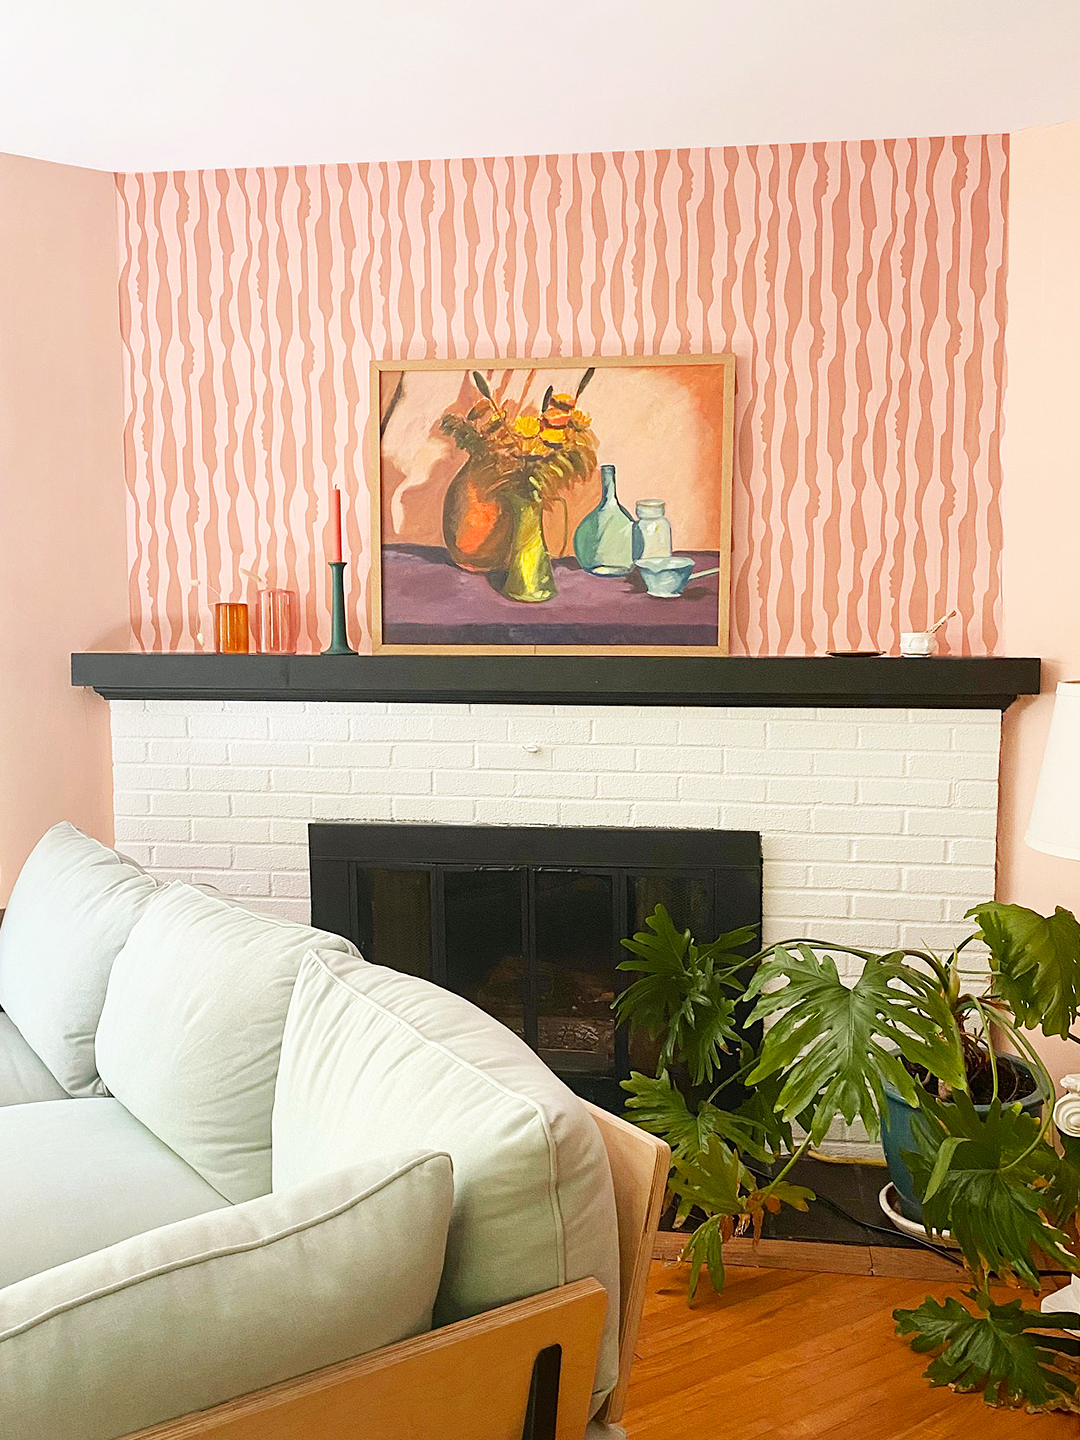
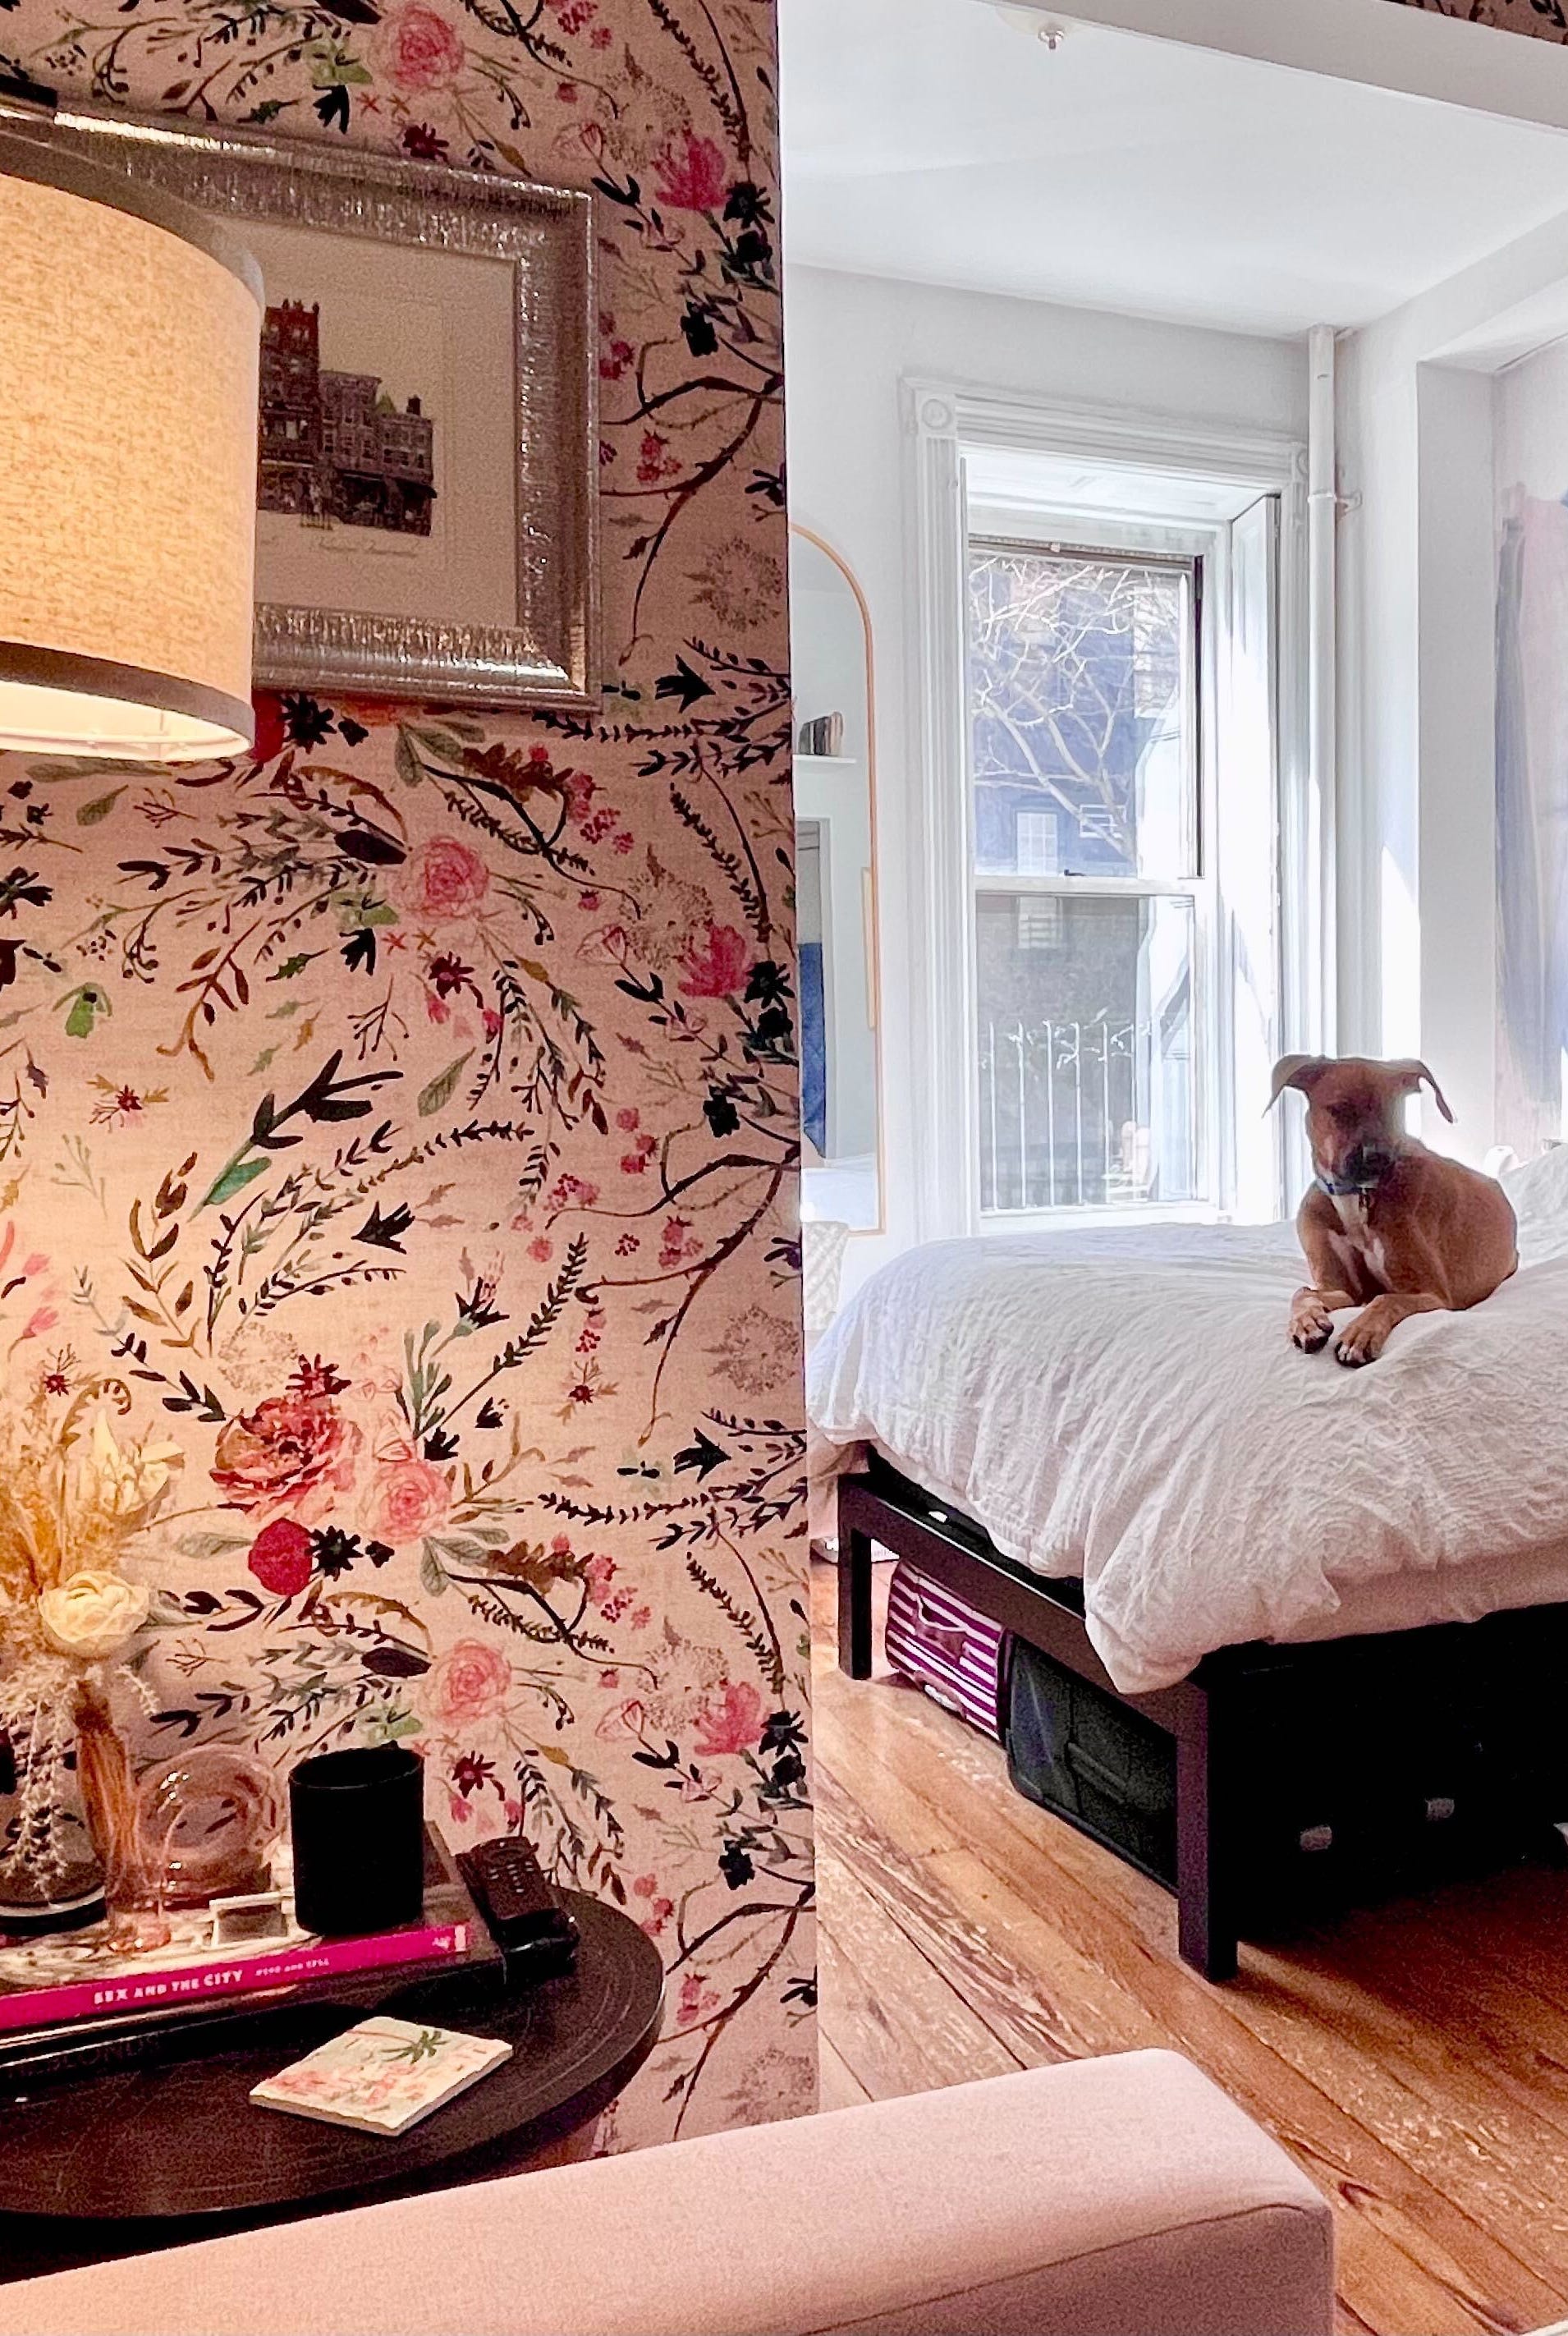
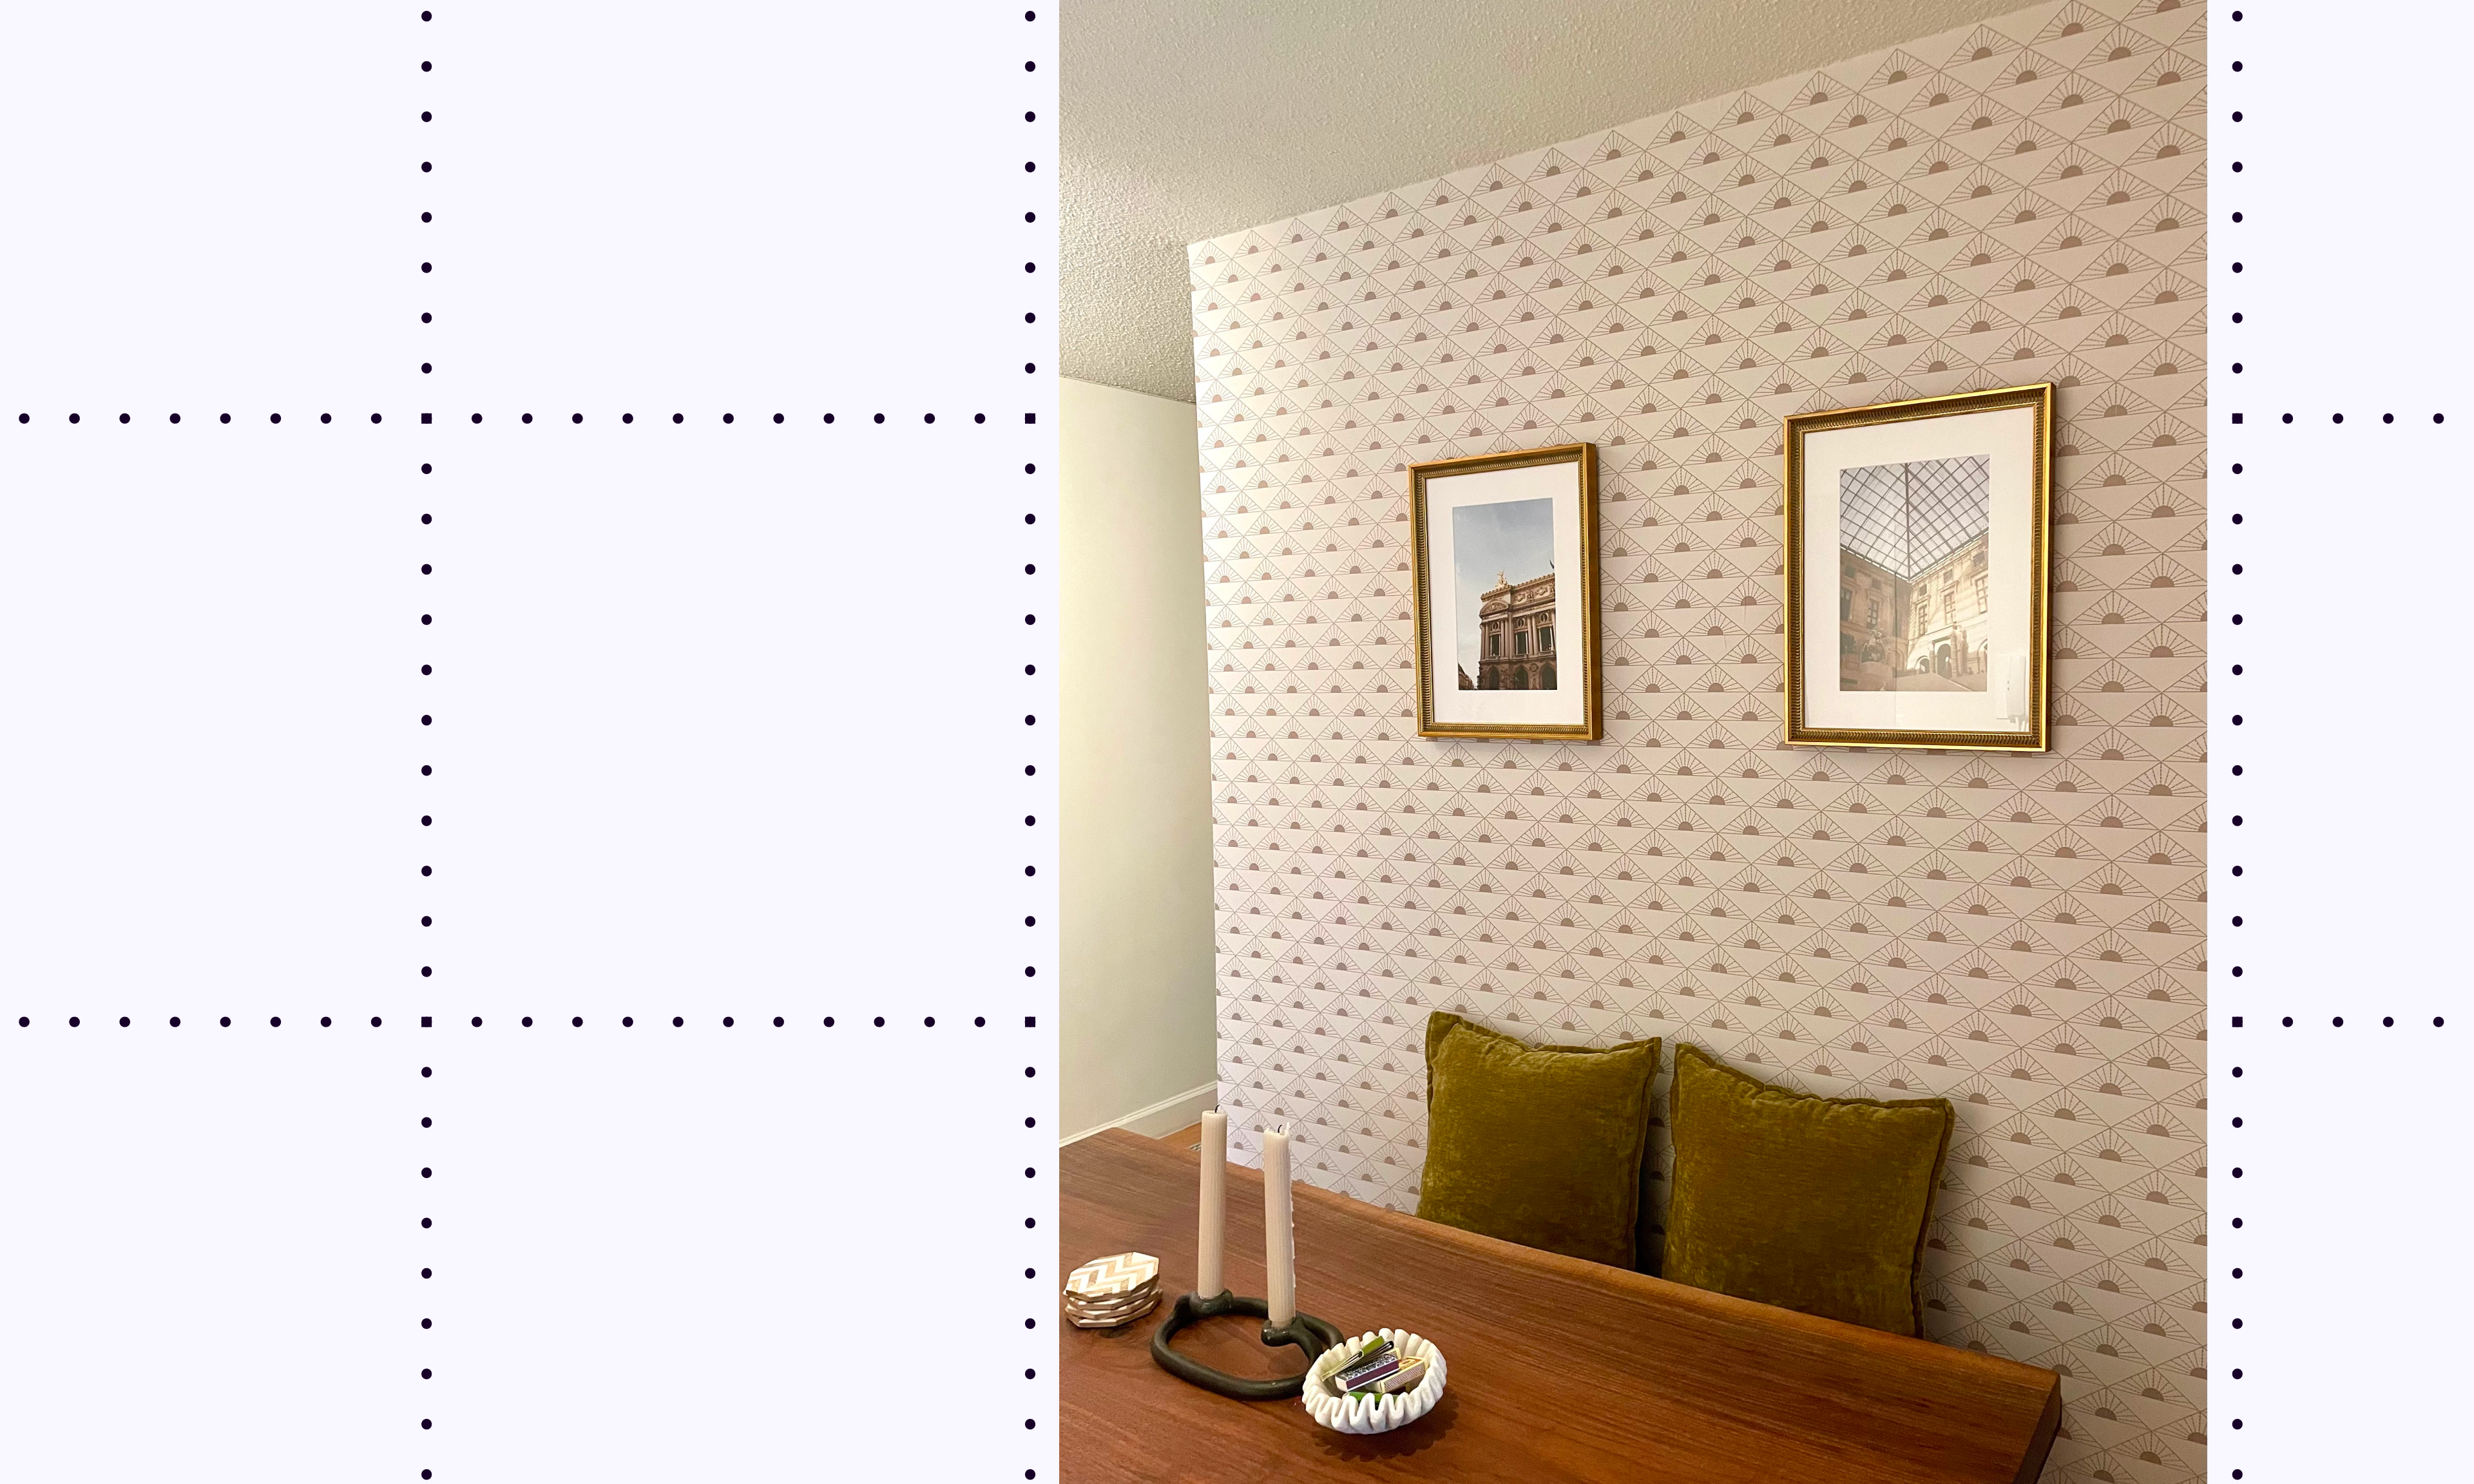
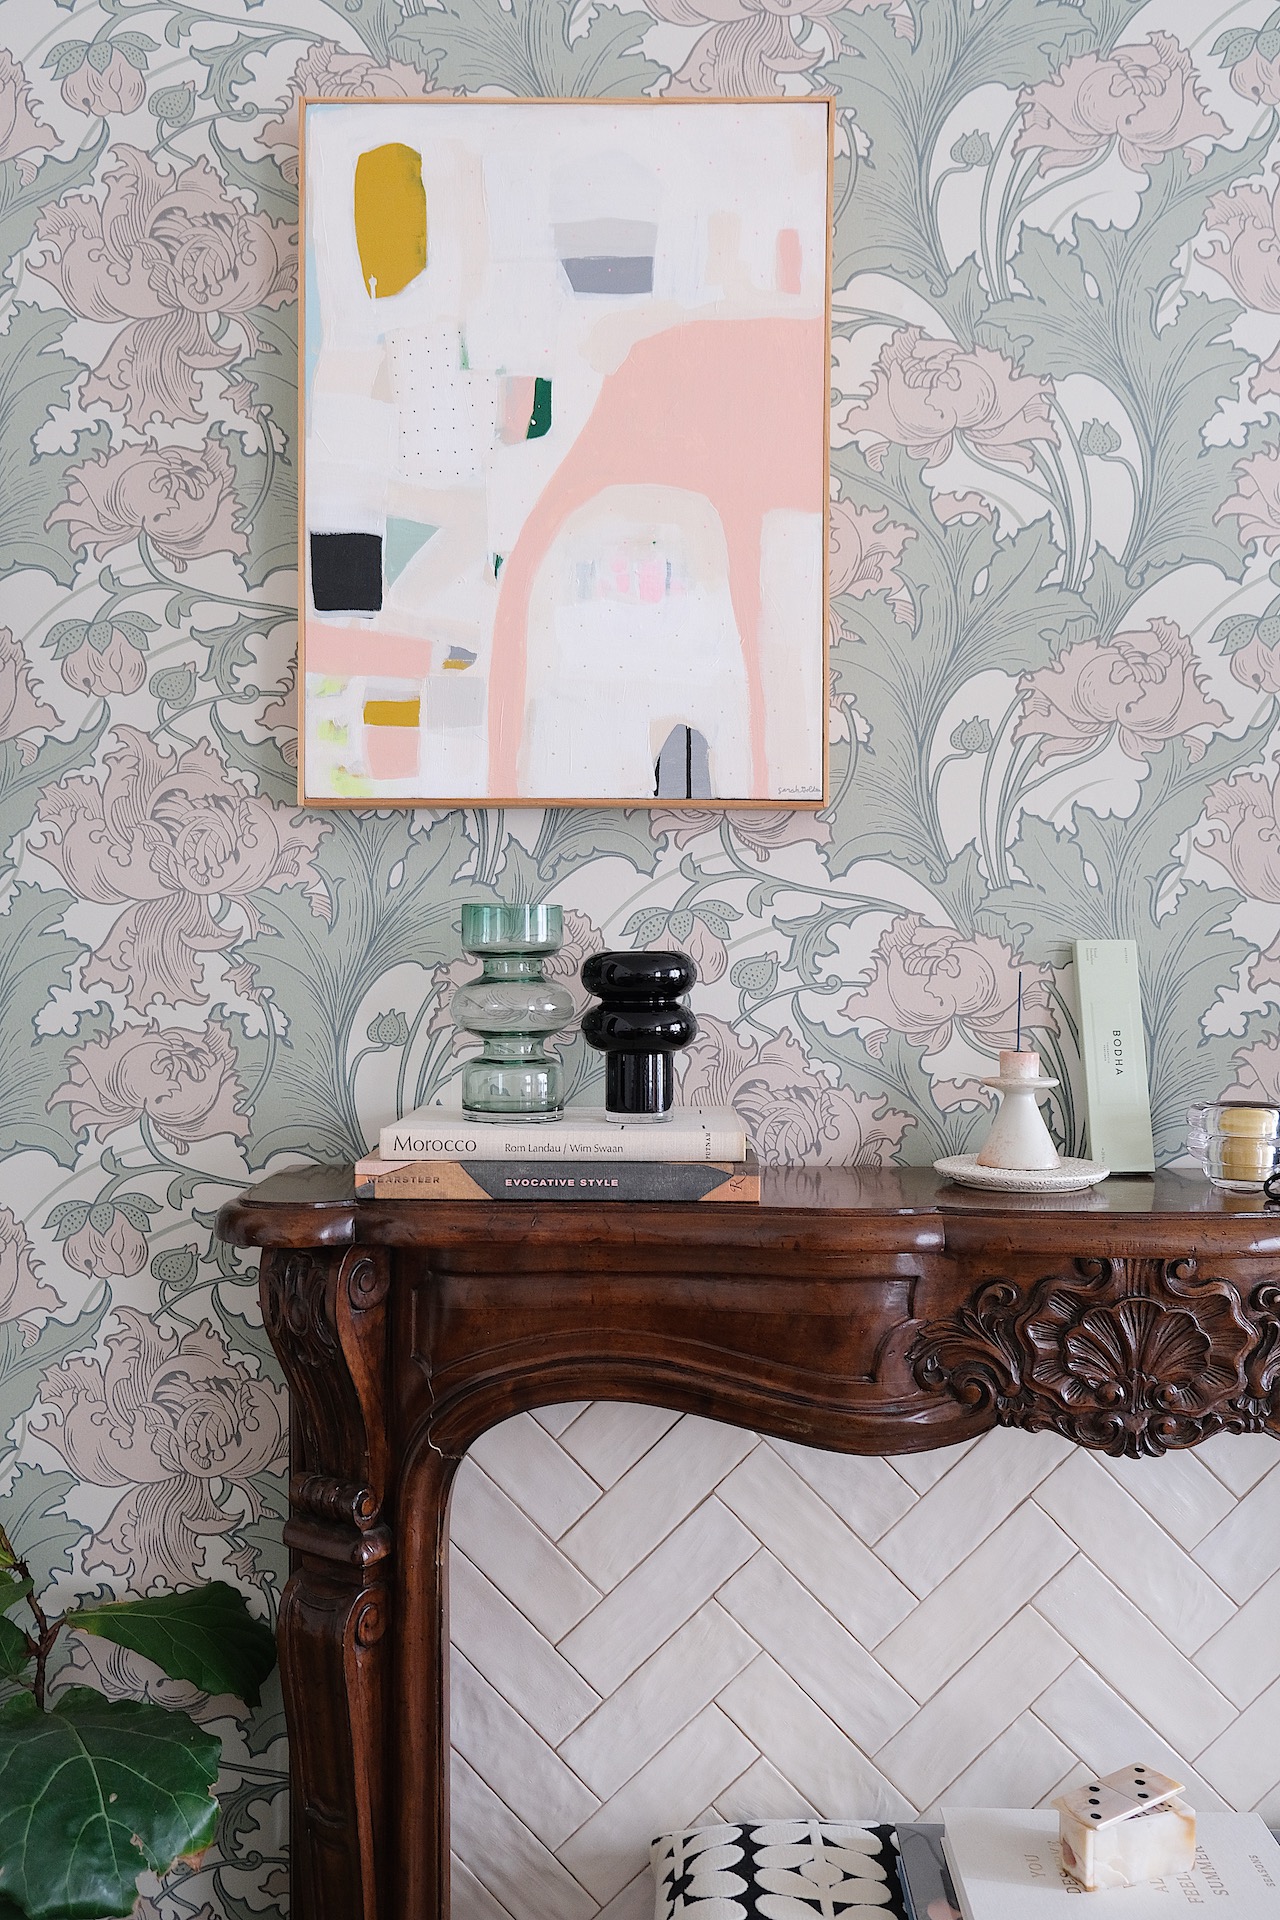
Amal Iqbal, a blogger residing in San Diego, transformed her rental apartment's plain walls into a personalized space by creating her own peel-and-stick wallpaper. Tired of the 'white box' aesthetic common in California rentals and not yet ready to purchase a home, Iqbal sought a landlord-friendly solution to traditional wallpaper. She discovered a method using Elmer's glue as an adhesive, which allowed for easy removal, mitigating concerns about losing her security deposit.
Iqbal's initial attempt involved wallpapering an IKEA Billy bookcase with a mixture of 1 cup water and ⅓ cup Elmer’s glue. While the results on the bookcase were not ideal, the experiment revealed the adhesive's remarkable ease of removal, which was a critical factor for a rental property. This accidental discovery empowered her to proceed with wallpapering her living room walls without fear of damaging the property or forfeiting her deposit.
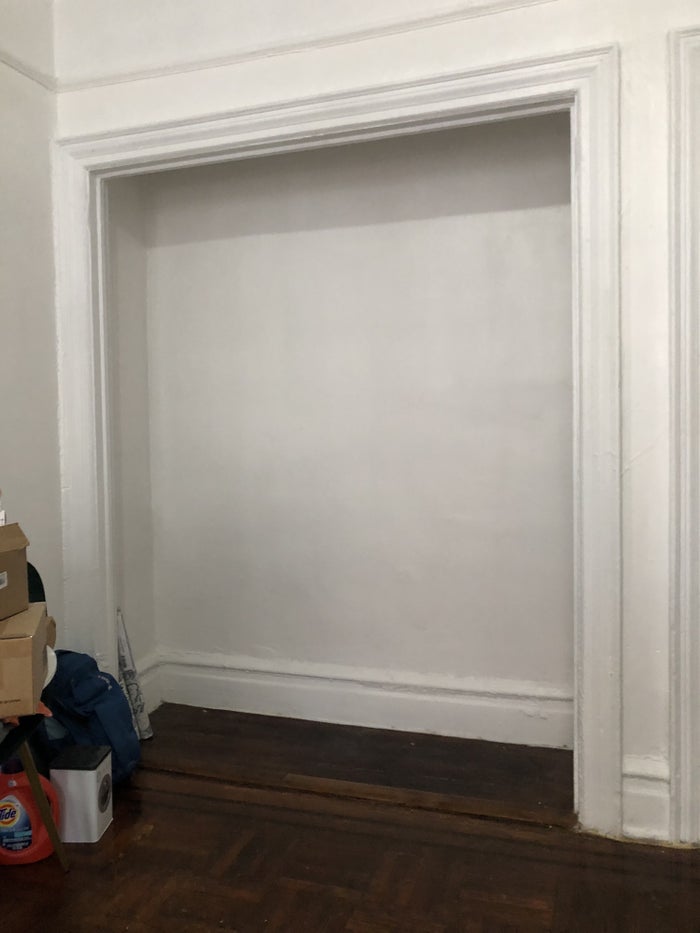
The DIY process outlined in the article involves four key steps. The first step, 'Prep the Foundation,' emphasizes the importance of preparing the walls. This includes sanding any spackle, cleaning the surfaces with warm, soapy water, and ensuring they are thoroughly dry. Proper preparation helps the wallpaper adhere smoothly and increases its longevity on the wall.
'Practice Makes Perfect' is the second step. Iqbal strongly advises testing the adhesive mixture on a small, inconspicuous area, such as a shelf or a piece of poster board, before applying it to the main wall. This allows the DIYer to become familiar with the technique and consistency of the adhesive, preventing potential mistakes during the primary application and streamlining the overall process.
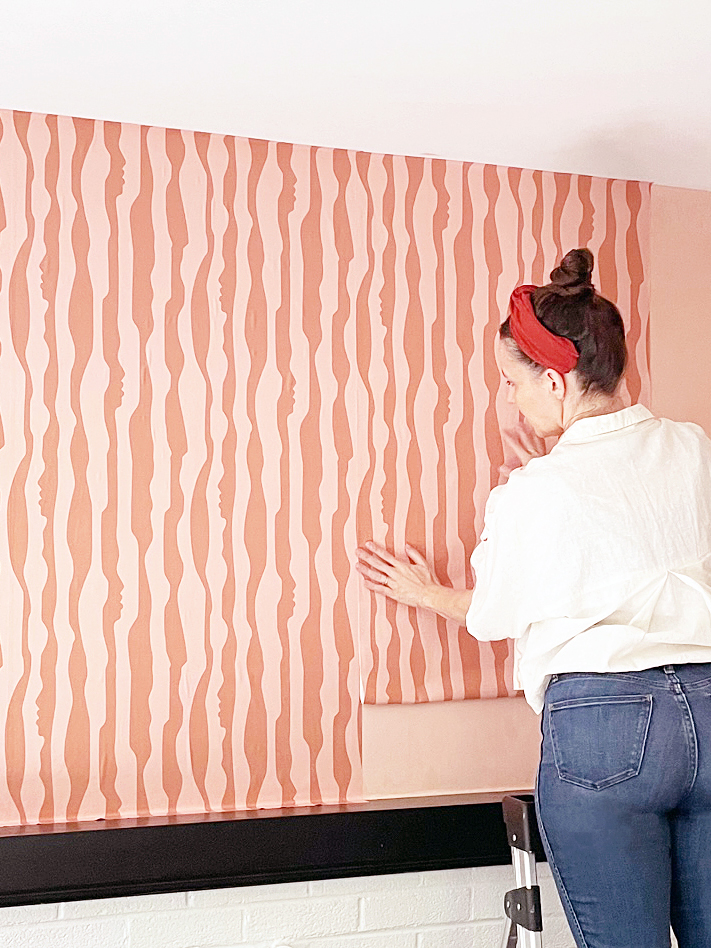
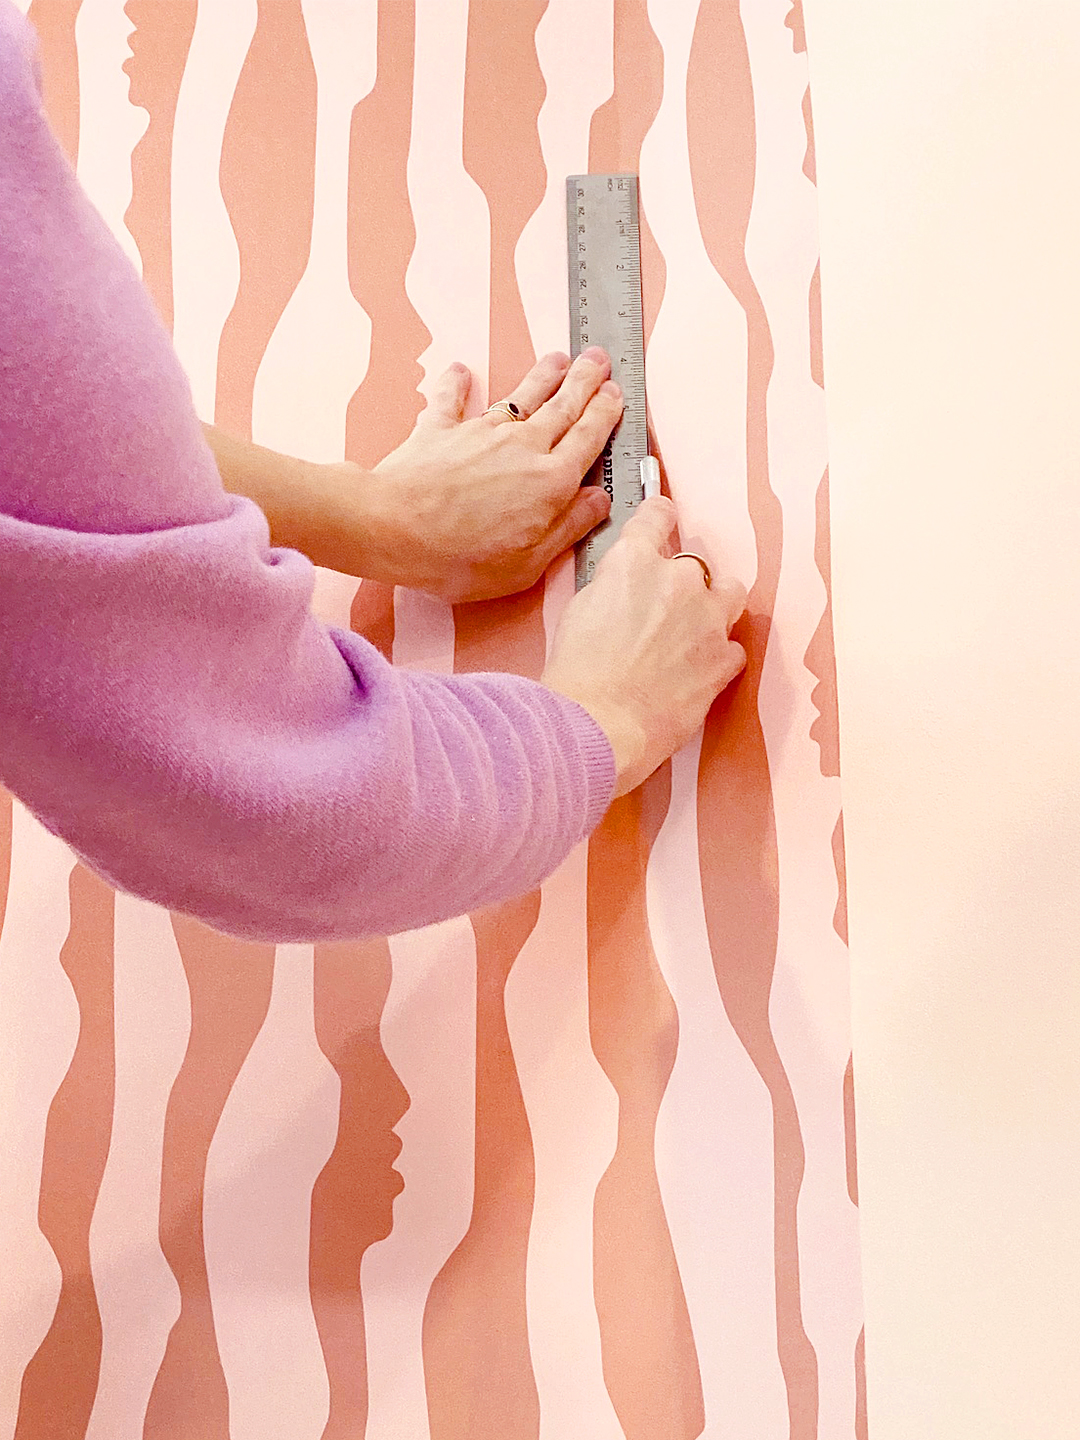
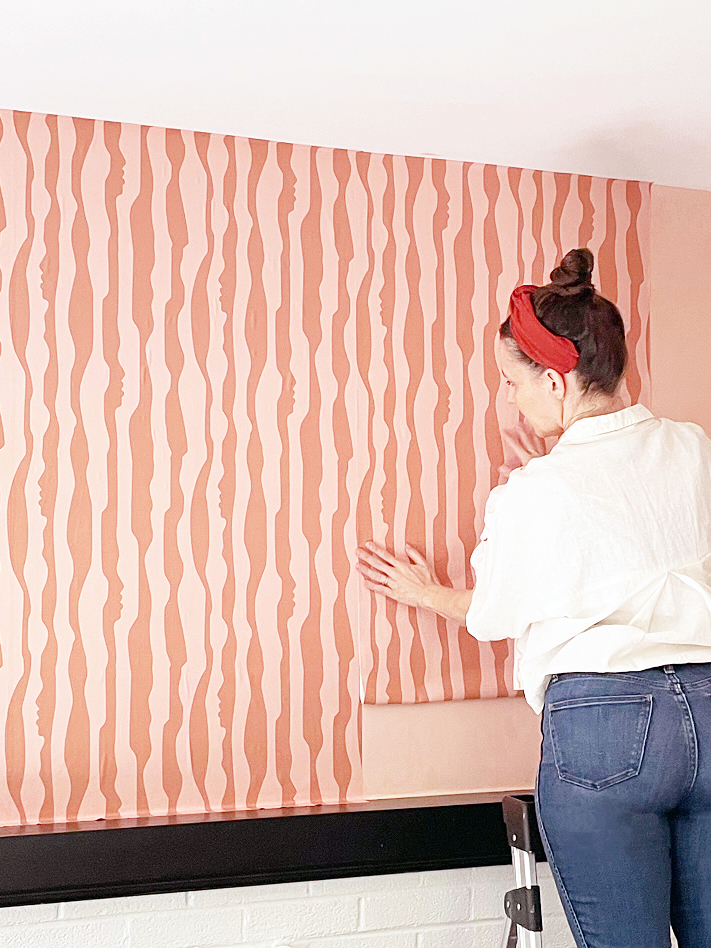
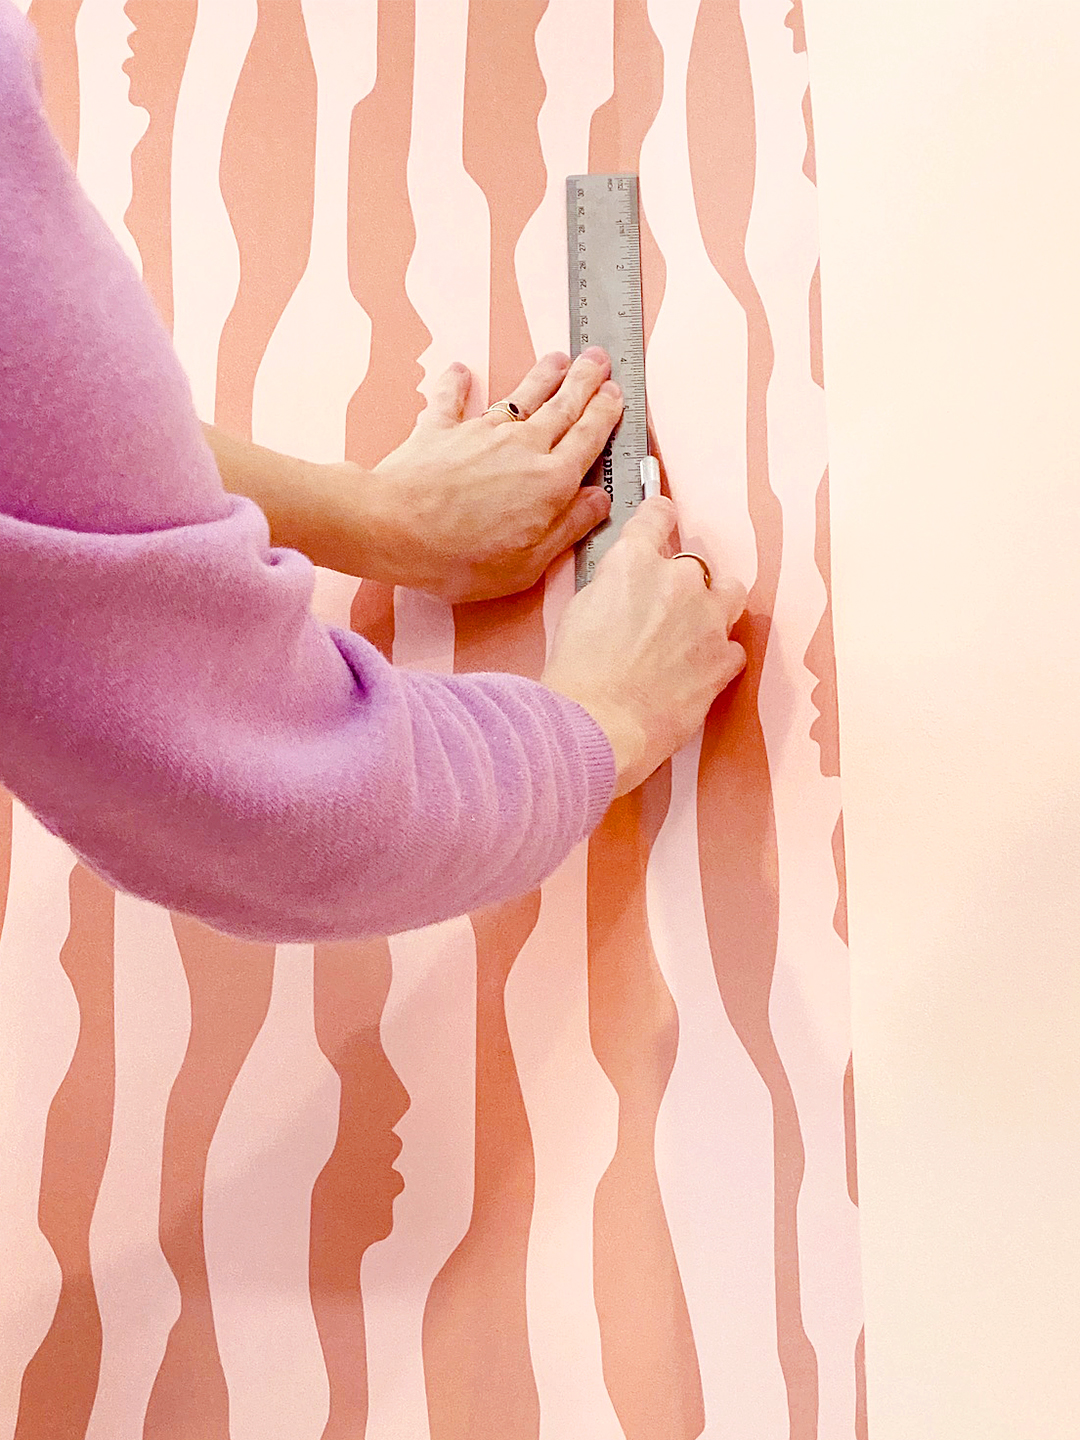
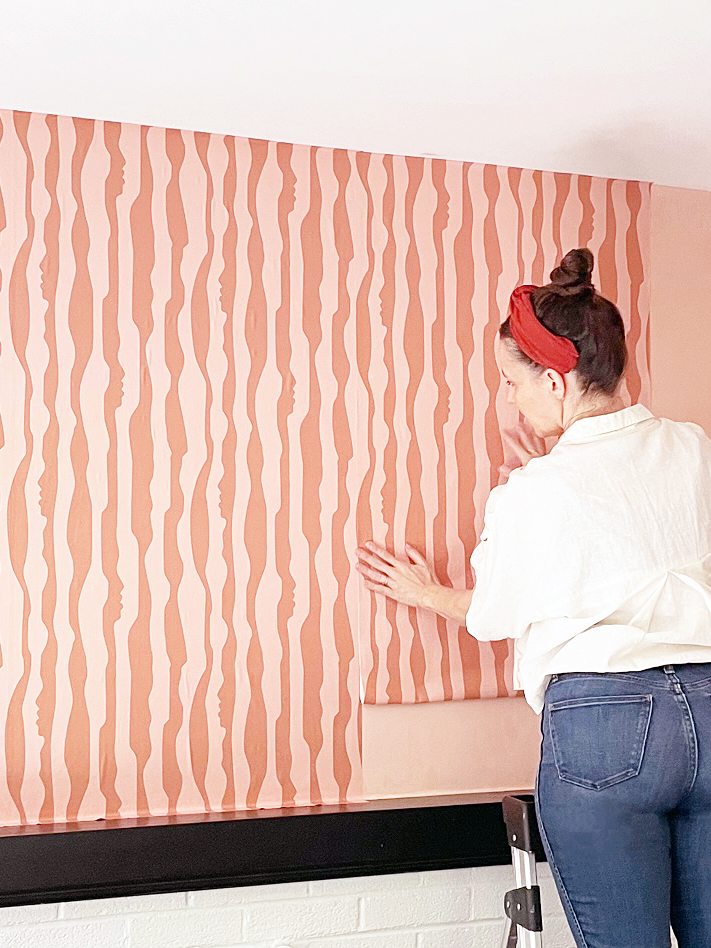
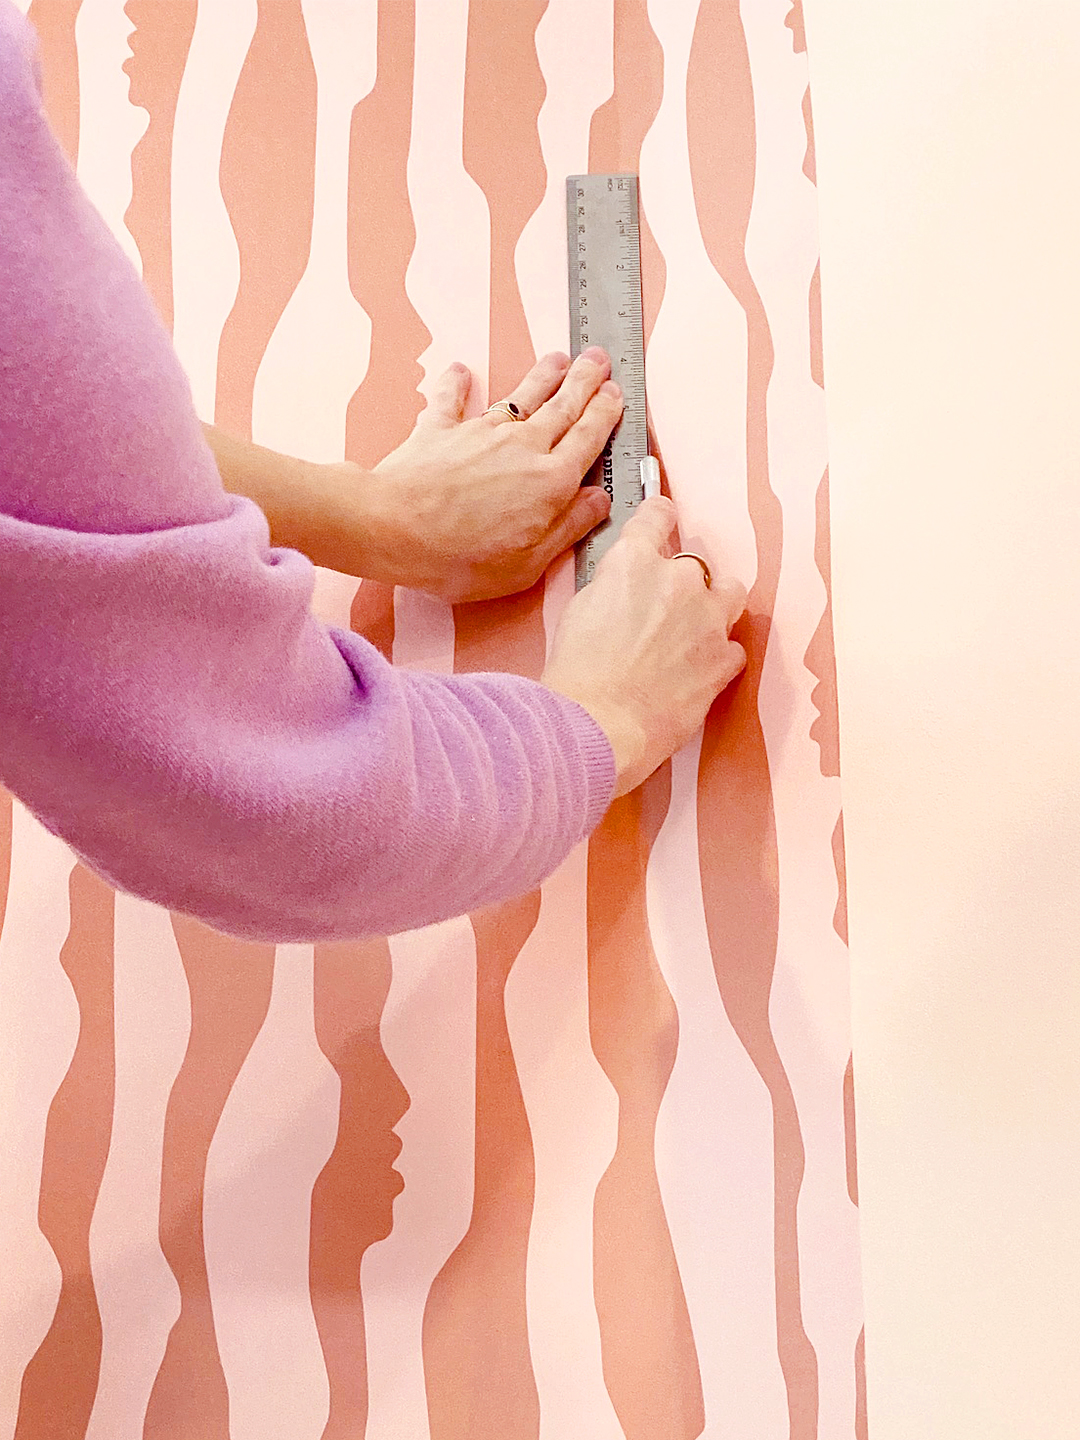
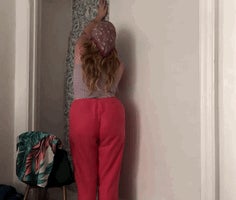
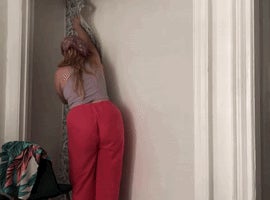
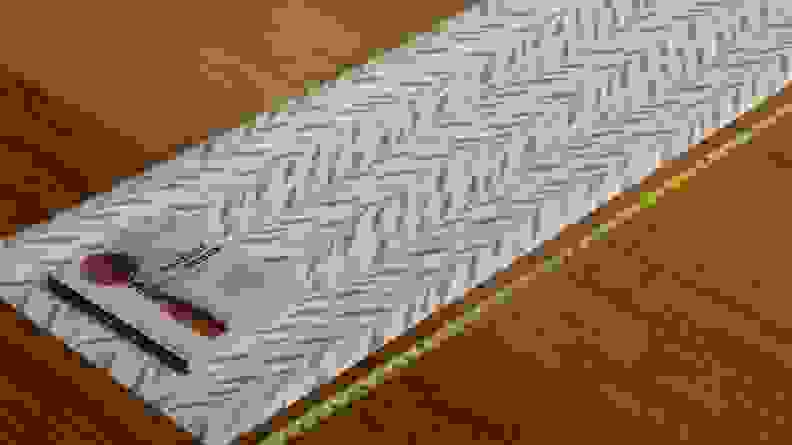
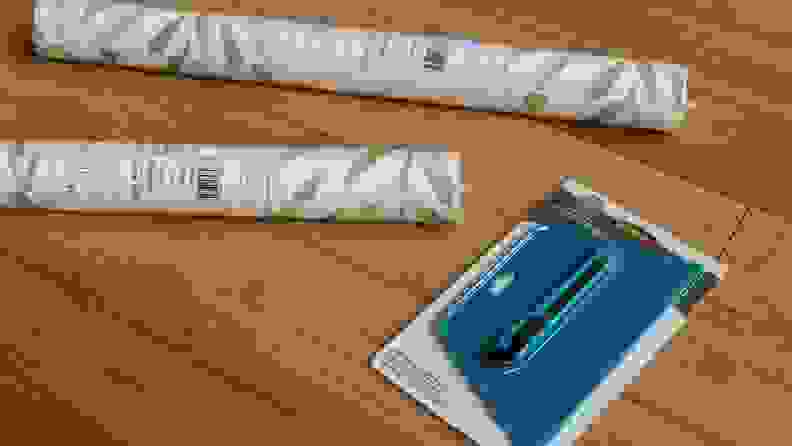
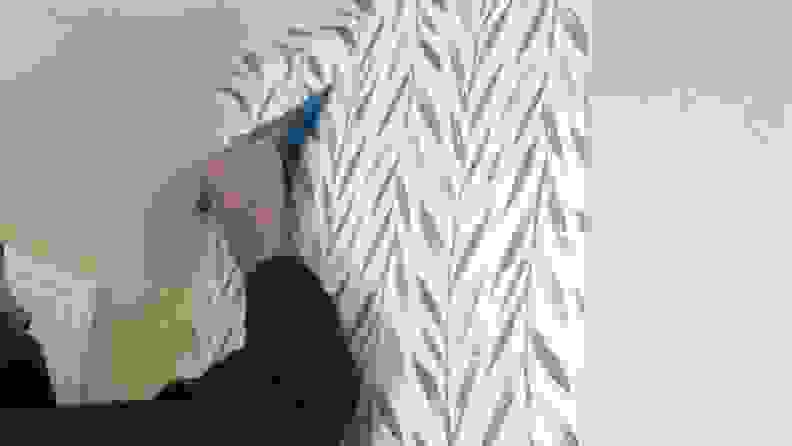
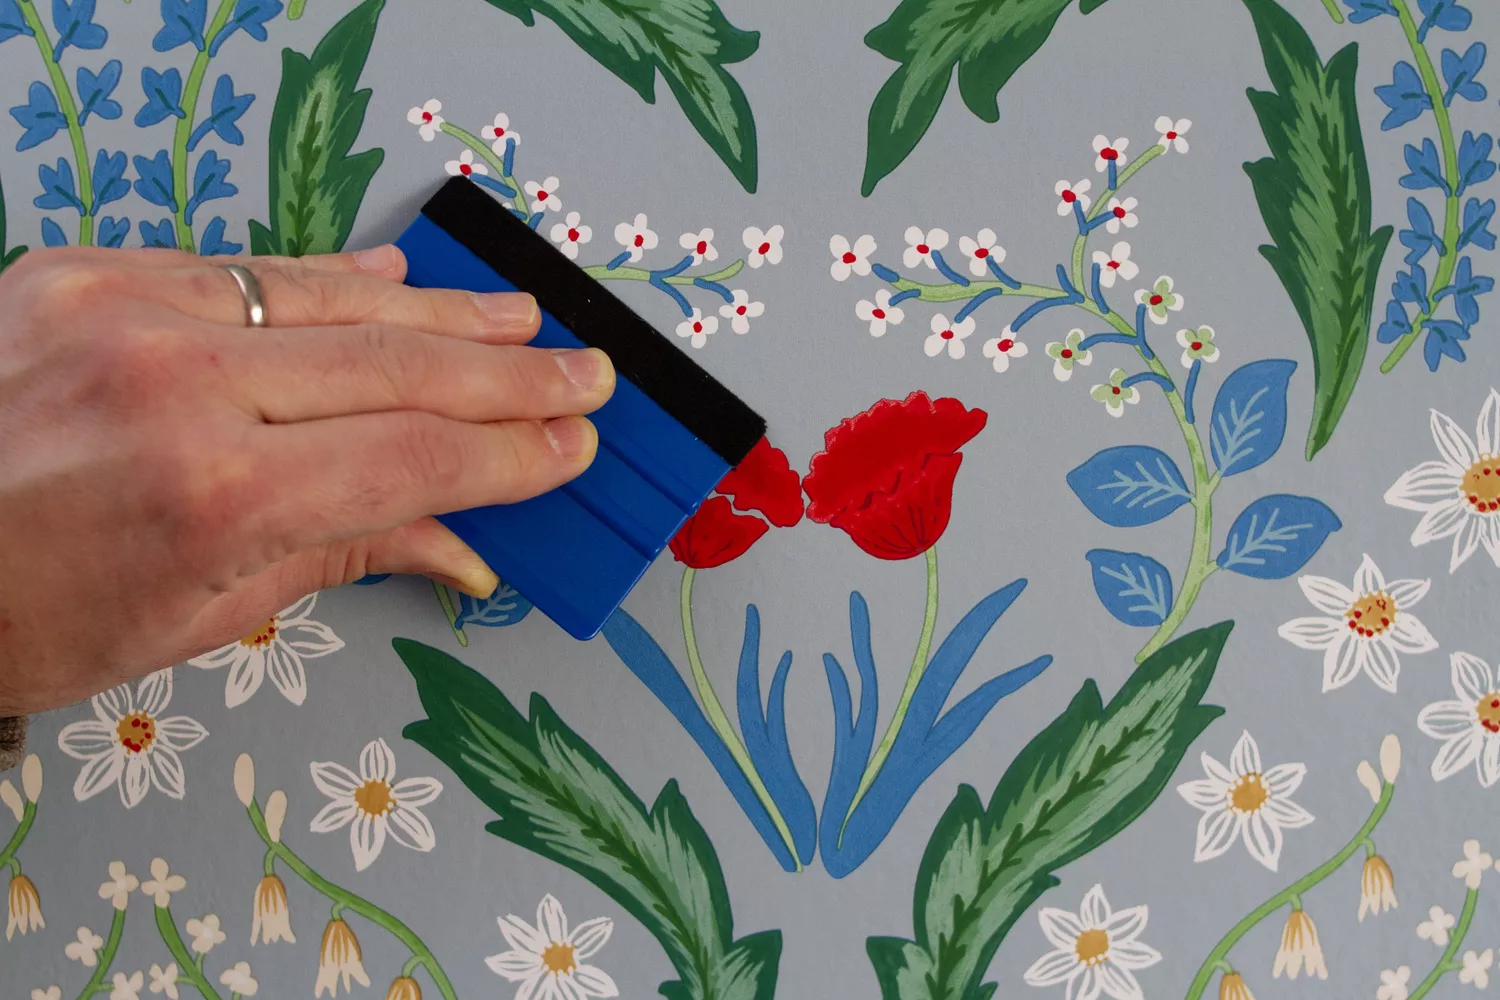
The third step, 'It’s Go Time,' details the application process. Iqbal suggests starting in the middle of the wall, which she notes can simplify the process of straightening edges, especially in older rental properties where walls might not be perfectly even. She recommends applying wallpaper in 6 to 8-inch sections, securing the remaining roll with clothespins. The adhesive is applied directly to the wall using a small paintbrush, and then the wallpaper is carefully laid over it and smoothed from the center outwards with a smoothing tool. This method is repeated until the desired surface is covered.
The final step, 'Admire,' encourages stepping back to assess the completed work. This allows the DIYer to spot any imperfections and appreciate the transformation. Iqbal notes that the entire process, which took her approximately eight hours for a 9-by-10-foot wall, can significantly alter the look and feel of a room. A significant advantage of this method is the ease of removal: the wallpaper can simply be peeled off from a corner at a 45-degree angle, making it an ideal, temporary design solution for renters.
#DIYHomeDecor #RentalFriendly #PeelAndStickWallpaper #InteriorDesign #HomeRenovation #ElmersGlueHack #ApartmentDecor #WallDecor #CreativeLiving #DIYHomeDecor #RentalFriendly #PeelAndStickWallpaper #InteriorDesign #HomeRenovation #ElmersGlueHack #ApartmentDecor #WallDecor #CreativeLiving
0 تعليق إجمالاً
 لا توجد تعليقات بعد
قد تعجبك أيضًا
How to Hang Wallpaper (the Permanent Kind!) | domino
How to Hang Wallpaper (the Permanent Kind!)

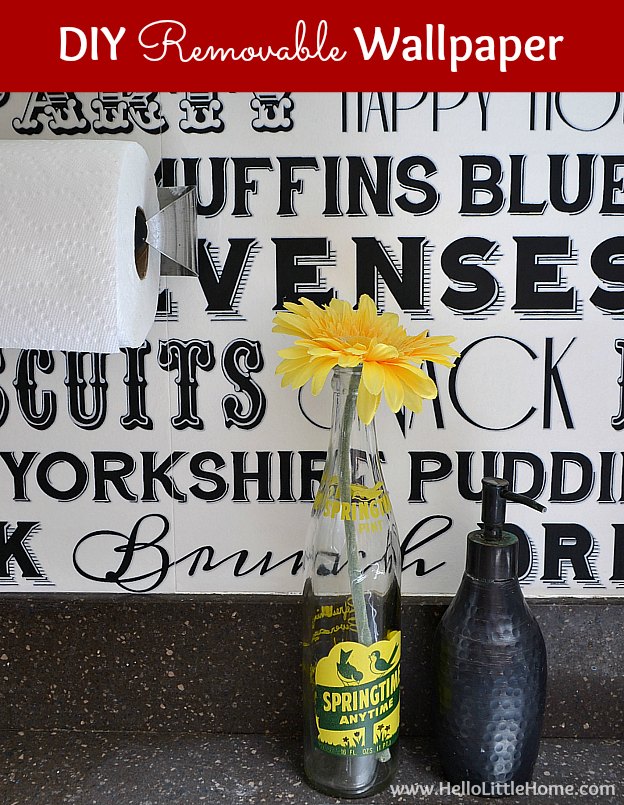
DIY Removable Wallpaper
8 Common Wallpaper Mistakes (and How to Fix Them)

How to Hang Wallpaper Yourself in 8 Simple Steps, Straight from a Pro

I Tried Putting Up Target Peel-And-Stick Wallpaper And It Wasn't A DIY Disaster

Transform your room with peel and stick wallpaper

12 unique wallpaper ideas for renters and homeowners at every budget

How to Hang Wallpaper (the Permanent Kind!)
A real person’s 5-step guide to putting up temporary wallpaper
This DIYer Saved Nearly $1,000 by Stenciling Her Favorite Wallpaper Pattern
Skip Wallpaper in Favor of an (Almost) Free Painter’s Tape DIY

7 Simple Steps for Hanging Wallpaper Yourself

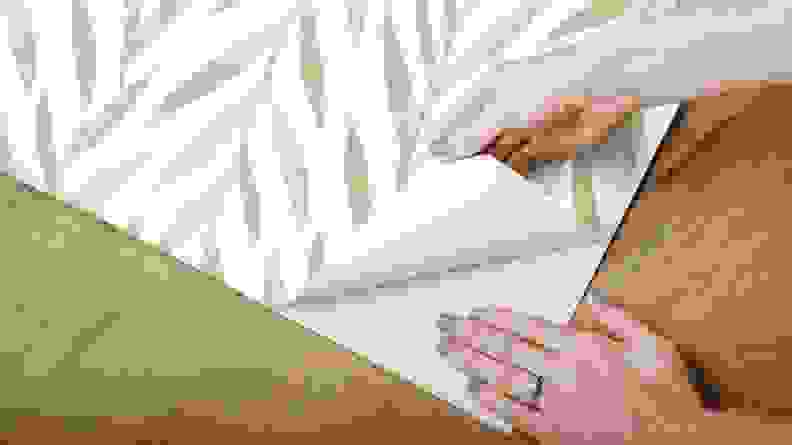
I tried Joanna Gaines’ removable wallpaper—and it's a home decor game-changer

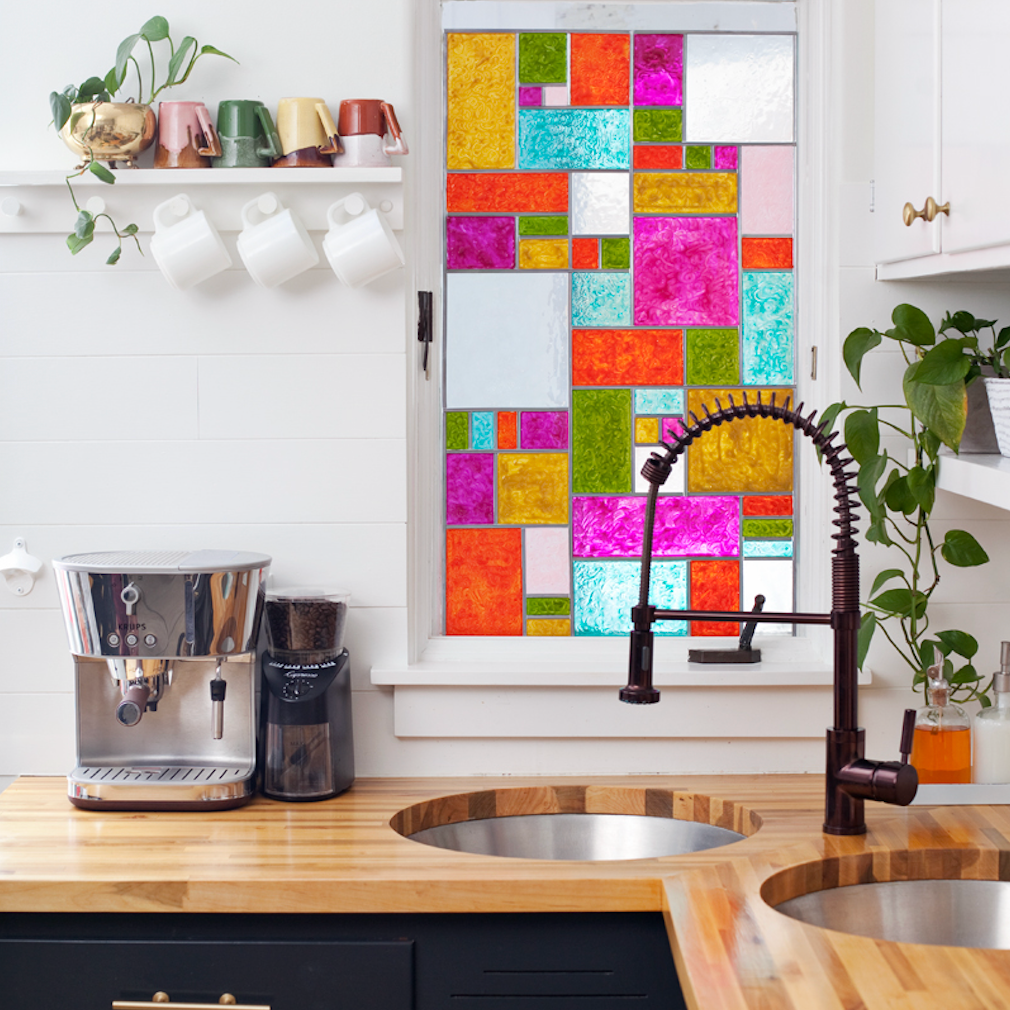
16 Renter-Friendly Design Upgrades You Won't Regret Trying

4 DIY Muralists on How They Turned Bare Walls Into an Artistic Moment

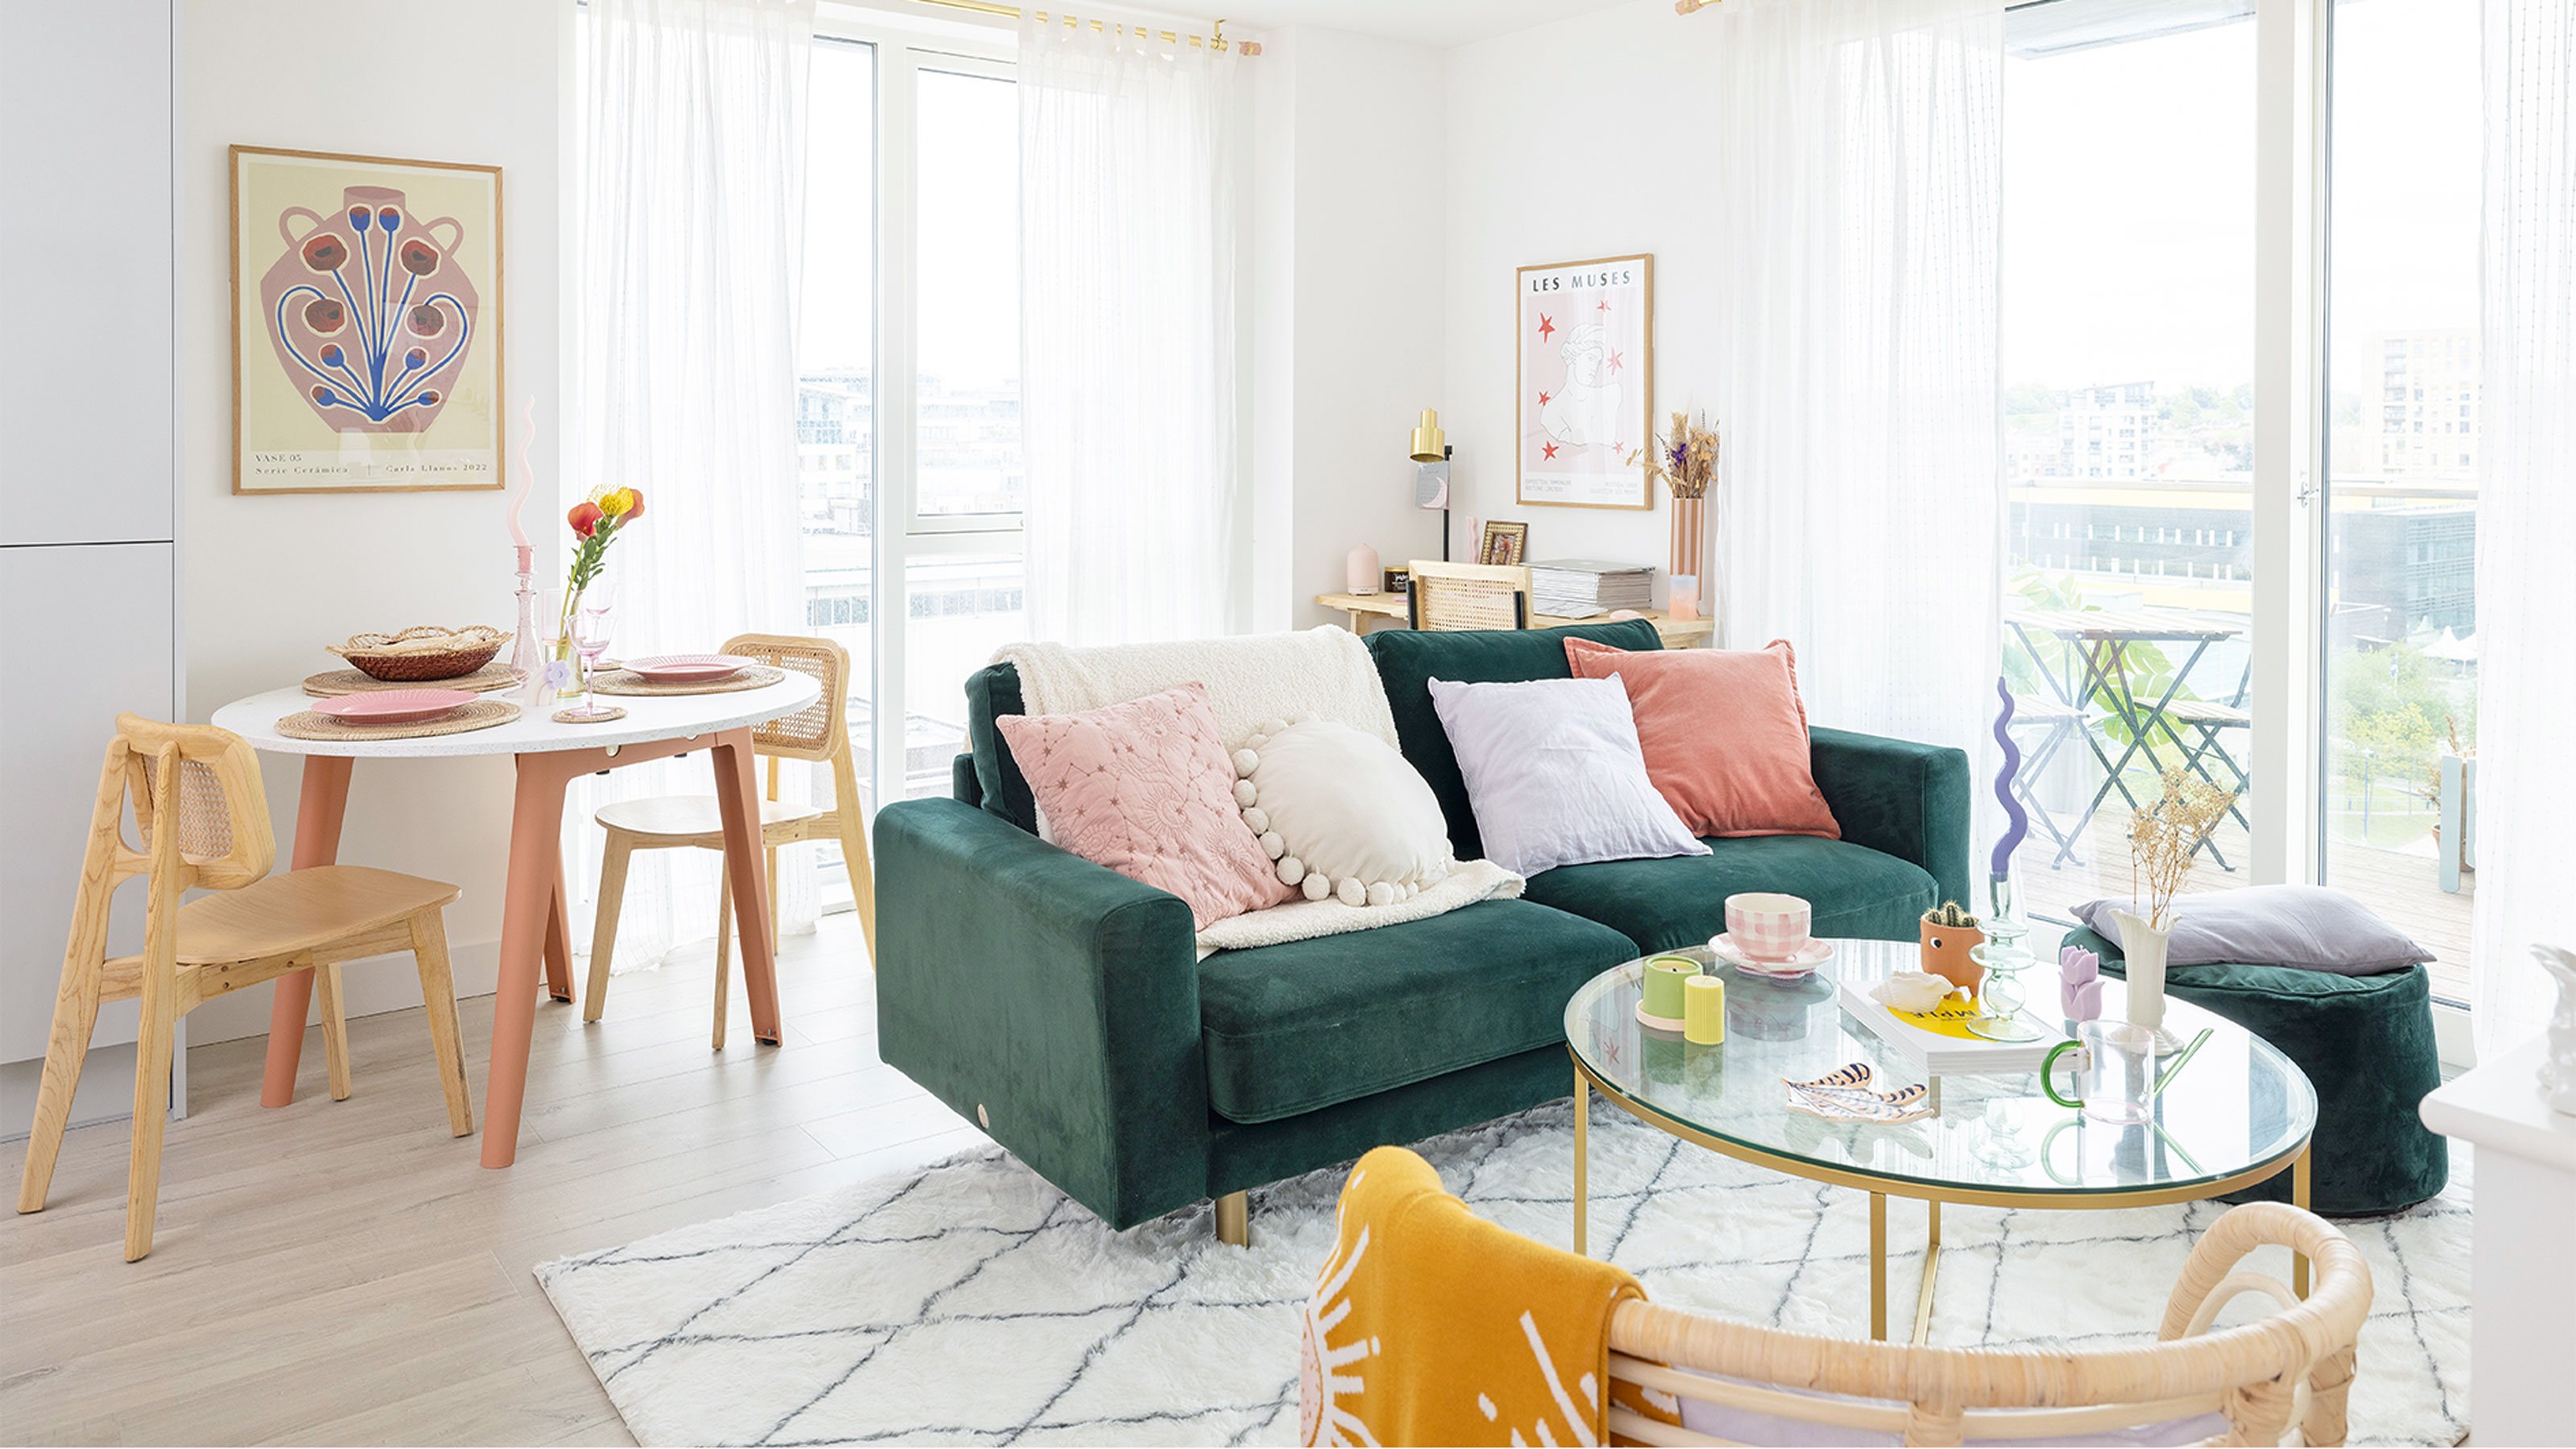
‘I’ve used landlord-friendly hacks to make it my own!’ says this colour-happy London renter
Peel-and-stick wallpaper tips and shopping
26 removable wallpapers to jazz up your boring rented walls
I Upgraded My Dining Nook With Peel-and-Stick Wallpaper and Here's How It Went