Tips for Applying Peel and Stick Wallpaper
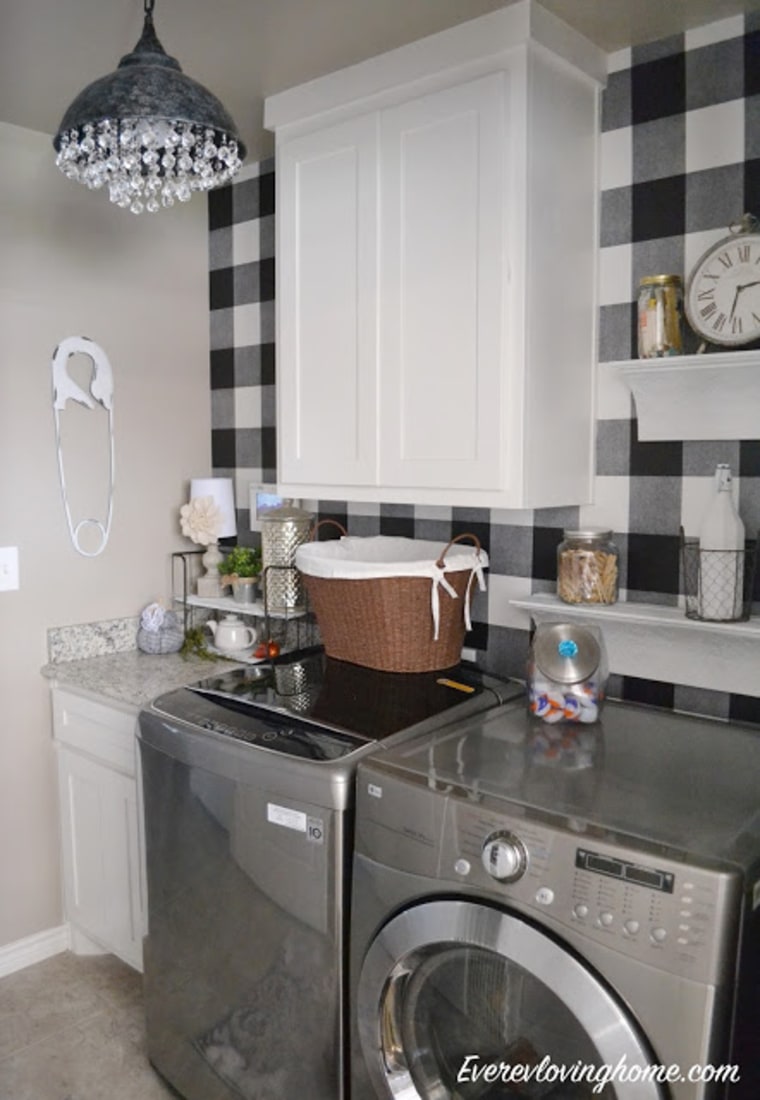
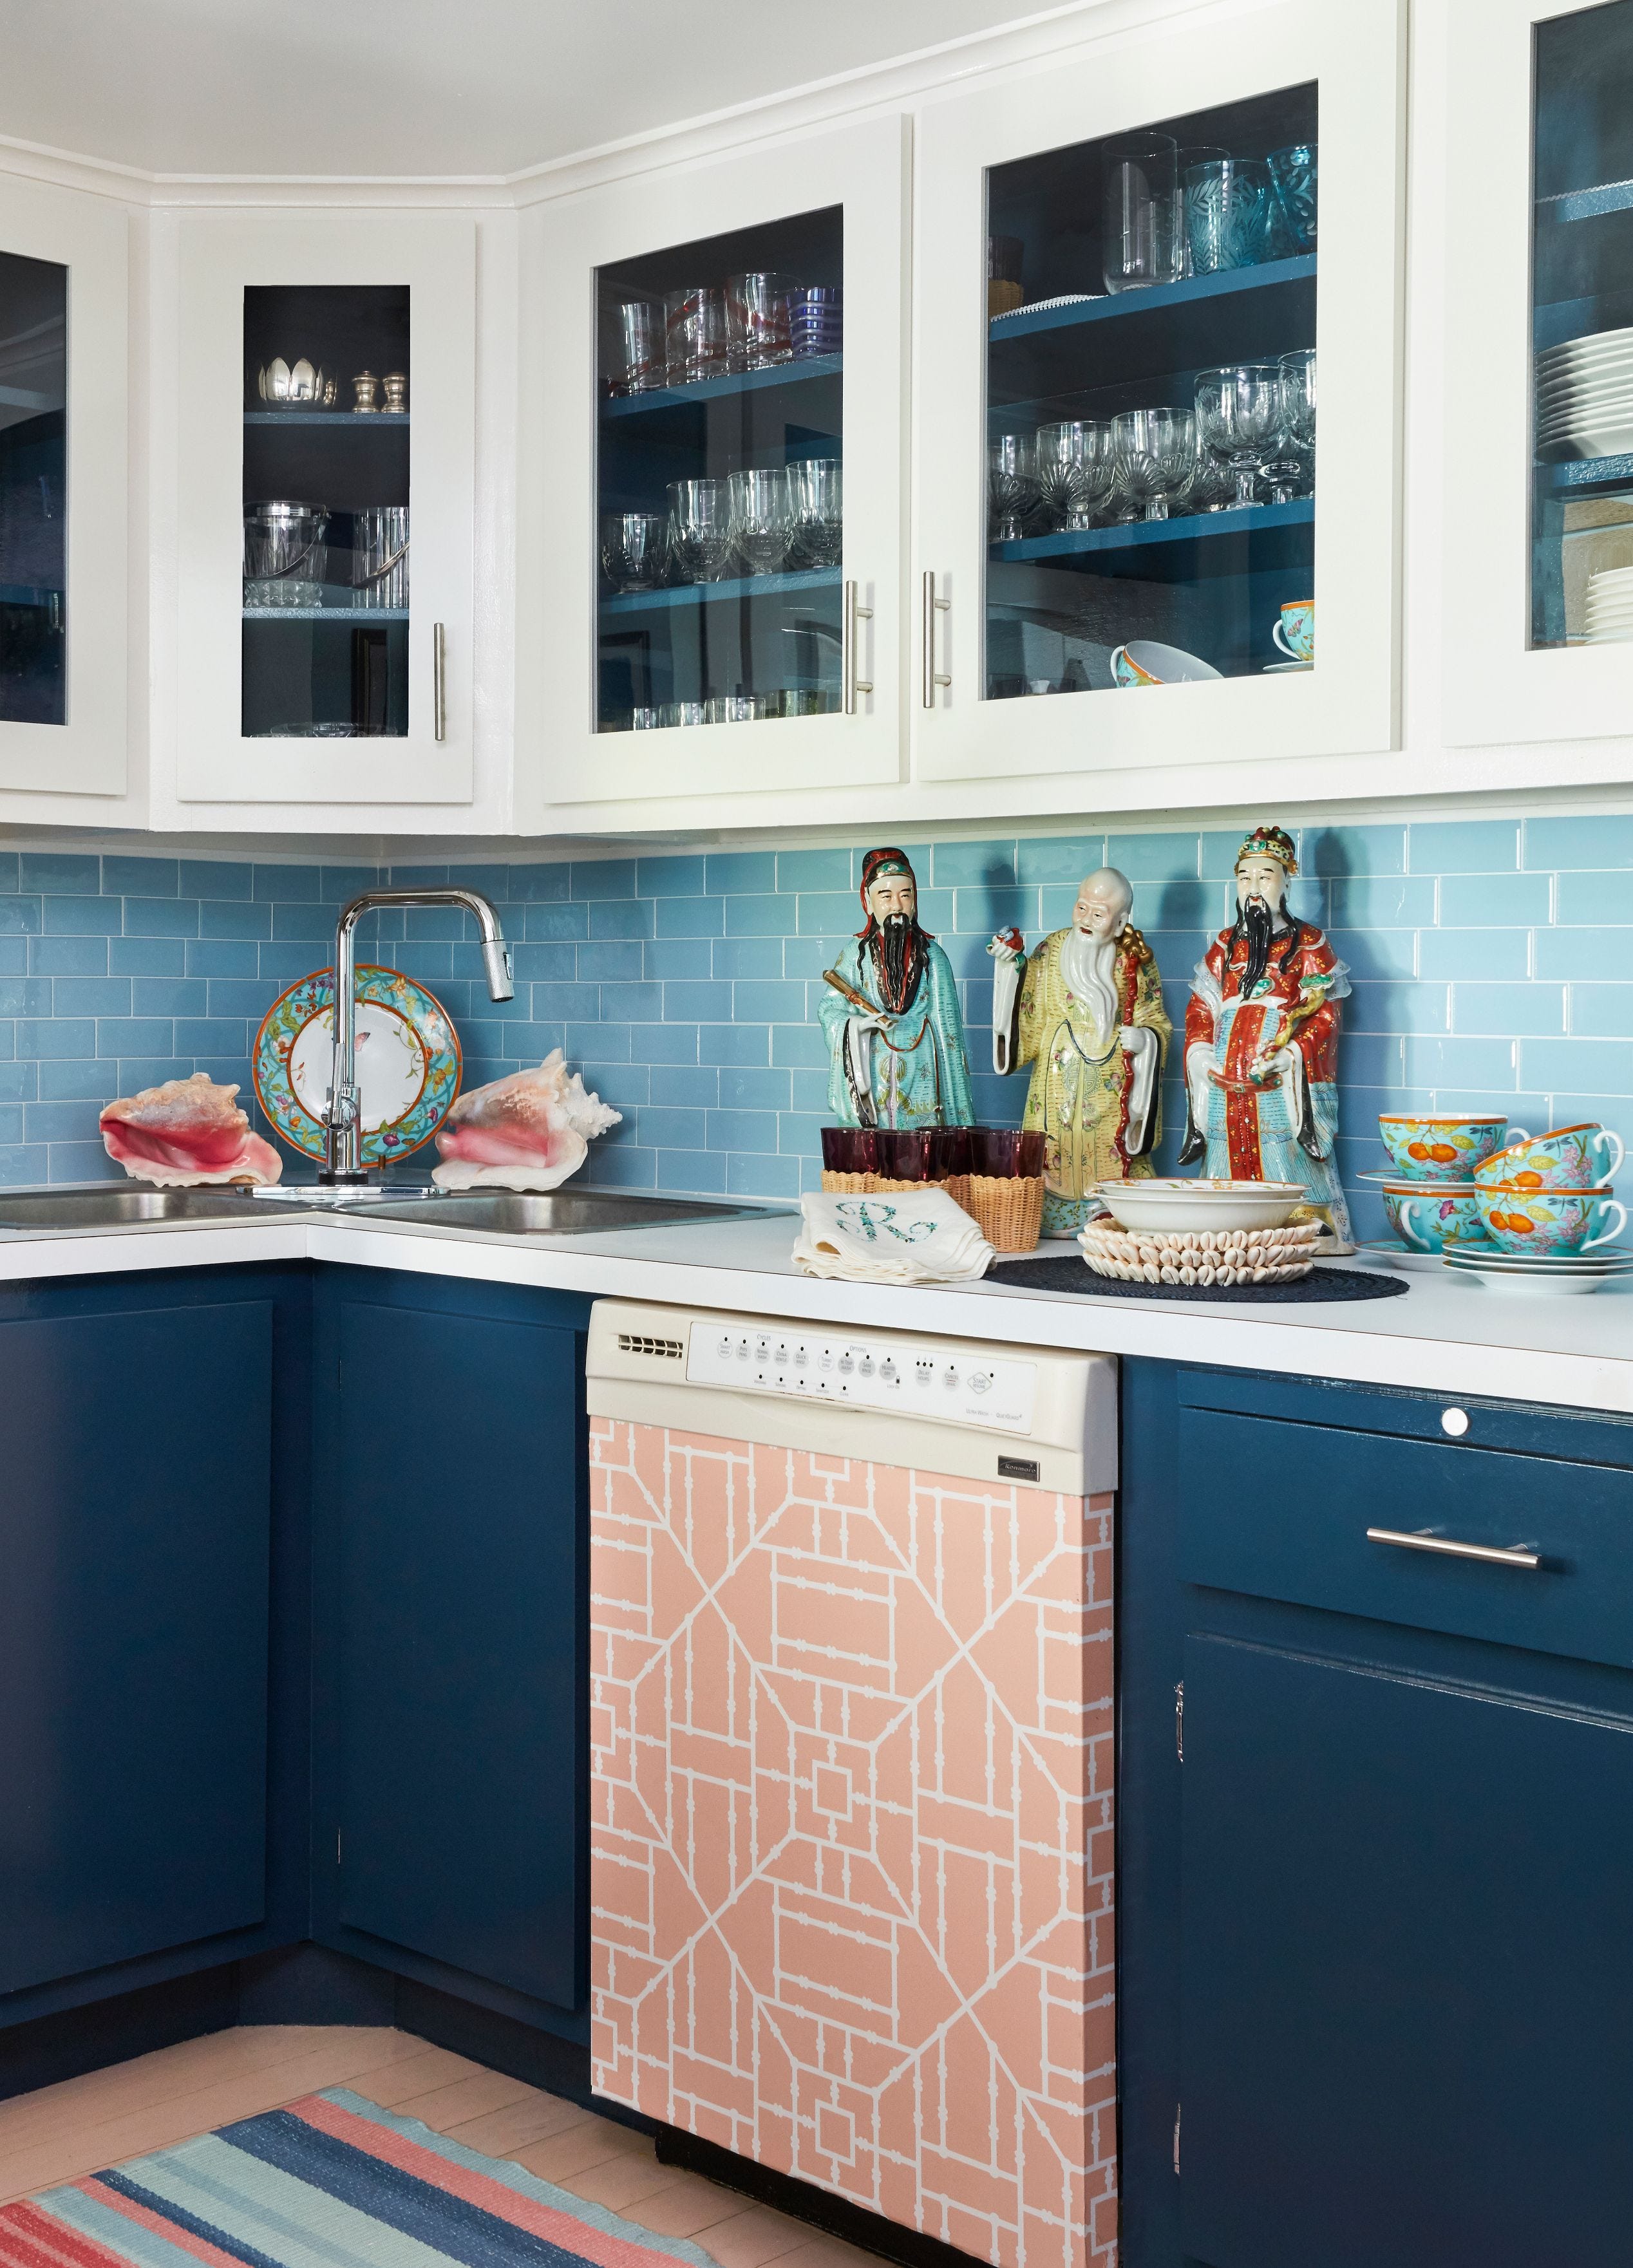
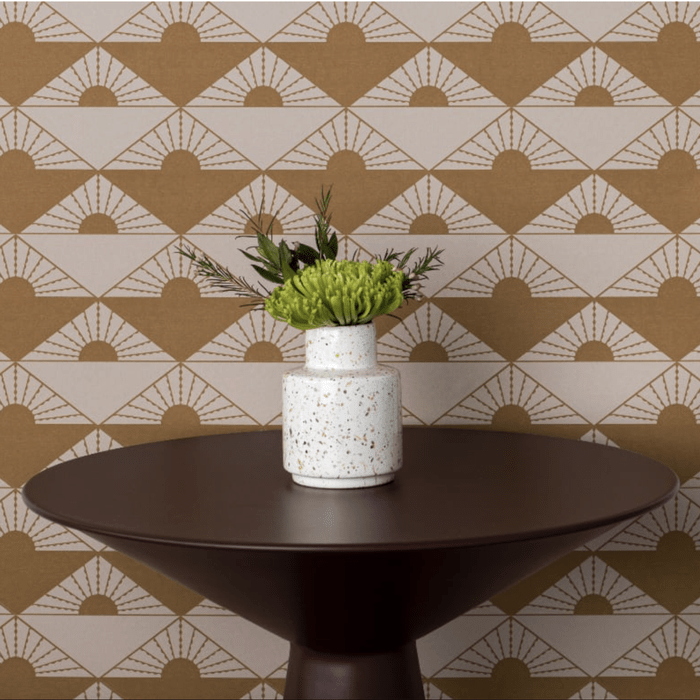
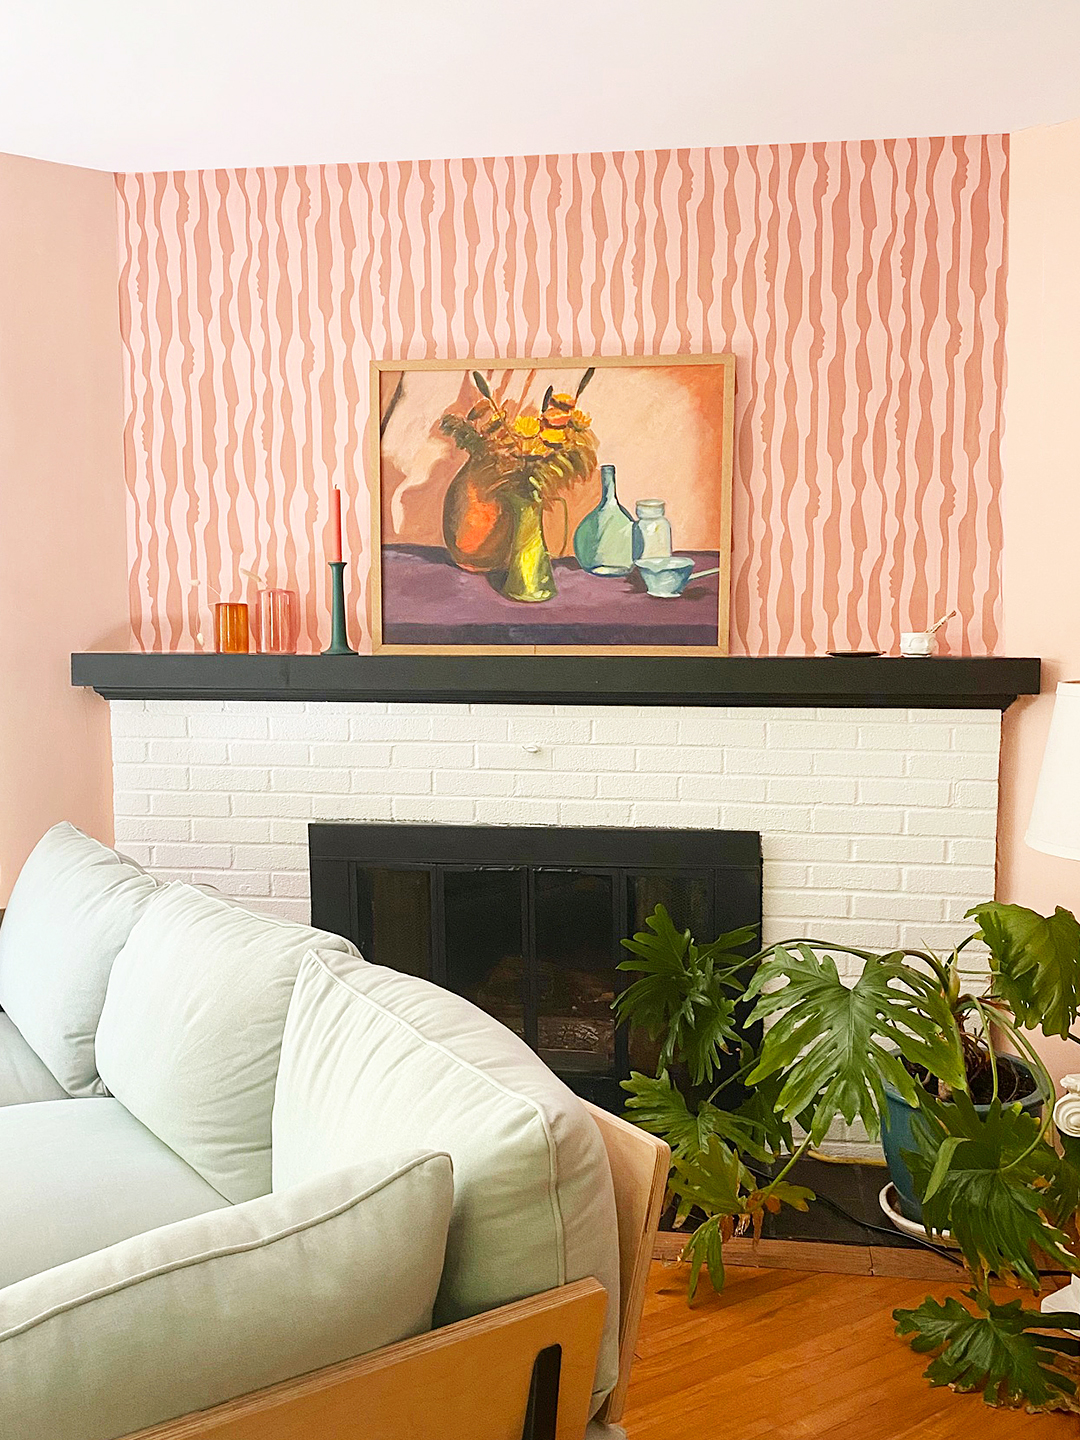
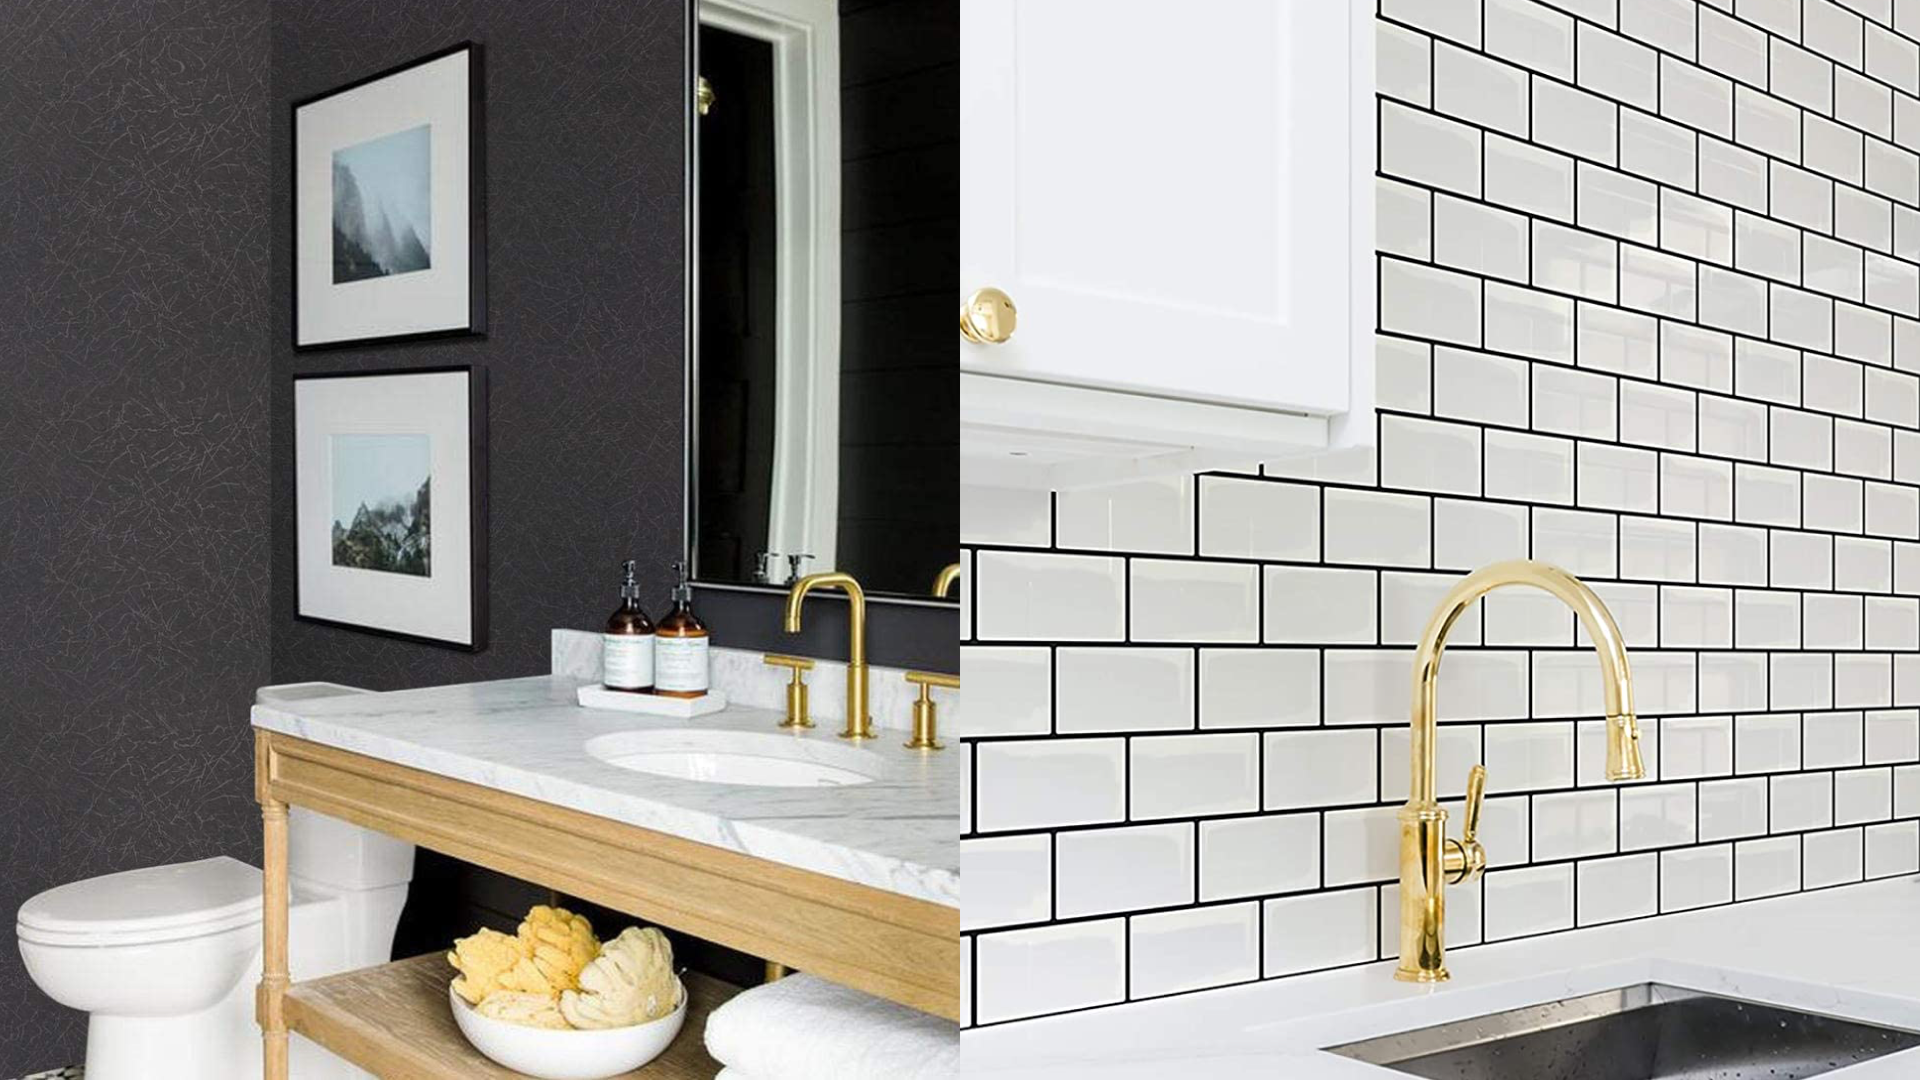
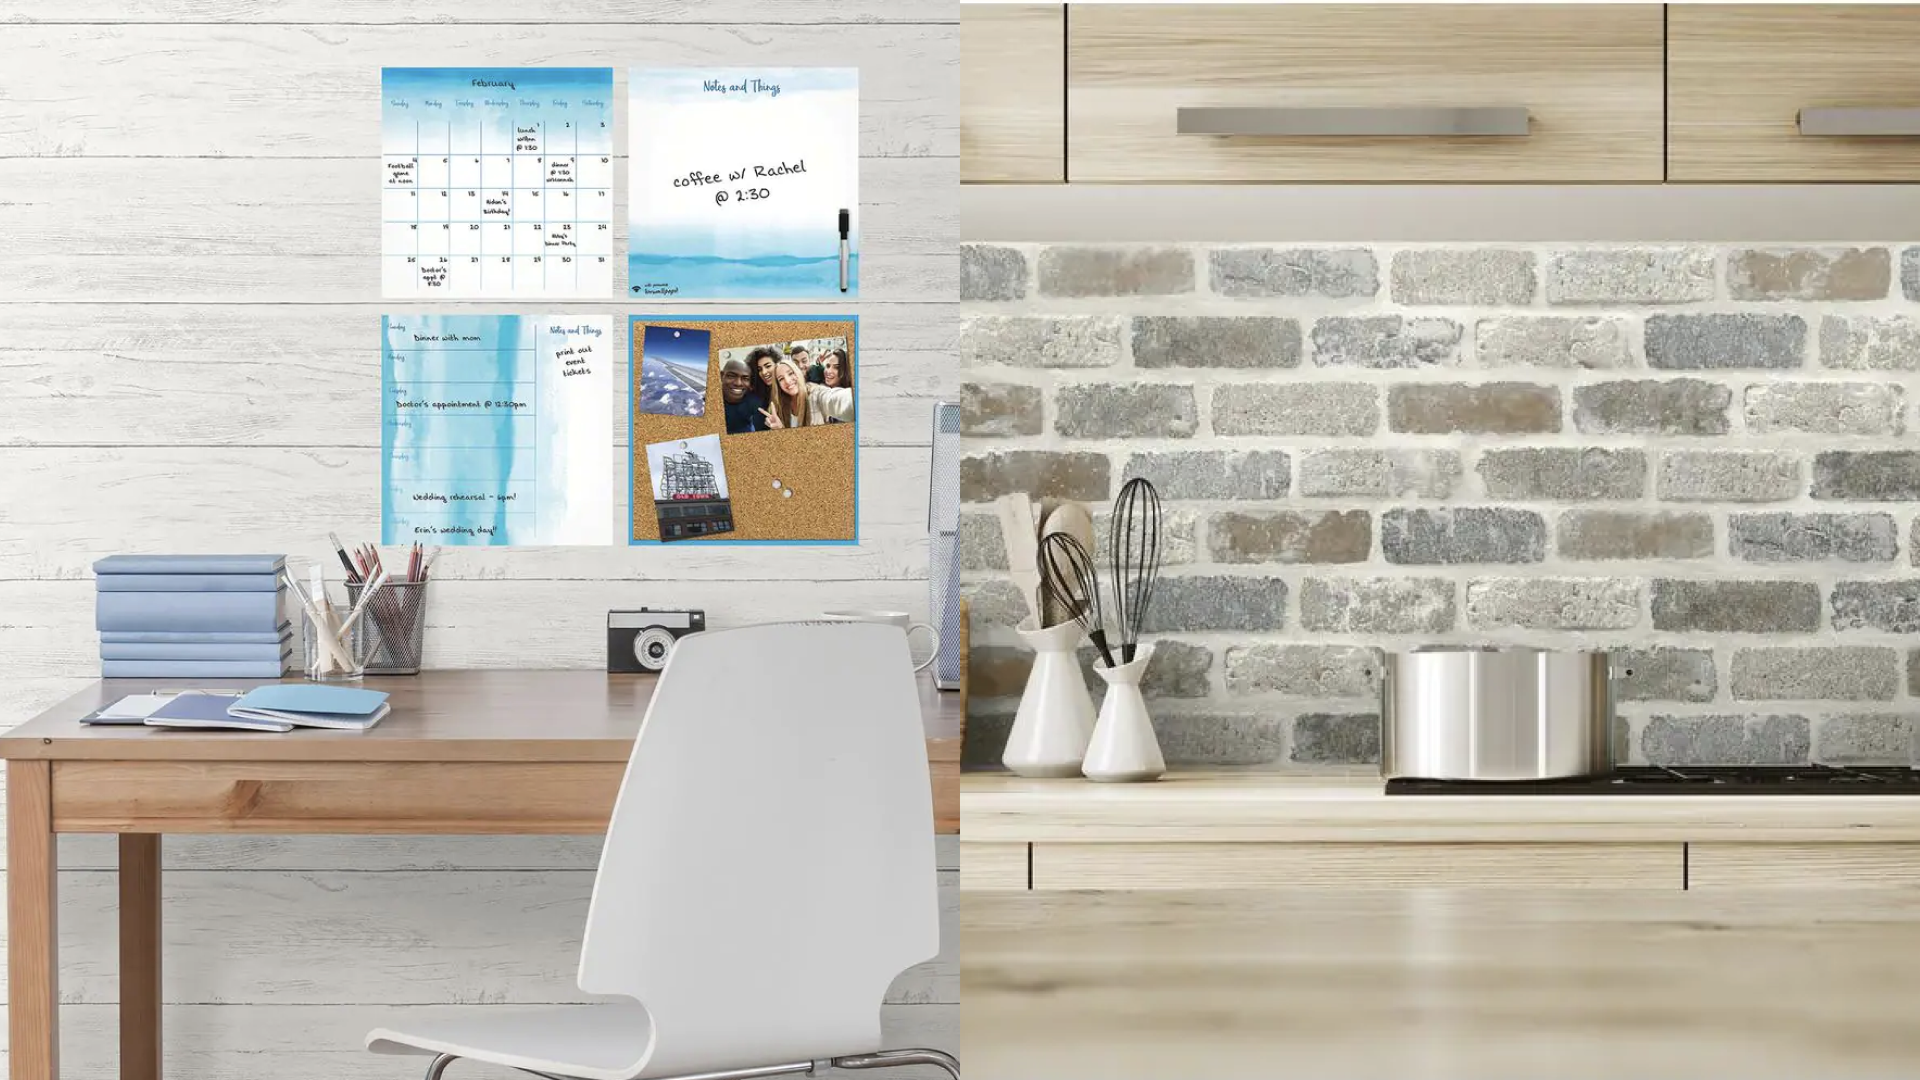
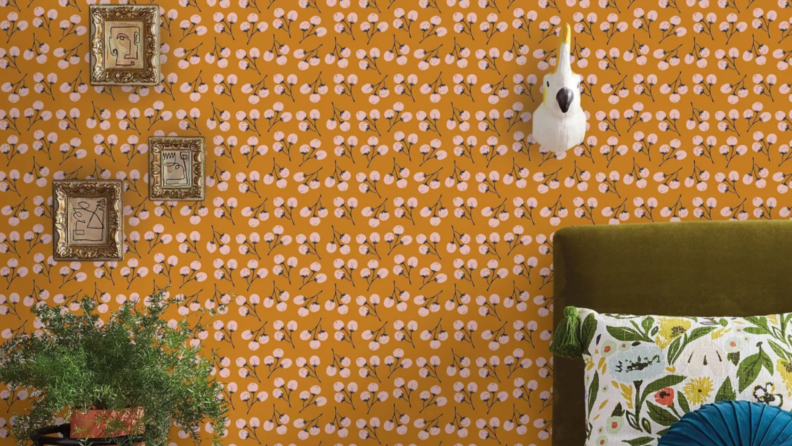
Peel-and-stick wallpaper is a popular and DIY-friendly option for refreshing interior walls, offering ease of repositioning and removal compared to traditional wallpaper. However, its longevity can vary, and some types may stick too aggressively, potentially damaging walls upon removal. Successful application hinges on proper surface preparation, adherence to instructions, and patience.
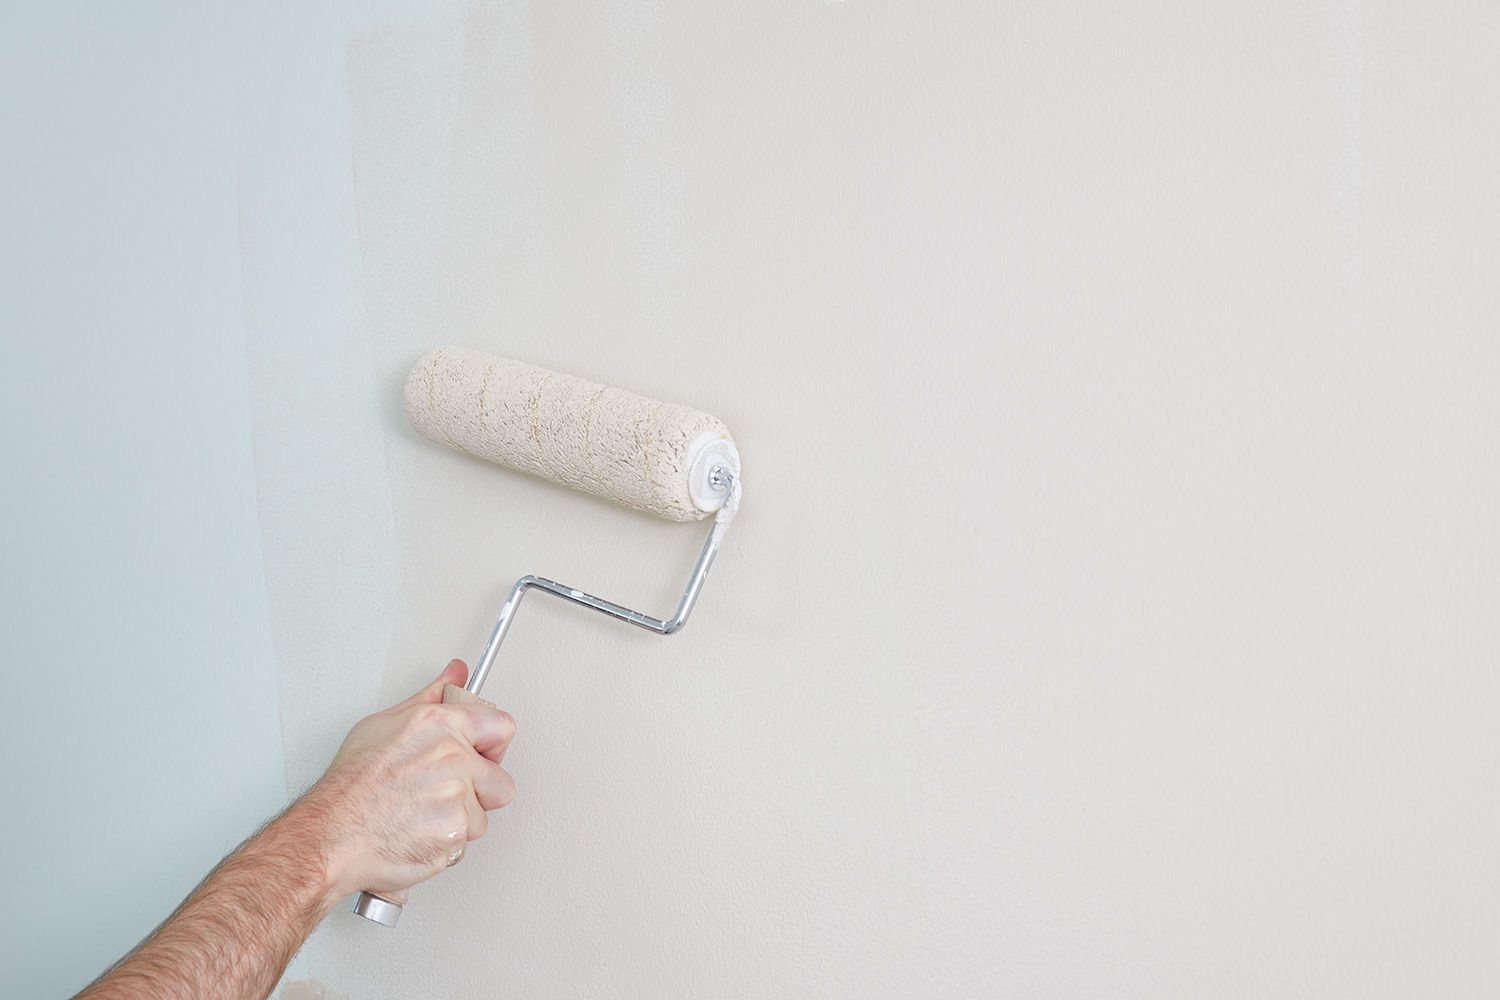
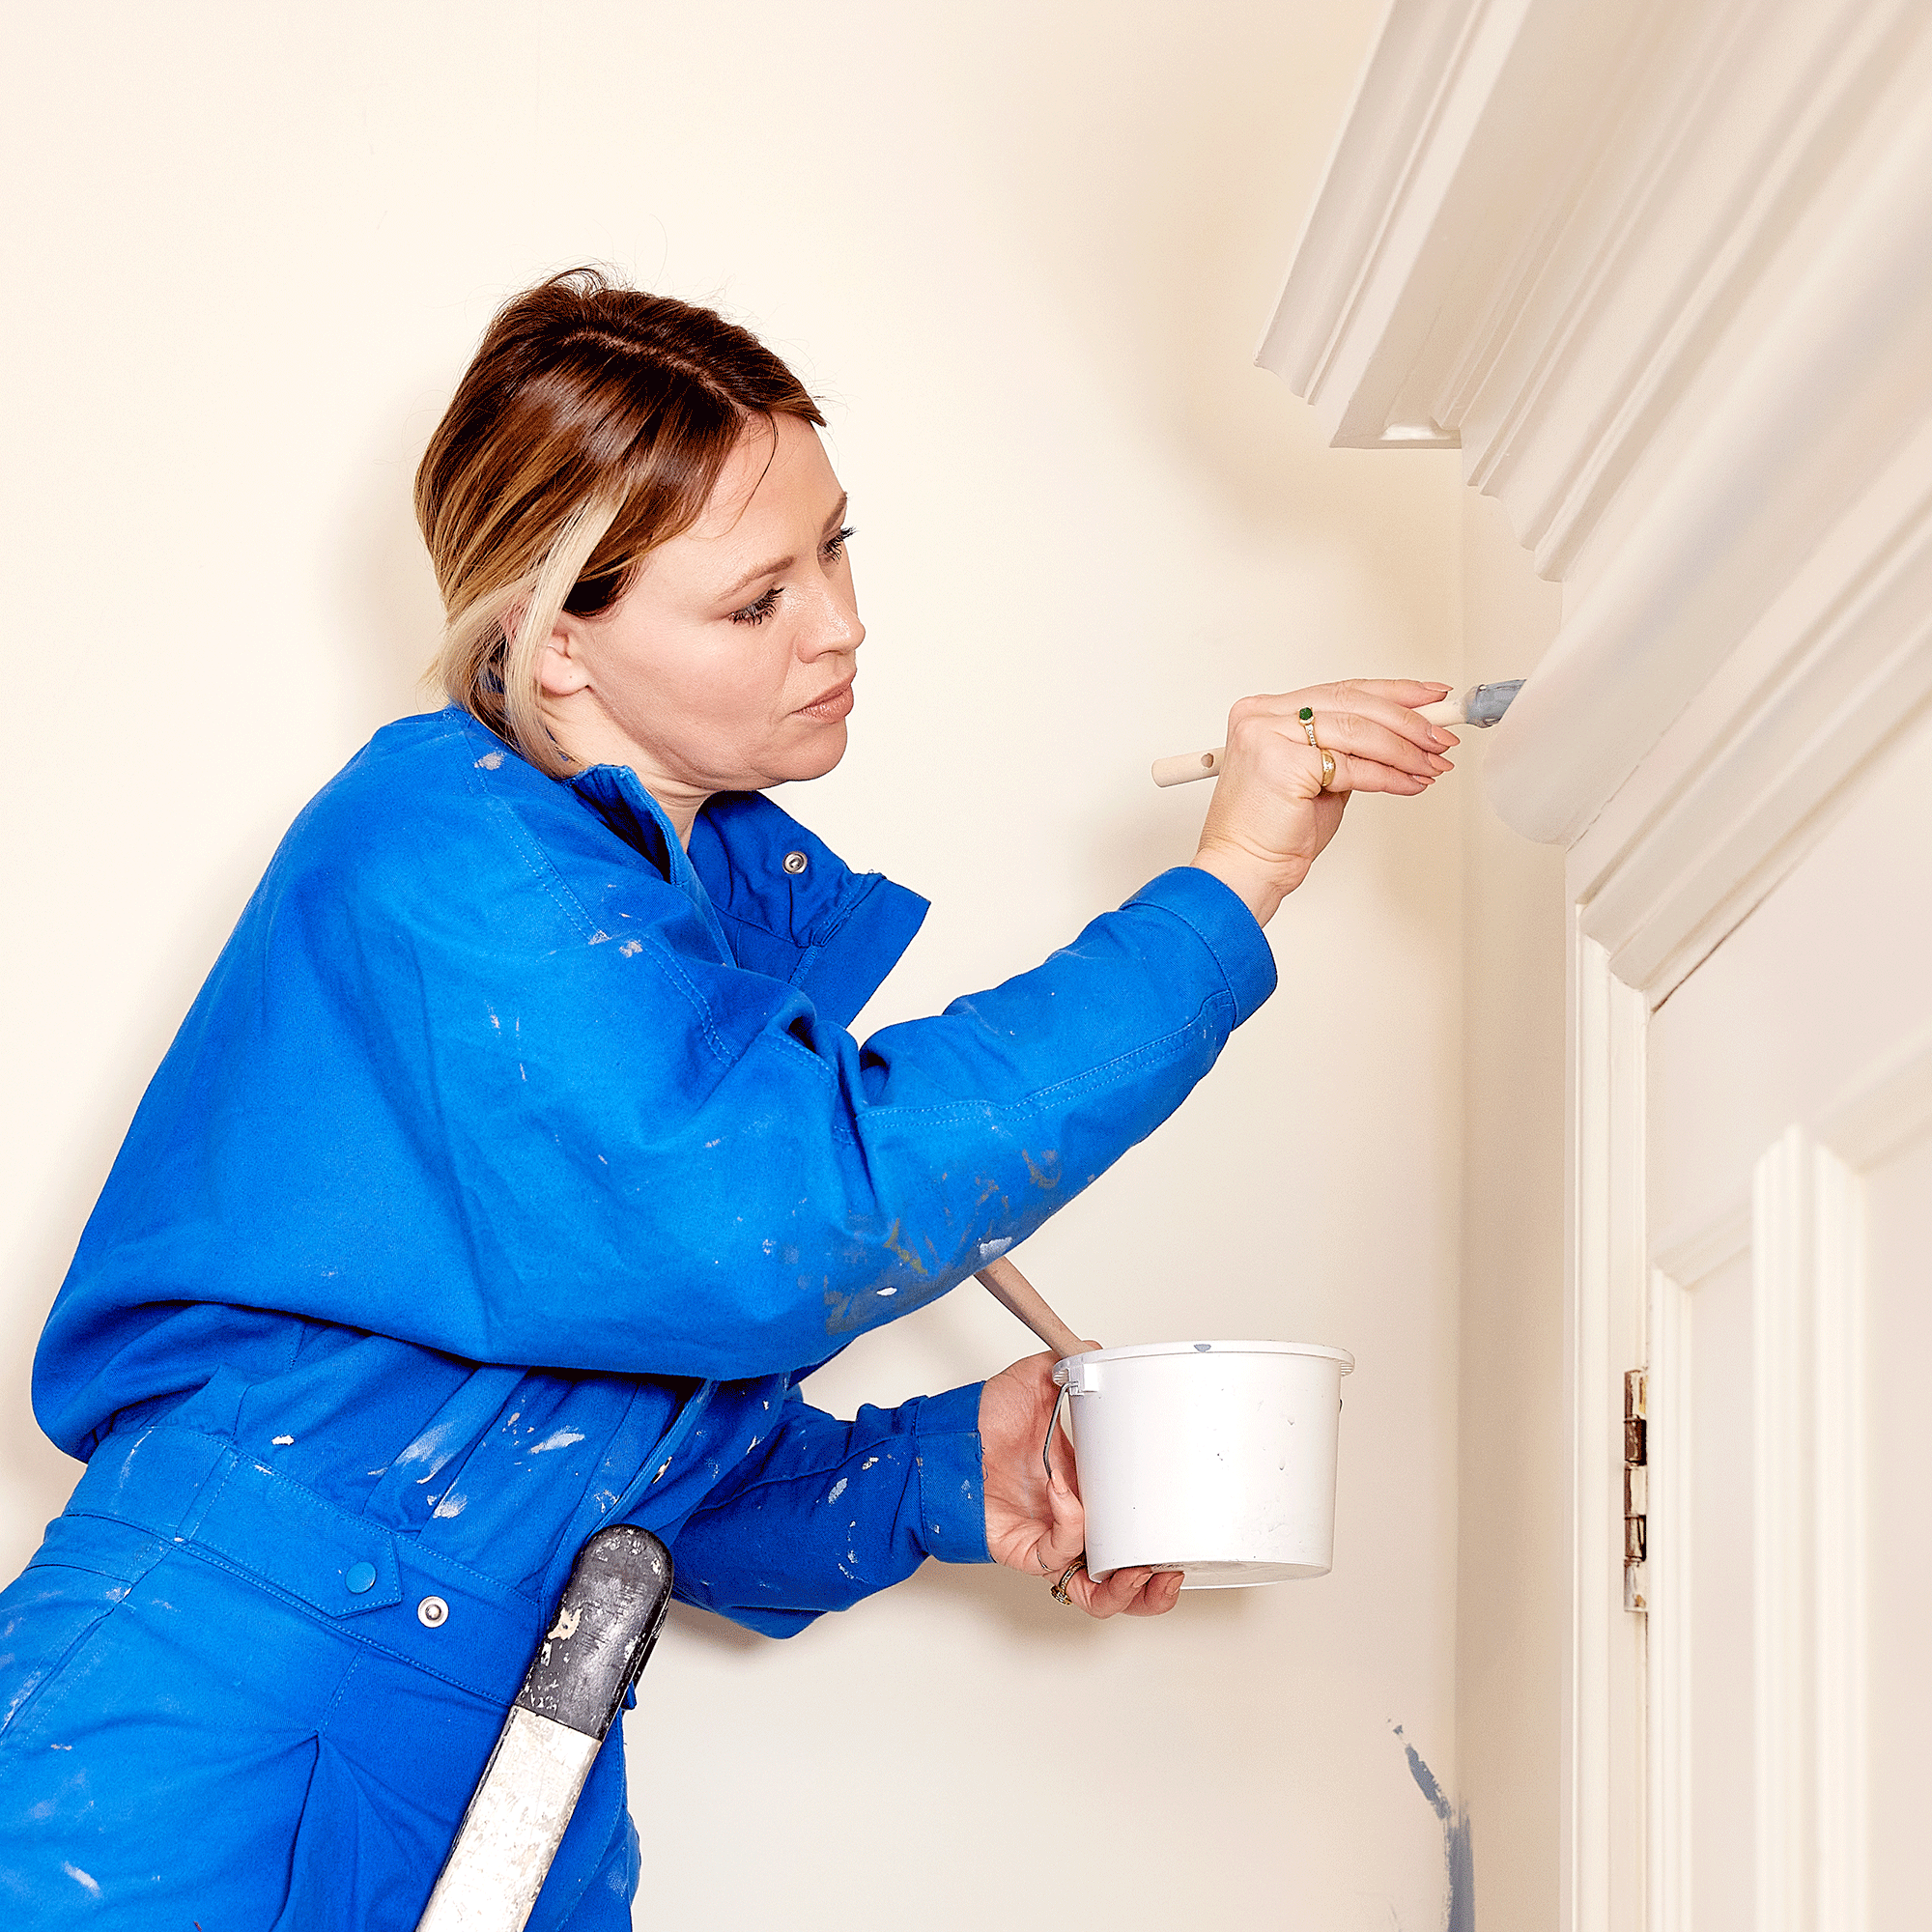
The first crucial step is wall preparation. Most peel-and-stick wallpapers perform best on eggshell paint. If the wall surface feels dusty, gritty, or like flat paint, the wallpaper might not adhere properly. Conversely, a super shiny and smooth surface could lead to the wallpaper sticking too well, causing damage during removal. If applying new eggshell paint, it is recommended to wait approximately four weeks for the paint to offgas completely, preventing bubbles from forming under the wallpaper. Professionals often use Zinsser Gardz as a primer, which creates a translucent, slightly tacky sheen ideal for wallpaper adhesion.
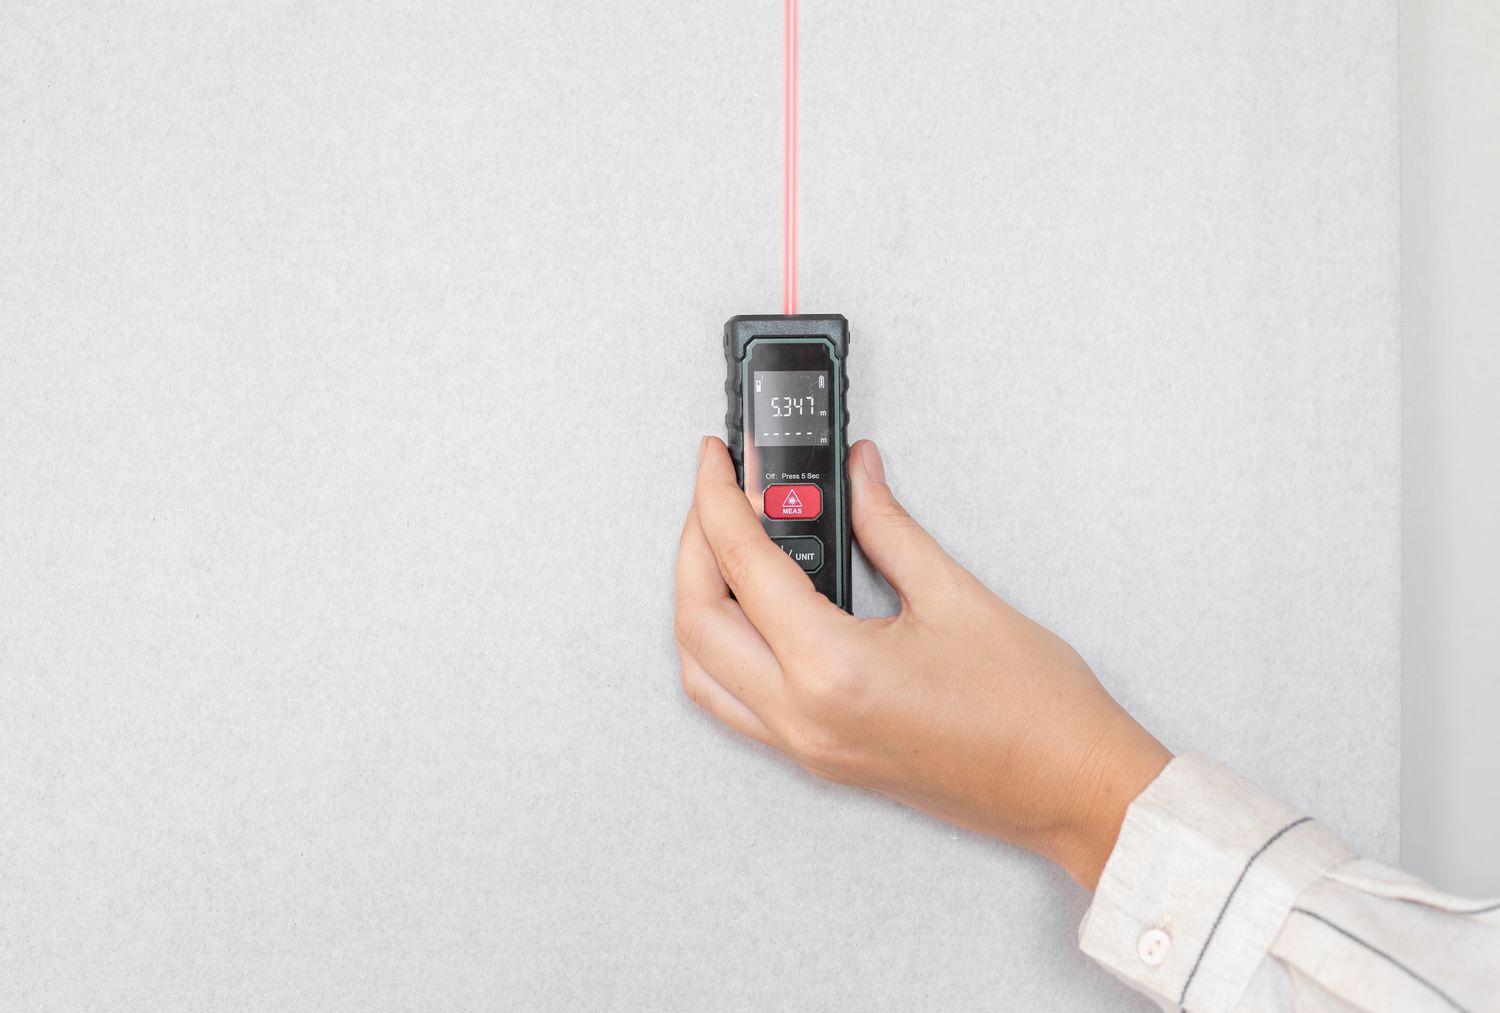
Once the wall is prepared, marking a plumb line for the first strip is essential. The starting point should be the most prominent area of the room to ensure a visually appealing result. A light vertical pencil line drawn with the aid of a level serves as a guide, ensuring the first piece is perfectly vertical without the line showing through the wallpaper.
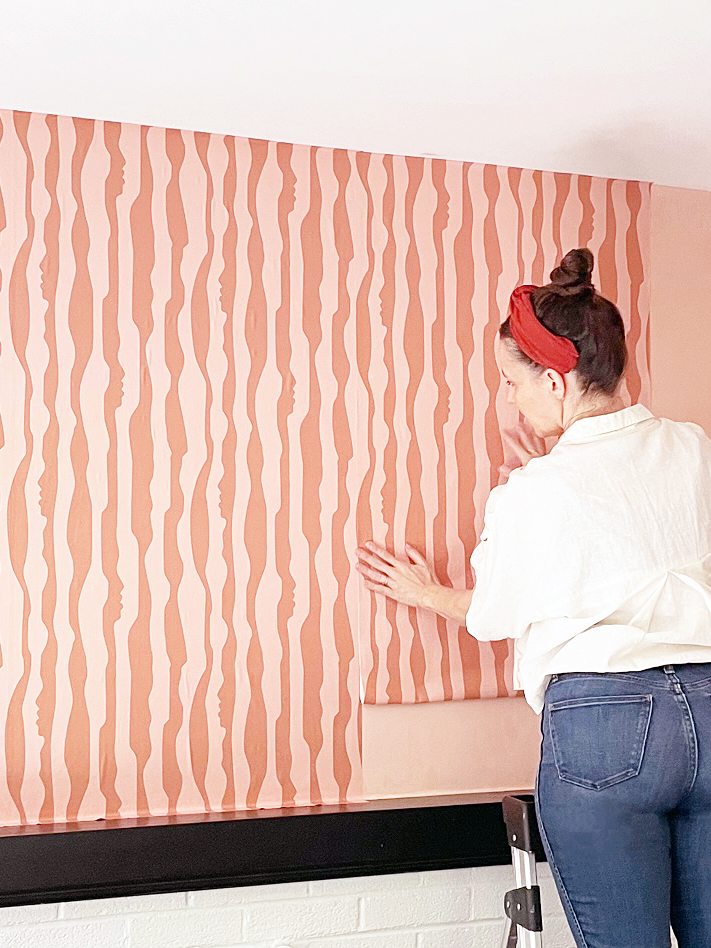
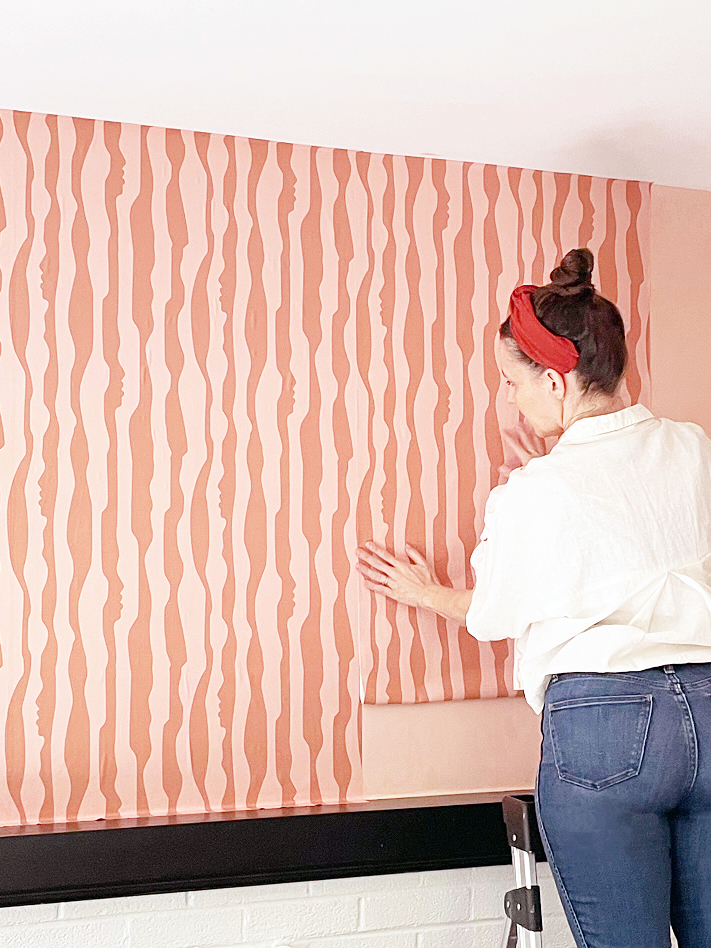
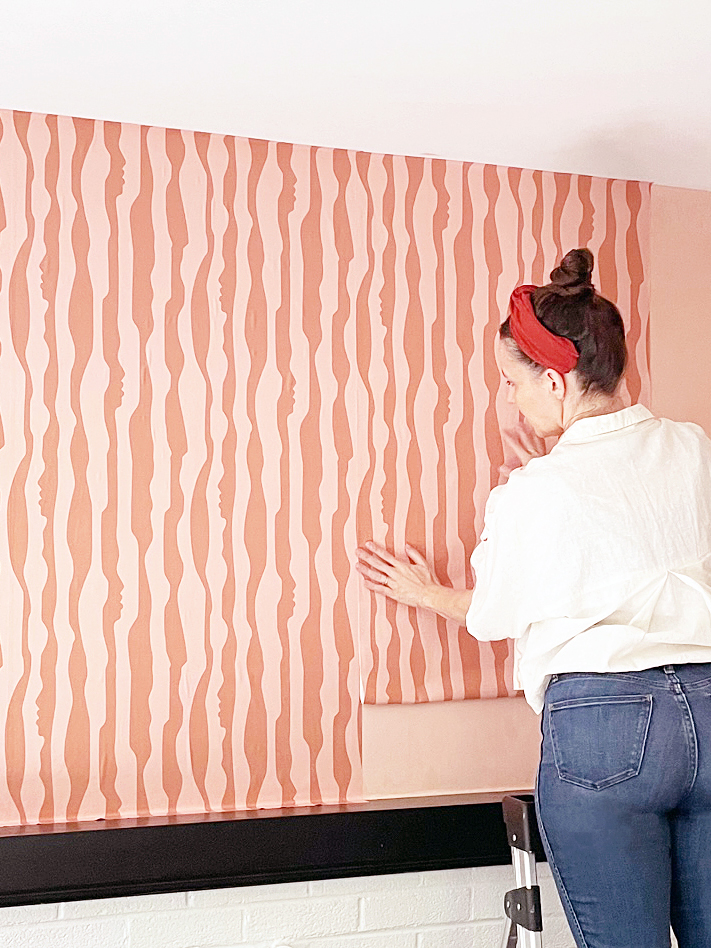
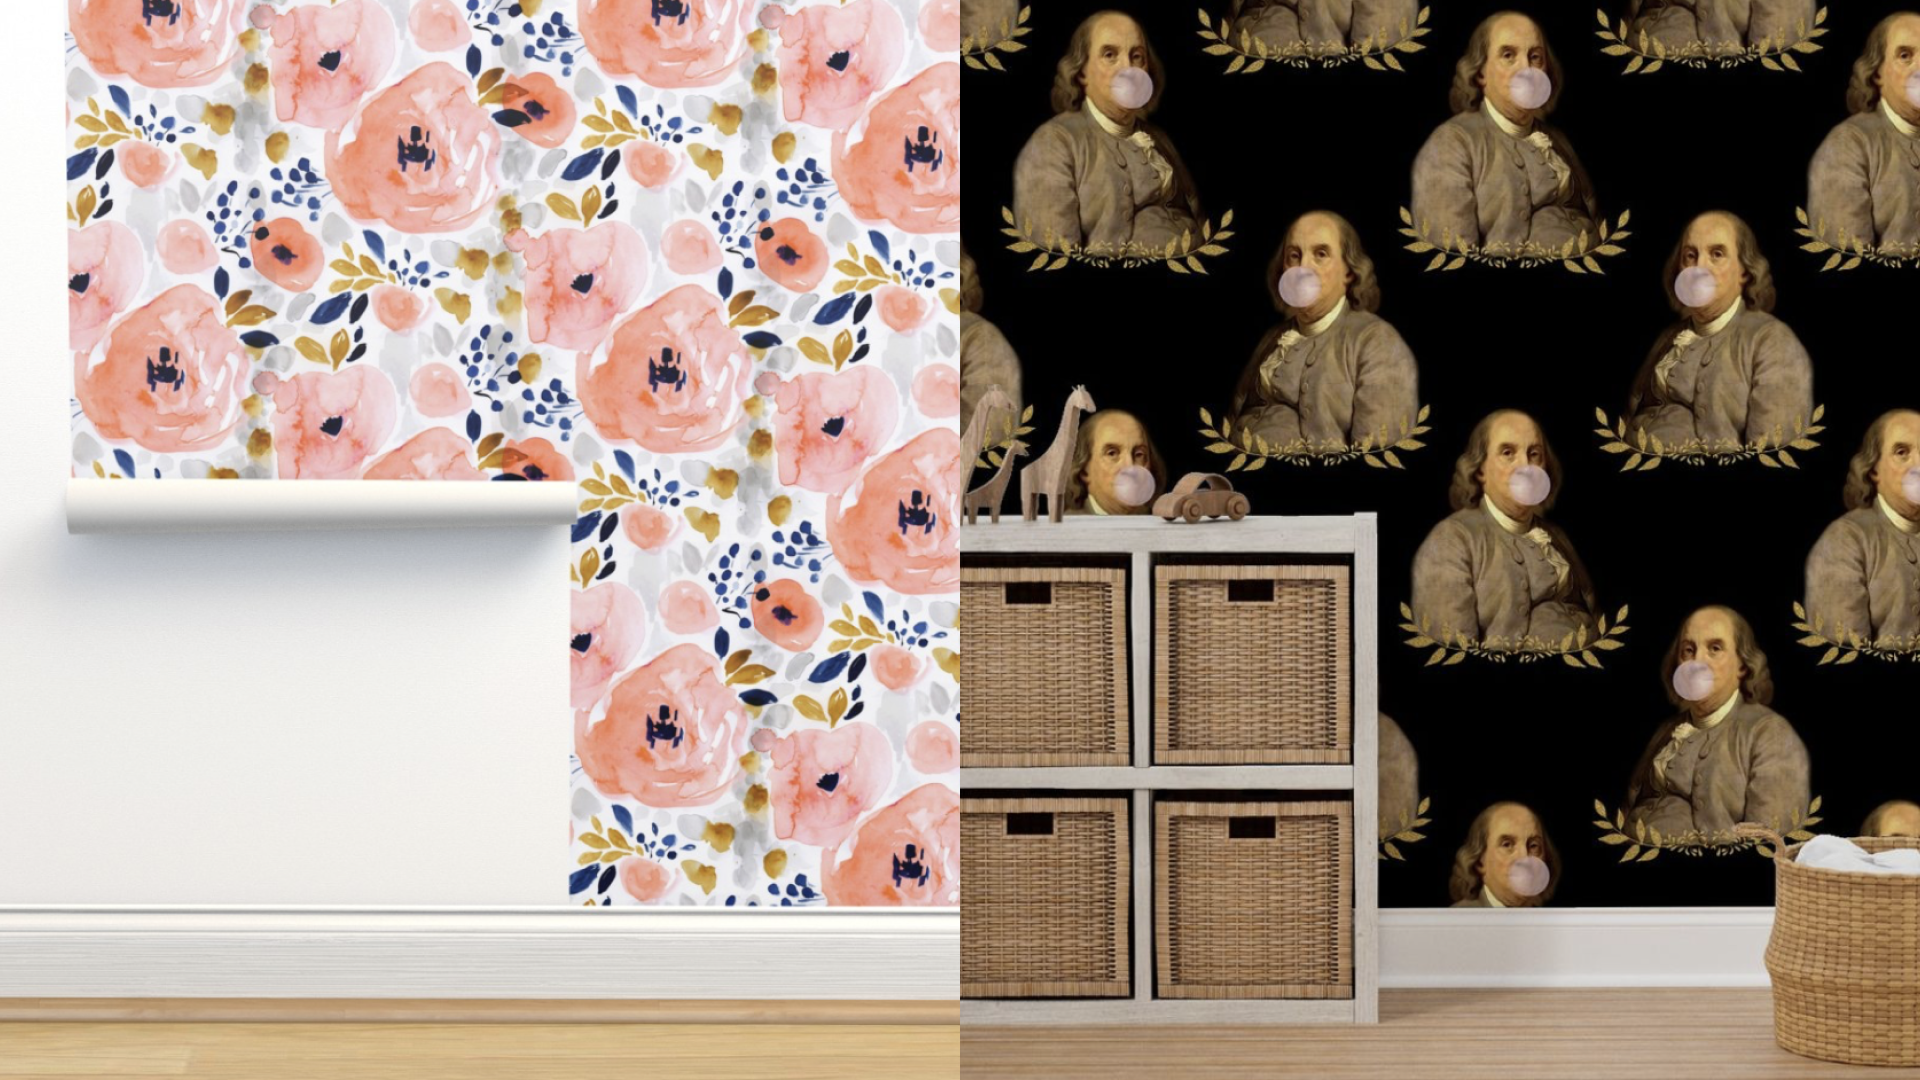
During application, peel off only about five inches of the backing at a time. The bulk of the wallpaper roll should rest on the floor, and the initial exposed section is applied to the wall, starting where the wall meets the ceiling. The plumb line helps maintain a straight vertical application. It is important to proceed slowly, peeling the backing in small increments to avoid catching the paper or stretching the image, which can occur with some types of peel-and-stick wallpaper due to the weight of the backing.
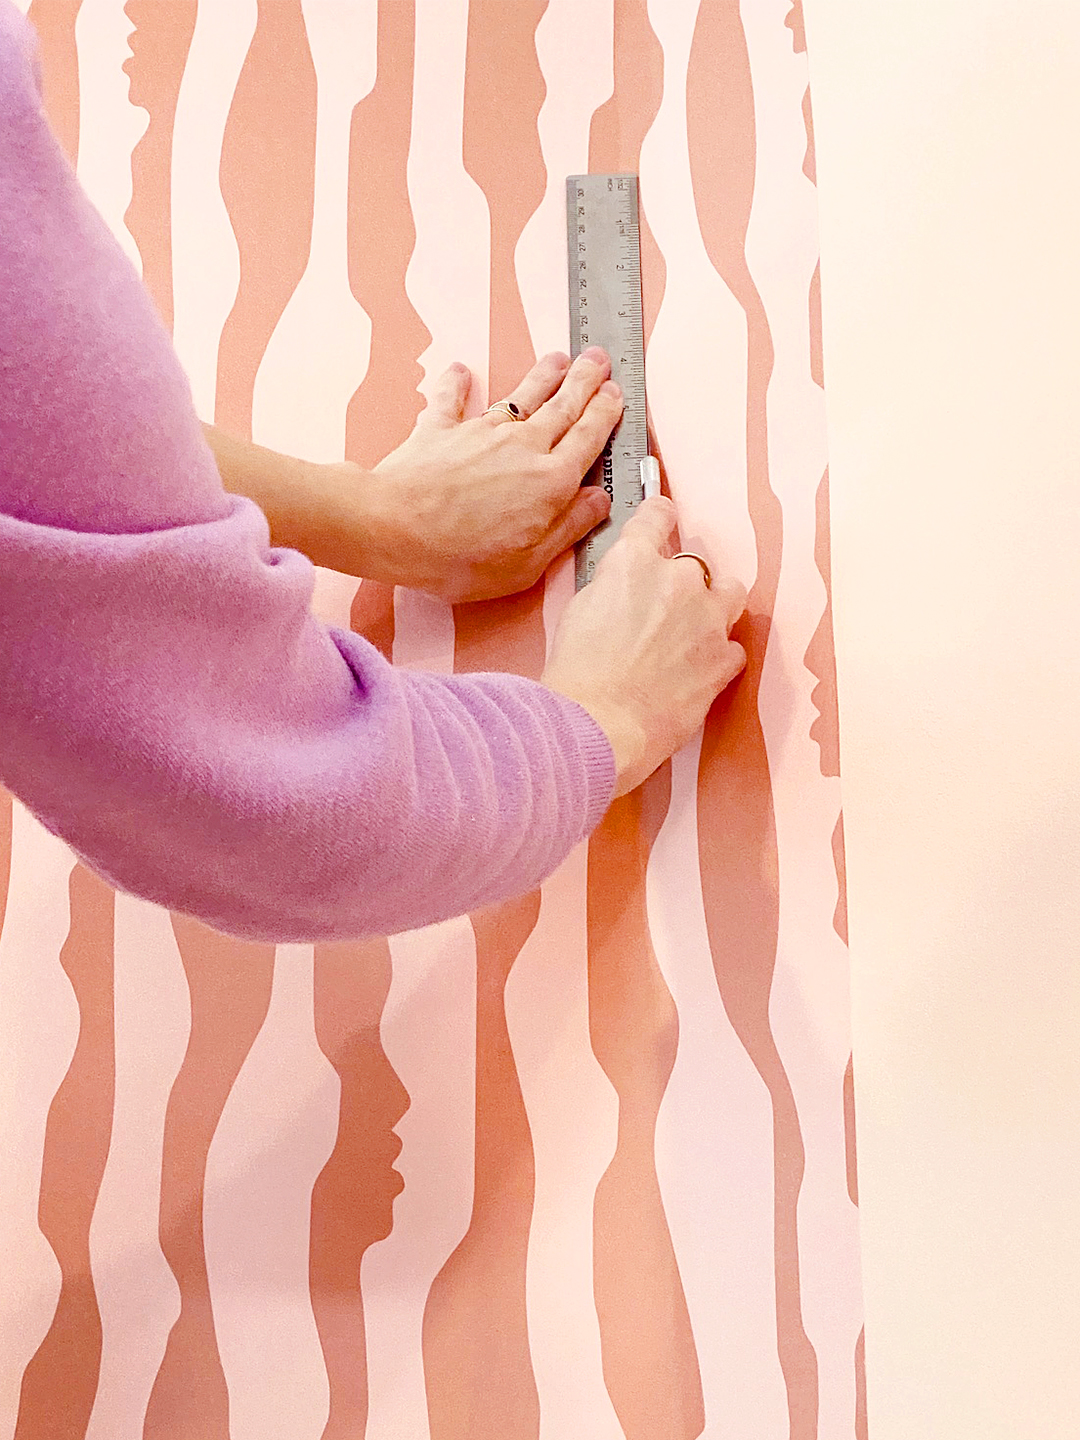
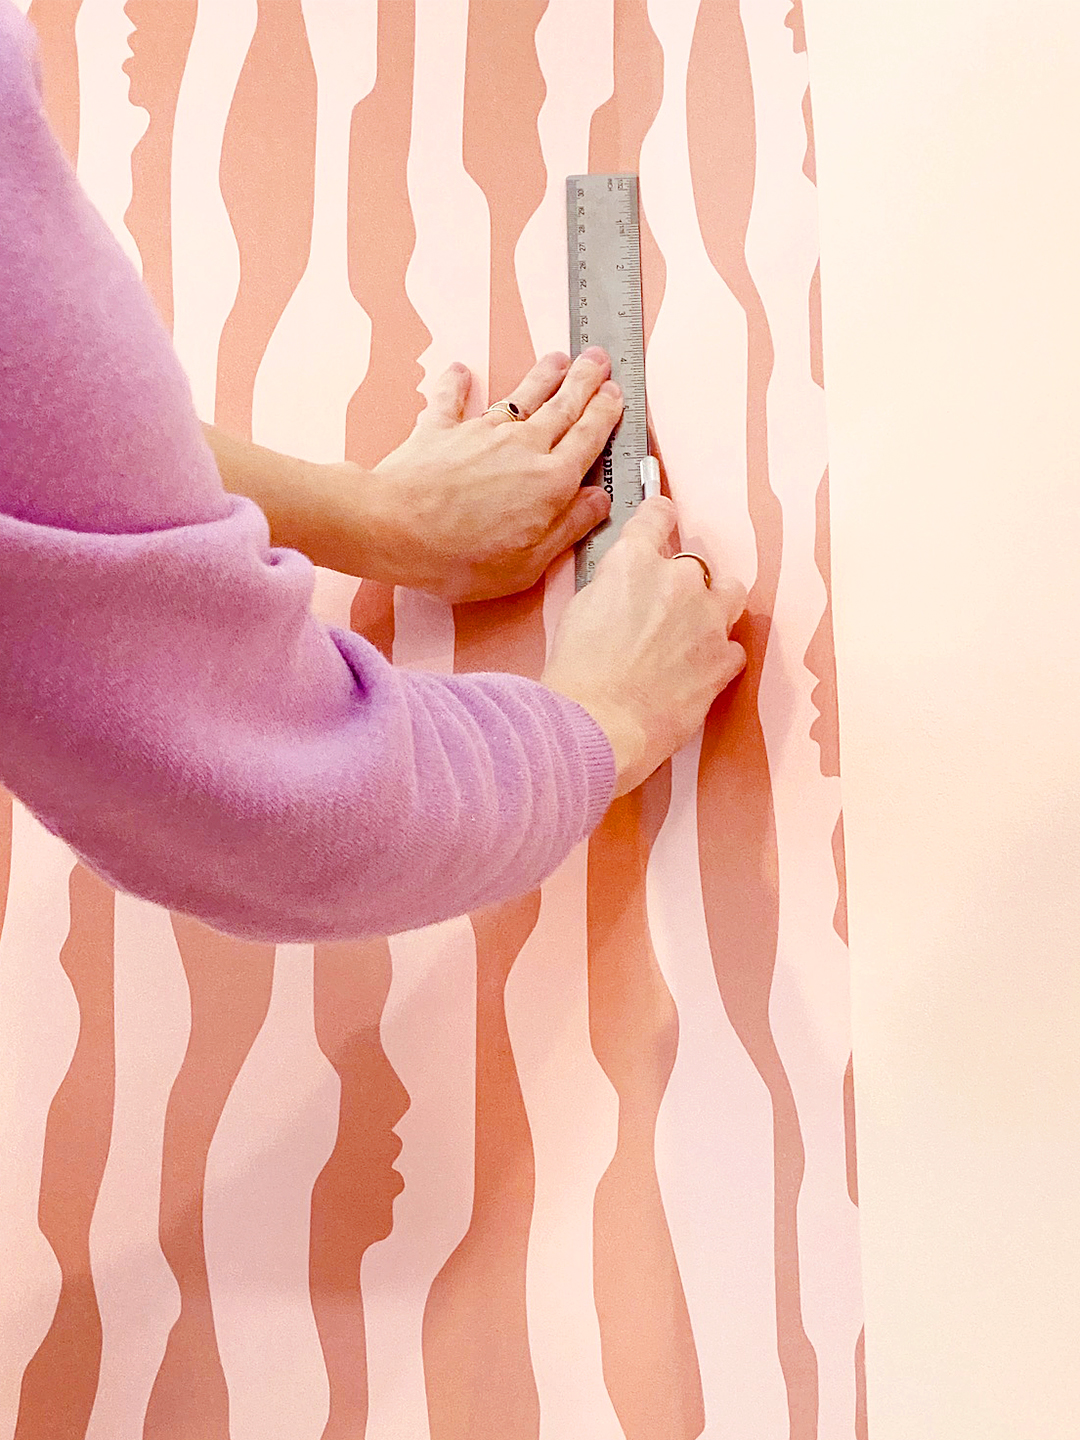
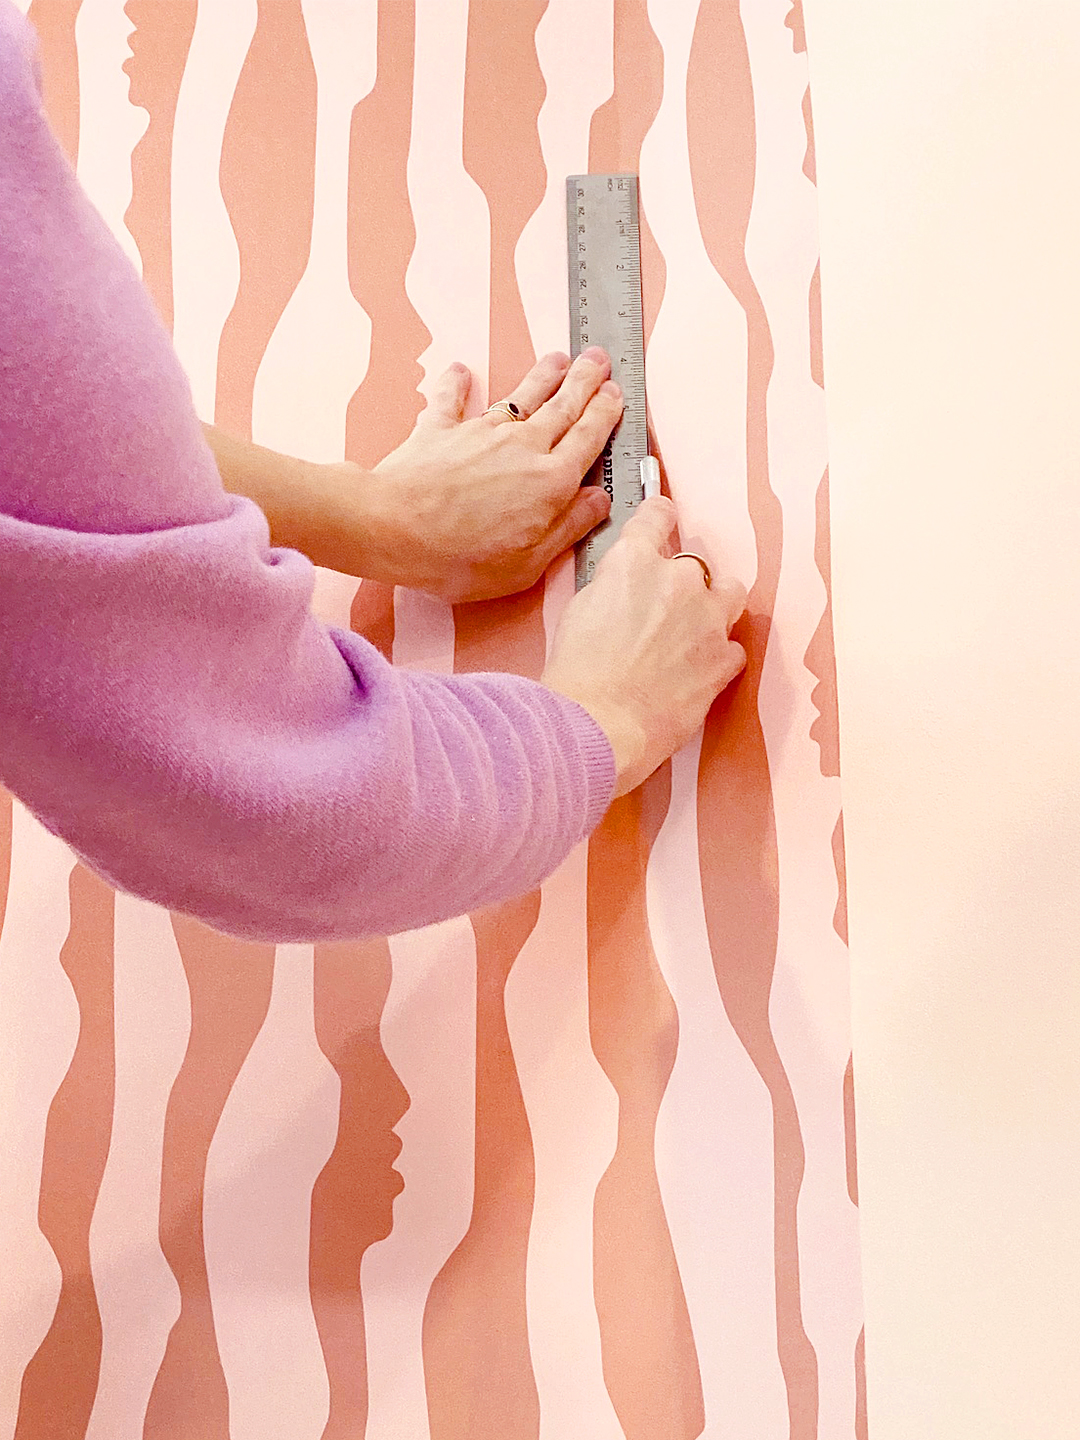
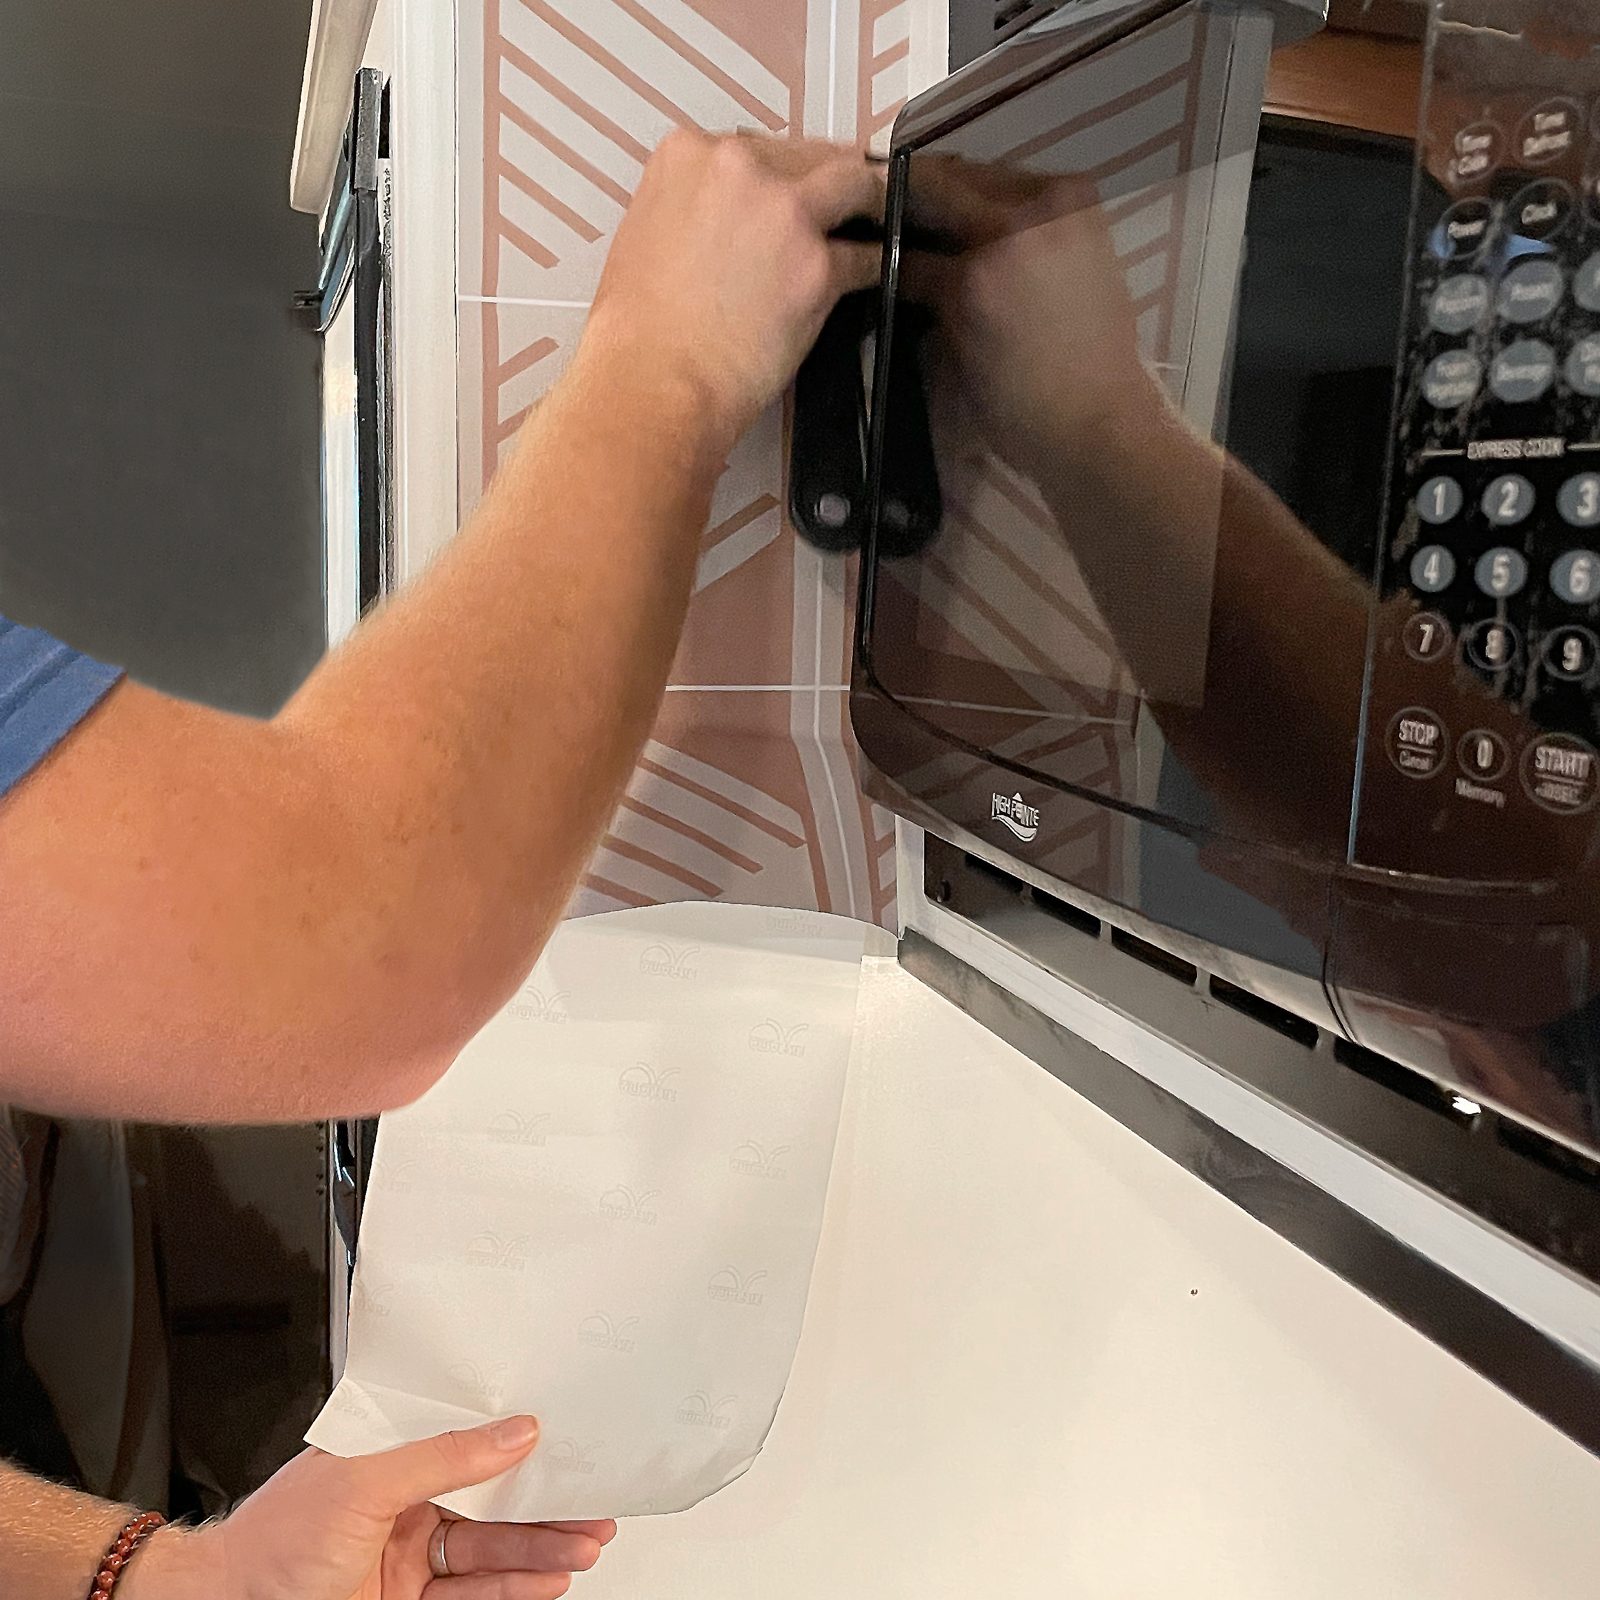
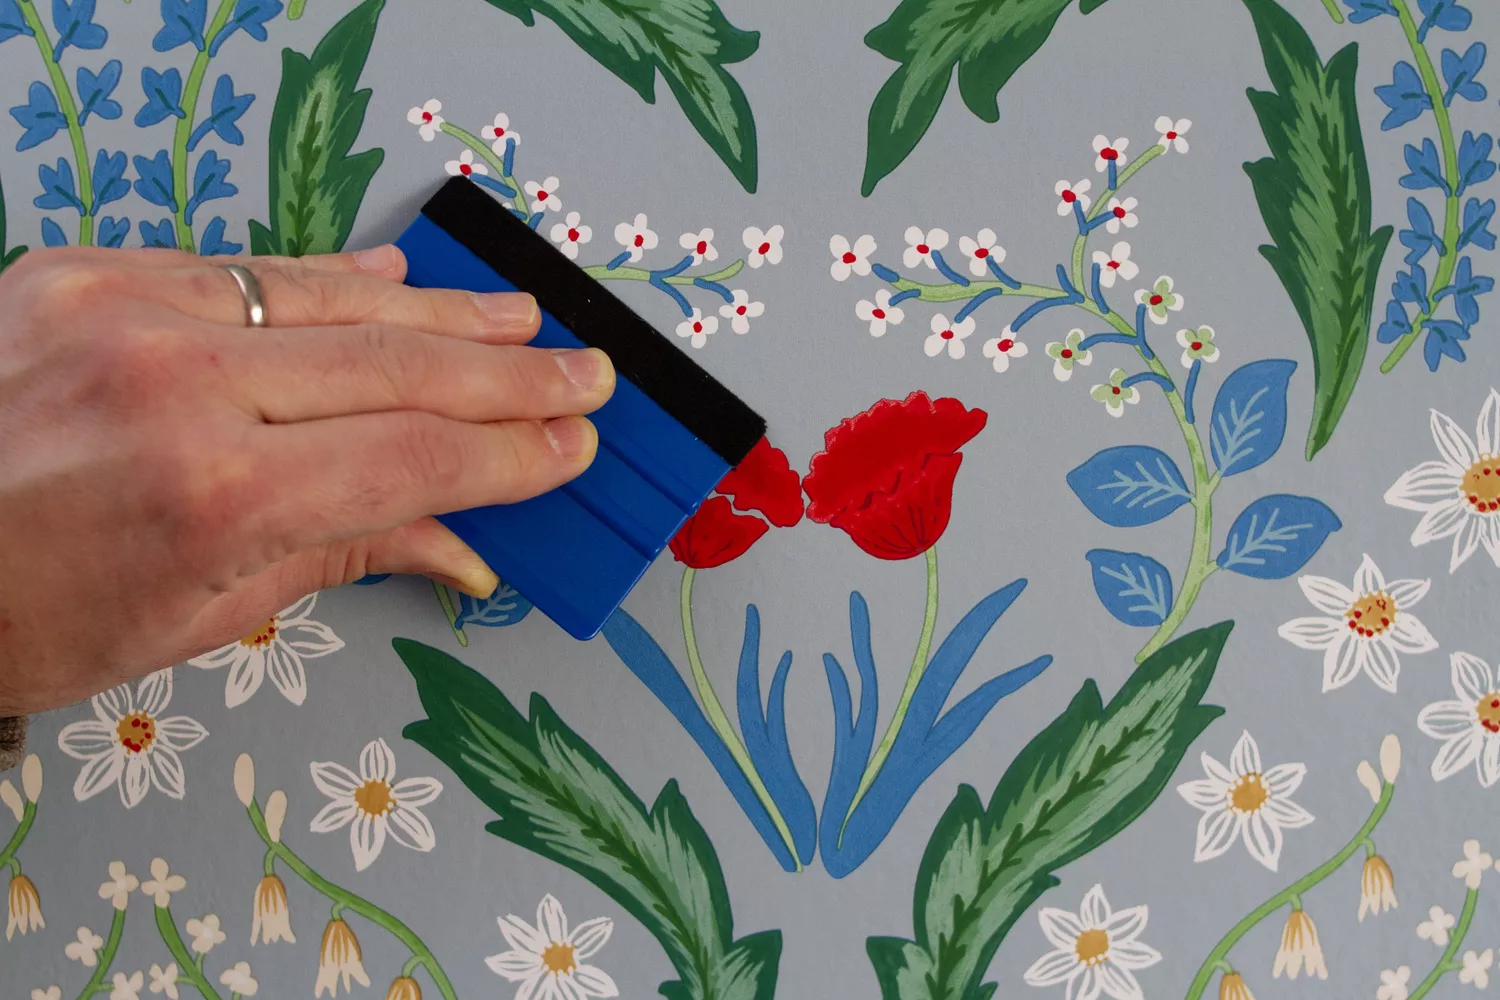
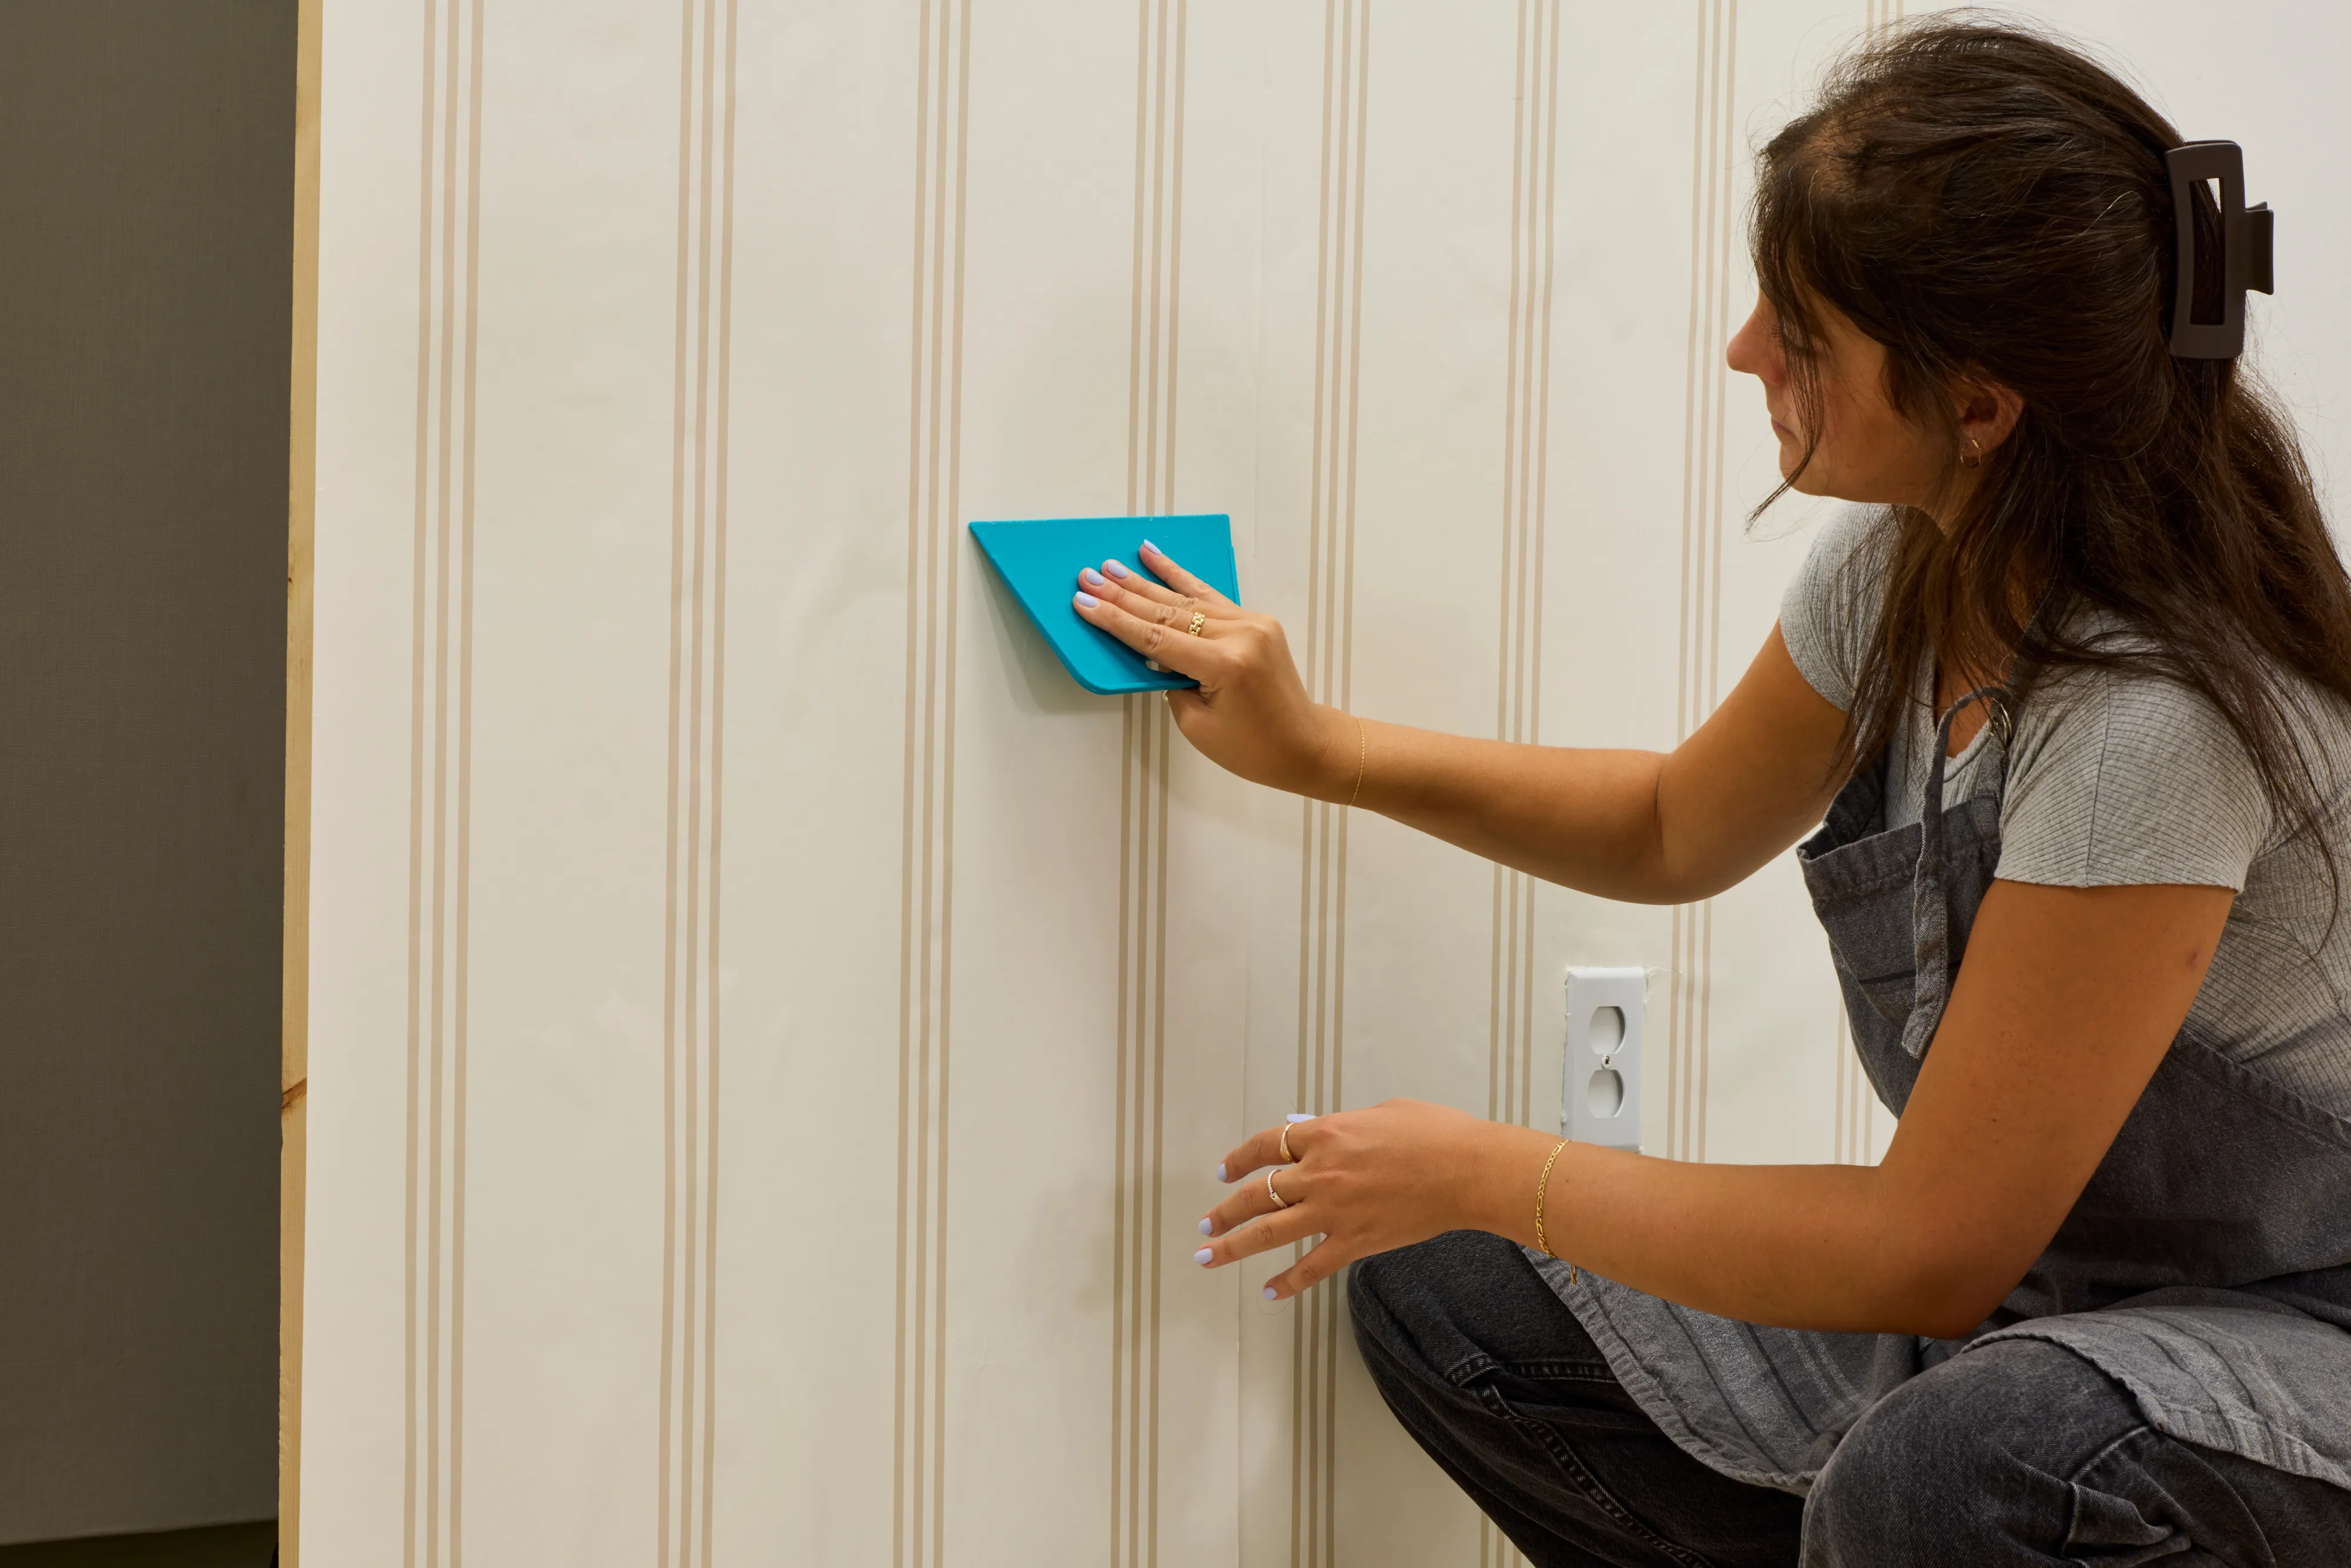
Smoothing the wallpaper as it is applied is typically achieved with hands, but a smoothing tool should be kept handy for addressing any bubbles. Most peel-and-stick wallpapers allow for easy repositioning if mistakes are made. Excess paper at baseboards, windows, and outlets should be cut with a utility knife, leaving about two inches initially for adjustments. After positioning is finalized, a putty knife can be used to press the edges into crevices before making a final, precise cut.
For subsequent pieces, peel off five inches of backing and align the pattern with the previously installed strip, starting from the top of the wall. Any excess paper at the top is trimmed after alignment. Papers without a repeating pattern do not require alignment. If bubbles appear after hanging, they can often be smoothed out by working from the outer edge to the center with a thumb. If this is ineffective, a tiny pinhole can be poked in the center of the bubble, followed by smoothing. A smoothing tool should be avoided at this stage to prevent stretching or damaging the wallpaper. Patience is critical throughout the entire process, and minor imperfections that are not noticeable from a distance should be accepted.
#PeelAndStickWallpaper #DIYHomeImprovement #WallDecoration #HomeRenovation #InteriorDesign #WallpaperApplication #SurfacePreparation #DIYTips #PeelAndStickWallpaper #DIYHomeImprovement #WallDecoration #HomeRenovation #InteriorDesign #WallpaperApplication #SurfacePreparation #DIYTips
Toplam 0 yorum
 Henüz yorum yok
Bu da beğenebilirsiniz
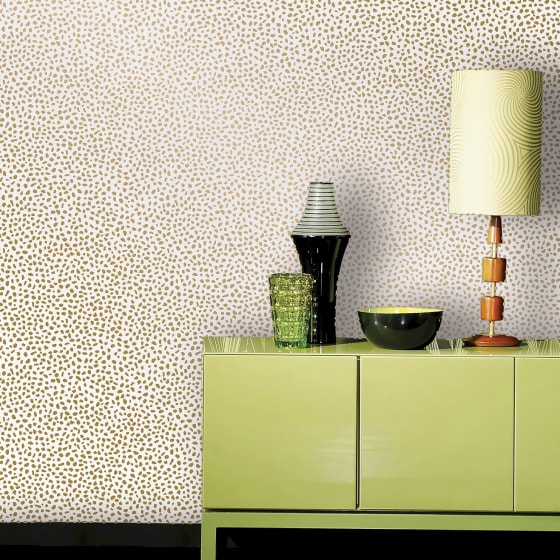
Peel-and-stick wallpaper tips and shopping

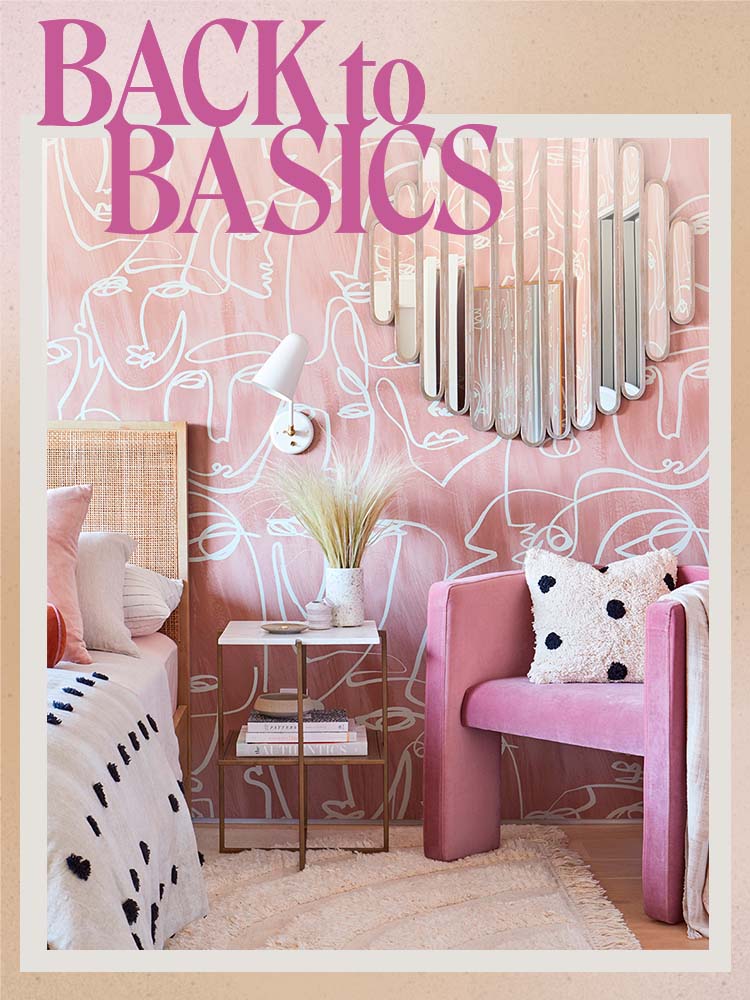
How to Hang Wallpaper (the Permanent Kind!)
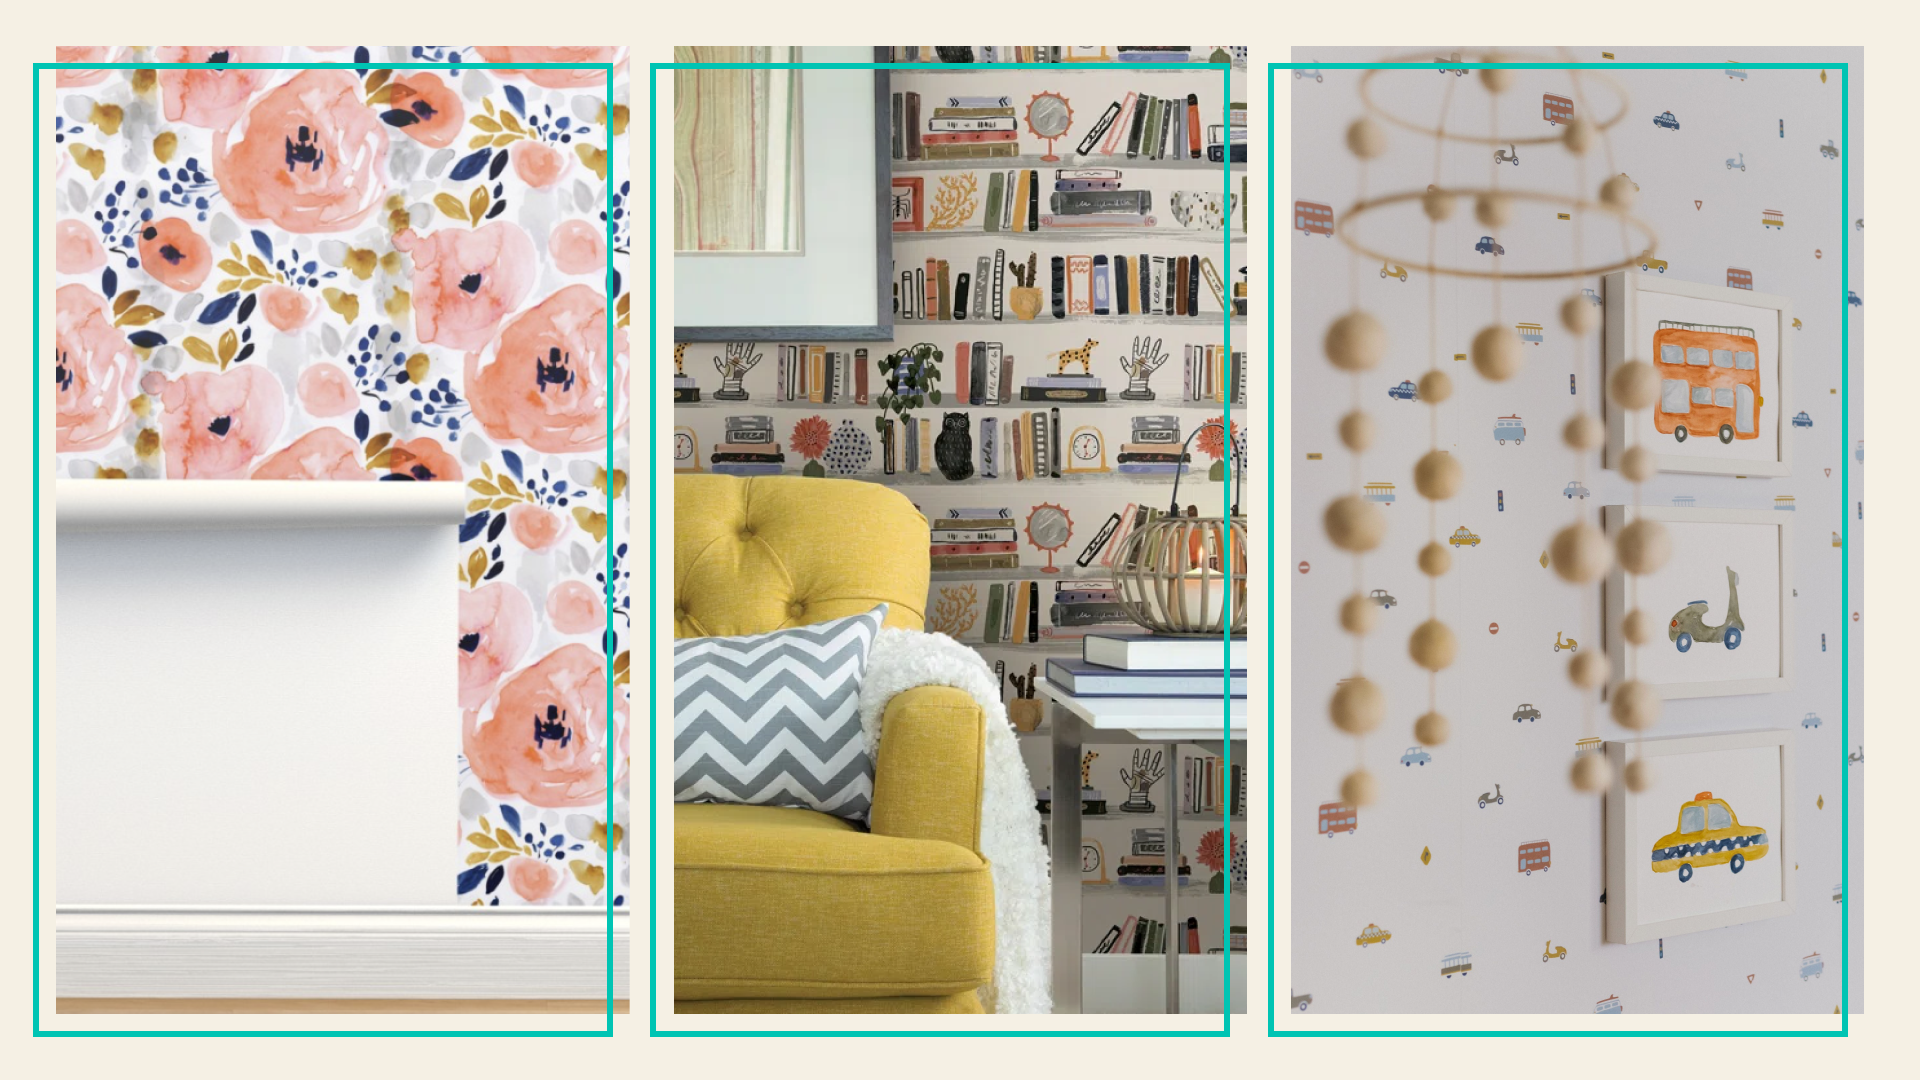
Peel and Stick Wallpaper We Love From 7 Different Retailers


7 Simple Steps for Hanging Wallpaper Yourself

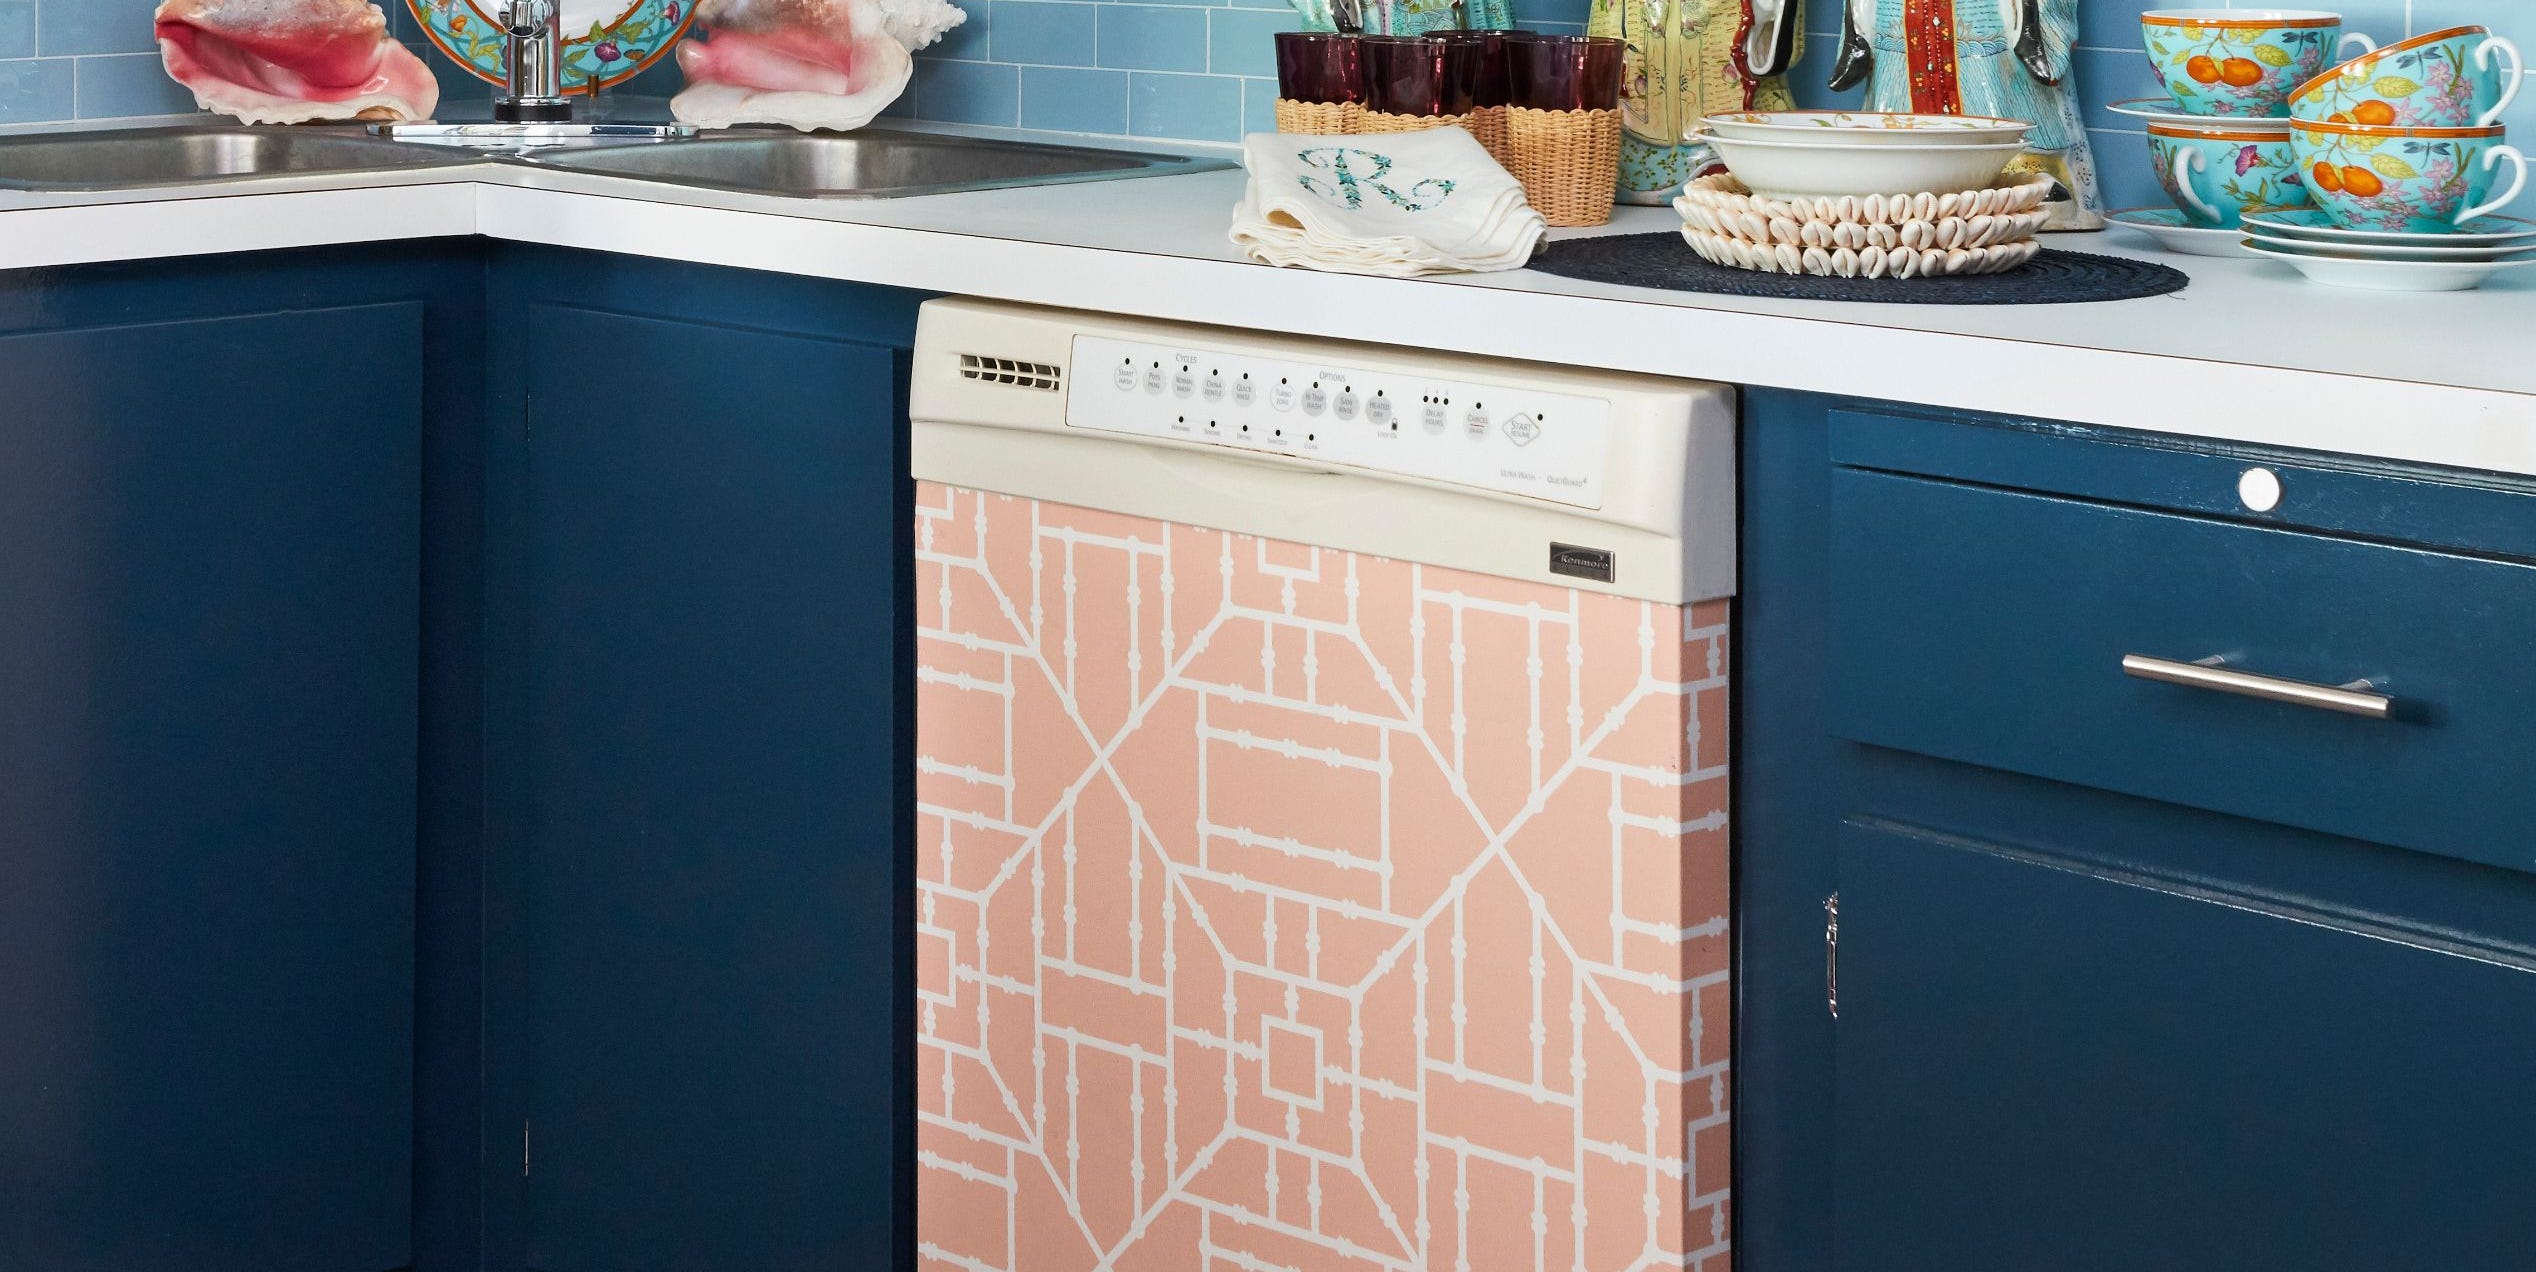
13 Creative Ways to Use Peel-and-Stick Wallpaper

How to Hang Wallpaper Yourself in 8 Simple Steps, Straight from a Pro

Transform your room with peel and stick wallpaper
We Installed 40 of the Best Wallpapers—These 12 Deserve a Space in Your Home

12 Best Peel-and-Stick Wallpapers
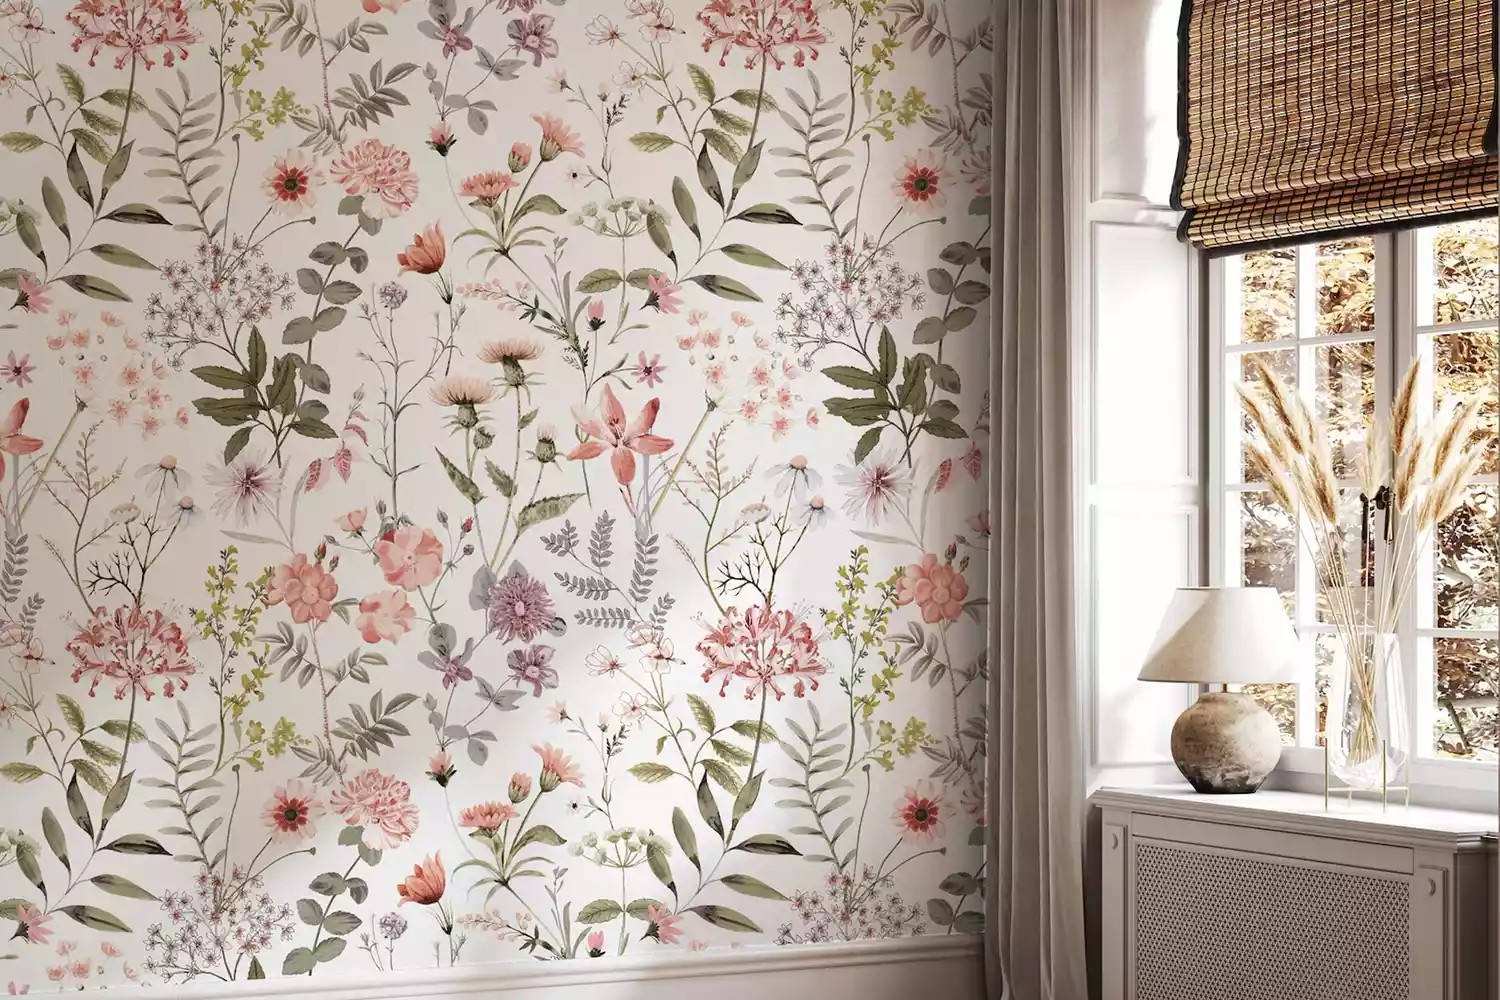
How to Apply (and Remove) Peel-and-Stick Wallpaper the Right Way

13 peel-and-stick wallpapers we love

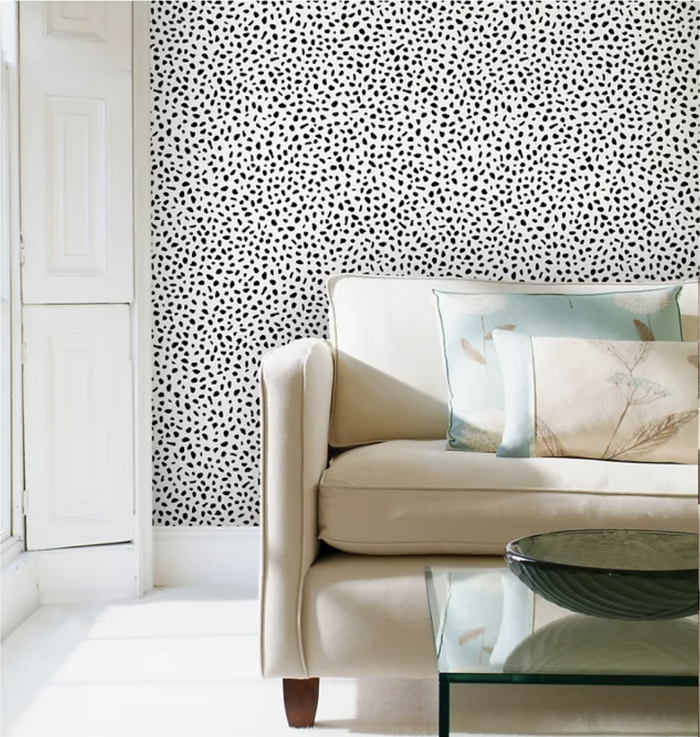
15 Peel-And-Stick Wallpapers From Target That Even Renters Can Use

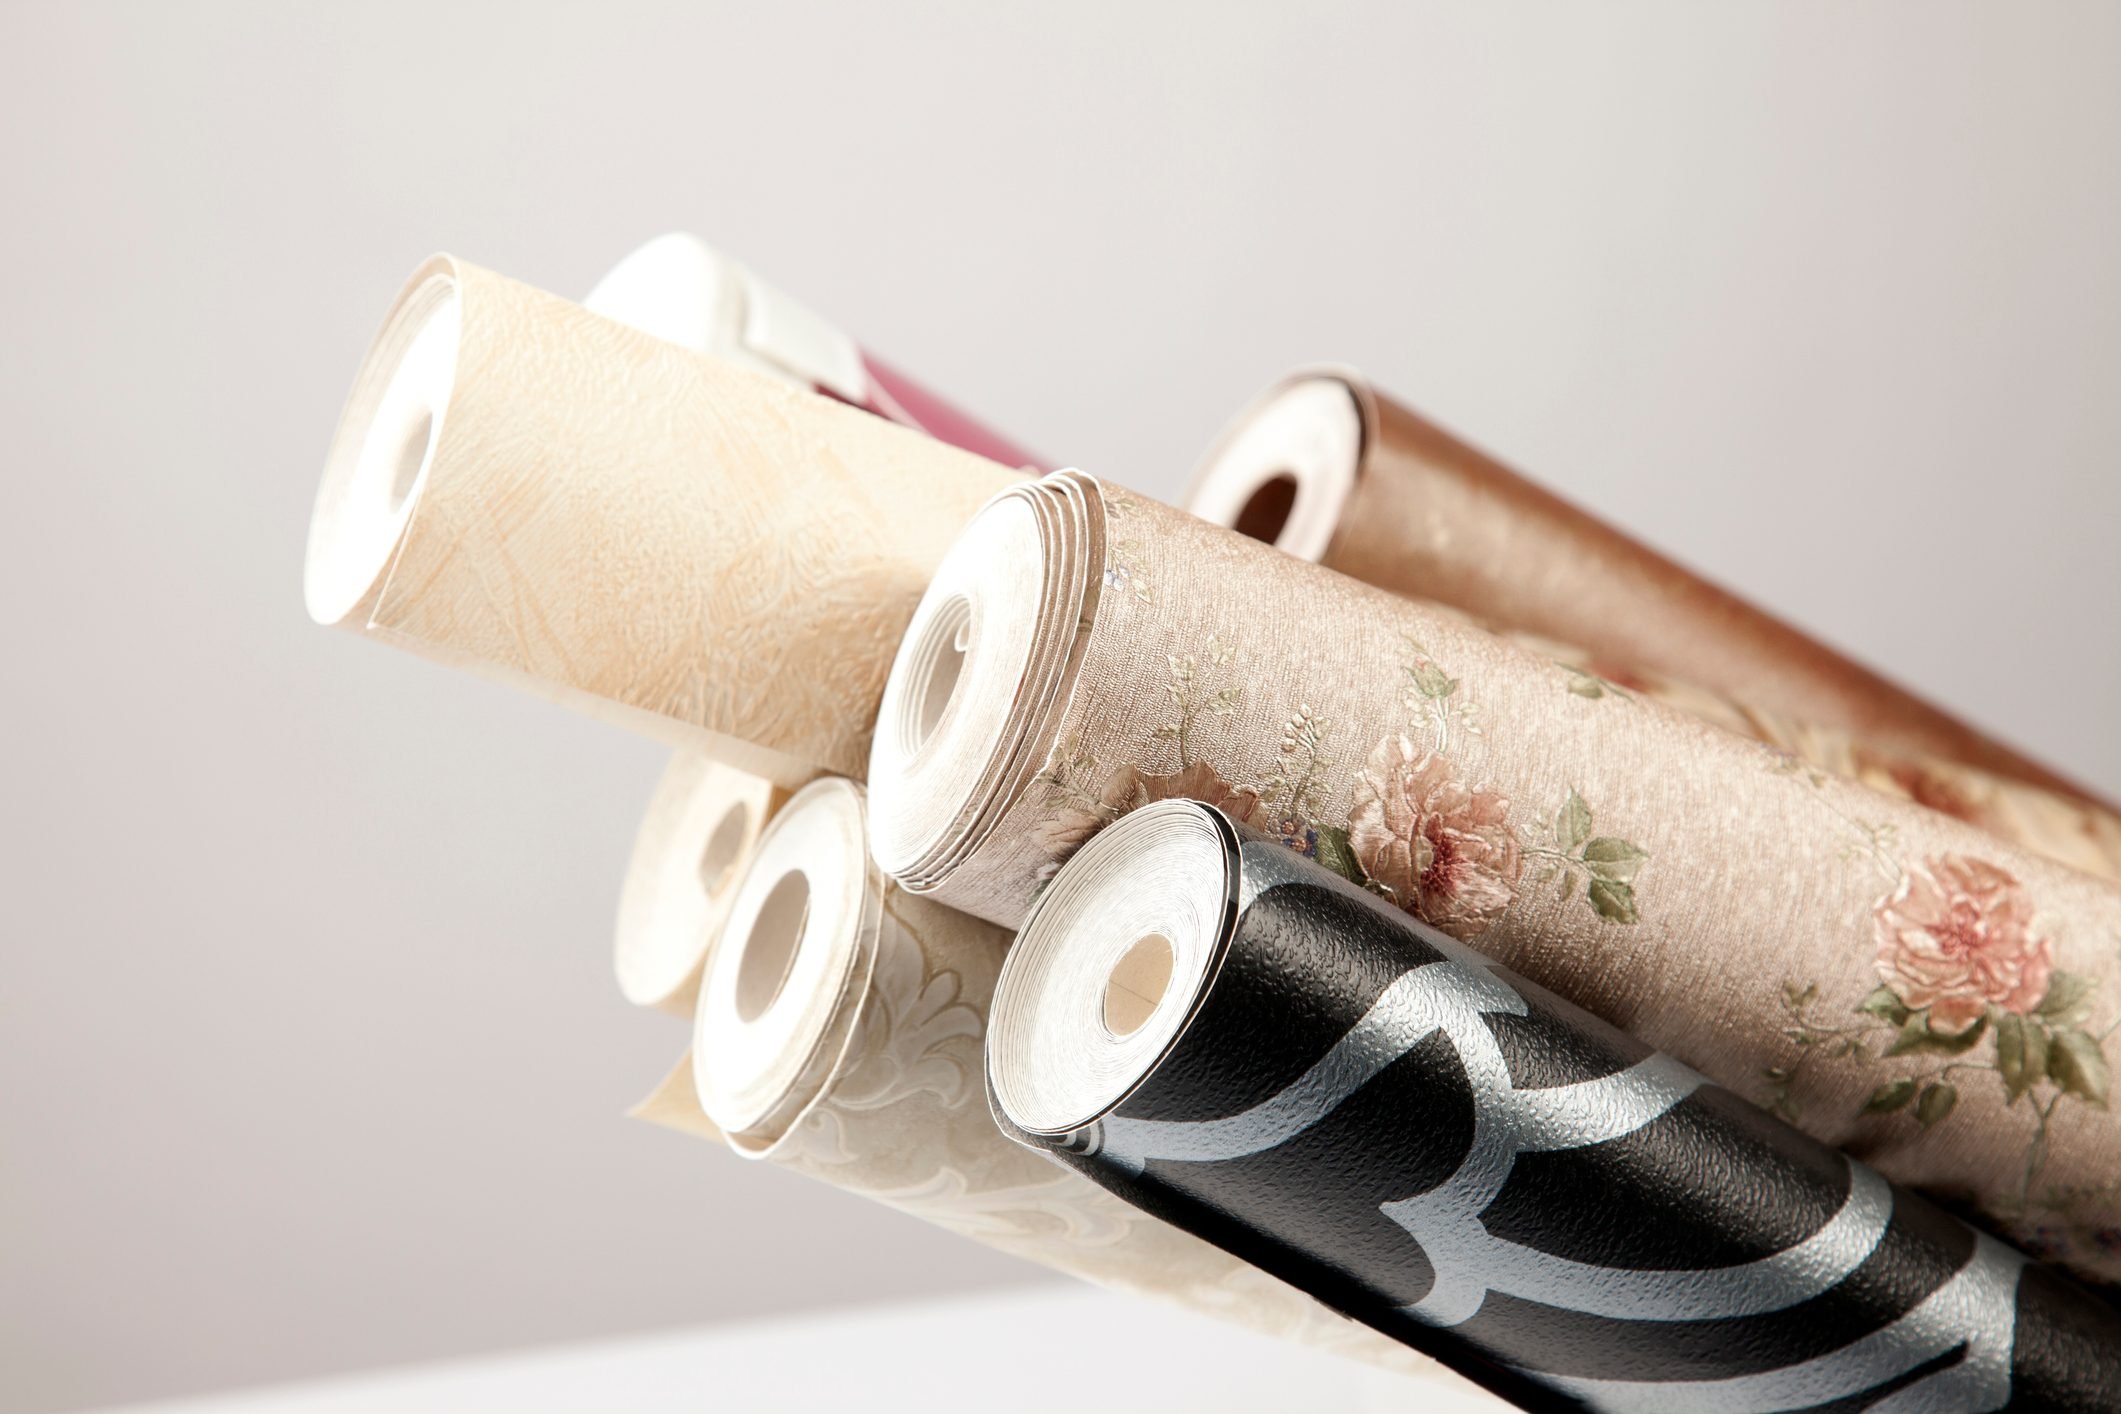
Buyer's Guide To Peel and Stick Wallpaper
How to Hang Wallpaper (the Permanent Kind!) | domino
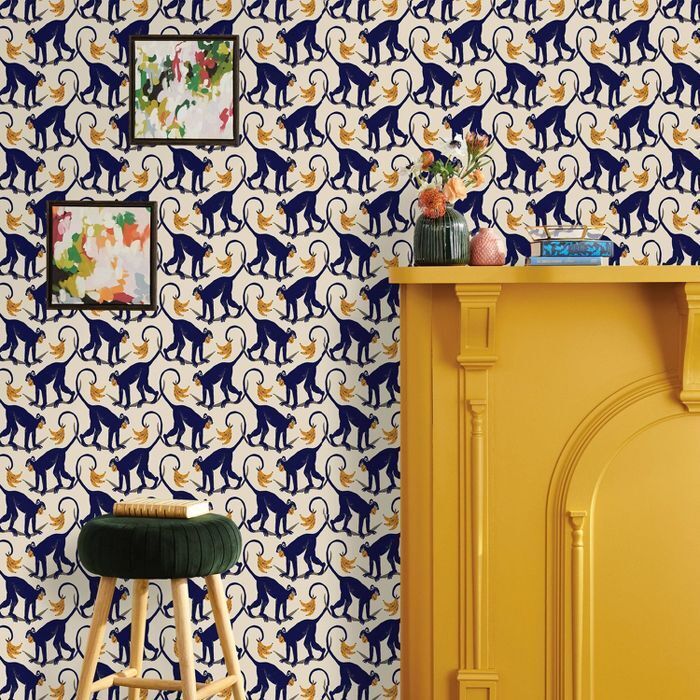
Whimsical Peel-And-Stick Wallpapers To Brighten Up Your Home
Can you paint over wallpaper? Experts explain how to make this time-saving hack work
How to Hang Wallpaper (the Permanent Kind!)


The 3 Best Removable Wallpapers of 2026 | Reviews by Wirecutter


Best peel-and-stick wallpapers: 8 perfect picks for the non-committal decorator

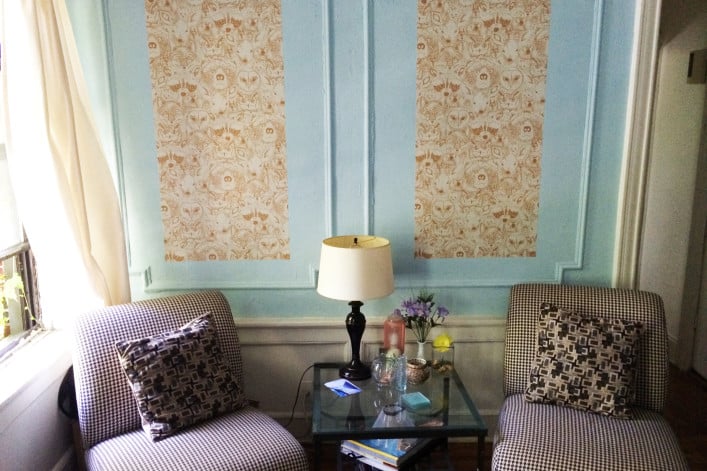
A real person’s 5-step guide to putting up temporary wallpaper